
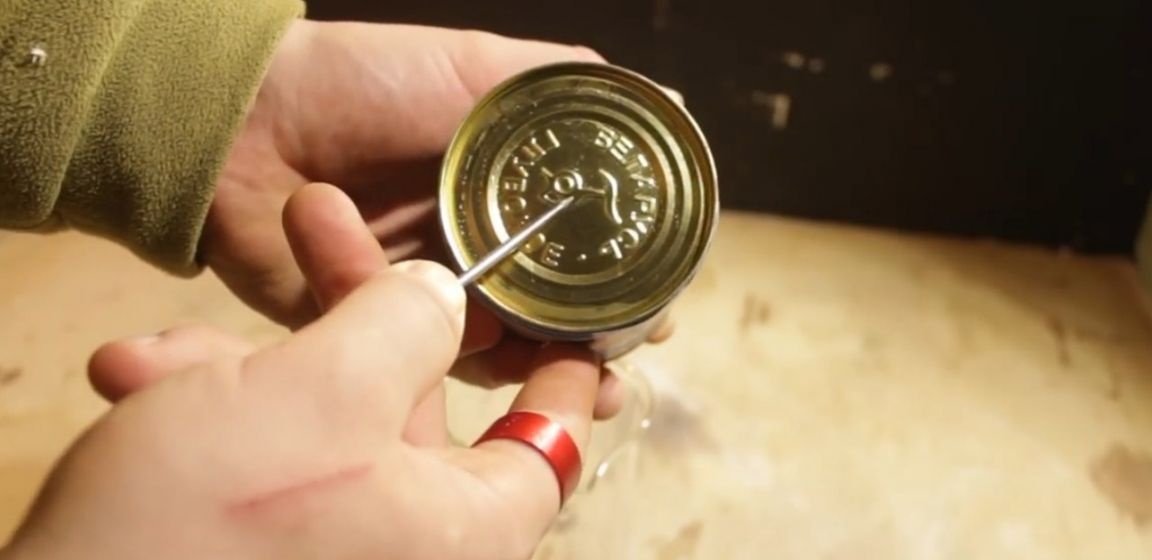
The first thing the author needs is a tin can, he took it from under the condensed milk. And at the bottom in the center made one hole with an awl.
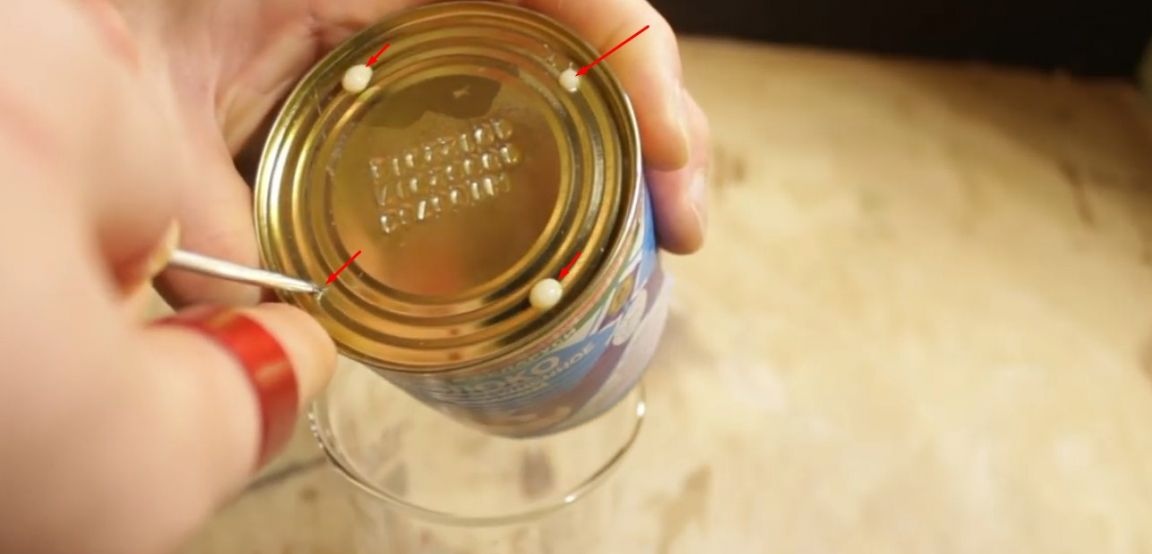
And on top I made four holes (in the future, these holes will be part of the slab divider.)
Then he put the jar on the glass and left for some time so that the condensed milk would flow out of the jar.
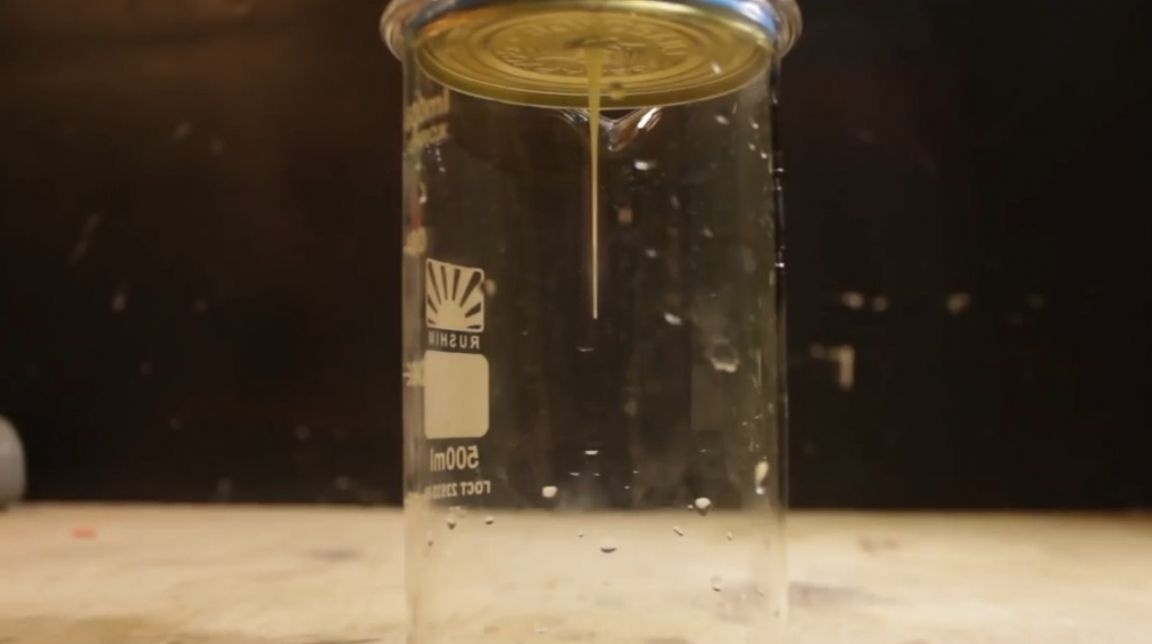
When the condensed milk leaked, he drilled a hole in the bottom with a drill of 10 and washed the jar from the rest of the condensed milk.
Then he took a copper pipe from the air conditioner.

Squeezed one end of the tube.
He poured compacting small fireclay clay from a brick (according to the author it is better to replace clay with sand).

After squeezed and the second end of the tube.
And he began to bend the pipe.

Then he straightened the edges of the tube and poured clay.
Then he evenly cut off the excess pieces of the tube.
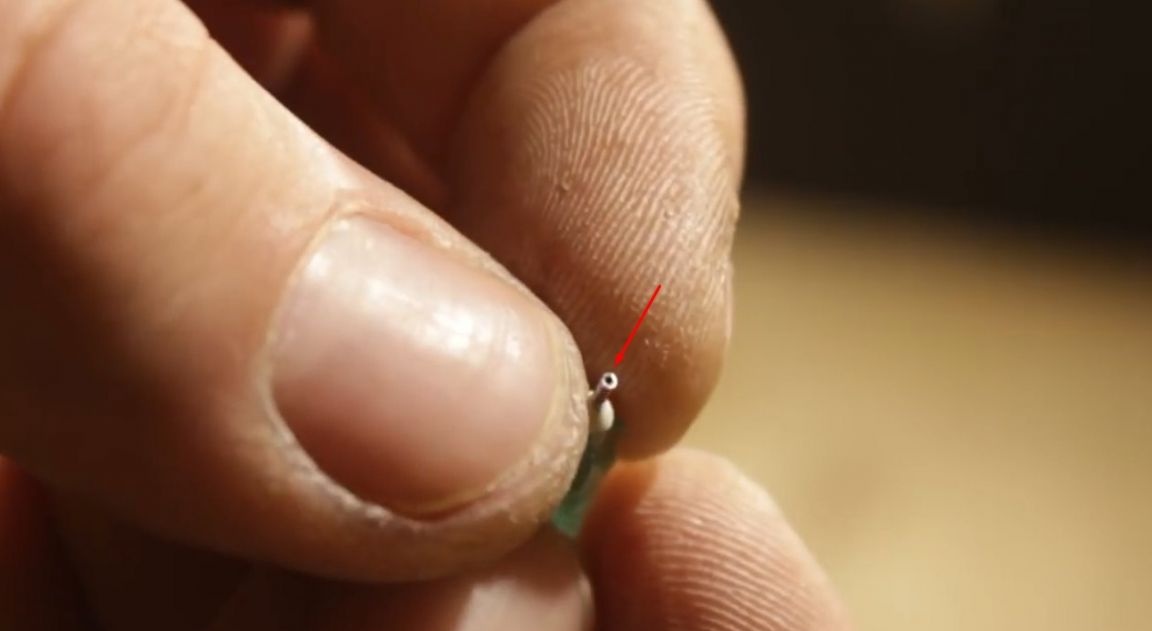
Then he took the needle from the syringe.
And cut off an unnecessary piece from her.
I filed the flattened edge of the needle with a file.
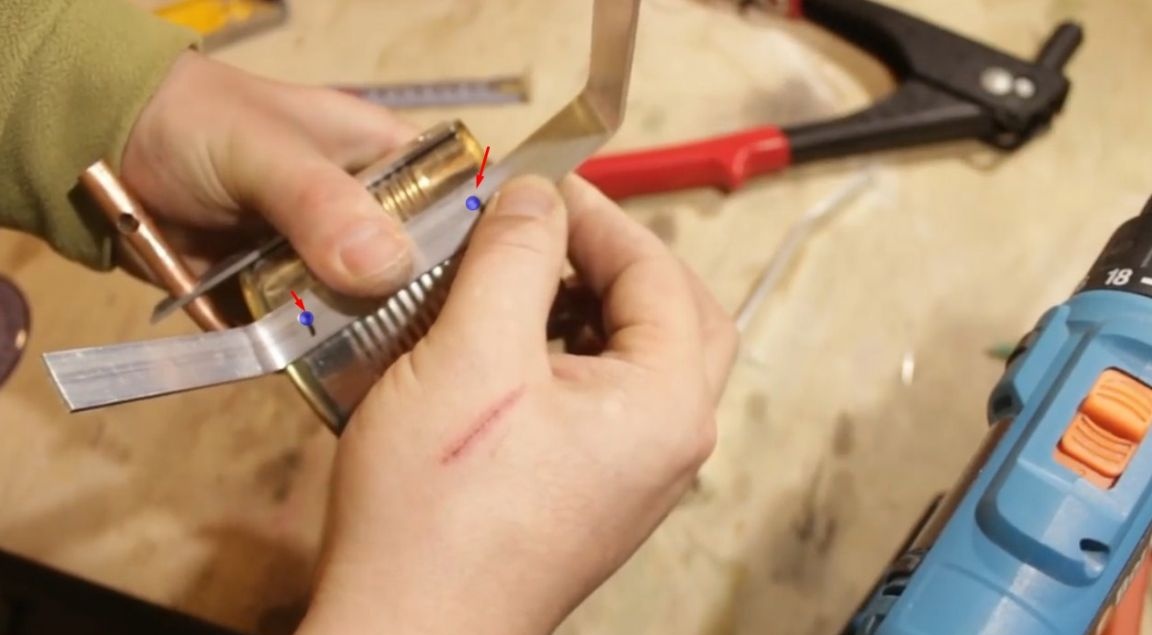
Then he put a piece of silicone hose on her.
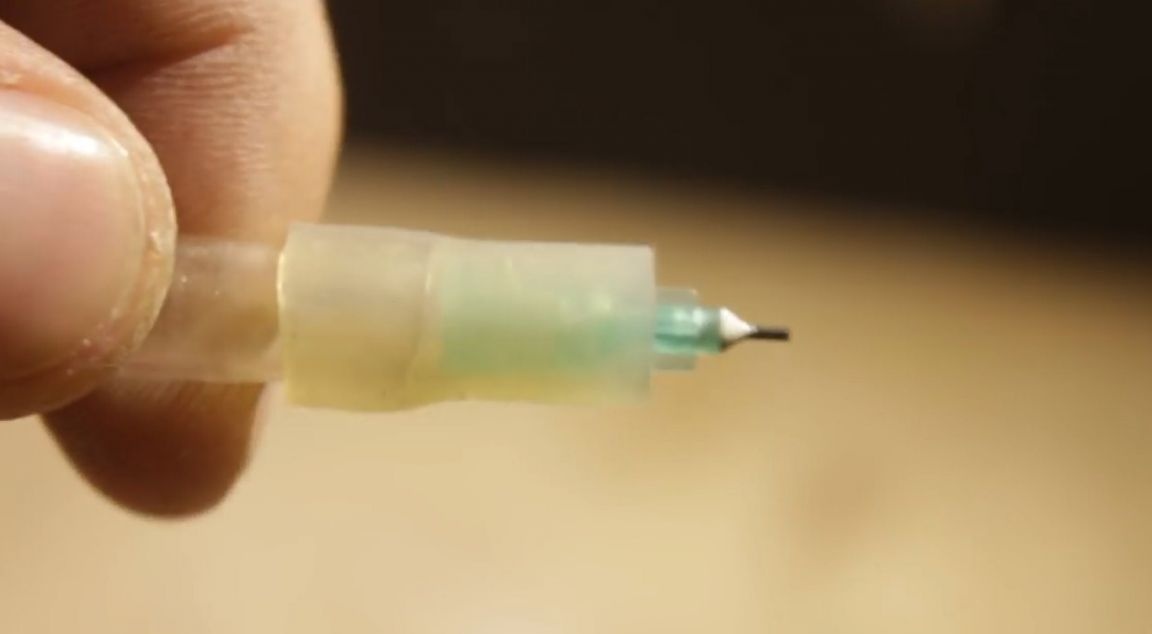
And inserted it into a copper tube (the author’s silicone hose serves as a sealant).
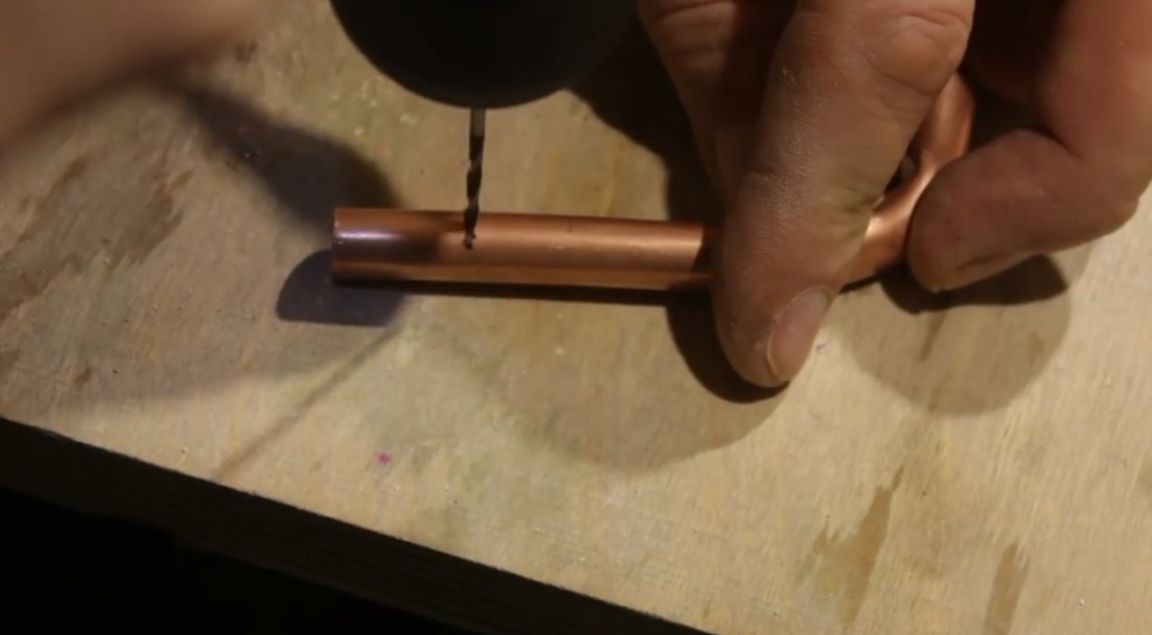
Next, on a copper tube, he noted the distance where the needle would end.
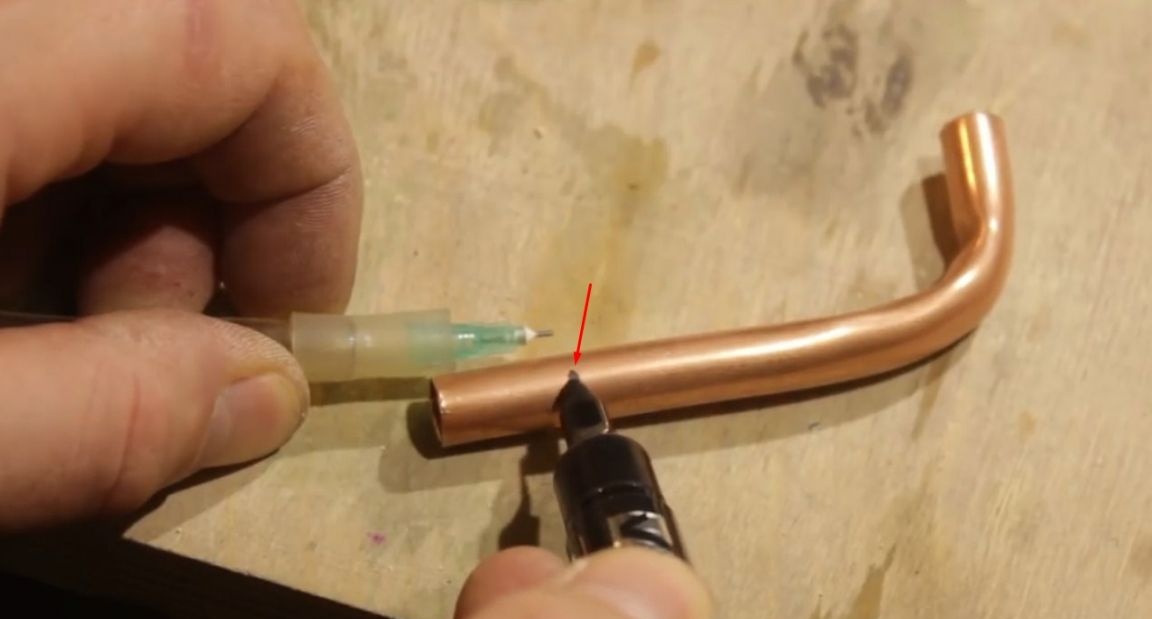
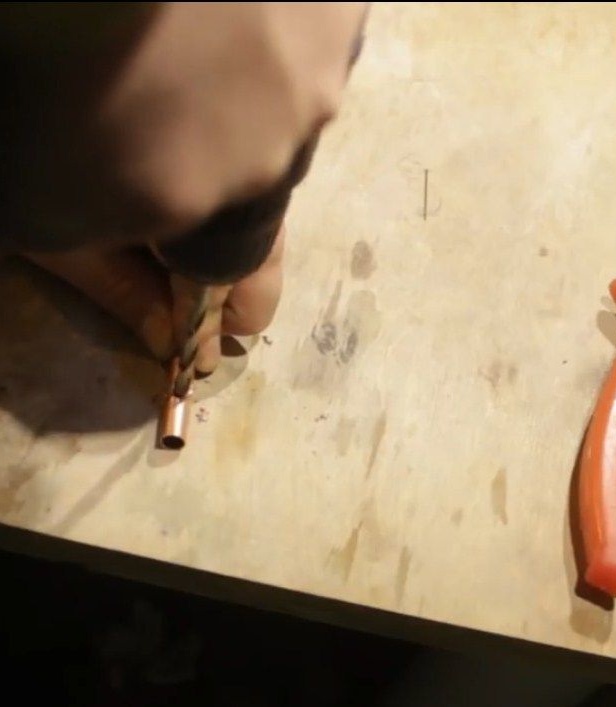
In the marked place, the author made three holes, first with a small drill, and then with a drill at 6.
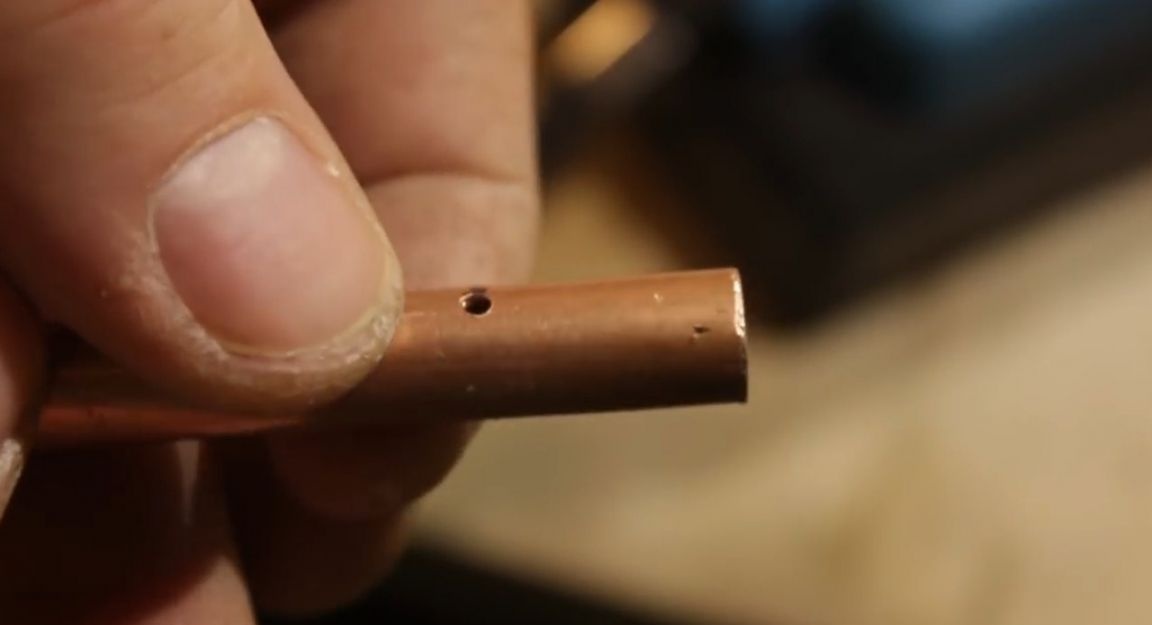
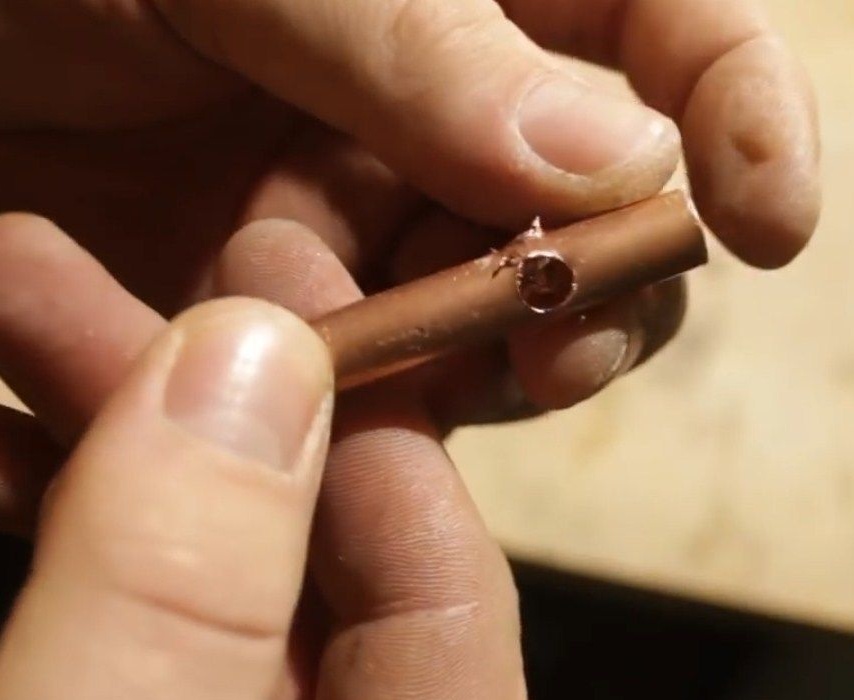
Then he lightly treated the surface of the holes with a file (through these holes the gas will be saturated with air.)
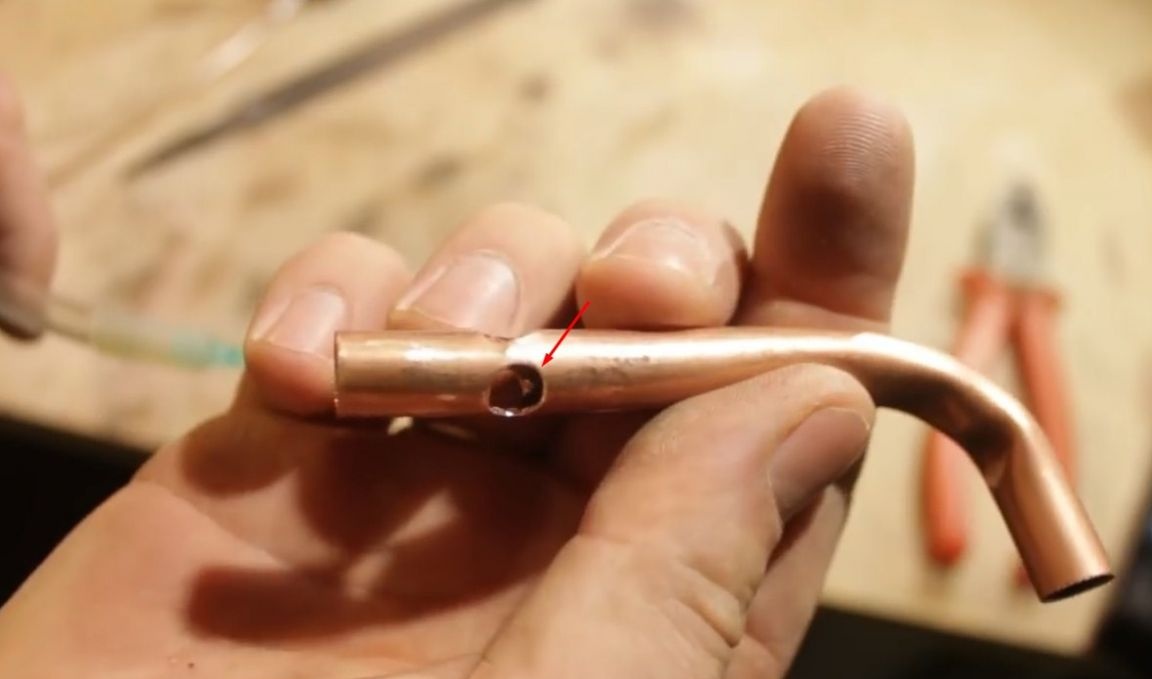
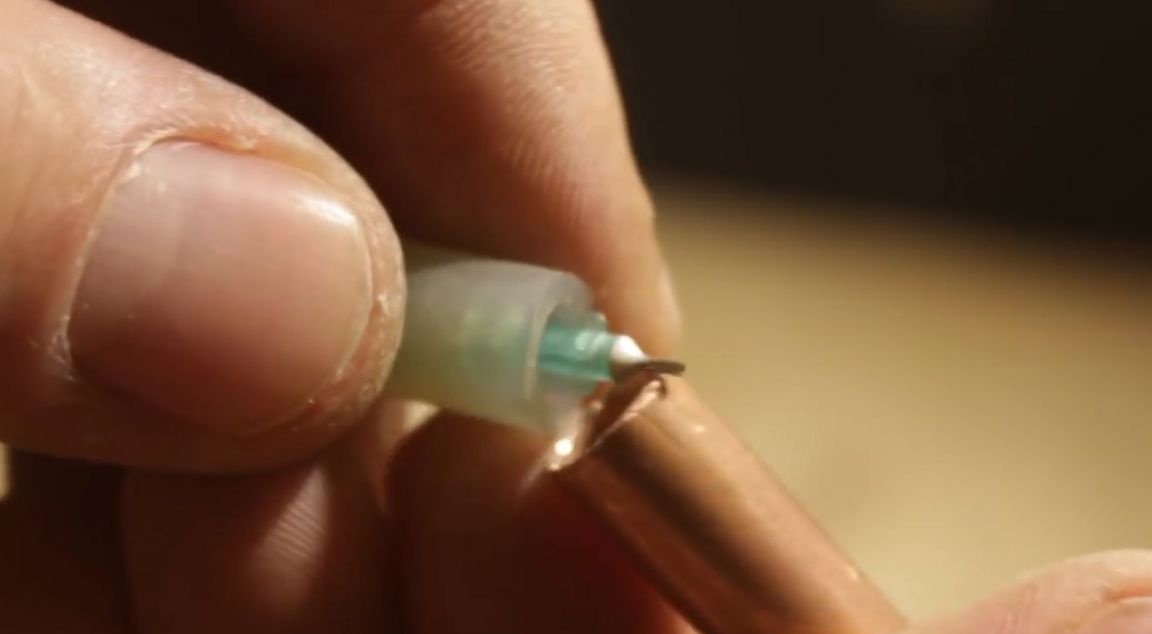
Next, put in place the needle.

Here at such a distance should be a needle that the author serves as a nozzle. (By this principle, all gas stoves work.)

The author will supply gas from the spray can to the stove through the regulator from the old burner.
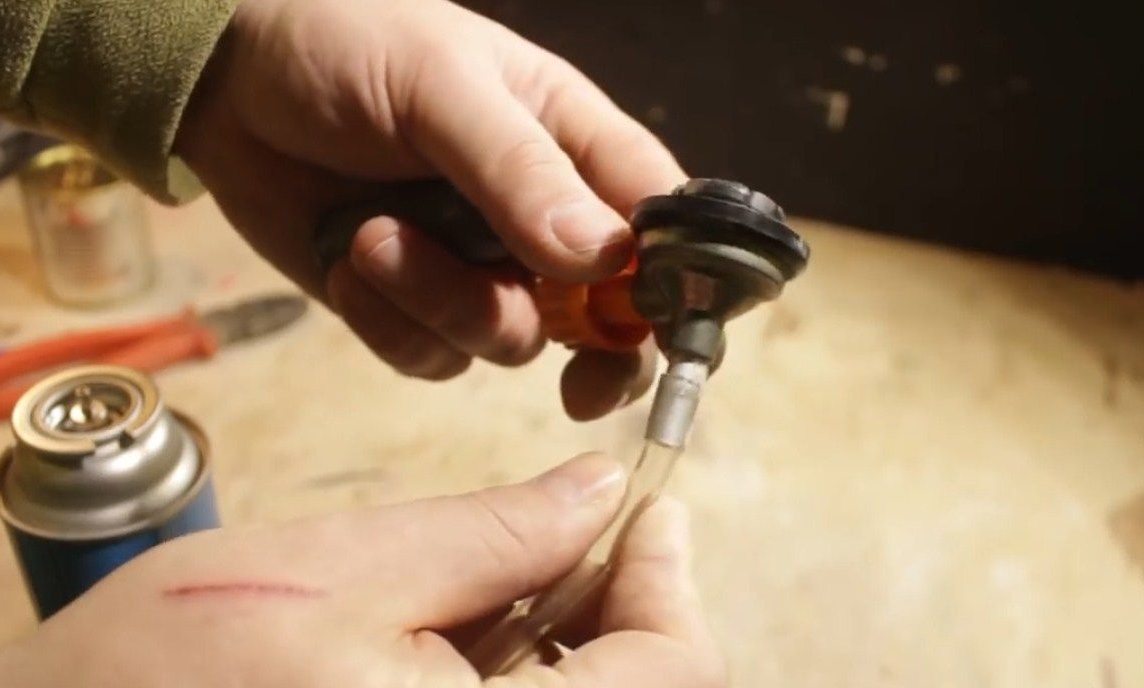
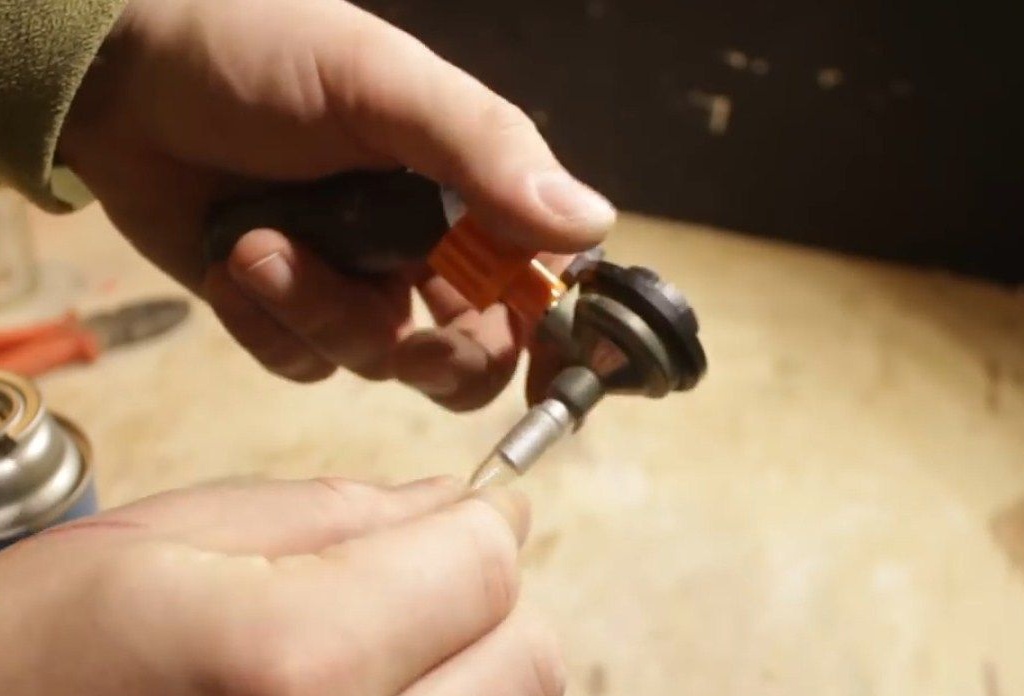
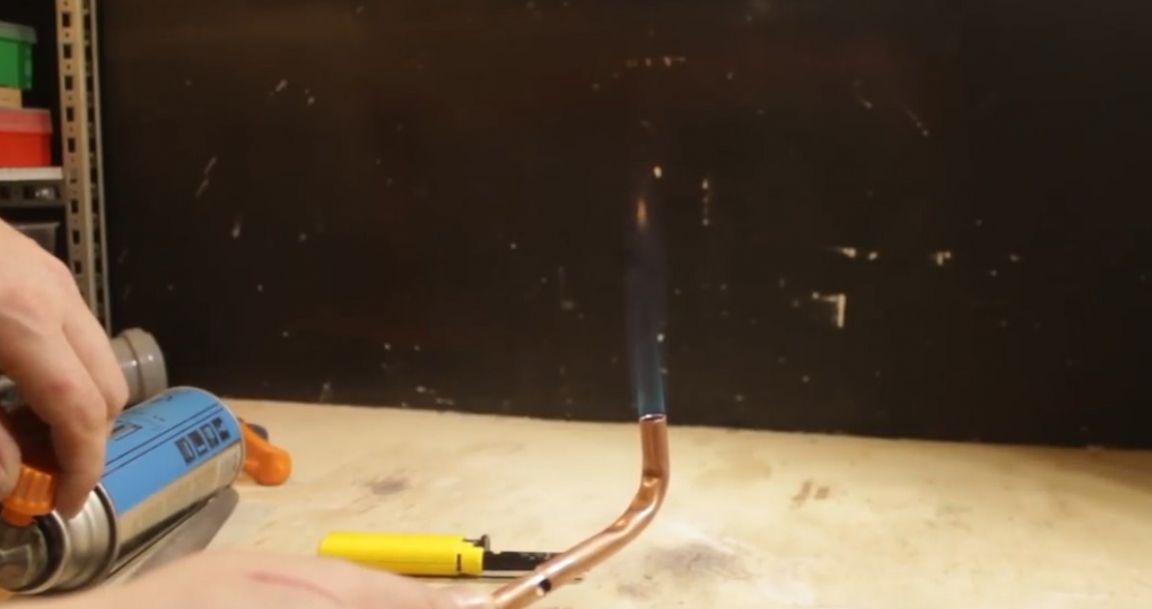
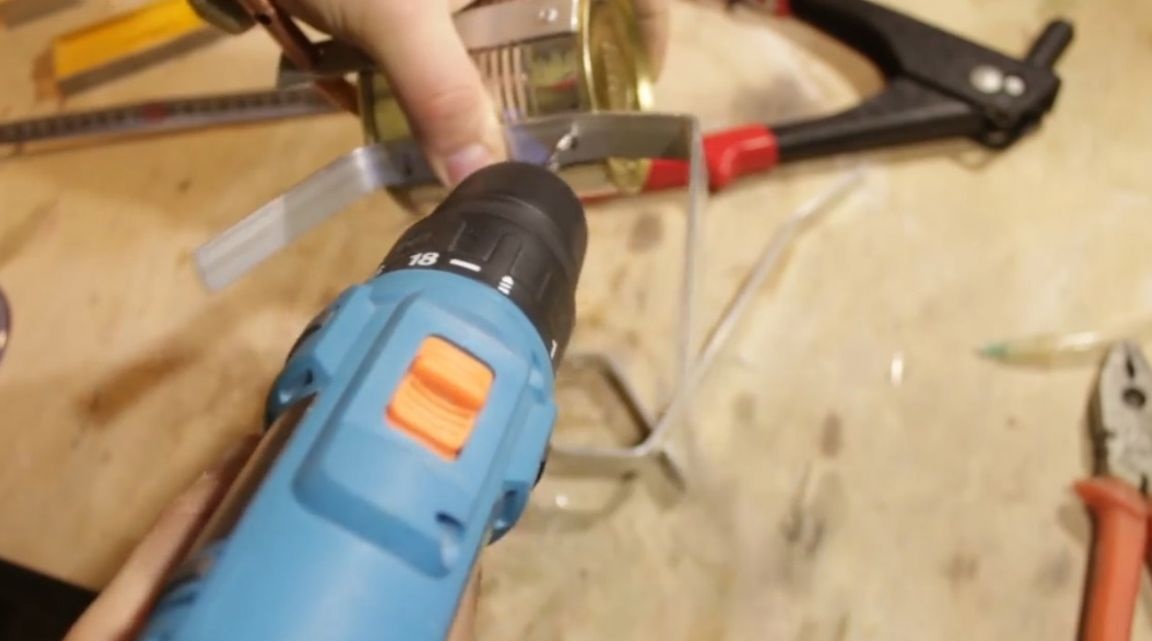
Further, the author checks the so-called gas pipeline and nozzle.
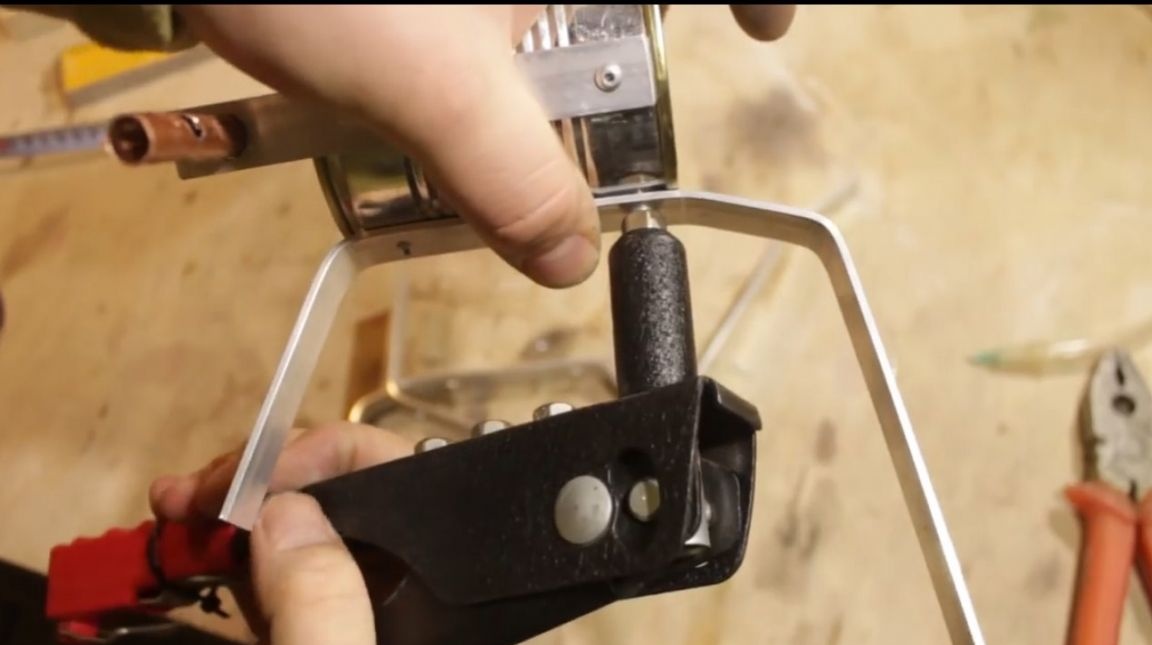
Then he proceeded to connect the nozzle to the stove. To do this, he inserted a tube into the bottom of the can.
Further, for greater strength, he took an aluminum strip, measured it and cut off the desired size.
Then he made holes in this strip, one under the copper tube and two under the rivets which the strip will be attached to the bank.
Then he put the strip on the tube.
I inserted the tube into the jar.
I made a hole in the bank under the fastening of this strip.
And riveted.
Then the author sealed the gap between the can and the tube.
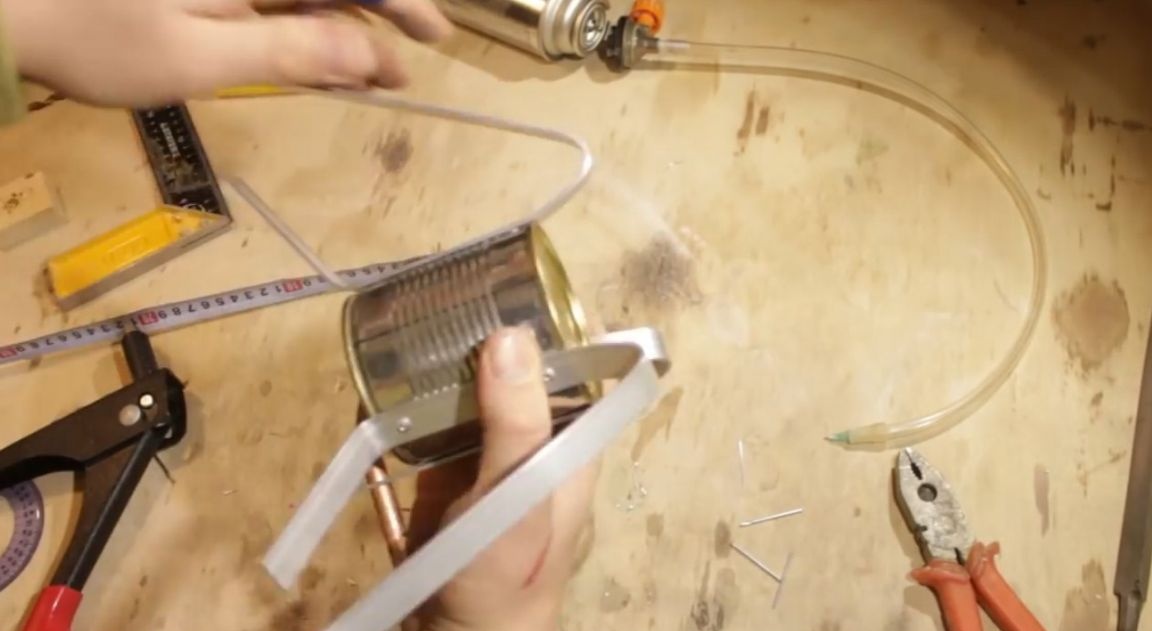
After that, he began to manufacture legs for the stove. Making measurements with a tape measure.

He took three aluminum strips 37 cm long. From one edge of the strips he made a marking of 18 cm., 15 cm., 7 cm.,
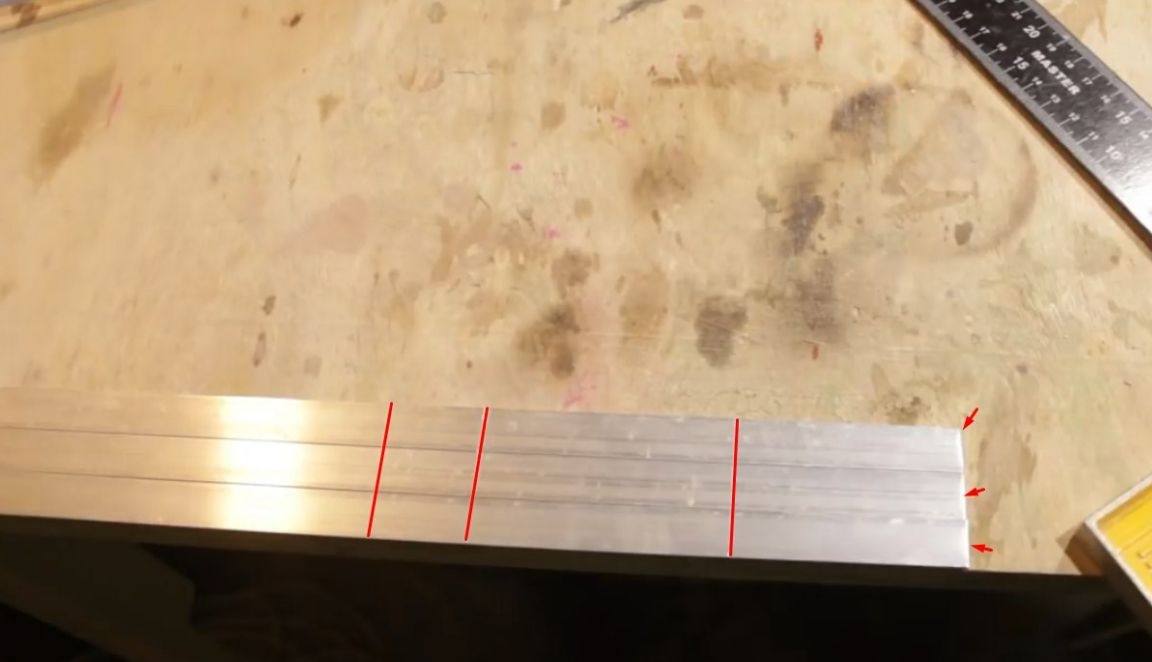
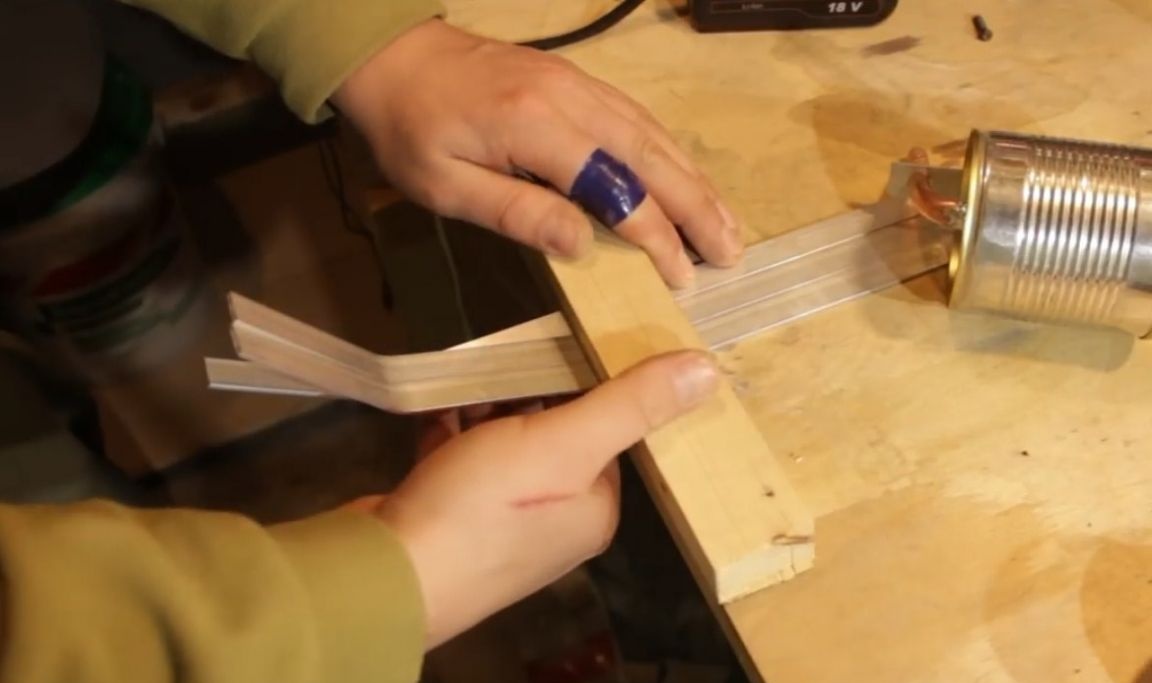
Then the author bent the stripes in the places of the markings. (The author bent all three bands at once so that they were the same.)
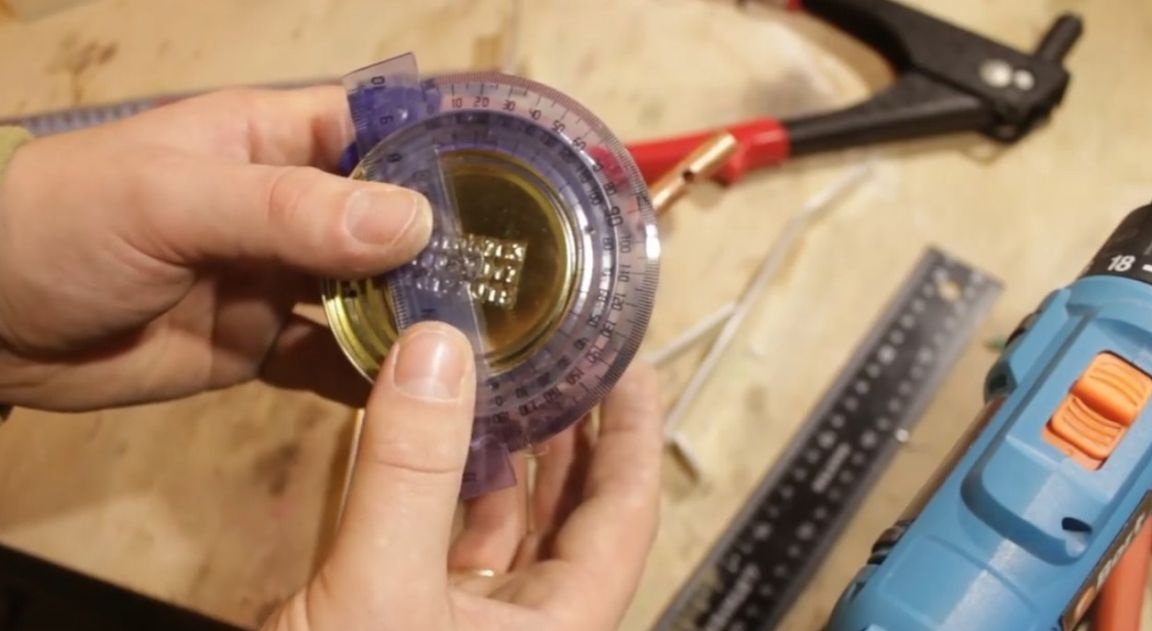
Then, using a protractor, he made markings for the legs. First, the author attached a protractor so that a 60-degree scale would point to the gas supply pipe and make marks at 0 and 120 degrees, then move the protractor and make another mark at 120 degrees.
He leans the legs against the markings on the jar, and makes a hole. The baud mount first fastens one side of the leg, then aligns it vertically and fastens the second.

Further, it bends the legs completely and fixes it with rivets.
It checks for stability and evenness, and it turns out that one leg is blocked up from this plane went to the side.

He riveted one leg and now everything is smooth and stable with the author.
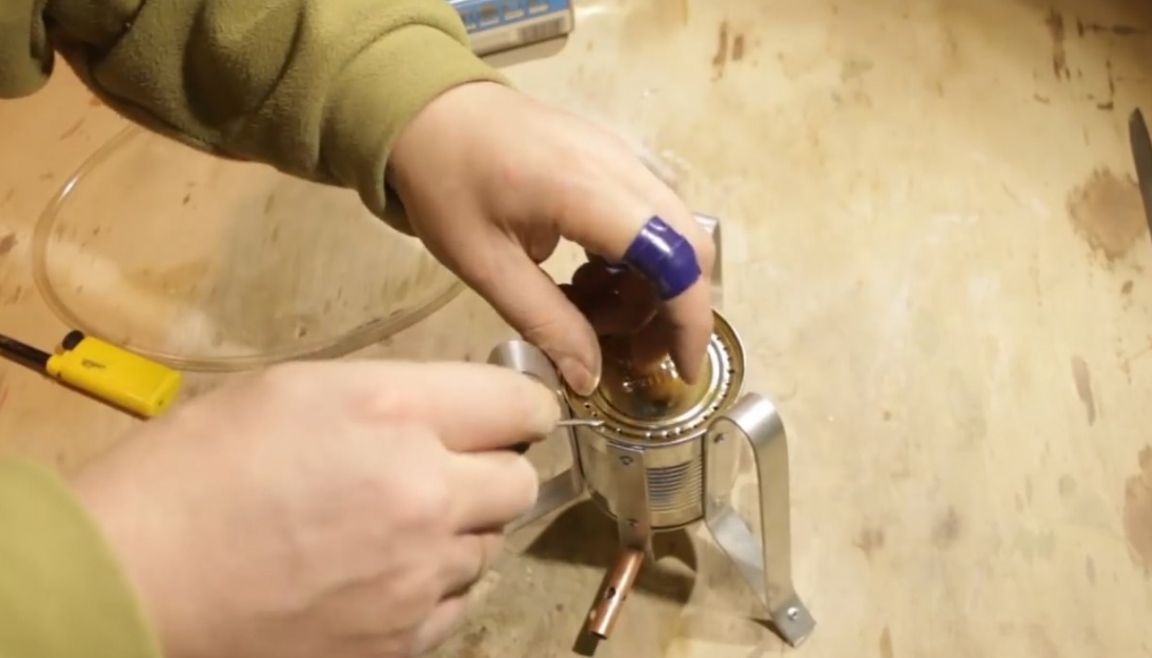
Further, the author made an awl with a diameter of 1.5 mm in the hole of the slab divider.
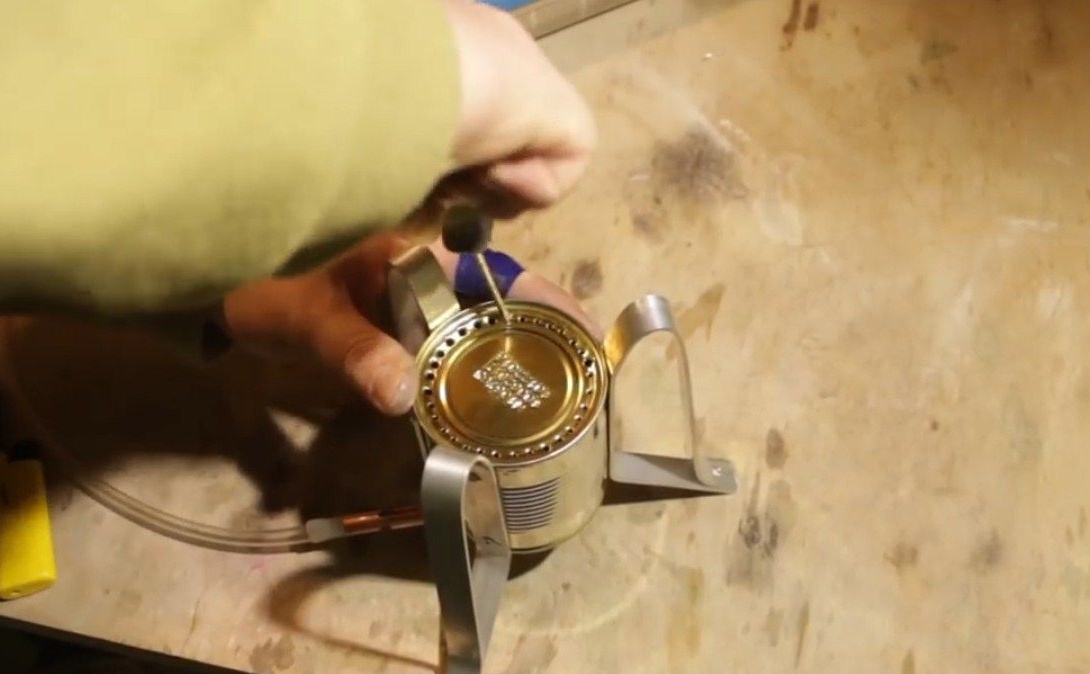
The author made holes according to such a scheme; at first there were four holes.

Then he divided the distance between the holes by 2 and made four more holes.

Then again divided into two and made another 8 holes.

I checked the work and it turned out that it burns well on a small fire, but when the gas pressure was added, the flame went out.
The author corrected this so, at first he increased the number of holes by 2 times.
But the check again showed the author that it burns well on a small fire, but on a large fire it did not go out. But it didn’t work normally.
And the author decided to increase the diameter of the holes by 2 times.
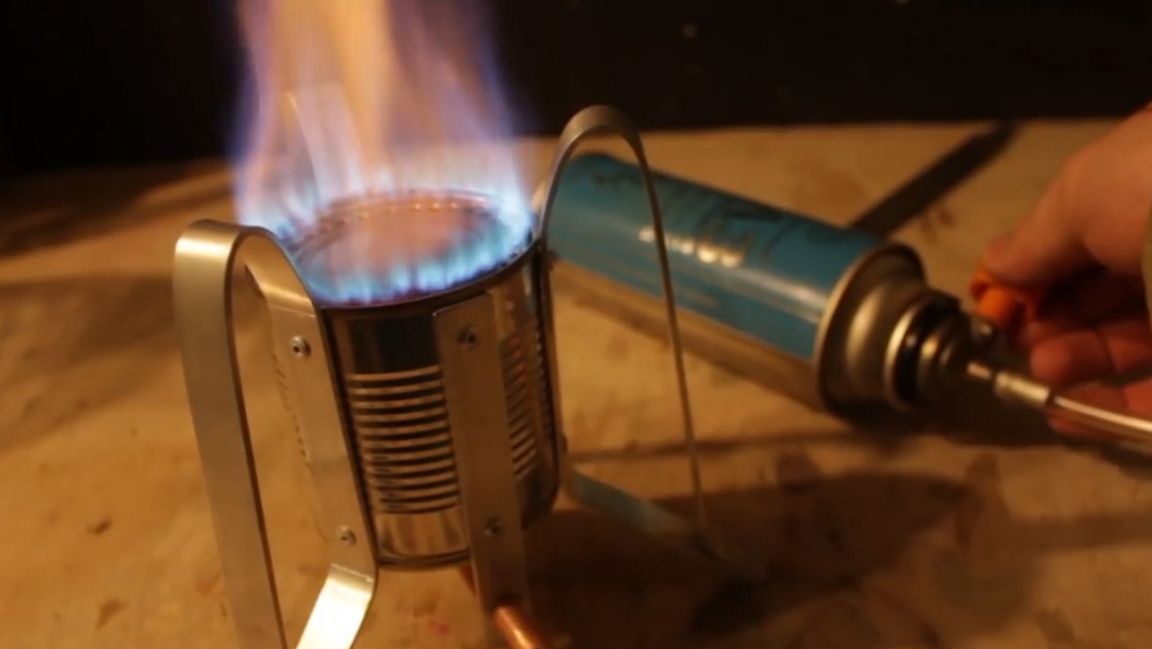
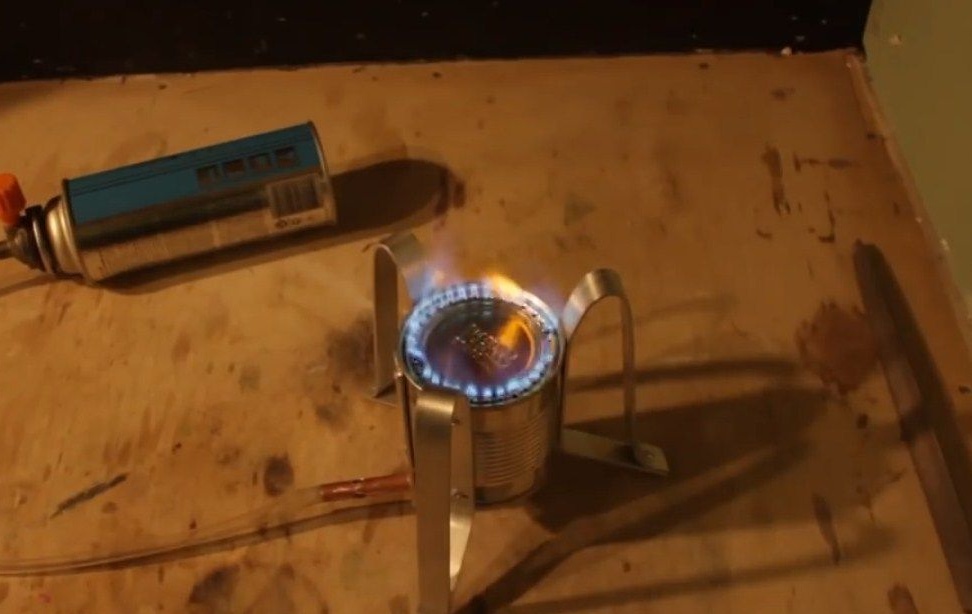
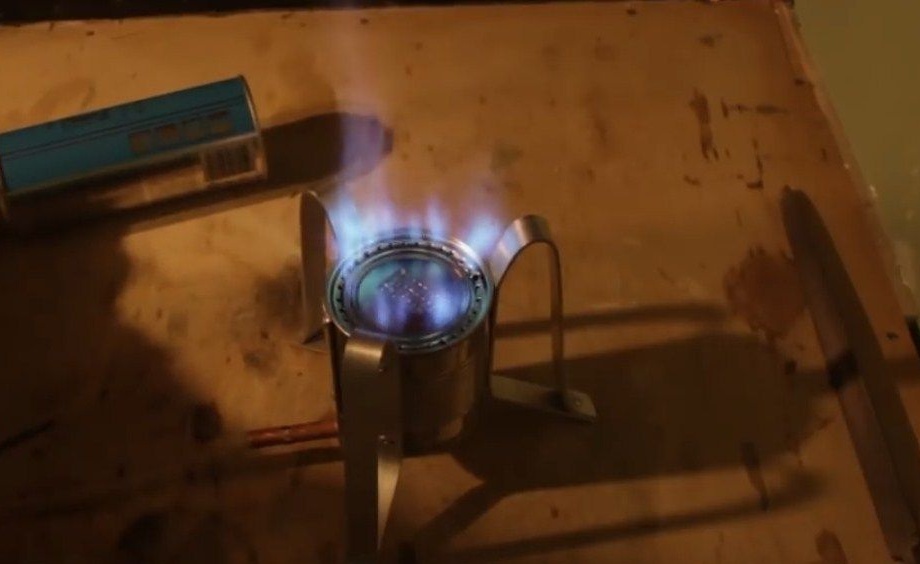
And now the author’s stove works well both on low and high fire. (But as the author himself says, it was possible to make the diameter of the holes not 3 mm, but somewhere 2.6 - 2.8 mm and it would be better.)
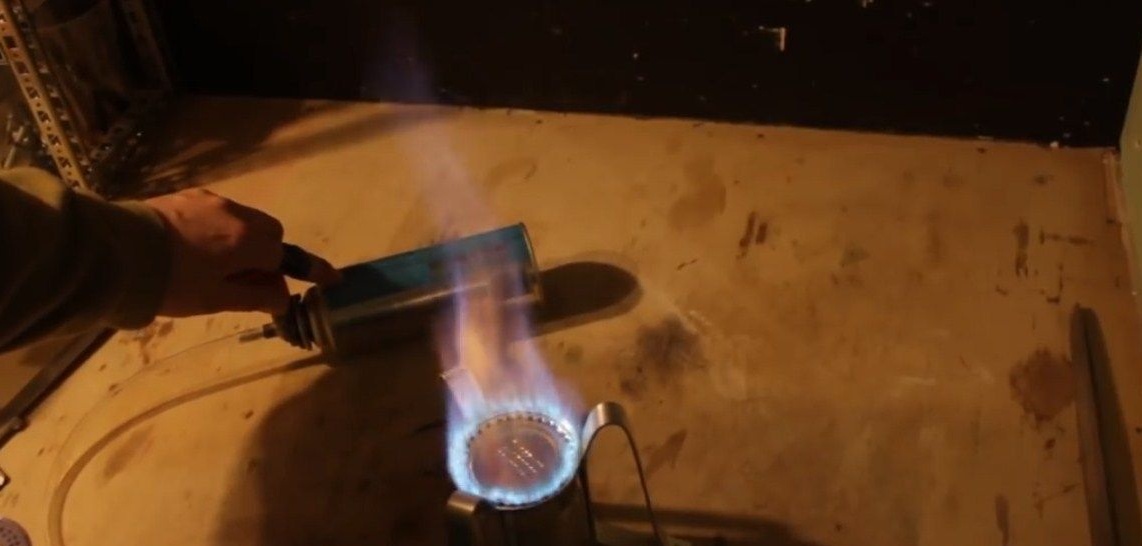
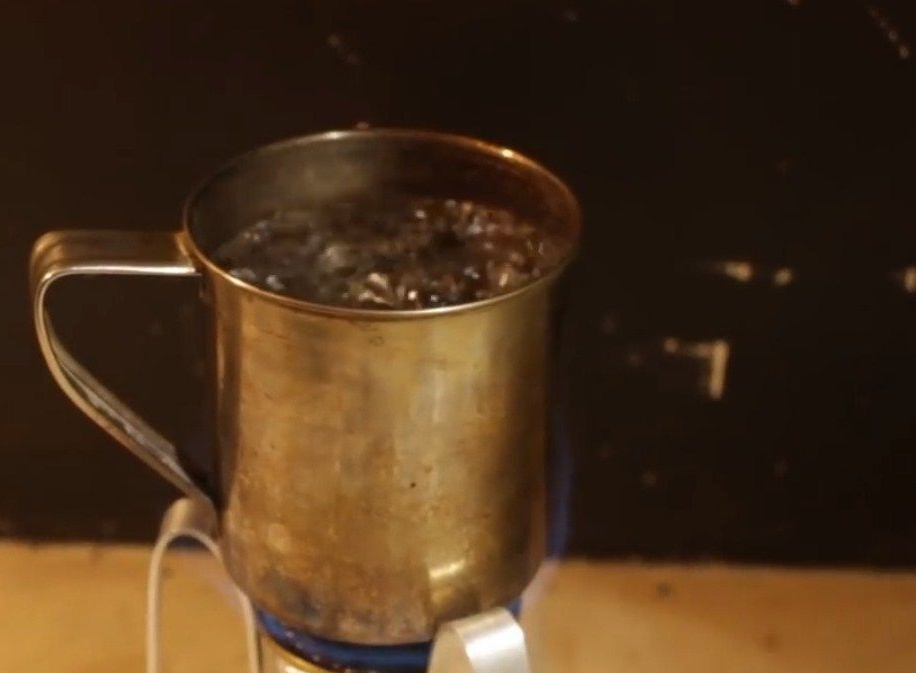
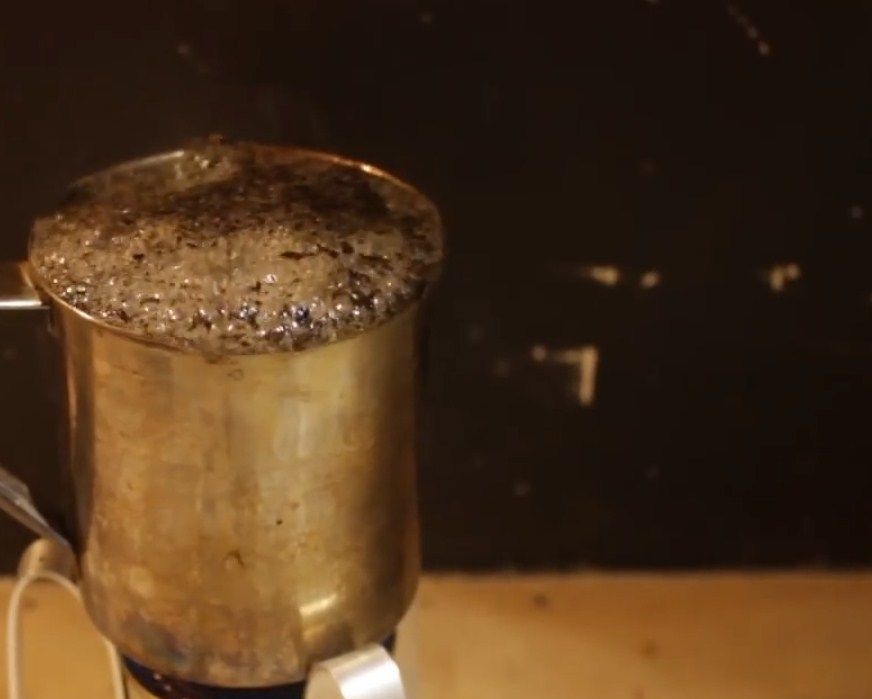
And finally, from the author a test of a mini plate, 0.5 l. water without a lid boiled in 3.5 minutes.

Video from homemade: