Hello readers, in this instruction we will consider a method of manufacturing a simple electric saw. With it, you can carry out various small chores around the house and beyond. The body of the device is assembled from wood, and a 12V motor is used as the power unit. If necessary, you can connect the saw to the battery. Of course, the power of such an instrument will be low, but it is assembled very simply and at minimal cost. So, let's get down to manufacturing.
Materials and tools used by the author:
Material List:
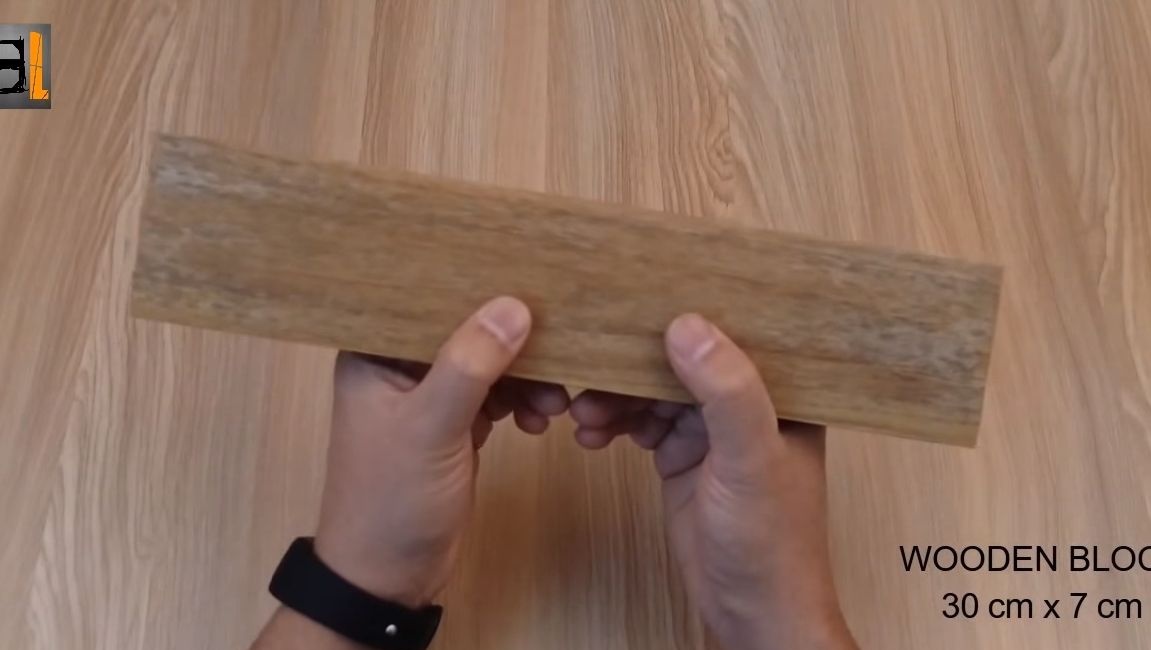
- a piece of board;
- power supply unit 12V;
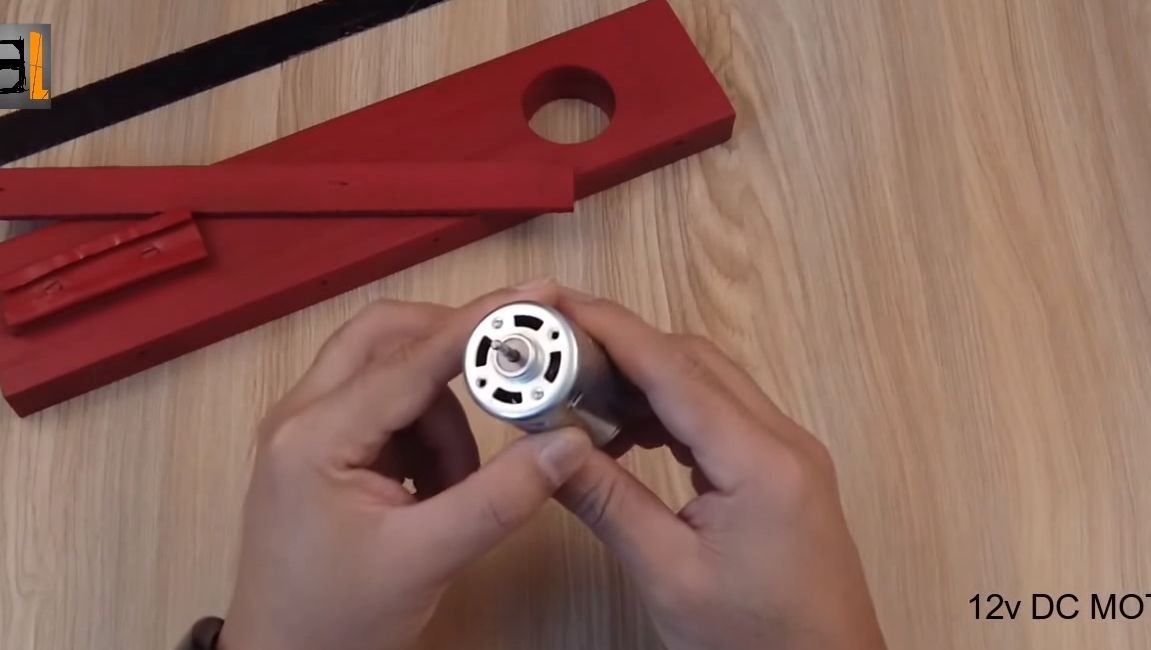
- 12V motor ();
- switch;
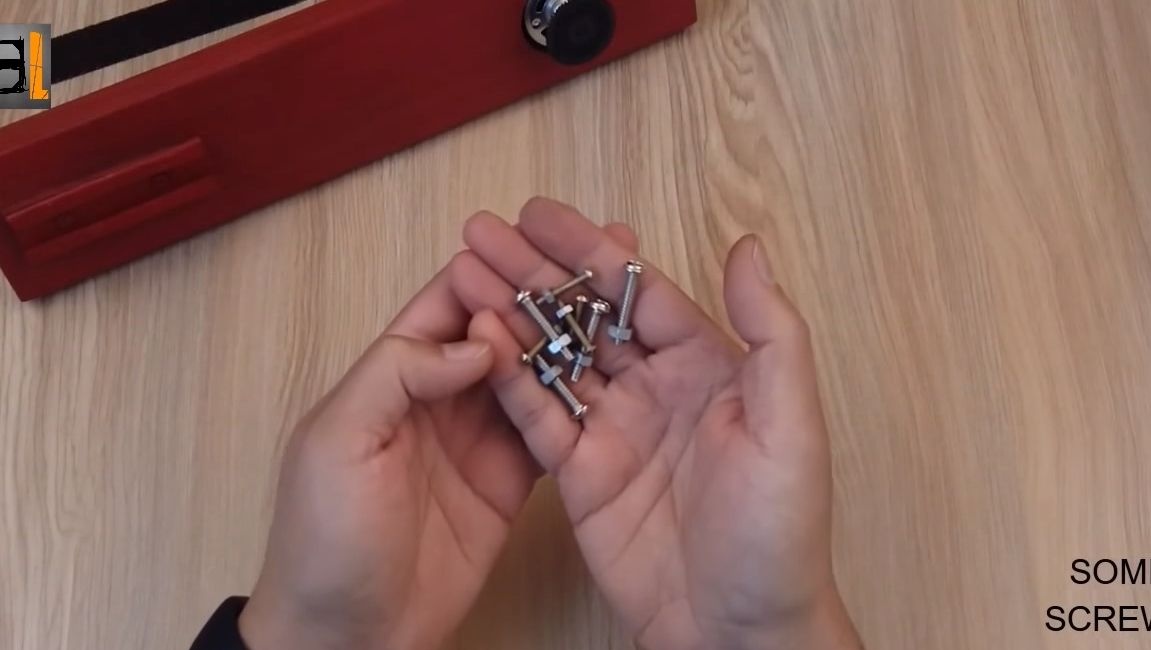
- cogs with nuts;
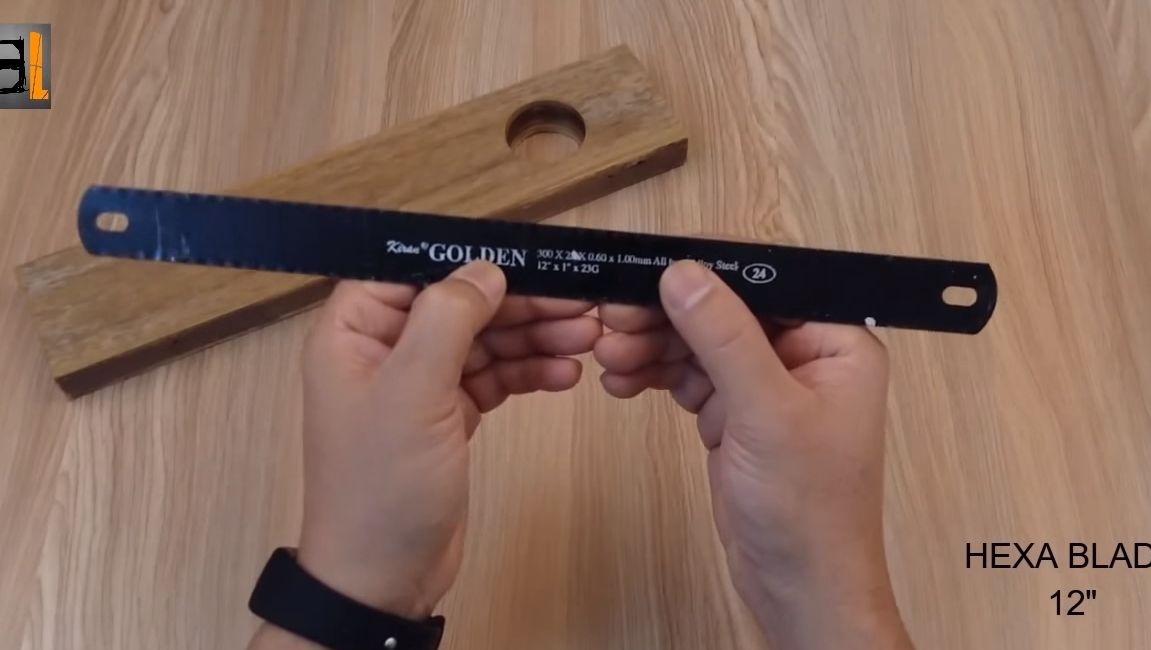
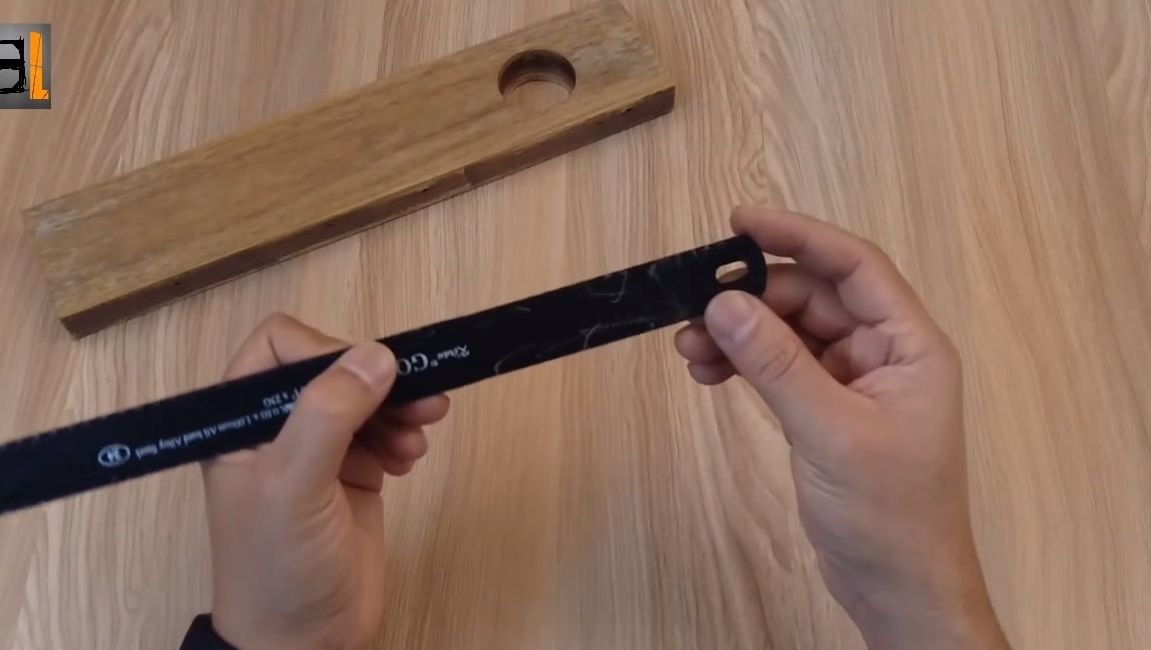
- hacksaw blade;
- a piece of sheet steel;
- Super glue;
- self-tapping screws;
- door knob;
- a piece of rubber;
- wires;
- plastic gear;
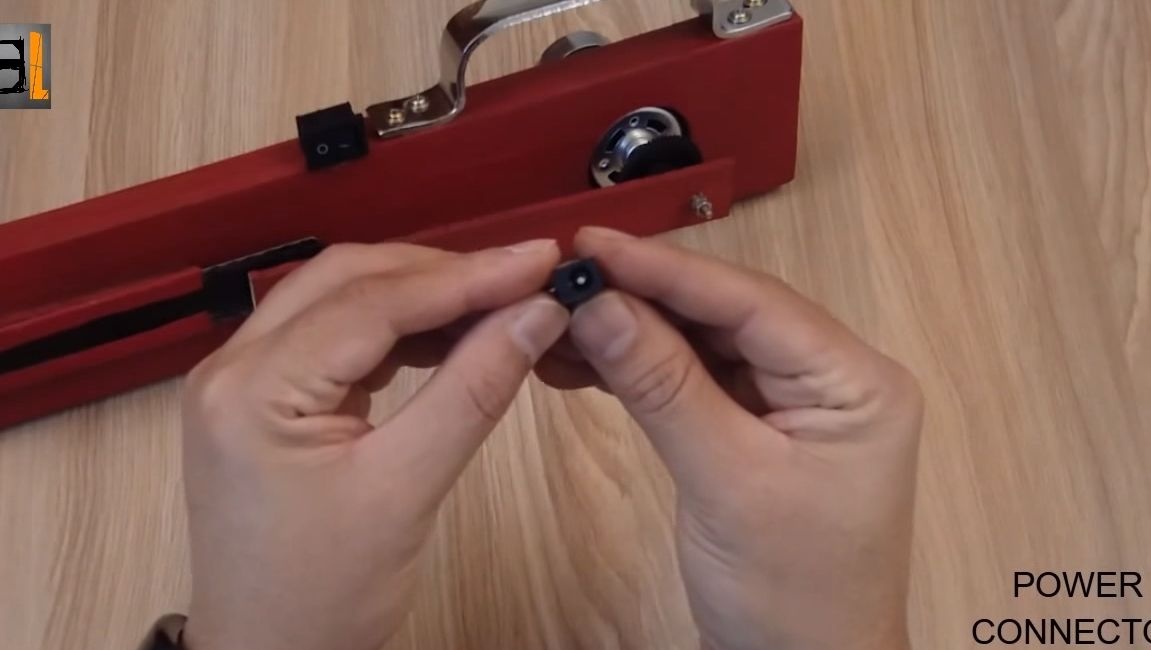
- A socket for connecting power supplies.
Tool List:
- soldering iron;
- a hacksaw;
- pliers;
- glue gun;
- spanners;
- drill with drills.
The process of making an electric saw:
Step one. Preparing the foundation
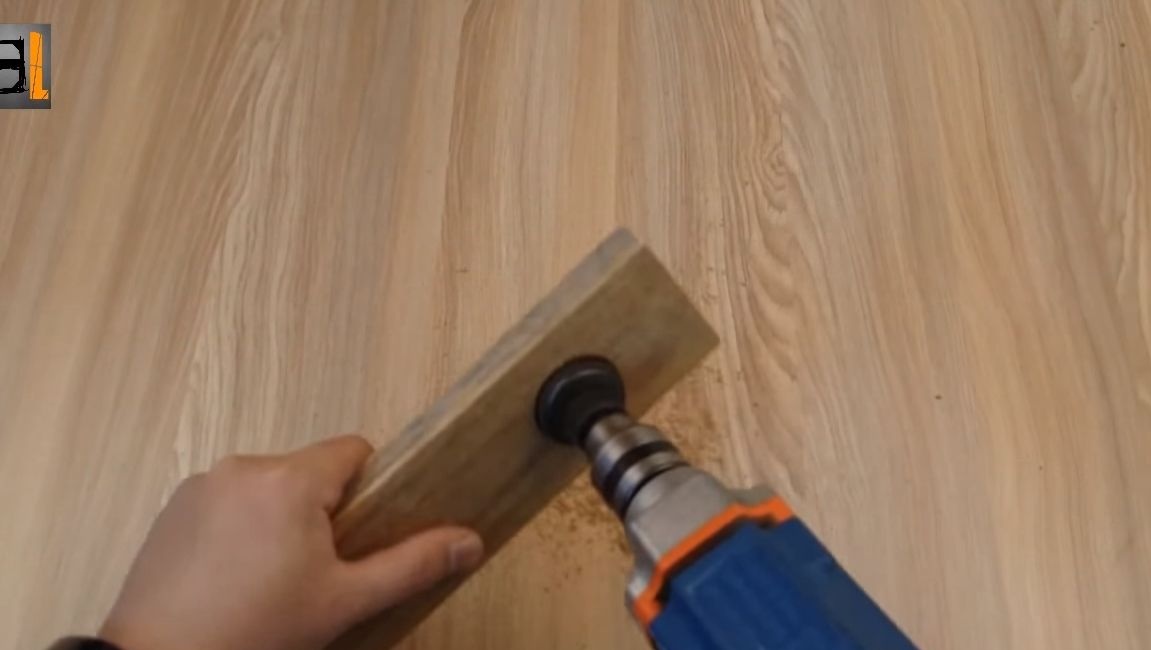
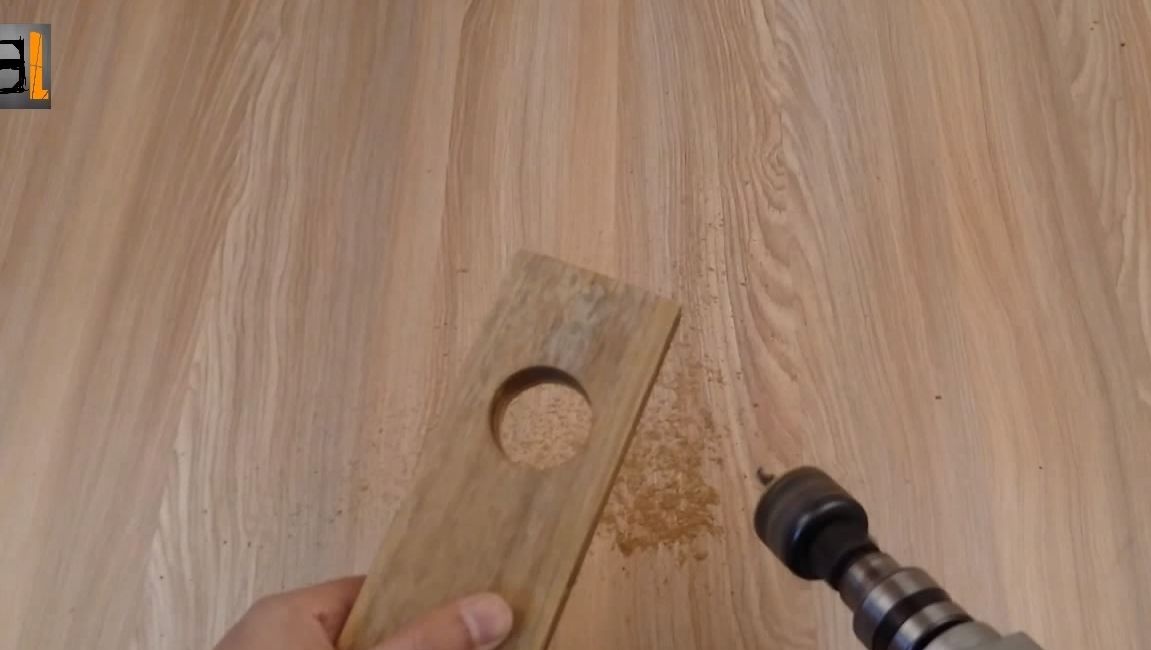
The basis is a piece of board. We drill a hole in it for the motor.

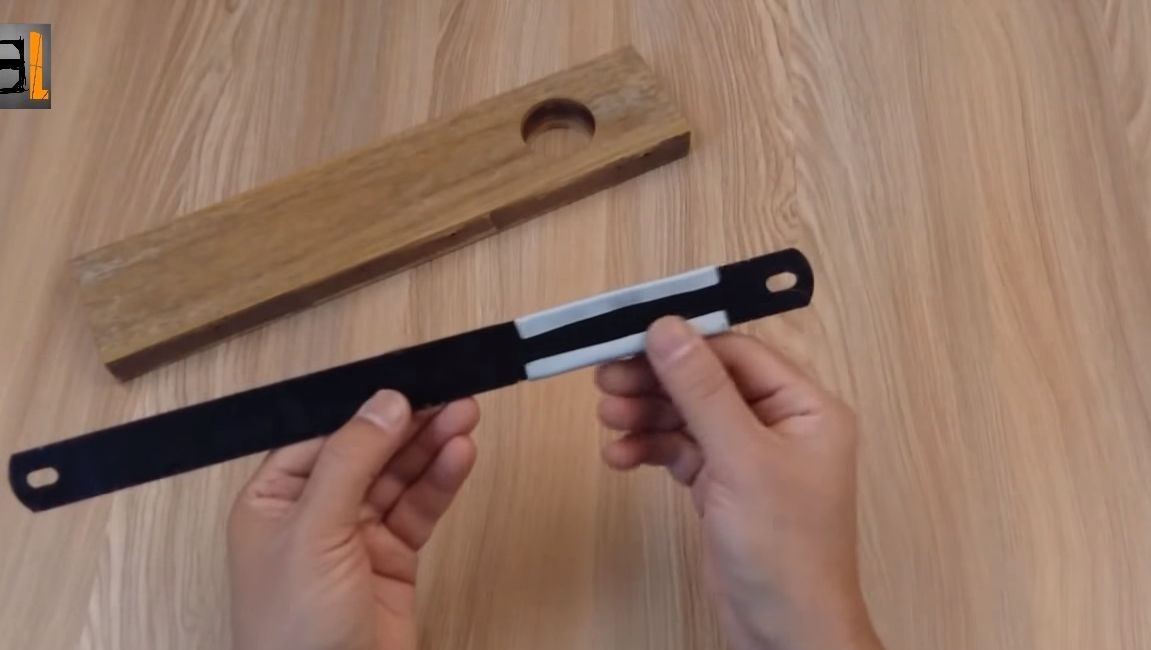
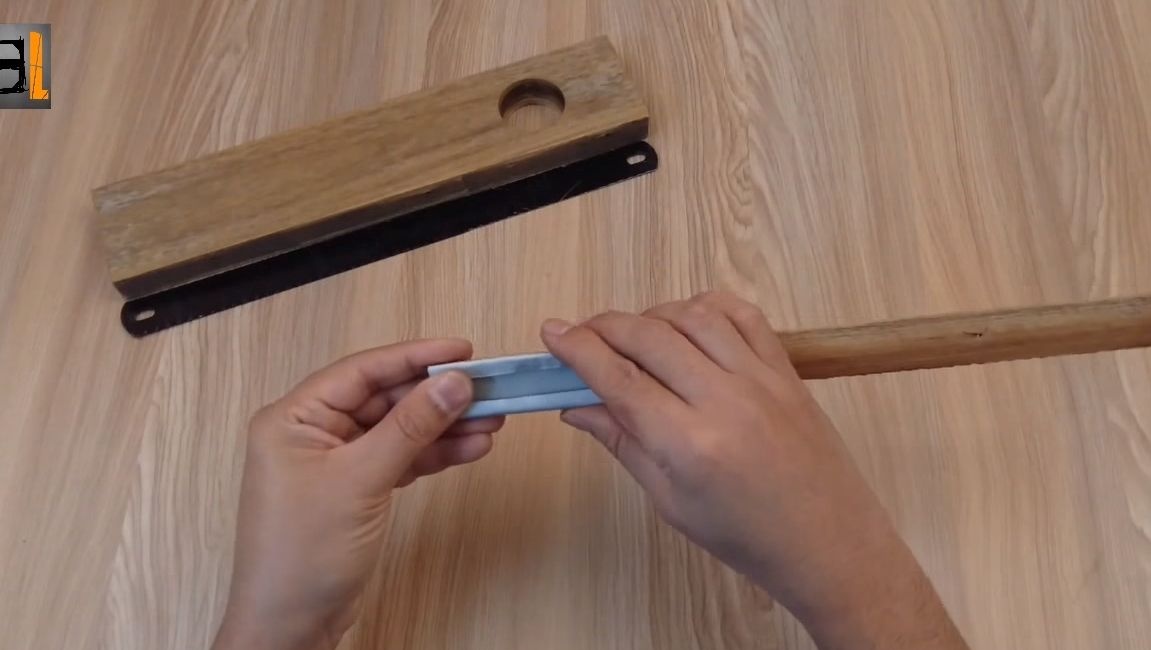


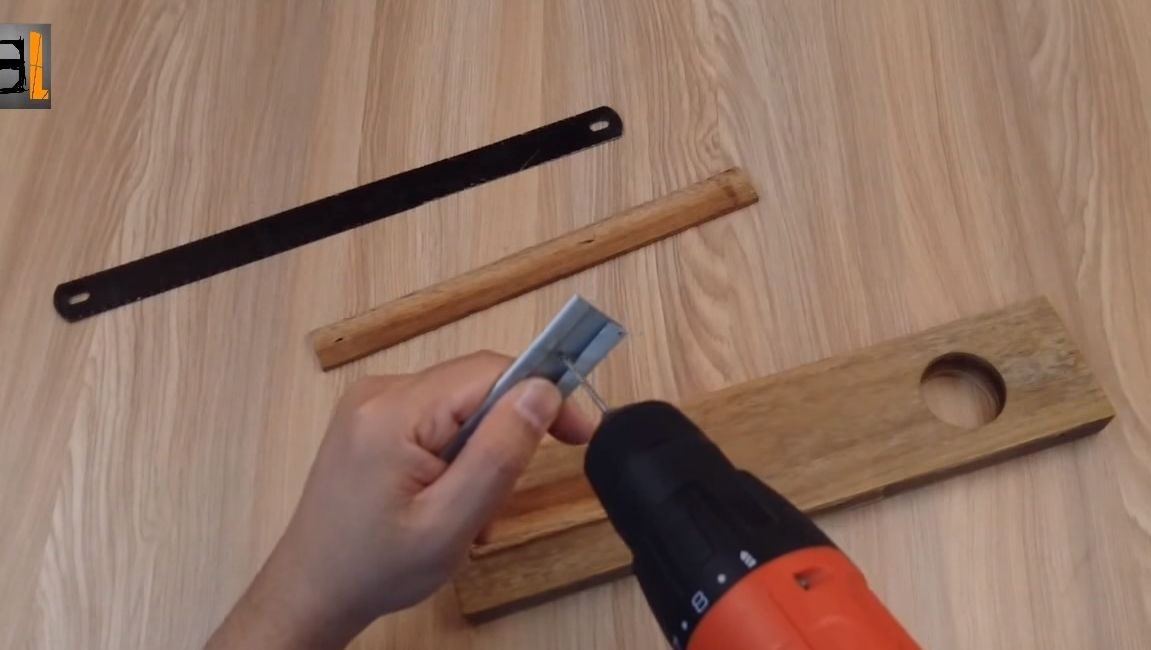
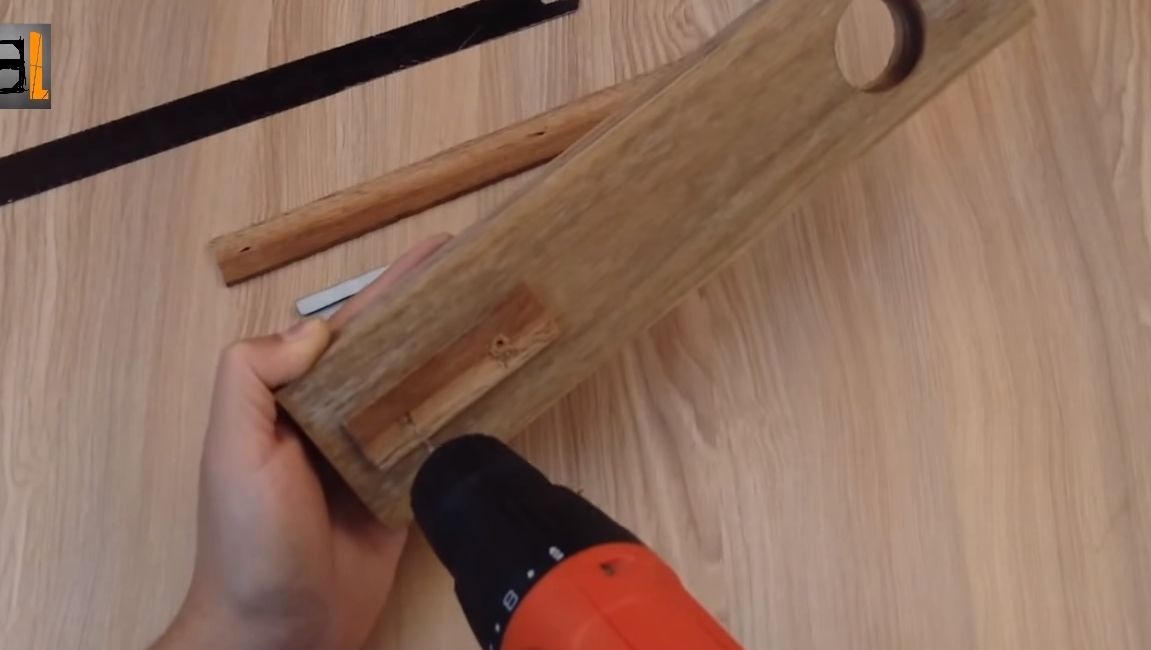
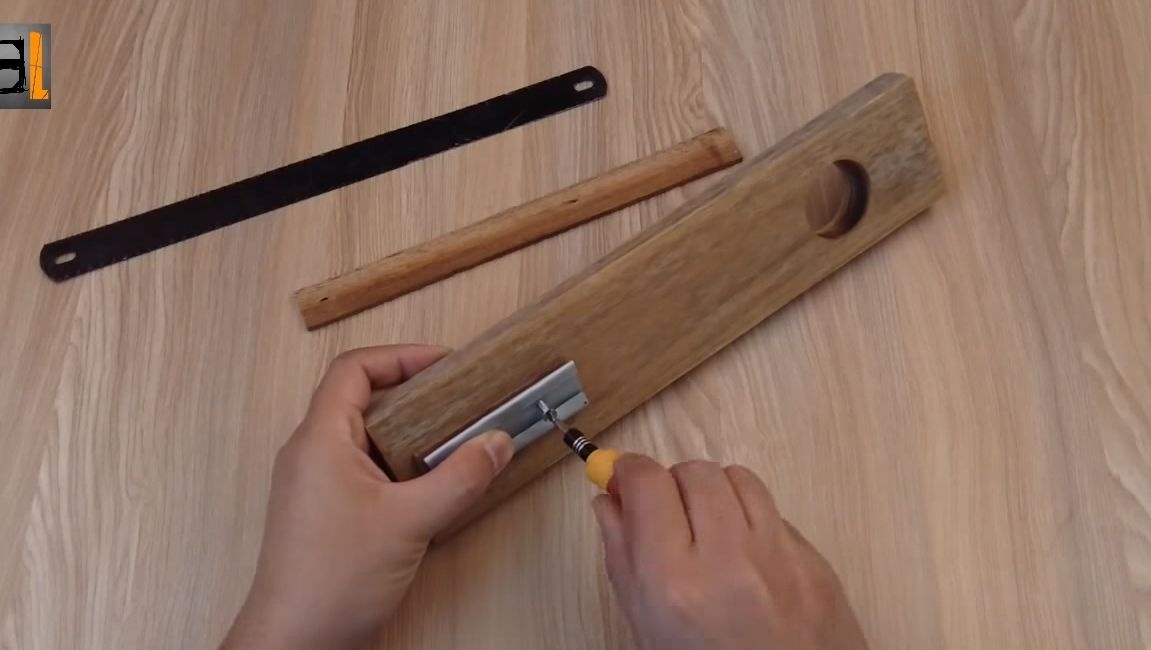
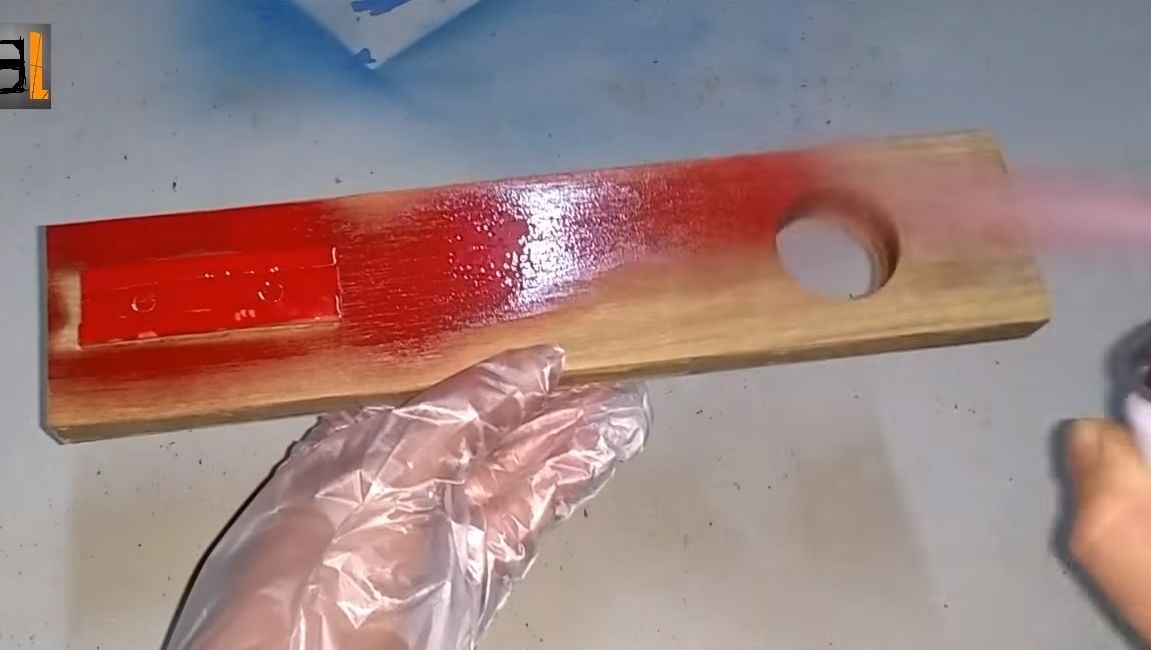
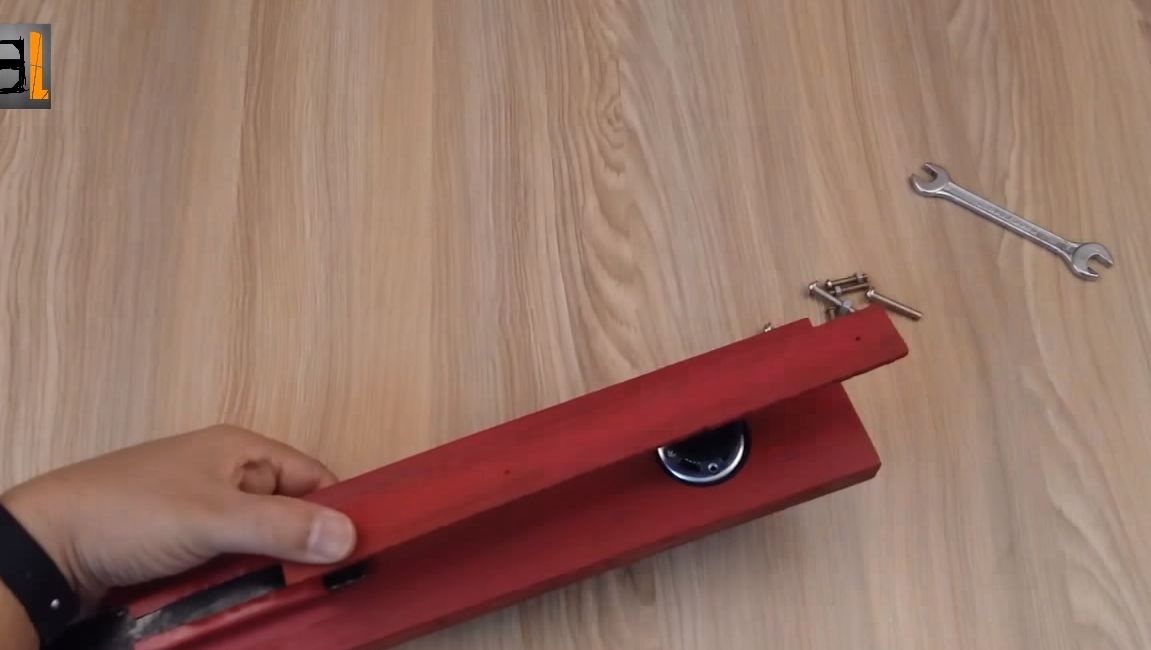
Also based on the bracket that holds the canvas is placed, this is a kind of guide. To make such a guide, take a piece of sheet metal and bend it as the author in the photo. Well, then this part is attached to the base, a thin layer is placed under it, so that the shaft and the blade are approximately at the same level. In conclusion, the author paints the base with a spray can.
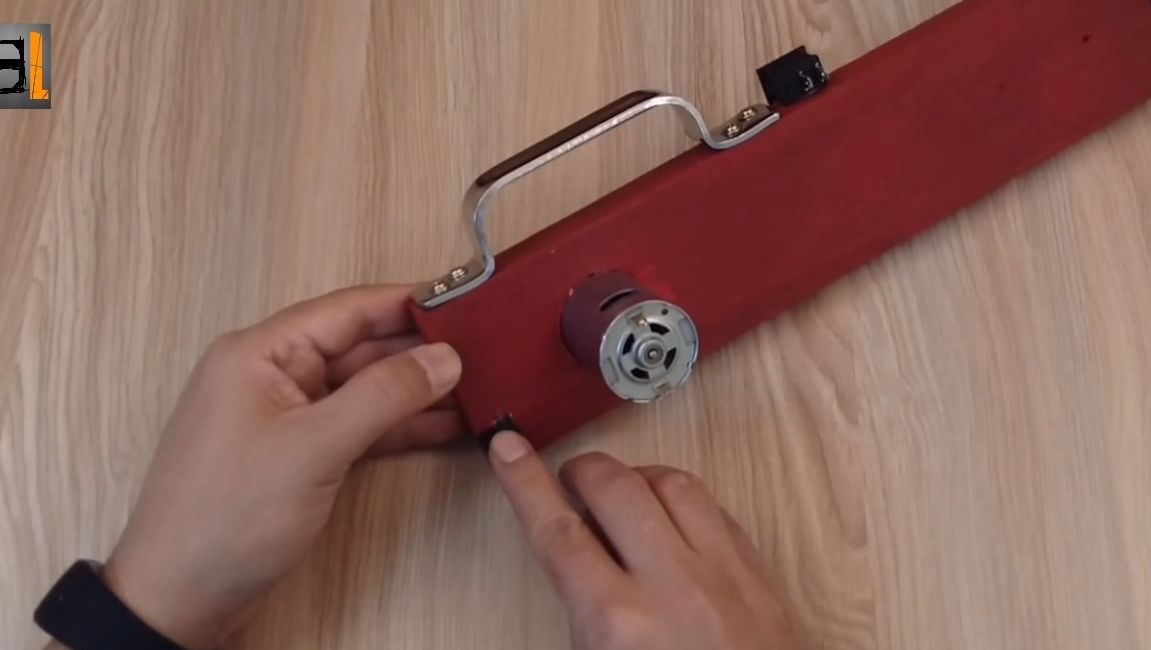
Step Two Install the engine
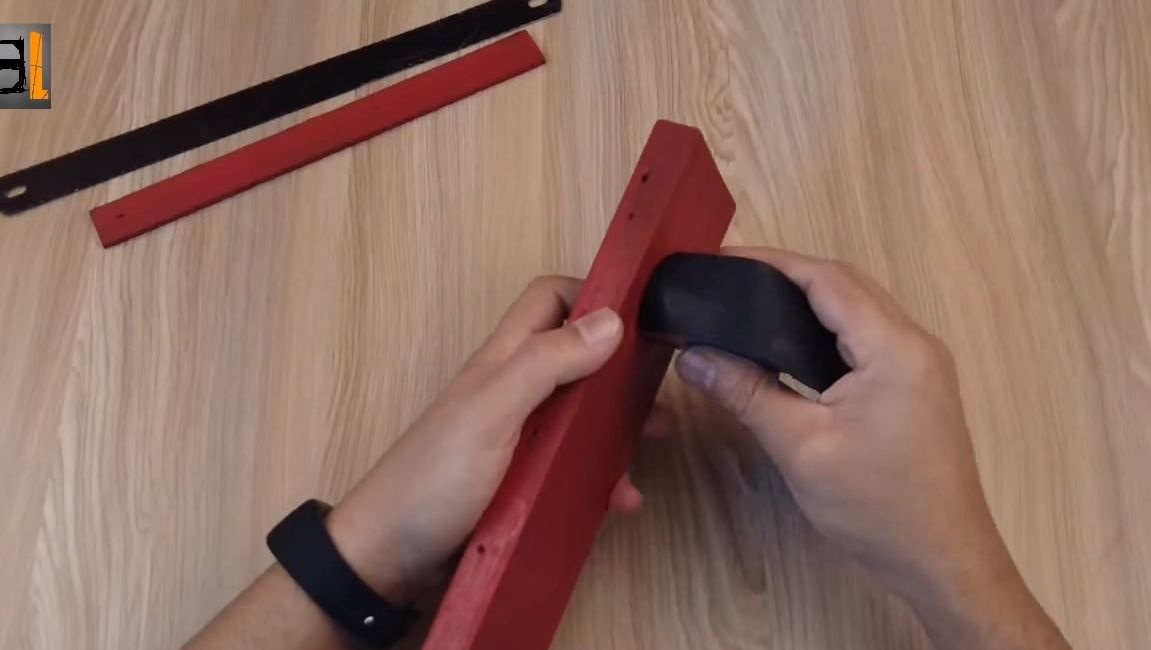
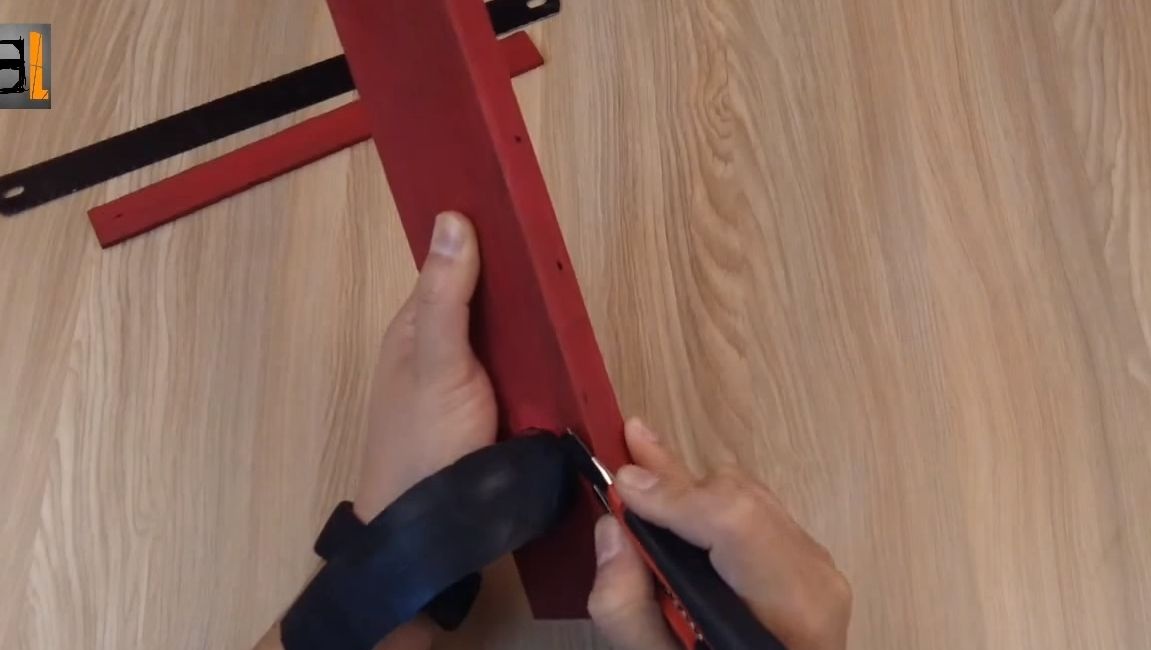
The engine is installed in the hole drilled earlier, the author made it a little larger than the motor. The engine is sealed in the nest with a piece of rubber, suitable from an old bicycle chamber. You can also fix the engine with hot glue or in another way.
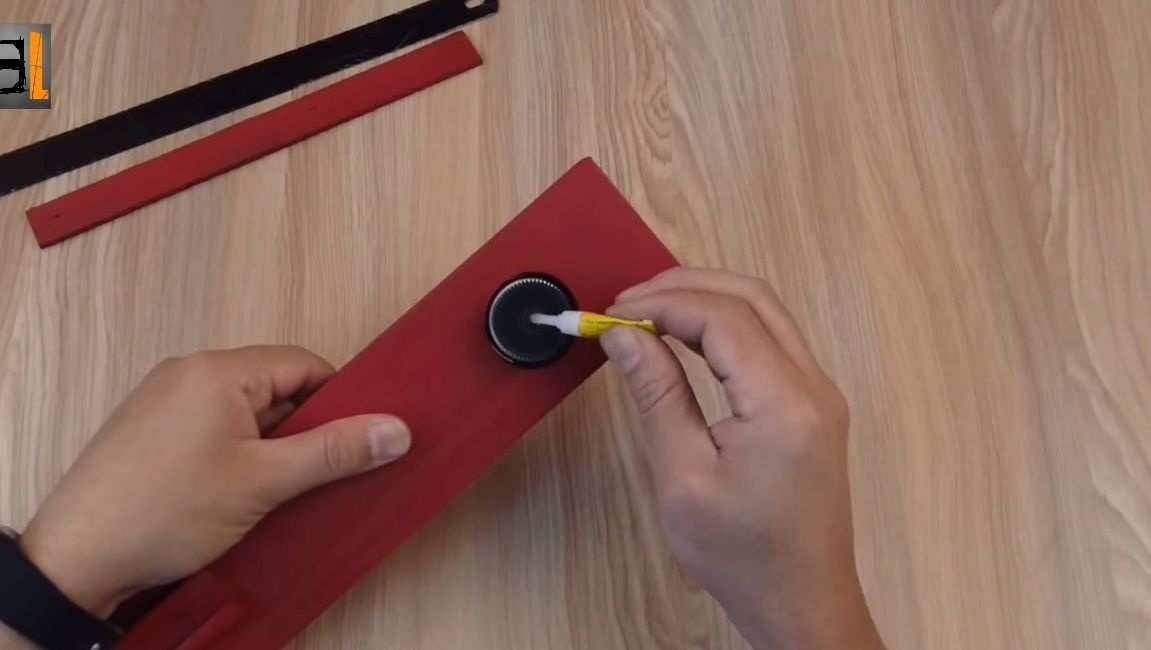
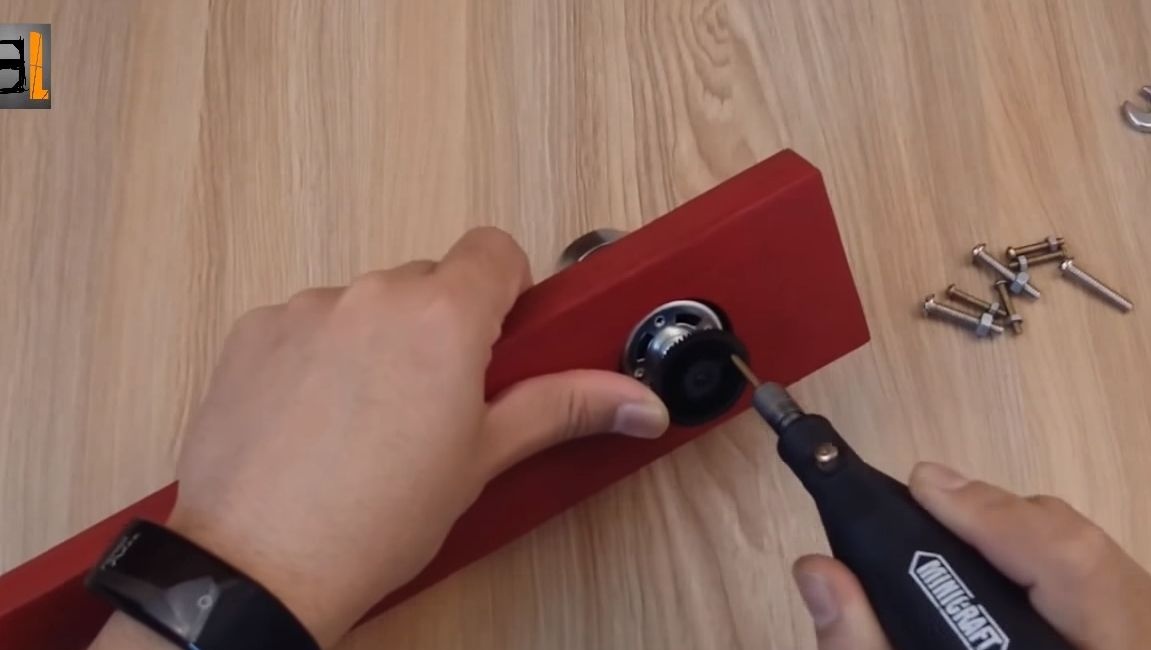
At the end, install a plastic gear on the motor shaft, the author fixes it with superglue.


Step Three Mechanical assembly
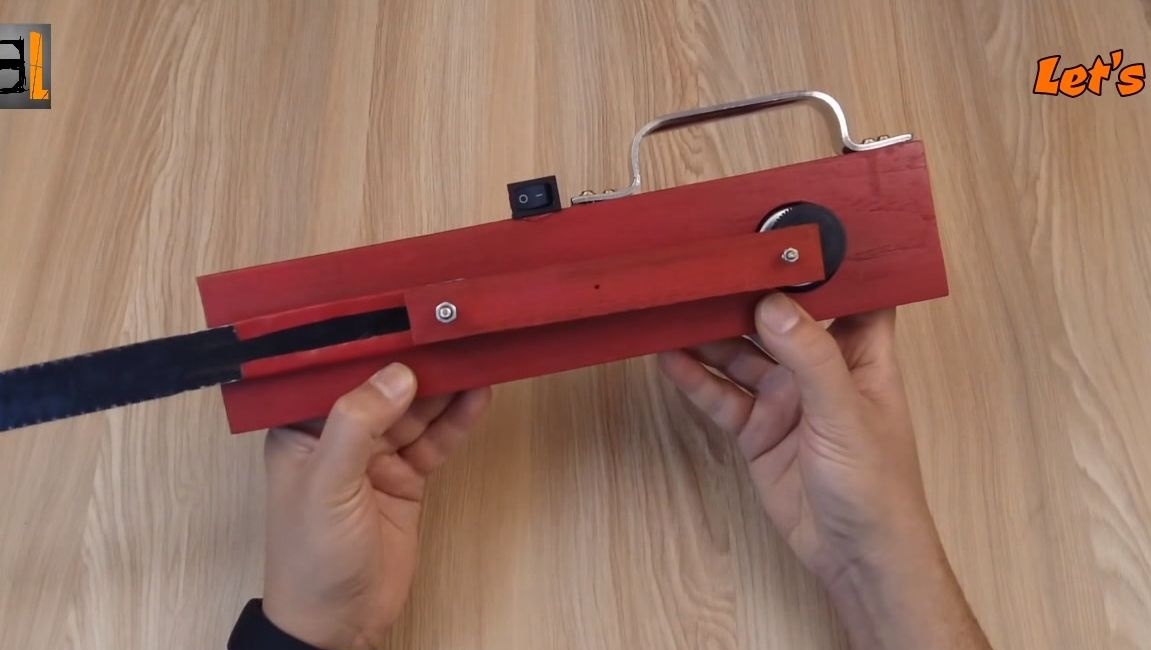
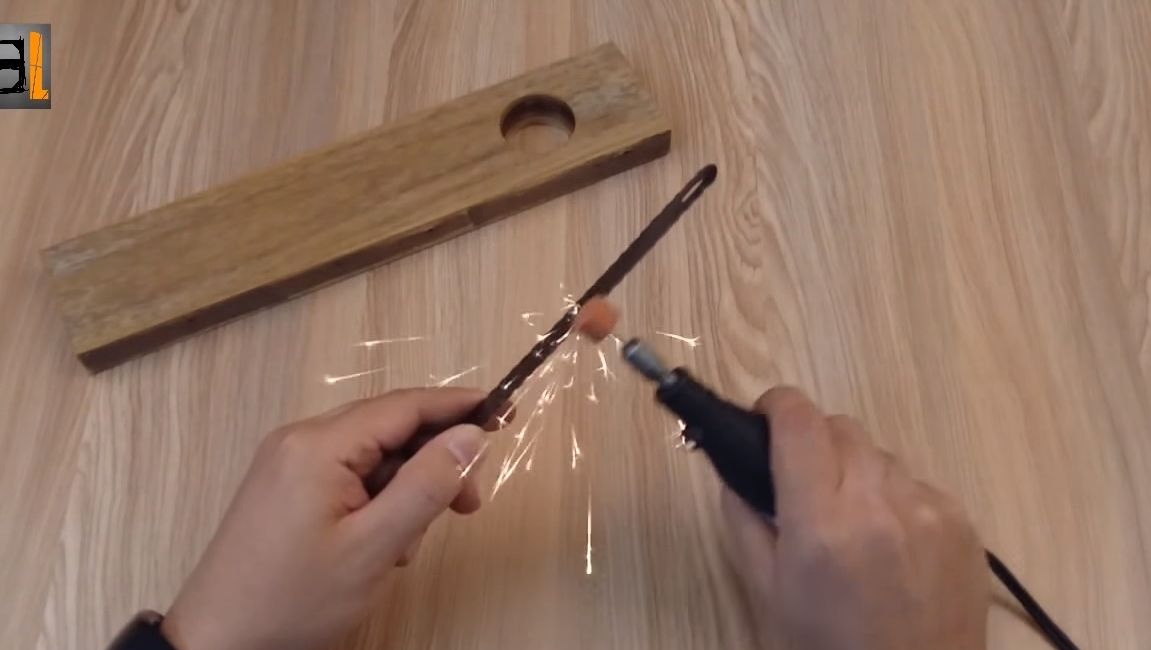
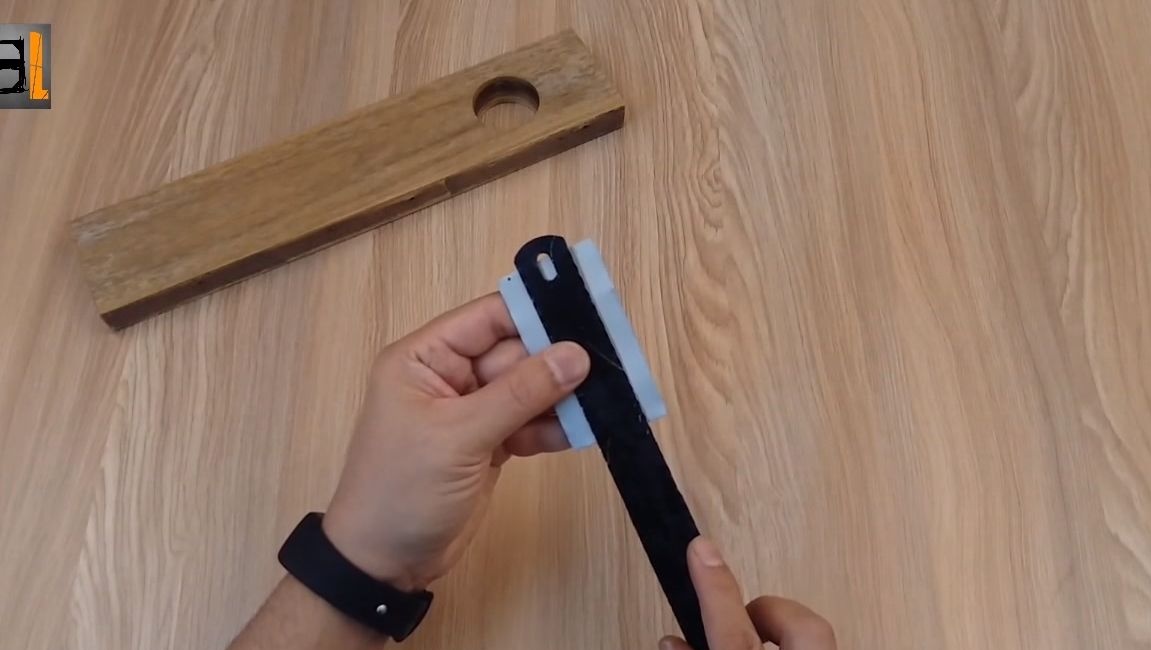
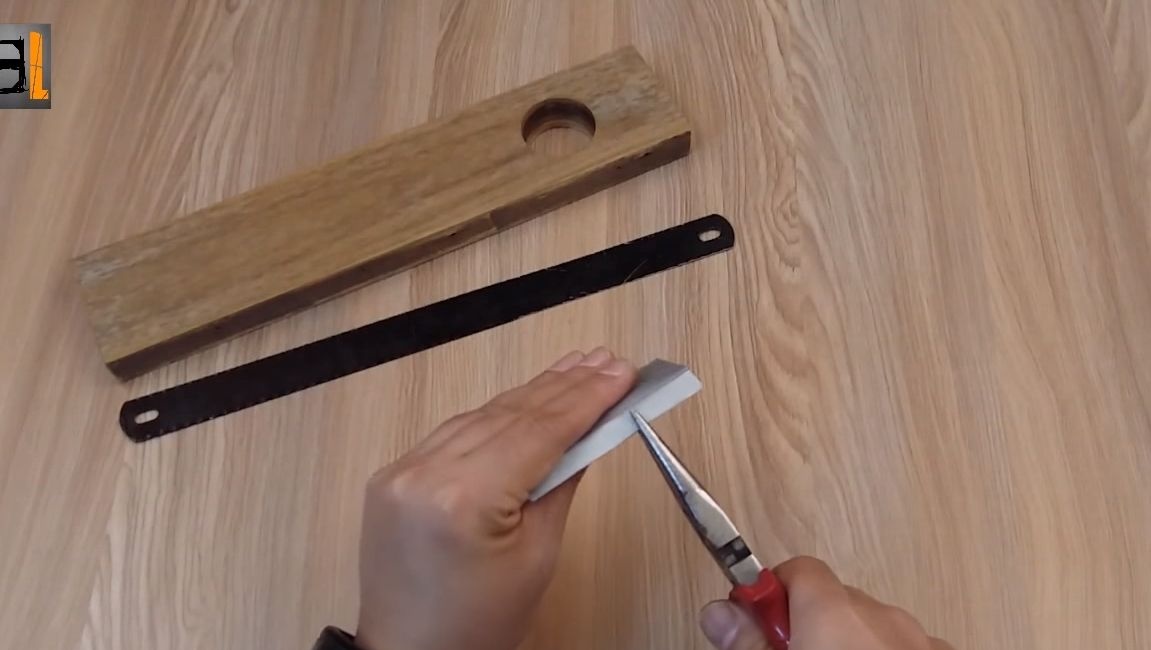
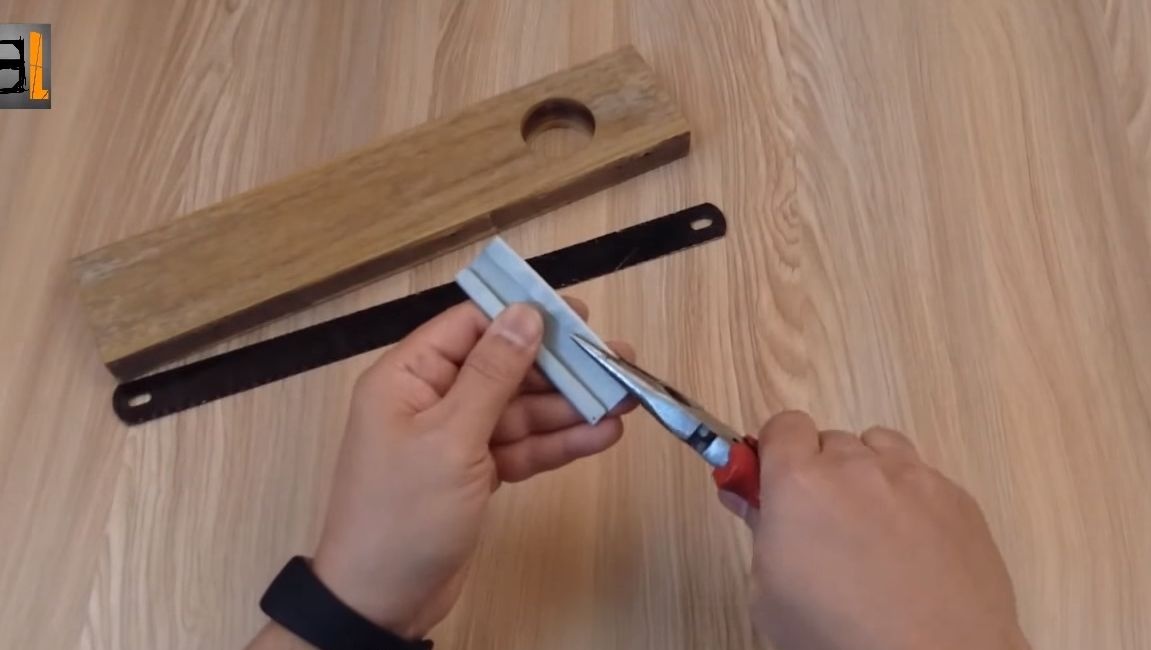
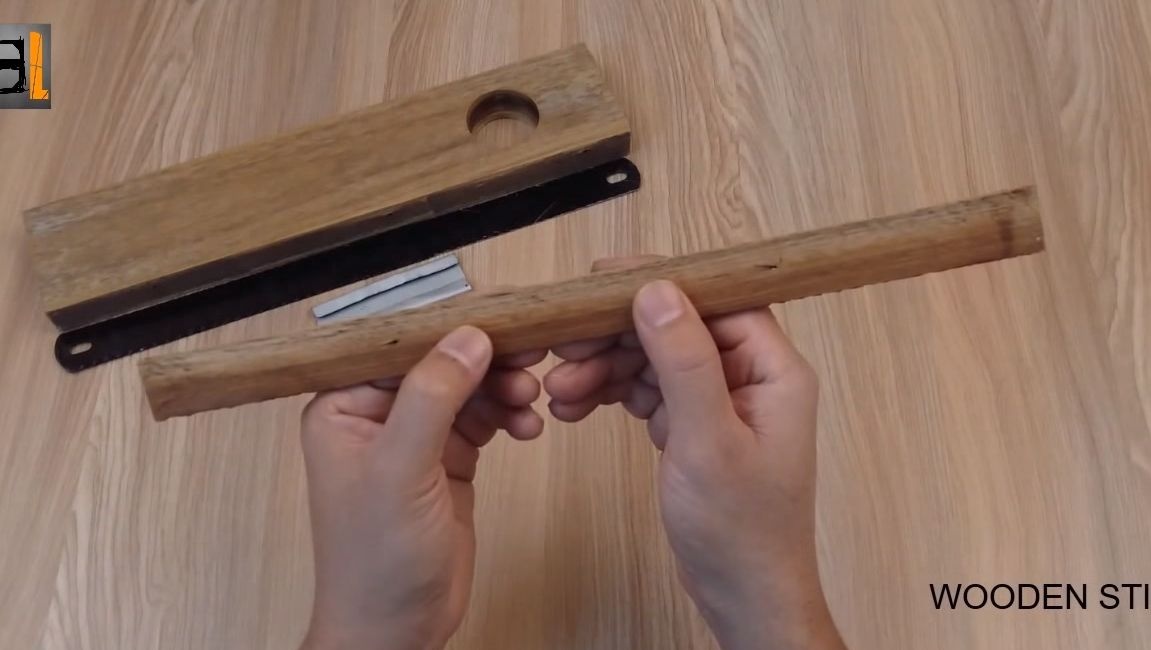
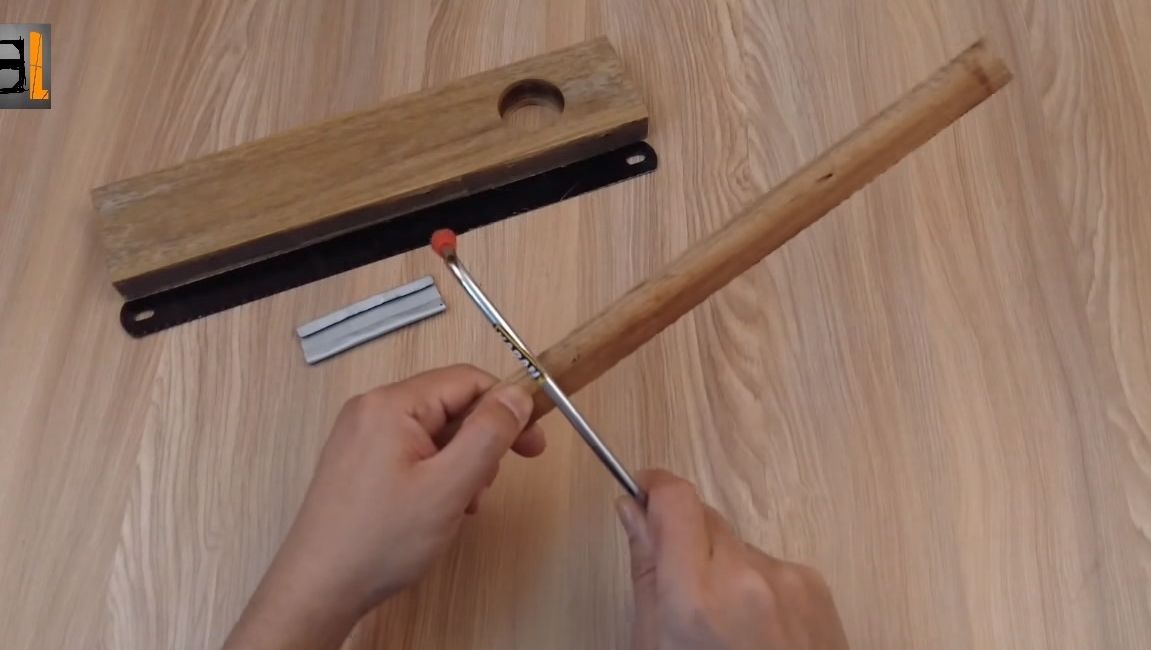
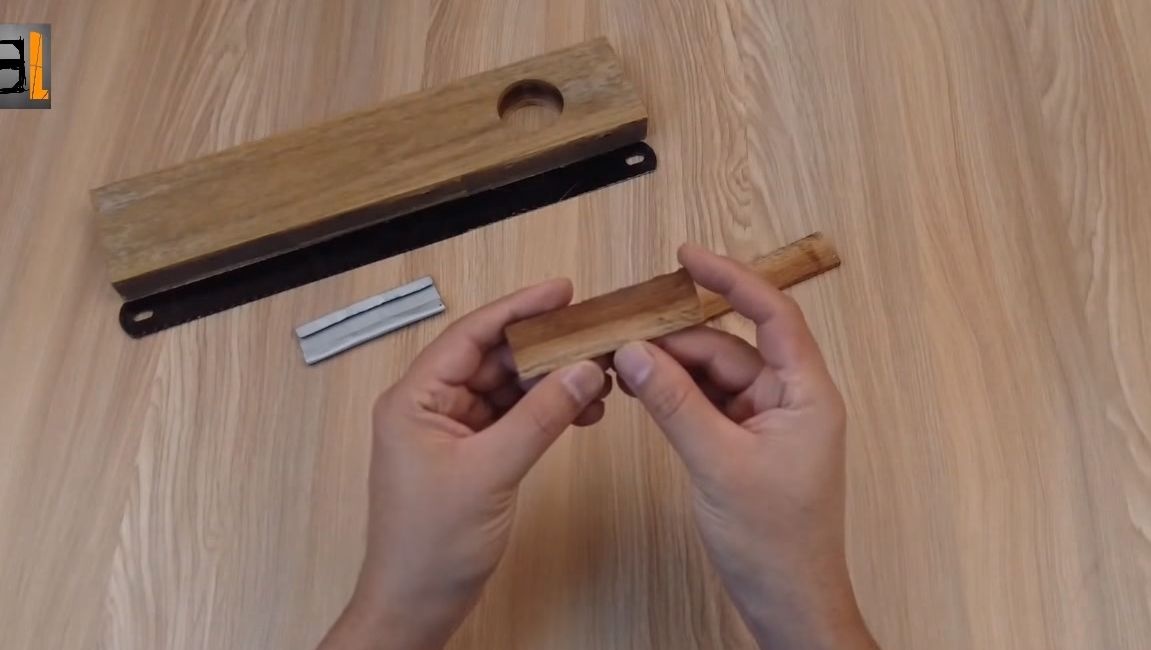
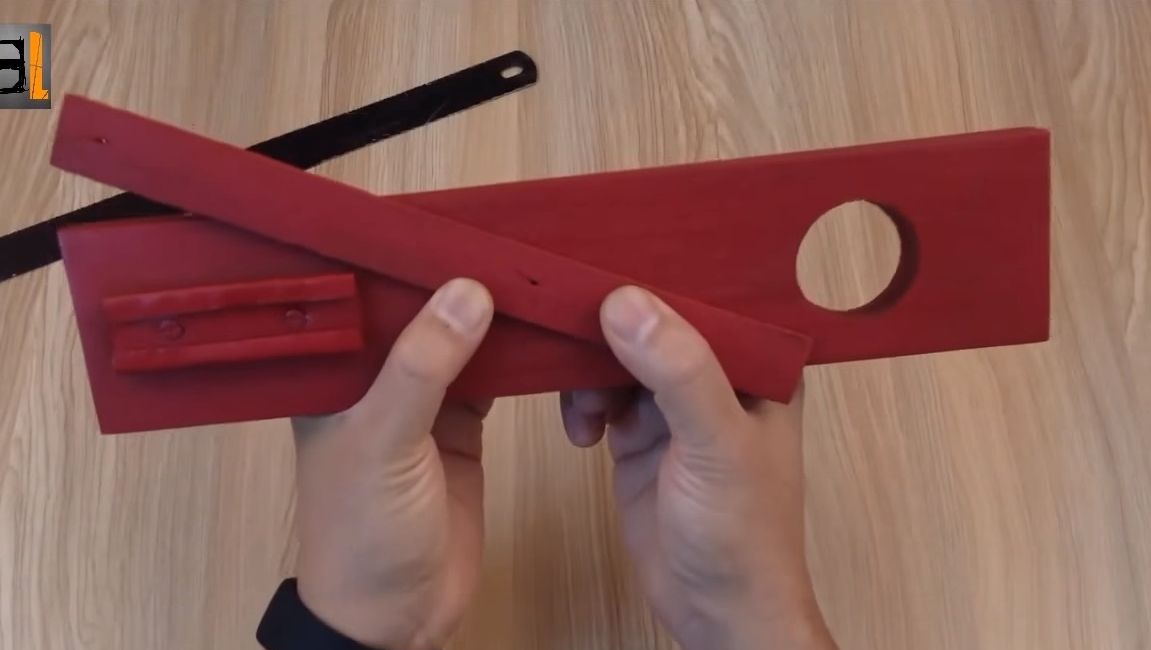
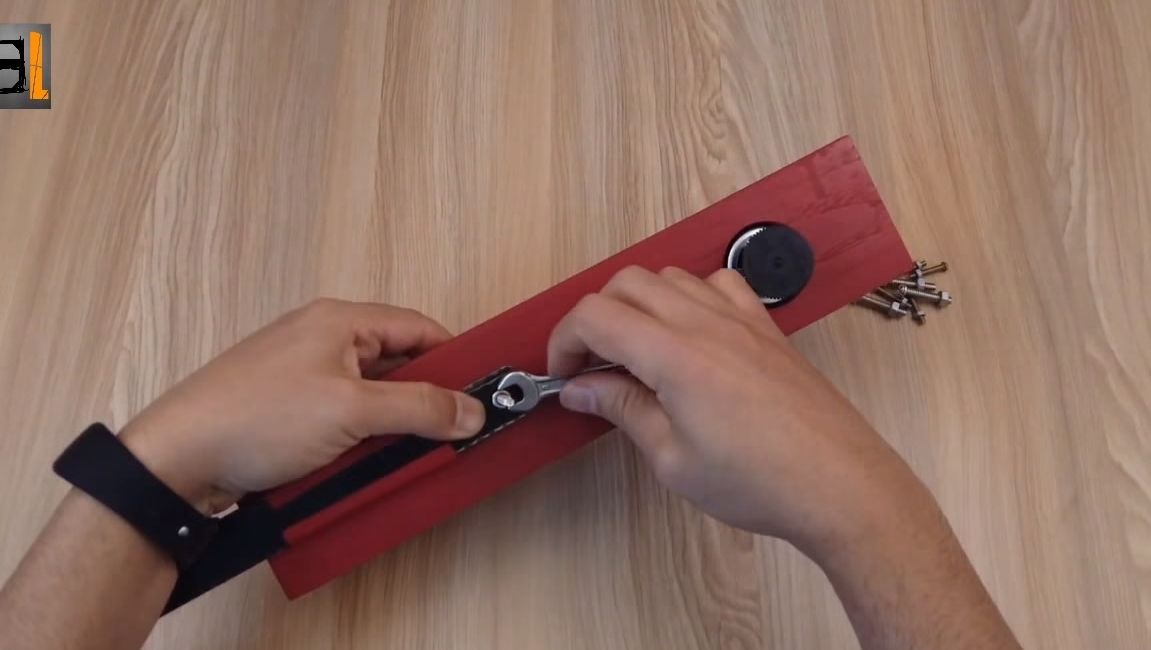
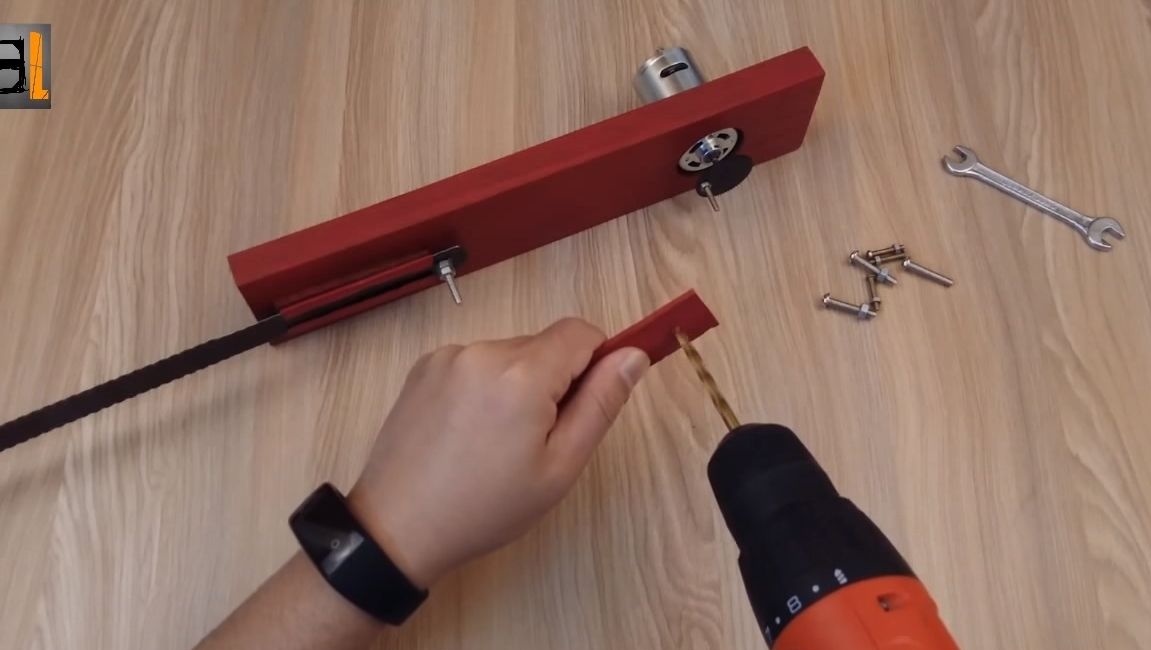
You just have to install the connecting rod, as it is suitable thin wooden dostochka. We drill a hole in the gear and tighten the screw with nuts.Prepare the cutting blade, the part that will be in the guide is ground with a “dremel”, you need to grind the cutting teeth. Install a screw and nut into the hole in the blade.
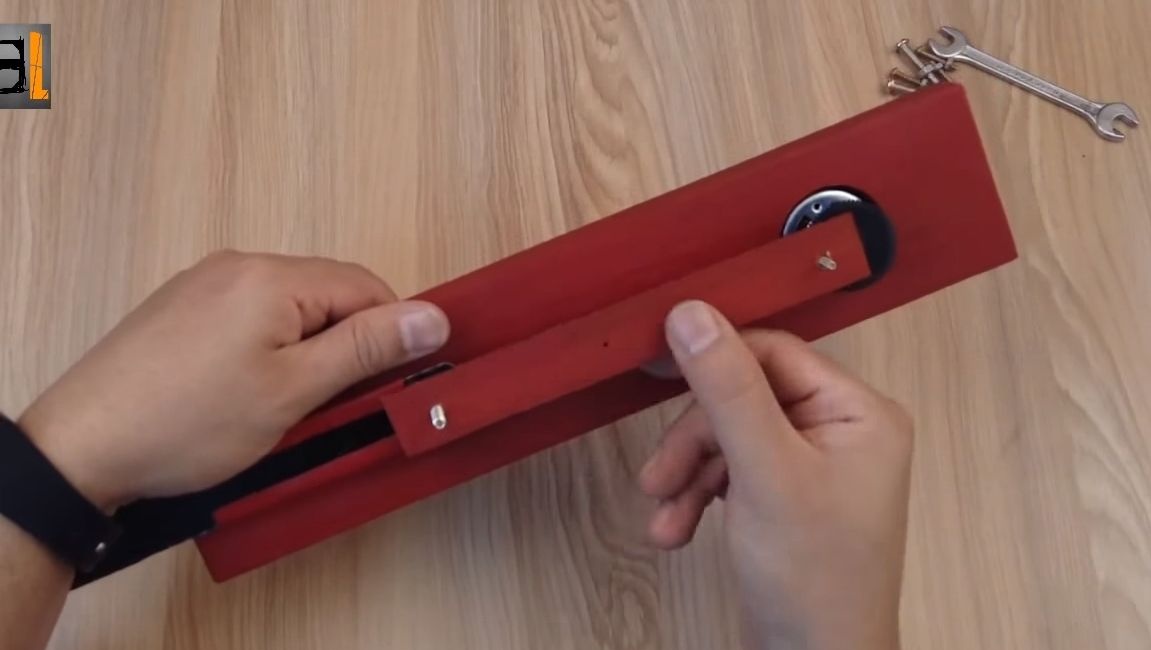
Now install the connecting rod on the screws, fix it with nuts so that they do not unwind, we use two nuts. Check if the connecting rod moves easily.

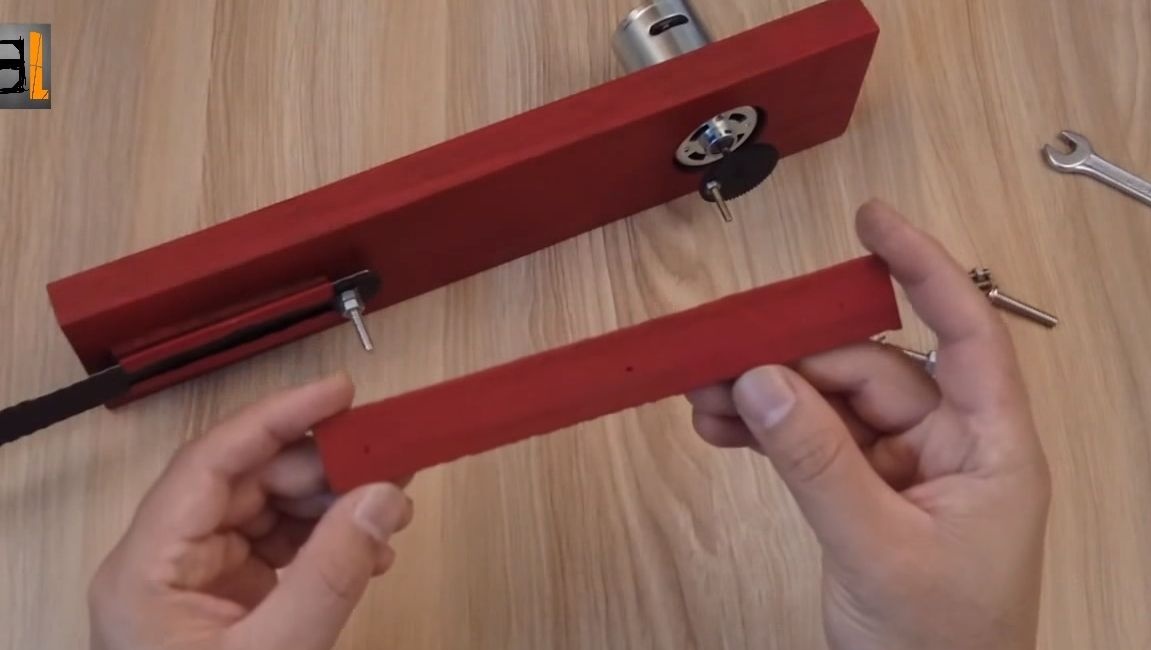
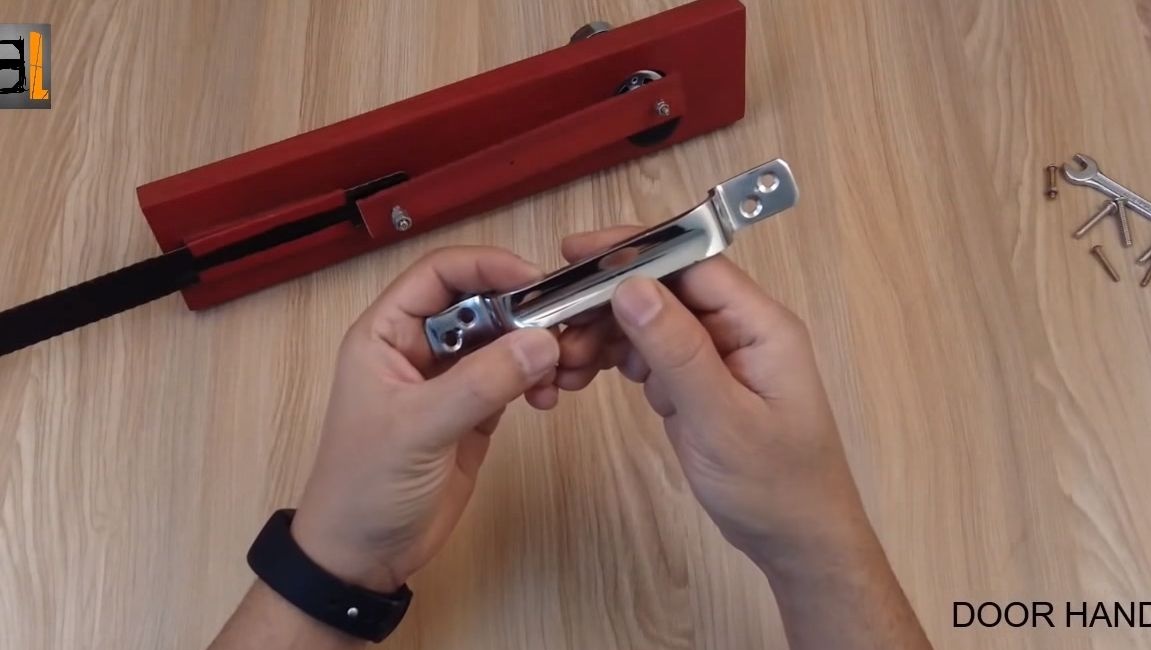
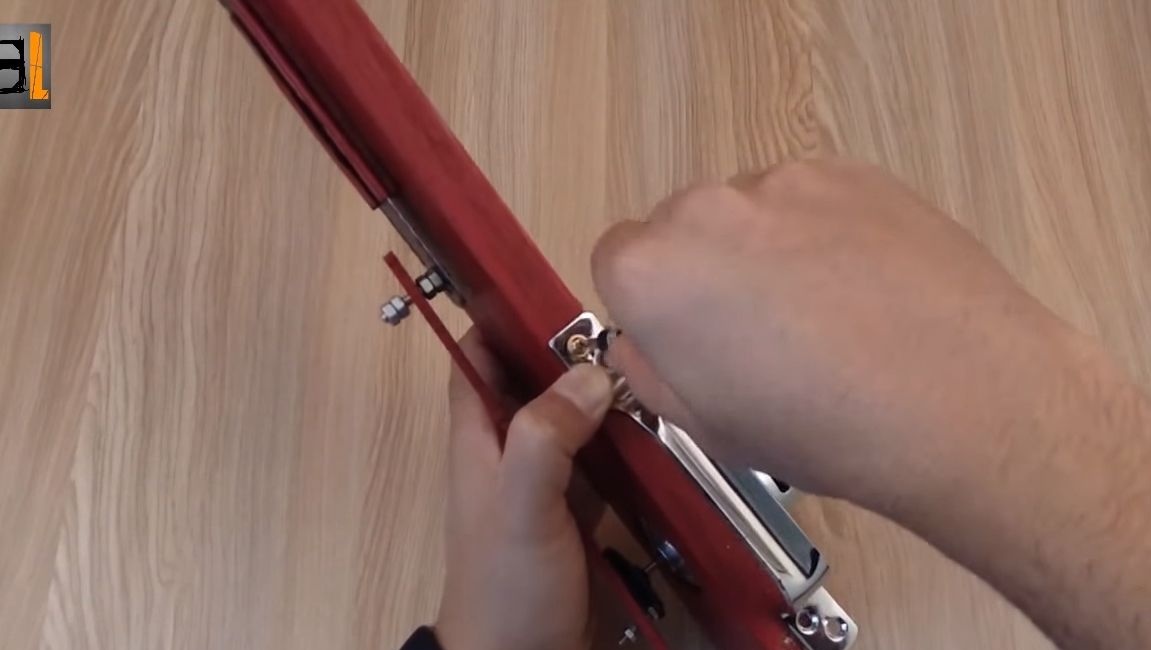
To make it convenient to hold the device in your hands, auto screw the handle to it.
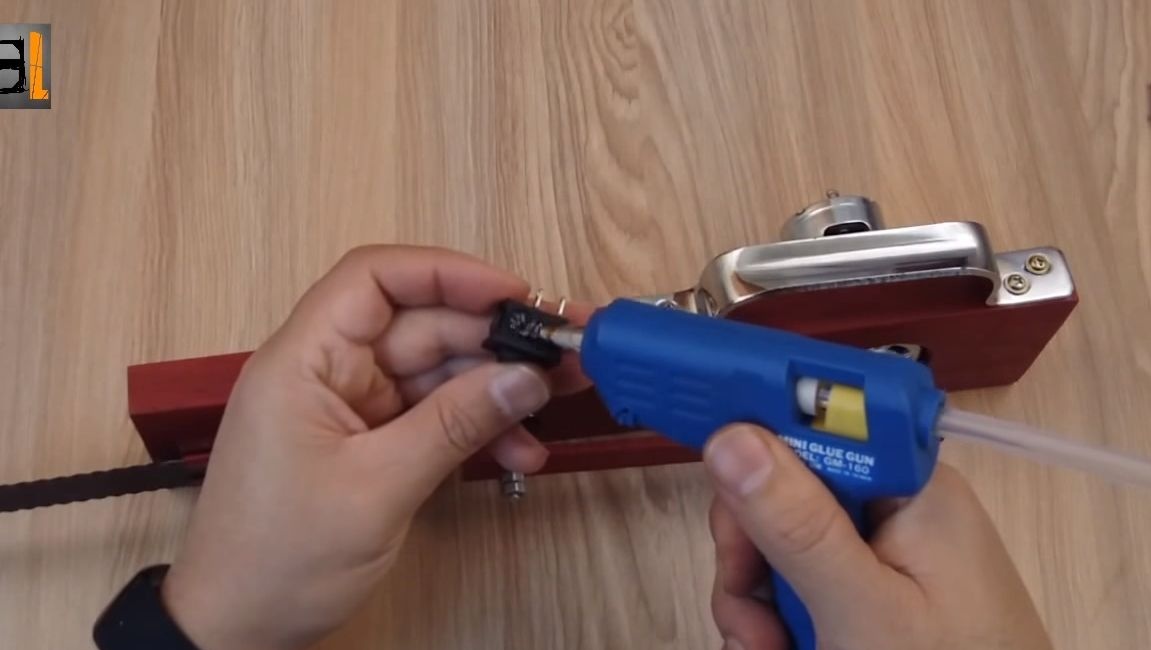
Step Four Build completion
At the end, we use a hot glue to install a switch, as well as a socket for connecting a power supply. Solder all the necessary wires. Homemade can turn on and experience! For the author, the saw works quite briskly, although it is not known what cutting characteristics the tool has.