I bring to your attention the instructions for manufacturing the simplest air pump. With it, you can supply air to the aquarium or use it for some other purpose. Advantage of such homemade in what is used here as an engine. Such a device consumes little current, lasts a long time, and is inexpensive.
No special tools and materials are needed to assemble the pump. Everything is going mainly on glue, you will also need double-sided adhesive tape and adhesive tape. The author made the case out of a small plastic bottle. The pump is a membrane type, its advantage is its ease of assembly and long service life.
Materials and tools used by the author:
Material List:
- a syringe;
- a plastic bottle;
- a plastic cap;
- a silicone film or other similar material for the manufacture of the membrane;
- plywood for the base or a piece of board;
- Super glue;
- adhesive tape;
- ;
- screw with nut;
- paper clip;
- switch;
- connector for connecting the power side;
- wires;
- power supply unit 12V;
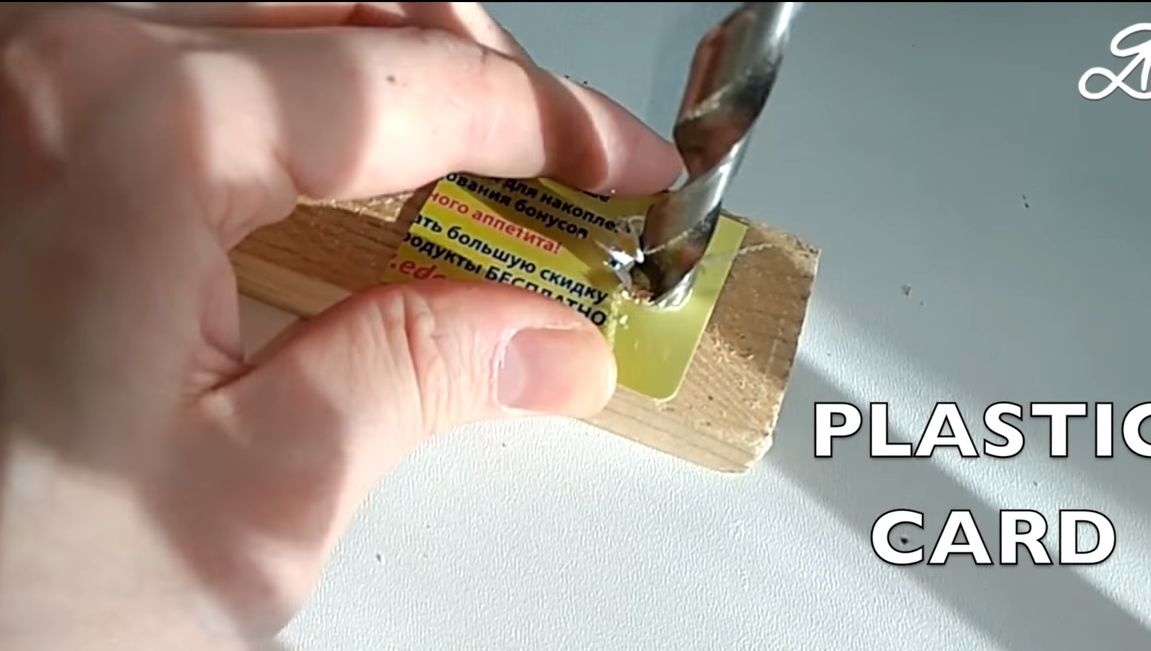
- sheet plastic (suitable from an old credit card).
Tool List:
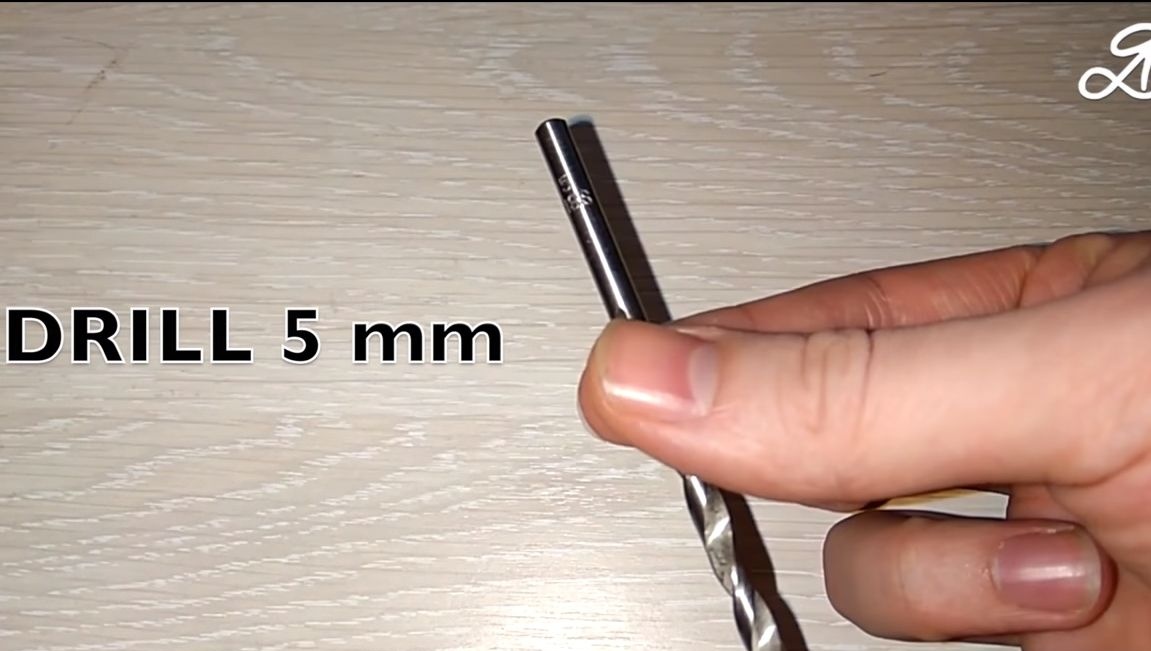
- drill;
- pliers;
- ruler;
- pencil or marker;
- sandpaper;
- nippers.
Pump manufacturing process:
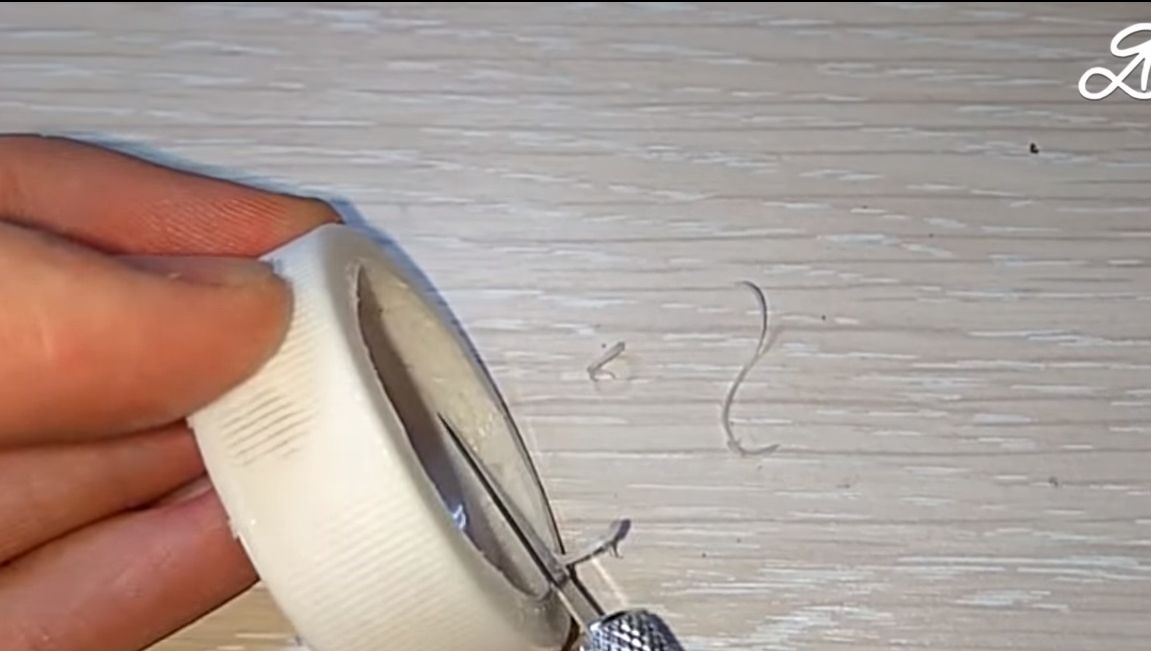
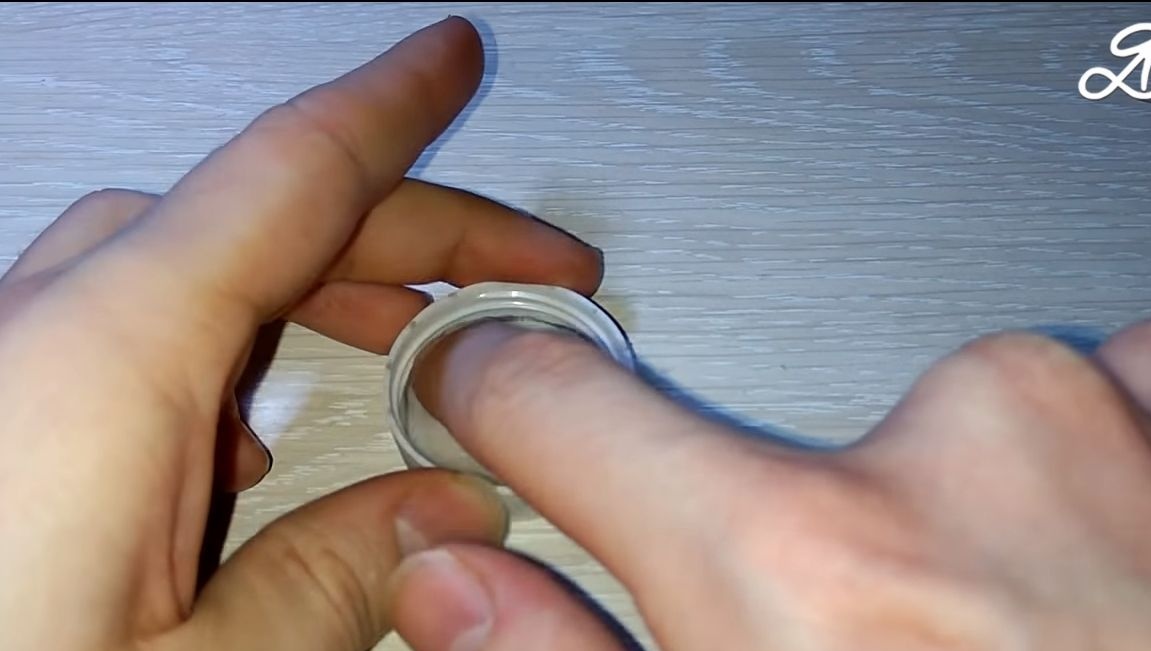
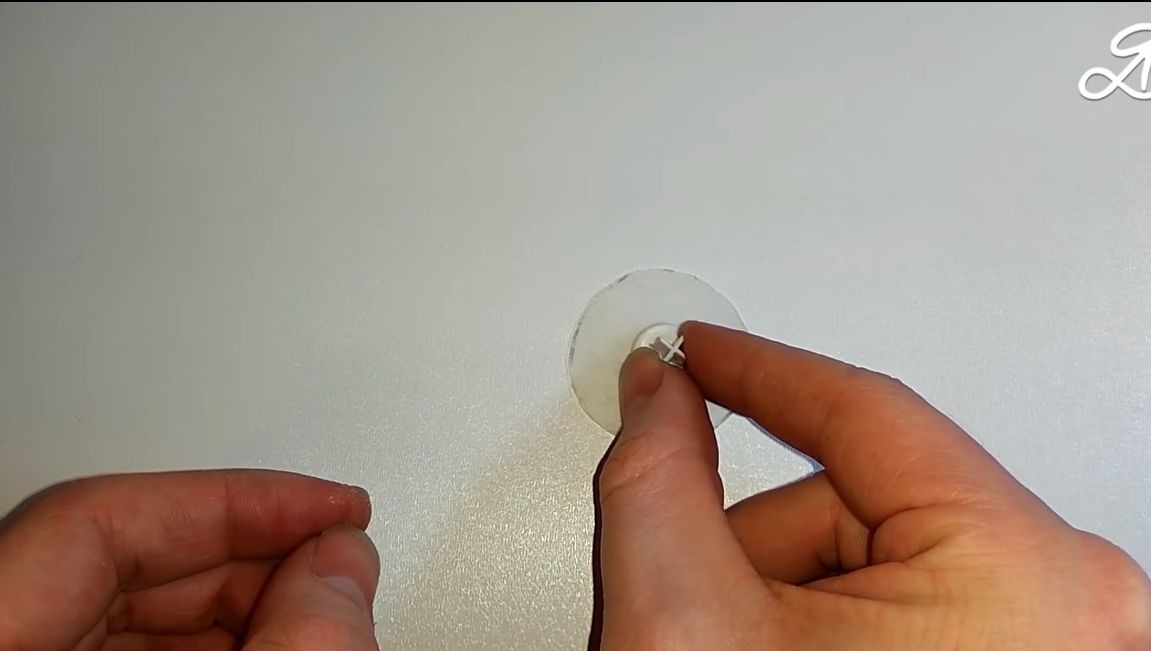
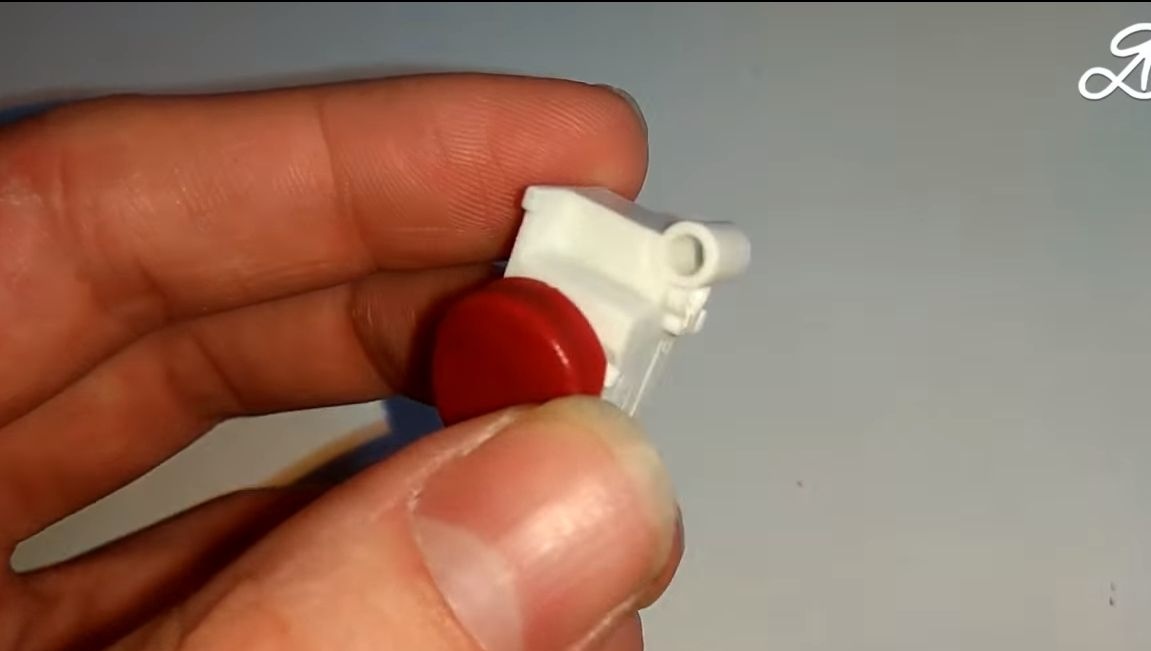
Step one. Prepare the lid
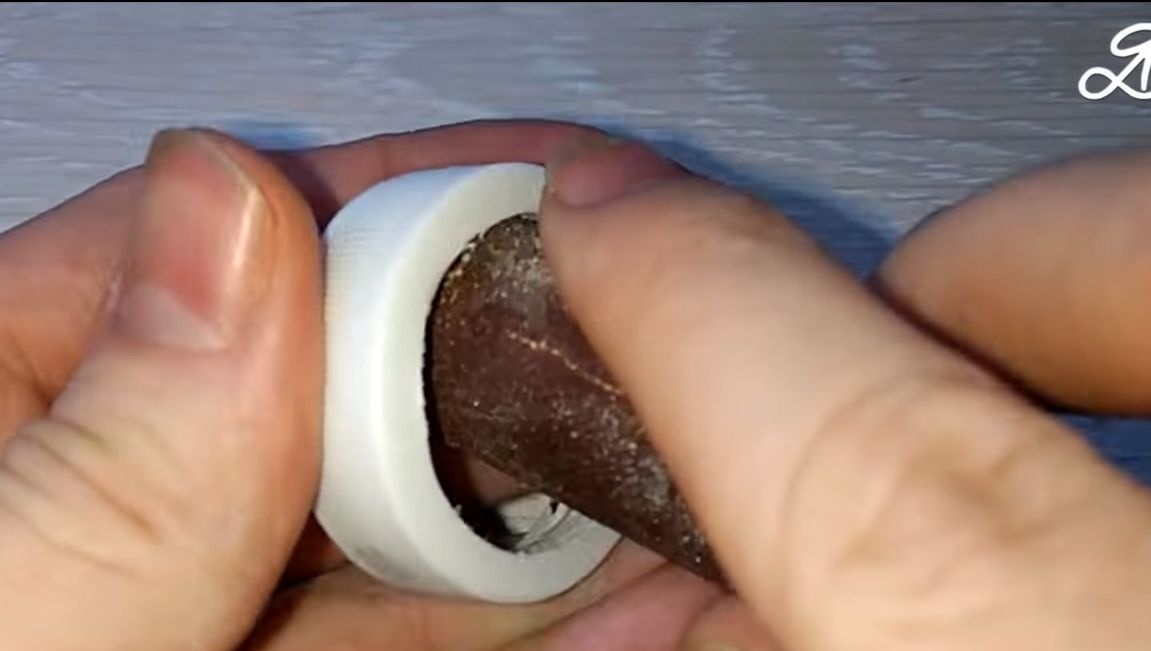
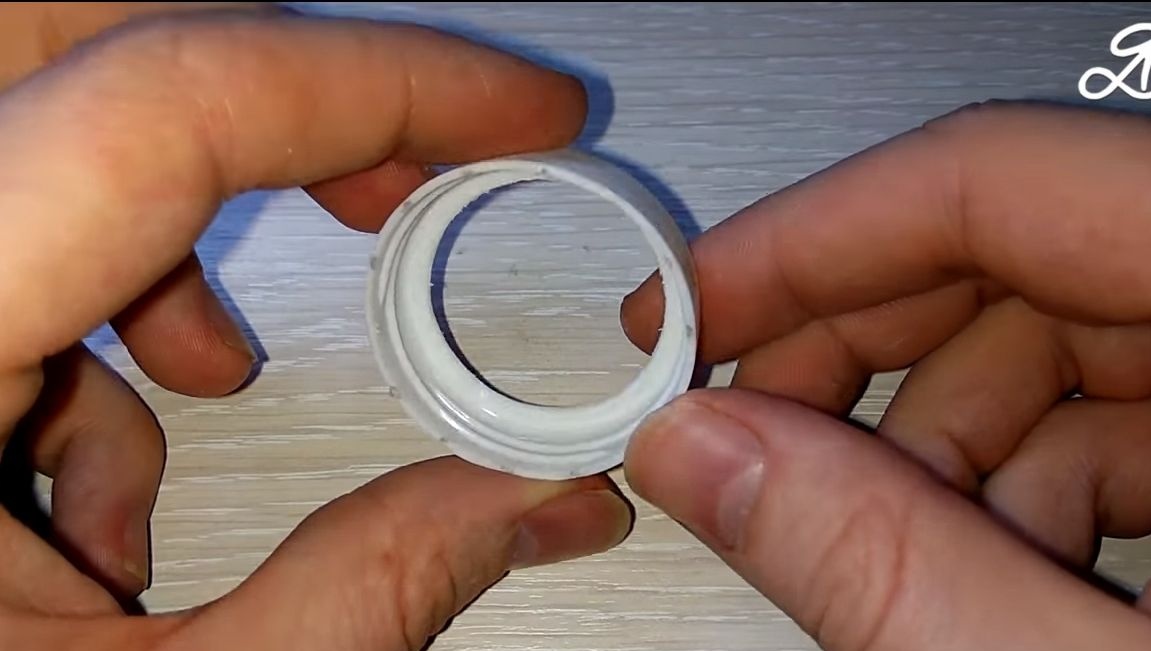
Take a plastic bottle and unscrew the lid from it. Often these bottles are used to store drugs. In the cover you need to cut a hole for the membrane. In diameter, it should be as large as possible, but keep in mind that the twisted cover will have to press the membrane, that is, the side should remain. Carefully process the edges of the hole with a clerical knife and sandpaper, otherwise air will pass between the membrane and the lid, resulting in lower productivity.

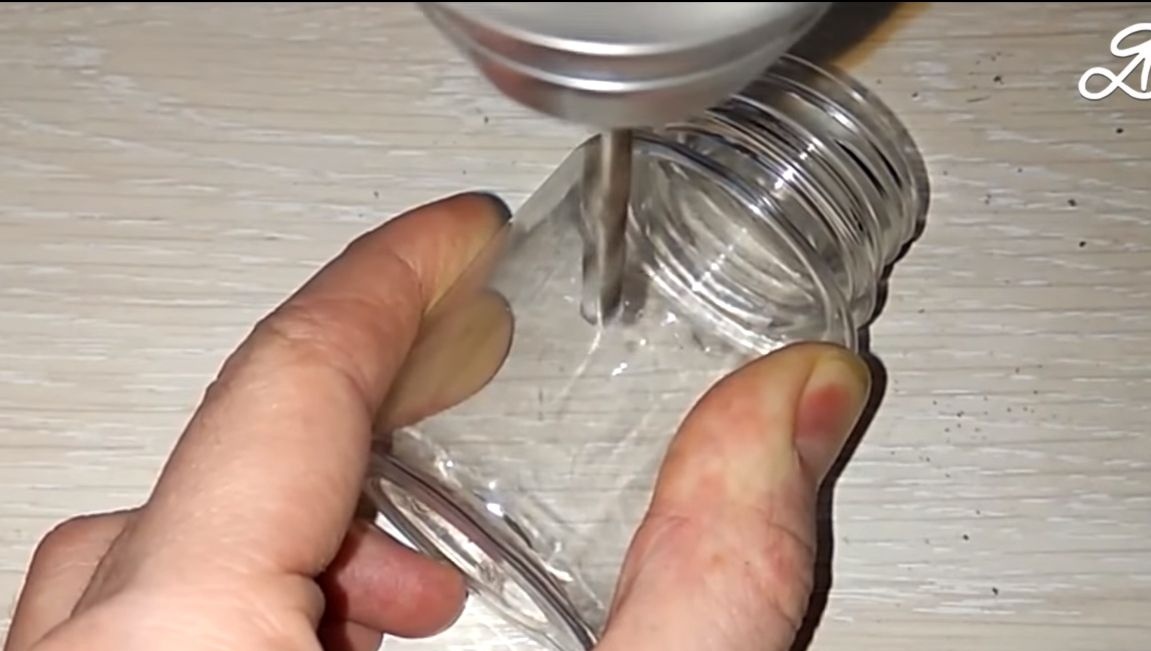
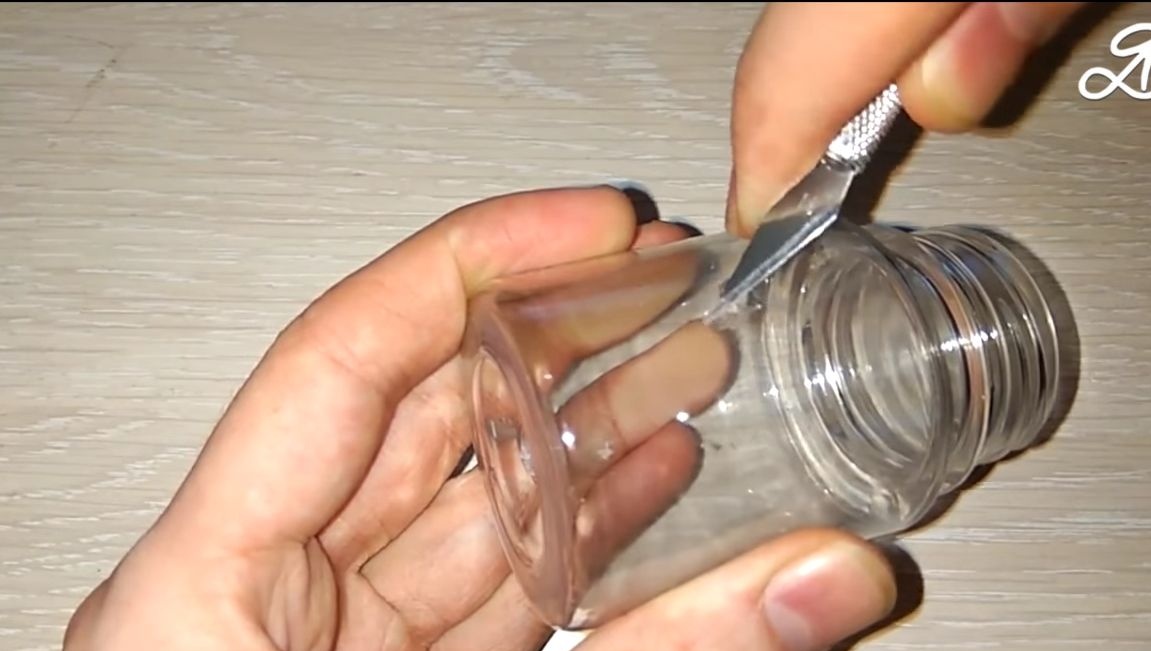
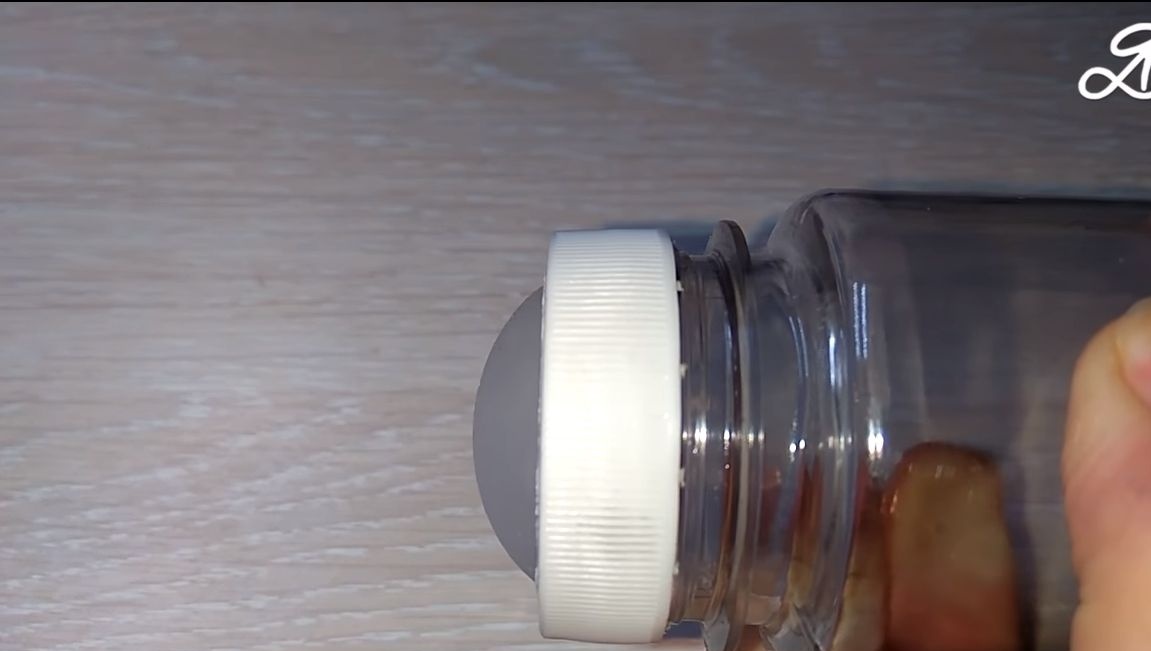
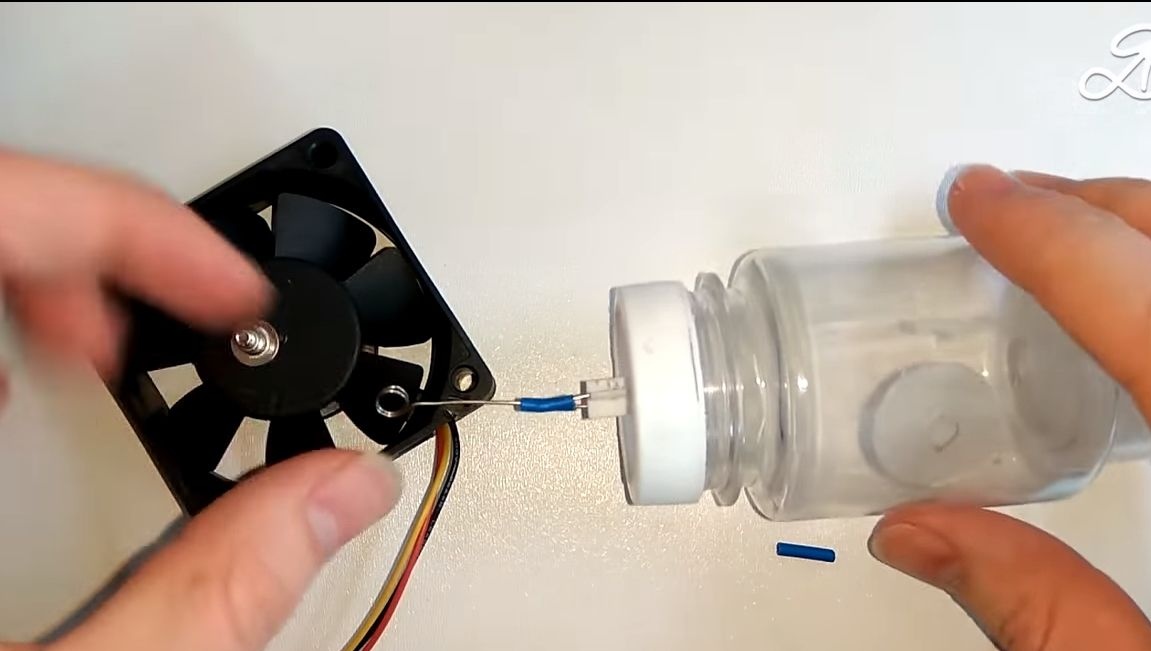
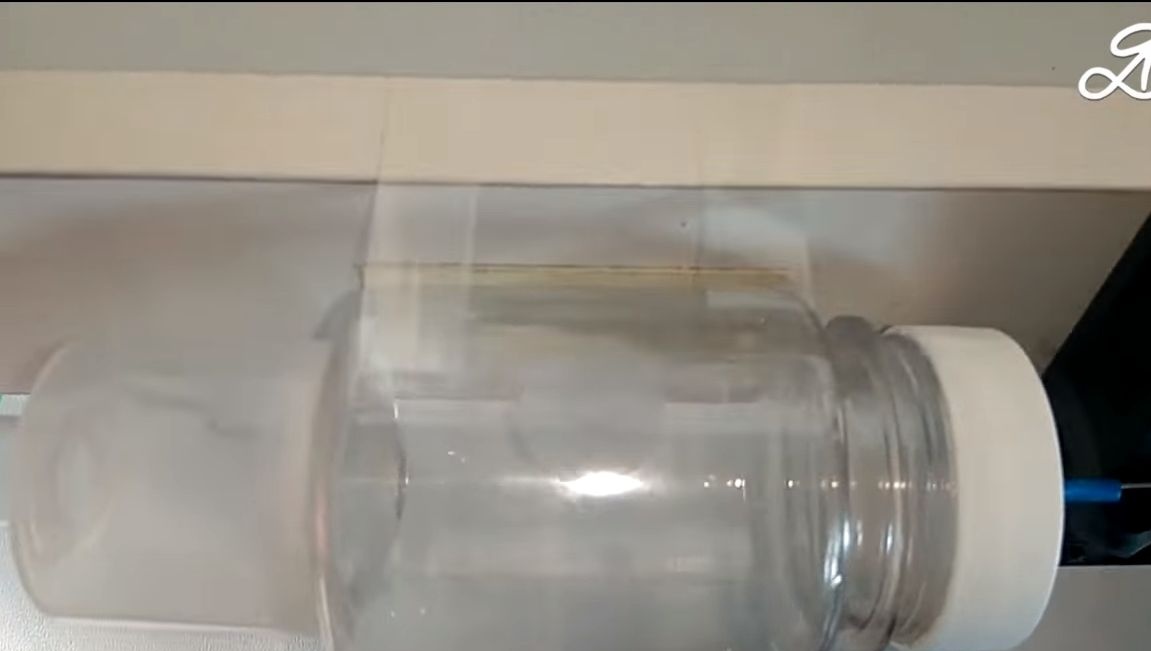
Step Two We prepare the case
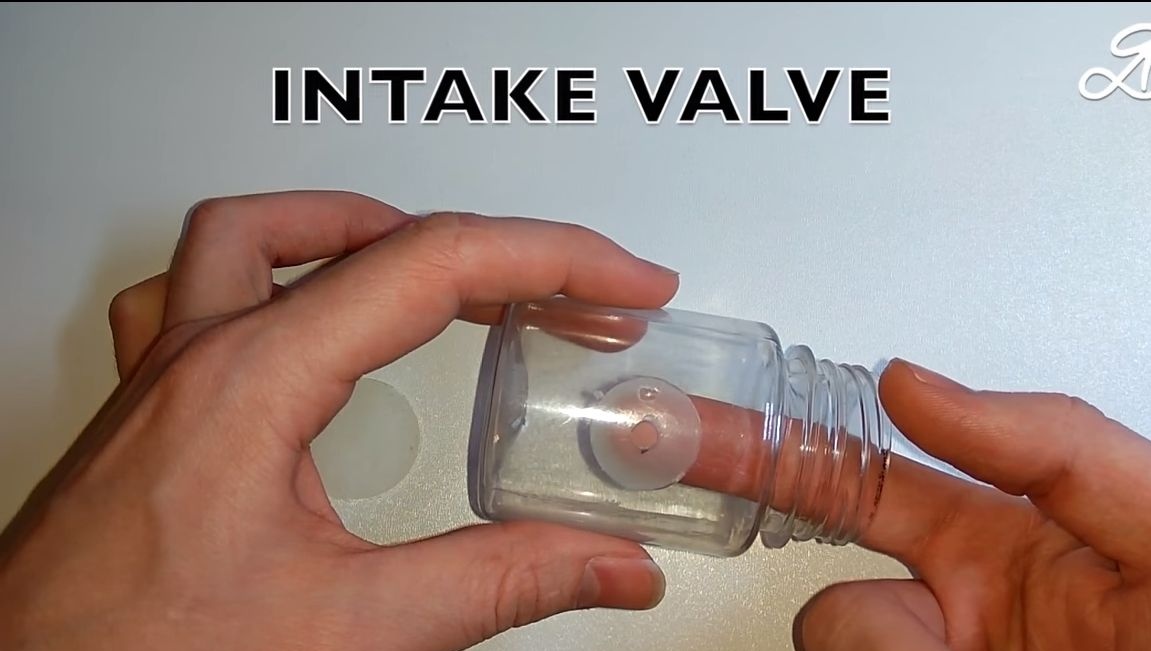
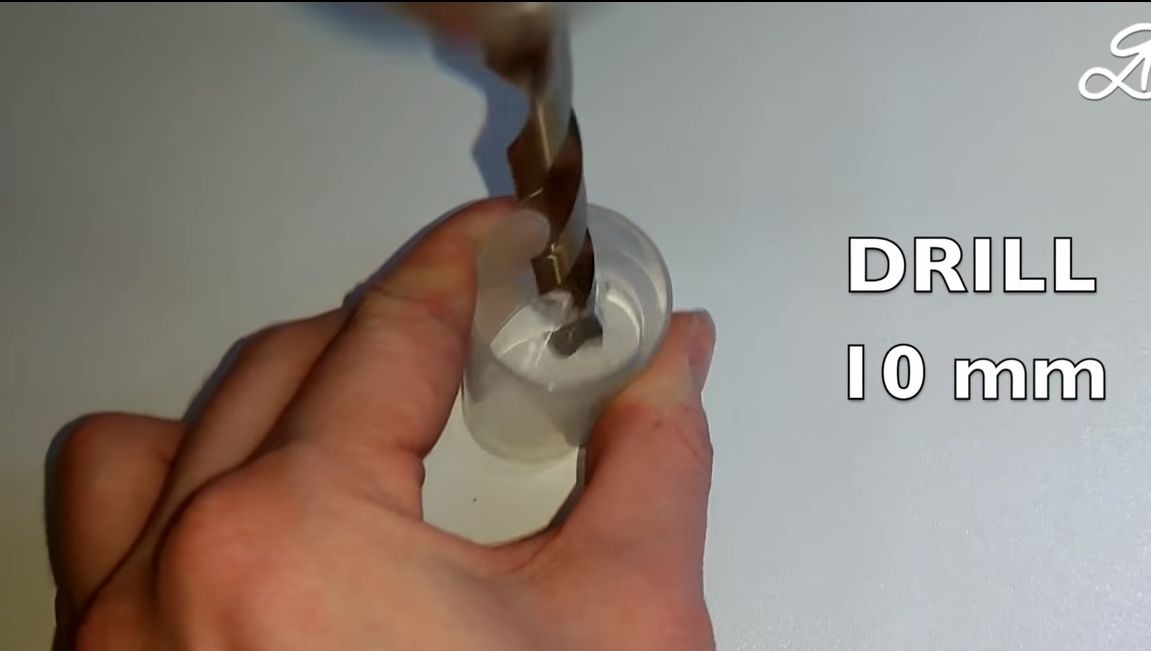
As a case we use a plastic jar. In it you need to drill two holes. Through one, air will enter, and through the other, the membrane will displace it. Valves are then installed on the holes.We process drilling places with sandpaper so that everything fits snugly.

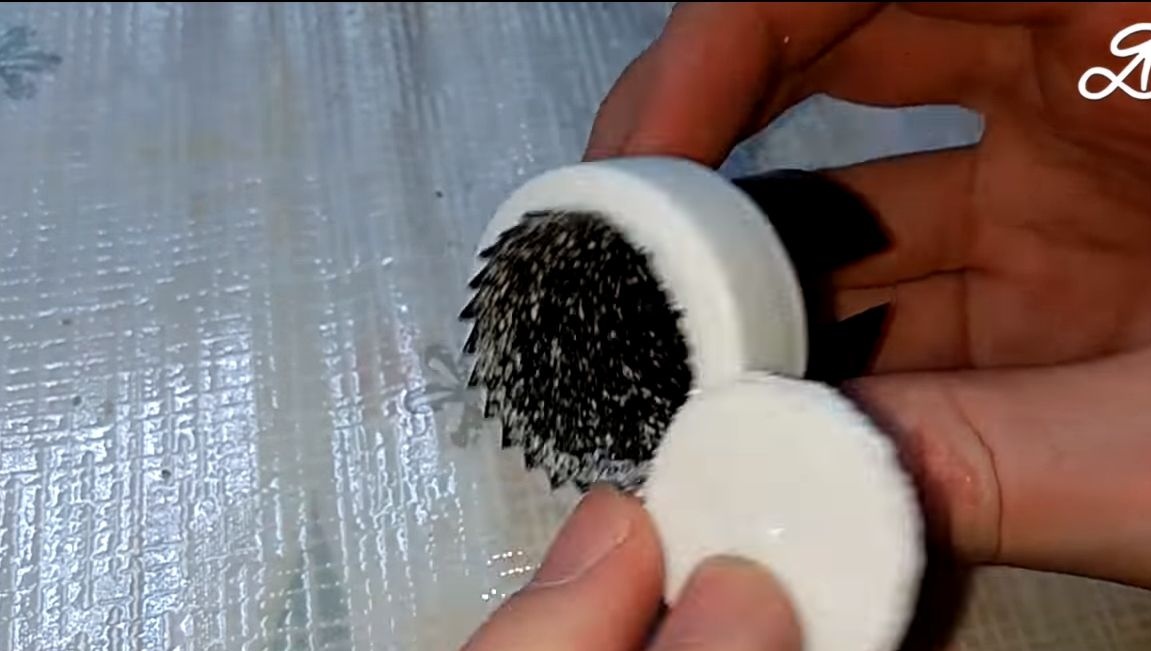
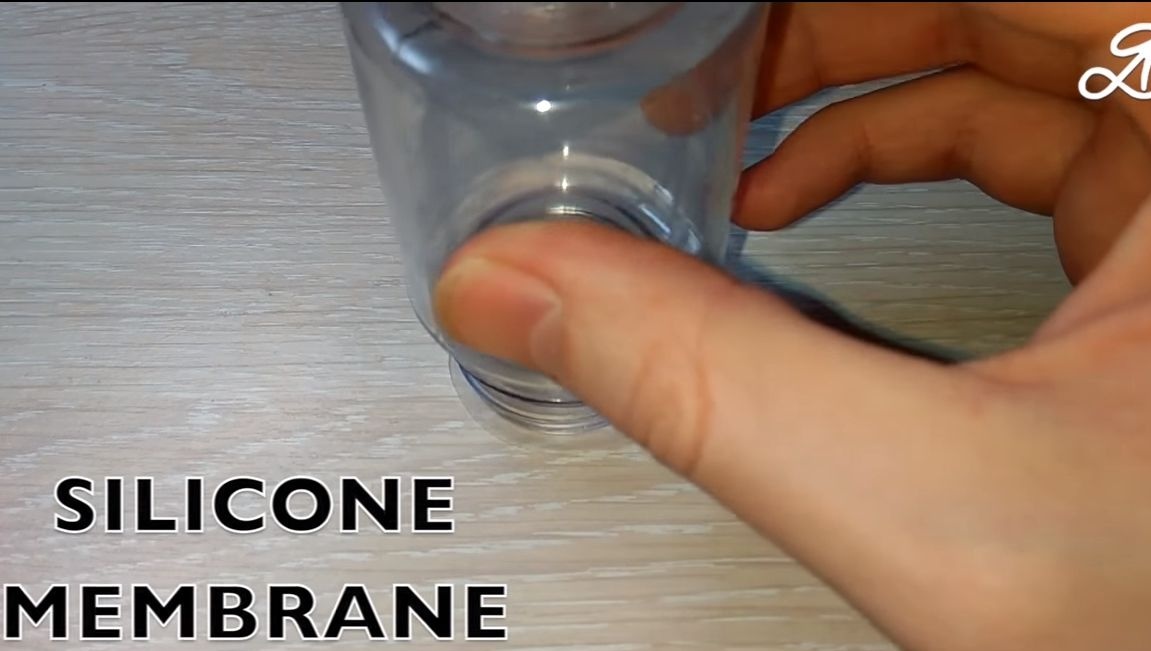
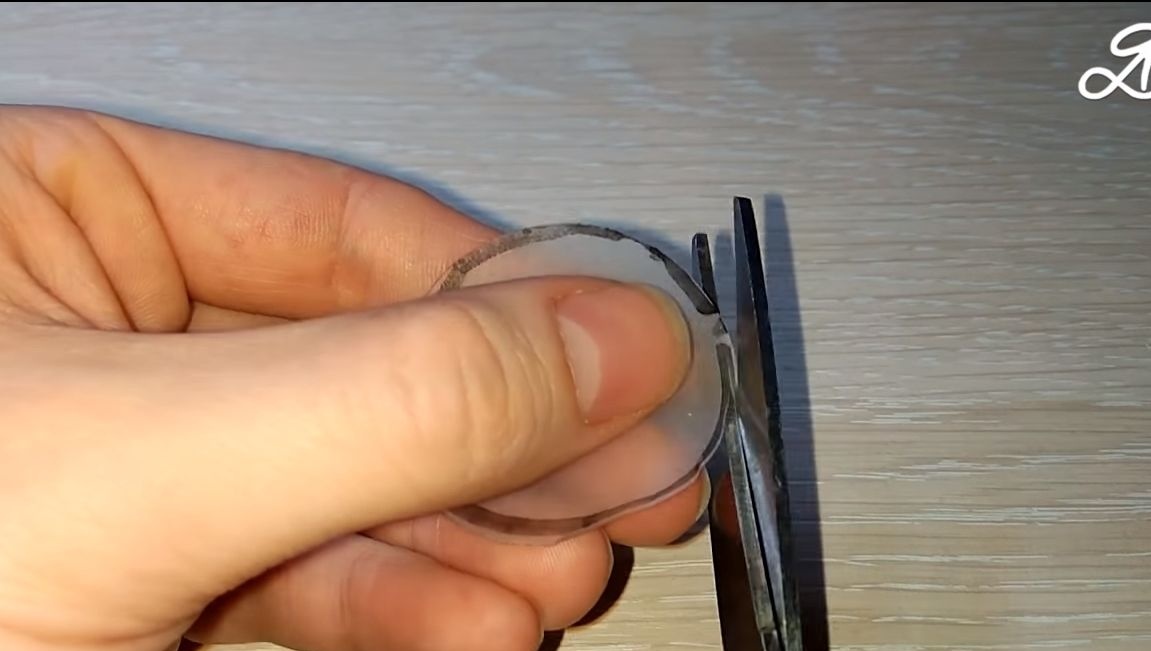
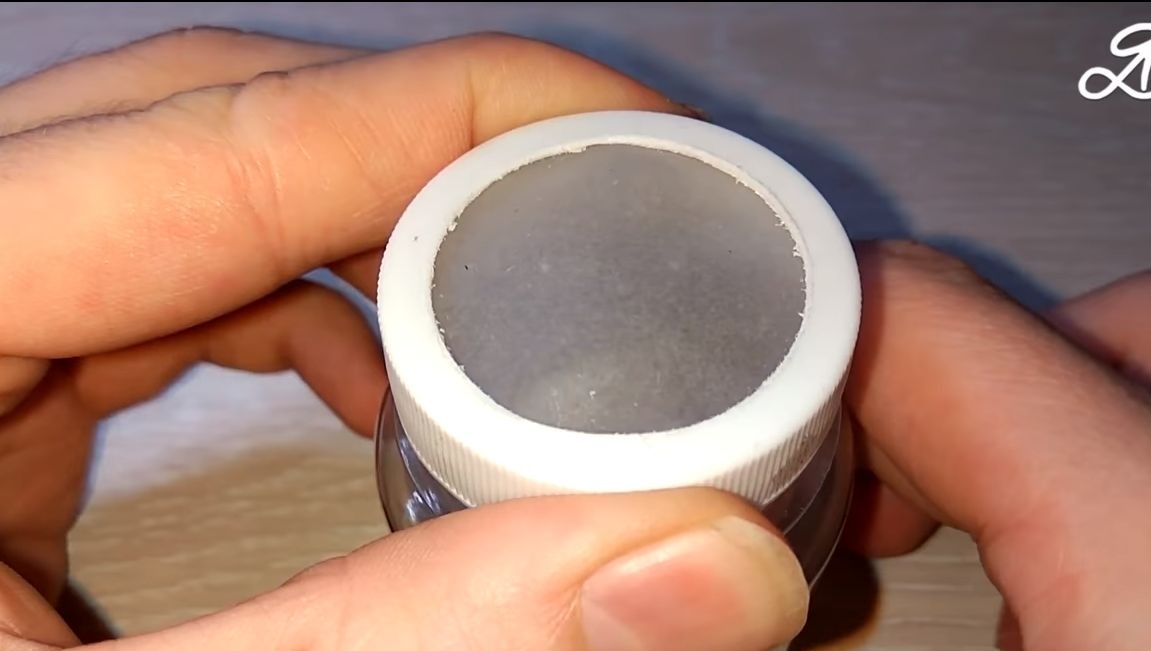
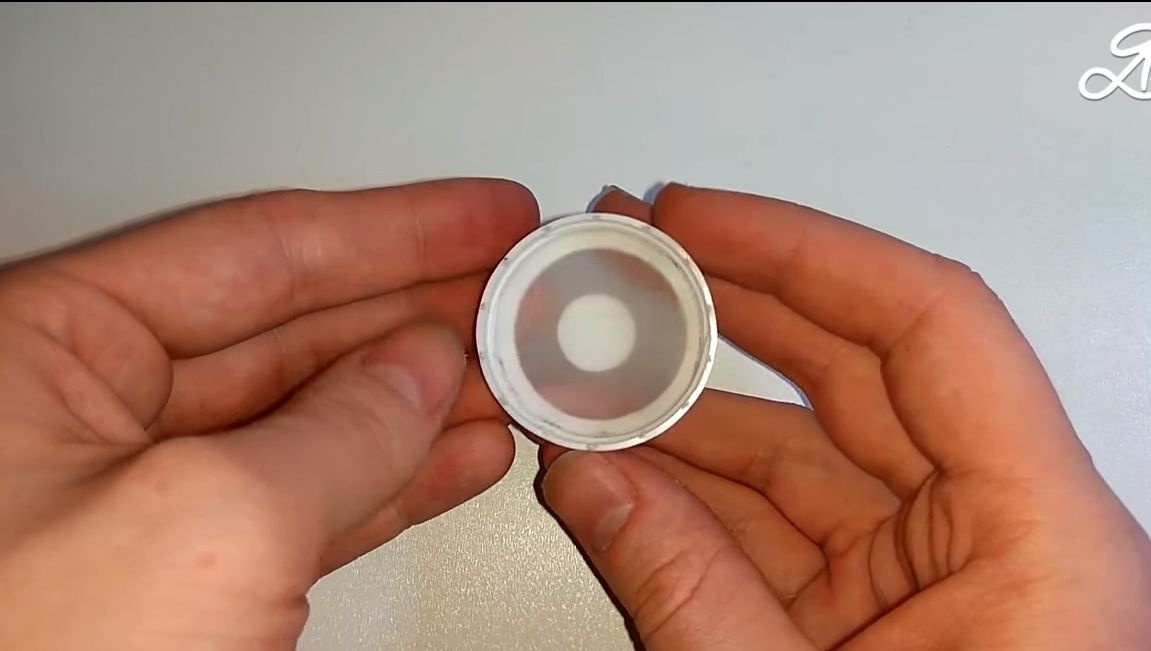
Step Three Membrane manufacture and installation
For the manufacture of the membrane you will need a piece from a balloon, a fragment from a surgical glove or other similar rubber. It is preferable that it be silicone. We attach the lid to the material and circle the marker. The resulting circle is cut out. Now lay the membrane in the cap and screw the cap on the bottle. Squeeze the bottle, if the membrane comes out and the air does not come out, then everything is done correctly.
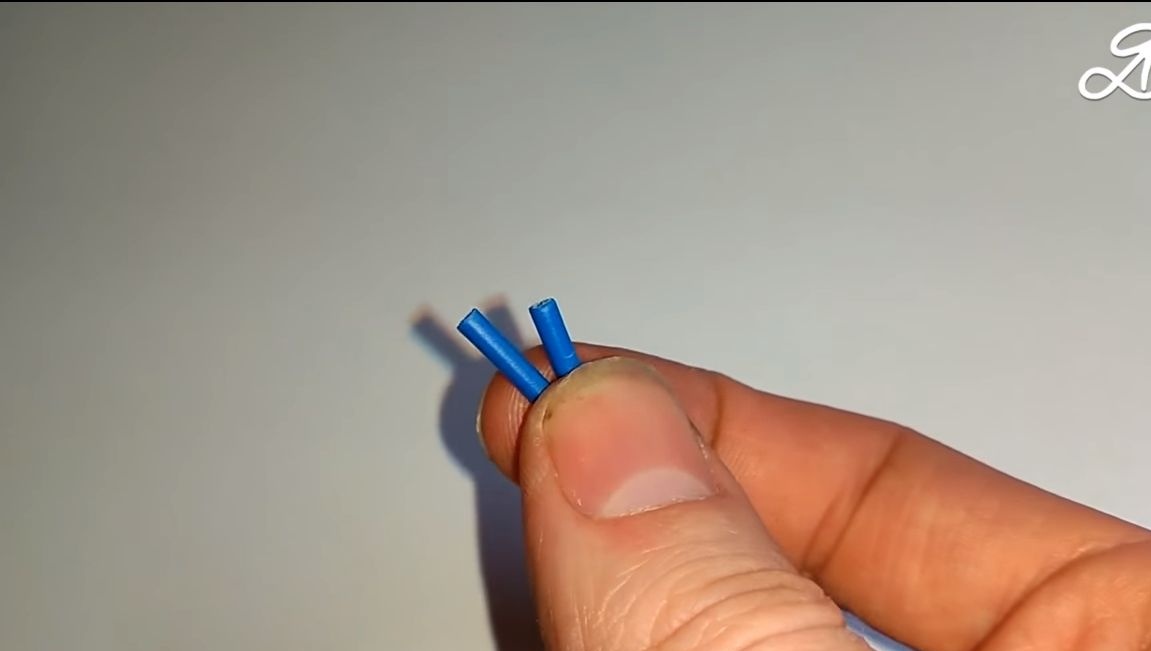
Step Four Install the valve
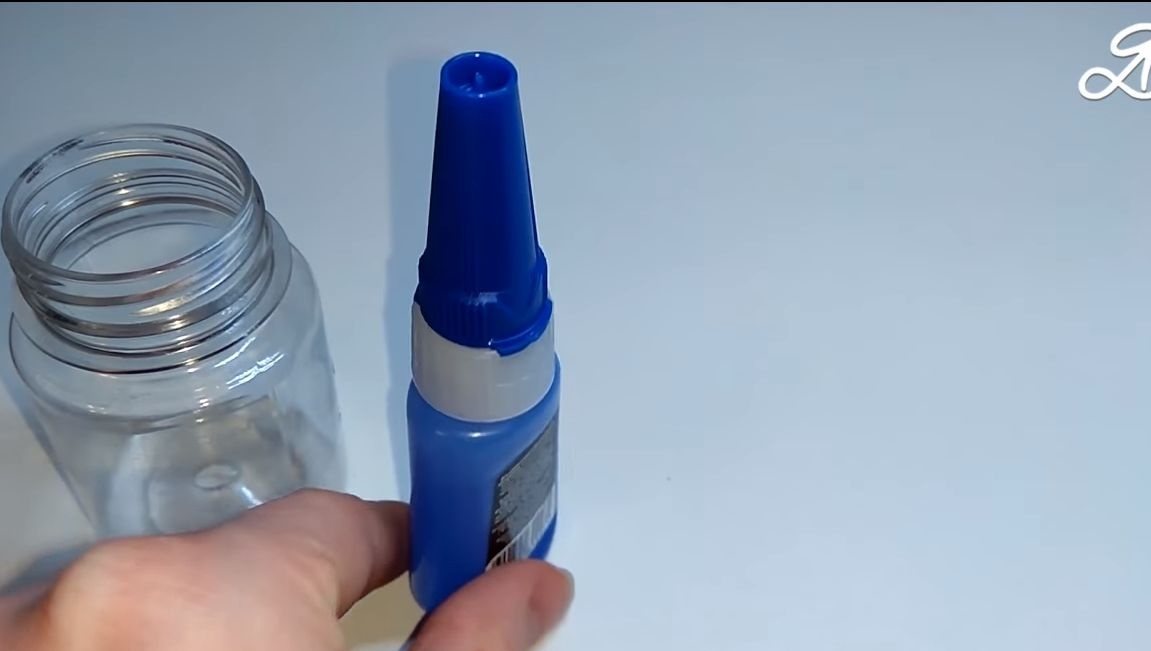
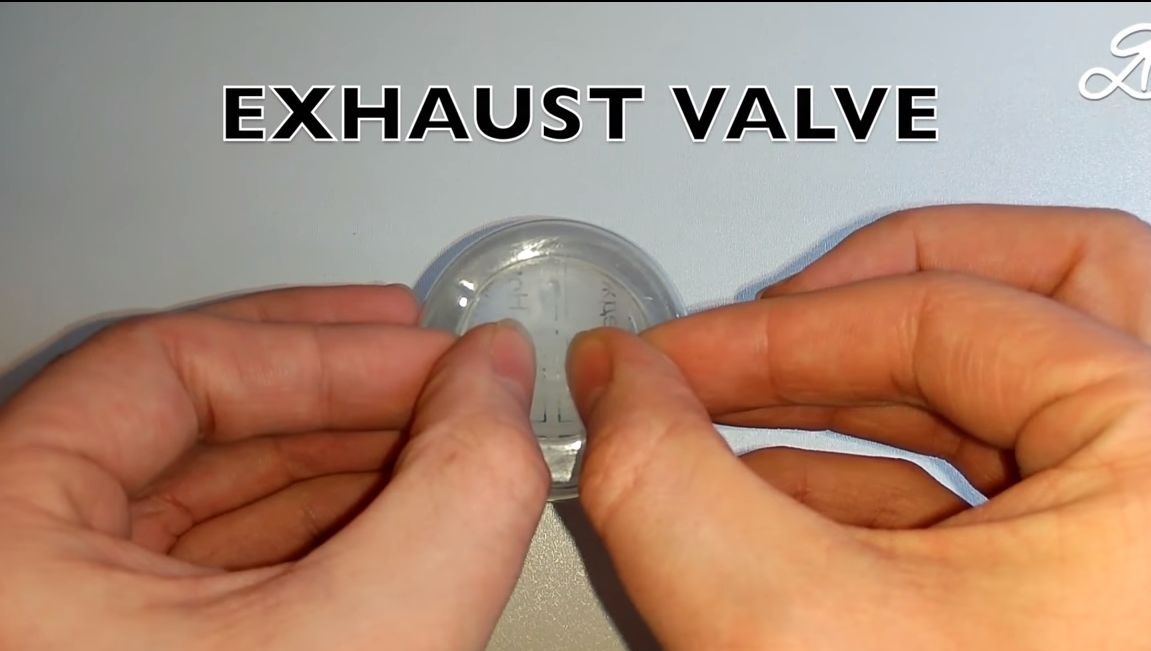
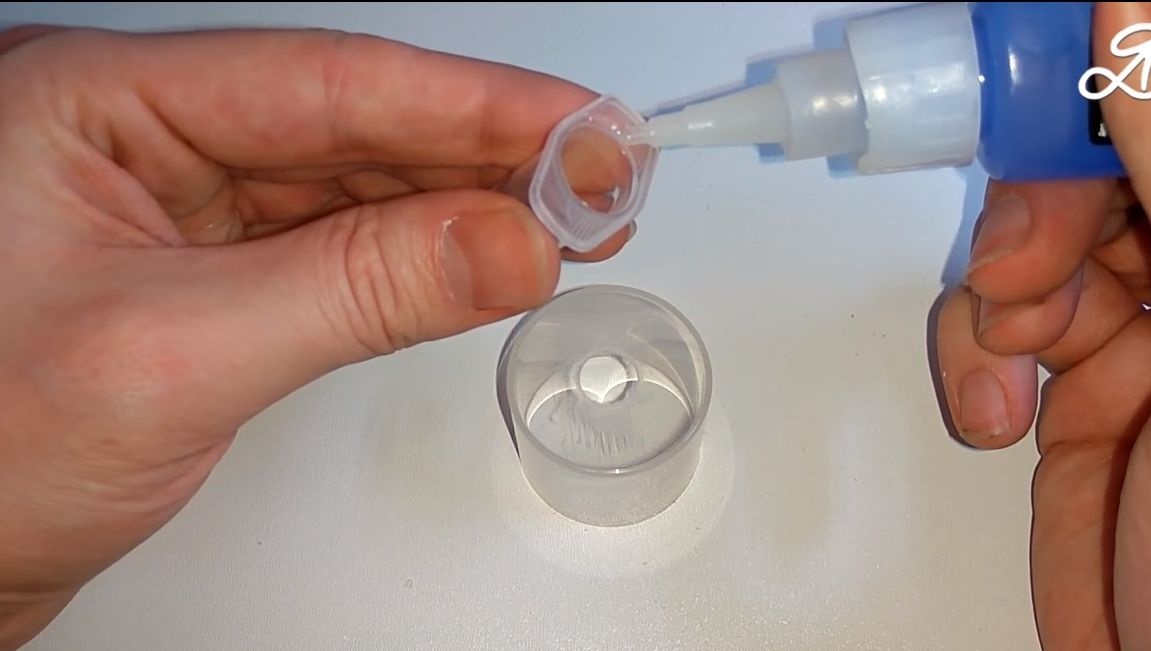
The valve can also be made of silicone, it will perfectly seal the holes in the contact points. Cut the round logs that are necessary in diameter and glue them at one point with superglue. The inlet valve is installed from the inside, and the outgoing valve, which is at the bottom of the bottle, is glued from the outside.
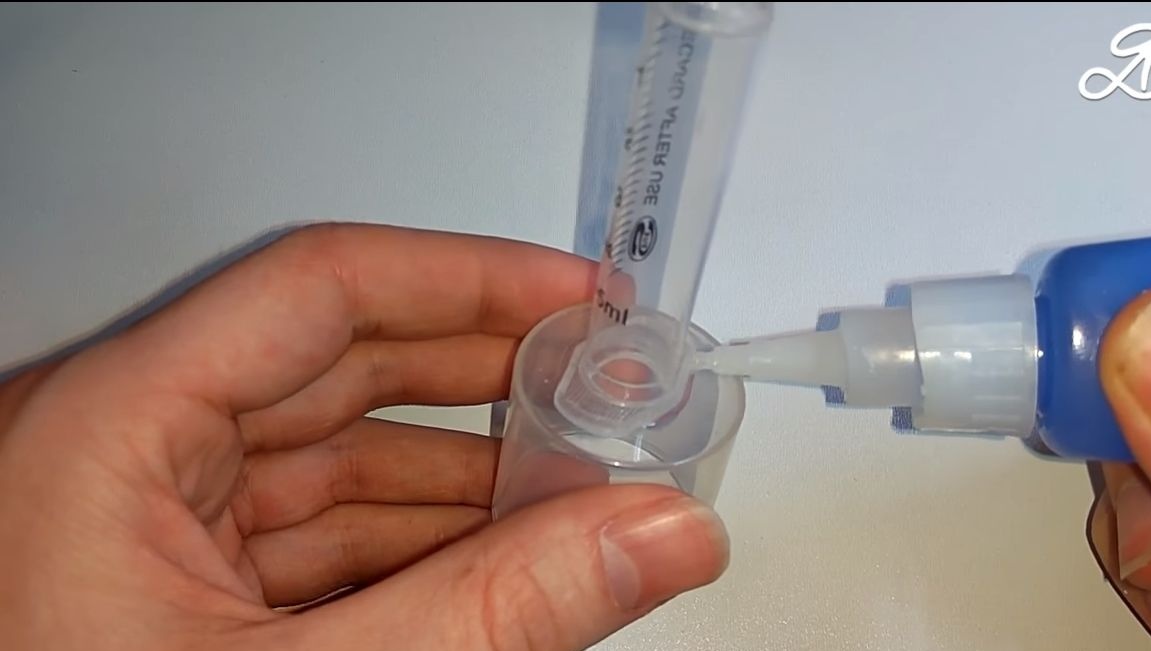
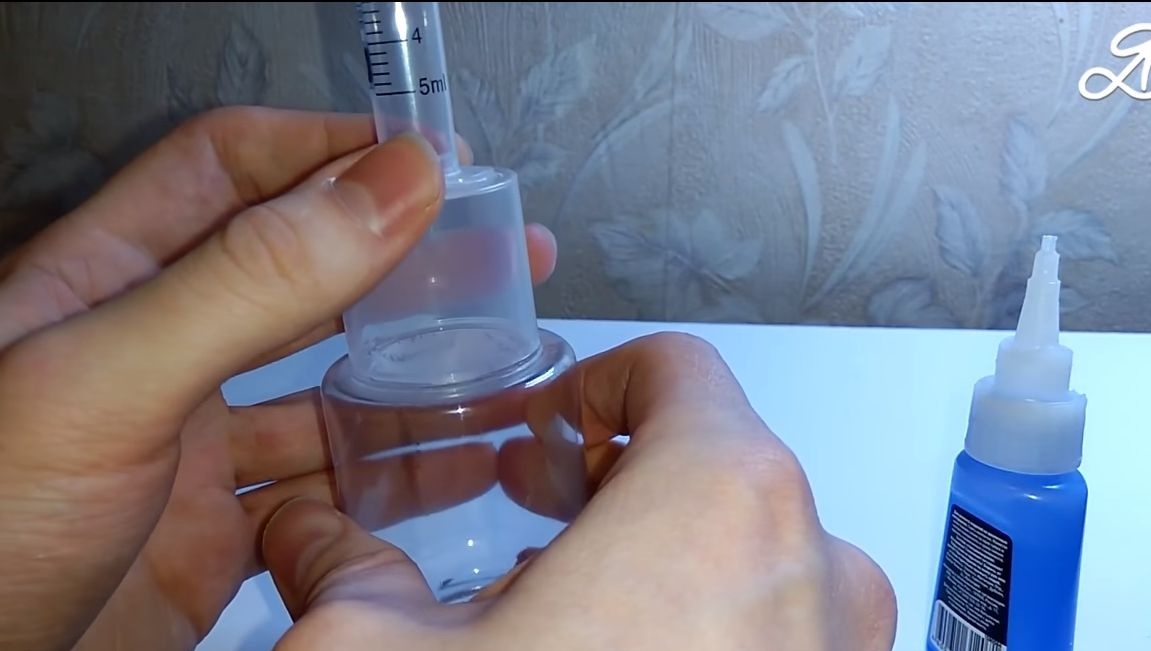
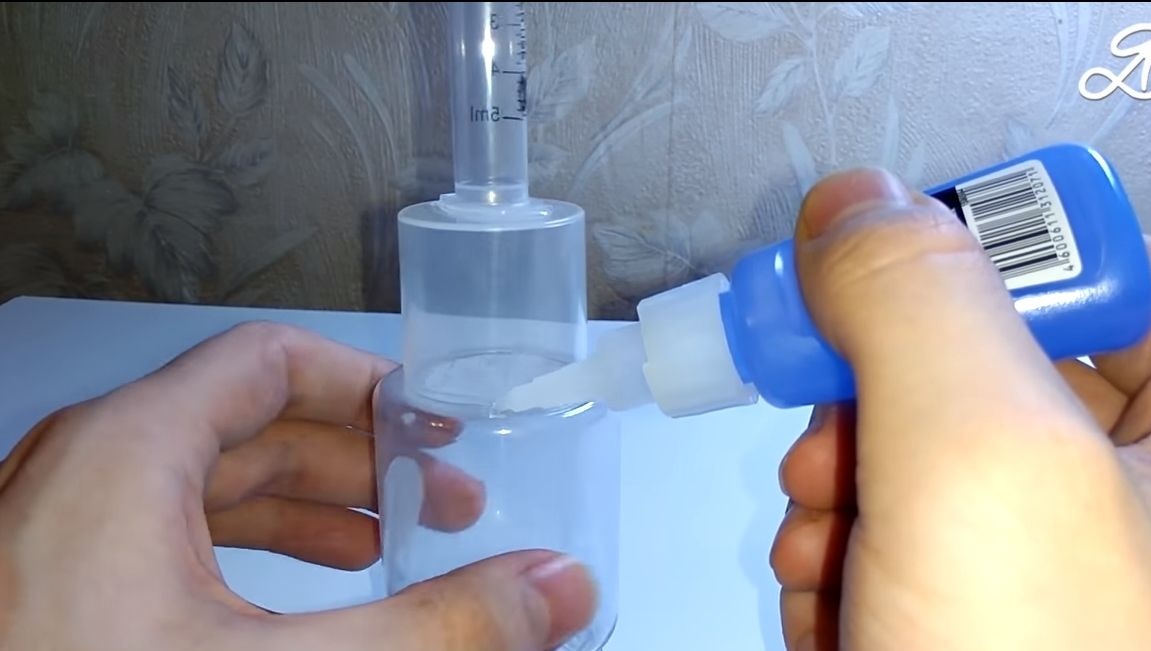
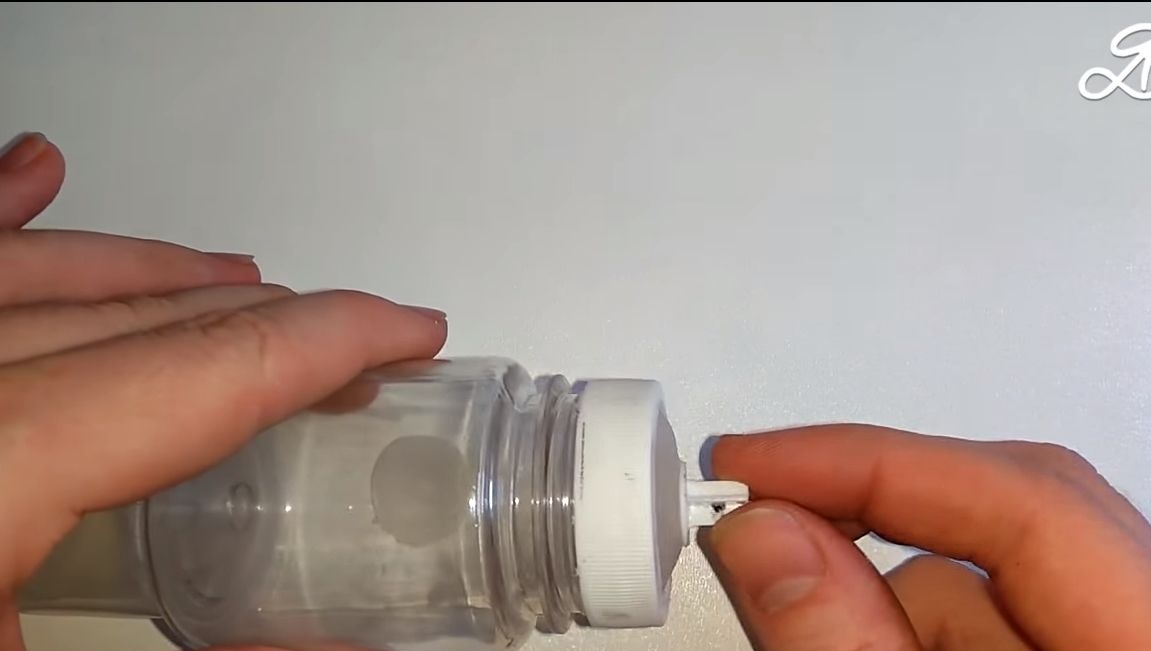
Step Five The second part of the body
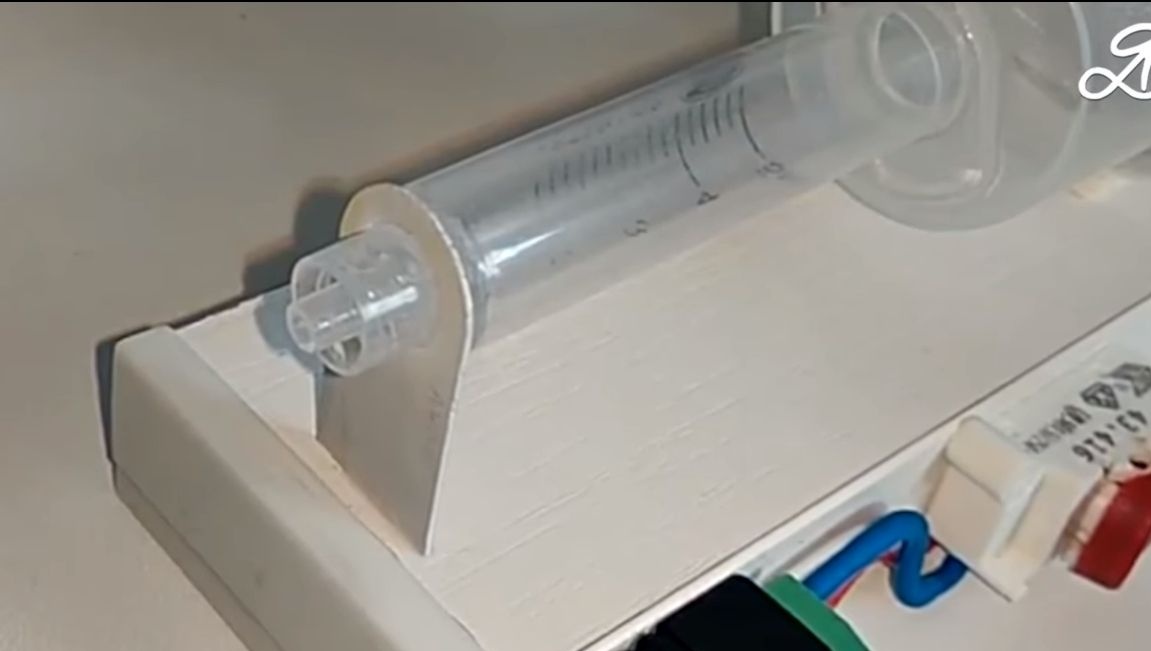
We proceed to the assembly of the second part of the body. Here you will need a plastic cap of a suitable diameter. If you try, for these purposes you can completely adapt the usual bottle cap. We drill a hole in the bottom of the cap, and on the other hand we glue the syringe. Clean all bonded surfaces thoroughly with emery cloth so that the glue sticks well. Glue the resulting part to the bottom of the bottle. Coat all joints with glue on the outside so that air does not pass.
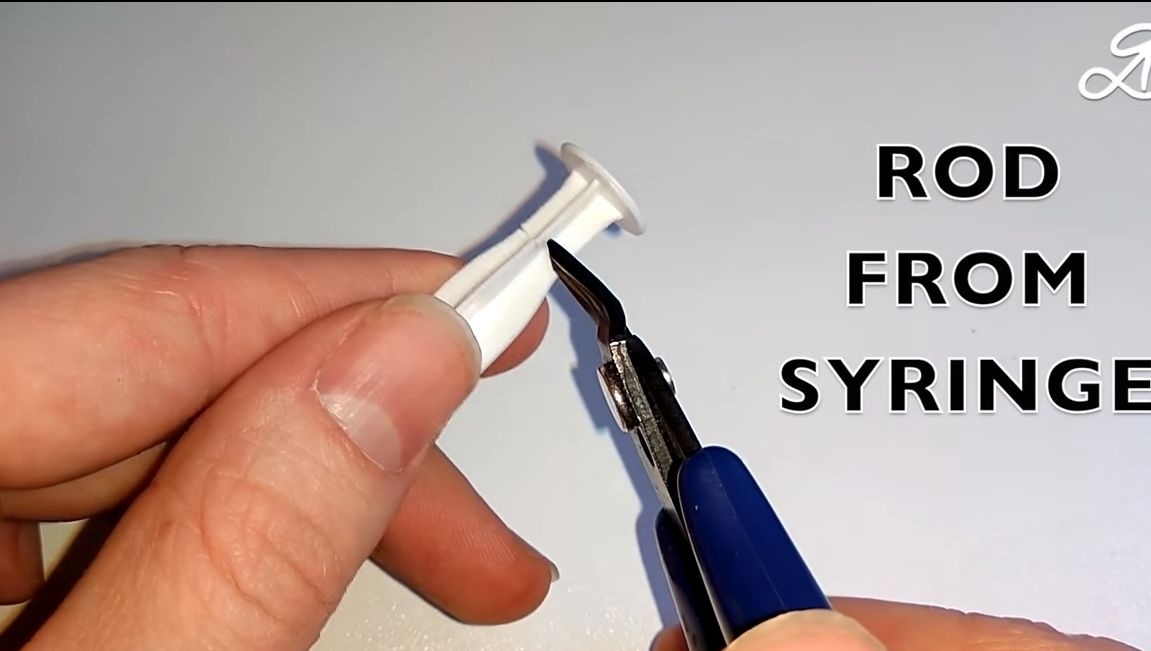
Step Six Bracket for membrane
To connect the connecting rod to the membrane, you will need to adjust the bracket. To do this, cut off the lower part from the syringe piston and make a hole in it. The author melted it with a hot nail. Glue the resulting detail in the center of the membrane.
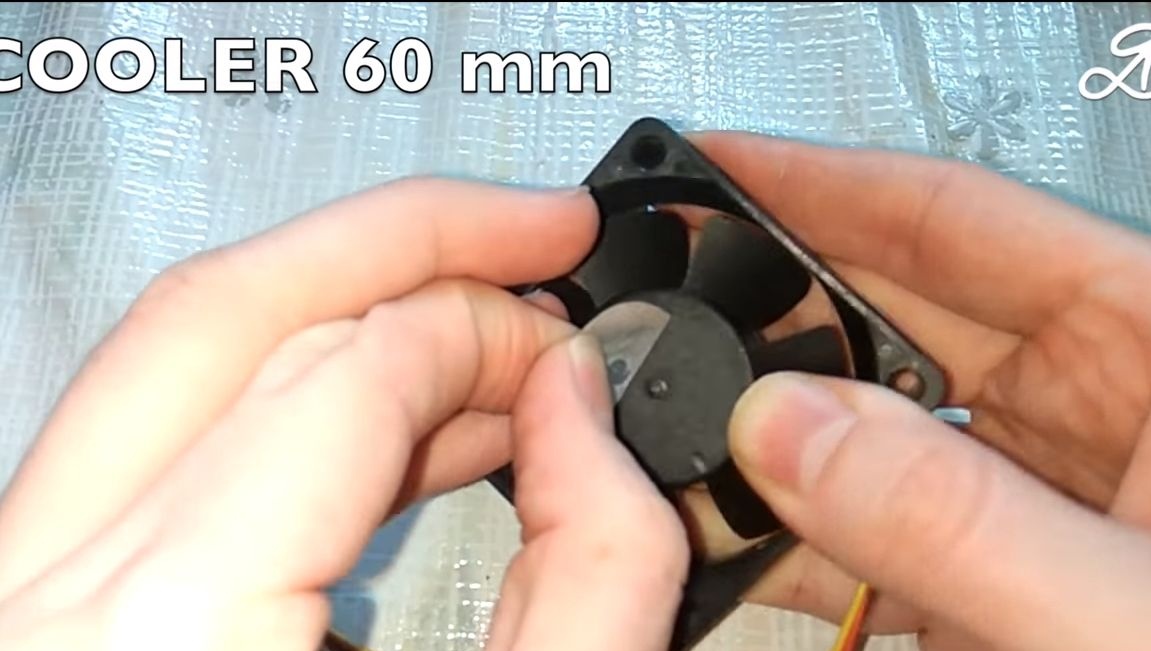
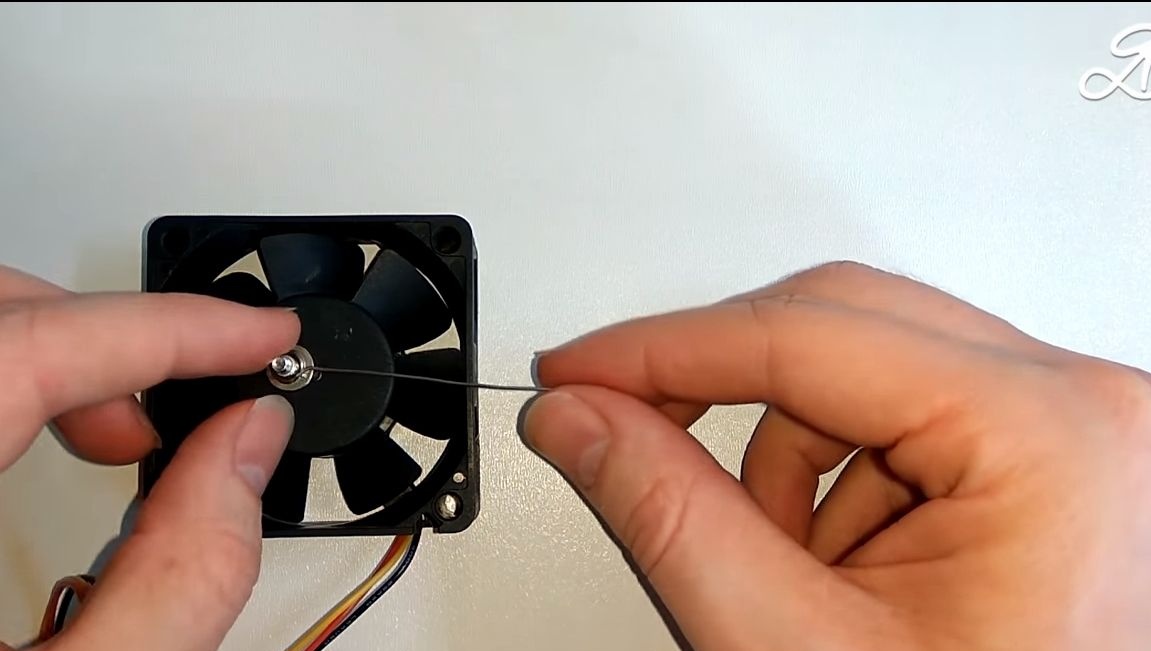
Seventh step. Prepare
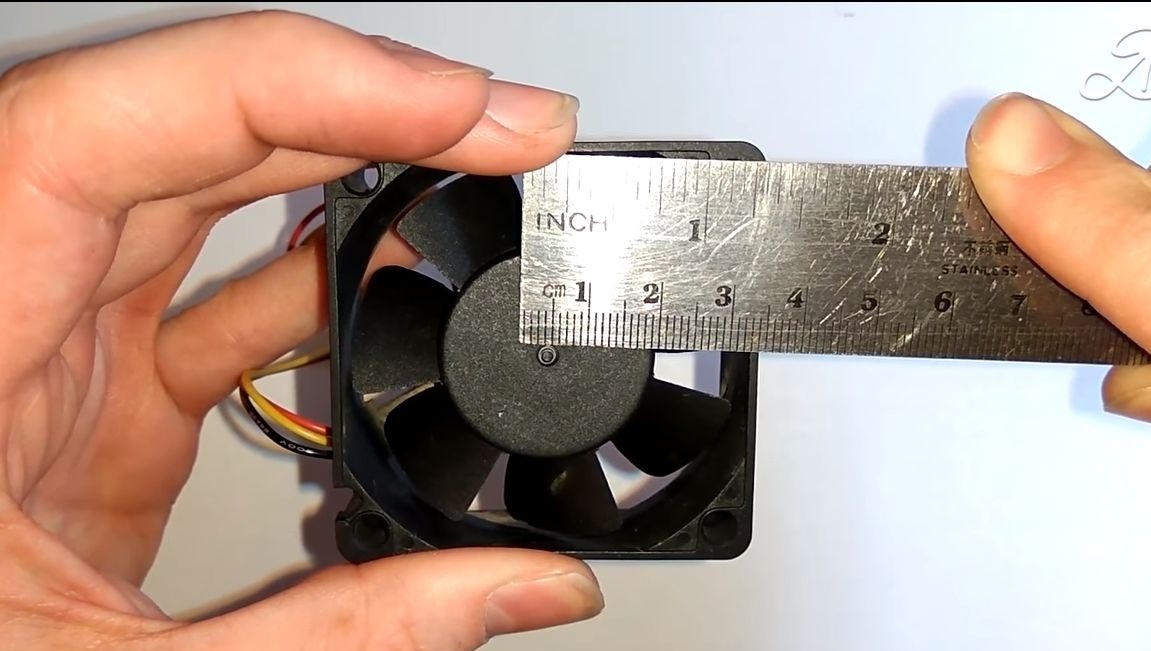
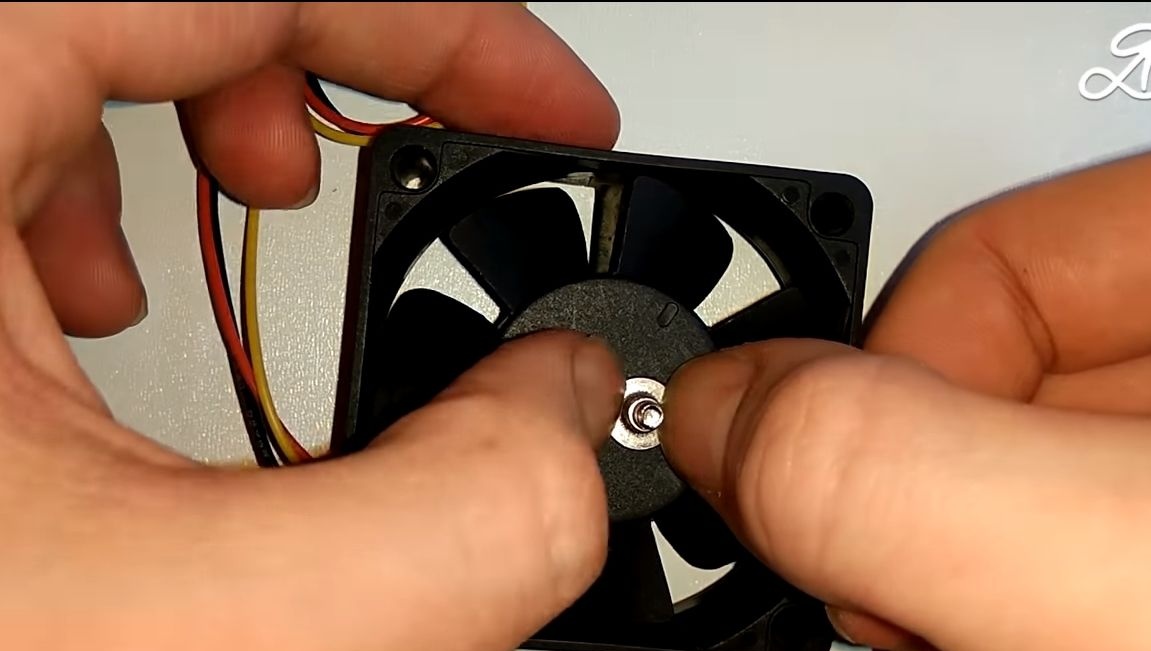
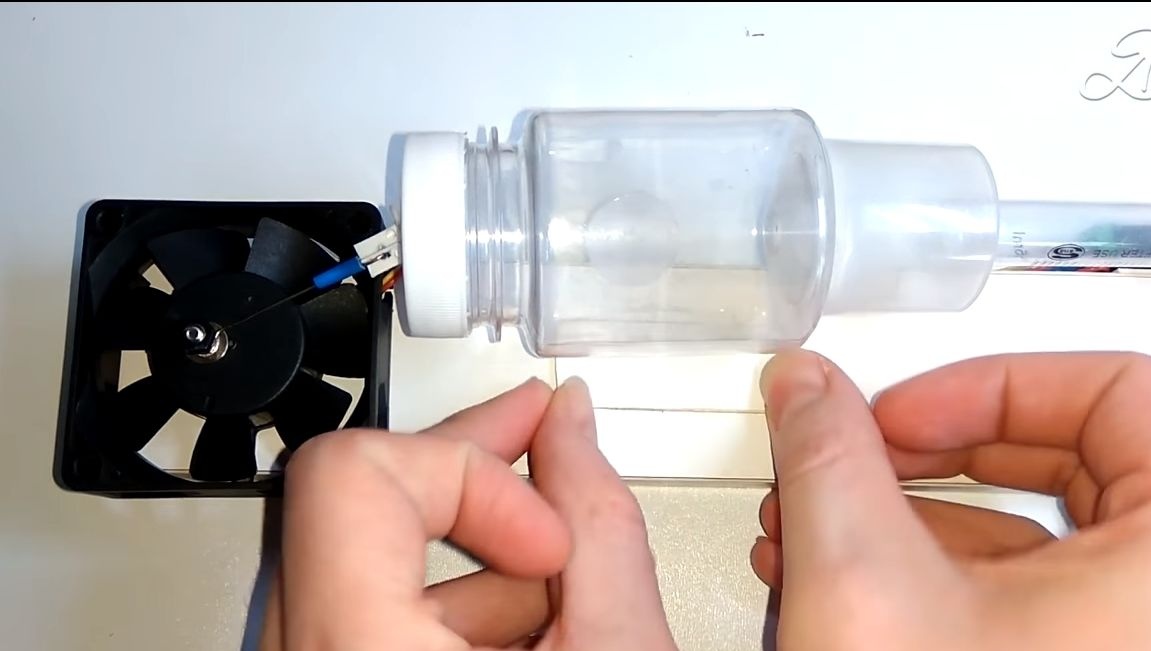
The author used a cooler with a size of 60 mm; its capacity is enough for the operation of this miniature machine. Remove the sticker from the propeller and sand the surface with sandpaper. Next, you will need a screw with a wide flat head so that it can be glued to the screw. Such screws are used to mount radiators in laptops and other similar purposes.
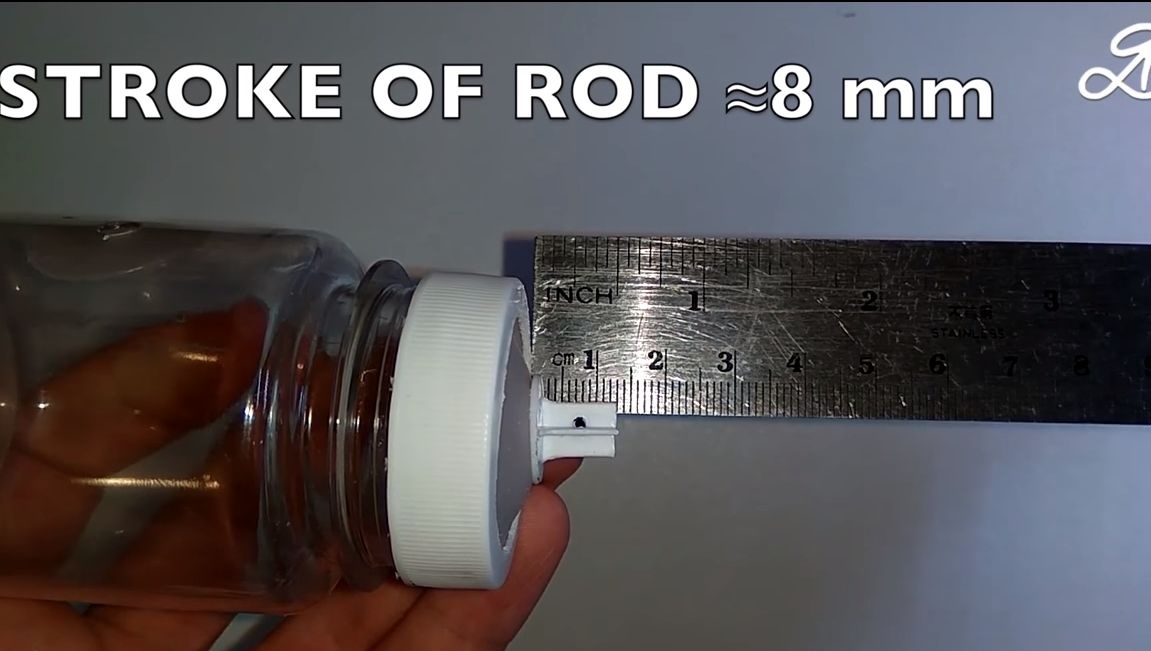
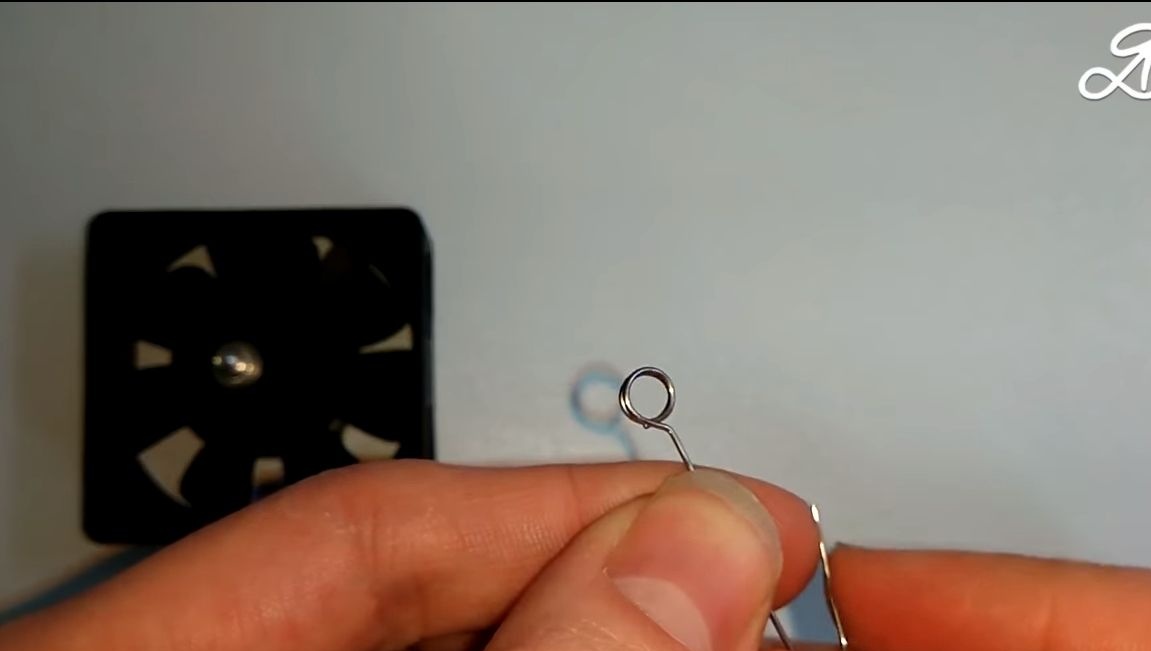
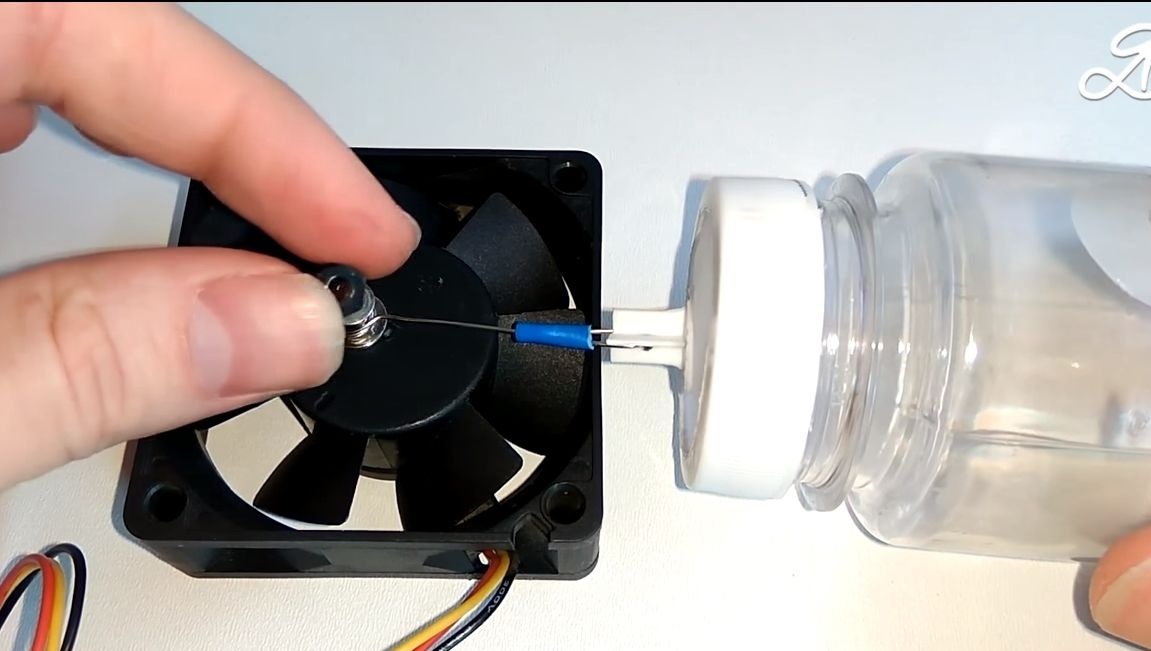
Step Eight. We make a connecting rod
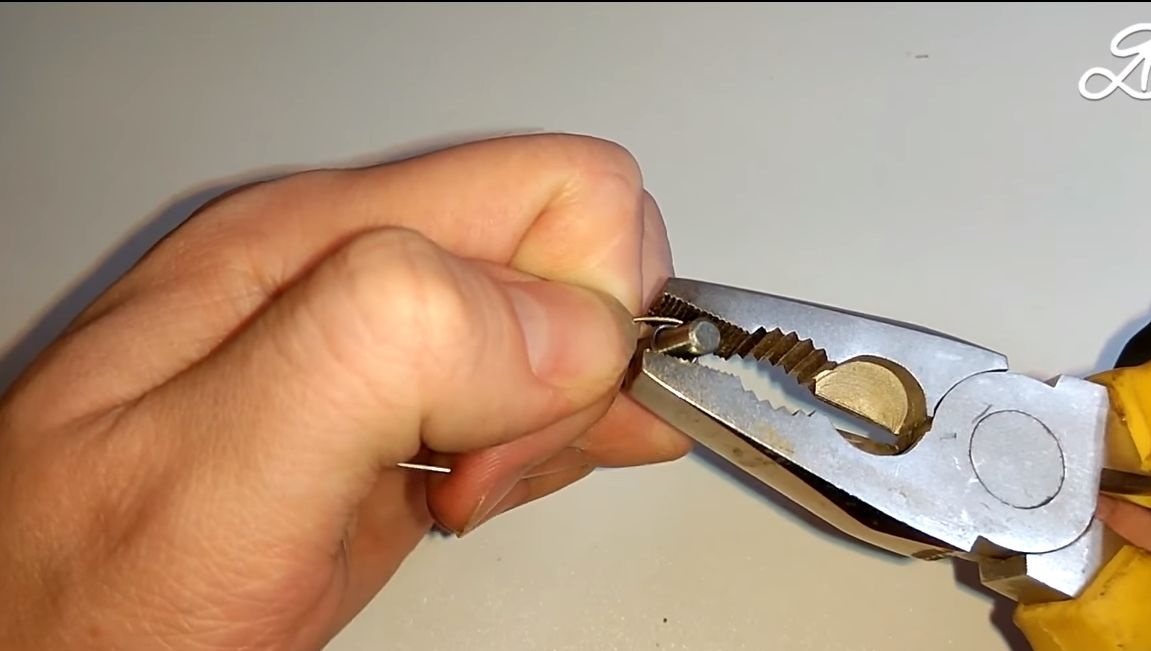
To make a connecting rod, you need a paper clip or other suitable wire. We make a ring on the wire, which can then be put on the screw glued to the propeller. At the other end we make a hook, with it we fasten the lever to the membrane bracket. And so that the hook would hold securely, the author put on a connecting rod cambric from the wire.
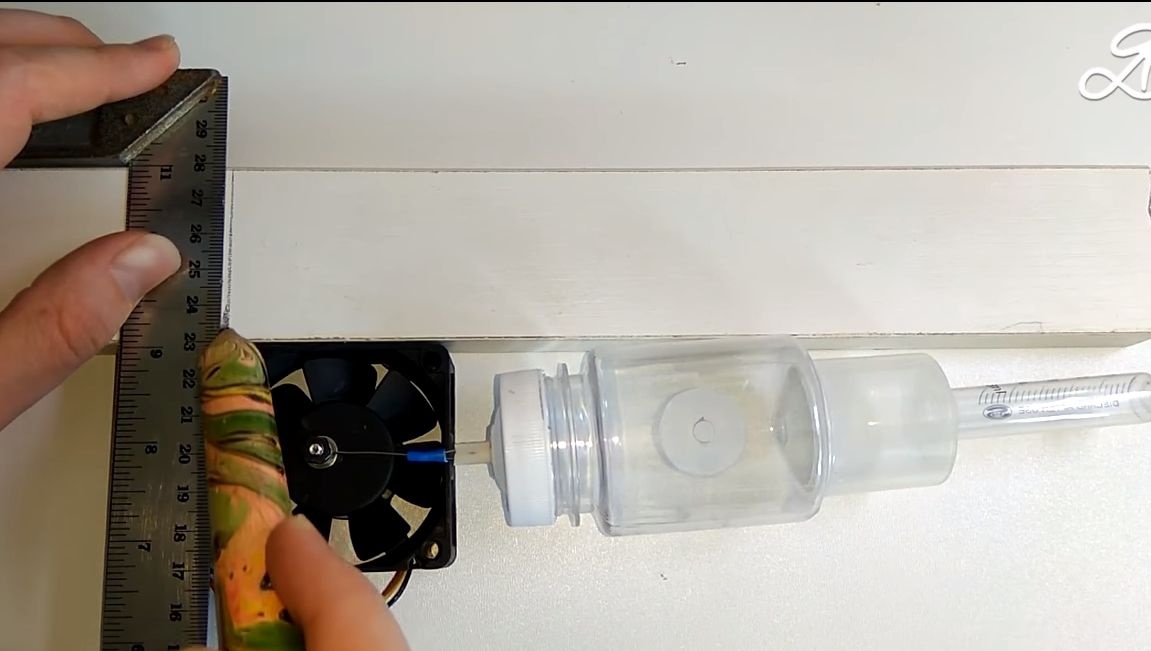
Step Nine. Final assembly of the pump
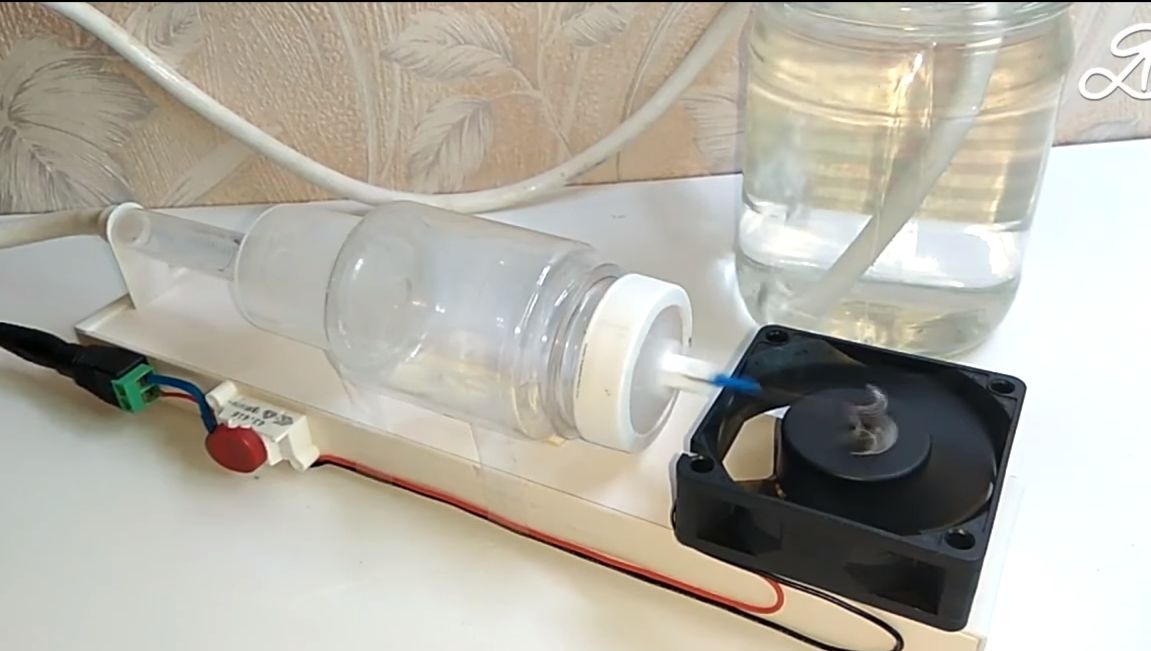
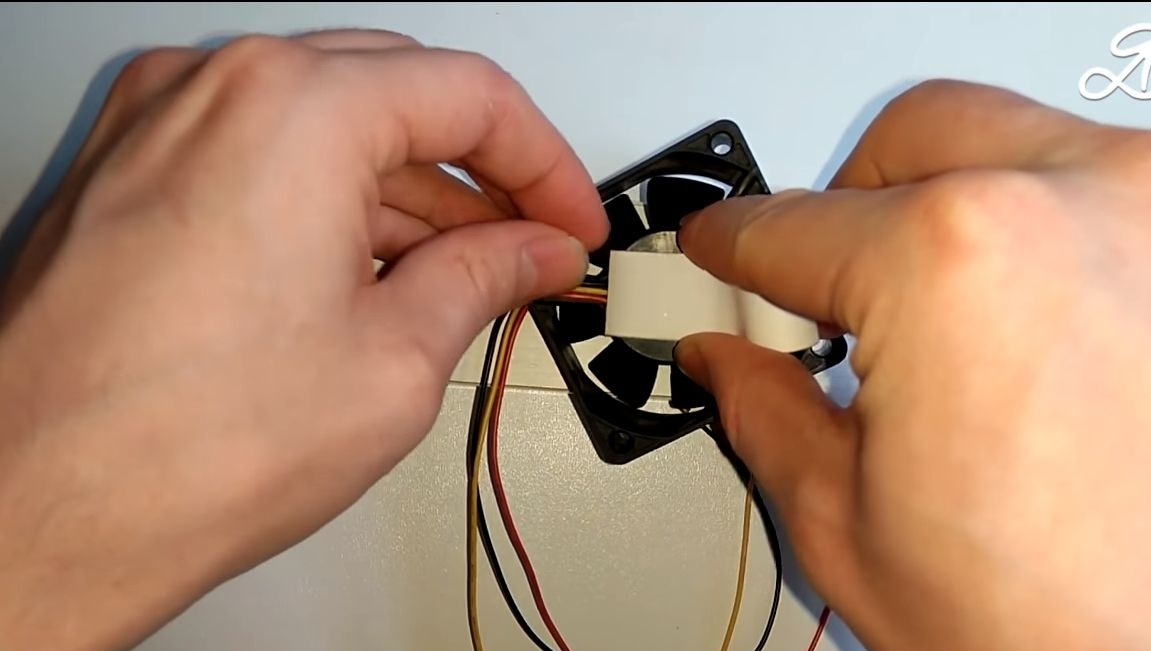
As a basis, you will need a piece of plywood or board. First, install the cooler. The author fastens it on a double-sided adhesive tape, it can also be combined with superglue for reliability.
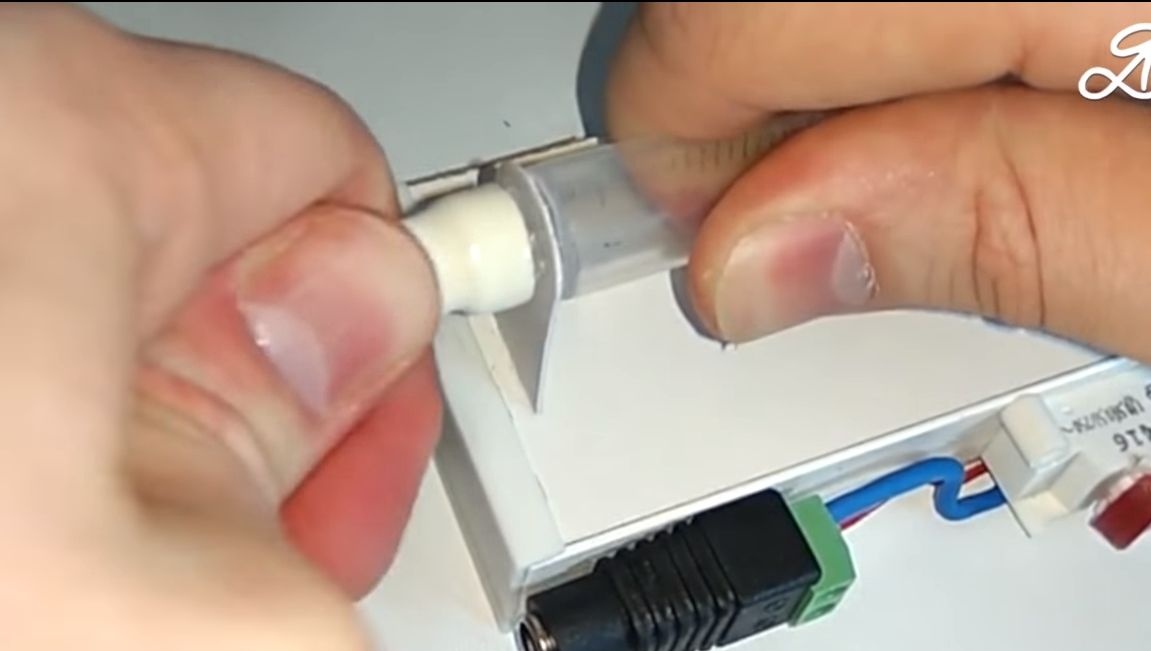
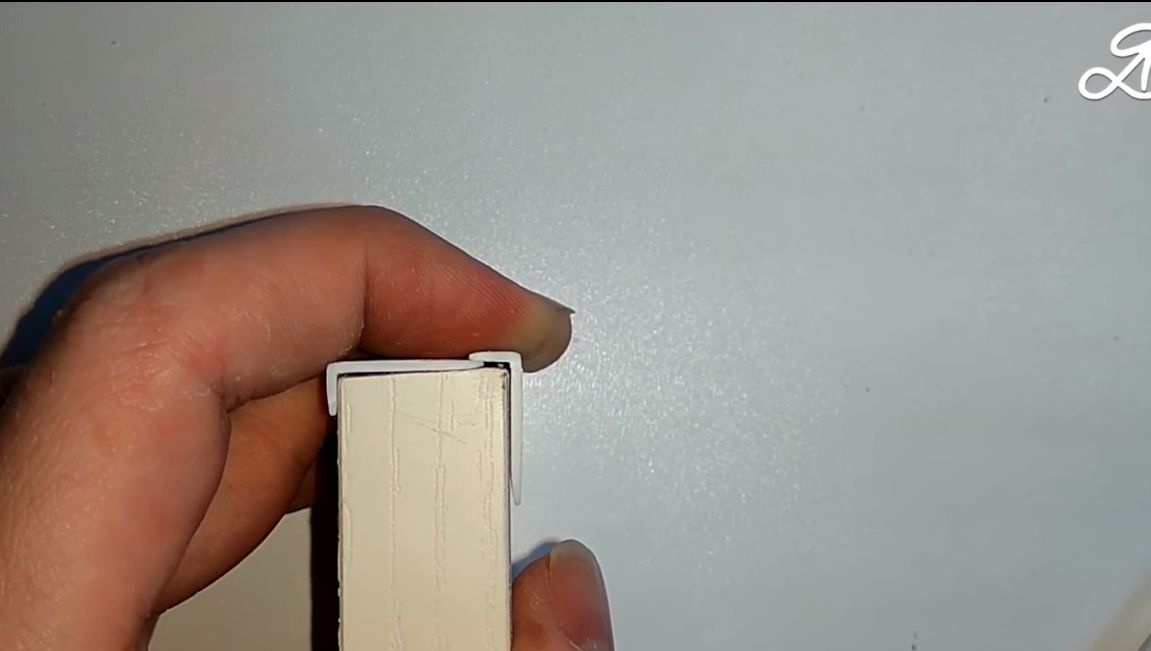
Now you can install the pump, we also glue it on a double-sided tape, and then we still wrap it on top for reliability. Under the syringe, the author cut out a support from an old bank card, another sheet of plastic is also suitable. It is also advisable to stick this element for reliability. Now you can put a hose on the tip of the syringe.
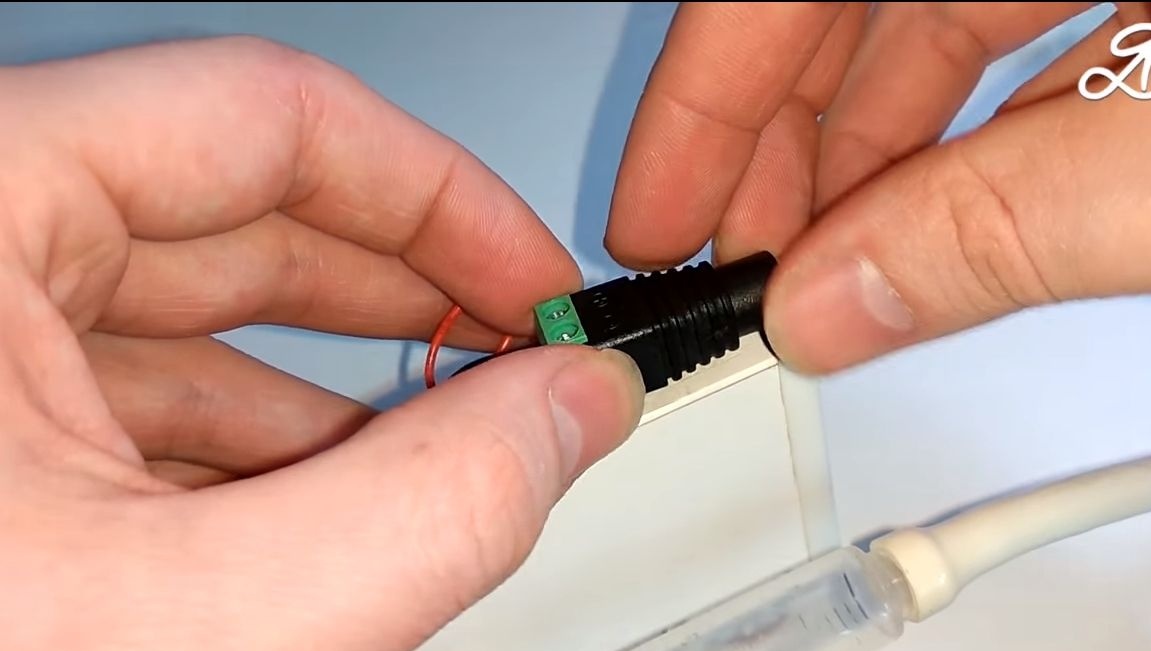
All that remains for you is to connect the wiring. The circuit provides a switch for convenient use, as well as a socket for connecting a power supply. We fix everything with super glue, and preferably with hot glue, if any.
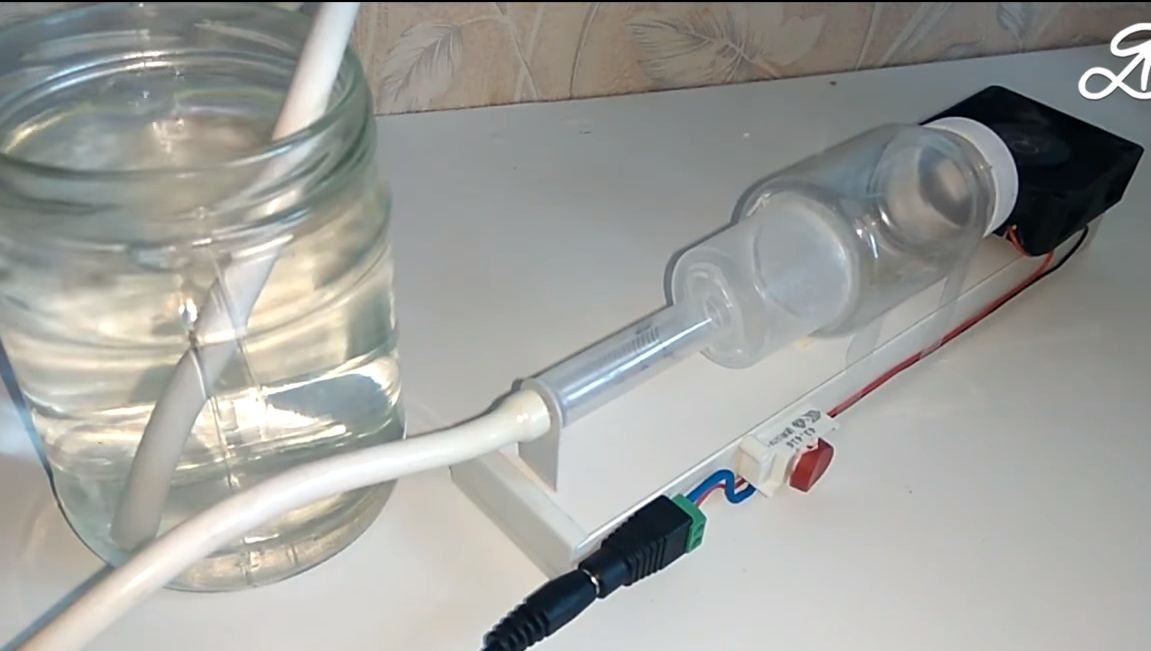
Well, that’s all, the pump is ready, you can experience it. The author lowered the hose into a can of water and demonstrates how his device pumps air. That's all, good luck and take care!