
Good day to all. In this article, we will consider how the author assembled such a powerful blower do it yourself from cans of different sizes and shapes.
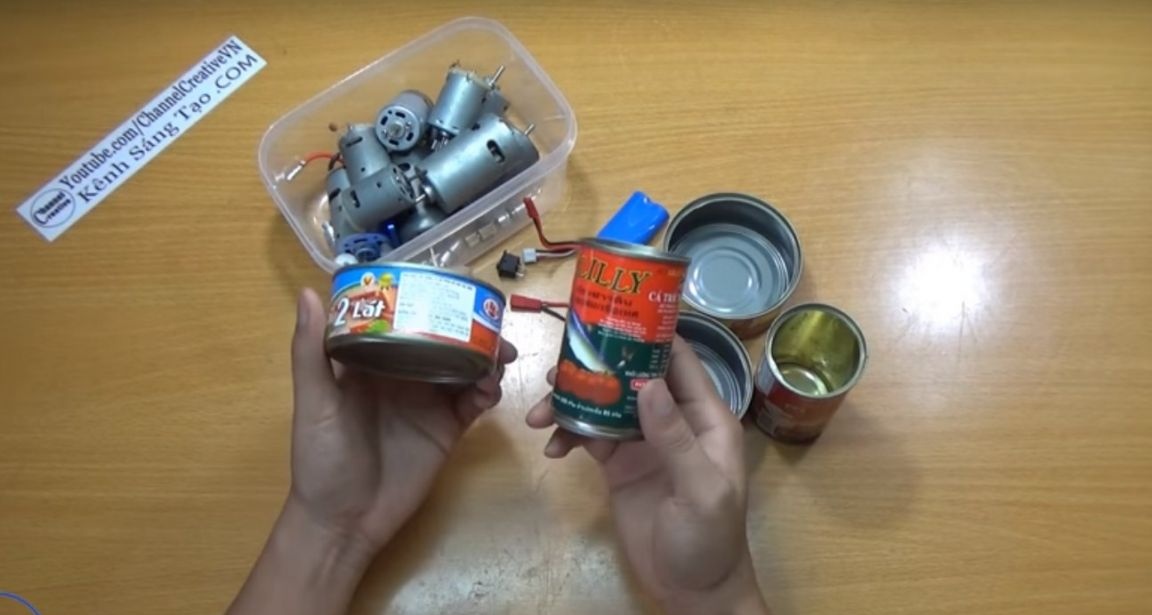
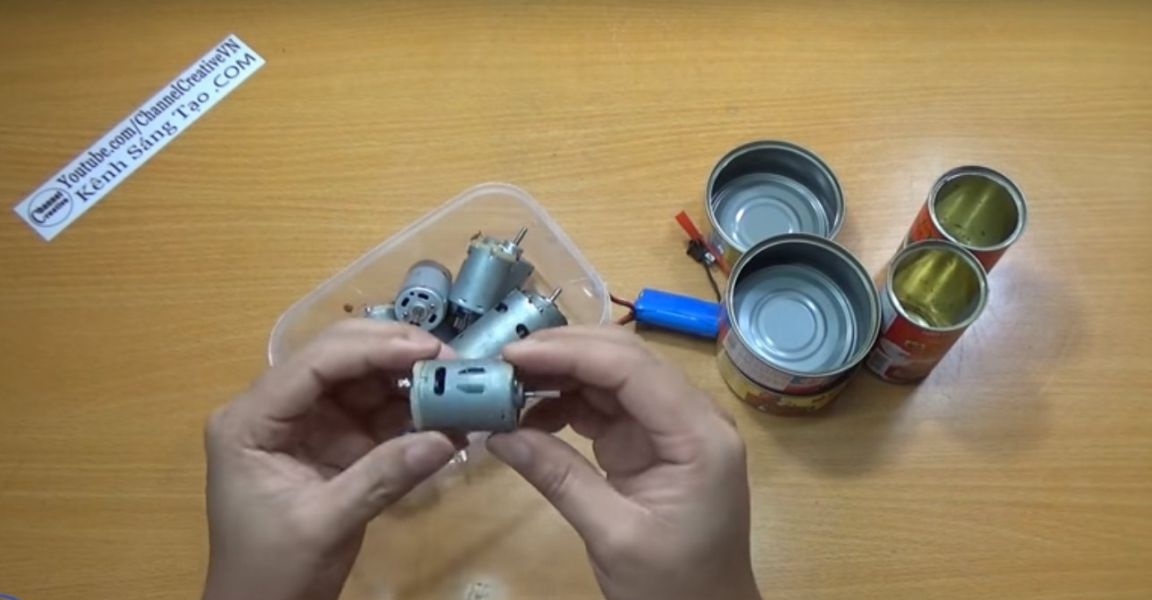
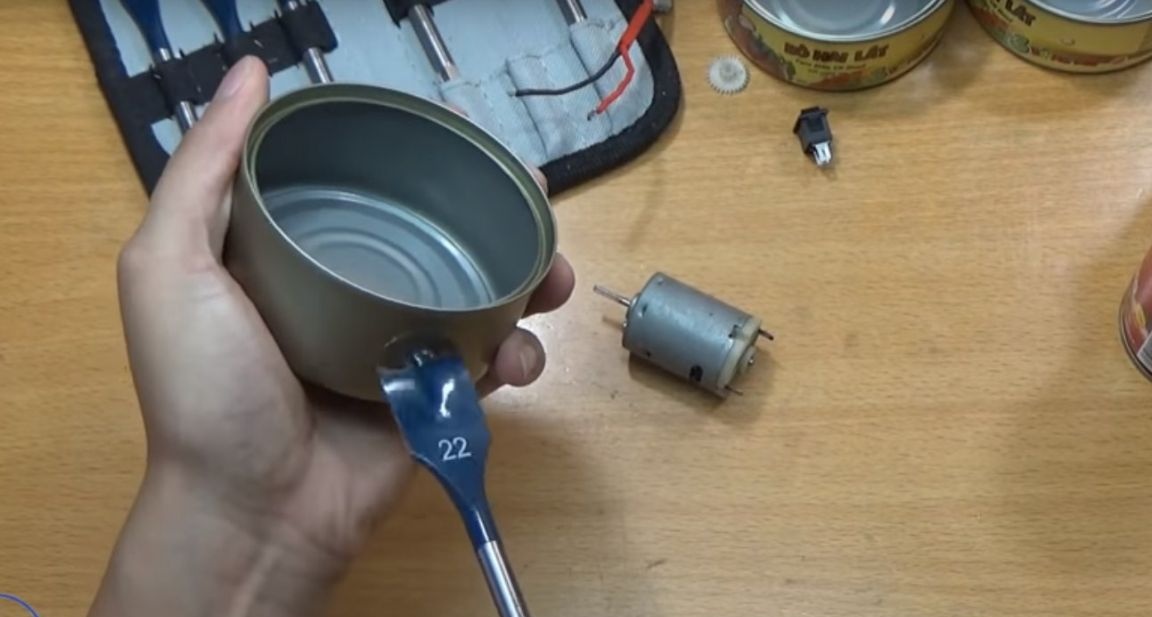
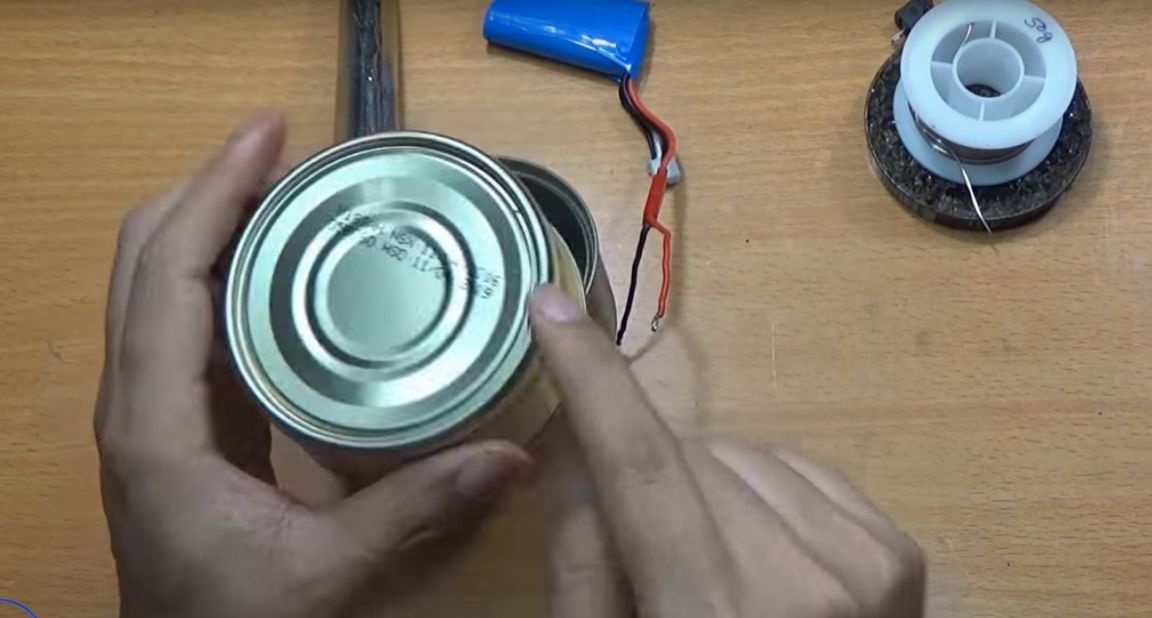
For this homemade the author needed: a few, these cans.
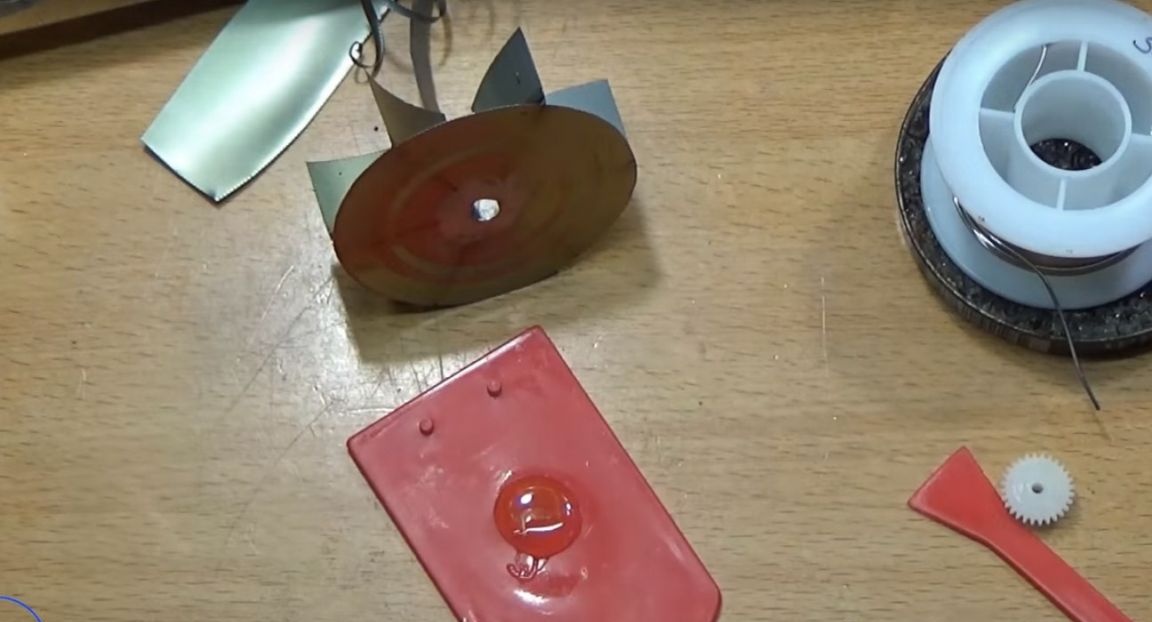
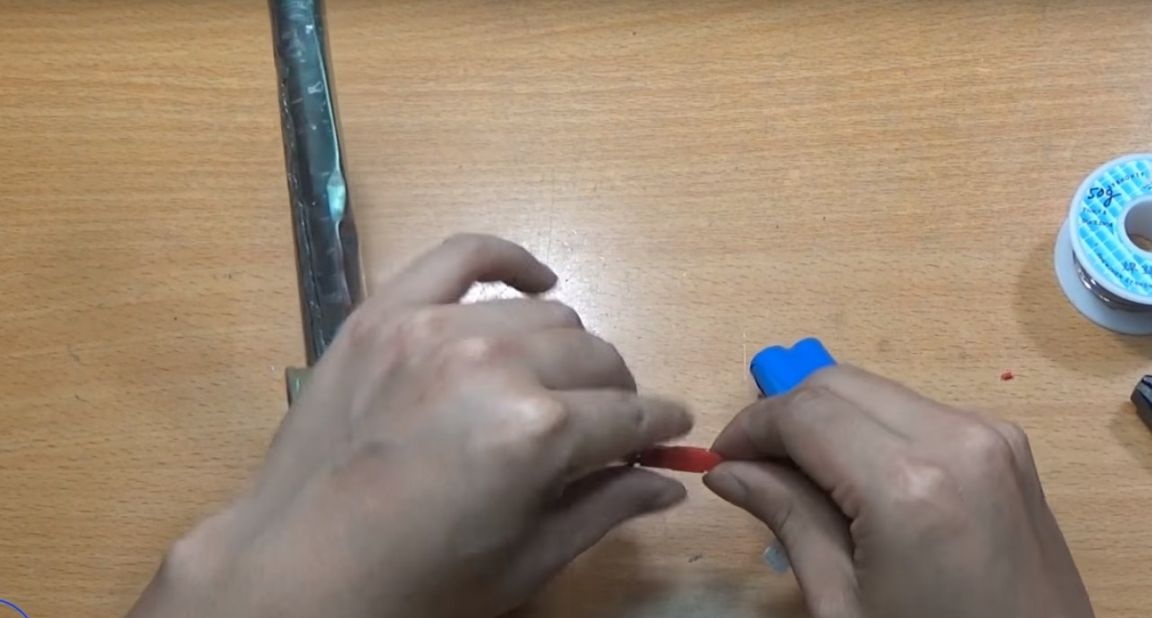
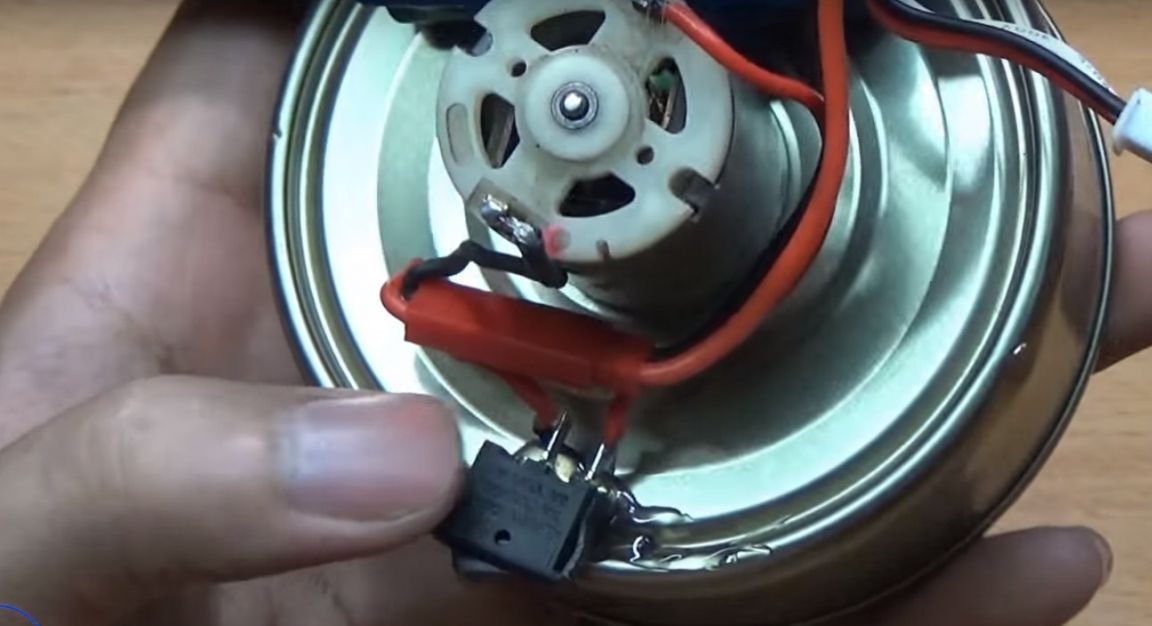
Battery, small switch and a couple of wires.
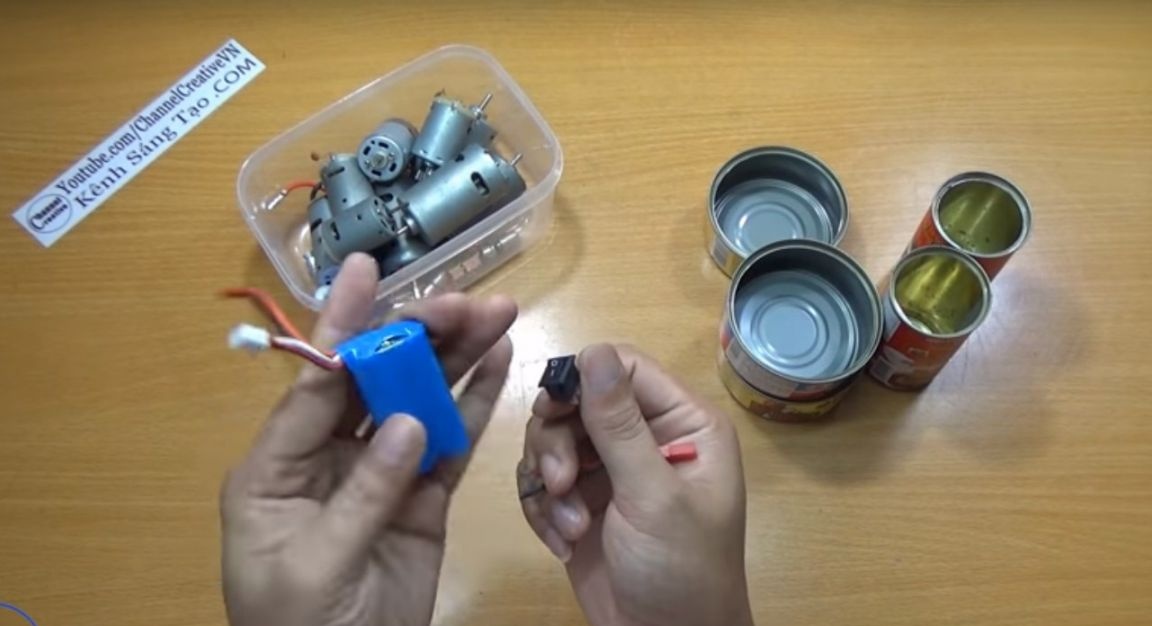
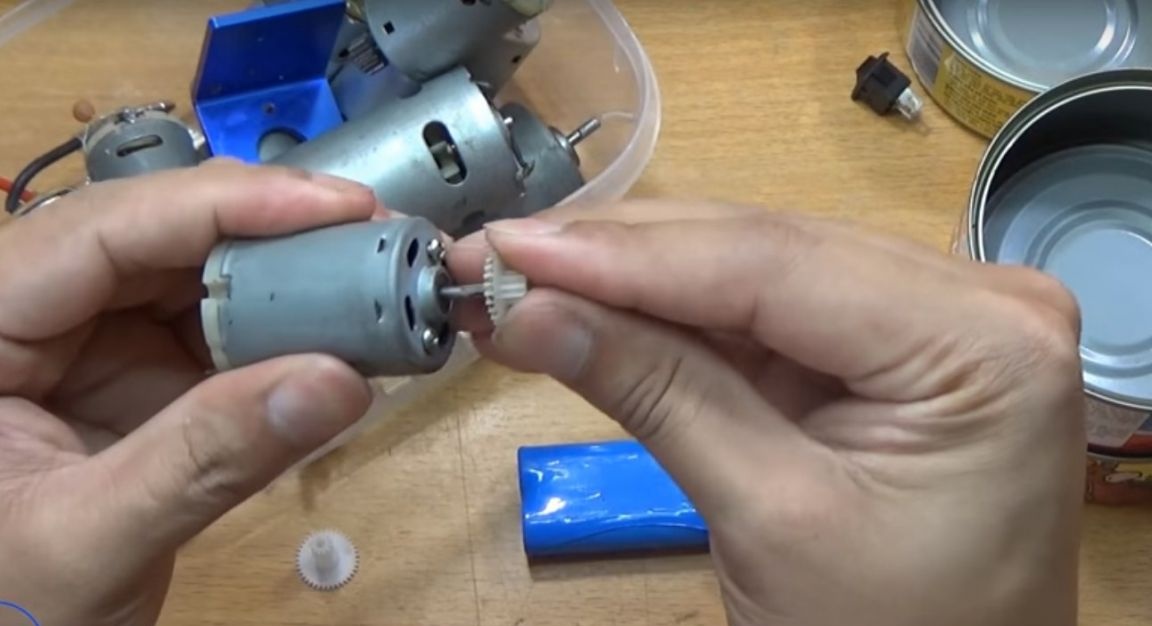
Motor 6 V.
And a plastic gear that sits tightly on the axis of the motor.

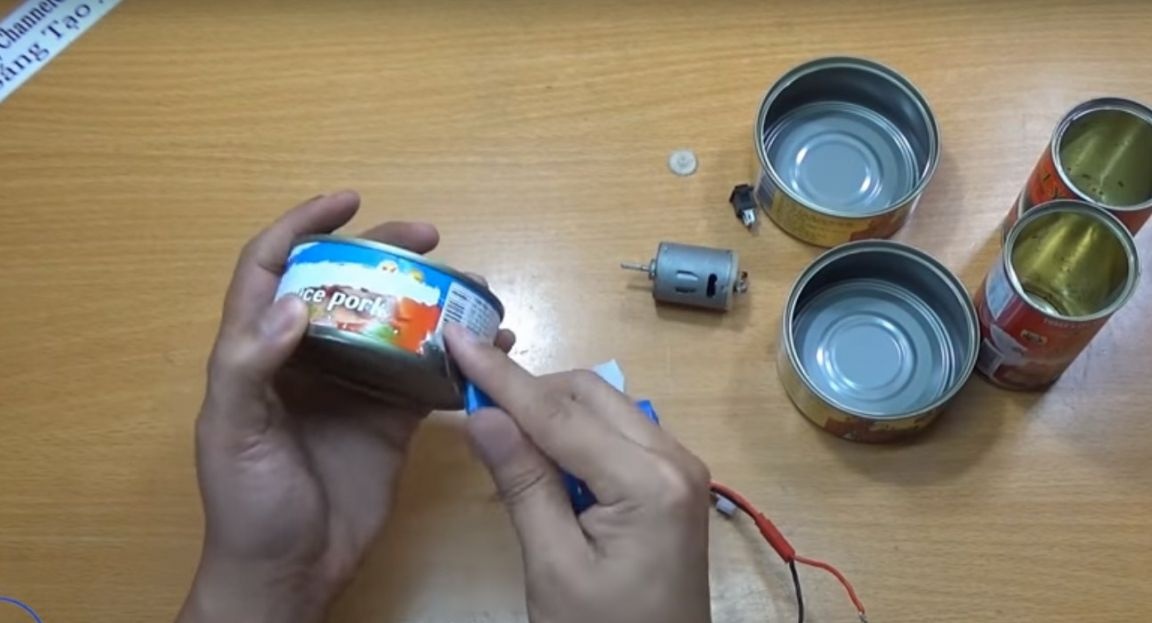
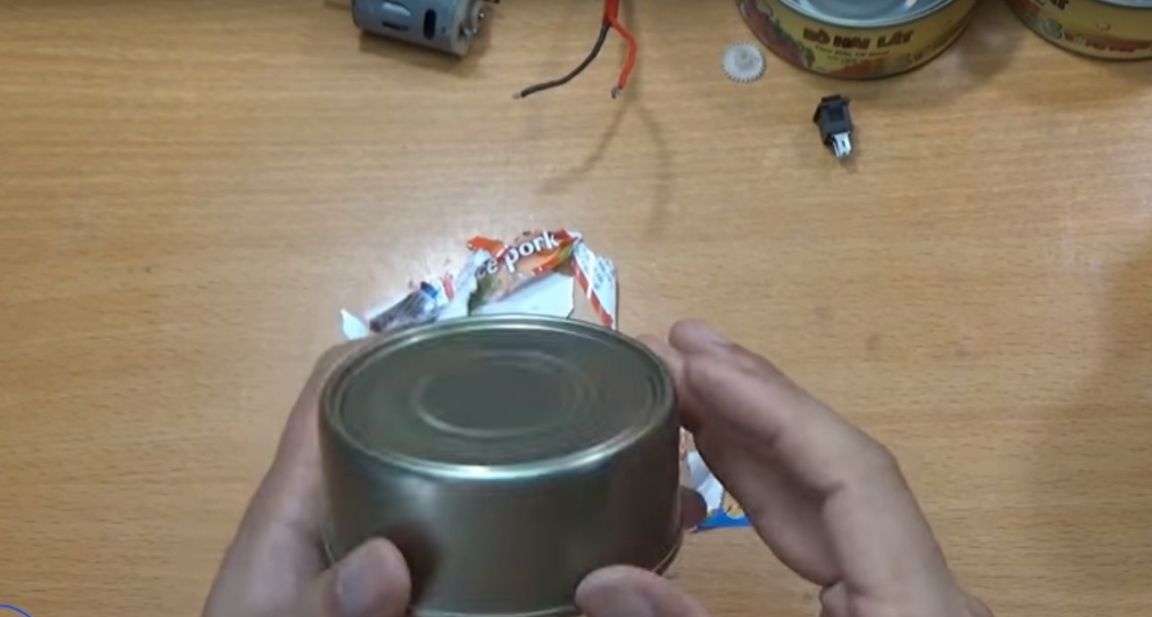
And so the author began to manufacture. To begin with, on the can, which is lower, he removed the label.
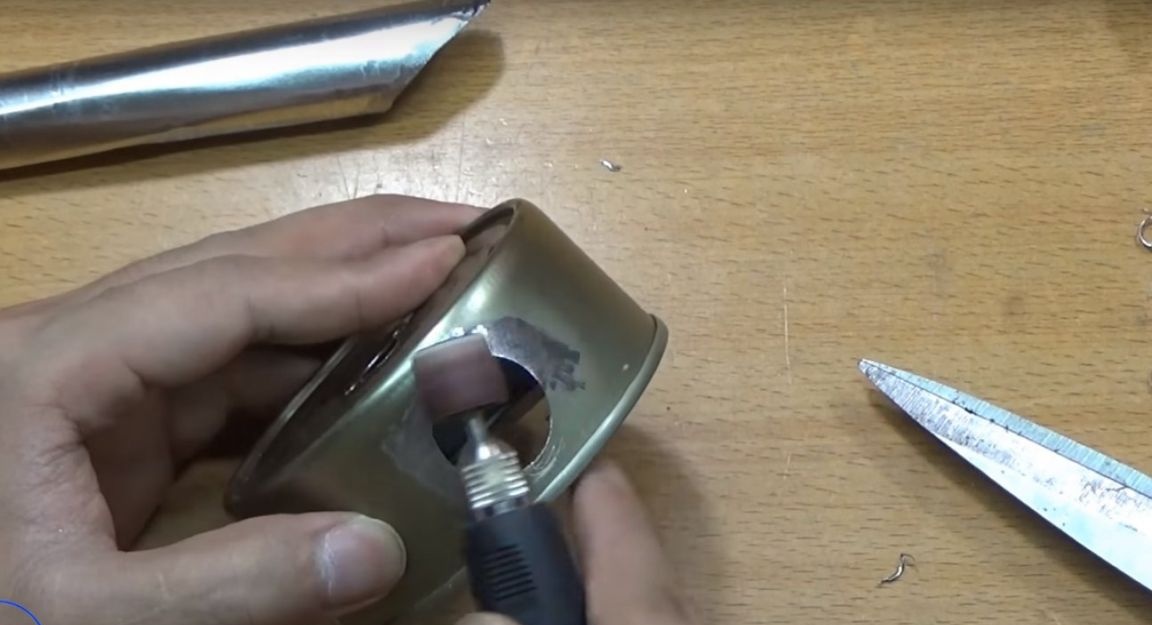
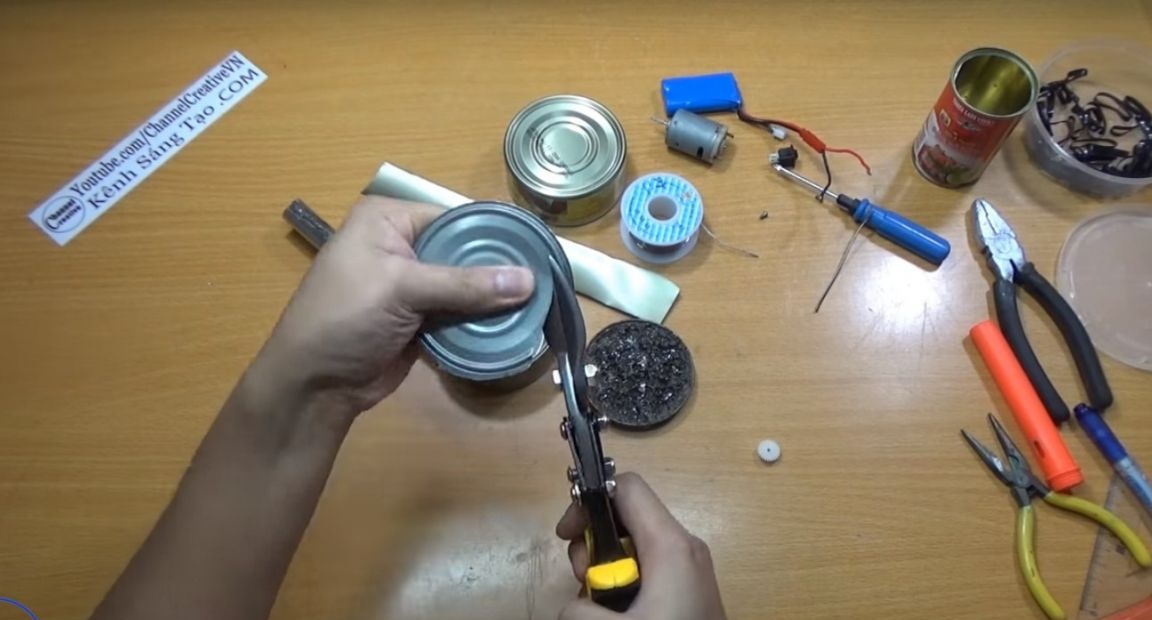
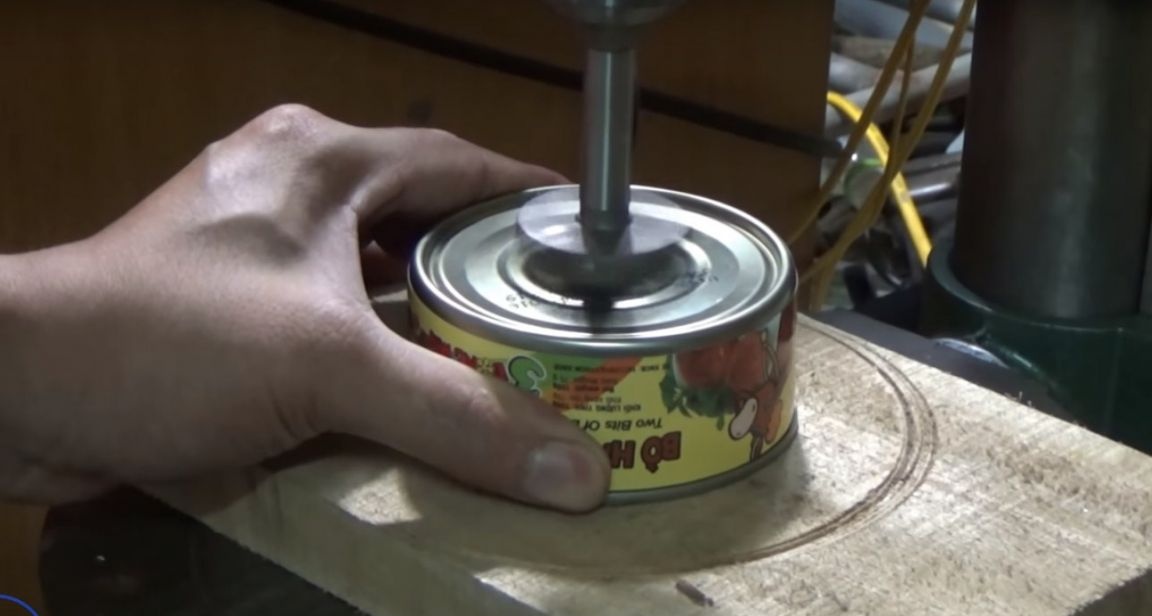
Then he made a hole with a 22 mm drill bit on the side of the can.
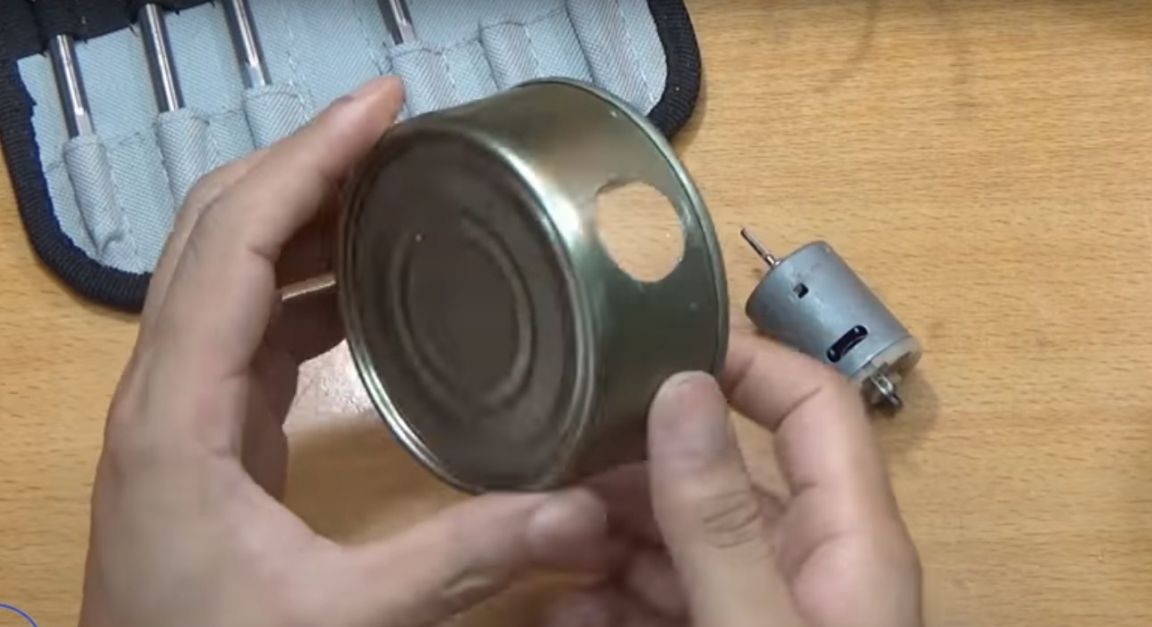
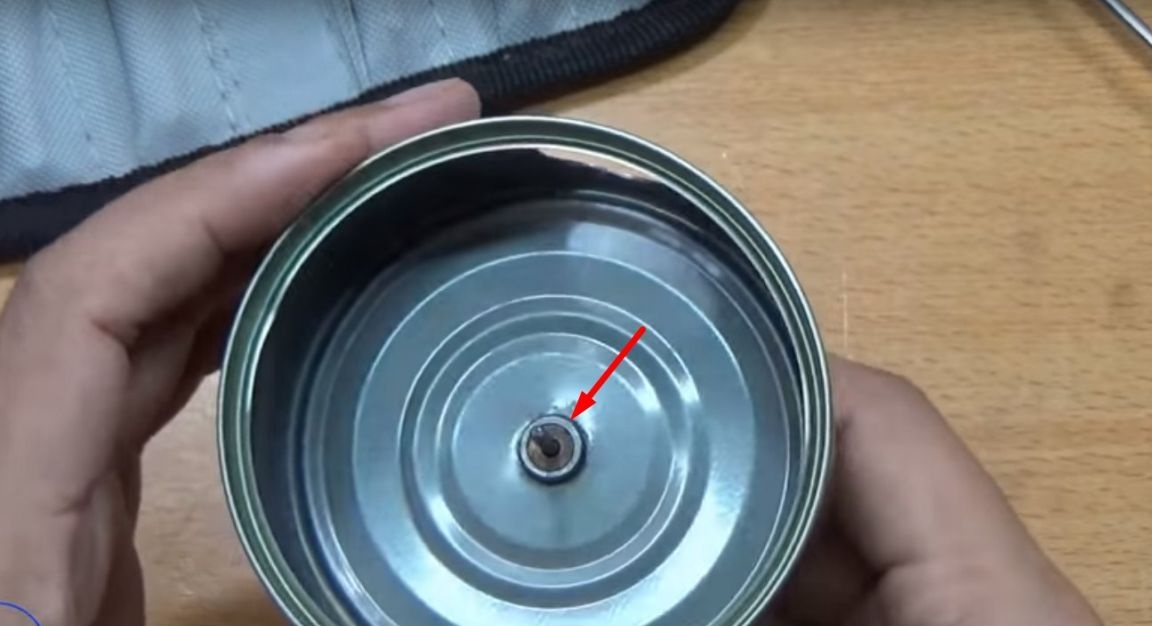
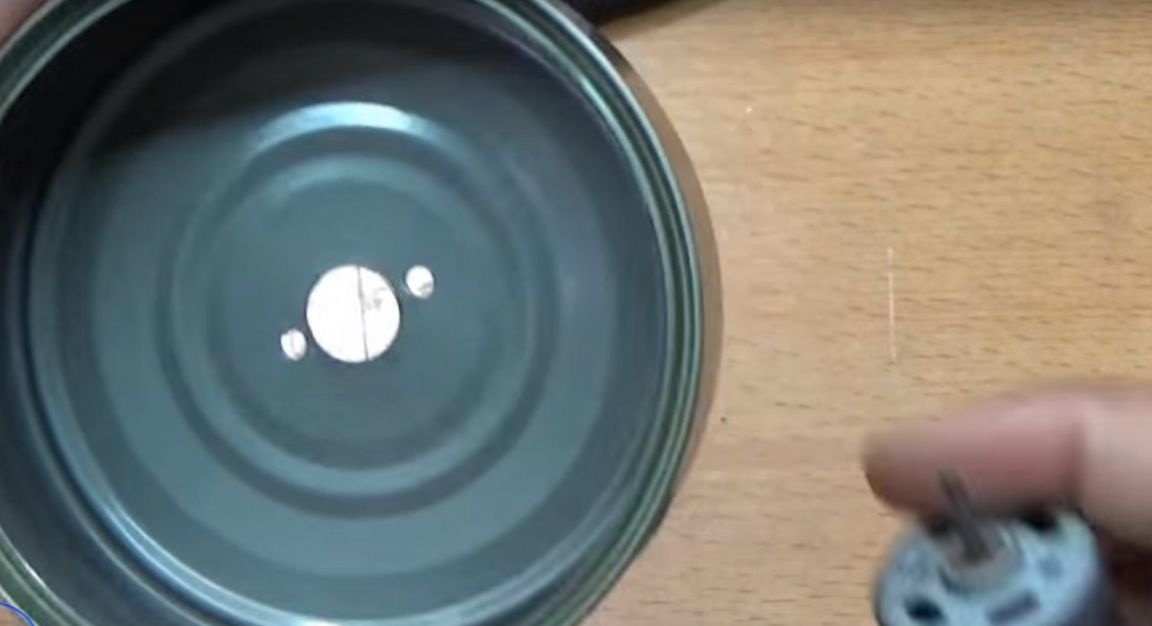
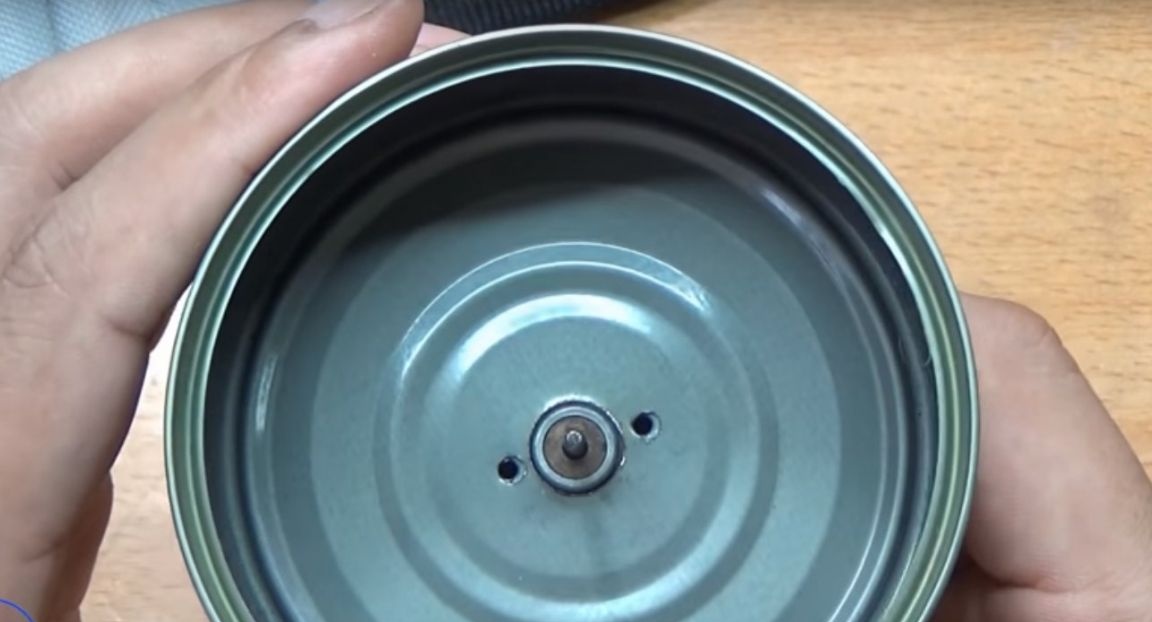
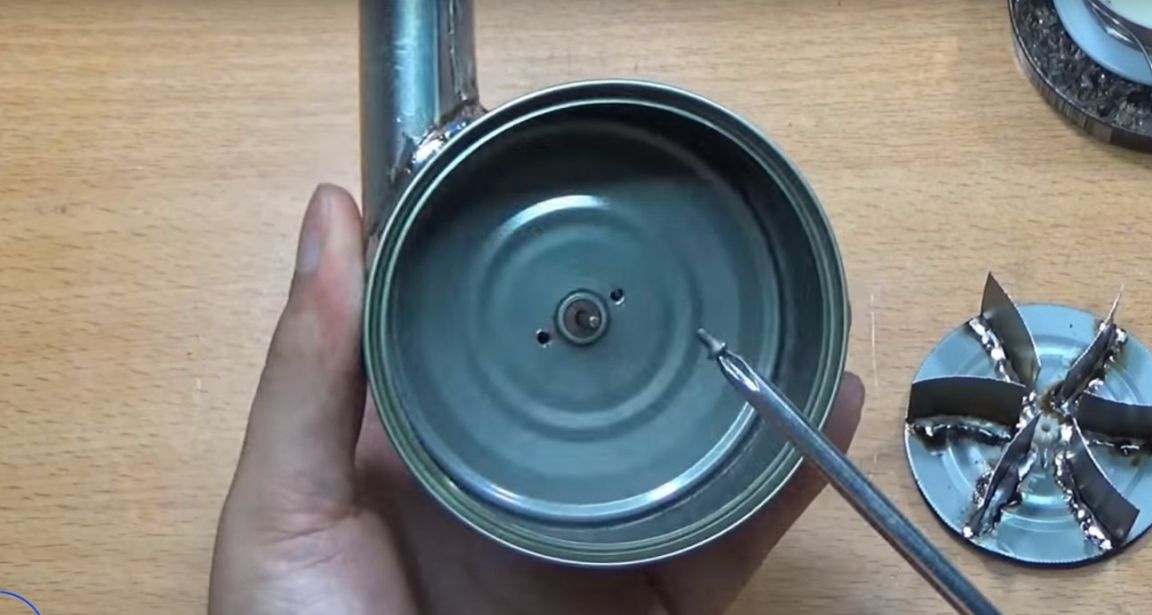
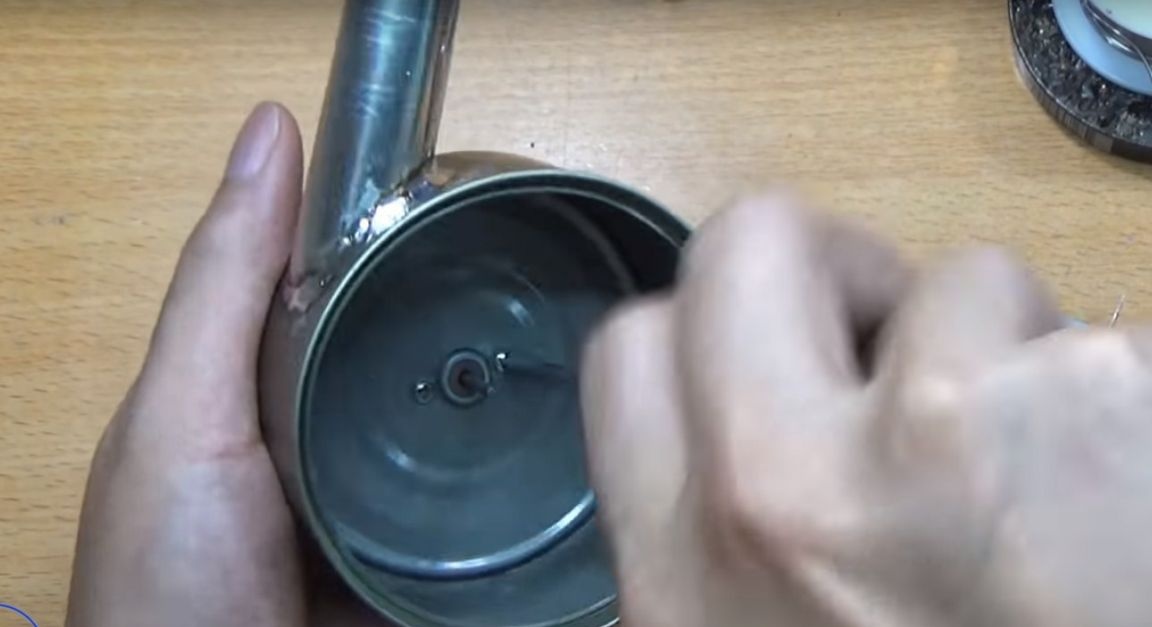
At the bottom of the can in the center, the author also made a hole.

The size of the hole should match the size of this part of the motor.
And two holes next to the center for mounting the motor.
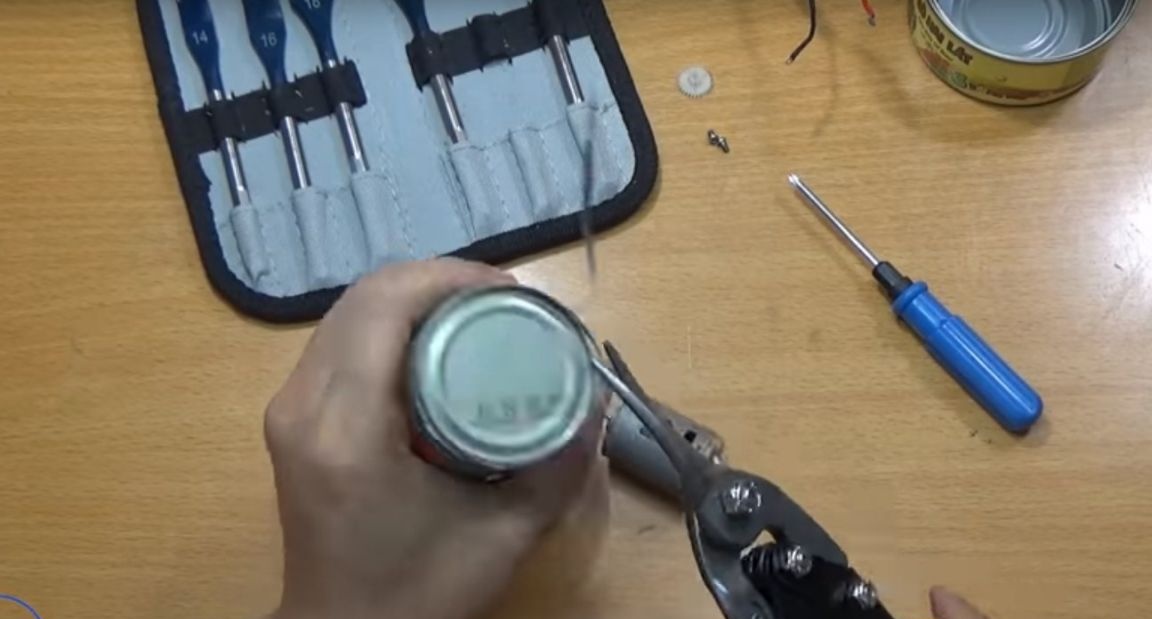
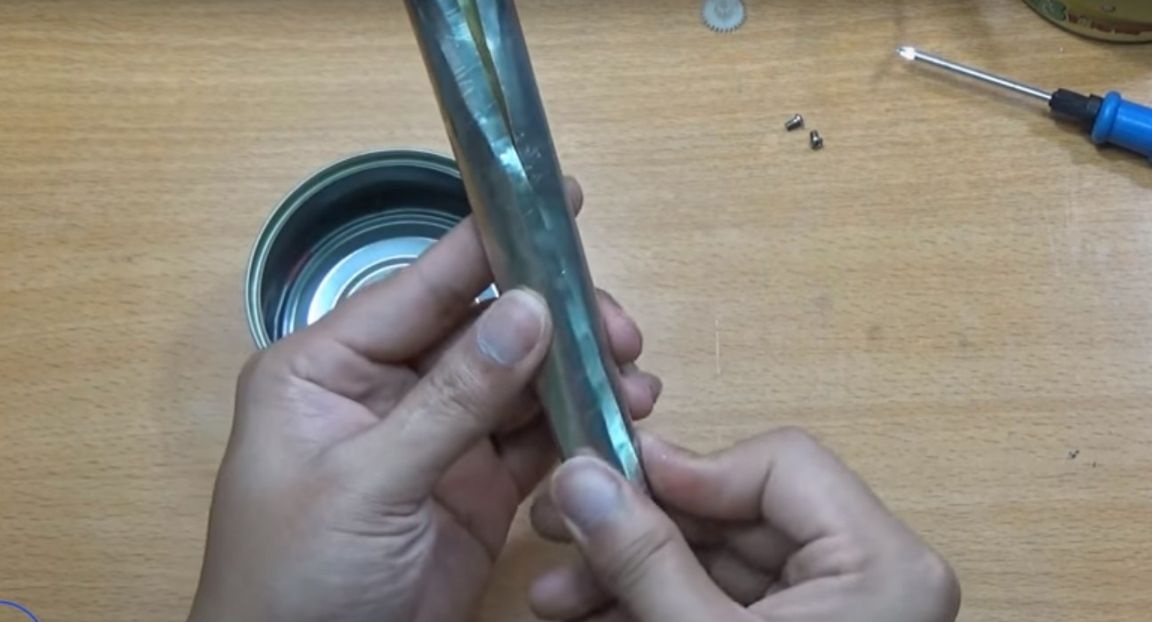
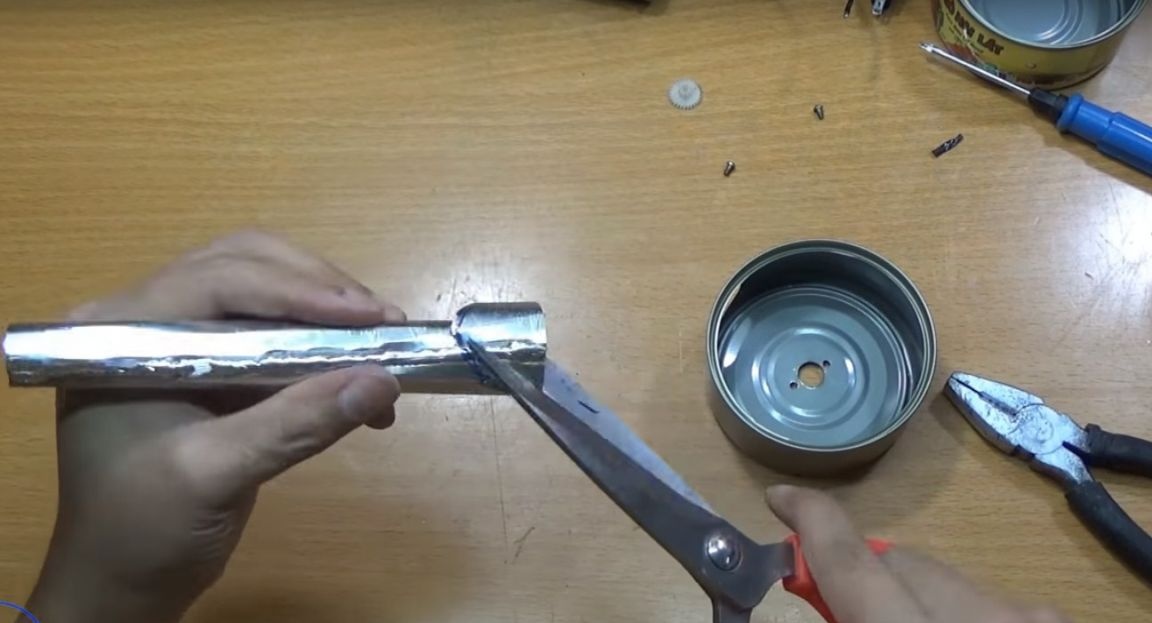
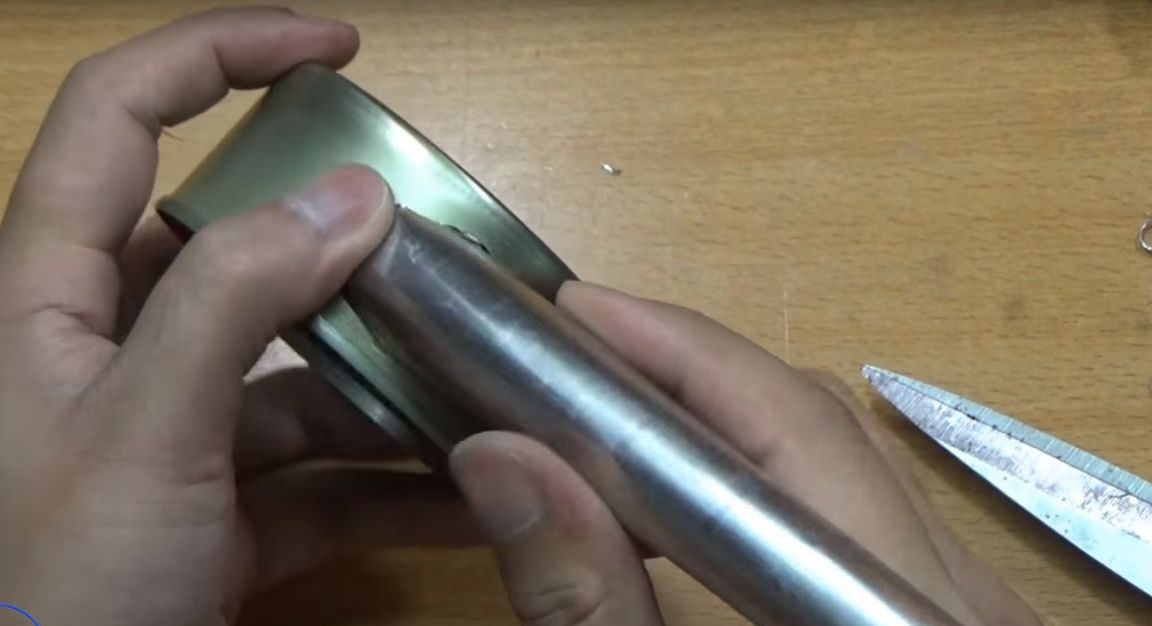
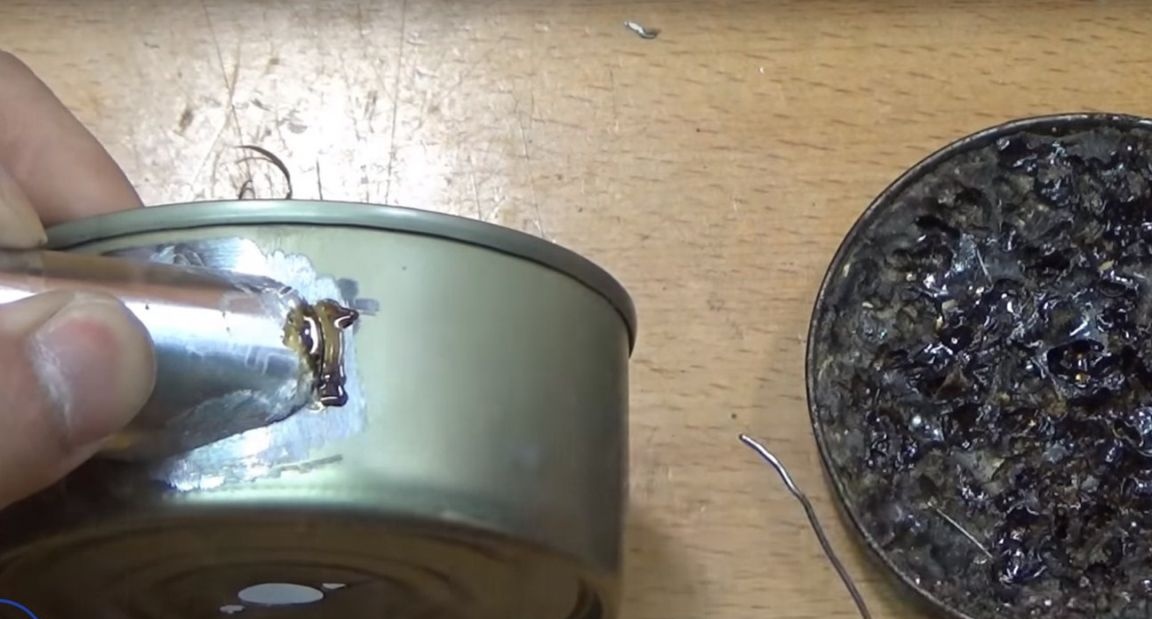
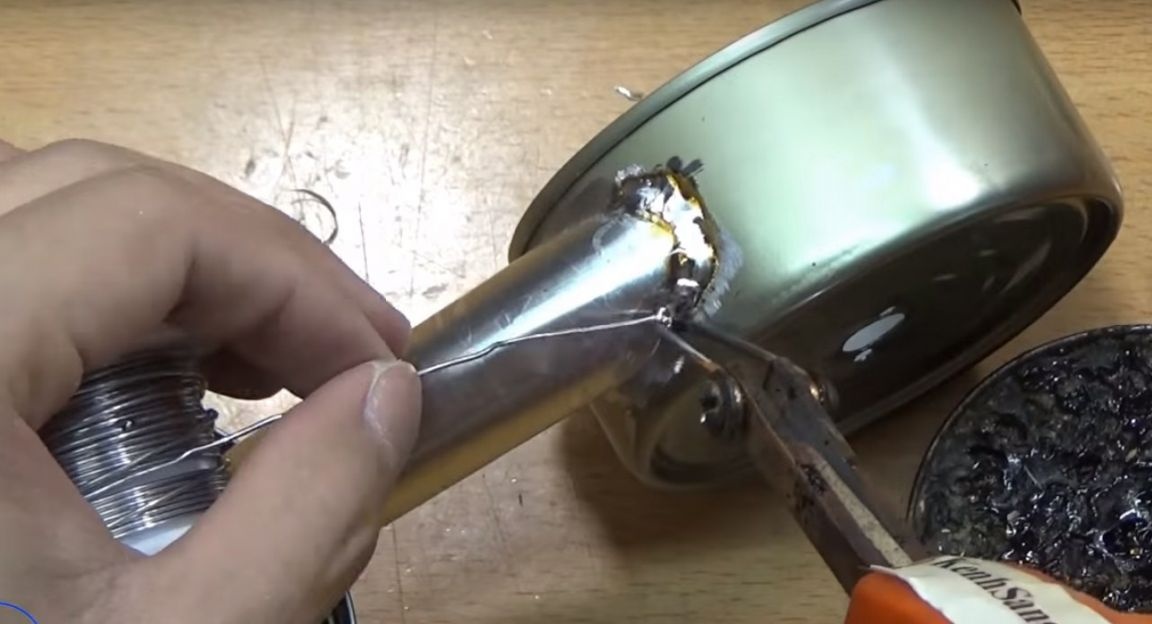
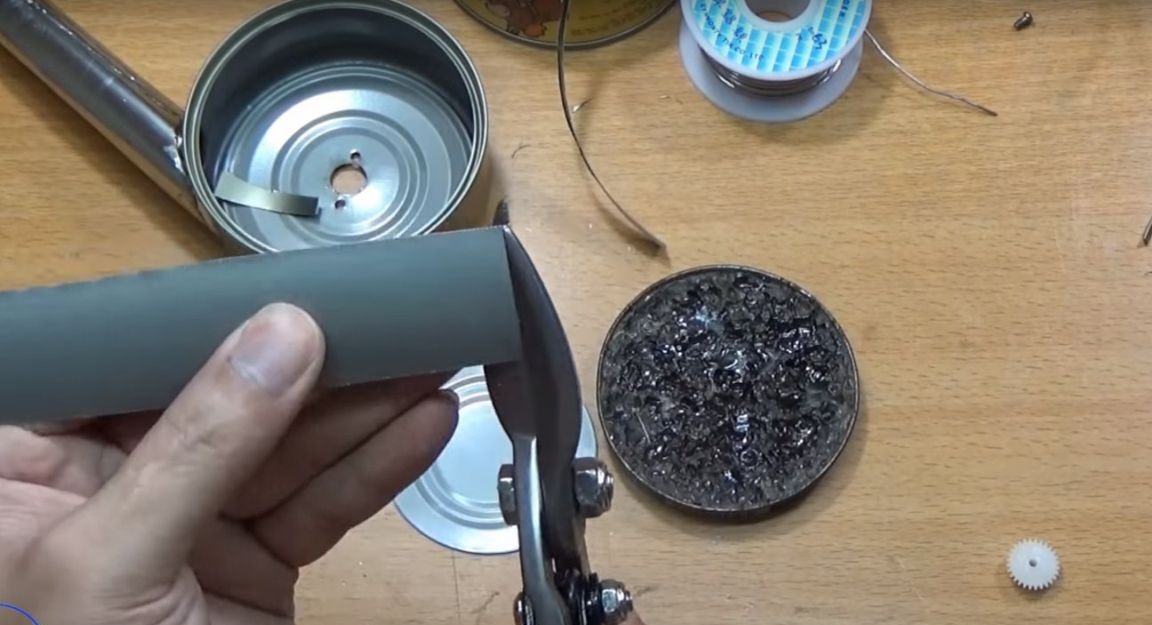
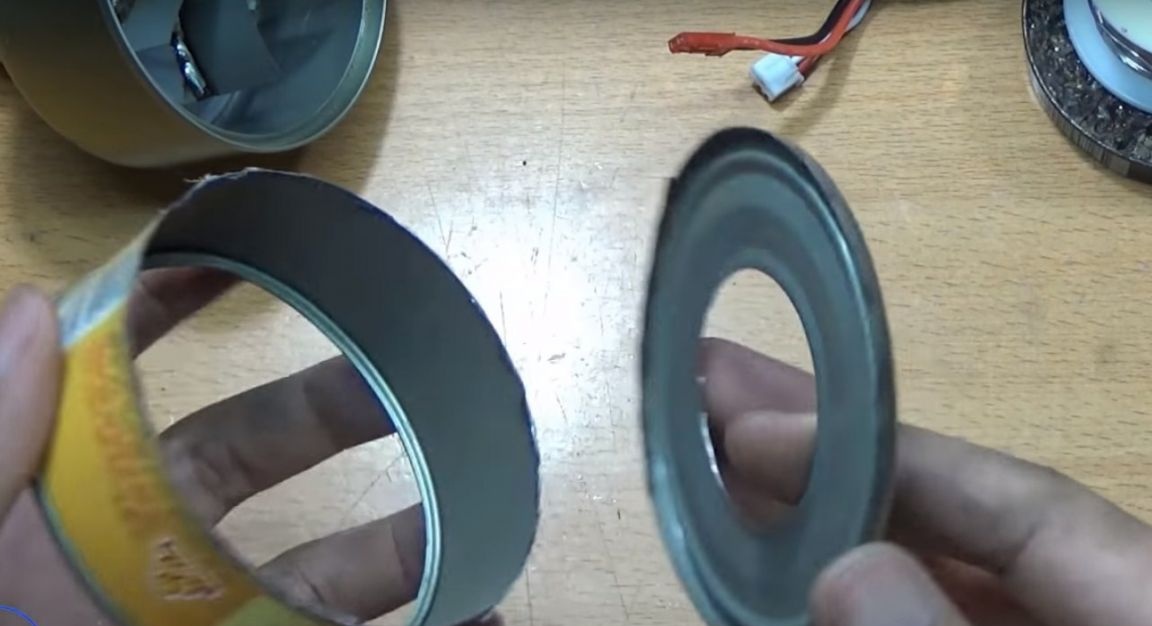
Then he took a second can and cut the bottom off it, then cut it lengthwise and removed the label.

The cone leveled and rolled out of this piece of tin.
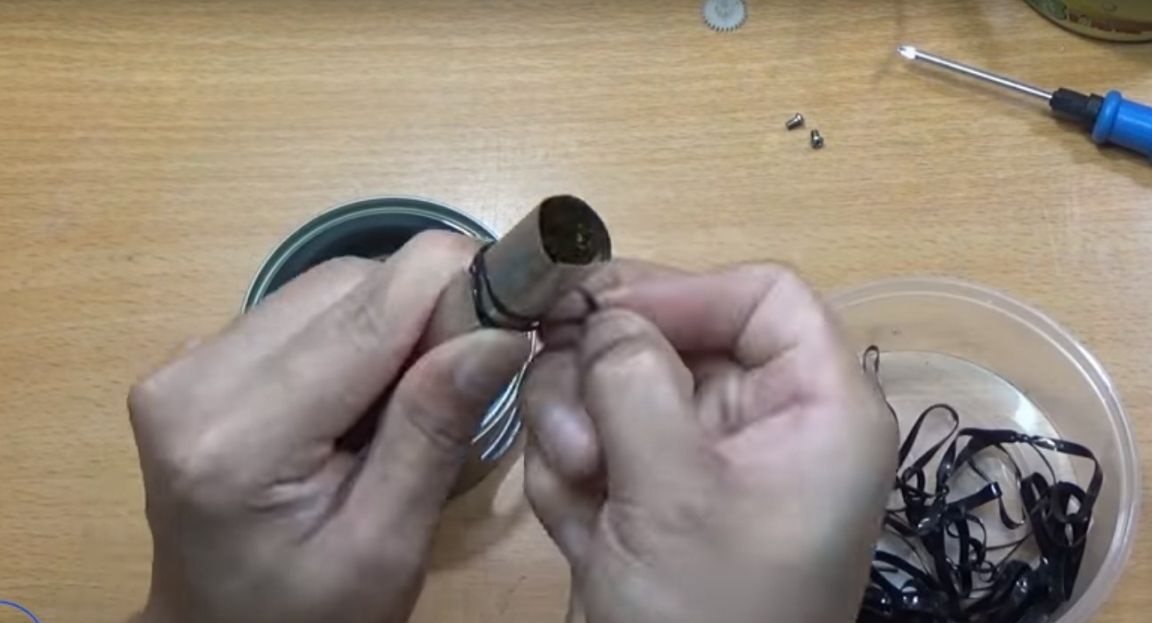
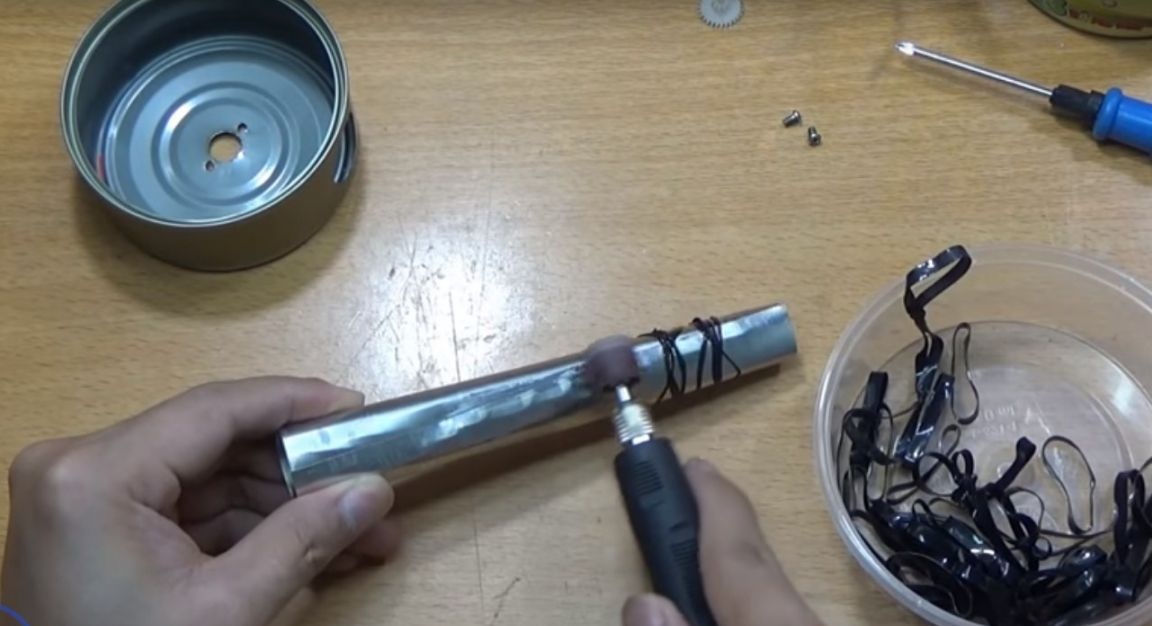
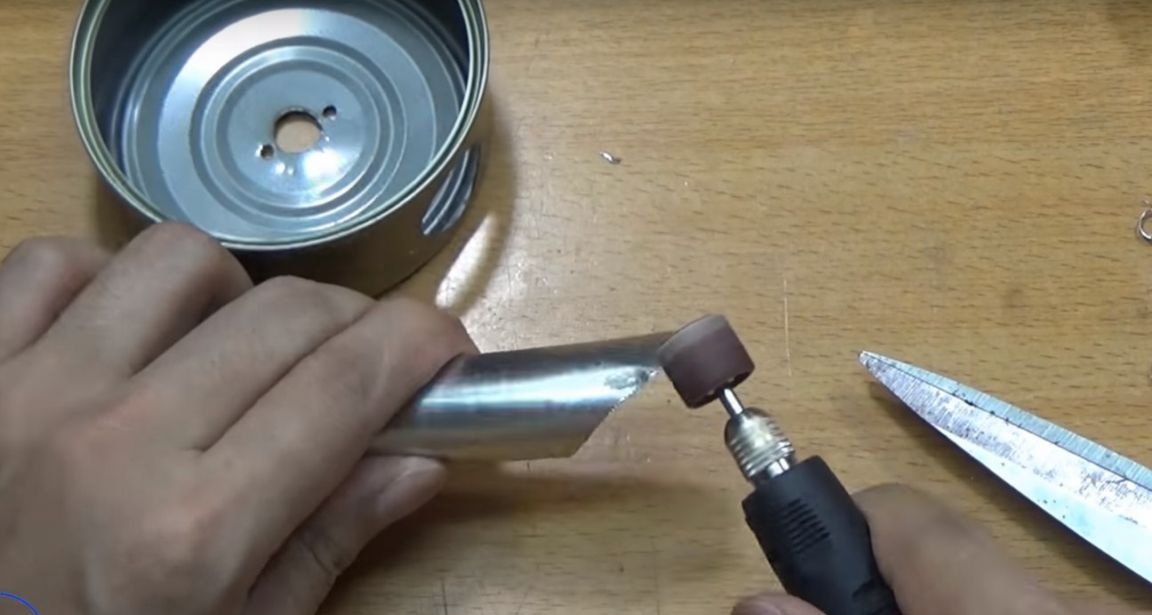
Having fixed one edge of the cone with an elastic band, he treated the junction with an abrasive nozzle and soldered it well.
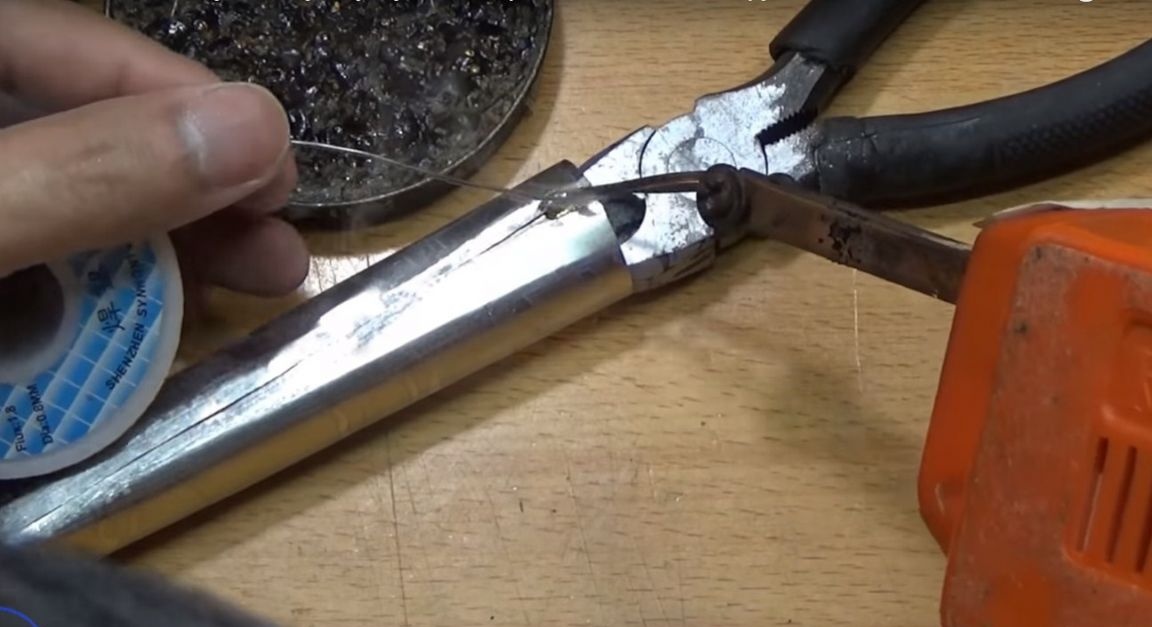
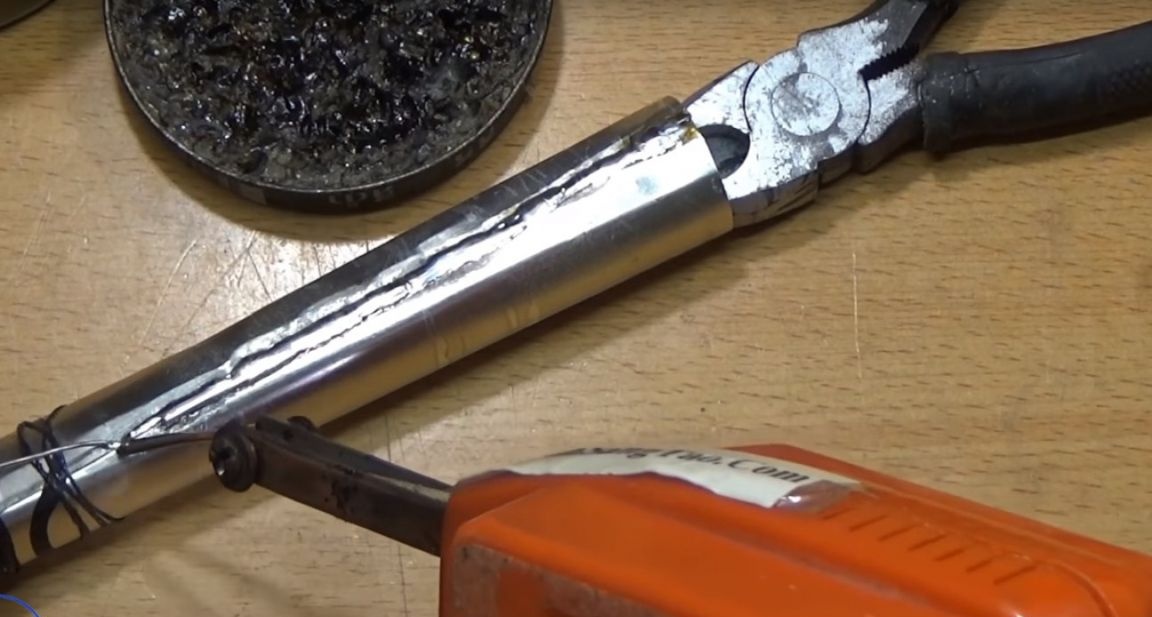
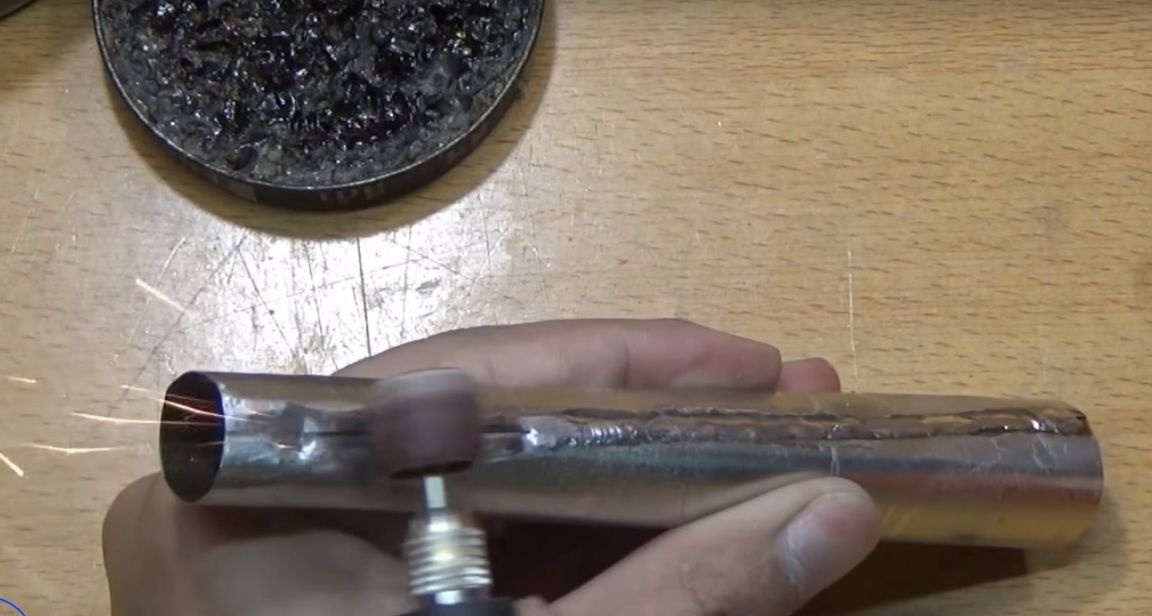

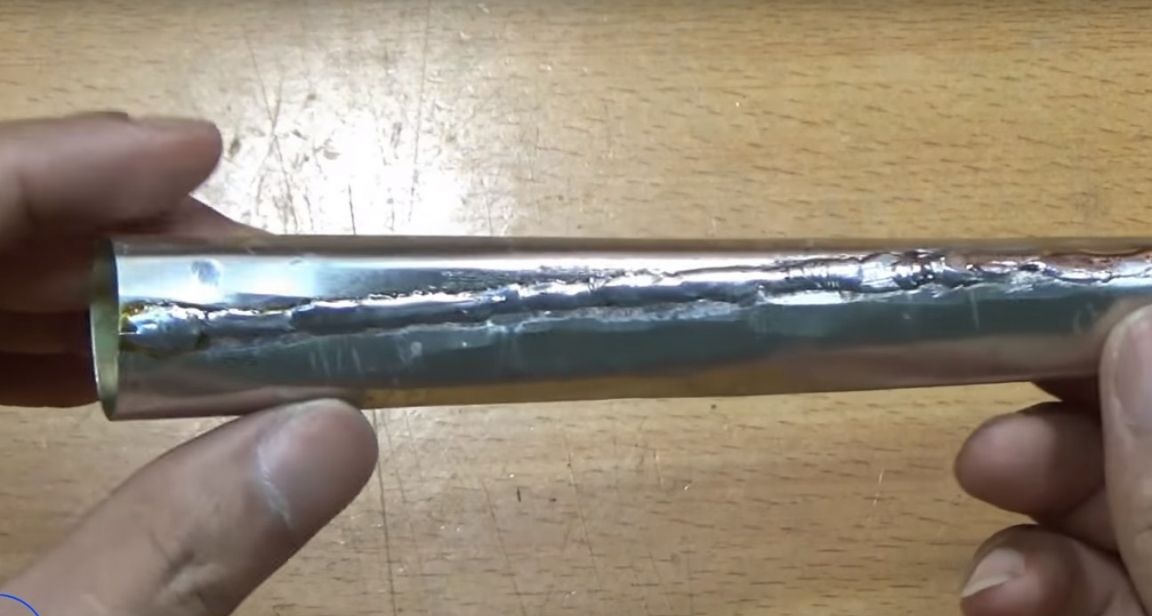
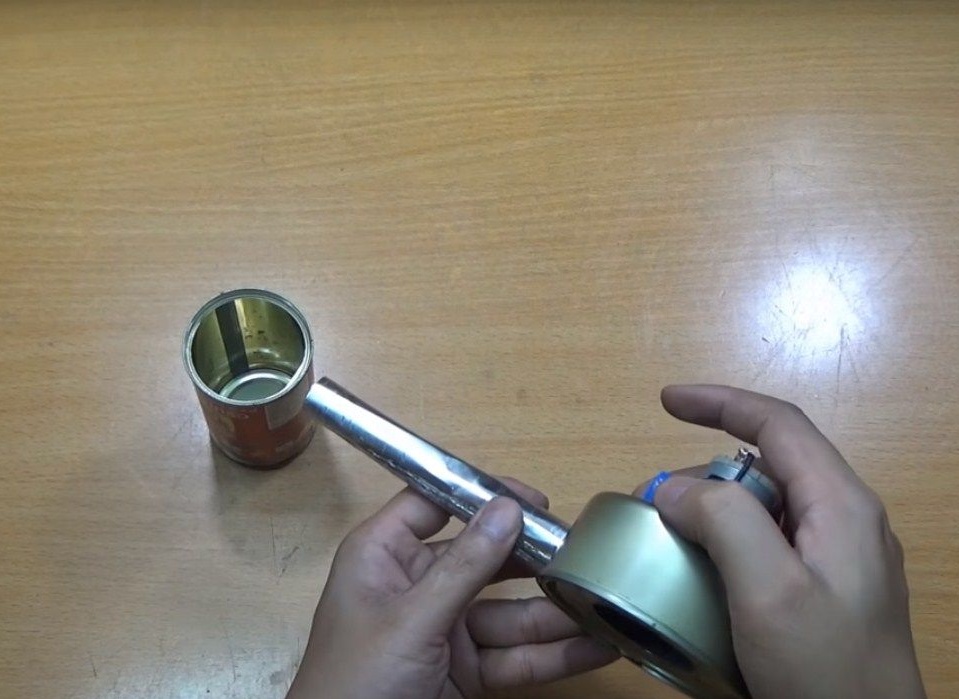
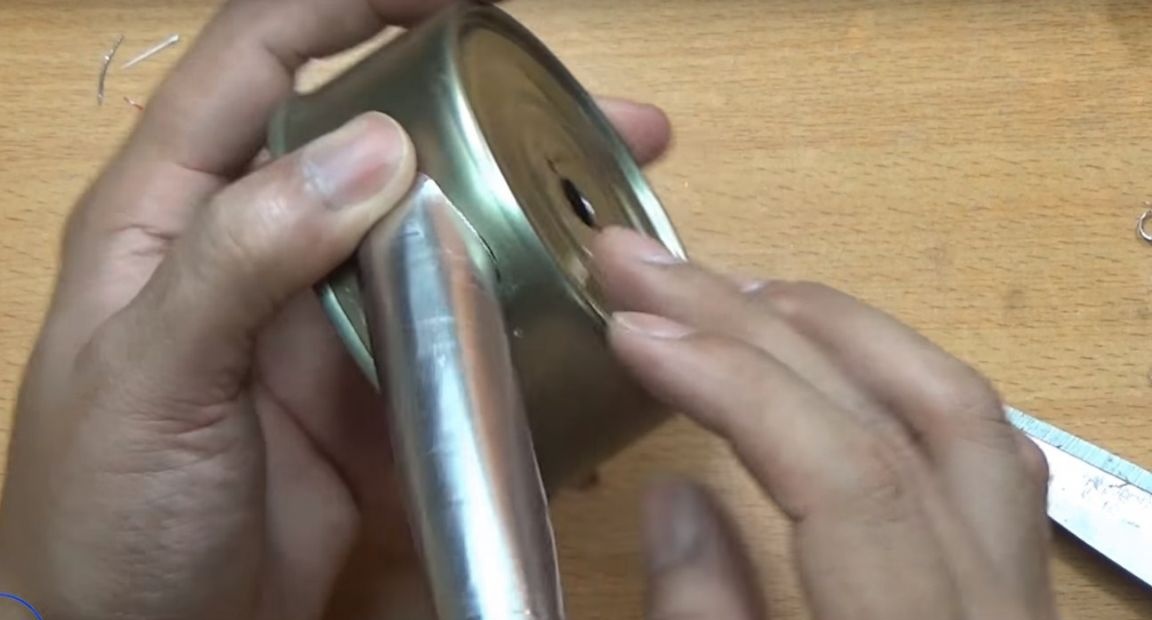
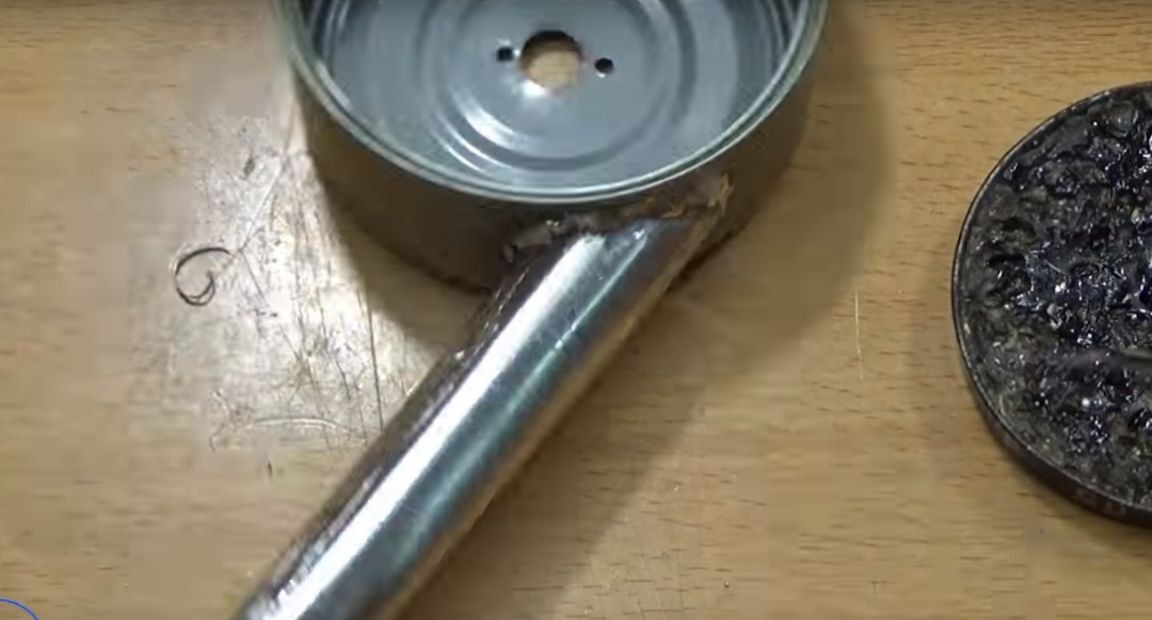
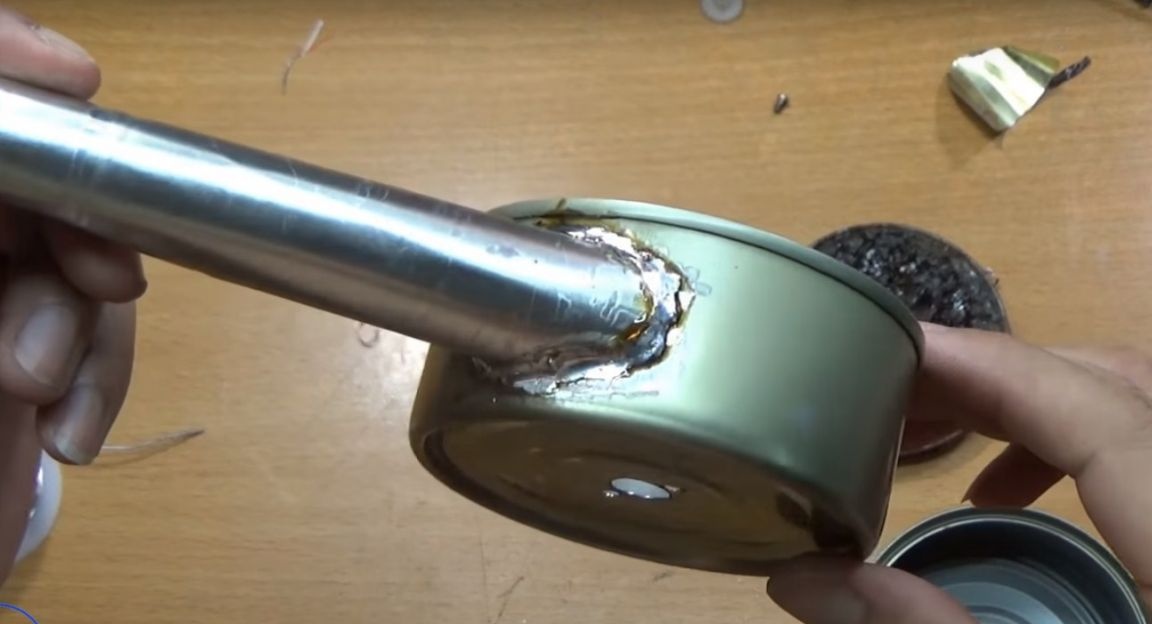
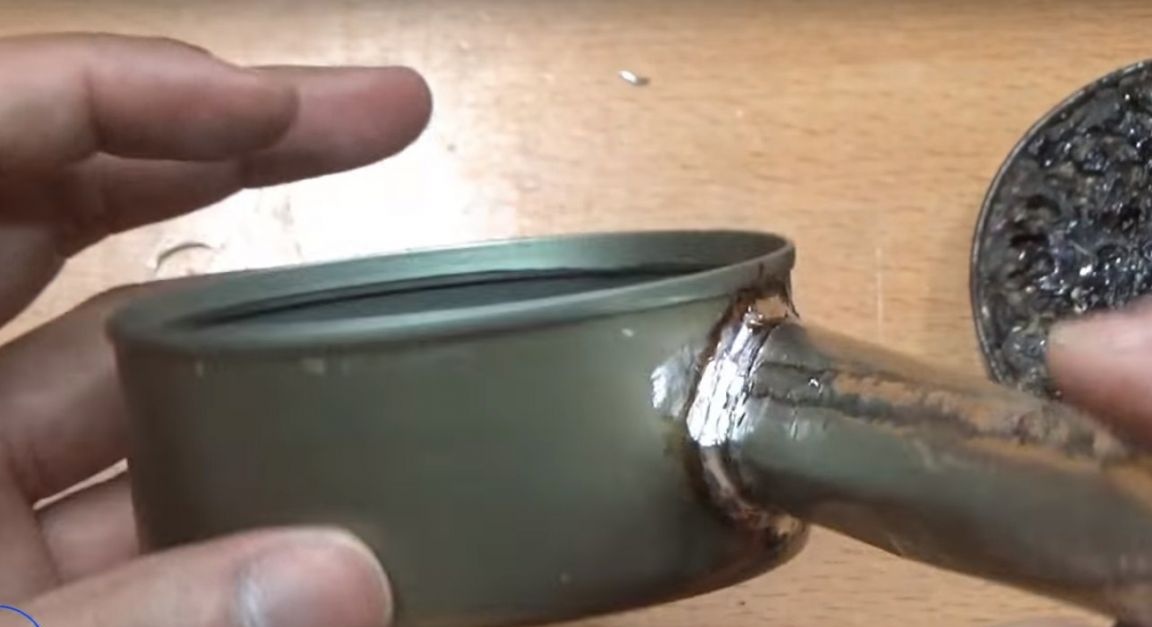
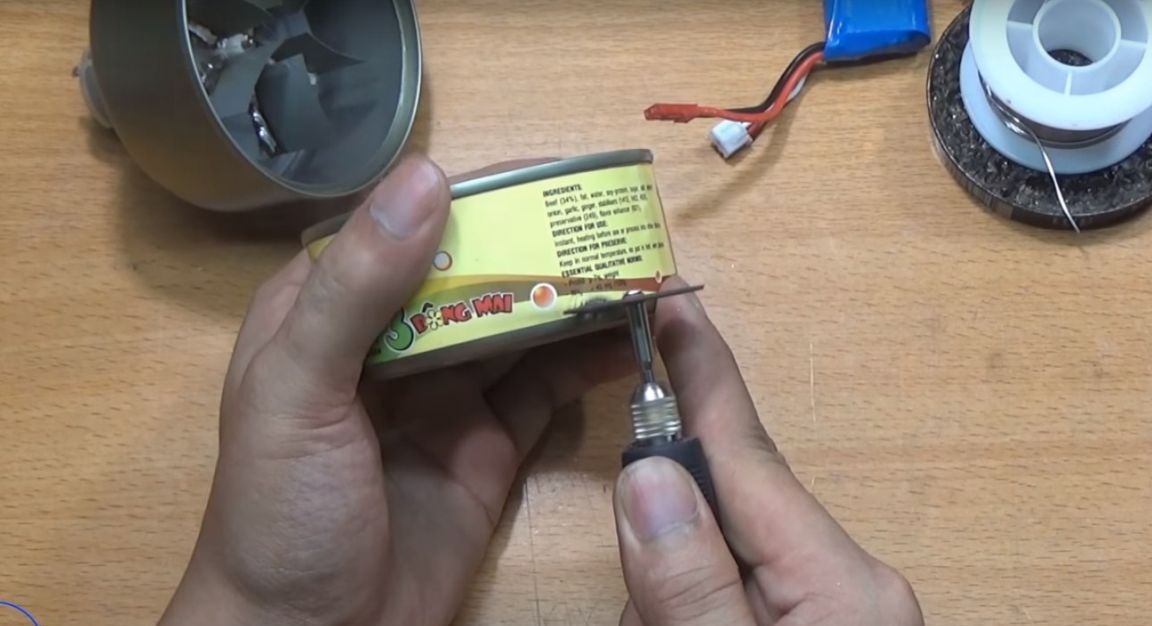
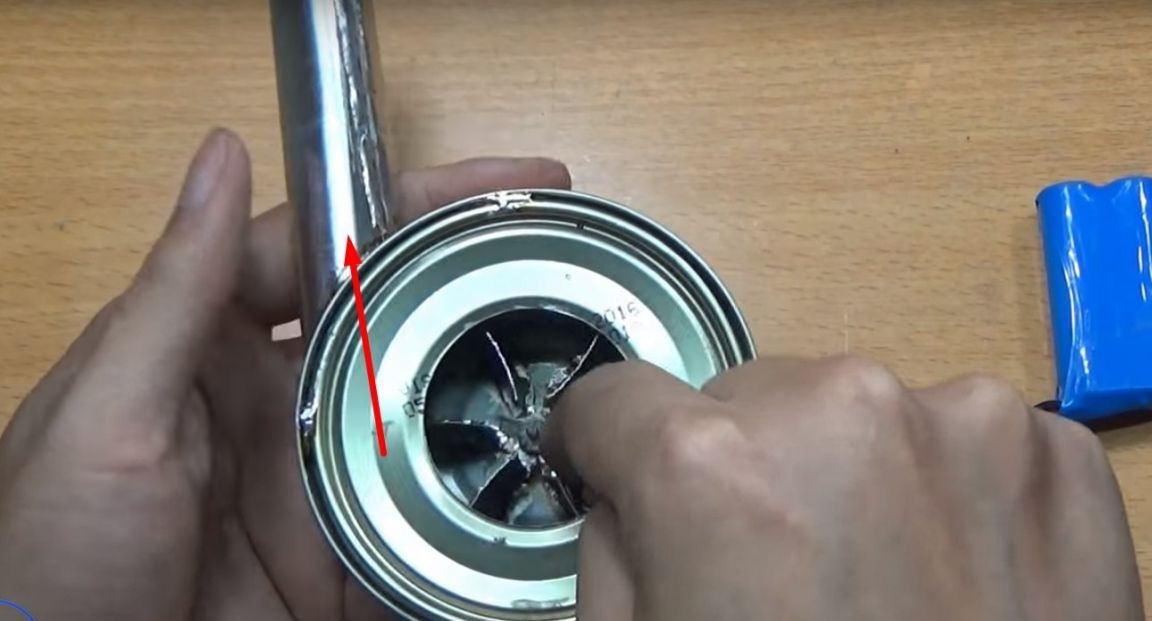
Then he cut off the wider edge of the finished cone, at an angle. I tried on to the side opening of the can, cleaned and soldered.
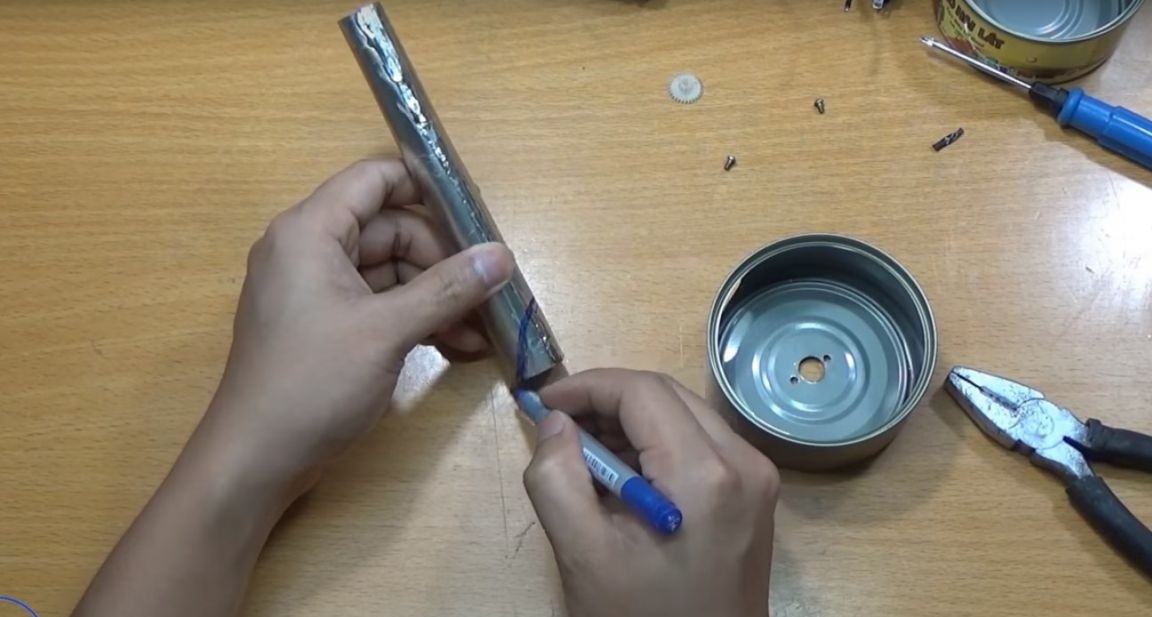
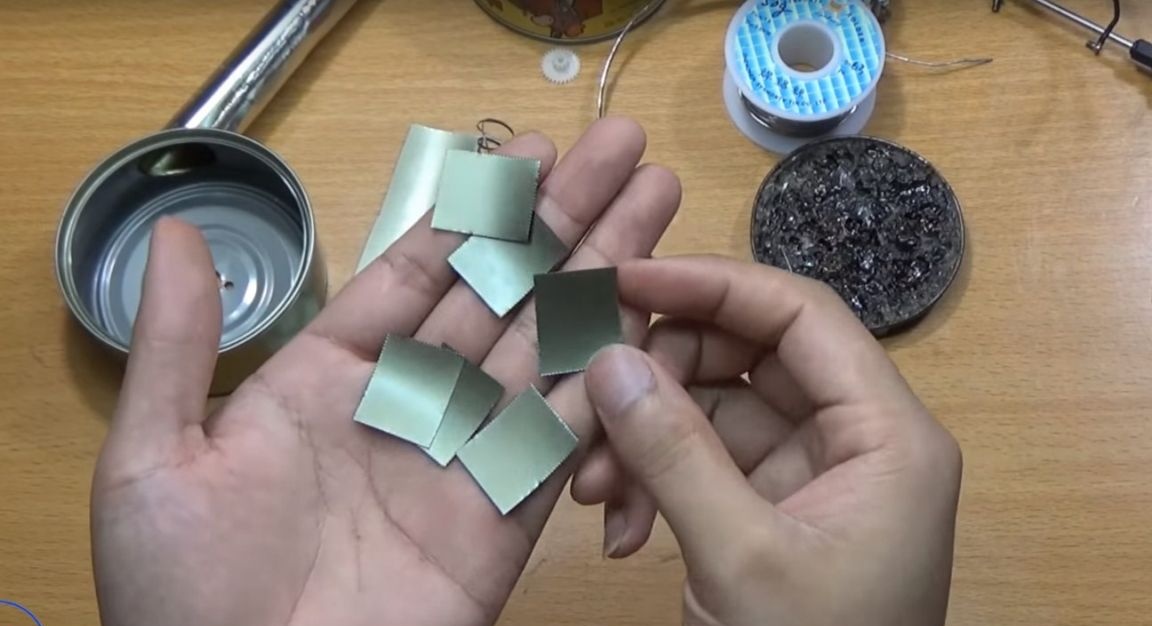
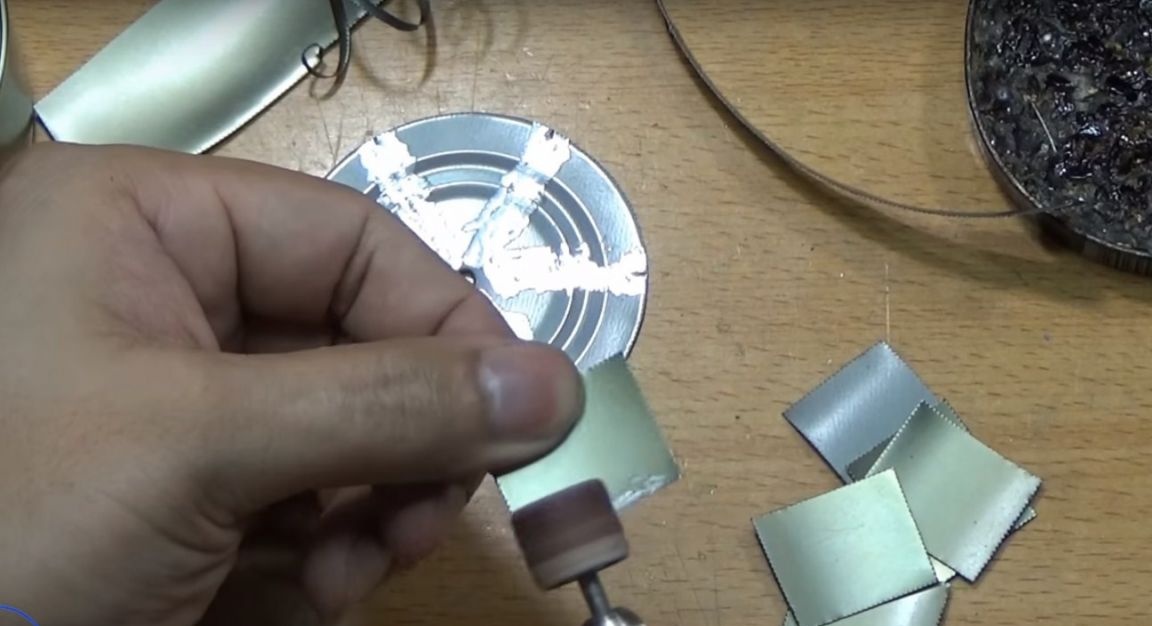
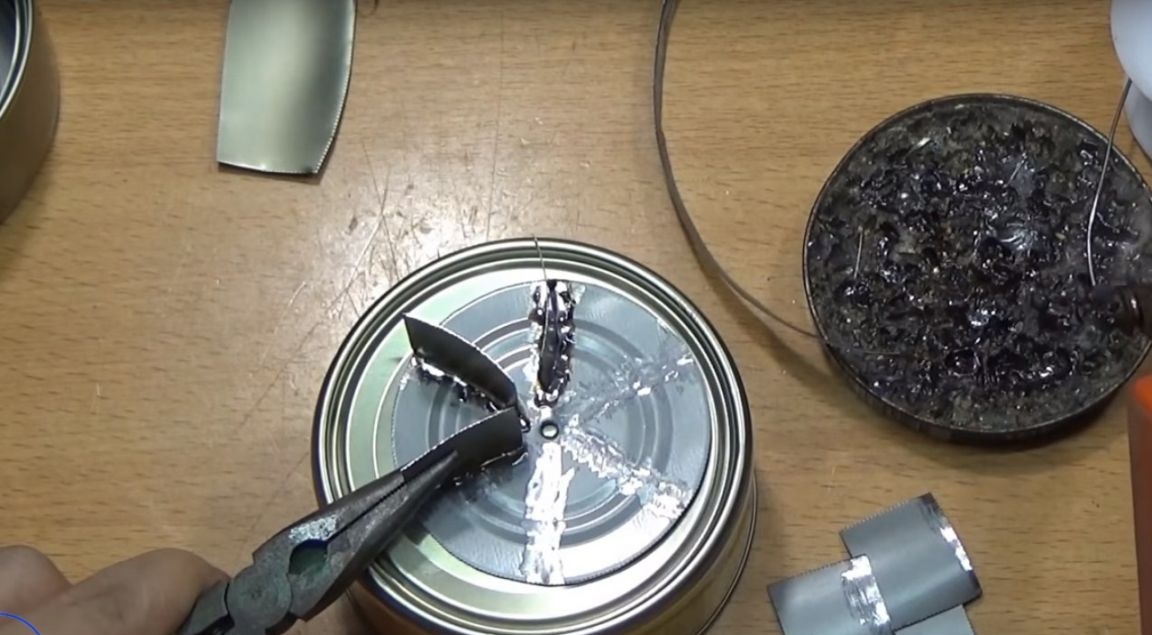
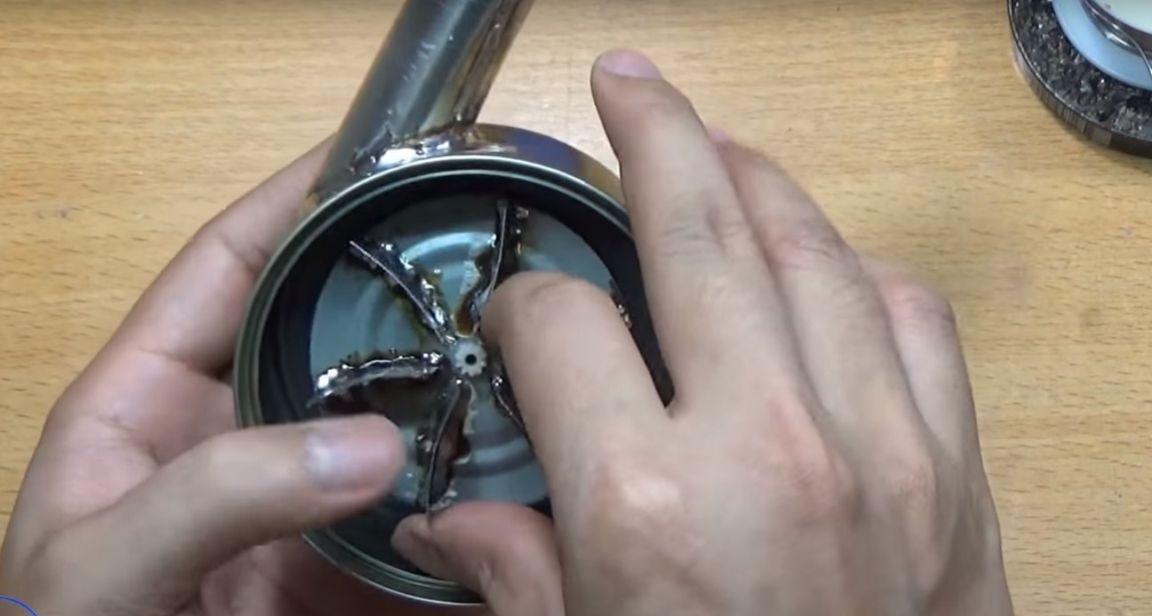
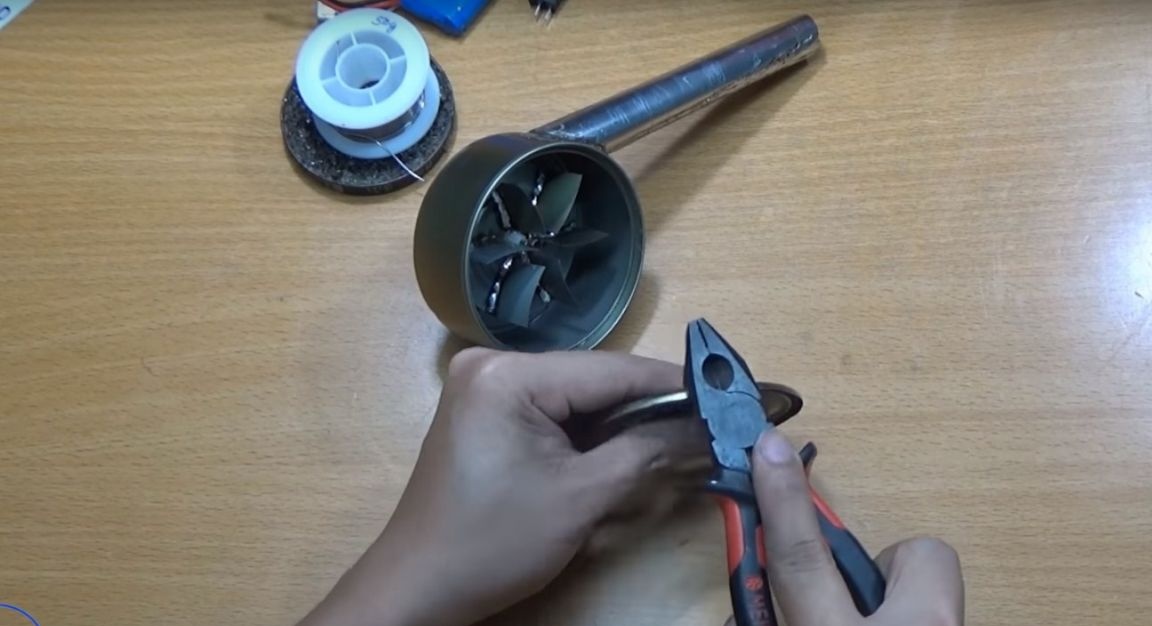
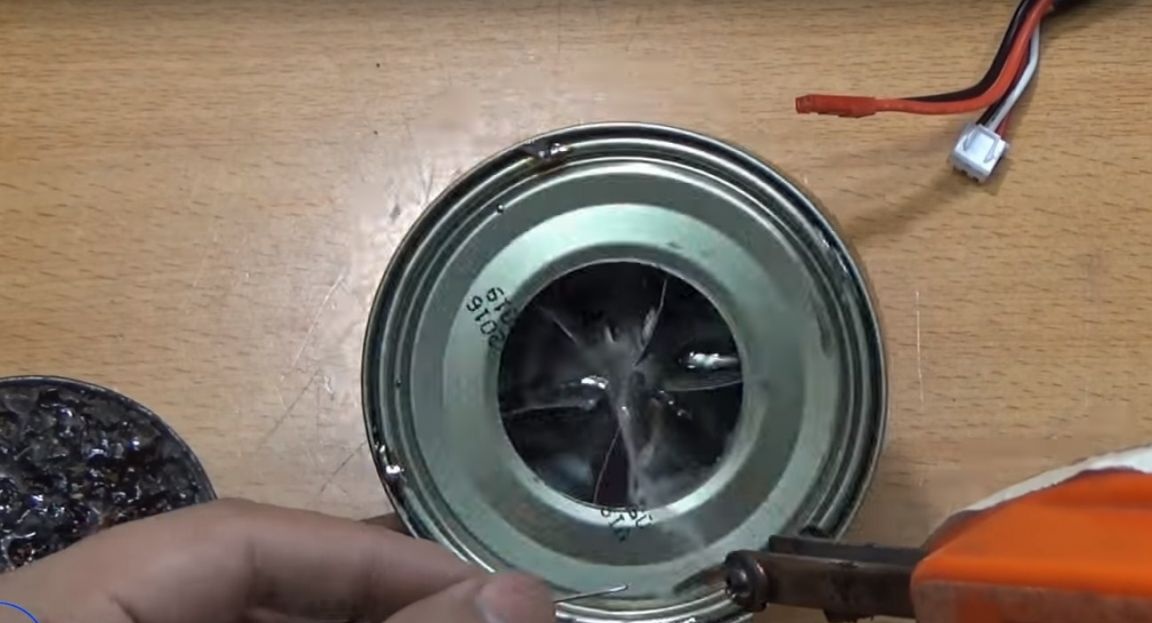
Further, the author took another can, cut off the bottom from it, and the side. I cut the plates from the side, from which he will make blades.
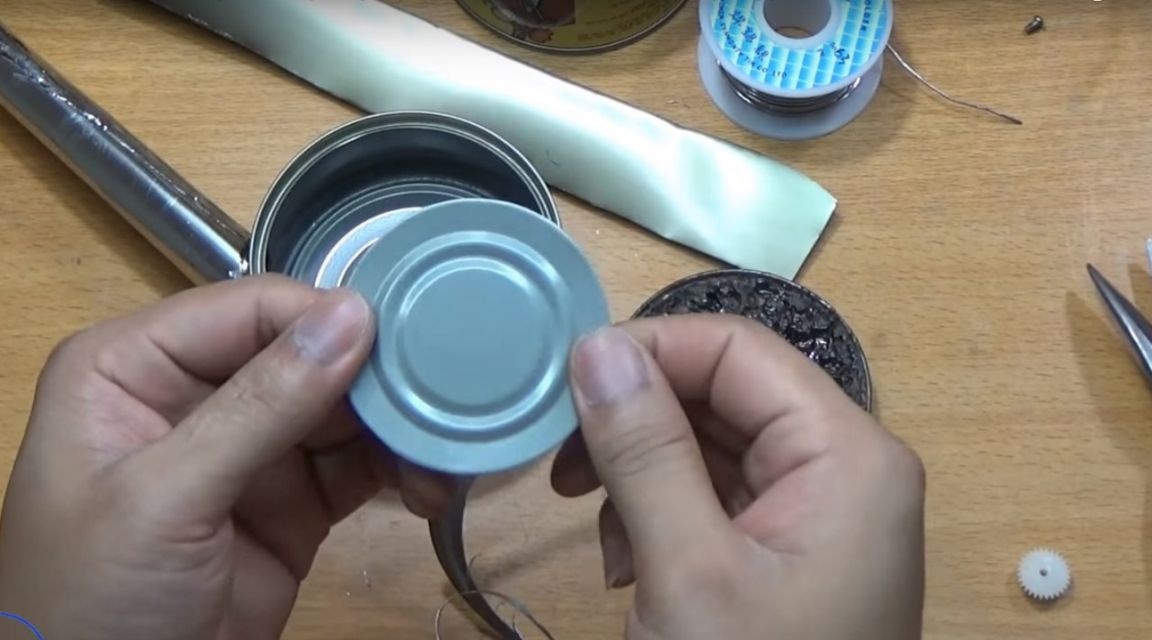
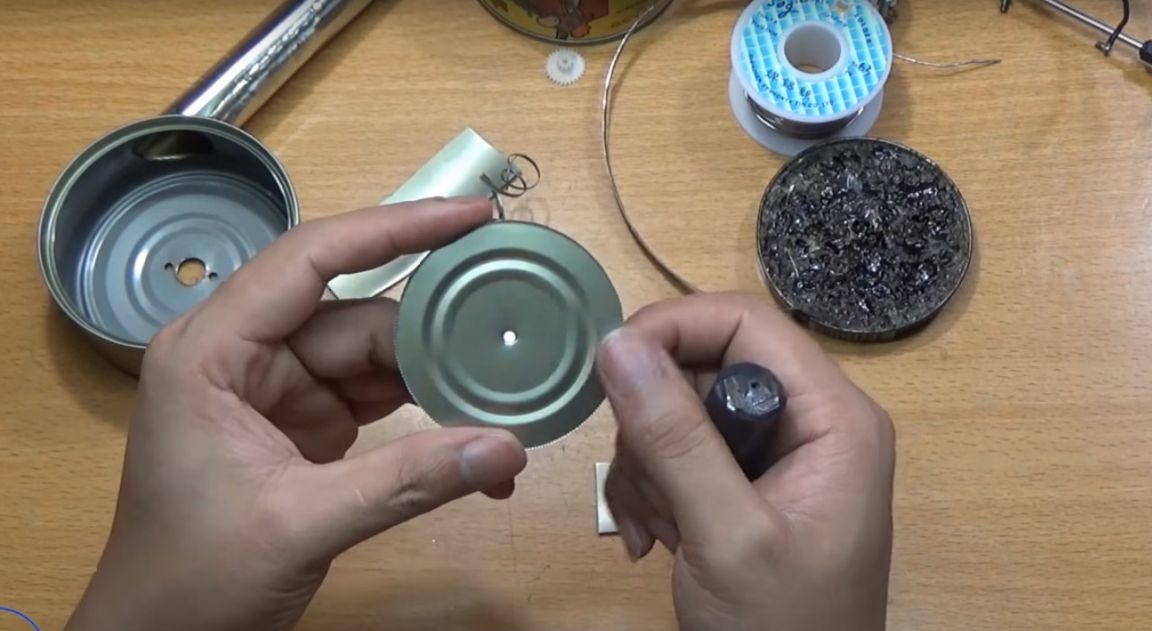
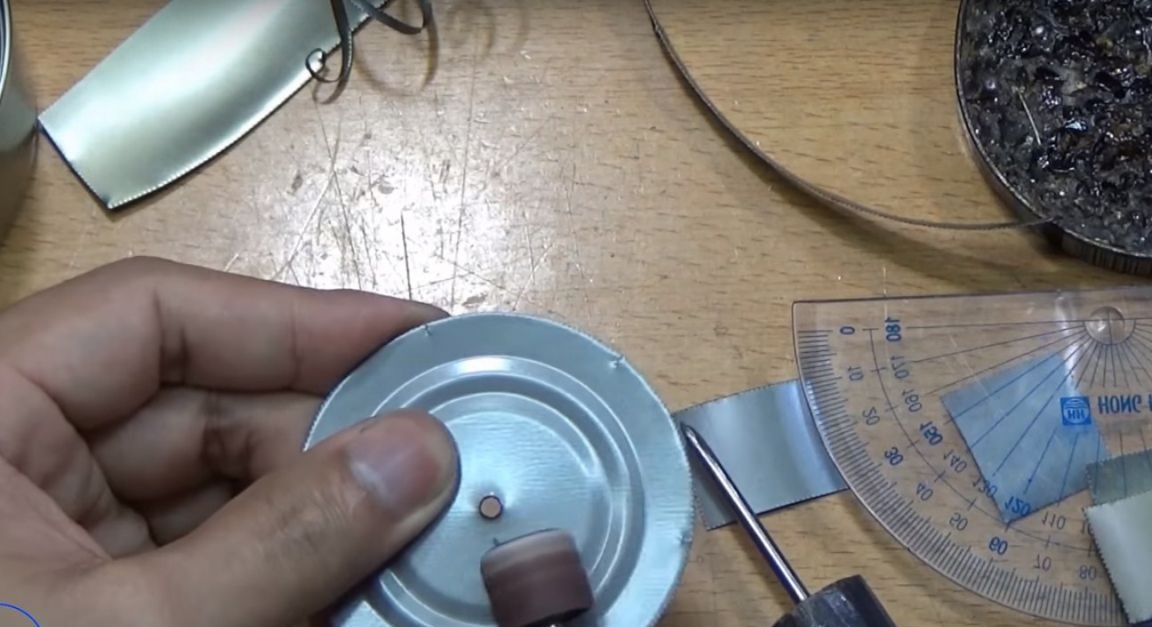
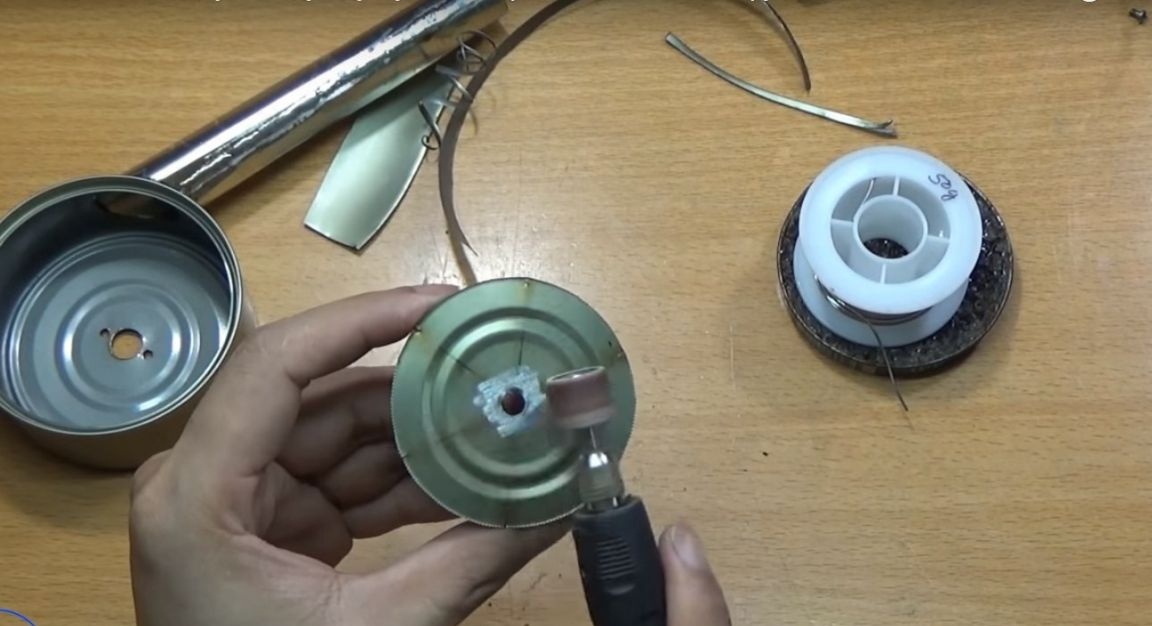
In the cut off early bottom, the author in the center made a hole with an awl.
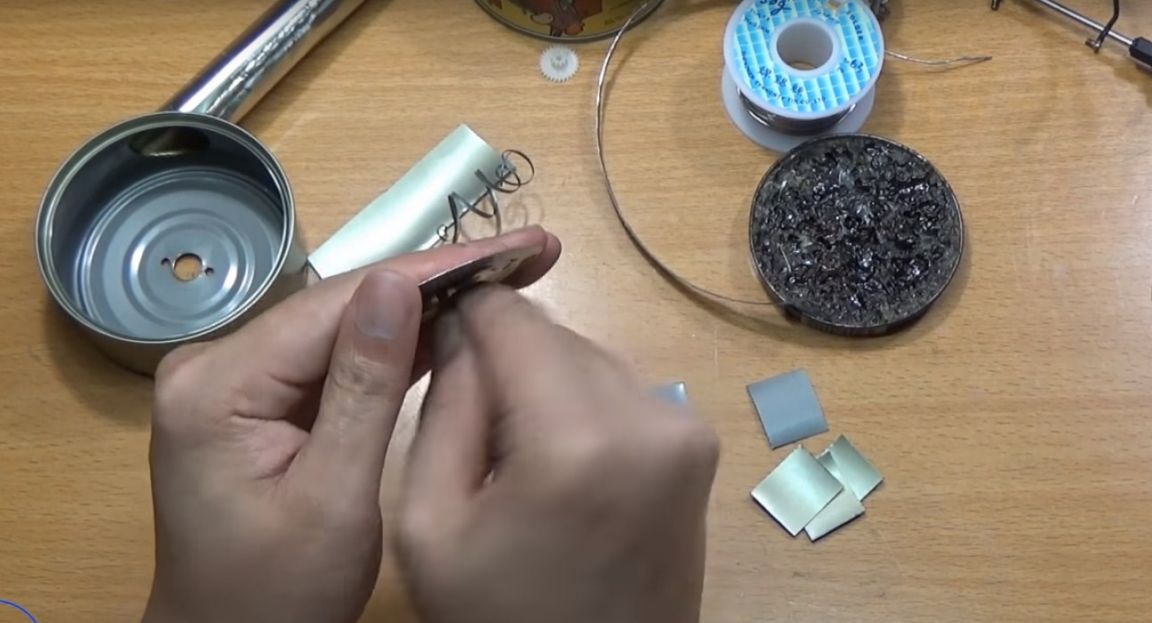
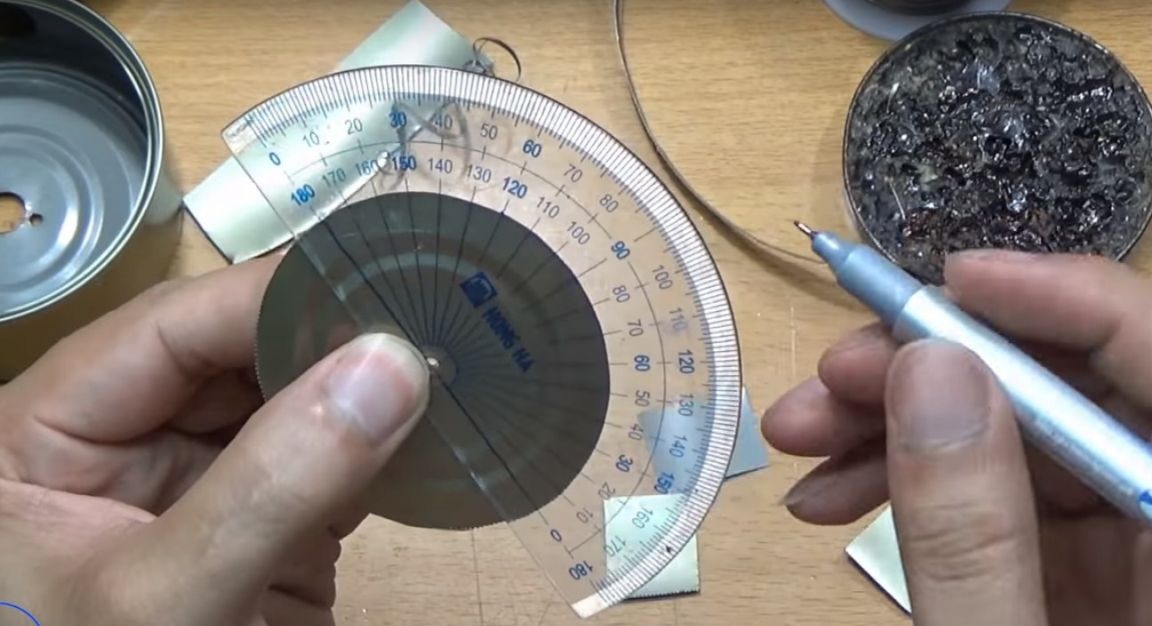
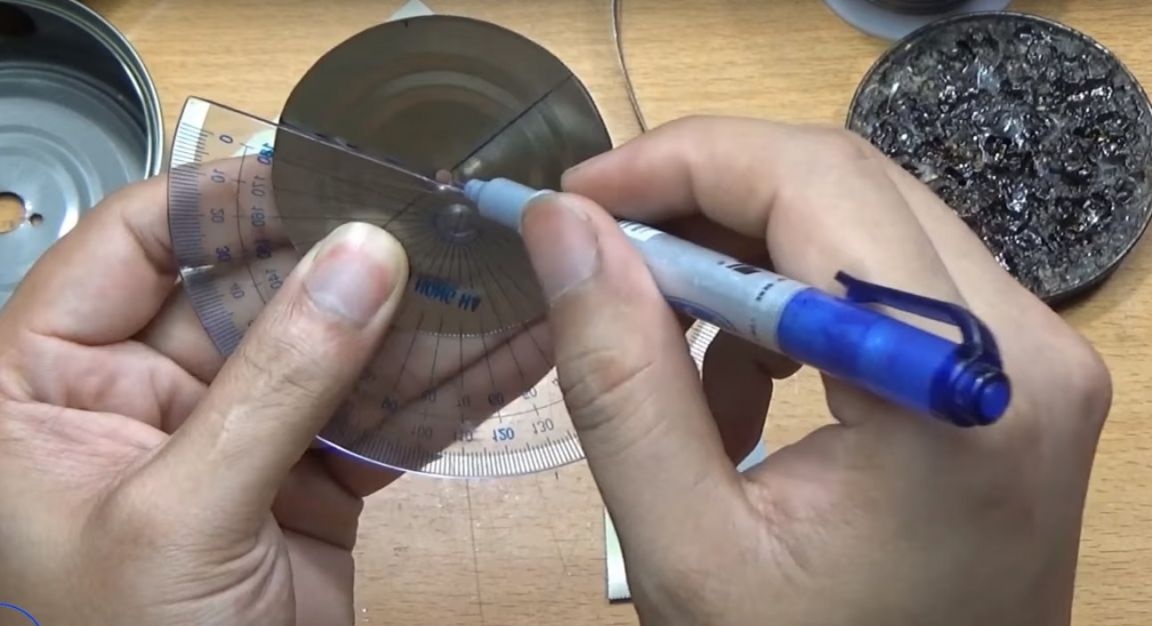
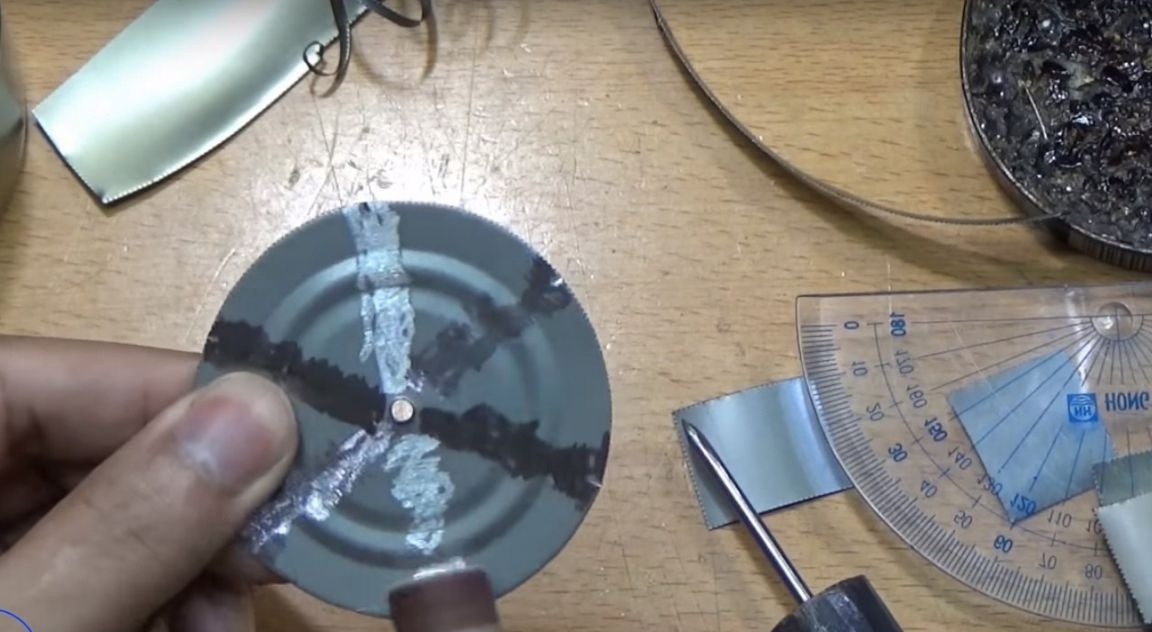
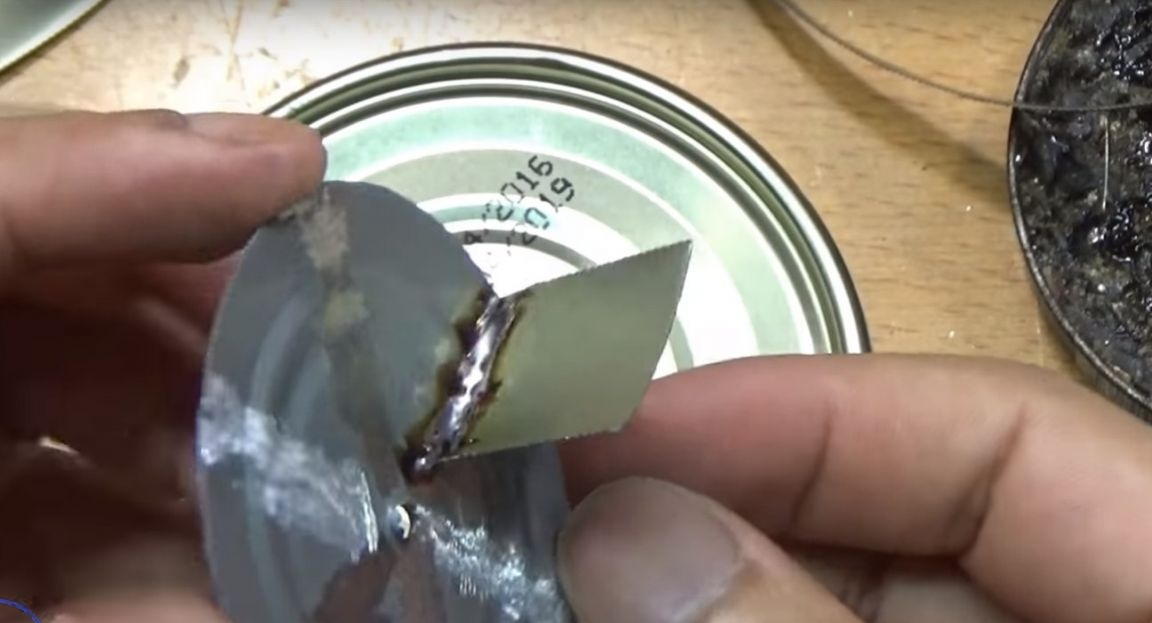
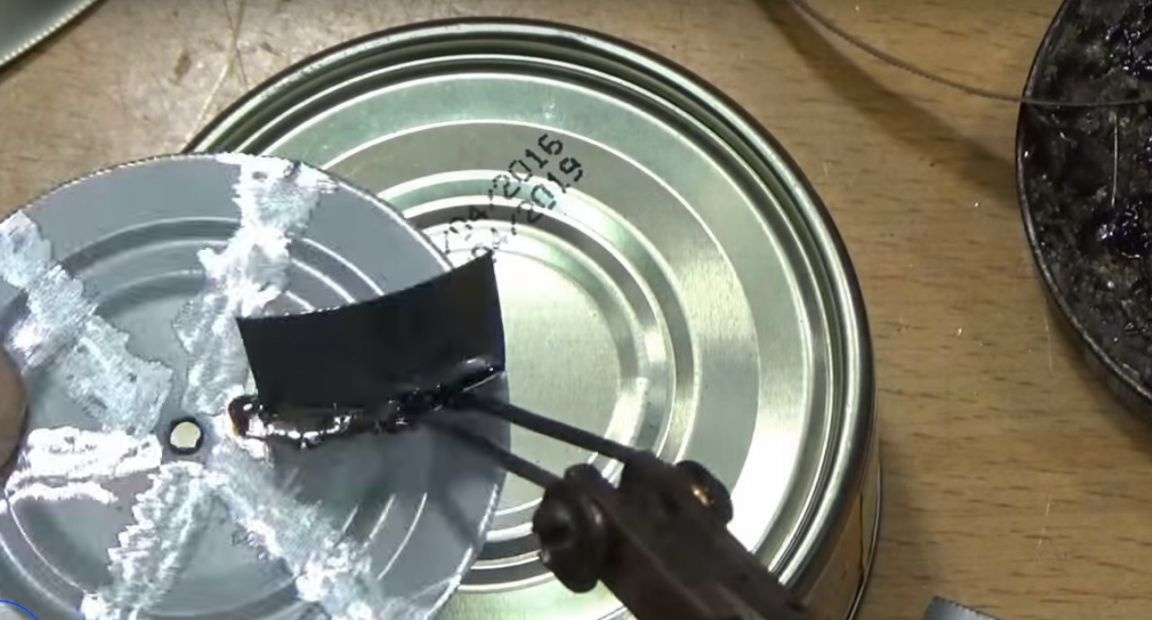
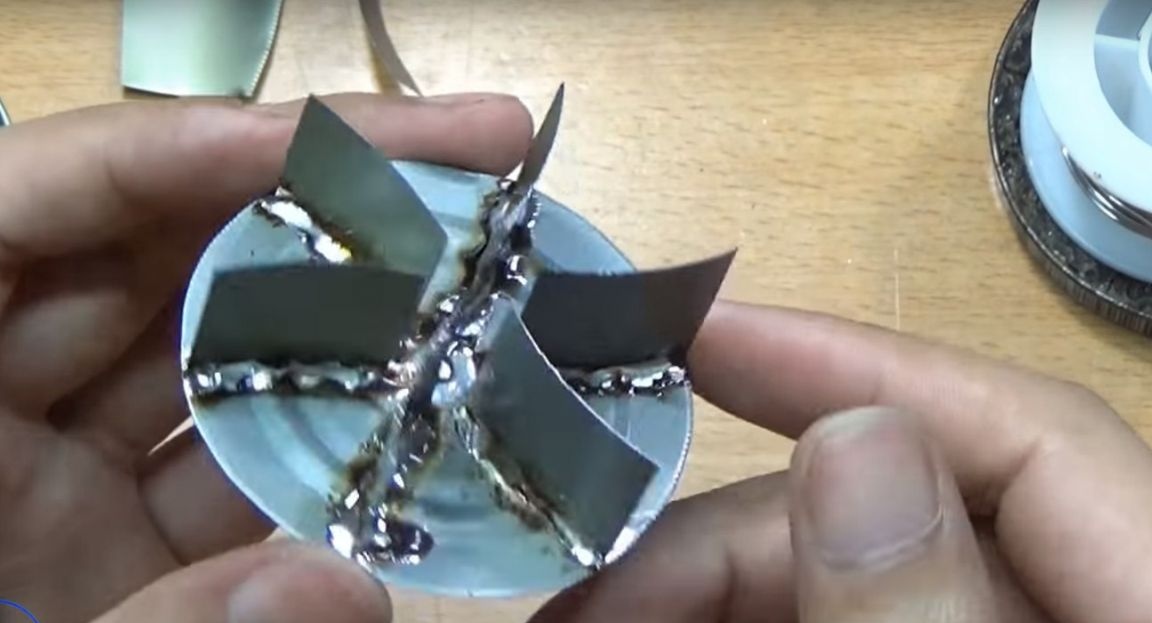
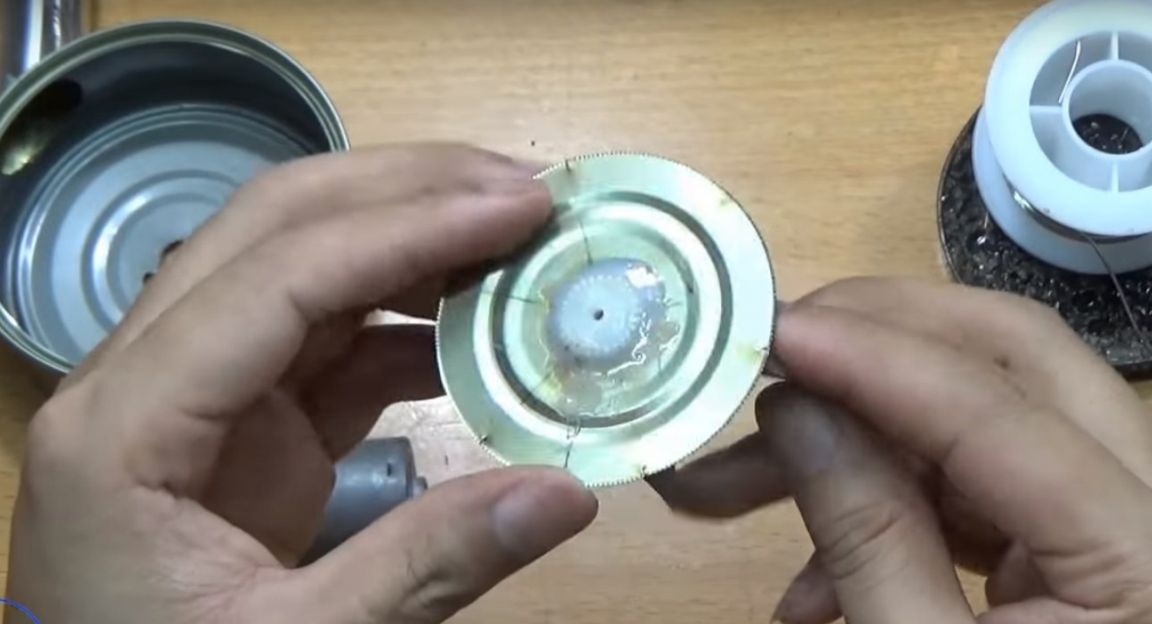
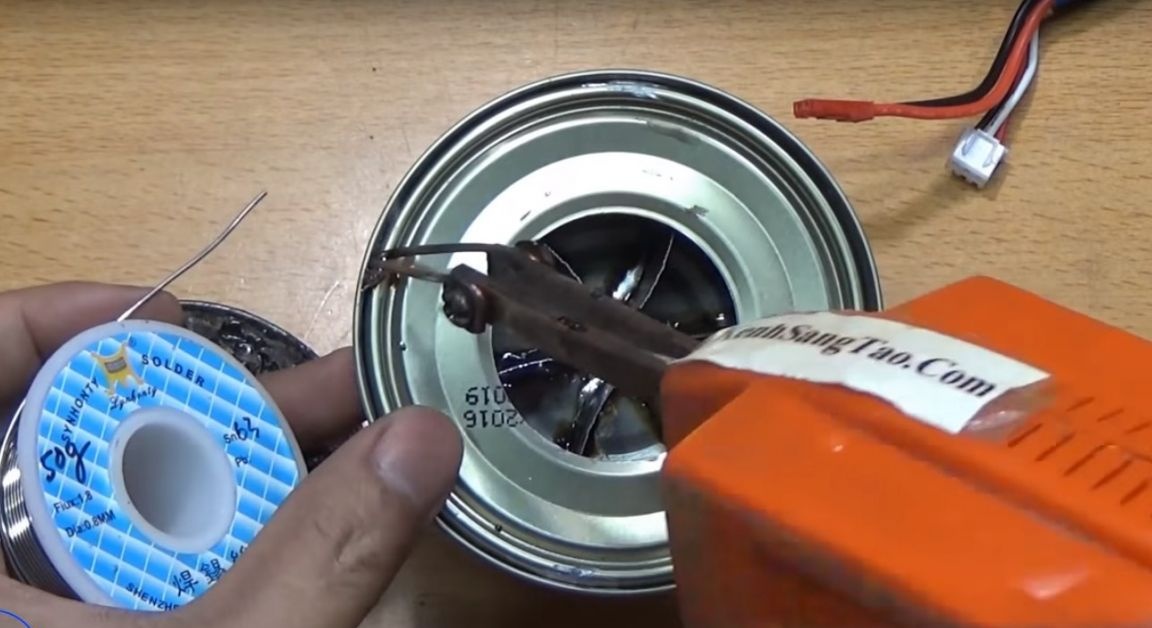
Then, using a protractor, I made the marking of the bottom into 6 equal parts. Having processed the marking places and the edges of future blades, soldered them.

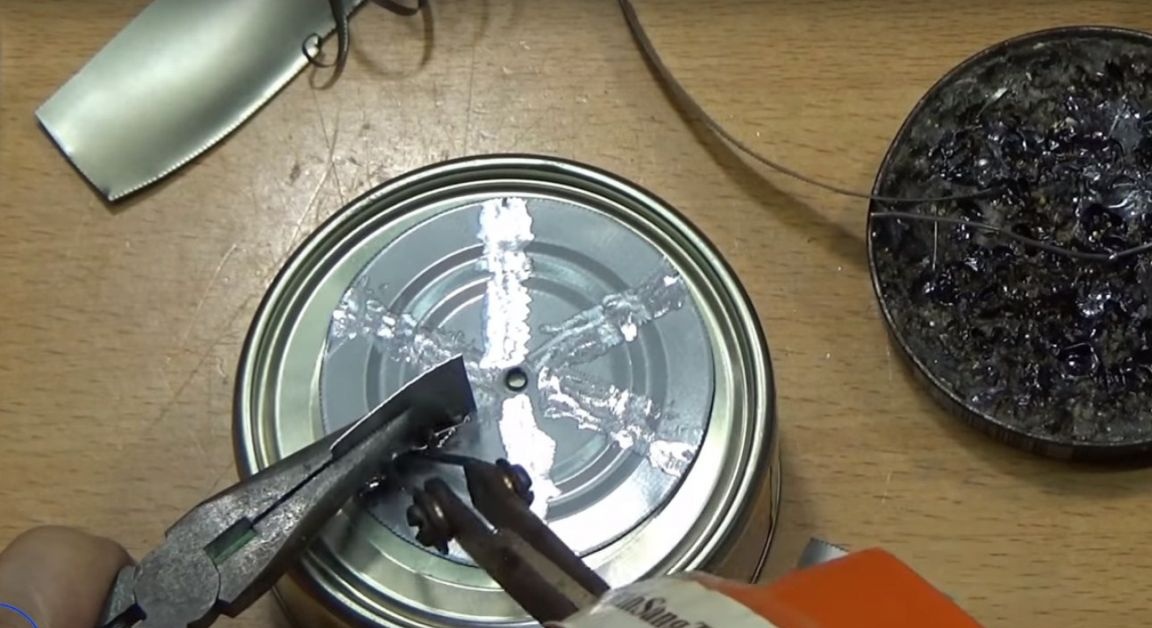

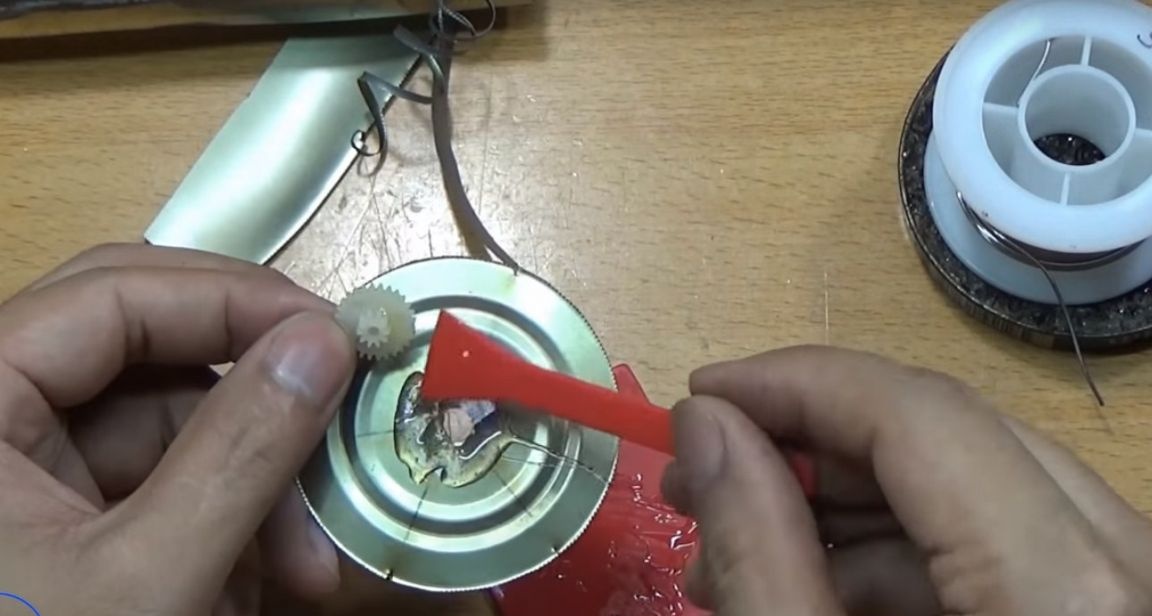
Then the hole made by an awl, the author drilled under the gear.
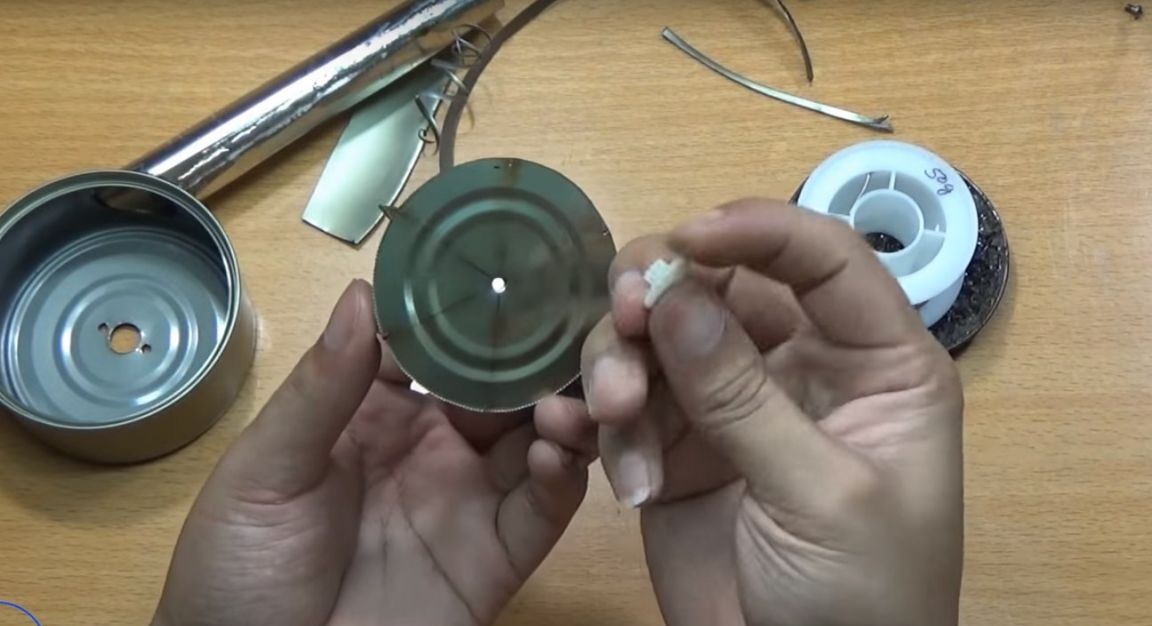
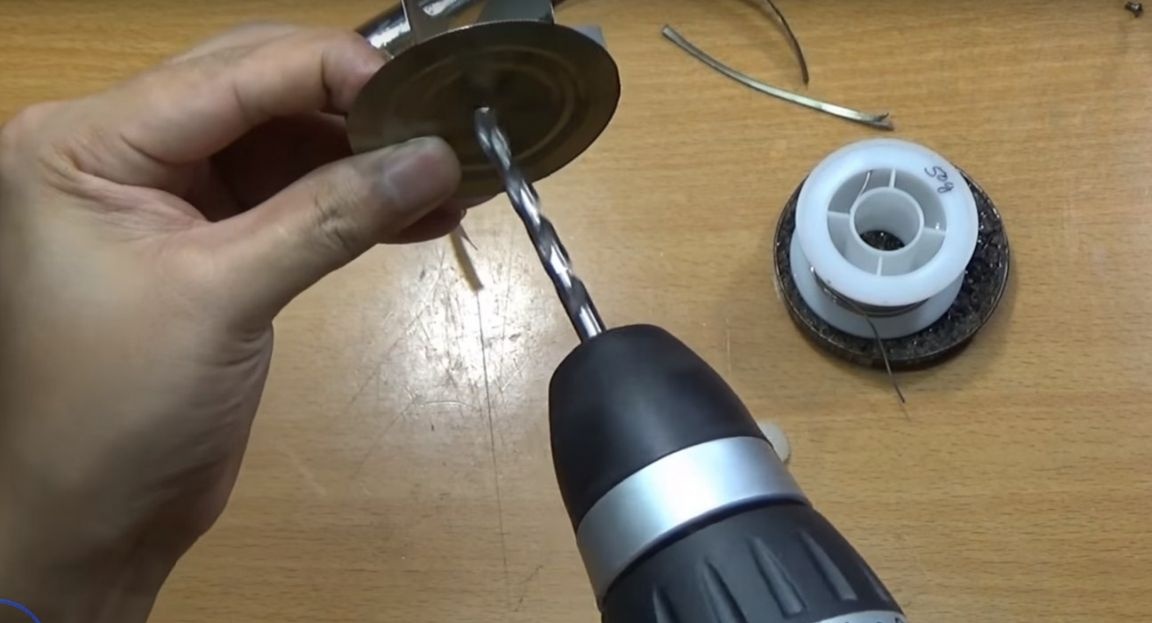
I cleaned the area around the hole, applied glue, and glued the gear.
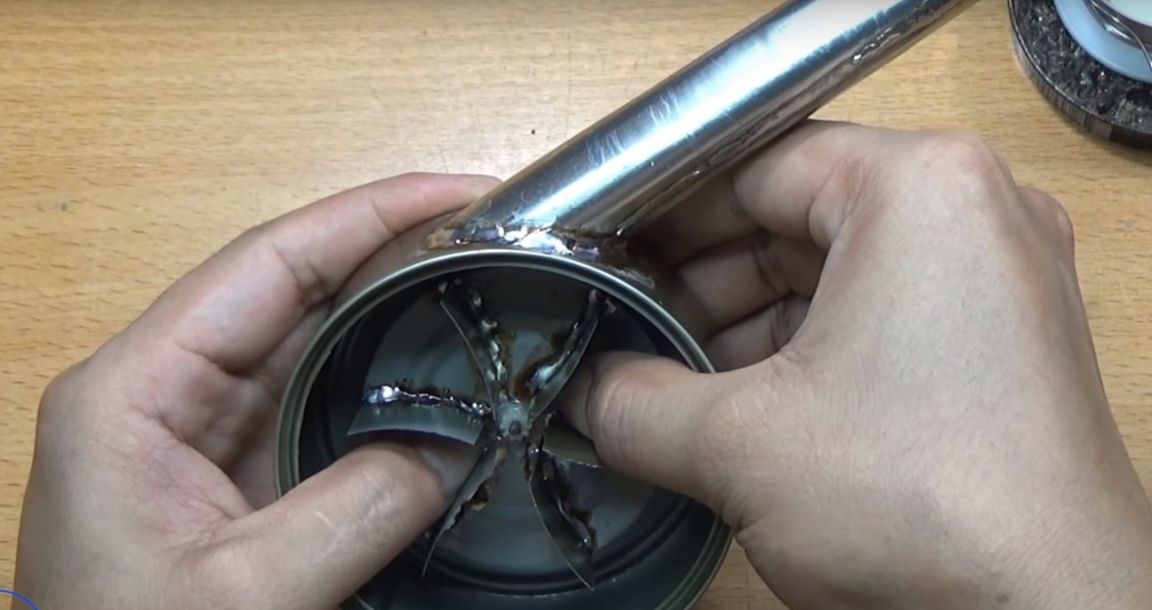
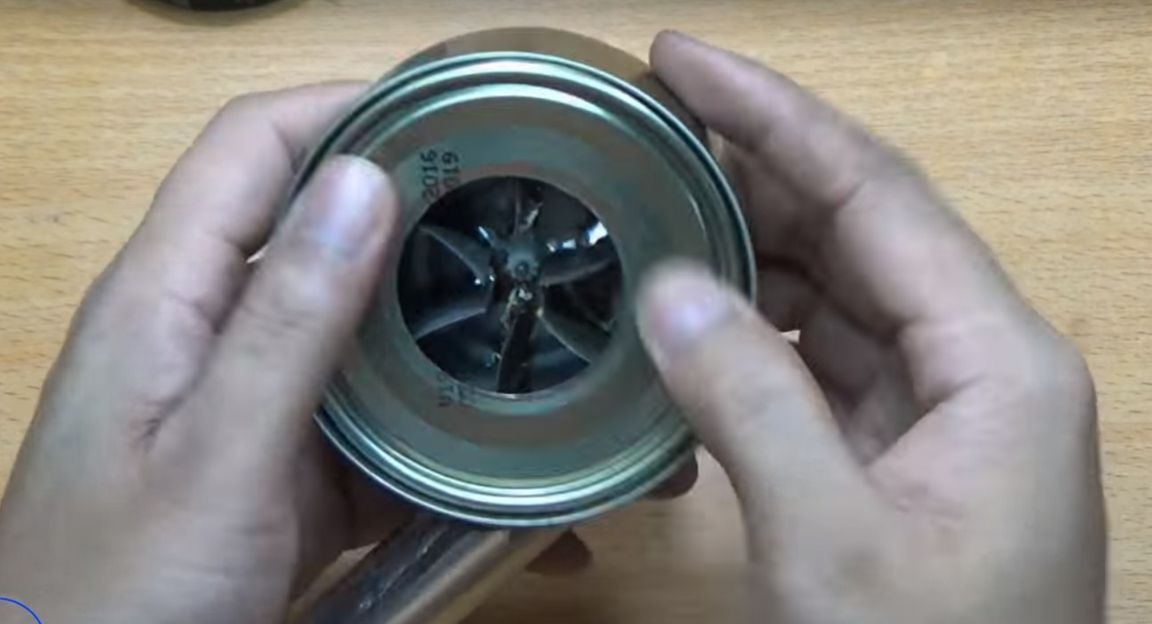
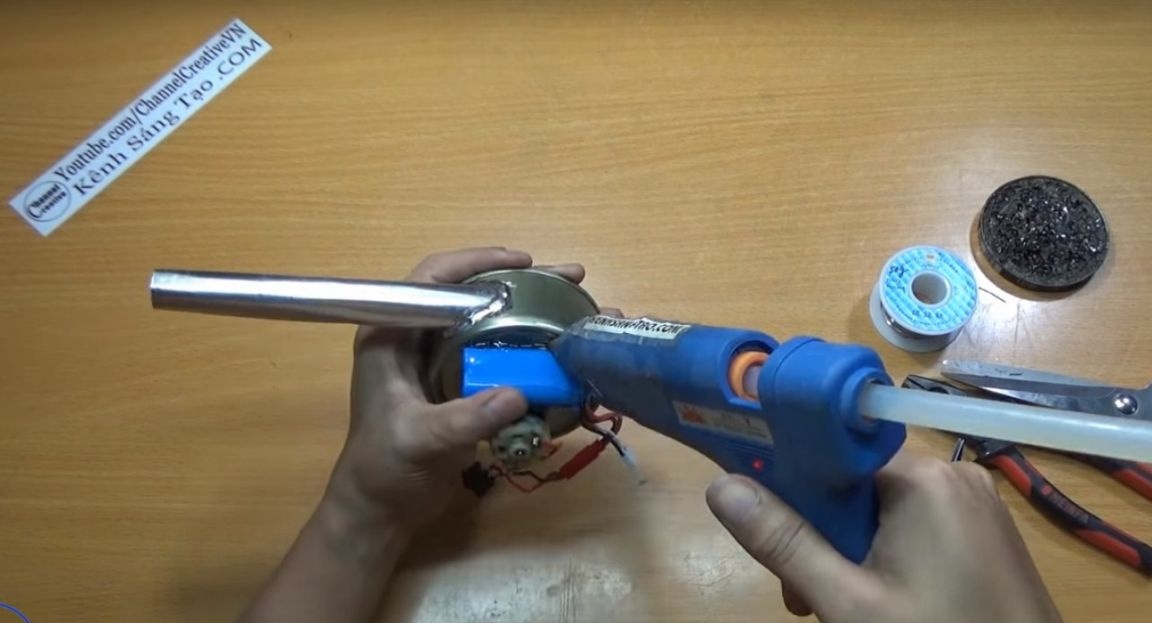
Then he installed the motor and secured it with bolts. He put a bottom on the motor axis with soldered blades.
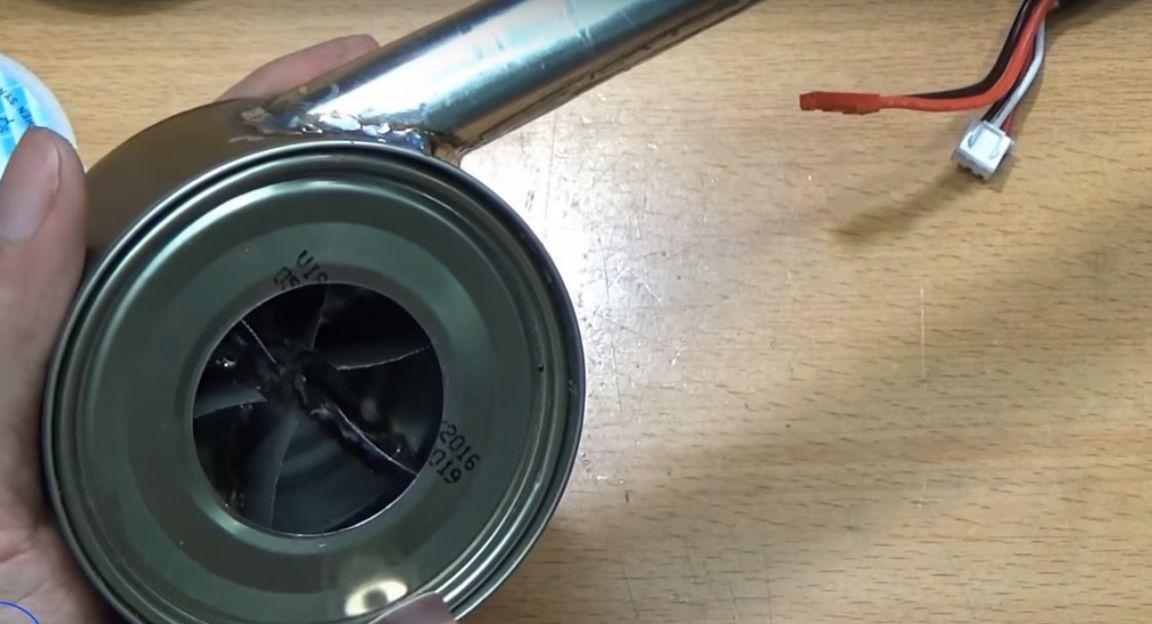
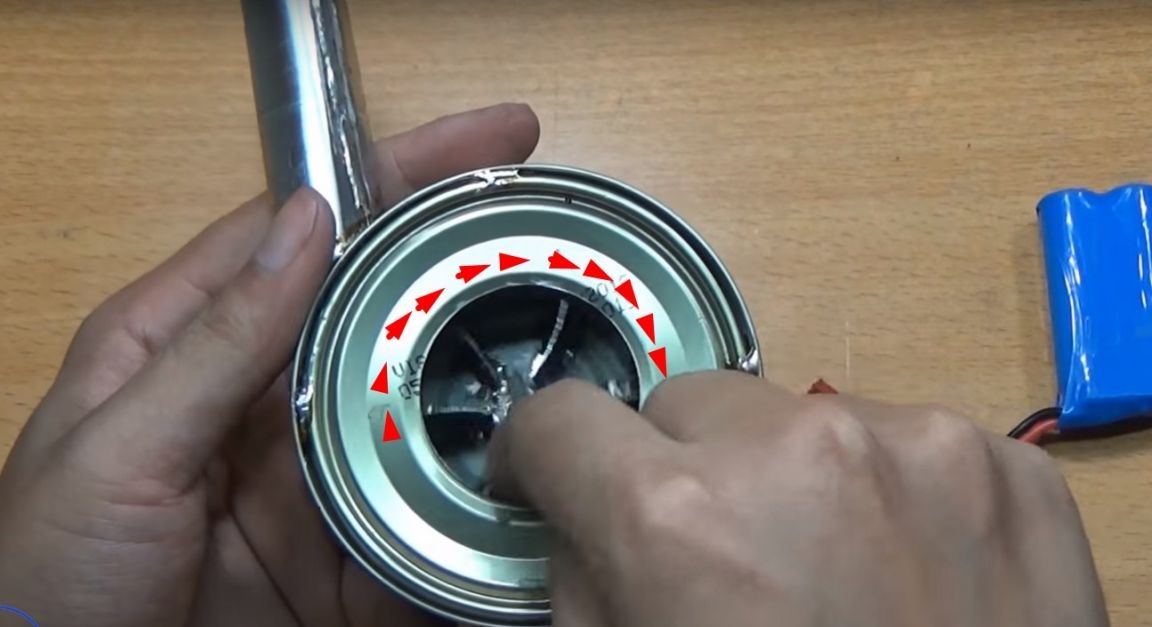
Further in the bottom of another can, he drilled a hole through which the blades will draw air. And cut off the bottom with a small grab of the side.
Having bent a little edge on this bottom, put it on the homemade body and fixed it in some places with tin.
The battery and the switch, the author will fix next to the motor with hot glue.
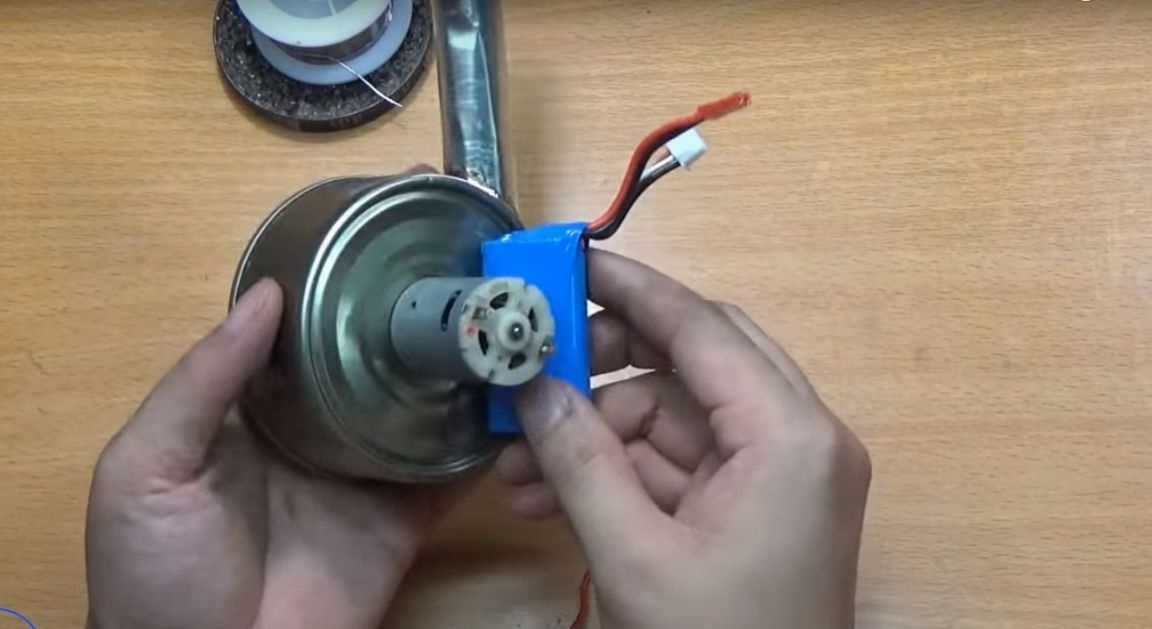
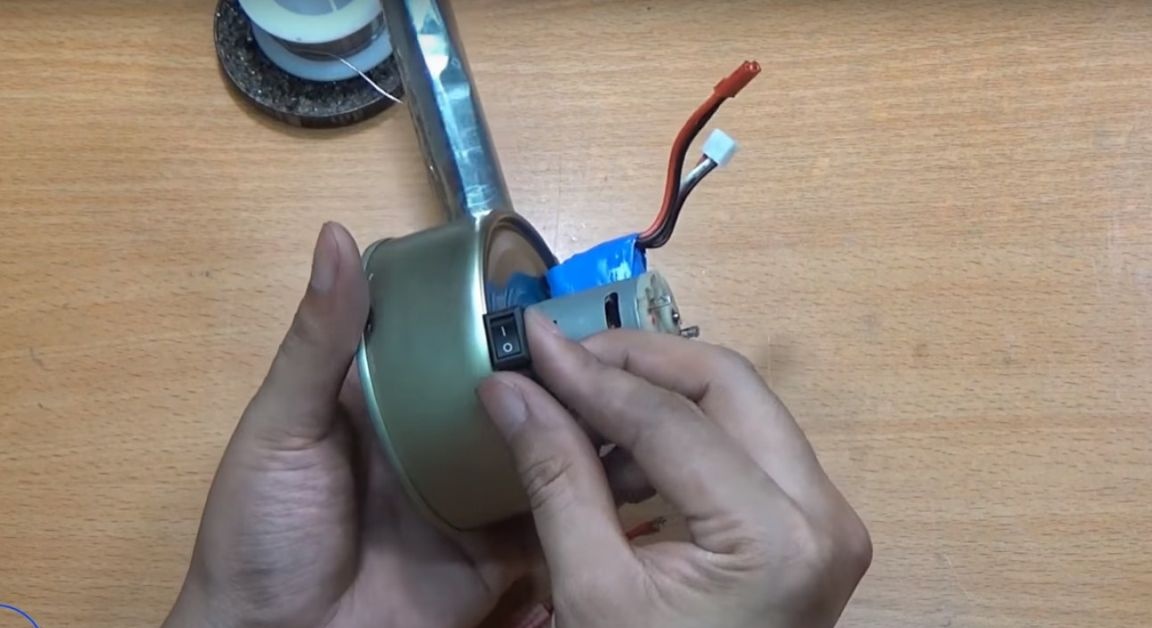
But first, solder the wires to the motor, the positive wire should go through the switch.
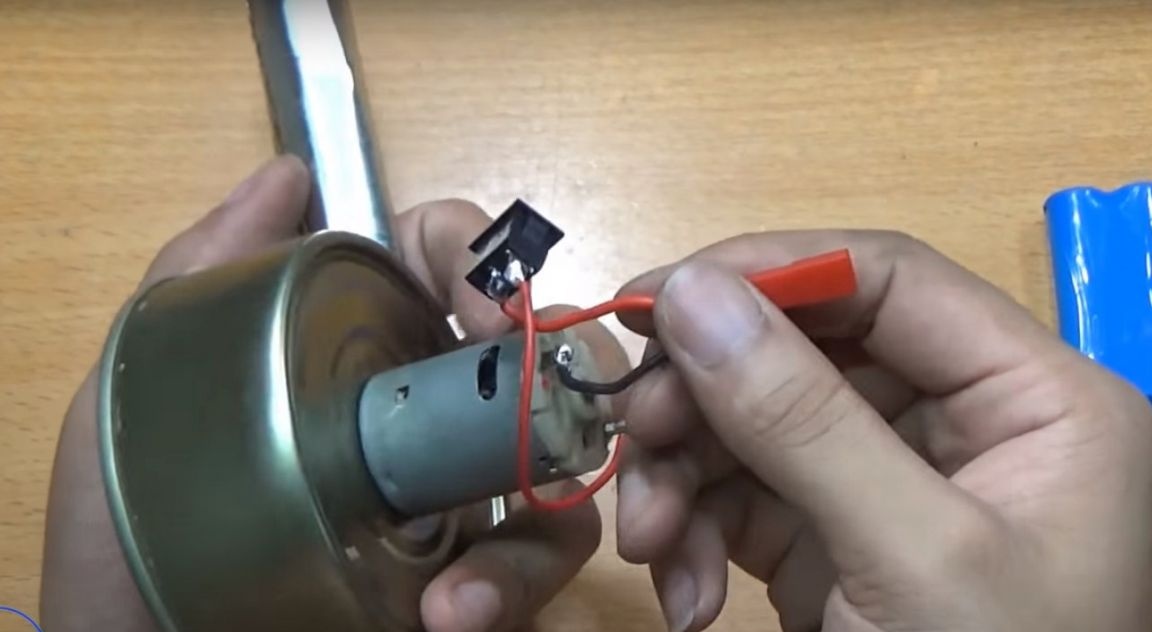
The blades should spin in the direction of the soldered cone.
Next, it connects power and checks the operation. After checking, stick the battery and switch.
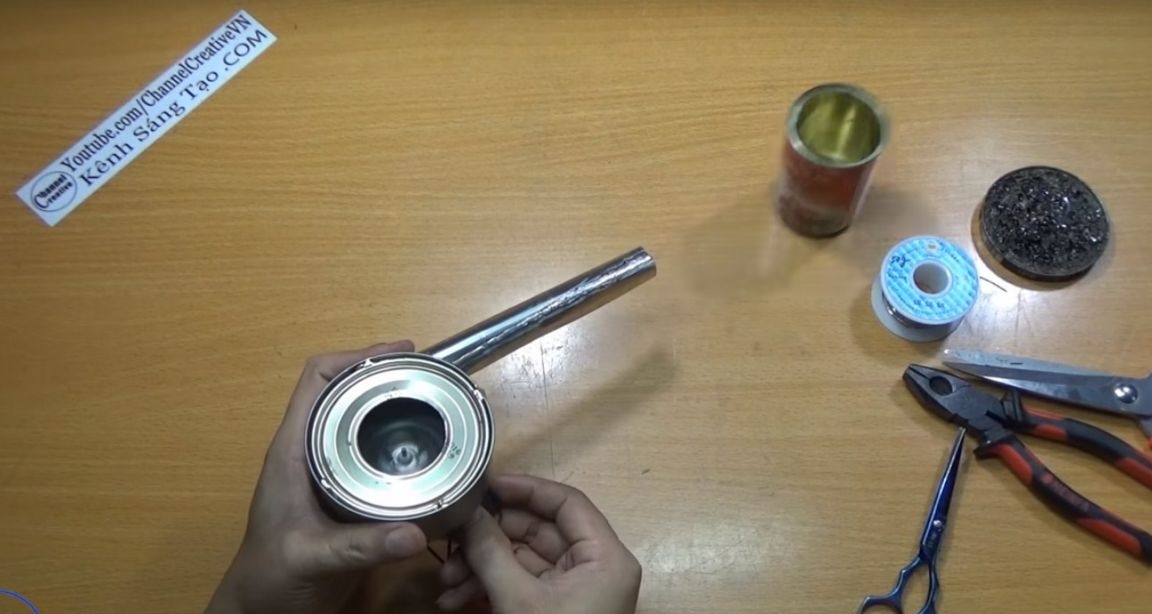
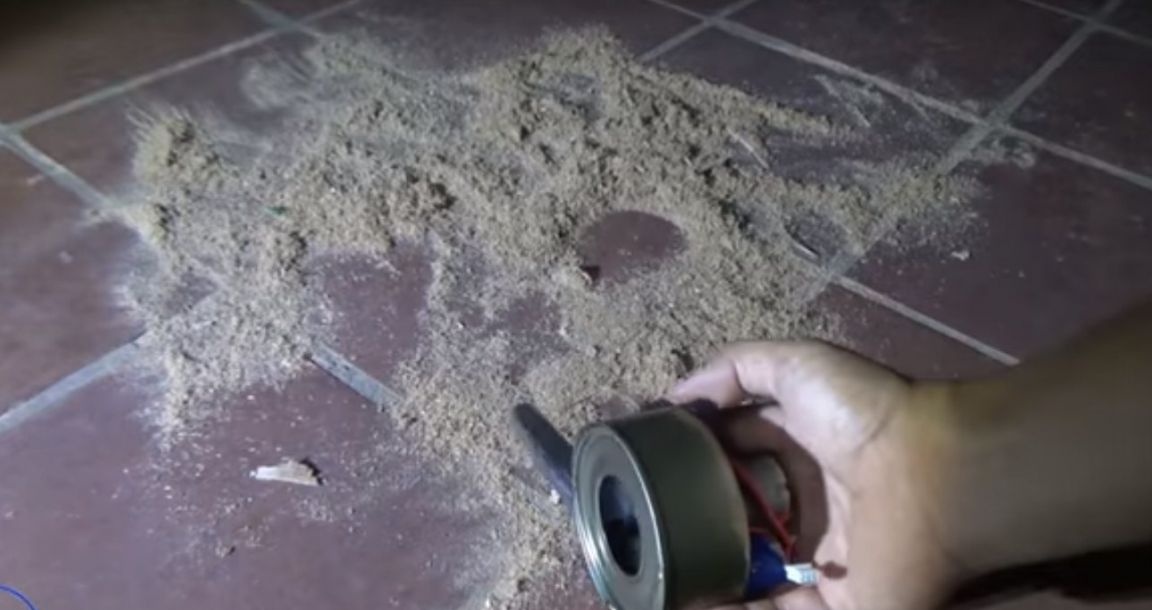
And as you can see, the author got a great blower.
Thanks to everyone, and see you soon in a new article.
Homemade video: