
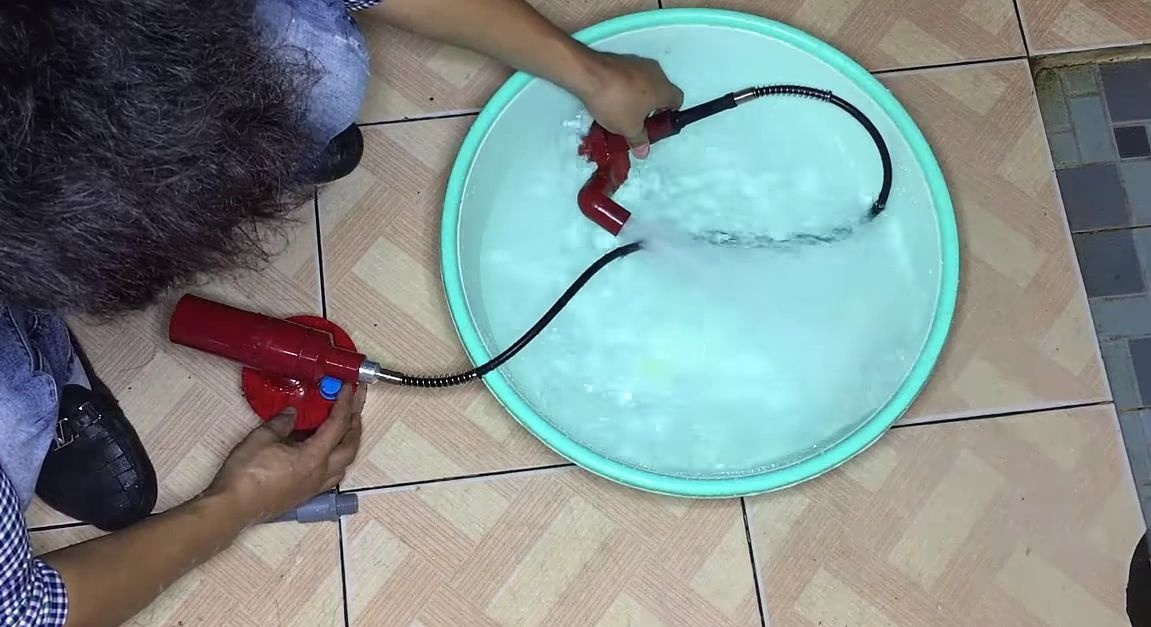
A drill is not as complex a tool as it might seem. This is just a flexible shaft plus a small motor. Despite its simplicity, such a tool is very useful, especially for masters. They can be drilled, cut, sanded and even connected to other interesting devices, as the author of this article showed us. You can connect a water pump to the drill and easily pump water where it is needed. By the same principle, you can make and connect an air pump.
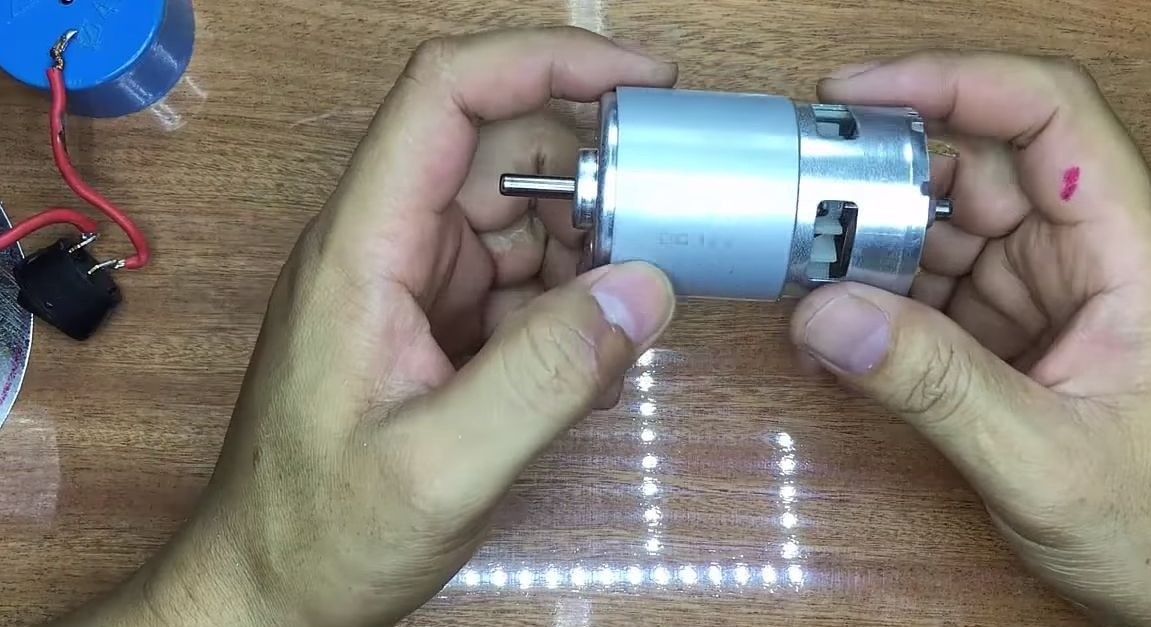
The unit described below has quite acceptable characteristics for various kinds of work, the 775 engine is used here as the basis. The unit works on a battery, so you can always take it with you wherever you need.
Of the most valuable that you may have to buy, you will need a 775 engine or equivalent, as well as a flexible shaft. Besides homemade equipped with e board for adjusting engine speed. Now you can easily set the desired operating mode using the adjustment knob. The author makes the case out of accessories for PVC pipes. So, let's get down to manufacturing.
Materials and tools used by the author:
Material List:
- ;
- ;
- ;
- PVC tee, plug and more;
- switch;
- 12V battery;
- heat shrink;
- wires.
Tool List:
- soldering iron;
- hot glue;
- Super glue;
- drill;
- a hacksaw for metal;
- a screwdriver.
Drill manufacturing process:
Step one. We make the upper part of the body
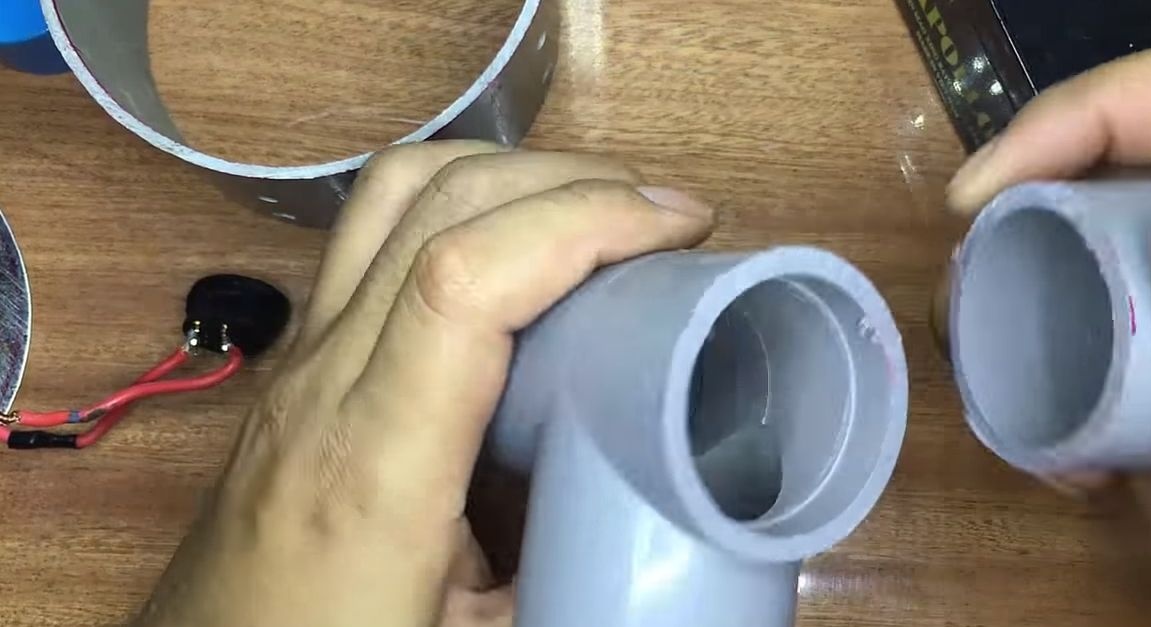
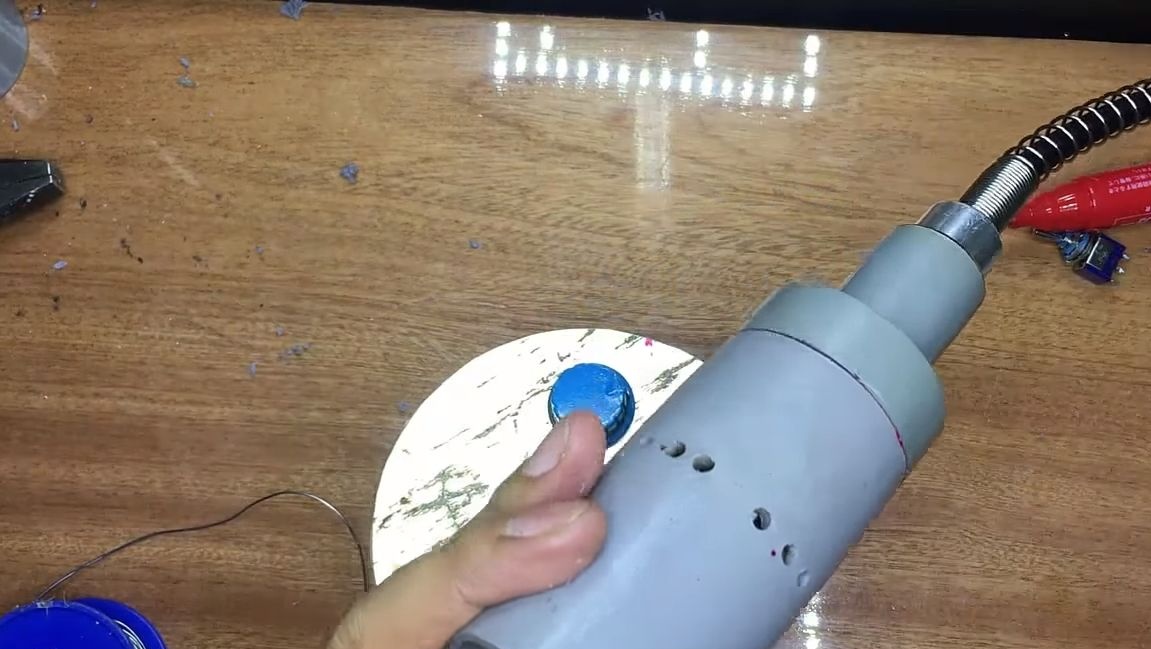
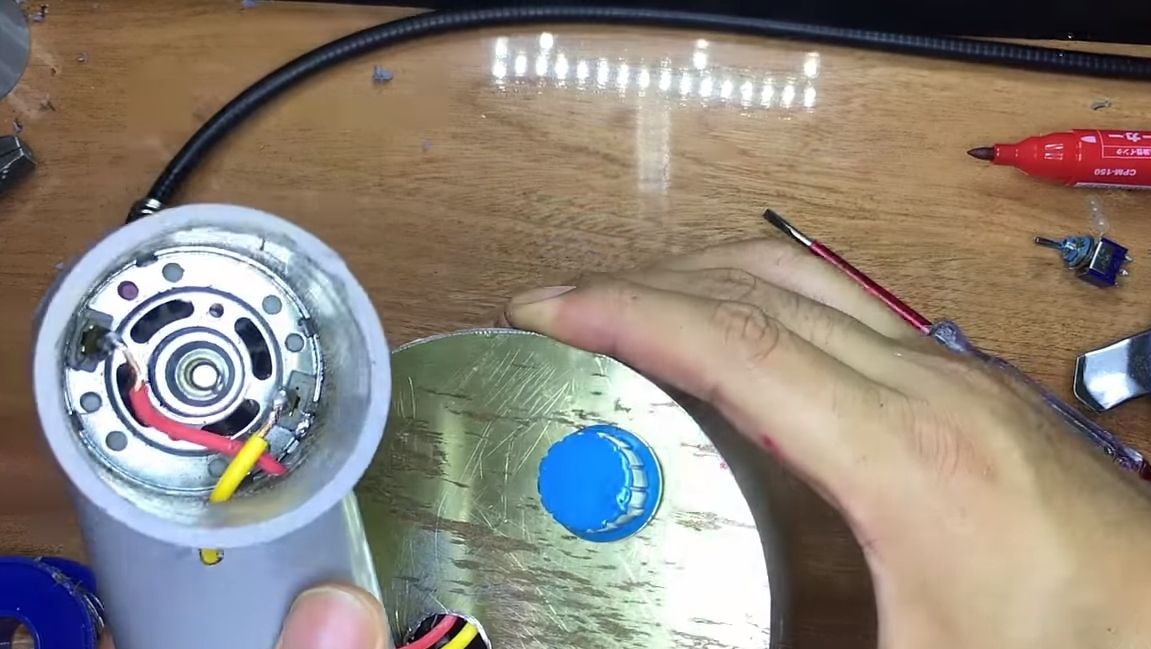
In the upper part of the body there is an engine, and also one side of the flexible shaft is connected here. Of the parts, you will need a tee, a plug, as well as a conical PVC part. Cut one piece from the tee, as the author did. Then, drill several rows of holes in front of the engine, as it needs cooling. The holes are drilled opposite the ventilation windows of the engine.
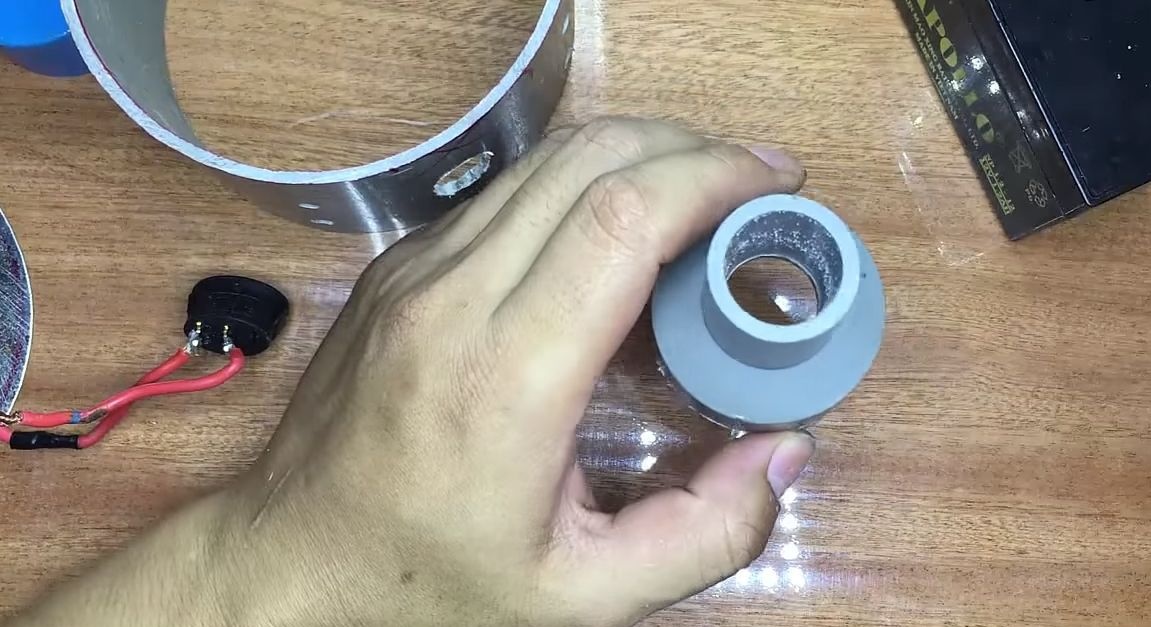
The author also cuts off the extra piece from the cone-shaped part.
Step Two Bottom housing assembly
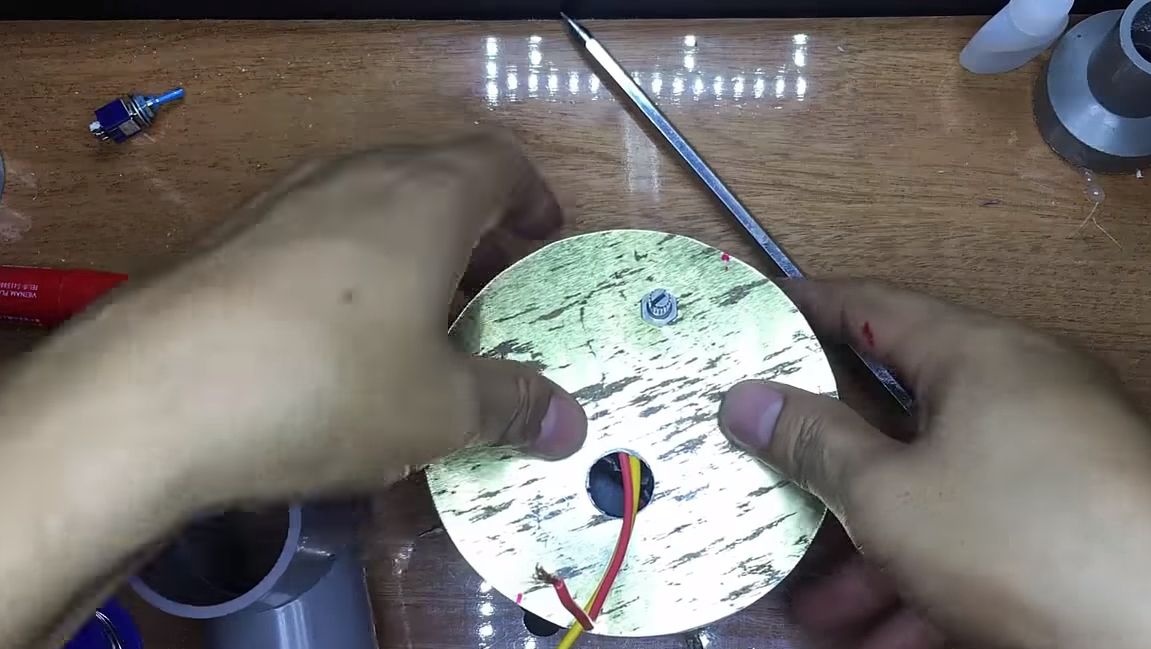
The lower part of the body is assembled from a piece of pipe. There is a battery, so we select the diameter of the pipe depending on the size of the battery. To make the lower and upper parts, you will need sheet metal or plastic. Cut two circles of the desired diameter out of it.
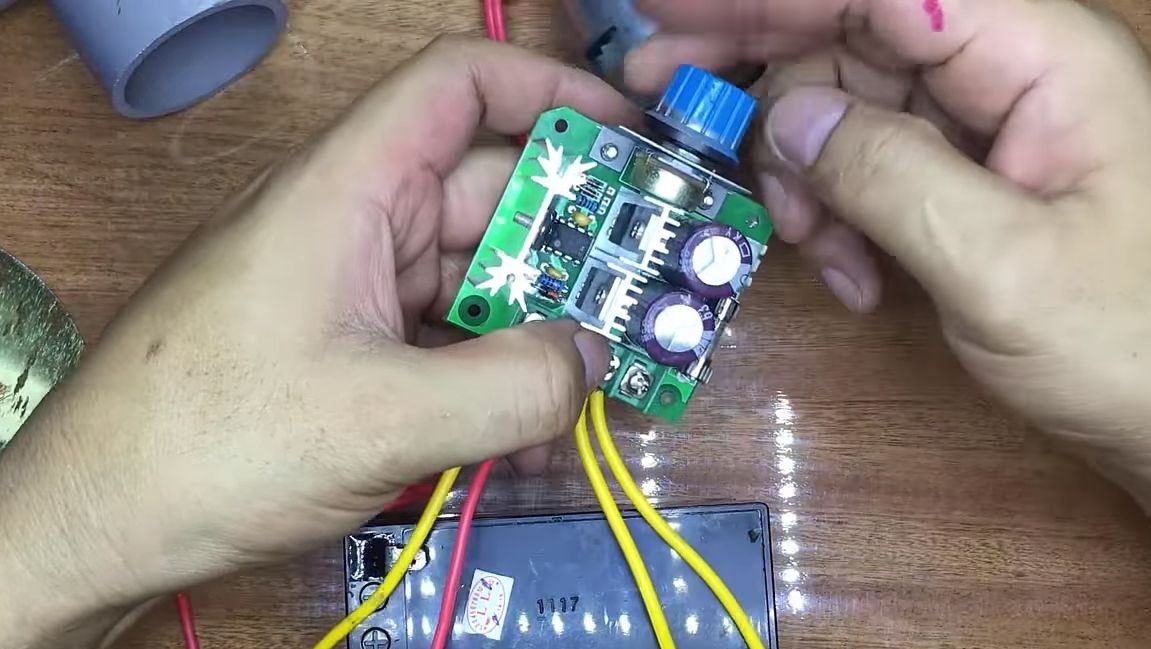
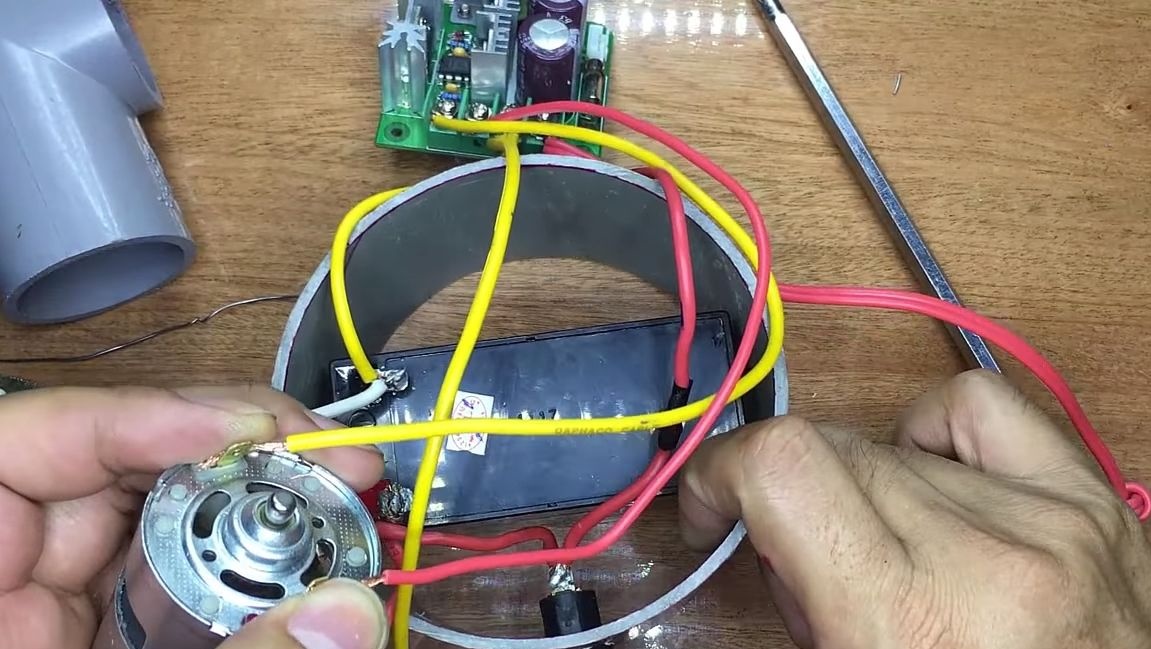
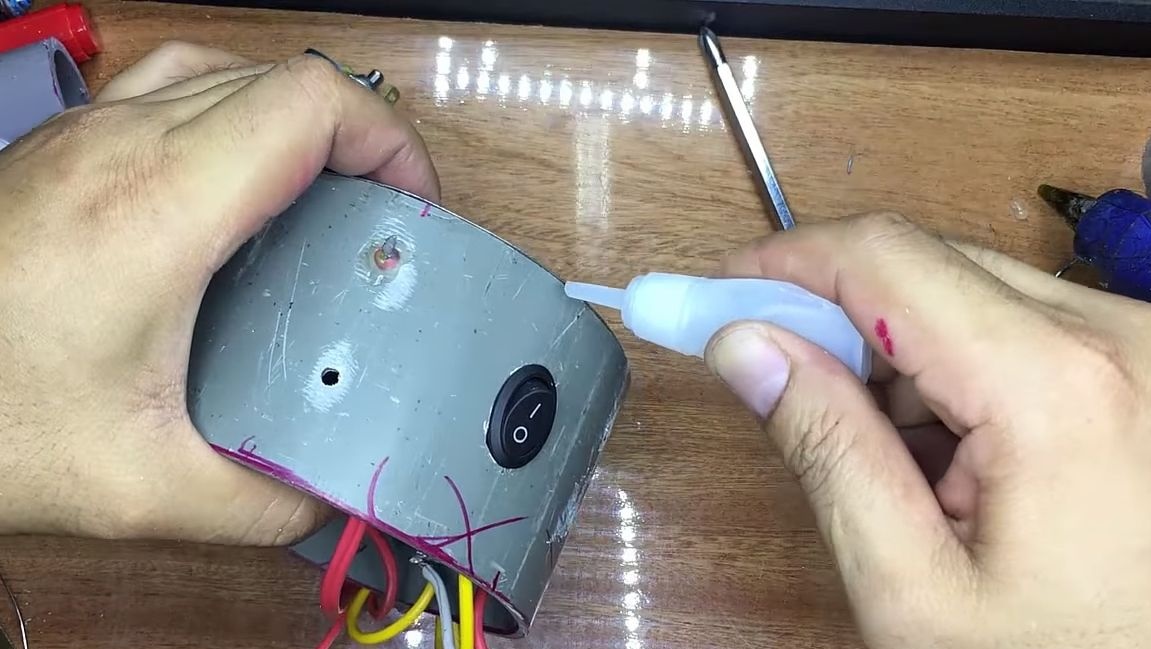
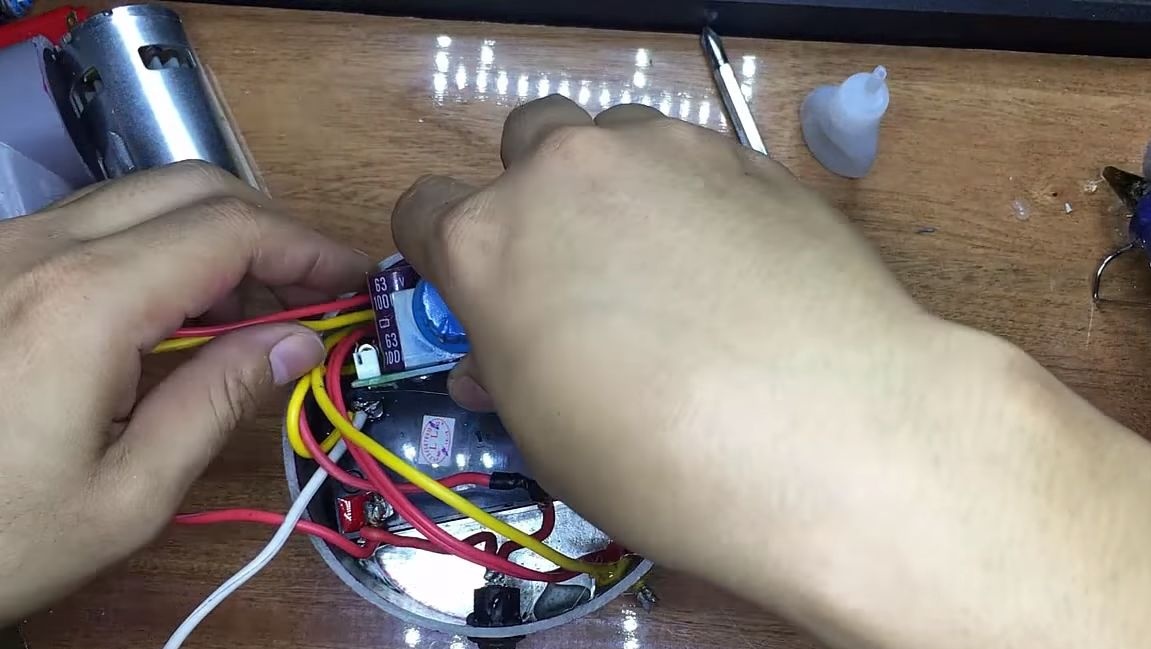
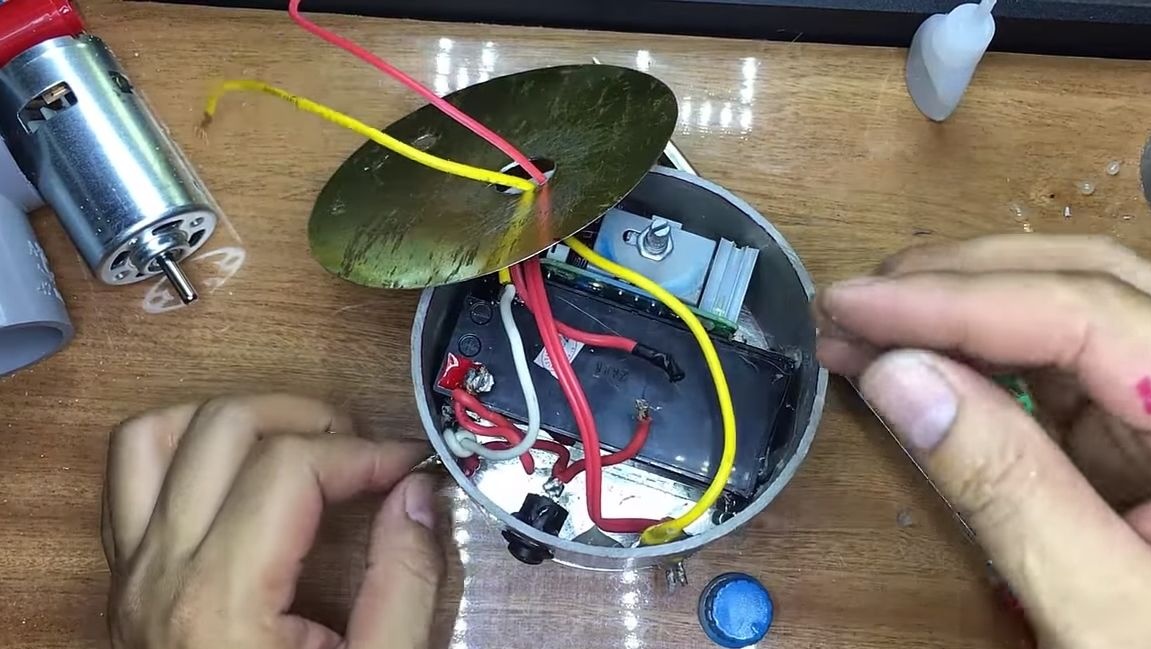
We place the battery in the case, we fix it with hot glue. Next, set the engine speed regulator.You will also need to install a charger connector and a switch. Solder the wires, isolate the exposed contacts with heat shrink.
Do not forget to remove two contacts from the battery contacts. You will connect a charger to them. The author simply displays two bare wires. Now install the top cover and secure the adjuster knob with a nut. Glue the lid itself with superglue or hot glue. It’s best to make the cover removable, fastening it with screws, so you will always have access to the inside of the device.
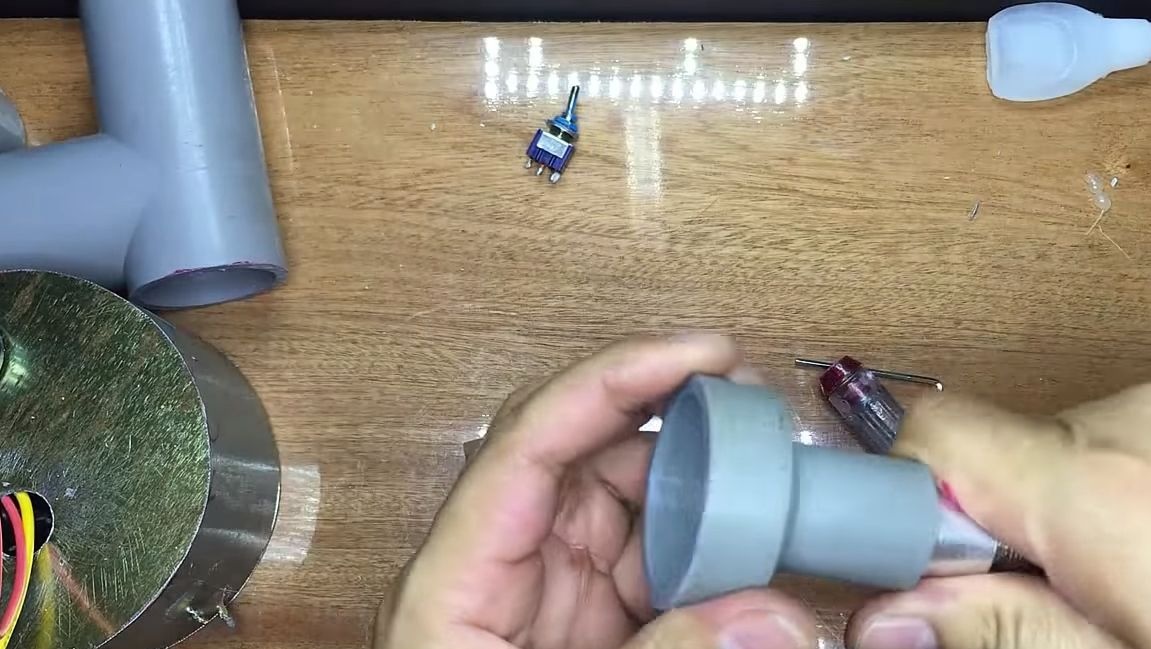
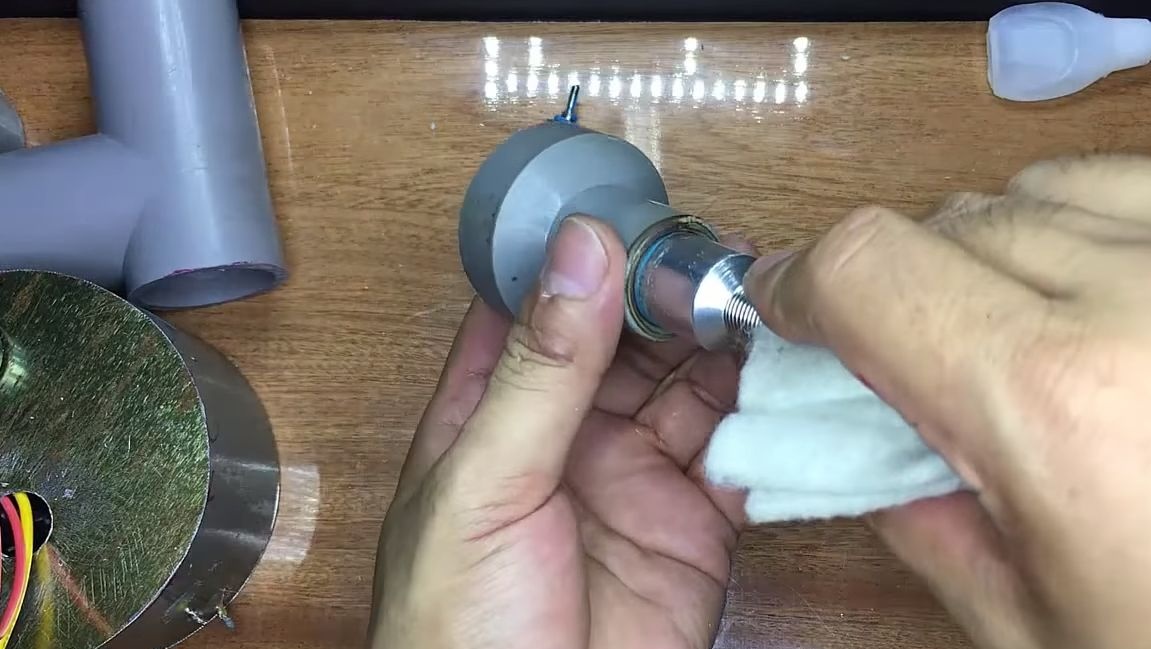
Step Three We connect a flexible shaft
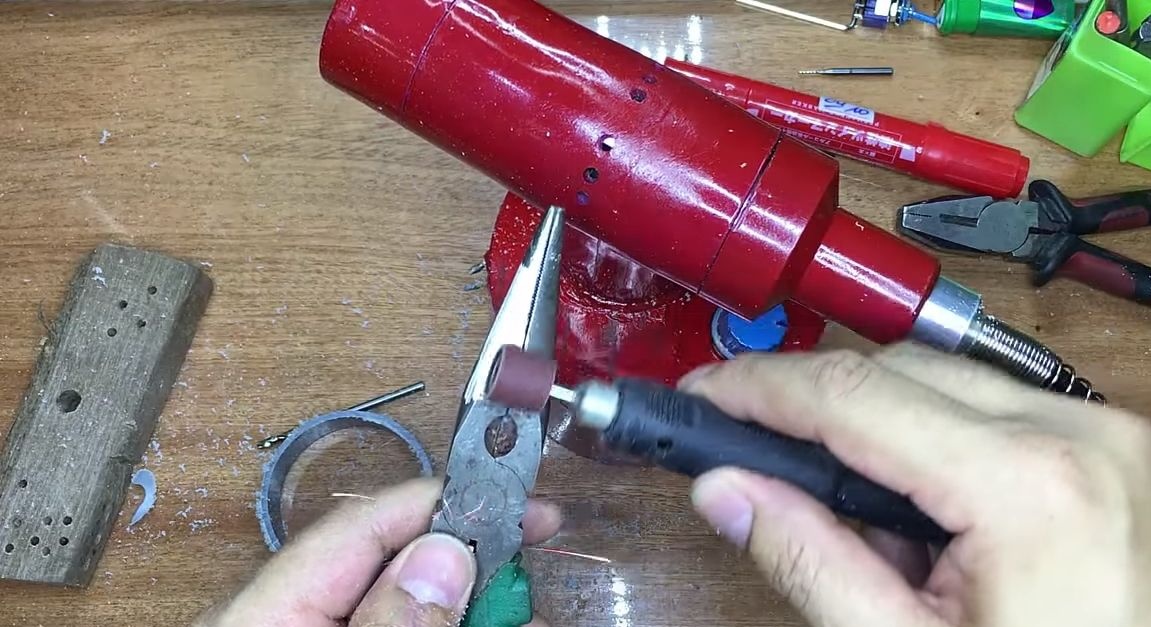
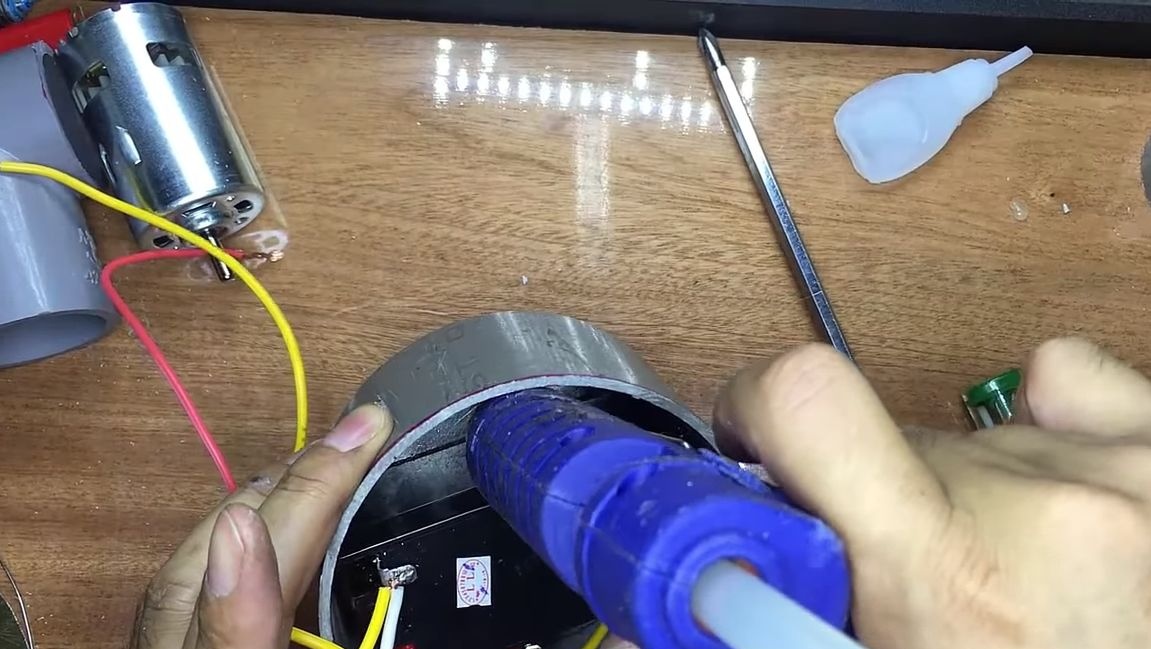
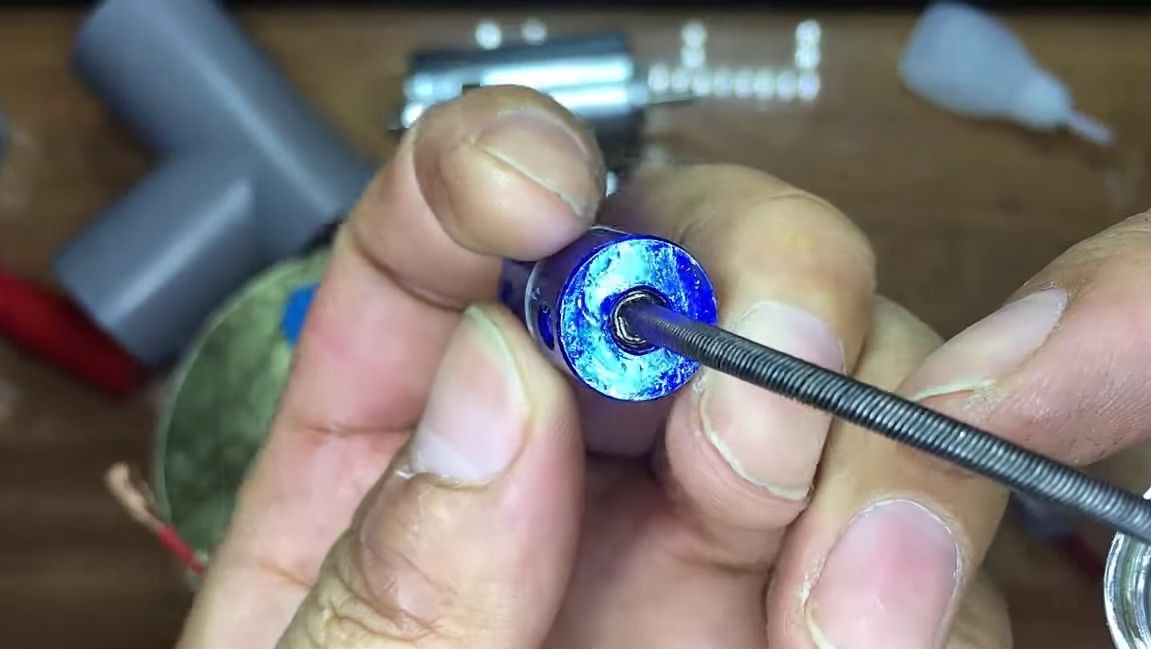
Place a cone-shaped part on the “shaft” of the flexible shaft. Next, you need a burner, heat a narrow part of the pipe and install a flexible shaft inside. On the other hand, attach a cable to the motor shaft, it is fixed with a screw.
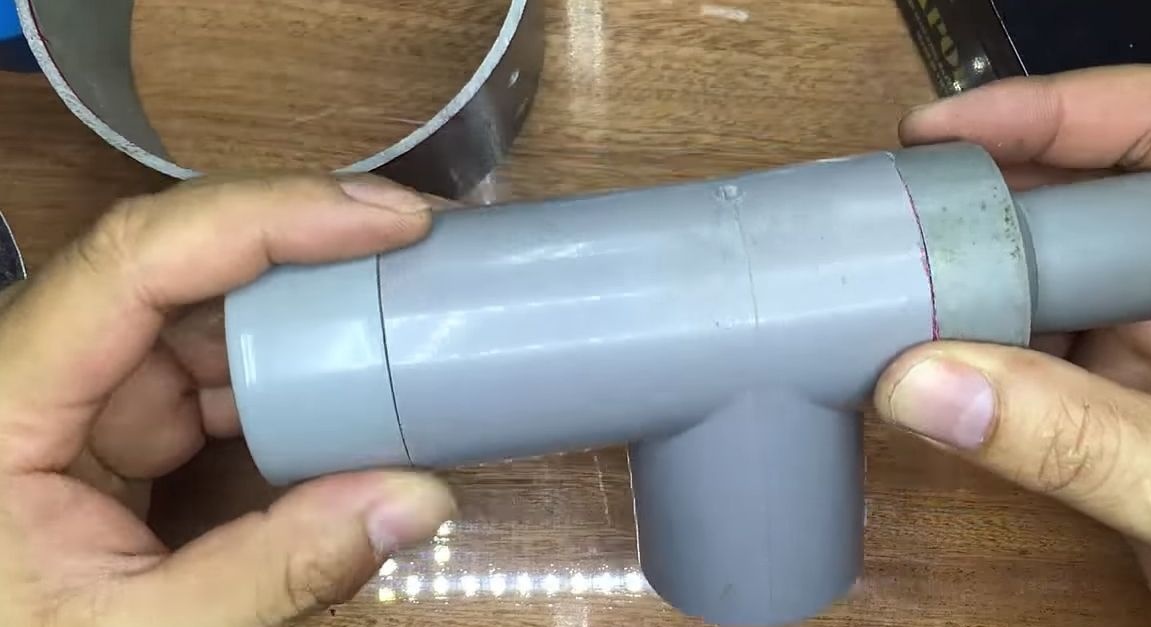
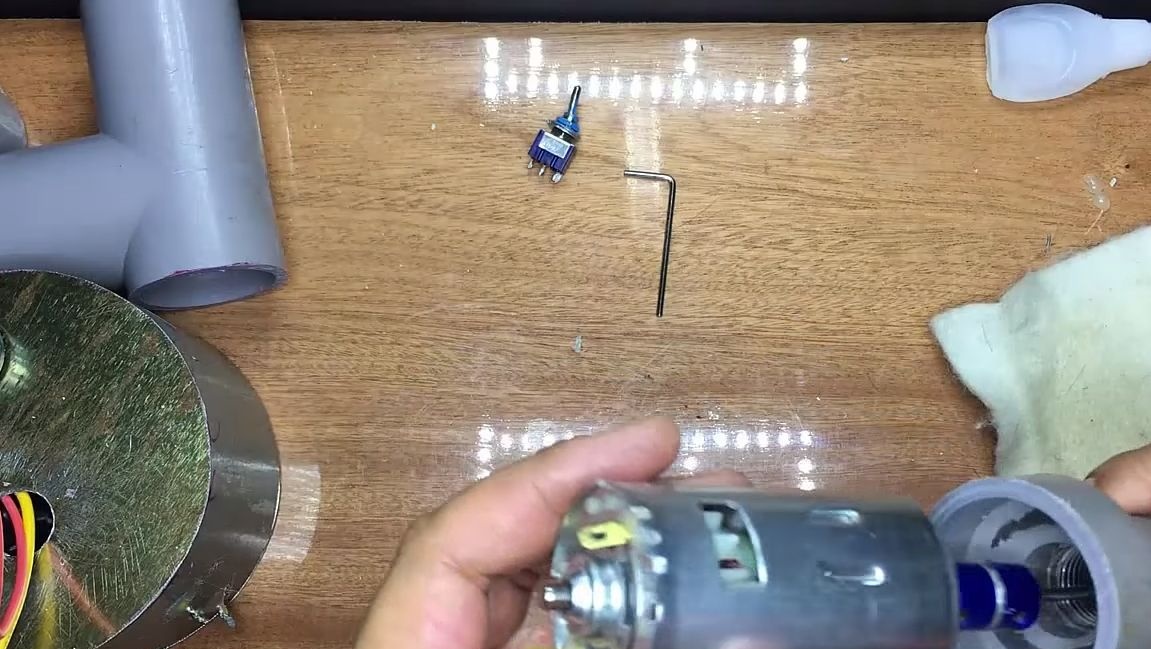
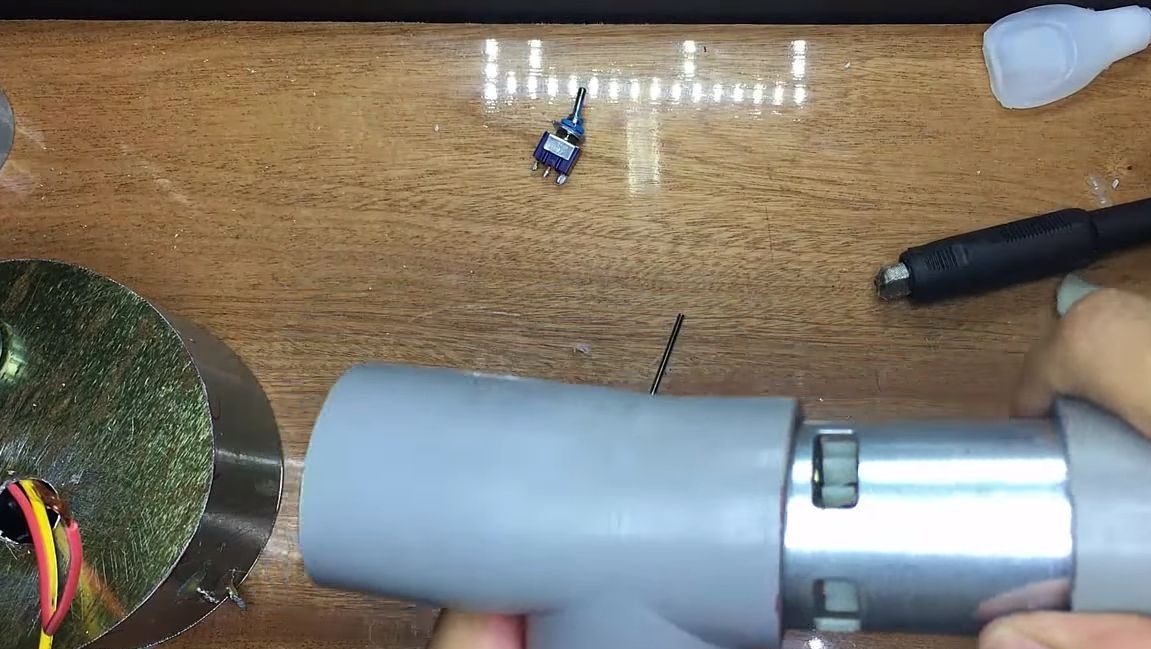
Next, the engine is installed inside the part made of a tee. So that the engine can be inserted there, we warm up this part with a burner. The engine is additionally fixed with superglue, as hot glue can melt when the engine heats up. On the reverse side, install a plug for pipes, it can be glued with superglue, and it is better to assemble everything on epoxy.

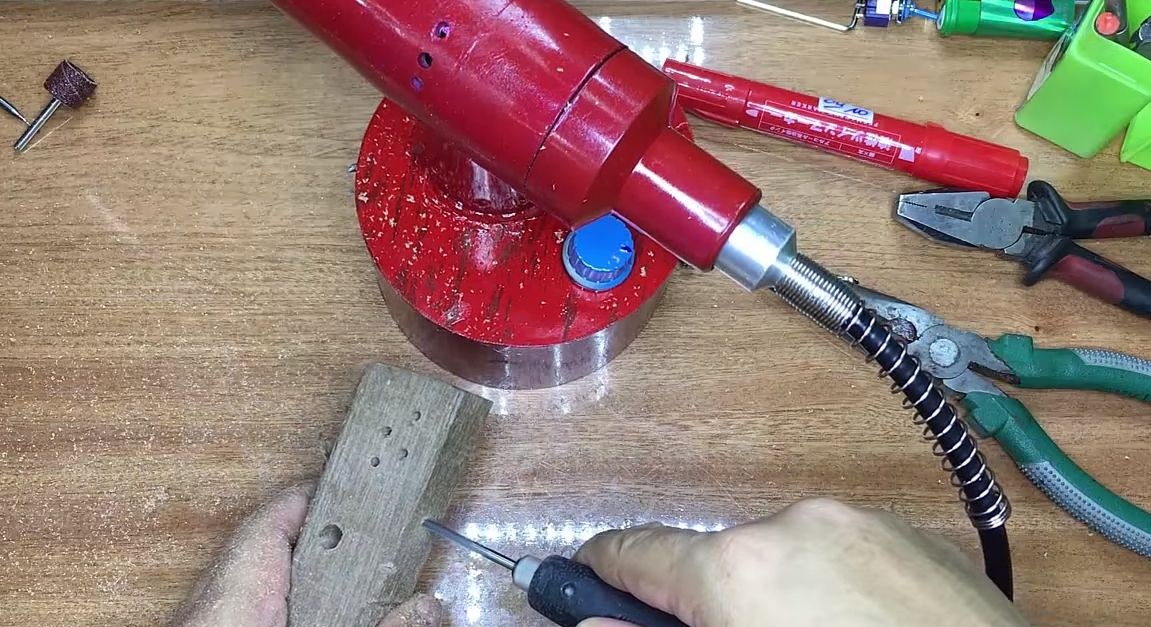
Step Four Final assembly and testing
All you have to do is stick the top to the bottom of the chassis. For bonding we use hot glue or epoxy. The author decided to paint the case, now he doesn’t even understand at first glance whether it’s a home-made machine or a purchased one.
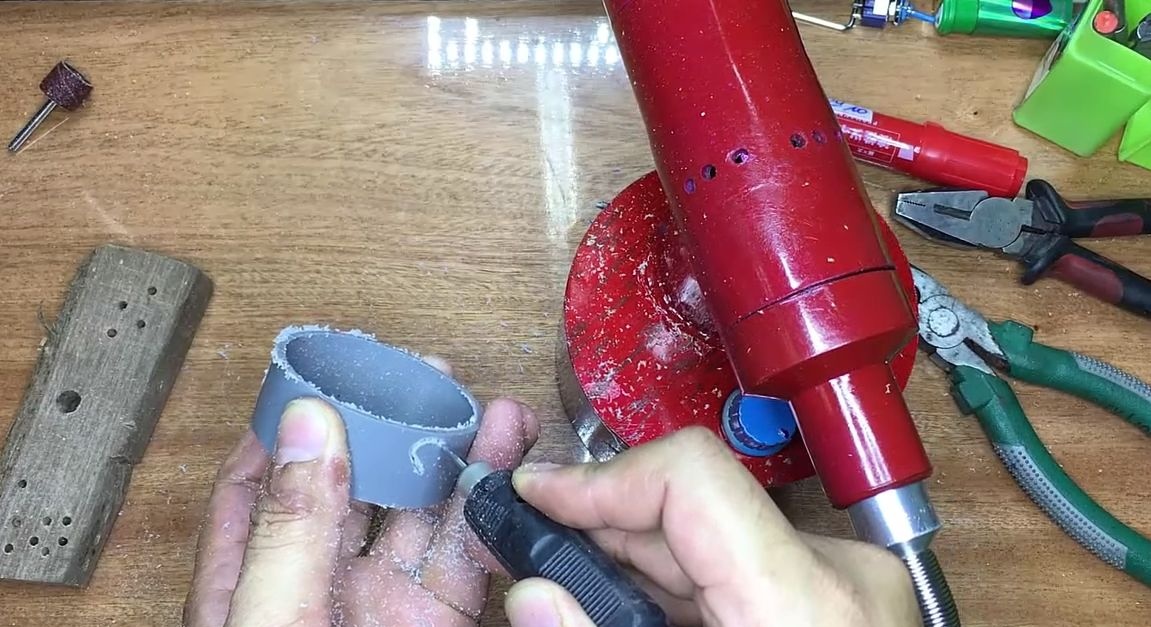
That's all, we charge the battery and you can test the car! The author demonstrates the operation of the device, cutting, grinding, shows plastic cutting, drilling and so on. The machine copes with all these tasks as a full-fledged drill. Among other things, the author decided to demonstrate how non-standard nozzles can be connected to such devices. He connected a home-made pump, with this device you can easily pump water, if necessary. Note that all this is from the battery! The engine is far from the water, so it won’t get wet. The power of the device is enough to cope even with such a load.
That's all. I hope the instruction was useful and interesting for you. Good luck, share the results and take care!