
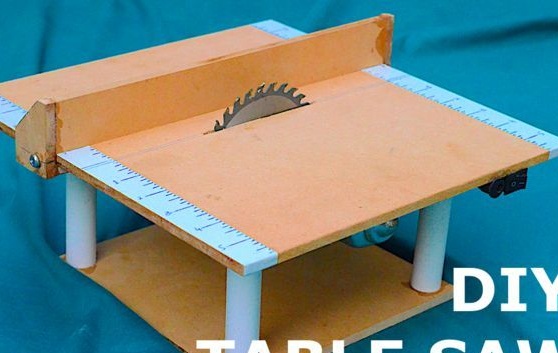
We recently looked at how the master did mini miter saw. In this article, we will look at how, the same master, made a mini circular saw.

Tools and materials:
MDF;
-Engine;
-Electric drill;
-Drill;
-Sandpaper;
-Crown on wood;
-Fasteners;
-Screwdriver;
Coupling;
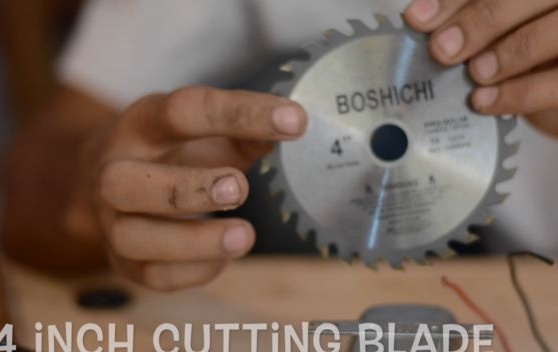
-Saw blade;
-Saw;
-Clamp;
- Electric jigsaw;
-Glue;
-Polypropylene pipe;
-Handling cloth;
- adhesive tape;
-Rule;
-A pen;
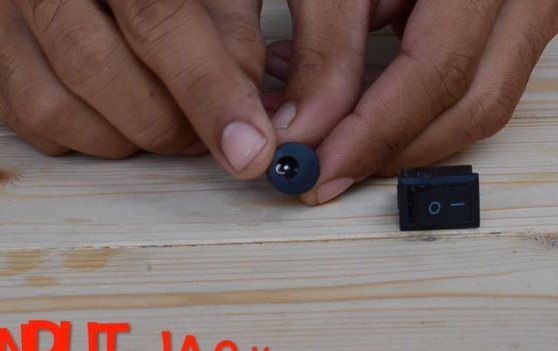
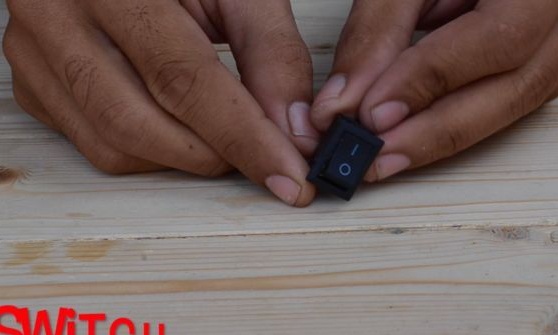
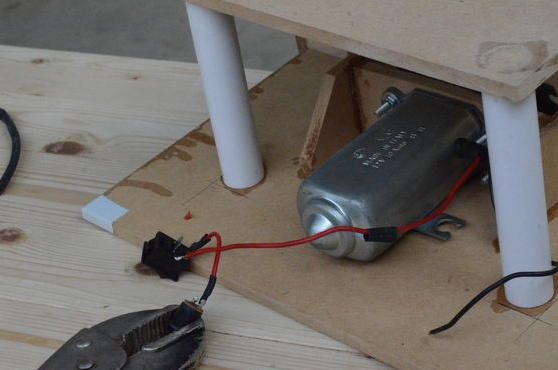
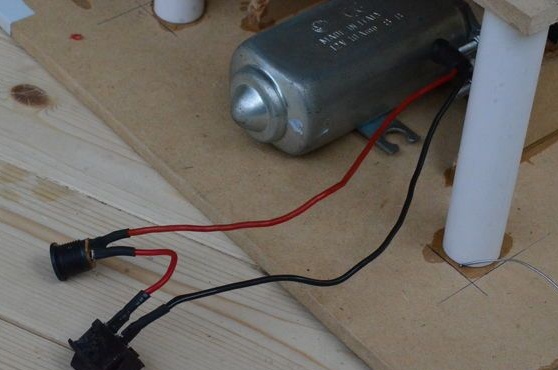
-Switch off button;
-Connector;
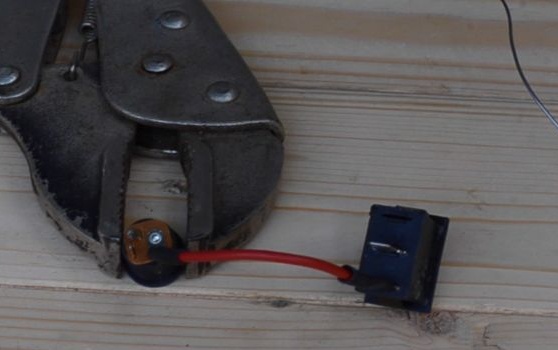
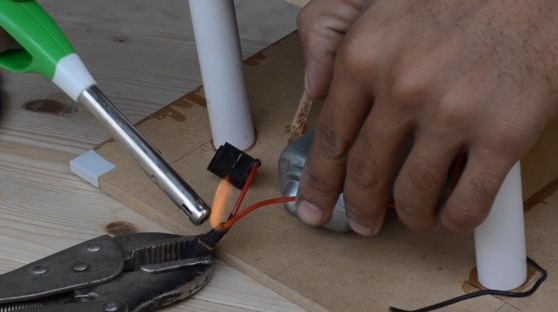
-Soldering iron;
-Thermotube;
-Lighter;
-12V power supply;
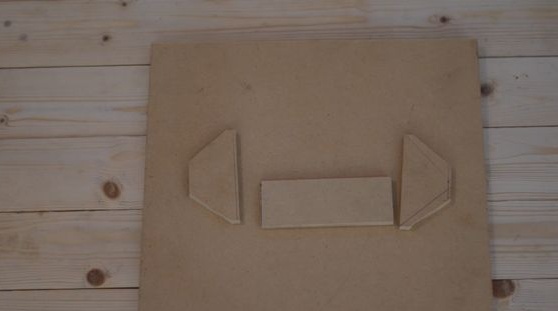
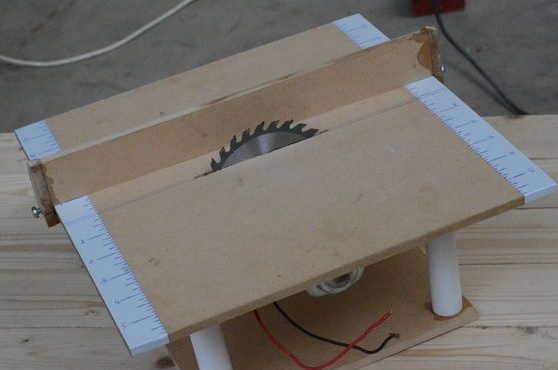
Step One: MDF blanks
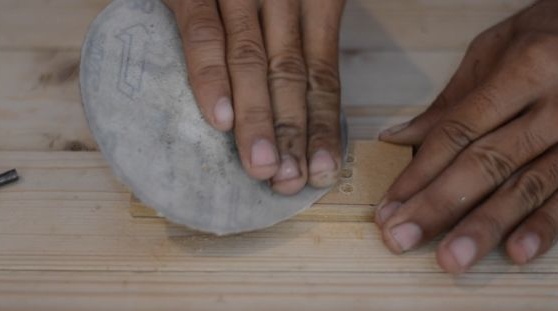
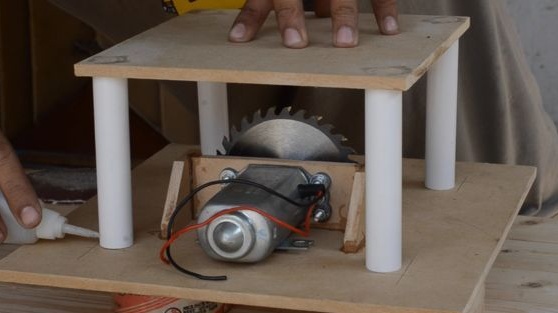
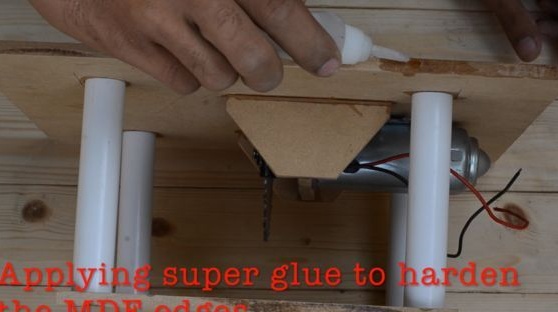
At the first step, the master cuts out a table and three parts from MDF, a rectangle and two trapeziums, for mounting the engine.


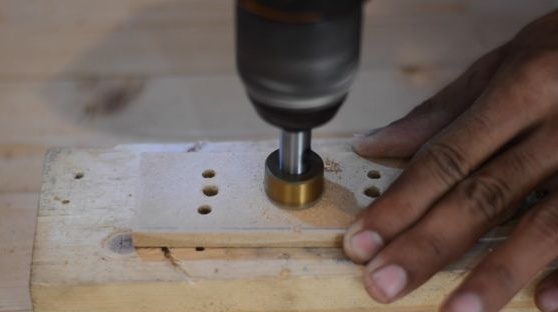
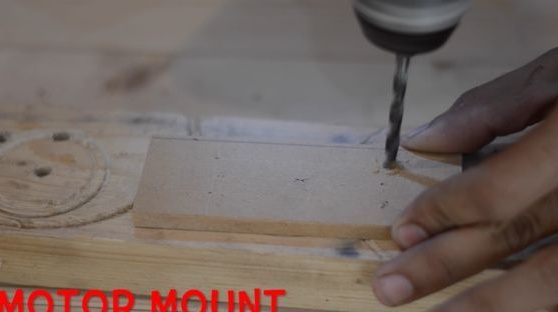
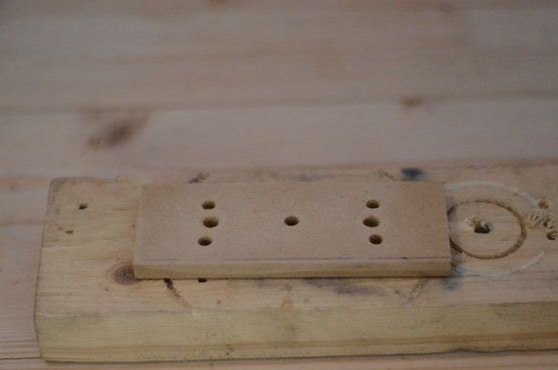
Step Two: Engine Mount Plate
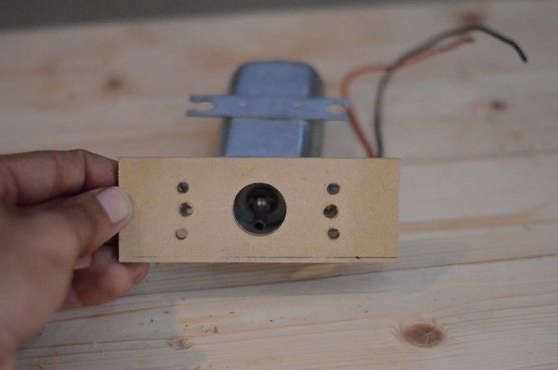
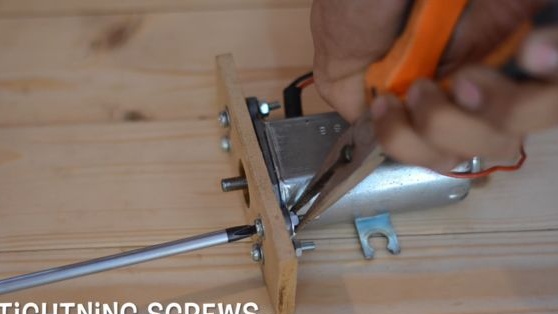
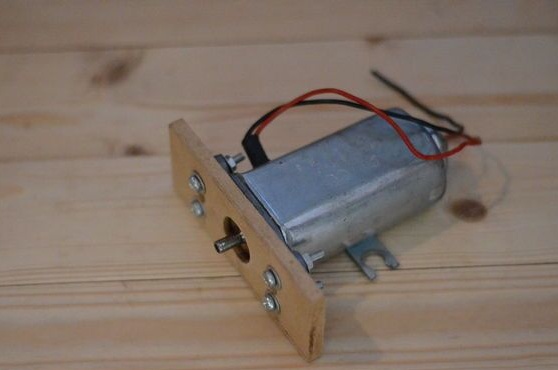
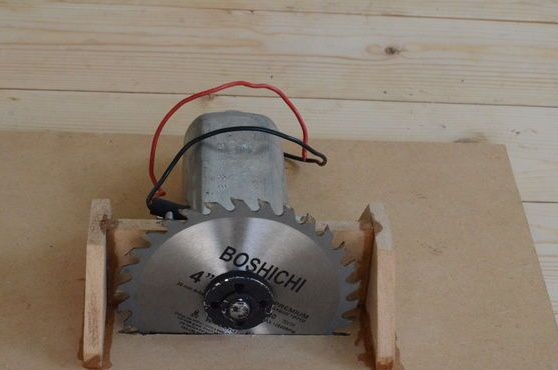
Engine author used 12 V from car wipers. On a rectangular workpiece, makes markings for engine mounts. Drill holes. In the center, the crown makes holes for the tide on the engines. Screws the workpiece to the engine.

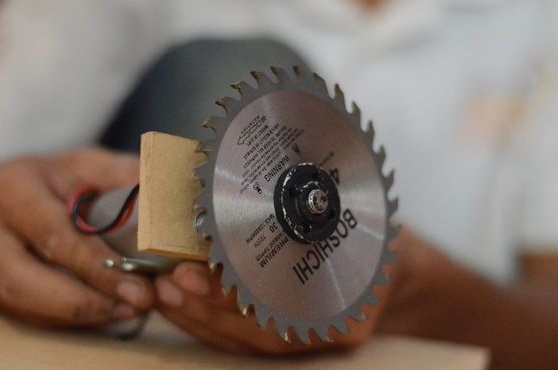
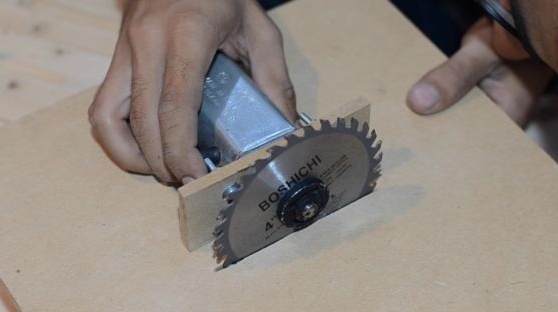
Step Three: Install the Saw Blade
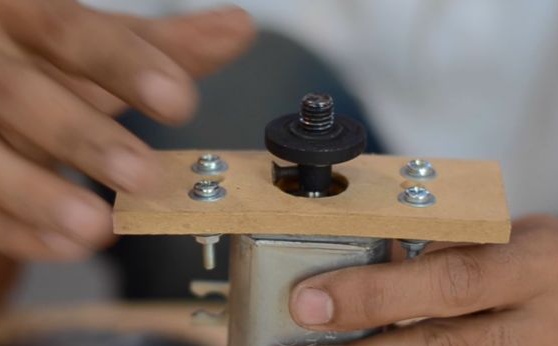
Mounts a coupling on the shaft. Mounts a saw blade on the coupling.


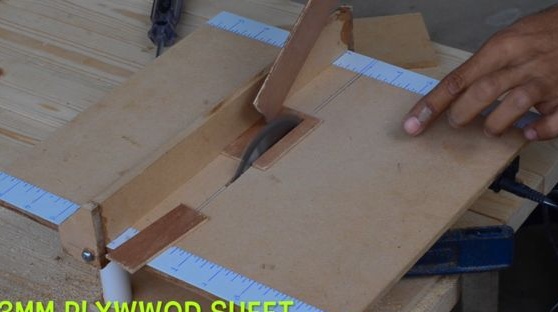
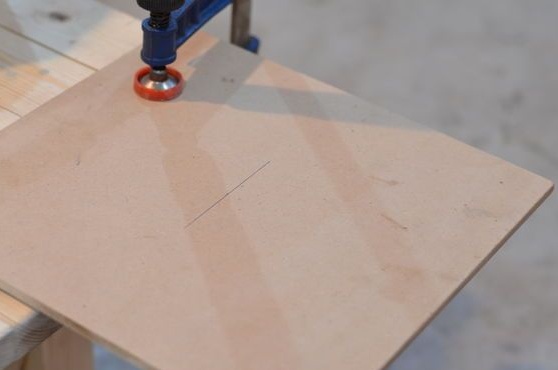
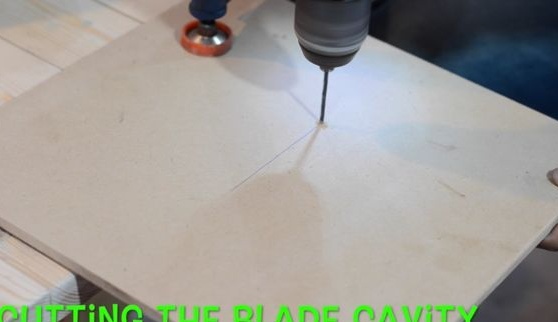
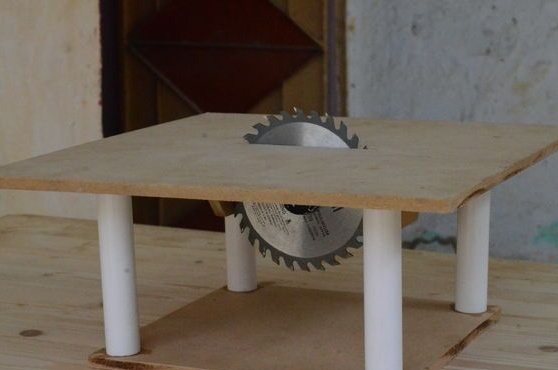
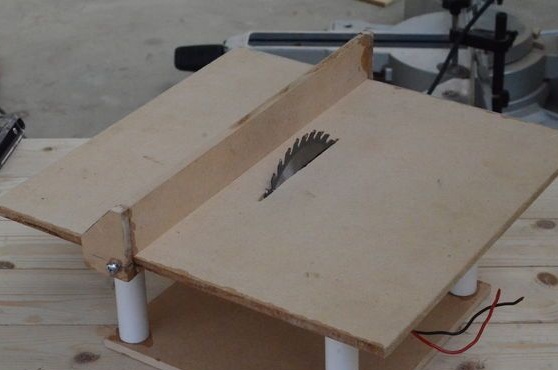
Step Four: Table
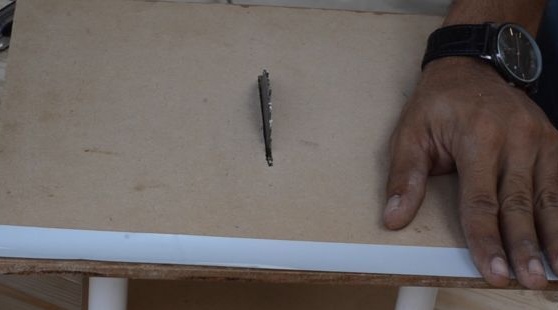
Clamps the table with a clamp. Marks the installation location of the engine with the disk. Jigsaw makes a slot under the saw blade.

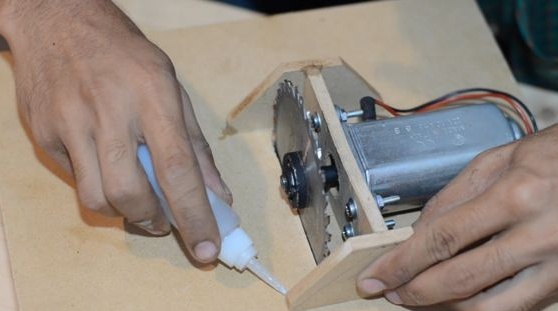
Step Five: Engine Mount
Attention: this mounting method is not safe. When repeating homemade I recommend thinking about other, more reliable, methods of fastening.
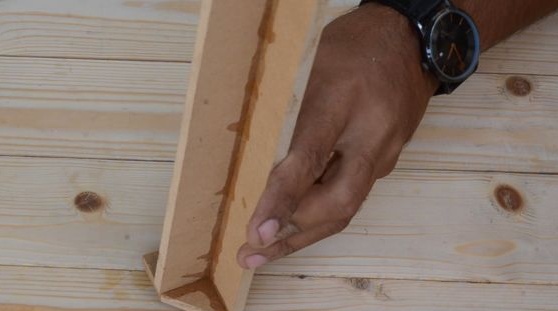
Next, the master fixes the mounting bracket to the table with glue. Glues two side strips.
Step Six: Prop
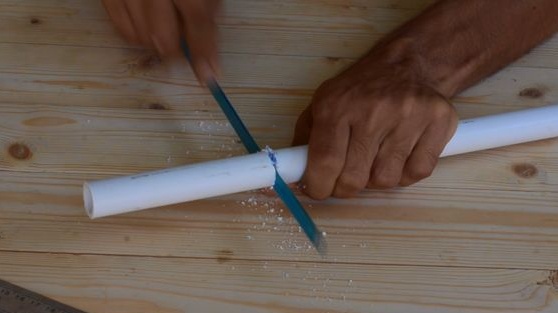
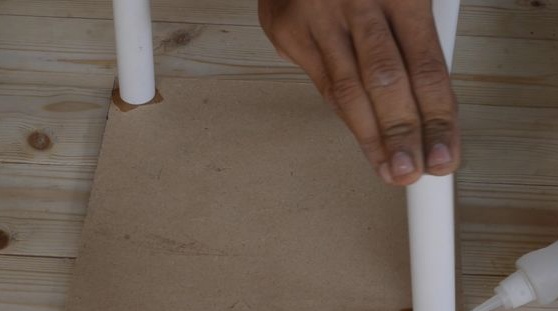
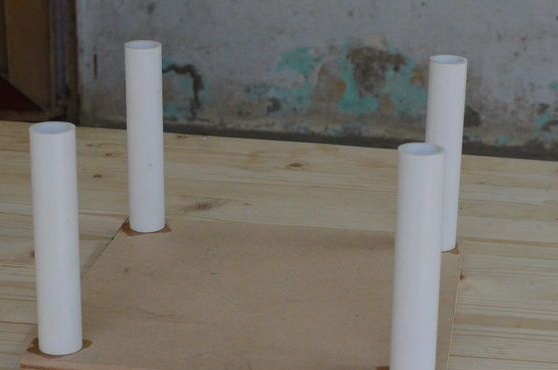
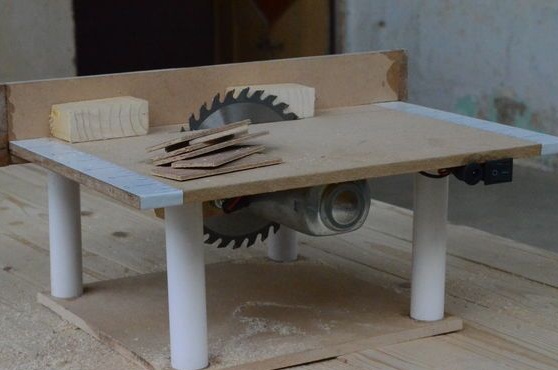
The table is ready, the engine is installed, now you need to make the supporting part. From MDF cuts a square. Four pipes cut off a polypropylene pipe. Glues the tubes to the corners of the support. Glues the second ends of the tubes to the table.


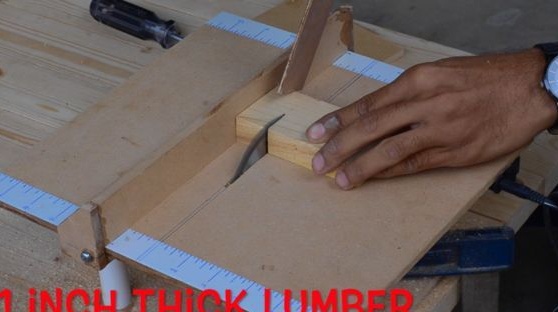
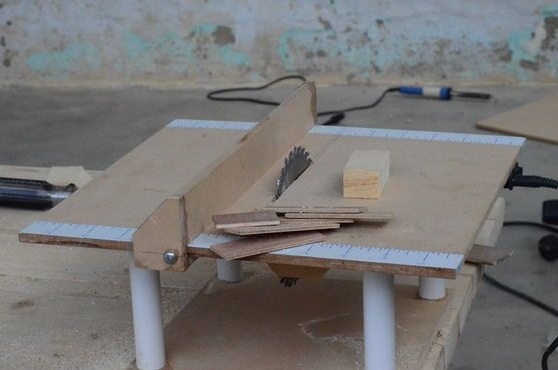
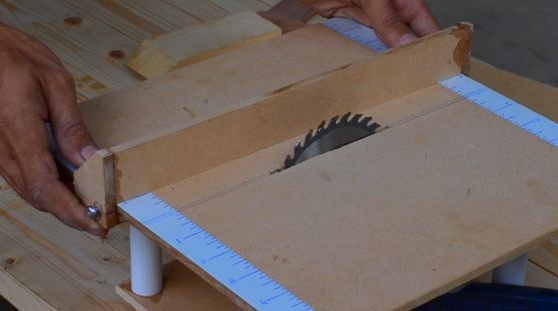
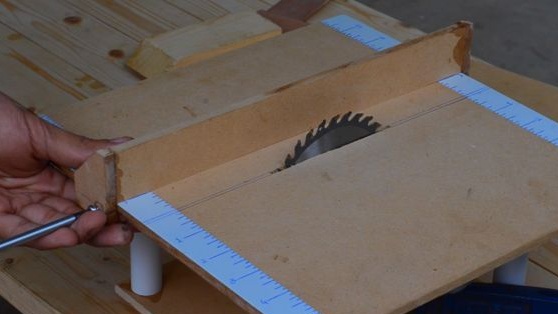
Seventh step: guide
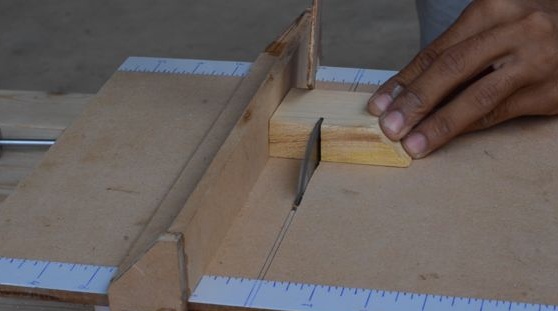
The master also made the guide from MDF. The guide consists of two lateral, one clamping and two lower levels. The guide moves on the table and thus changes the width of the sawn product. The guide is fixed with two screws. For better glide, the end part of the table was handled by the master with glue.


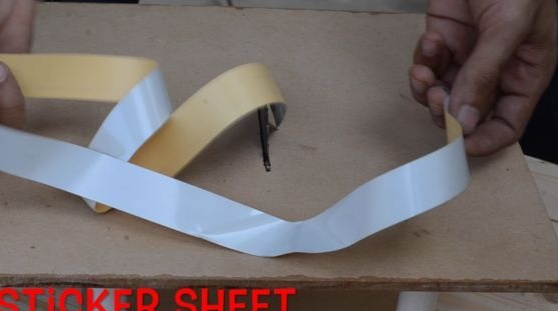
Step Eight: Measuring Scale
Glues, on the edge of the table, a white ribbon. Marks the tape metric.


Step Nine: Motor Connection
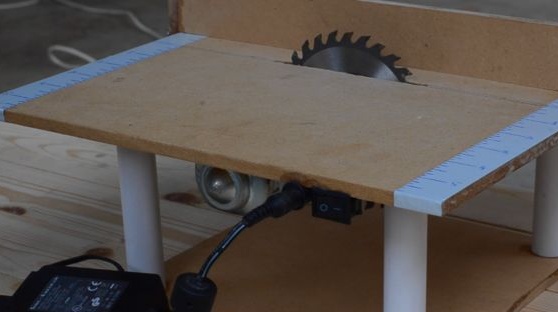
It remains to connect the engine to a power source. In the circuit, the master installs the power button and connector. It uses a 12 V power supply for power. The ends of the wires are insulated with thermotubes.


The mini circular saw is ready. It remains to verify it in action.

The whole process of making a mini circular saw can be seen in the video.