
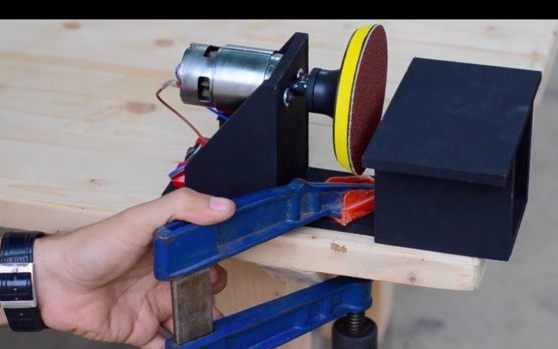
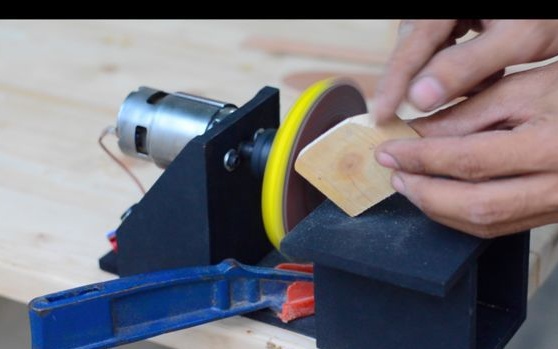
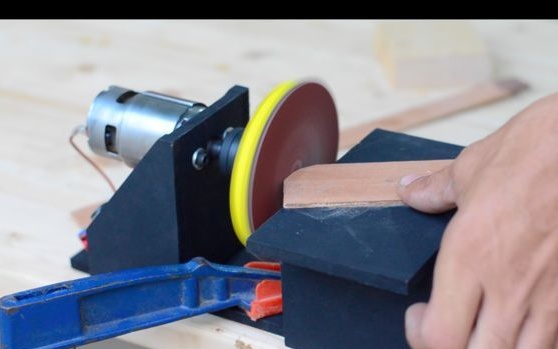
This stanochka will come in handy for various kinds of activities. It can handle wood, metal, plastic and various other materials. It will be especially useful if you need to get an even plane, for example, when making a bevel on a knife. True, with the help of such a machine you can only make very small knives.
The most important element in homemade can be considered an engine. It should develop high speeds and be powerful enough. Specifically for this machine, the author used the 775 engine. The entire project cost the author $ 10, which is an insignificant investment for such useful homemade work.
Materials and tools for homemade:
Material List:
- DC motor 775 (you can find another);
- 18650 batteries (can be turned on from the power supply);
- switch;
- MDF or other material for the manufacture of the body;
- 4 mm screws (for engine mounting);
- 4 inch grinding disc (from a grinding machine);
- Super glue;
- paint.
From the tools:
- soldering iron;
- hot glue;
- screwdriver;
- pliers;
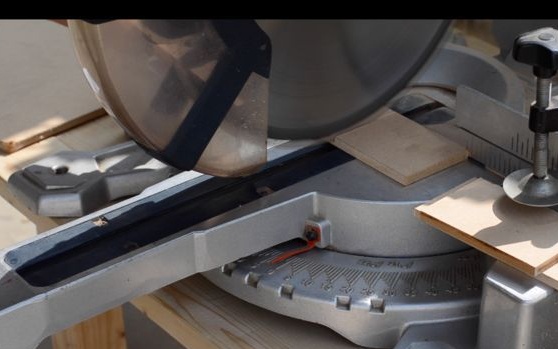
- miter saw (or other tool for cutting MDF);
- felt-tip pen;
- a clamp;
- drill.
Machine manufacturing process:
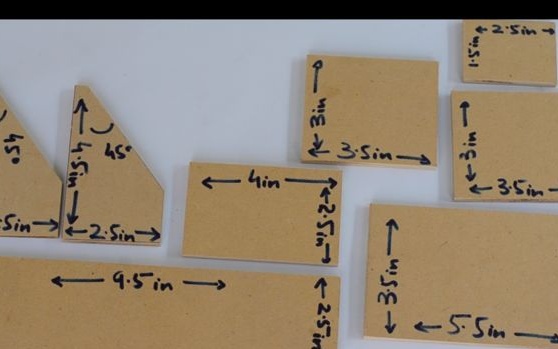
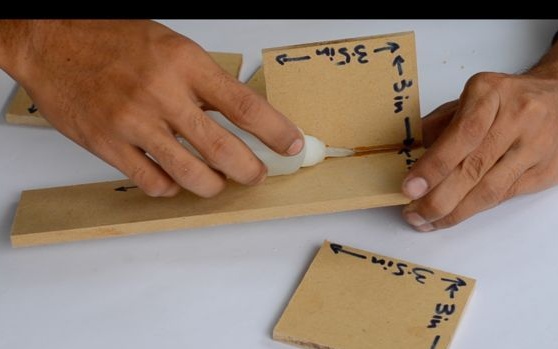
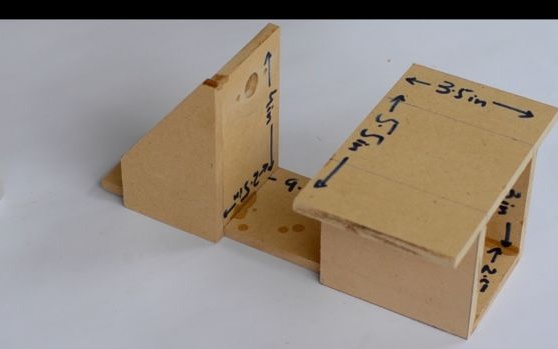
Step one. Housing blanks
First of all, you have to make parts for the case. The author makes them from MDF 8 mm thick. We mark out all the details and cut out with a miter saw. You can also use a hacksaw for metal and so on.

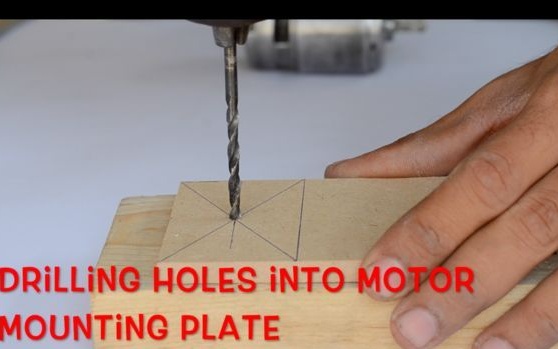
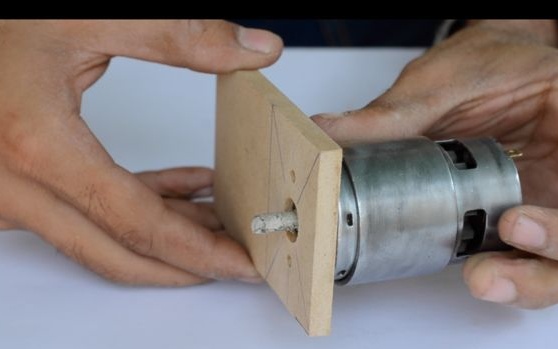
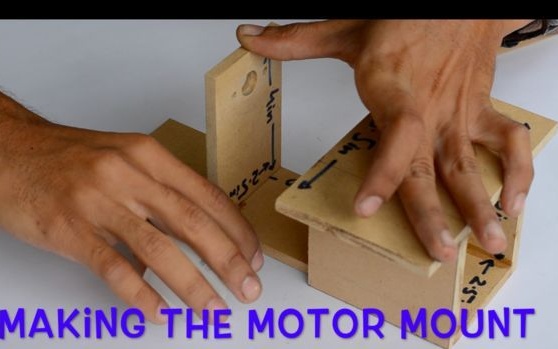
Step Two Manufacturing engine mounts
To fix the engine, we cut out another part from the MDF. We drill a hole in it under the shaft, as well as two or four more holes for mounting the engine under the screws. Engine author used 775 DC 12v with variable speed. This will allow you to adjust the machine speed for best performance.


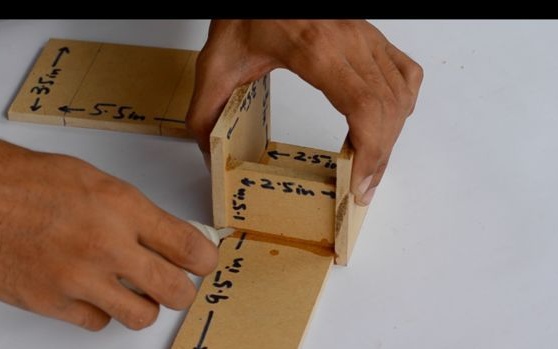
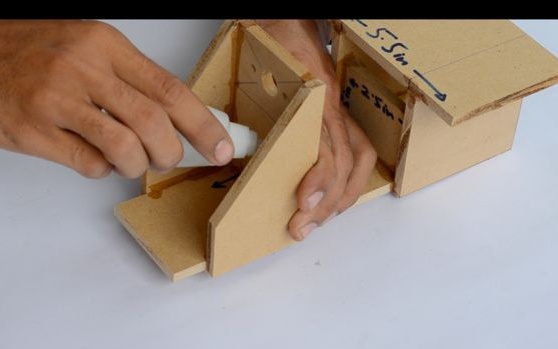
Step Three Glue the frame from MDF
Previously prepared parts must be glued together. First they need to be sanded thoroughly with sandpaper so that they are smooth and stick together well. For bonding, the author uses ordinary super-glue.
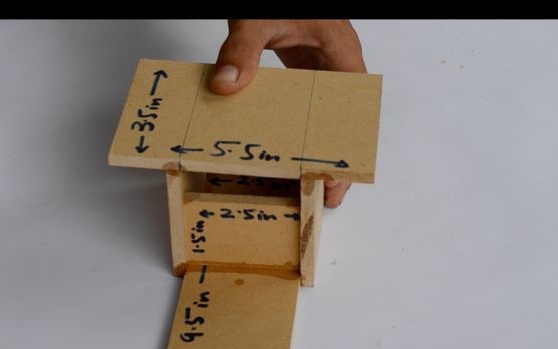
Step Four We attach the bracket holding the engine
Due to the fact that the engine vibrates during operation, it must be securely fixed. In addition, during operation, the engine has pressure from processing the product.
To strengthen the structure, the author fastens two more side supports. It is also glued with super-glue. It's fast, but as for me, not very reliable.It is better to strengthen the structure with hot glue or epoxy.
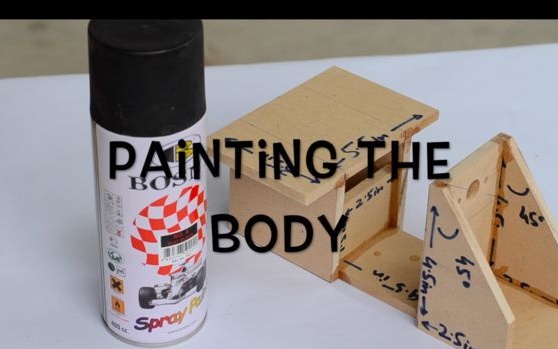
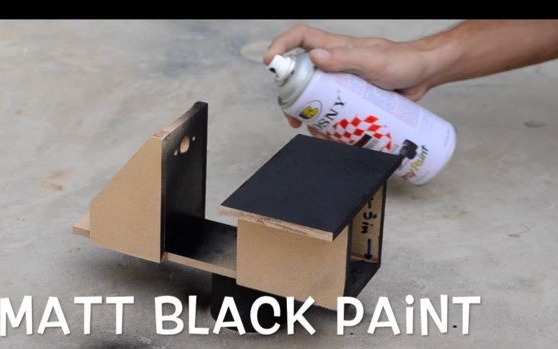
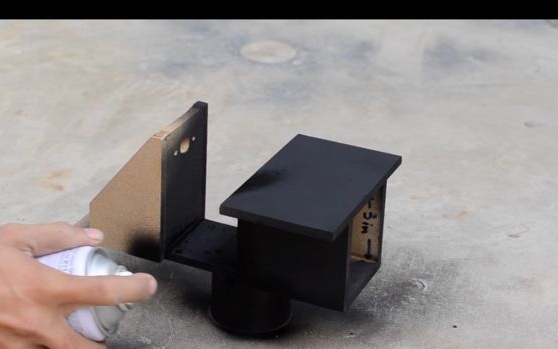
Step Five Frame painting
This step is optional. It will make the machine beautiful, so that it is not a shame to show it, and it will be much more pleasant to work. The author paints from a spray can with black matte paint.
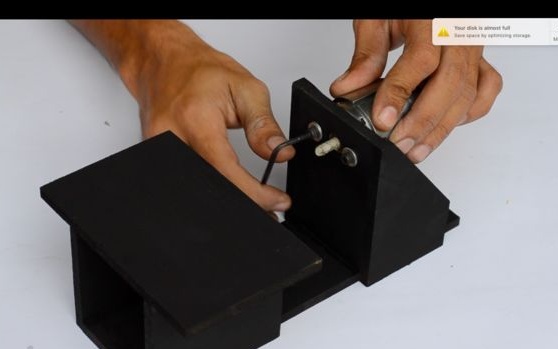
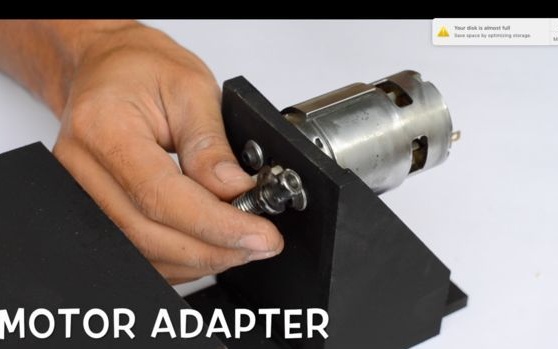
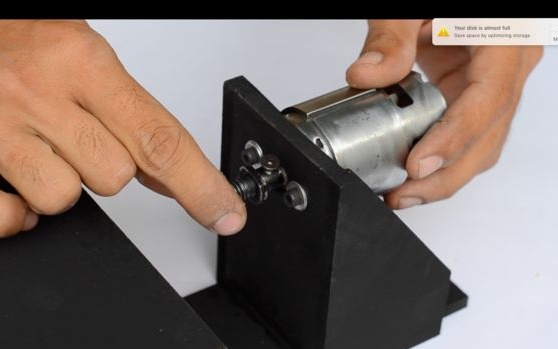
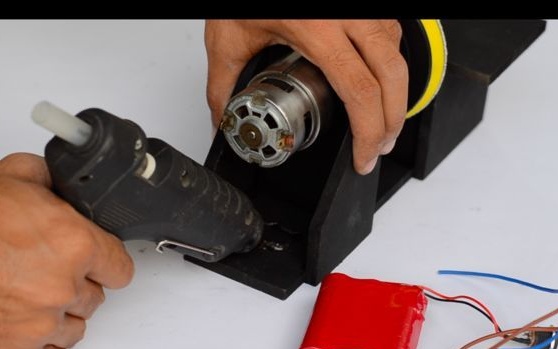
Step Six We fasten the engine
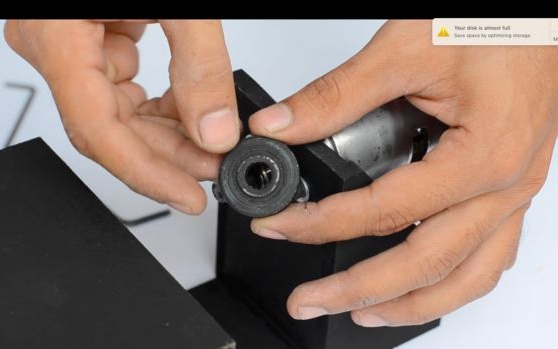
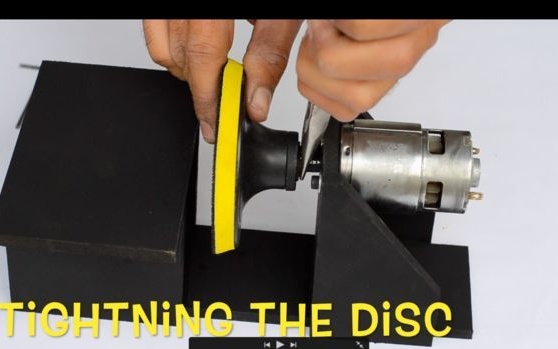
Once the paint has dried, you can mount the engine. For these purposes, the author uses 4 mm screws with a hex head. At the same stage, an adapter with a thread of 10 mm is installed on the motor shaft to install the grinding disc.
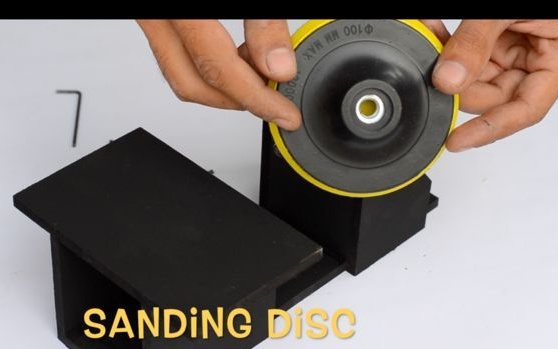
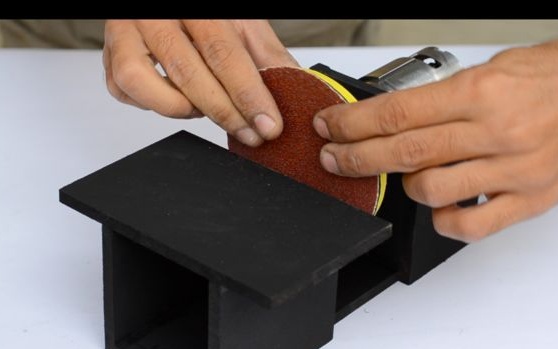
Seventh step. Fasten the grinding disc
Now you need to install the grinding disk. As it is a standard disc 4-inch machine. Just wrap it on the adapter with a washer. Hold the shaft with pliers.
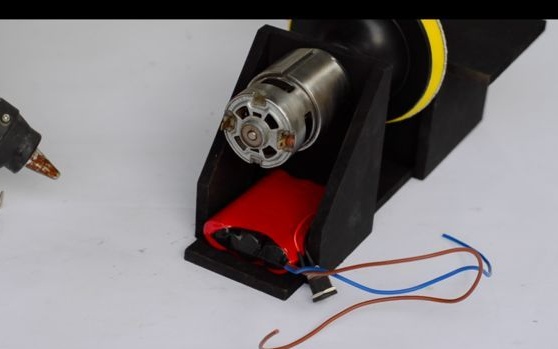
Step Eight. Battery Connection
To power the machine, the author used three cells from the battery of the laptop 18650. Each such battery produces a voltage of 3.7 V, with a serial connection it turns out 11.1 V, which is enough to connect the engine to 12V. This makes the machine portable, though it will not be able to work on such batteries for long. For stationary use it is wiser to use a power supply.
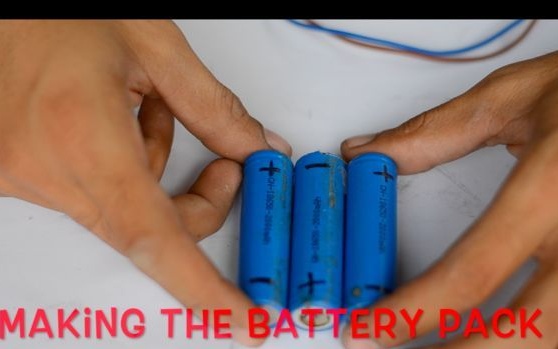
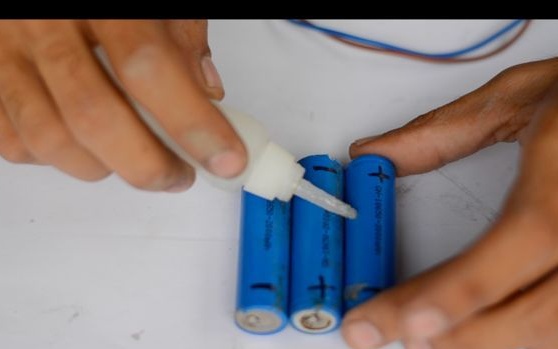
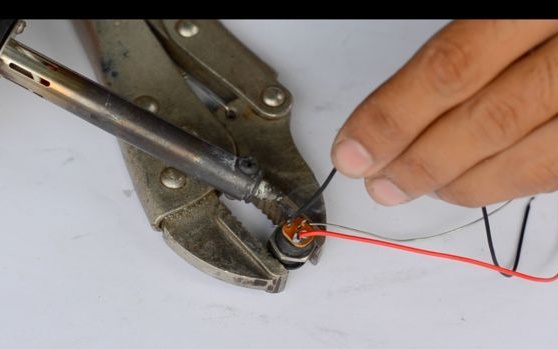
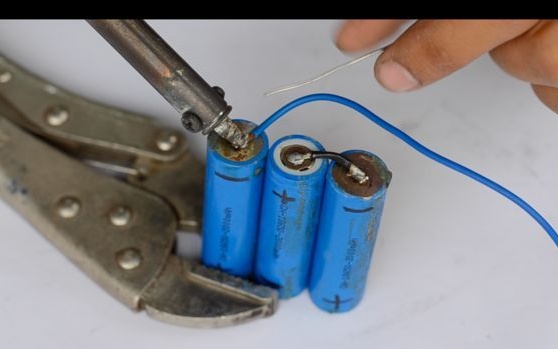
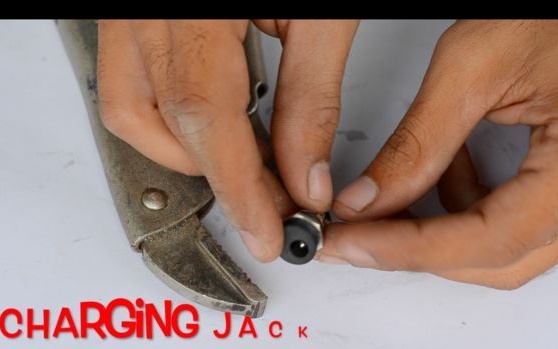
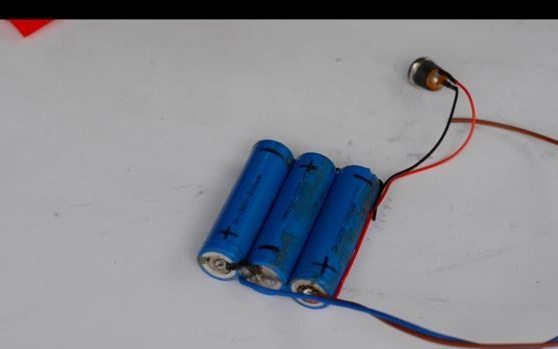
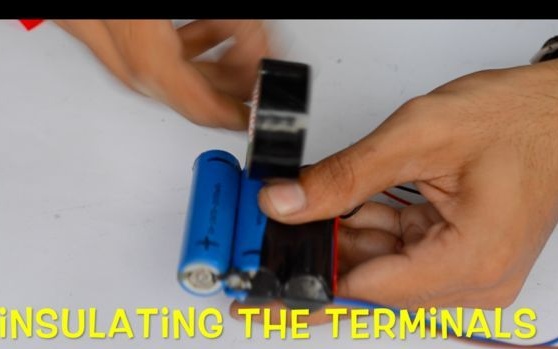
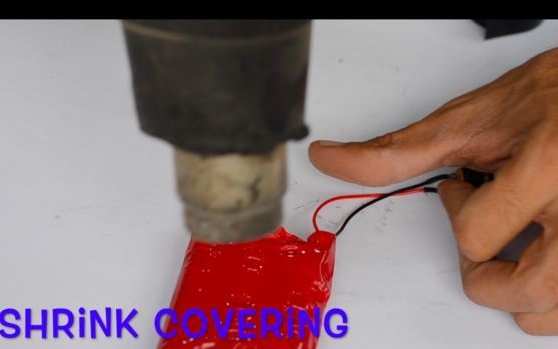
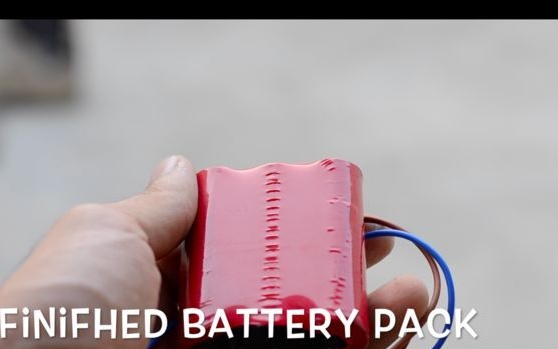
The author sticks the batteries together and then connects them in series. Also at this step, the author solders a socket for charging batteries. Central contact is a plus, and a side minus. Subsequently, the batteries can be insulated with shrink film.
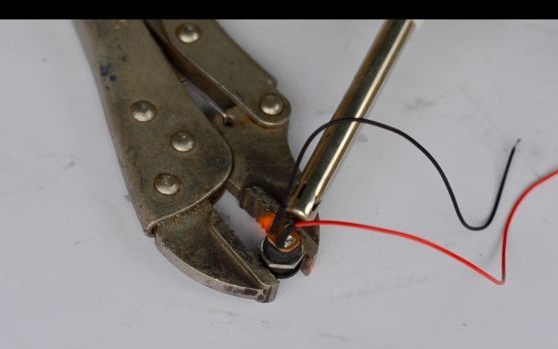
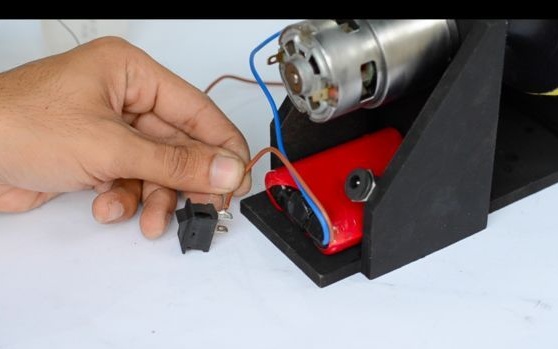
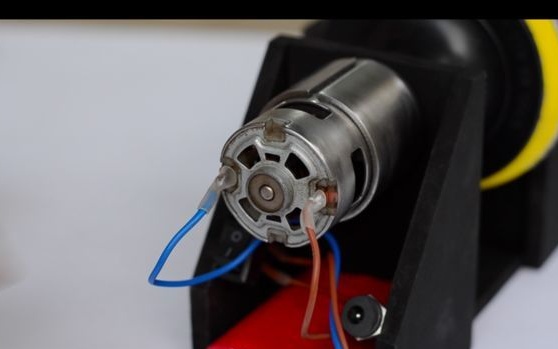
Step Nine. Connection of all parts
We solder two wires to the engine and connect it to the battery through the switch. If necessary, you can install a switch that allows you to adjust the engine speed. We attach the switch and connector to the case with hot glue, this also applies to the battery.

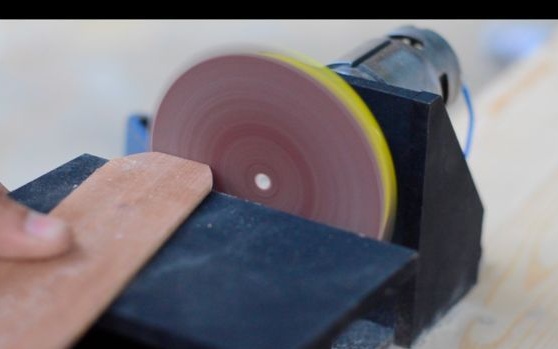
Step Ten Testing
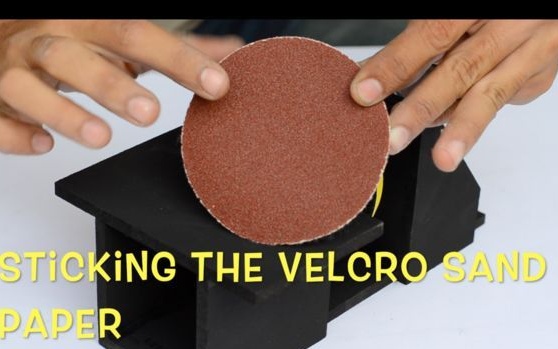
That's all, our machine is ready. If necessary, you can carry it anywhere, as it runs on battery power. He perfectly polishes wood and other materials. Choose the grit size of sandpaper at your discretion.