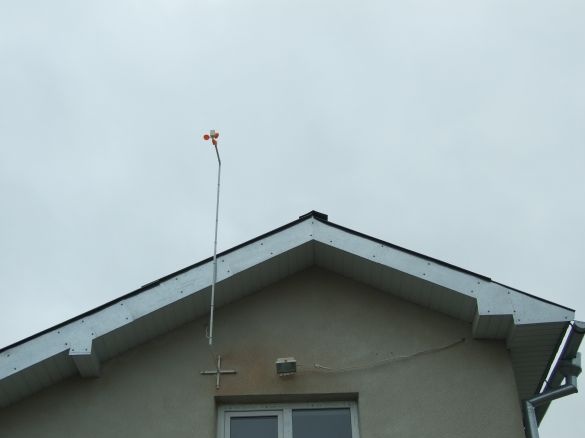
The author of this homemade Once I came across the question of how to determine if there is a wind in the place where it lives. Such a question arose because he wanted to put a windmill for generating electricity. With the help of this ingenious fixtures You can take measurements, how often the wind happens, at what average speed it blows, and so on. The basis for the collection and processing of information is the board Arduino.
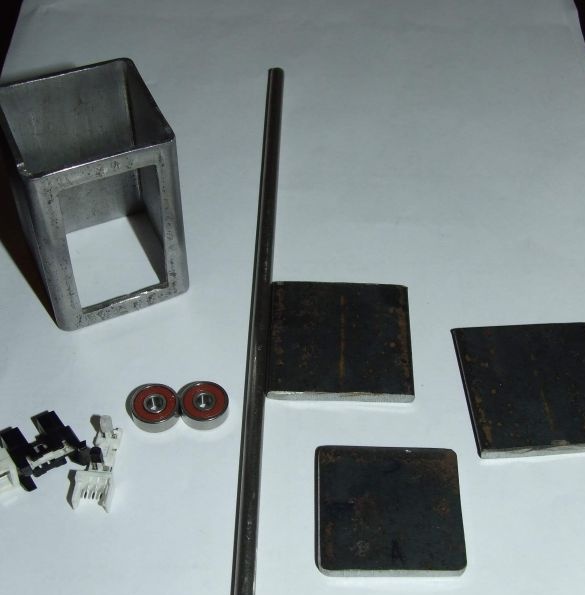
Materials and tools for the manufacture of anemometers:
- a piece of square pipe;
- grinder;
- welding;
- bearing;
- scan;
- nails;
- paint;
- LED-phototransistor sensor (can be pulled out of the printer);
- Arduino circuit;
- minimum tool set.
Manufacturing process:
Step one. We make the sensor of the anemometer
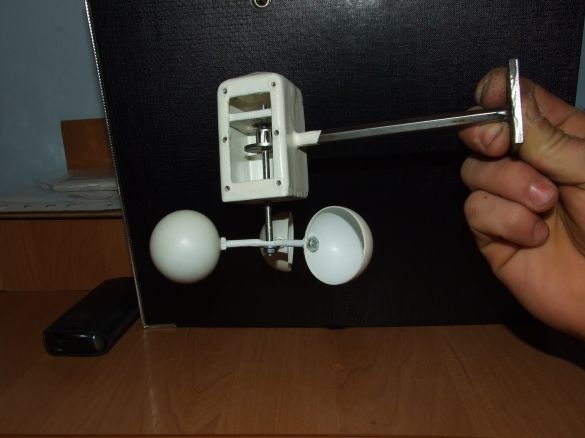
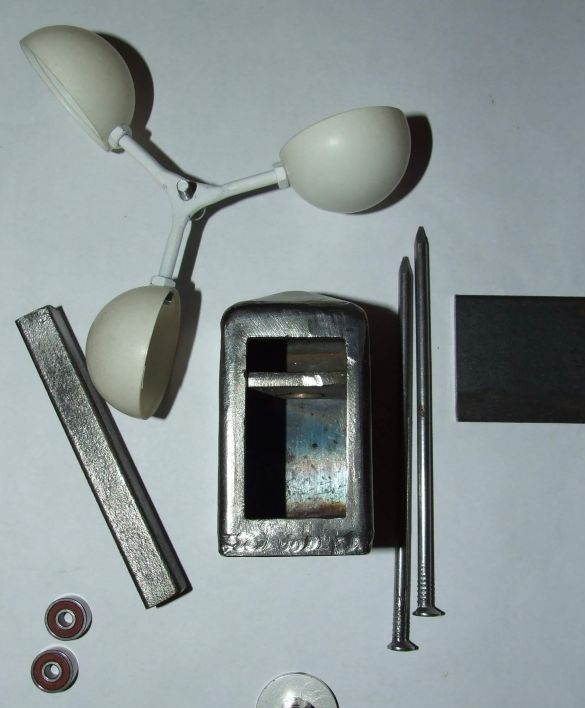
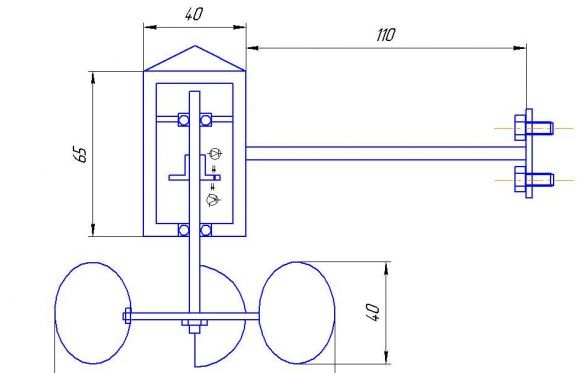
To manufacture the sensor, you need to take a piece of a square pipe and then cut a window in it, then the filling will then be installed through it. Inside this pipe you need to weld a metal plate, it will act as a bearing holder. Then another plate is welded to fix the lower bearing.
The author decided to make the top in the form of a pitched roof. For this, four triangles are taken, first it is grasped by welding, and then it boils well.
Further, the workpiece is clamped in a vice and the drill diameter is 0.5 mm less than the diameter of the bearing in the lower cover and a hole is drilled in the middle. Both are needed for bearings. So that the bearings fit in place with a stretch, the size of the holes is adjusted by reamer. After the bearings were installed, a 100-nail was inserted into them. In the middle of the window, a plastic washer with four slots is put on it. A thread was cut from the bottom of the nail, and then an impeller was wound on this axis.
Step Two Impeller manufacturing process
To make an impeller, you need to take a nut and weld three nails to it with an electrode for 2 mm. The ends of the nails are cut, and a thread is cut into them. Then halves from the ball are put on the ends.
A stainless steel hex bar was welded to the body as a holder.And so that the case does not rust, it was covered with white enamel.
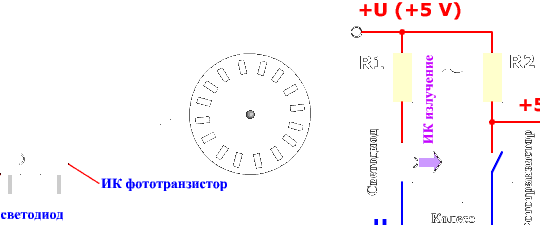
In order for the sensor to read information, a washer with slots is needed. The author took it out of an old ballpoint computer mouse. When a slot passes in front of the LED-phototransistor sensor, it sends a signal electronics.
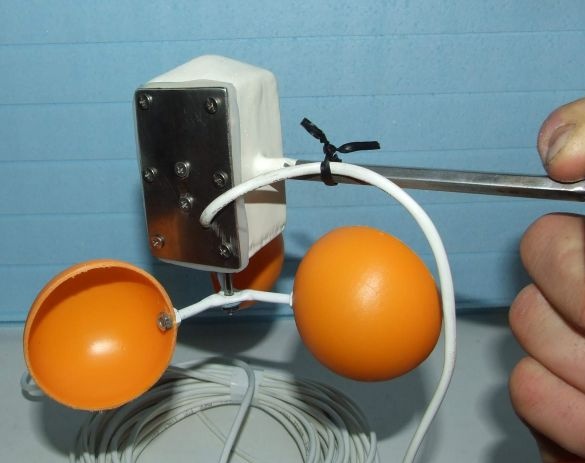
As for the impeller blades, they were first made of tennis balls. With this size of the blades, the impeller starts up with a wind of 5 m / s. To make the impeller more sensitive, balls with a diameter of 55 mm were purchased, in which case the impeller starts to spin already at m / s. In this case, the measurement is carried out up to 22 m / s.
Step Three Electronic part
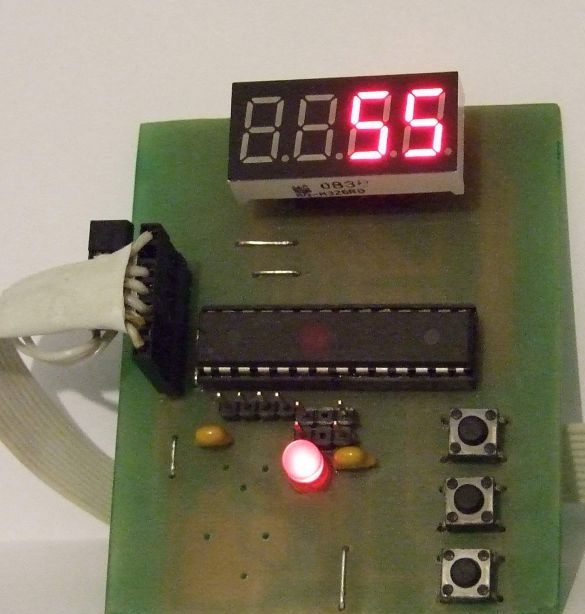
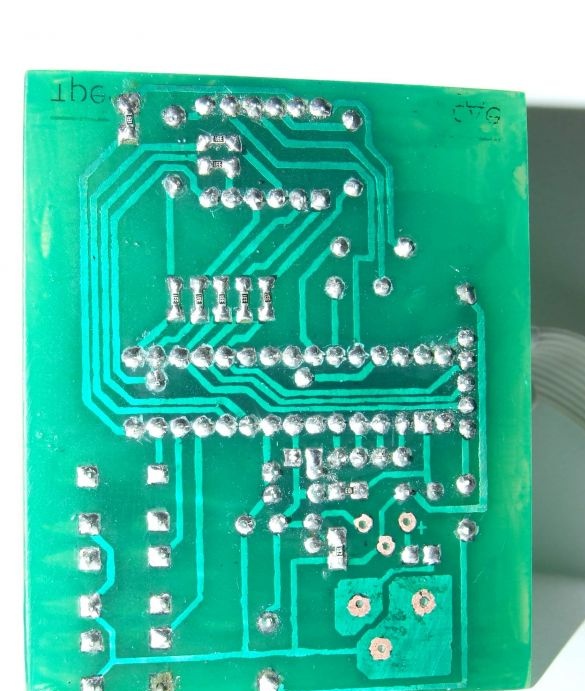
As an electronic circuit, the author first used a home-made LUT circuit with the addition of green maxi from China. But the system could not show the wind speed in meters / second. She only displayed the number of revolutions.
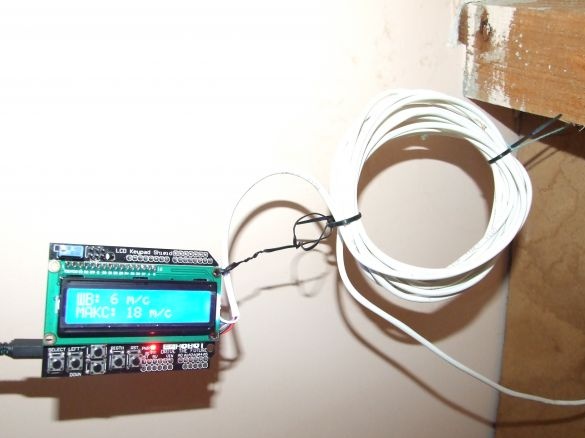
At the moment, the circuit is being assembled on Arduino. The principle of the author’s anemometer is exactly the same as that of a computer mouse. All that is needed now is to connect the two schemes.
It was decided to transfer pulses from the phototransistor to Arduino, while the circuit began to perceive such signals as pressing a button. To get the wind speed, you just need to calculate how many times the button is pressed for a certain time, say, per second. However, it is not so simple that a special formula is required to convert the impeller speed to the wind speed m / s. The author is happy to share her.
That's all, now the anemometer can be considered ready. If necessary, you can add a function to the code that would calculate how much time the wind blew at a certain specific speed. Such a homemade product will be a great addition for those who are going to install a windmill or closely monitor the weather.

