
The last article looked at how to make "A very simple incubator". In this article, the Wizard will show us how to make a device for turning the egg tray. A brood hen hatching chickens periodically flips eggs in a nest. This is necessary for several reasons. When turning, the yolk and blastodisc always turn out to be over; the drying of the embryo, and subsequently the embryo, to the shell membrane is prevented; internal organs do not stick together and manage to get their normal development; the amnion (germinal membrane) functions correctly, the correct position of the embryo is achieved by the end of the incubation period; all parts of the egg warm evenly. It is especially important to turn the eggs in the first half. In the test, egg rolling 5 times a day increased hatchability from 15% to 58%. The chicken, of course, does not know all this, but nature taught her to turn eggs. Having looked at the chicken, people learned to turn over. The main problem with manual overturning is a violation of the temperature regime. With automatic turning, the temperature does not change.

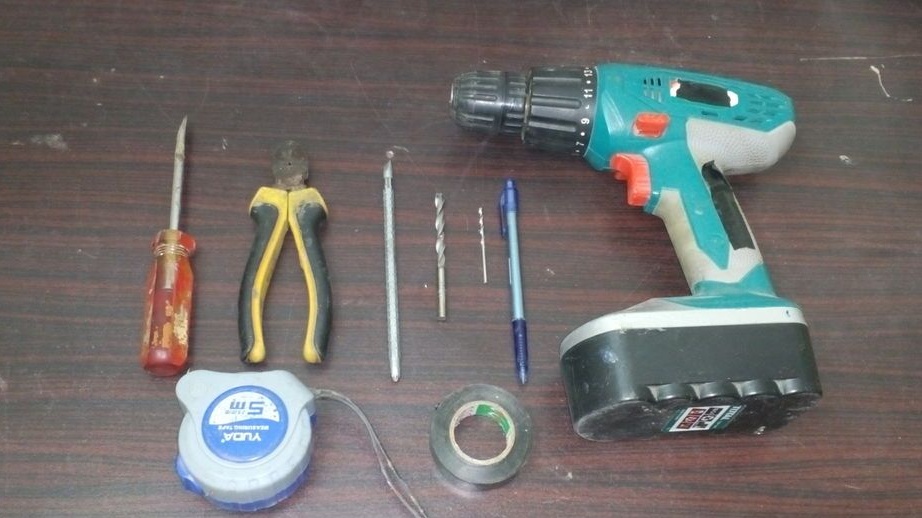
Tools and materials:
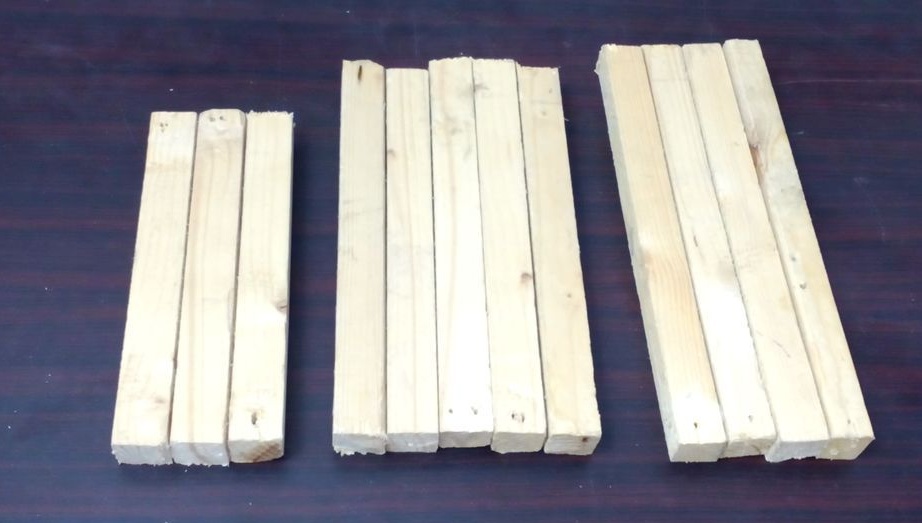
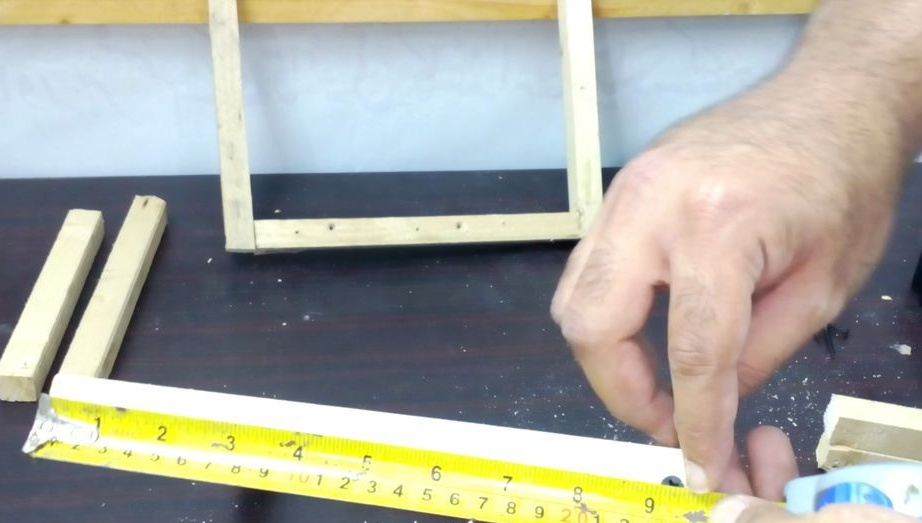
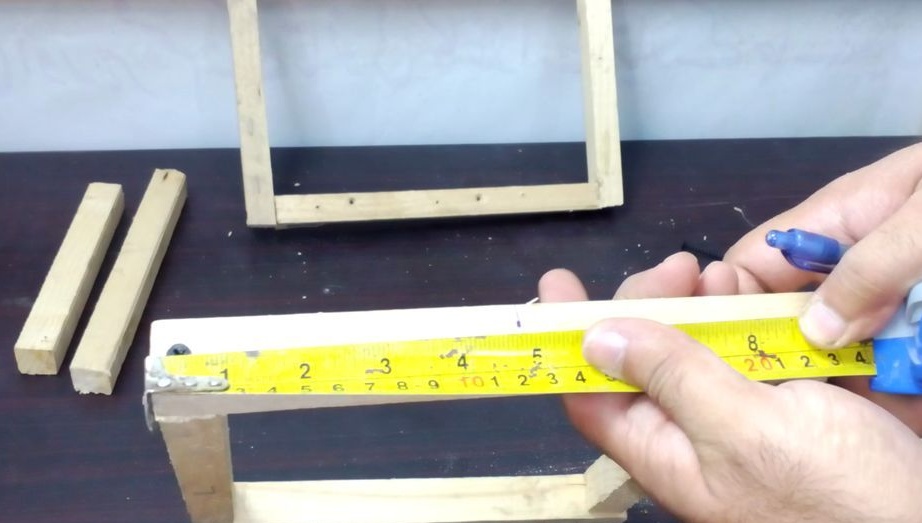
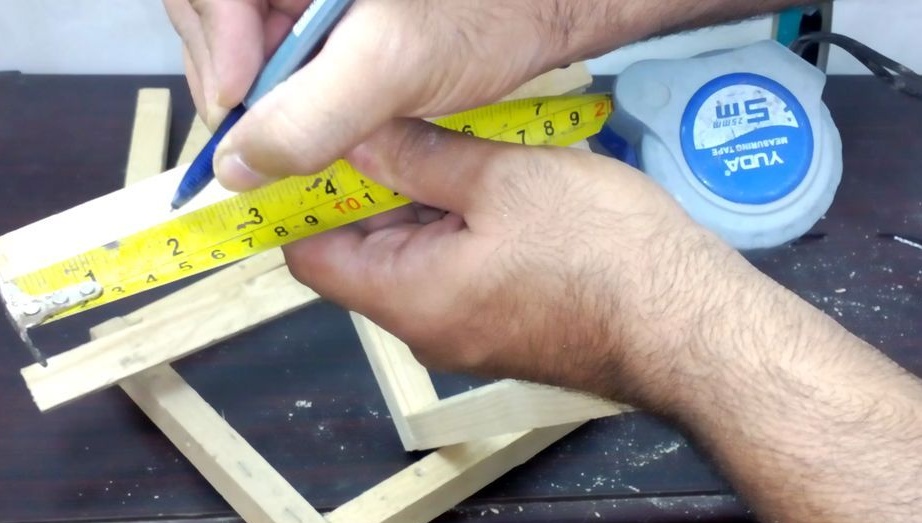
-Wooden bars
21 cm - 3 pcs.
25 cm - 5 pcs.
27 - cm 4 pcs.;
-Hacksaw;
-A screwdriver;
-Drill;
-Screwdriver;
-Roulette;
-Insulating tape;
-Pencil;
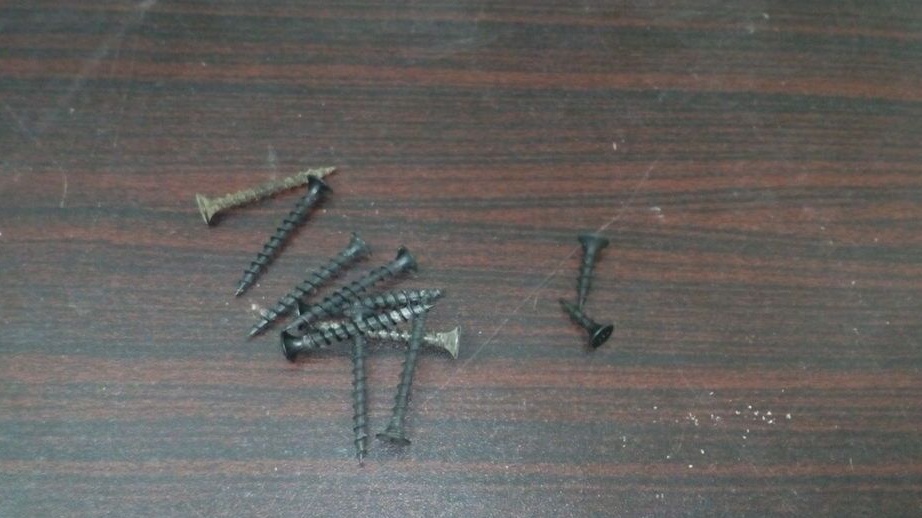
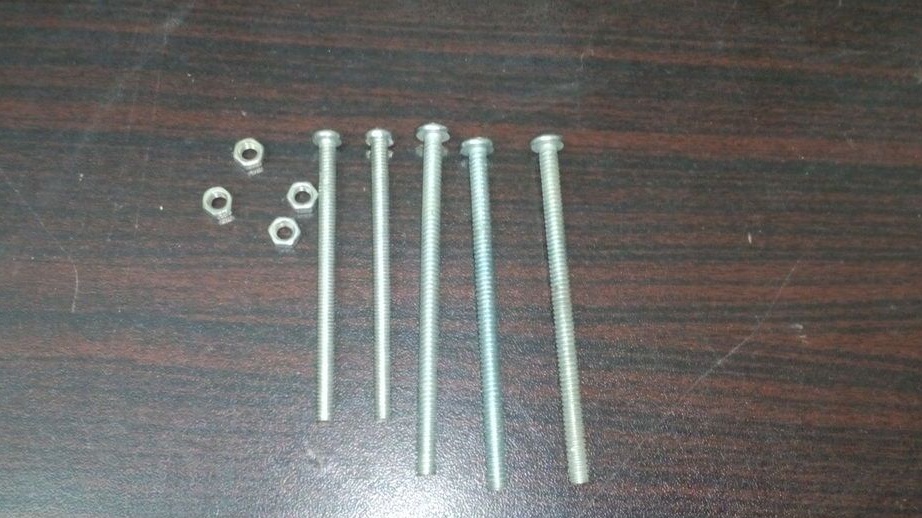
-Fasteners;
- PVC knee;
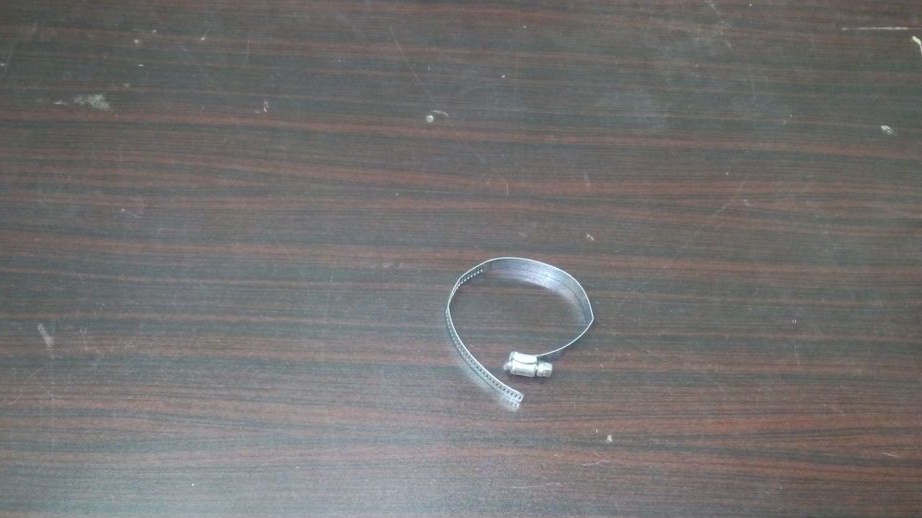
- clamp;
-Connector;
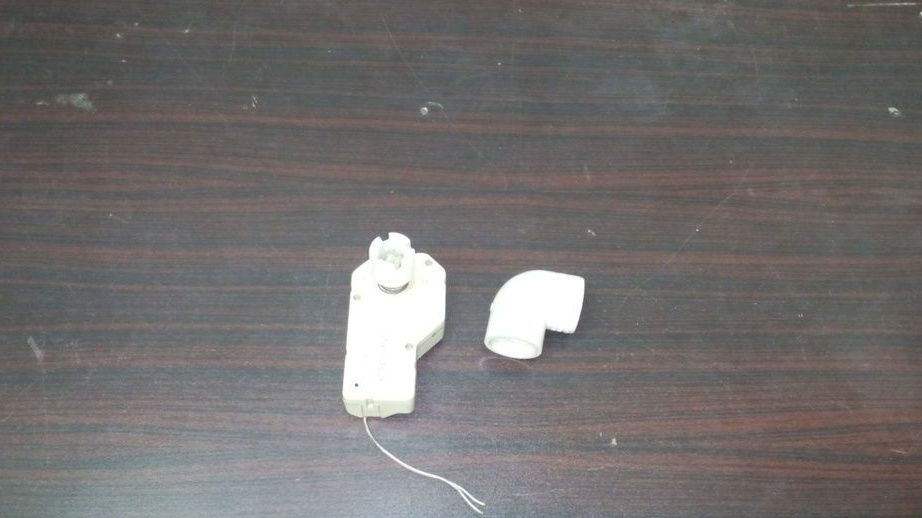
-Motor reducer;
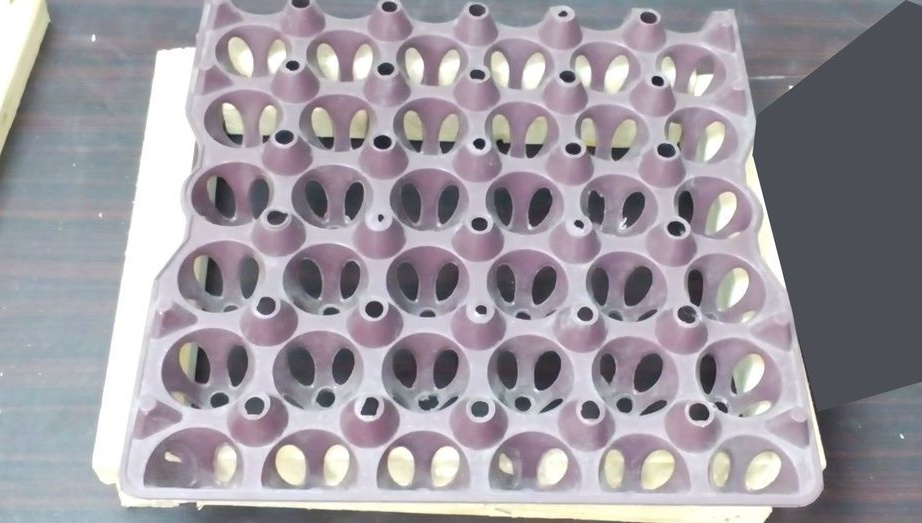
-Plastic tray;
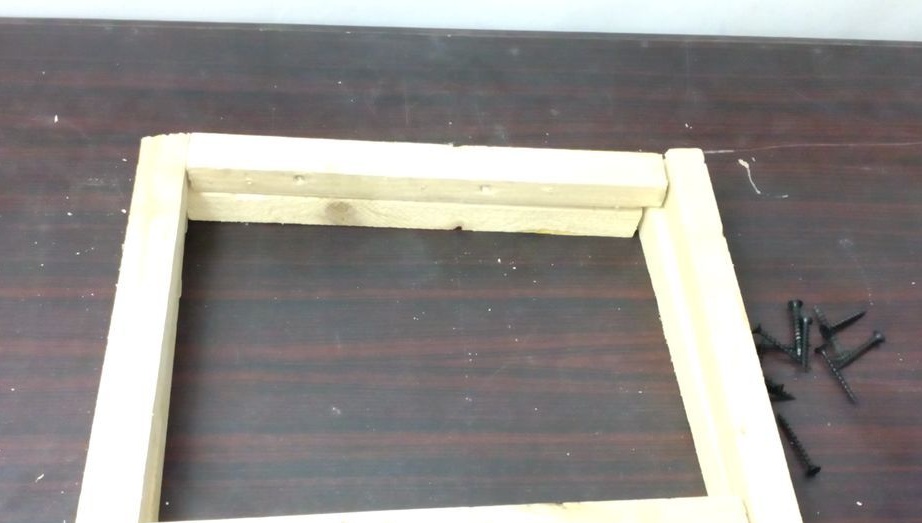
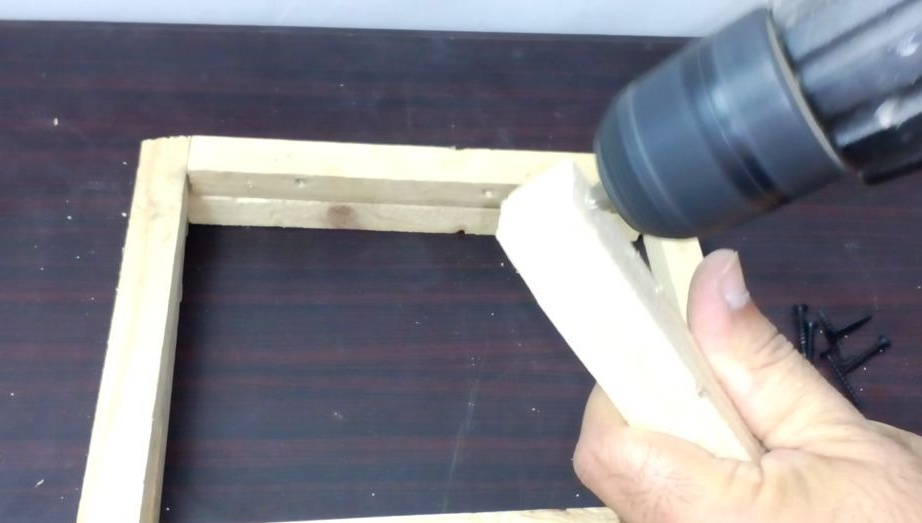
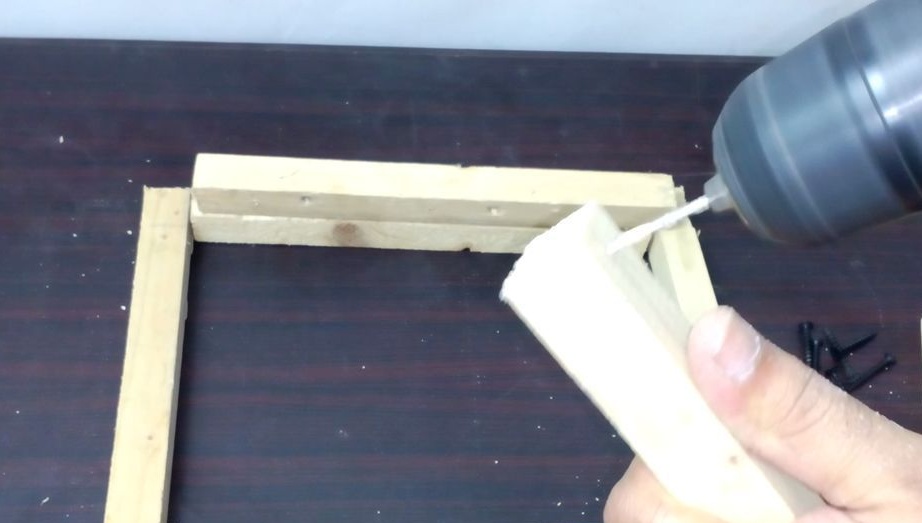
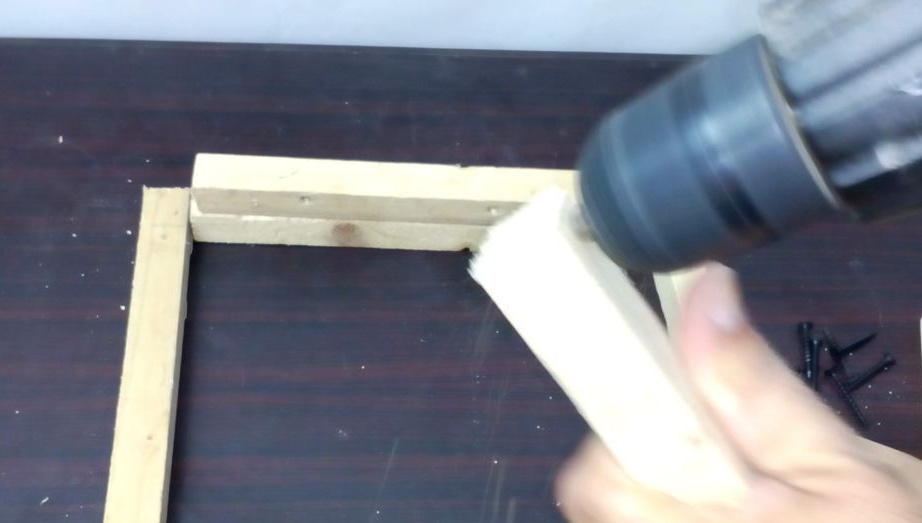
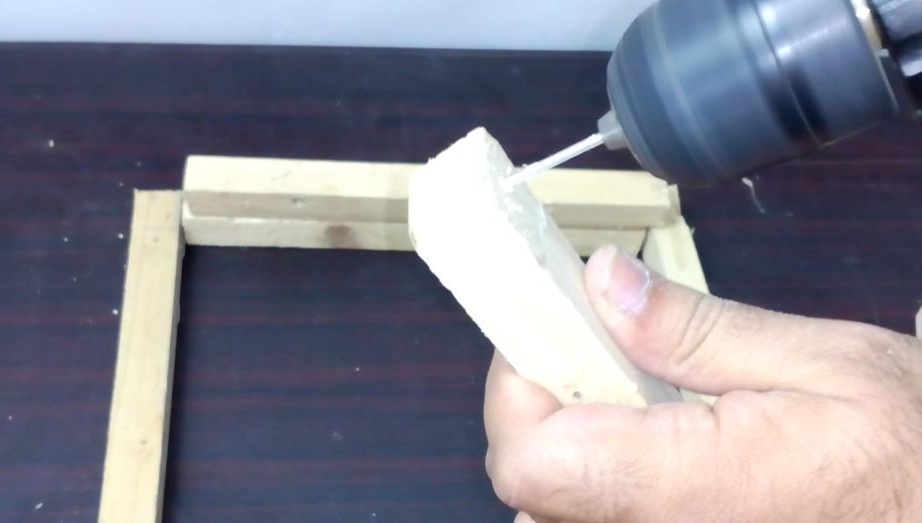
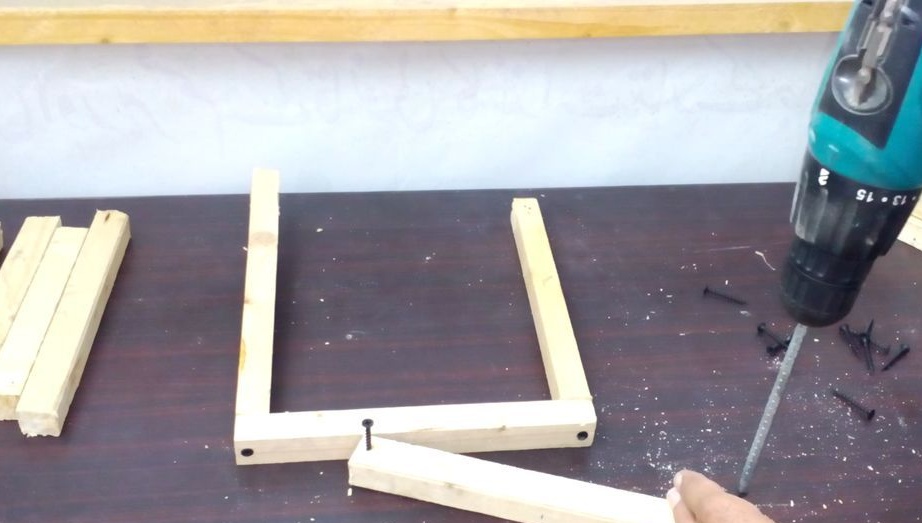
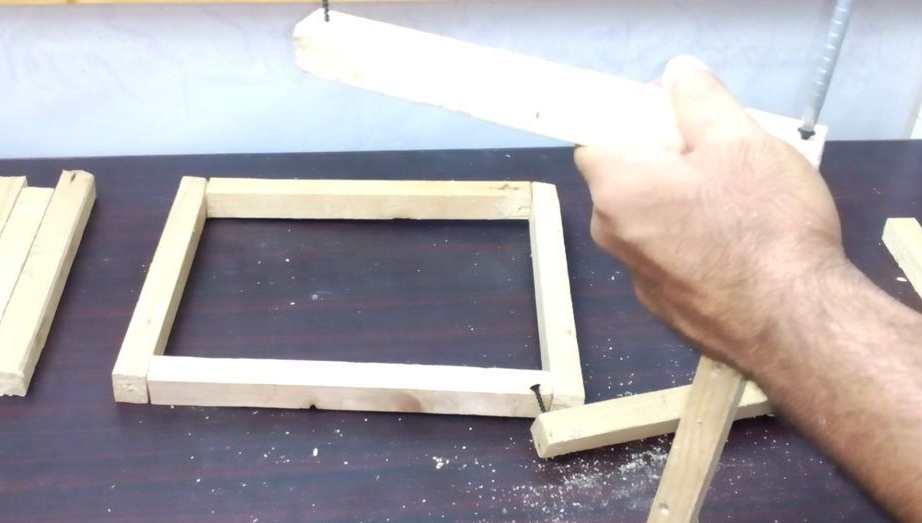
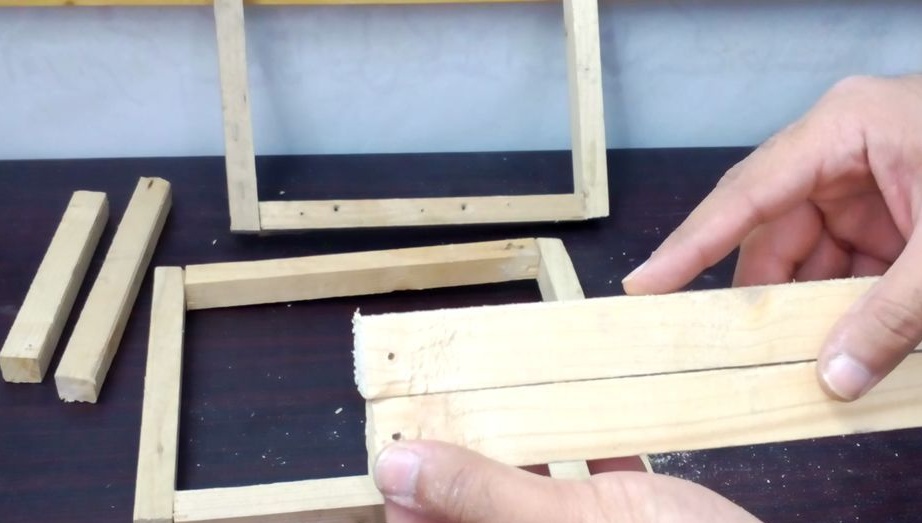
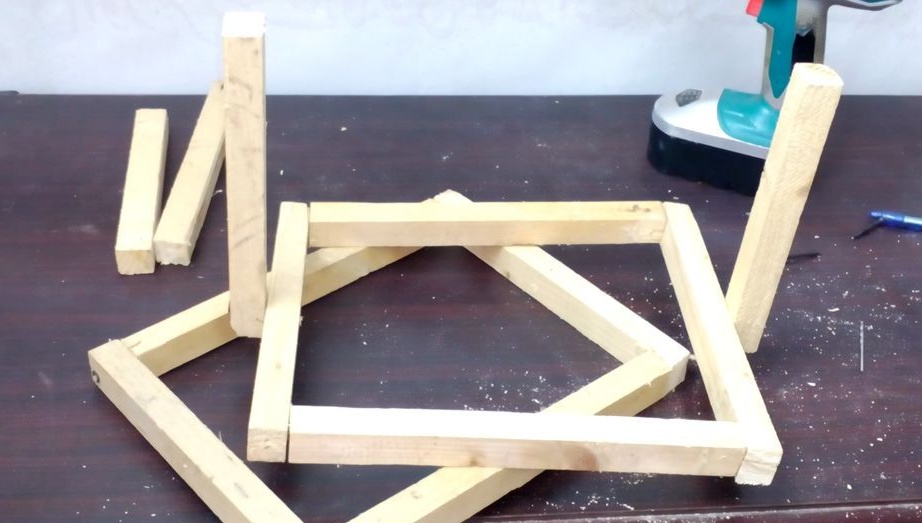
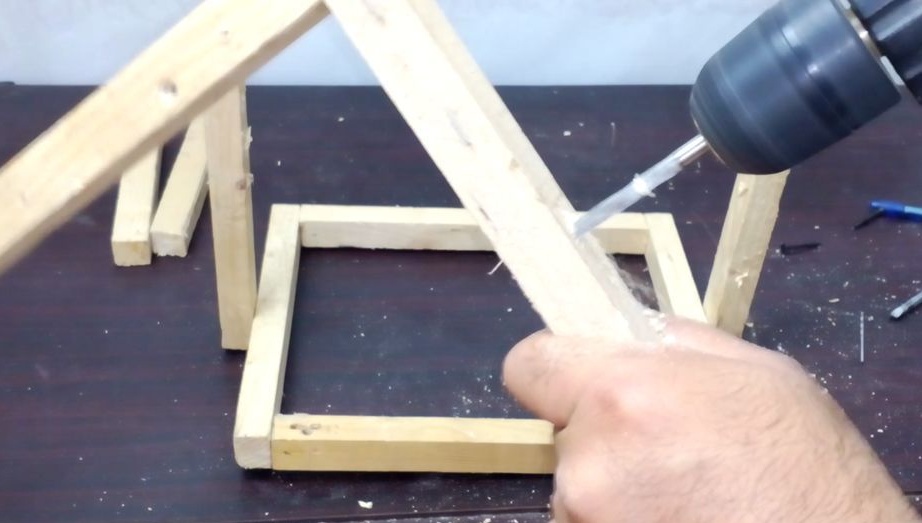
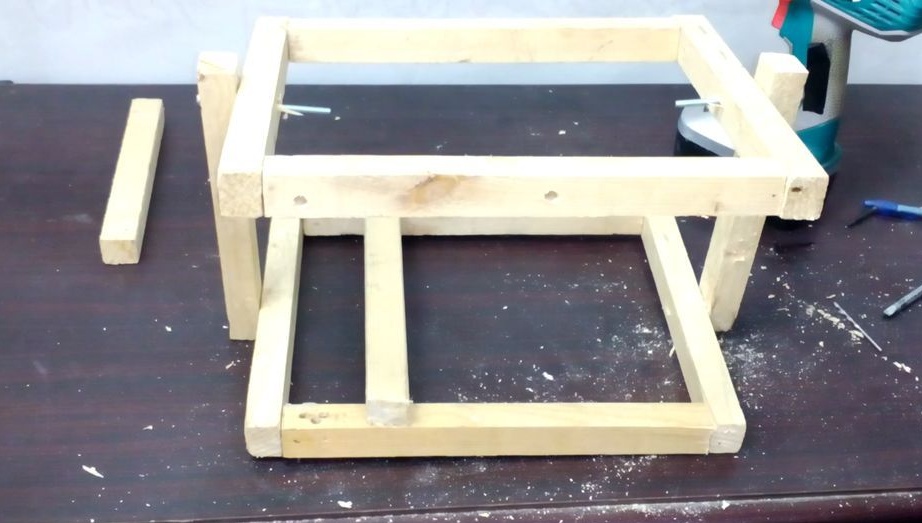
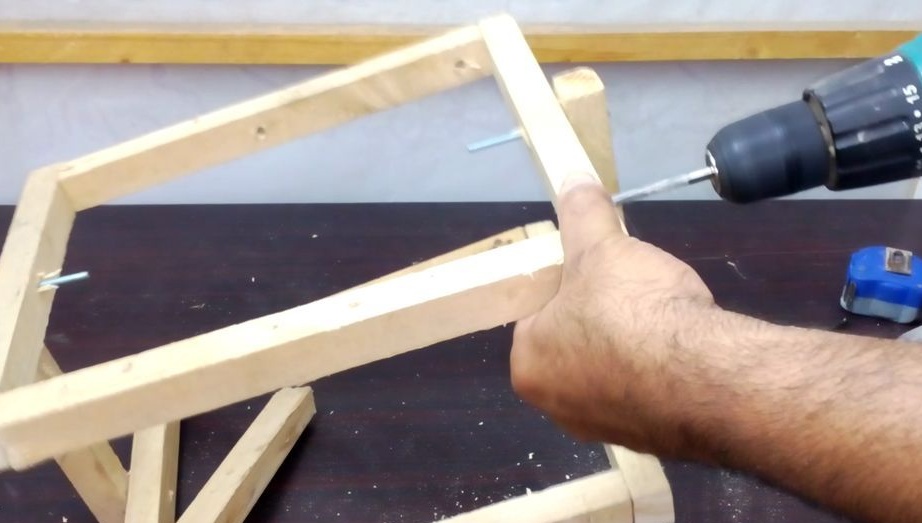
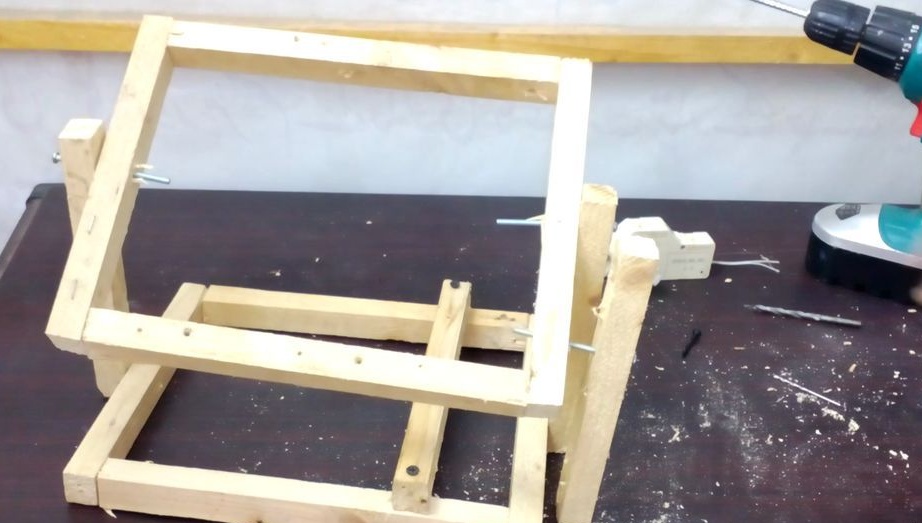
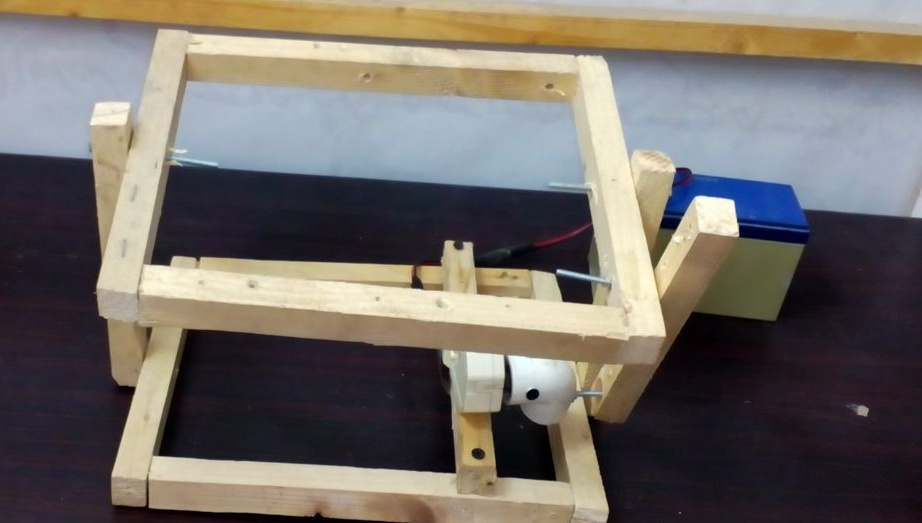
Step One: The Framework
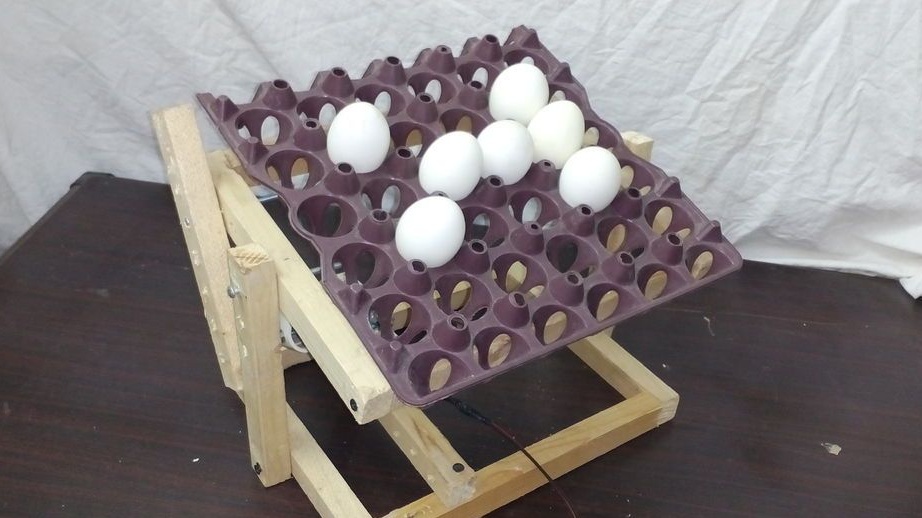
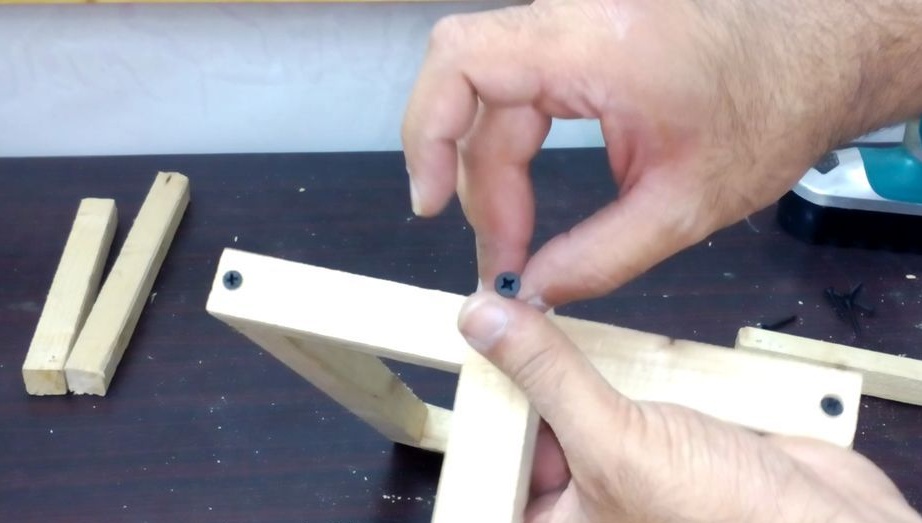
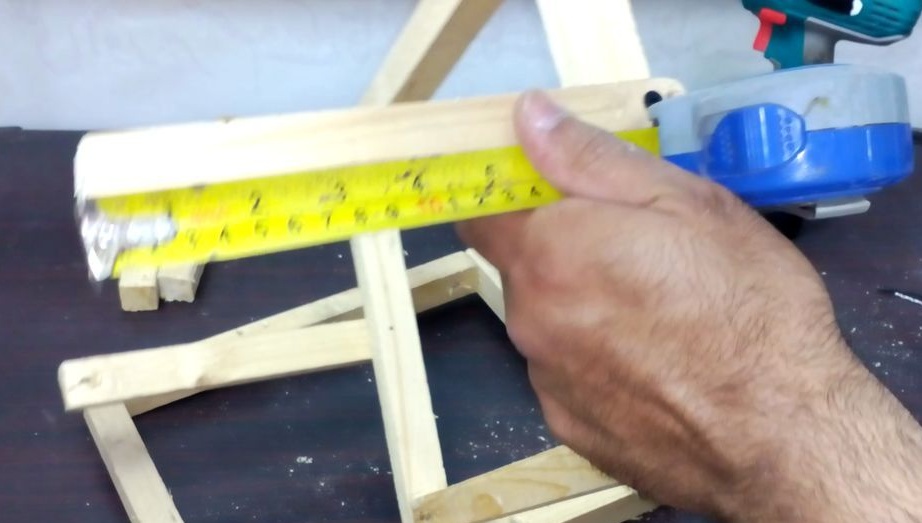
First, the master makes two rectangular frames 27 * 25 cm. One frame will serve as a support, the other a rotating platform. The bars connect with screws.
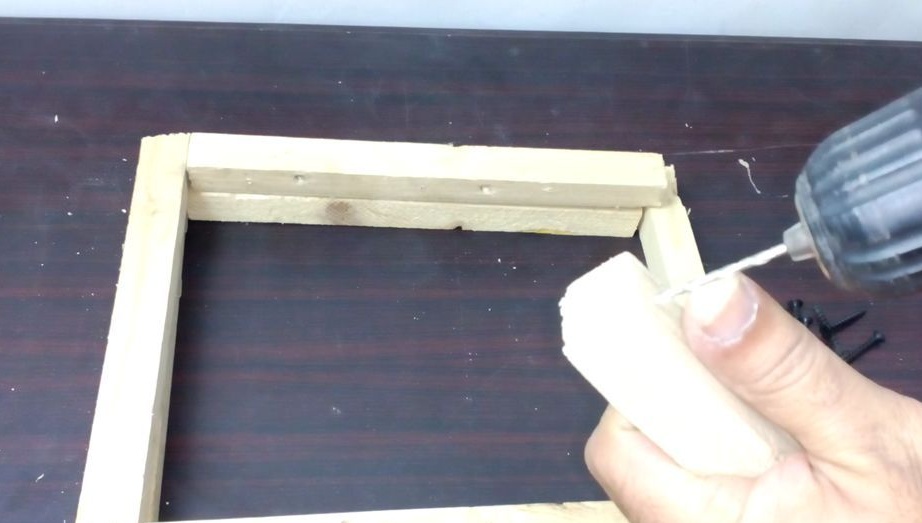
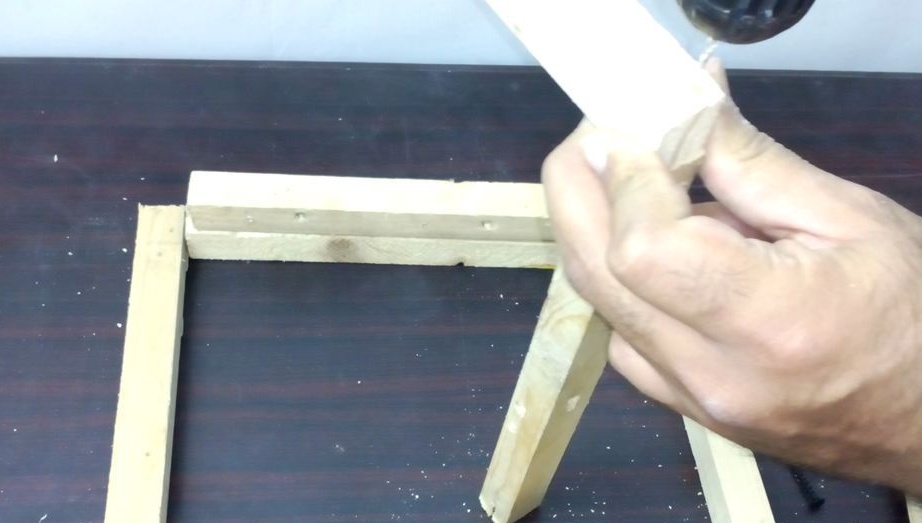
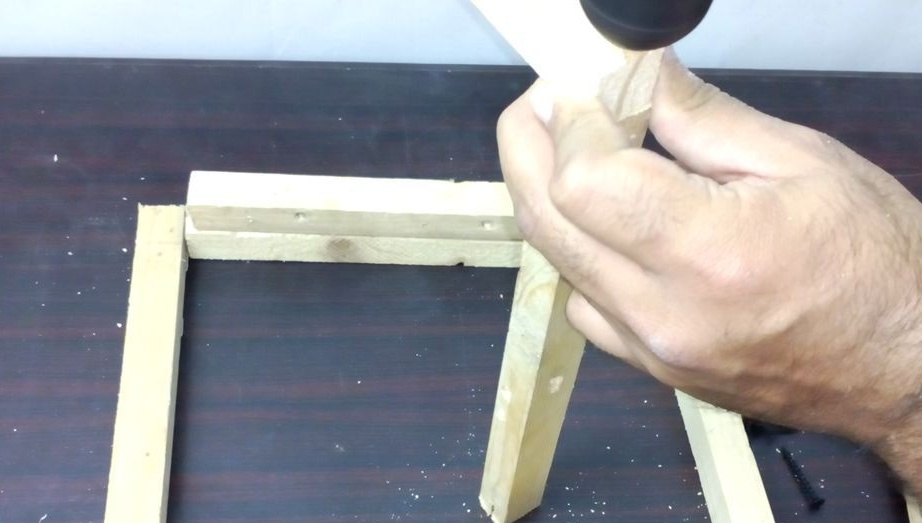

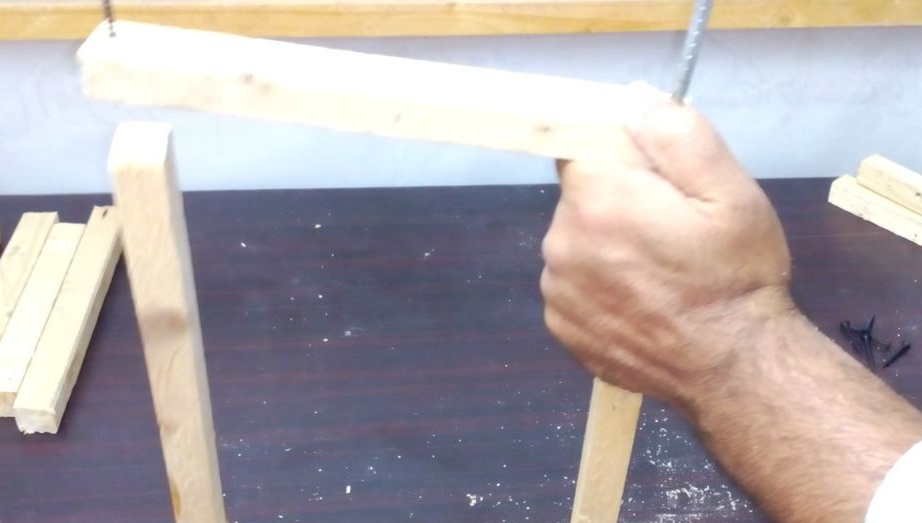
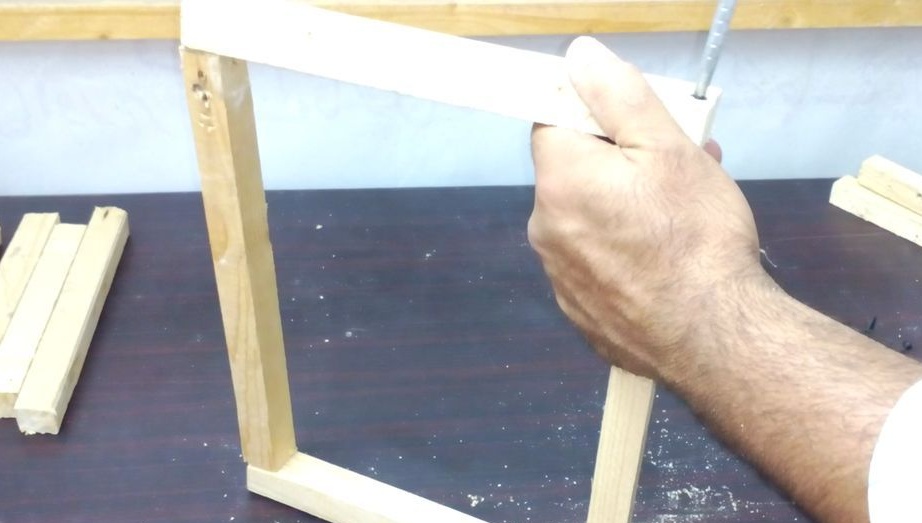
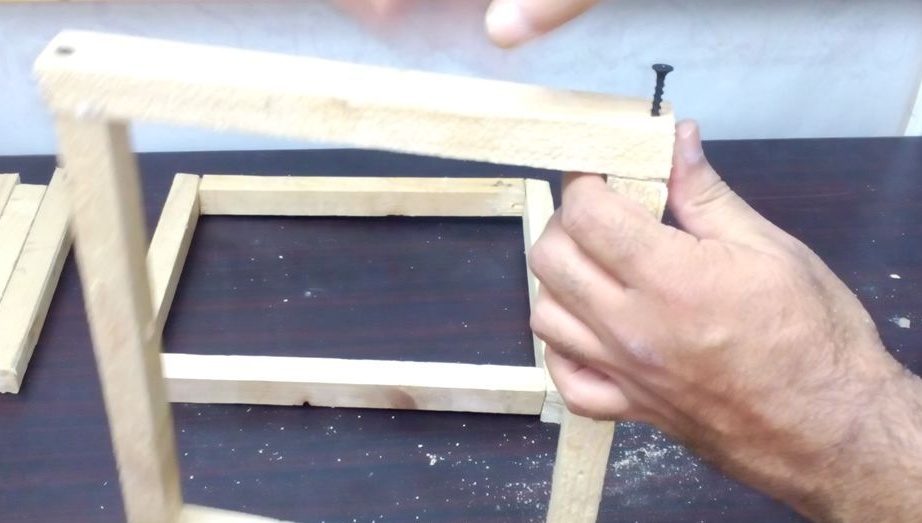
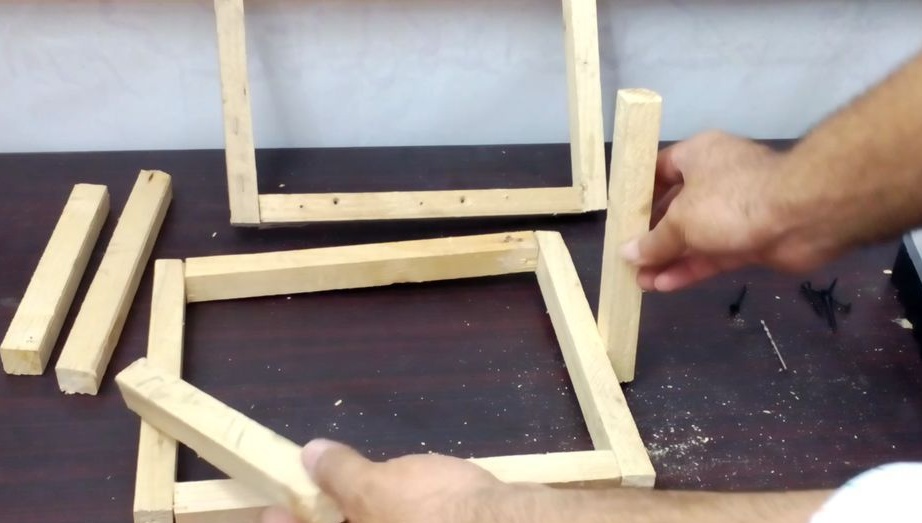
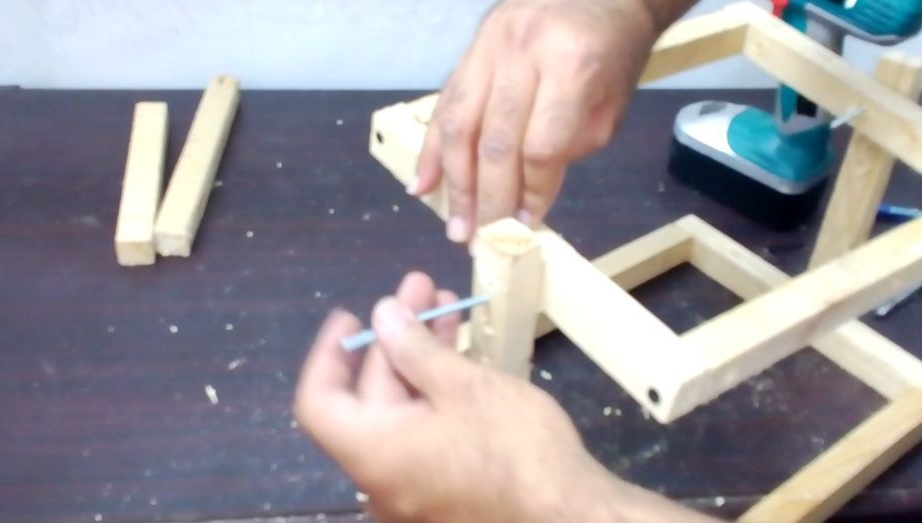
Step Two: Racks
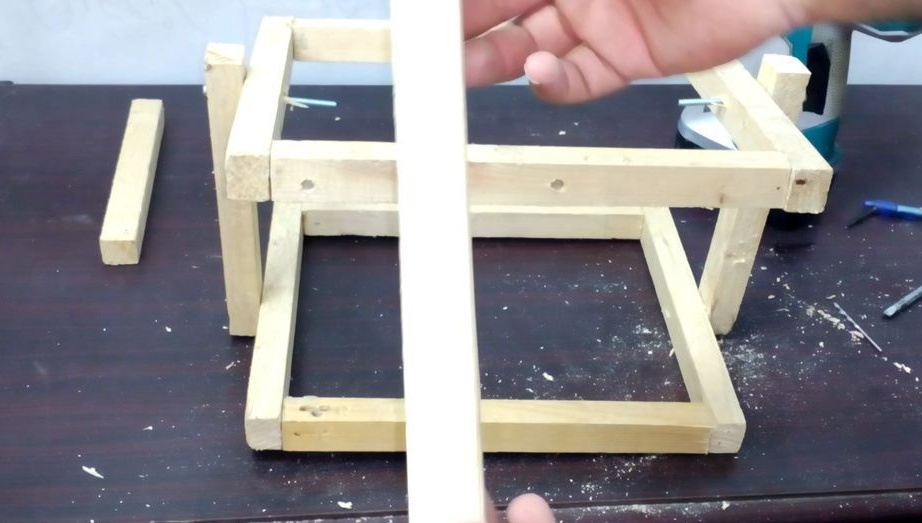
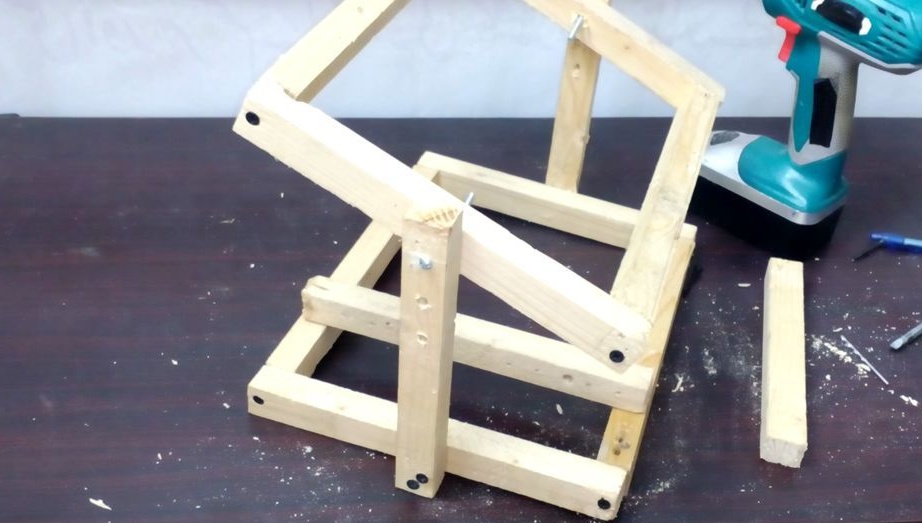
The framework marks the middle of the long sides. On a support frame bolts a rack on both sides. Racks and support are fixed motionless.
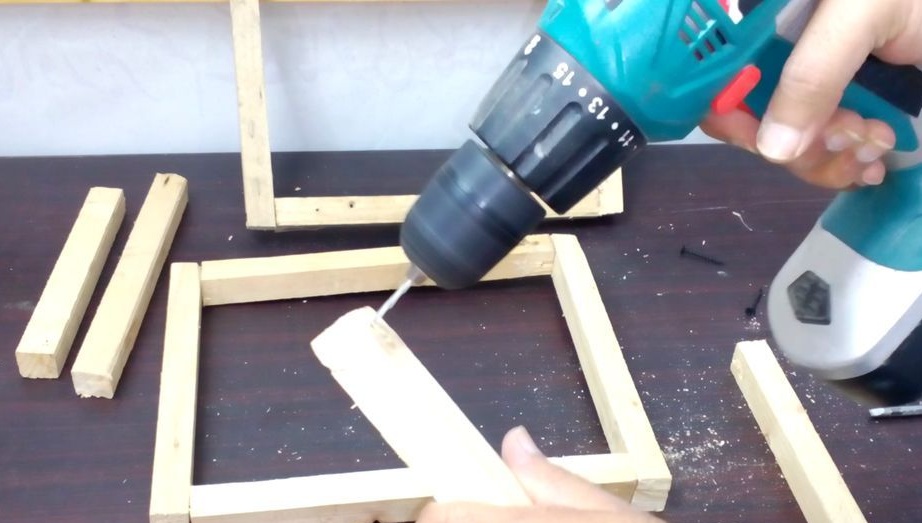
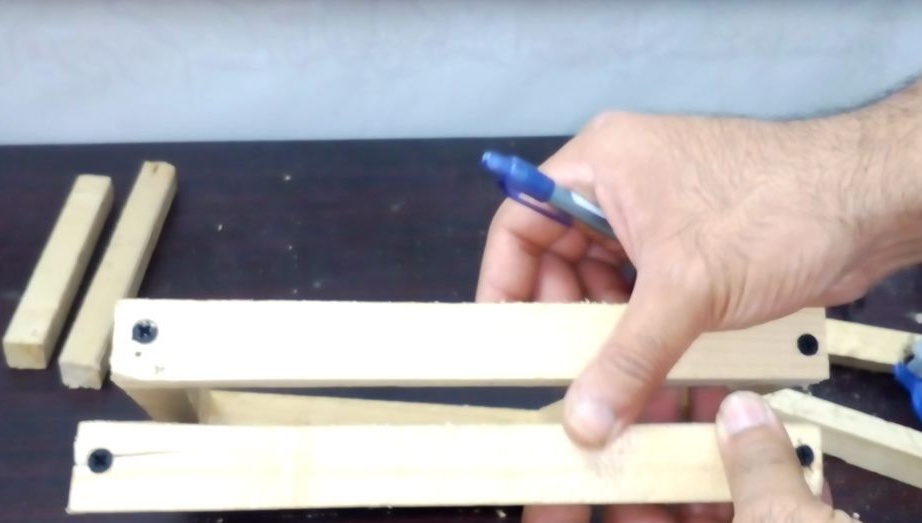
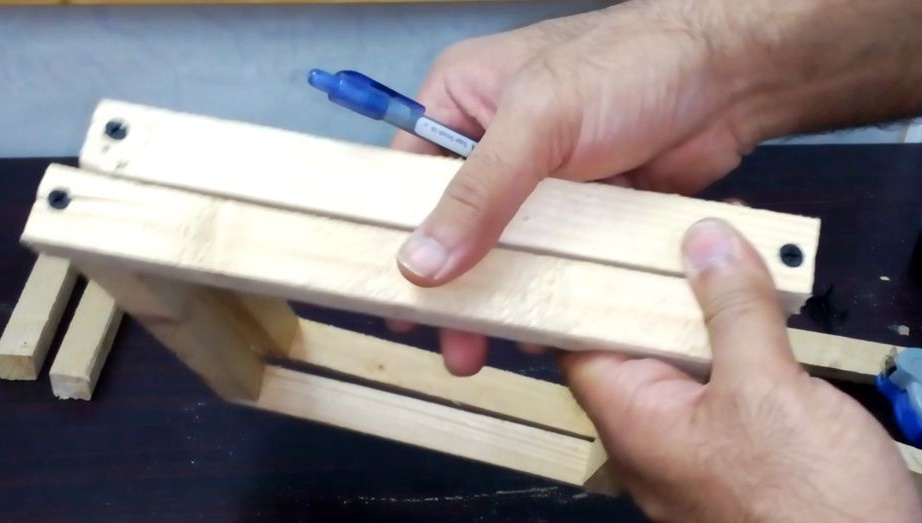

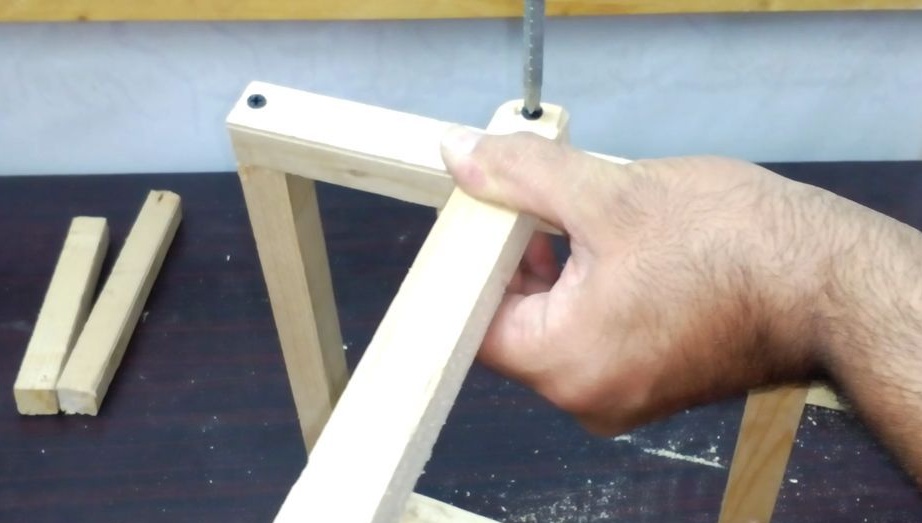
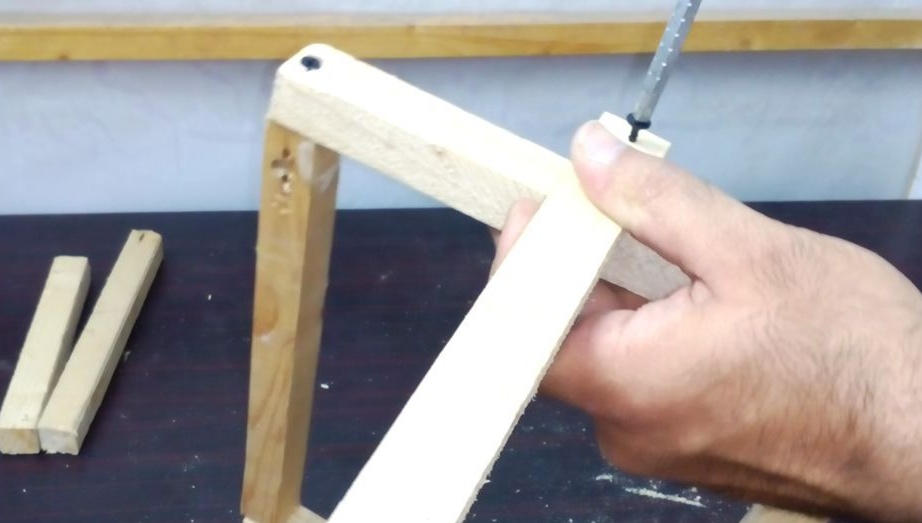
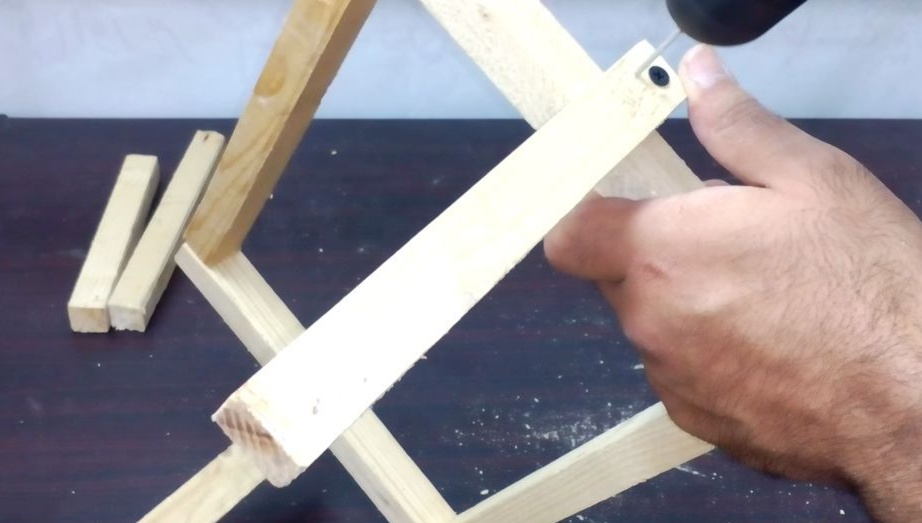
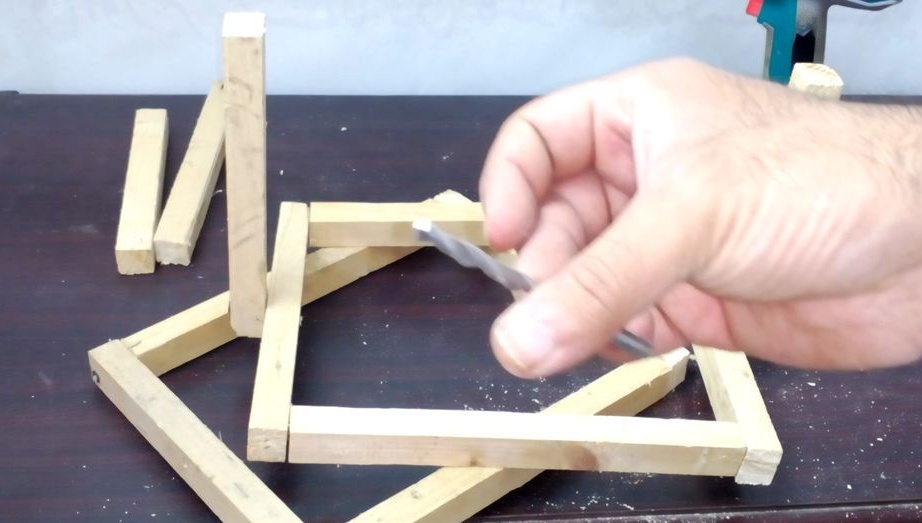
The upper platform frame must be rotatable. Drills a bolt hole in the uprights and platform. The hole in the frame should be such that the frame rotates freely. Screws the platform to the rack.
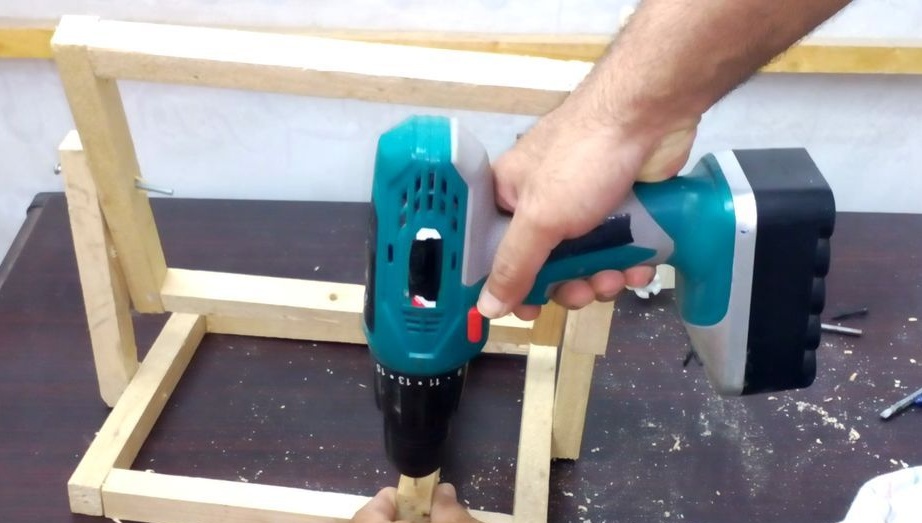
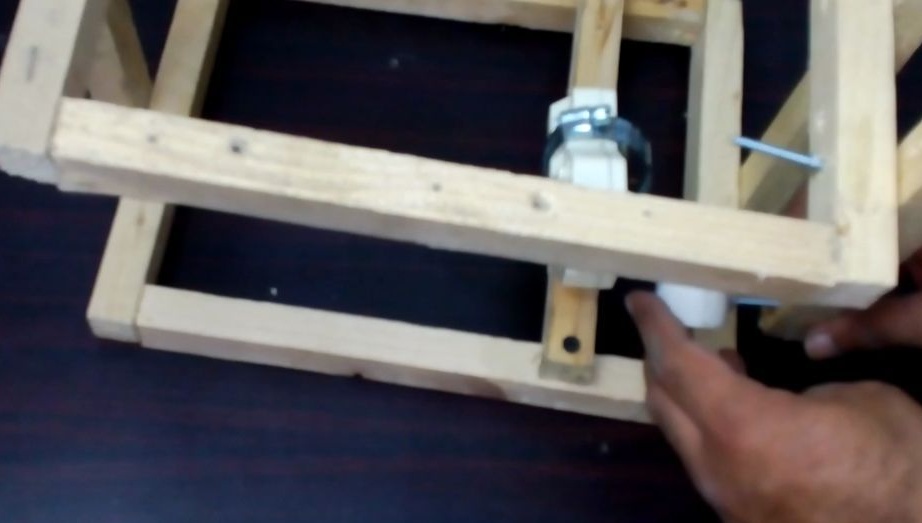
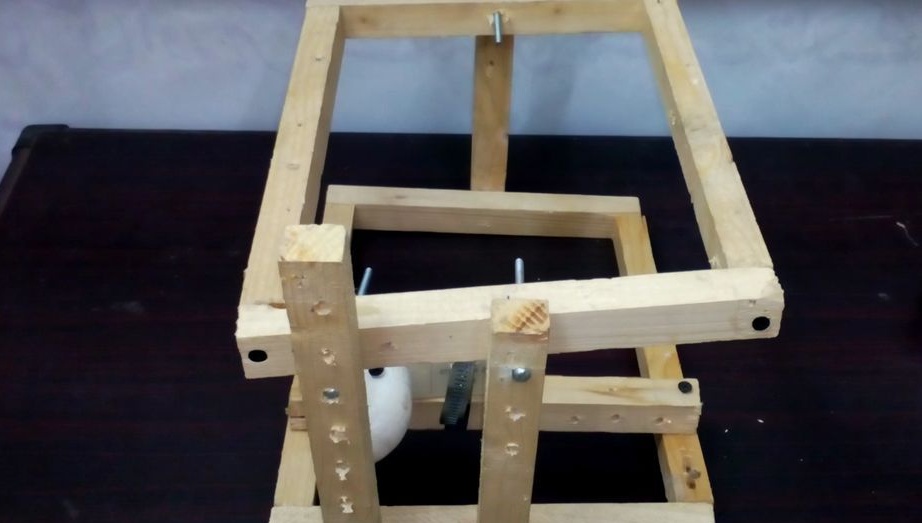
Step Three: Engine Mount
Secures a 25 cm block to a support.An engine will be attached to this bar.
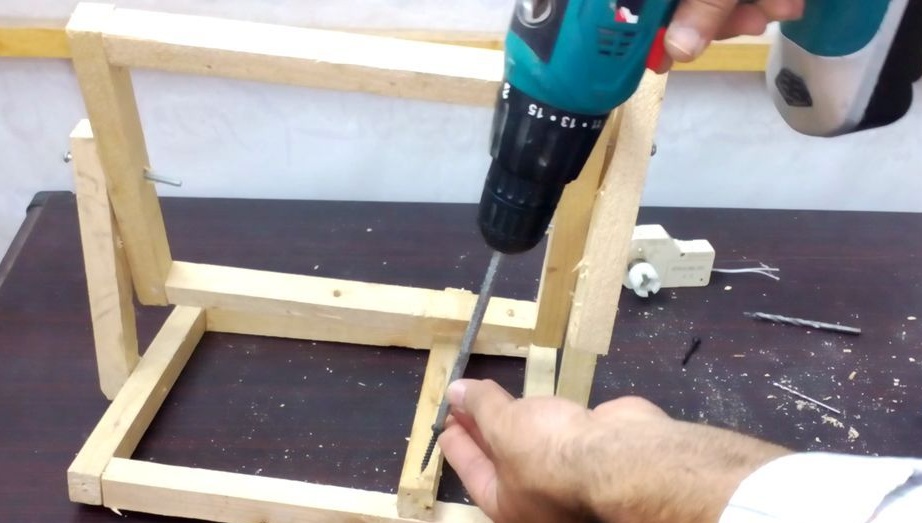
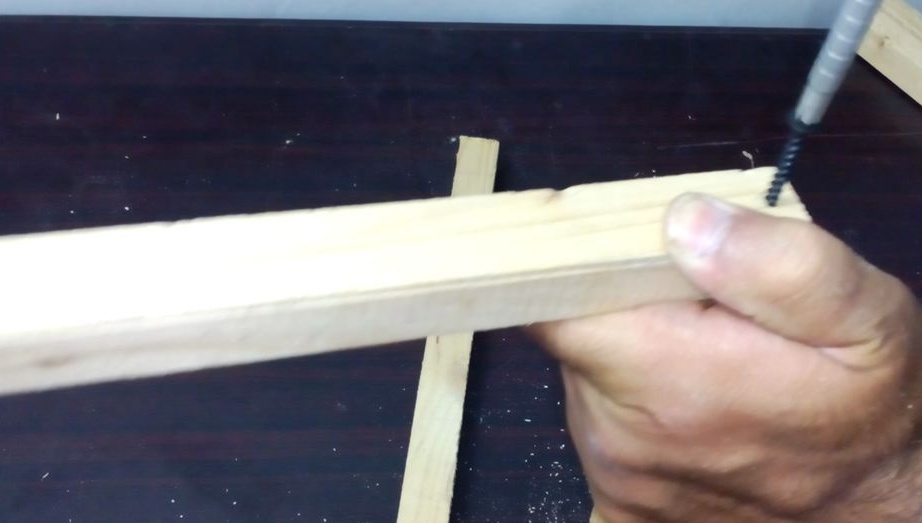
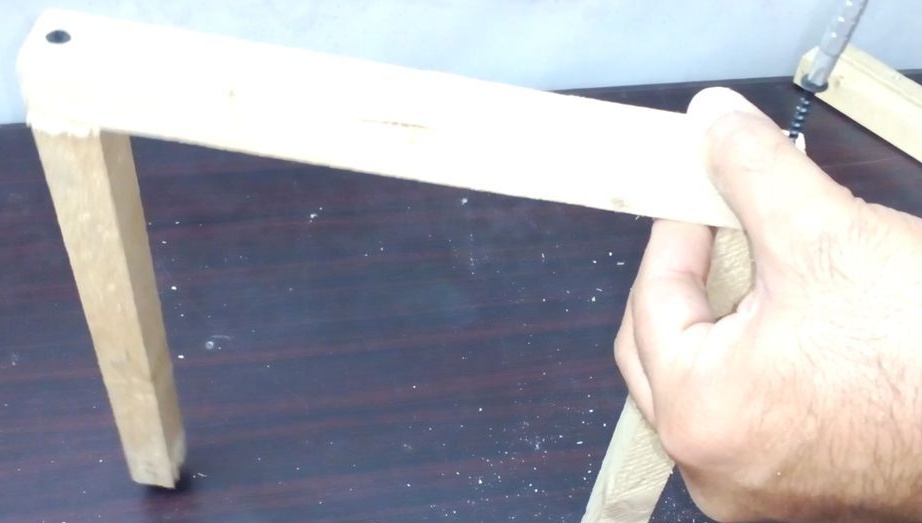
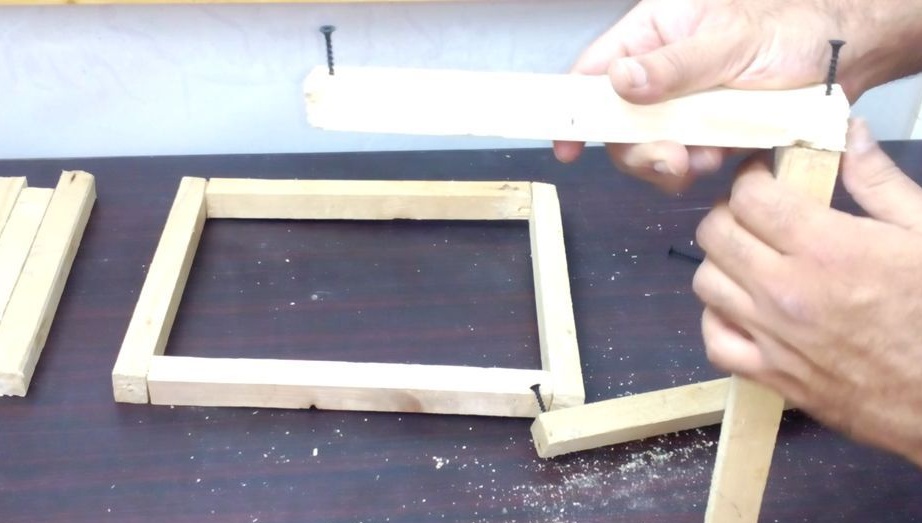
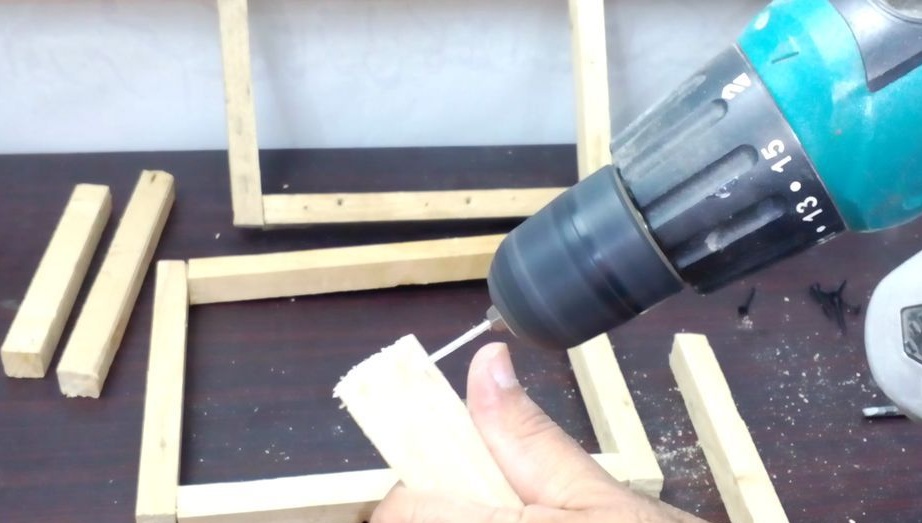
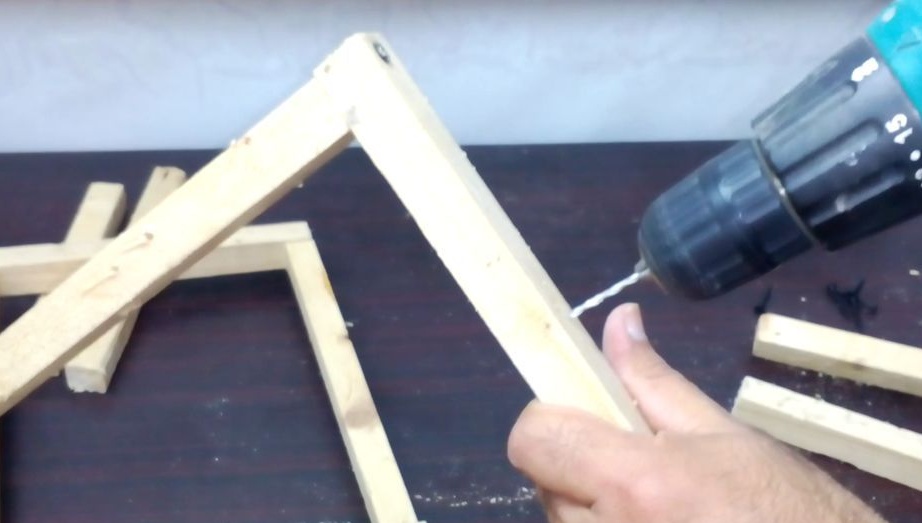
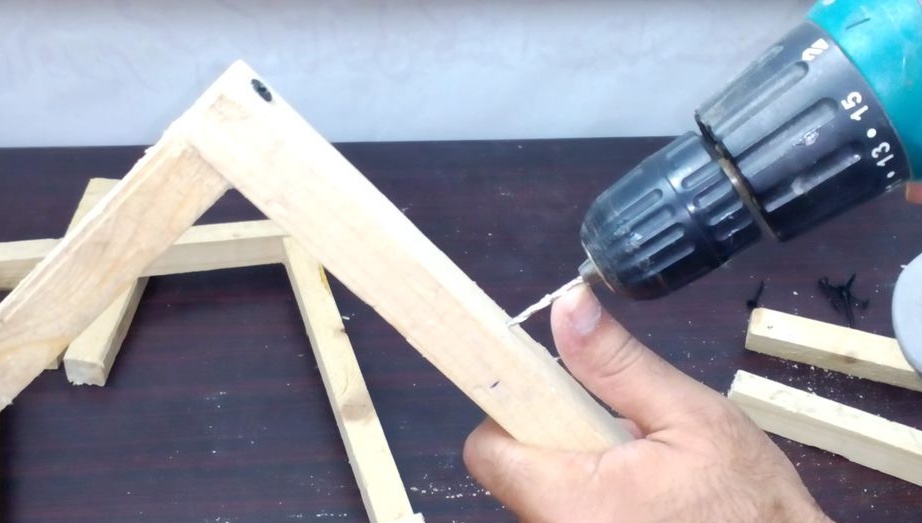
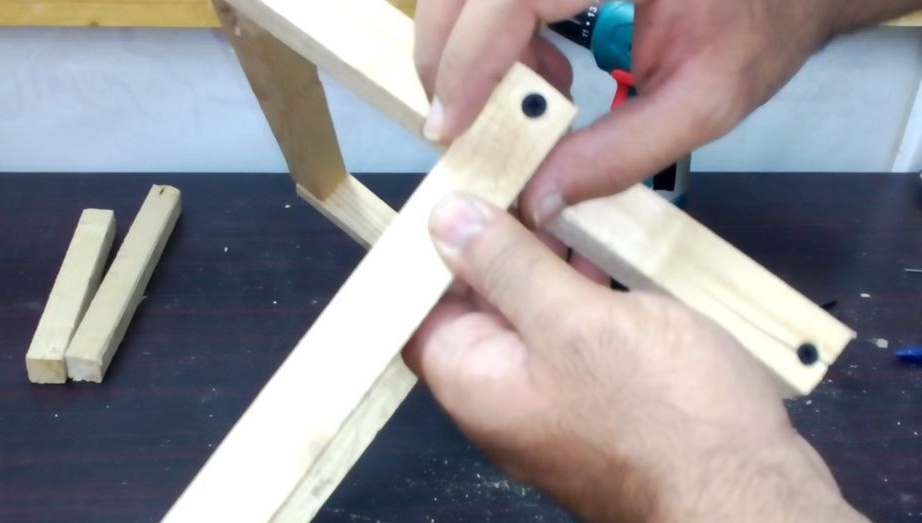
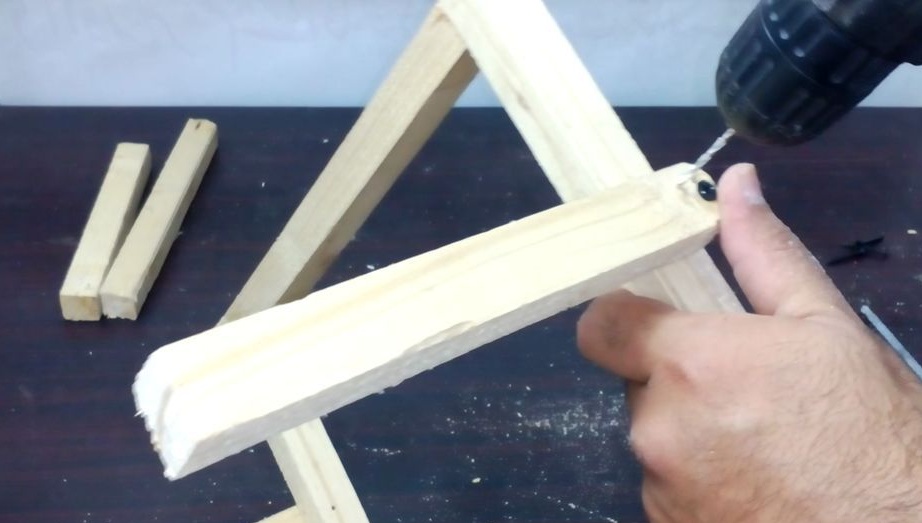
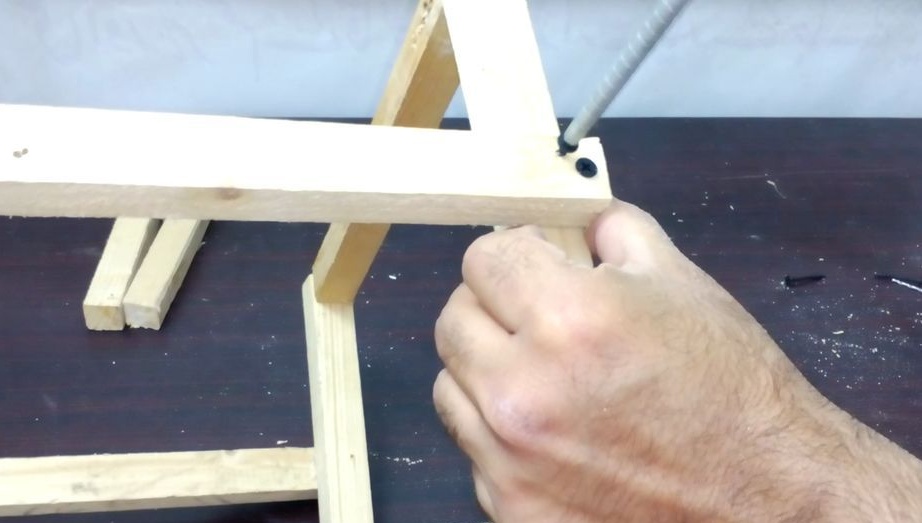
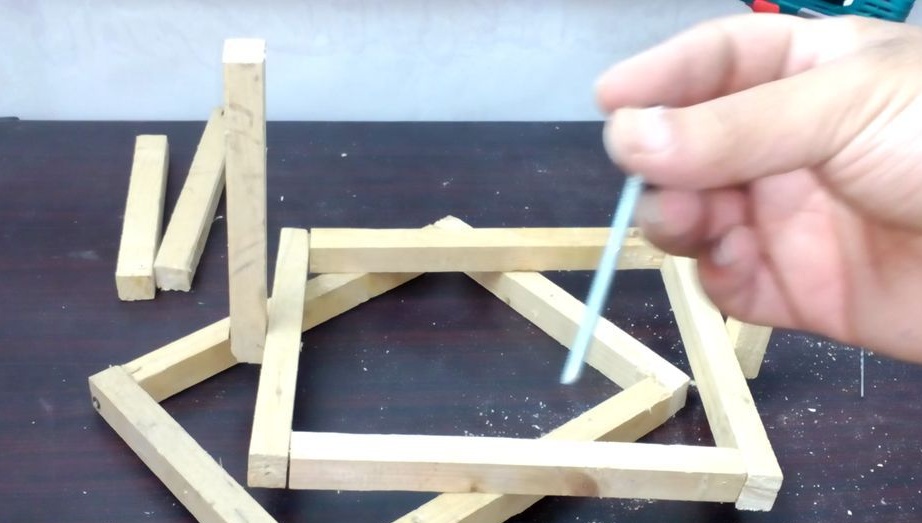
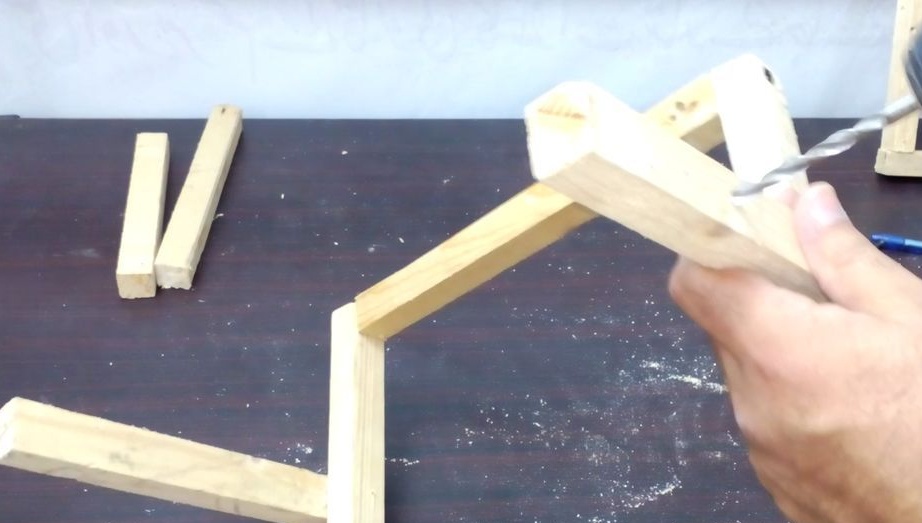
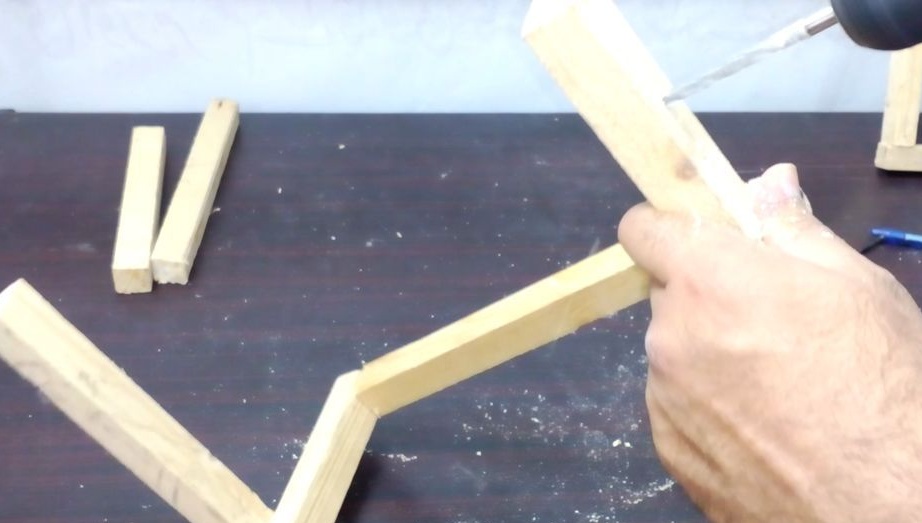
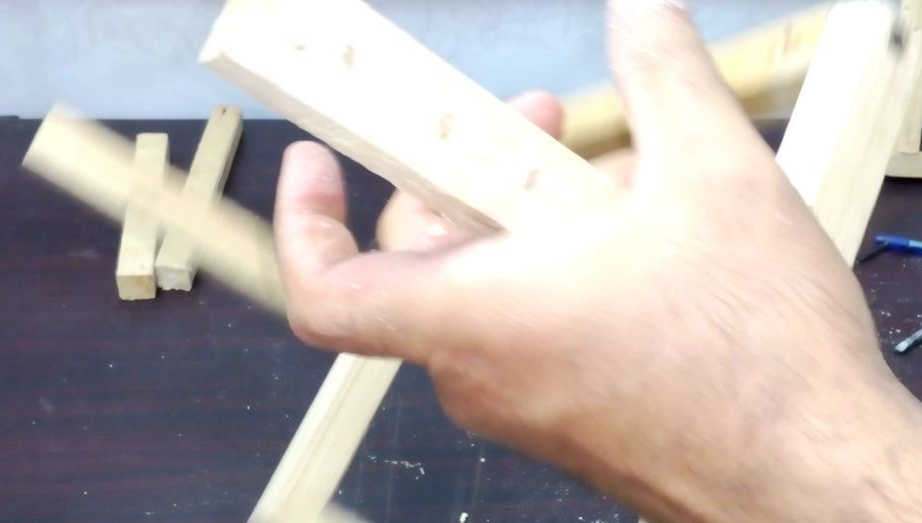
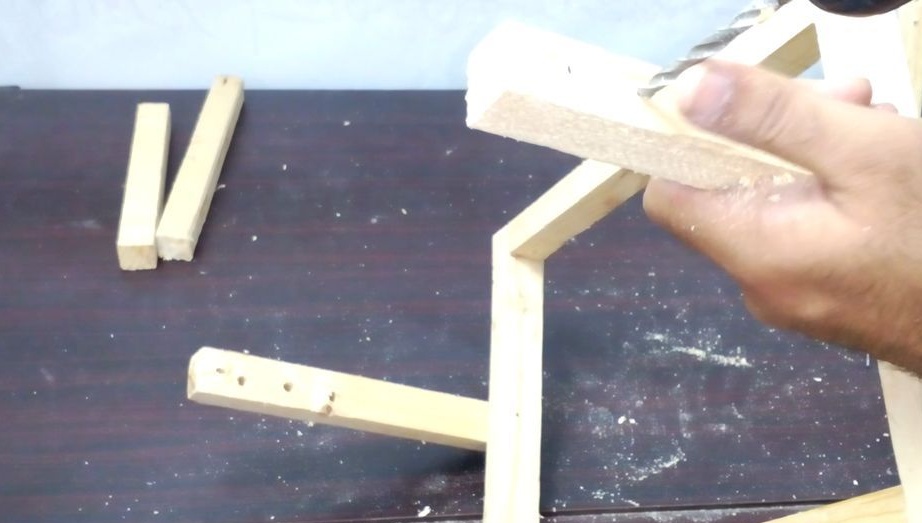
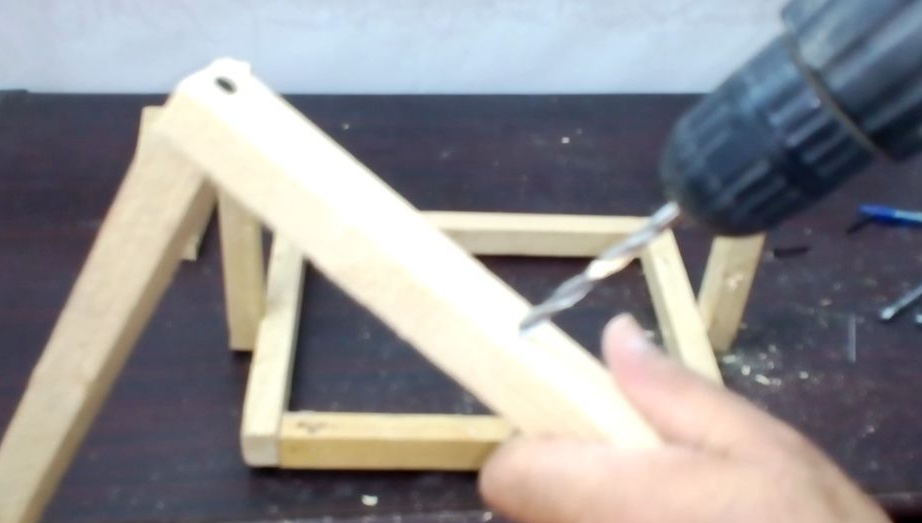
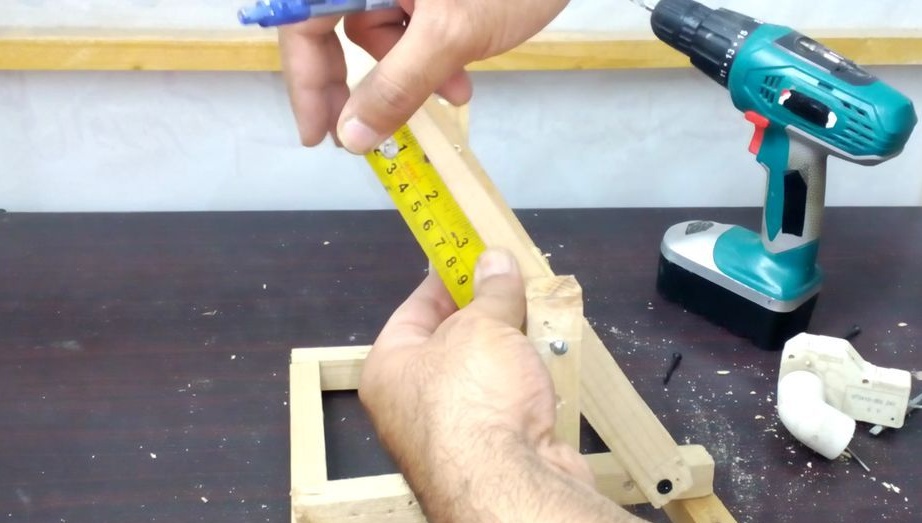
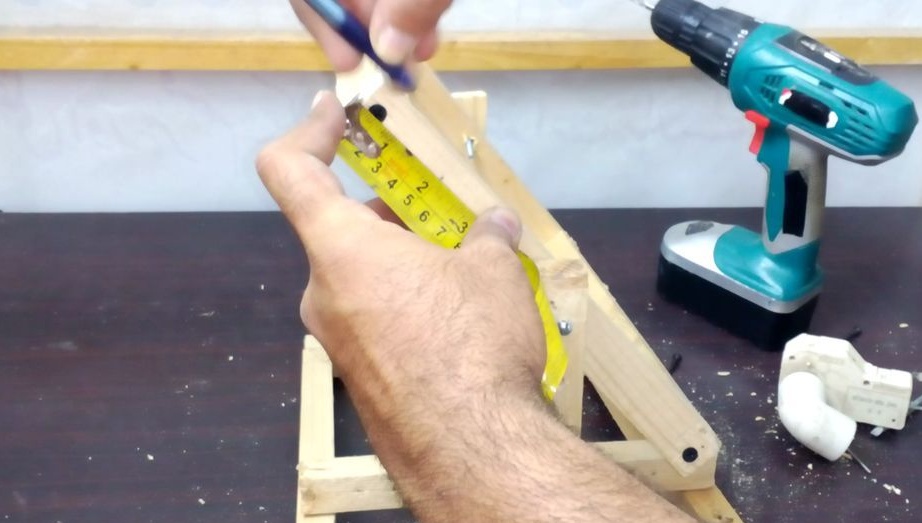
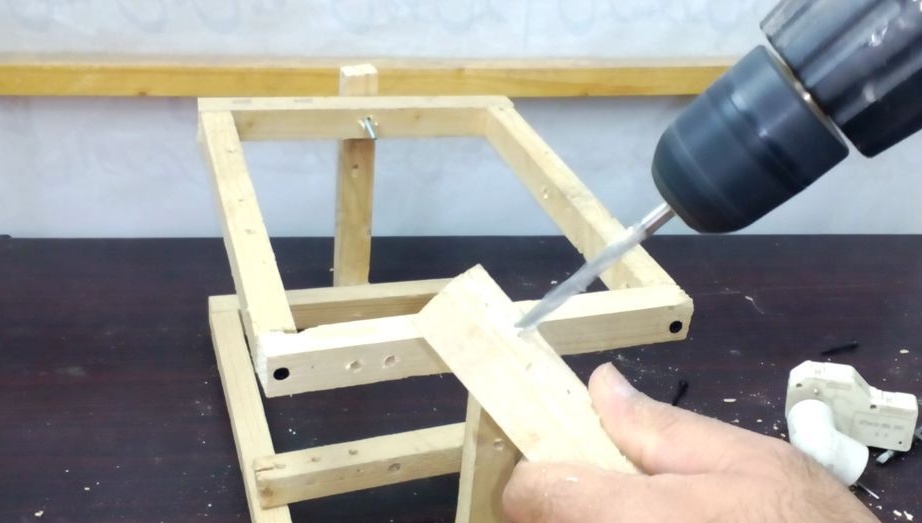
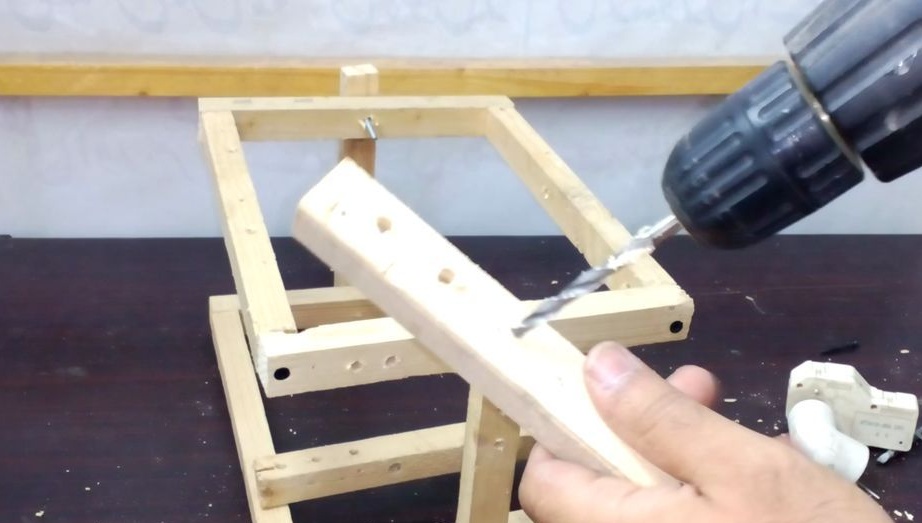
Step Four: Lever
The last bar will act as a lever. On the one hand, the motor shaft will be fixed to the lever, and the frame to the other. Drills a series of bolt holes in a bar.
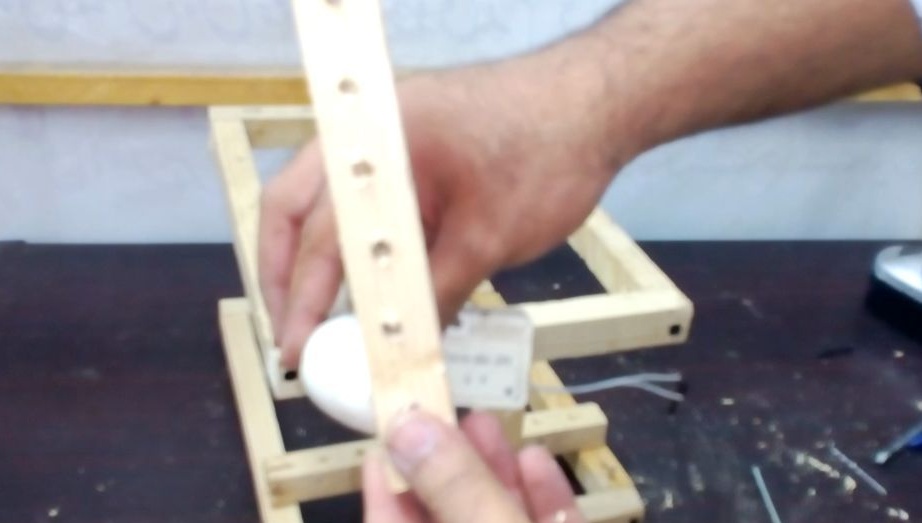
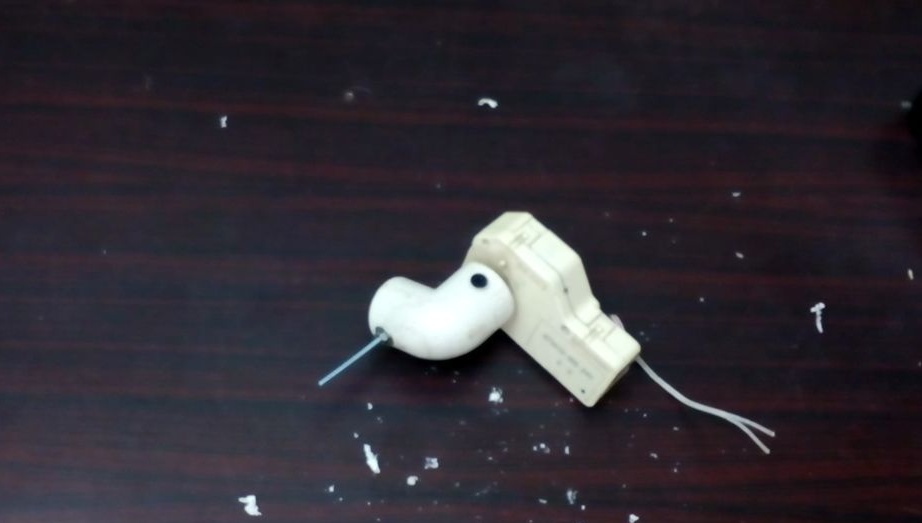
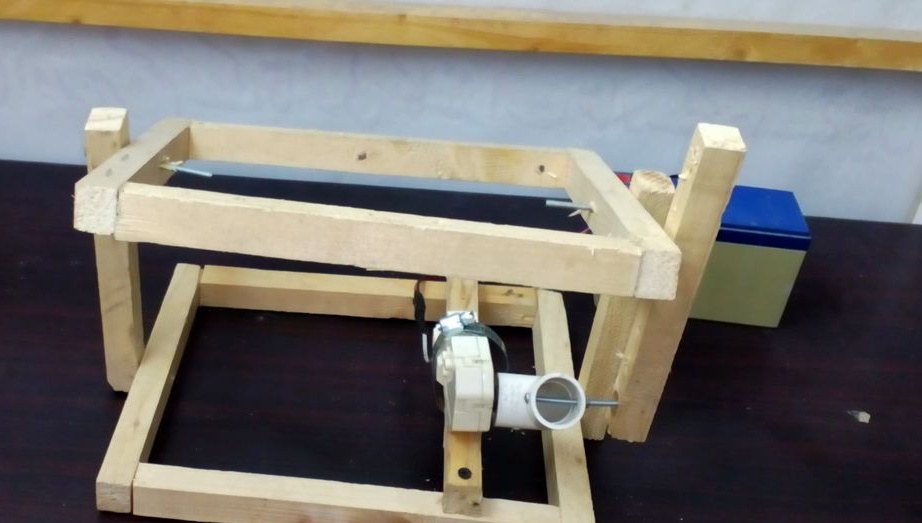
Step Five: Knee
For the lever to work, it is necessary to change the rotational movement of the gearbox shaft into the reciprocating lever. For this purpose, the master fixes a PVC elbow on the shaft.
A bolt hole is drilled on one side of the knee. This bolt will connect the knee to the lever.
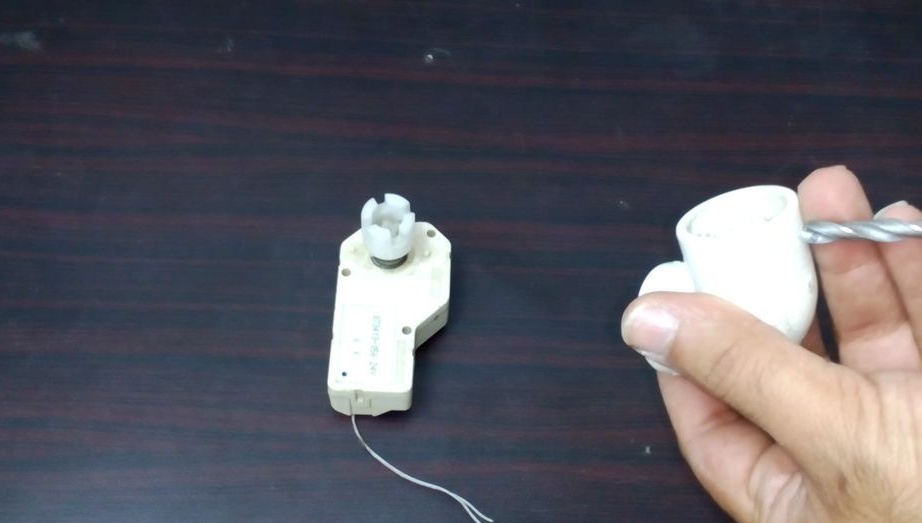
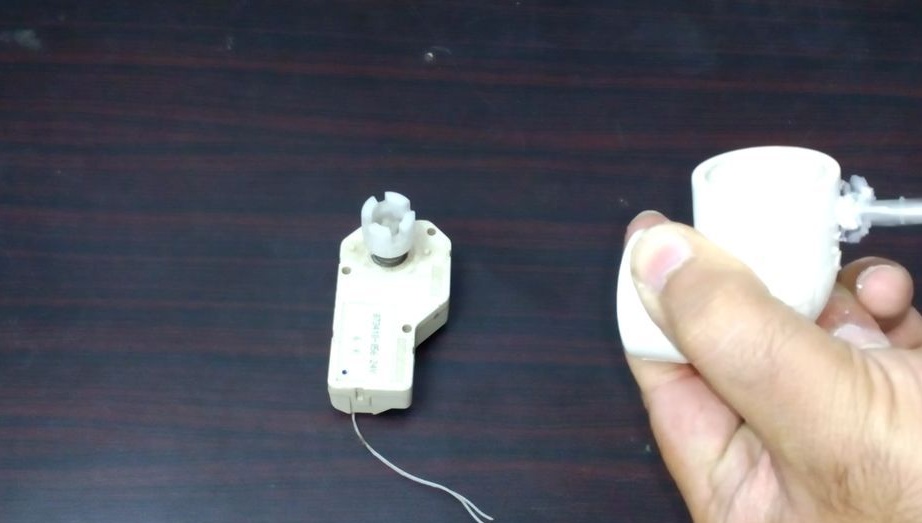
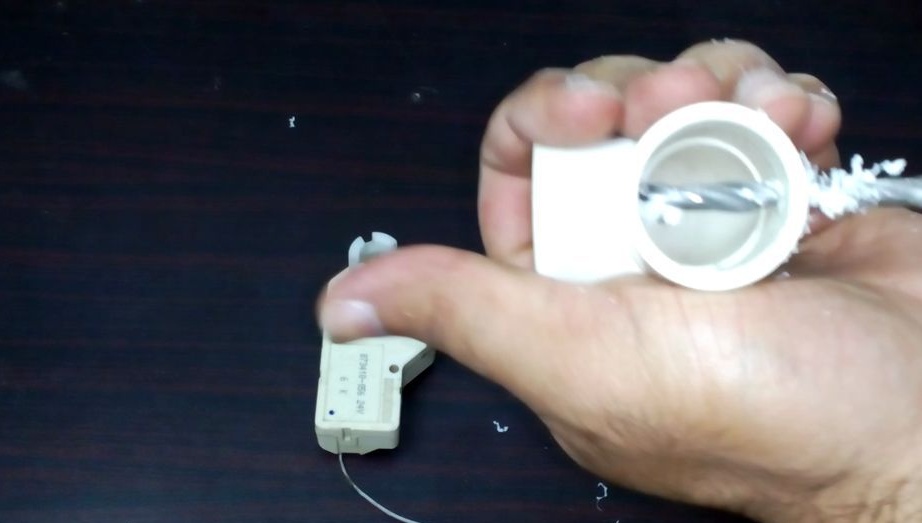
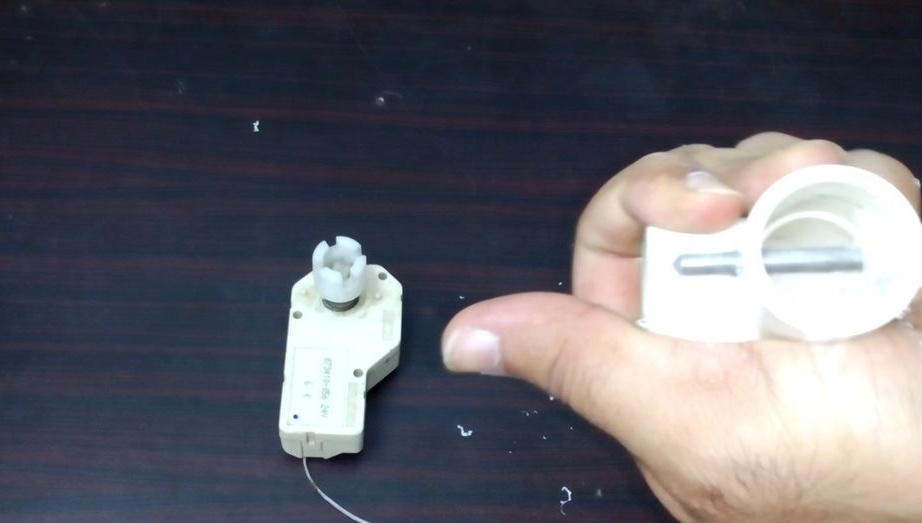
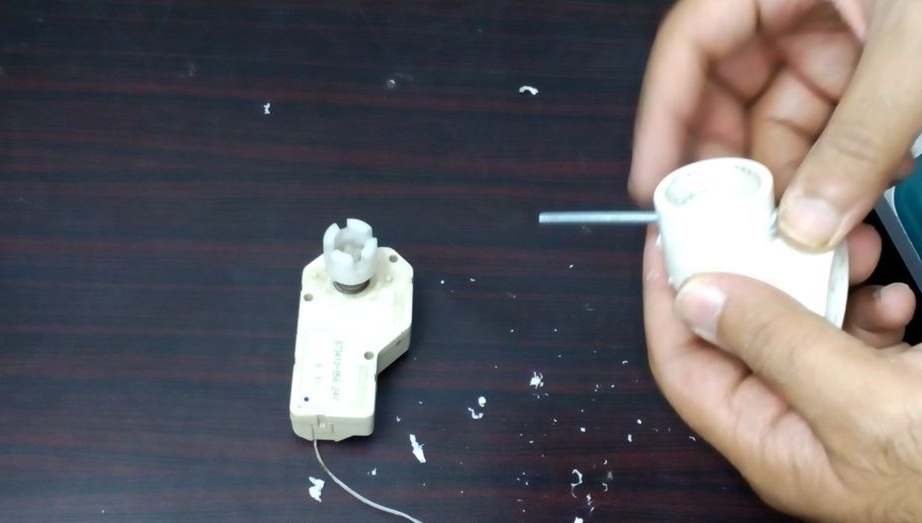
The second side of the knee is attached to the shaft of the gear motor.

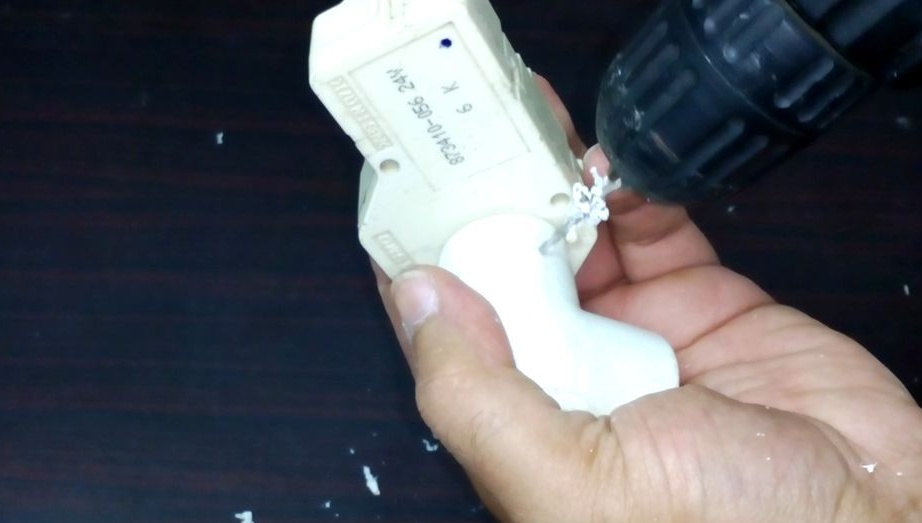
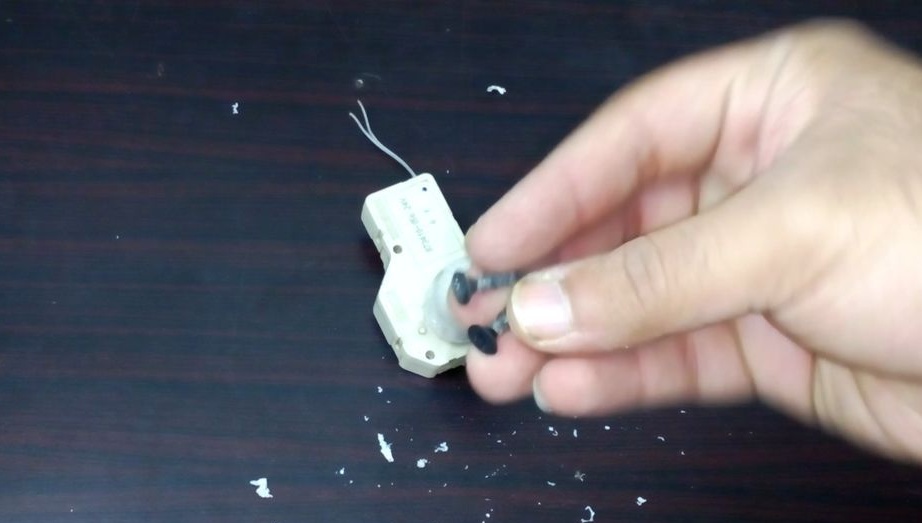


Inserts and tightens the bolt.

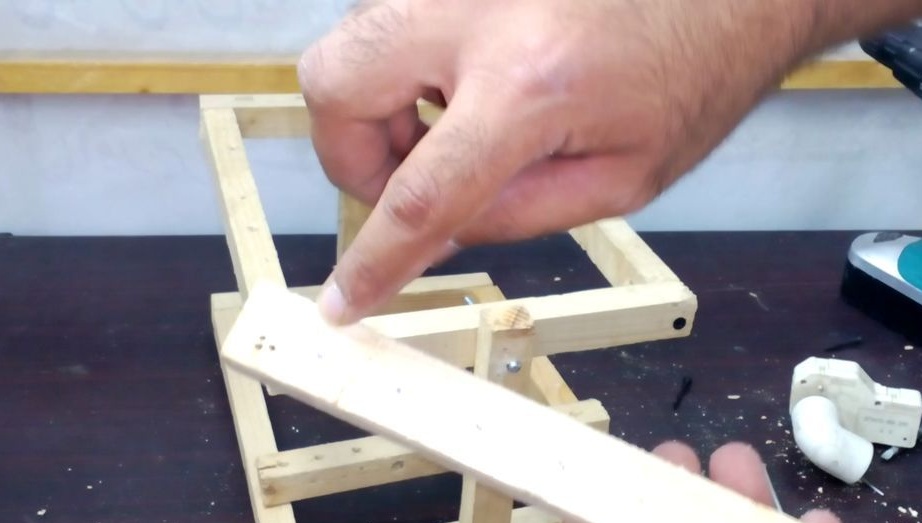
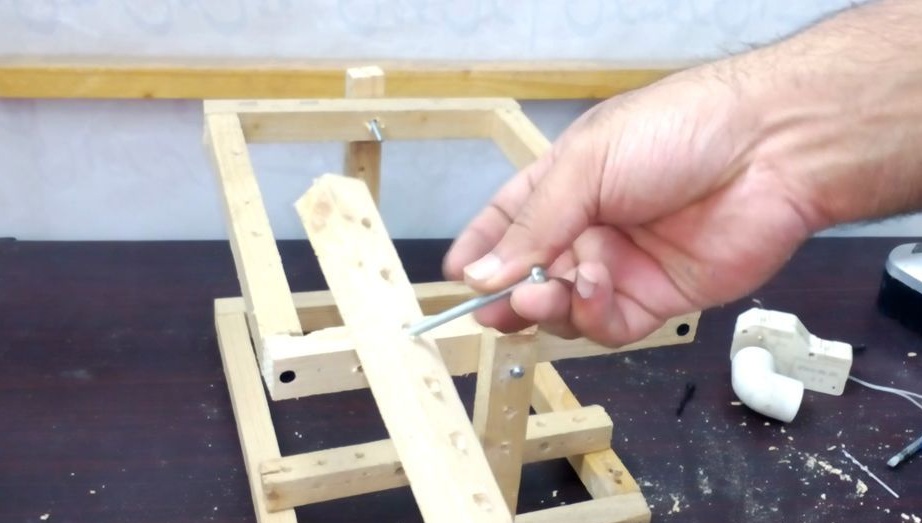
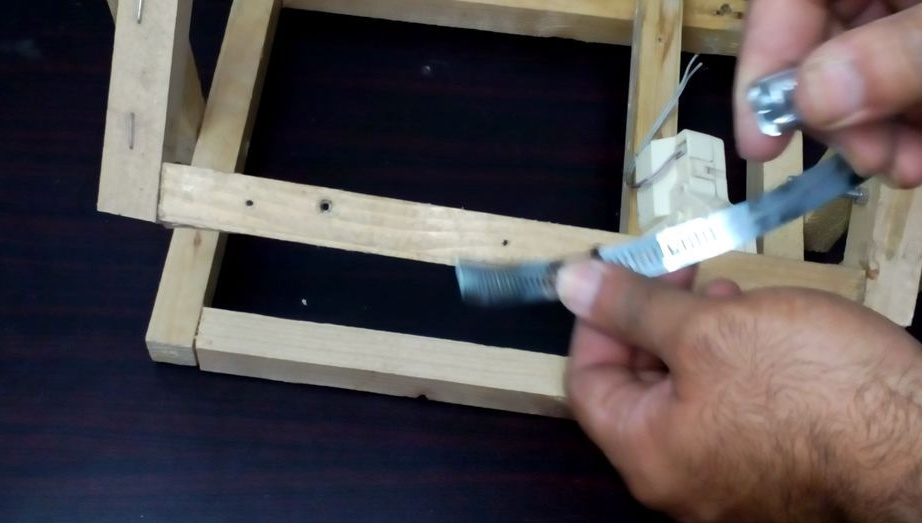
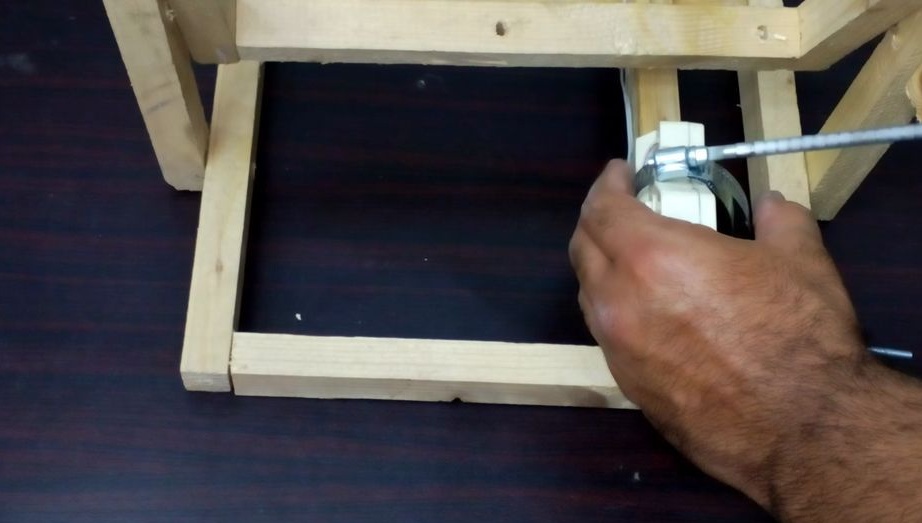
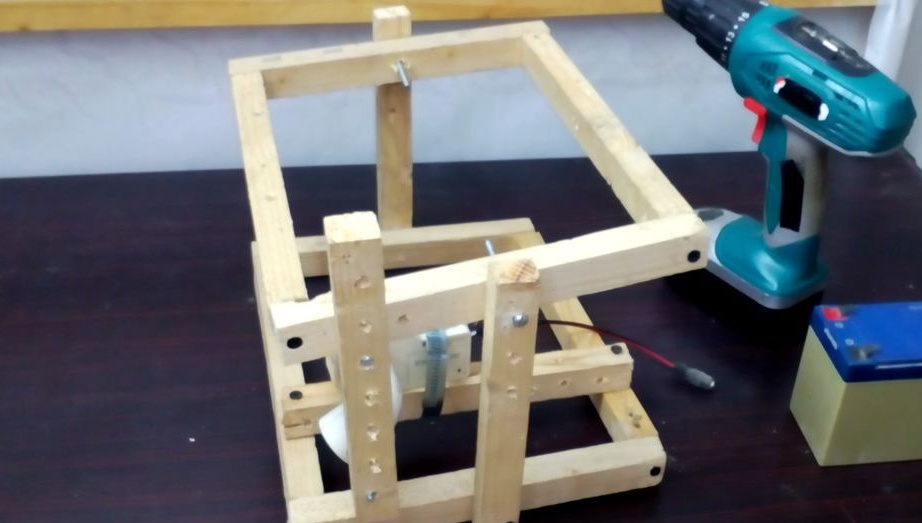
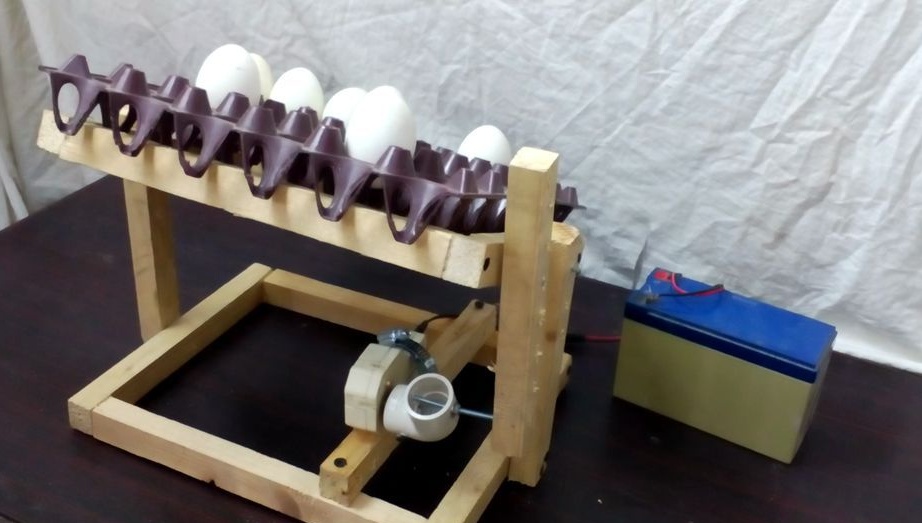
Step Six: Final Assembly
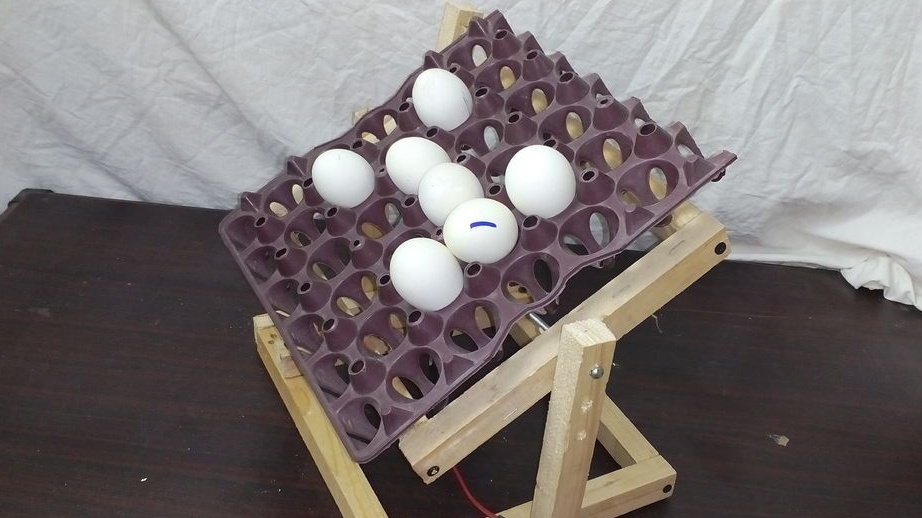
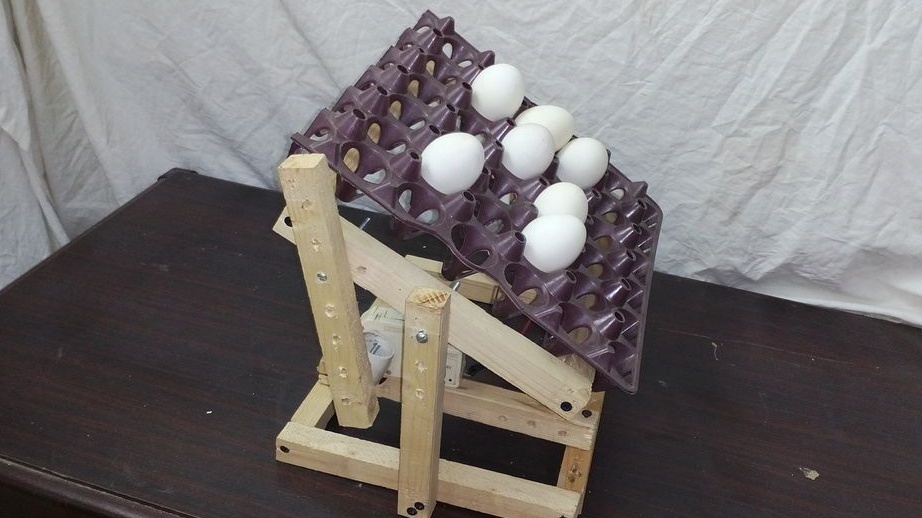
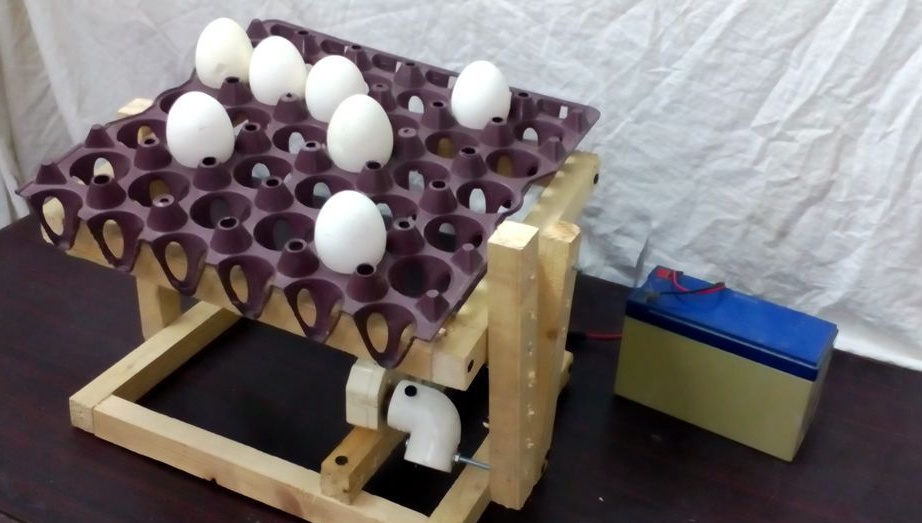
Secures the engine to the bar with a clamp. The lever is screwed to the knee. The second end of the lever bolts to the frame, selecting the desired position using the holes.

Connects the motor to a 12 V battery.
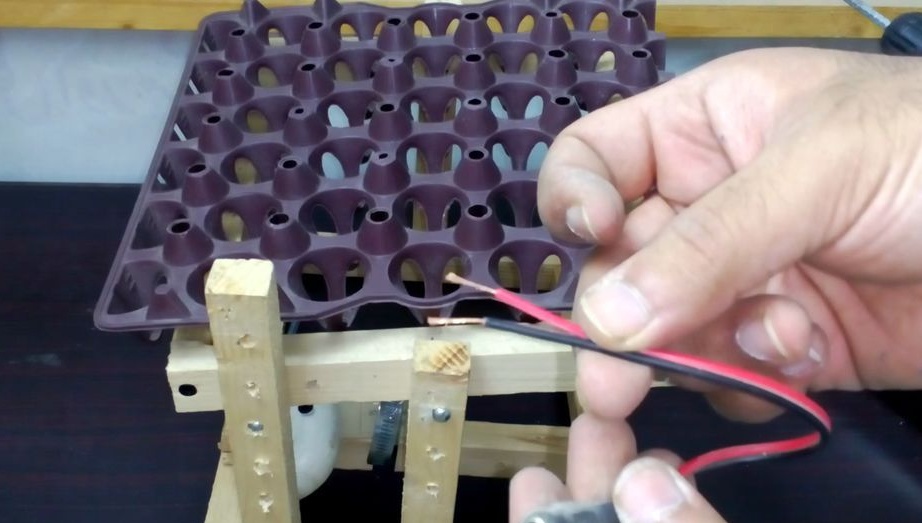
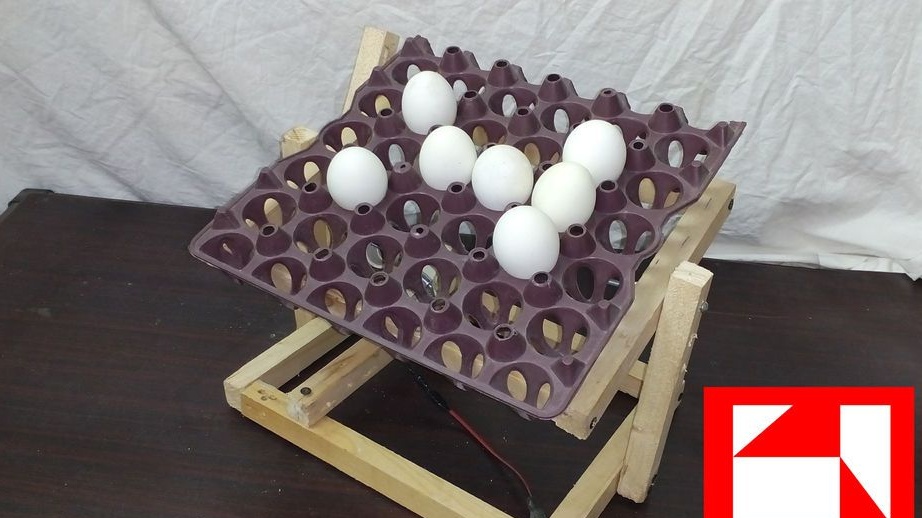
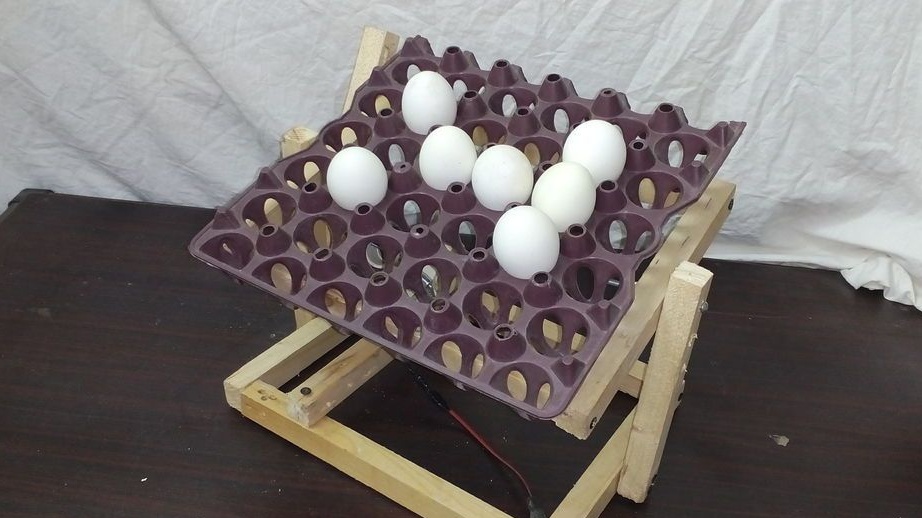
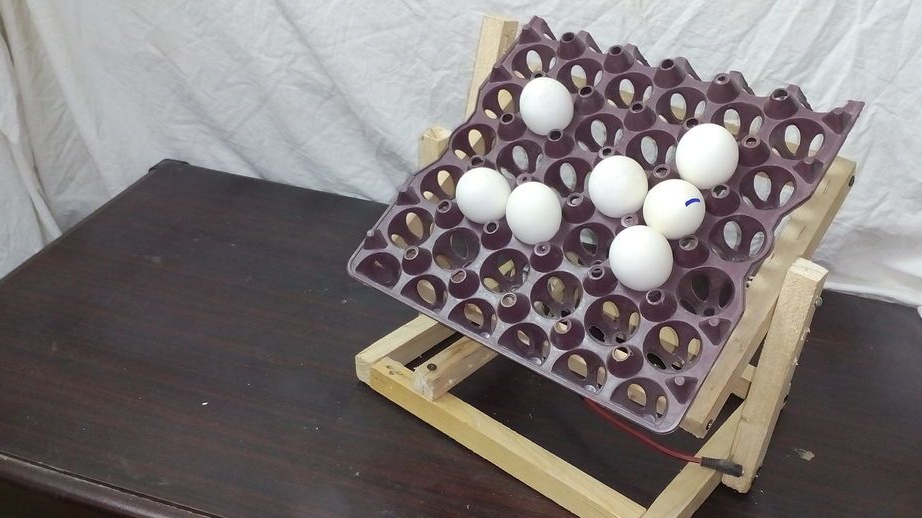
The master fixes the tray on the platform with plastic clamps.
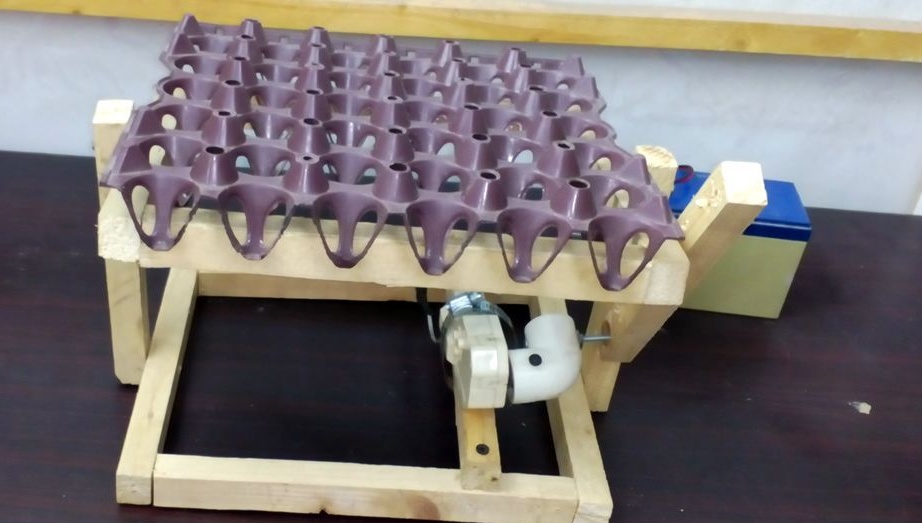

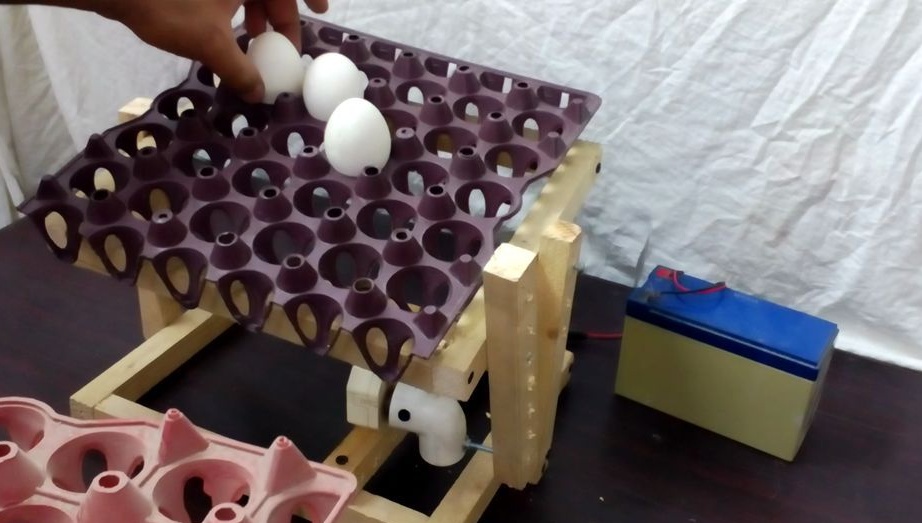
It remains to install the device in the incubator and place the eggs on the tray.
The entire manufacturing process of the device can be seen in the video.