

Hello.
Today we will talk about how I combined the lamp "carry" with an extension cord ...
I'll start in order. For a long time I was going to redo the wiring in the basement. But somehow all hands did not reach, there was no free time. And now, due to the fact that the weather is cold, I have time to do this.
When working with wiring, as you know, you must turn off the electricity. But there are no windows in the basement, and therefore, in order not to work in complete darkness, I needed a lamp "carry". At the time of work, I agreed with a neighbor, and he gave me the opportunity to "feed" with an extension cord from his outlet. But the trouble ... I did not have a lamp!
..That is, of course, I have something like that devicebut I don’t remember where it is now ... Most likely, the lamp remained at my construction site ... Or maybe at the dacha ... I don’t remember ...))))
In short, I decided to collect another "carrying" ... Fortunately, I’m a resourceful person, and I always have wires, cartridges and plugs ... There are new ones, there are also used ones ... And, when I do what something irresponsible, or temporary electrical construction, I first consider whether it is possible to use for this something from the "bush" ... So to speak, "so as not to disappear")))).
This time, when I looked into the box with the "beushka", I caught sight of such old spotlights:
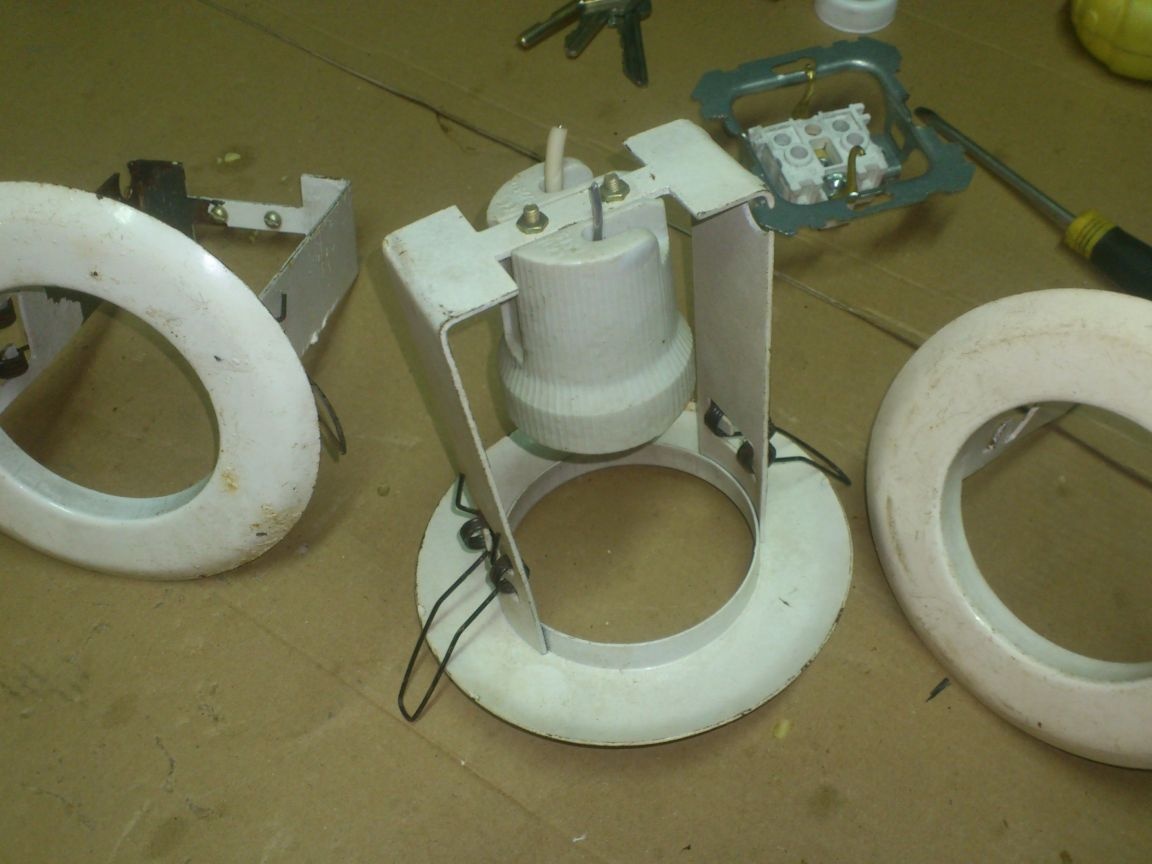
They are designed for the installation of an R63 lamp, and therefore standard E-27 lampholders are installed in them. And I decided to borrow a cartridge for the future “carrying” from one of these lamps, so as not to “spoil” the new one.
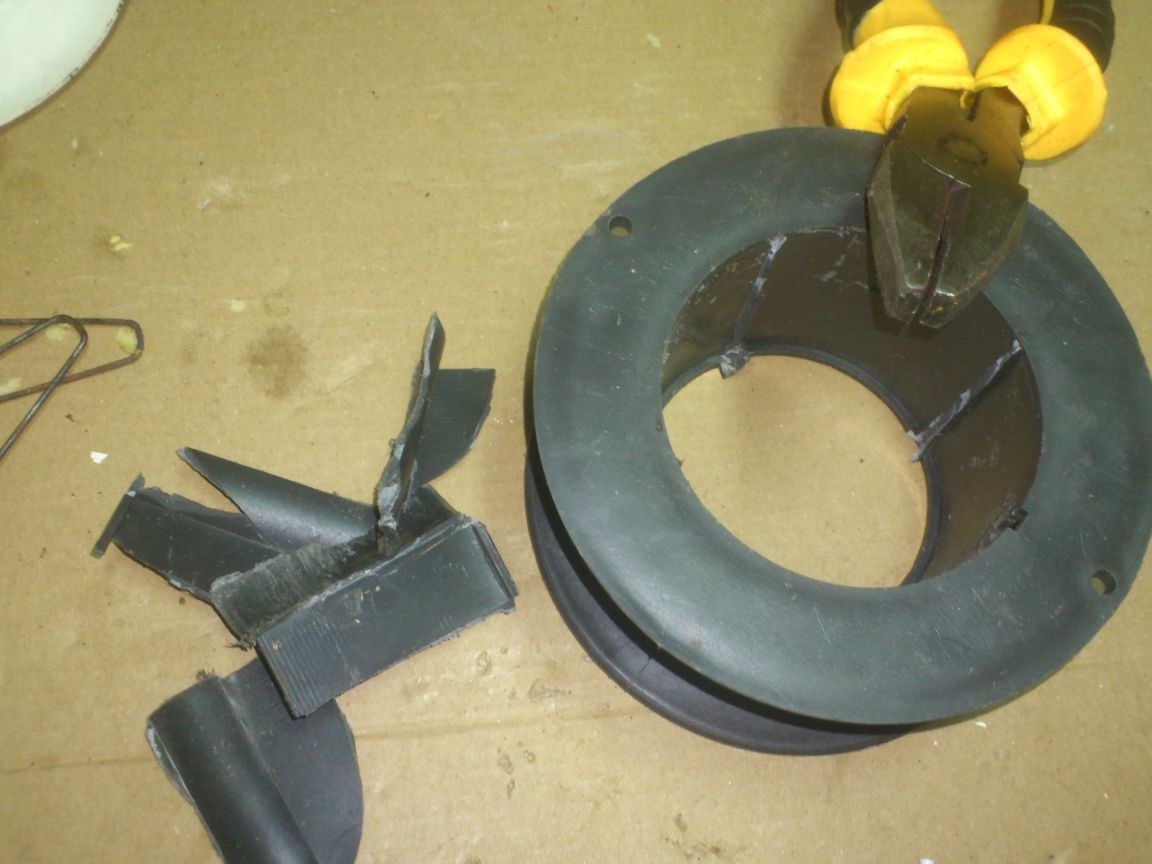
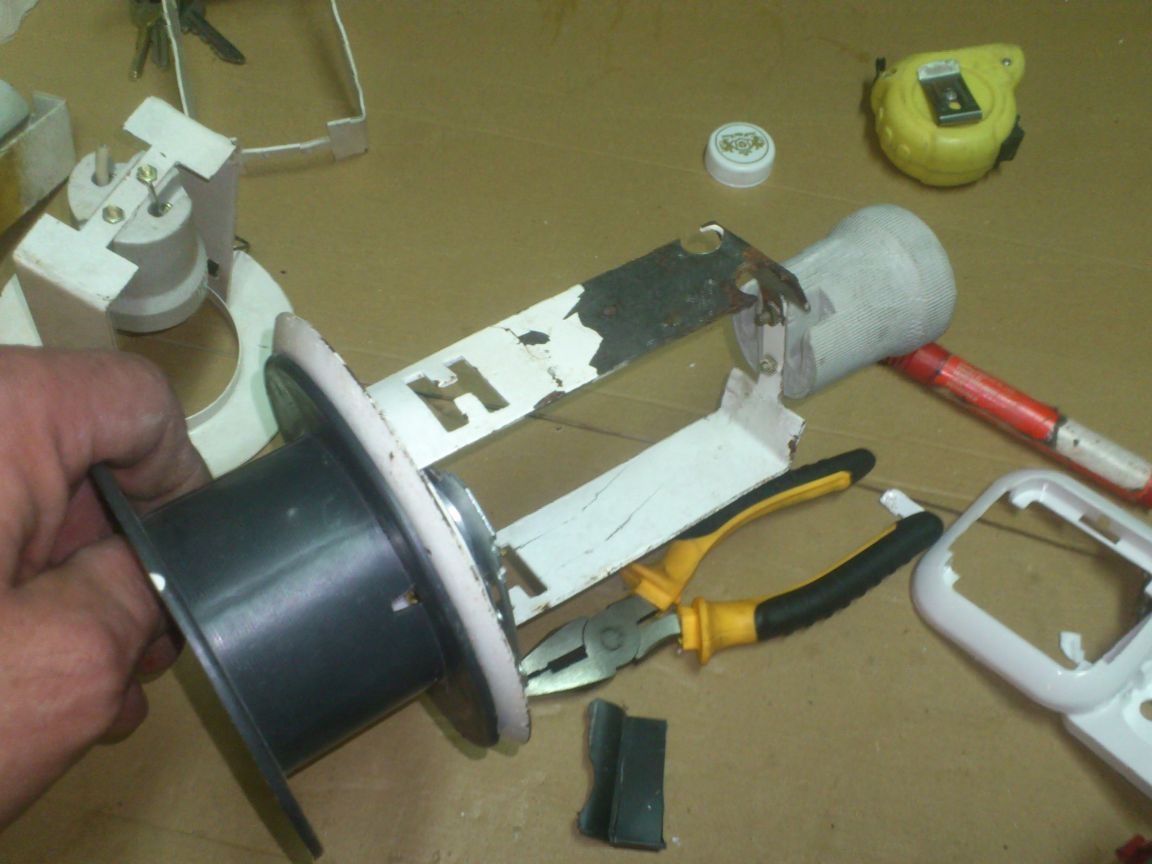
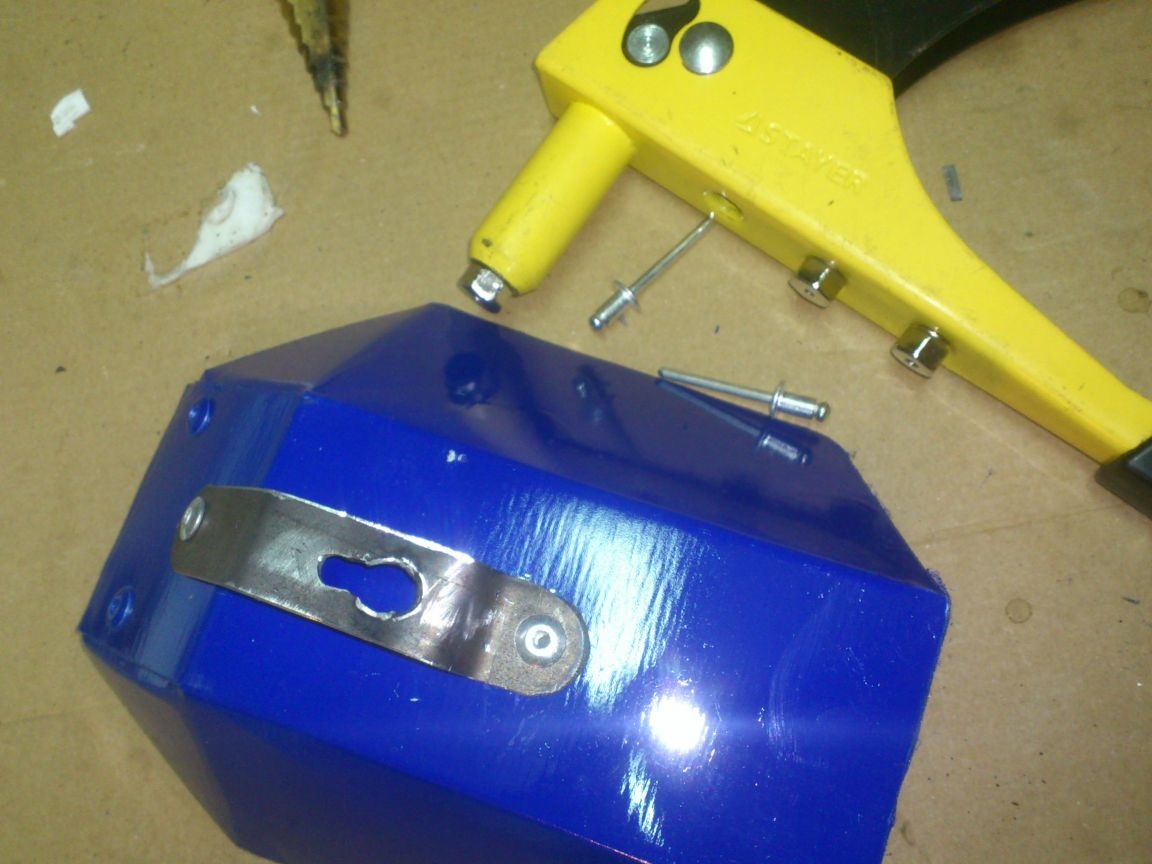
I disassembled the lamp by removing the mounting springs and the cartridge (the "Standard" cartridge is fixed here with two screws and nuts):
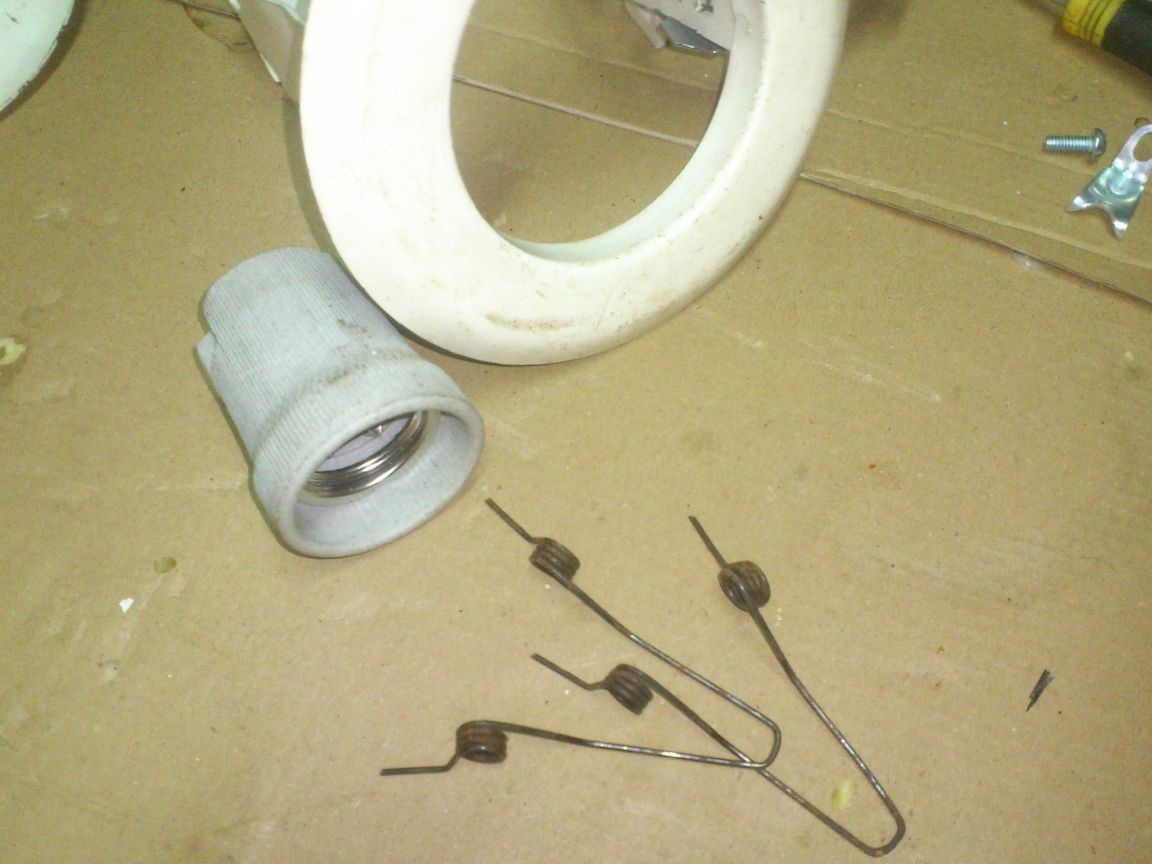
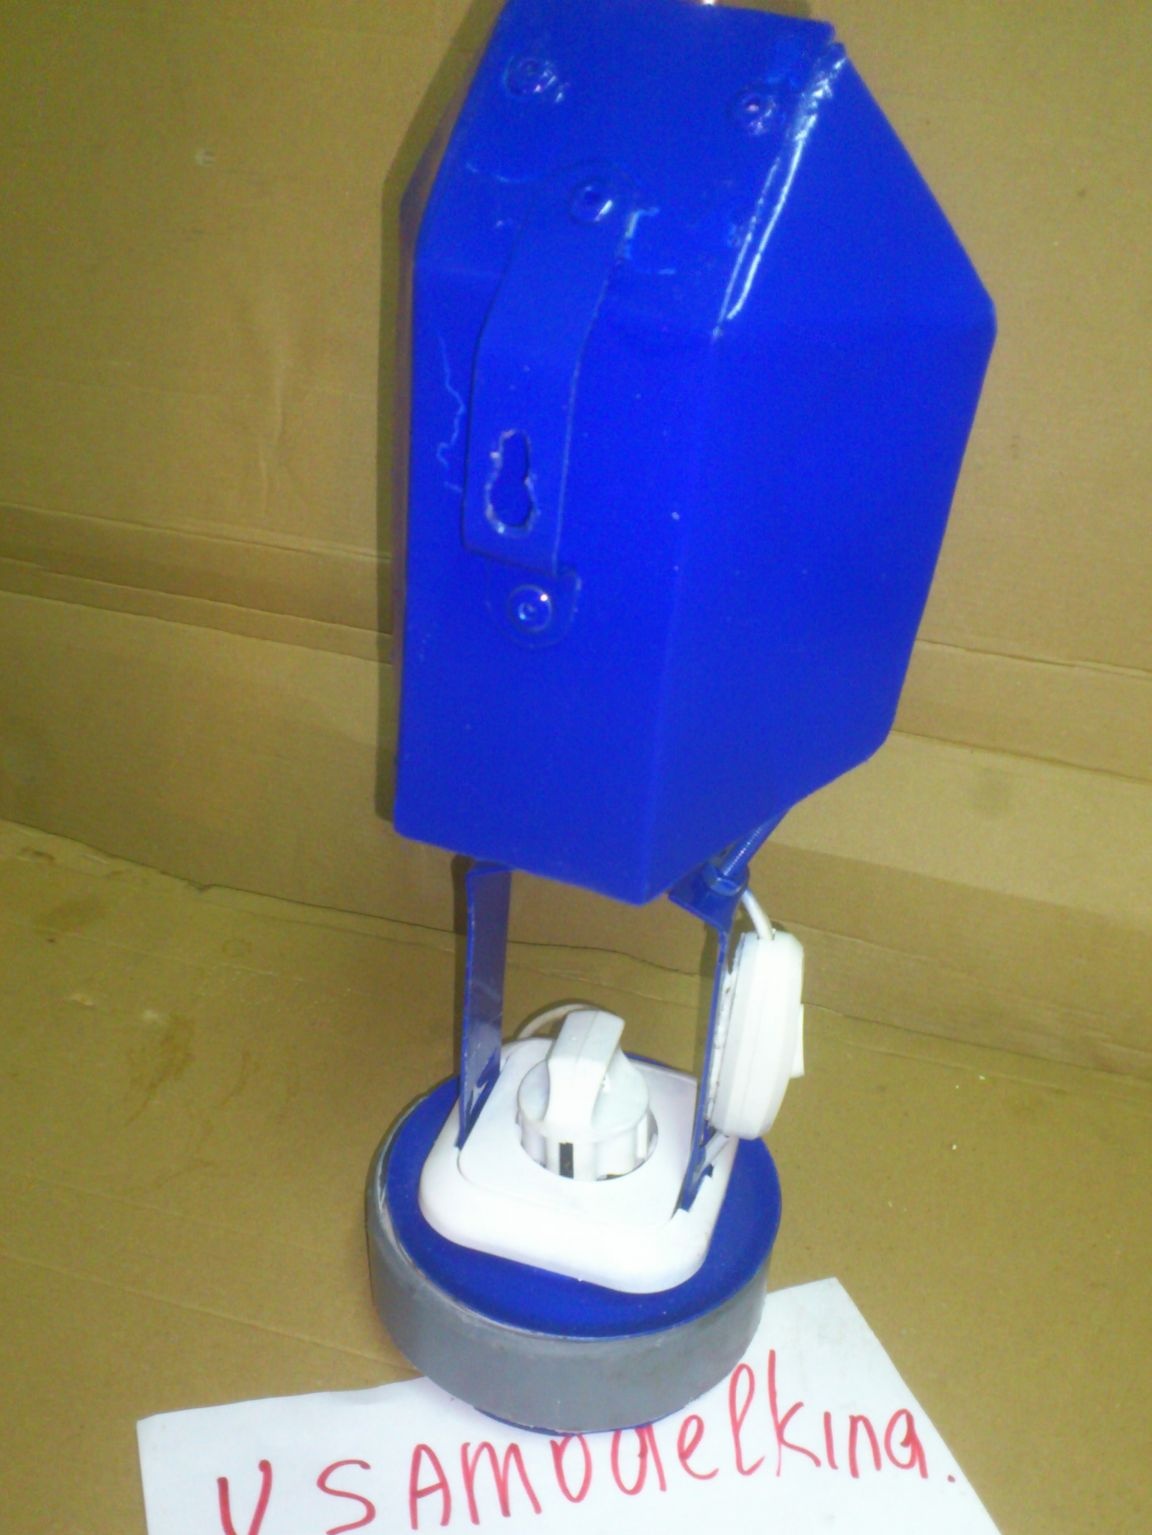
Springs are not needed ... (Although, of course, I won’t throw them away! The master will come in handy yet!))))). And turning the cartridge in his hands, put it back, only now on the other side of the mounting plate ... So that it sticks up, and not inside the lamp:
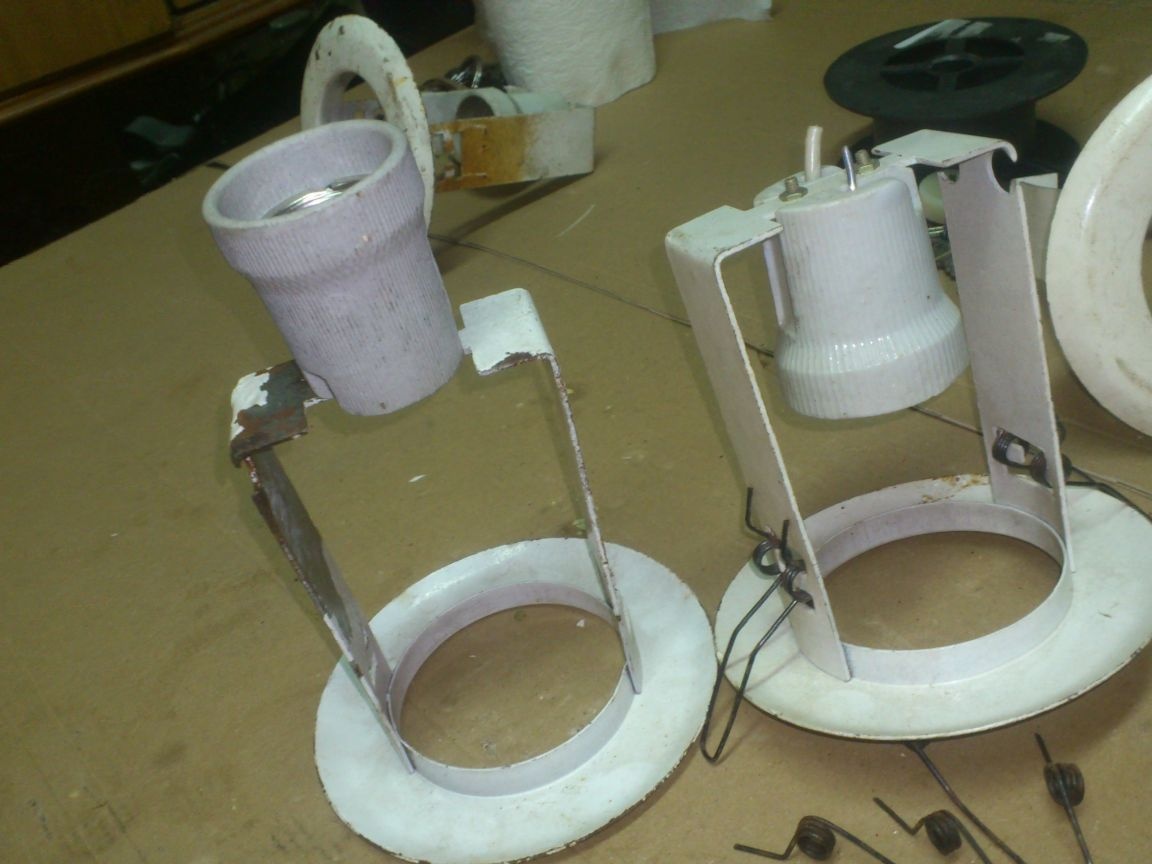
With this installation, it turned out that the cartridge acquired a stable stand! Now, if you screw a light bulb into it, we get a kind of table lamp! This "idea" interested me, and, as often happens, I got carried away with it .... I decided to assemble not a temporary structure, but a convenient thing for constant use ....
Thinking through the details, I decided that it would be nice to equip my “carry” with some kind of reel for winding the cable, because winding the cable around the case .... to put it mildly, not technological!

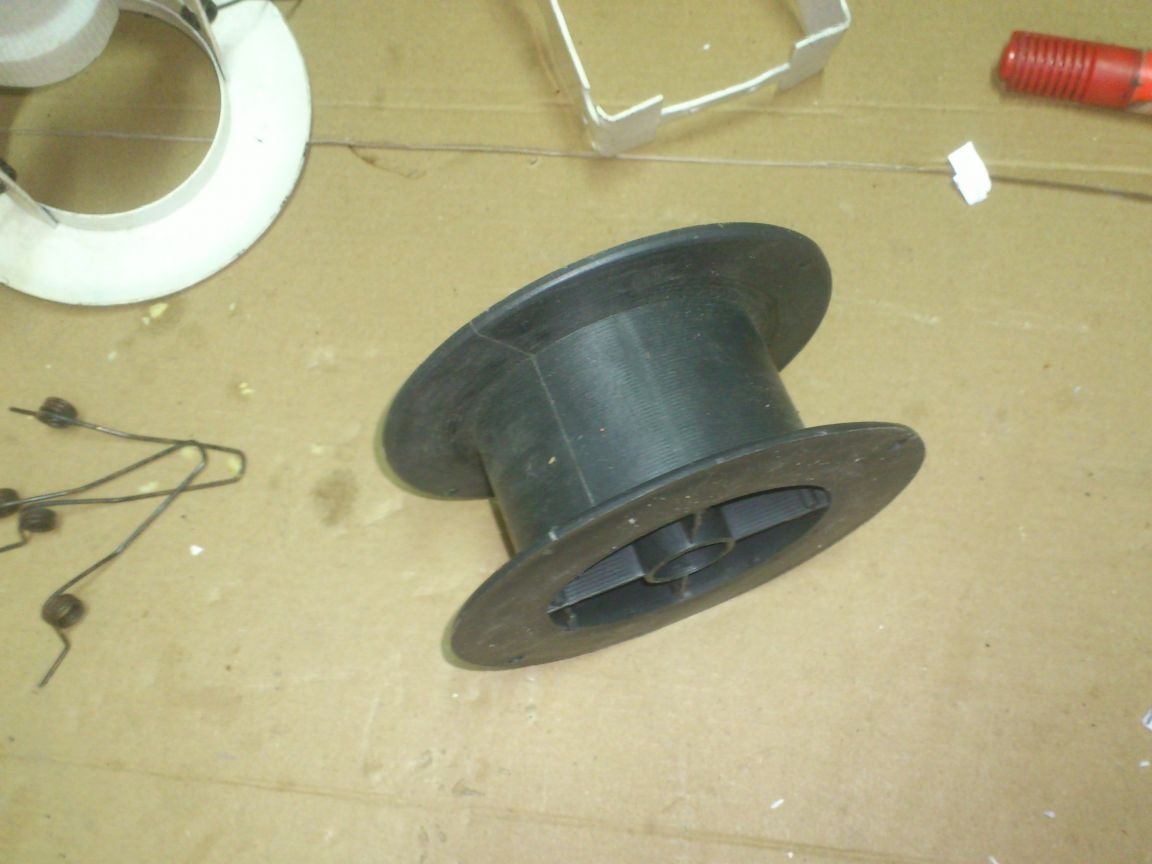
Having rummaged in my stocks of trash, I found just such a coil from a welding wire:
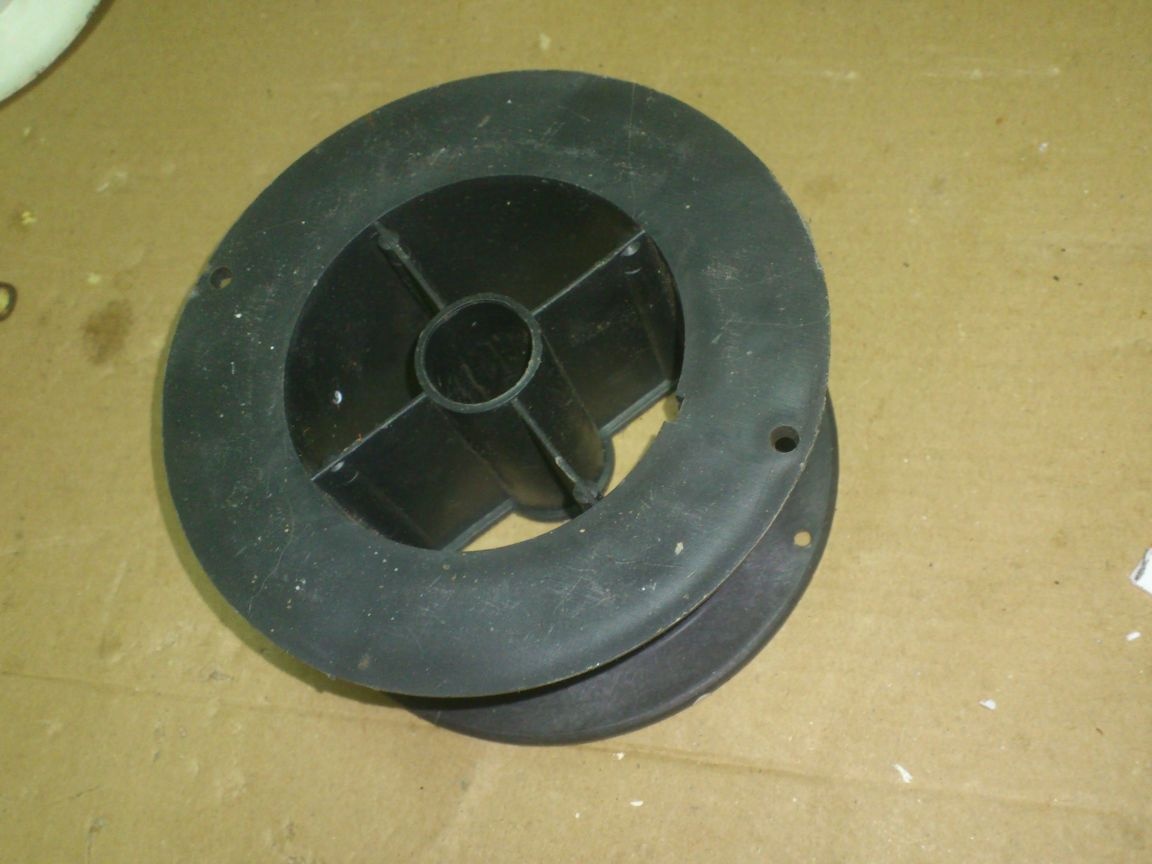
This is not the big coil that is commonly used in semi-automatic welding, and from which I made extension cords
This coil is small. She was wearing stainless steel wire. It is quite expensive, and, if necessary, is sold on such small coils of one kilogram:
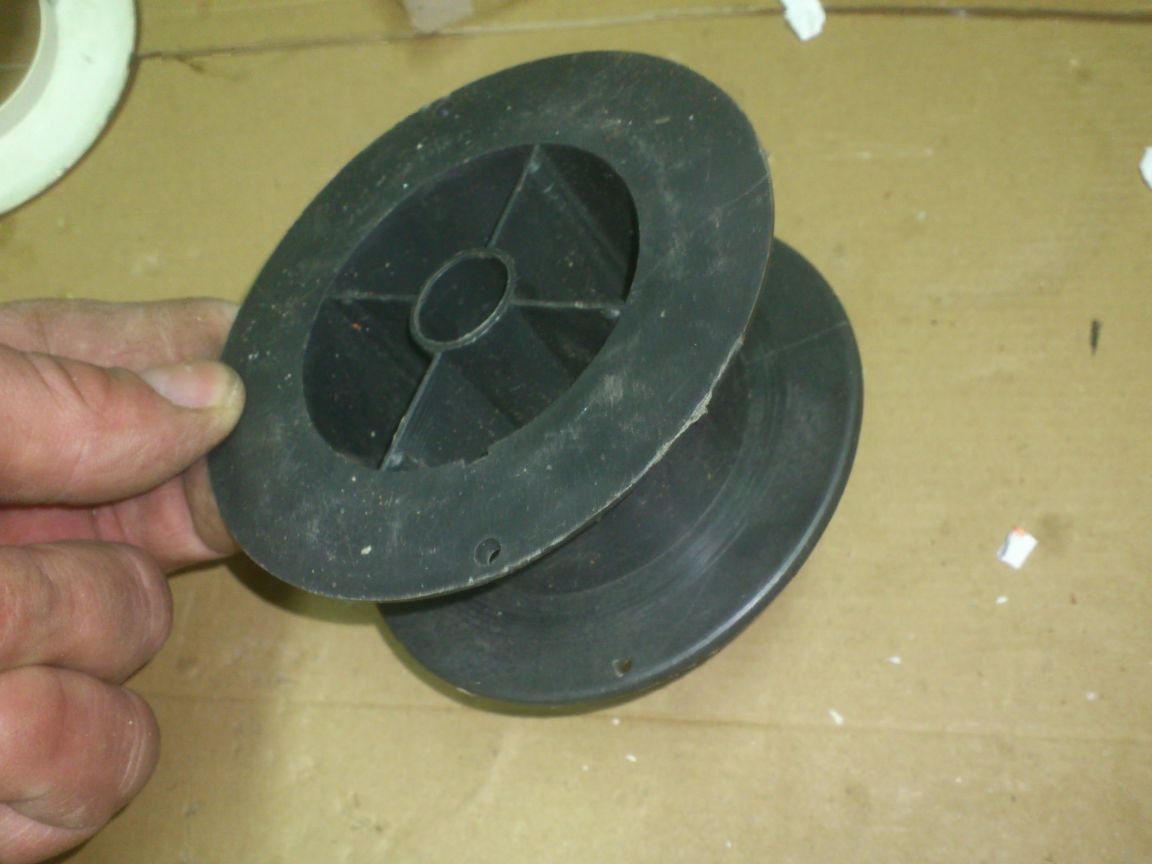
Since the diameter of this coil is approximately equal to the diameter of the “ring” of the lamp, I decided to fix it at the bottom of my lamp and wind the cable around it.
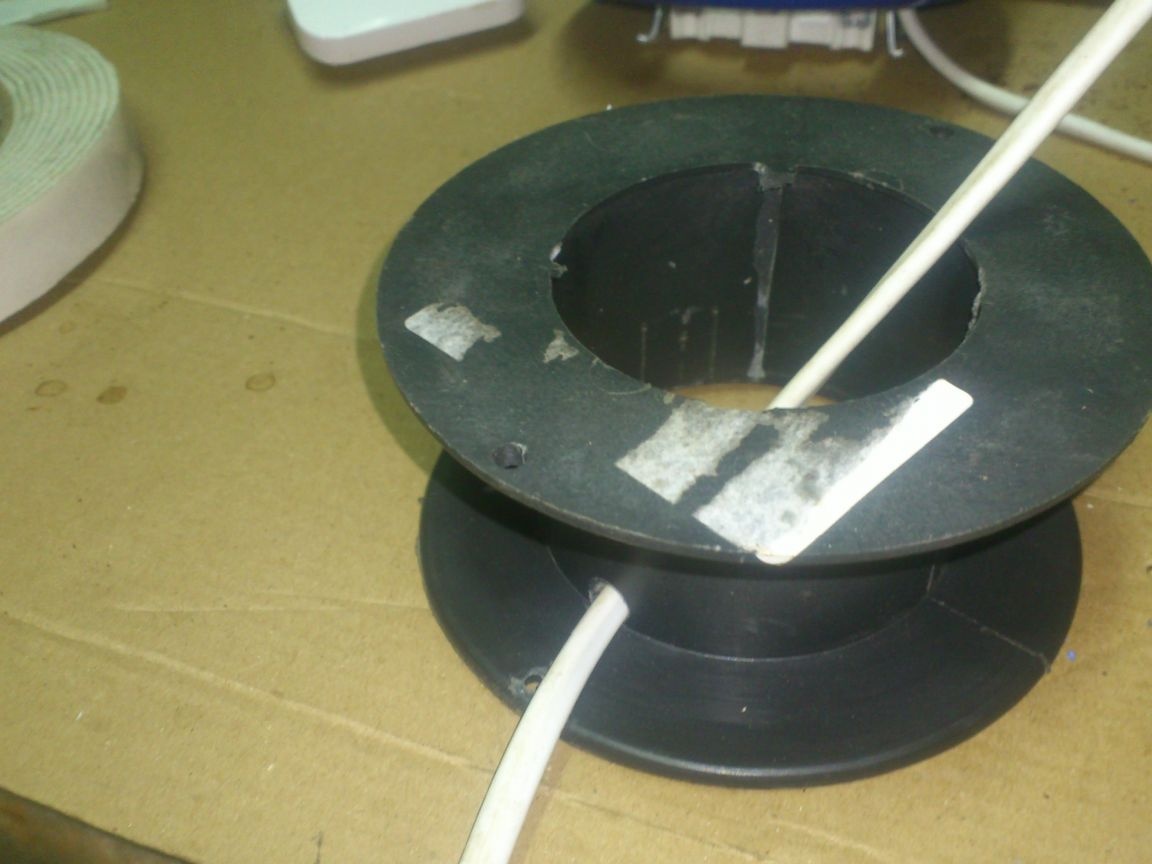
As a cable, I decided to use an electric cord ШВВП 2х0.75.
I always have it in stock, as it is often used by me in homemade... Having experimented, I found out that seven and a half meters of such a cord fit on a reel. (At the same time, I several times wound it specially “carelessly.” Because no one will then carefully and painstakingly lay the cord on a coil round to round ...
... And then another thought occurred to me! After all, when working in the dark, when using a carrying lamp, you often need to work with a power tool! And that means using an extension cord! And since I can fit more than seven meters, it would be nice to combine these two devices - a lamp and an extension cord - in "one bottle" !!! After all, the ШВВП 2х0.75 cord is designed at a voltage of 220 volts, for a current of 6 amperes. That is, although it does not have thick insulation, it will withstand the short-term operation of any power tool!
A small digression ... Who knows, suddenly someone does not know ...
So I did! And here is what I needed for this:
1. Spotlight under the R63 lamp
2. Coil (small) from the welding wire.
3. ShVVP cord 2x0.75.
4. Socket for single installation.
5. The plug.
6. Anchor hook.
7. Scraps of galvanized and enamelled tin.
8. Pendant switch for sconces.
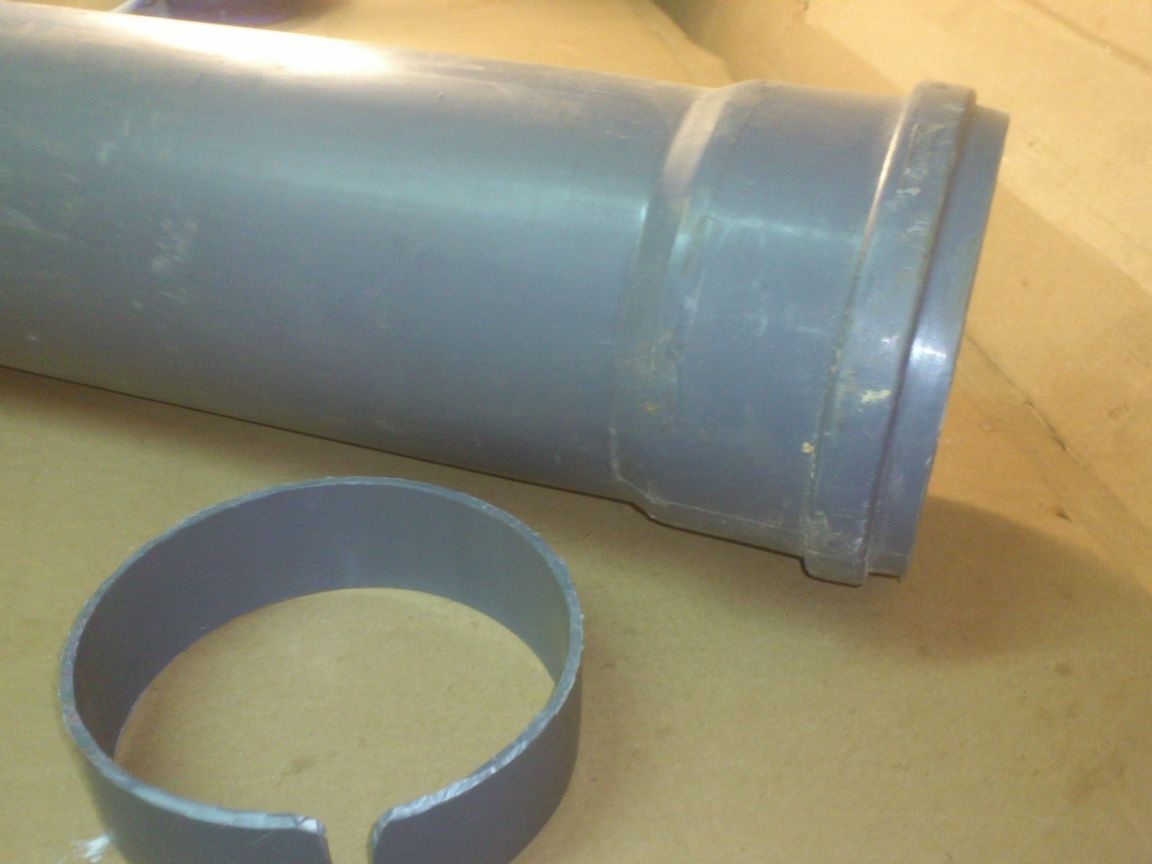
9. A piece of sewer plastic pipe with a diameter of 110 millimeters.
10. Stud with M6 thread.
11. Trimming aluminum U-shaped profile.
12. Extraction rivets.
So, let's get started ...
The general concept of my product is already approximately clear ... The coil will be down. And where to install the outlet? ...
Recalling my experience in remaking coils from welding wire into extension cords, I decided on where to install the outlet - it will be installed inside the coil.
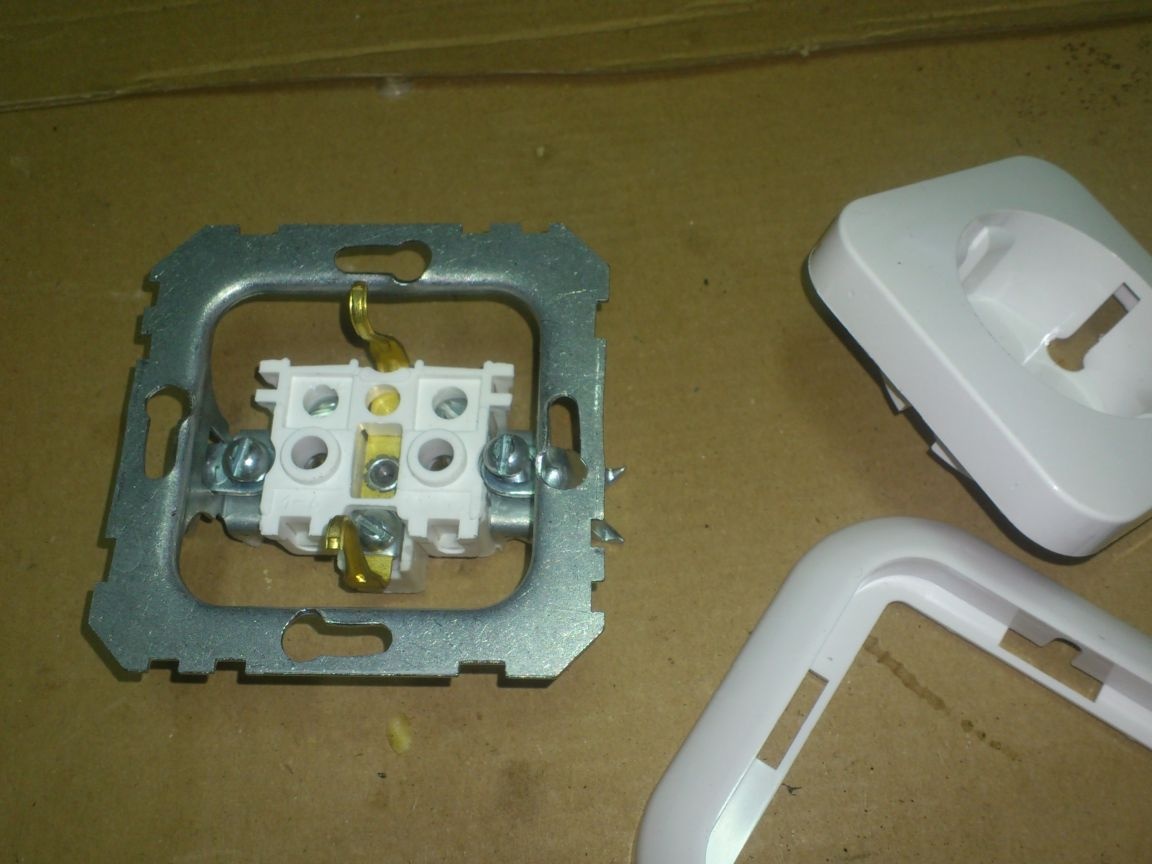
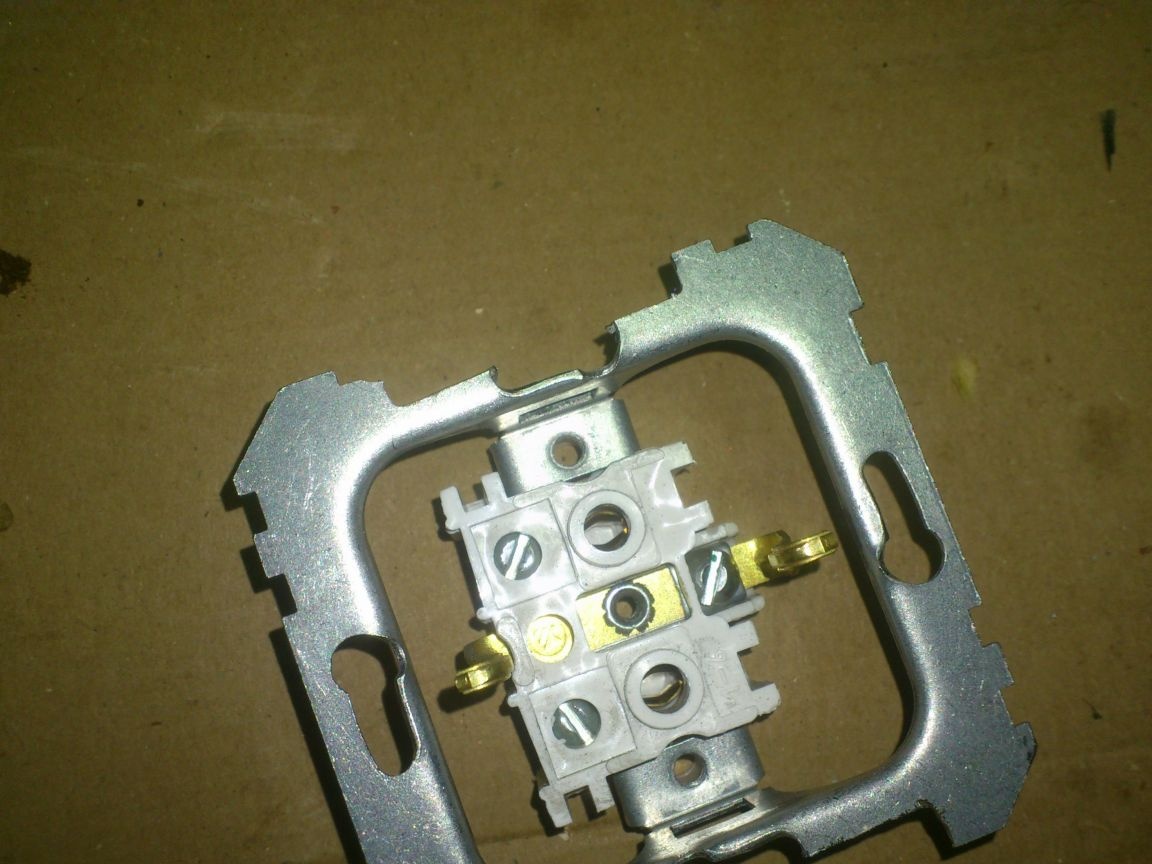
After rummaging in my stocks, I chose this single single socket of a hidden installation:
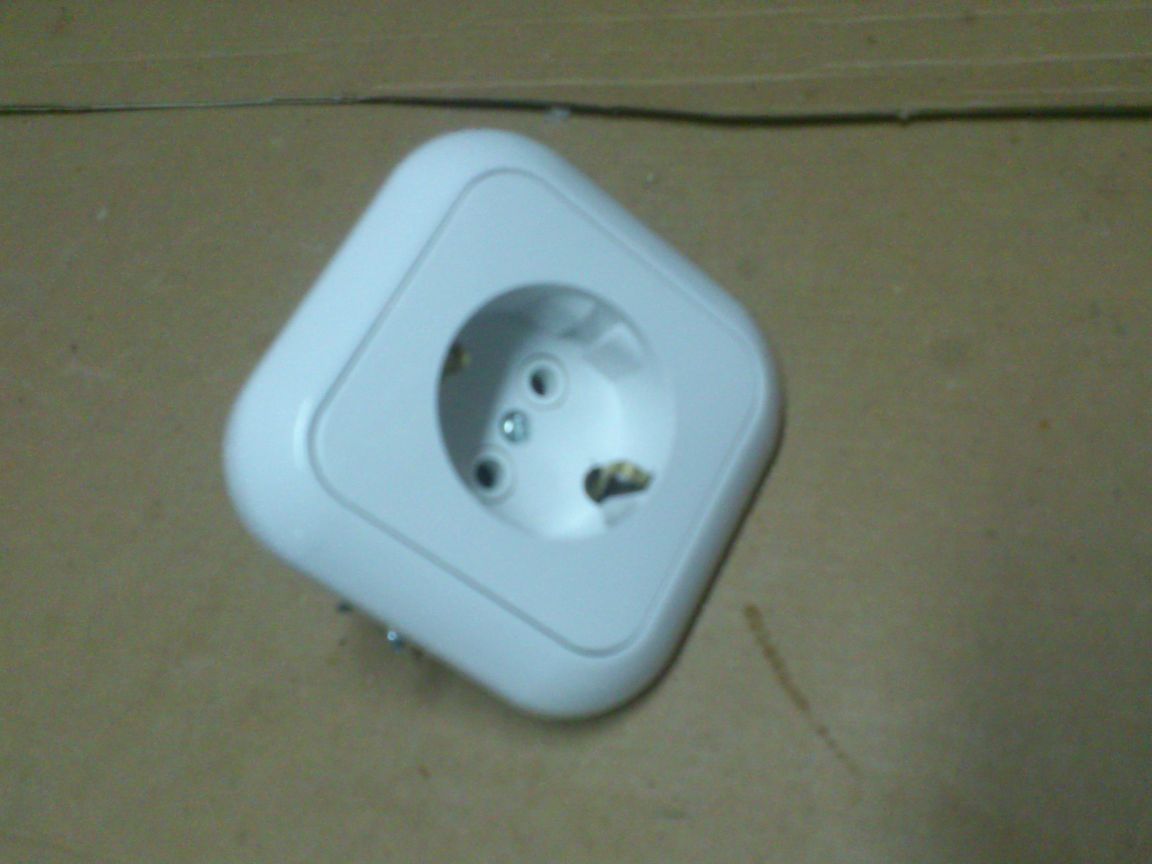
I will not need "Earth", but there were no sockets without grounding contacts in my reserves ...
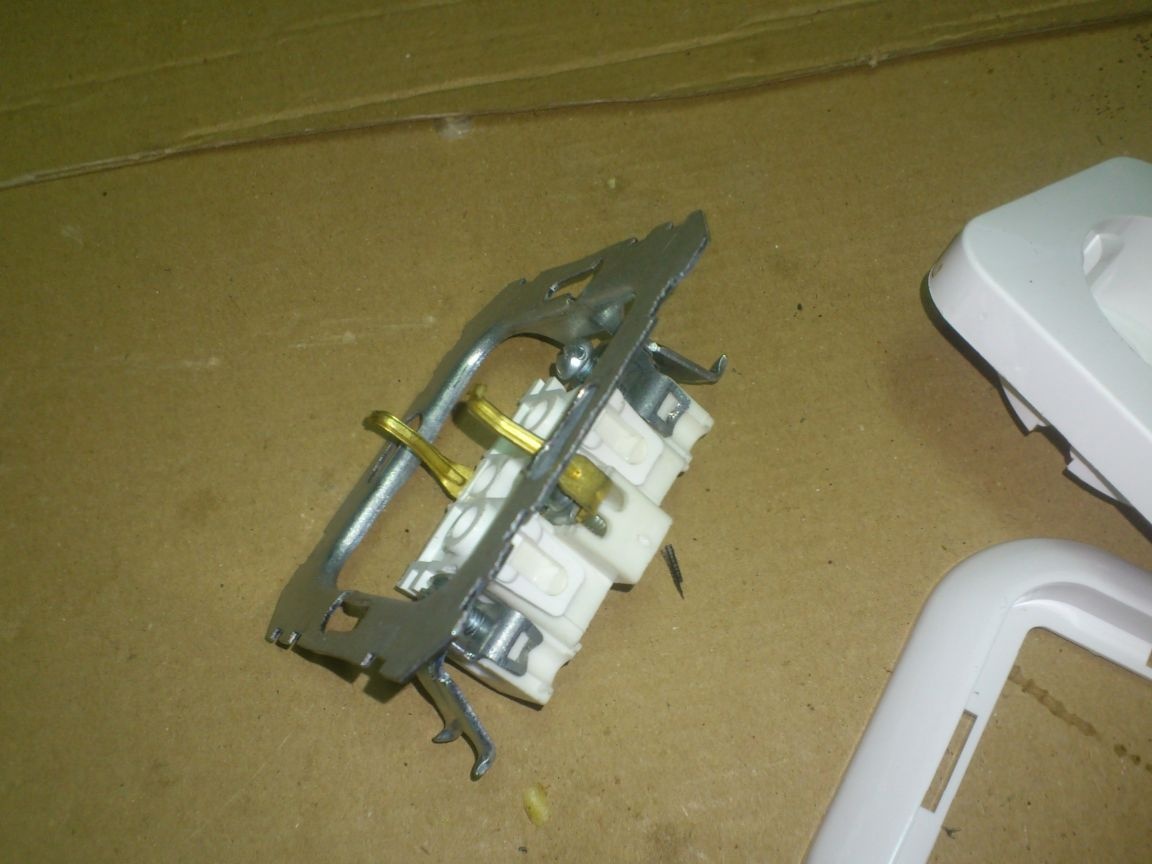
It, like all modern sockets, has two mounting options - with screws through the mounting thrust frame, or standard clamps:
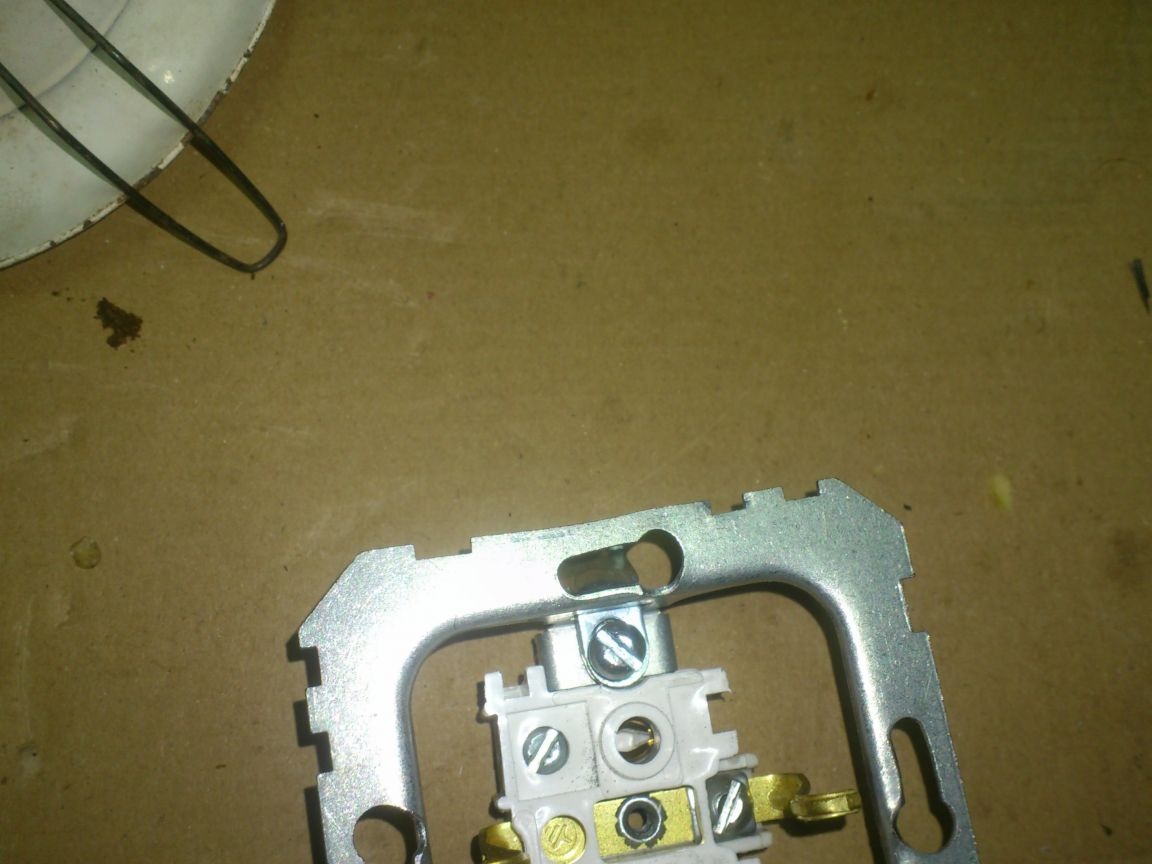
The frame was wide, did not fit between the vertical posts of the lamp. Therefore, with the help of the "grinder" I cut it a little on both sides ..
So it was:
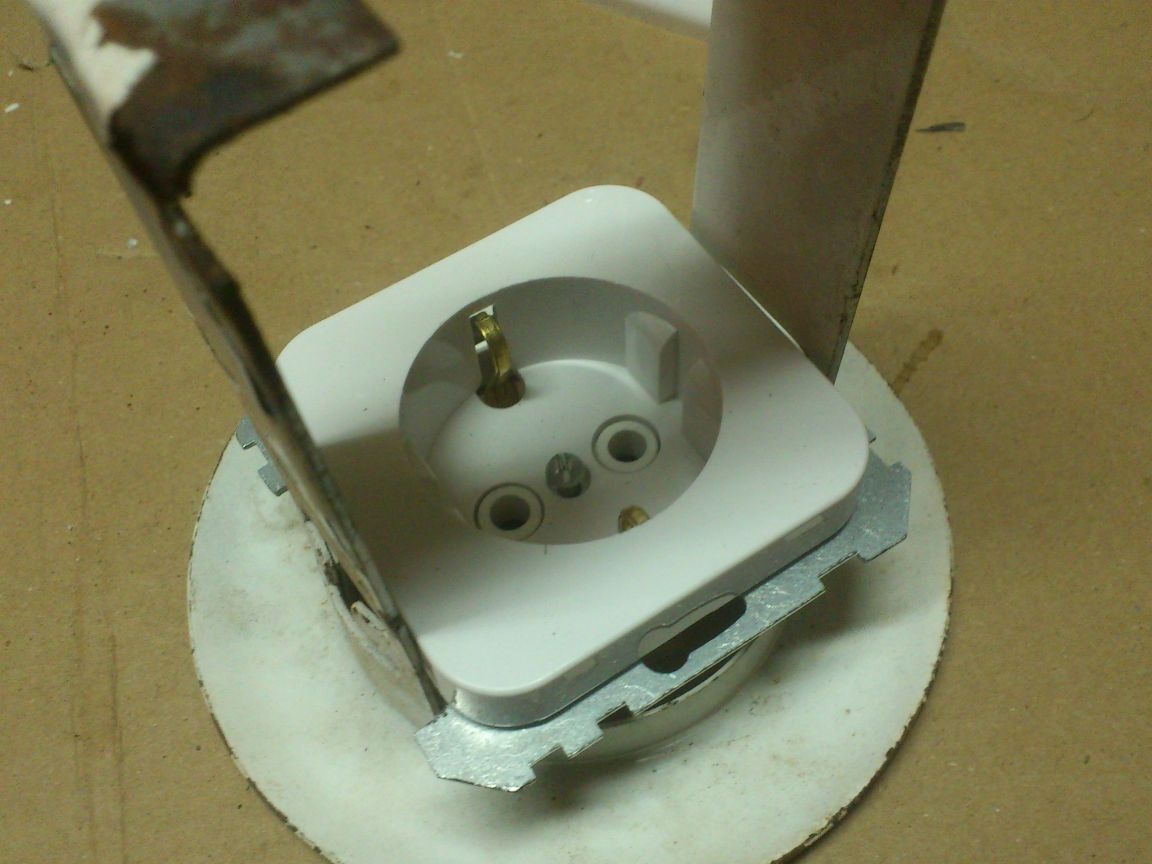
And so it became:
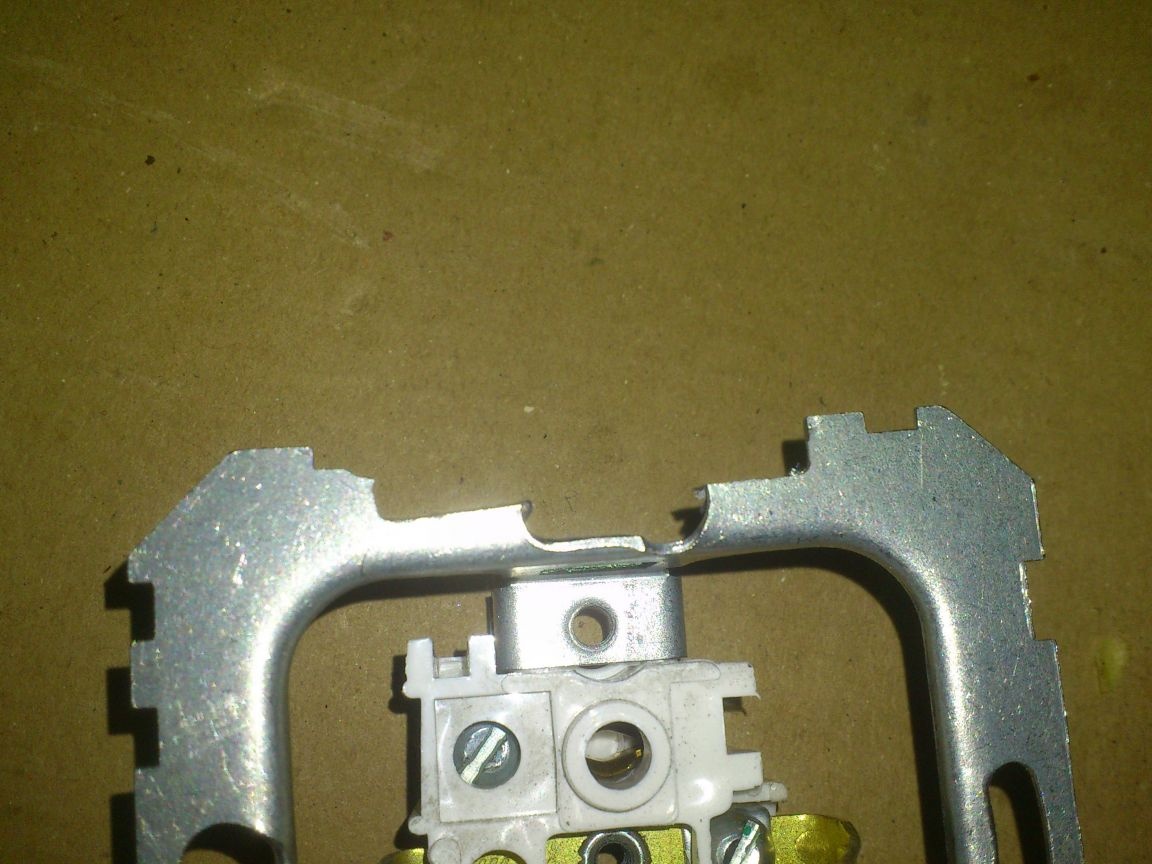
Now it is placed between the racks and enters the ring. The lid did not have to be cut. She fit exactly:
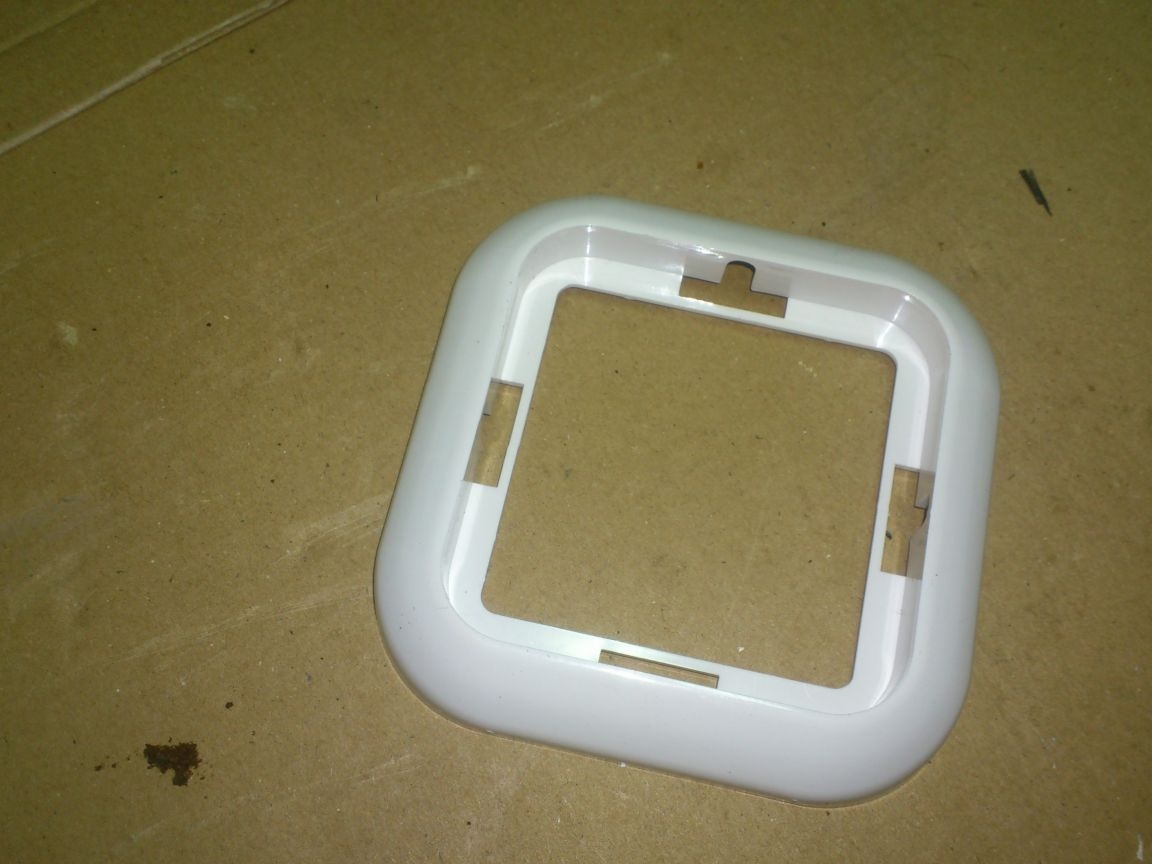
But the decorative frame had to be cut. After all, she will dress "outside" the racks. I just cut two slots in it with a technical knife. (Sorry !!! I forgot to photograph this stage!)
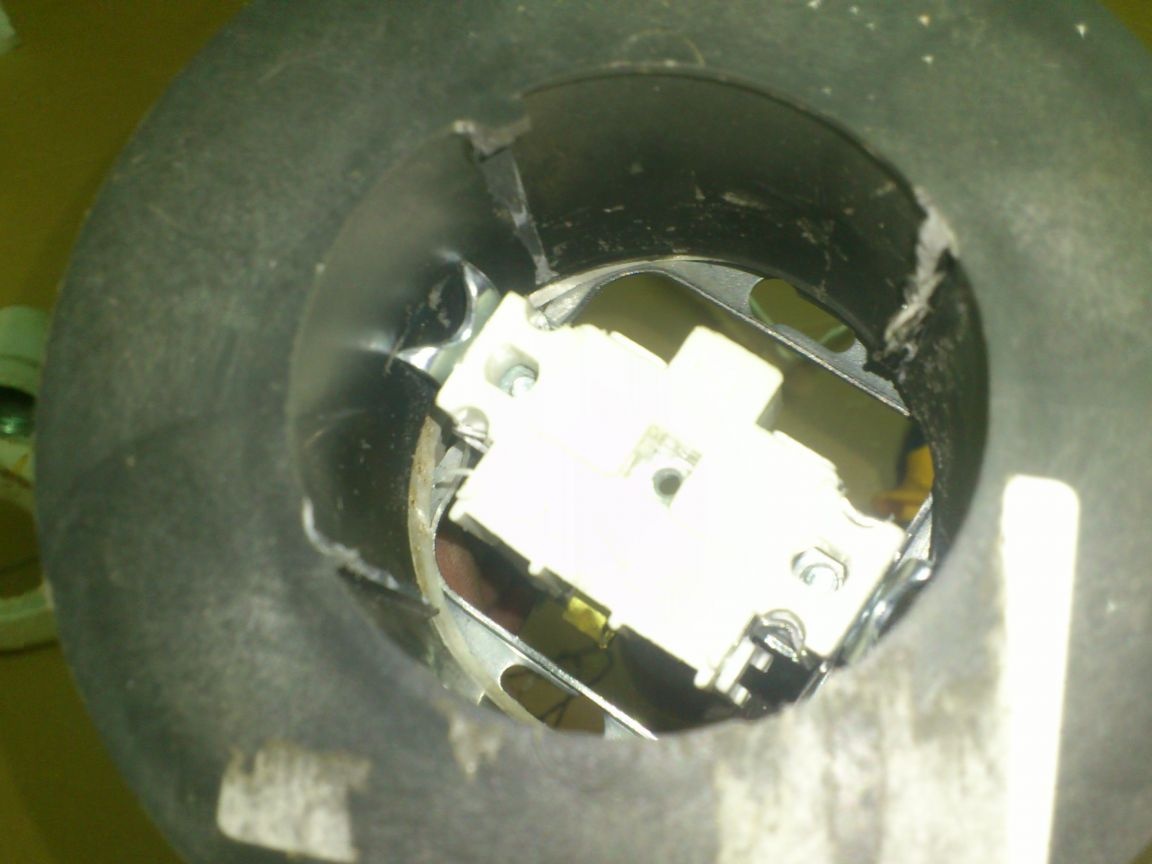
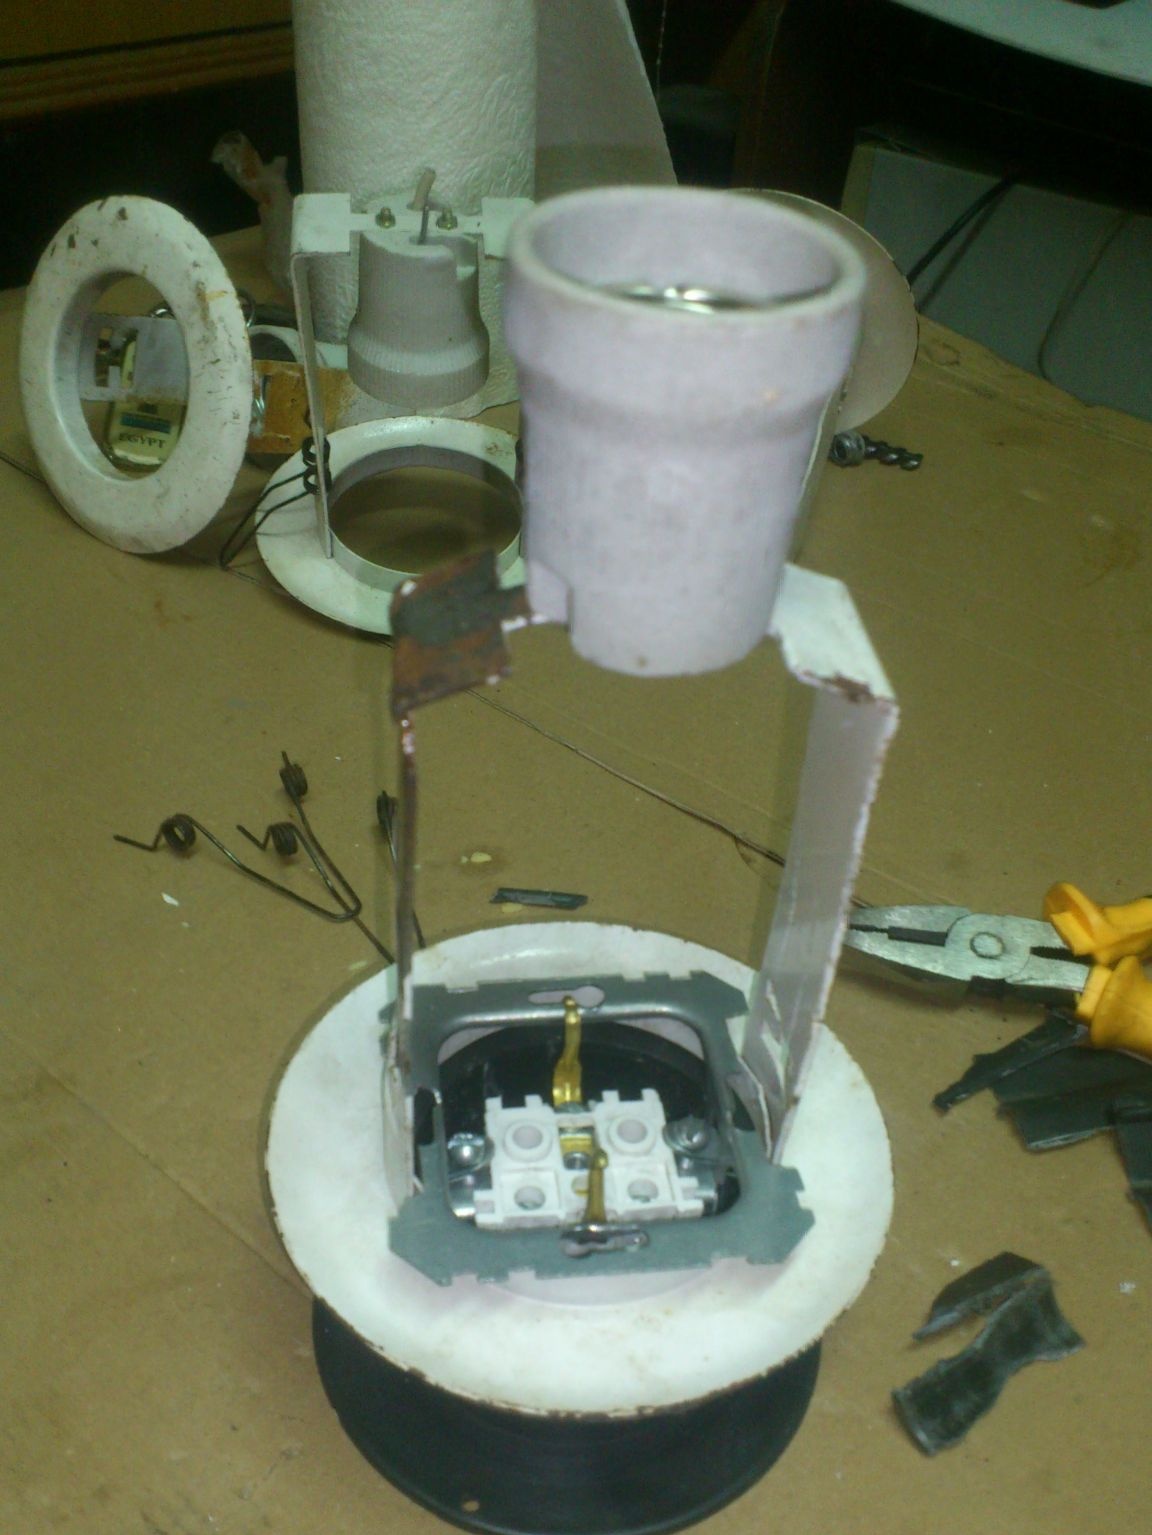
Now the coil ... We break out all the elements we do not need inside it.
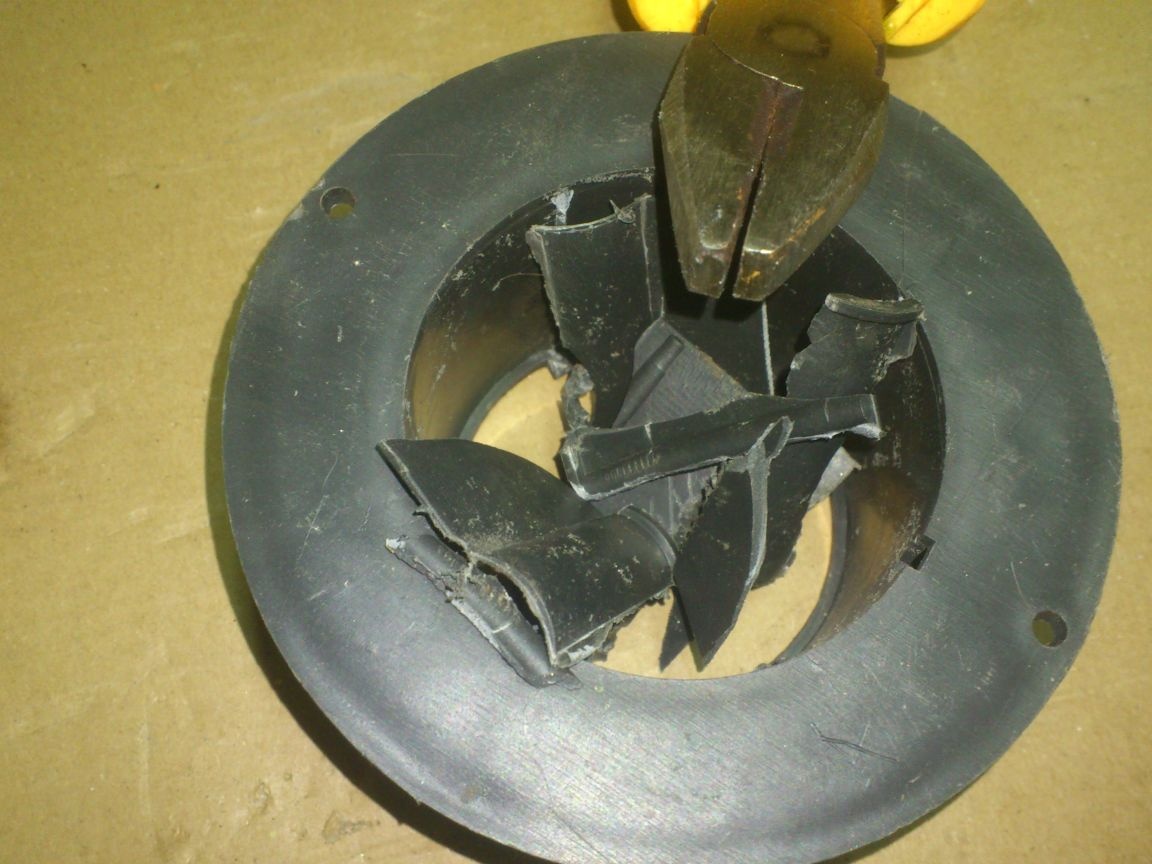
Now the socket can be installed inside the coil, as in a conventional mounting box, and secured with standard clamps:
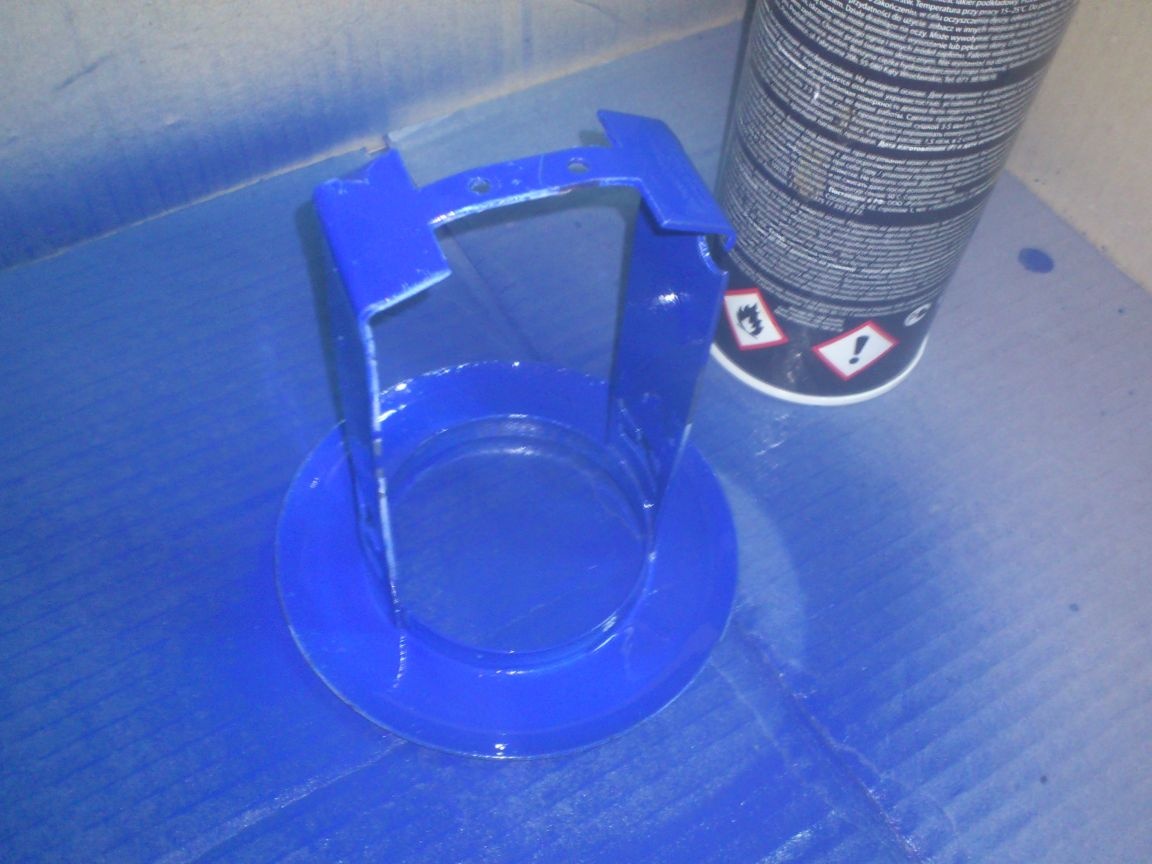
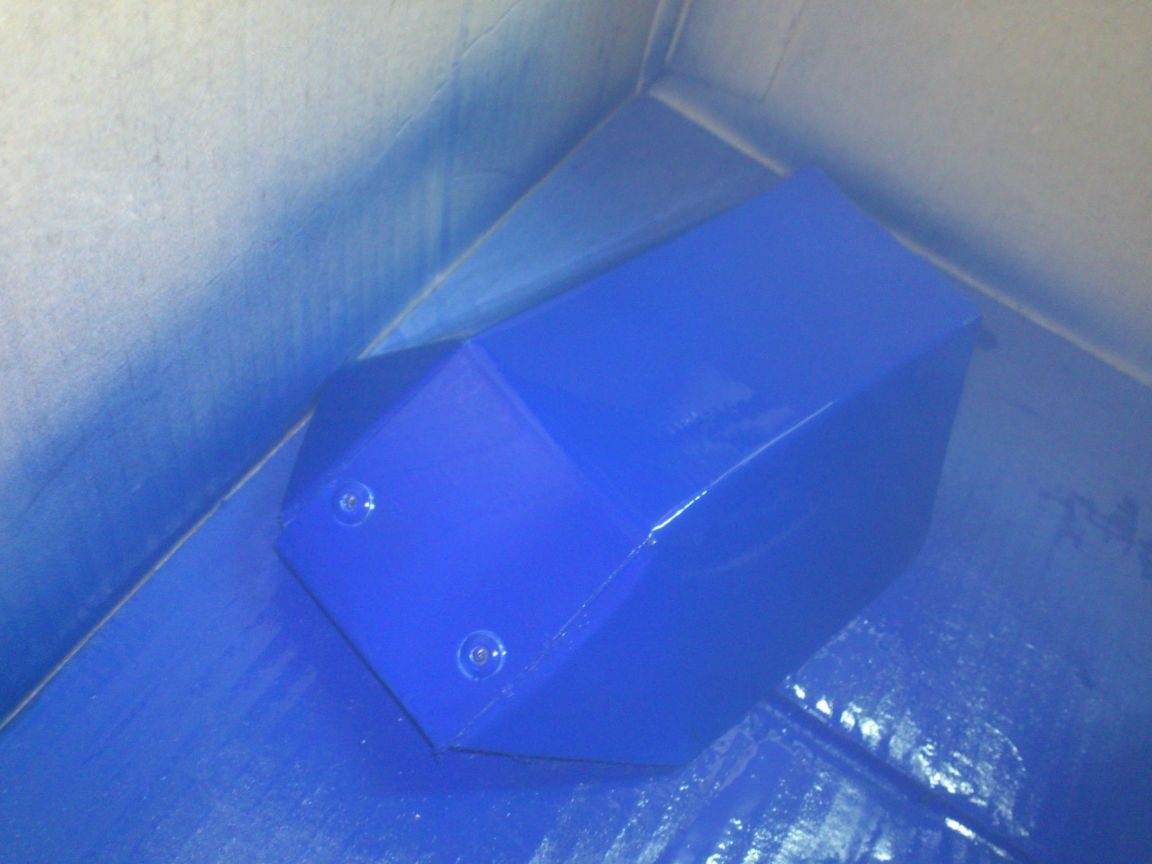
At this stage, I disassembled the design and sent it for painting. I painted in a large cardboard box (so as not to accidentally paint anything superfluous)))). I had a spray of blue enamel started. I decided to use it:
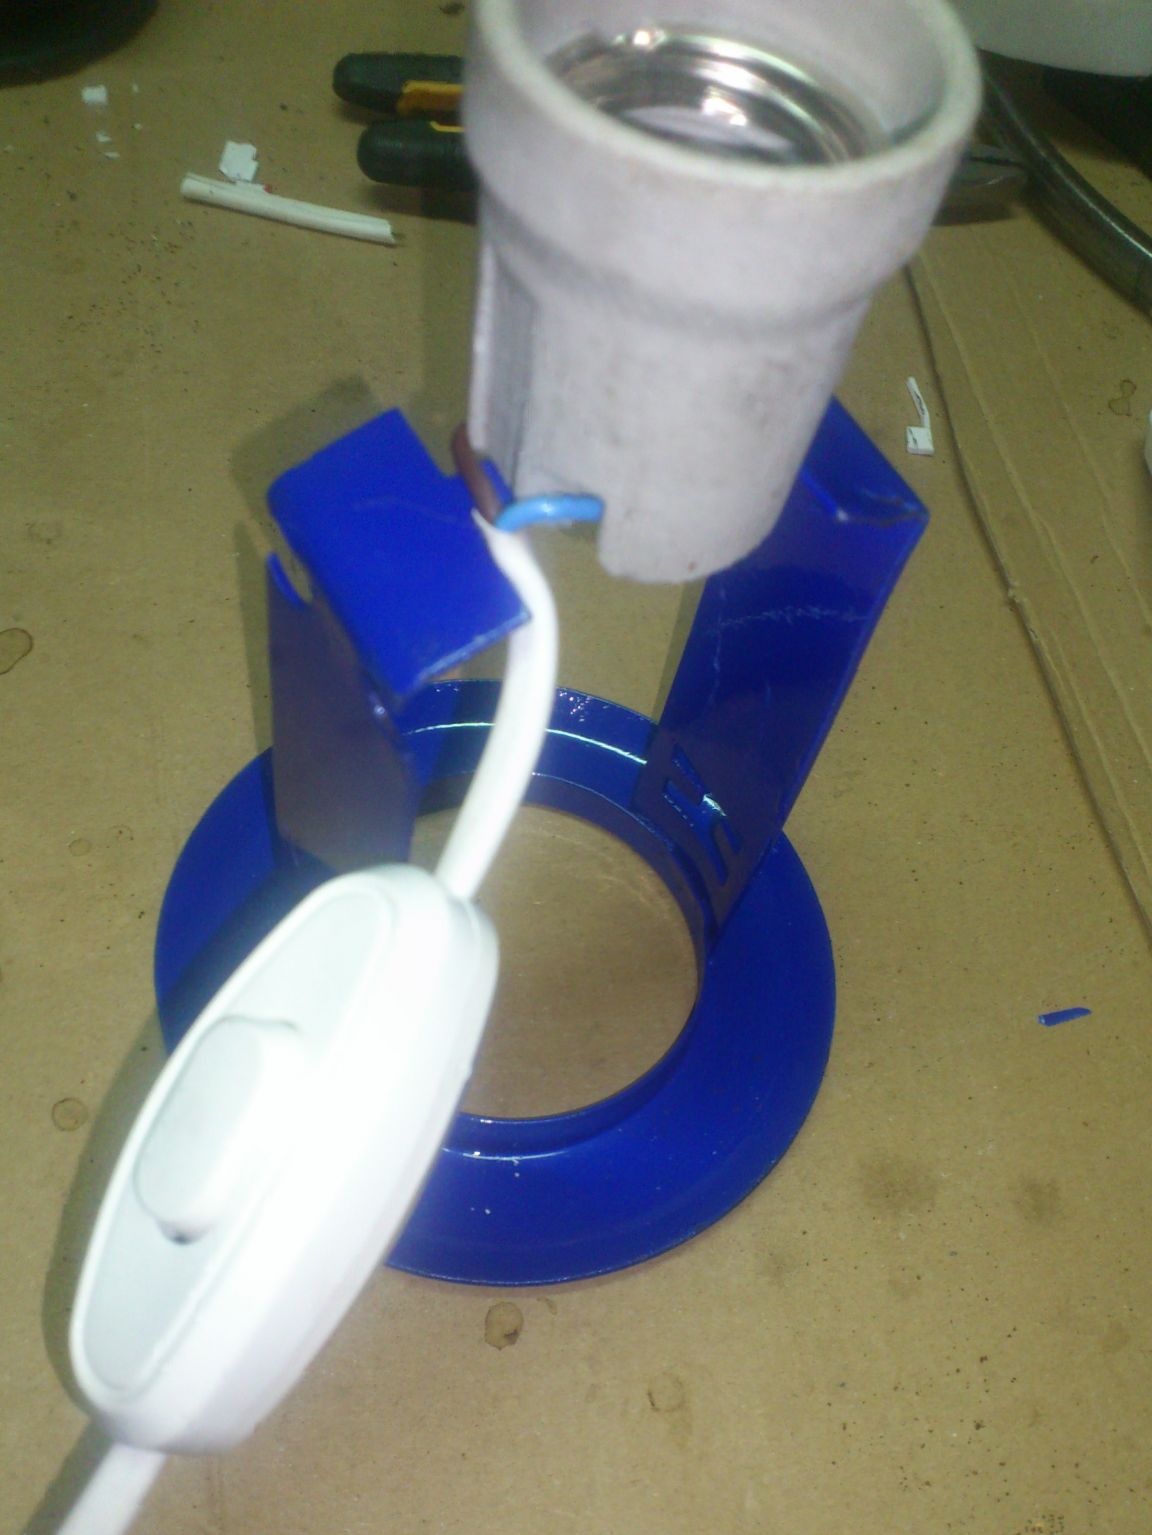
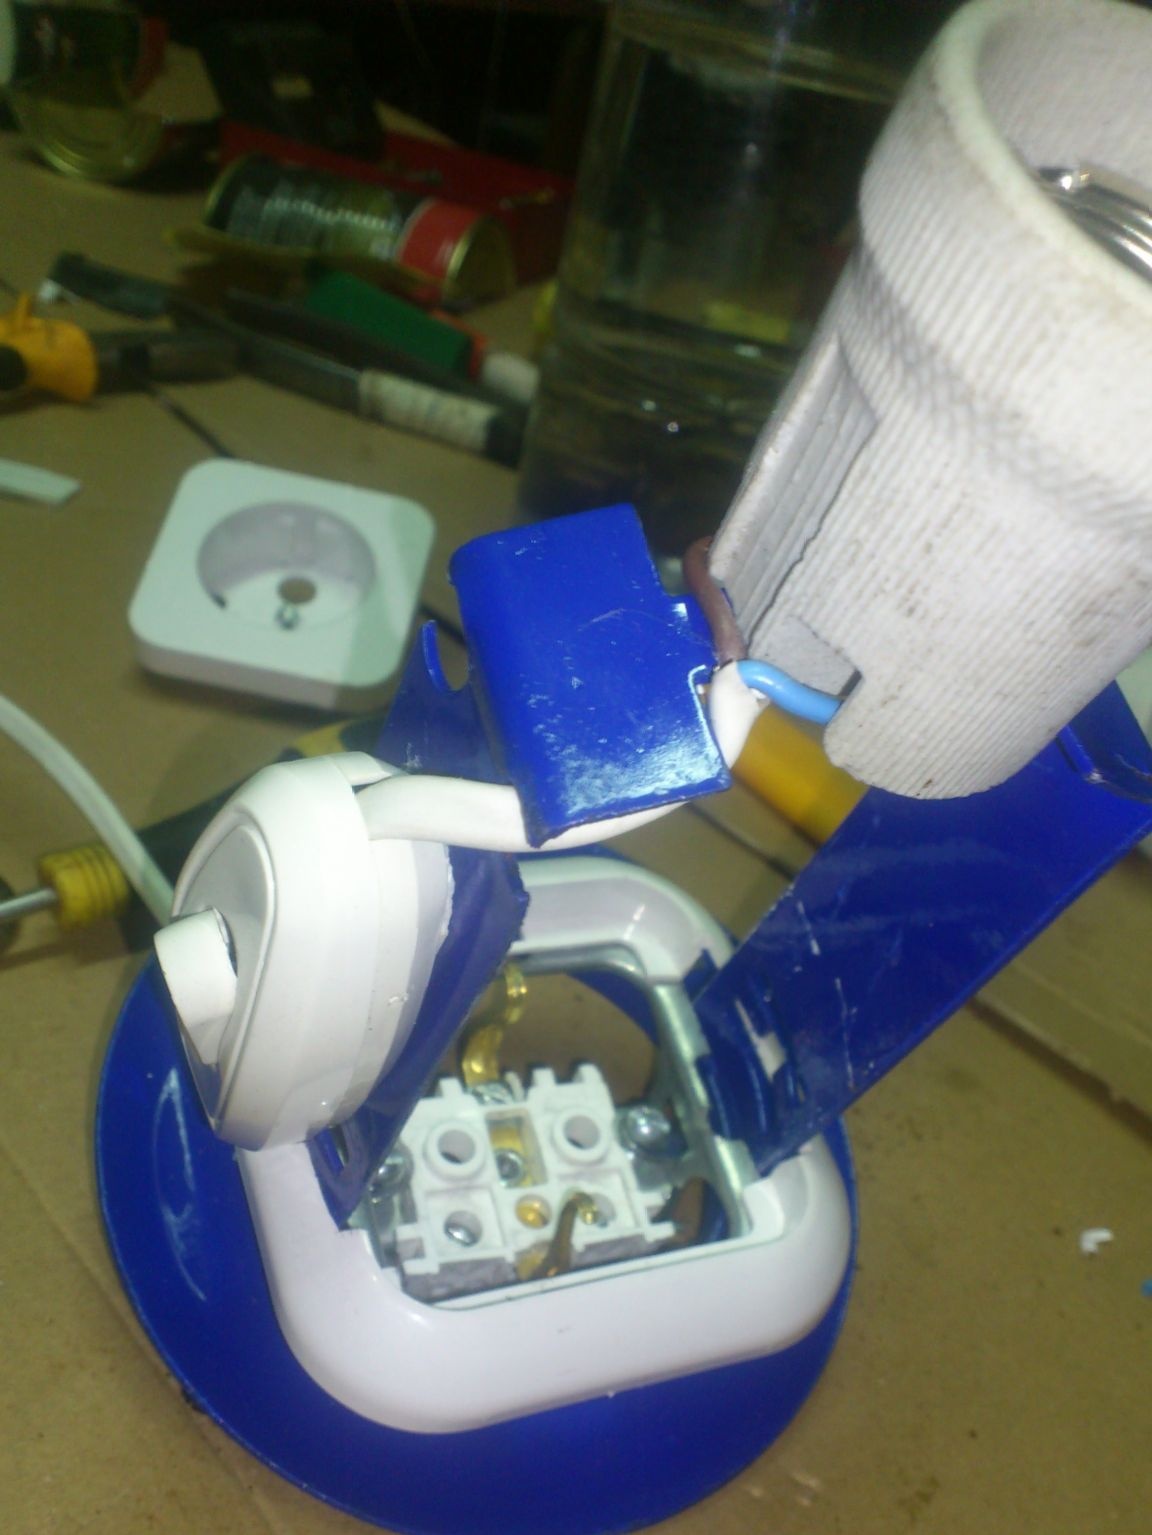
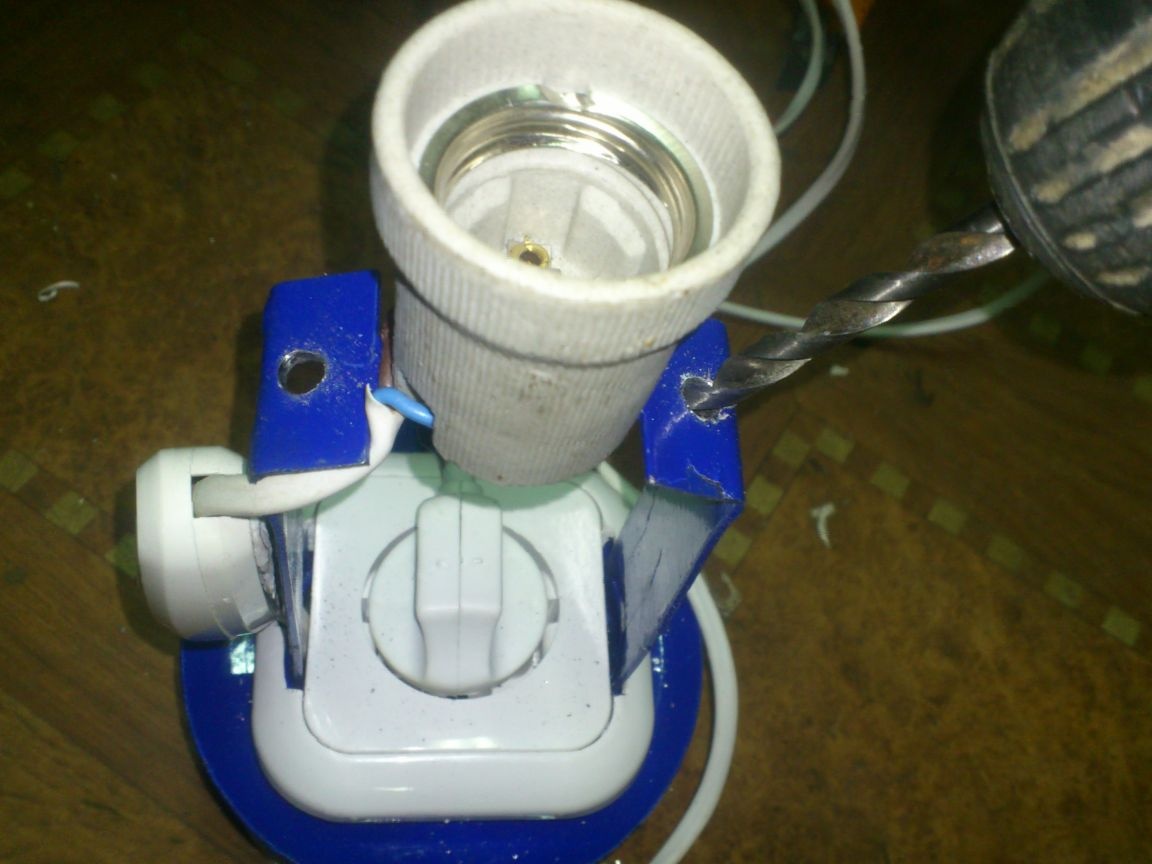
When the enamel has dried, I installed the cartridge again, having previously connected a piece of my cord to it.
Then it occurred to me that since I would have not just a lamp, but an extension lamp, it would be nice to equip the lamp with an autonomous switch. After all, there may be a situation in which an extension cord is still needed, but the lamp is no longer ....Yes, and with temporary interruptions in work, it will be possible to simply turn off the light without turning off the extension cord ....
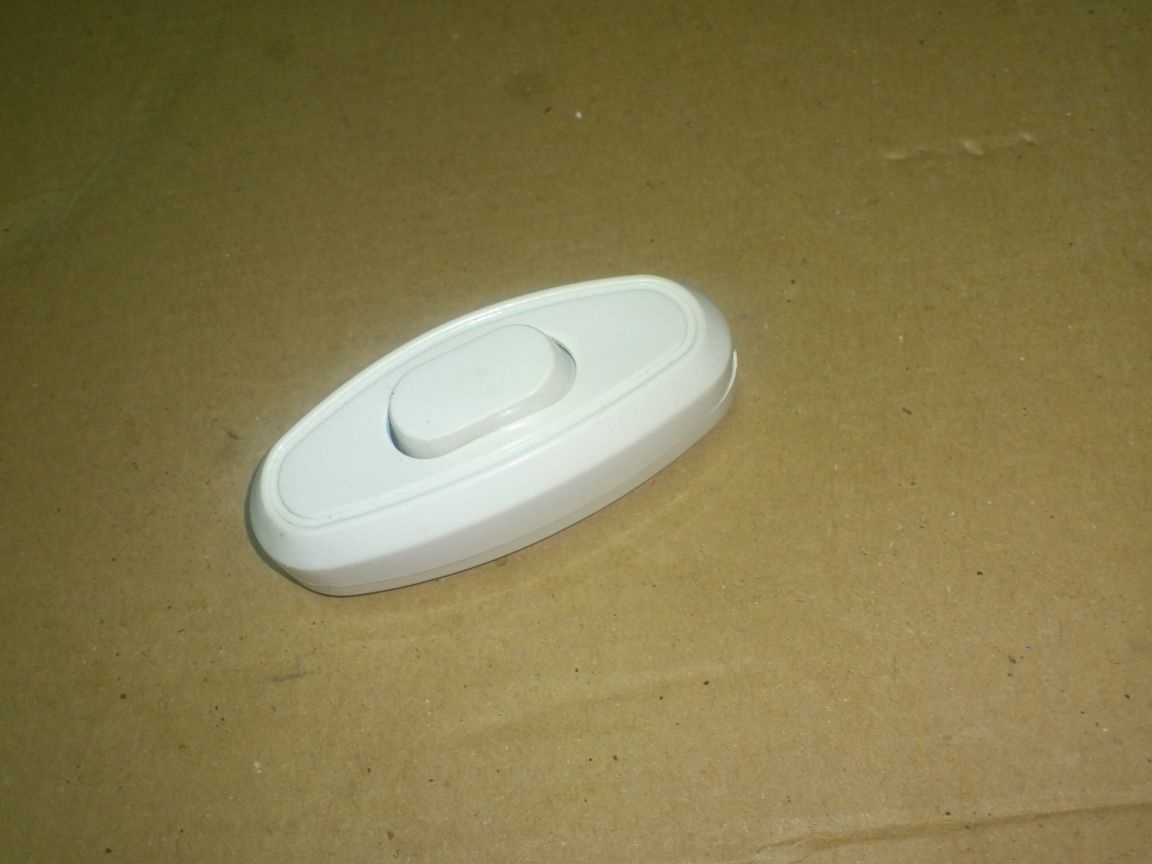
.. Since the solution was spontaneous, I didn’t want to think about it for a long time, I decided to stick a simple pendant switch for the sconce somewhere. I always have several of these in my "electrical reserves":
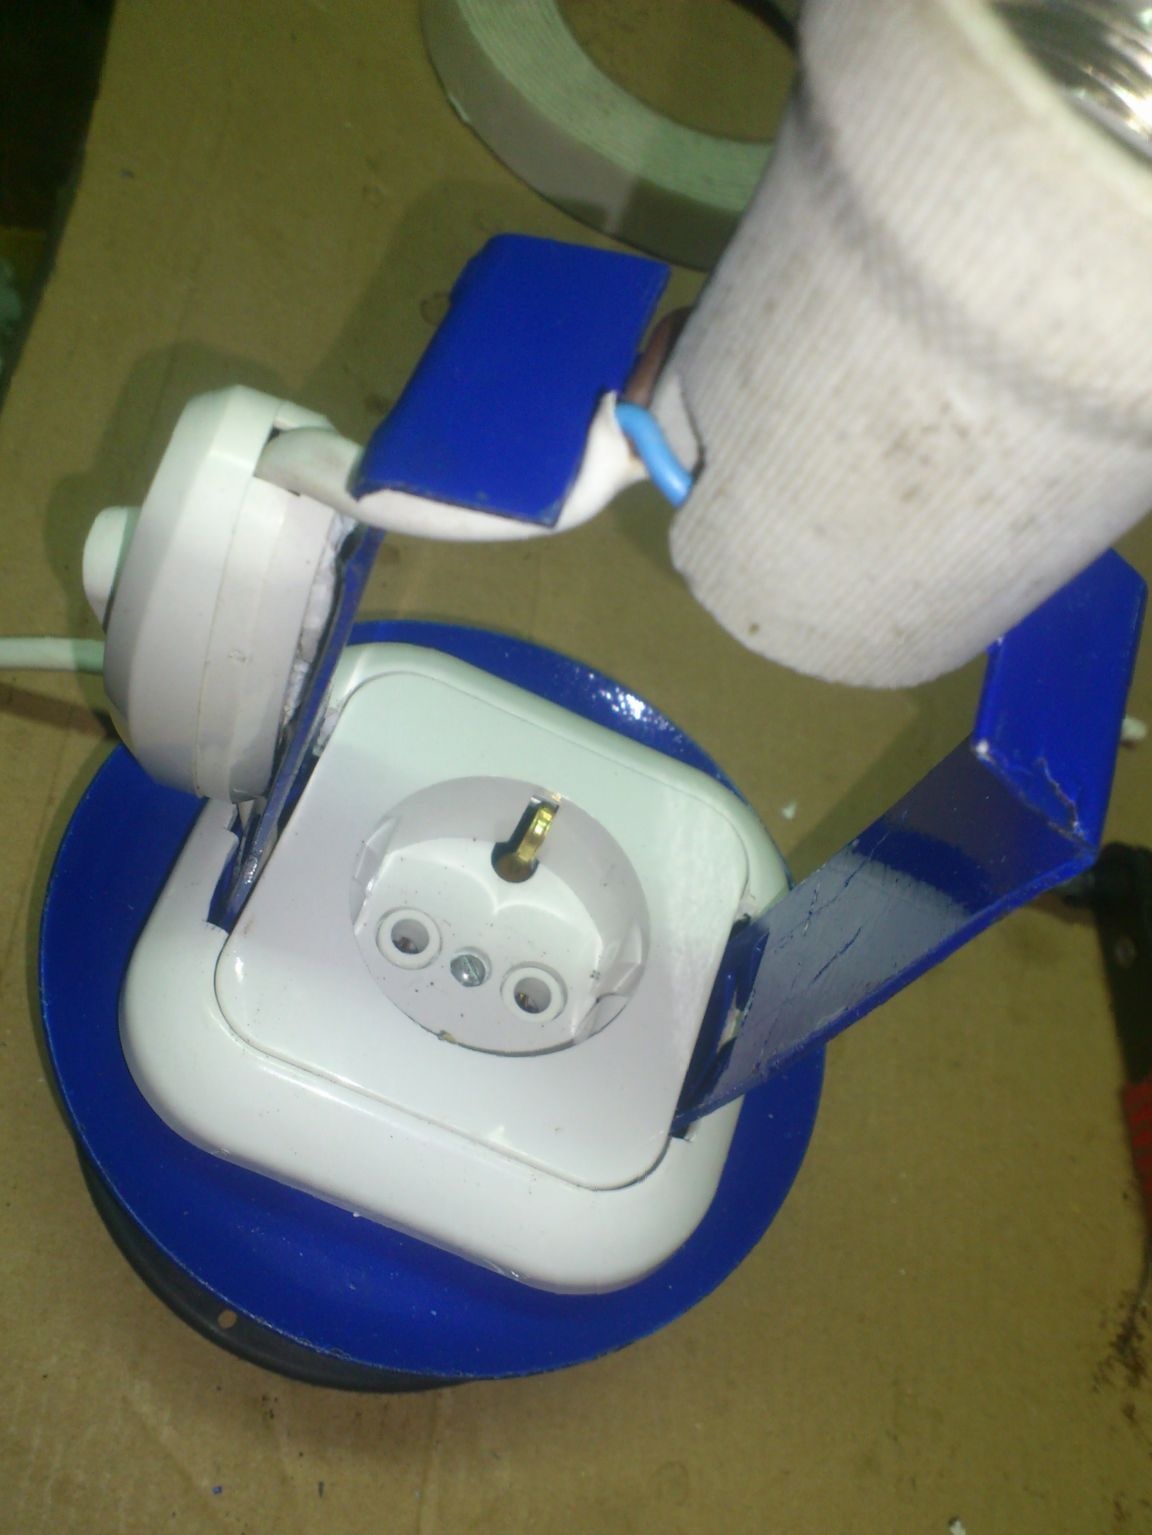
I hung it in the cord break:
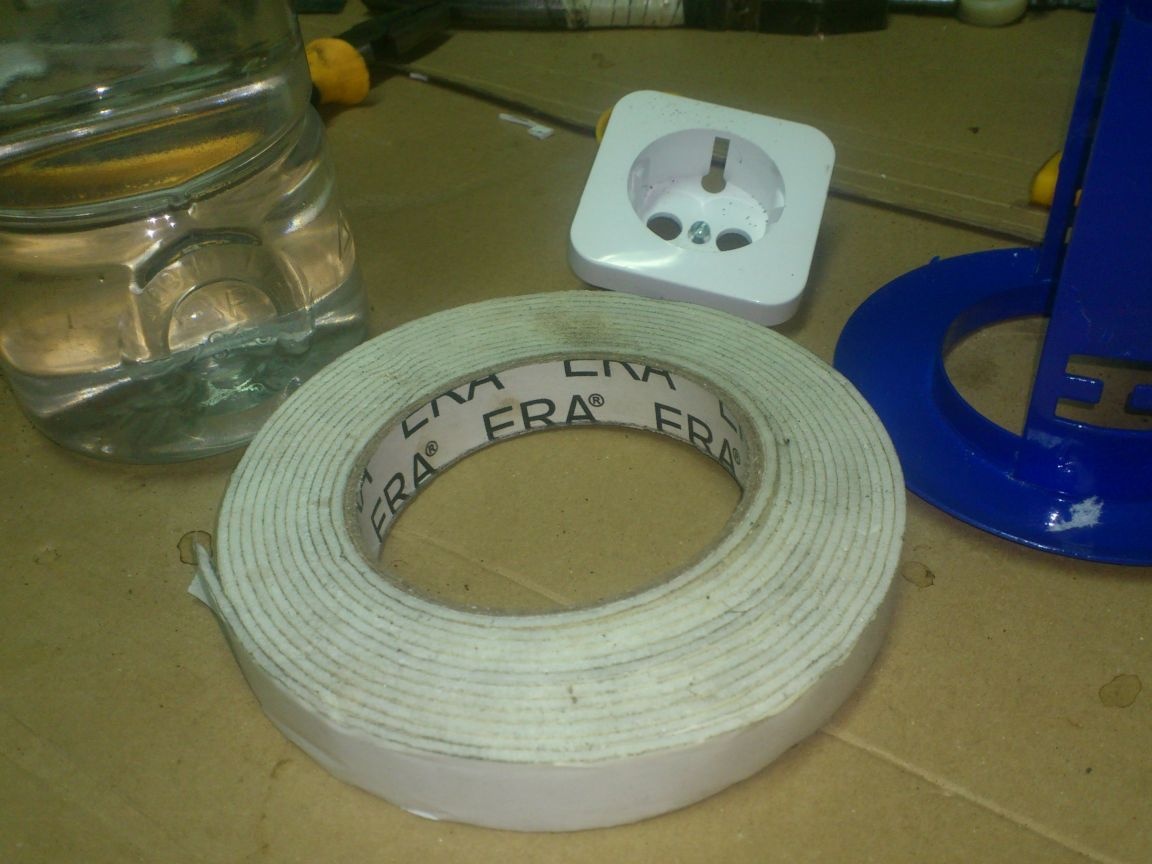
Further, the cord "goes" down and will be connected inside the coil parallel to the outlet. So that the switch does not hang out "in free flight", I decided to stick it to the rack using foamed double-sided tape:
What I did, after degreasing the surface with a solvent:
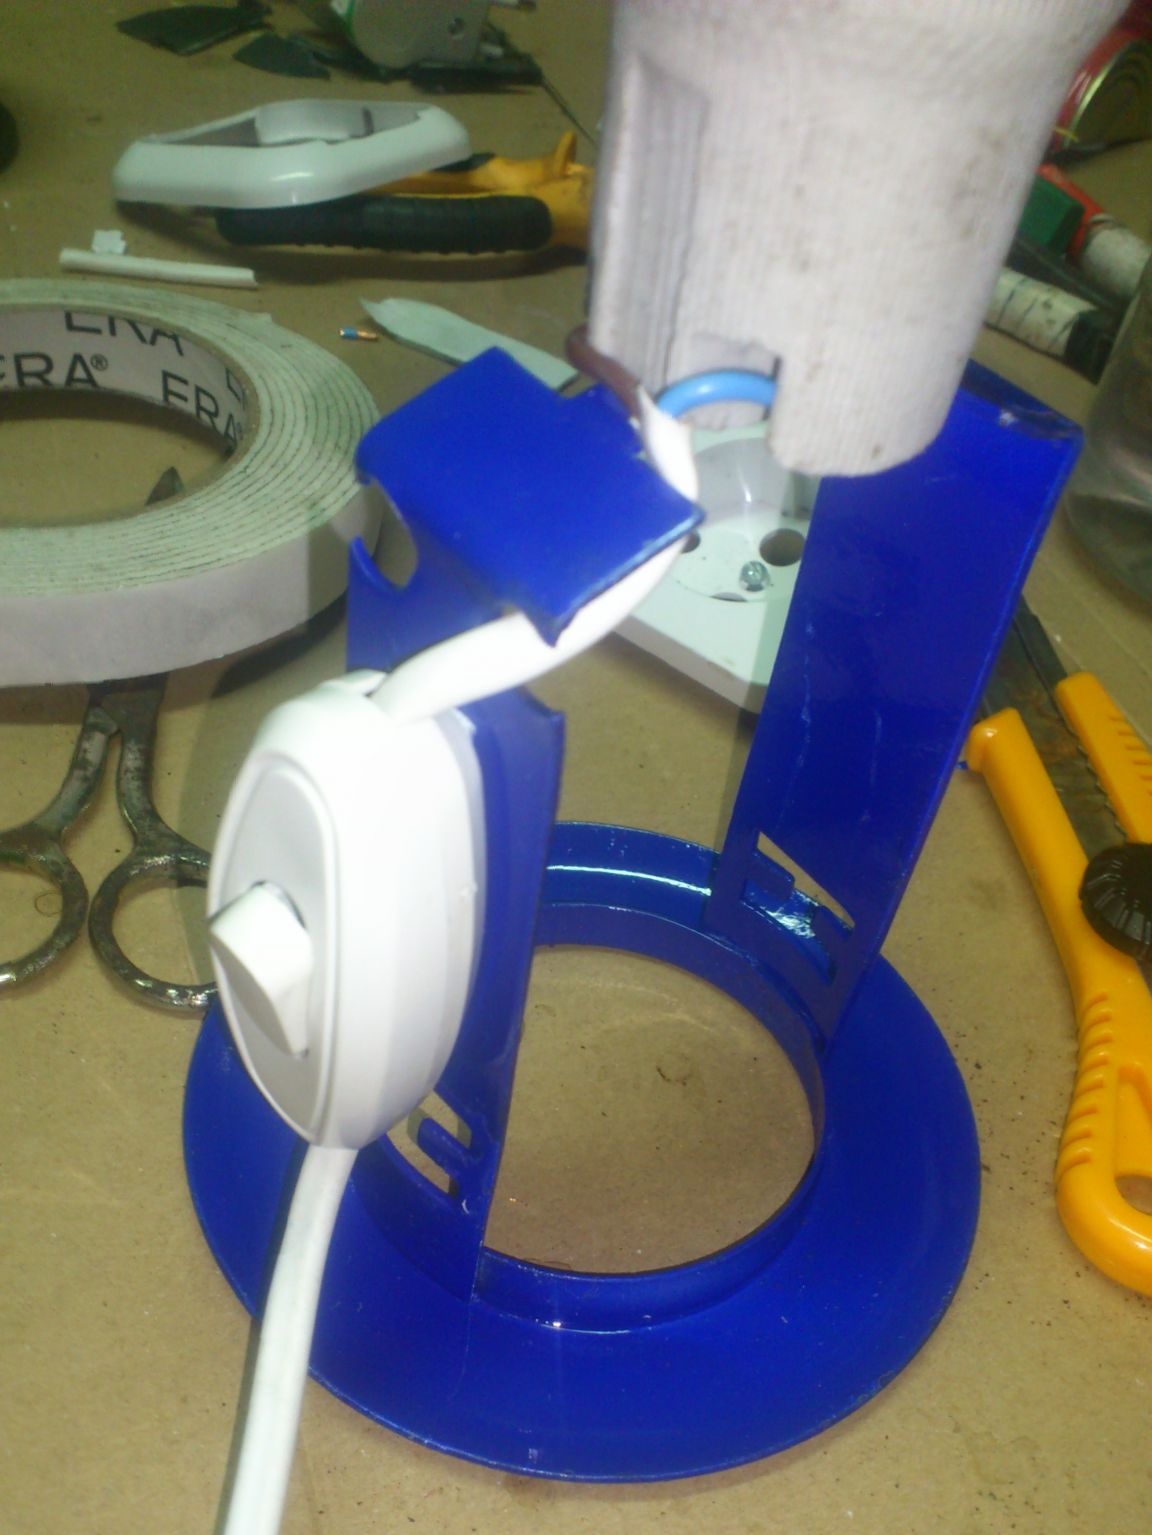
Then he turned it over in his hands .... Matyuknyak ...)))) ... And he peeled it back:
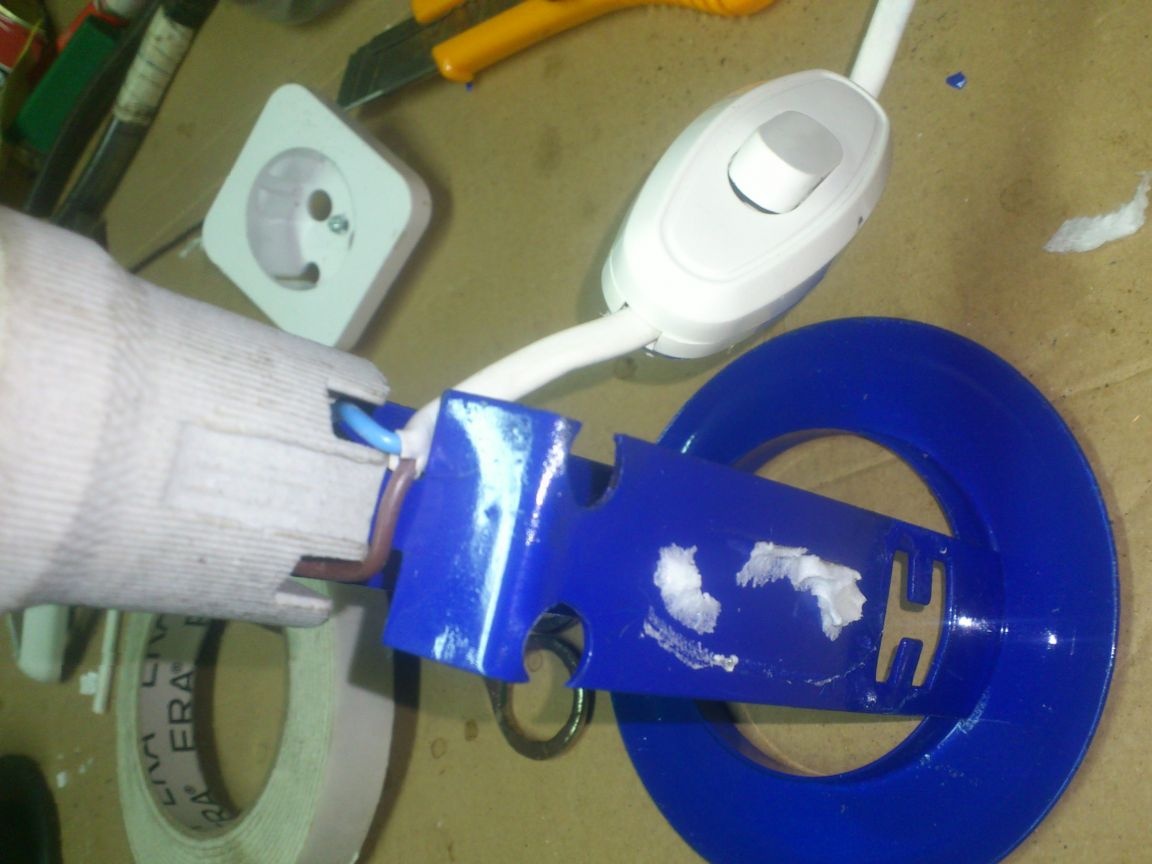
And then he installed the outlet, put a decorative frame on the racks (in which I had to cut a little more - to make room for the cord to pass down), cleaned and replaced the adhesive tape, and glued it back:
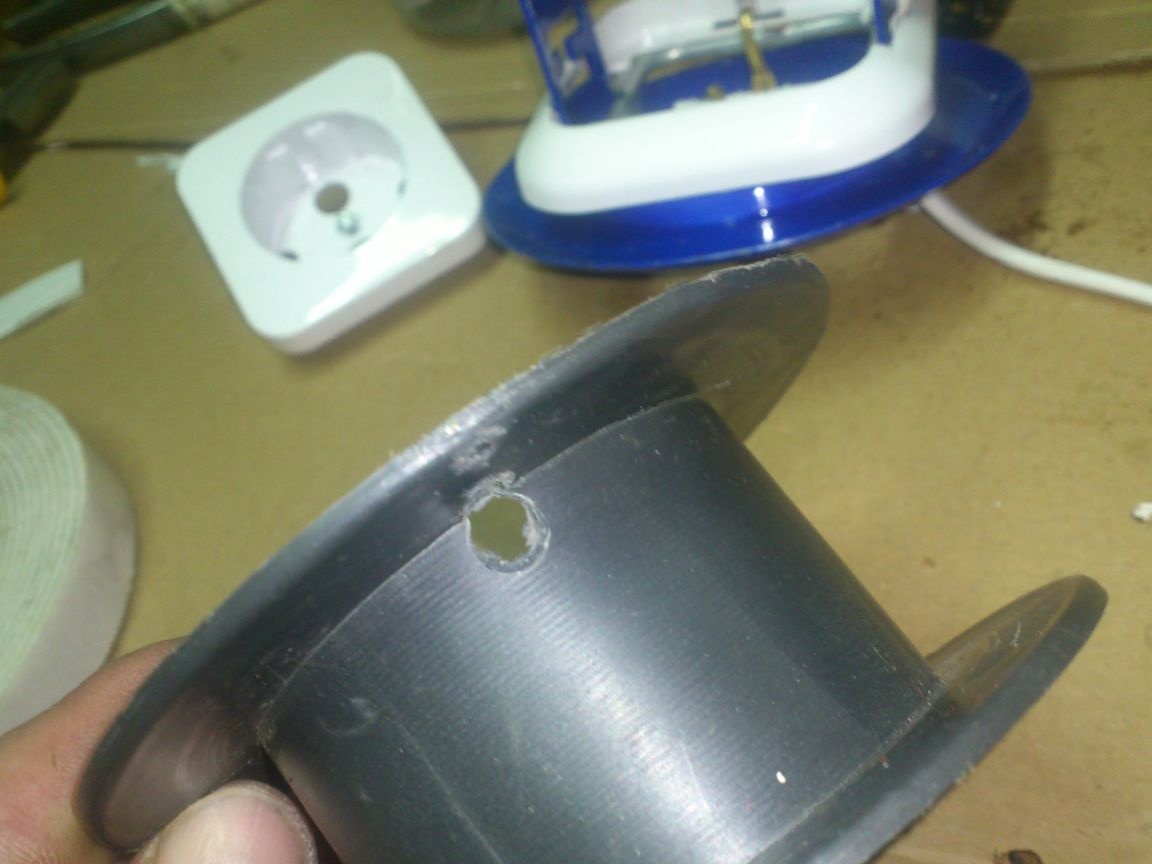
Now let's take care of the coil. I drilled a hole in it and passed the cord inside. (Not the one from the light bulb ... Another ... Long.)))))):
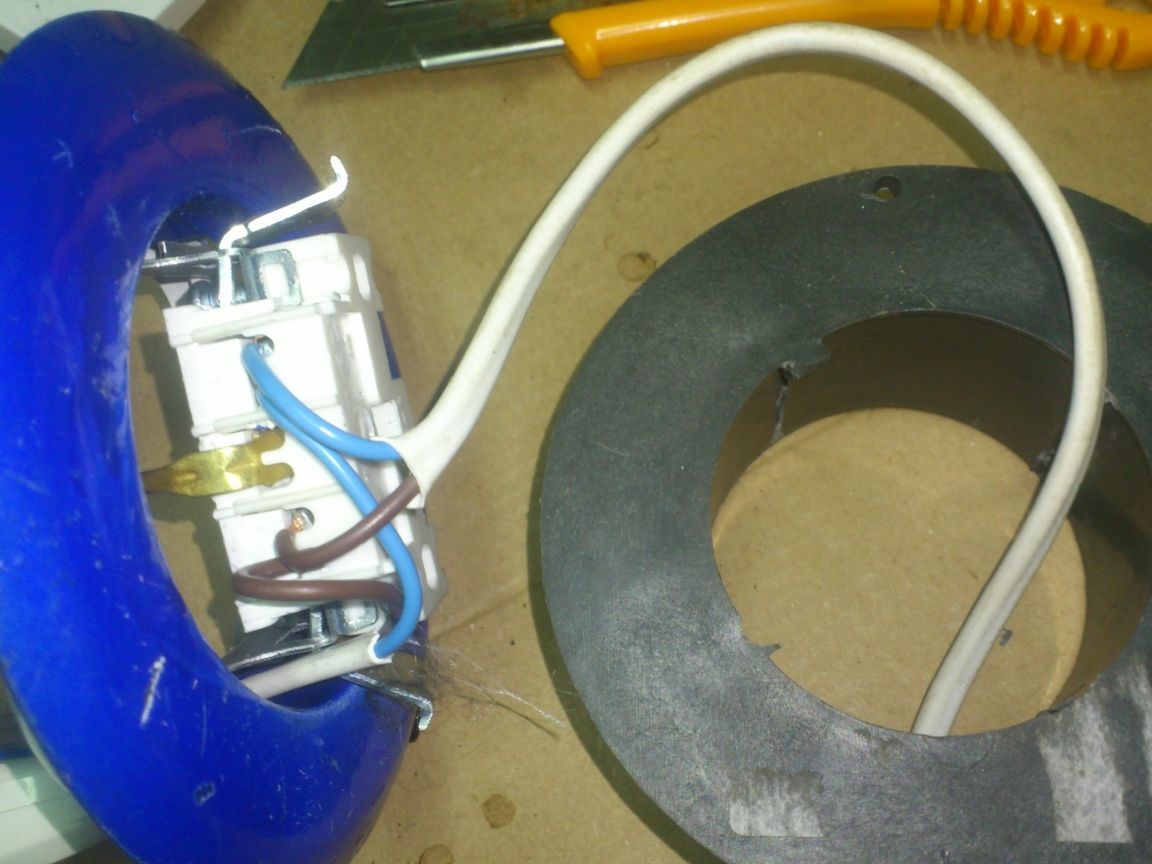
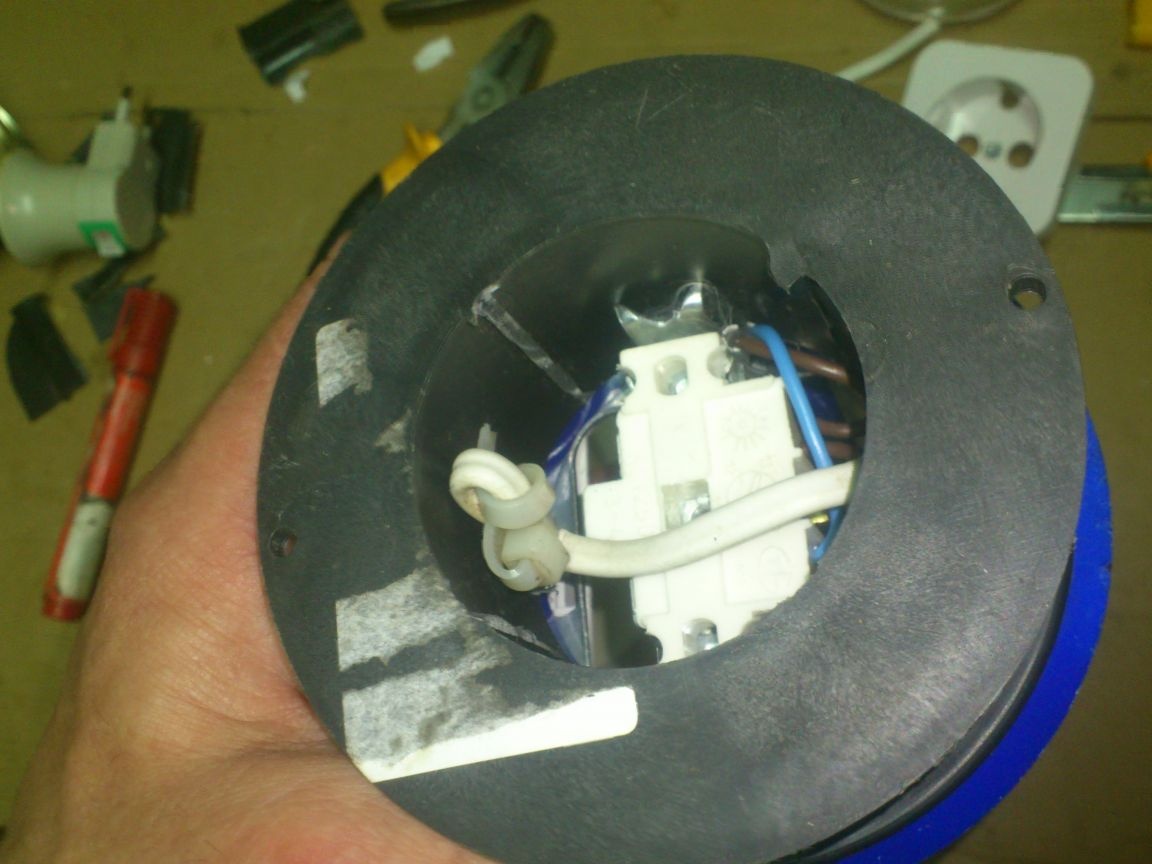
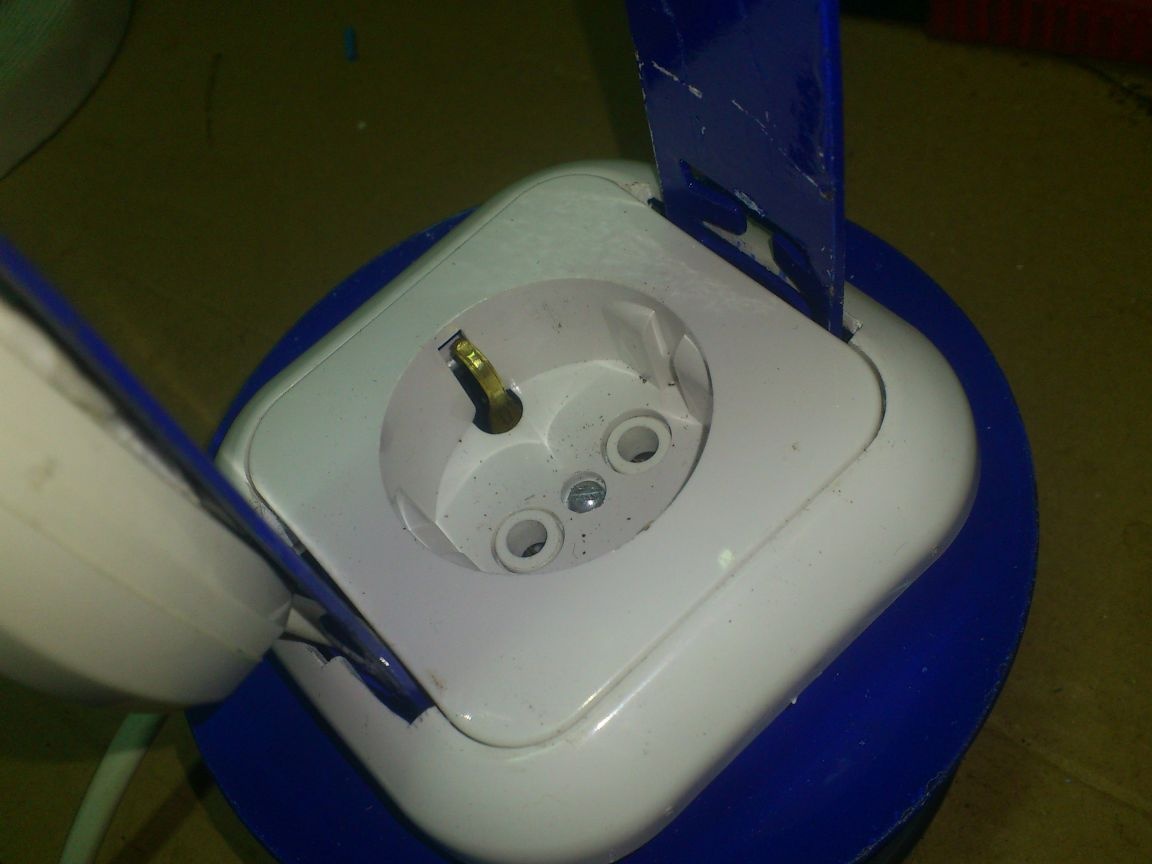
Then he connected both ends of the cord to a power outlet (both from the lamp and the power supply):
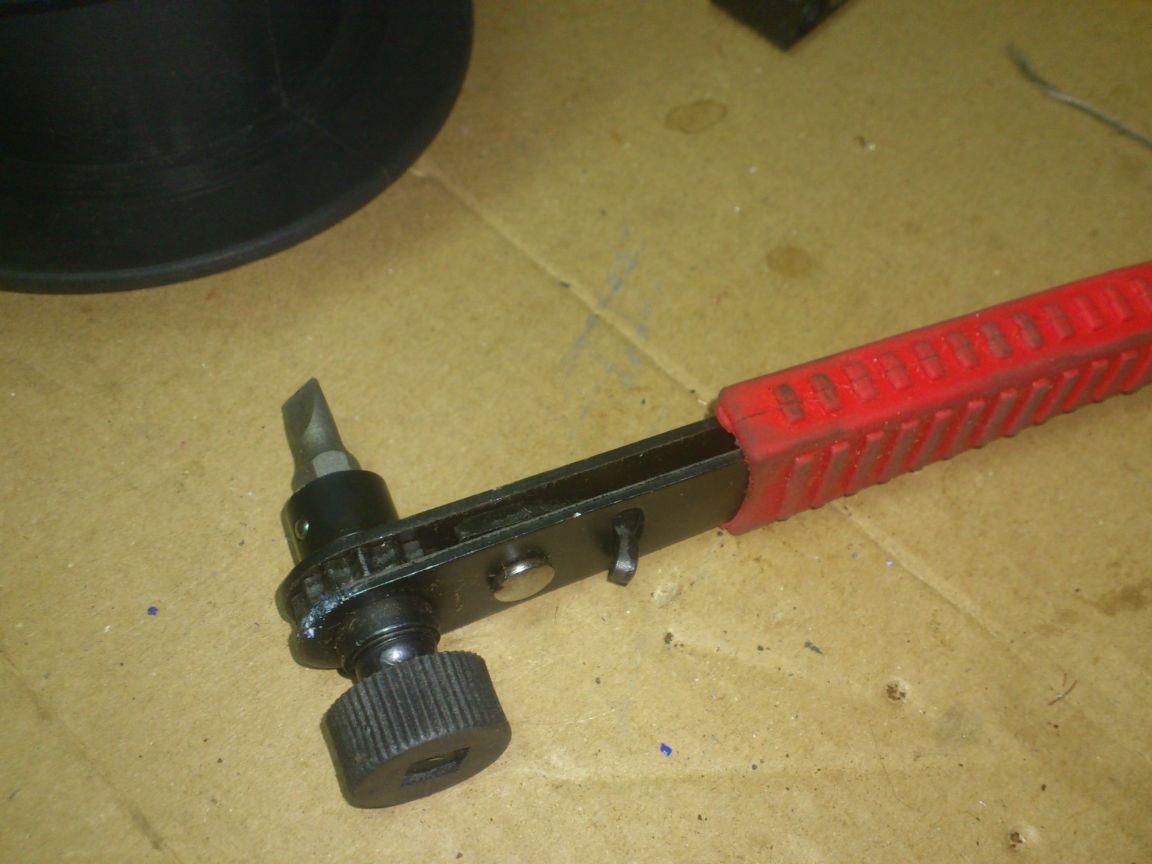
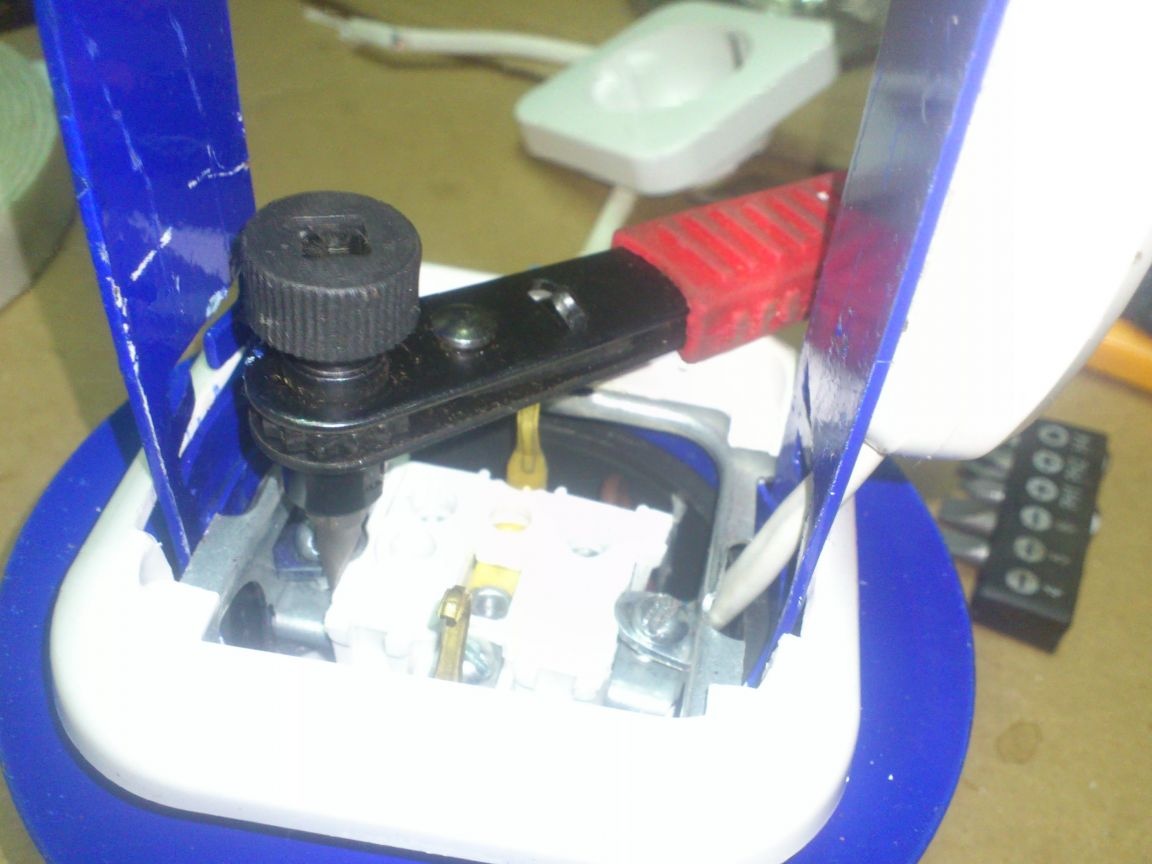
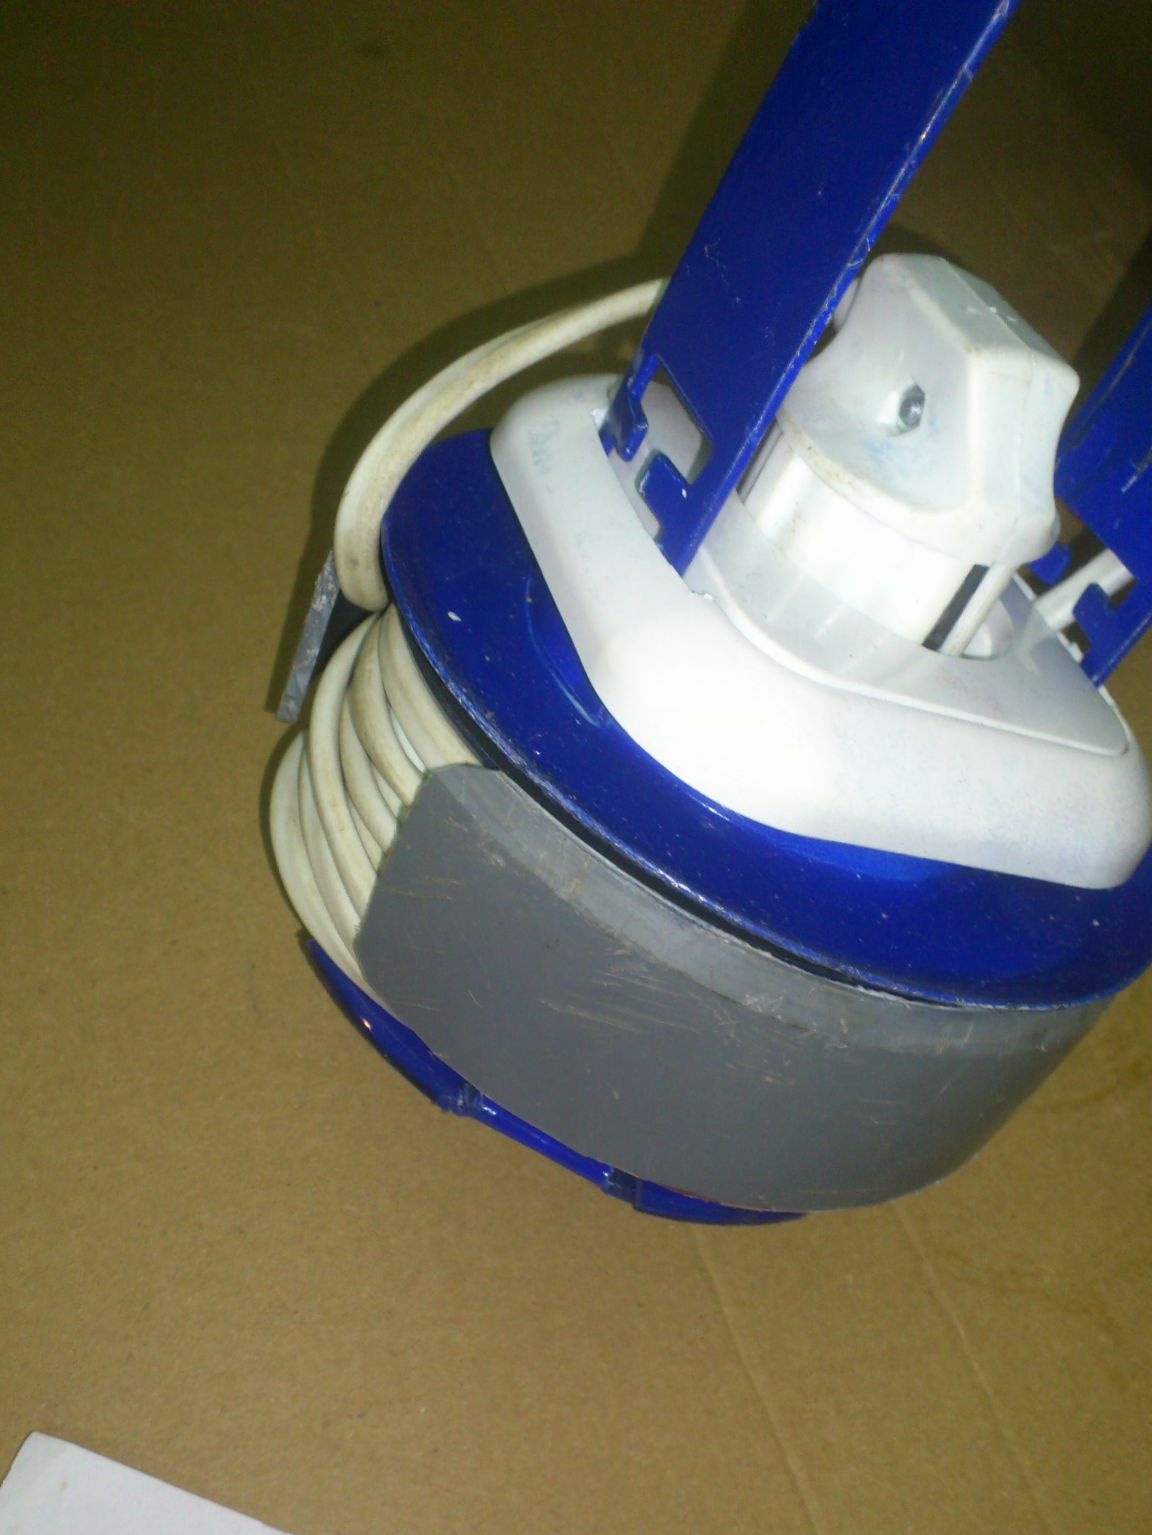
Next, I put the coil on the outlet and tightly fixed, unclenching the "antennae". They have sharp "horns" at the ends, which are deeply "eaten" in a fairly soft PVC and reliably enough fixed the entire structure. In this case, I had to use not a regular screwdriver (there wasn’t enough space for the tool on top), but a convenient ratchet wrench, setting the desired bit in it:
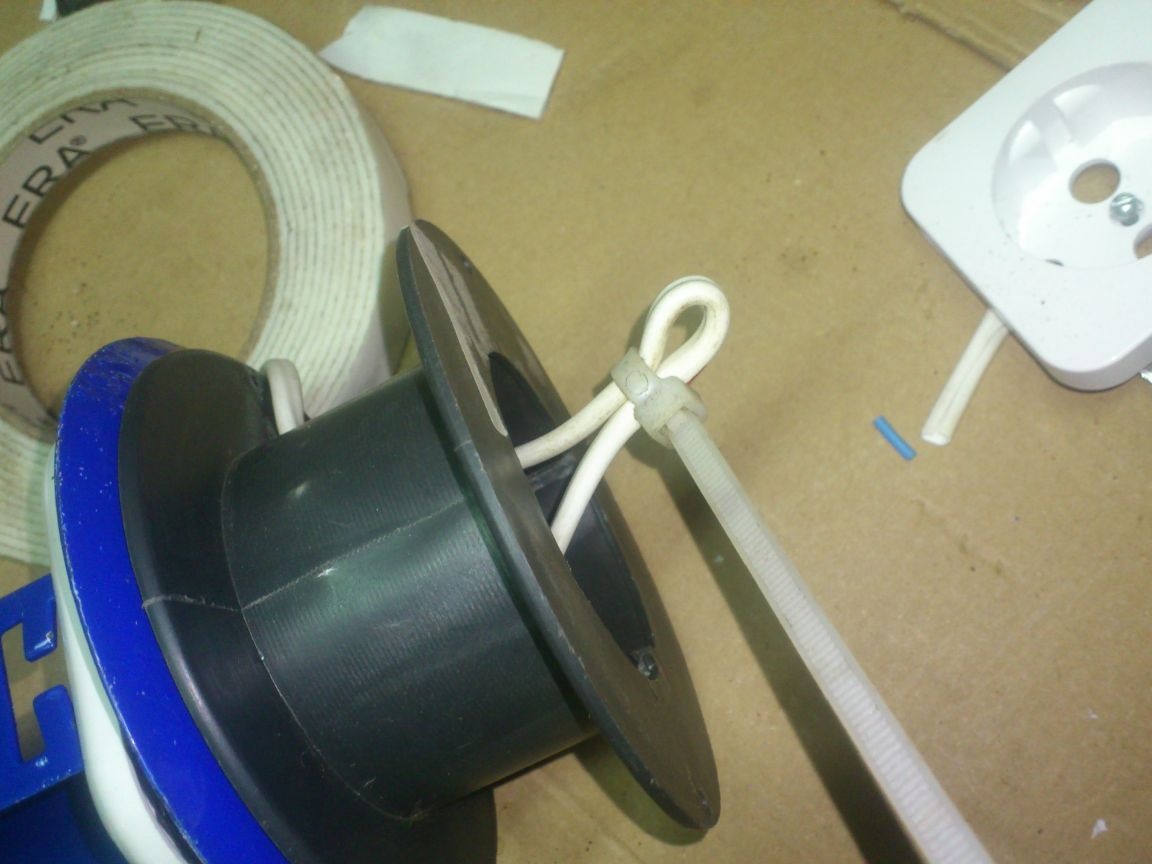
Now you need to come up with something to exclude accidental tearing of the cord from the contacts. In order to make a fixative on the cord, I usually use plastic cable ties. I tightly tighten the double-folded wire with it, and pass the end of the clamp through this loop and cut off the excess:
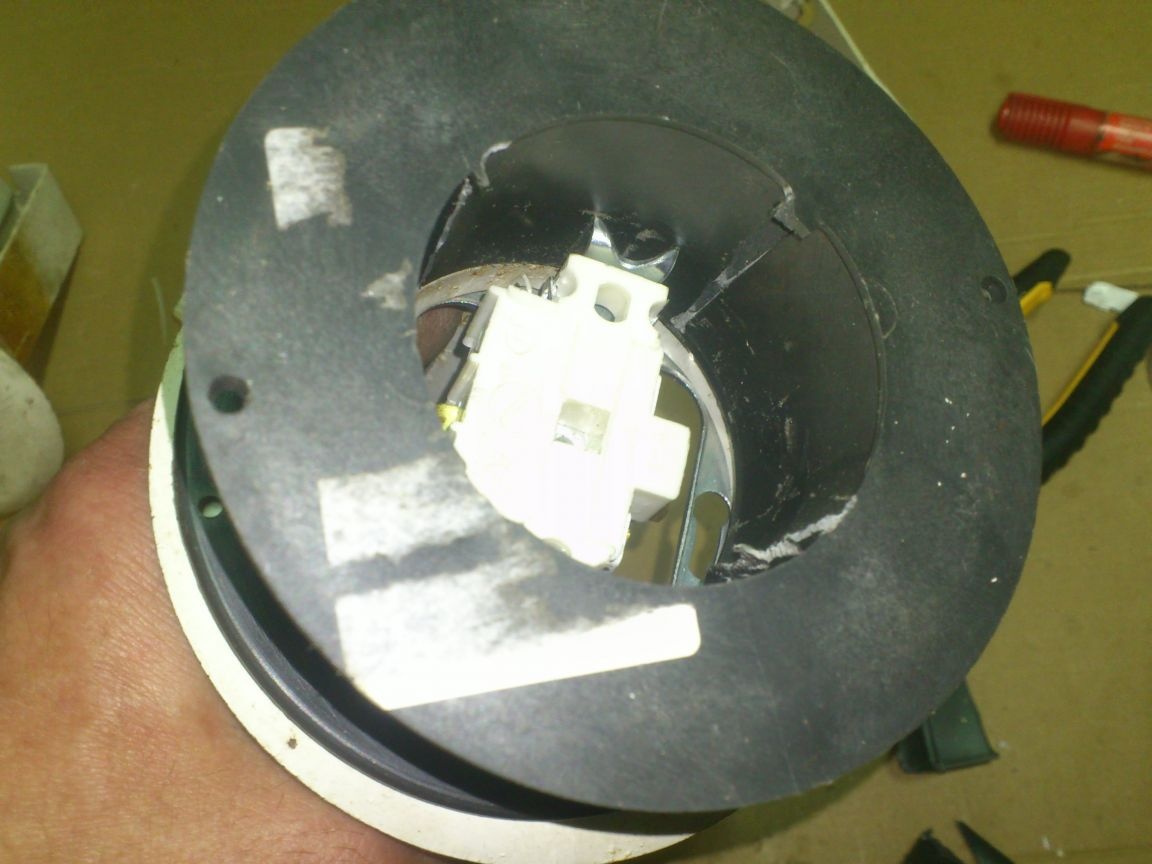
All. We fix the decorative frame and the cover of the outlet on top (The frame shows the slots under the side posts and under the cord, which I forgot to photograph in the process):
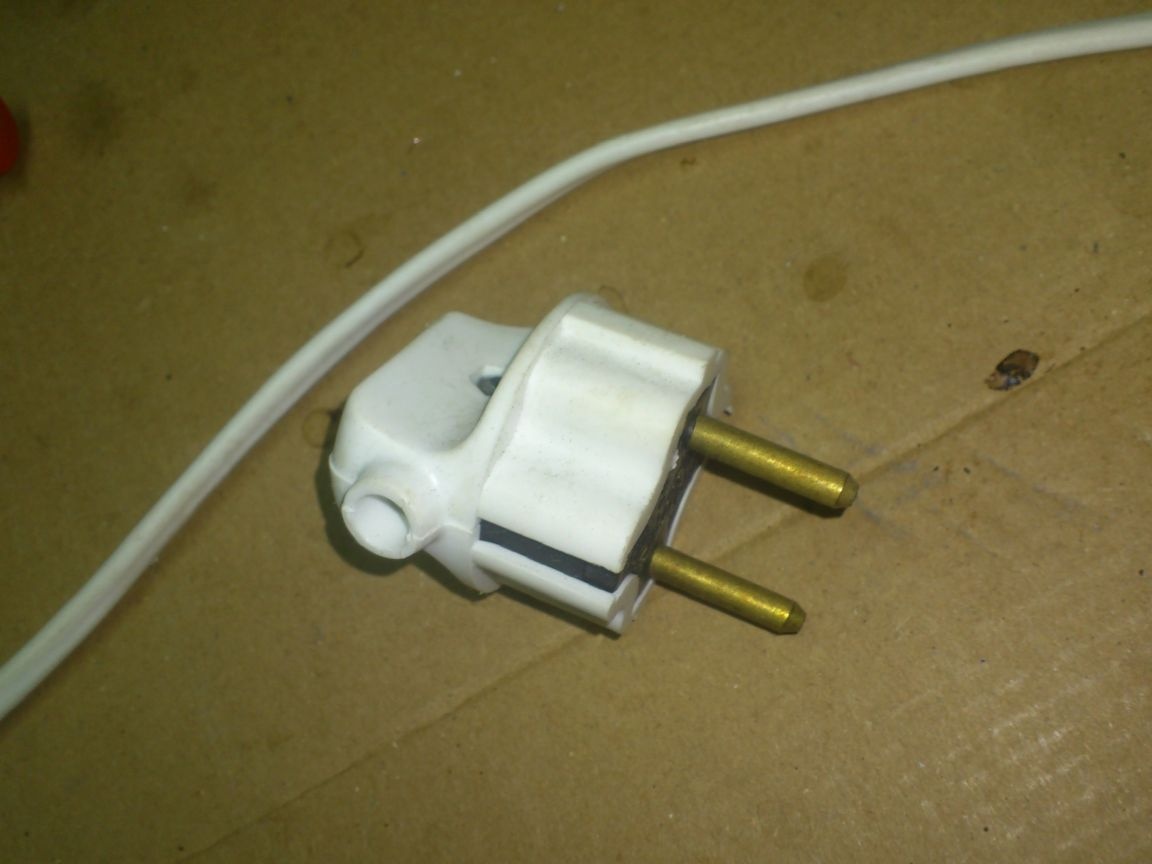
We wind the cord. At the end of it we install a plug.
There are several different plugs in my "electrical spare parts" everywhere:
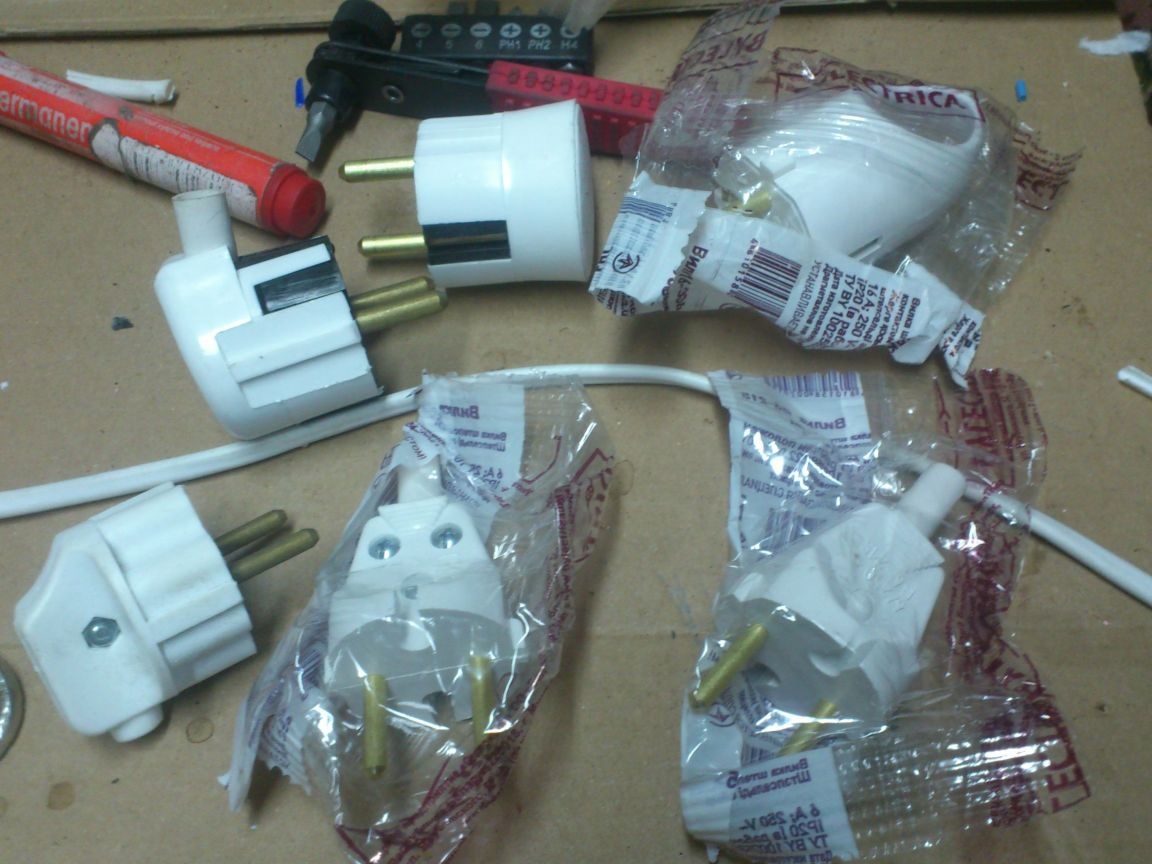
Since my design will not have grounding, I opted for this universal plug, which can be turned on even if an ancient outlet comes across:
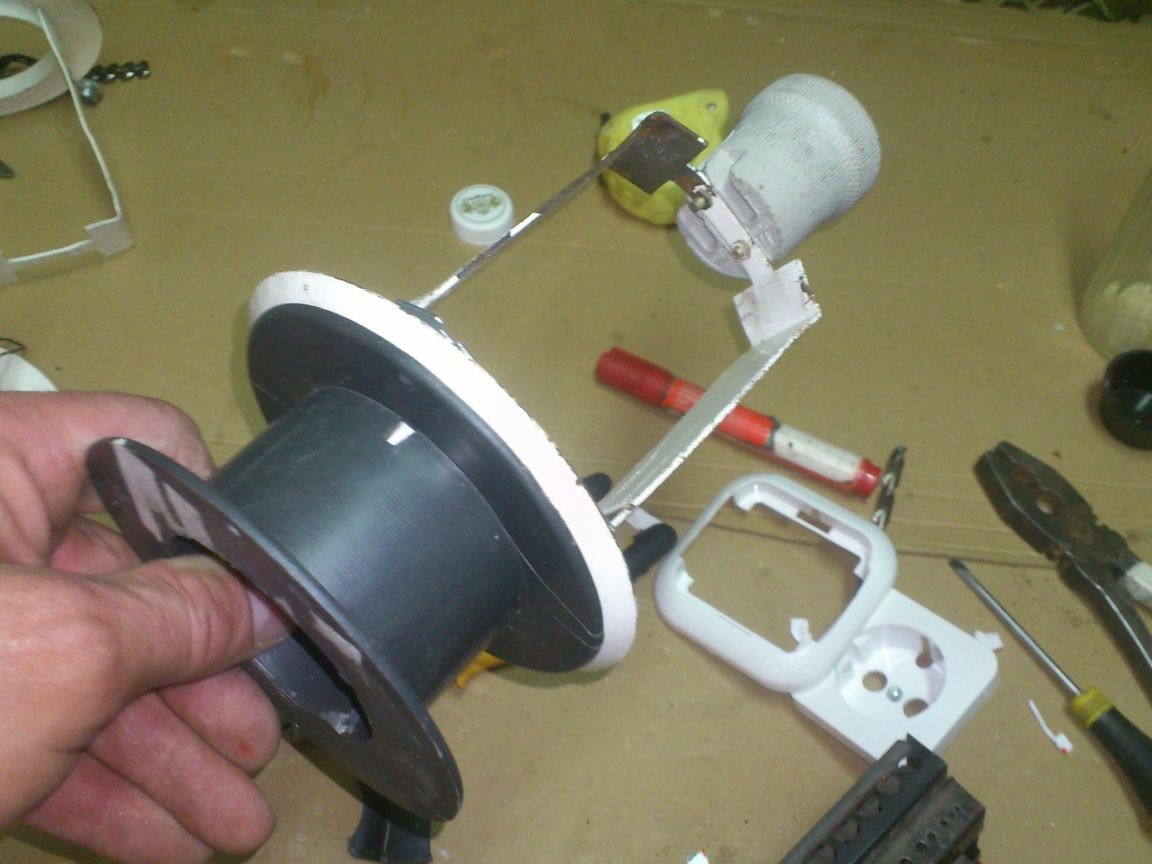
So that the cord does not unwind from the reel during storage and transportation, I decided to do the following ... I sawed off a ring with a diameter of 110 mm from a sewer plastic pipe, cut it and put it on a reel with a cable. The ring will tightly compress the skein and will not allow it to unwind:
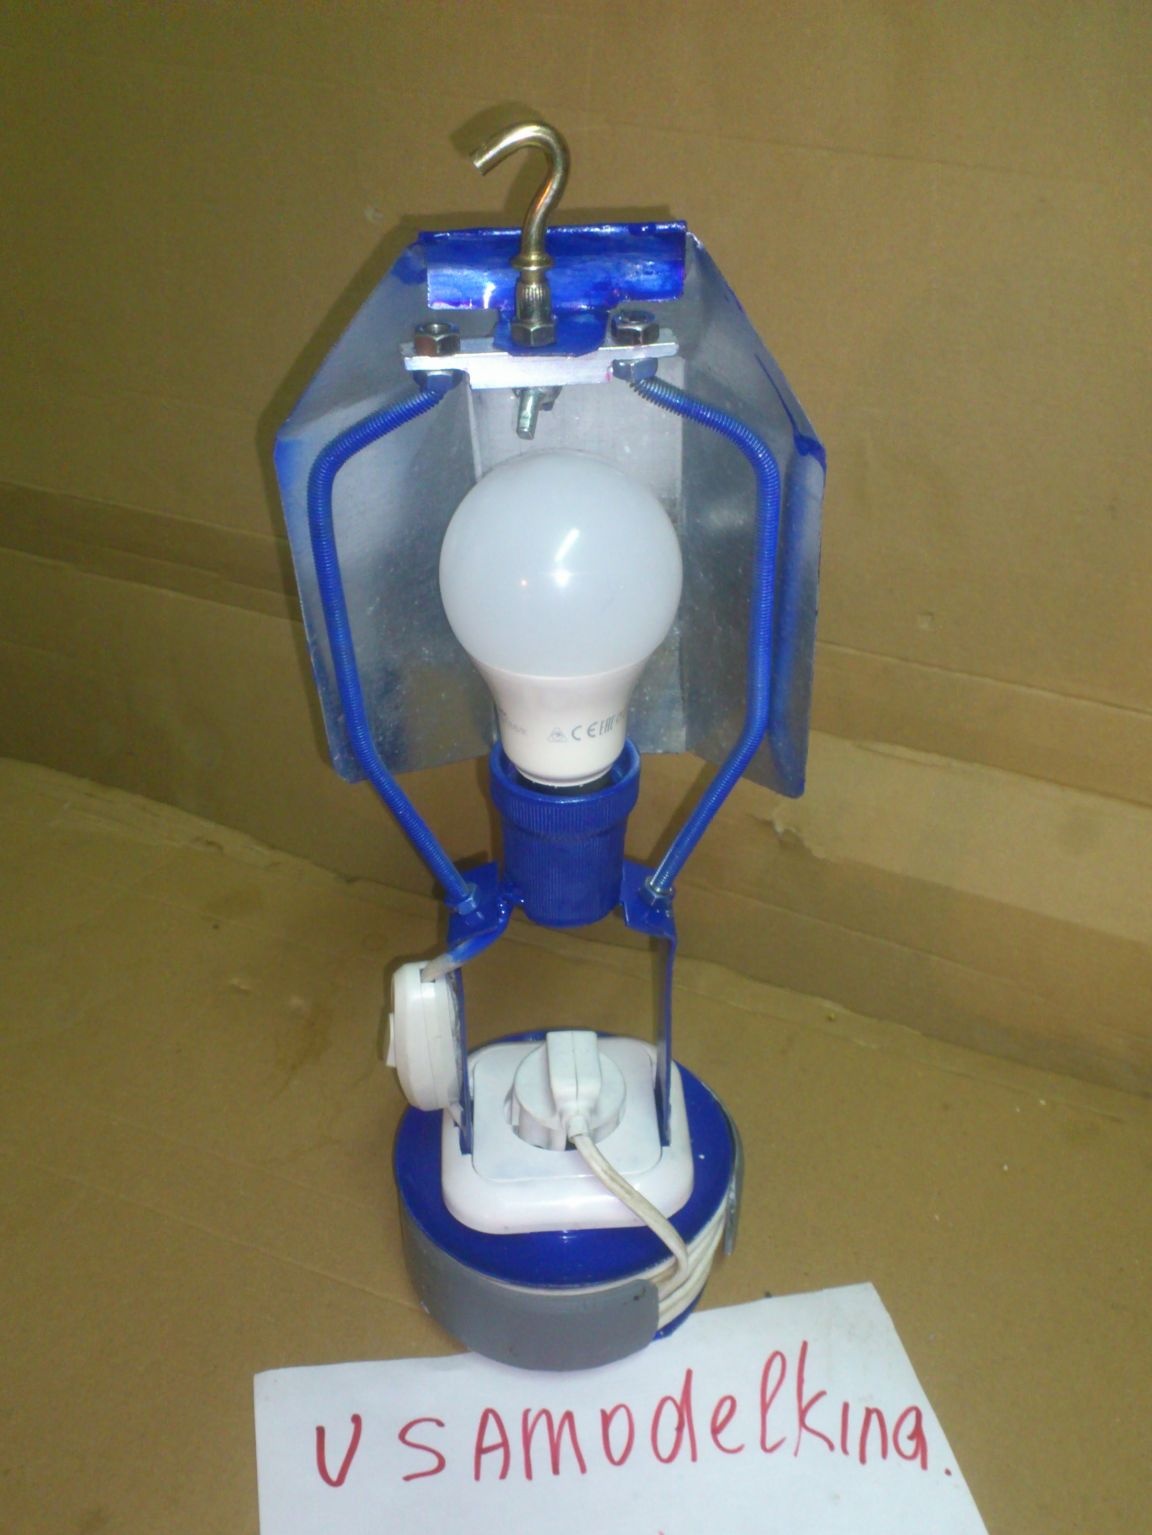
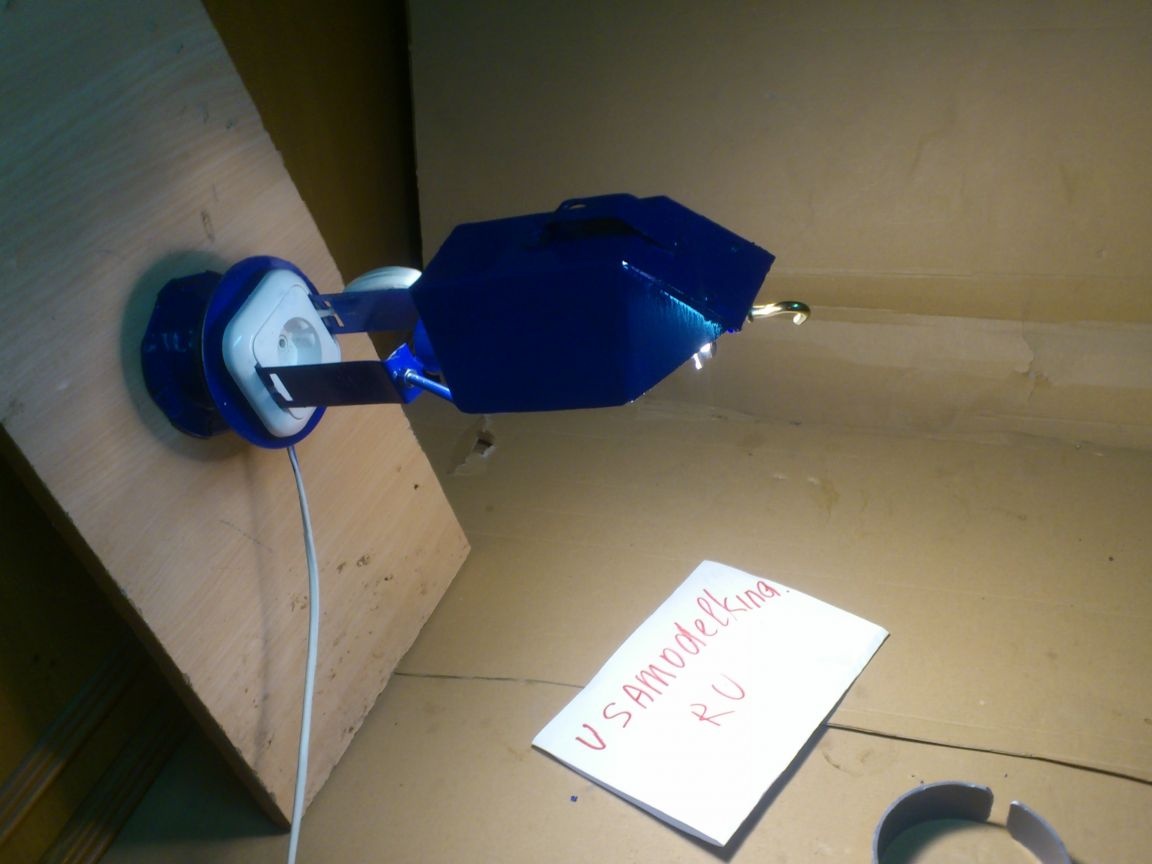
You can say everything !! The design is ready and functional!
We pass to its "winding up" ...)))). I will try to simulate the situation of working with him, and theoretically find out what is not convenient in this form, and how it can be improved ... First of all, so to speak, two problems are visible “on the surface”: the lamp can only stand (it impossible to suspend) and it is devoid of a reflector! Indeed, when working in the dark, sometimes you need to light up the entire room, and sometimes only in the right direction. In this case, the light source itself must be closed from the eyes, so as not to blind. The reflector screen can be made from any piece of galvanized sheet ... But so far there is nothing to attach it to ... (Moreover, it should be removable. And not just removable, but preferably easy to remove, so that it is convenient. ) And I decided to make a certain frame around the lamp, which will perform two functions - for it the structure can be suspended, and a reflector can be installed on it.
Having rummaged in stocks, I found the M6 hairpin trim:
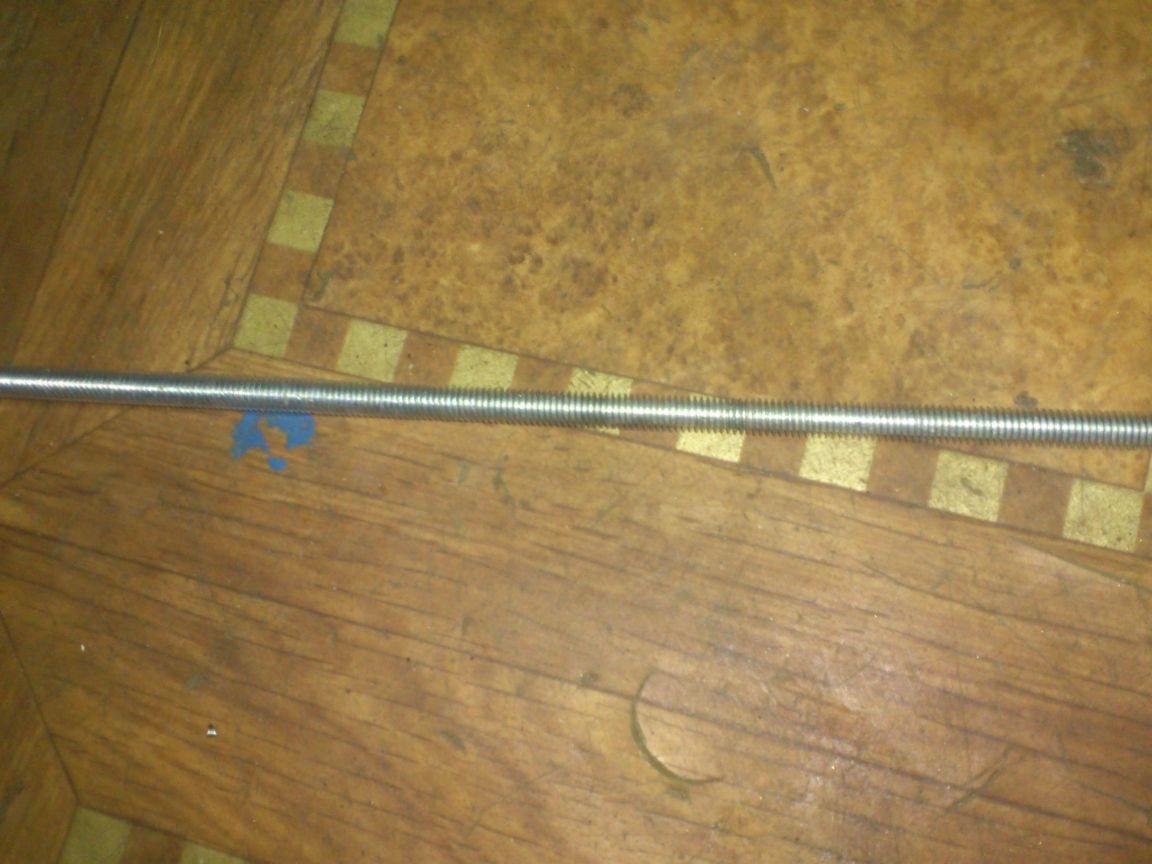
I cut it in half and arched like this:


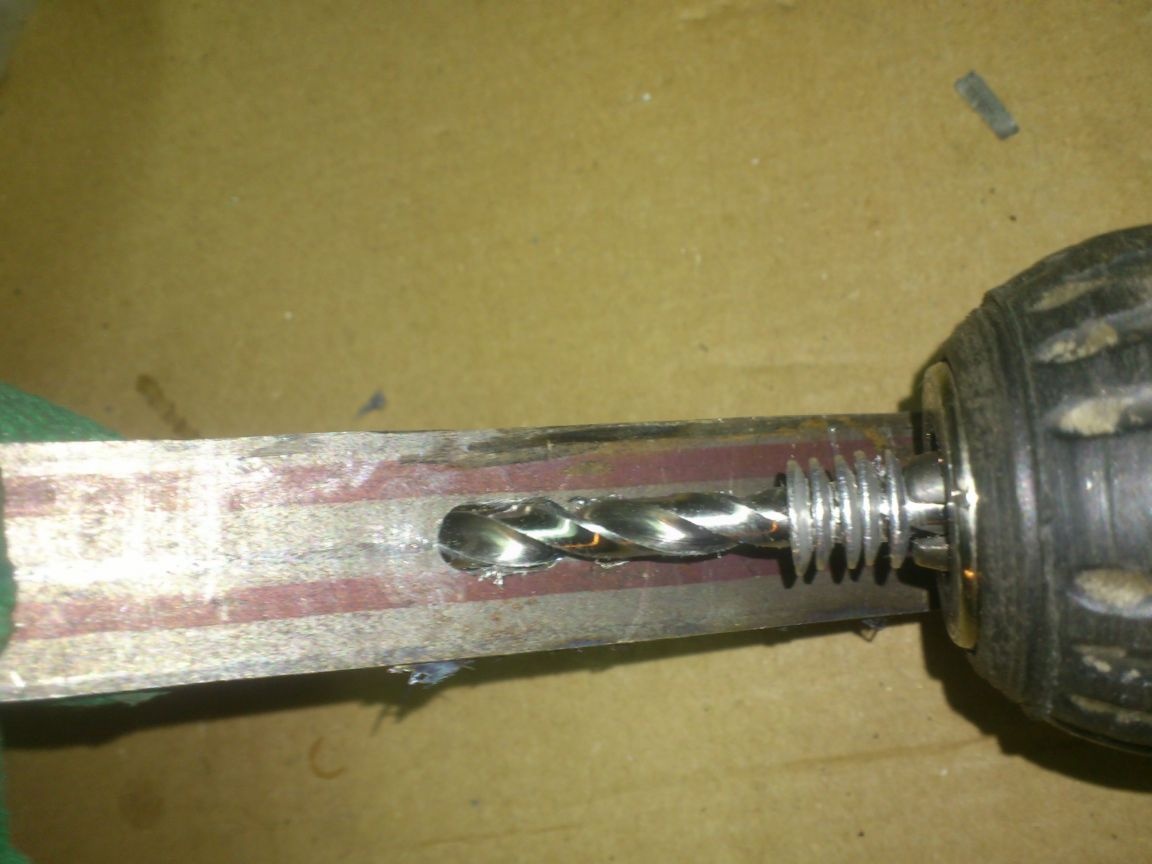
With a drill with a diameter of 6.5 mm, drill holes in the side racks for them:
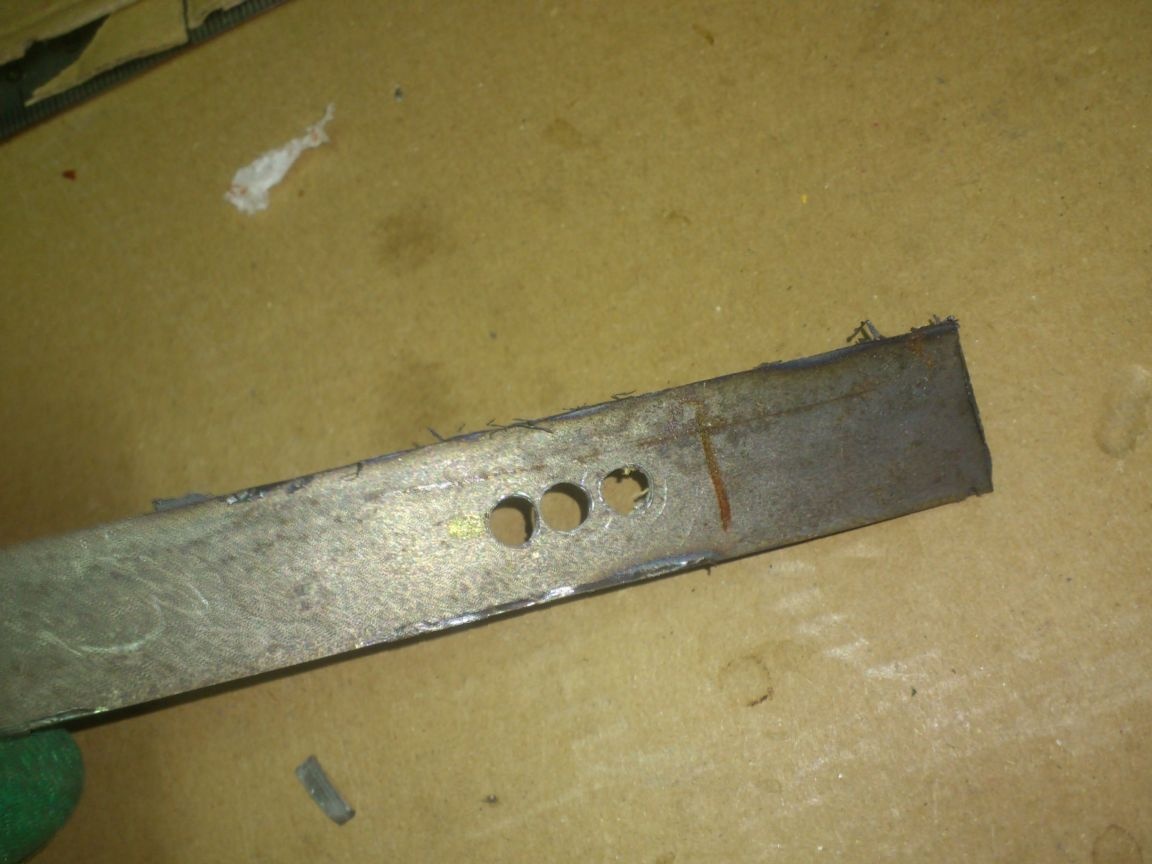
In these holes, the studs can be secured with two M6 nuts. In the upper part, it is also necessary to make a certain cross member that will connect them. A piece of aluminum U-shaped profile caught my eye, which I once made guides in the manufacture of crossbows:
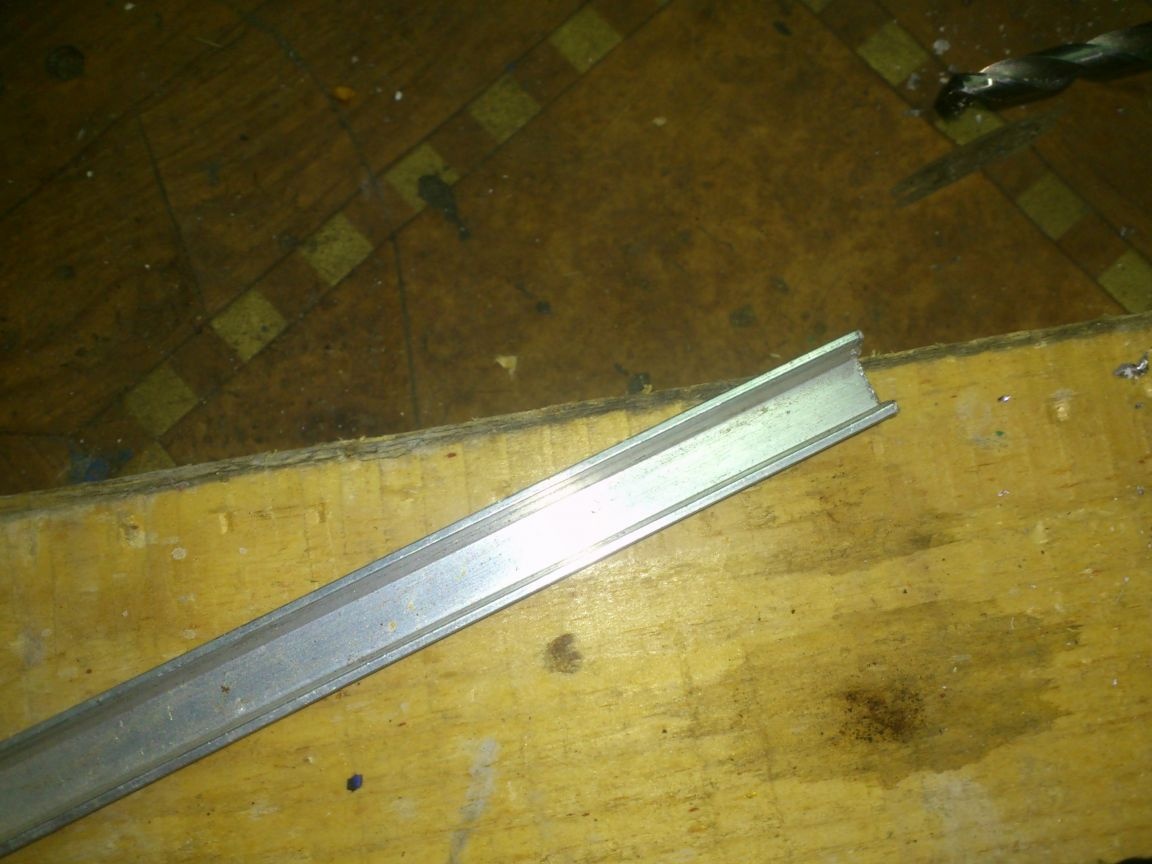
I drilled three holes in it with the same drill - two for the studs and one in between. In it, I plan to fix the hook, by which the lamp can be suspended.
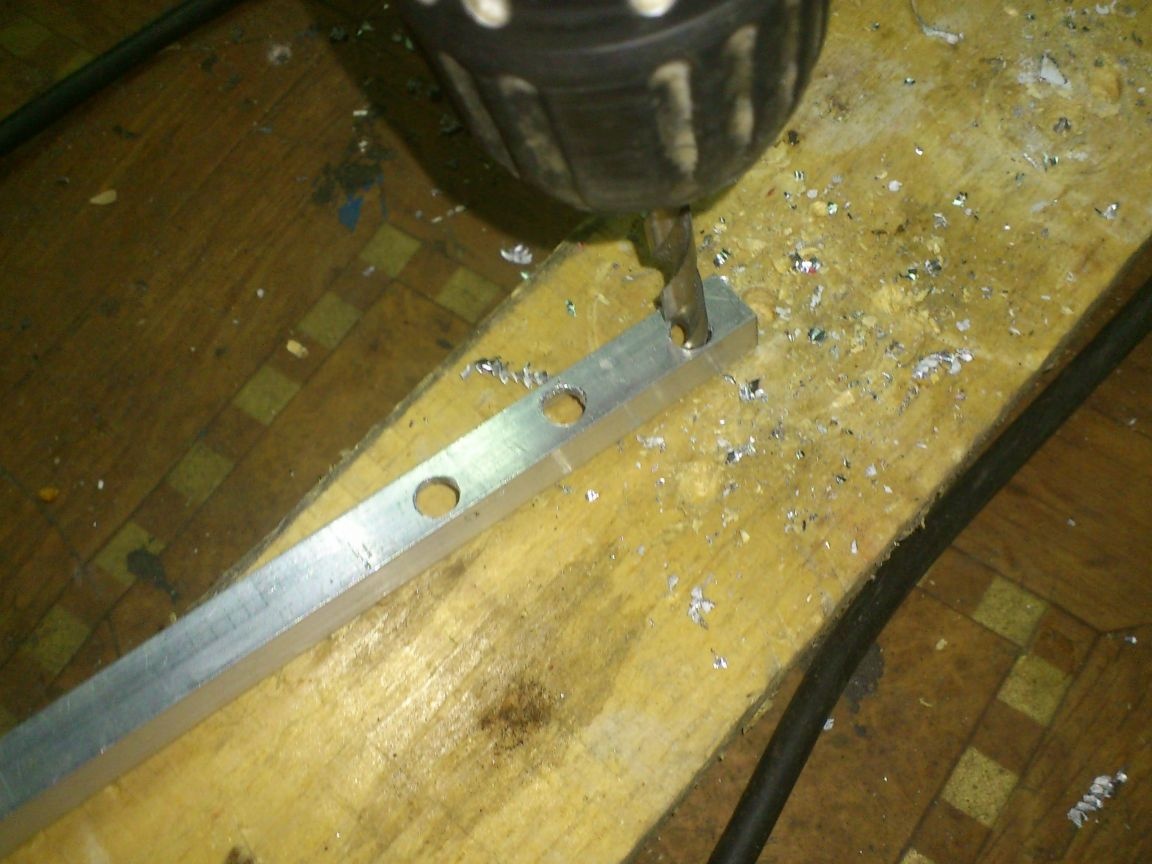
We cut off the excess, and fasten the ends of the studs together with the resulting bracket.The sides of the profile were slightly sawn so that it could be clamped between two nuts:
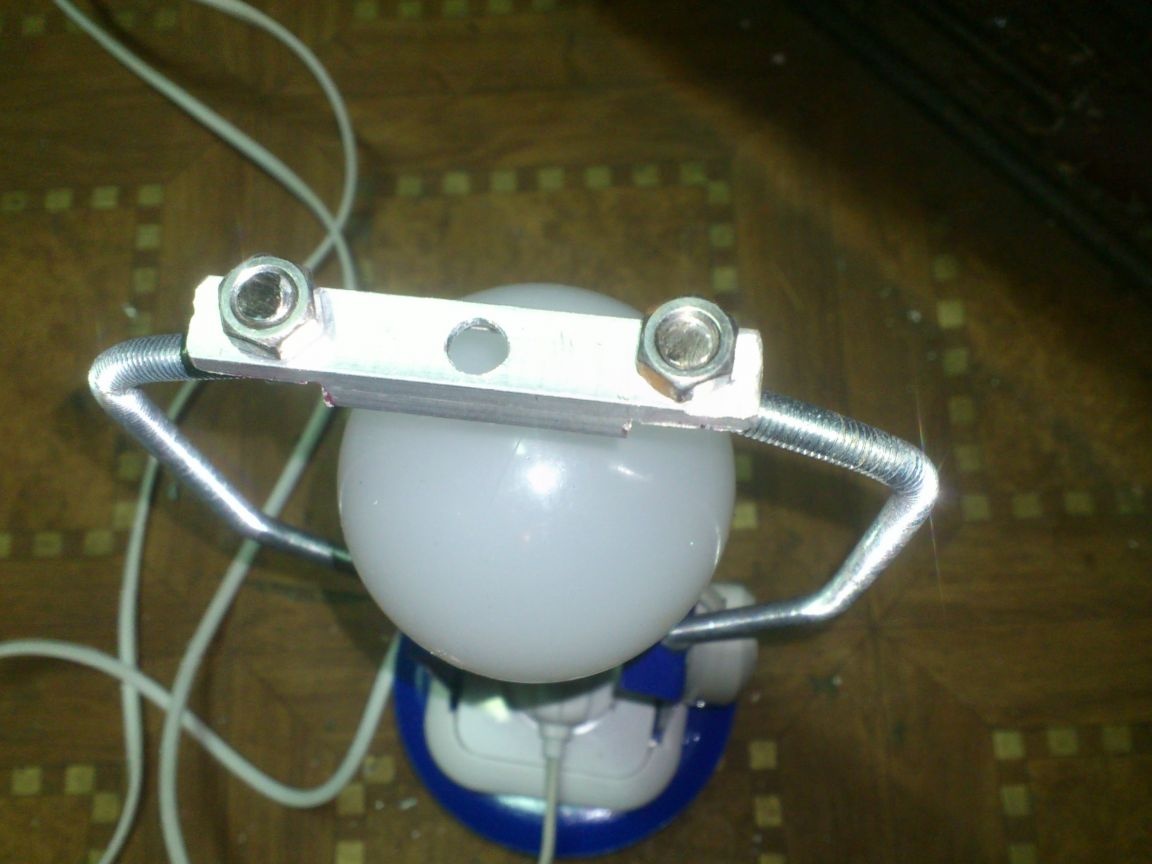
At the same time, he noticed that I had run out of M6 cap nuts ... Here they would have looked more appropriate .... While I screwed the usual ones, then I will replace it when I buy it ..

Now the hook. In his role, I decided to use a ready-made anchor hook, which I also found:
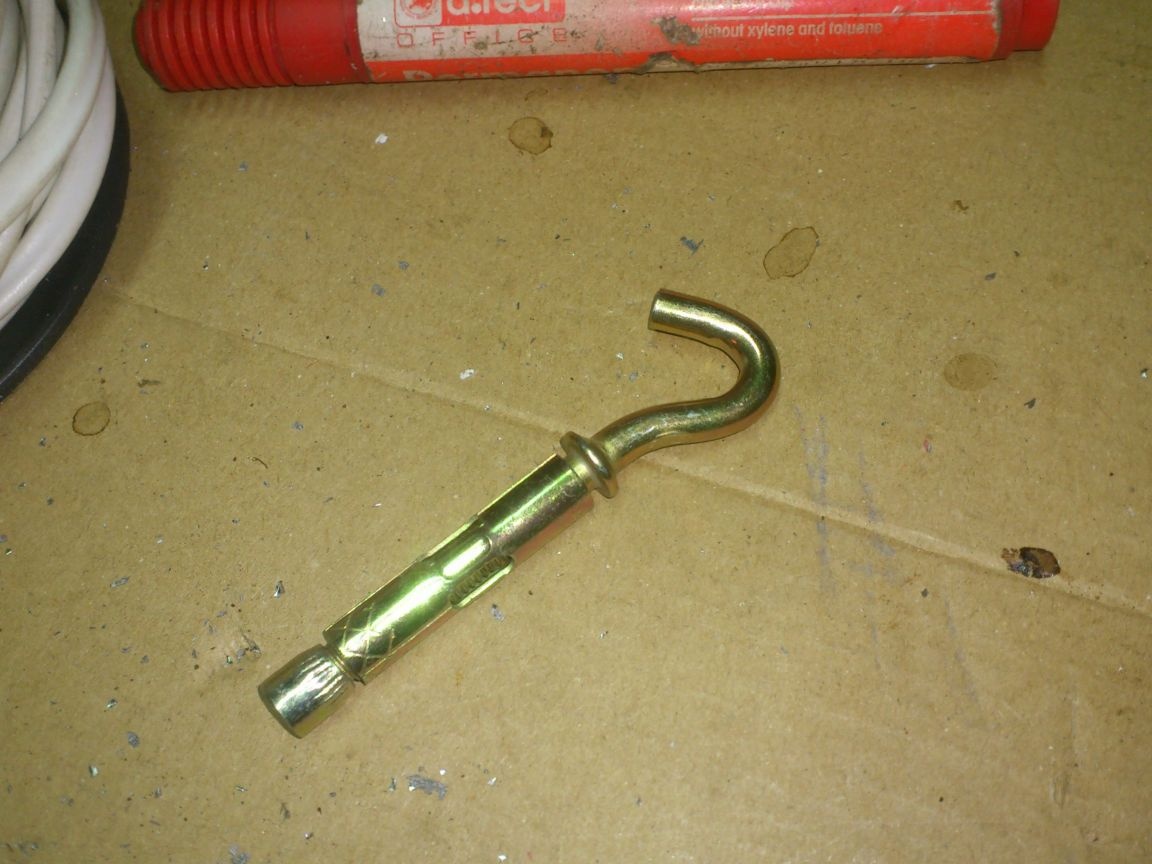
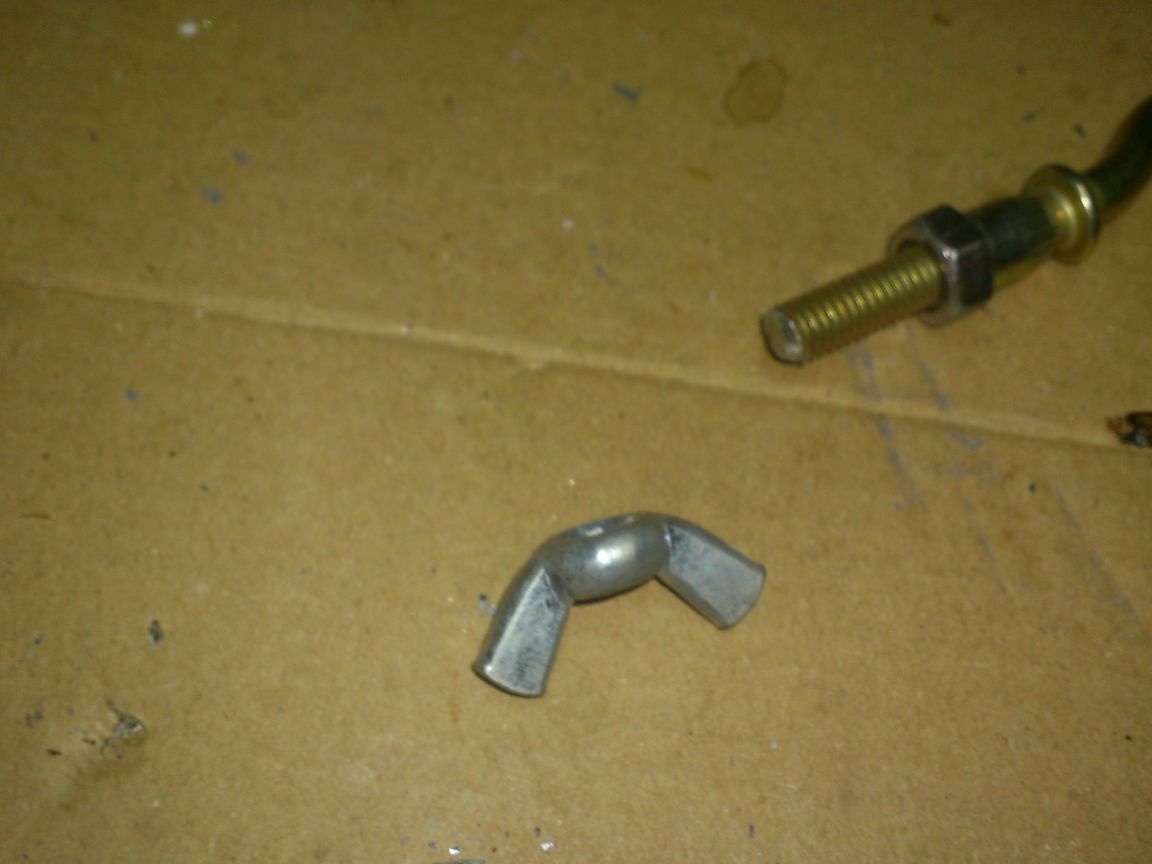
Having unwound it, I threw out the expansion tube, and screwed the anchor nut to the end, and also added the usual M6 nut:

This is necessary in order to get an emphasis on the hook when I fasten it on the other side with a wing nut:
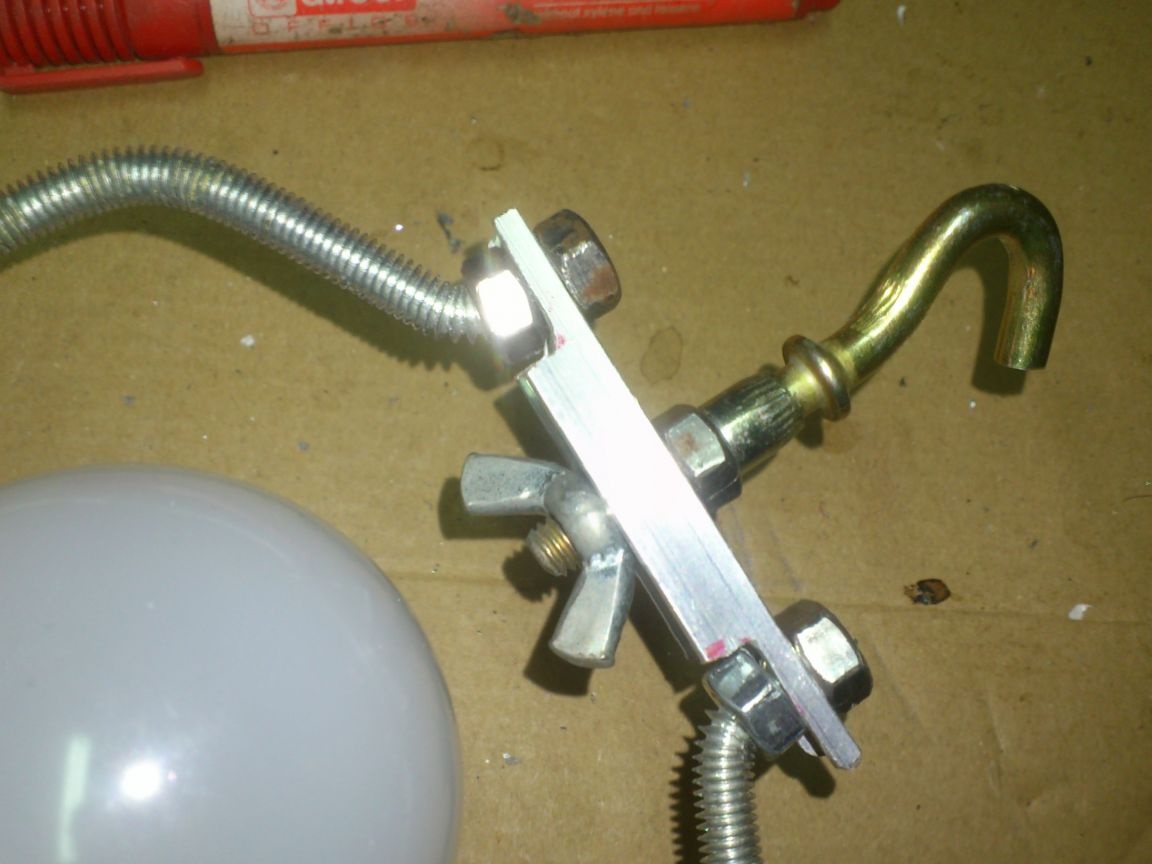
I decided to use the winged one for a simple reason - it was with the help of this node that I decided to mount a removable reflector screen ...
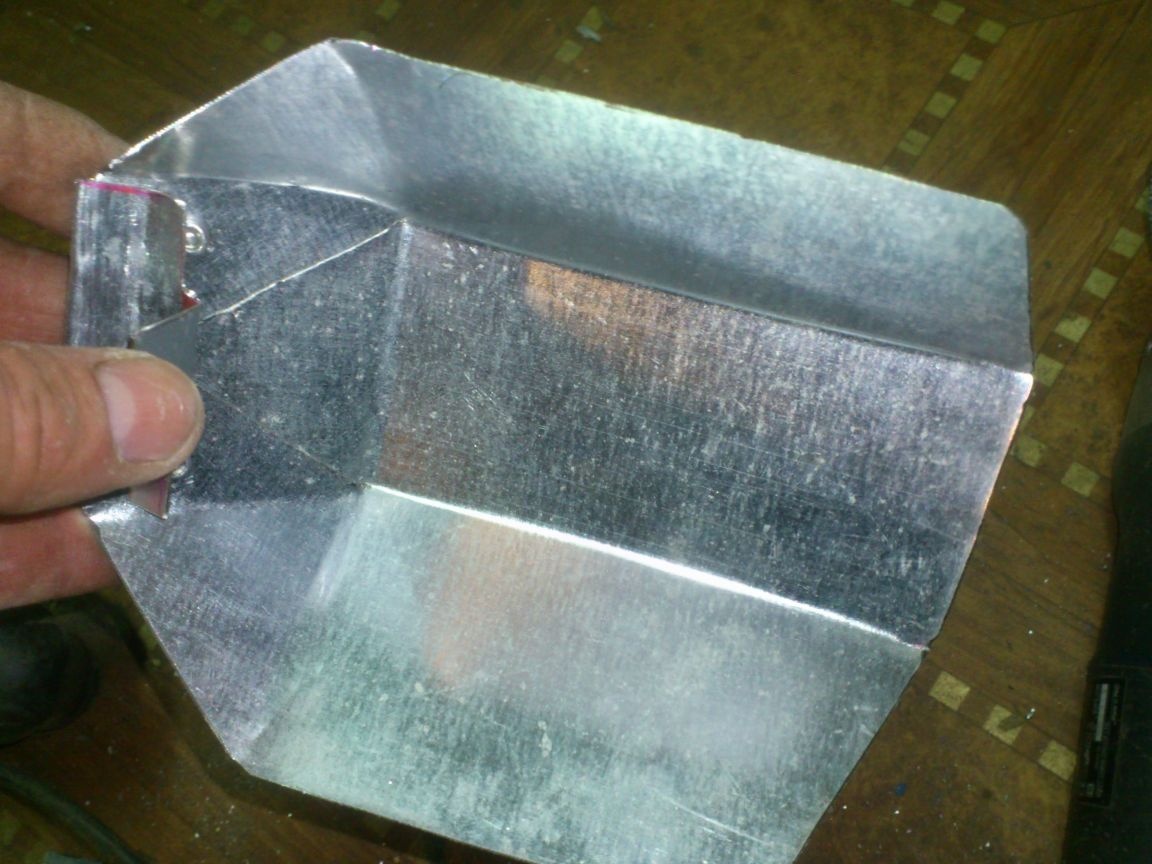
And now I started to make it ... I decided to make it from trimming galvanized sheet metal ... I did not make any drawings and did not design anything ... I used, as always, the "applied method" (I recall: this is when "attached - and figured "
 ):
):
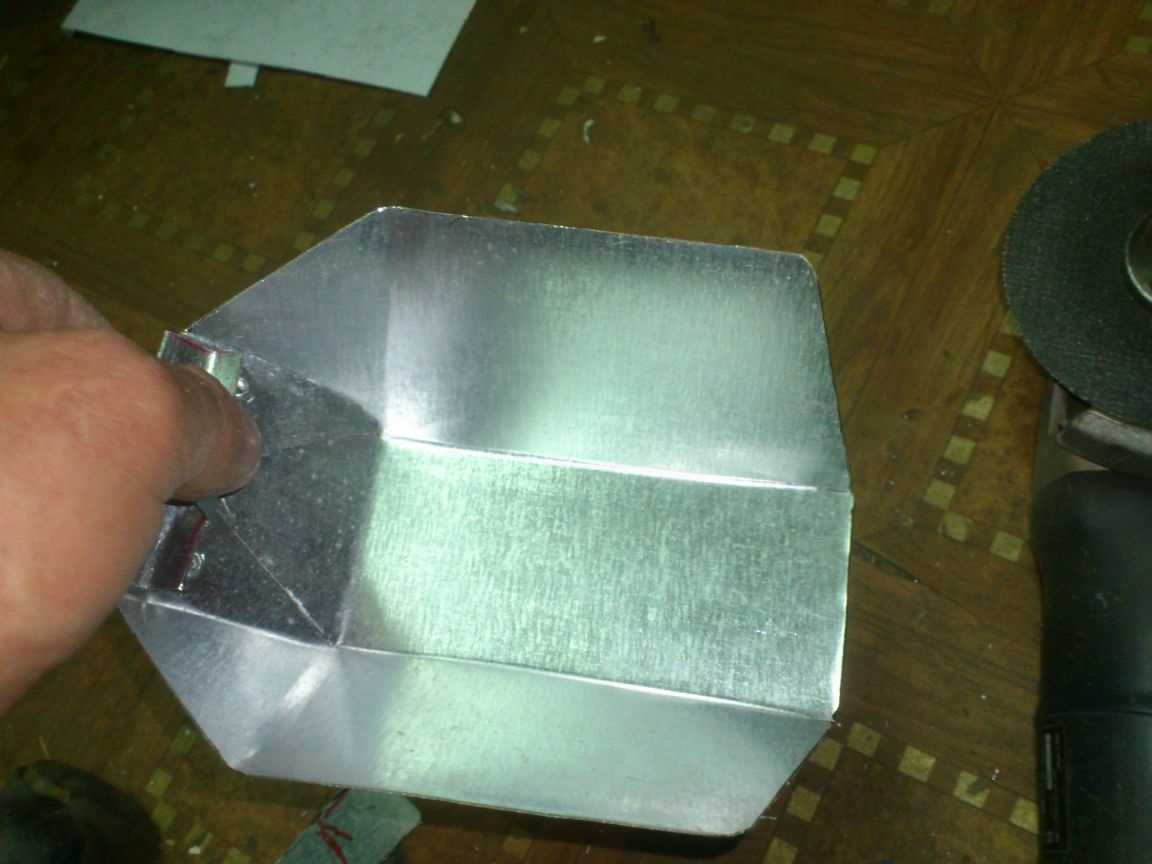
So I ended up with:
He fastened the bent pattern with two exhaust rivets:
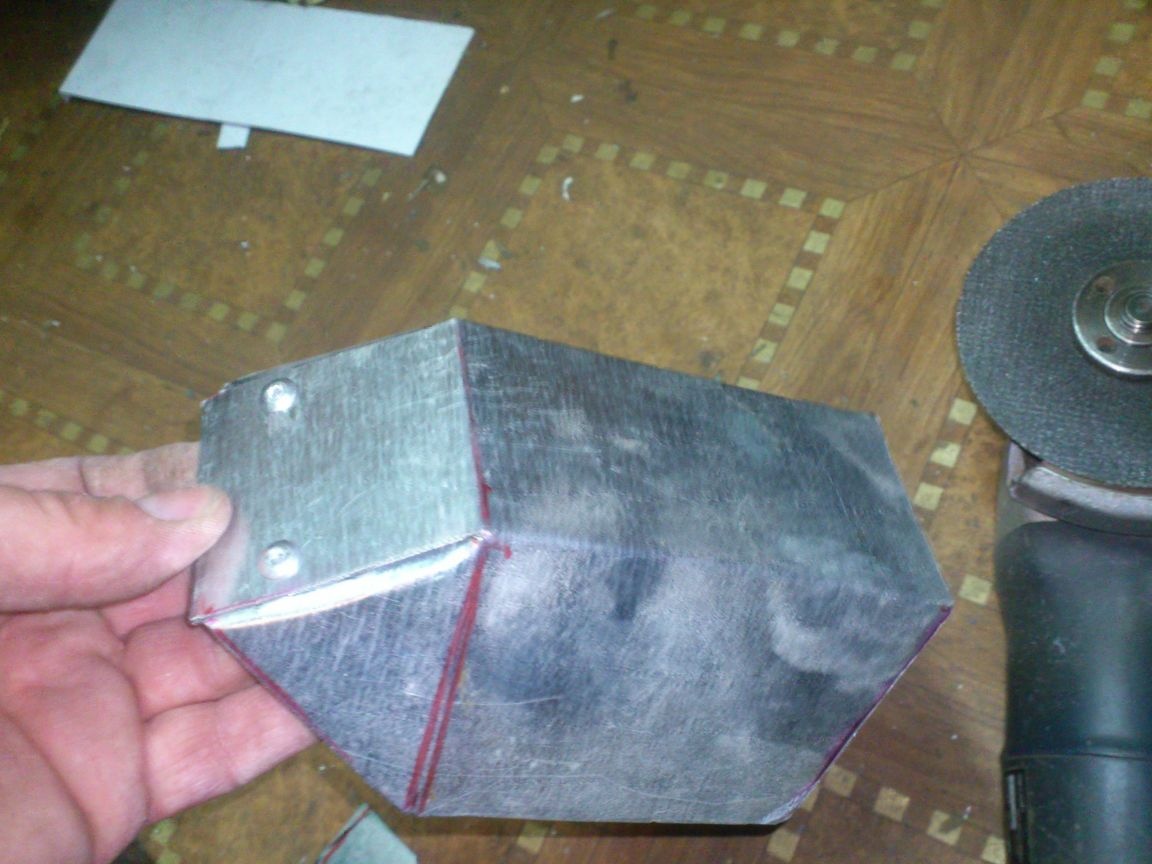
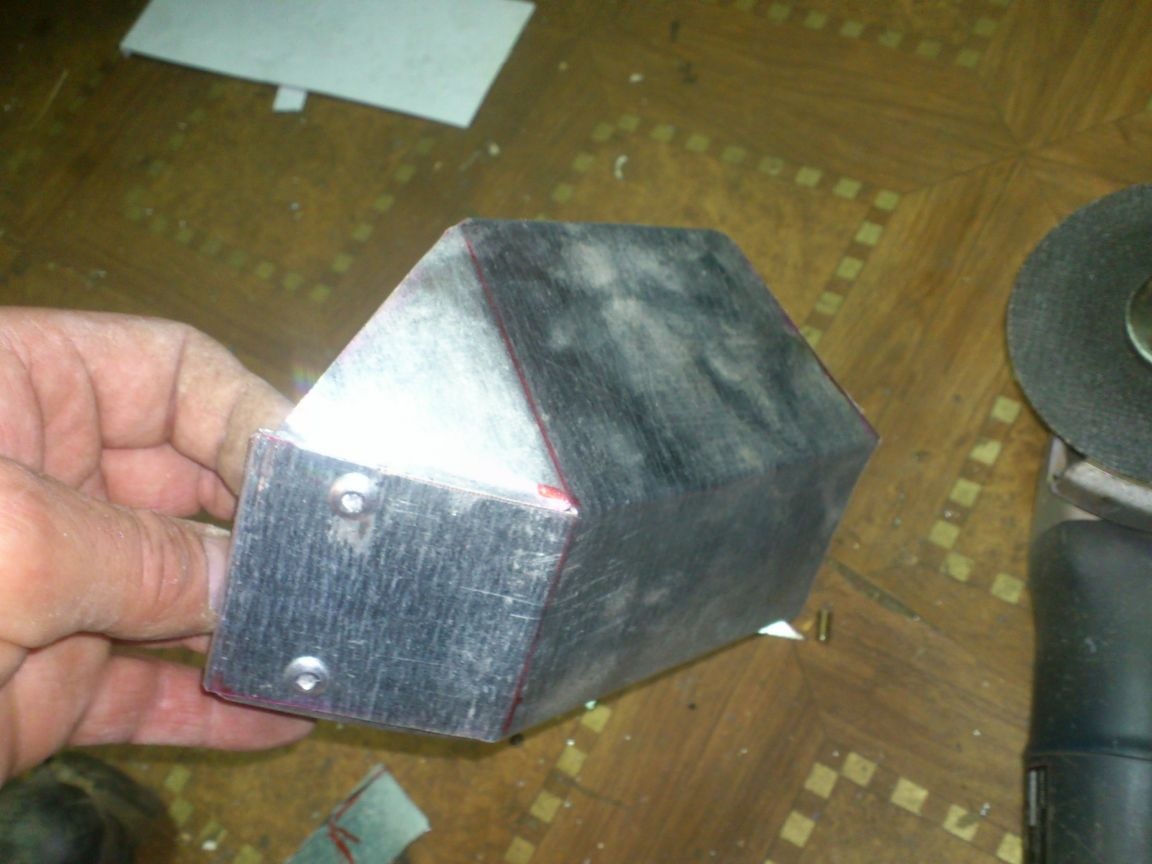
In the upper part I made a bracket for mounting and drilled a hole in it:
We send for painting ... To paint galvanization is a very thankless task))). Enamel then lags behind it. Therefore, I first treated the surface with “soldering” acid, and after it darkened, I washed the surface thoroughly with soap, then degreased with the 646th solvent and only after that painted. Only in this way will enamel be held on a galvanized surface.

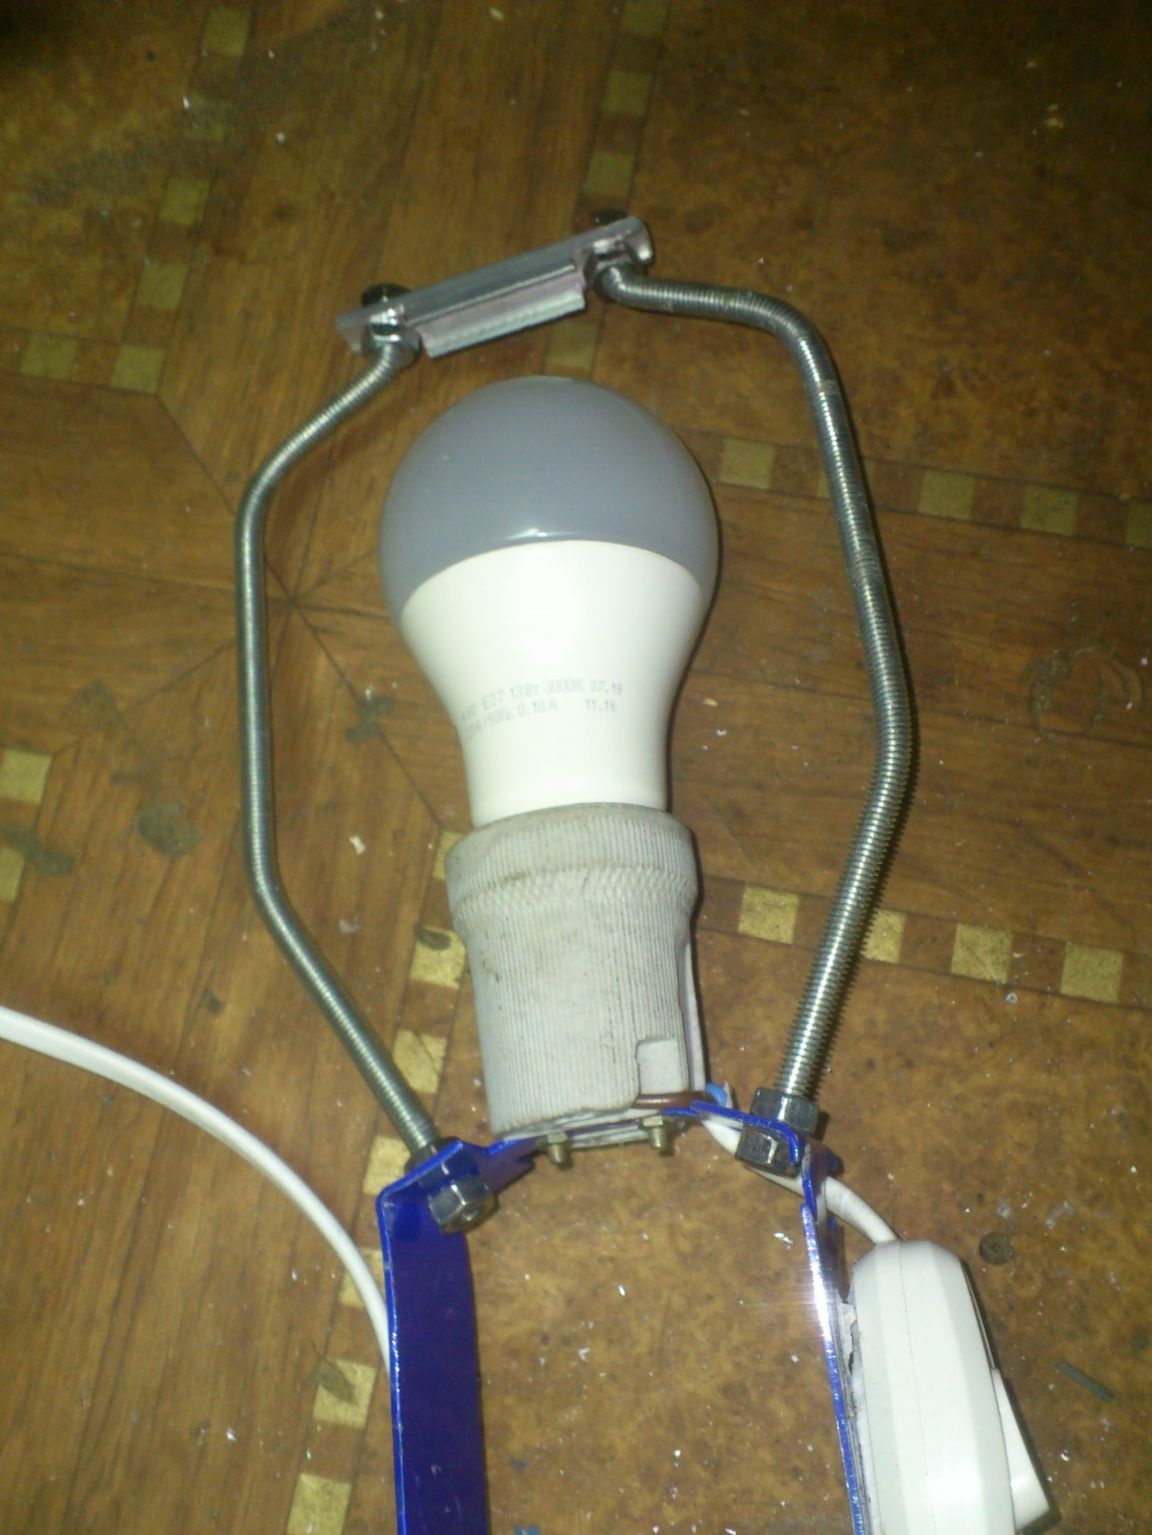
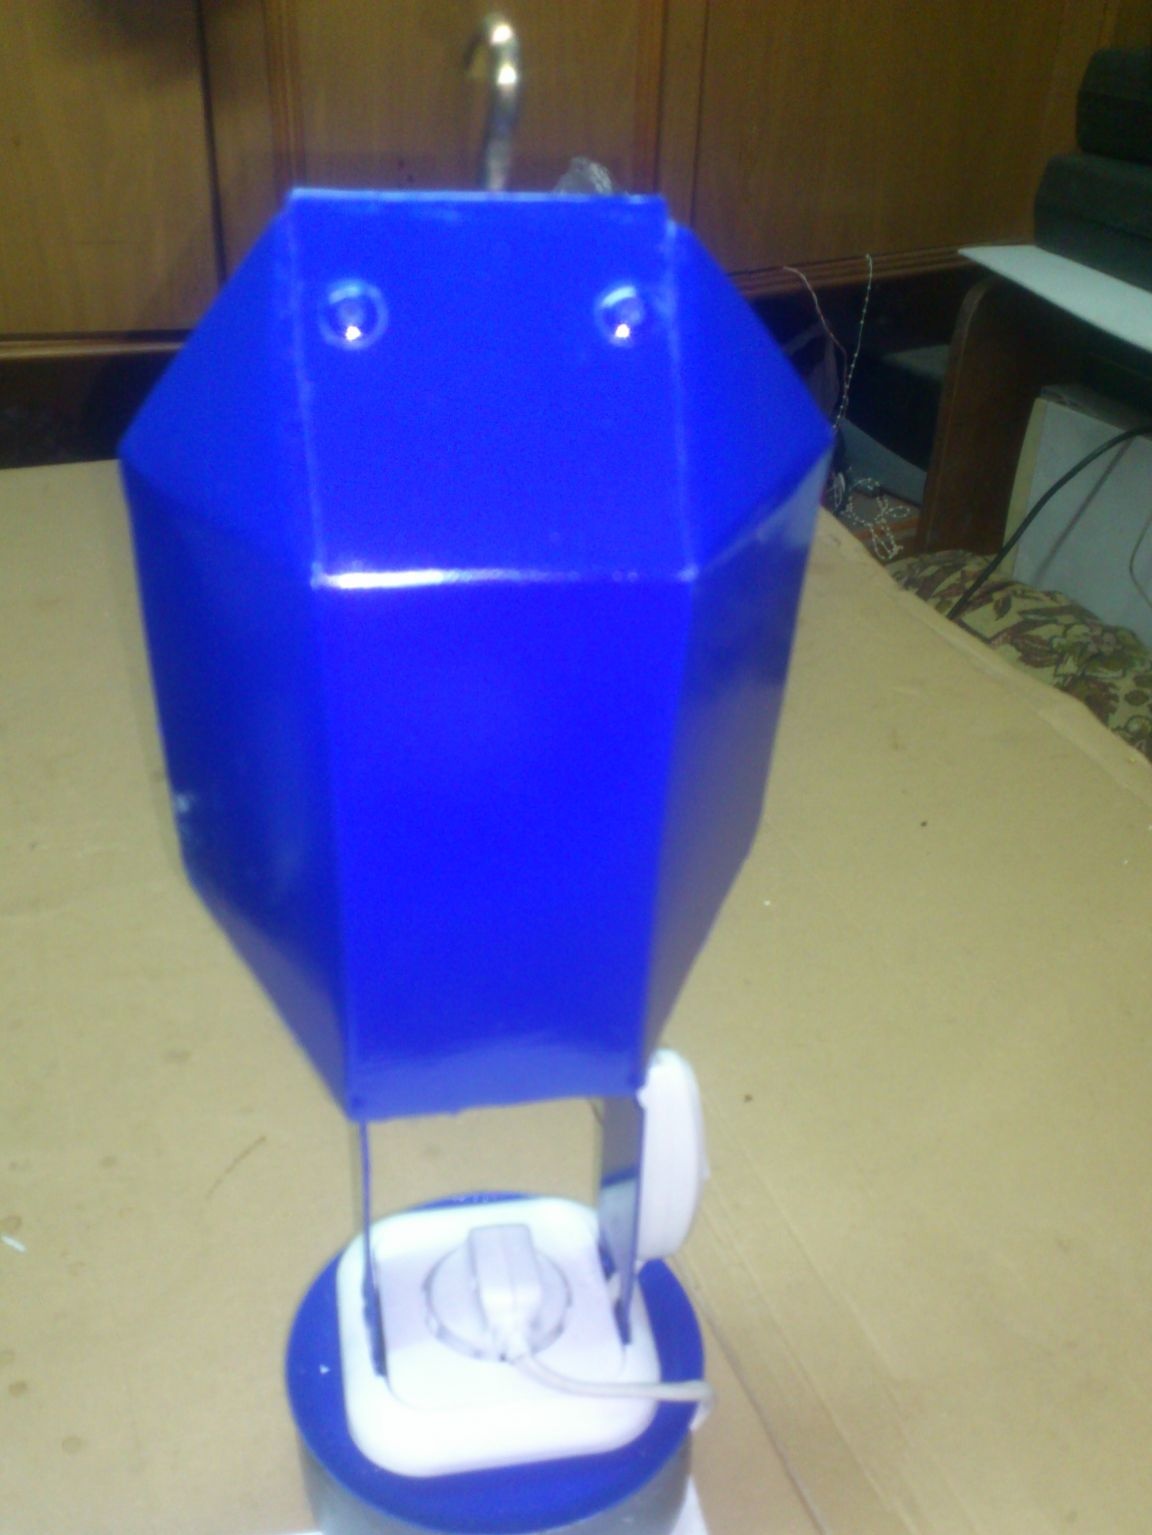
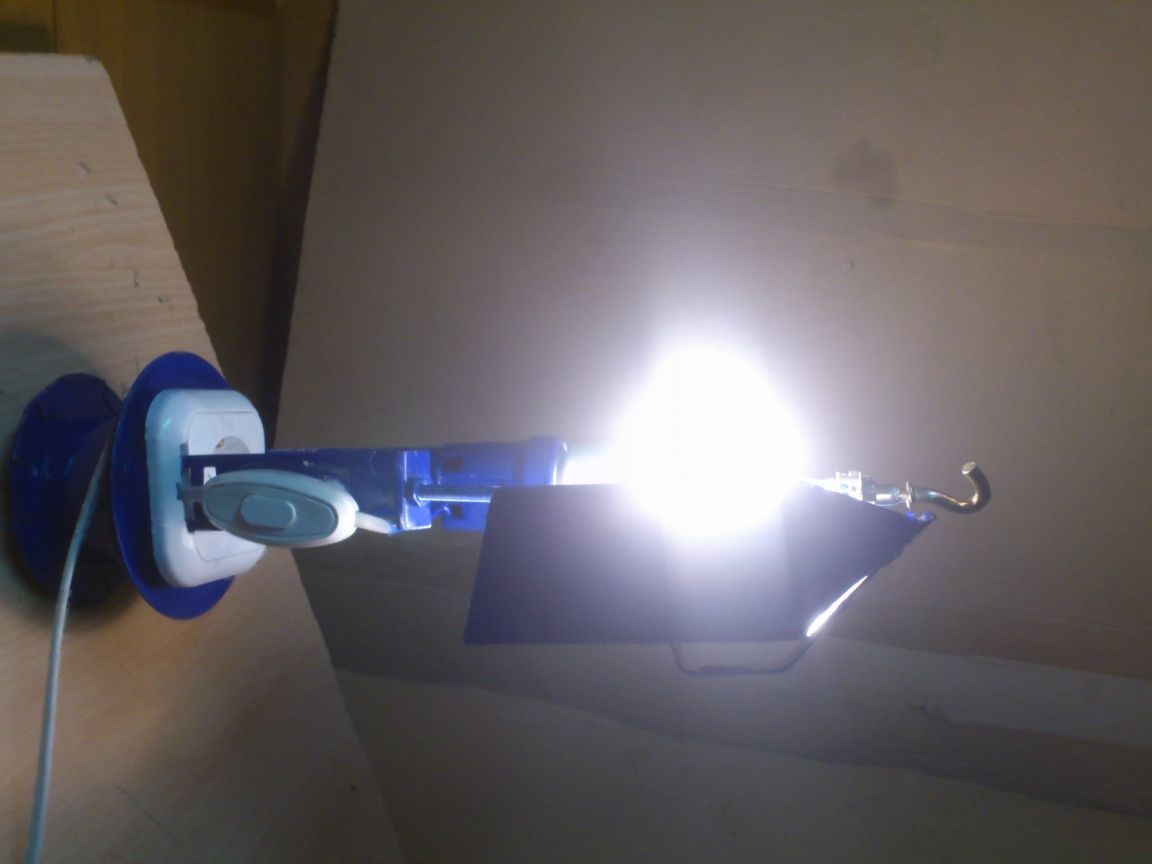
After drying, he collected:

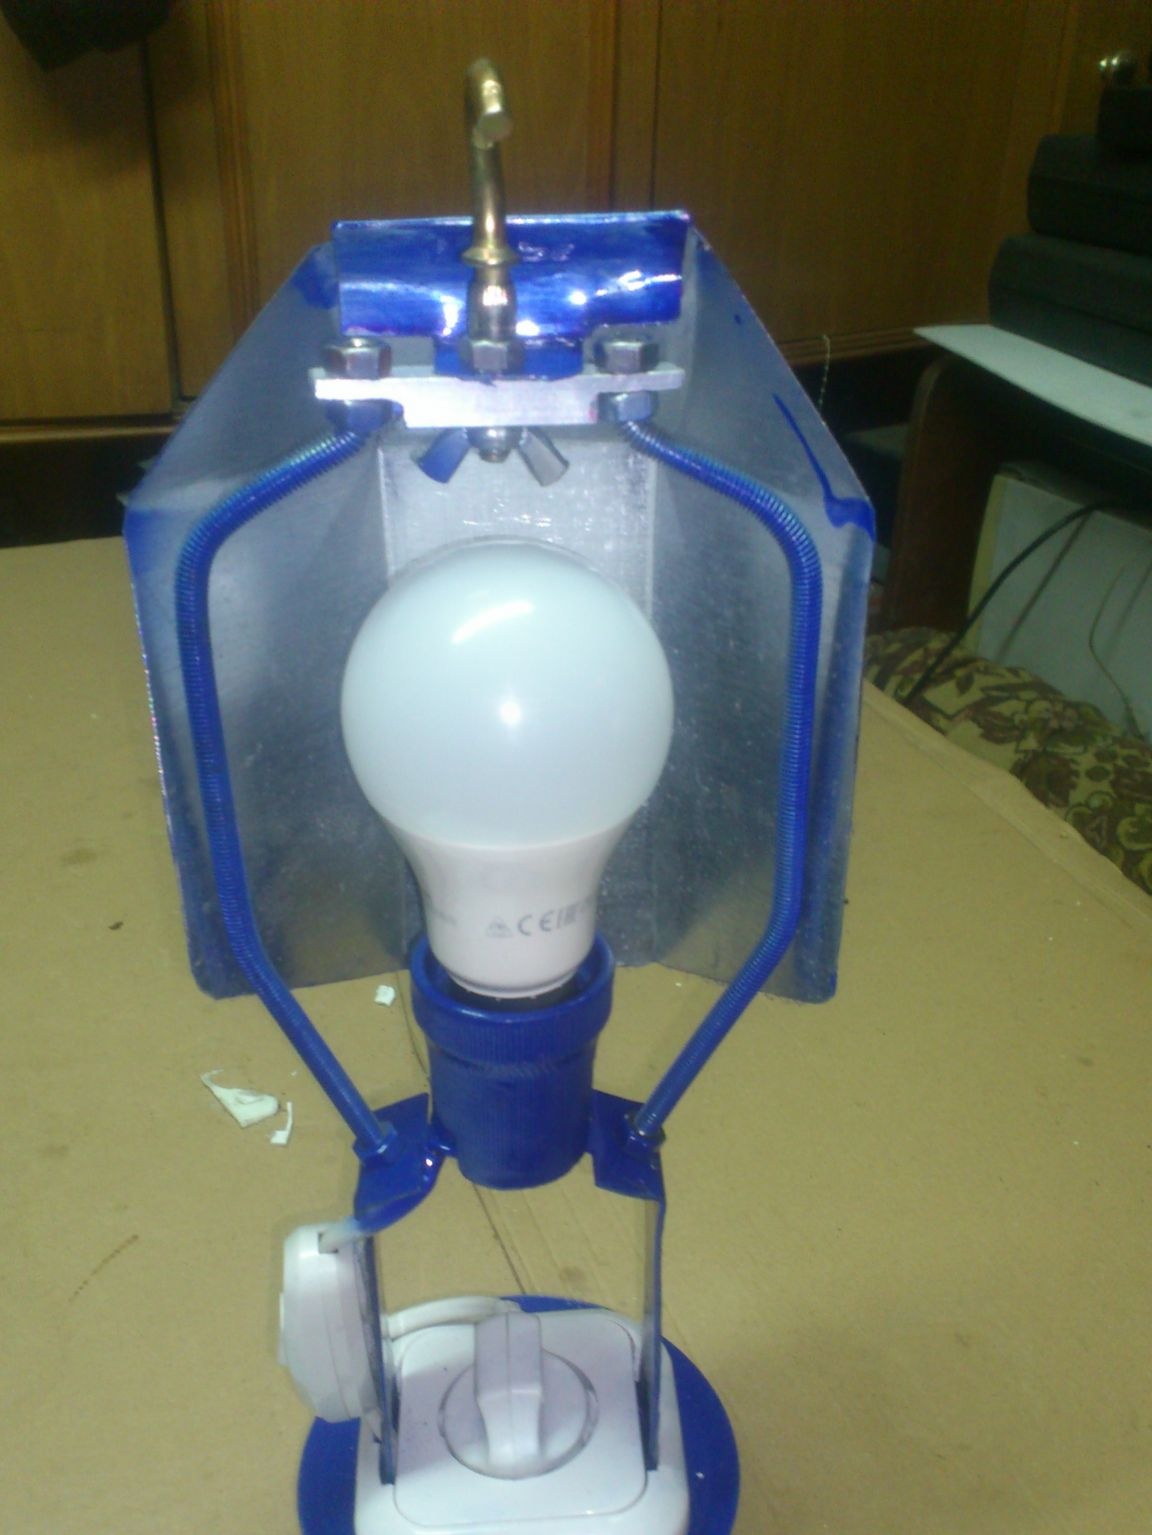
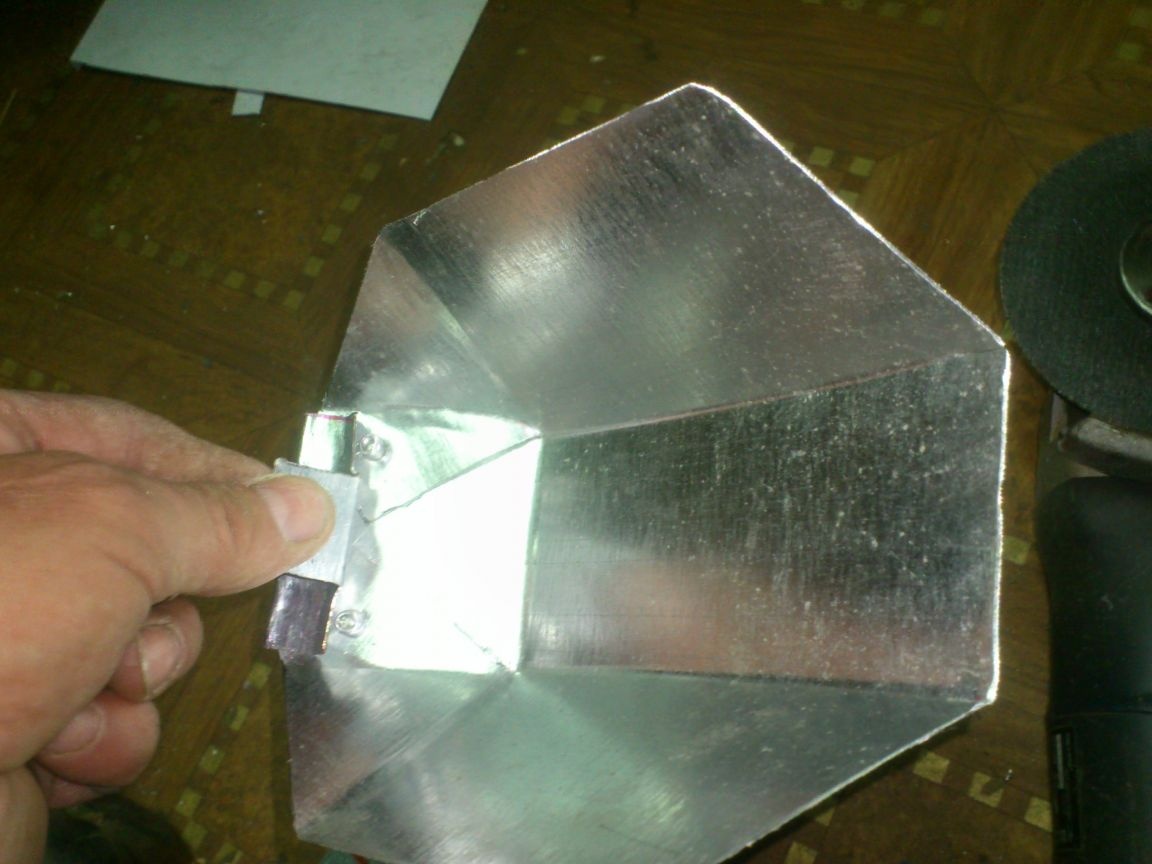
Now I started to "cultivate" the lower part. To begin with, I pressed a piece of corrugated cardboard to the “sole” to get a print-template:
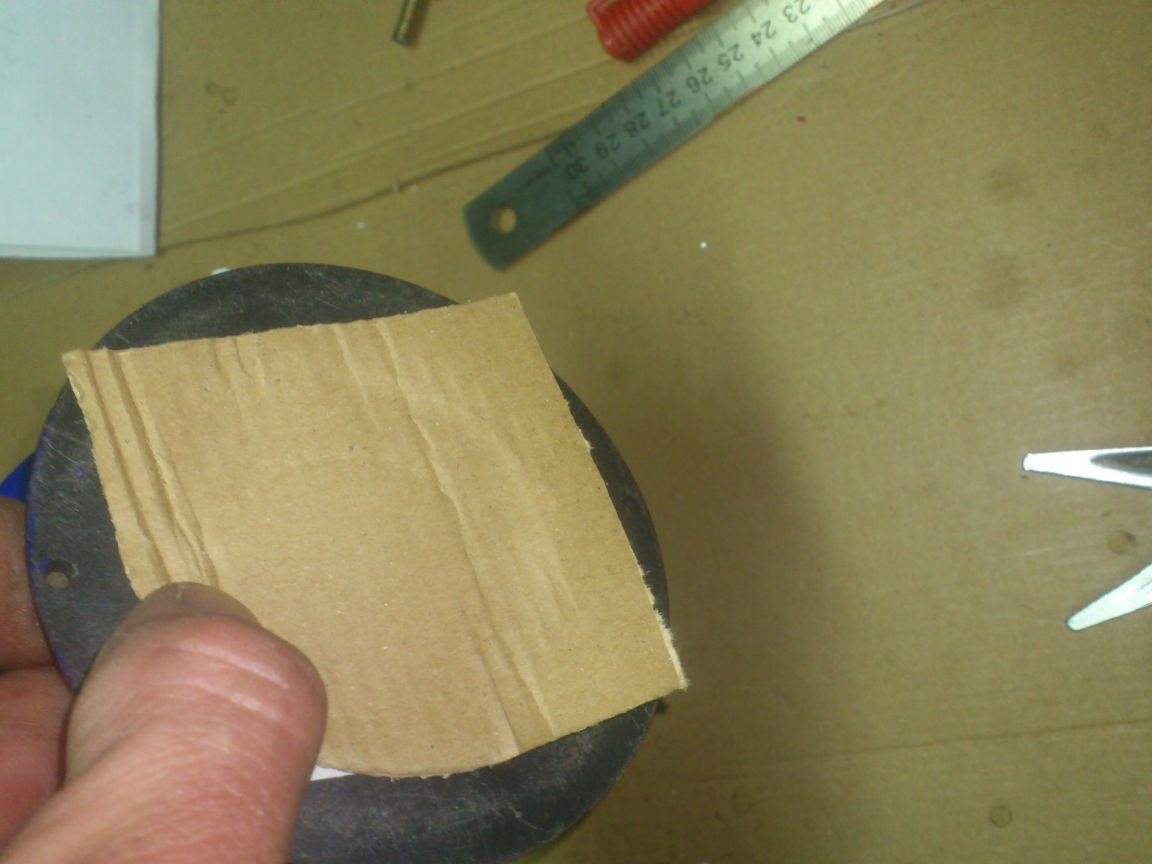
According to this template, I cut out several circles of corrugated cardboard and stuffed them tightly inside the coil, closing the open contacts of the outlet with them:
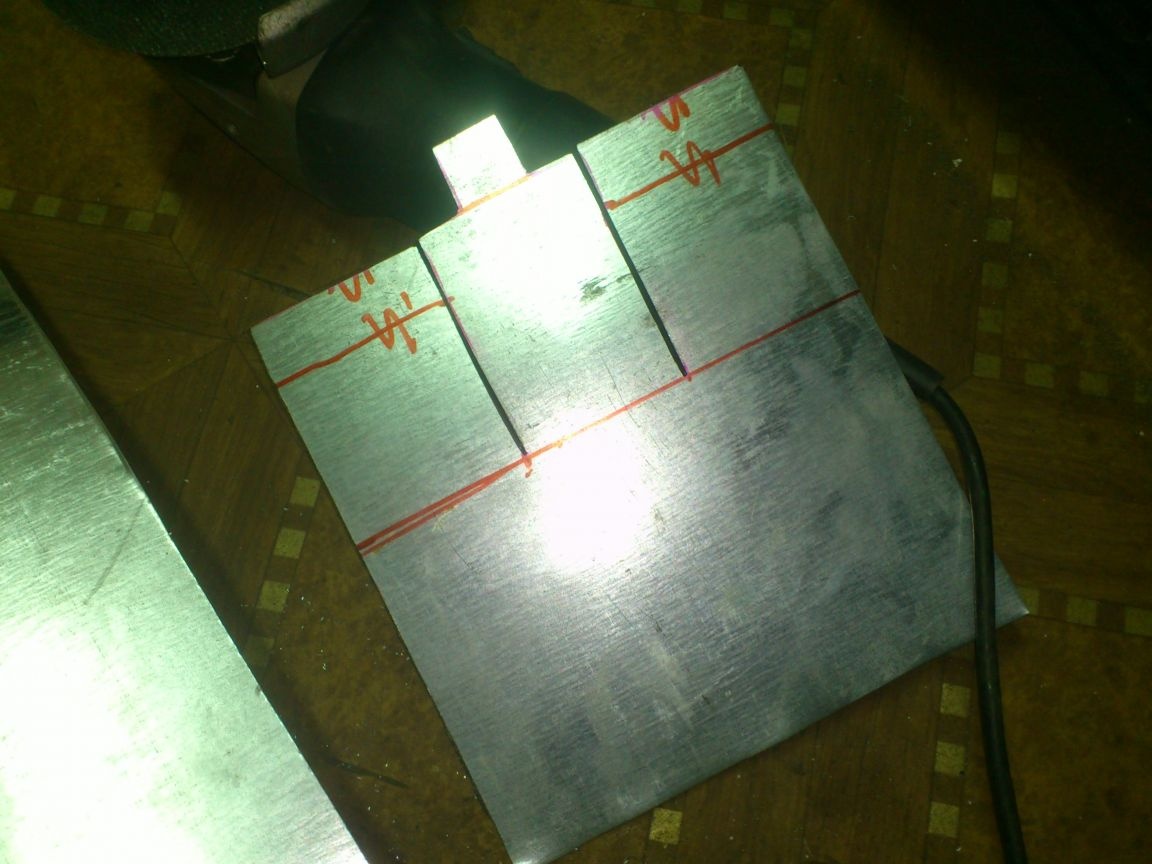
Now you need to close the bottom with metal. I found a piece of enameled sheet metal (apparently, it used to be a cover from a gas stove))), put a lamp on it and outlined it with a marker:

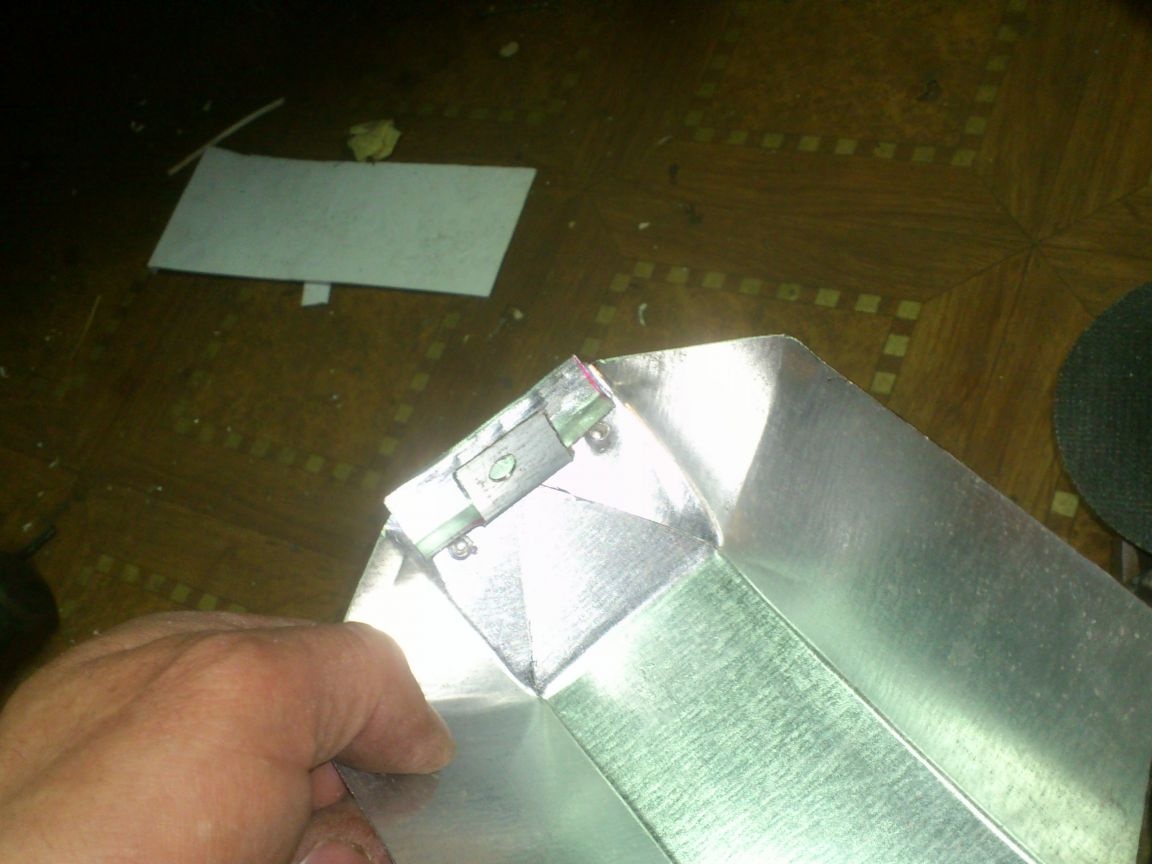
Then I roughly cut and marked and cut six “ears” along the outer perimeter, bending them, I later decided to fix this closure on a reel:
Bending off the “ears”, I cut off everything unnecessary with the “grinder”:
On the side of the coil, I made cutouts for them. Now it will be possible to fix the metal cover on the coil. But before that, I decided to make additional holes in it, for which it would be possible to suspend the lamp.
(It would be necessary to cut through the engraver. It would have turned out more accurately ... But there was a "Bulgarian" in my hands and I cut through it)))). But now you can fix the lamp in any position on the head of a nail sticking out of the wall, or a screw:

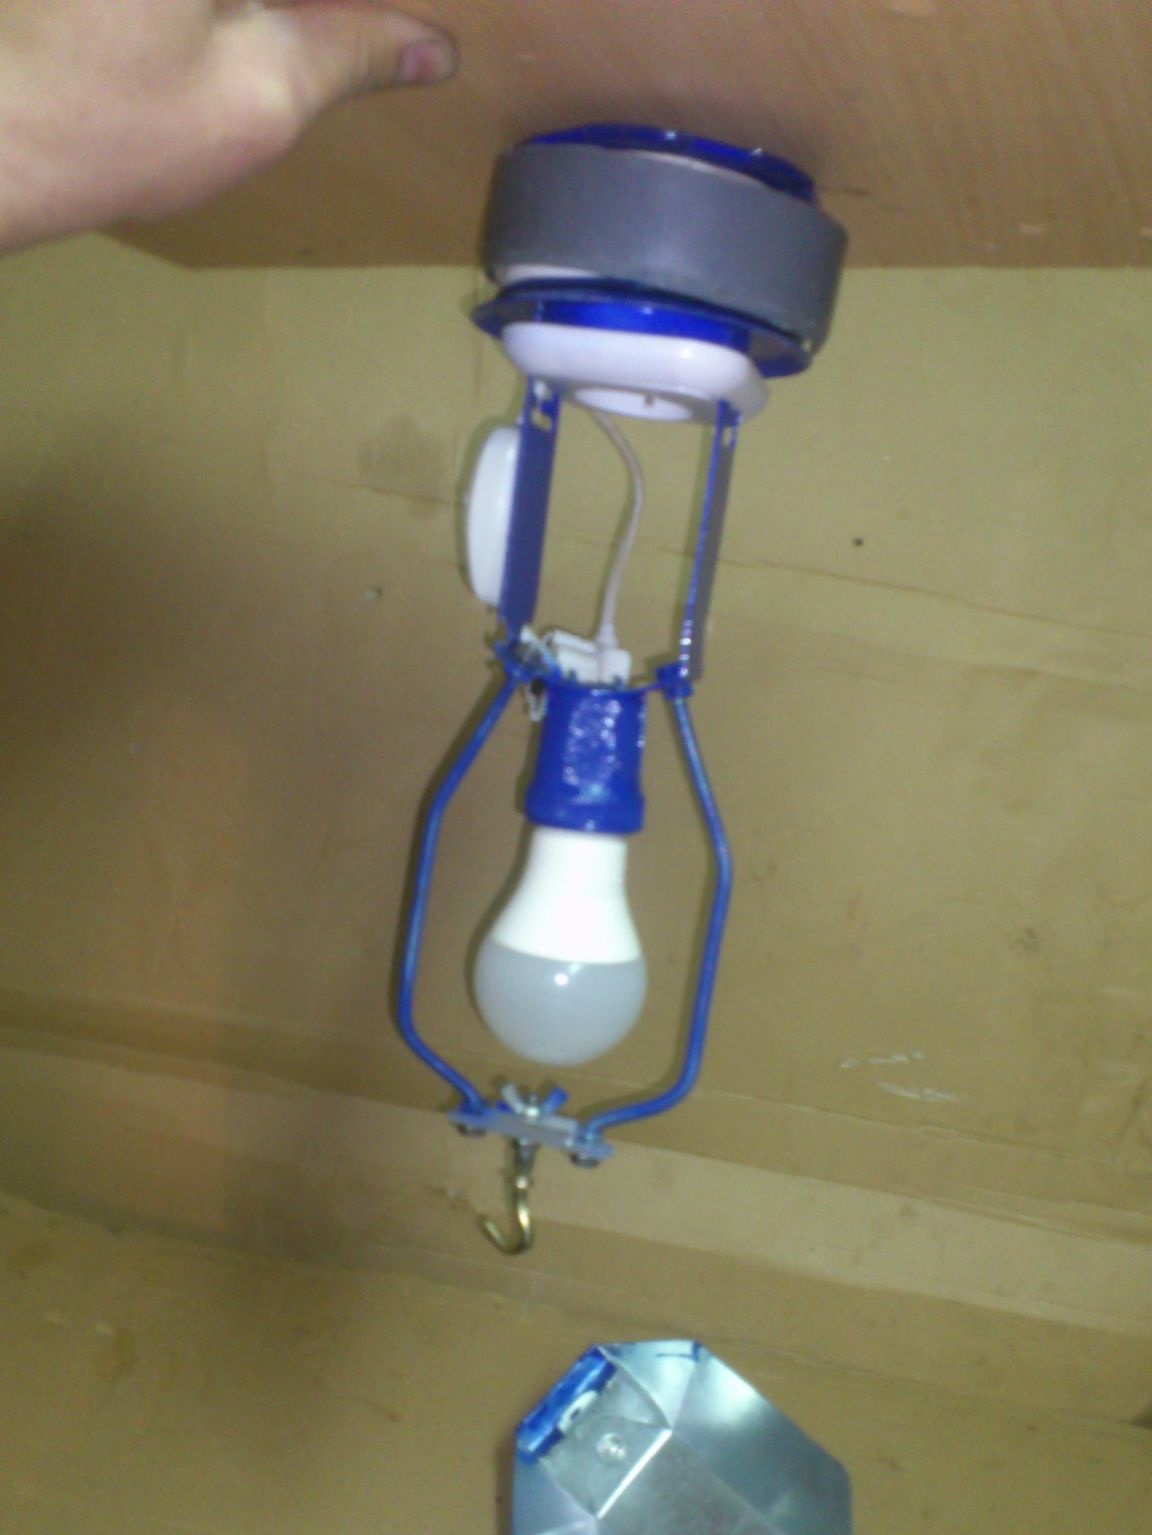
And even on the ceiling "head down" if you need to temporarily illuminate the entire room:
I forgot to take a picture ... Before mounting the plate, I glued four neodymium magnets extracted from old winchesters to it from the inside ... Thanks to their rounded shape, they fit very well in the sectors between the slots ... Now the "sole" adheres quite firmly to metal surfaces ...
(In fairness, I admit that this is not a very necessary option! It only looks like "Wow! Cool!")))). In fact, it is unlikely that there will be a refrigerator near the place of work, to which you can magnetize! )))))))
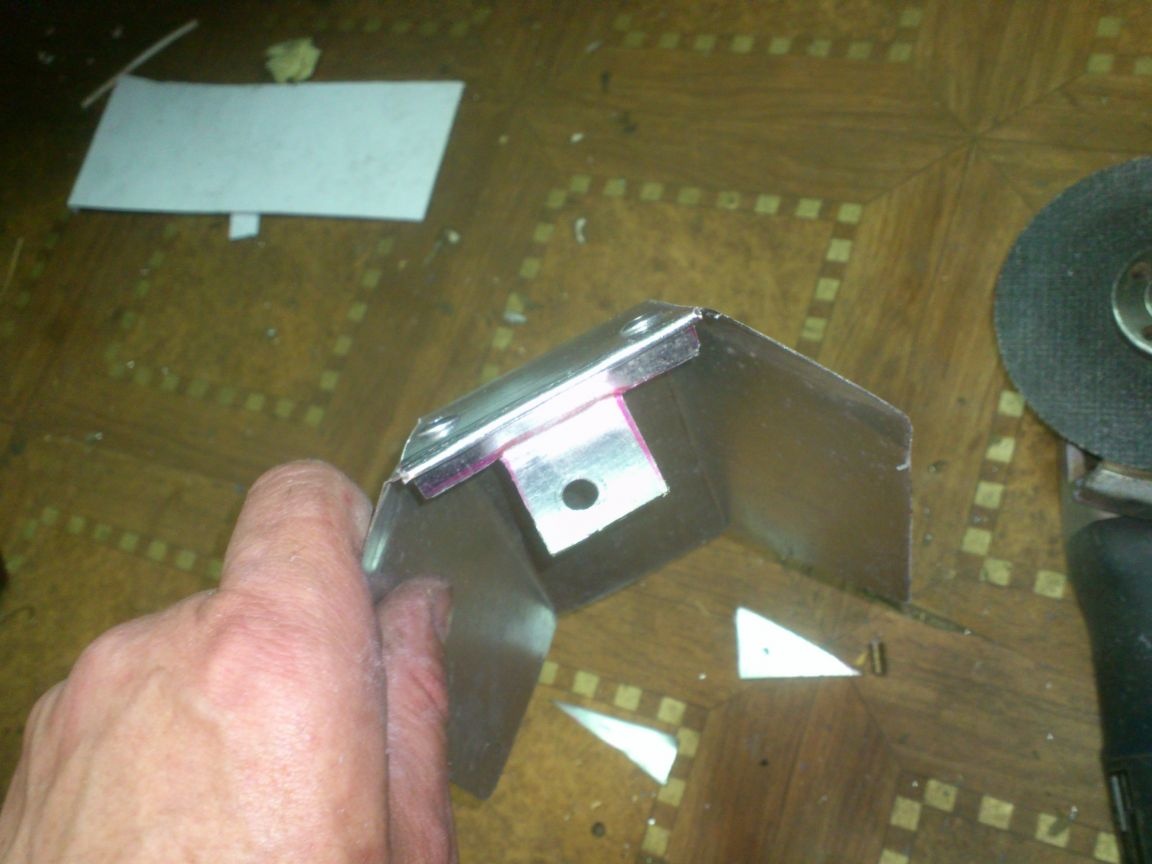
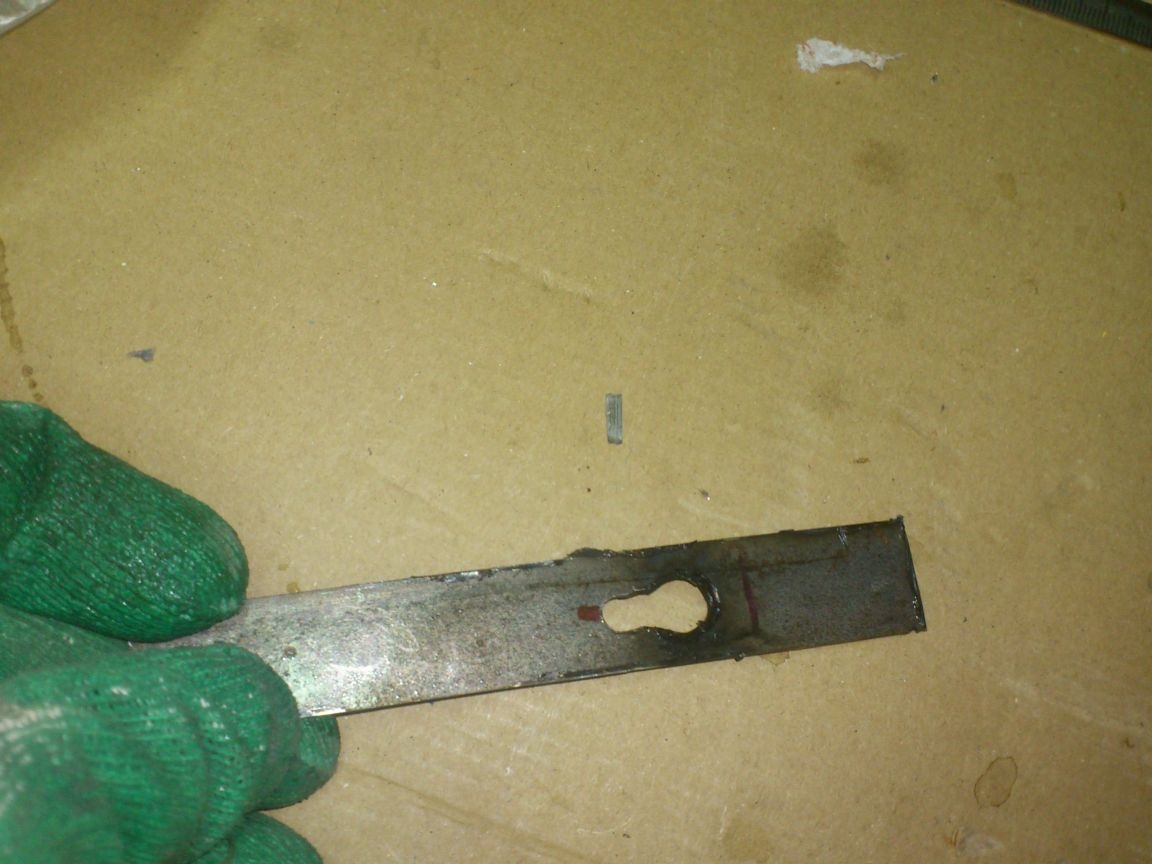
And I decided to make another mount on the back of the reflector. So it will be convenient to hang it on the wall like a sconce .. I made the mounting plate from trimming the profile pipe. I just cut it out of the wall and drilled three holes with a 5 mm drill:
He connected two of them together, carefully "loosening" the drill:
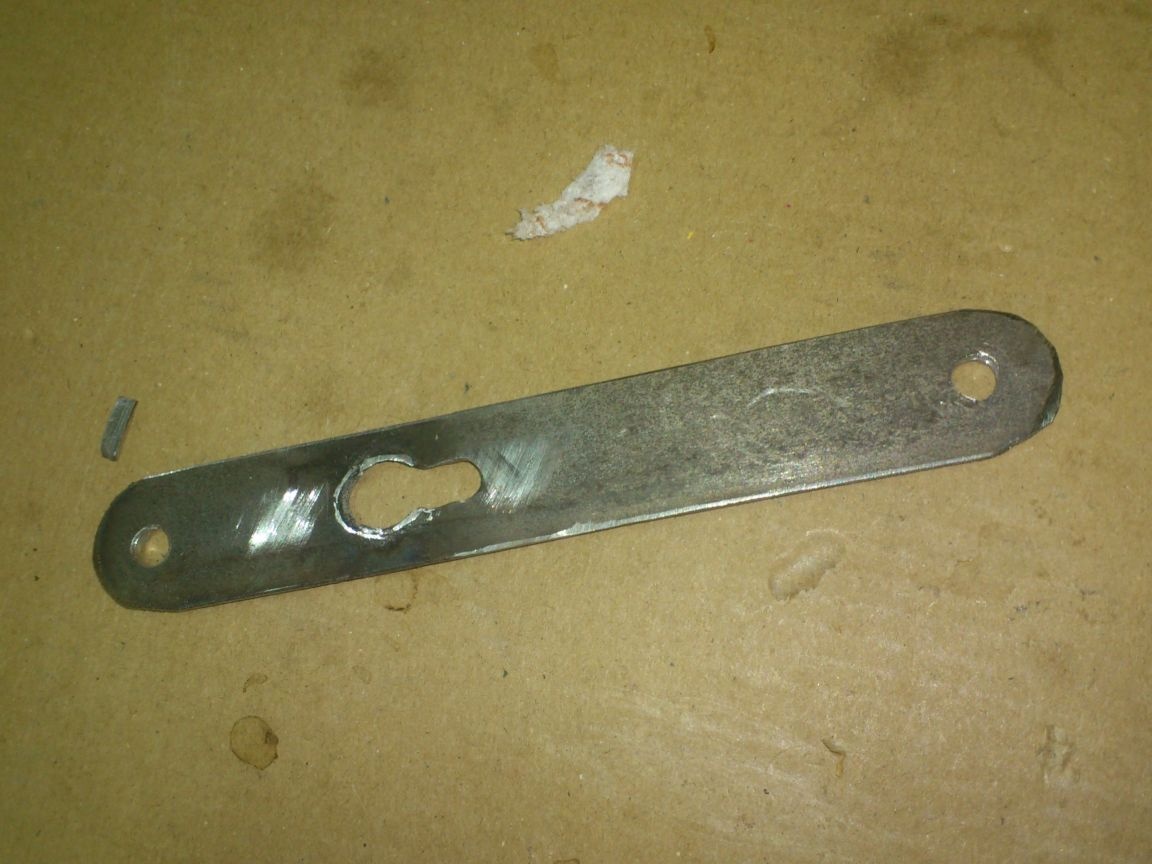
And the third was drilled to a diameter of 10 mm and it itself connected:

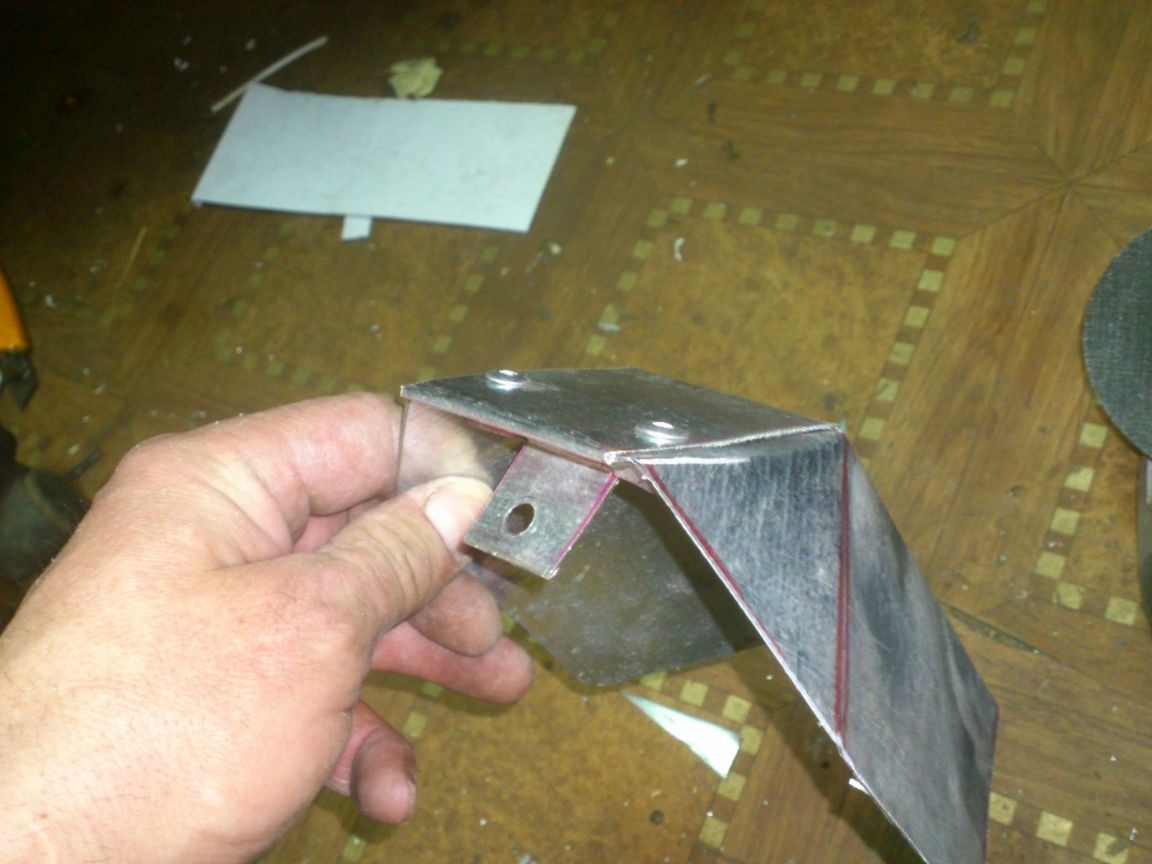
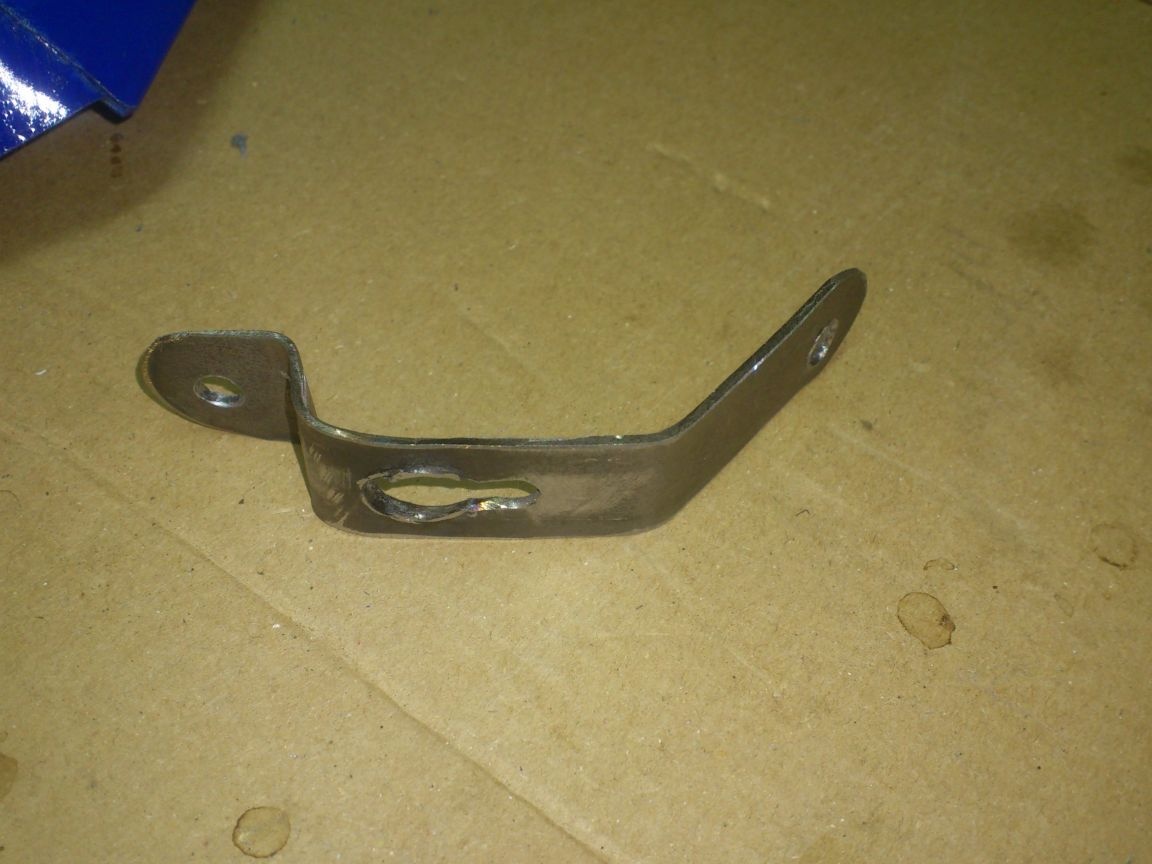
Now I drilled a 5 mm drill around the edges of the rivet holes, rounded the edges, arched accordingly and riveted with rivets:
After that I painted over unpainted places - the rear bracket and the bottom cover.
Now for sure everything !!!
The lamp is ready. It is convenient by many criteria ... It can be placed, suspended under the ceiling in the form of a "bat, or" upside down ", temporarily turning into a" normal bulb "... Use with or without a reflector (At the same time, it is important and the fact that it’s easy and quick to remove and install the reflector) .... Hang on the wall ... both behind the reflector and the sole, located on your own from any convenient side, or above your head ... It has a socket, where you can turn on the power tool so as not to pull the extension cord .... When storing and transporting it w ur compactly wound up and not get confused ...
... That's just the alteration of the electricians in the basement, I’ll be busy next weekend ... Now there’s no time ....
