Greetings to fans to craft. Sometimes in life there is a need for various tools. So, for example, such a thing as a grinder most often helps out. With it you can cut, grind, grind and much more. But often there are places where you can’t reach the cable or in general cases when you need to cut something far from the mains. Then a 12V grinder will come to your aid, which you can power from a small battery that can fit in your pocket. And if you are on car, then just connect the grinder to the car’s mains.
The main advantage of the power tool is that it is relatively quiet. This is especially convenient if you need to "stiffen" something (this is a joke of course .... or maybe not). In addition, a 12V grinder can be used in the apartment without the anger of neighbors.

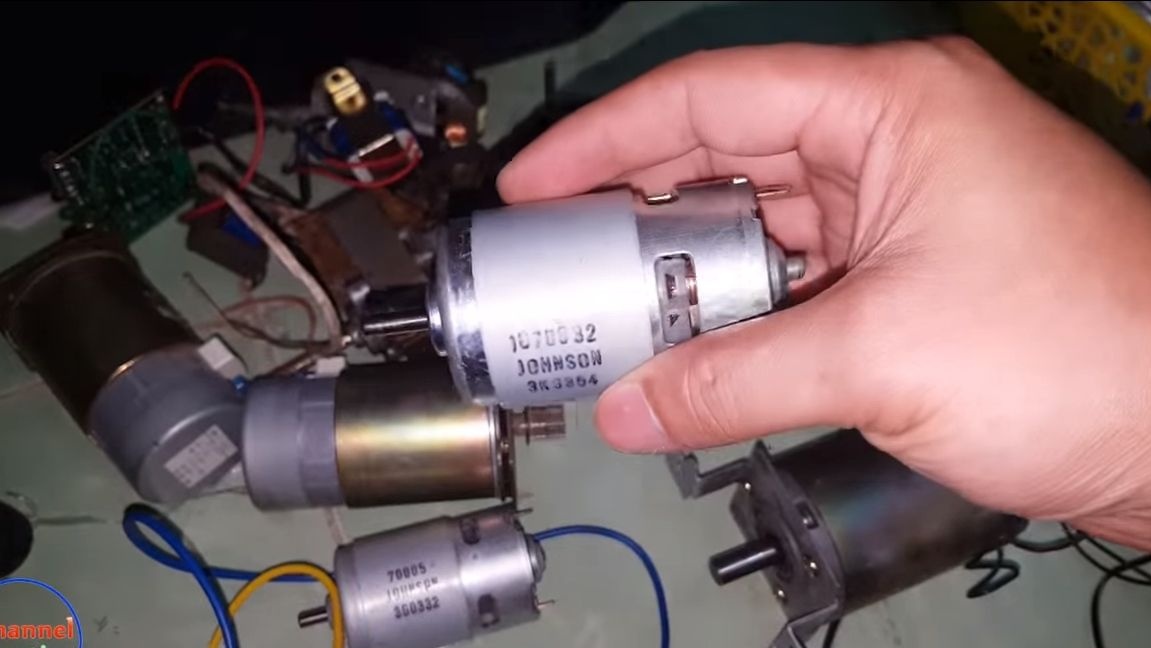
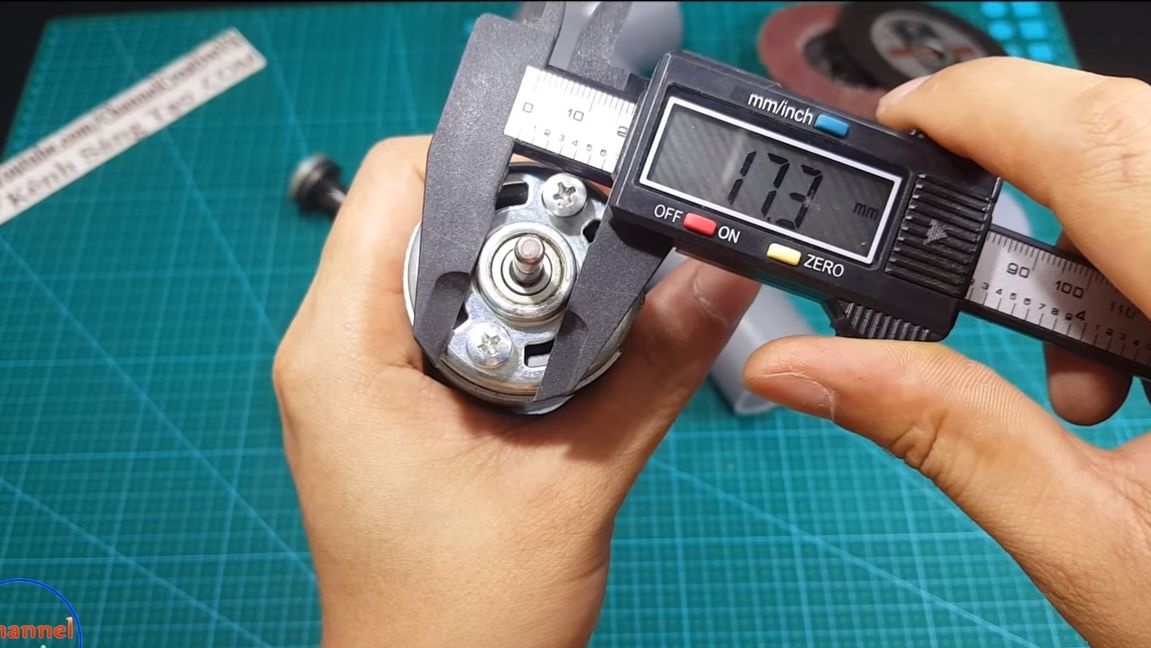
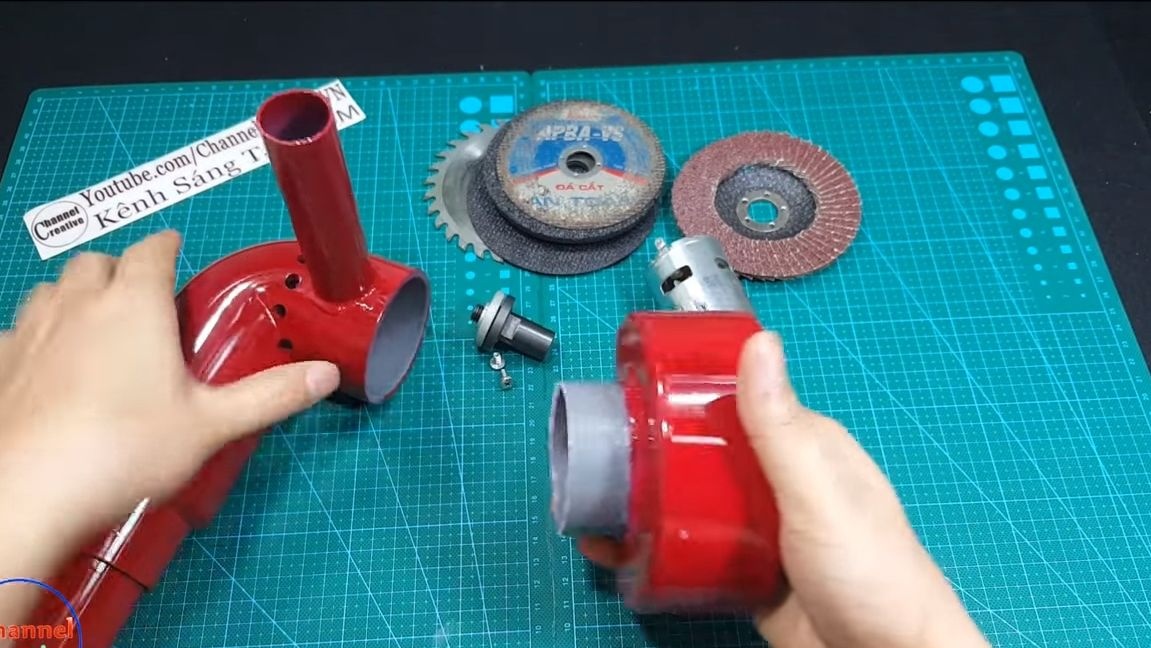
As a basis, the author decided to use the 775 engine. It works on a voltage of 12-24V, has a built-in propeller for cooling, and the engine's armature rotates on bearings. Thanks to all these features, the 775s go quite a long time, they are actively used in various home machine tools.
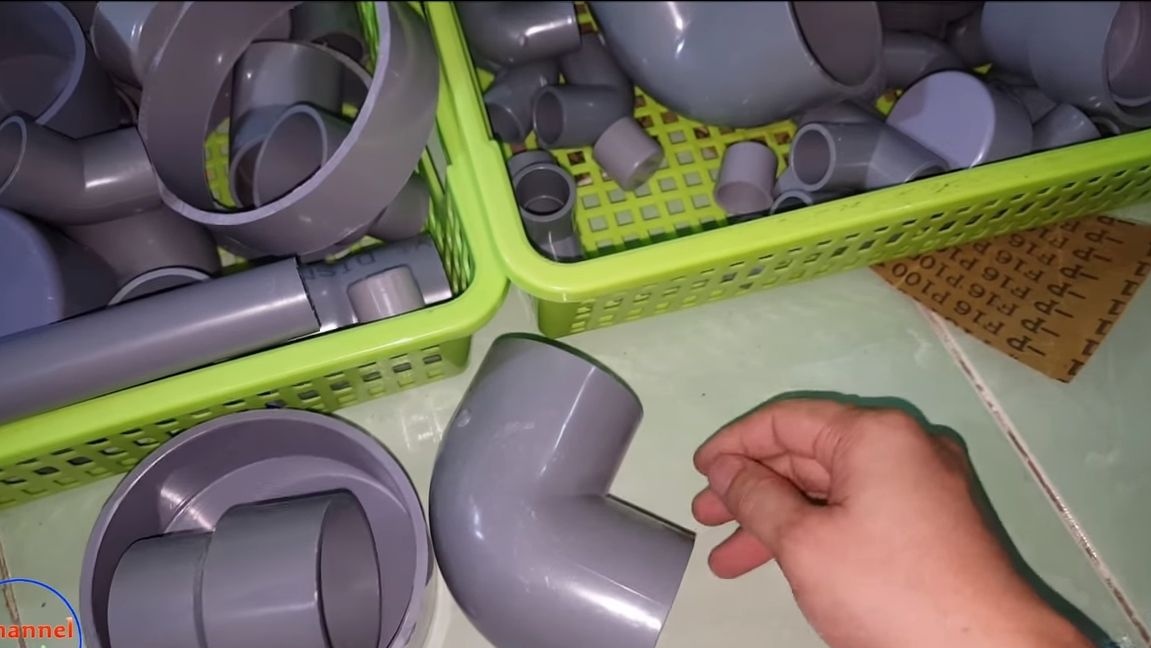
Well, everything else, that is, the body, is made of spare parts for plumbing from PVC. Getting to the assembly.
Materials and tools used by the author:
Material List:
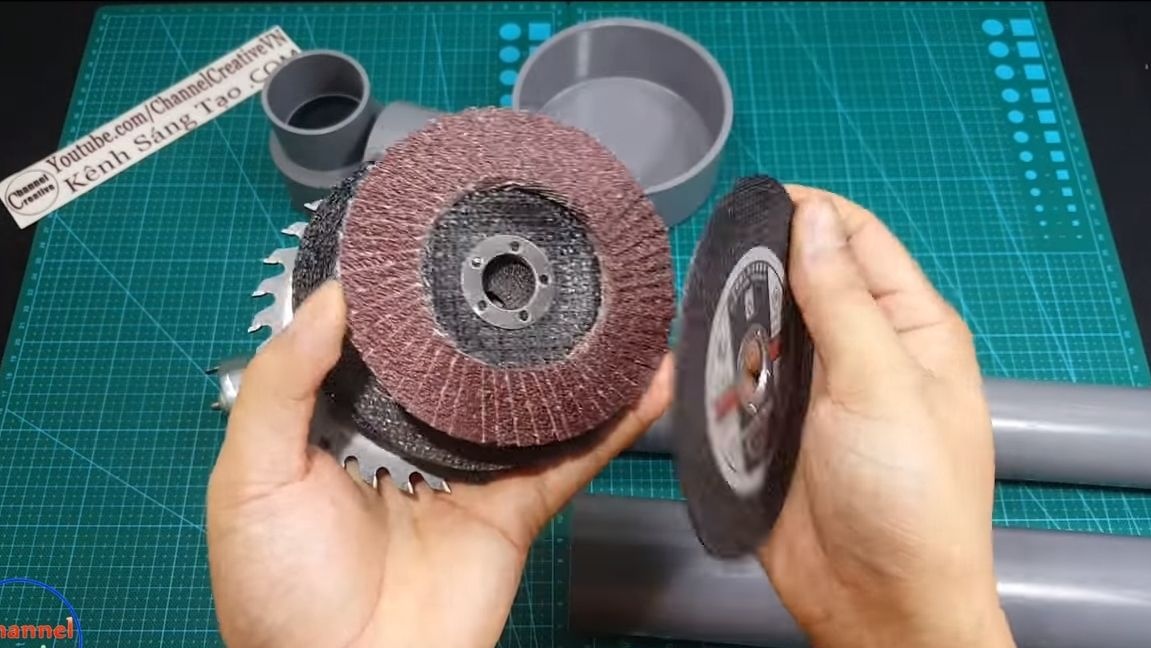
- PVC parts (see photo);
- or similar;
- ;
- switch;
- connector for connecting a power source;
- wires;
- paint.
Tool List:
- a hacksaw for metal;
- drill;
- glue;
- cogs, screws, etc .;
- drill;
- marker;
- .
The manufacturing process of the grinder:
Step one. Making the case (pens)
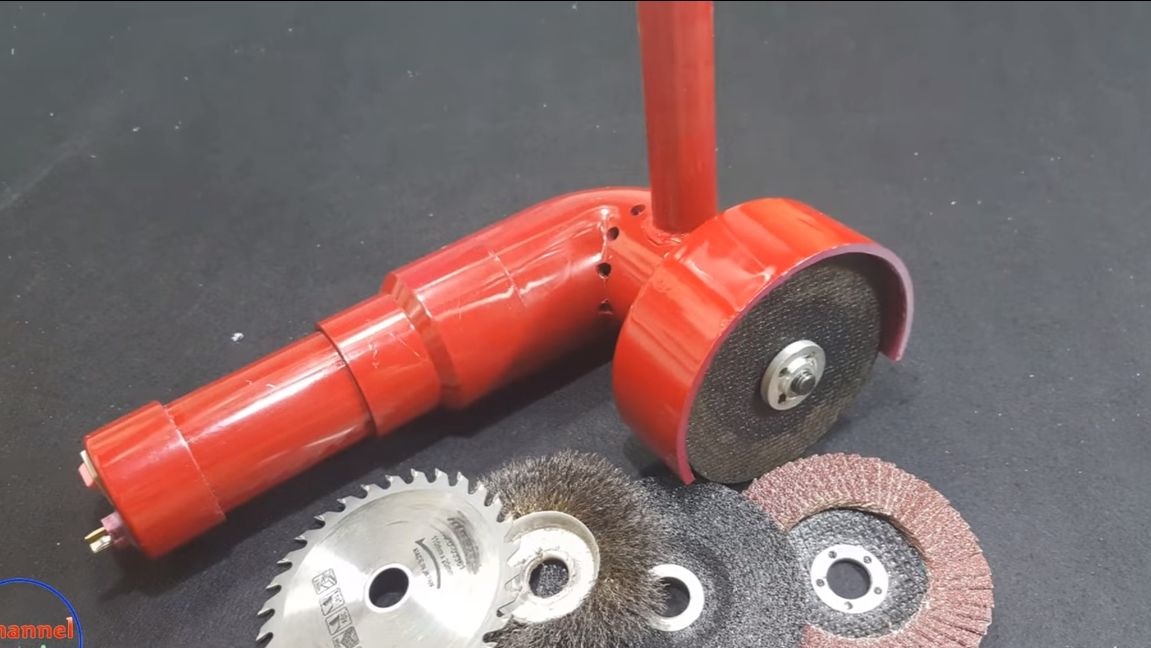
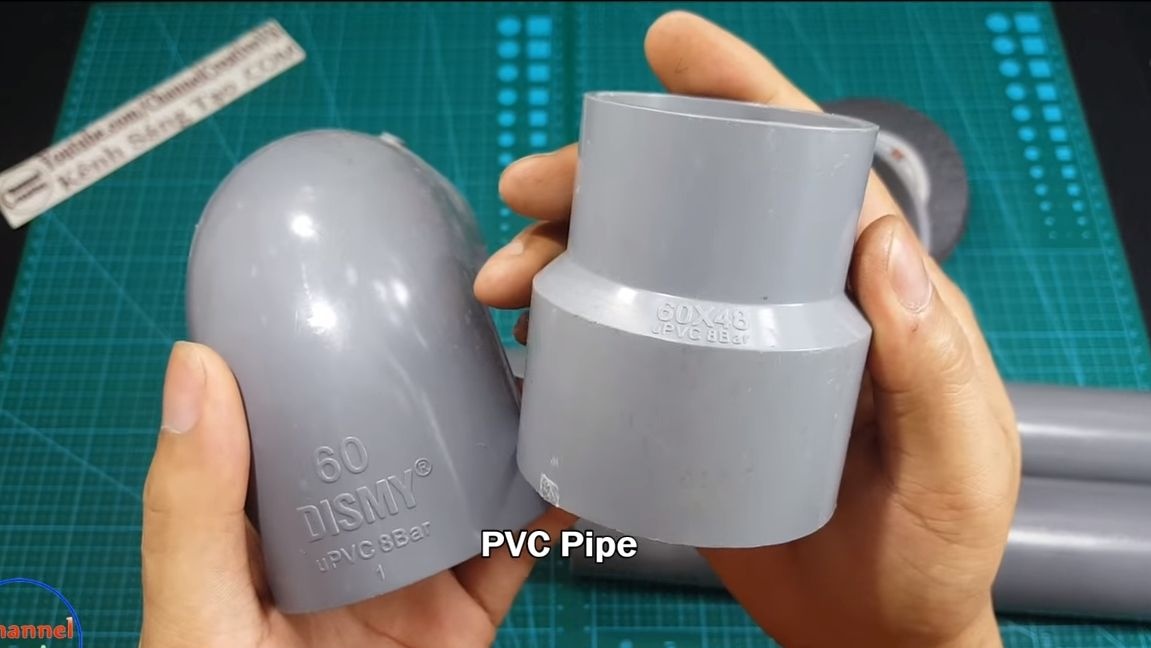
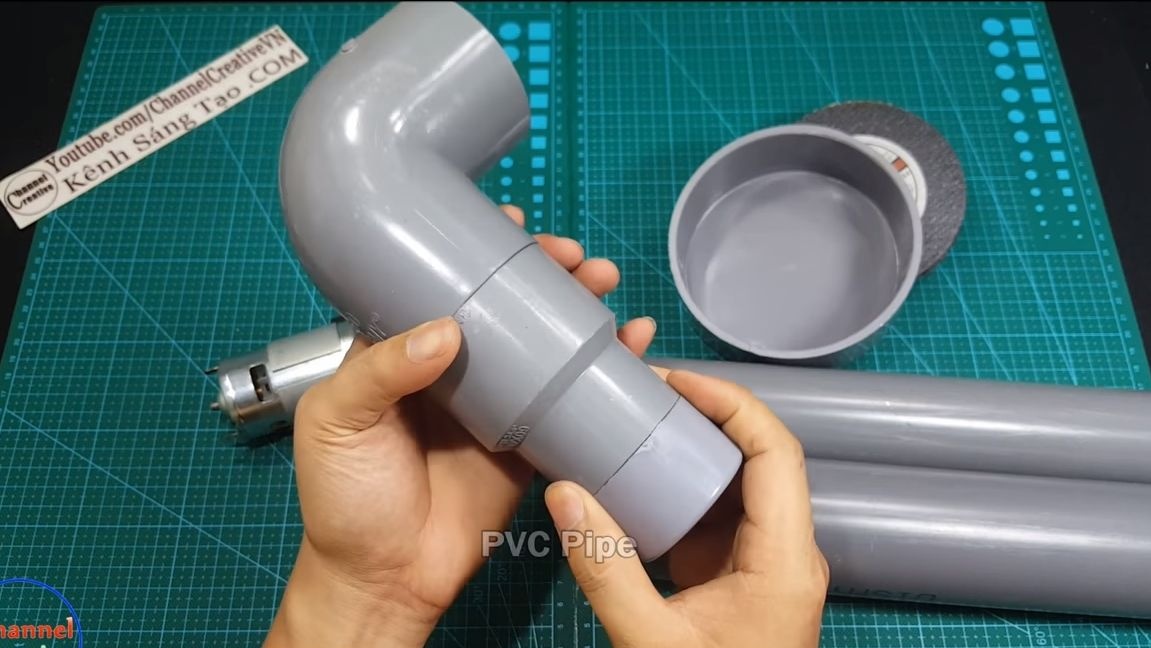
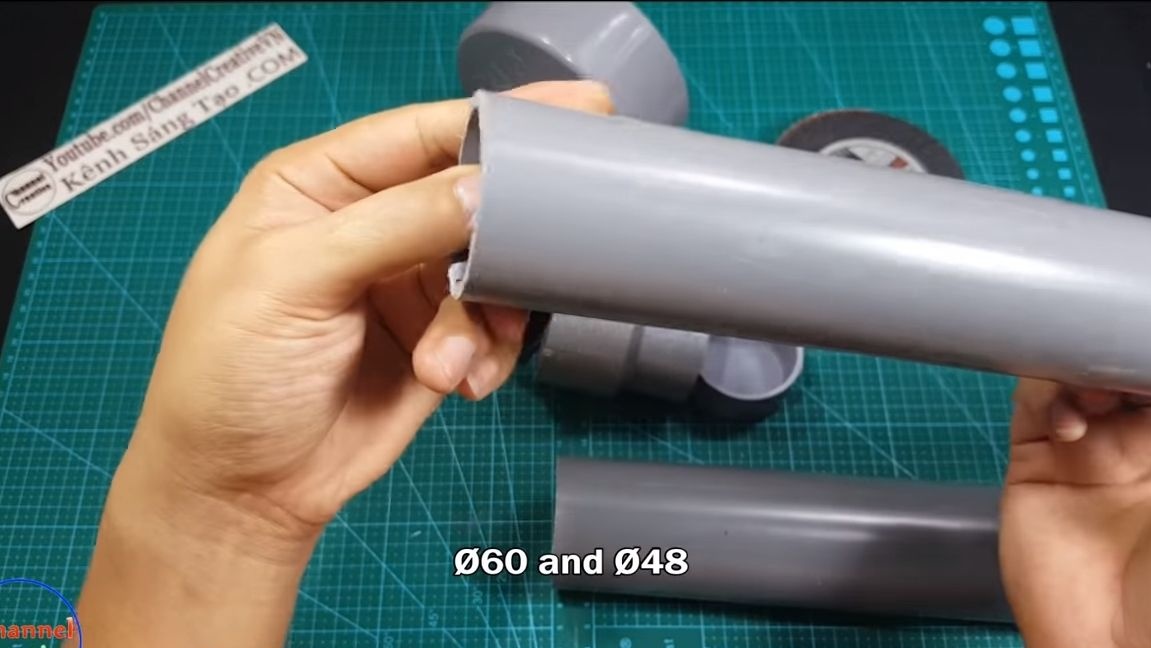
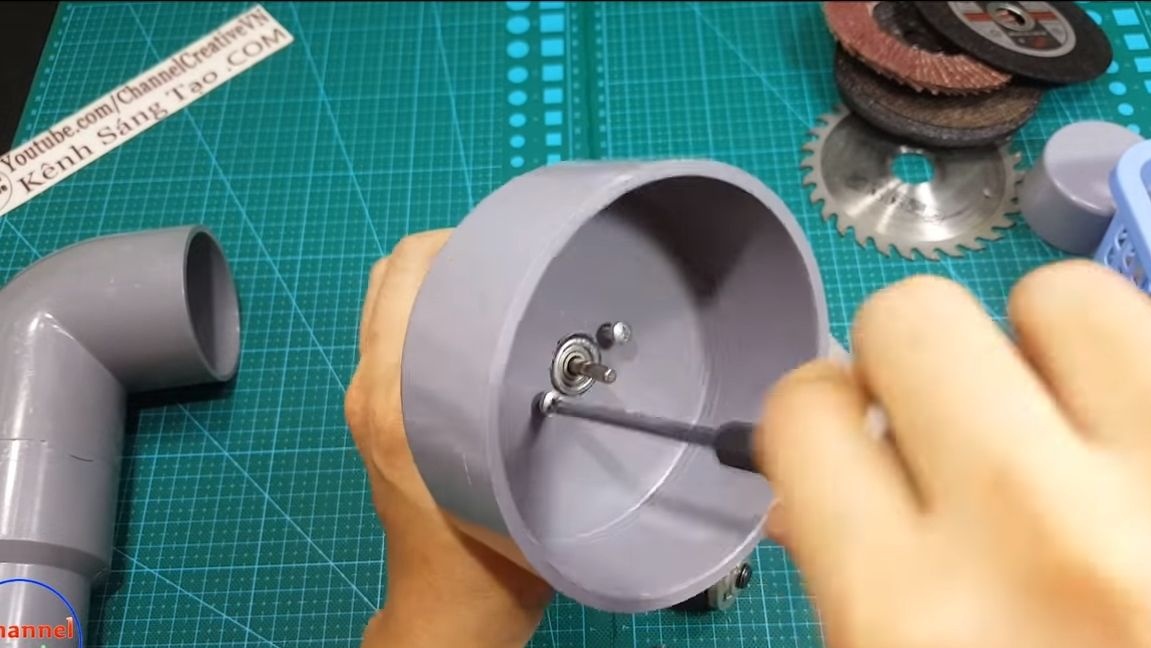
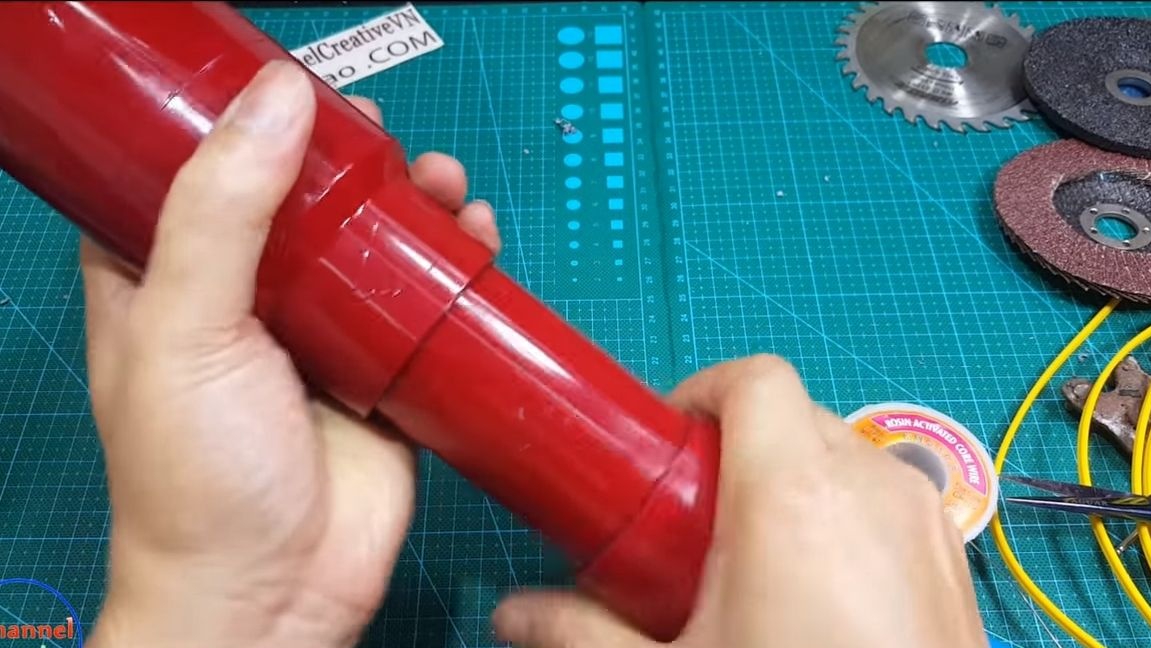
First of all, we make a handle, here you will need a connecting corner made of PVC, a part in the form of a cone and a piece of pipe. We cut off a piece of pipe and use the glue to assemble the entire structure. As a result, we get a ready-made lightweight, durable handle.

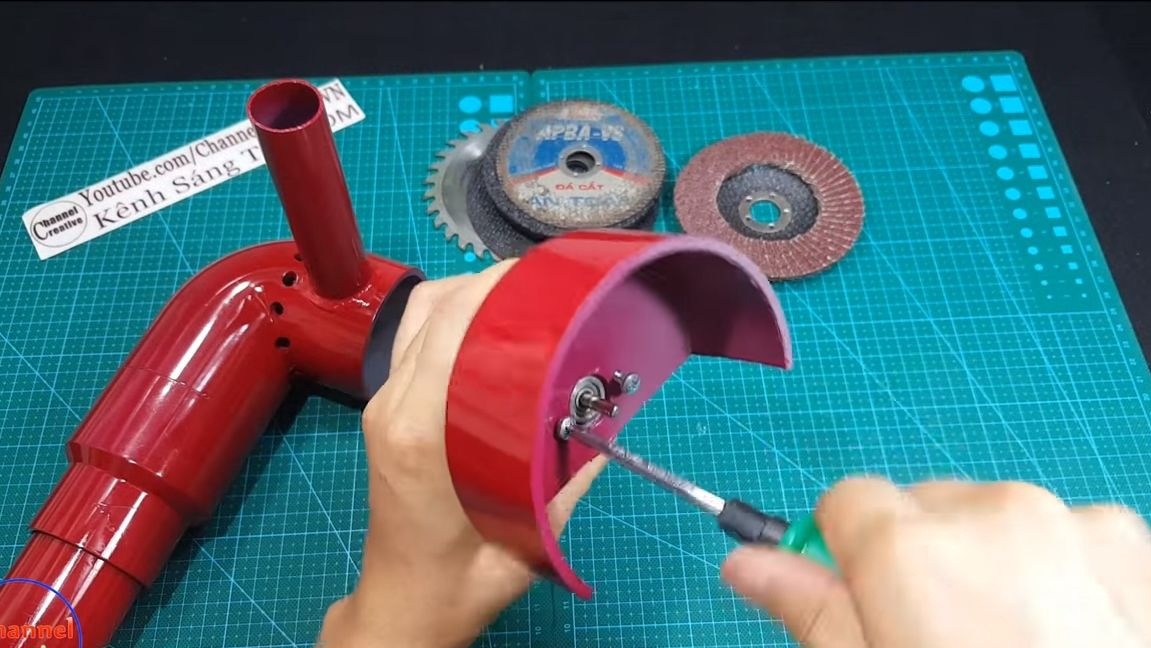
Step Two Making a protective shield
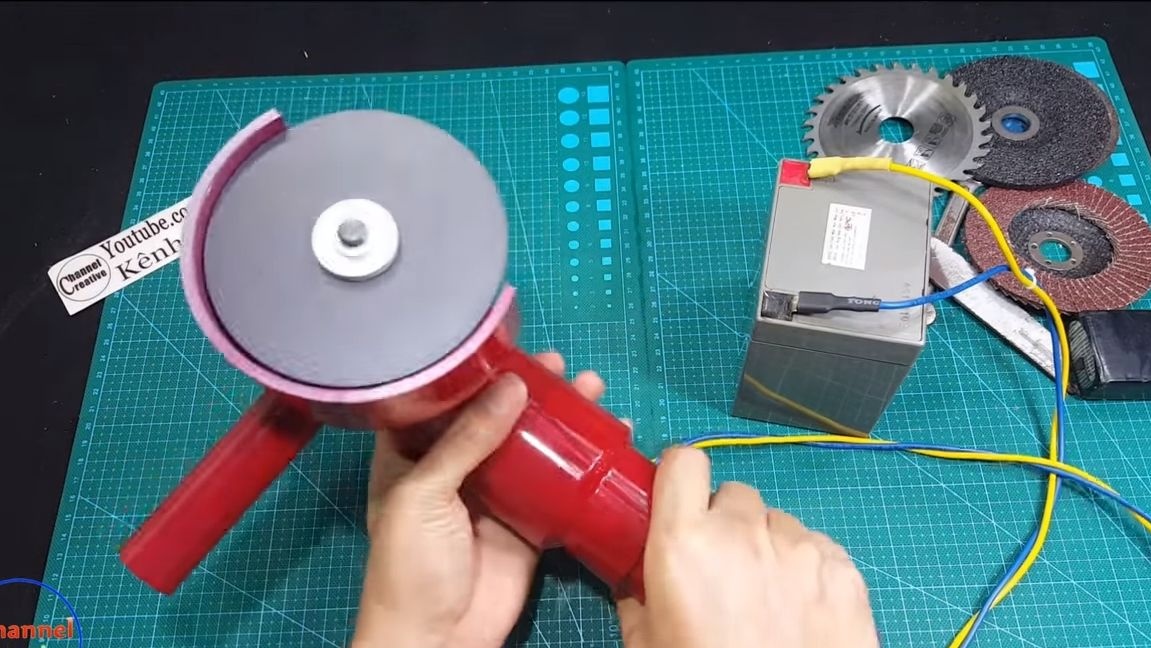
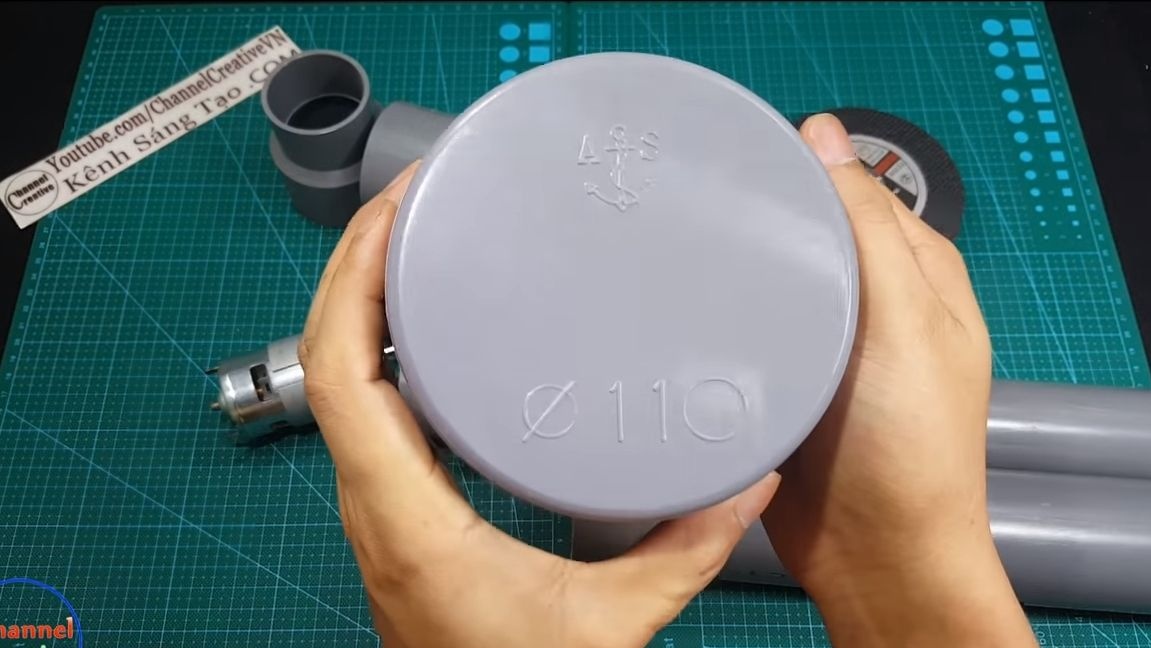
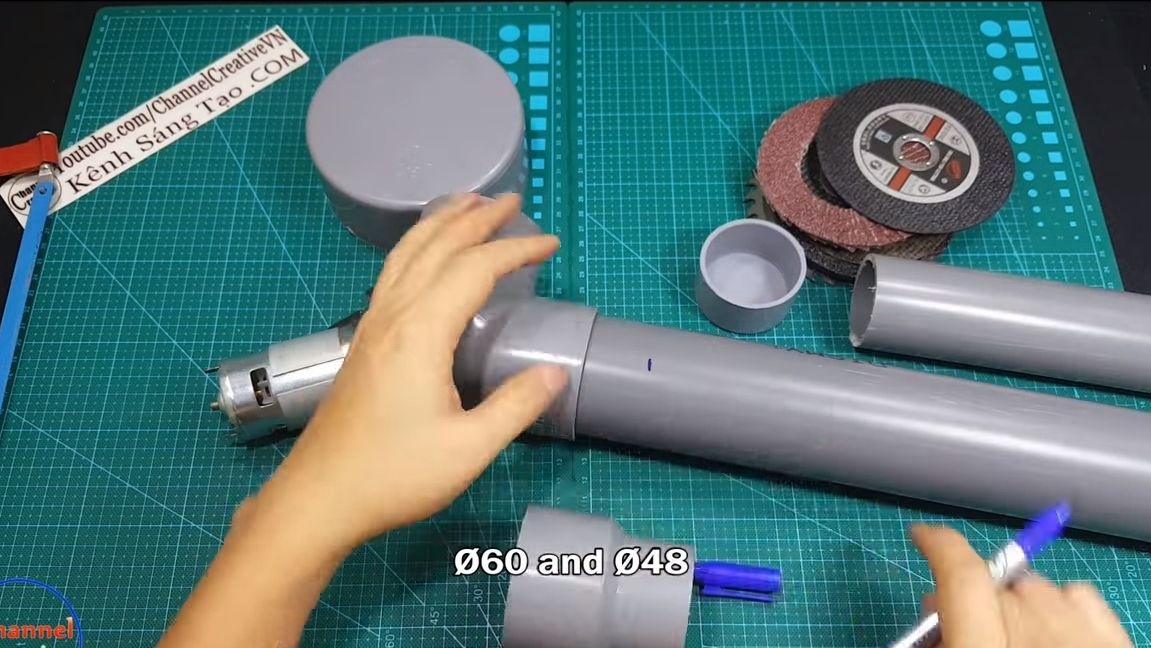
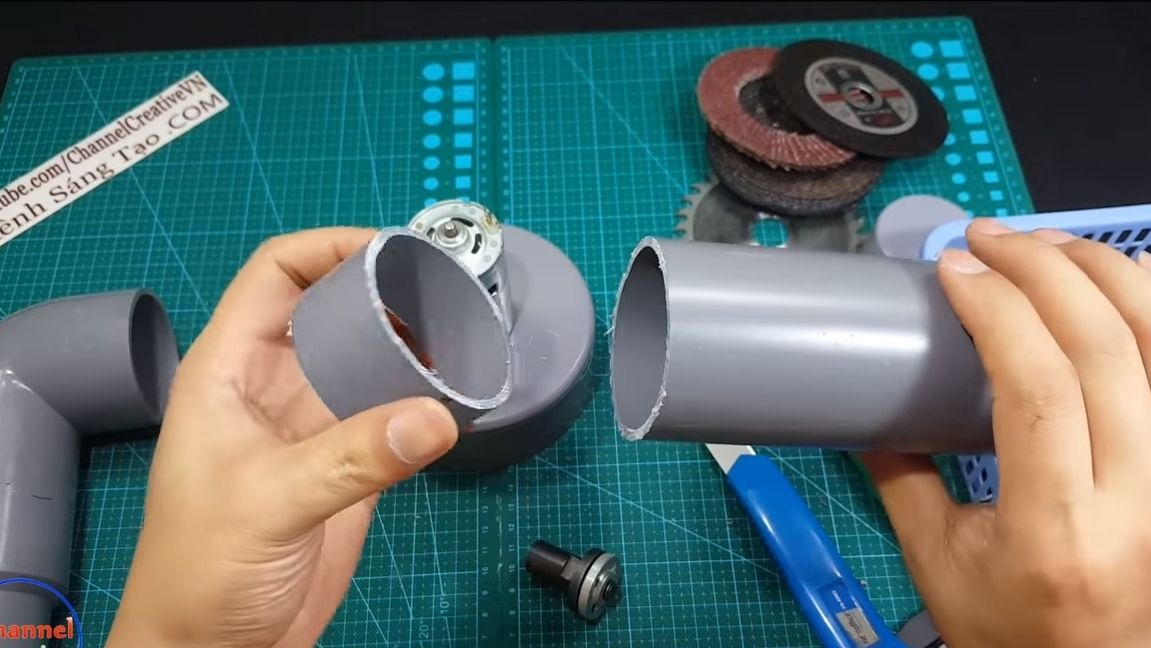
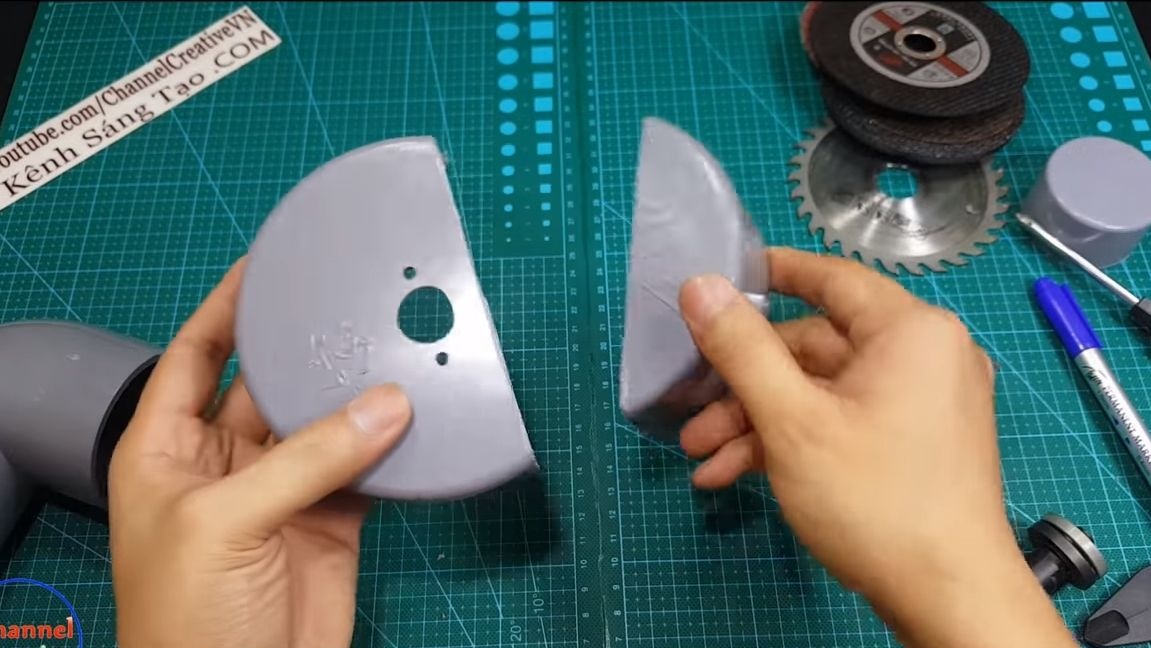
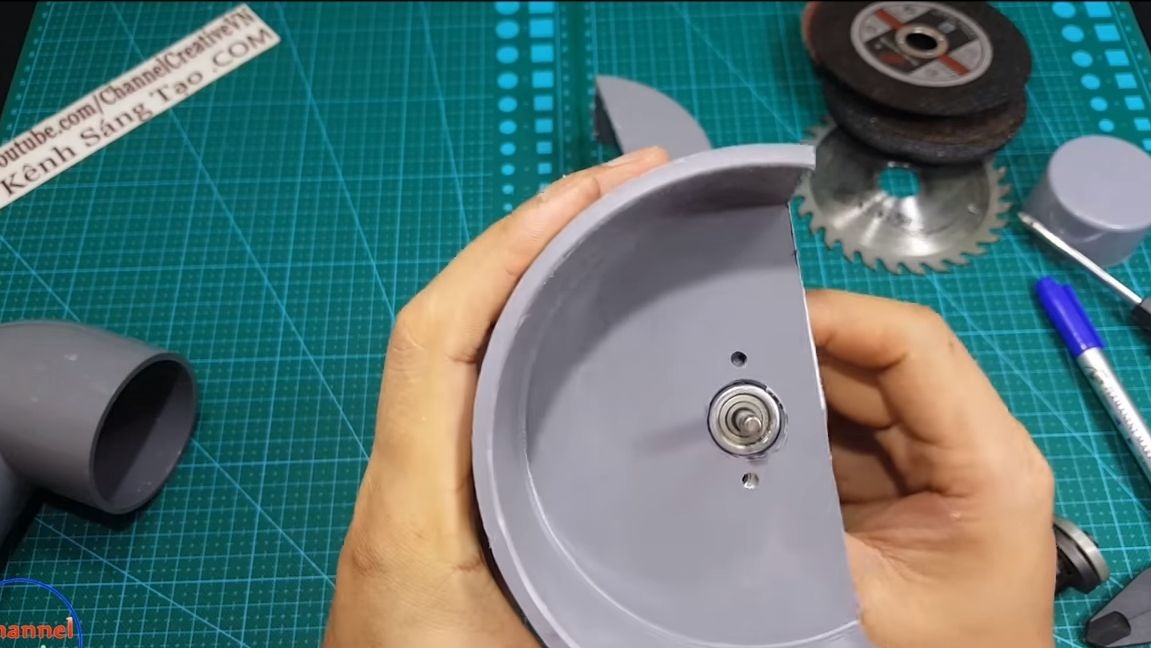
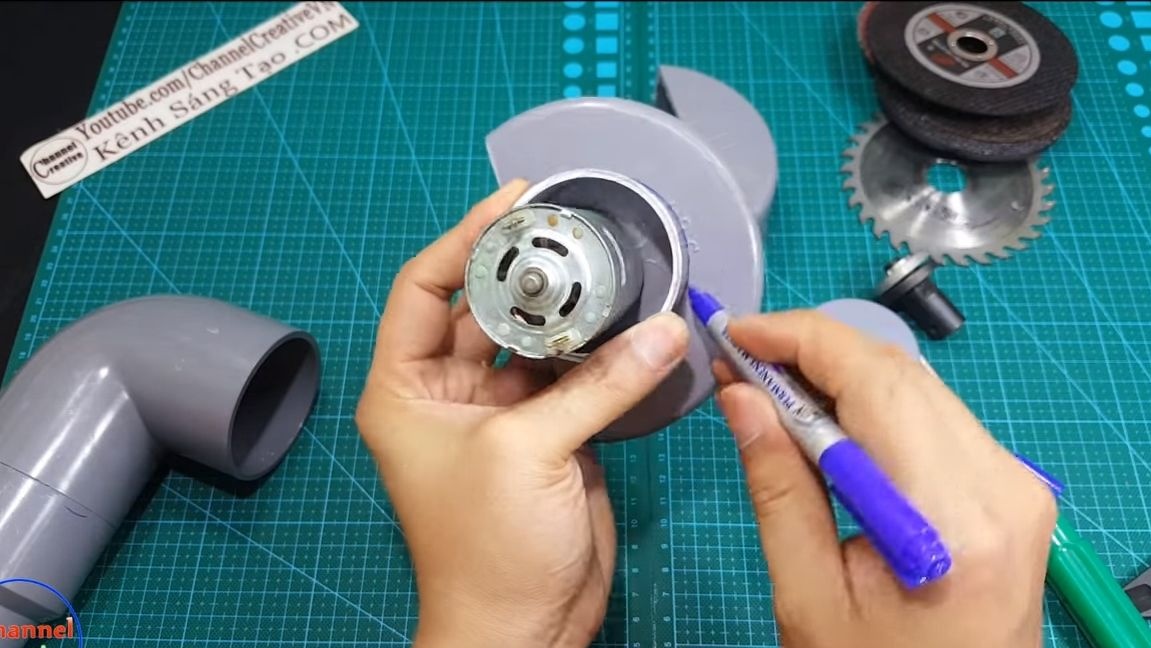
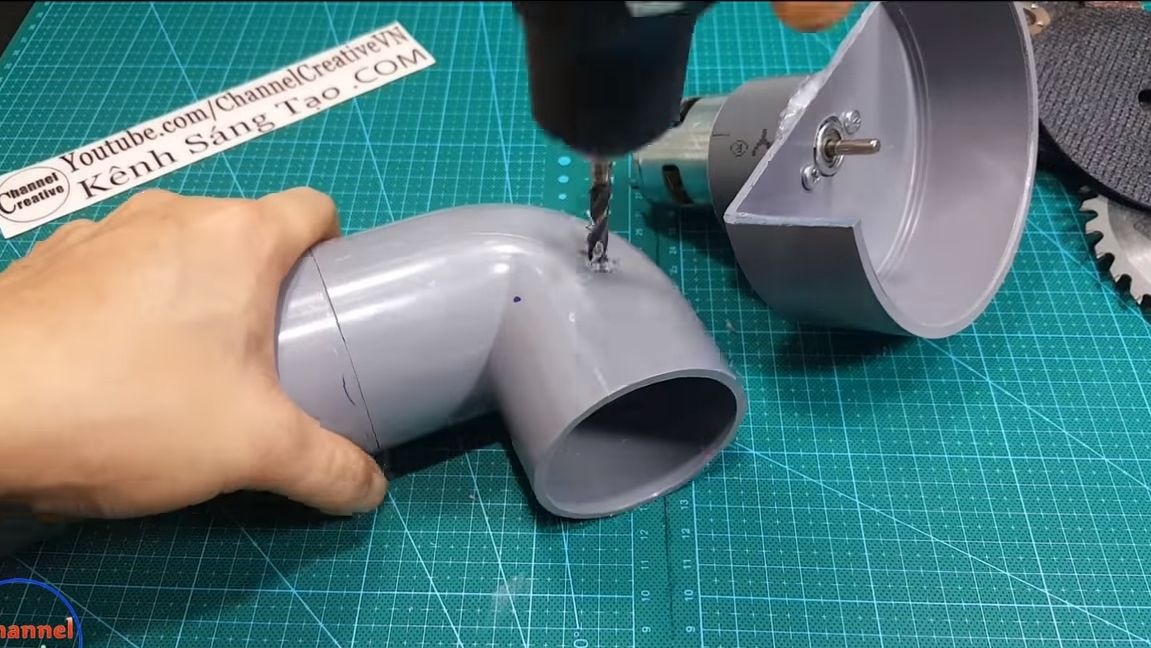
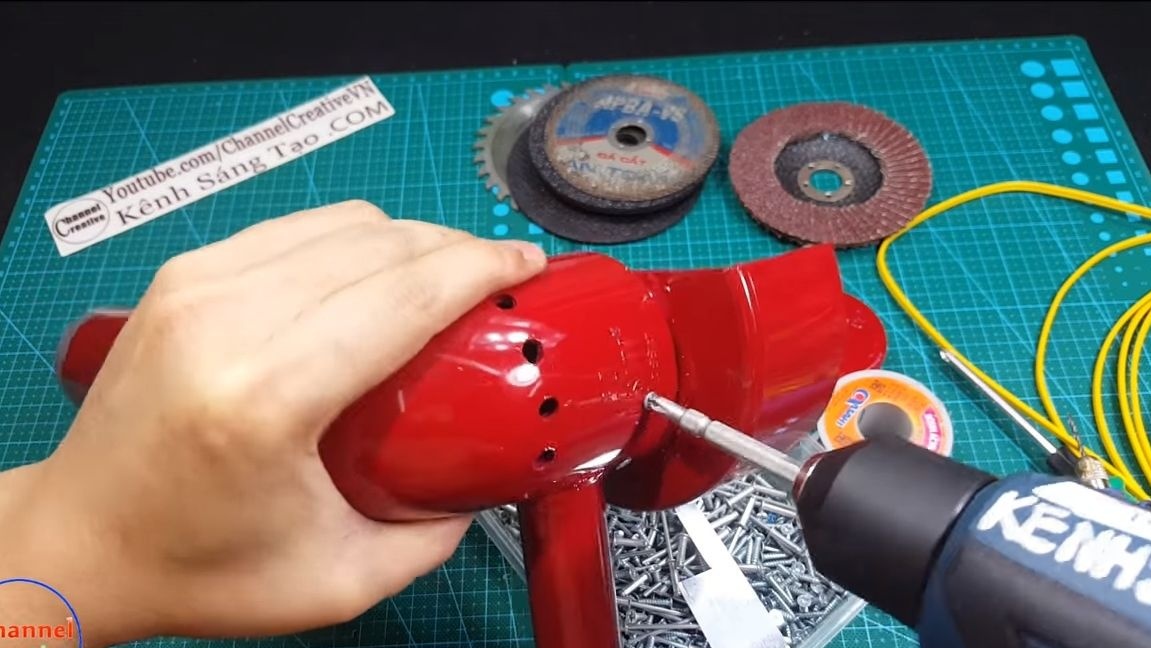
For a grinder, you will definitely need a protective shield so that sparks, fragments of the disk and so on do not fly into the face. In addition, the protective shield also works as the base to which the engine is attached. To make this part, you will need a plug from 110 PVC pipe. Drill a hole in it for the protruding part of the body on the engine, as well as two more holes for the mounting screws. Now you can temporarily attach the engine to the part and make sure that everything is done correctly.
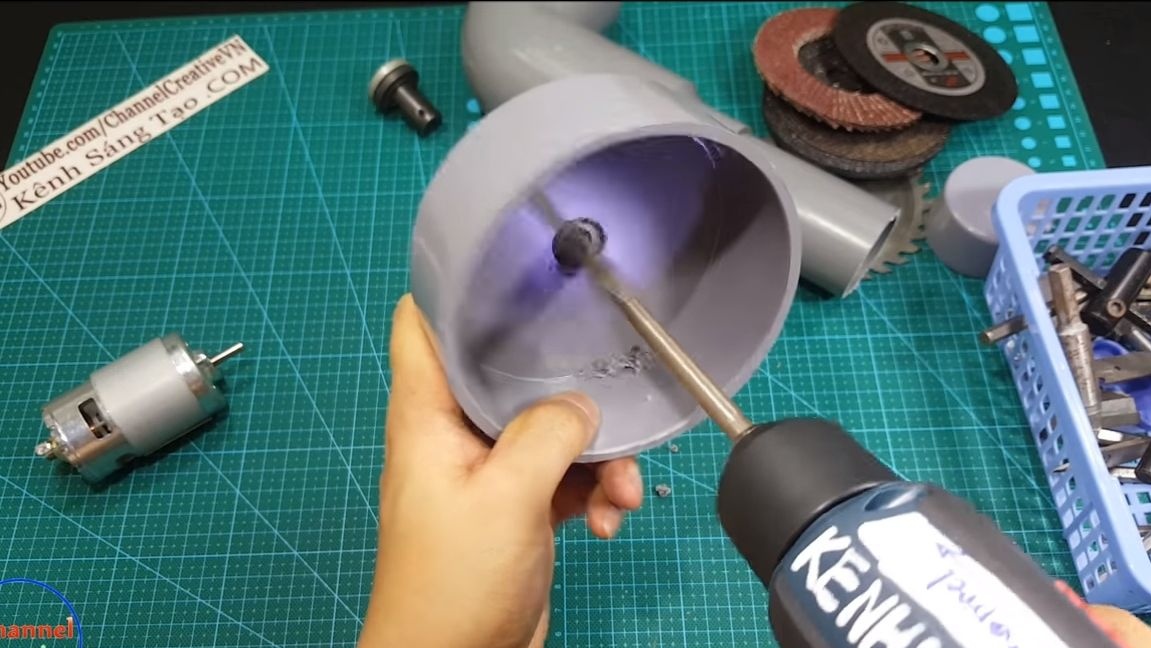
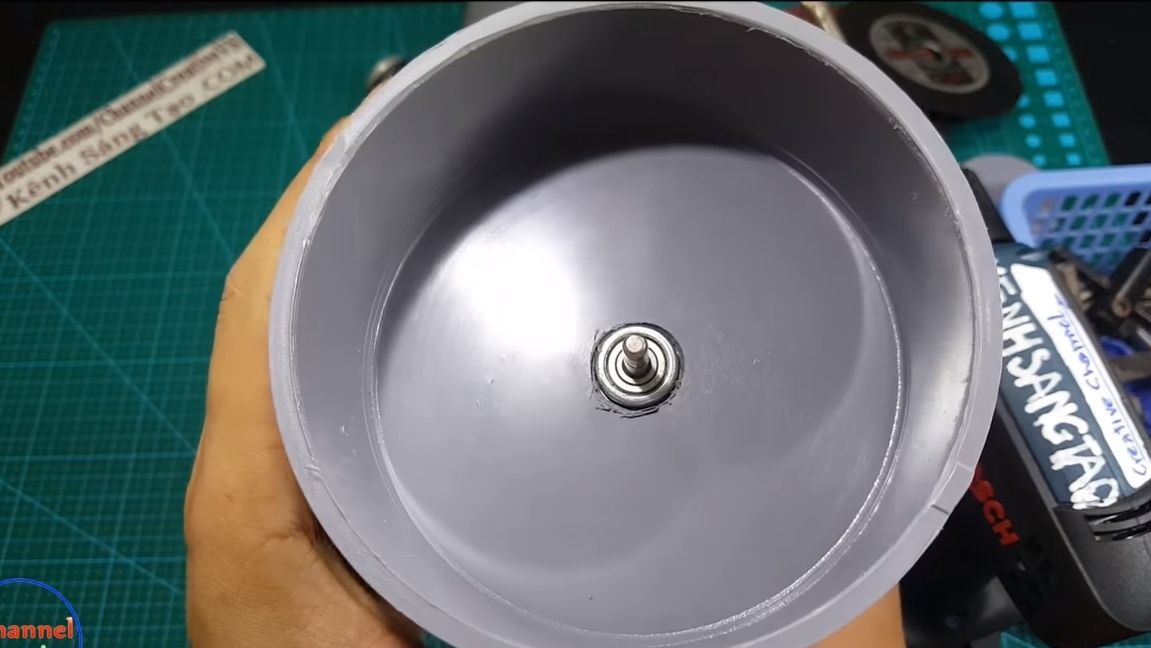
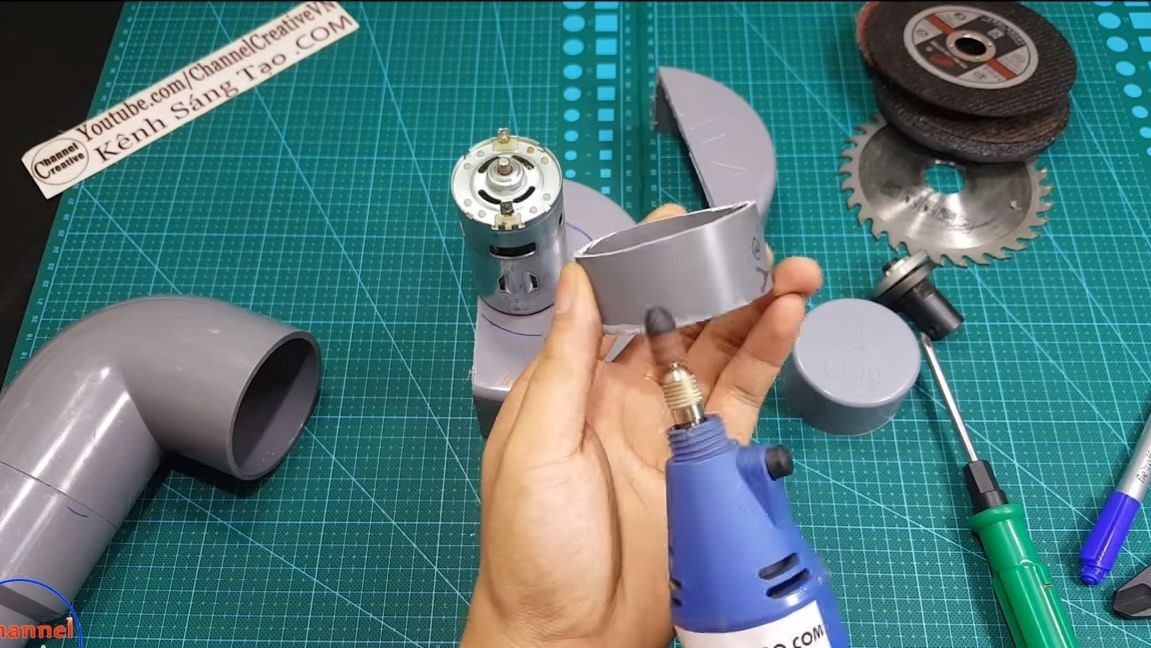
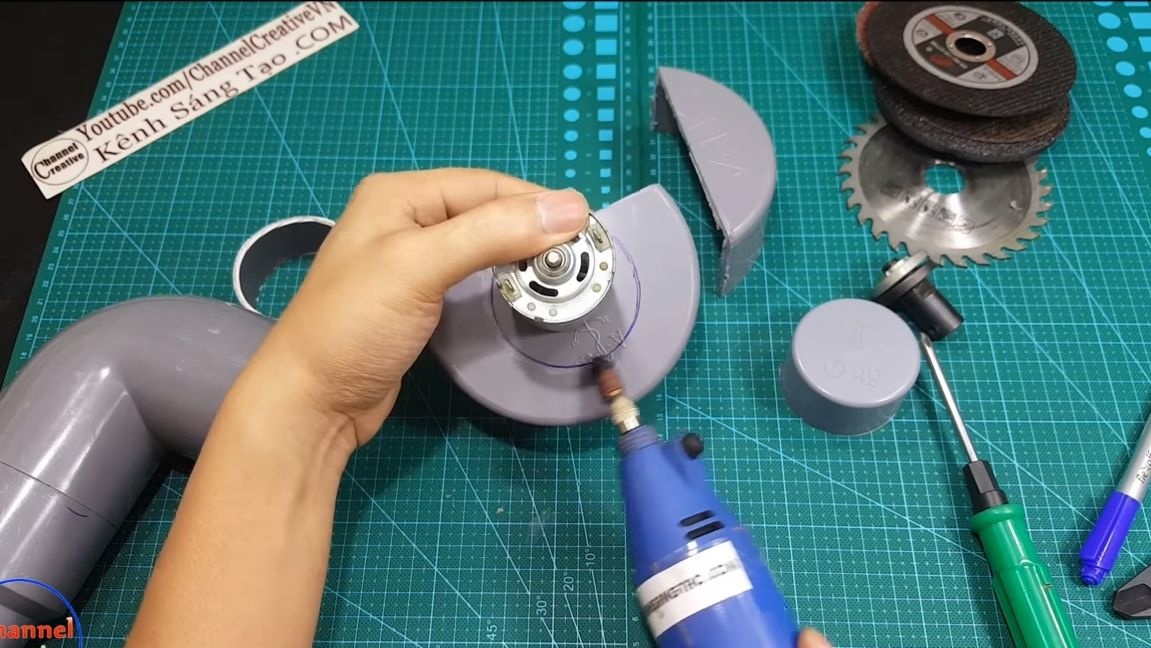
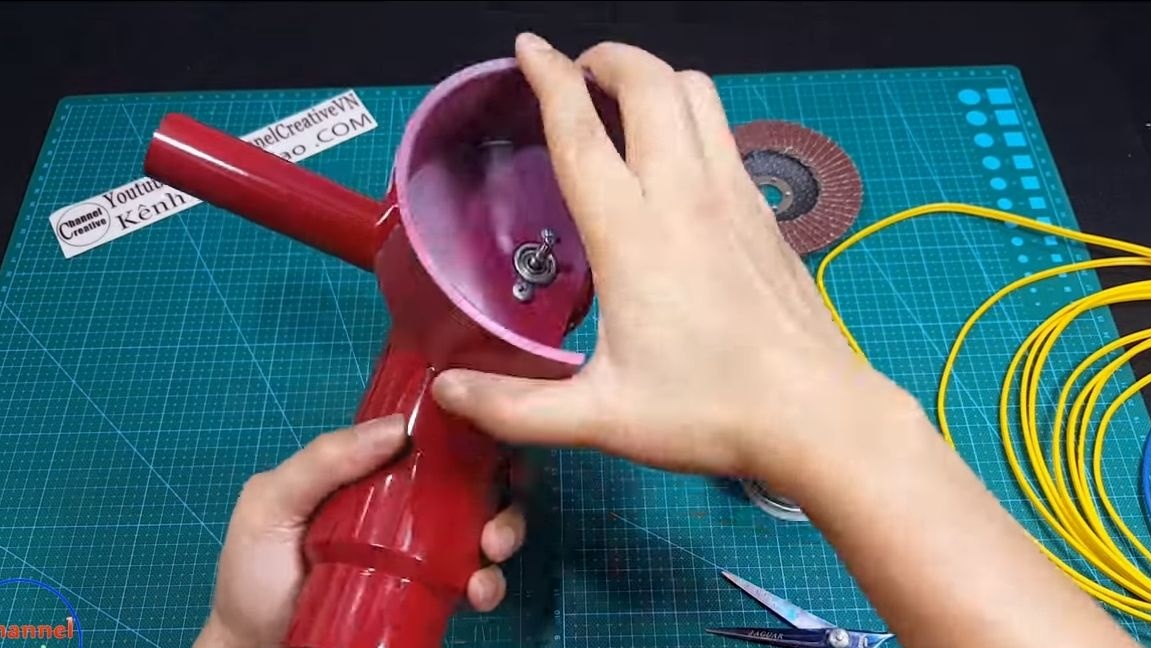
Next, we take a marker and a ruler, we need to cut off the excess part from the part, that is, make a working area for the Bulgarian discs. When you cope with this task, cut a small piece of pipe and glue it on epoxy, putting it on the engine, as can be seen in the photo. As a result, you will get a ledge that will go into the previously made pen.

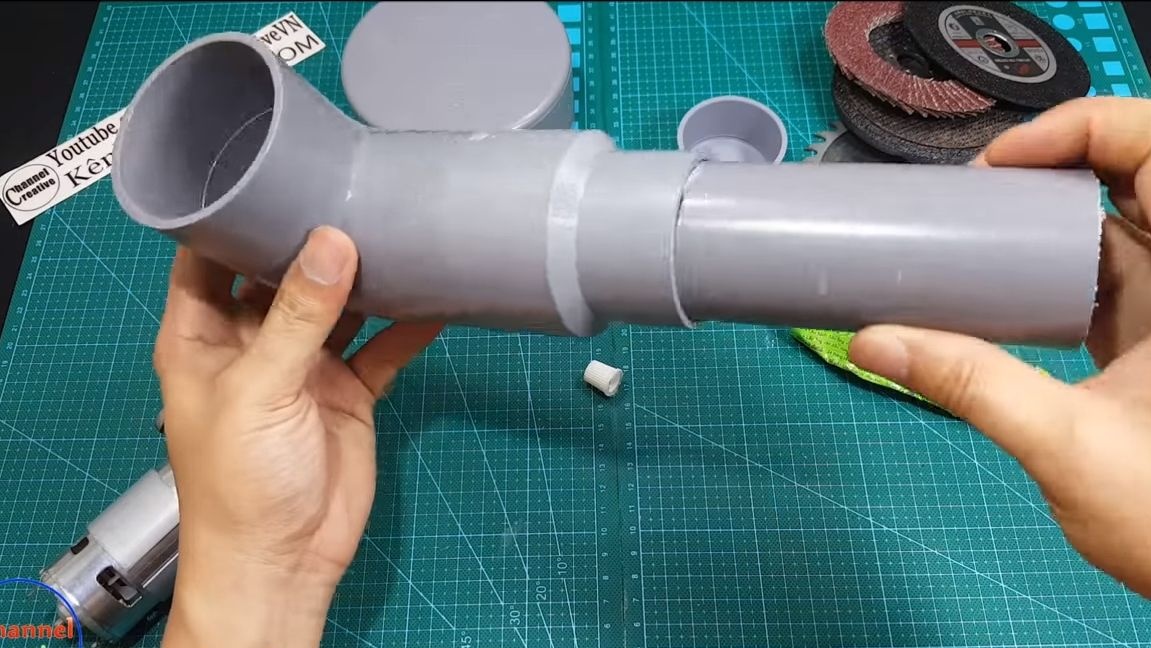
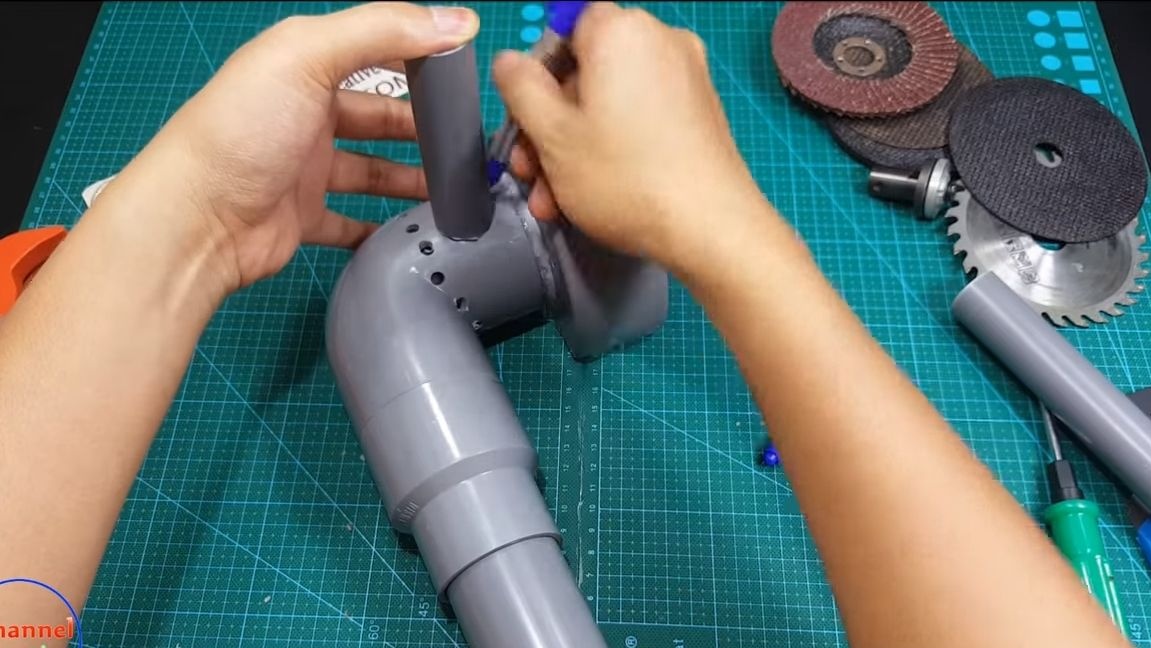
Step Three The final assembly of the housing
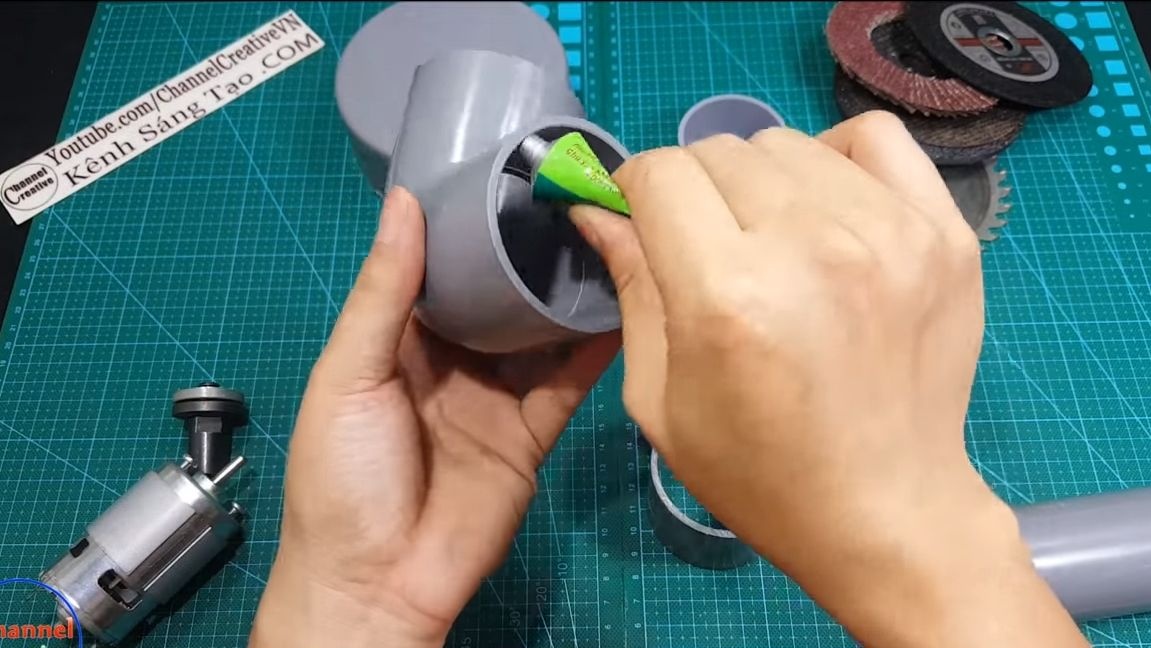
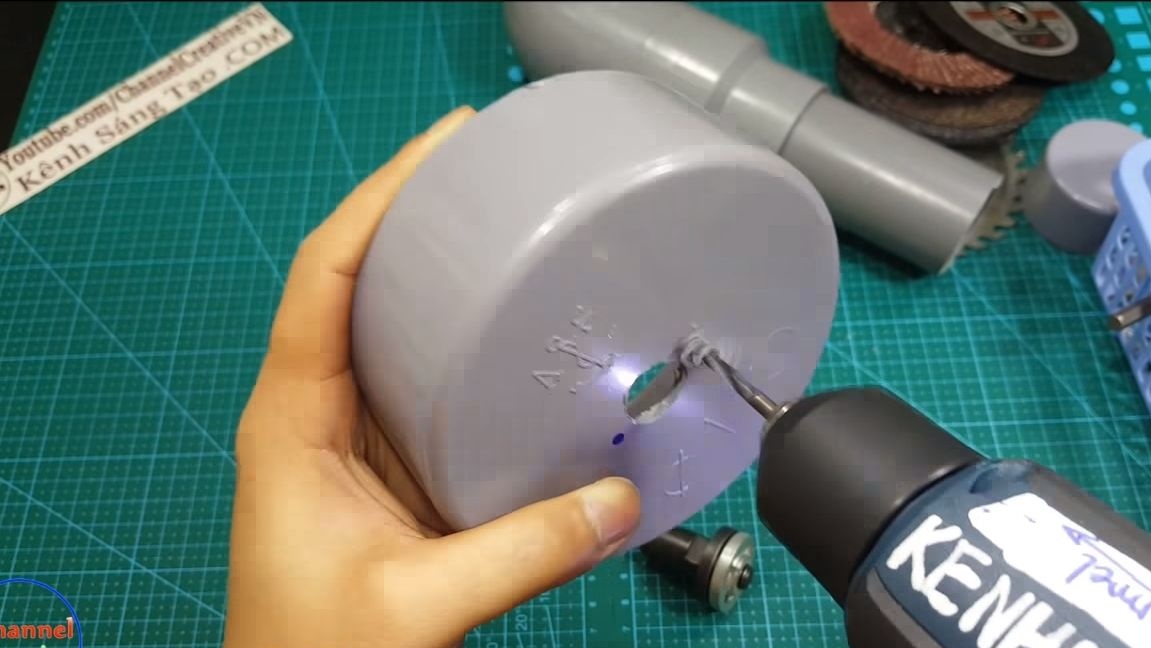
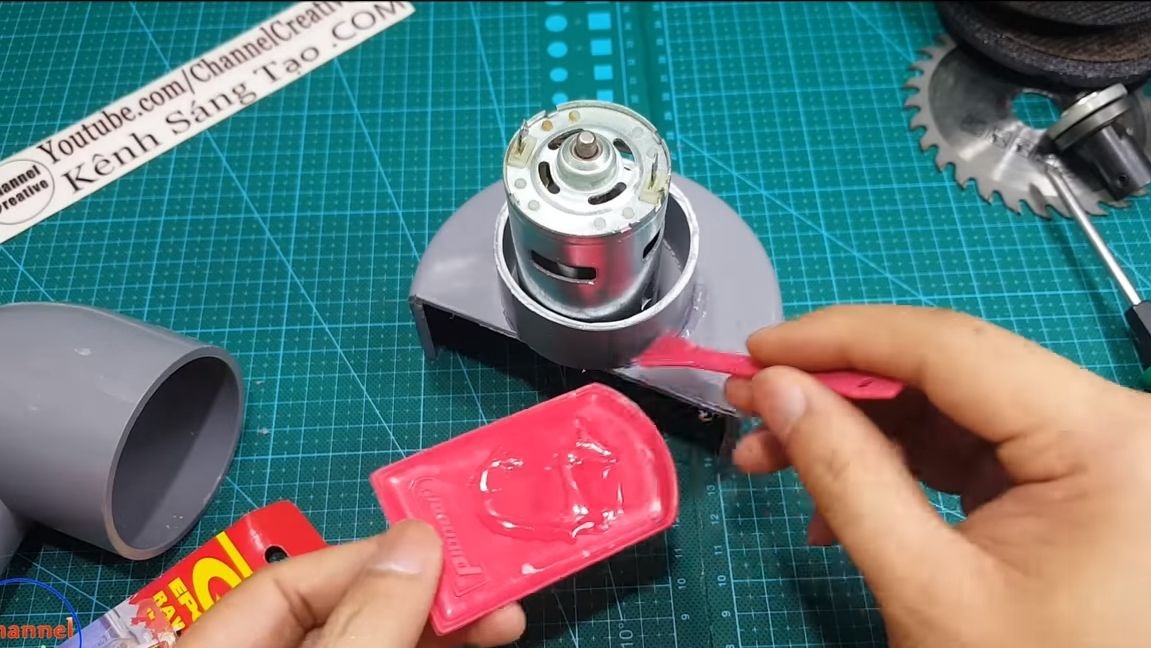
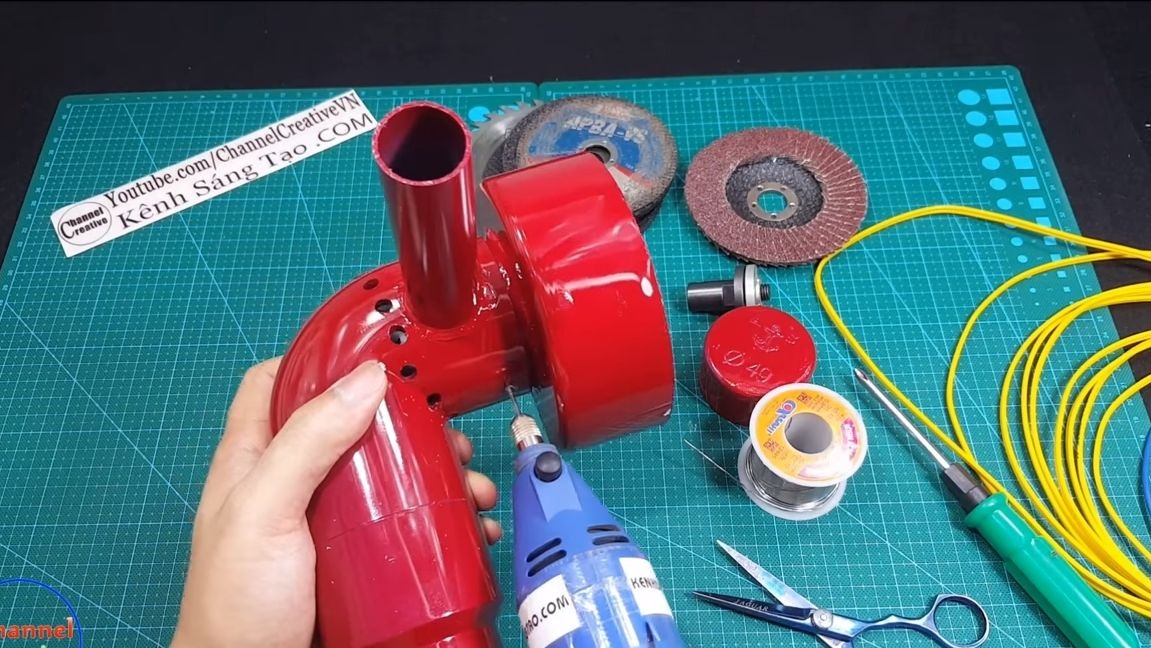
In the place of the handle where the engine will be located, be sure to drill holes. They are needed in order for the motor to cool, otherwise it may overheat. At the end of the work, the author sets the vertical handle, which must be cut out of the pipe. Just glue it to the body using epoxy glue. For high-quality bonding, clean the bonded surfaces with an emery cloth or a drill, as the author does.
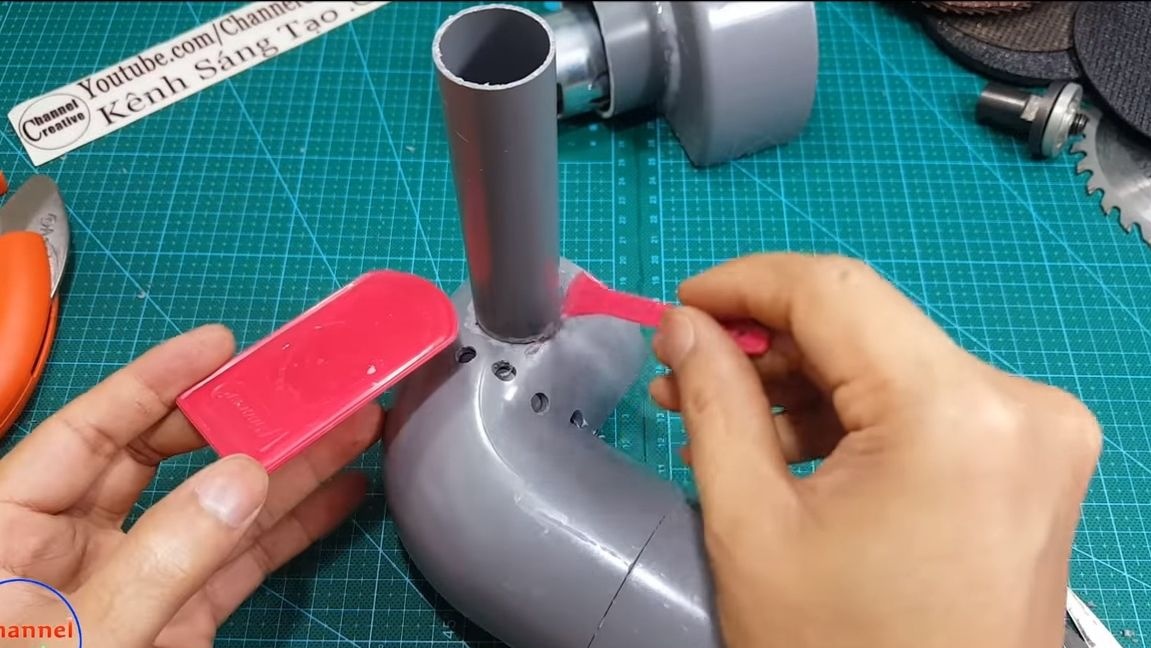
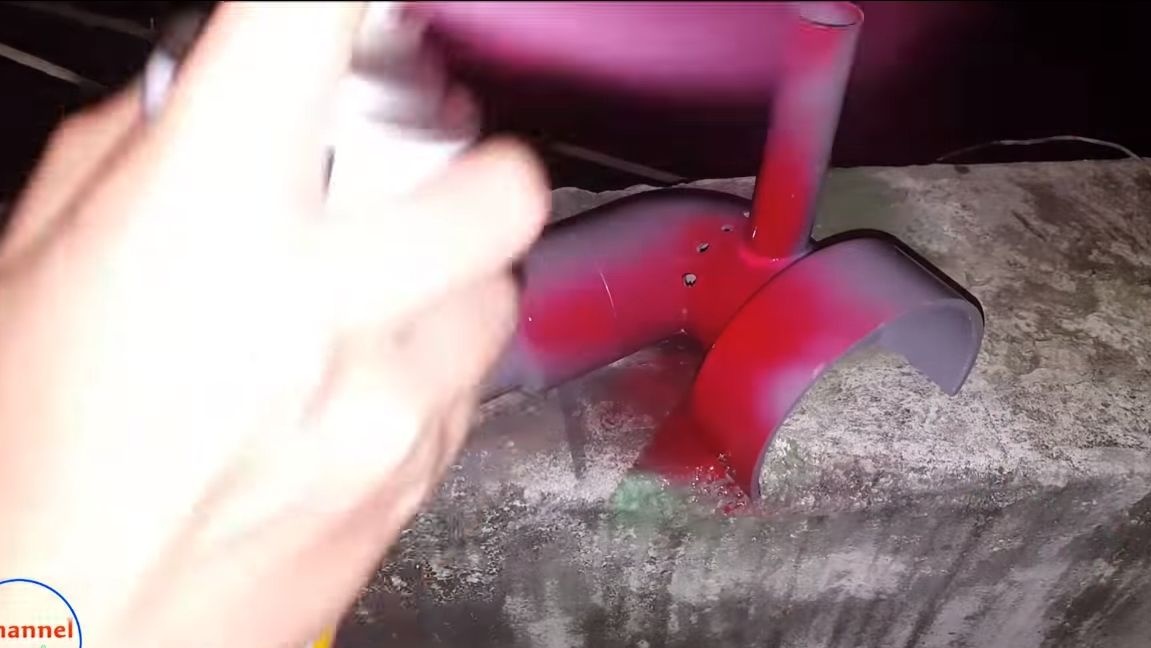
Now you can paint the entire body in any color you like. For this, a spray can is quite suitable. Look at the beauty of the author!
Step Four Install the engine
We install the engine in its place, securing it with two screws. Now install the engine part in the housing. For fastening, the author uses screws, but you can well glue the design. But in case of gluing it will be impossible to disassemble it.
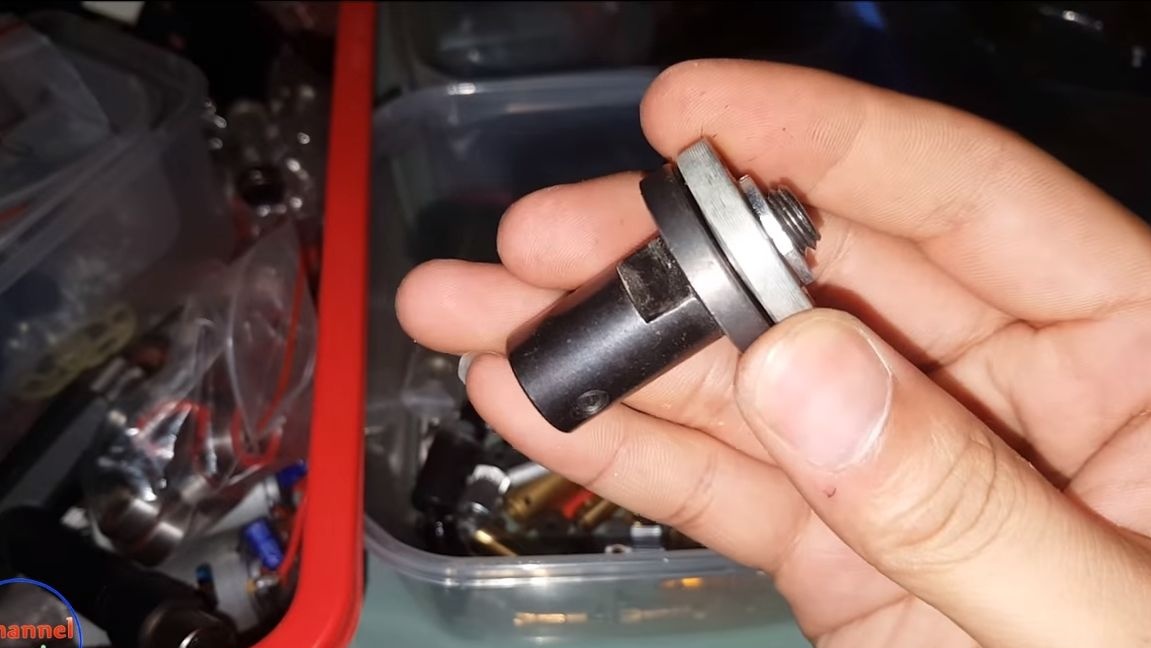
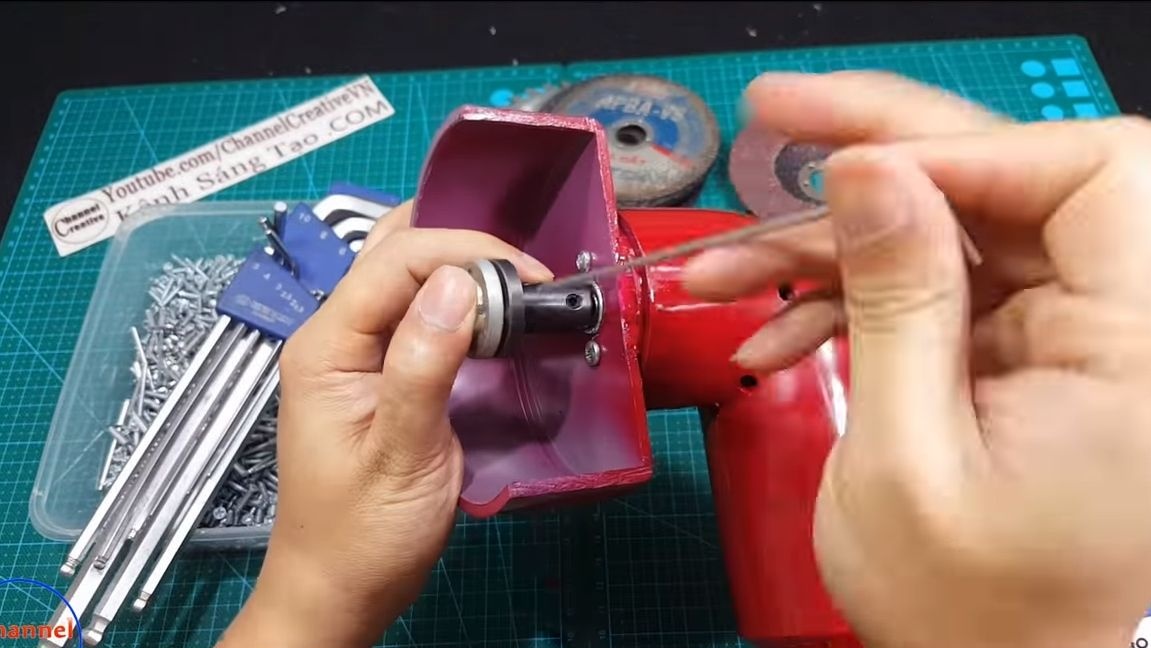
Step Five Adapter installation
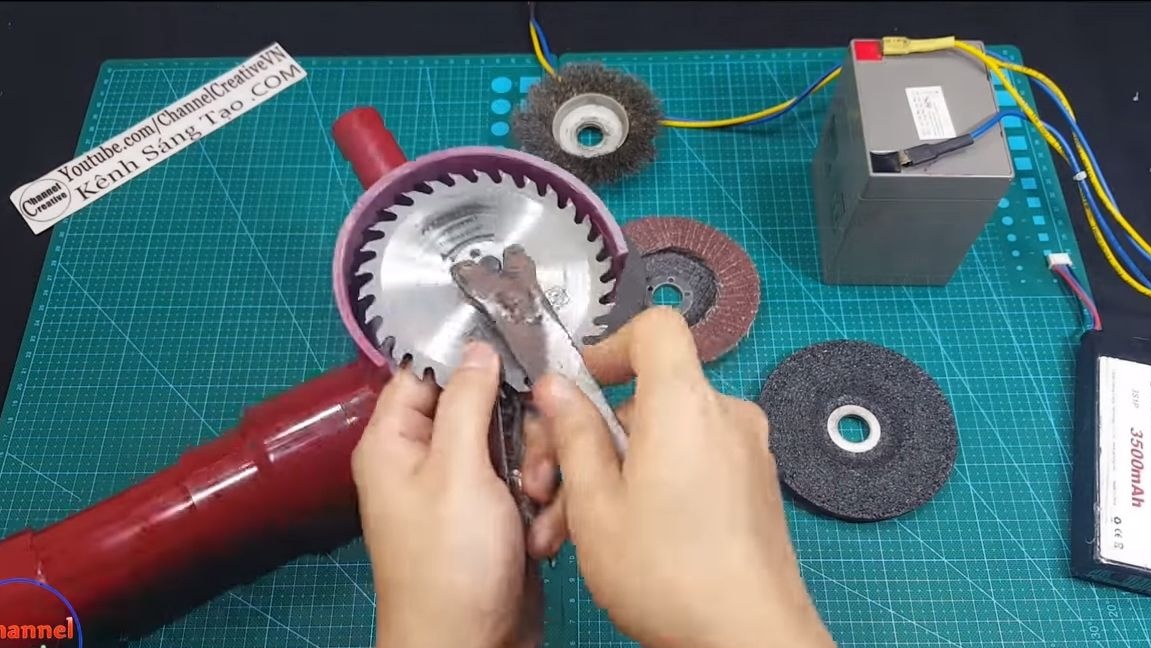
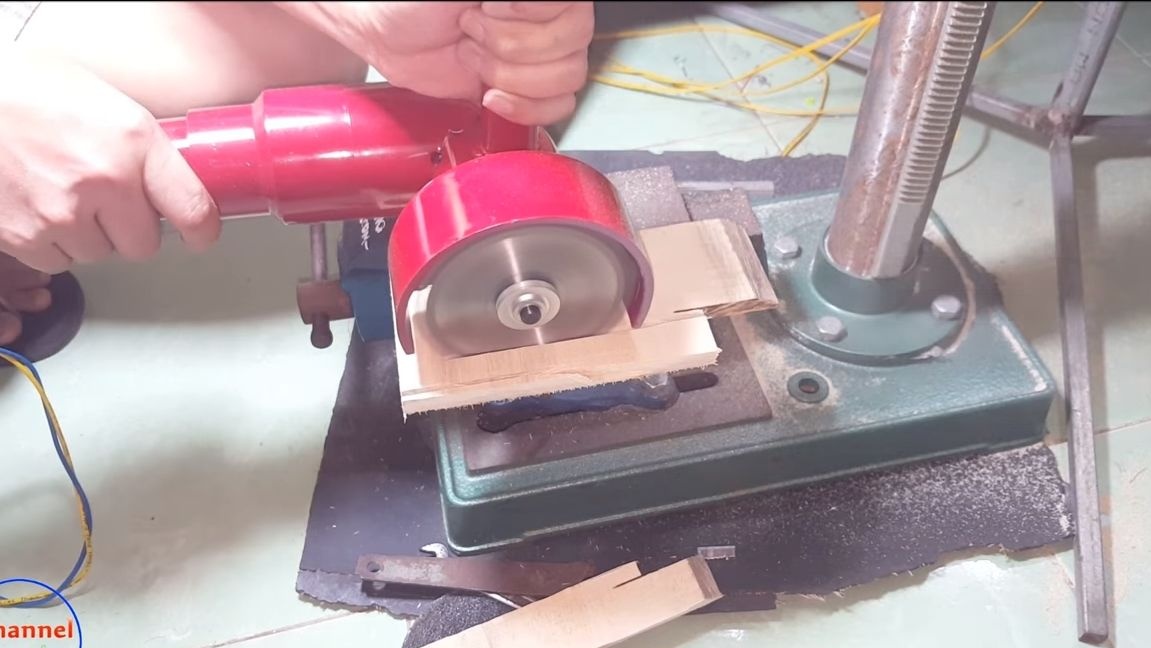
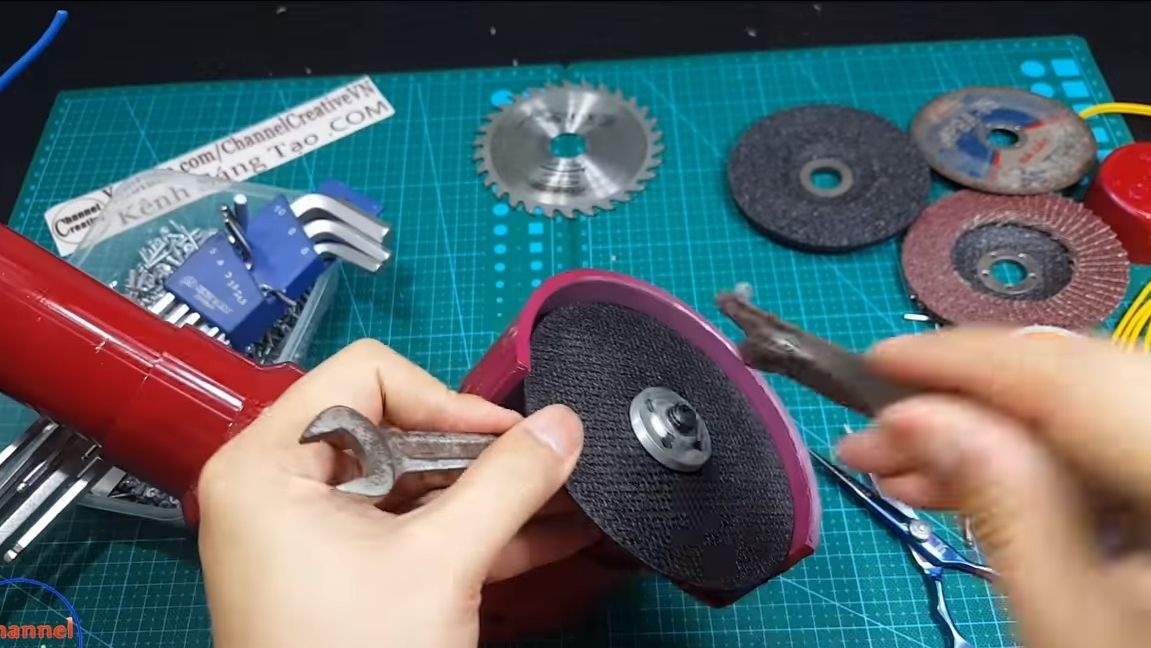
We install an adapter on the motor shaft, after that you can install any nozzles that are used for small grinders on the engine. The adapter is fixed with a hex screw. Such parts can be easily ordered from China. You can immediately install a cutting disc to check how everything works.
Step Six Build completion
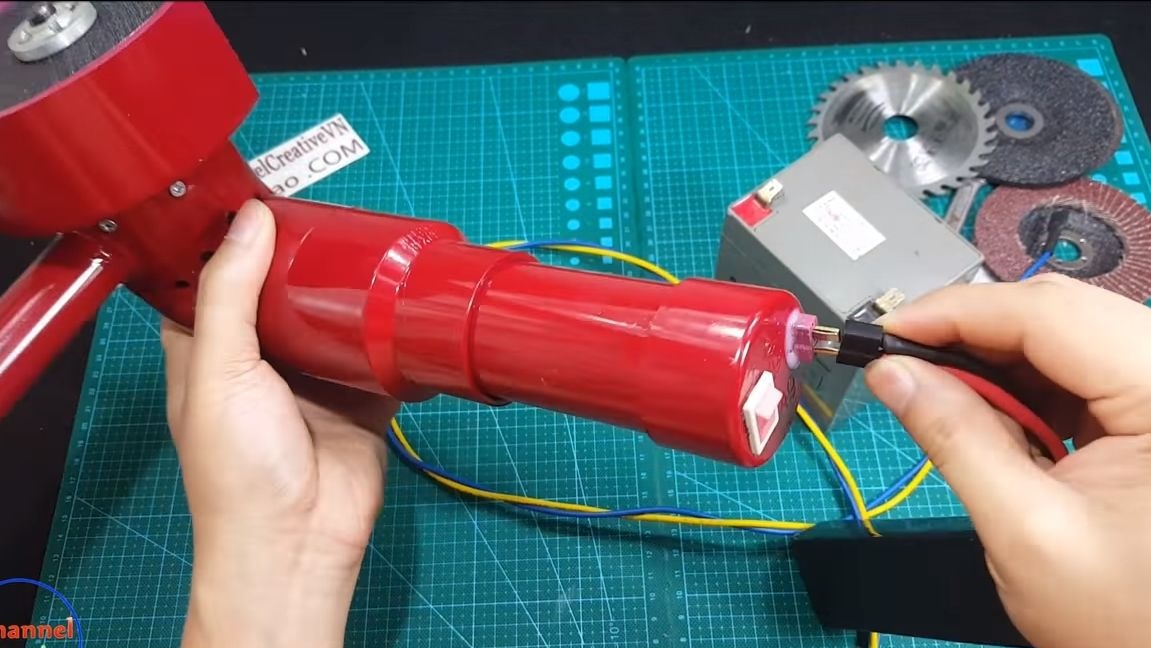
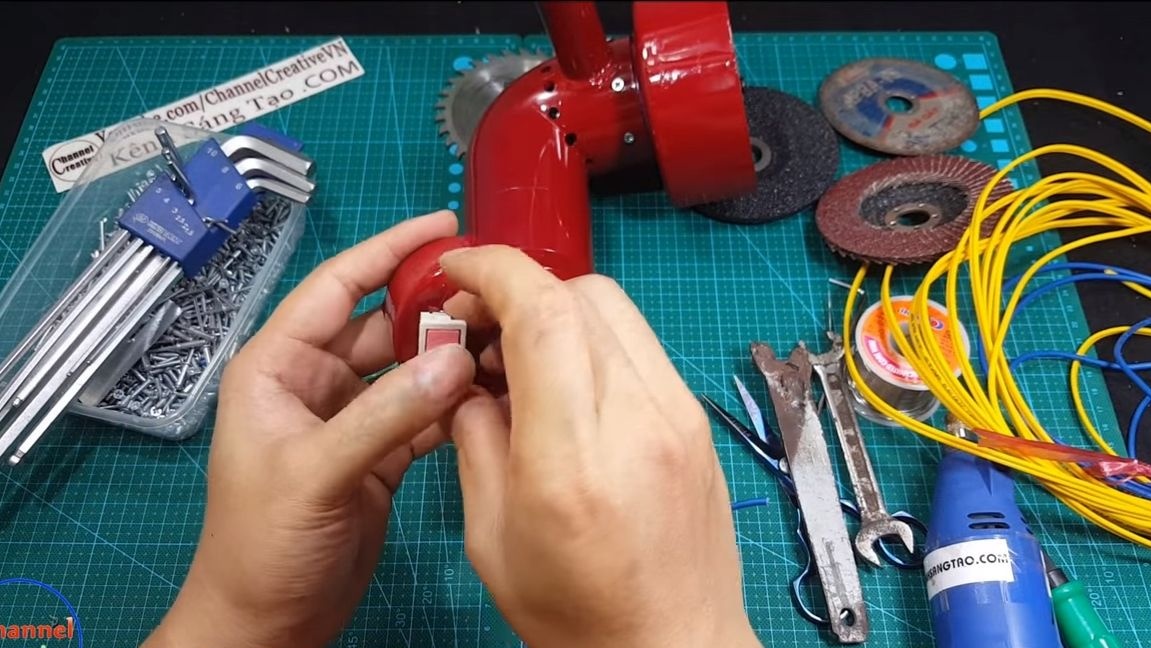
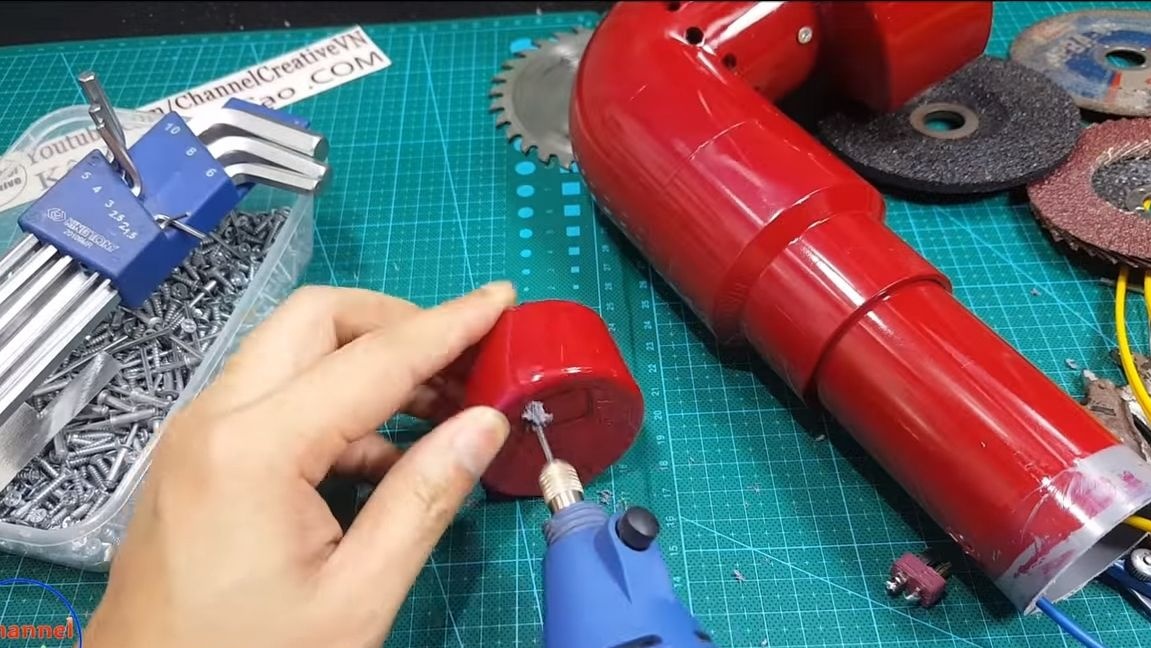
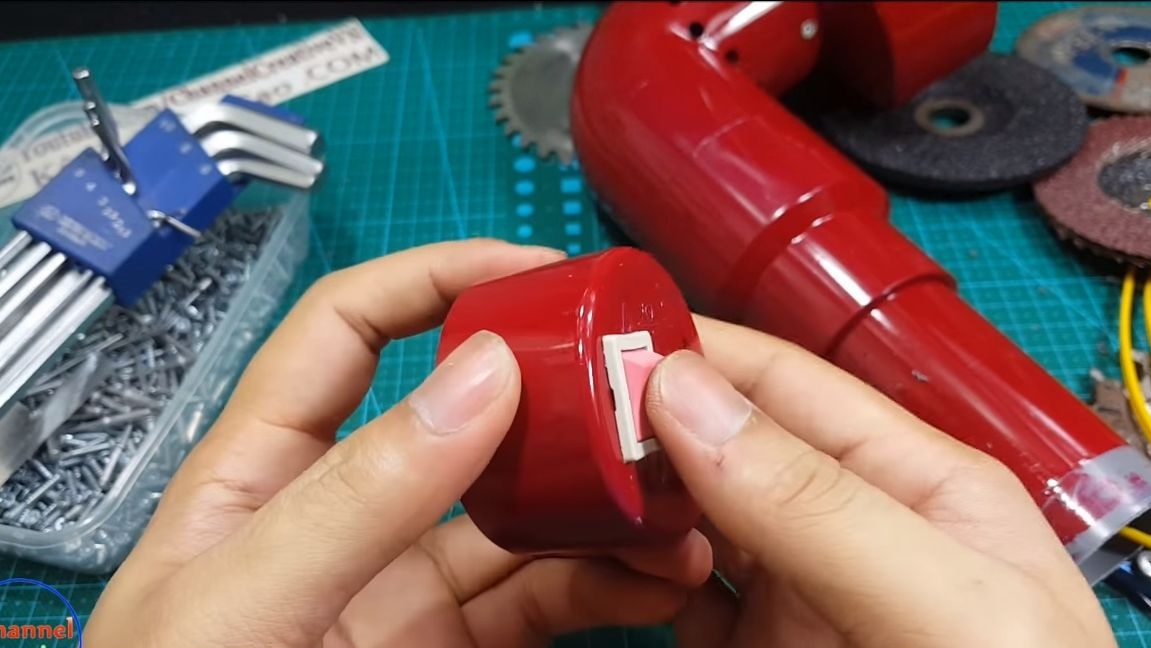
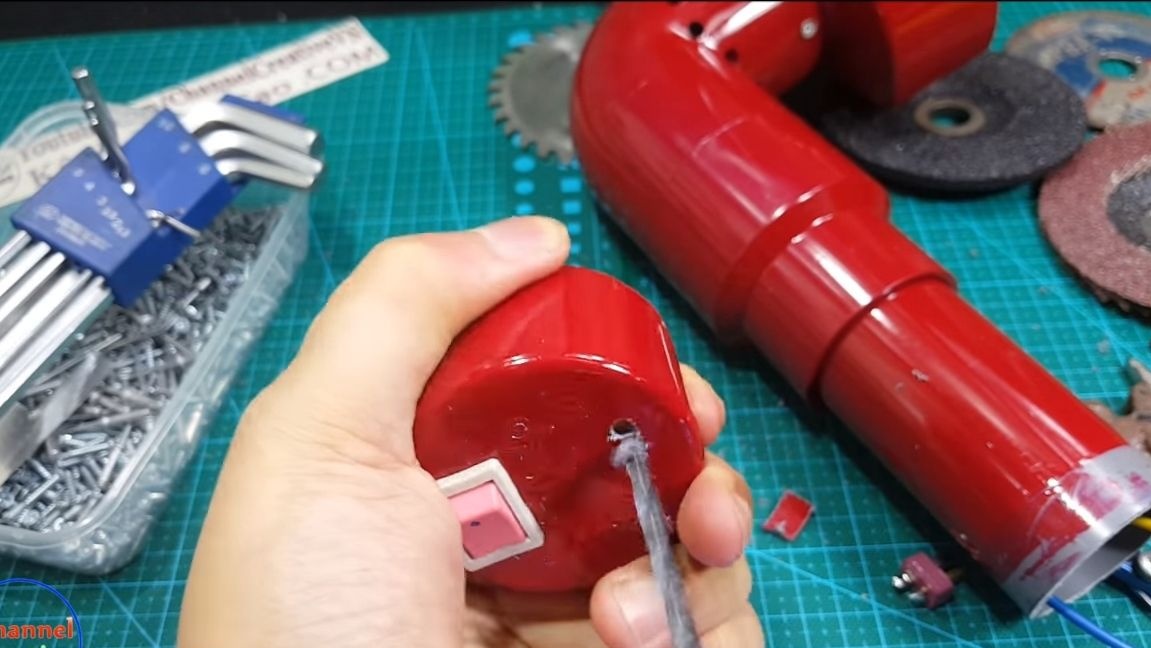
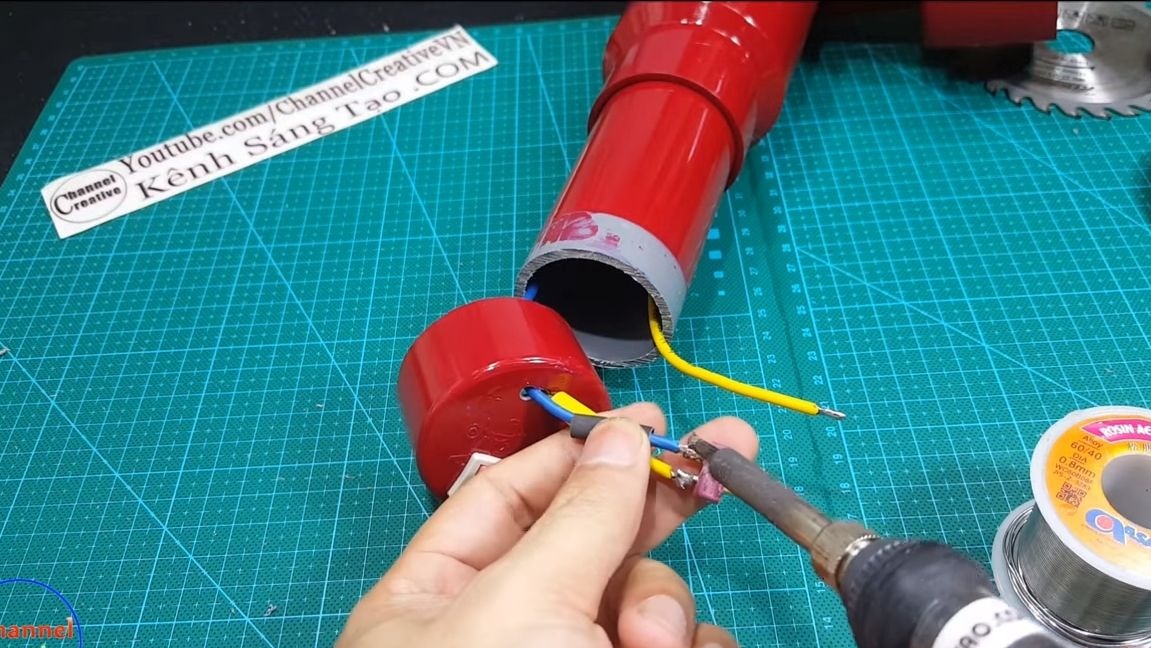
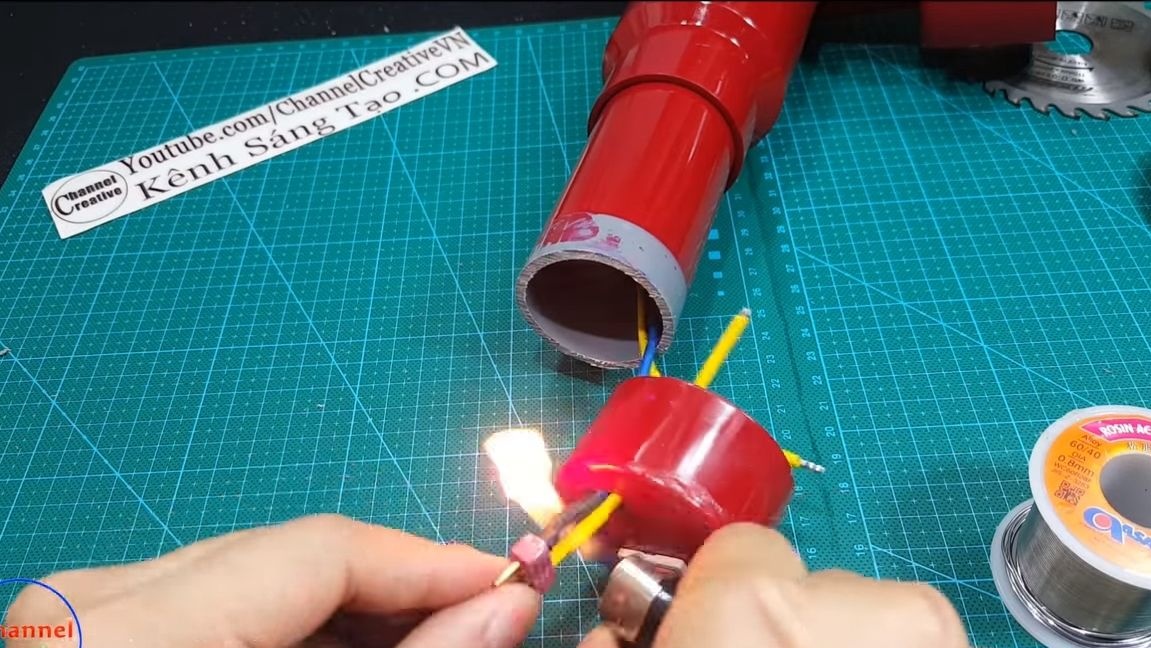
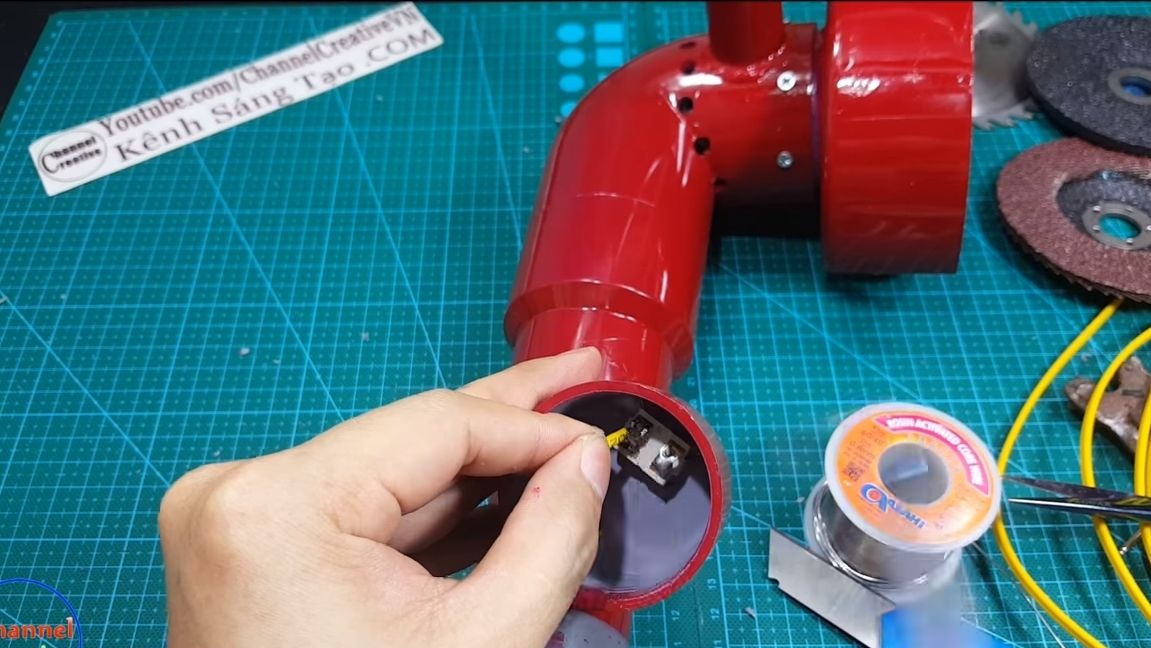
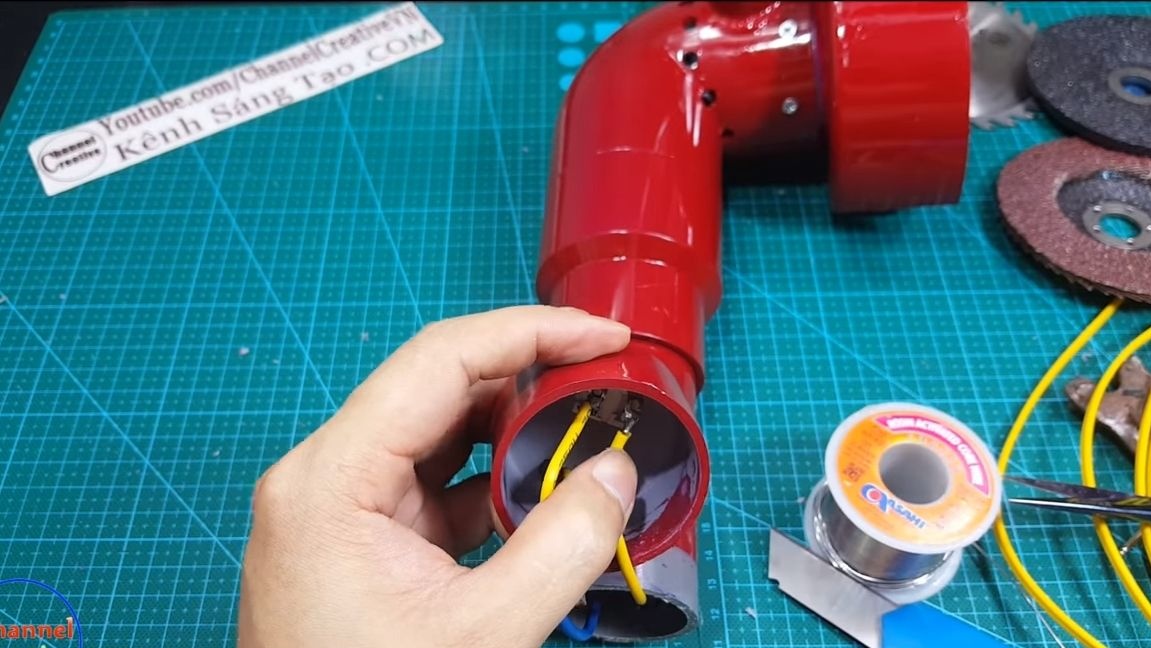
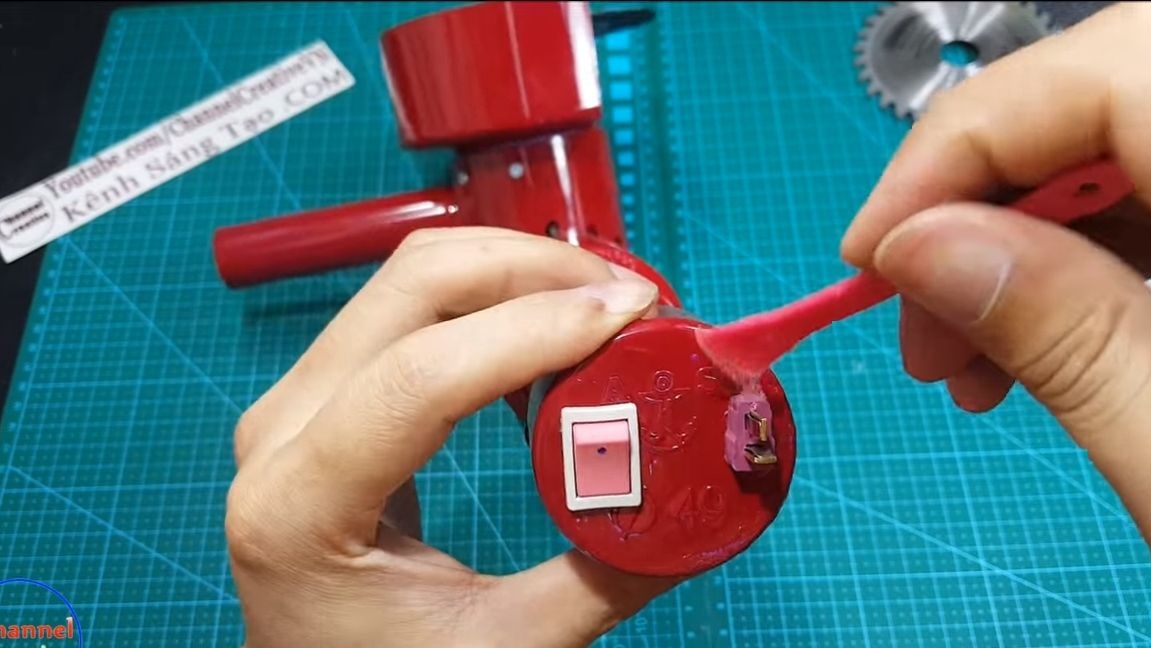
A plug is installed in the back of the handle, it is removed. Here we need to install a switch, as well as a connector for connecting a power source. Cut holes of the desired size and shape using a drill. We install the switch, it is fixed by itself. As for the connector / plug, it must be glued to epoxy glue. Solder the wires from the motor and install the cover in its place. If you wish, you can also screw it with a few screws or glue it.
Seventh step. Testing!
We connect a 12V DC source to the grinder, a power supply or battery is suitable. When connecting, correctly determine the polarity by experience, since the disk may rotate in the wrong direction.
The author of the machine turned out to be quite powerful, with the help of it he easily grinds, cuts steel. And if you install the disk from the circular, the device easily cuts the boards, and all this is quite safe, because the engine power here is small. That's all, I hope homemade you liked it. Good luck and inspiration in making homemade items!