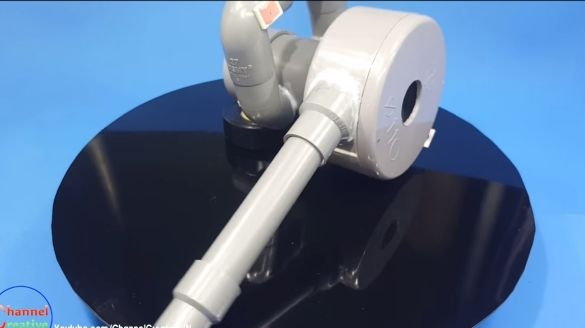
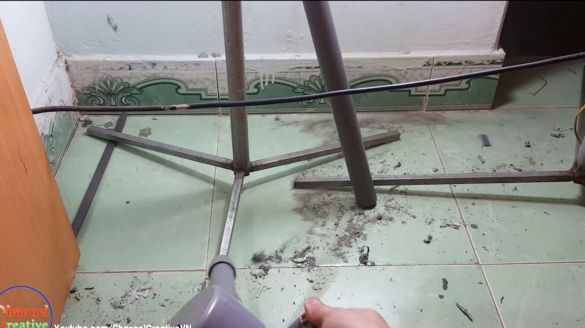
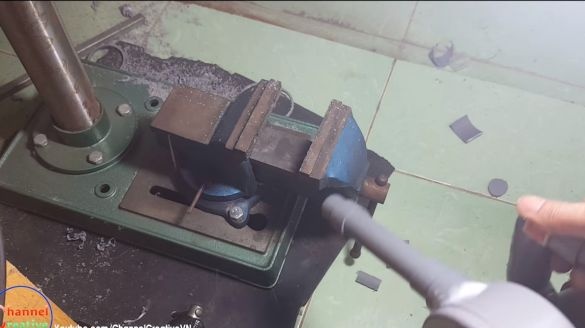
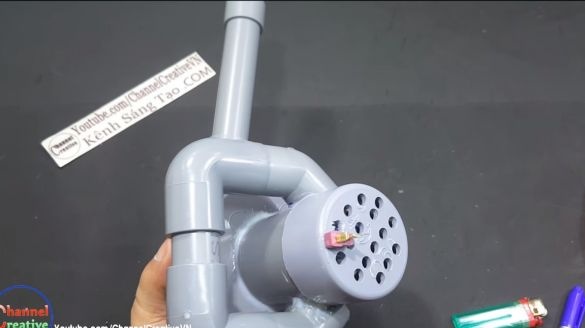
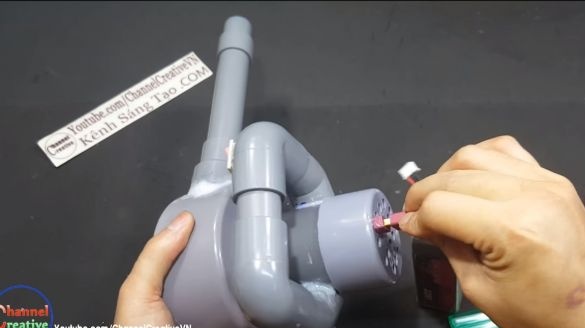
Often in life there is a need when you need to blow away some garbage. For example, sawdust from a vice, various rubbish from the floor, where it’s hard to crawl with a broom and a vacuum cleaner and so on. Another thing, if you clean this garbage with the help of air, it, after all, will go to the most inaccessible places. In this manual, we will discuss how do it yourself You can make just such a car. It works on battery power, so it’s mobile.
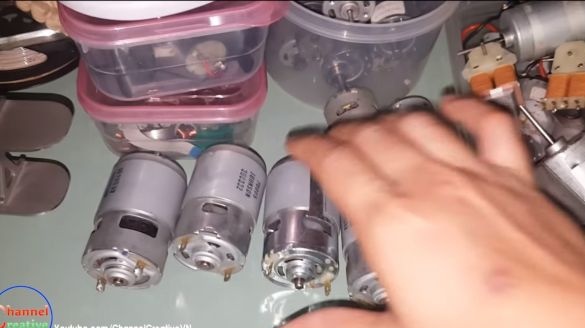
The blower is a centrifugal pump, which is driven by a powerful 12V. This unit is actively used in the manufacture of home-made machines. The rotor rotates on bearings, not on bushings, as in cheap engines. There is also provided a propeller installed inside, which effectively cools the motor.
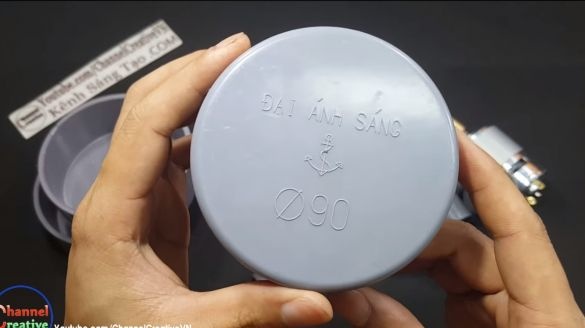
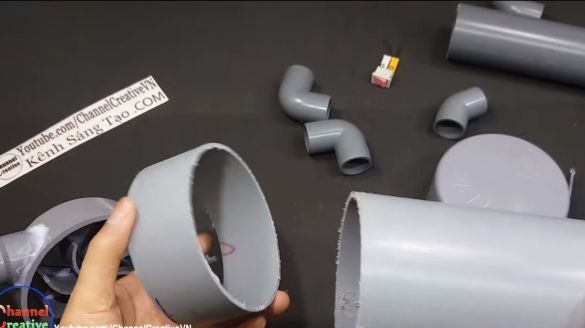
The entire case of the device is made of plumbing components made of PVC, so there is no need to invent anything new. The car is assembled quite simply, all the nodes are kept on glue. On the farm, such a tool is very useful to you. So, we begin to manufacture.
Materials and tools used by the author:
Material List:
- PVC plugs, corners, pipes, etc. (see photo);
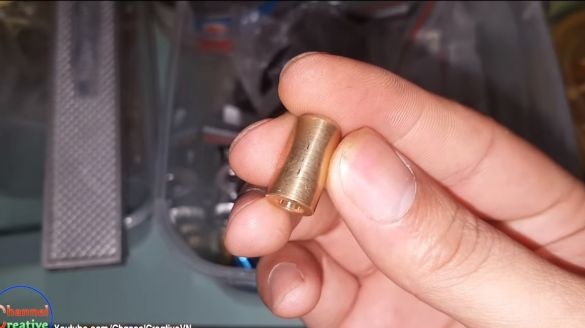
- and brass bushing;
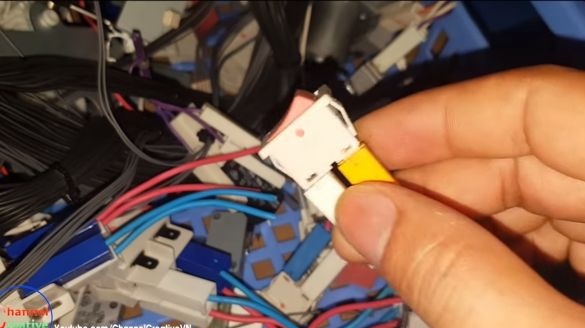
- switch;
- wires;
- 12V power supply;
- Super glue;
- heat shrink;
- connector for connecting the power supply;
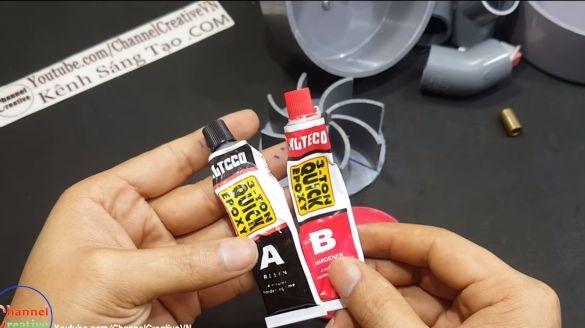
- epoxy adhesive;
- glue for PVC.
Tool List:
- a hacksaw for metal;
- drill;
- drill;
- marker;
- ruler;
- nippers;
- soldering iron;
- scissors;
- lighter and more.
Blower manufacturing process:
Step one. Install the engine
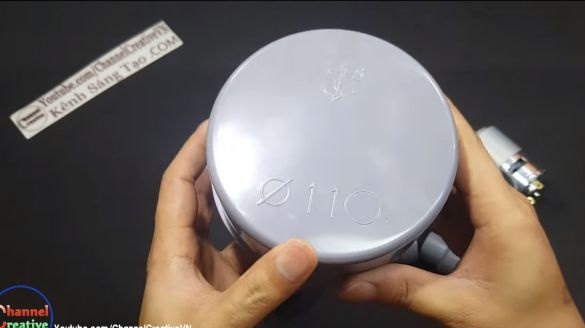
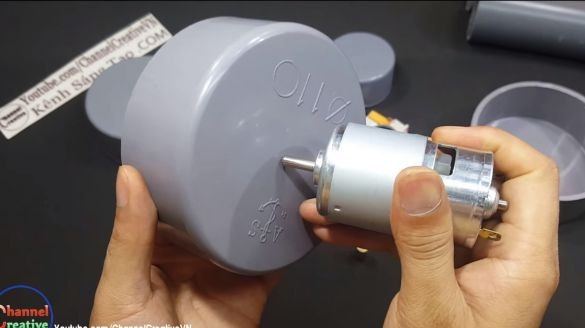
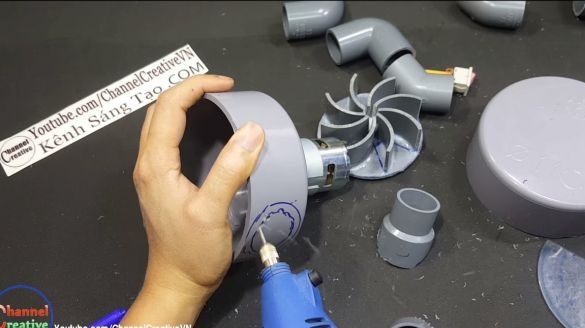
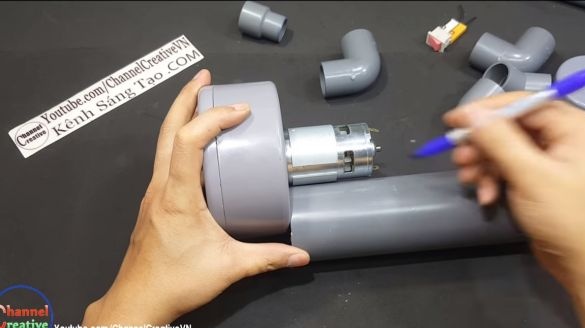
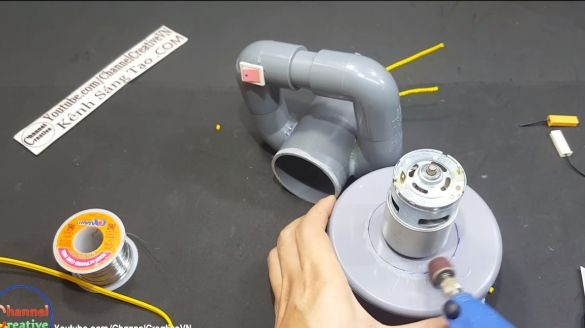
Prepare the basis for installing the engine, for this purpose the author used a plug for pipes on 110. We drill holes in it so that the engine can be installed. We fasten the motor using screws.
Step Two Impeller manufacturing
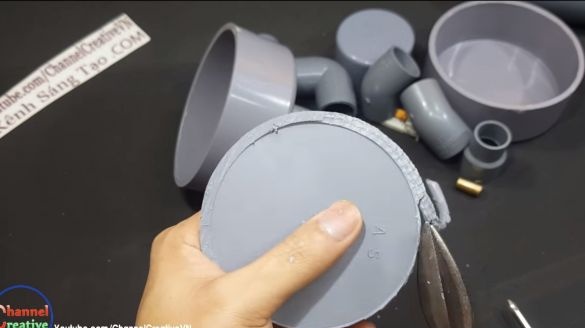
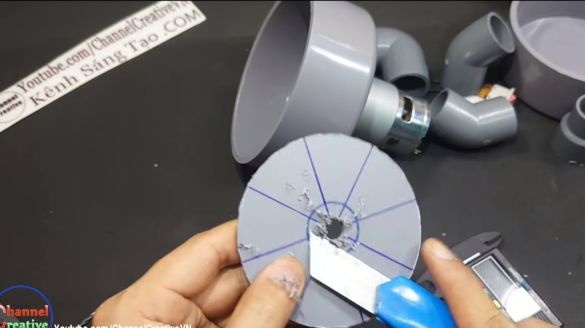
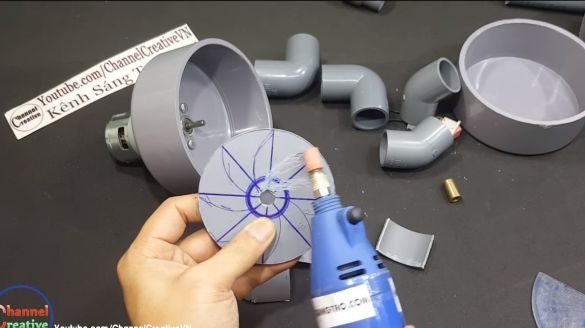
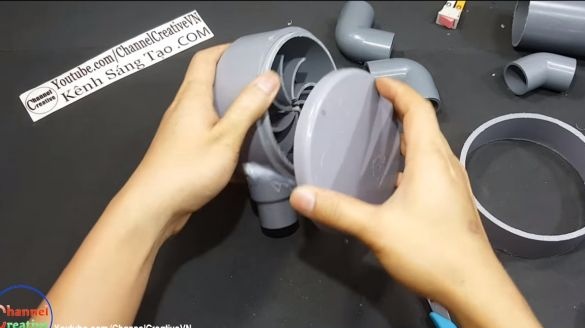
For manufacturing, take another plug and cut off the bottom from it. Cut the bottom around so that it fits inside the case. Make markings on the circle where you will install the impeller.
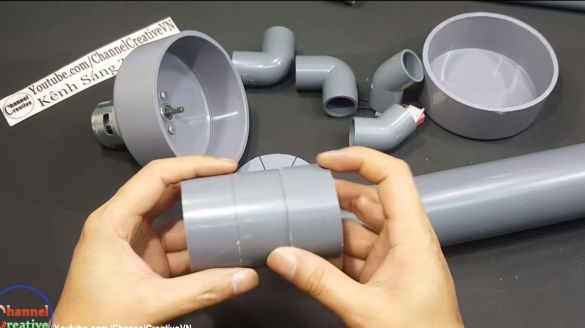
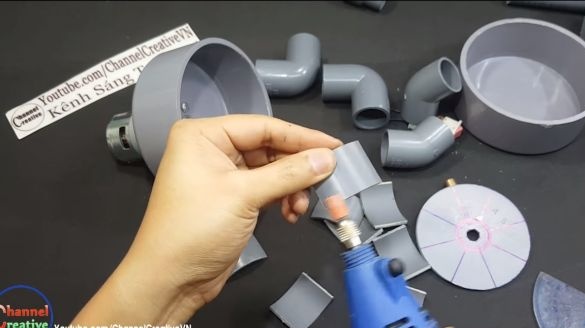
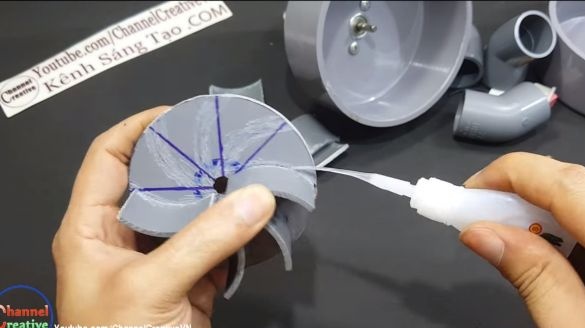
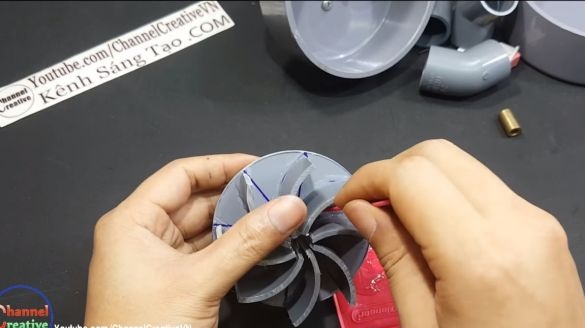
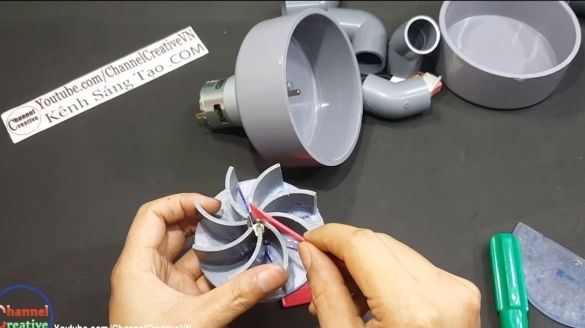
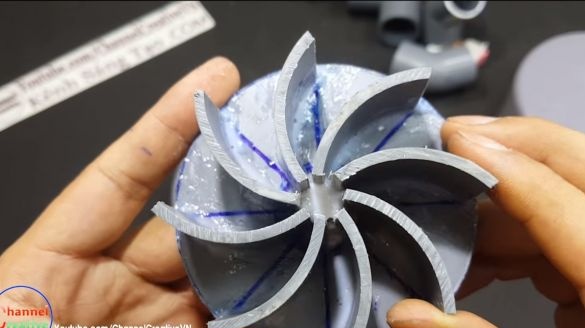
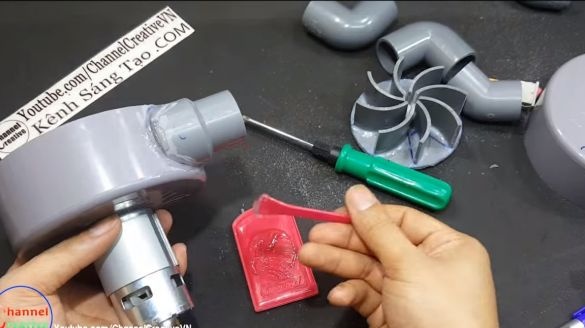
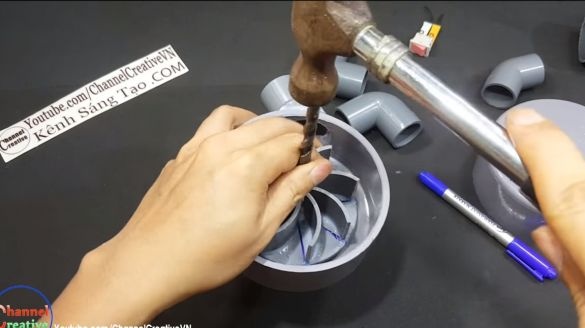
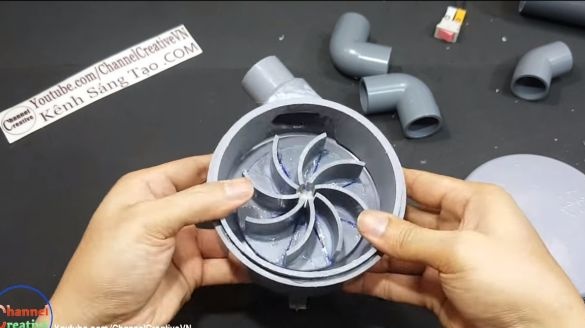
To make the blades you need a piece of a small pipe. In total, the author got 8 blades. When everything is ready, we carefully treat the glued surfaces with a drill so that the glue sticks well. First, we glue the blades with superglue, and then we spread the epoxy and tightly glue the blades.
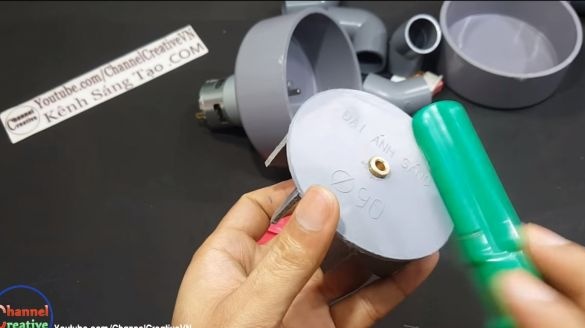
At the end, we install in the center of the impeller a brass sleeve, with which we will install the impeller on the motor shaft. It is also firmly glued with epoxy glue.
Step Three Fitting installation
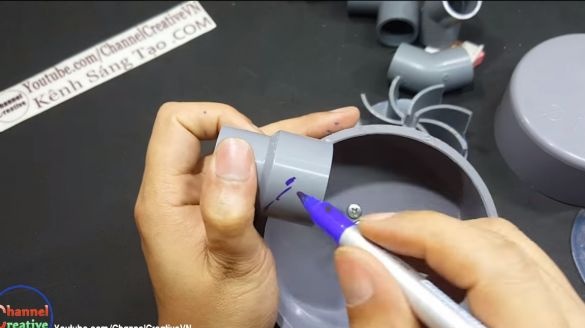
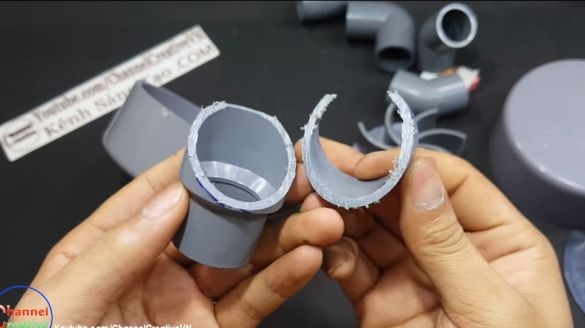
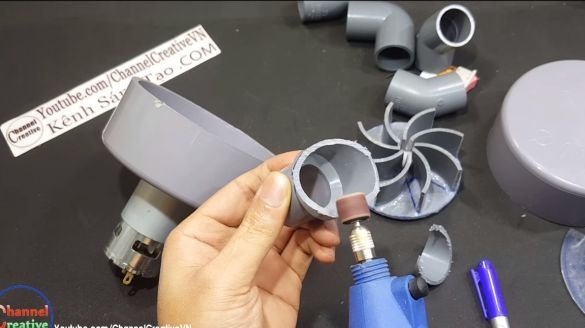
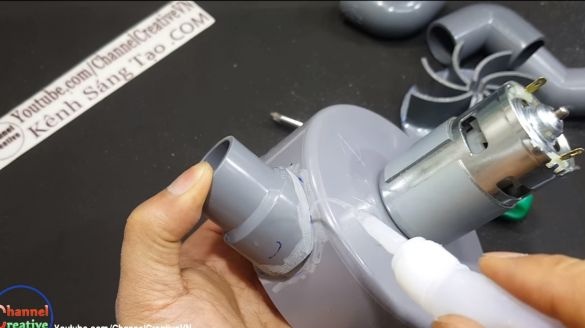
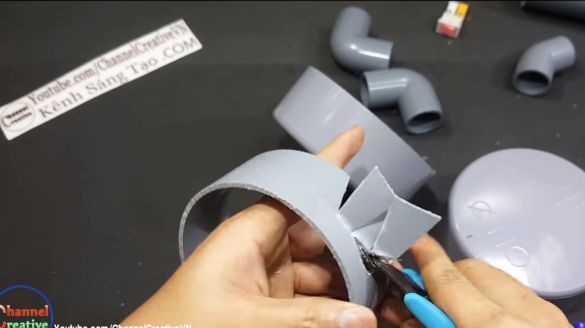
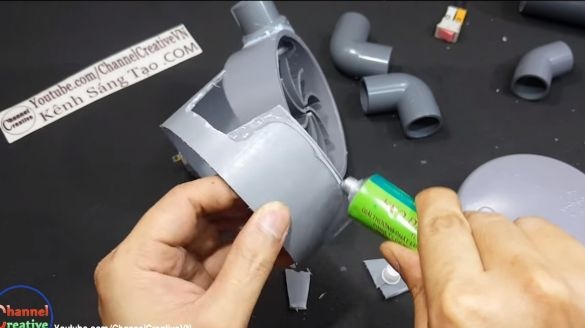
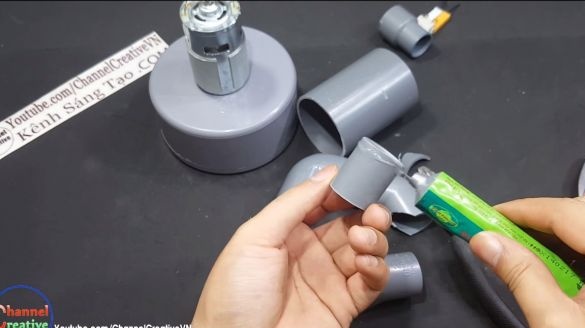
As a fitting, we will use an adapter for PVC pipes. We take measurements and cut it at the right angle. In the case, you will also need to drill a hole. We thoroughly clean the glued surfaces and use superglue, and then we carefully coat it with epoxy.
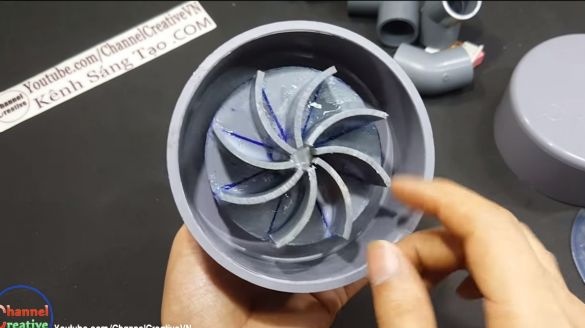
Gently press the impeller onto the motor shaft.
Step Four Cover making
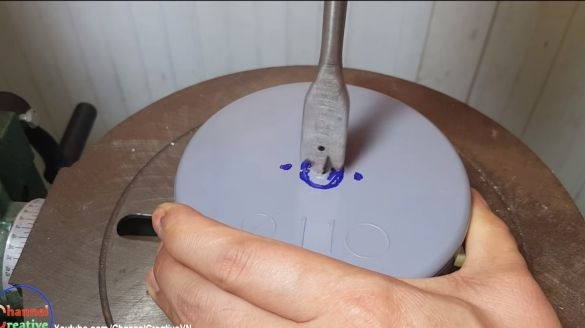
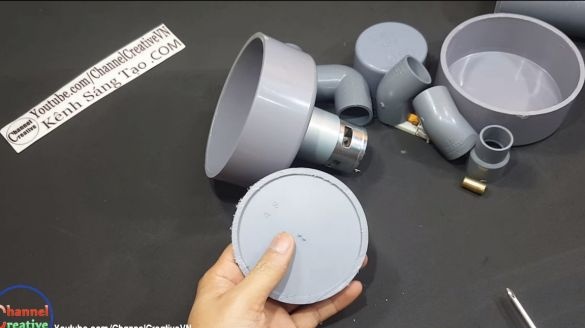
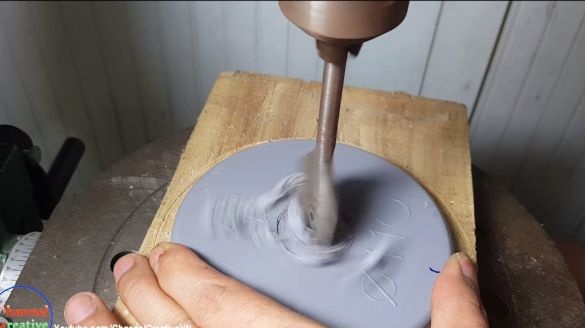
To make a cover, you will need a plug for 110 pipes. We cut off the excess from it so that it is narrower. To install the cover, a piece of pipe must be glued into the body. In it, do not forget to cut a hole for the outgoing hole. In the lid, we drill an incoming hole with a bat on a drilling machine.
Step Five Make a pen
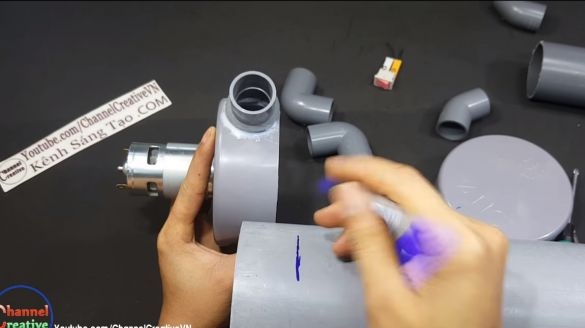
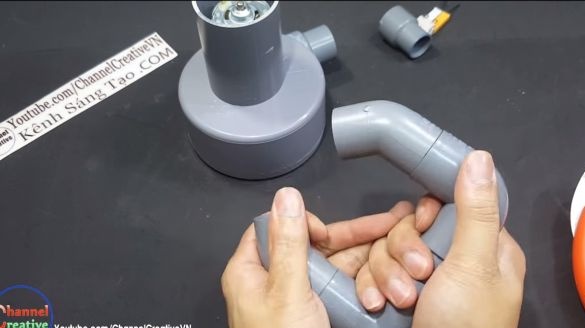
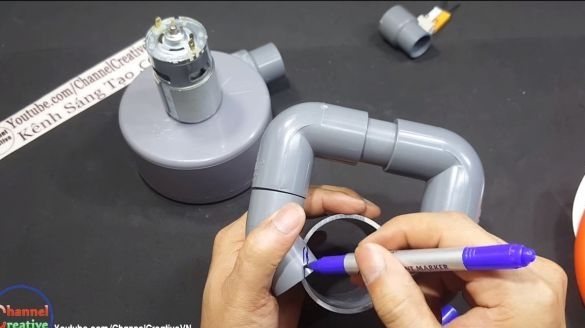
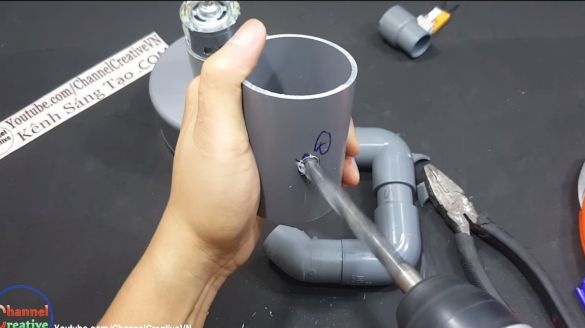
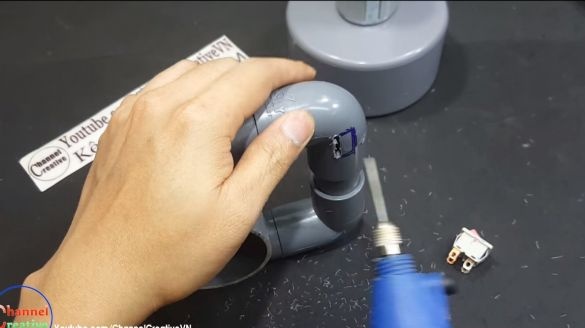
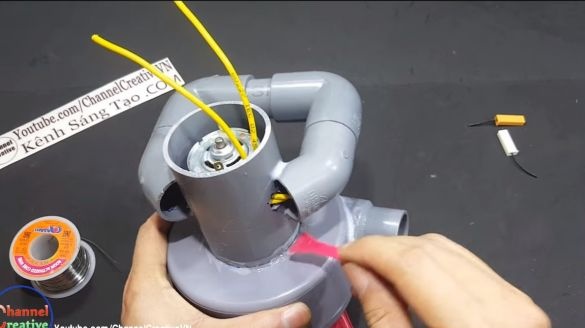
For the manufacture of pens, the author used connecting corners, as well as pipe pieces. This whole thing is going to glue for PVC. Then you need to glue a piece of pipe to the handle, it must be of such a diameter that the engine enters it. We cut the handle at the desired angle and glue it with epoxy. In the place where the handle will be glued to the pipe, you must remember to drill a hole to remove the wires from the engine.
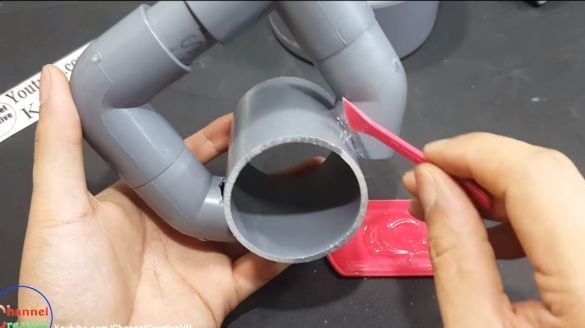
At the end, we glue this entire structure to the pump casing. We clean the glued surfaces with a drill, and then superglue and epoxy come into play.
Step Six Final assembly steps
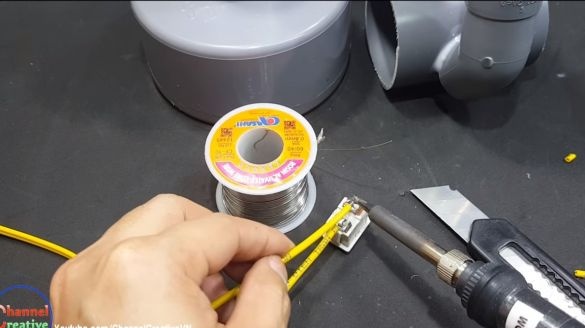
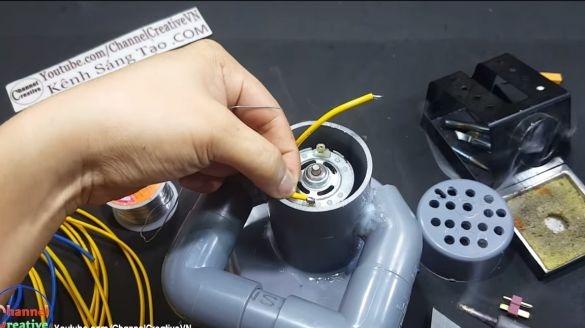
Next you need to install the switch. To do this, take a drill and in a convenient place in the handle we cut out a window for the switch. Solder the wires to the motor and switch.
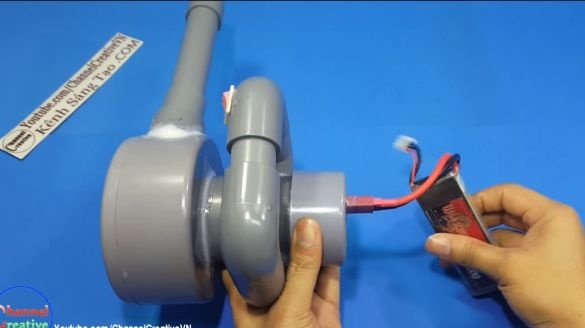
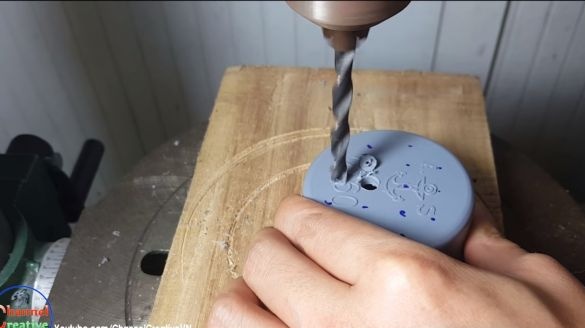
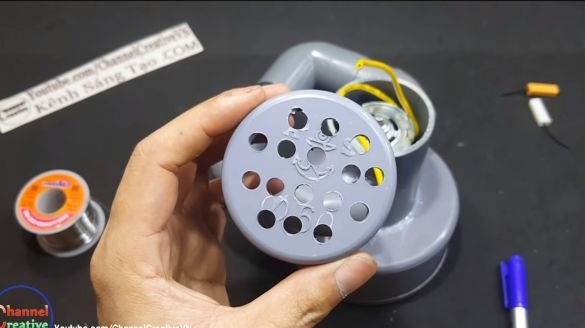
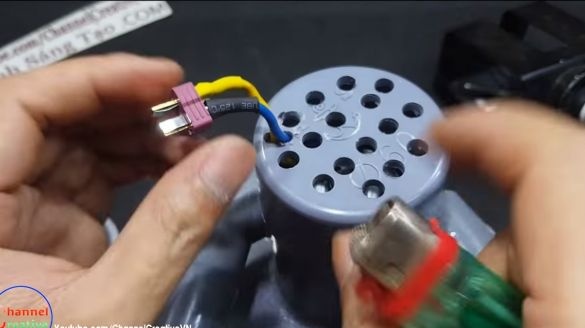
Now it remains to make a cover, here you will need a plug for 60 pipes. We will drill more holes in it for ventilation of the engine. In addition, you will need to drill a hole to install the connector with which you will connect the battery or power supply. Glue the connector using epoxy.
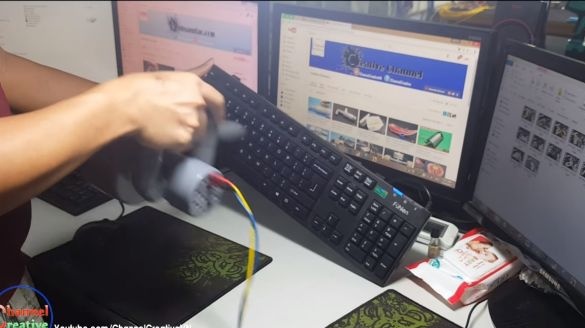
That's all, homemade can run! It is much more convenient to use a lithium battery for power, it can be carried in your pocket. We connect the power wire, determine the direction of rotation of the impeller and try it in practice. Judging by the video, the author’s car turned out to be quite powerful. She easily blows off self-tapping screws, not to mention chips and other similar dirt. Now you can quickly and conveniently clean the workplace, but use safety glasses and a respirator so as not to breathe in all this business.
That's all, I hope you liked the project. Good luck and creative inspiration in the manufacture of homemade goods!

