» Flashlights and flashlights »Powerful 100 Watt flashlight in PVC pipe housing

Powerful 100W flashlight in a PVC pipe housing


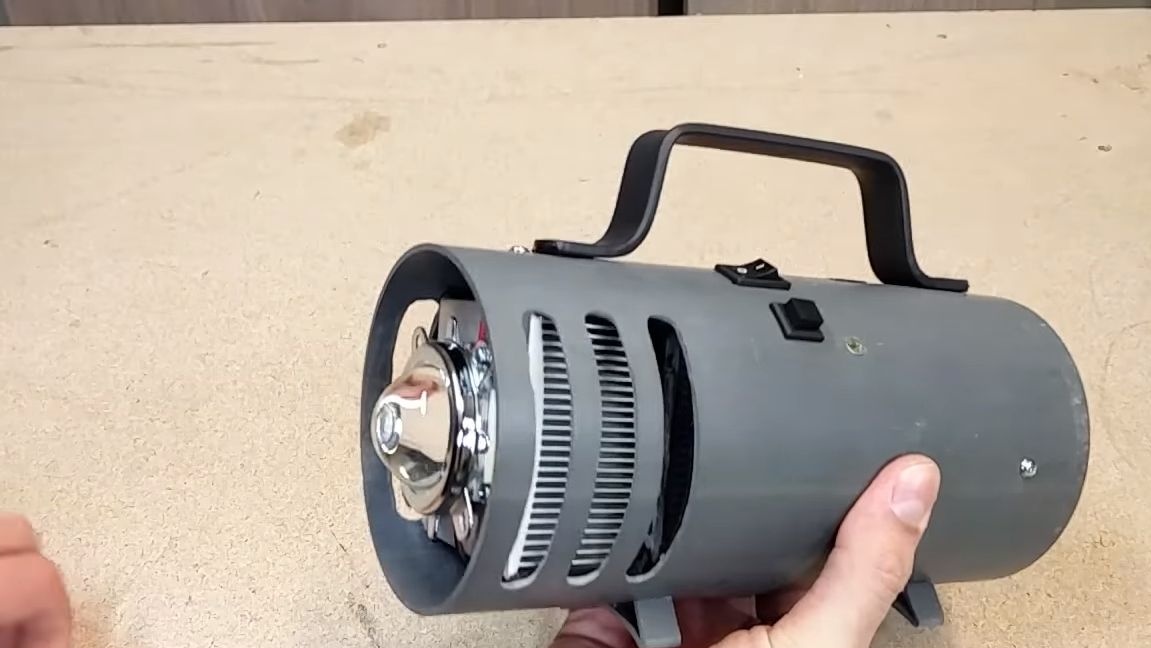
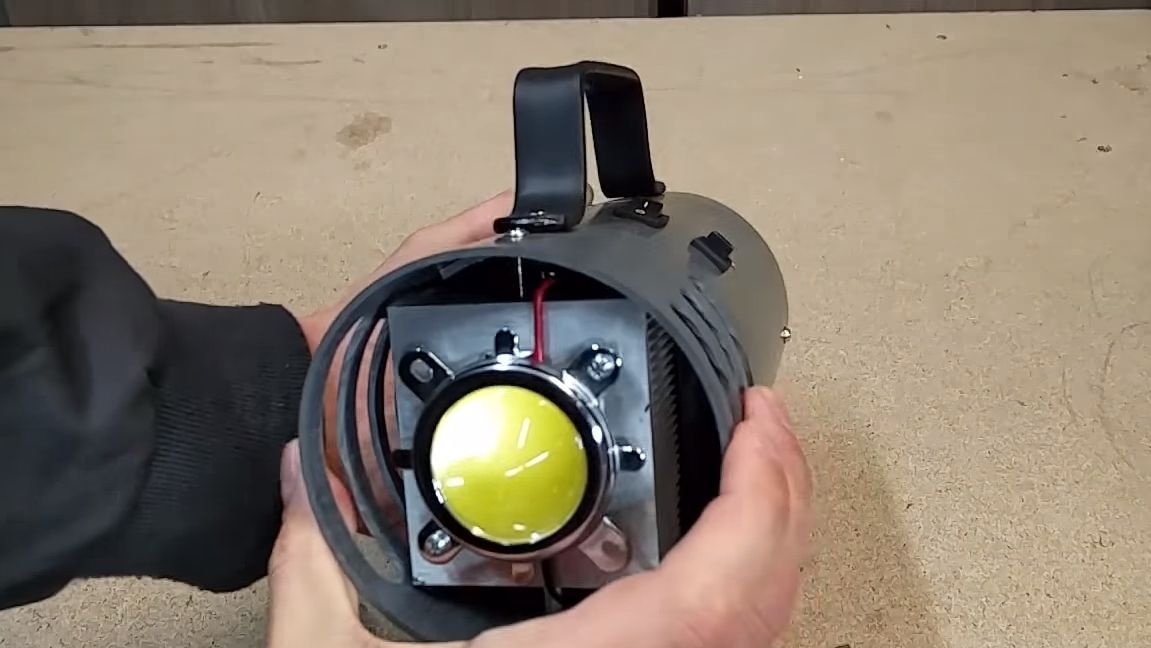
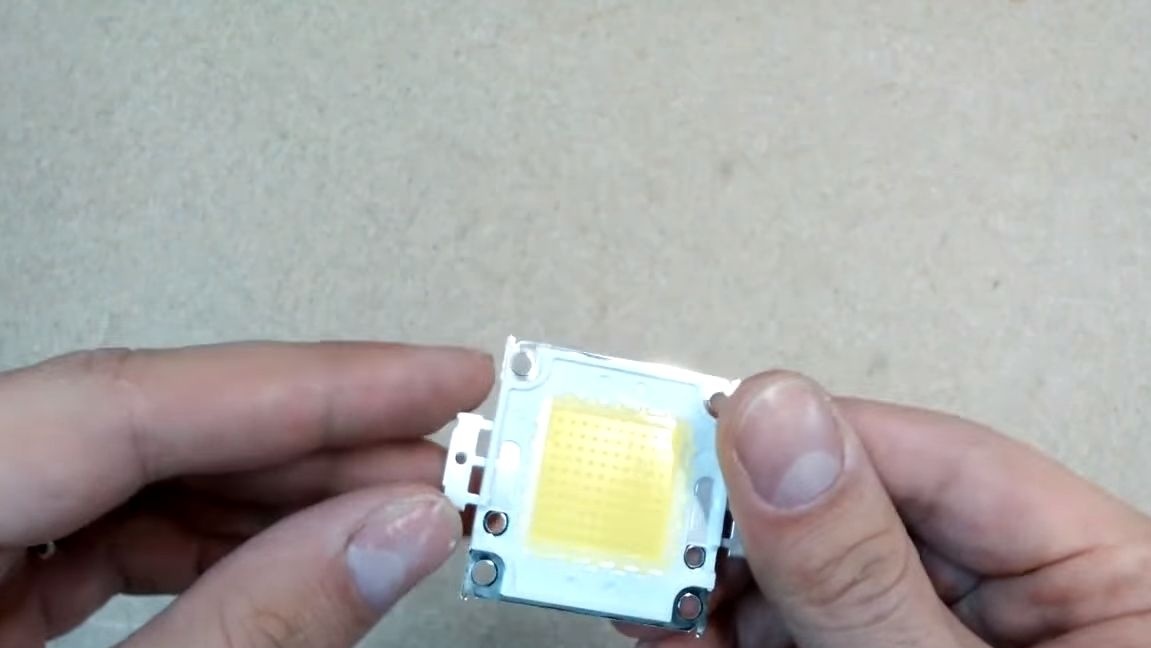
I bring to your attention the most powerful flashlight that works on a 100 Watt LED. With such a spotlight you will not be afraid of any darkness. With it, you can even fight off vampires (hypothetically). In combination with such a bright LED, a lens is also used, which makes it possible to focus the light well.

It’s good to take such a searchlight with you when you go fishing, hunting and so on. But do not forget that the spotlight is not designed for a long period of work and it will need to be charged.


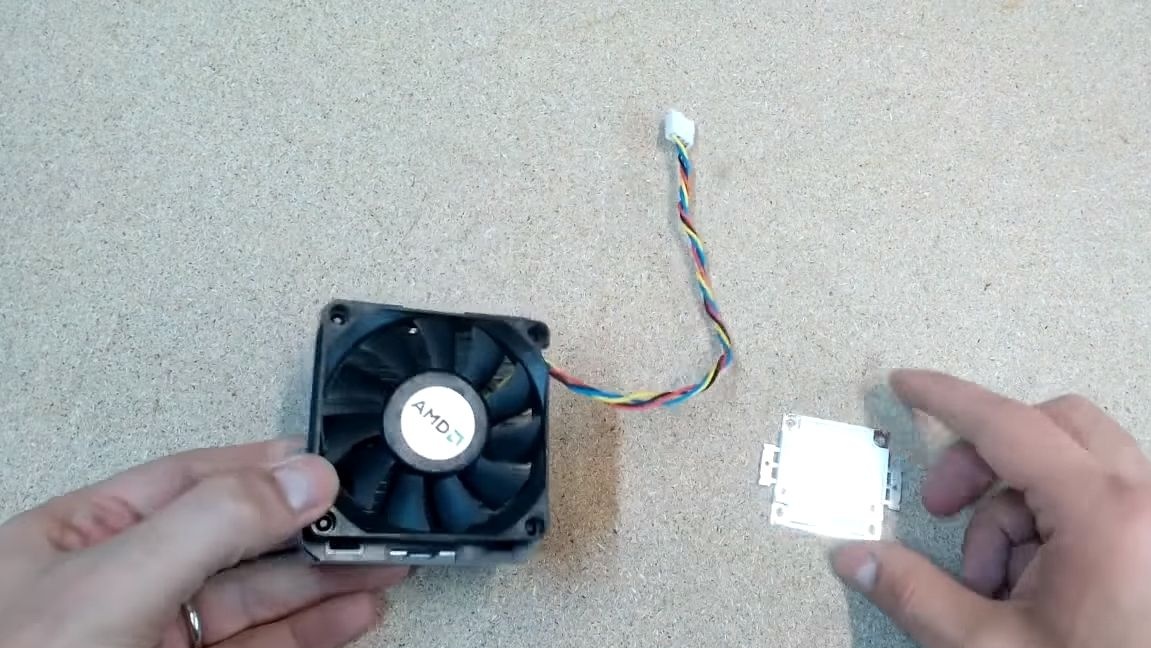
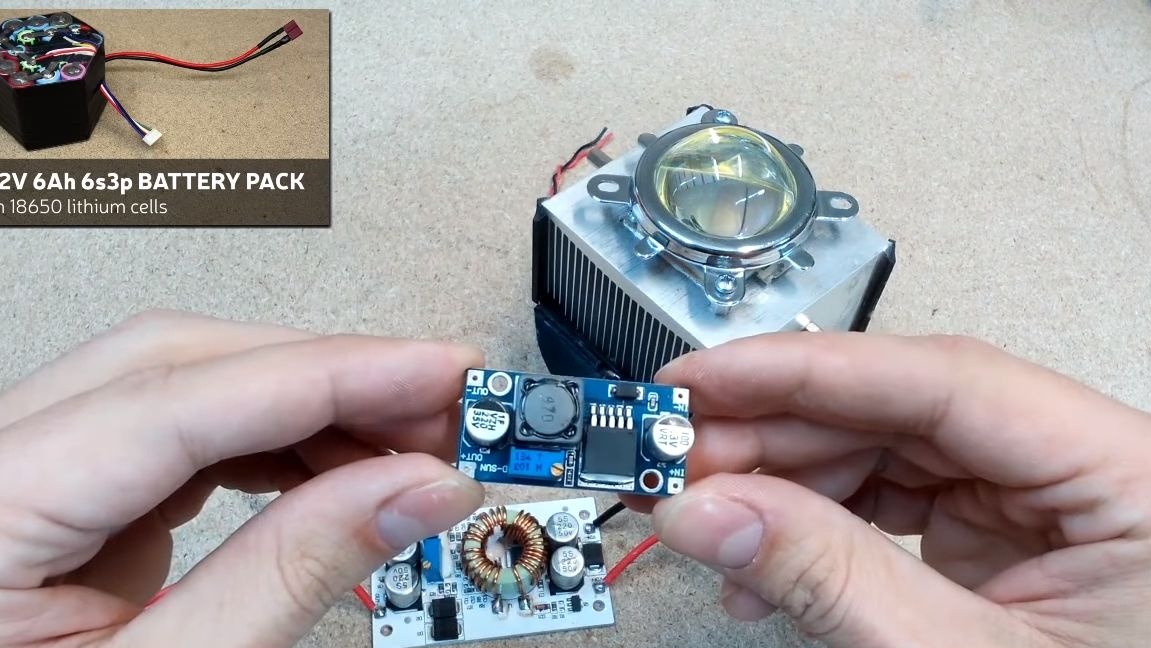
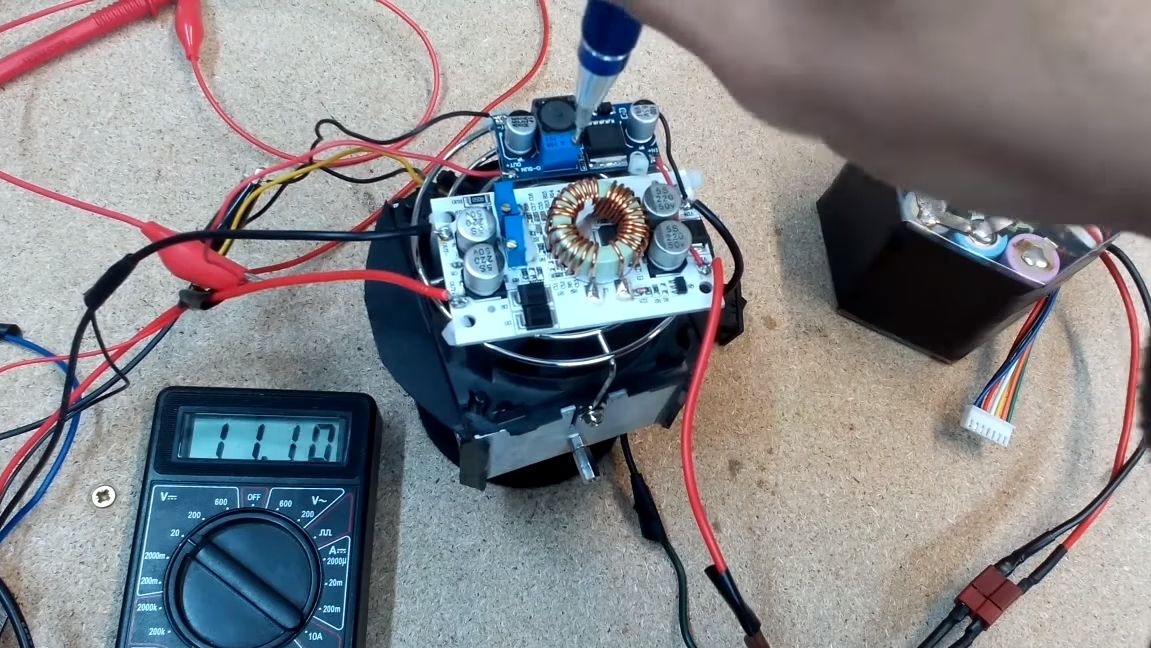
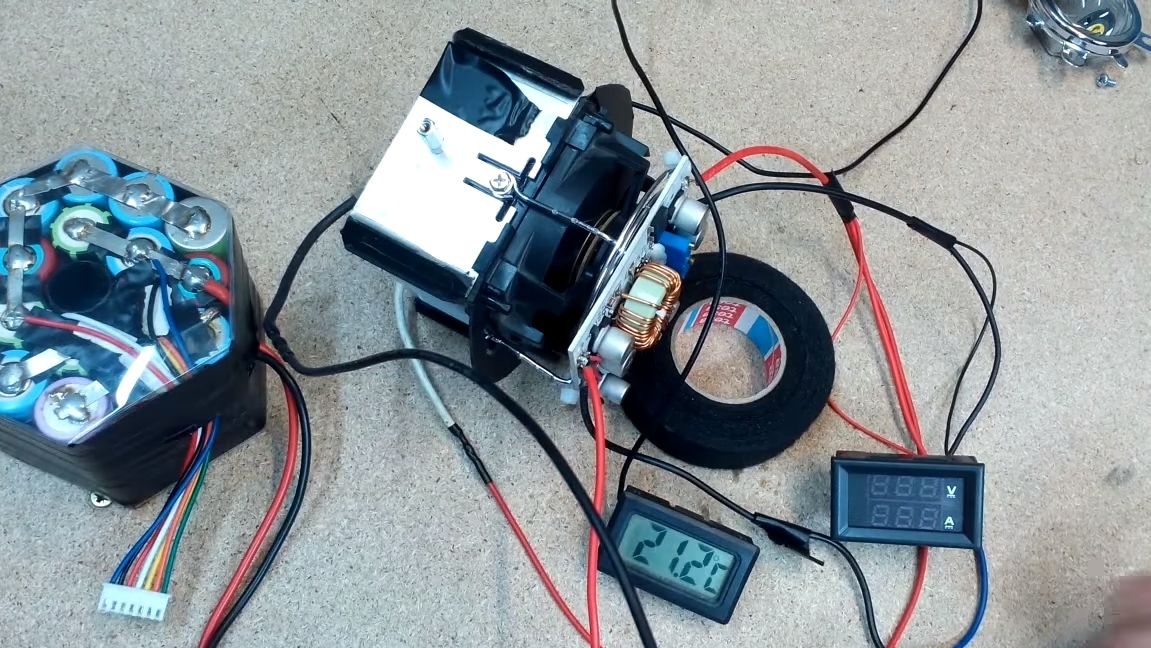
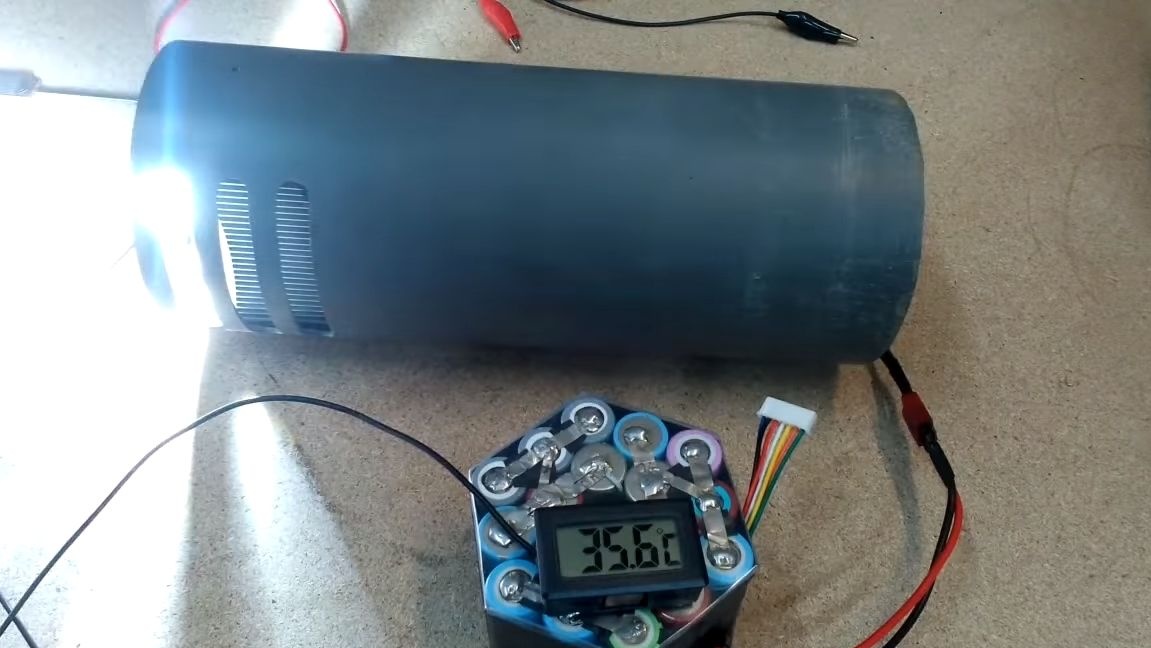
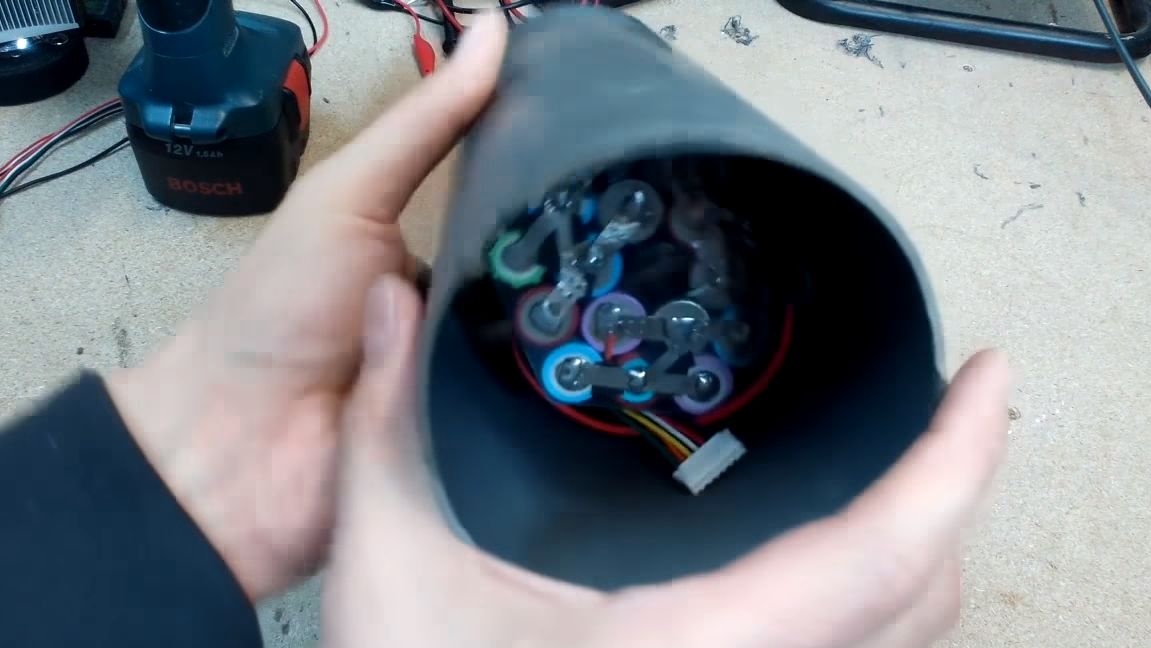
The power source for the flashlight is 18 18650 batteries, they are connected so that they give out 6A at a voltage of 22.2V. The LED is mounted on a powerful radiator with a fan, which does not allow it to warm up above 37-40 degrees. A driver is used to power the diode, which allows you to save power and save the LED.

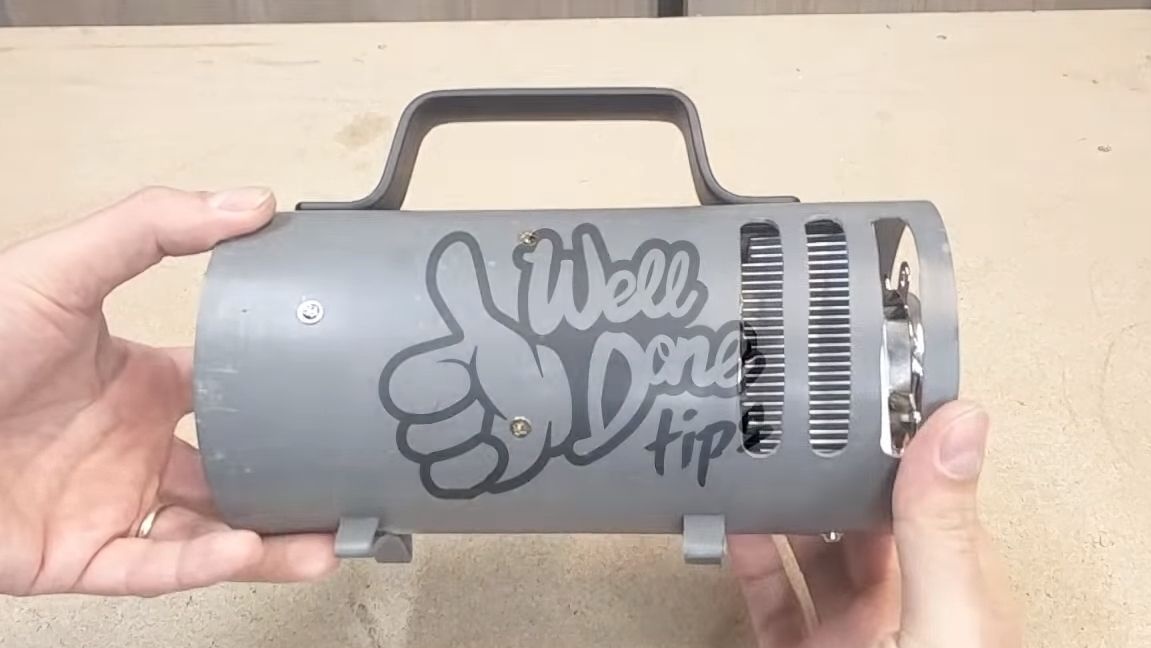
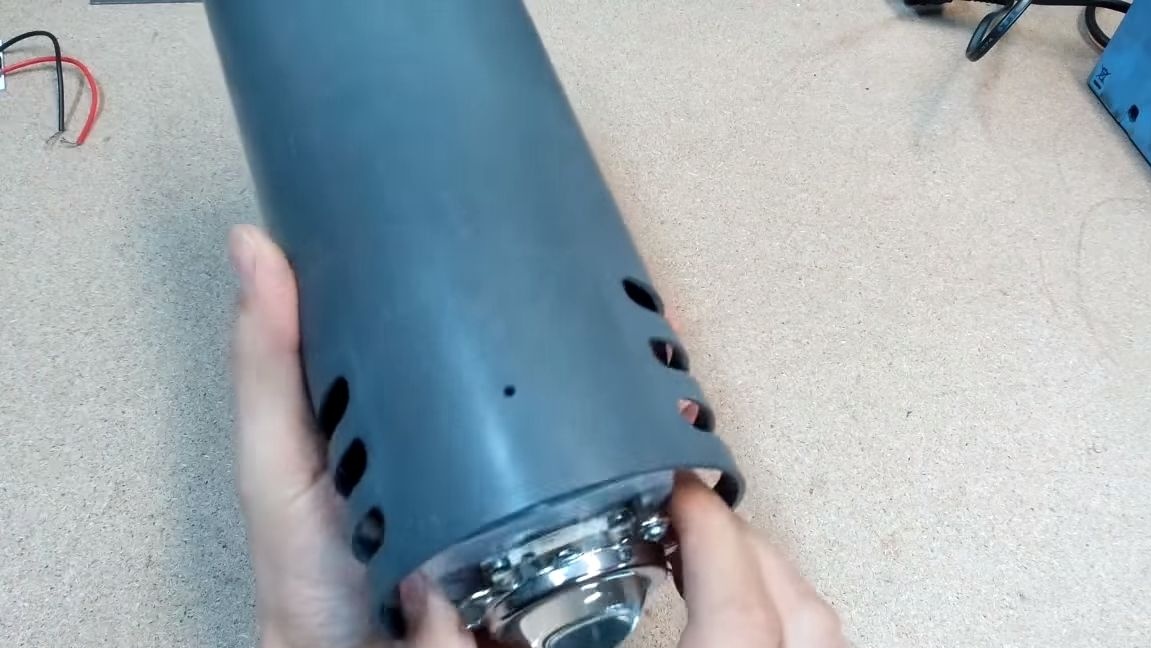
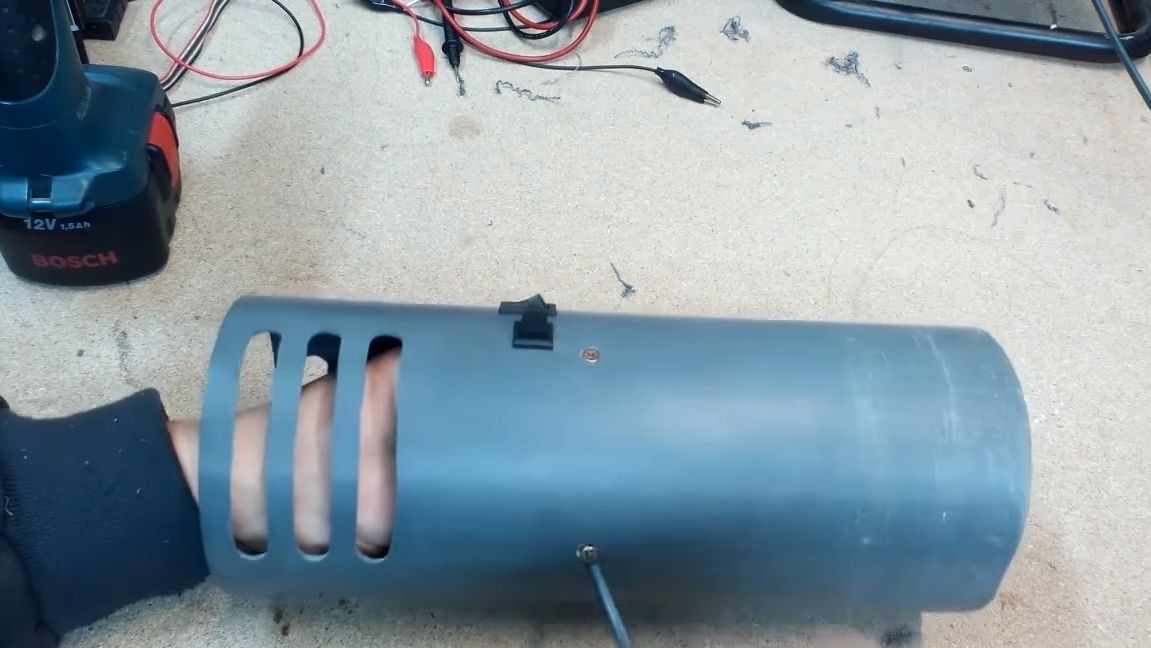
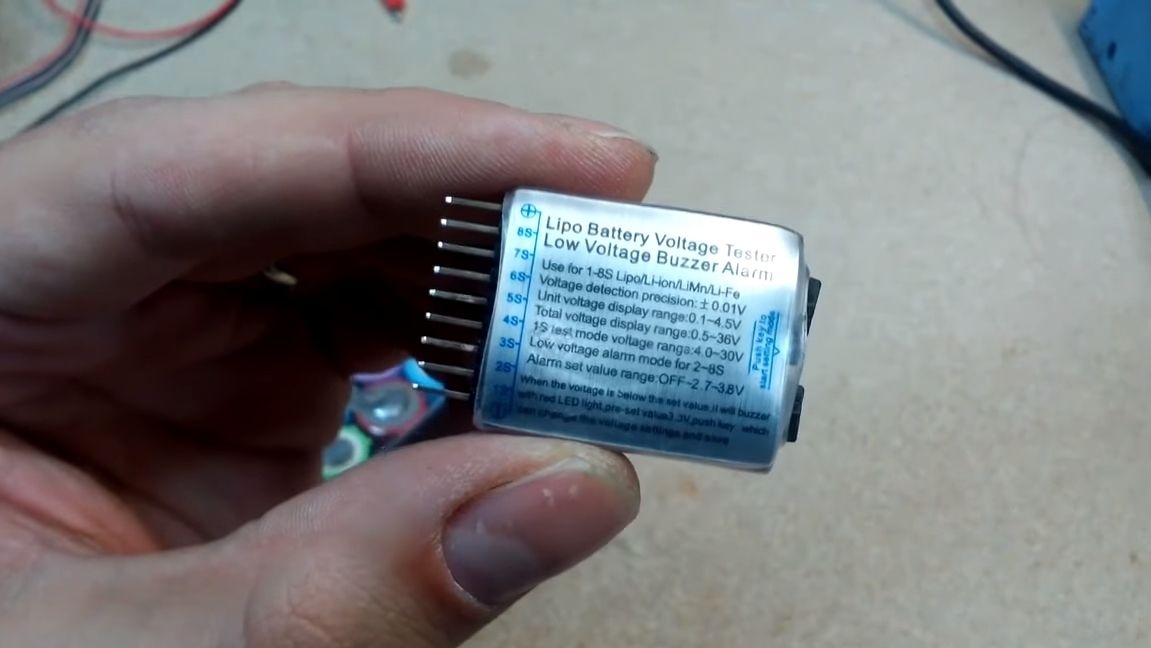
As for battery protection, a controller is used for charging, which will not allow recharging the battery. Also, lithium batteries do not like deep discharge, in order to solve this problem, the author installed a small digital voltmeter that can give an audio signal when the voltage drops below the threshold. The case is made of PVC pipe, everything looks pretty impressive. So, let's take a closer look at how to assemble such a flashlight.

Materials and tools used by the author:

Material List:
- ;
- PVC pipe of suitable diameter;
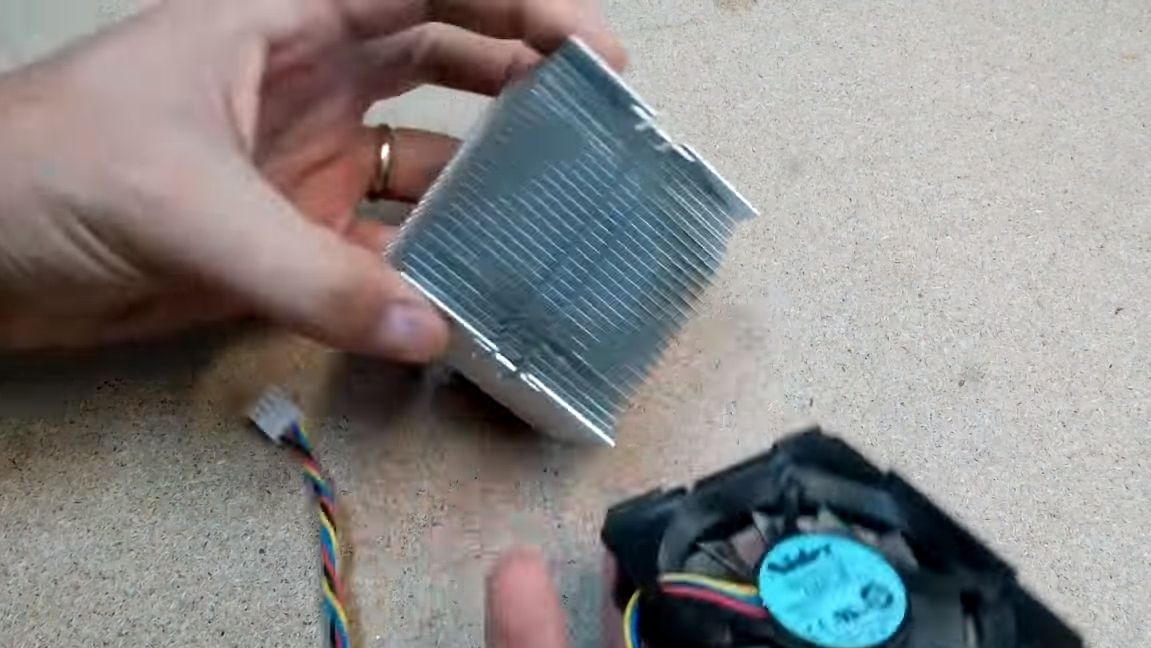
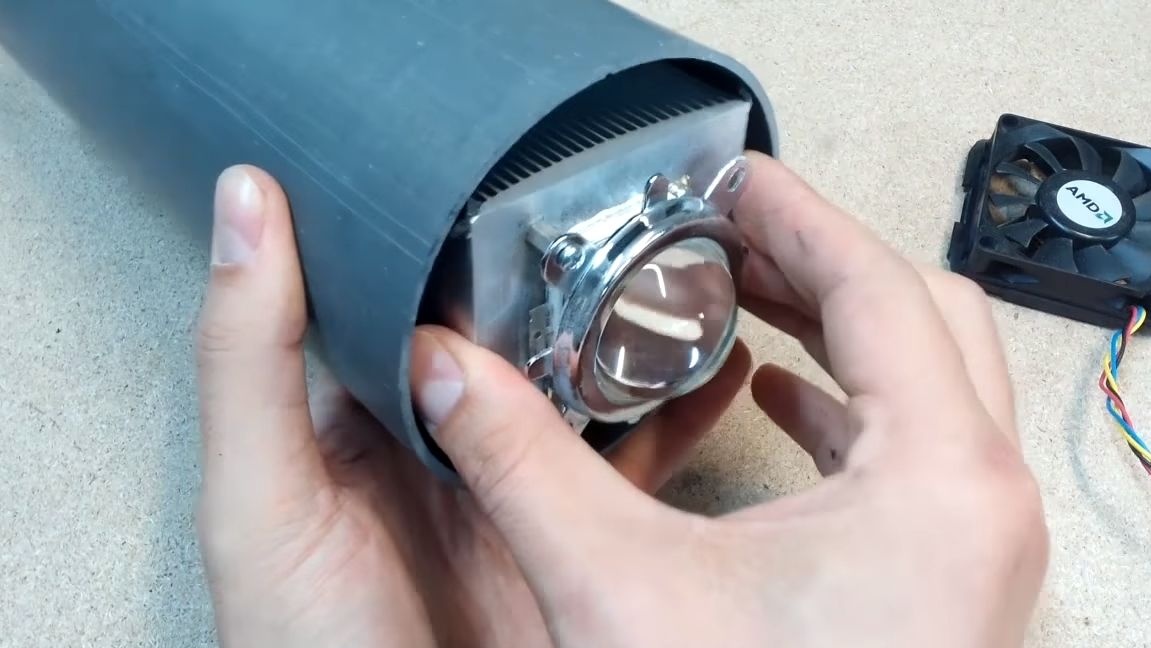
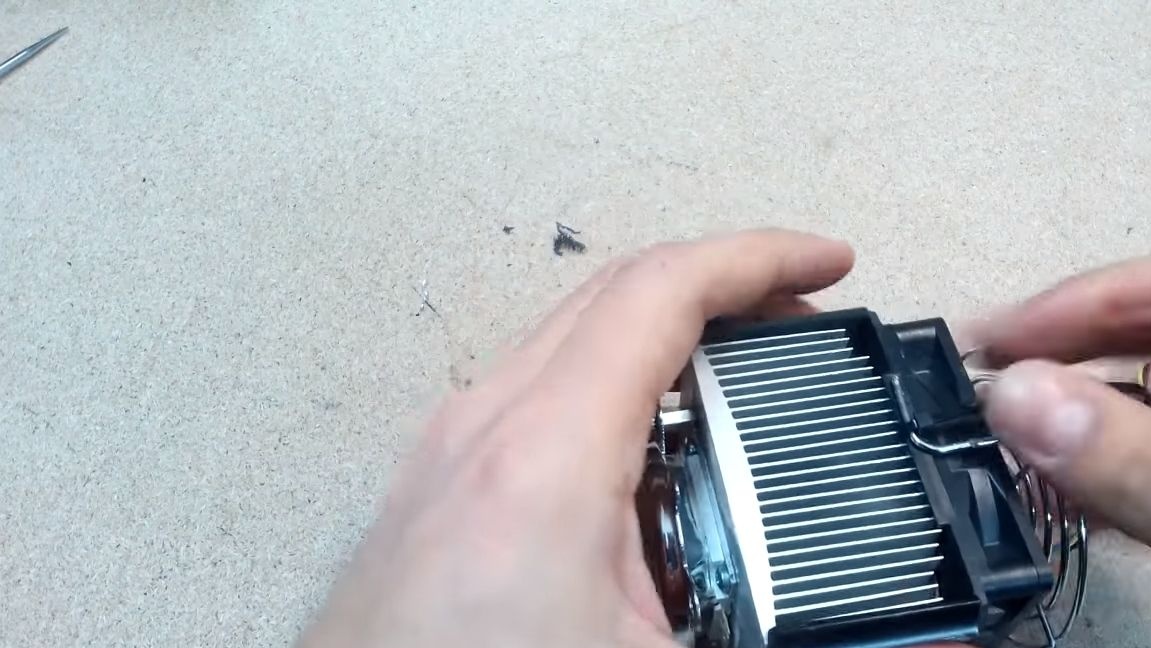
- cooler from the computer processor;
- ;
- controller for charging batteries;
- 18 standard 18650 batteries;
- digital voltmeter with a buzzer;
- switch;
- socket for charging;
- plywood;
- thermal grease;
- lattices from the cooling system of computers;
- cogs;
- epoxy;
- heat shrink;
- sheet aluminum (to make a pen) and more.


Tool List:
- drill;
- soldering iron;
- multimeter;
- screwdrivers;
- glue gun;
- pliers;
- drill;
- tap.

Flashlight manufacturing process:

Step one. We prepare the radiator
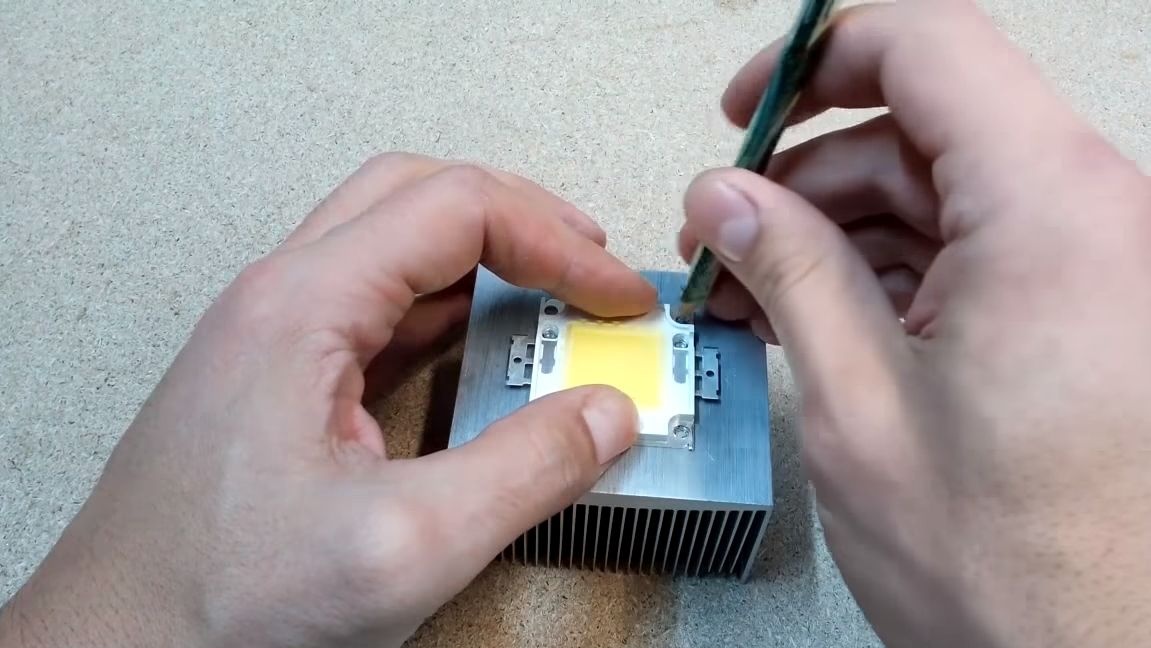
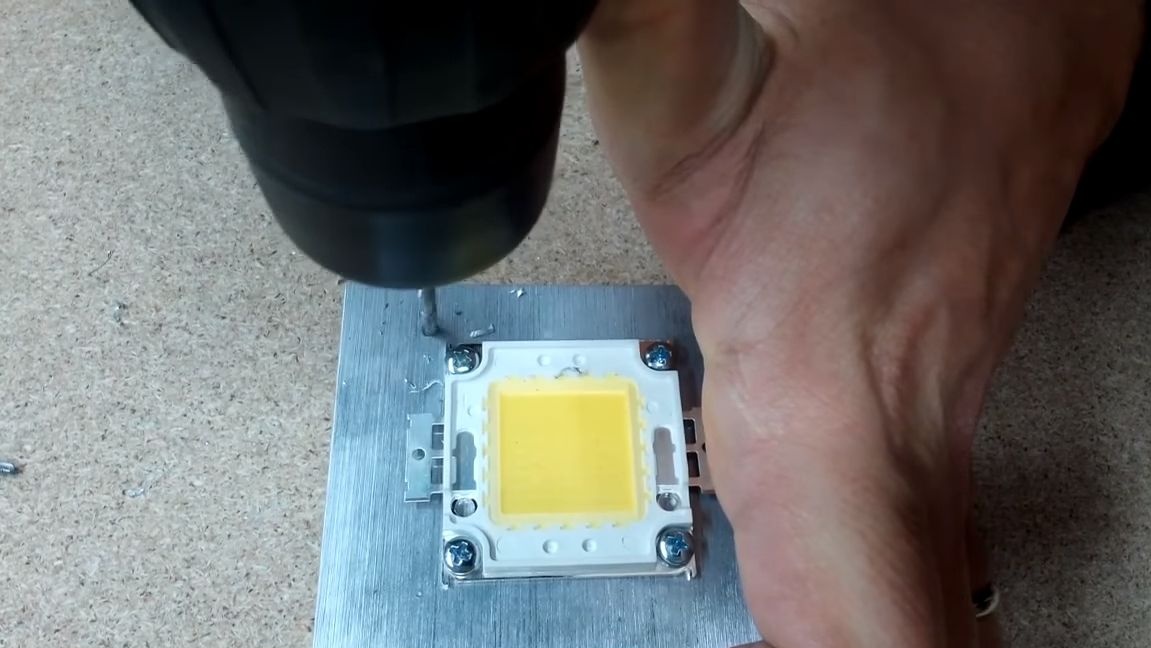
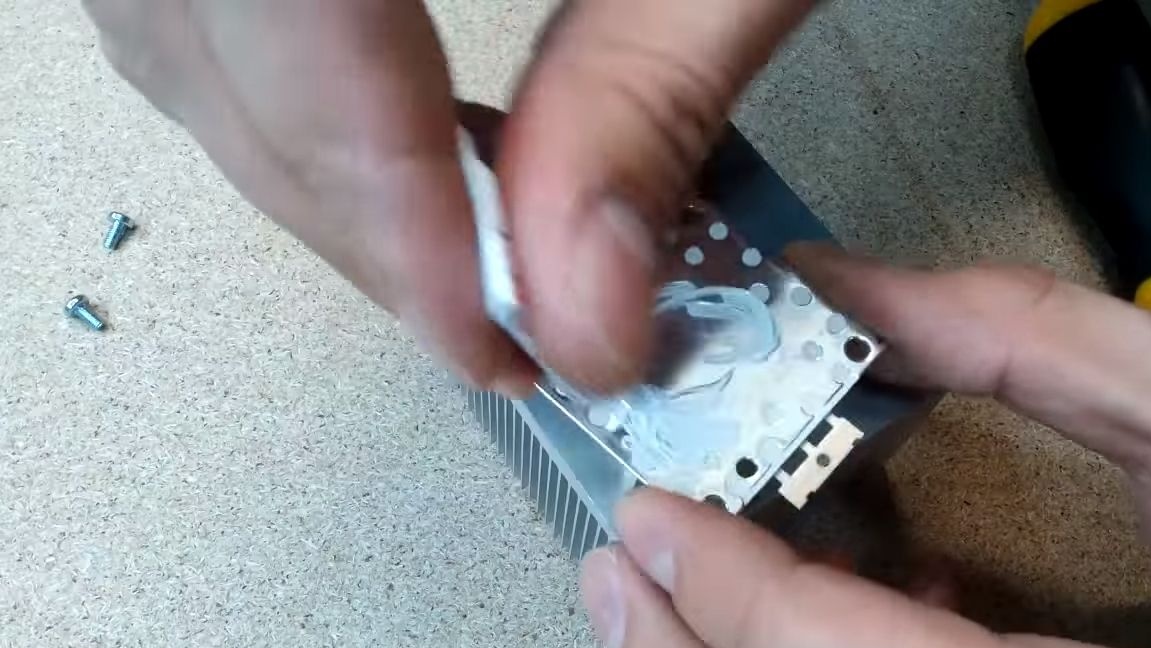
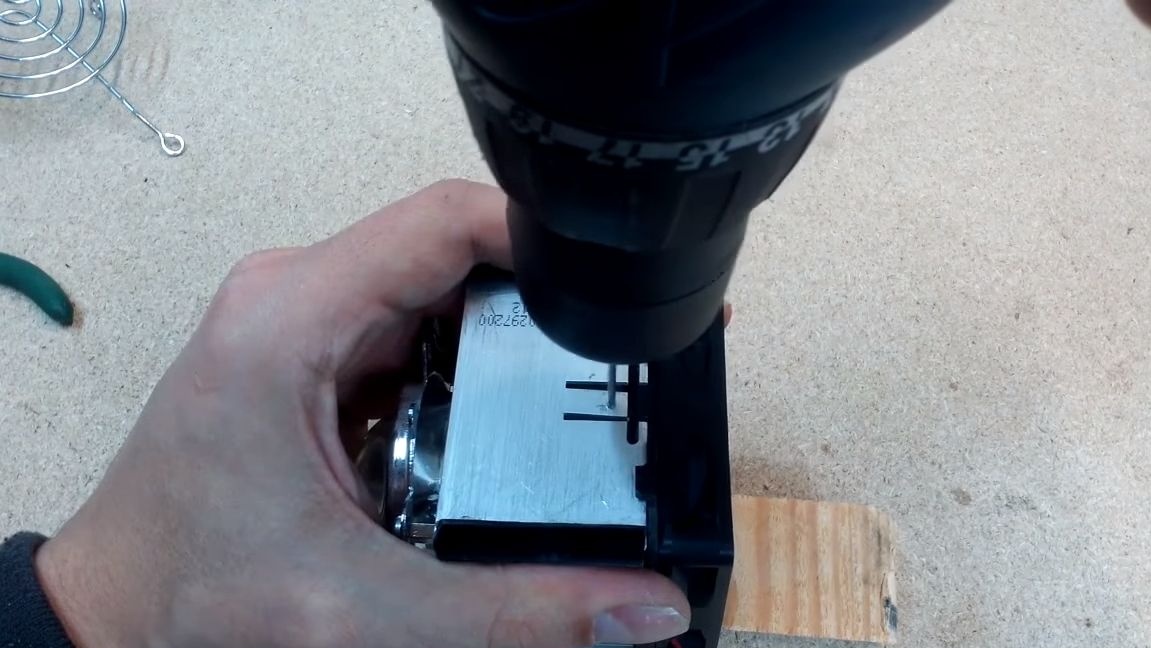
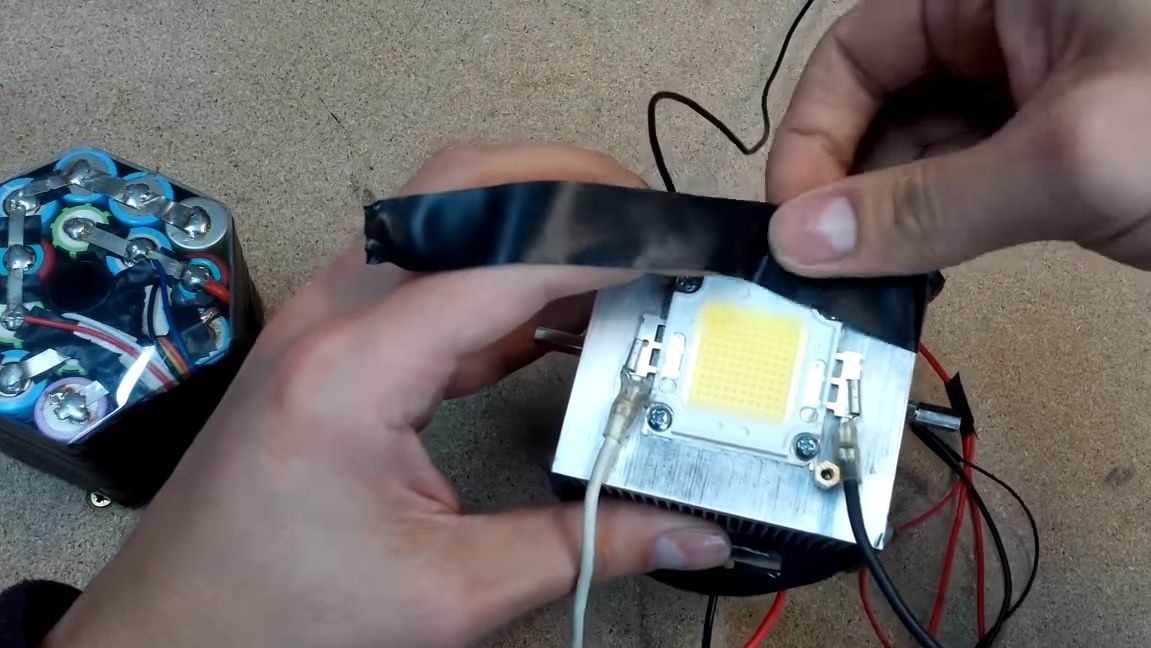
First of all, install an LED on the radiator. To do this, we need a drill, as well as a tap, to thread the screws. Well, then we apply thermal grease to the LED and carefully pull it to the radiator with screws.


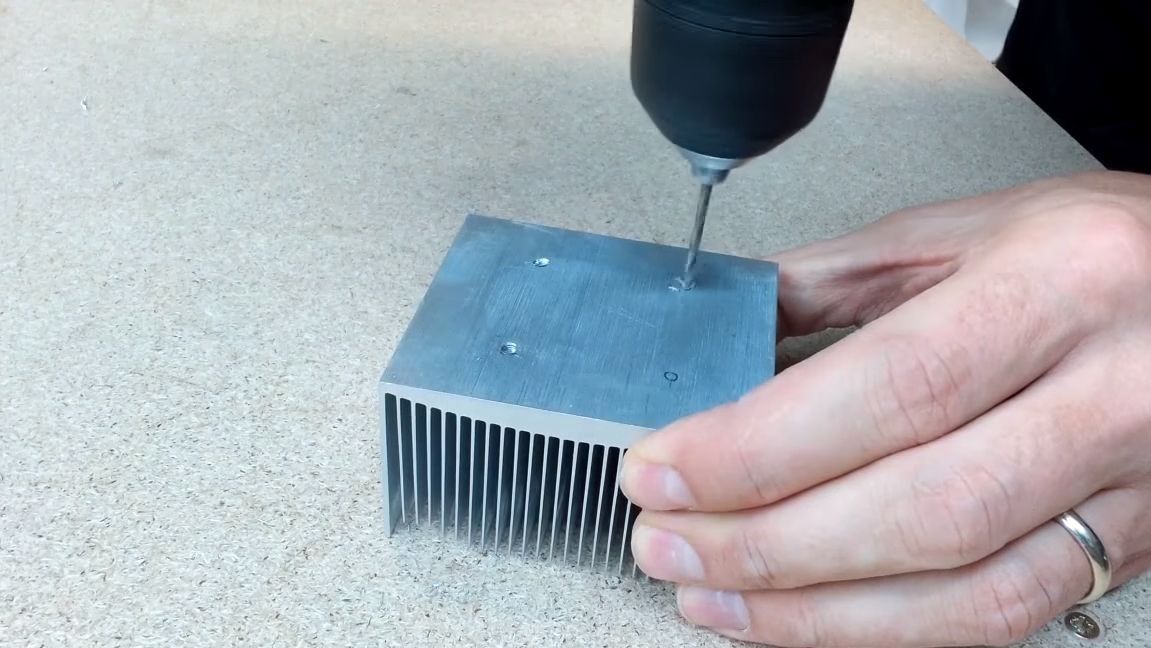
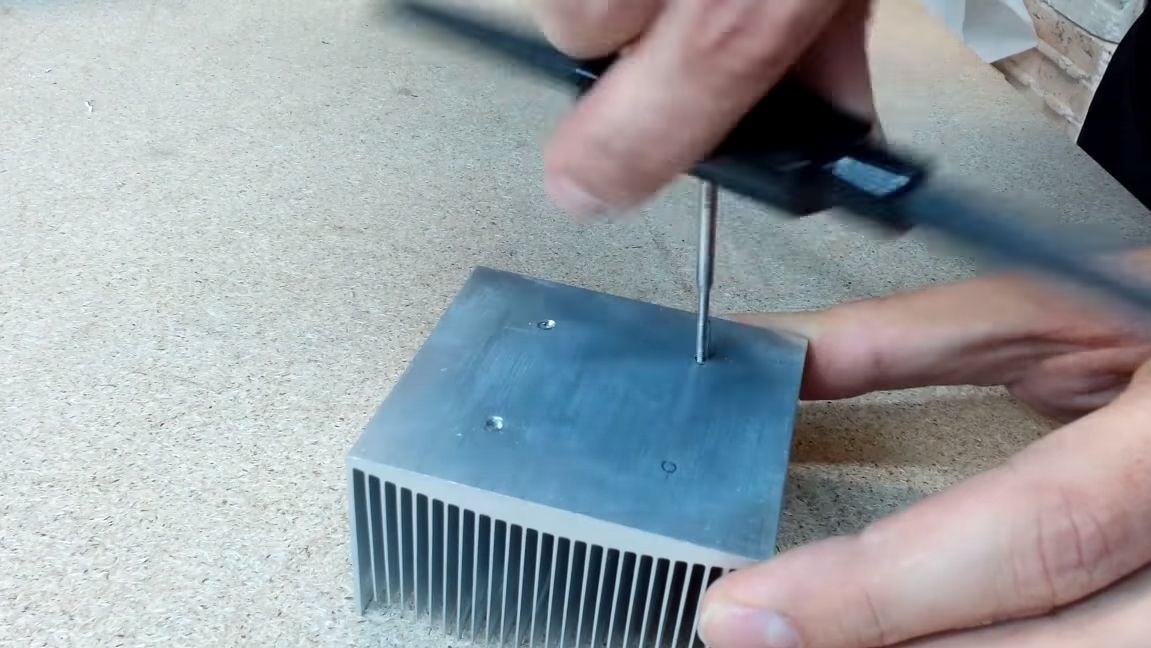
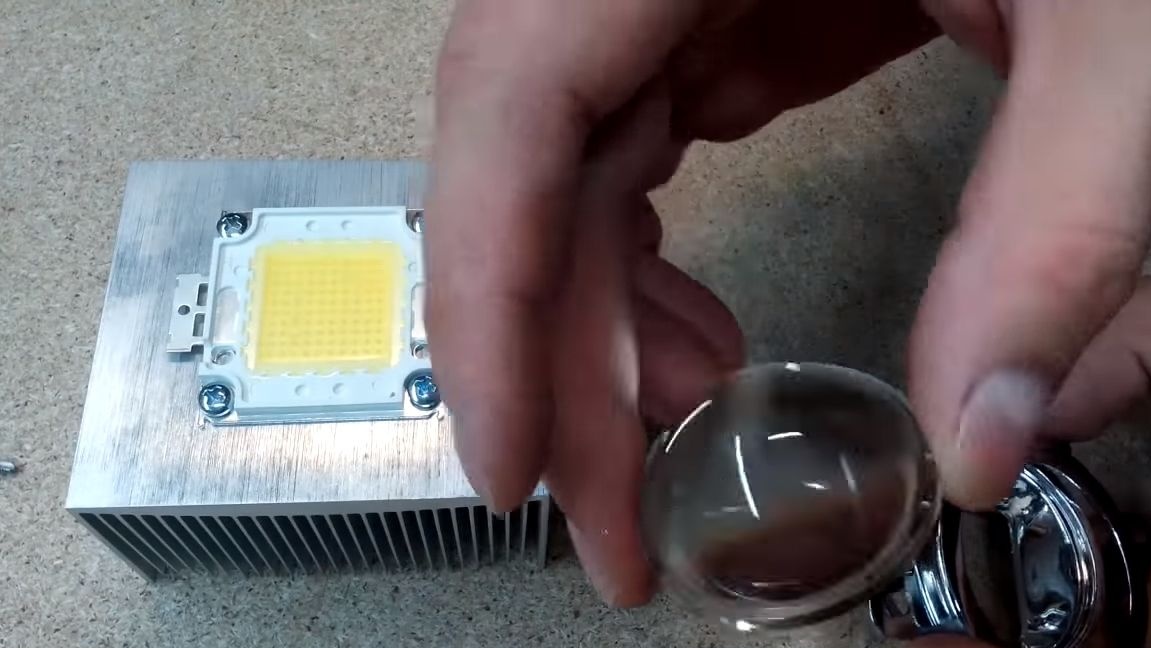
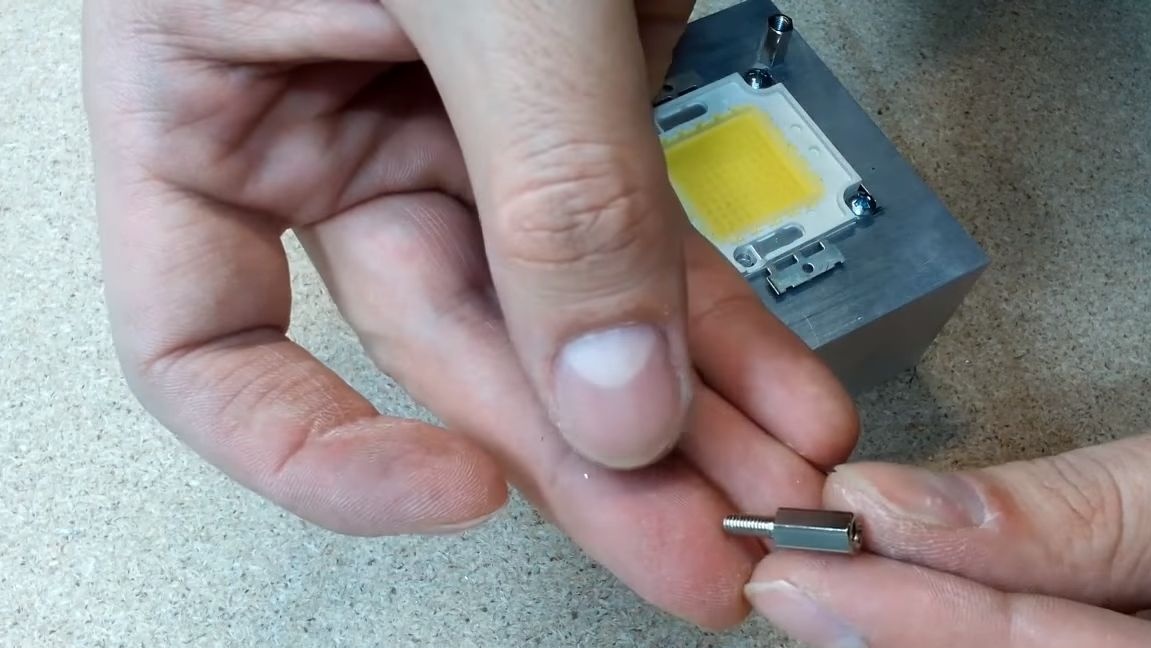
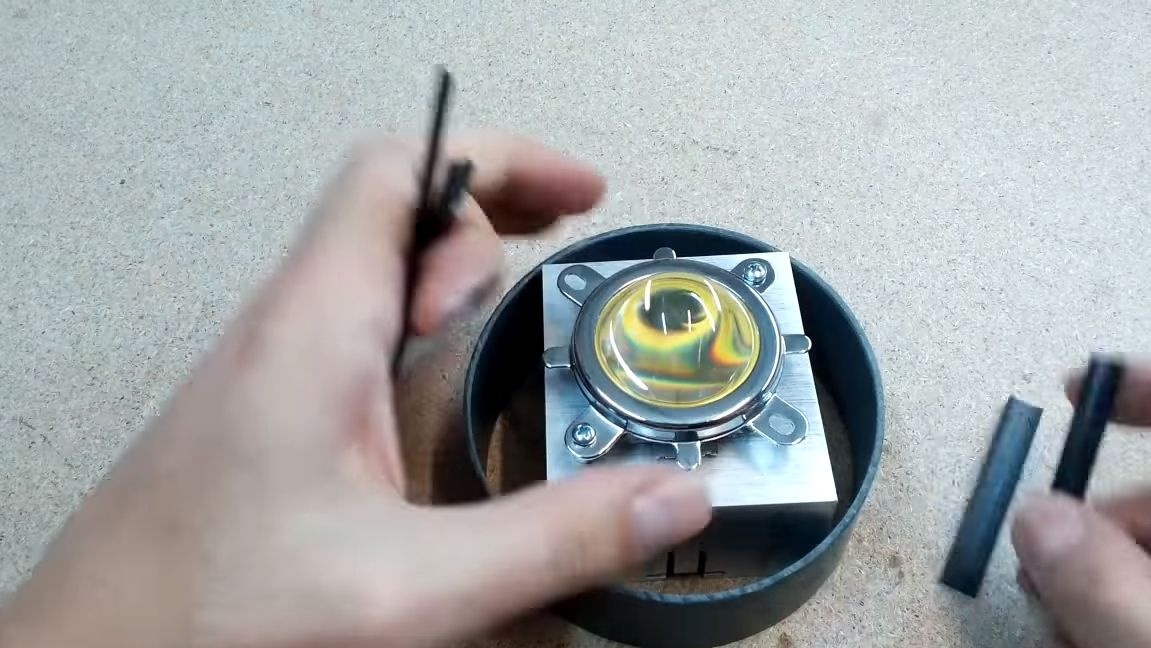
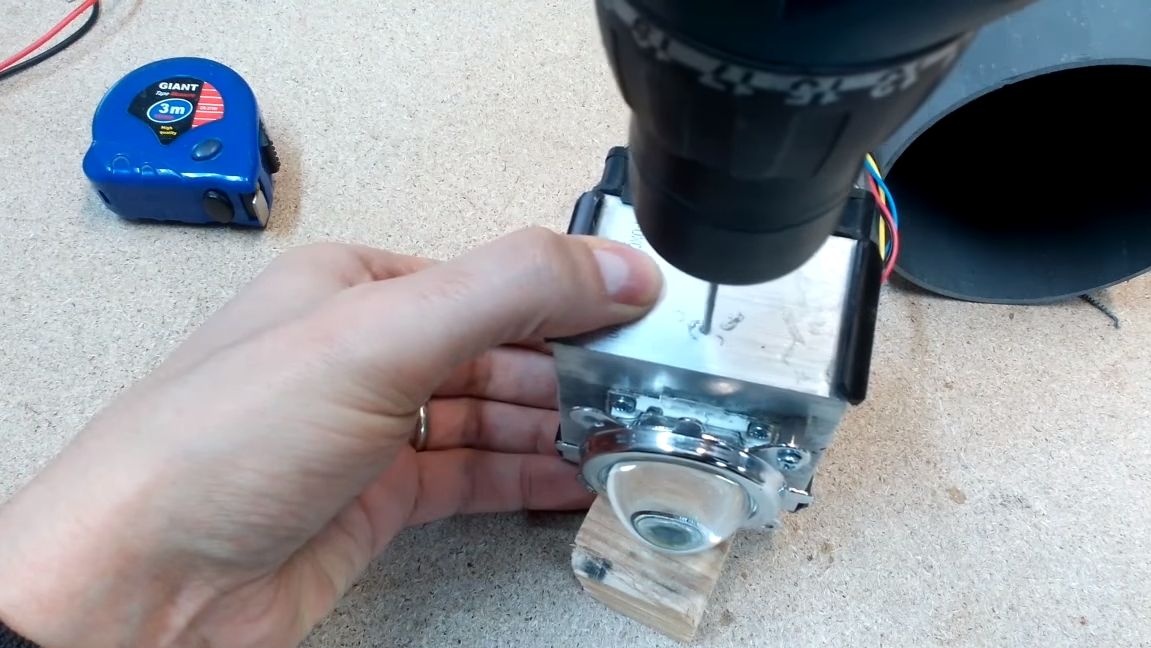
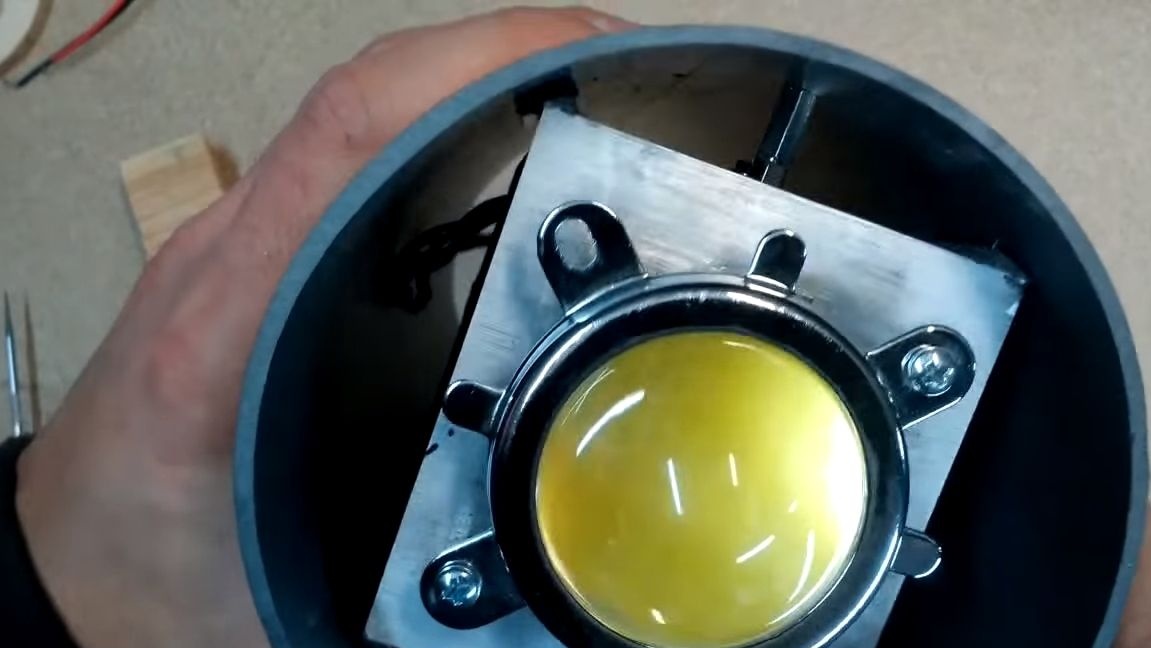
After that, you need to install a lens on the LED. For these purposes, the author uses rack bolts, these are bolts with a nut instead of a head.Similarly, drill holes, cut the threads and wrap the racks, you can put them on glue. Well, now we fasten the lens with screws.

Among other things, we need to glue pieces of rubber, pieces of pipe or other similar material on the corners of the radiator so that the radiator does not hang in the pipe, it must go there tightly. The author glues these details using epoxy.

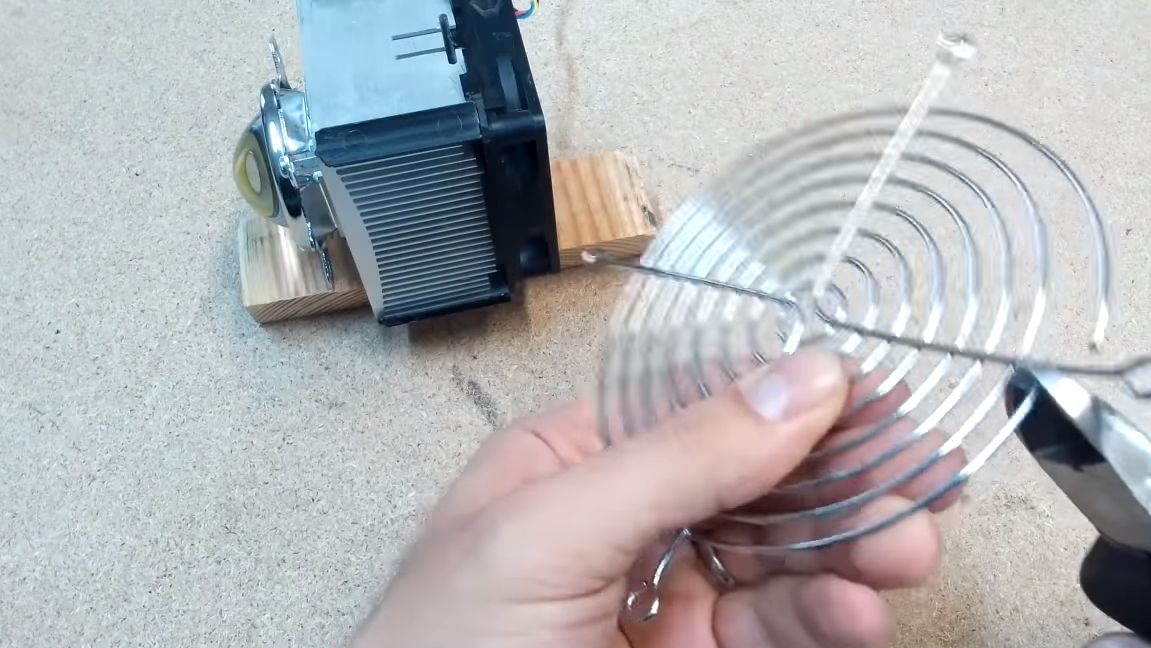
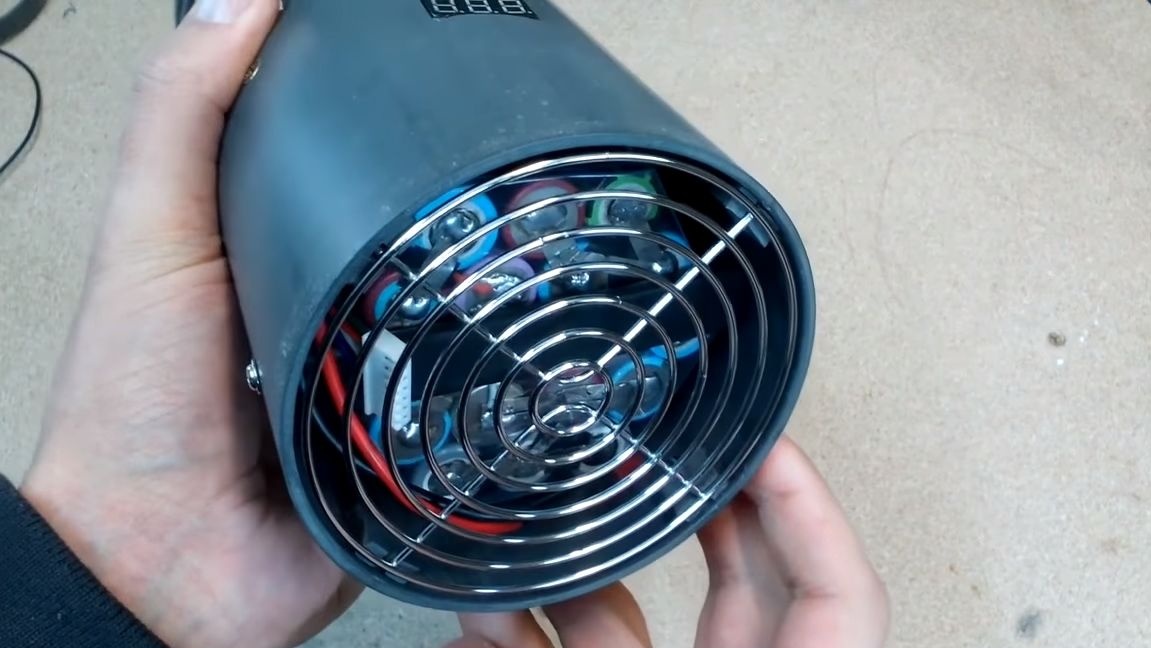
At the end, cut and install a protective grille on the fan so that nothing would prevent it from rotating.


Step Two Radiator installation
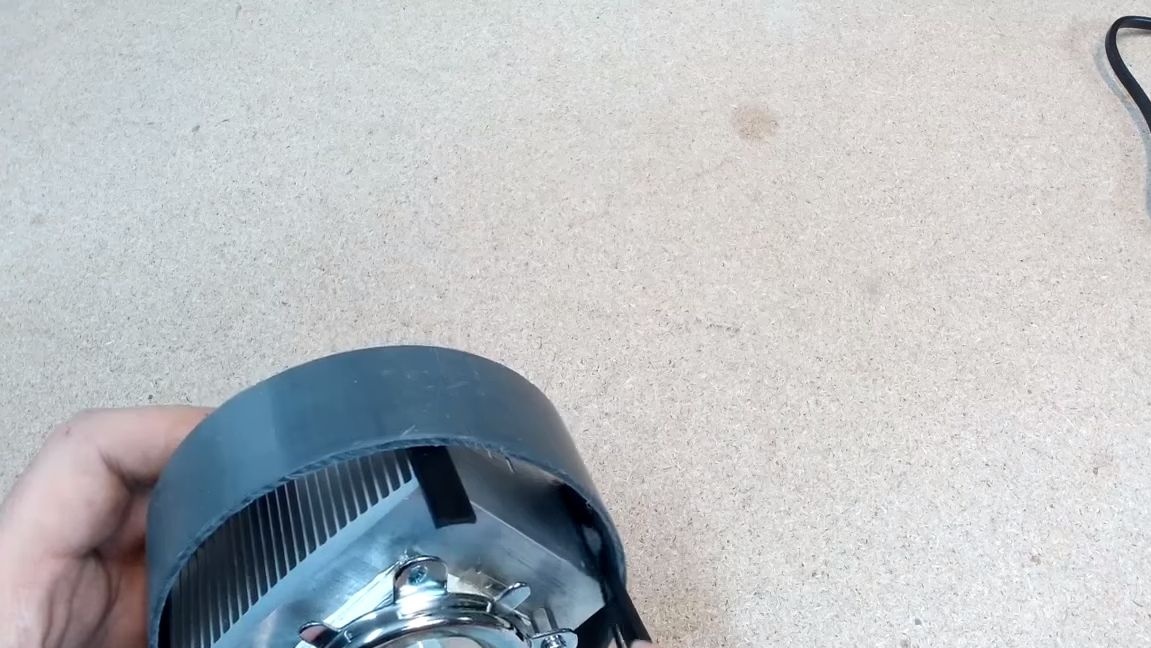
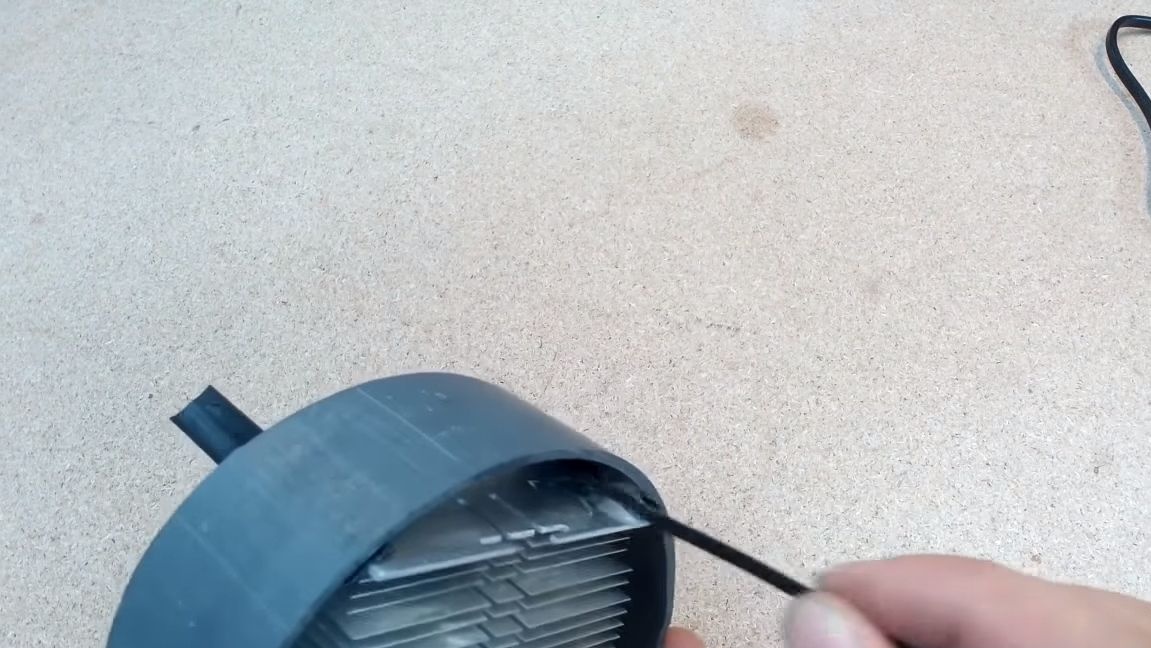
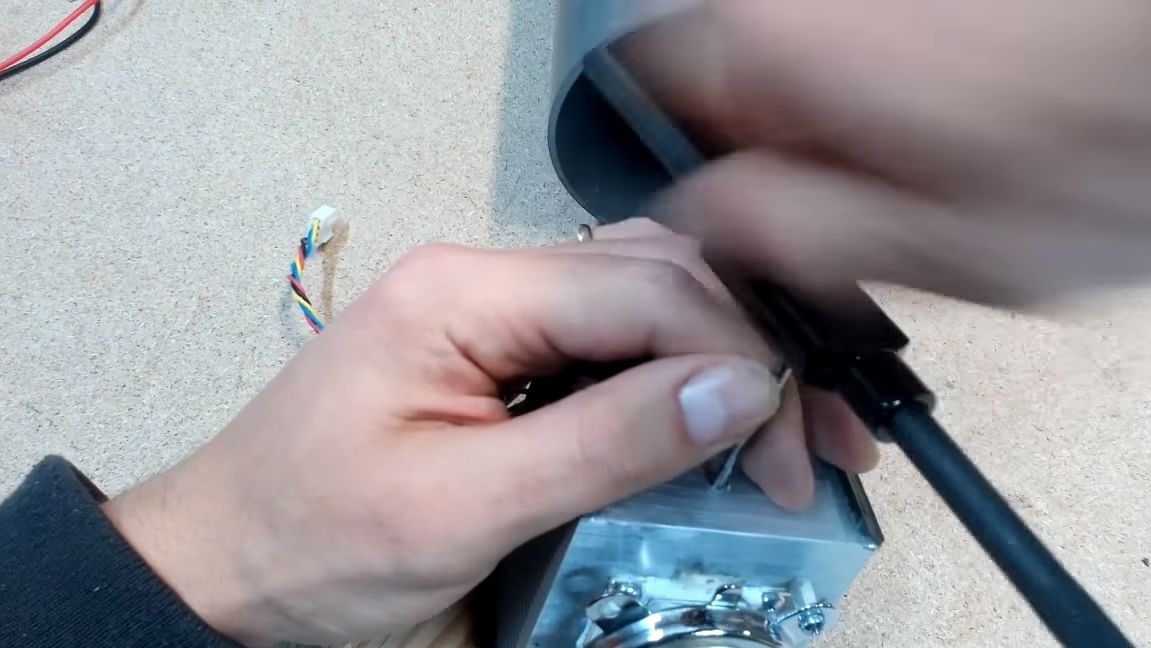
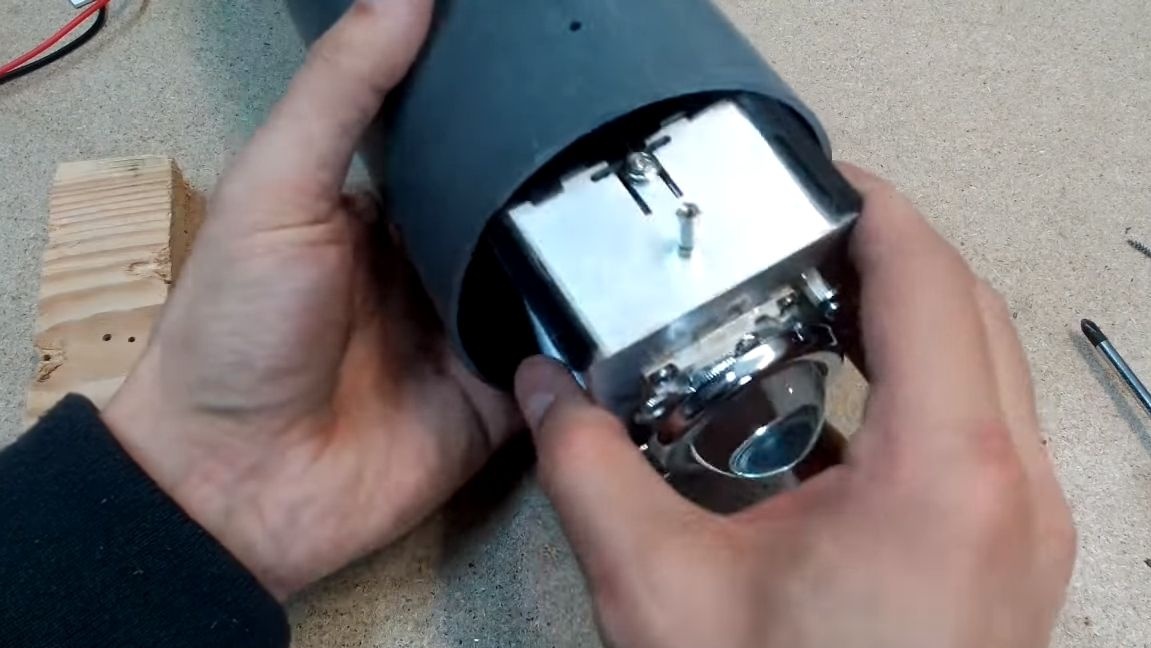
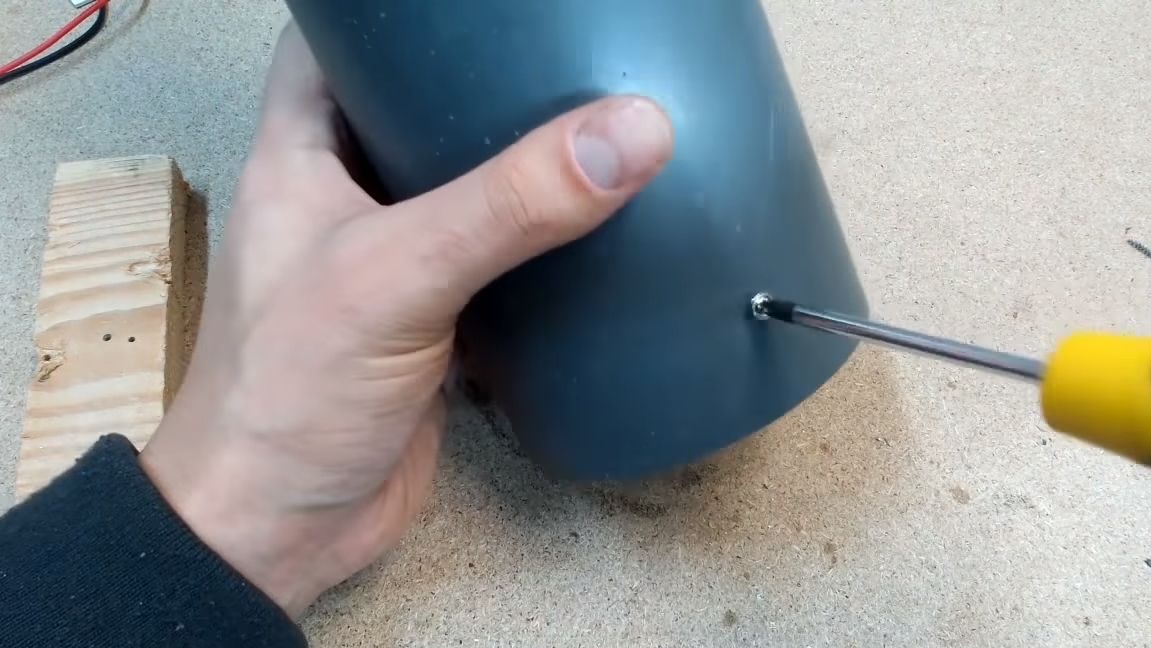
To fix the radiator inside the body, which is a pipe, we take a drill and drill holes in which the thread is cut. In these holes we wrap rack screws. Well, then we fix the radiator to the body with screws.

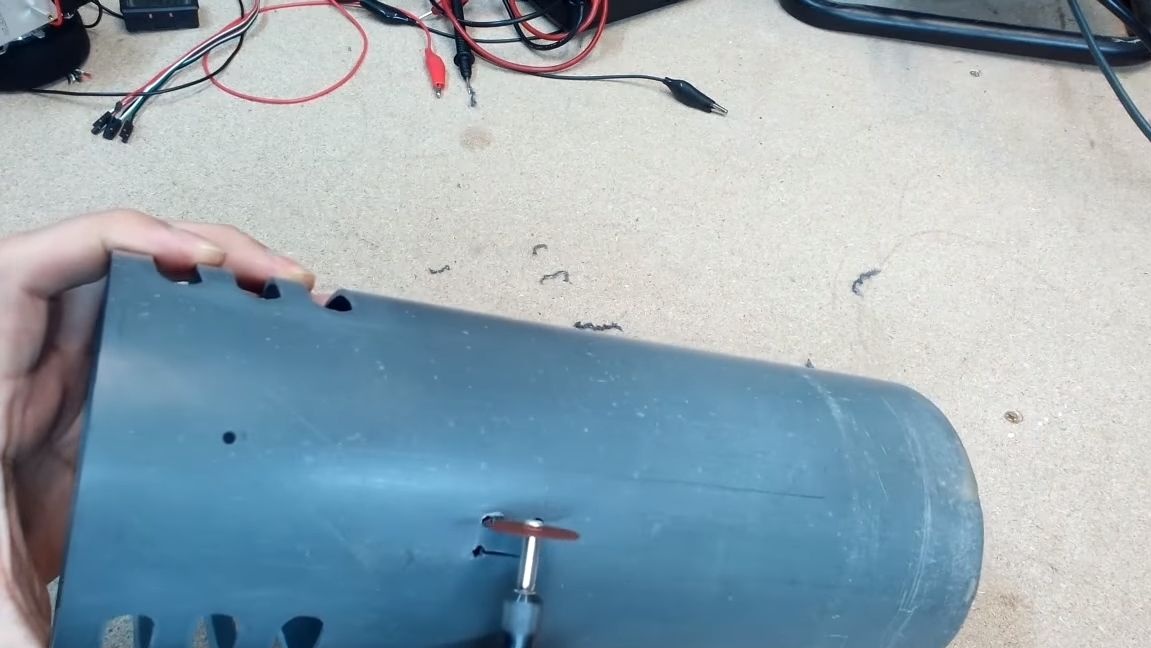
In the place where the radiator is located, make slotted holes for ventilation, the author used a drill for these more fully.


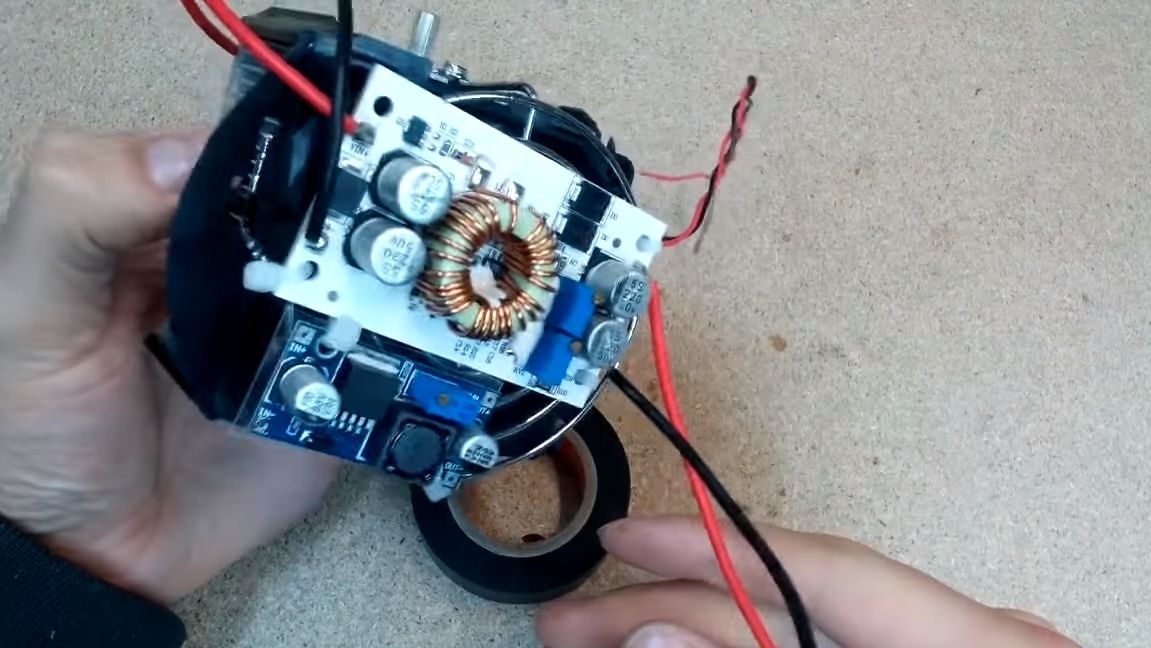
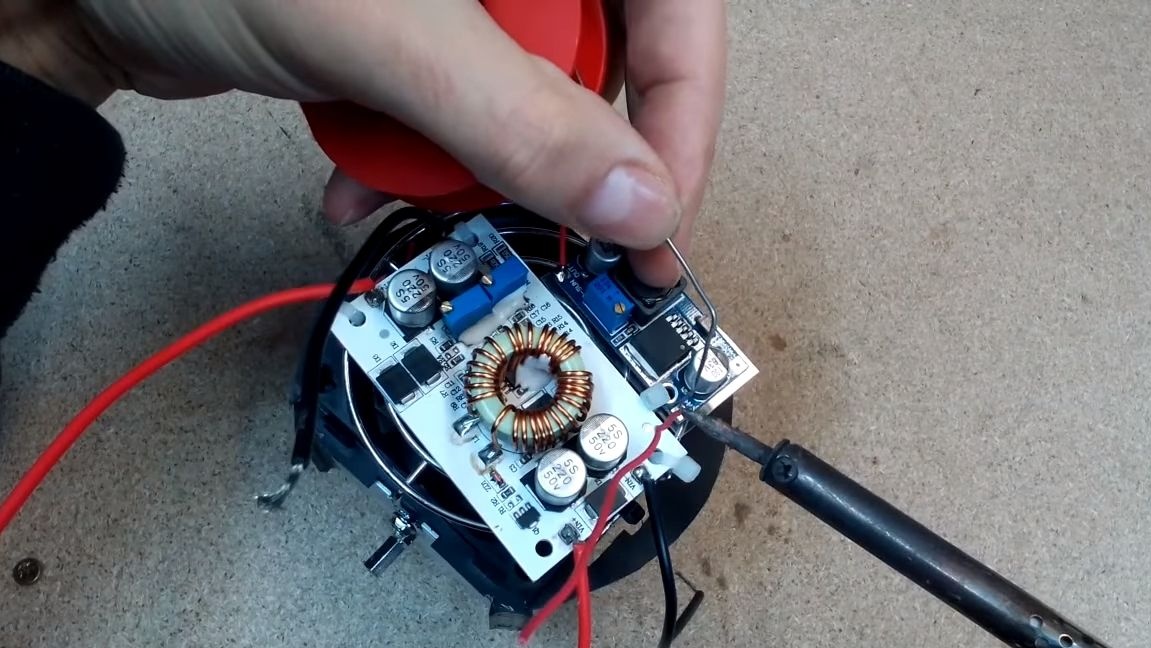
Step Three Electronics Connection
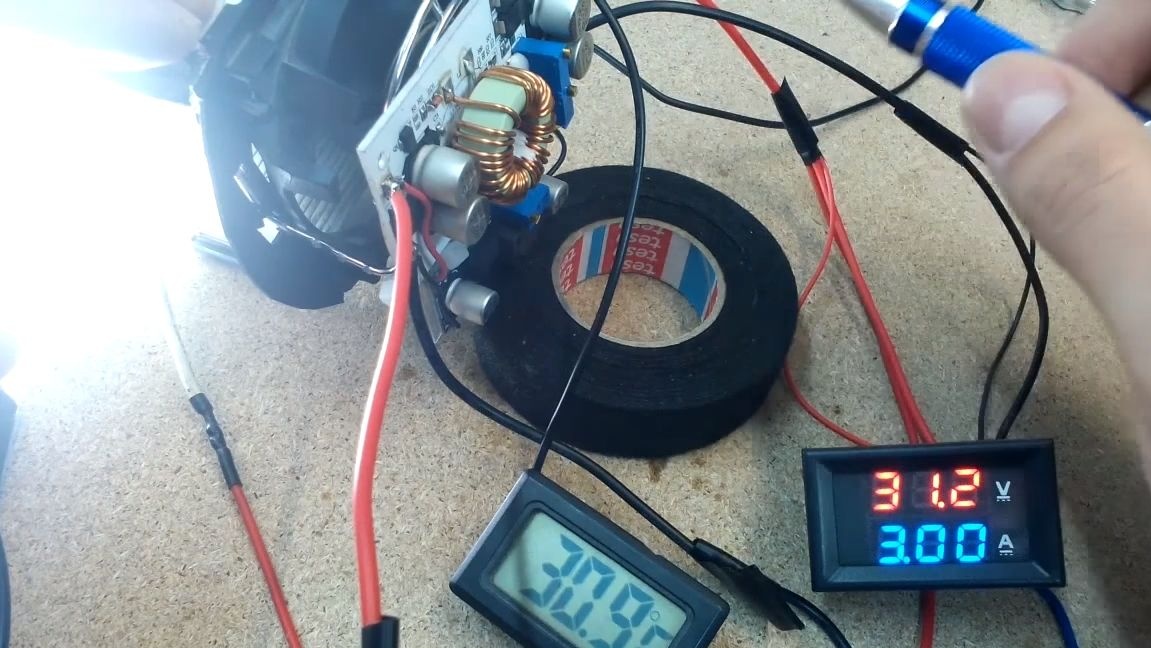
From electronics, we have an LED driver, this, as well as a controller for charging batteries. We connect the LED to the driver and use the adjusting screw to set the desired supply voltage. You can also apply the desired current to the LED so that it burns brighter or dimmer. In addition, the temperature sensor is provided in the circuit; we install it on a radiator. The author fastens the sensor using a strip of electrical tape. Tests have shown that the cooling system is doing its job and the radiator keeps the temperature at 37 degrees.


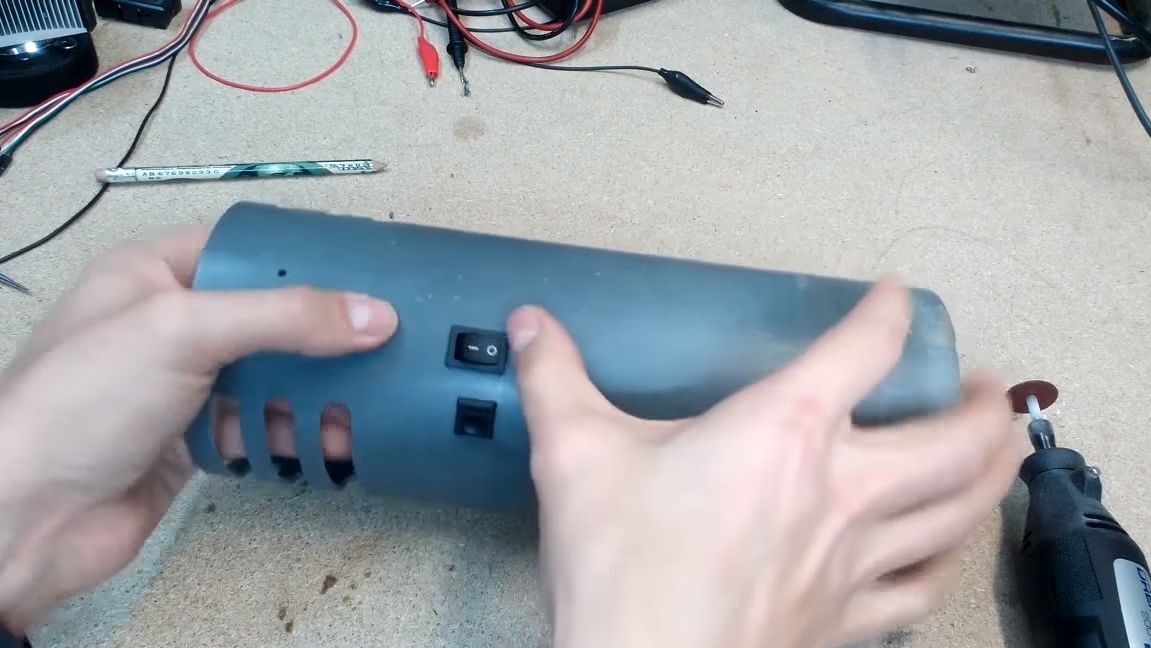
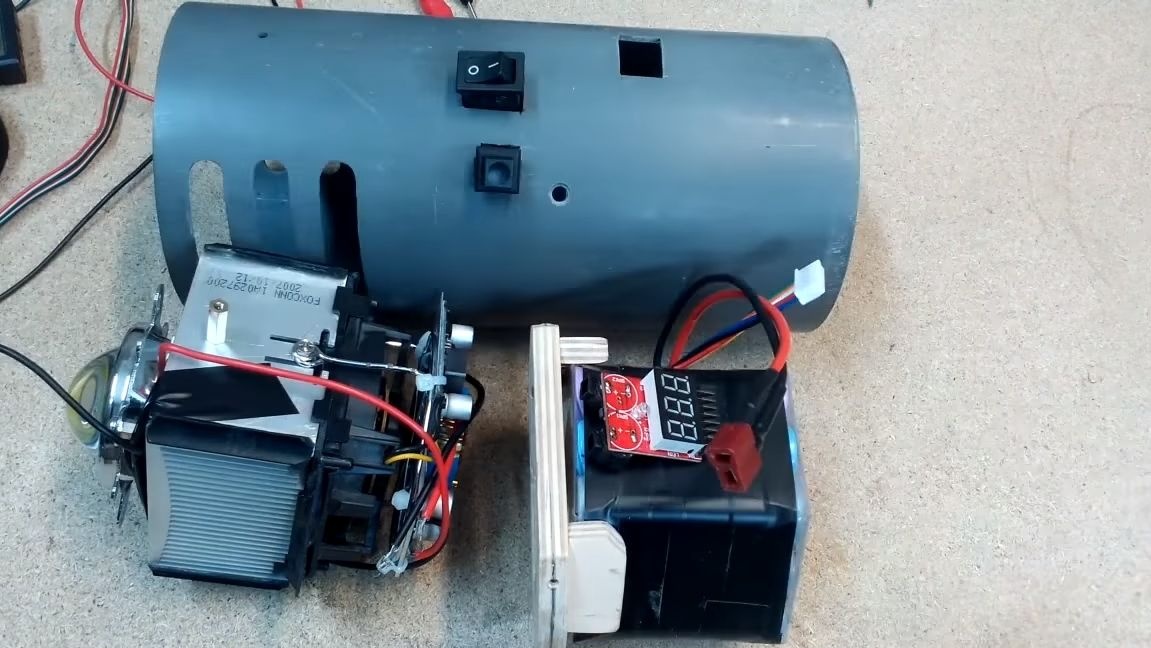
Step Four Charge switch and connector
We select convenient places for the location of parts on the case and use holes to cut holes. Reinstall the switch and charging socket. If the parts cannot be fixed, you can use epoxy or hot glue.


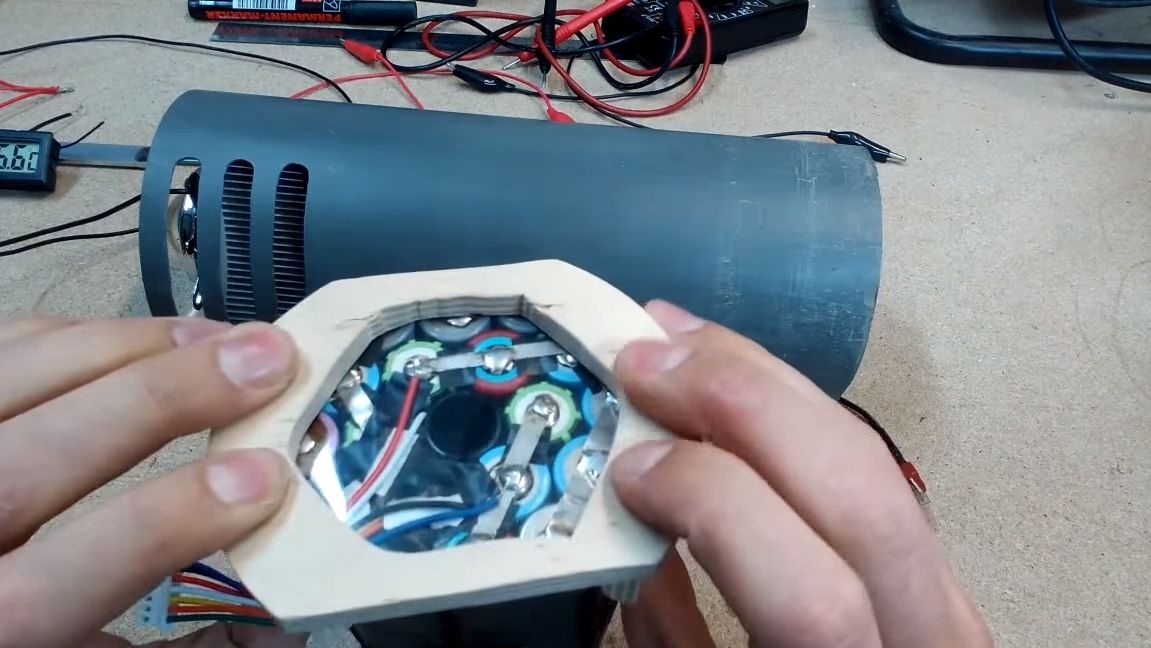
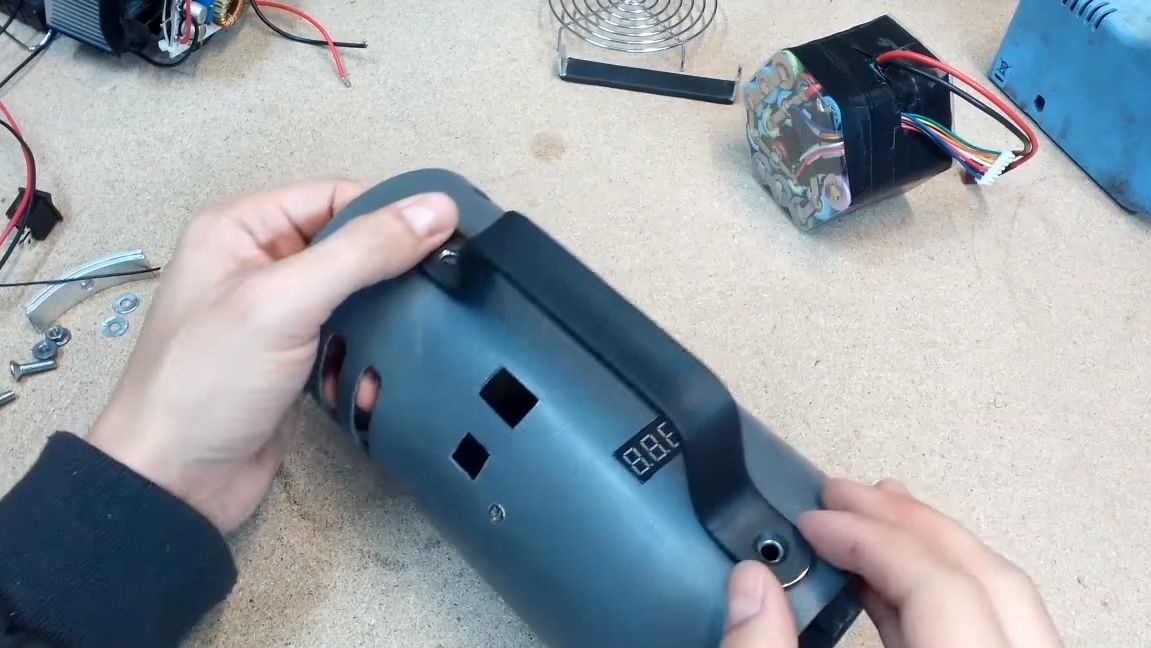
Step Five We fix the battery pack
You will need to glue the plywood disc to the battery pack. There is enough hot glue, but it is better to use epoxy. Well, then we place the block inside the case and fix it to the plywood disk with screws.


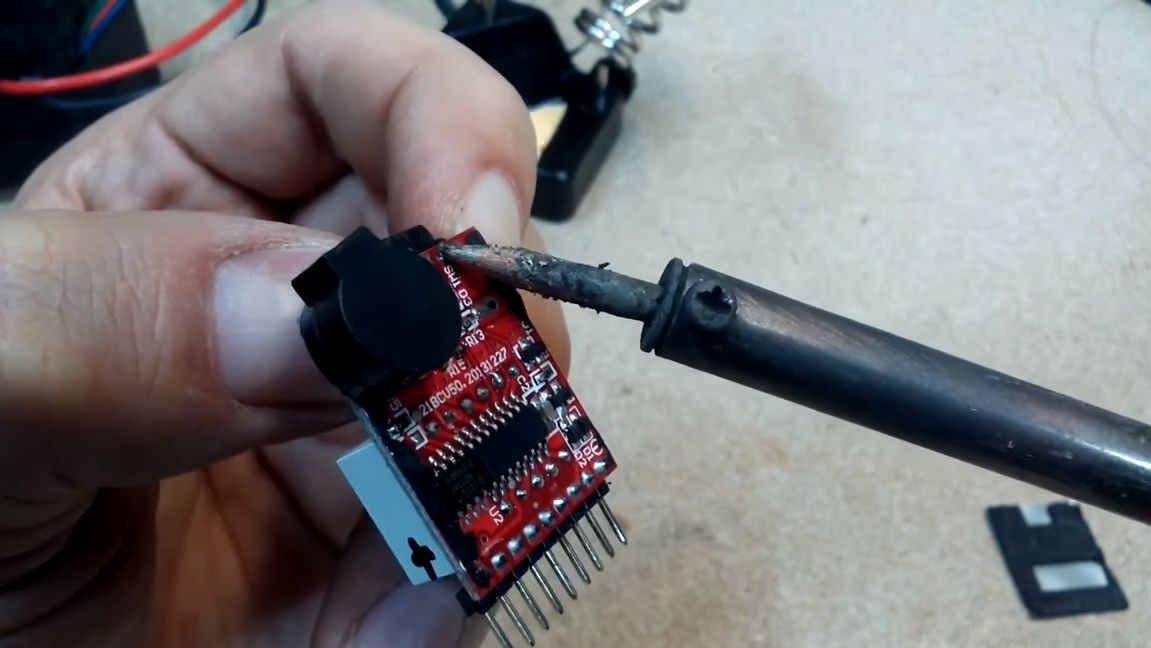
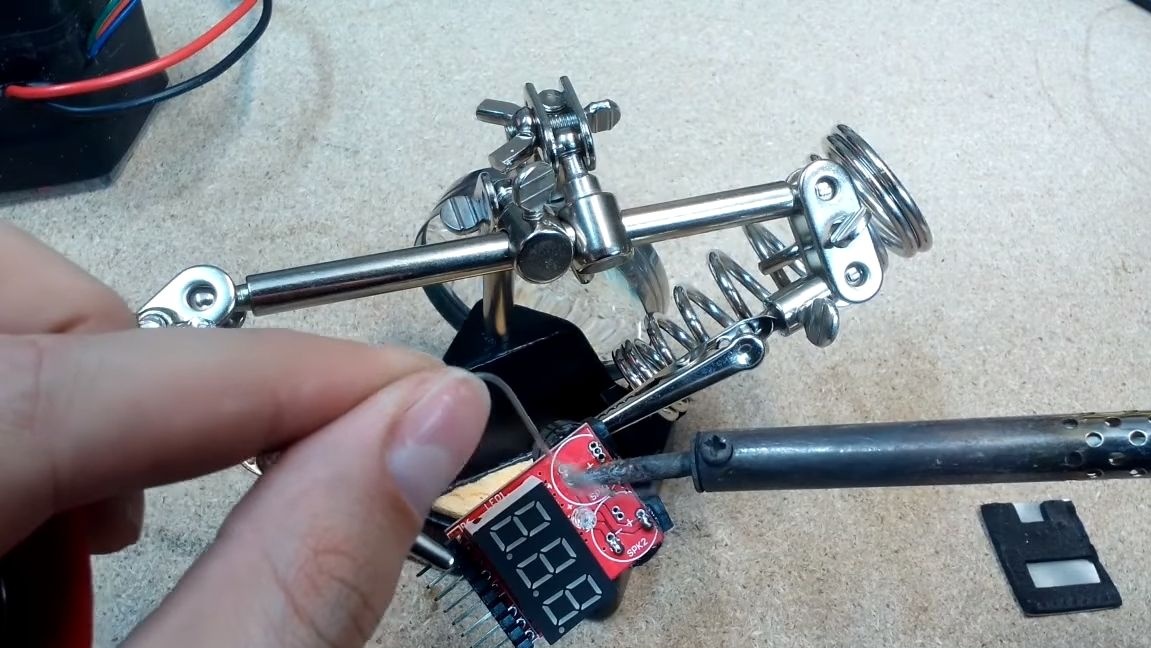
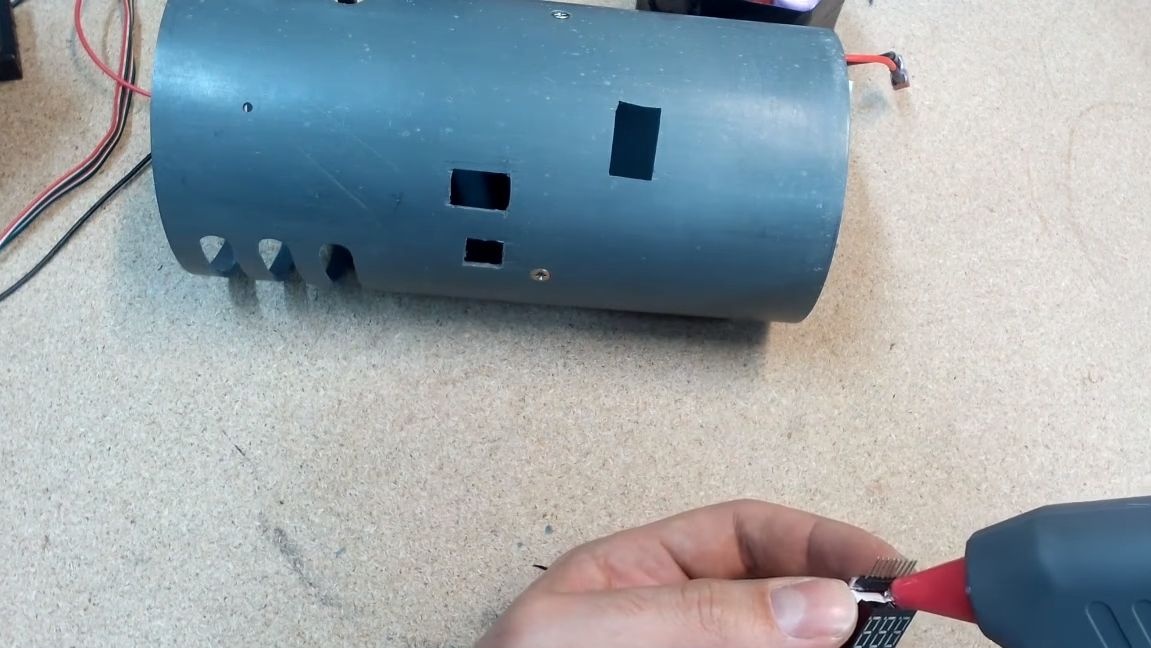
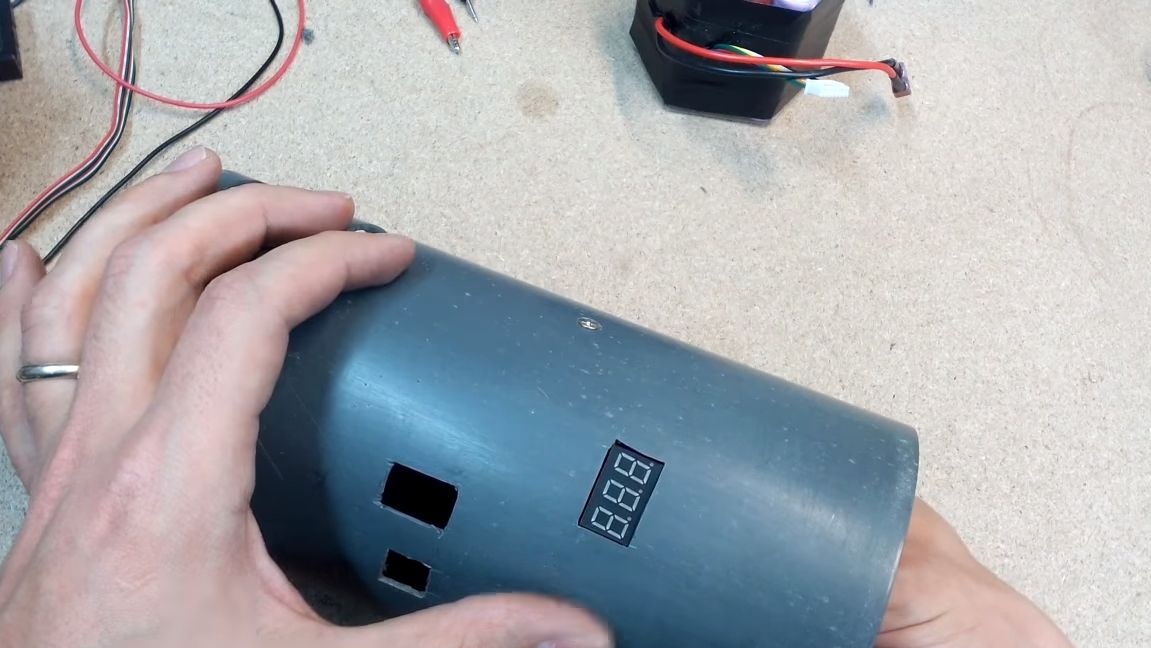
Step Six We connect and install a voltmeter
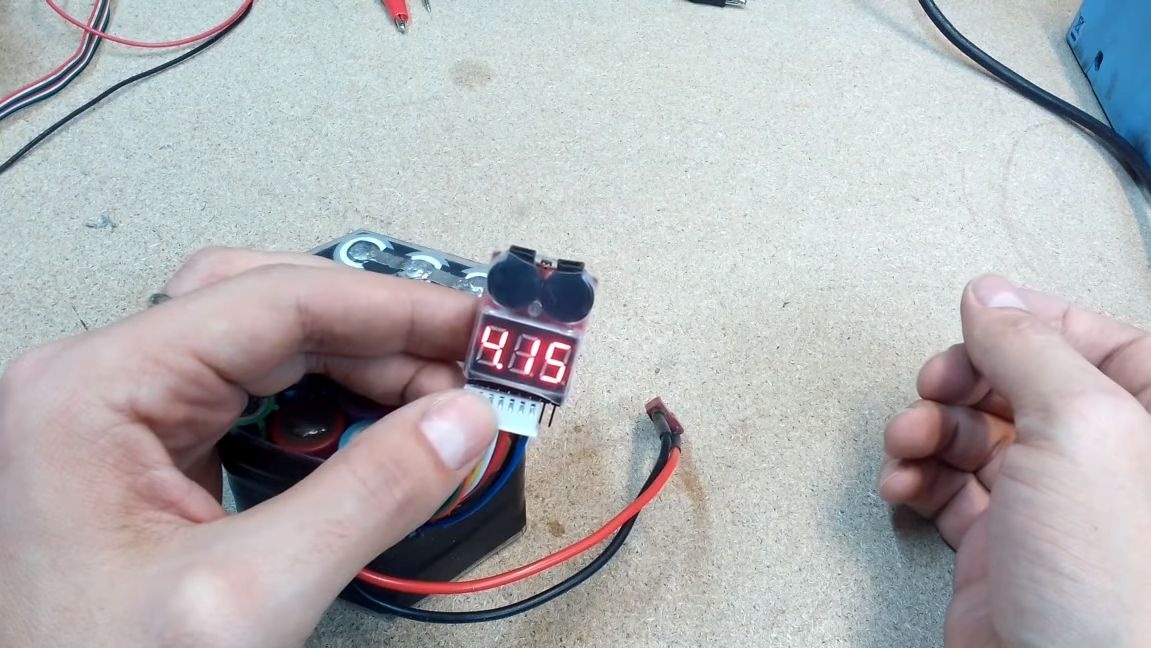
Lithium batteries are afraid of deep discharge, while they fail. To prevent this, the author installs a small digital voltmeter, which will notify with a sound signal if the charge voltage drops below acceptable. To install this part, we cut out a square window in the case and set the voltmeter on hot glue. If the speakers will interfere with the installation, they can be moved to the opposite side.


Seventh step. Close the case
First of all, you need to fix the batteries so that they do not fall out of the pipe. To do this, we take a plate of aluminum and bend it in the form of the letter "P", at the ends we drill holes and cut the thread. Now install this support inside, holding the batteries in place, screw it on.

The author also decided to install a protective grill, which makes the flashlight more beautiful. As a grill we use spare parts from a computer cooling system.


Step Eight. Handle and legs
For a flashlight, you definitely need to make a pen, the one as it is quite large and weighty. For these purposes, we take a strip of aluminum and form the desired profile. And to make the pen more beautiful and more pleasant to the touch, put on a heat shrink on it. We fasten the handle to the body with screws and nuts.


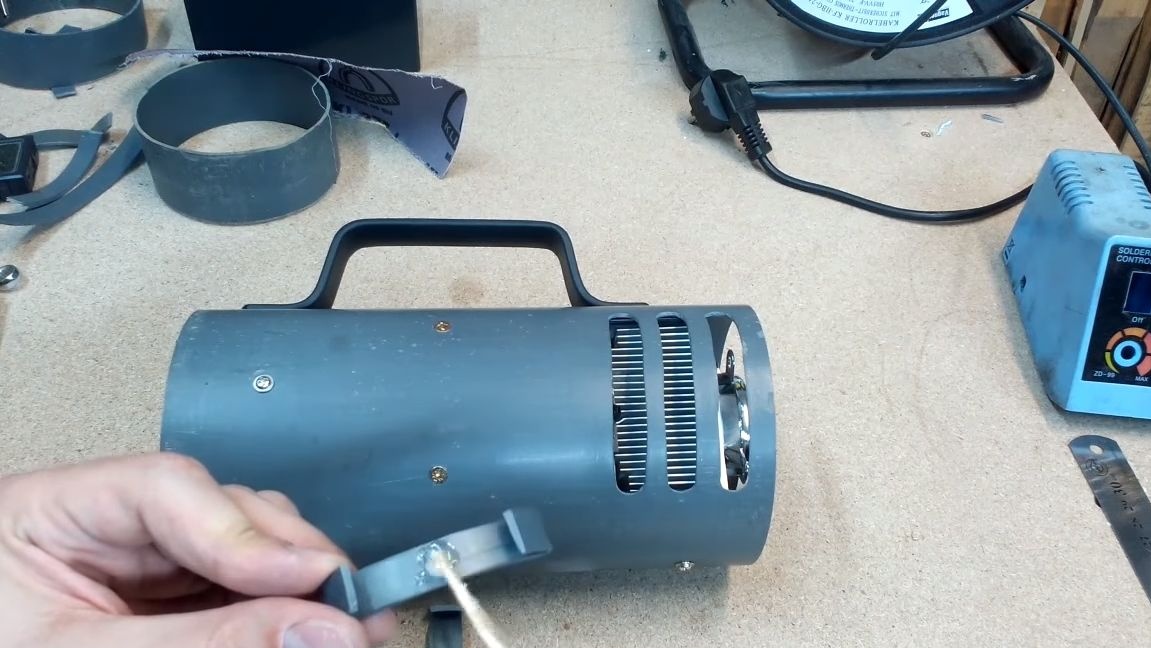
It is also extremely important to make legs for the flashlight. To do this, cut two pieces from the PVC pipe, bend and glue the legs using epoxy. You can also screw several screws into the case as legs. After that, you can conveniently put the flashlight, and it will not roll off.

Step Nine. Challenges!
The lantern is ready, you can test it! The author in the video has a demonstration of his work. It shines very brightly and quite far.Such a lantern can easily give a distress signal, which will be seen at fairly large distances.

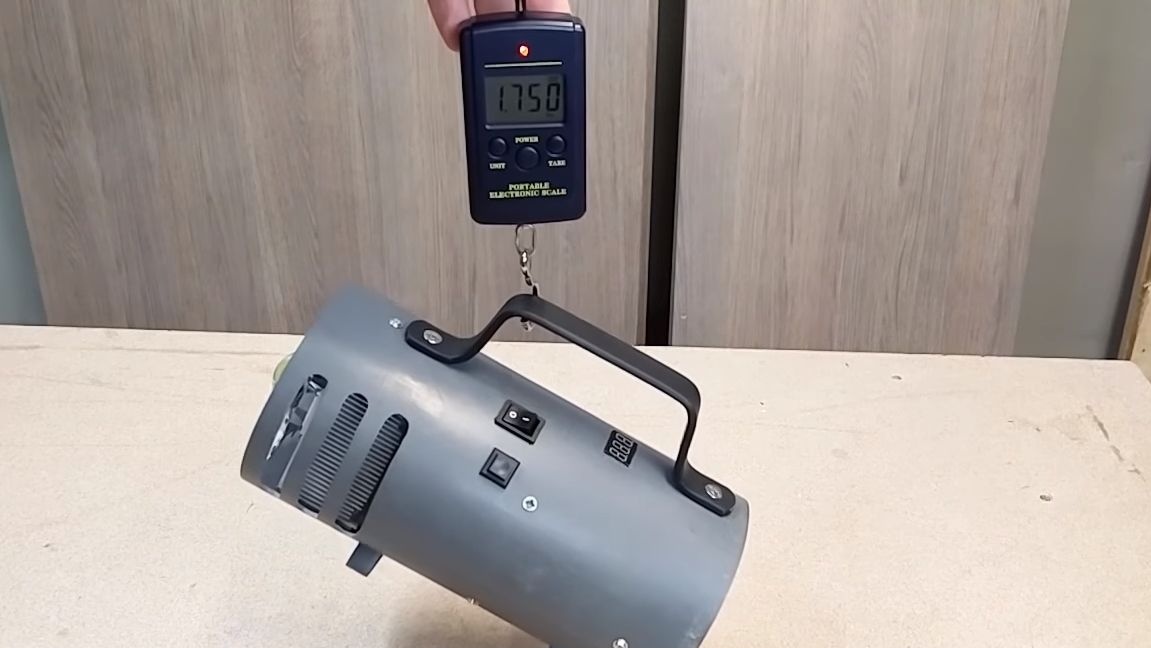
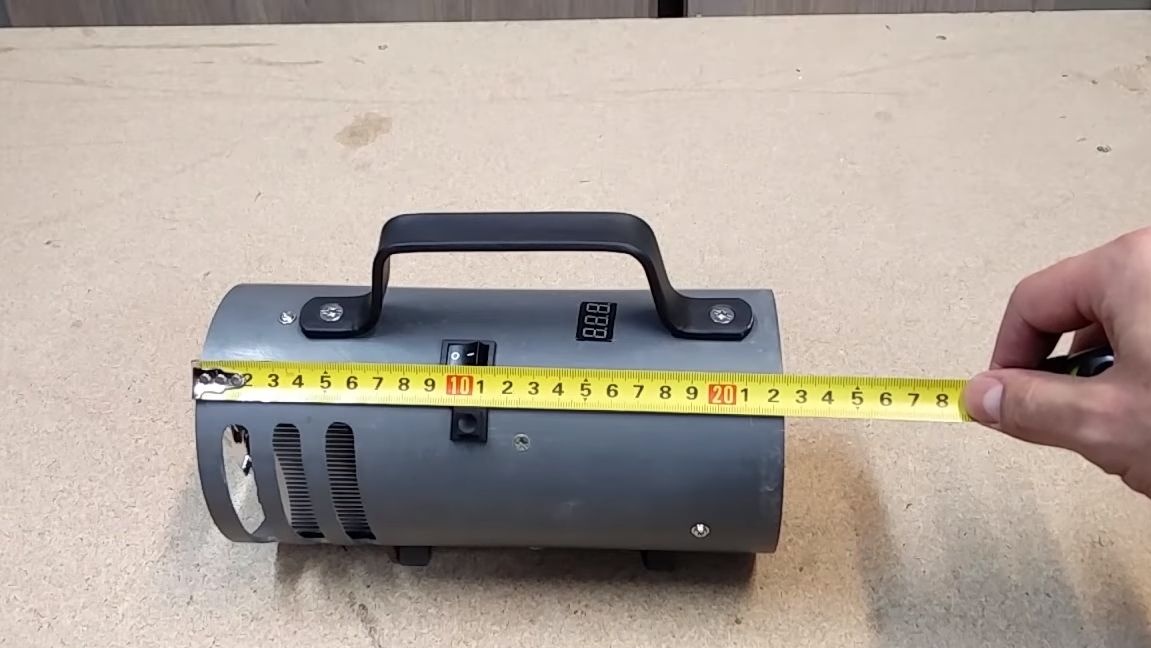
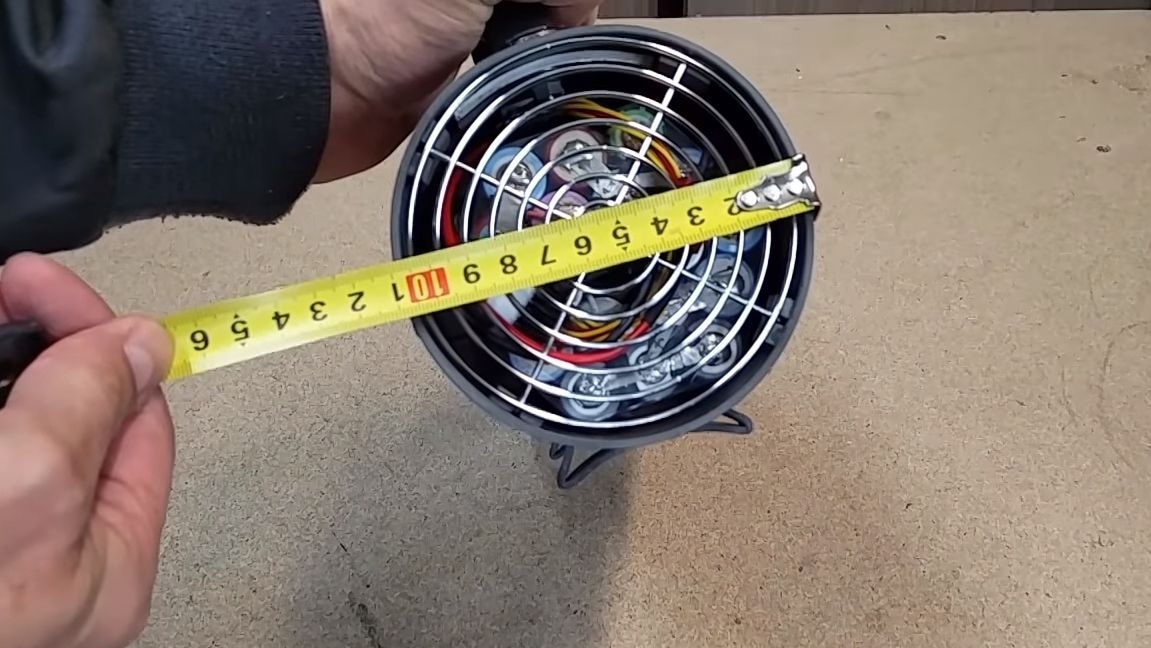
The entire floodlight amounted to 1.750 kg, most of all while weighing batteries and a radiator. The length of the lamp is about 22 cm, and the diameter is about 11 cm.
That's all, I hope you enjoyed the project! Good luck and inspiration in making your own flashlight!


9.7
8.5
9.2

Add a comment

    • smilesmilesxaxaokdontknowyahoonea
      bossscratchfoolyesyes-yesaggressivesecret
      sorrydancedance2dance3pardonhelpdrinks
      stopfriendsgoodgoodgoodwhistleswoontongue
      smokeclappingcraydeclarederisivedon-t_mentiondownload
      heatirefullaugh1mdameetingmoskingnegative
      not_ipopcornpunishreadscarescaressearch
      tauntthank_youthisto_clueumnikacuteagree
      badbeeeblack_eyeblum3blushboastboredom
      censoredpleasantrysecret2threatenvictoryyusun_bespectacled
      shokrespektlolprevedwelcomekrutoyya_za
      ya_dobryihelperne_huliganne_othodifludbanclose
16 comments
To some extent, marriage. But even in this case there is a link to the source and if you really need this information, you will at least not interrupt dozens of Internet pages, but follow the link and figure it out yourself. And another 95% of all these homemade products, no one will ever repeat. Praised, scolded, but will not do. Due to uselessness, laziness or crooked hands. And there are home-made products, it seems that the work is excellent, but there is little information. The author did not want to chew on specials or considered that the others also know. So you sit and fish out the Old, and then you’ll guess how much knowledge is enough. But again, whoever needs it will find the information from several sources.
Quote: Dmitrij
Well, I’m bad at electronics,

So don’t bother to tear apart what you don’t understand. I never said that the correspondence of other people's creations is a clear evil. But I consider this type of activity acceptable only if two conditions are met: the original device itself deserves to be told about, and the reteller should not distort what the author did.
In the case under consideration, both conditions are not met, and the incorrect choice of the subject of the retelling is caused by the incompetence of the reteller in this technical field.
Remember the old "bearded" joke about how Lieutenant Rzhevsky asked Pushkin to write a "pun in verse" in "his, lieutenant, style" - a little vulgar .... In order to show a poetic talent at a social event ?

The original sounded like this:

"Sea!!!
At sea - clipper !!!
On the clipper - the skipper !!!
The skipper has a tripper !!! "

Everything seems to be right .. And a rhyme ... And a little vulgarity in the hussar style ...
... Only now, at the rout, the lieutenant said the following:

..- Gentlemen !! I had a small pun that I would like to read to you now ...
Mmm ... (thought) ... The bottom line is that ... A barge is floating on the river !! ... And there’s a lot of people on it !!! ... And, typically, all -the whole team is syphilis !!!!
... I assure you, gentlemen, that sounds even funnier in poetry! .....

xaxa

That's somewhere like this sometimes it turns out here ....))))
But I do not quite agree with you ...
... I will say right away: I do not speak contemptuously about the "redovers")))) and I acknowledge your activity as useful ...
But now we are arguing about completely different things !!!
..I, for example, am not at all against such publications ... Even the pros ... Only now ...
DO IT QUALITATIVELY, please!
Please do not tackle those topics that you do not fully understand !!! And, especially, for those who do not understand at all !!!
I often, while collecting information, read articles on a specific topic !!! And how is it already tired that often these articles are written "in order to write them" ...
And here there are often articles from which it’s not possible to draw anything at all, because of the obvious distortion of the original source by the scribe, which is very, very far from the topic ...
Well, you must admit, such work is a MARRIAGE !!!
Author
lawyers and programmers - it's always hard ...))
Well, a bad case ...
Quote: pogranec
You can criticize the “redistributors” as much as you like, as some comrades or non-comrades speak contemptuously here, but no one wants to do this.Yes, we do this not for free, but you are "versed" and do not want to do this for a fee. Well, let’s give up this business and then hundreds of homemade products, both good and bad, just see a few hundred thousand people less. Yes, in this array of information there is a lot of manure, but there are also pearls. And yet, no one is forcing anyone to anything. Do you want to do, do not want do not. All are literate and understand that there is a lot of water on the Internet, and before you do something, you need to draw Old from various sources.

Sorry for the familiarity, but: "You yourself understood what you said?"
P.S. Be simpler and people will reach for you.
Put a minus and explain my position. You can criticize the “redistributors” as much as you like, as some comrades or non-comrades speak contemptuously here, but no one wants to do this. Yes, we do this not for free, but you are "versed" and do not want to do this for a fee. Well, let’s give up this business and then hundreds of homemade products, both good and bad, just see a few hundred thousand people less. Yes, in this array of information there is a lot of manure, but there are also pearls. And yet, no one is forcing anyone to anything. Do you want to do, do not want do not. All are literate and understand that there is a lot of water on the Internet, and before you do something, you need to draw Old from various sources.
Quote: Ivan_Pokhmelev
Well, I’m poorly versed in electronics, but we have you to approve or criticize such projects. I'm only a seeker

You are not a seeker - you are "replayItel of "in which" you are poorly versed, "and this is not good, because it looks like the principle" One woman said ... ".
Author
Well, I’m poorly versed in electronics, but we have you to approve or criticize such projects. I'm only a seeker
Author
To charge, you need to remove the grill, unscrew the bracket and extend the battery pack, disconnect the balance cable and the Deans connector and connect them to any cheap charger for charging a lithium battery, for example, B6AC.


Is the charging jack installed for fun?

And, for sure, this is not a socket, but some kind of button ... I wonder why.
Here you (those who comment) are interested in this homemade product, but for me, so - complete garbage.
To the “scribe,” of course there are a lot of questions, but the Author is not up to par.
My opinion: what the Author did was simply connect the LED to the battery (by the way, very unsuccessfully) and use a completely inappropriate housing for this homemade product.
How much stupidity on the Internet! I looked at the proposed video diagonally ... Indeed, and why is the wiring diagram (?). For stupid (Zadornov was right!). They praises sing in comments under the clip to the master ... More than 1.6 million. views.
And the question is asked in English. “How long will it run on these batteries and how do you charge them?”
Answers Andy Robinson - Well, I'll answer you ... Assuming the cells are about 2000 mAh (7.4 Wh), then the 6S3P will have a capacity of 6 Ah with an average voltage of 3.7 x 6 = 22 V and a total Wh of 18 x 7, 4 = 133 Wh At 22V, 100 W will consume 4.4 A. Assuming that the LED works at full 100 W and (100% conversion coefficient!). It can work for 133/100 hours, which is 1 hour 20 minutes. To charge, you need to remove the grill, unscrew the bracket and extend the battery pack, disconnect the balance cable and the Deans connector and connect them to any cheap charger for charging a lithium battery, for example, B6AC. Laptops in general should not be charged faster than 1C (this is 2A for a 2Ah cell), but lower for the life of the elements. I would limit charging to 0.5C or 1A per cell, so charging at 3A would be appropriate. It should be charged in a couple of hours.
Since you have nothing to answer except with a DMB-gopher, I have to explain to you what you did not want to understand.
Board with a toroidal inductor - to power the LED.
Of course, there is no controller for charging batteries.
And the DSN2596, of course, is not a LED driver, but a step-down converter to power the fan.
I repeat once again: do not try to misinterpret what you do not understand.
Author
...................

controller for charging batteries;
And where did you see him? )))
And what kind of board with a toroidal transformer? )))

I have advice for you: to rewrite what you understand so as not to mislead people.

We advise you to read:

Hand it for the smartphone ...