Step 1: Materials / Tools
MATERIALS:
1. Plywood 15 mm
2. Reiki
3.10 mm tube
4. Screws
5. Wall hooks and plugs
6. Paint
INSTRUMENTS:
1. The hammer
2. Drill
3. brush
4. Saw
Step 2: making hooks
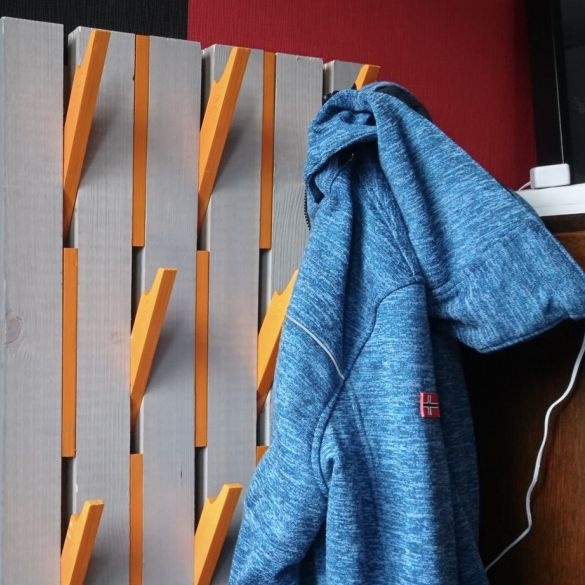
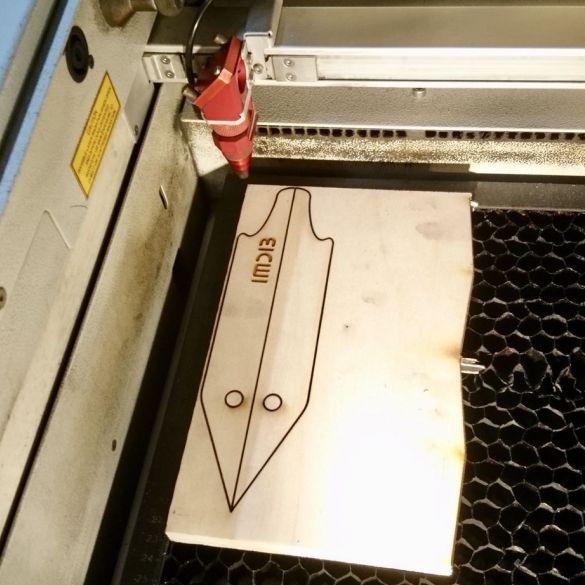
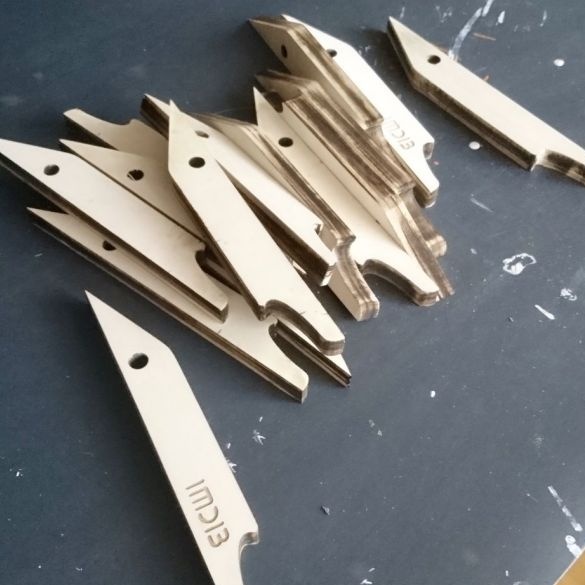
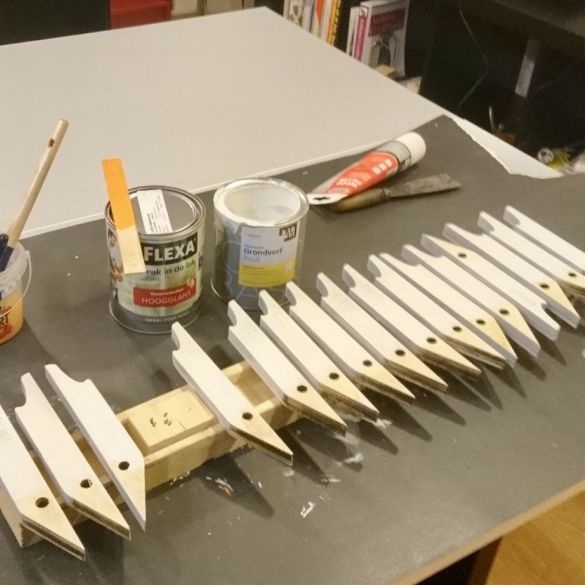
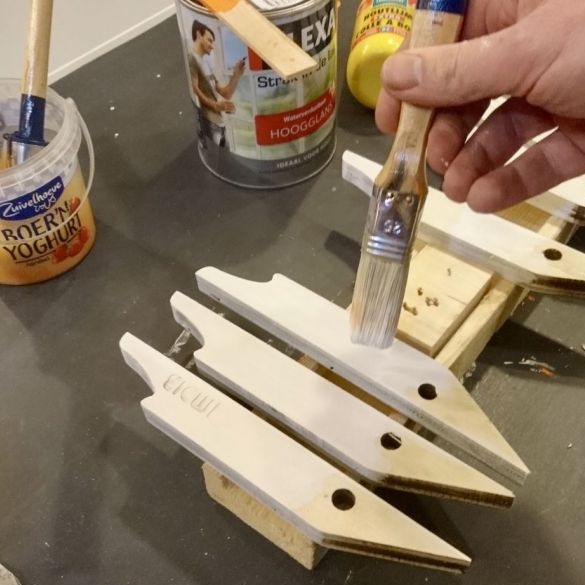
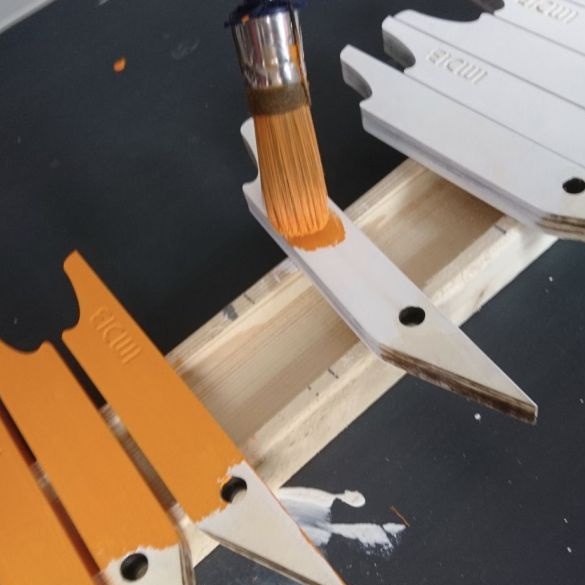
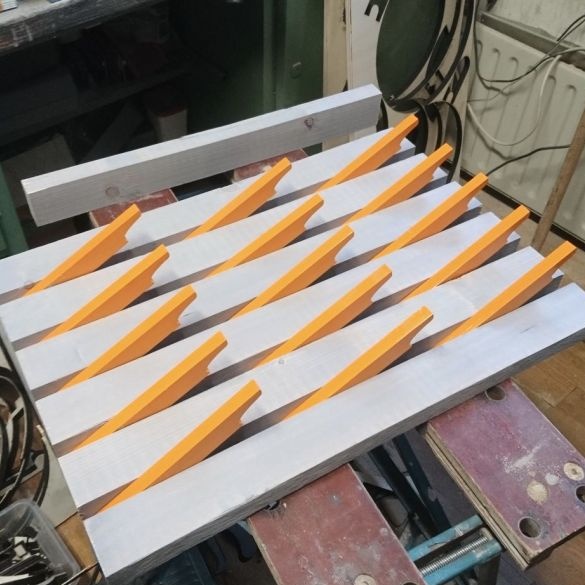
He cut pins from plywood with a 15 mm laser. (can it be CNC or manual?) Since he wants the pegs to be orange, he painted them (but you can choose your color or not paint them at all).
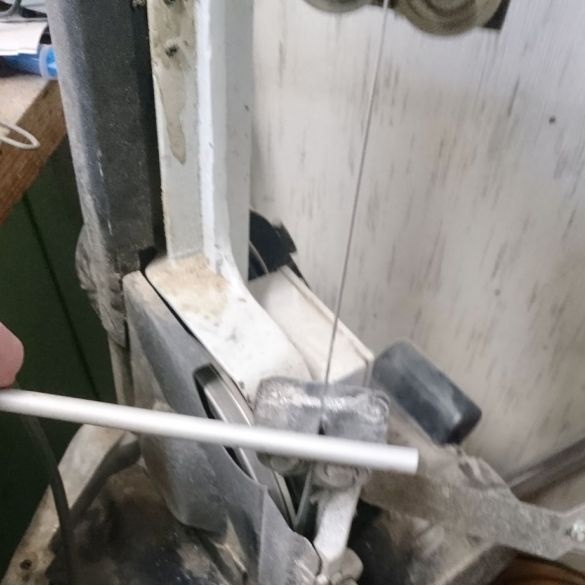
Step 3: cut the tube
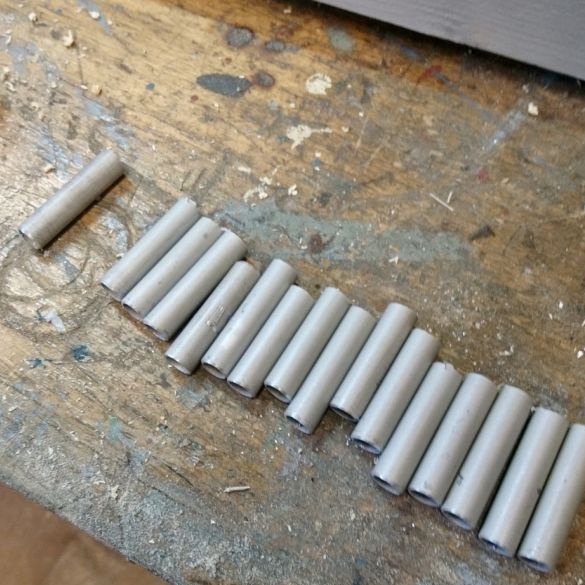
He cut pieces from a pipe 1 cm in diameter, 5 cm in length.
Step 4: clog the rods
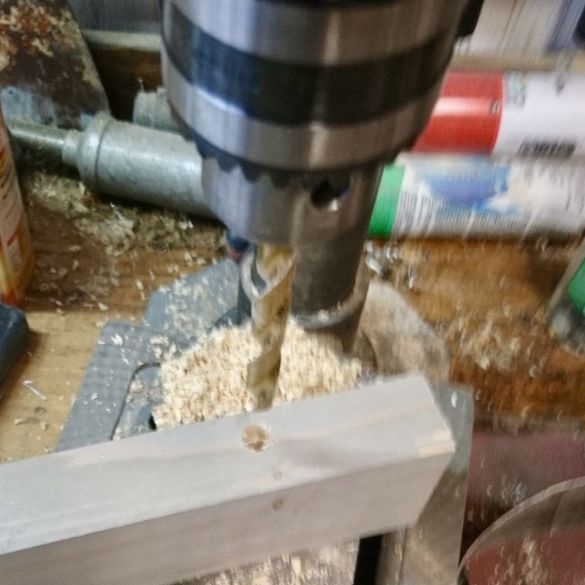
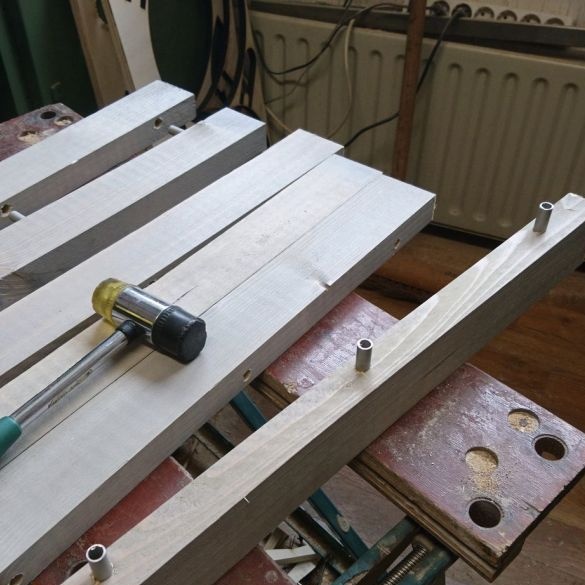
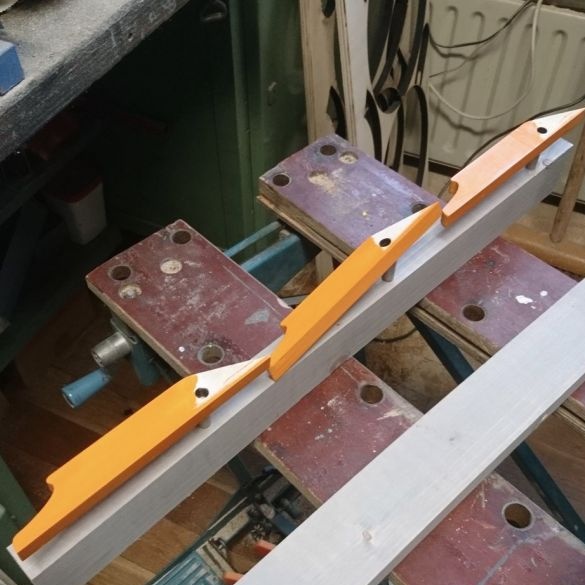
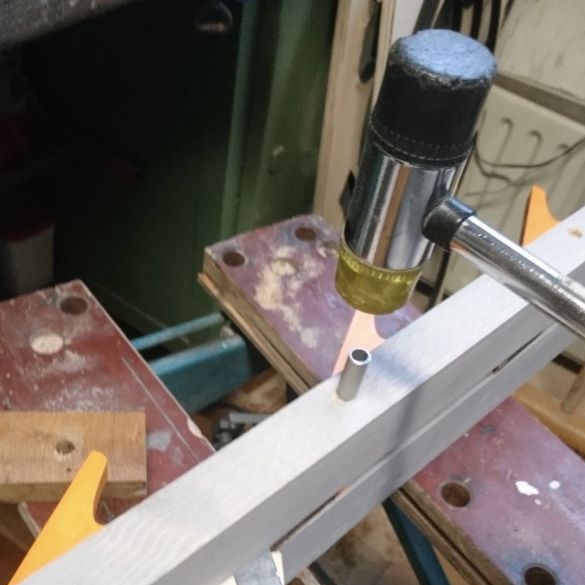
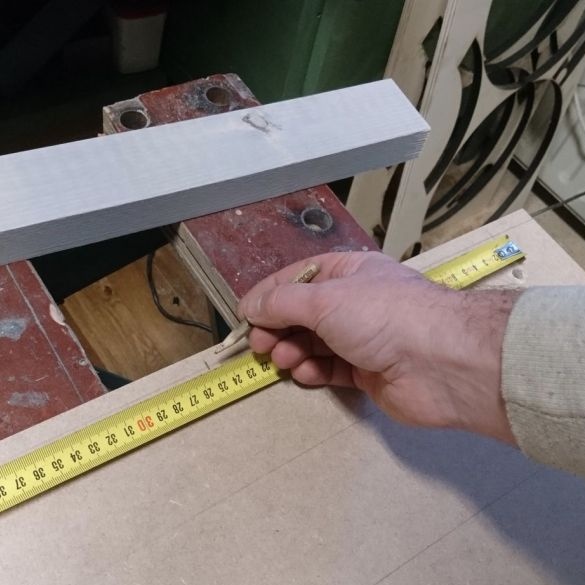
Then I measured the rail and divided its size into 3 parts and drilled with a 10 mm bit. After scoring three rods.
Step 5: Added Pegs
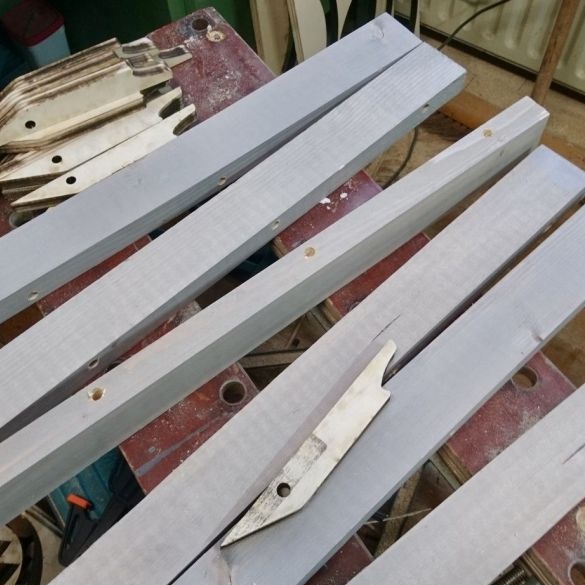
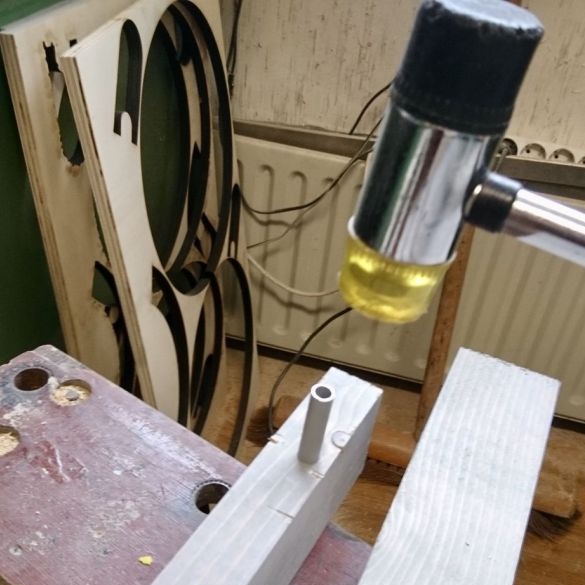
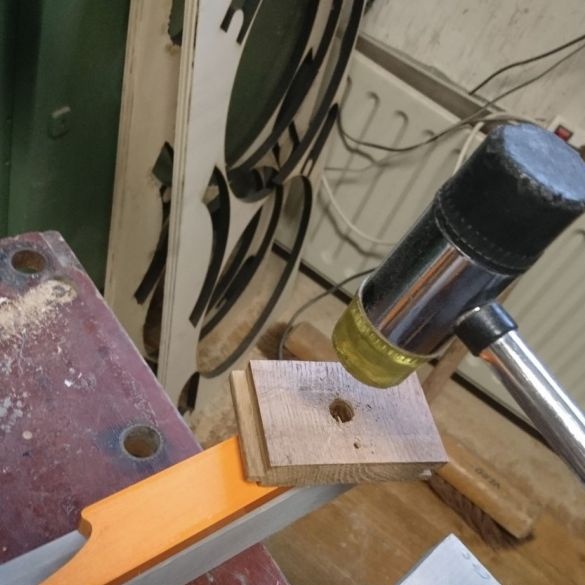
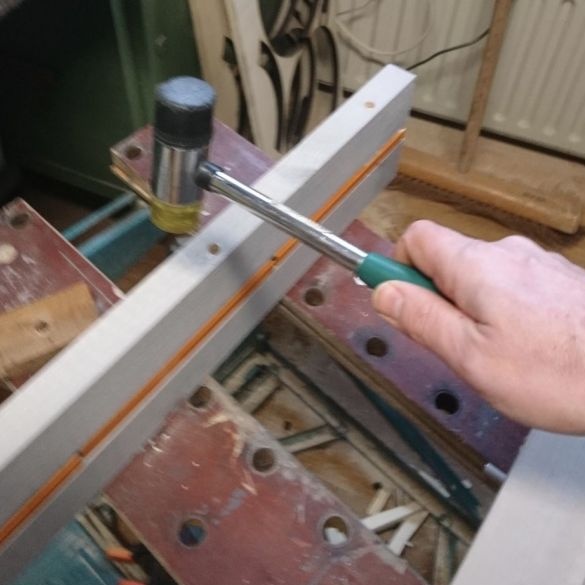
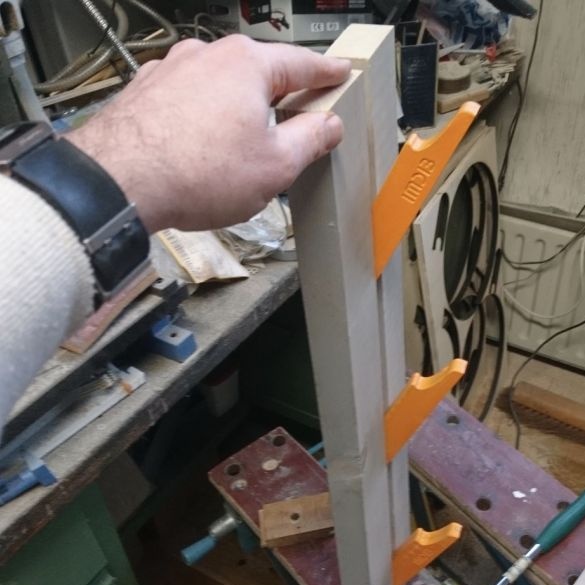
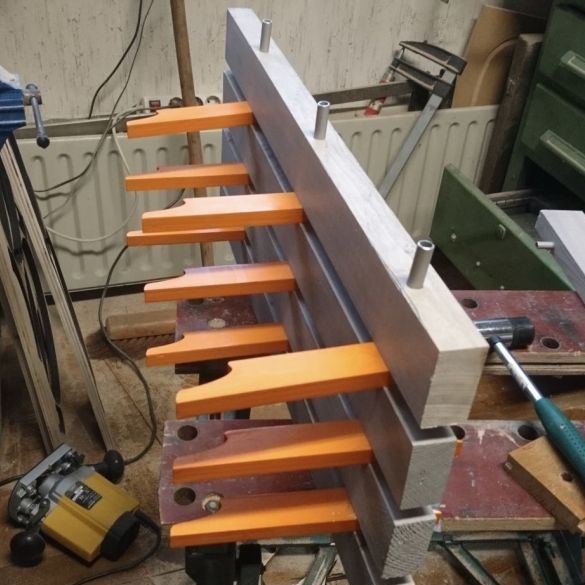
He nailed the pegs on the rods. Using a hammer to finish them all the way. (He drilled a 12 mm hole in a piece of wood to use as a protection for the pegs from hammering). Then he nailed the second rail over the pegs.
Step 6: Add Extra Layers
Step 7: Install the back panel
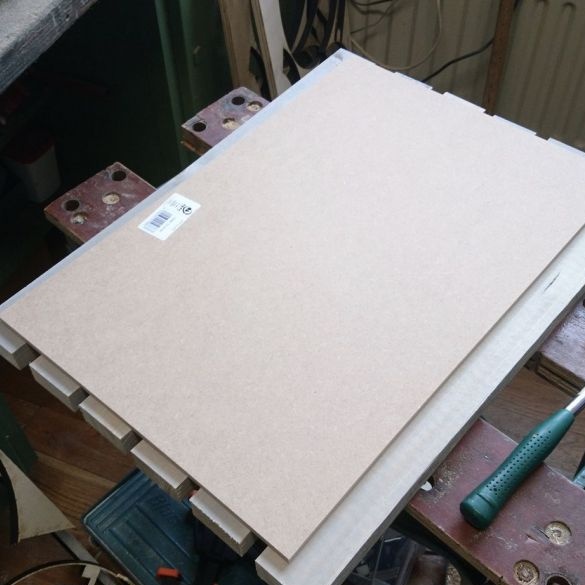
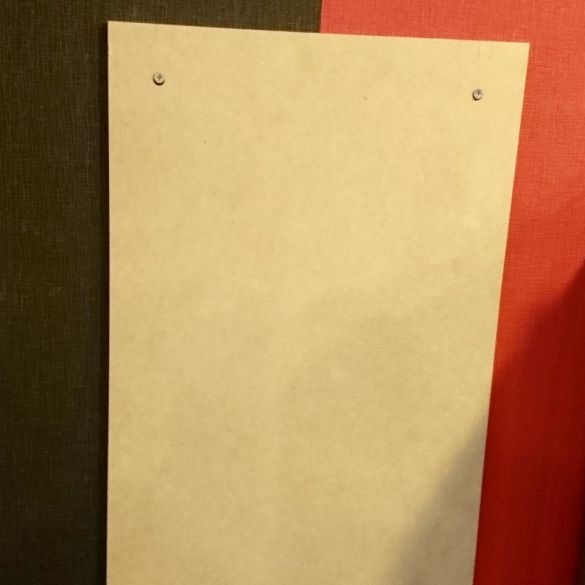
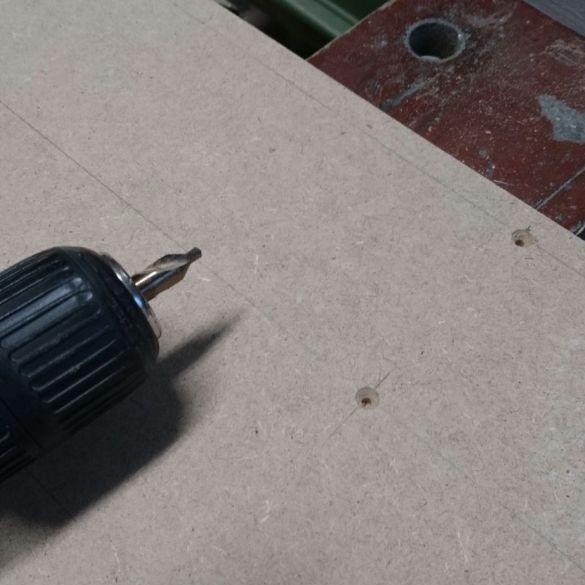
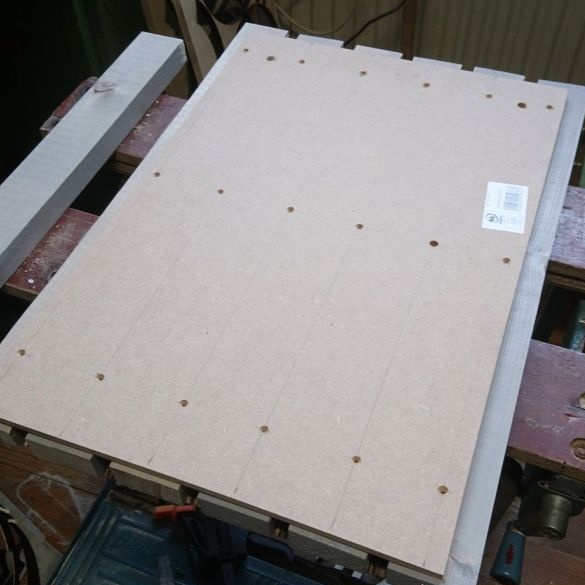
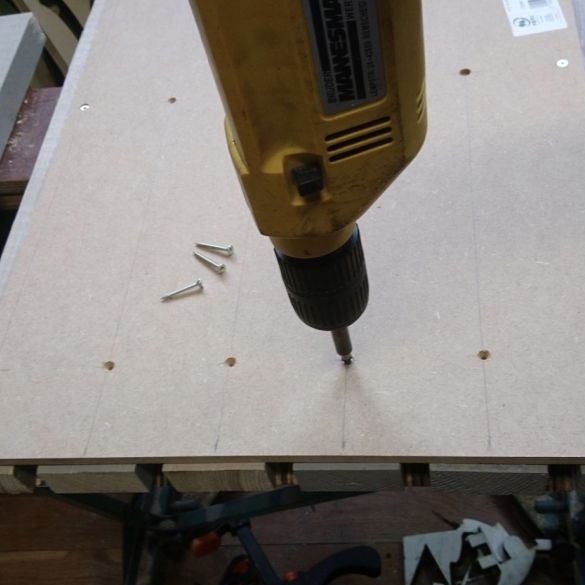
He used a pre-cut sheet of MDF, which is slightly smaller than the rack, so that the sheet is not visible. Places the rear panel on top of the rack and drills two holes (seen in the photo).
Step 8: Drill Back Panel
Step 9: Screws On The Back Panel
He used 35 mm screws to fasten the rear panel to the strut beams.
Step 10: Broadcasts to the Wall
Well, that's it. Enjoy it!

