is a very important tool in the garage. With it, you can easily unscrew the nuts and bolts in hard-to-reach places. But the main advantage of such a key is that the head grabs the bolt or nut very firmly, unlike an open-end wrench or ring spanner. When using such a key, only two options remain, either you unscrew what you have in mind, or the bolt will not stand and break. Good keys are worth a lot of money, so it makes sense to make such a key yourself, besides, do something do it yourself always useful and interesting.
It is highly doubtful that you will recognize from the photo what this key is made of. And the detail here was used quite common and generally available - this is a ratchet mechanism from a bicycle. It is able to withstand fairly high loads and at the same time serves for a long time. In this regard, this unit is perfect for the manufacture of ratchet wrenches. The key is assembled quite simply, mainly welding and grinding and cutting work are ahead of you. The key made is double-sided, that is, when it is turned over, you can both unscrew and twist it. Let's consider in more detail how to make such a key.
Materials and tools used by the author:
Material List:
- an asterisk with a ratchet from the bicycle;
- a piece of steel rod;
- steel ball;
- spring from the handle;
- Sheet steel.
Tool List:
- ;
- vise;
- welding machine;
-
- hammer.
The process of manufacturing a ratchet wrench:
Step one. Ratchet preparation
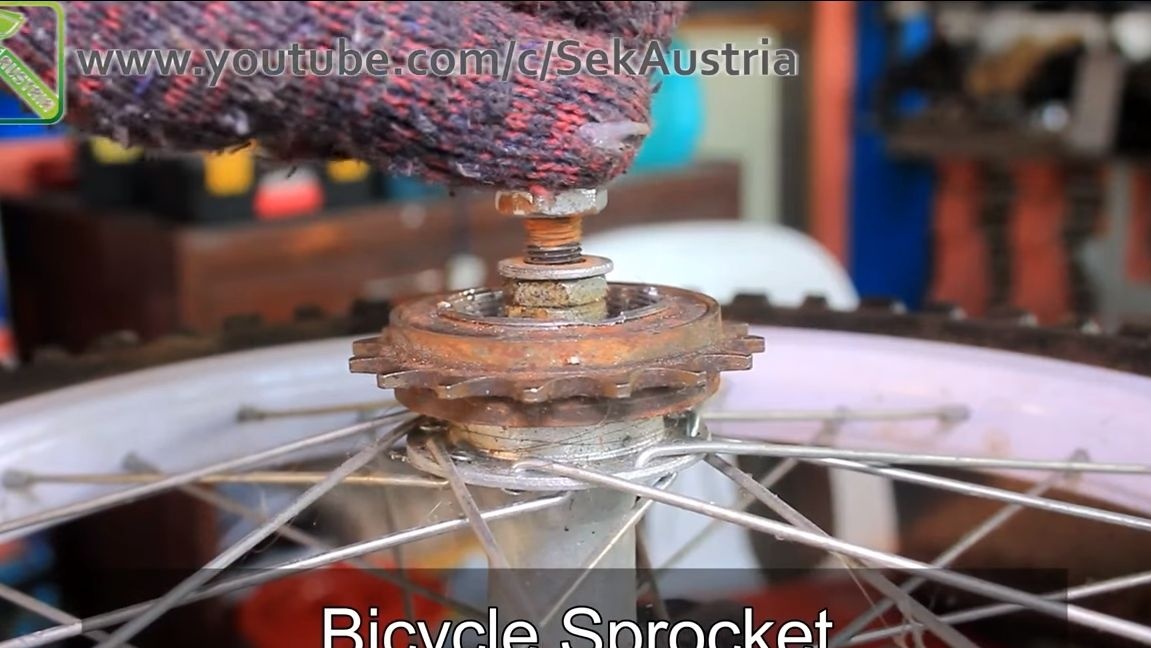
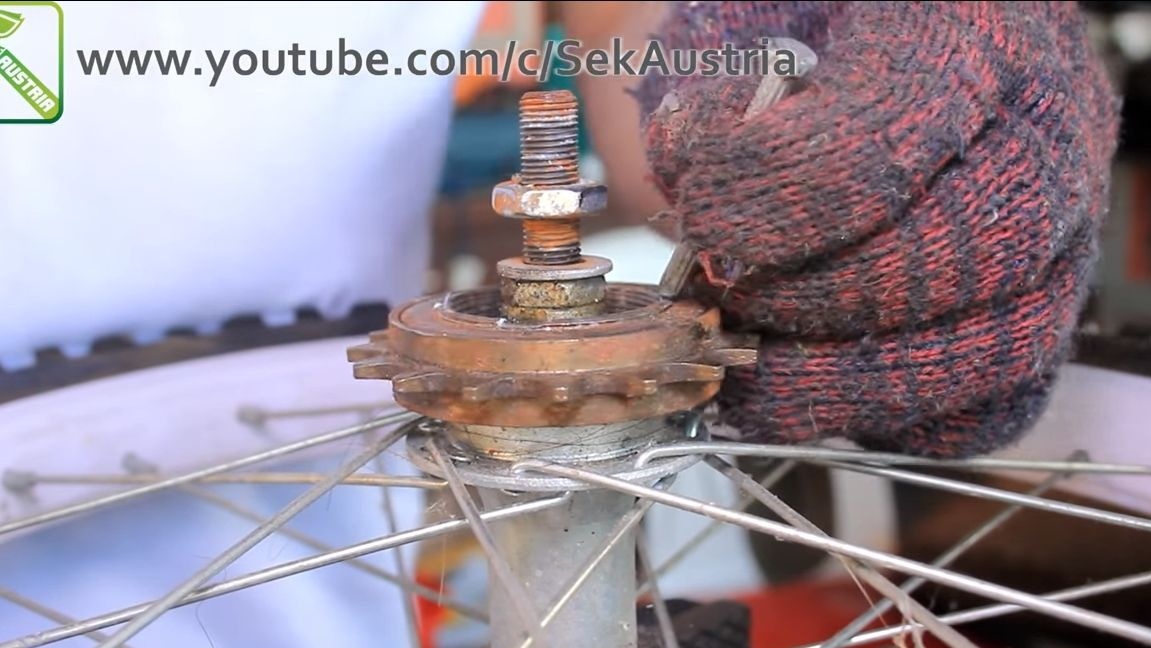
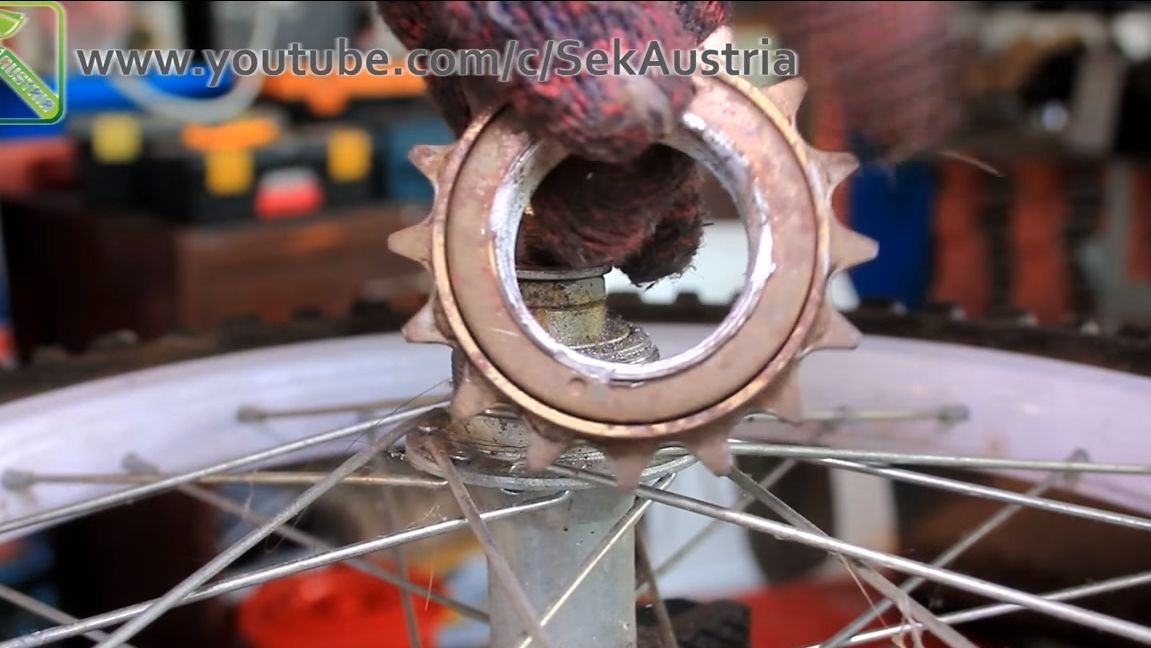
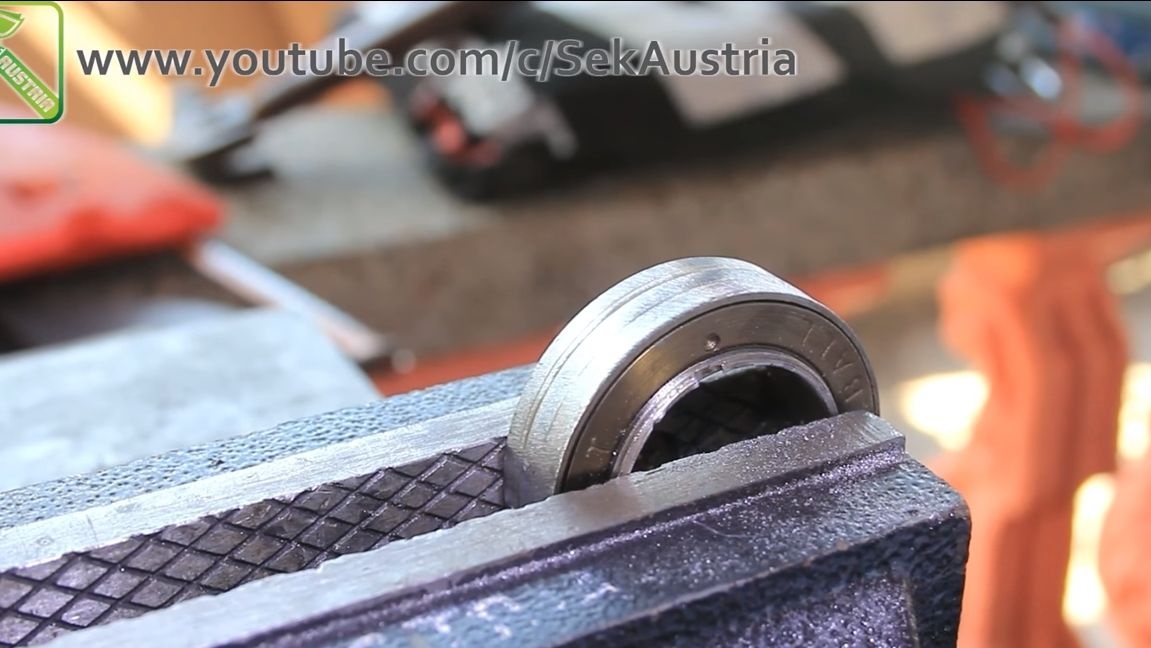
Initially, the author decided to remove the star from the old cycling wheels. But it turned out to be not so simple, and as a result, the ratchet was damaged, despite the fact that it was rusty and worn out anyway. As a result, it was decided to buy a new star.
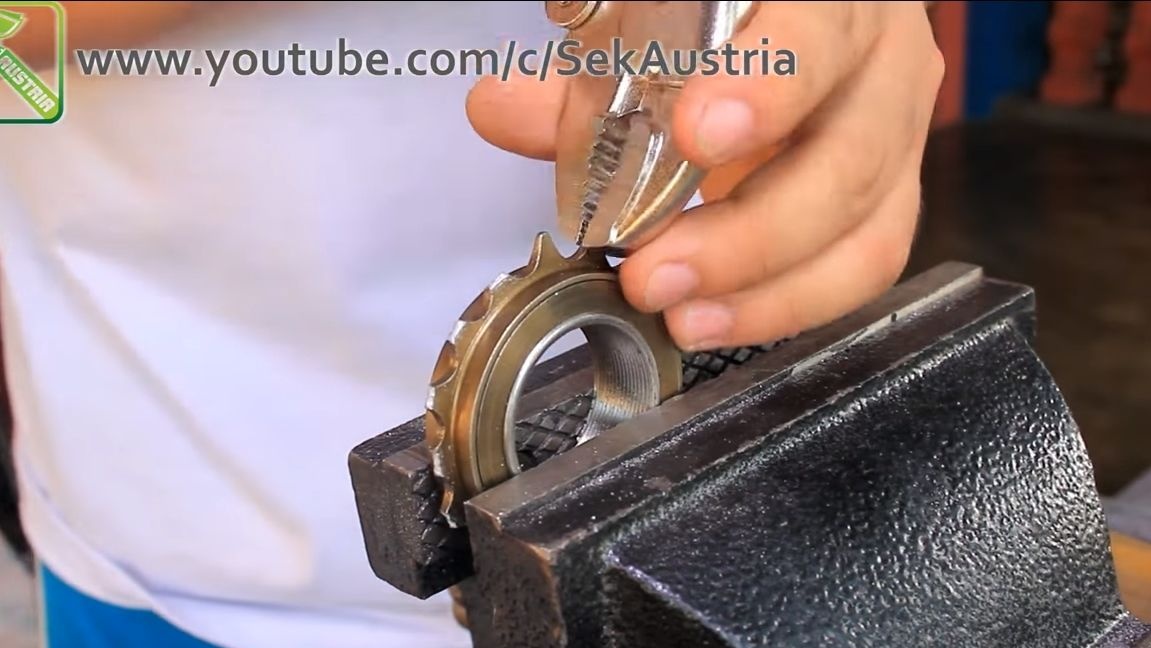
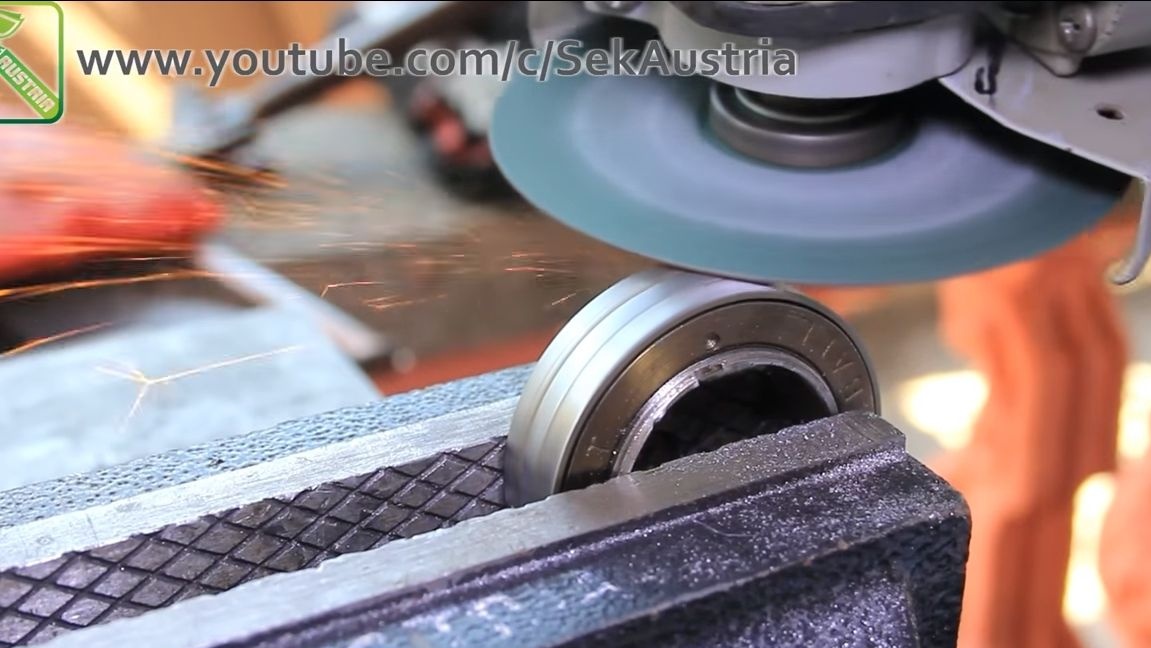
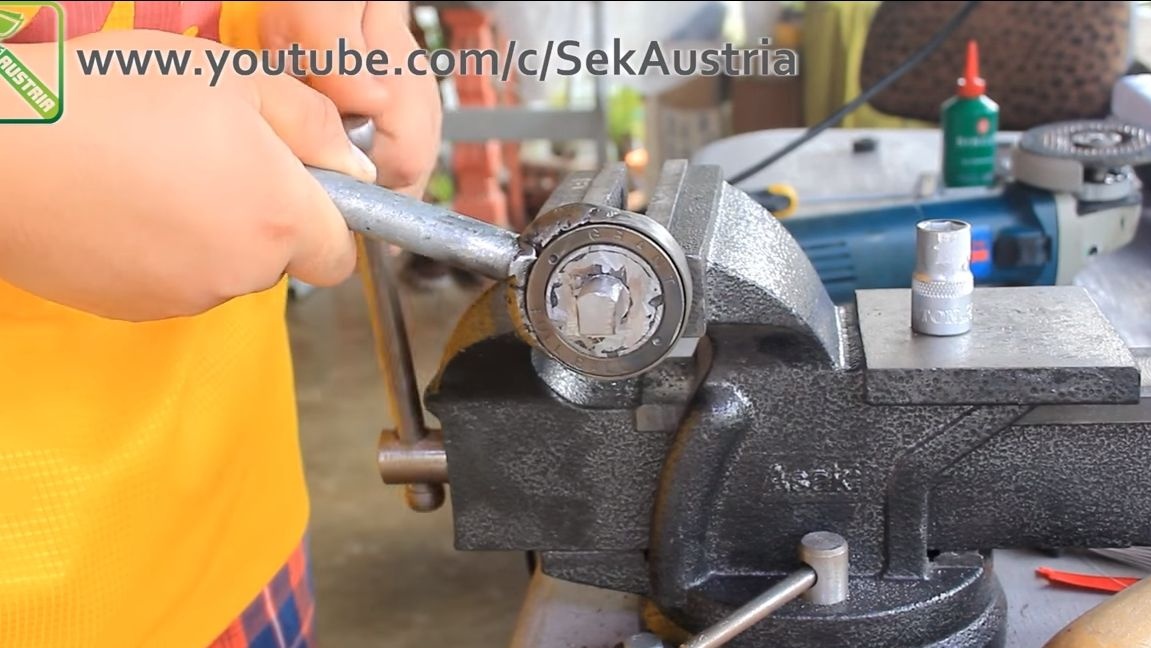
Clamp the sprocket in a vise and break off the teeth with pliers. Our task will be to remove them completely. They can also be cut off with a grinder. Further, the author polishes the part so as to smooth out all the places where the teeth were. As a result, we have a clean ratchet without an asterisk.

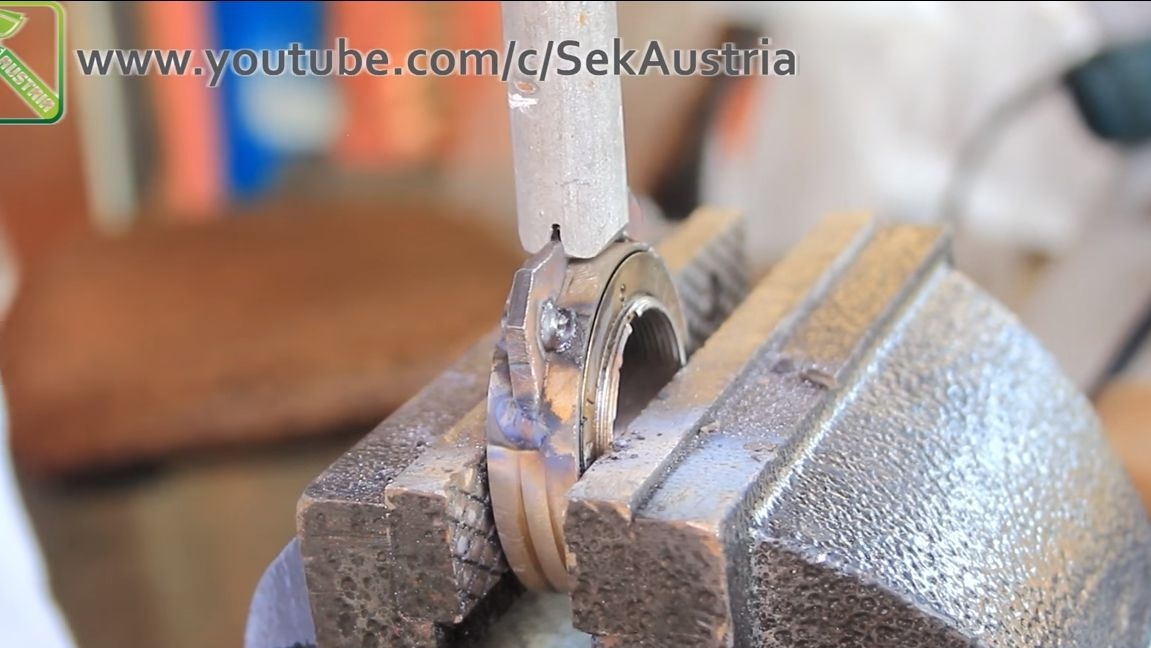
Step Two Fastener
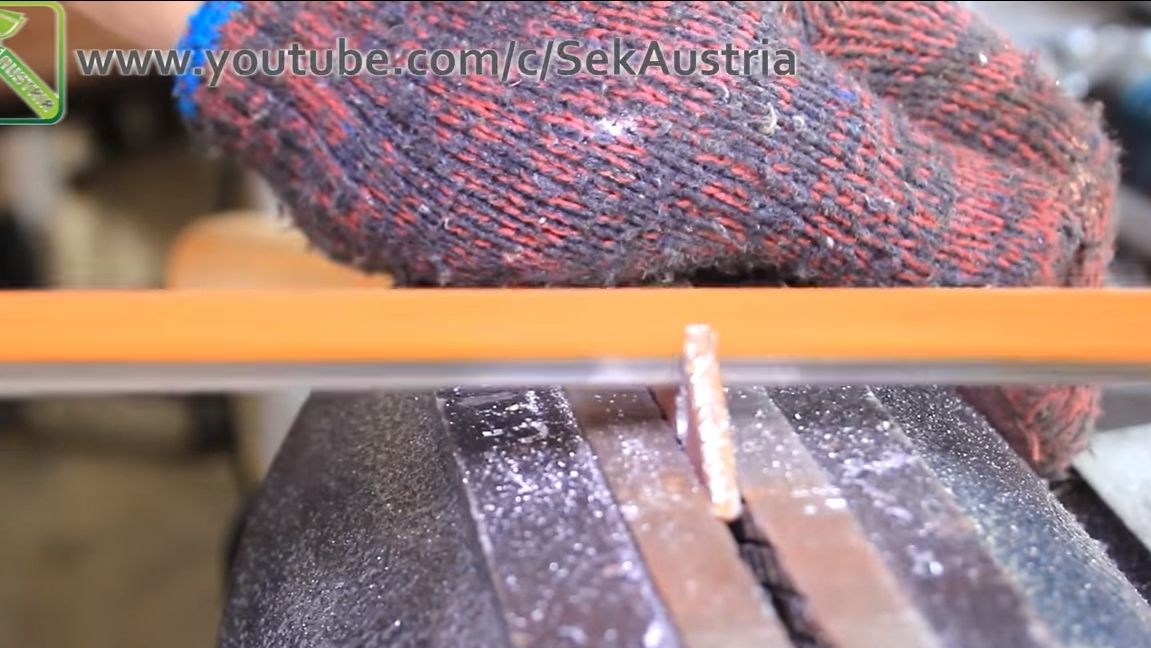
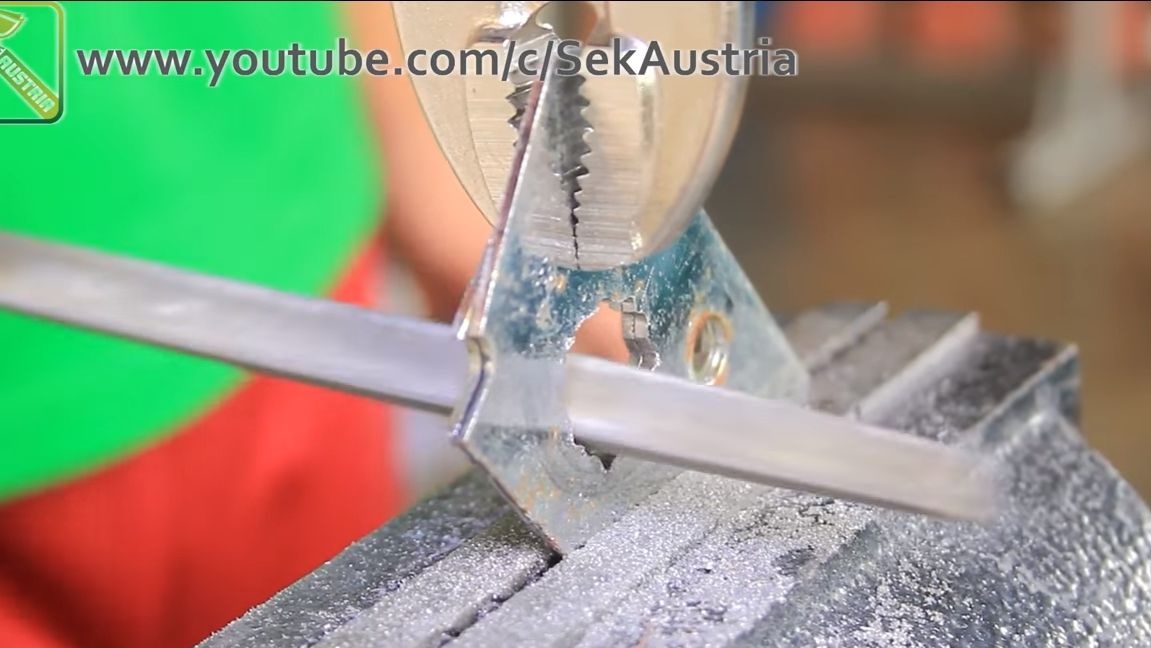
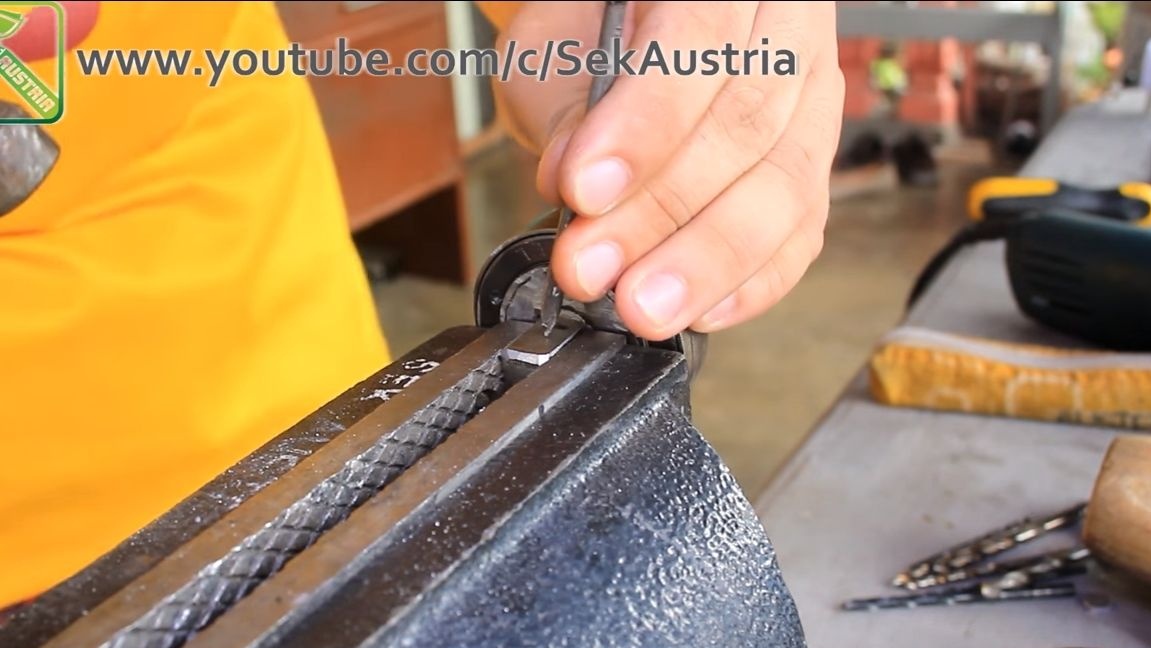
To firmly fix the handle on the ratchet, simply welding it will not be enough. Here you will need to make additional support. We take sheet steel, apply the ratchet and circle. Cut the resulting part. The author first drills a lot of holes along the line, and then cuts the workpiece using a hacksaw for metal. Align the notches with a file so that the part fits snugly against the ratchet body.


Step Three Handle manufacture and installation
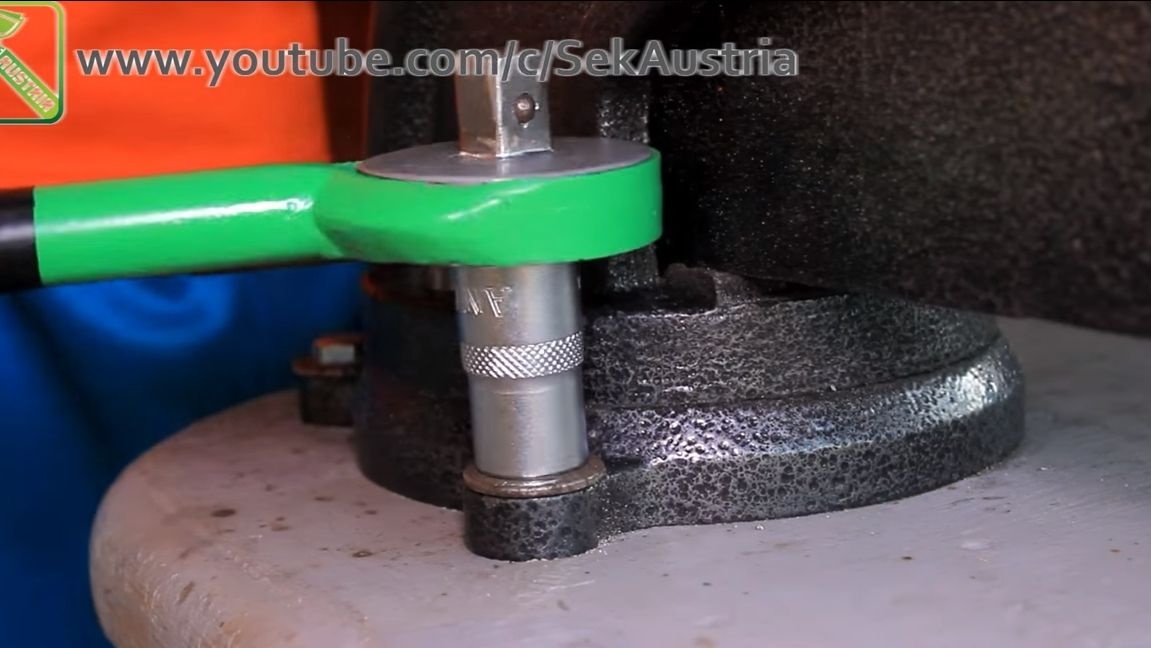
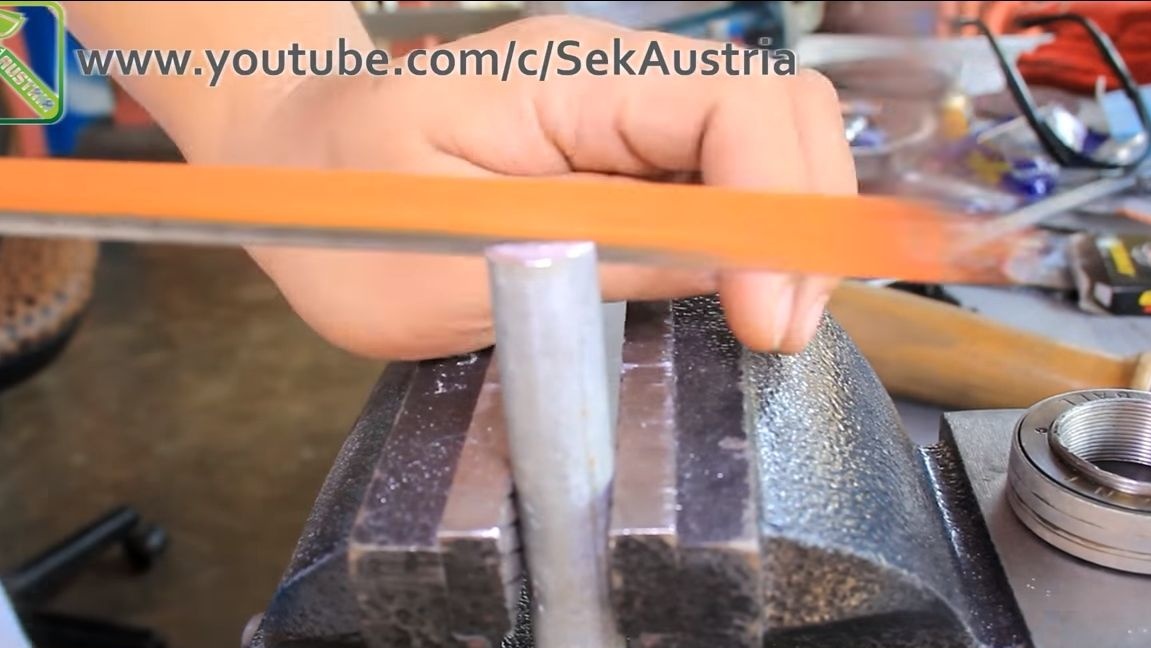
The previously made part must be welded well to the outside of the ratchet. Next you need to make a pen. We take a steel rod of suitable length and cut a gap in it. It should be of such width and depth that it can be tightly put on the plate, which we welded to the ratchet. Well, then we weld the handle well. As a result, half of the key has already been collected, go ahead!

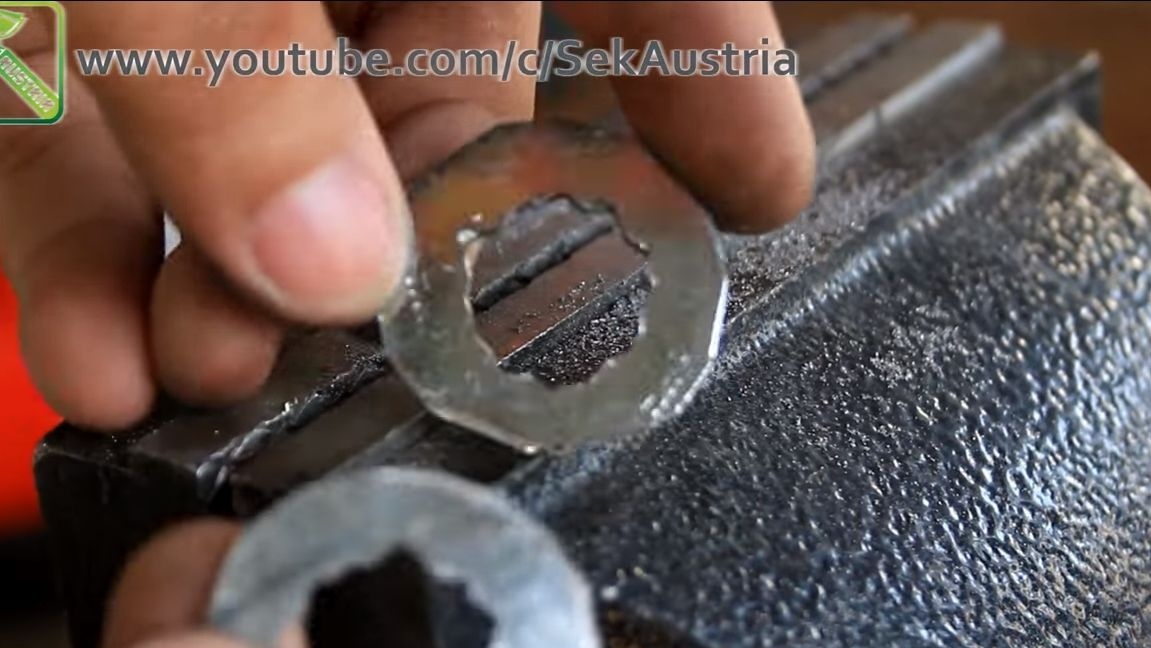
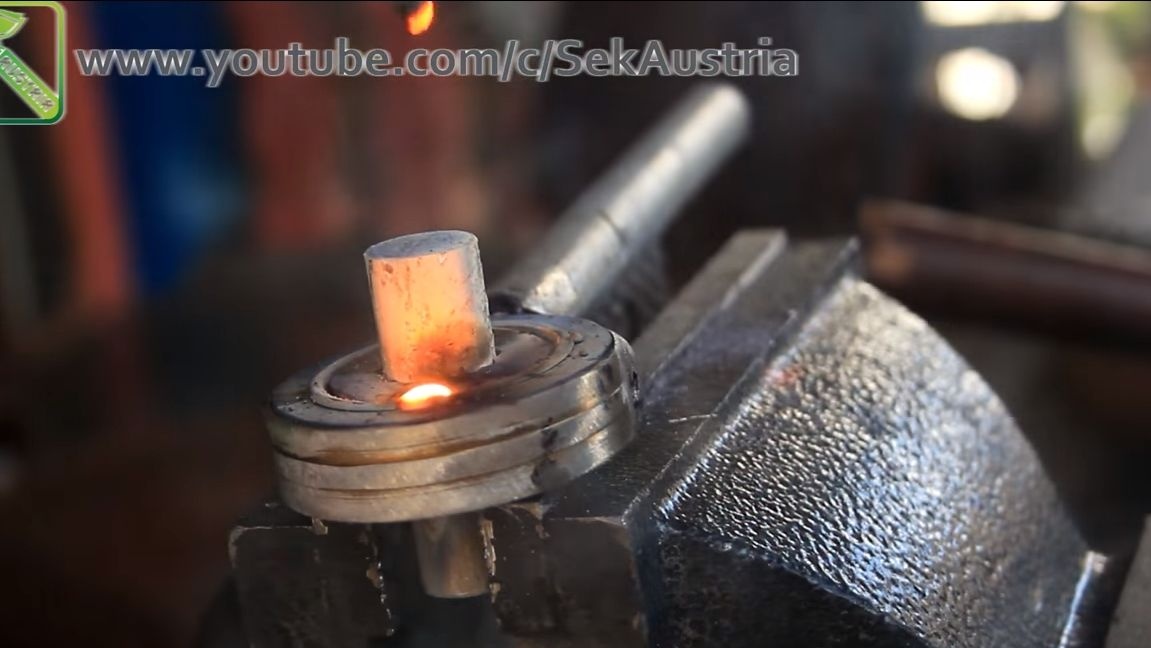
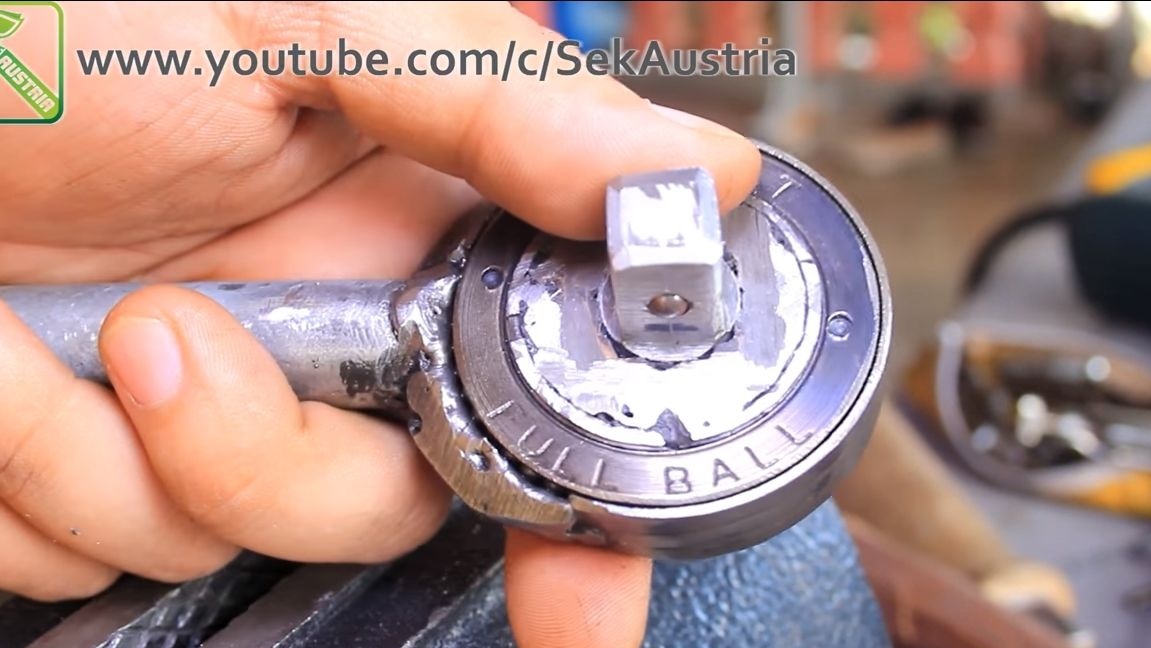
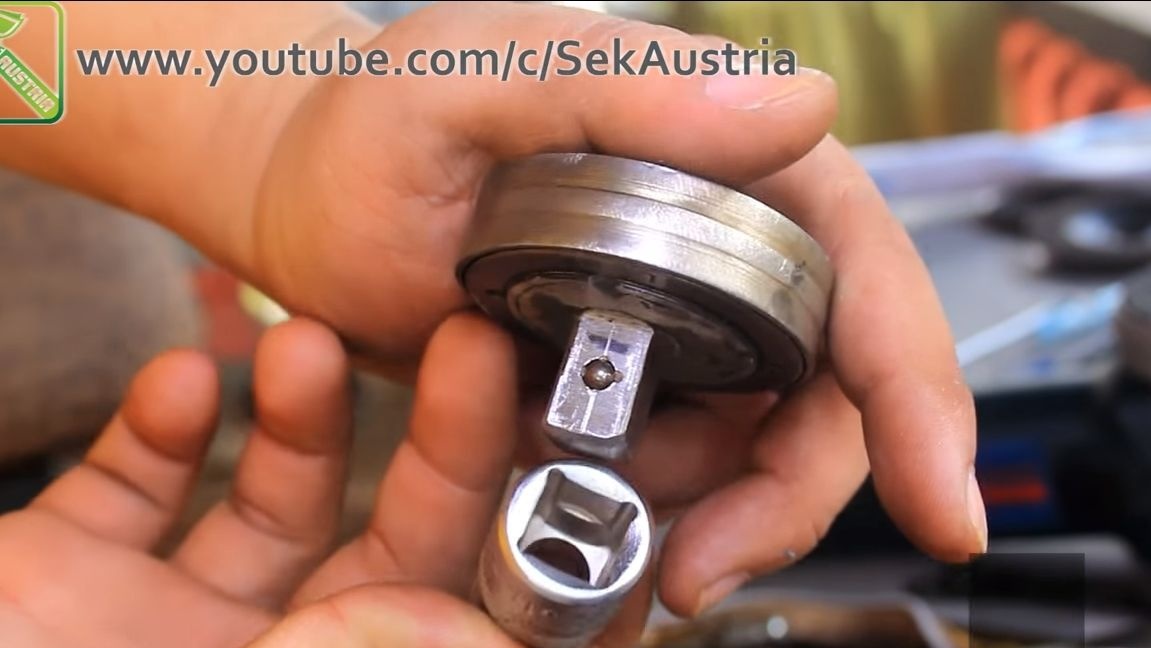
Step Four Making the central part of the key
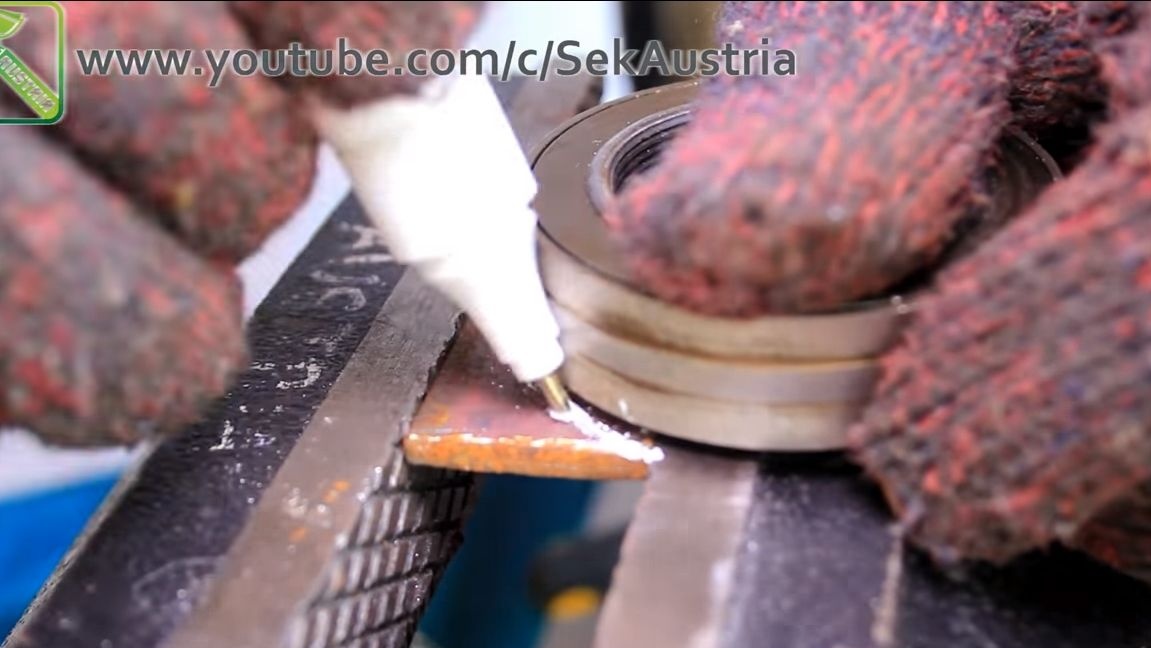
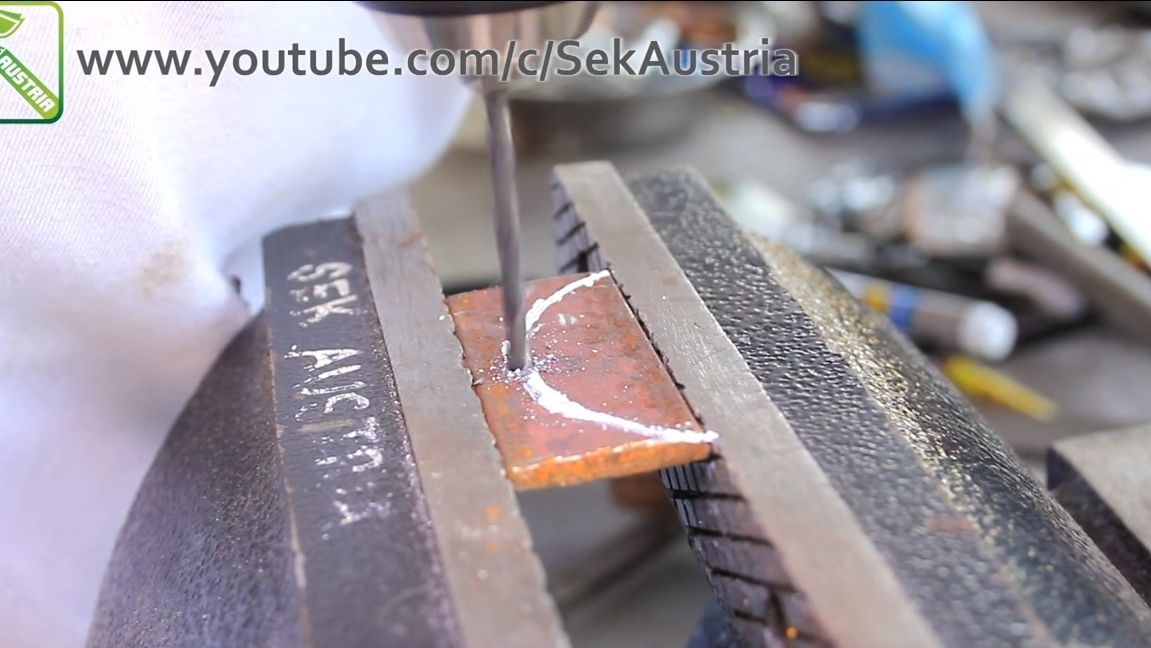
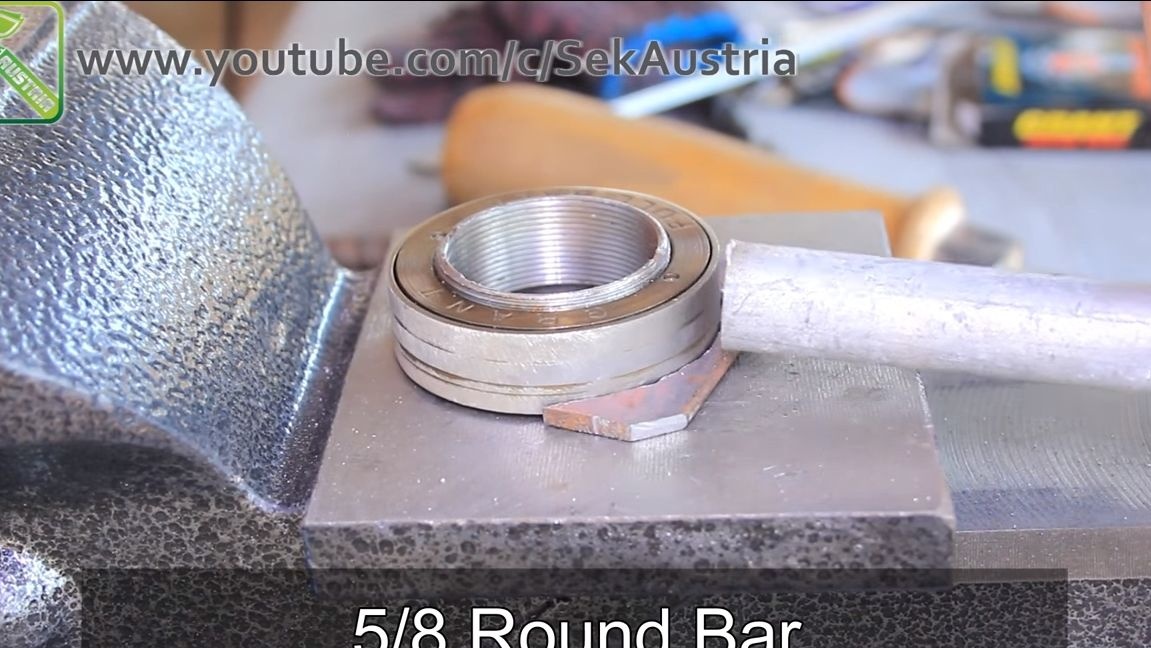
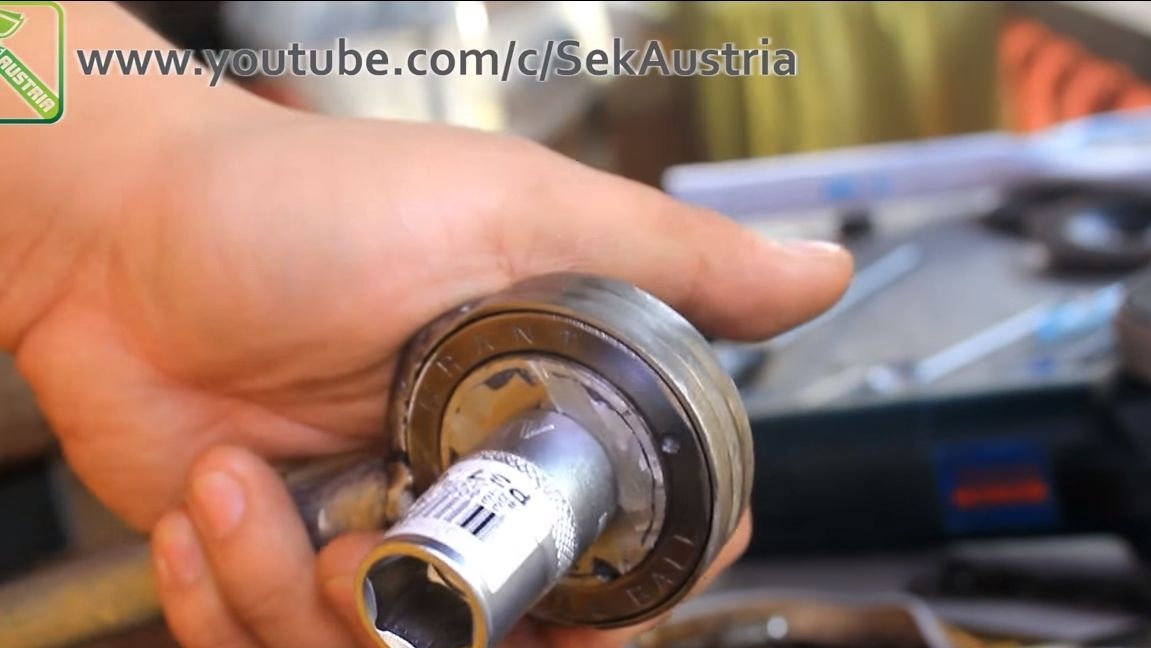
In the center of the key we have an axis sharpened by a quadrangle, here we will put on the head. To fix this axis, we need sheet metal, cut out two circles of this diameter from it so that they fit tightly inside the ratchet. In the center of the round timber we drill and bore holes for the central rod.
Well, then we use welding to weld all these parts together. How everything happens in more detail can be seen in the photo.

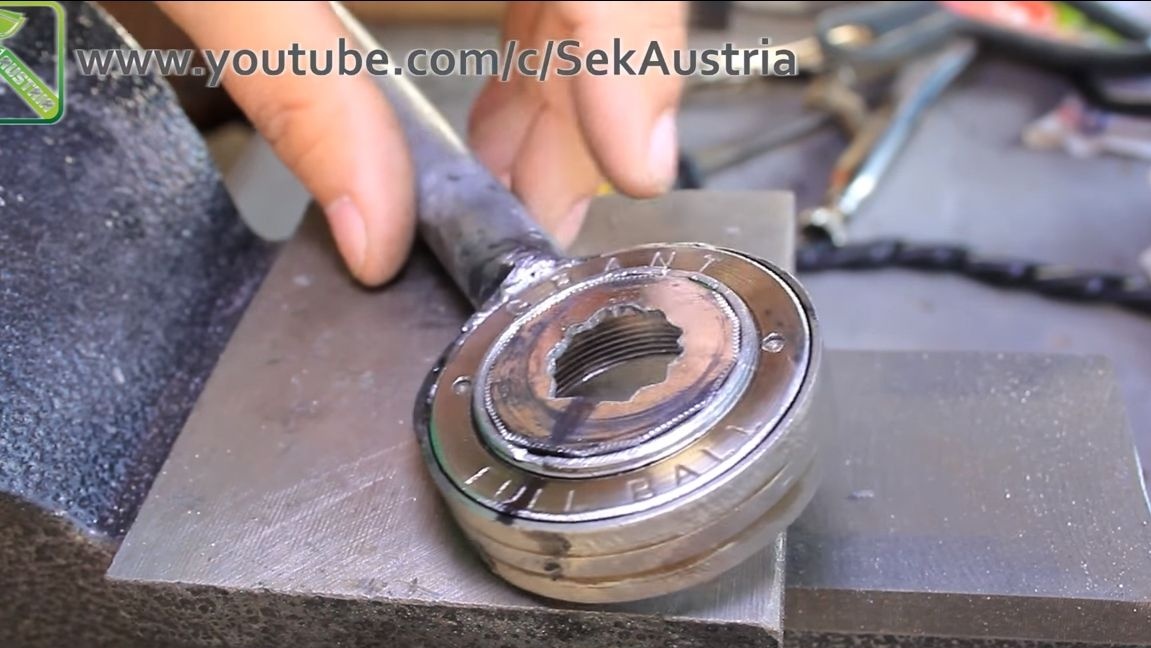


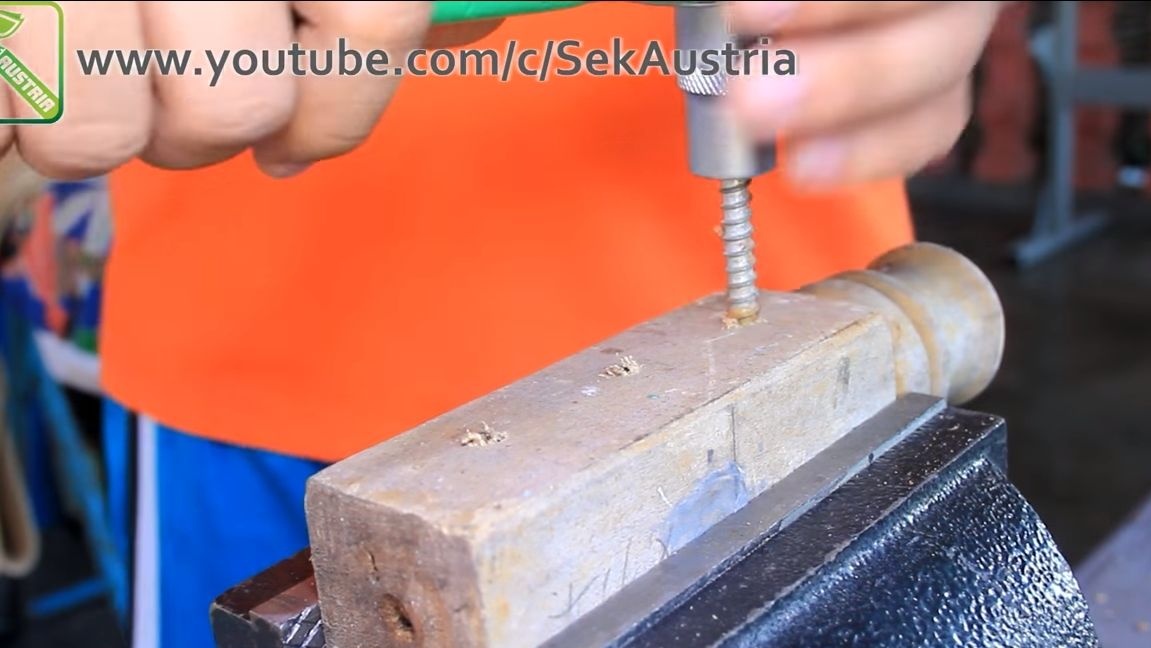
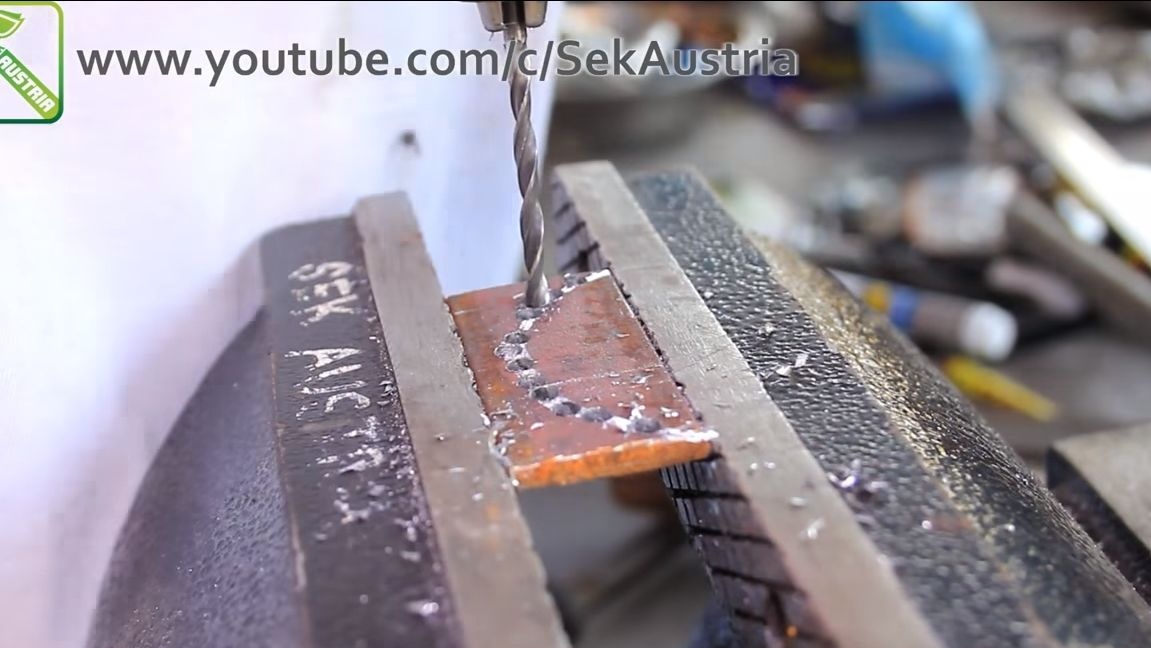
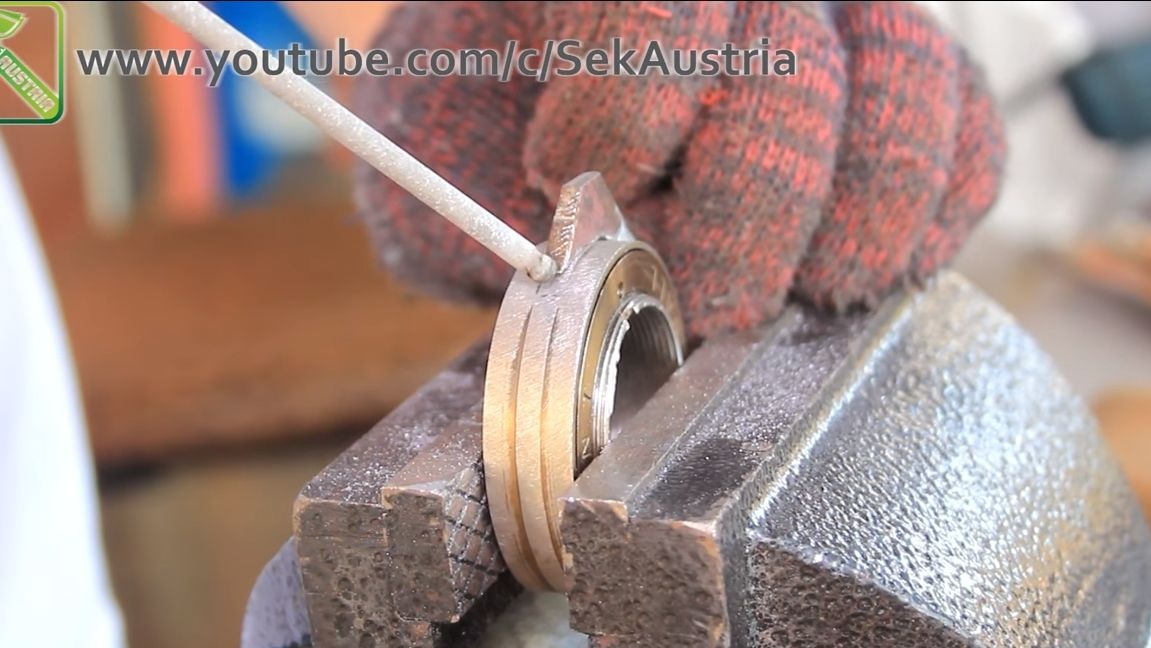
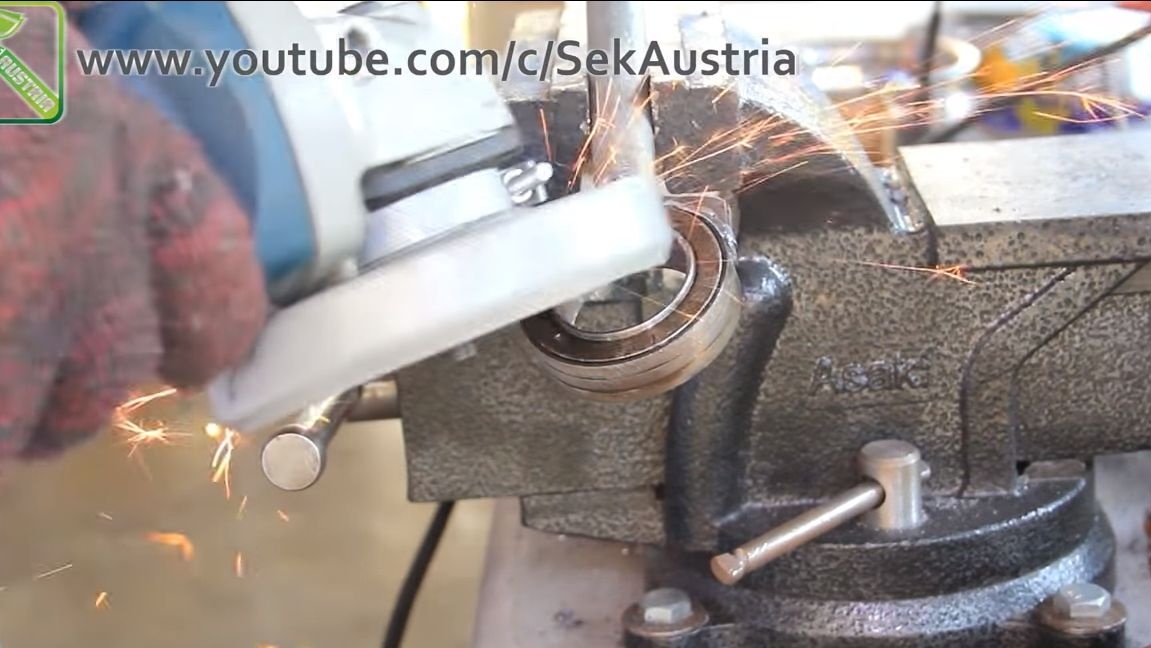
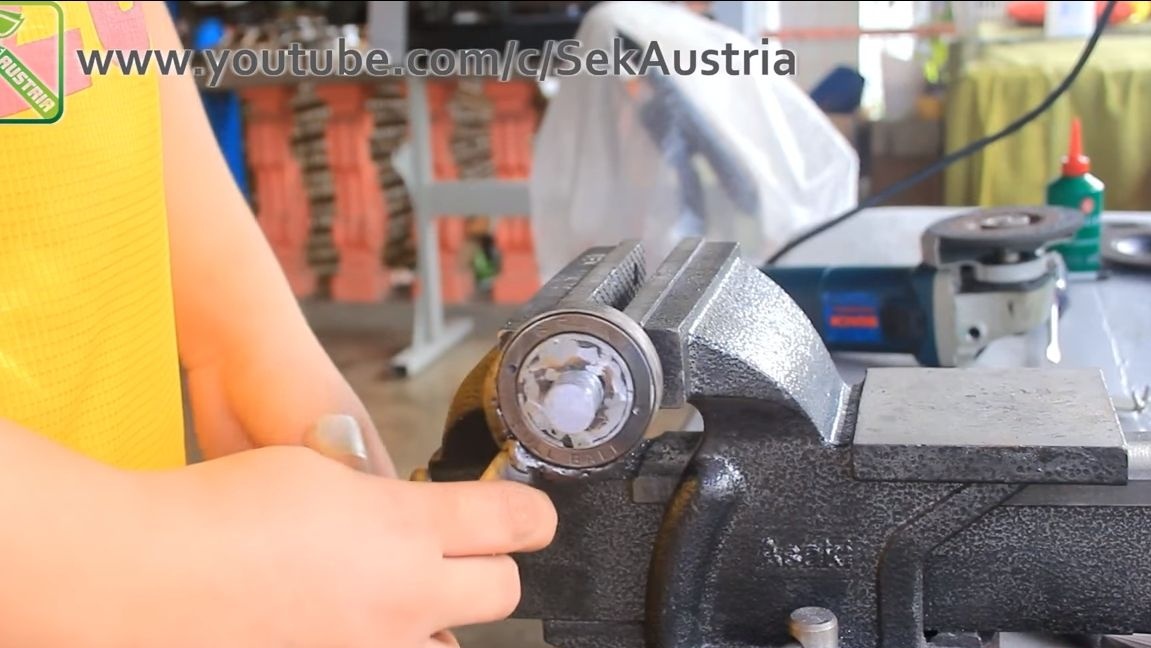
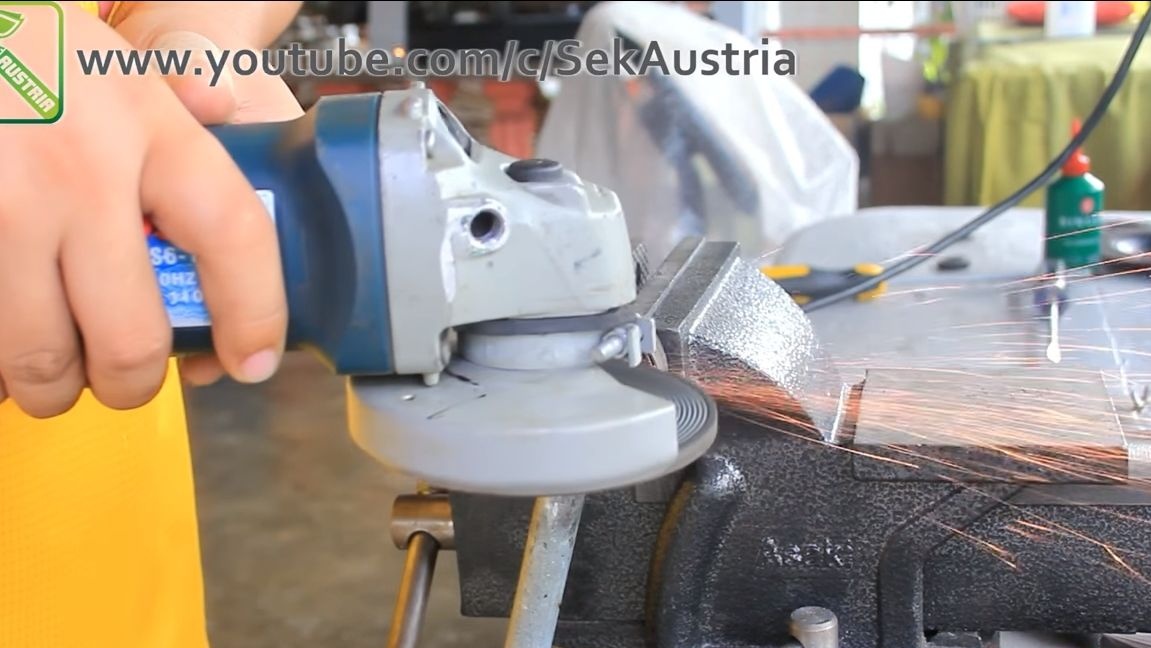
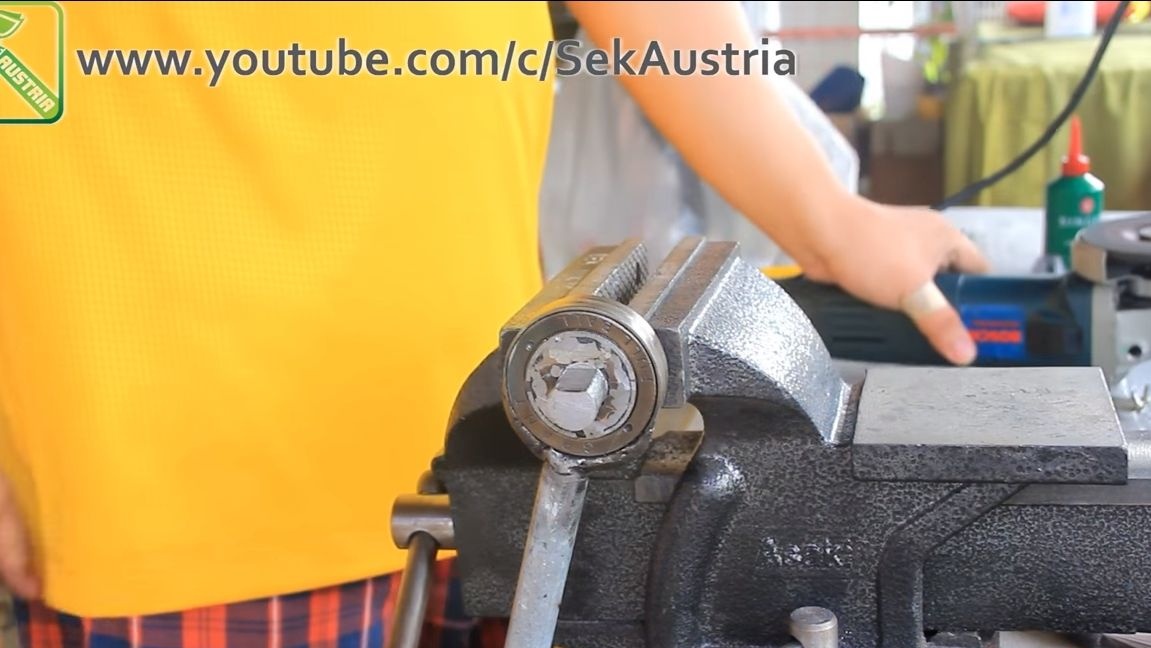
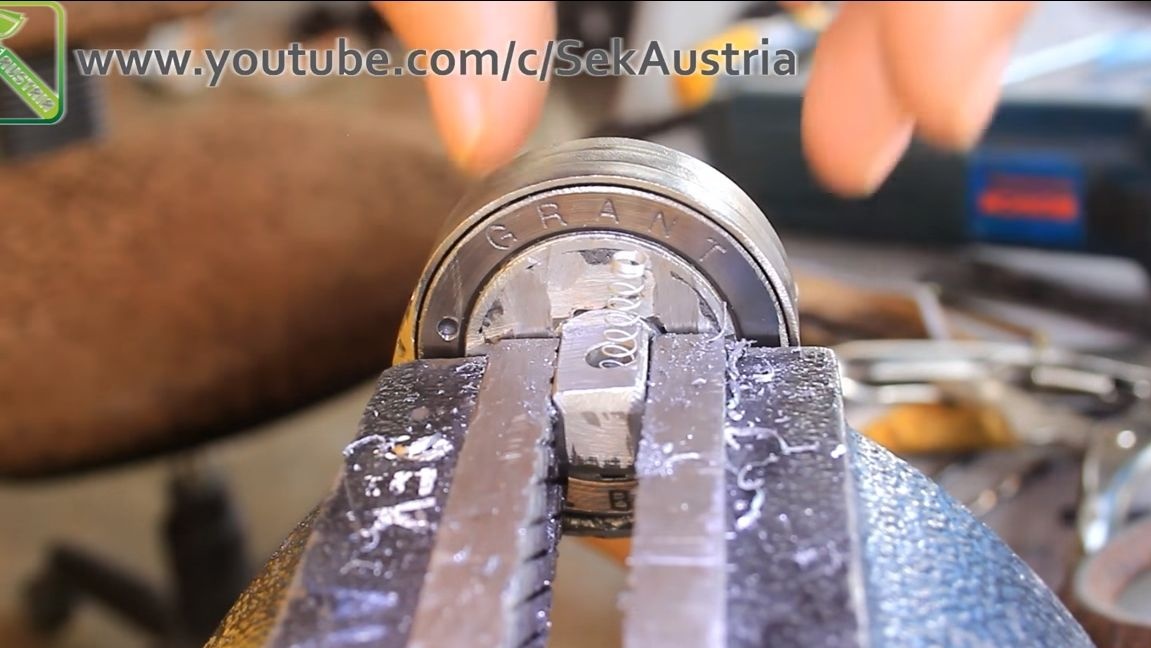
Step Five We form a splined part
Next, we need to form the slots on the installed axis, there are only four of them. They must be sized so that they can be put on with a small clearance. We make the markup and proceed to grinding. Here you will need a grinding wheel and a grinder. Such an operation must be done on both sides.

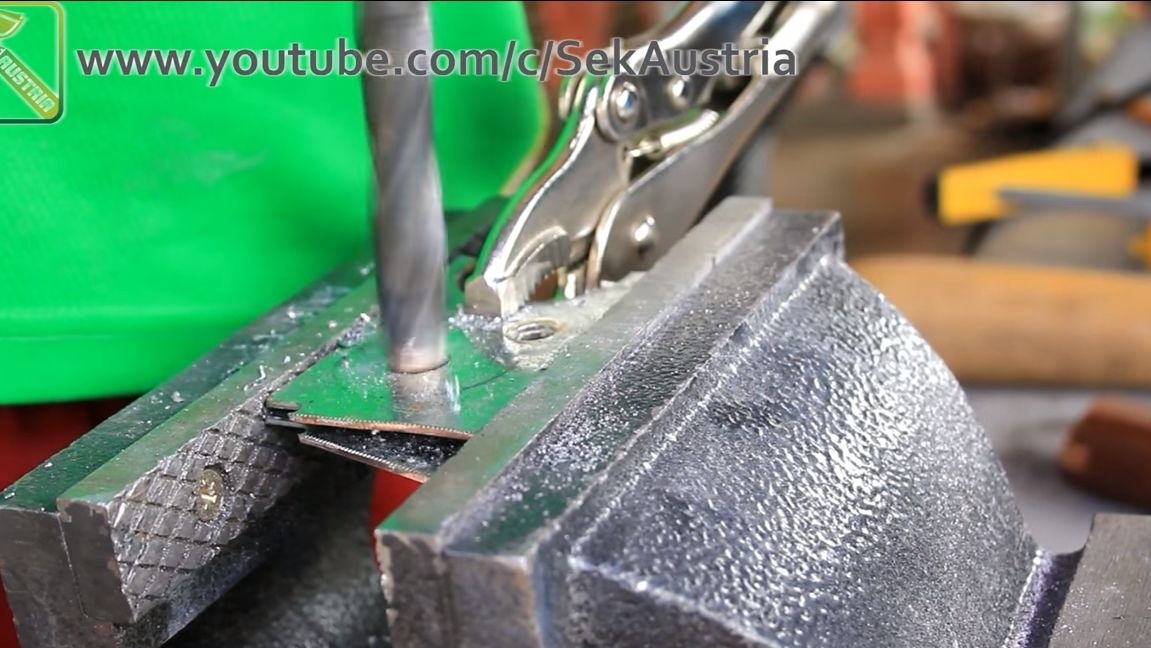
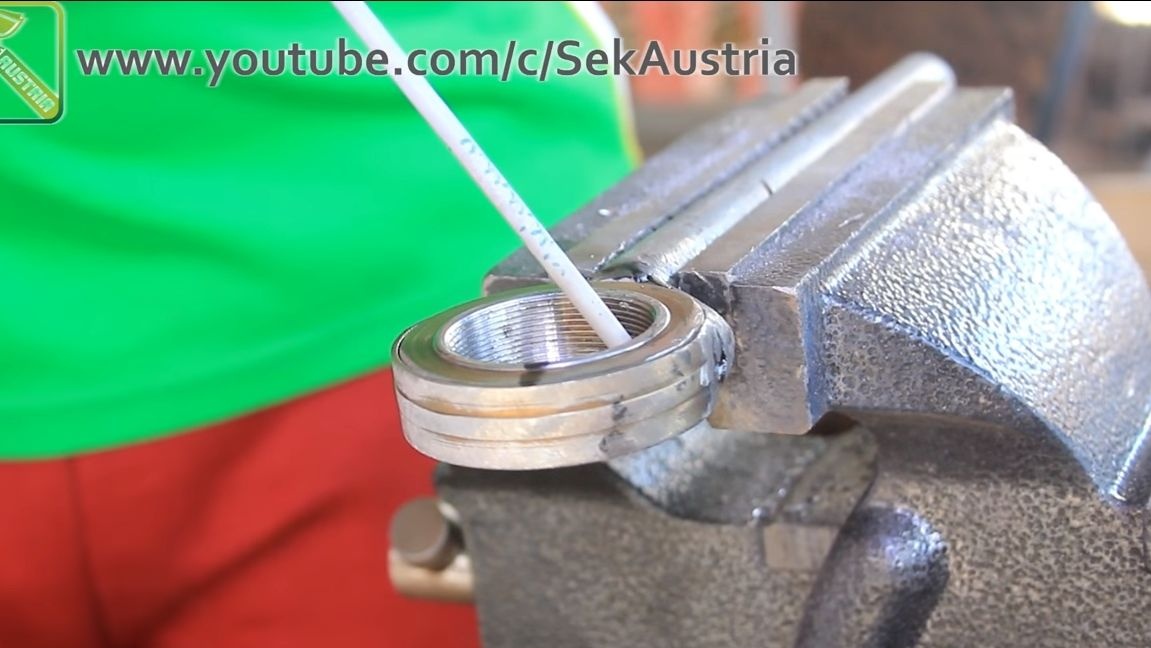
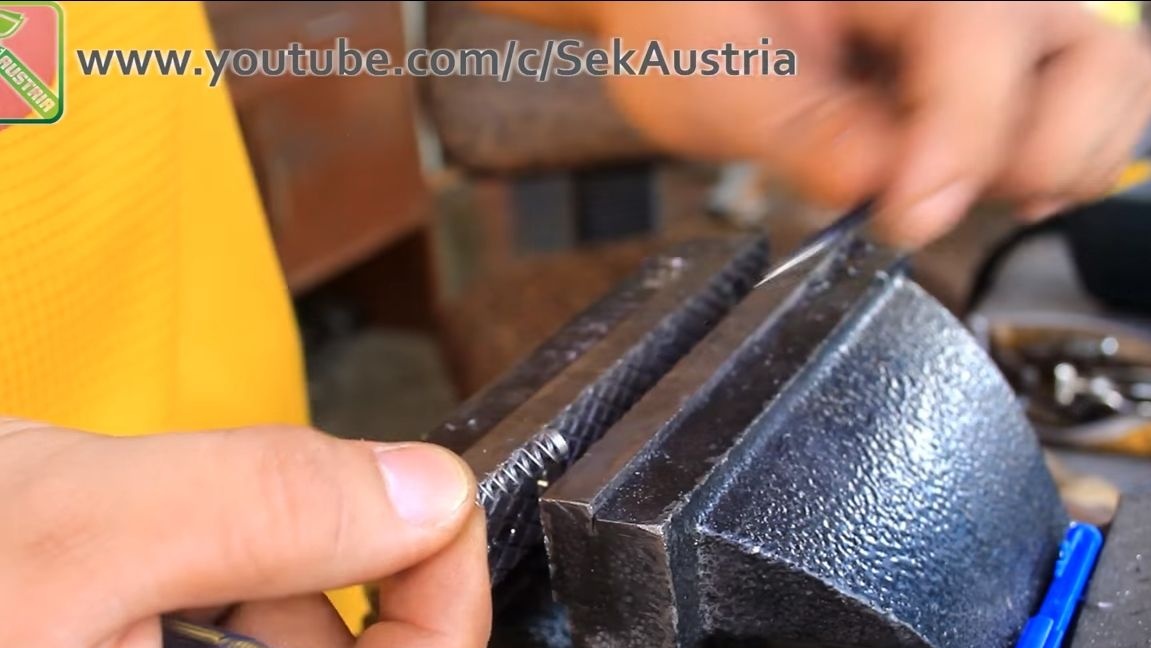
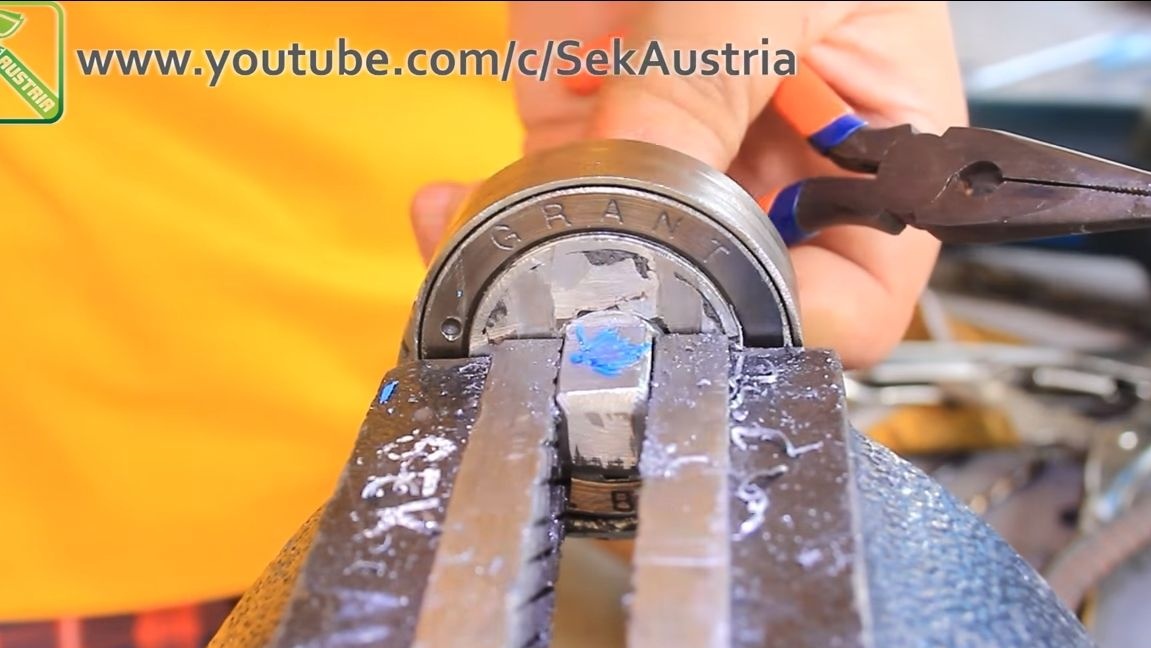
Step Six Locking device
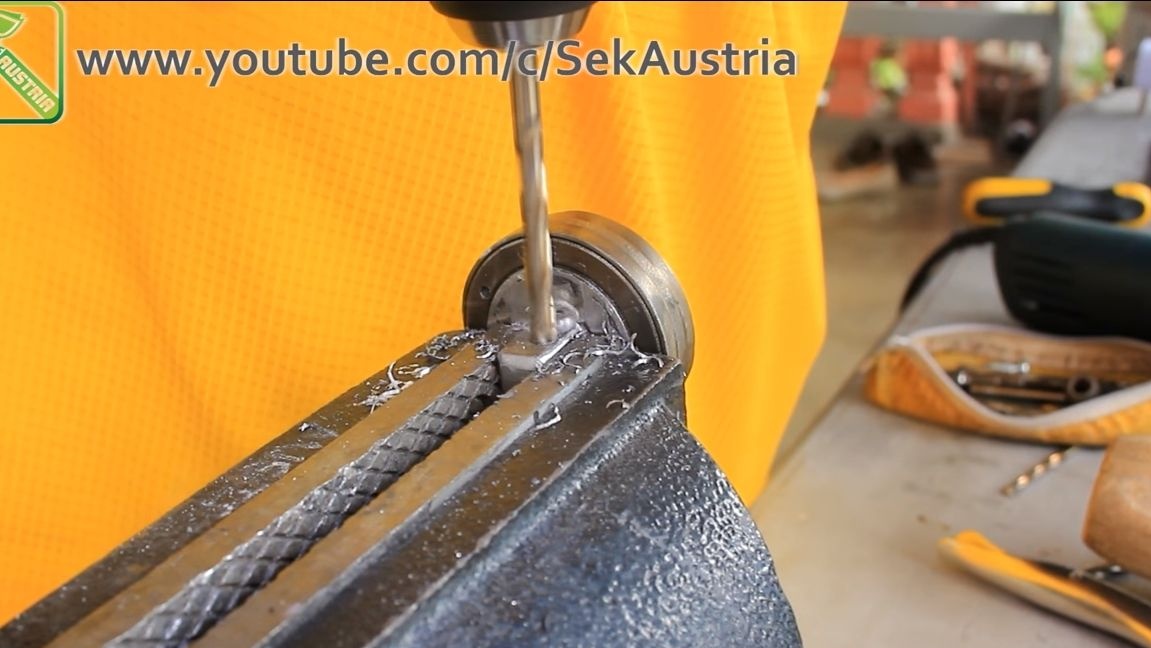
To prevent the heads from falling off the key, a latch must be made on it. For its manufacture an automatic handle will be needed, from it we get a spring. You will also need a steel small ball, suitable from a bicycle bearing.
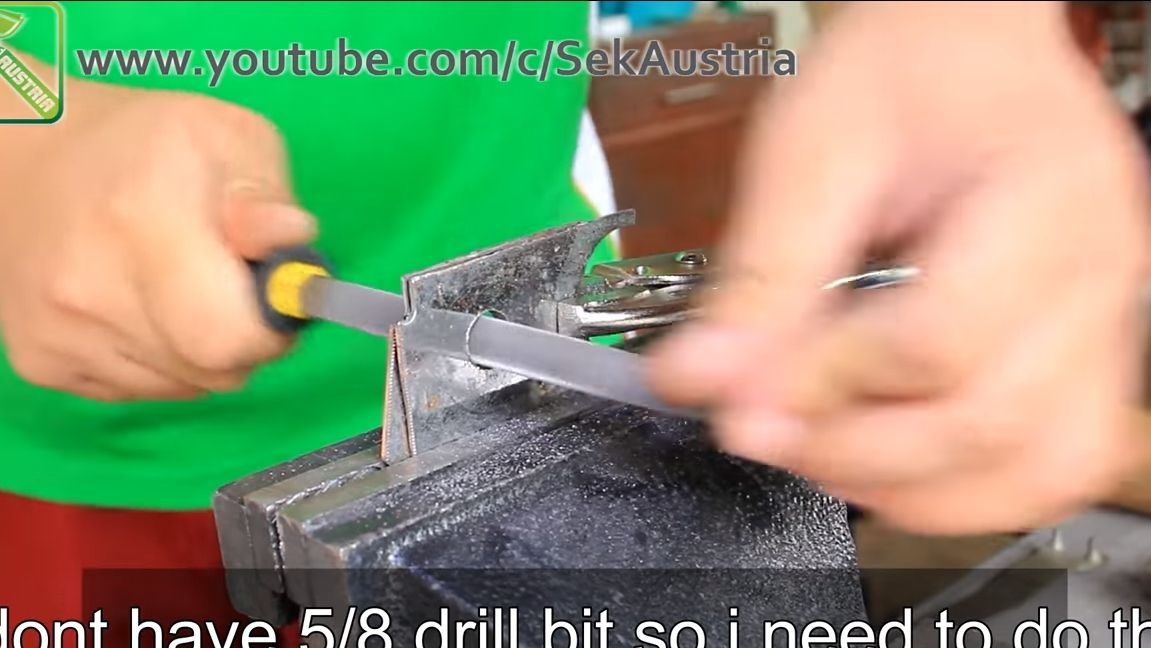
We drill holes in the axis, first through, and then increase them to the desired size. The bottom line is that the ball does not fall out of the hole if it is inserted from a wider hole.
Well, then we throw the ball and squeeze it with a spring. As an emphasis for the spring, the author simply hammers into the holes pieces of plastic from the handle.


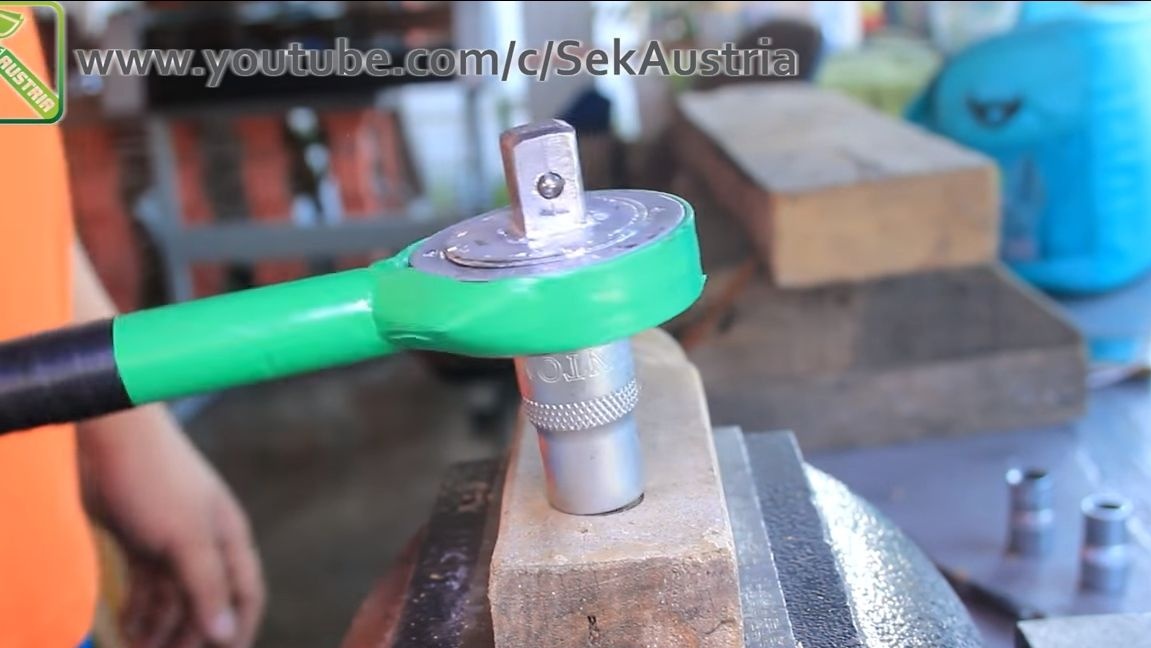
Seventh step. Painting and testing
Finally, grind the welds and paint the key so that it looks beautiful and does not rust. Now not every master will understand what parts it is made of. You can put several layers of heat shrink on the handle so that it is pleasant to tackle.
Experiments have shown that the key is quite successfully coping with the tasks. It perfectly tightens and loosens nuts, screws, bolts and so on. It is convenient to use, it is made of available materials, and its quality is much higher than many purchased.
That's all, I hope you liked the project. Good luck and creative inspiration in making homemade! Do not forget to share your projects with us.