
This article describes the process of a useful device that is in every home. Perhaps not even in a single copy. It's about a wall clock. But these watches will be truly unique, as we will make them with our own hands. No one else in the world will have the exact same watch. Similar - perhaps, but still, ours will be exclusive, one of a kind.

Tools and materials used by the author of the homemade product:
1. Quite a lot of screws 32 mm long
2. M6 stud threaded with screwed end
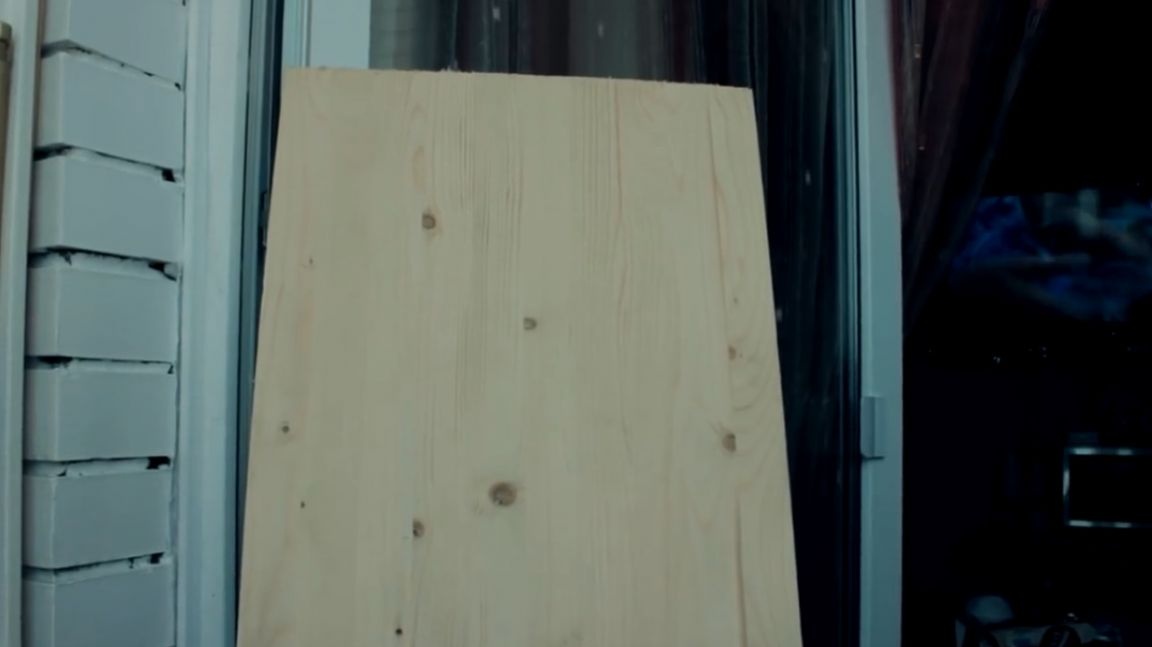
3. Wooden worktop, 200 mm wide
4. Black glossy paint
5. White craquelure paint
6. Clear acrylic lacquer
7. Screwdriver
8. Screwdriver
9. Sandpaper
10. Hacksaw
11. Pliers
12. Vise
13. Drill
14. Reysmus
15. Bulgarian
Manufacturing process.
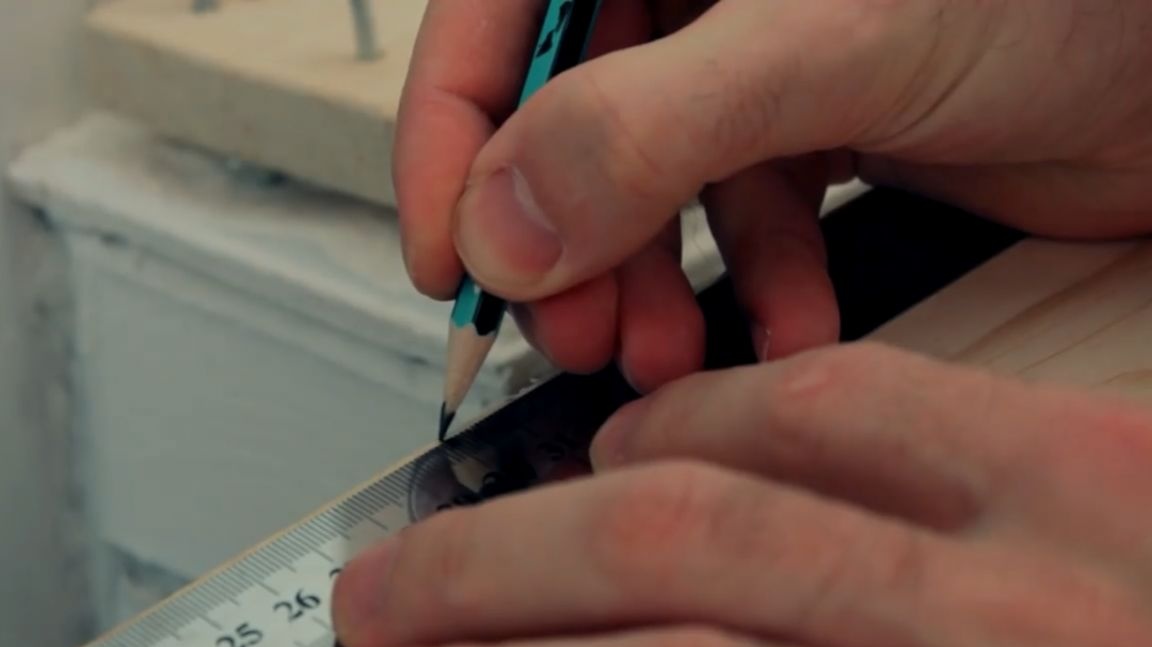
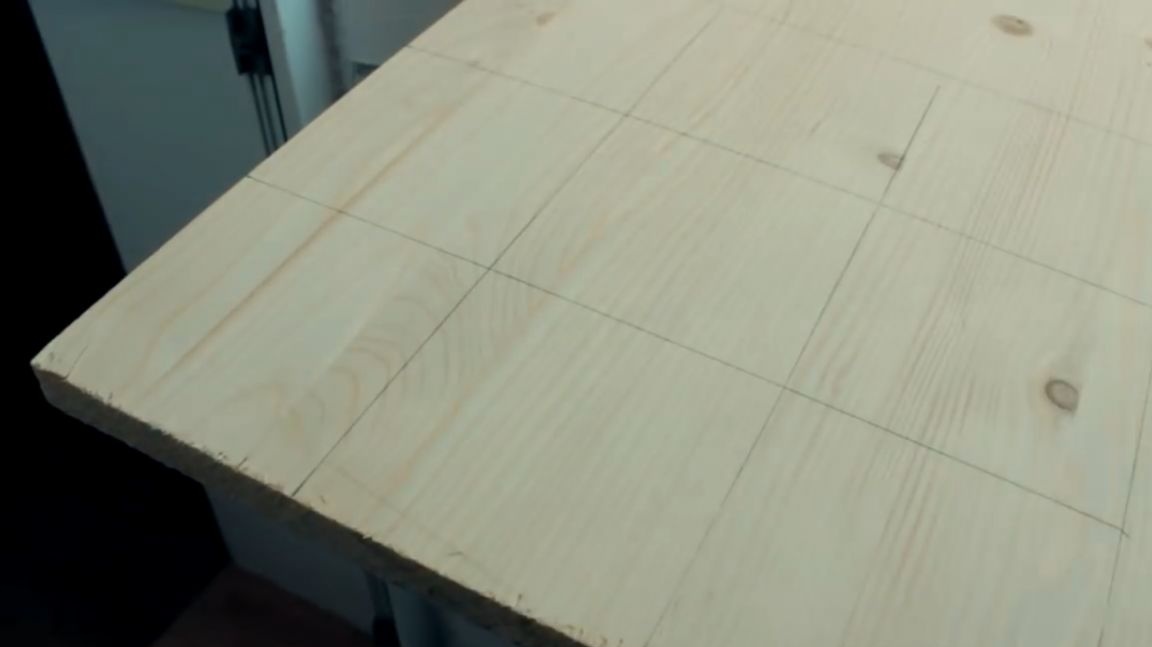
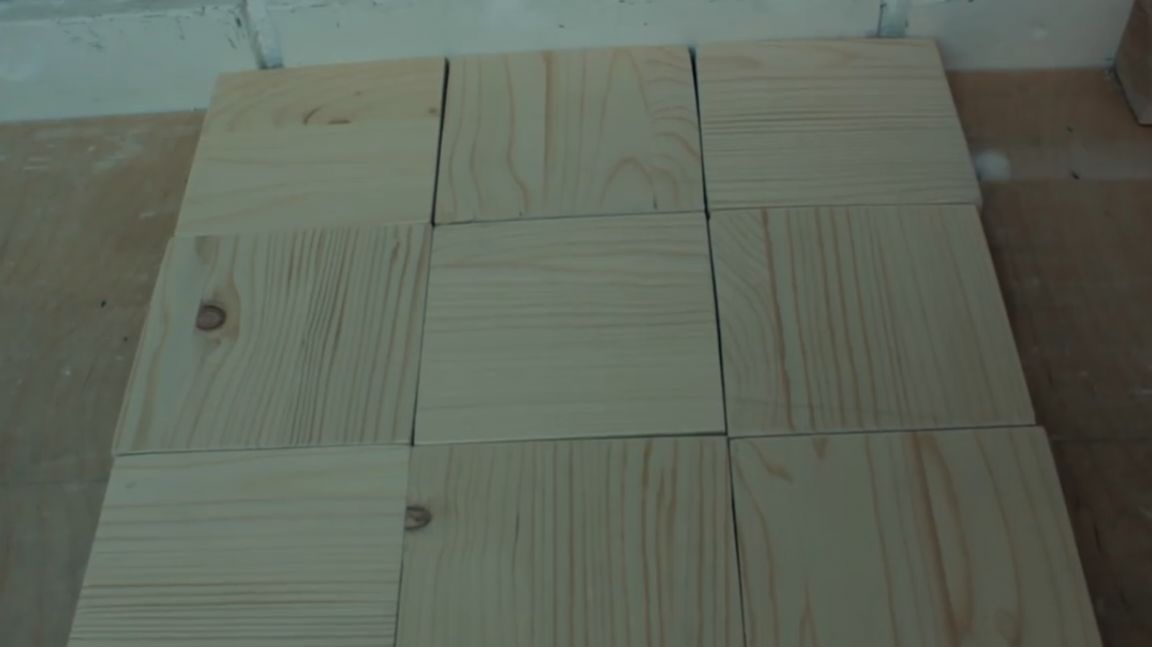
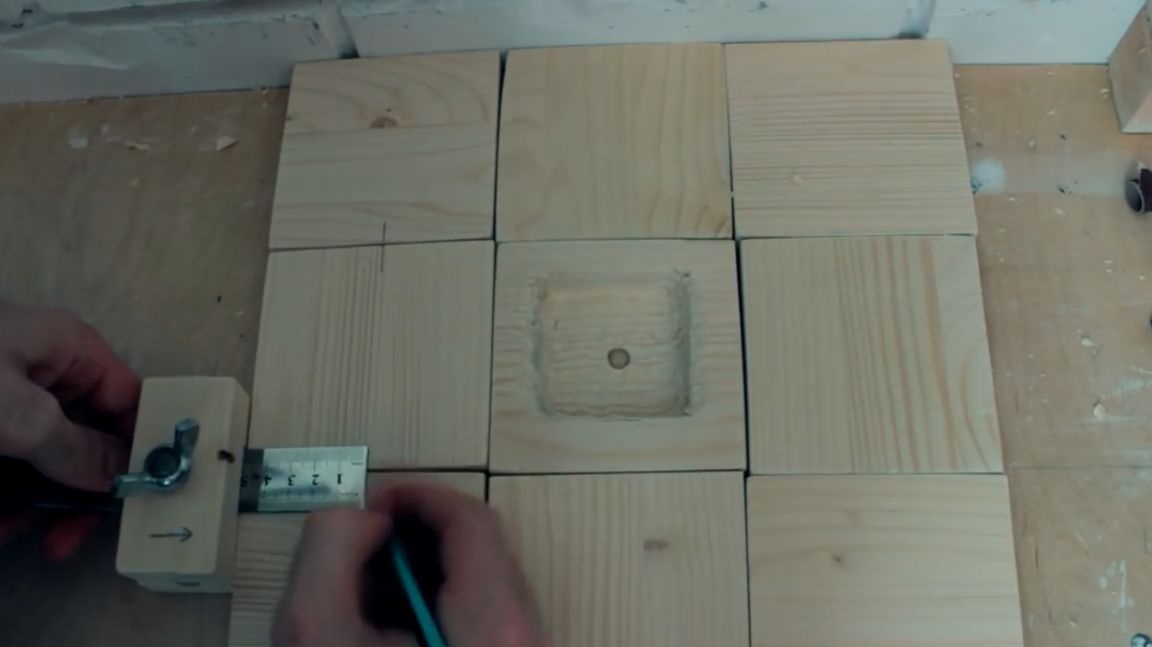
First of all, we will need to draw a square with a side of 30 cm. After that, we draw our square into smaller squares with a side of 10 cm, so that in the end we get 9 squares. To do this, the author resorts to the help of a homemade thicknesser, which shows itself perfectly.
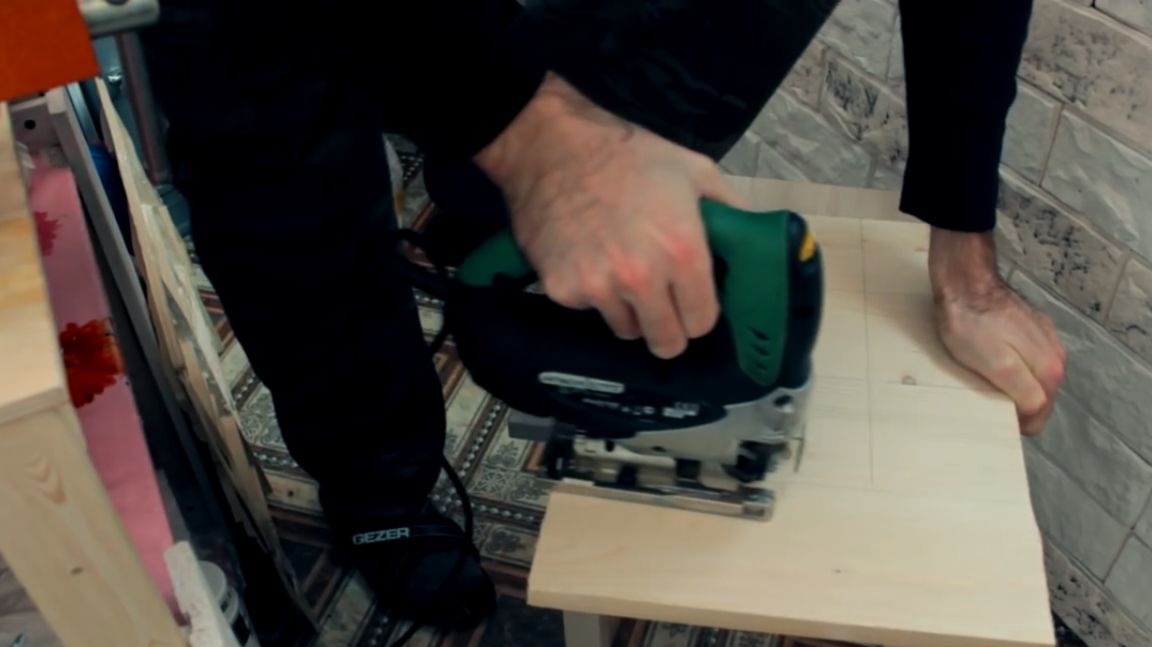
Since sawing this time more than usual, the author decided to use a jigsaw. In the absence of his own, he borrowed a fretsaw from his friend. Of course, it’s quite difficult to get perfectly even cuts without using guides, but this is unprincipled in this homemade product, therefore, as they say, it will do.
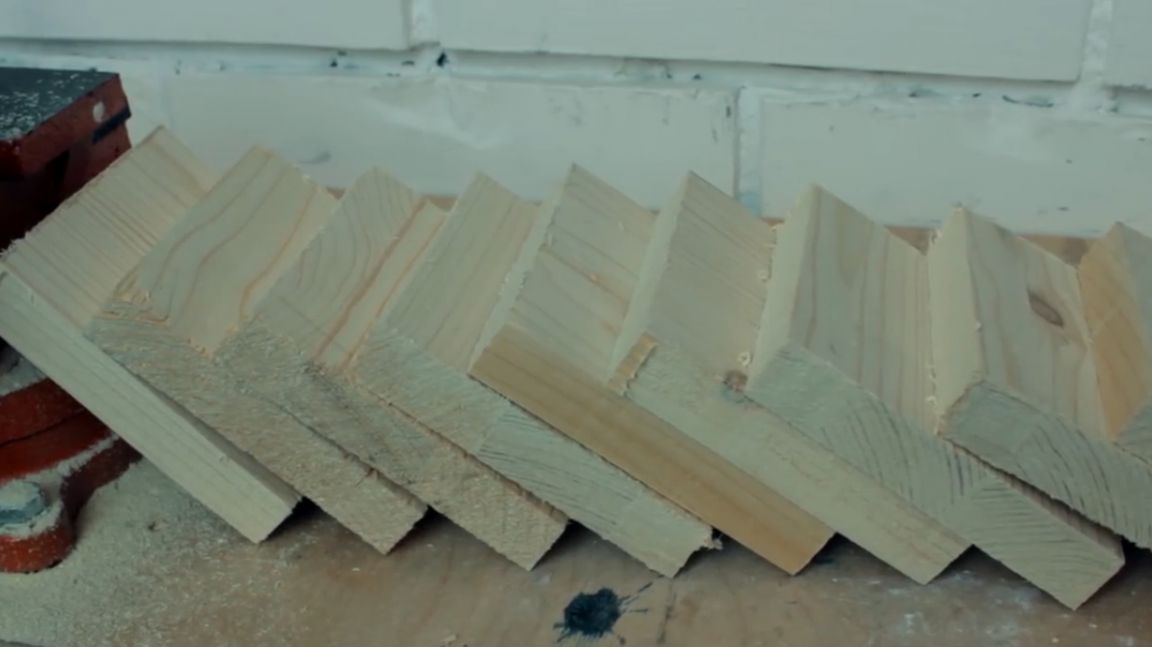
After sawing nine blanks, we need to give them a presentation. For this, the author uses his own hand tool - a grinding bar. You can do such a simple device to myself. Although it will be quite enough to use ordinary sandpaper. To fix a square wooden blank, the author uses a vise. The manual process of grinding nine wooden squares will take quite a long time. To reduce it, use the power tool you have on your farm to process the workpieces. At the output, we get such one big square, which consists of 9 smaller squares.
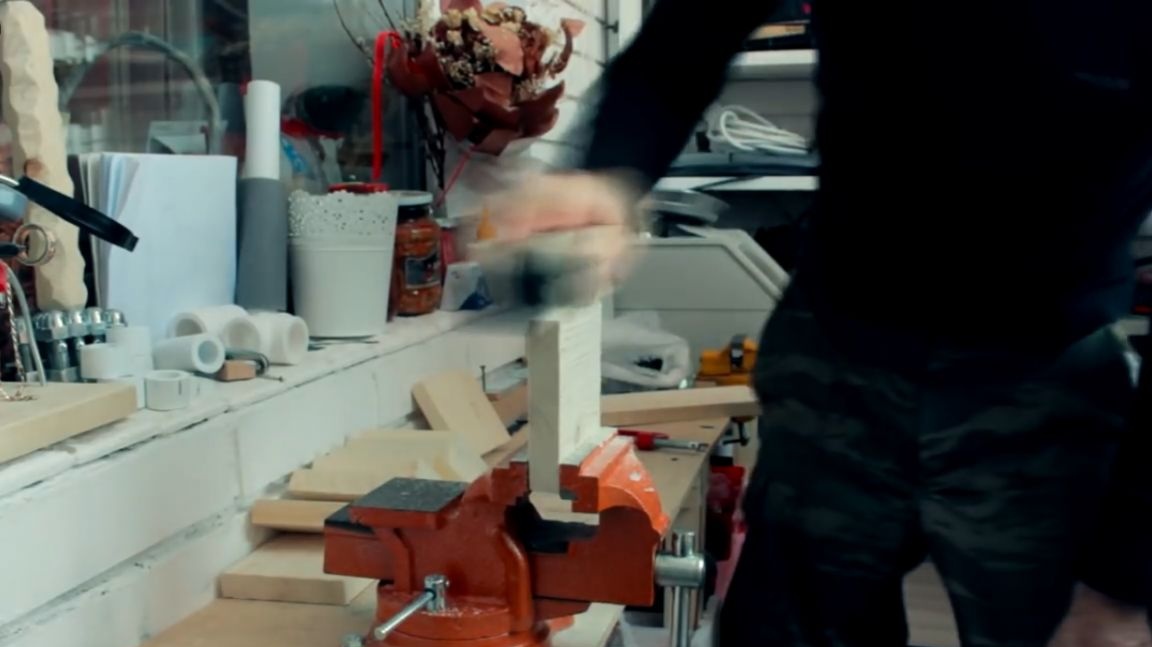
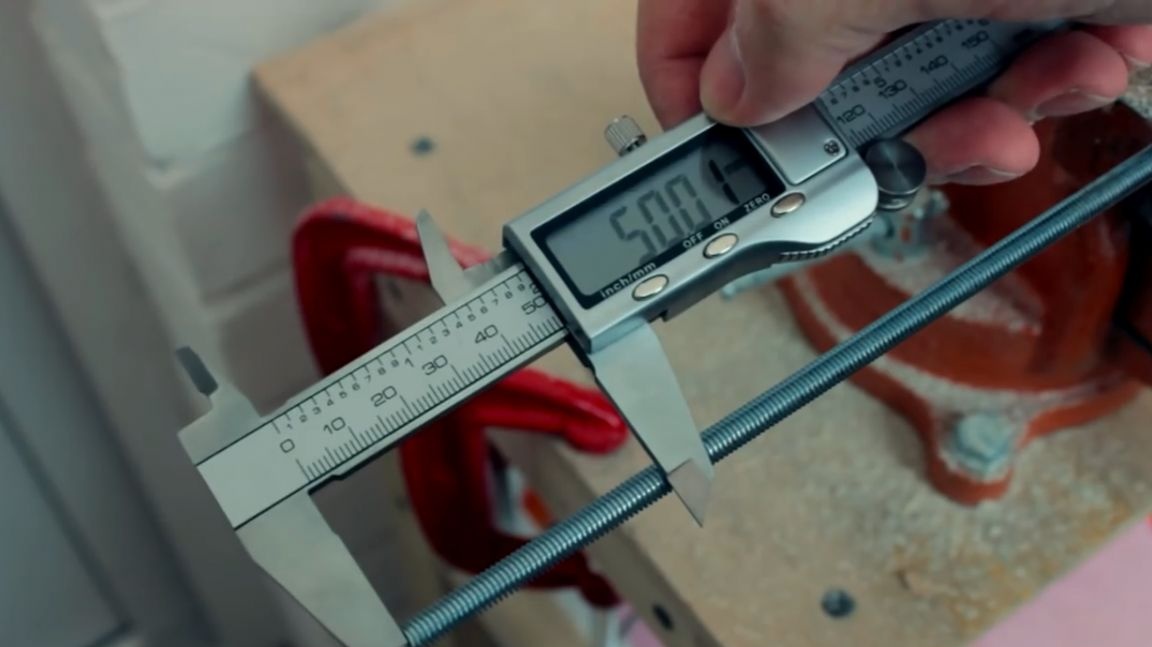
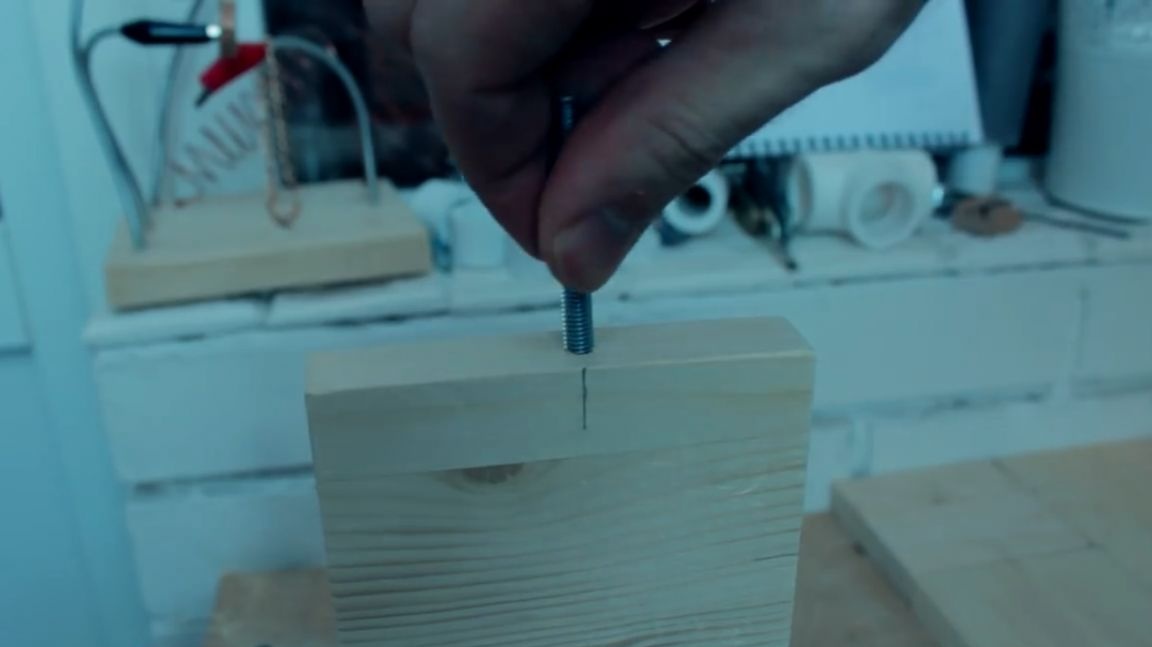
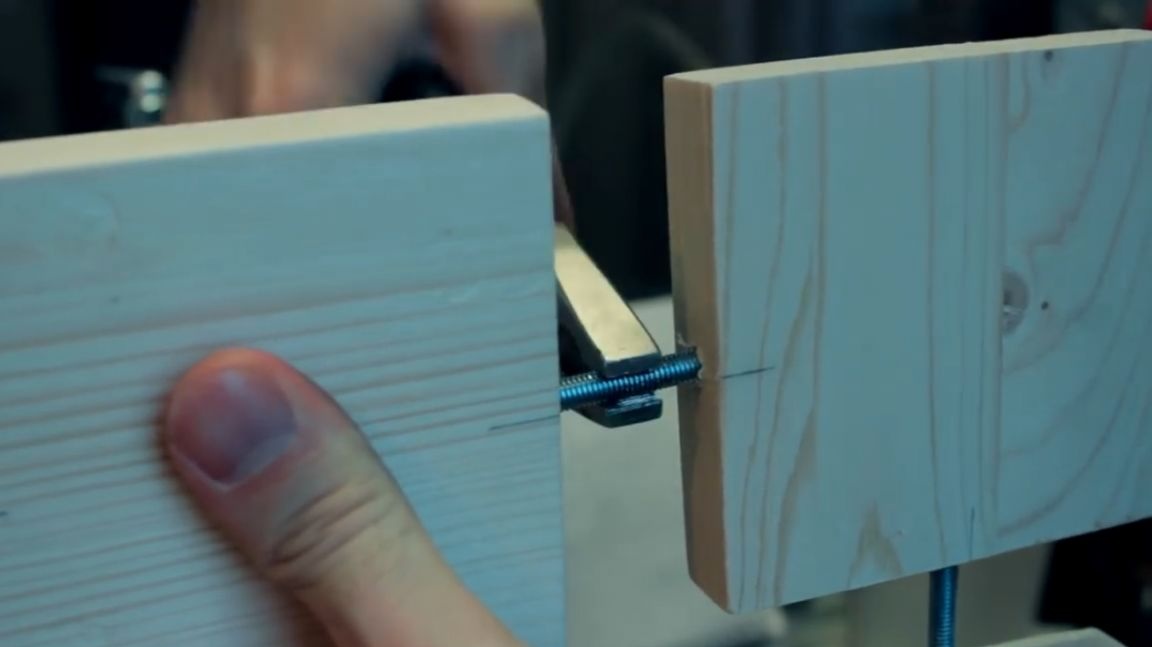
Set it aside temporarily and go to the studs. We fix the m6 hairpin on a workbench with a vise. We will need to cut it into five-centimeter segments. Total such segments for the manufacture of wall clocks do it yourself we will need as many as 12 pieces.In order to somehow speed up the process, well, so as not to mess with roulette, the author fixes a vernier caliper by 50 mm and measures 12 segments. With the help of small pieces of masking tape, the author makes outlines on a metal stud.
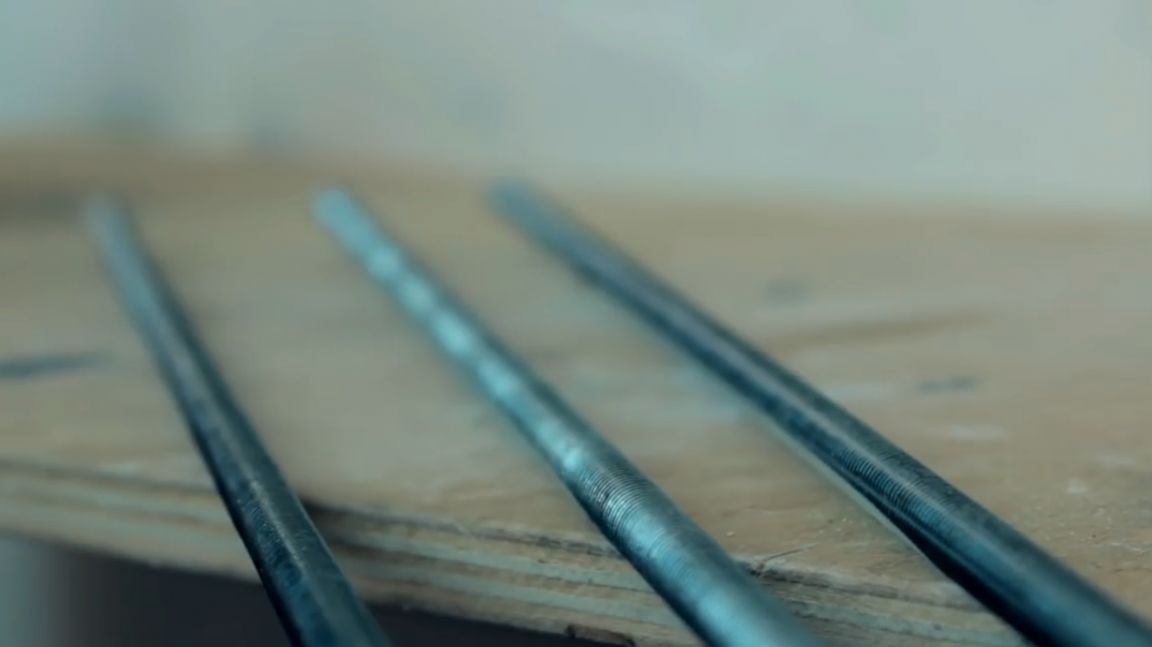
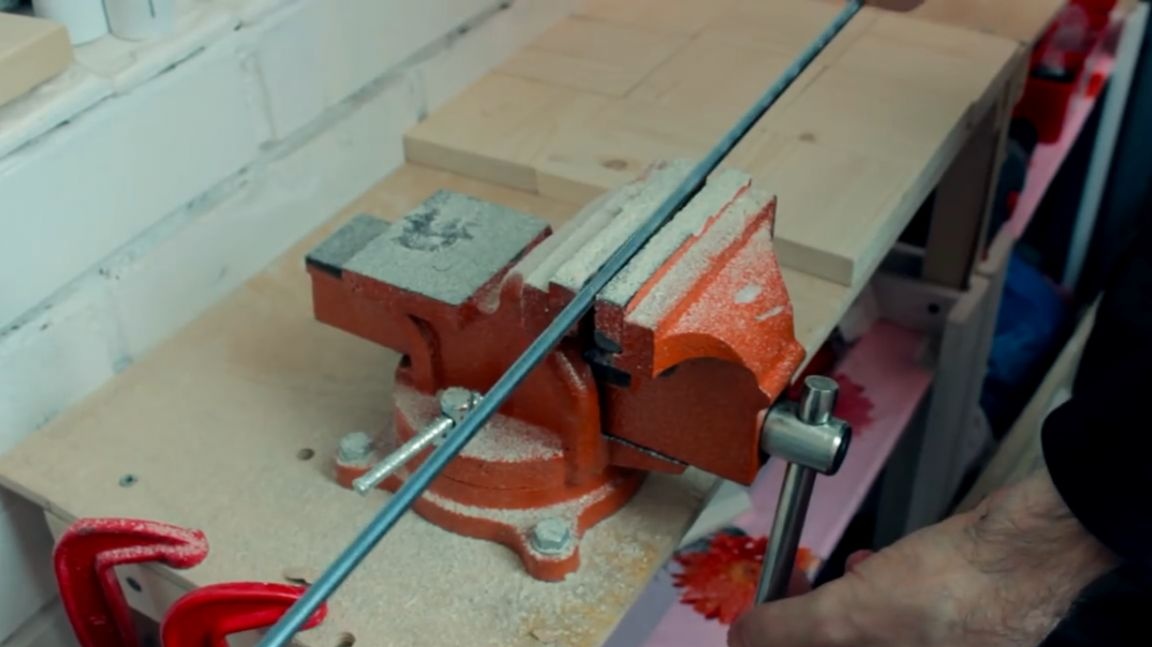
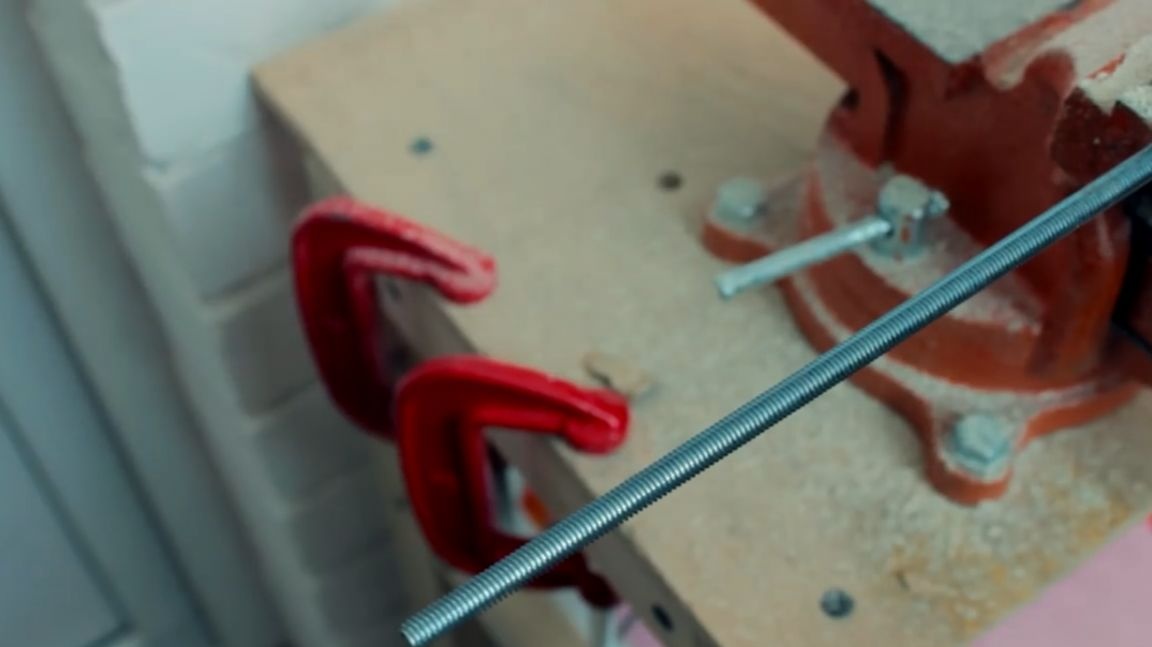
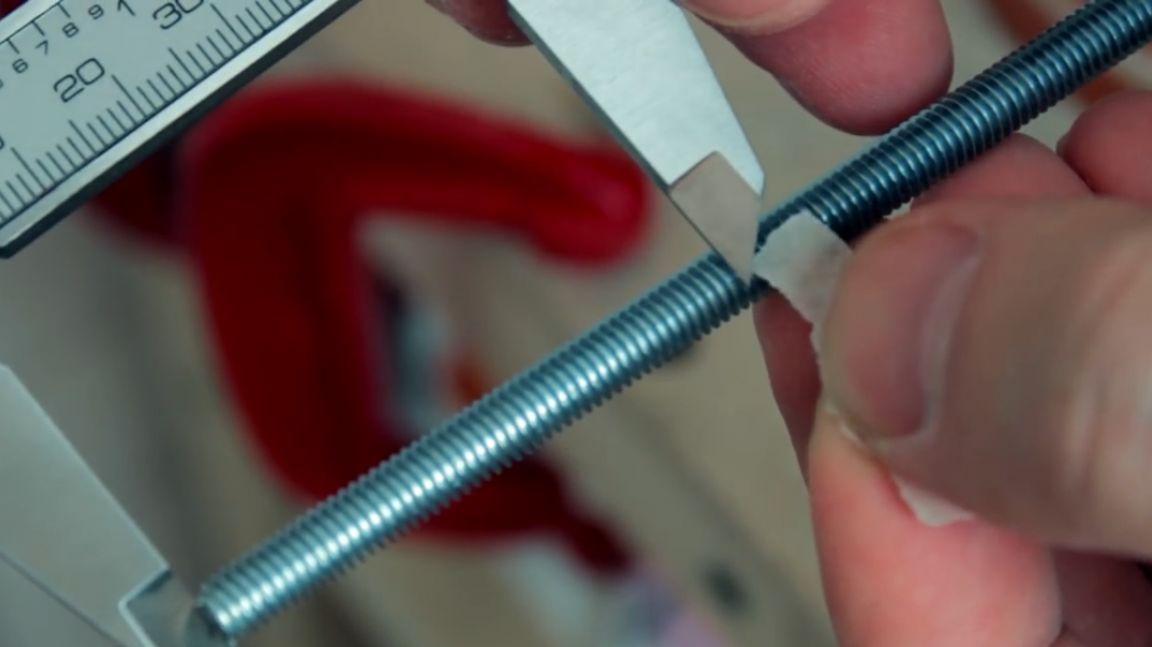
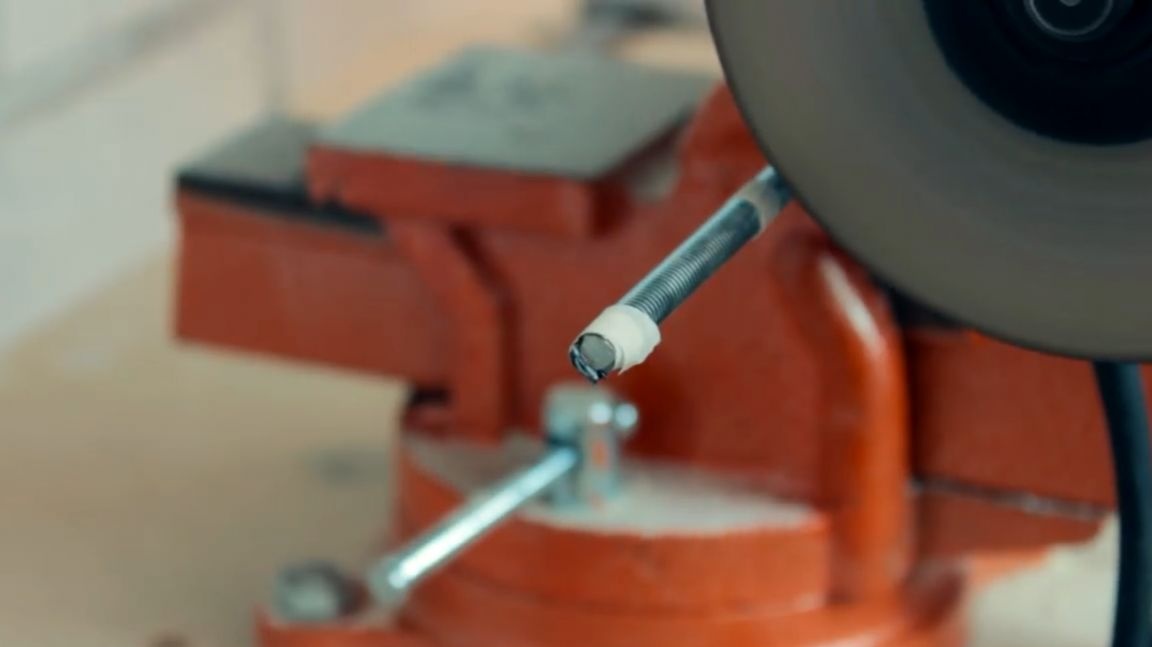
Sections measured in this way are sawn off with a grinder and, for the time being, they are also temporarily laid aside.
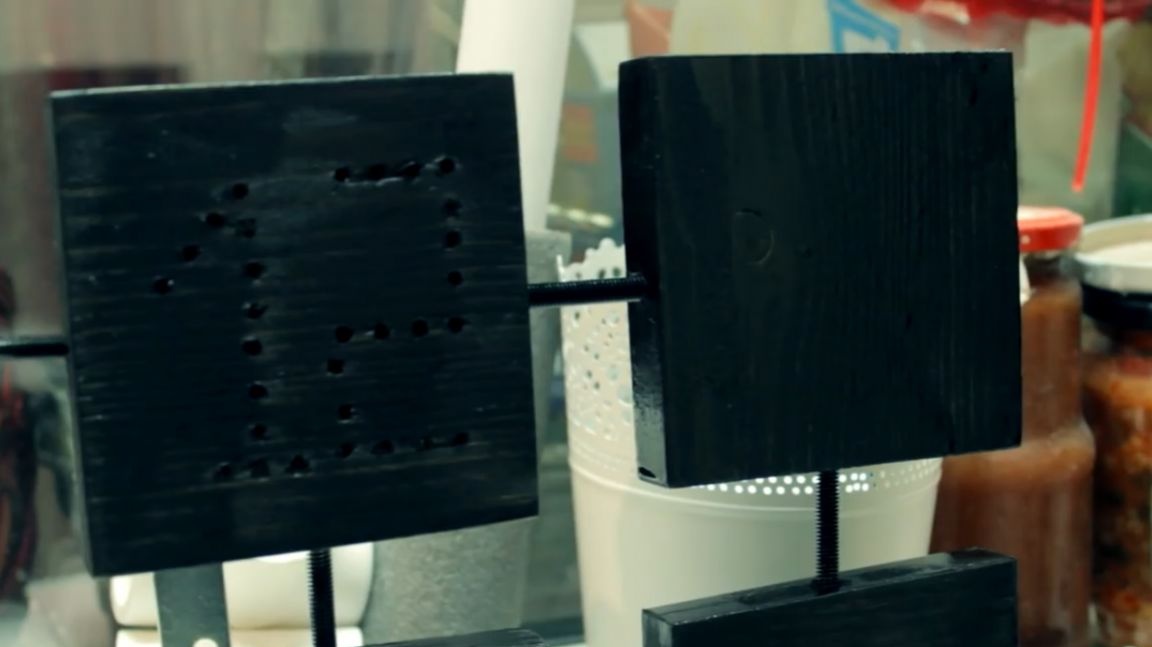
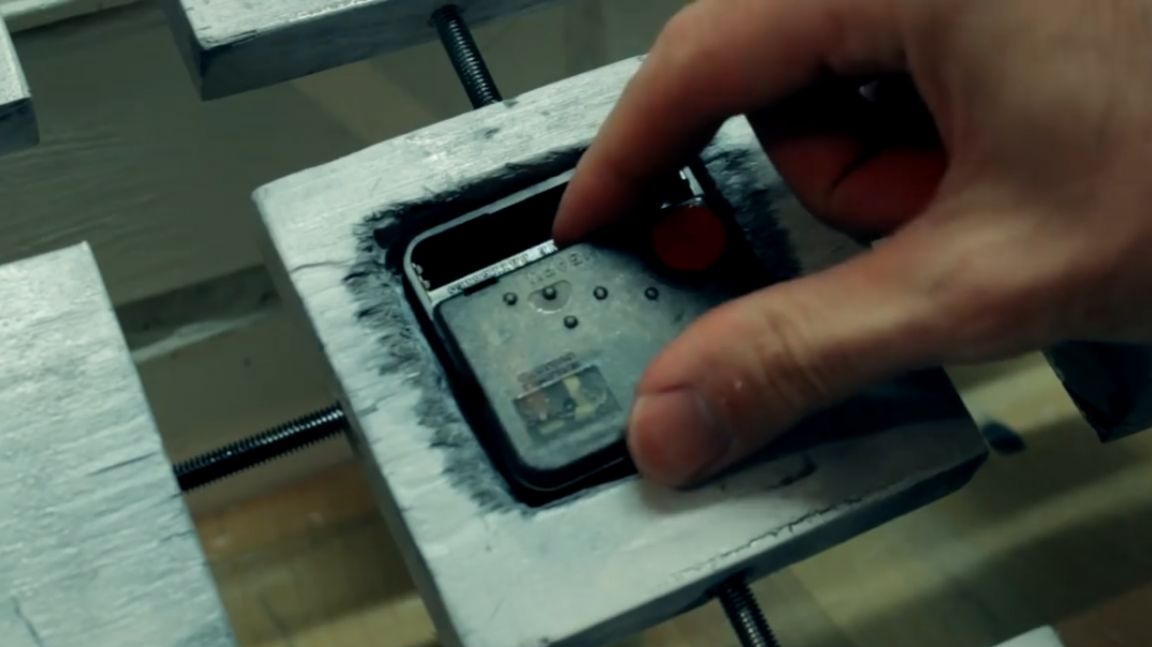
Next, you need to choose in which square the clockwork will be located. In other words, you need to choose a square that will be located in the center of the whole structure. This does not play a special role, since if you saw all 9 squares quite smoothly, and processed them in the same way, then they will not differ much from each other. Well, maybe just a woody pattern. This is yes - it is unique. Basically, any square can be the heart-guard of our watches.
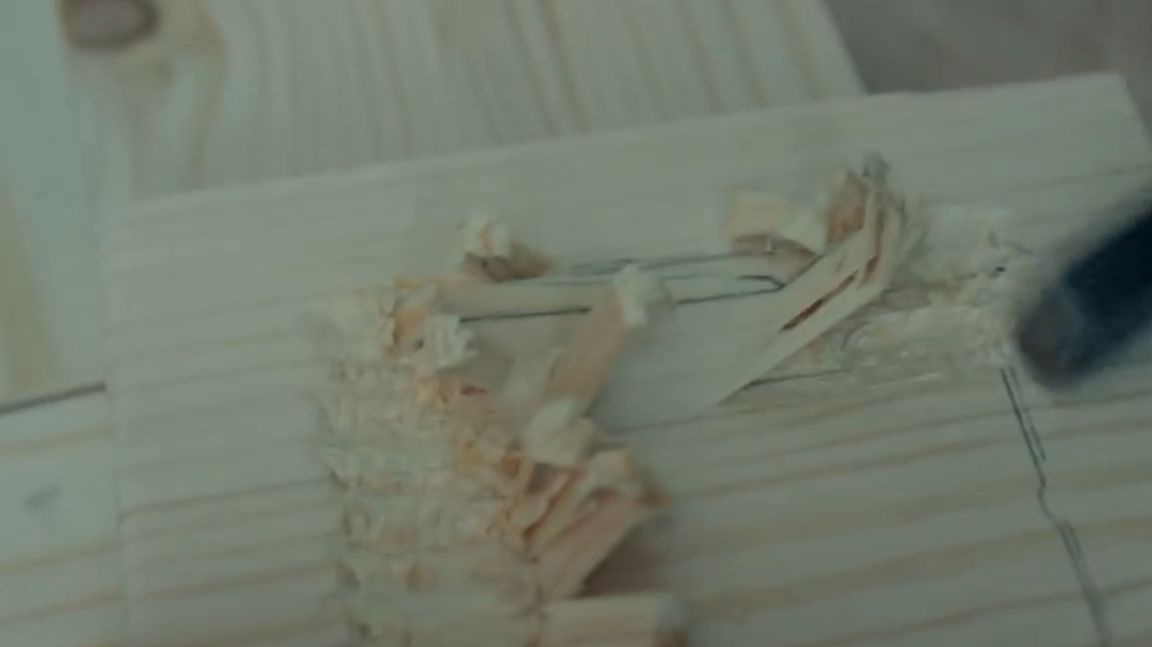
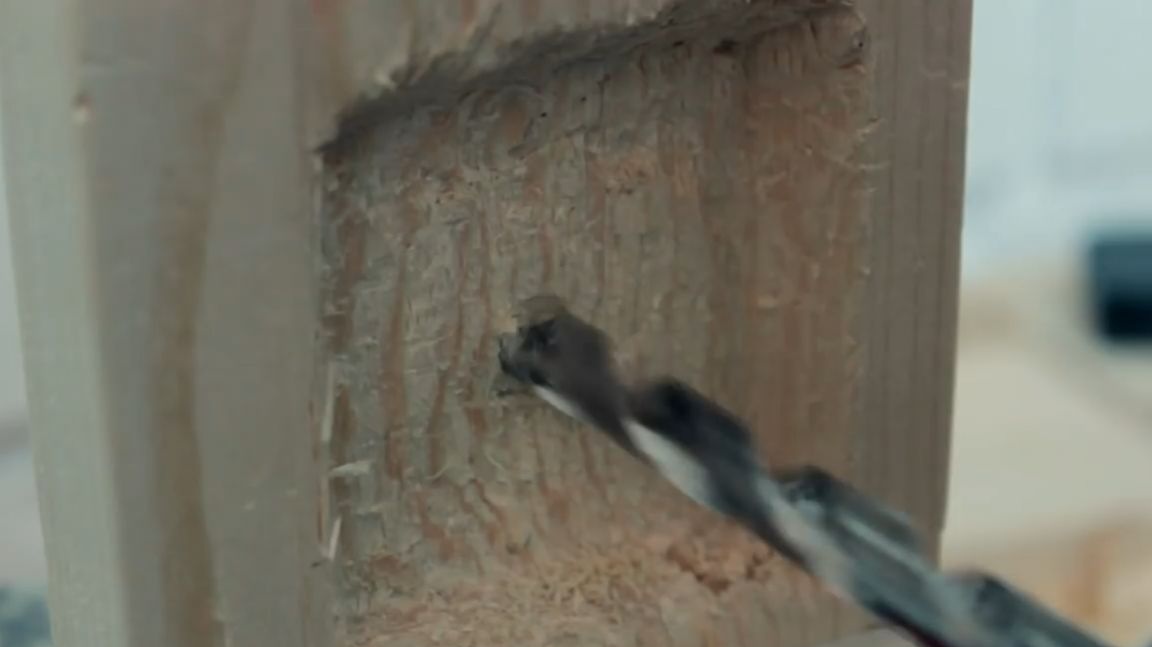
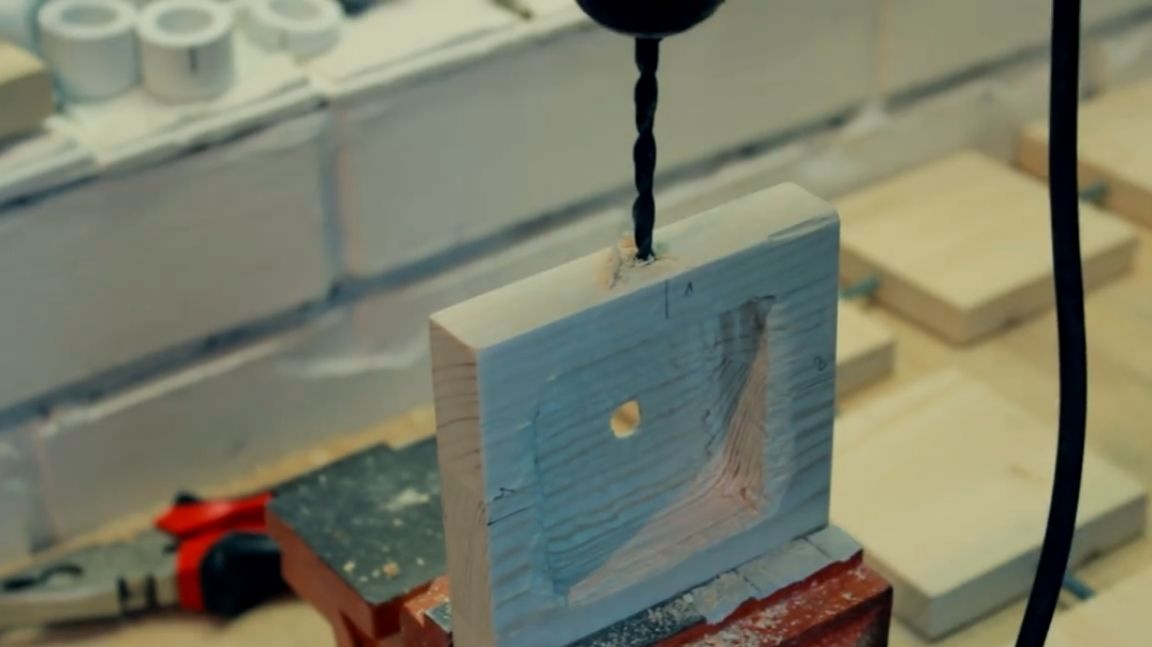
We start to gut the selected square. Using a chisel, we pick out a recess in the center, in this case the clockwork case has a square shape, therefore, we will make a recess square. We measure the case of the clockwork and hollow out a place in it under the tree, observing the dimensions. A milling cutter would be useful for this procedure, but since the author does not have one, he used a hammer and a chisel. Using such methods and using these tools, the author spent about an hour on this stage.
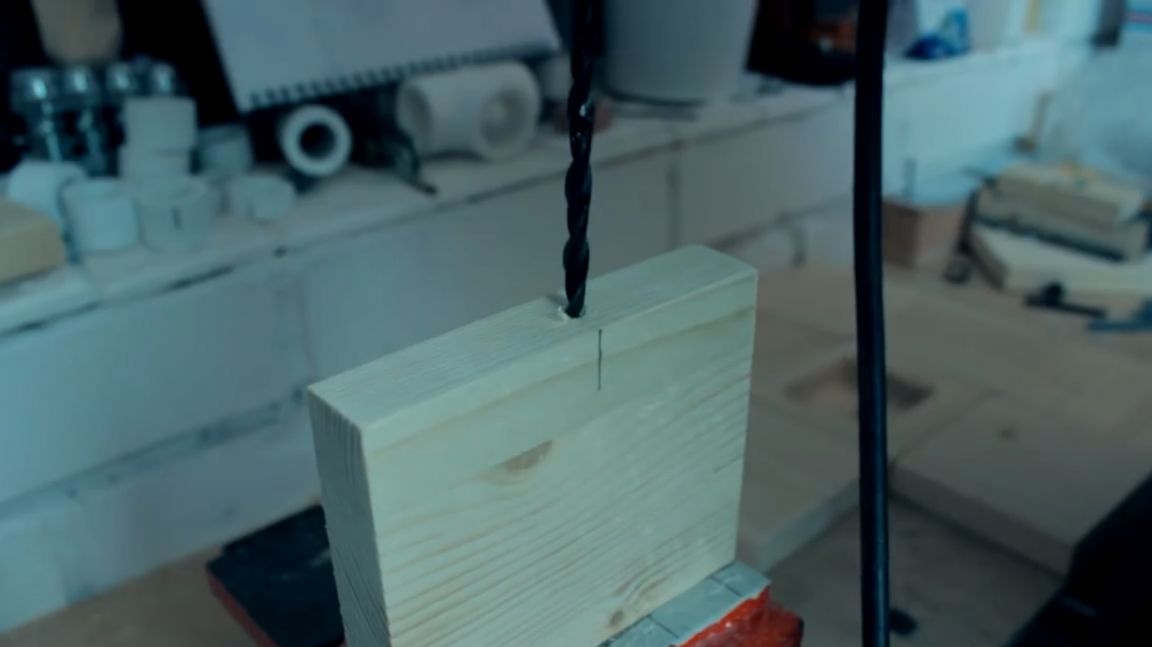
After that, you need to carefully drill a hole in the center of our square. In this case, with a diameter of 9 millimeters.
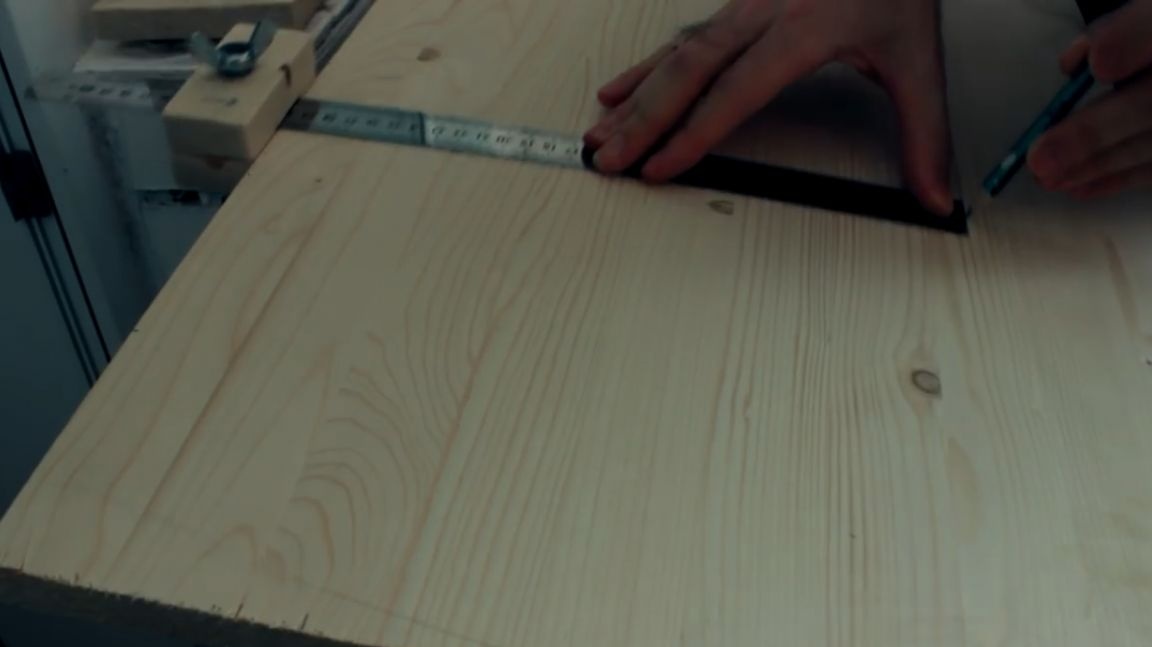
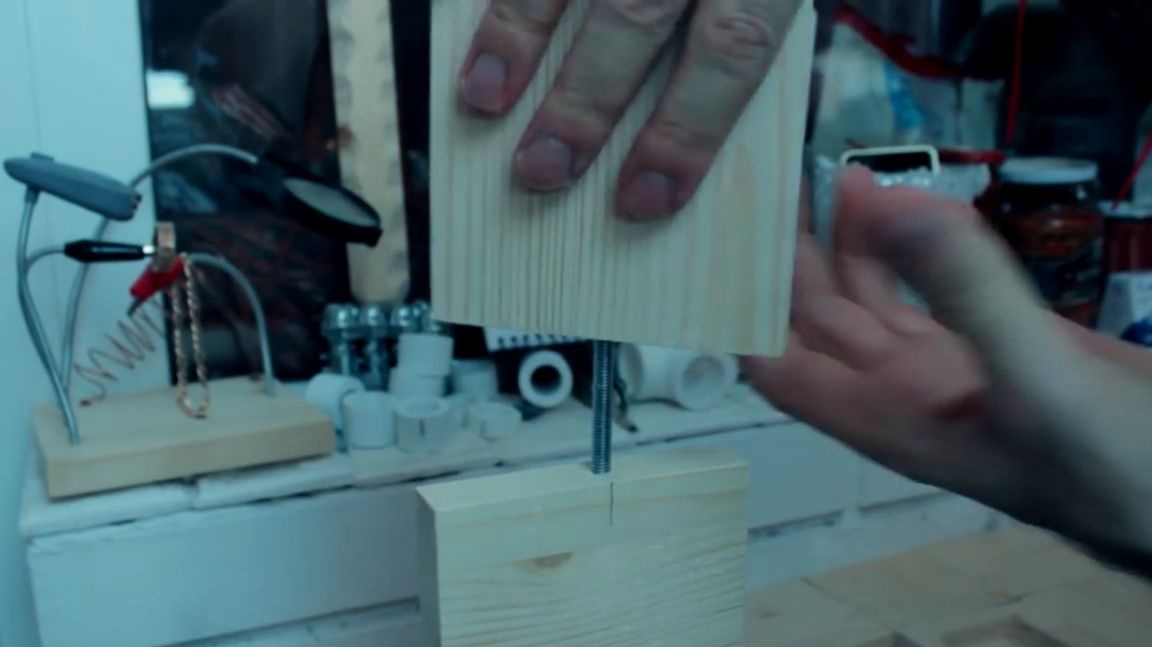
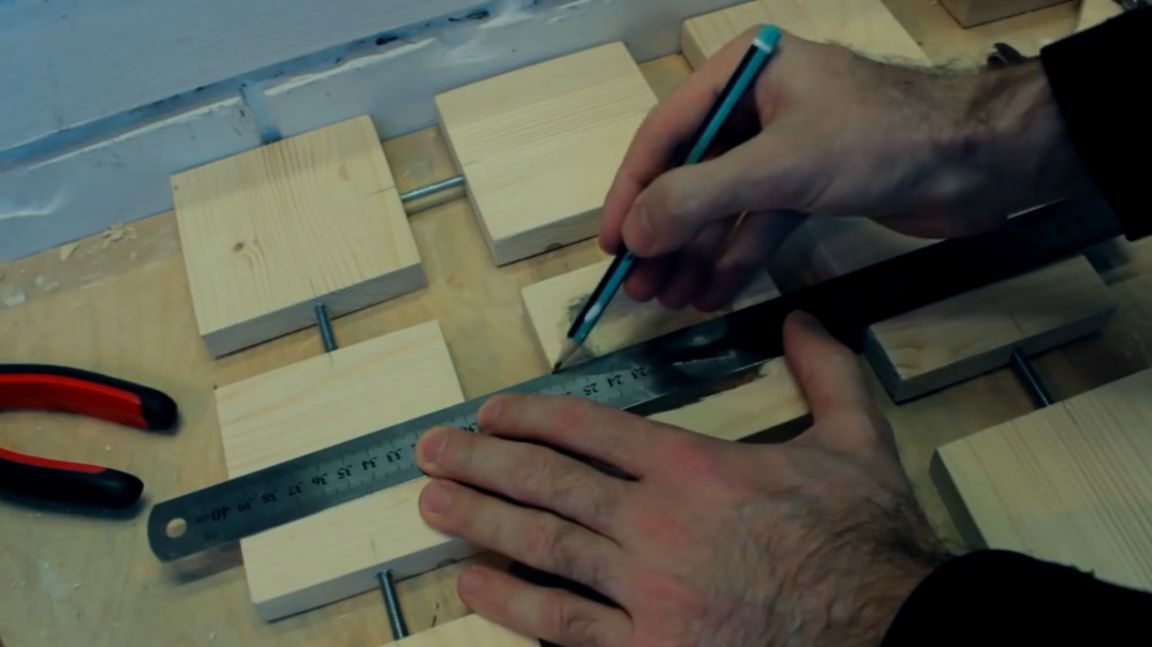
We need to assemble our squares in a single design on a flat and sufficiently solid surface. And with the help of a thicknesser we make marks that are useful to us for joining blanks.
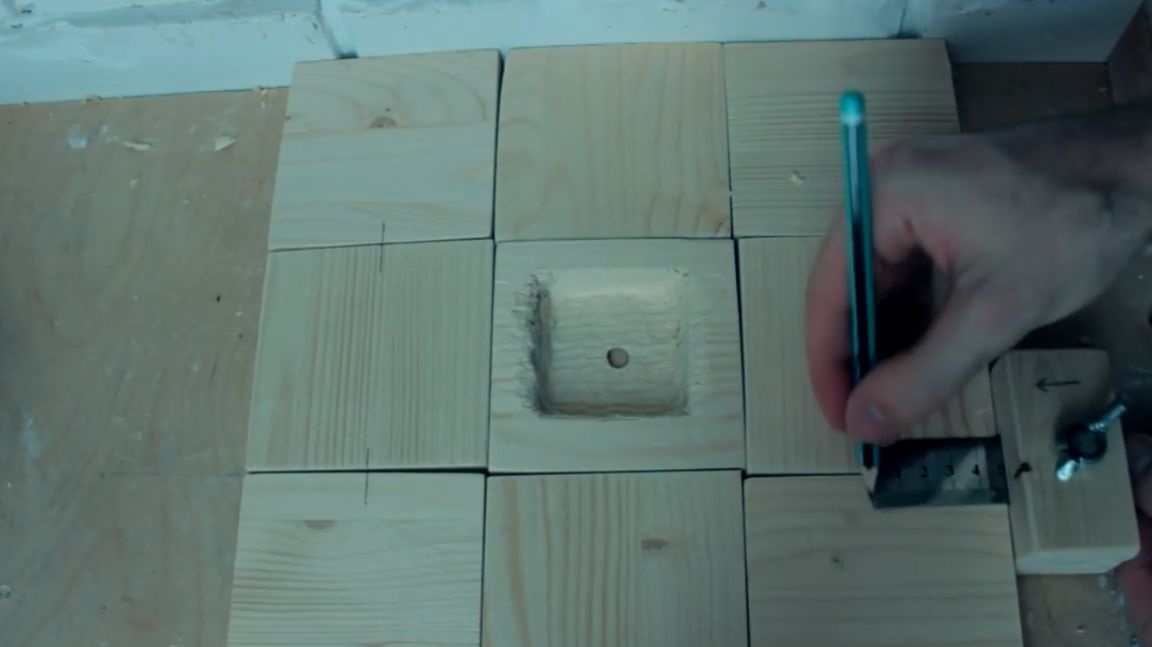
We will connect the workpieces using studs cut into pieces. Therefore, we drill a hole according to the marks. Next, screw the m6 studs into the drilled hole.
Then we proceed to one of the most interesting parts of our homemade work - assembling all the squares into a single whole.
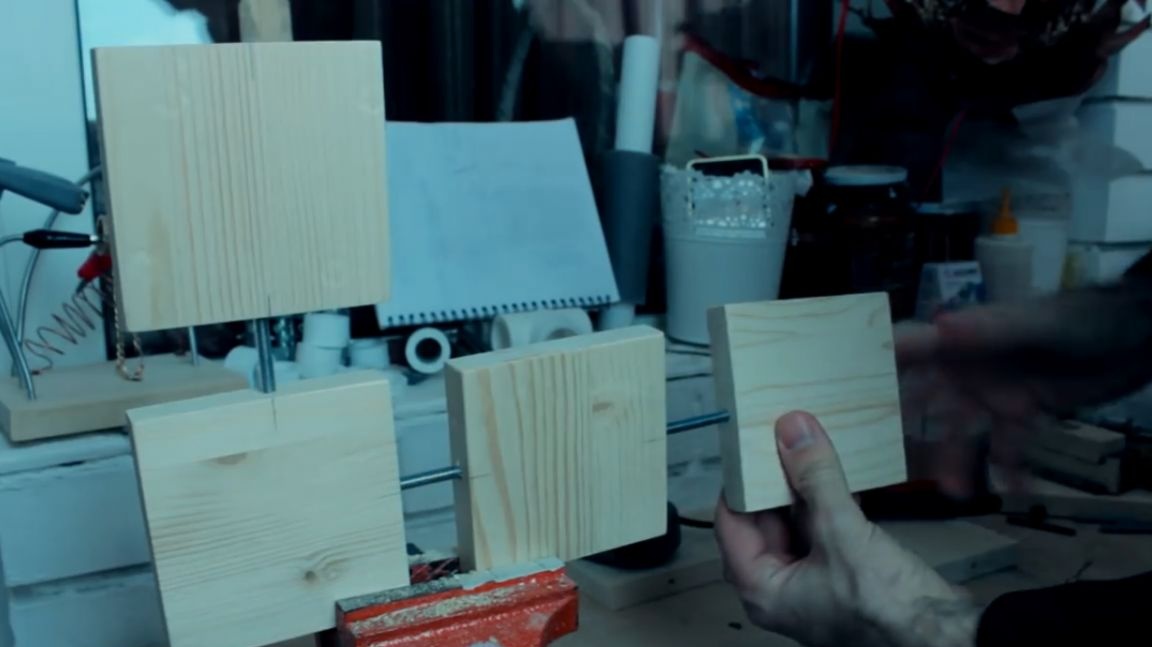
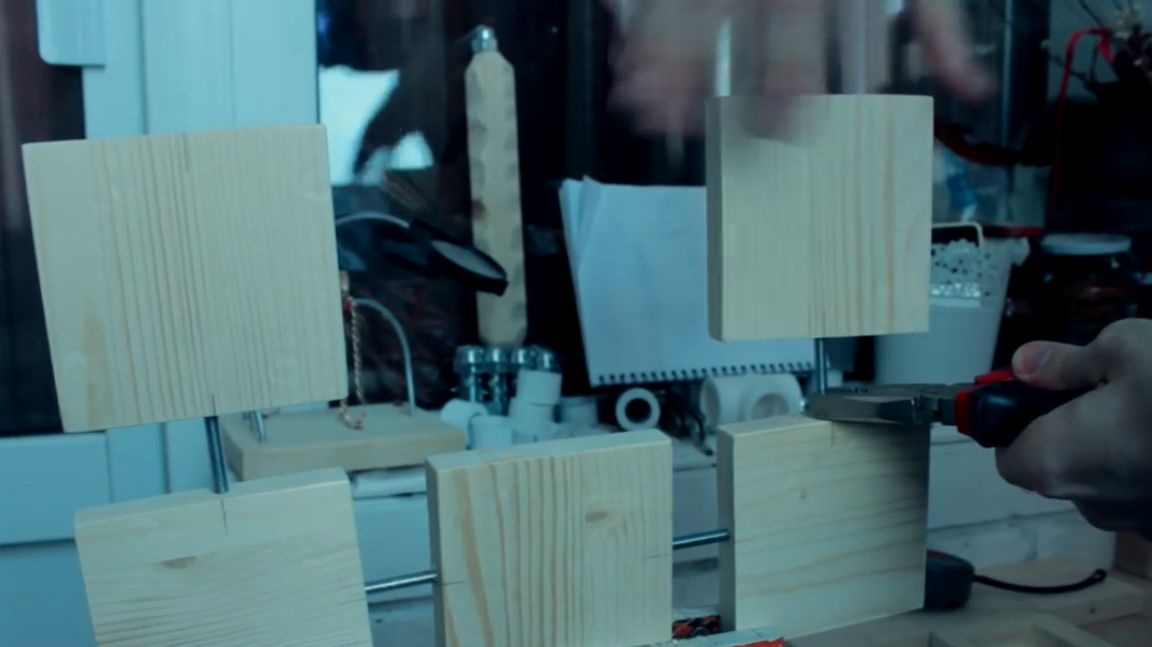

When assembling, the author at first thought that the rigidity was a little lacking, since he screwed the hairpin only 1 cm into each workpiece.
To give rigidity to the whole structure, he marked out the central square. In each side, a hole is drilled with a diameter of 5 mm for a m6 stud.
Further, in a rather simple way, I consolidated this whole thing together.
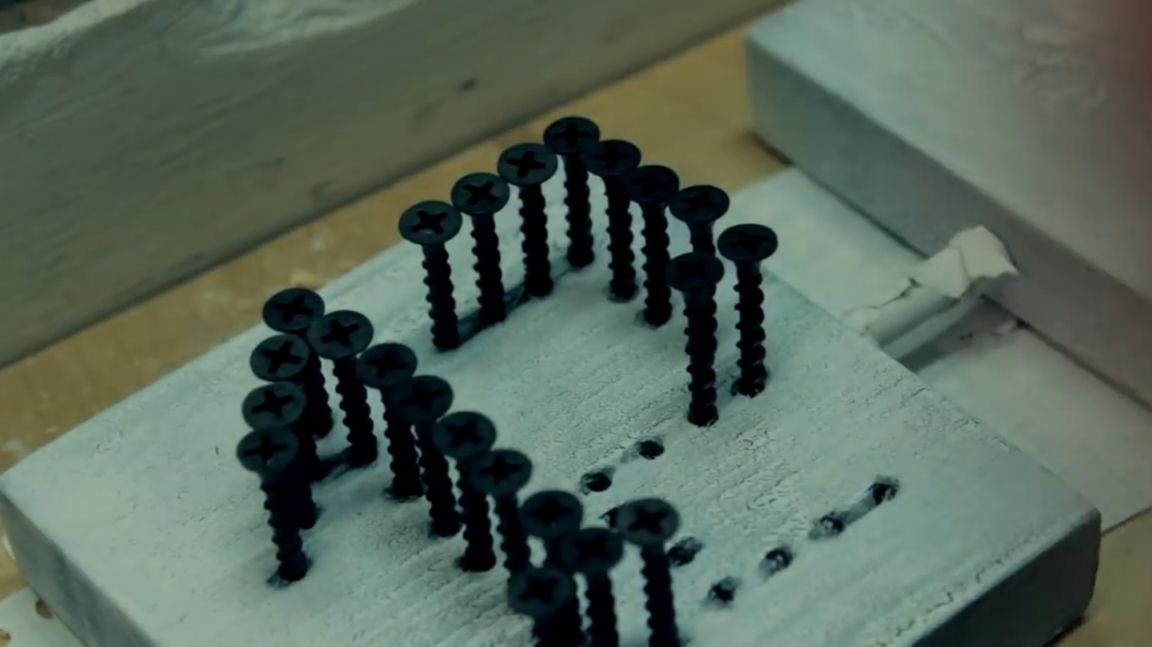
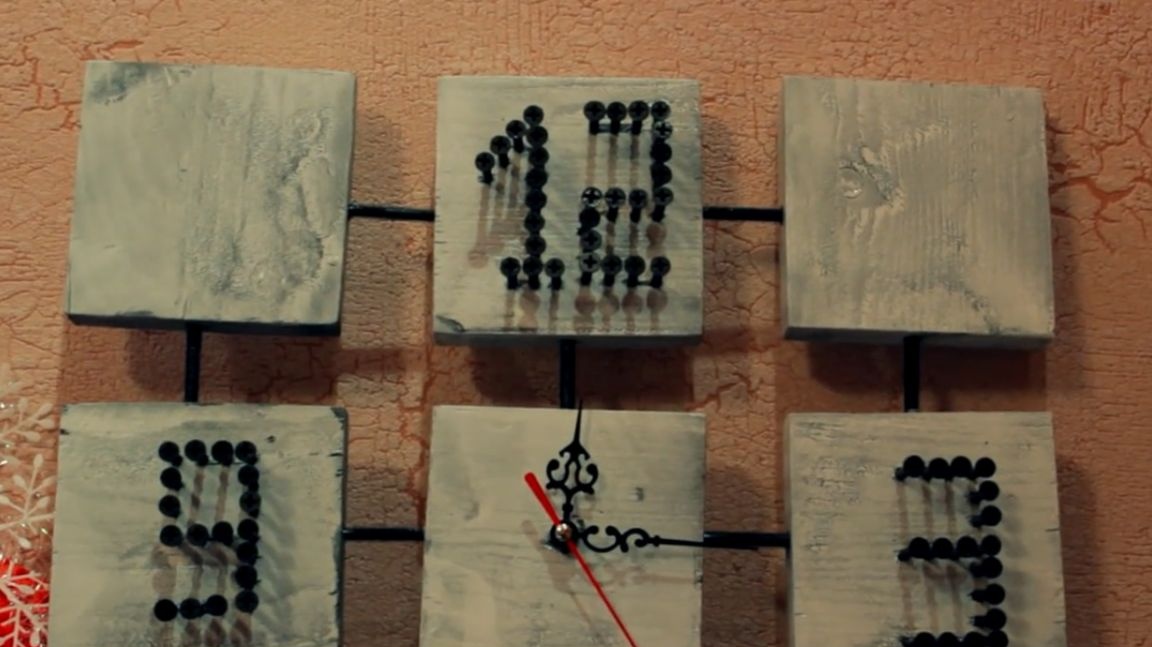
Then you need to start applying the numbers to the dial. We will not draw all the numbers, but only 3,6,9 and 12. Thus we will paint only 4 squares.
The author decided to draw figures on the principle of a zip code. It uses a ruler and a simple pencil.
Who does not like this form of numbers, you can use any, for example, Roman. And that, too, will look pretty good. The author drew the figures approximately, by eye. That's because at the next stage, when marking up, they will get the same shape and you will understand why.
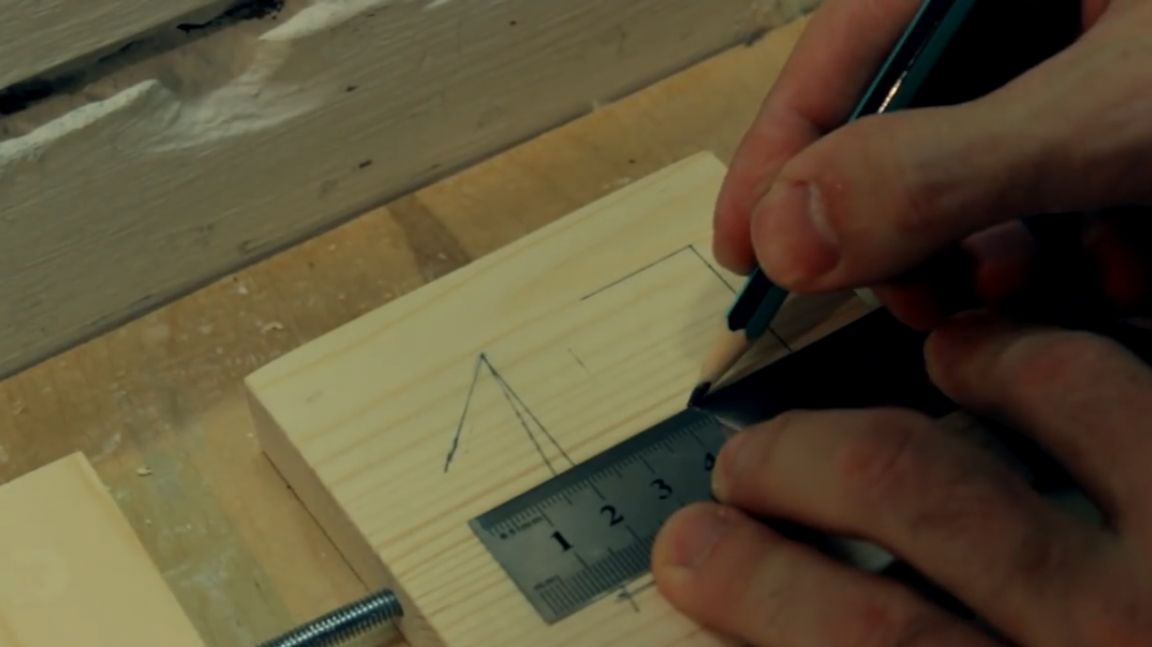
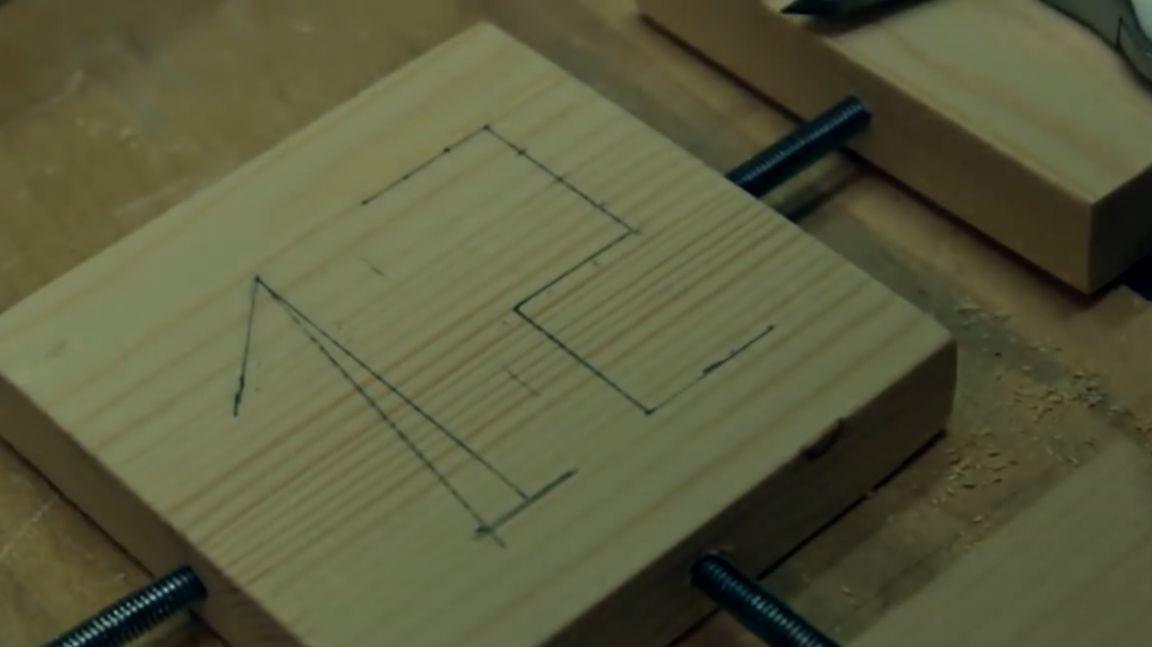
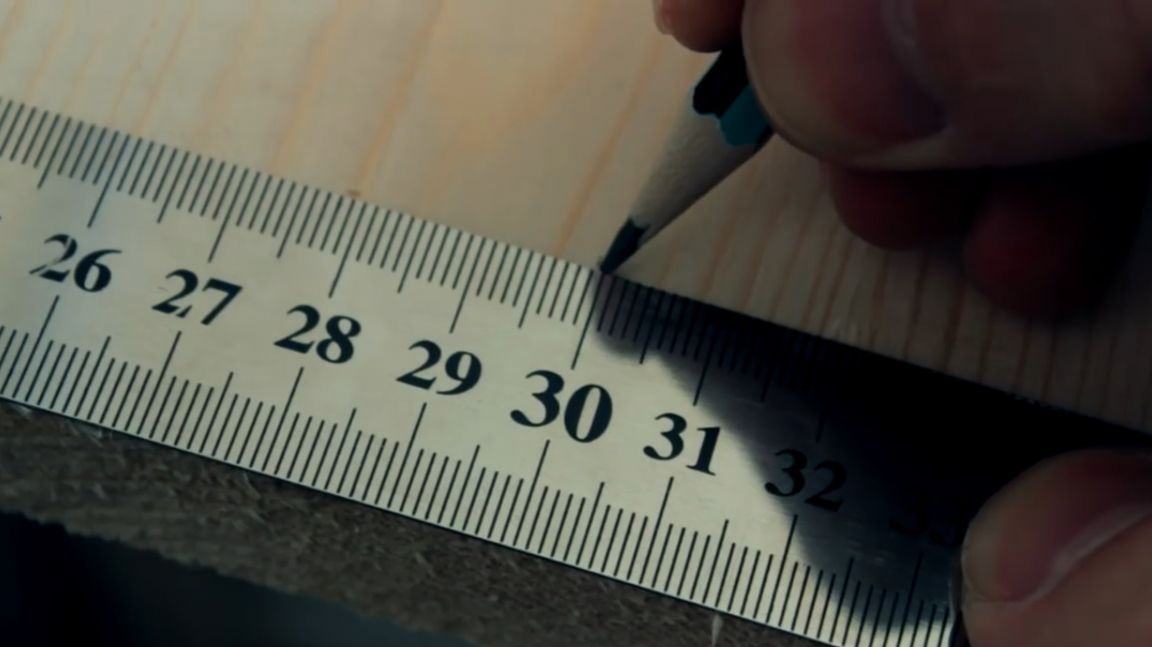
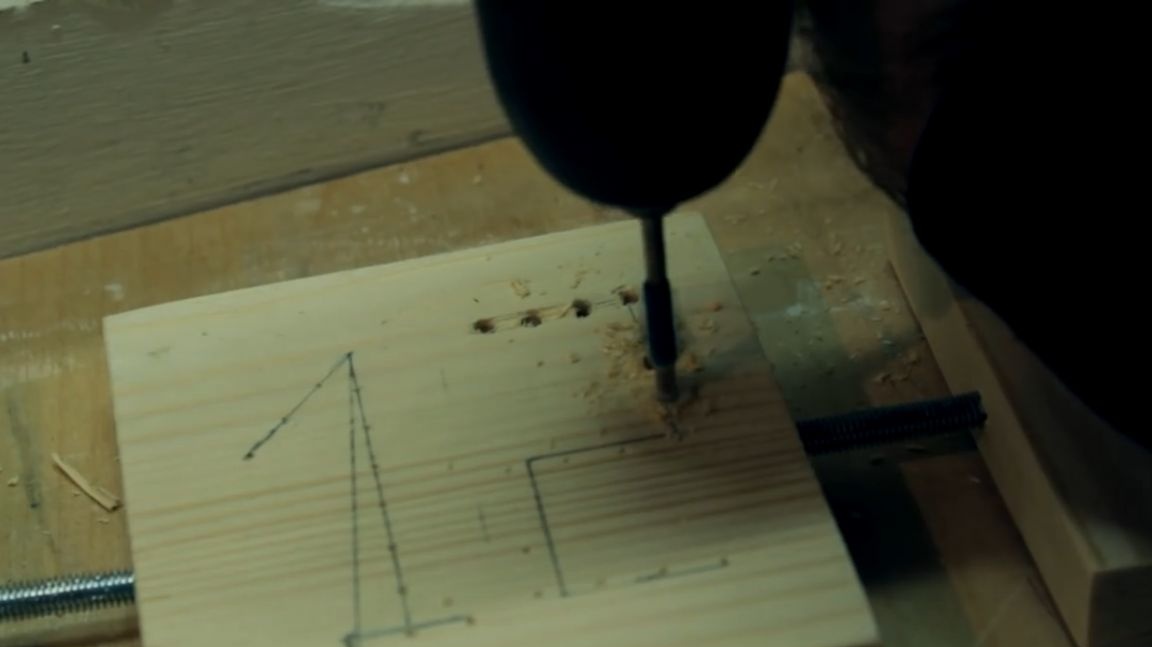
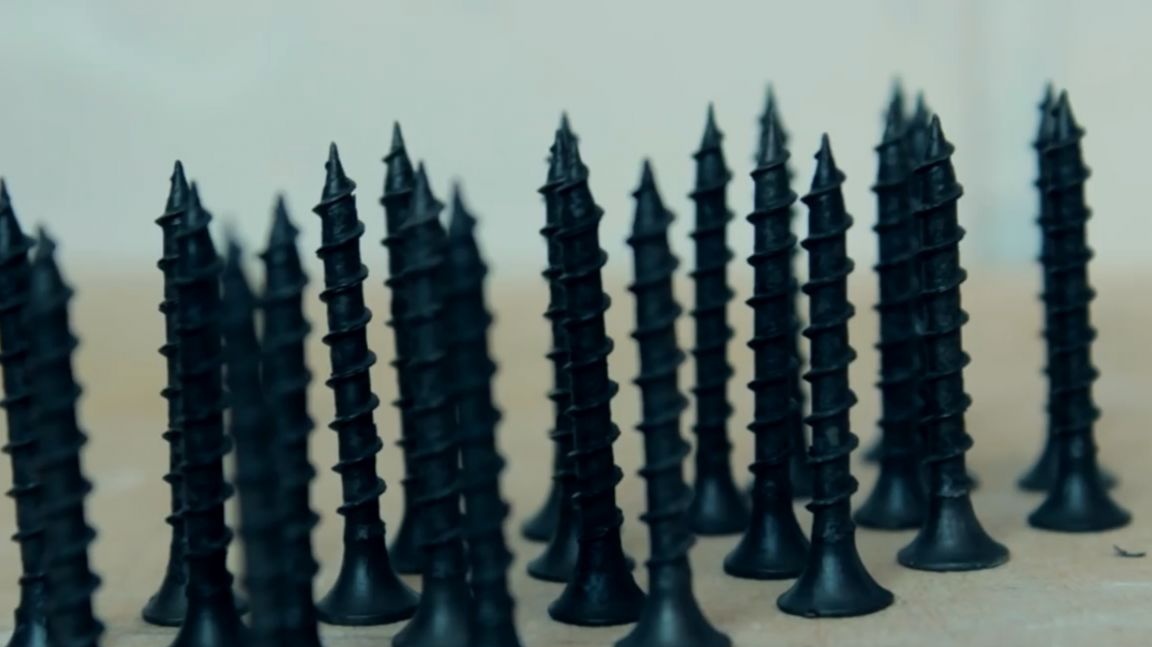
Since, according to the author’s idea, the figures will be from self-tapping screws, he measured the diameter of the self-tapping screw cap. In this case, the size was 8 mm. It is not necessary to place self-tapping screws in a tight one, so we add another 1 mm on each side to the 8 mm diameter of the self-tapping head. As a result, we get a distance equal to 10 mm.
Further, the author fixed the caliper to a position of 1 cm and thus applied markings, which turned out to be almost ideal in principle. According to the marked marks, he drilled holes with a diameter of 3.3 mm to a depth of the middle of the countertop.
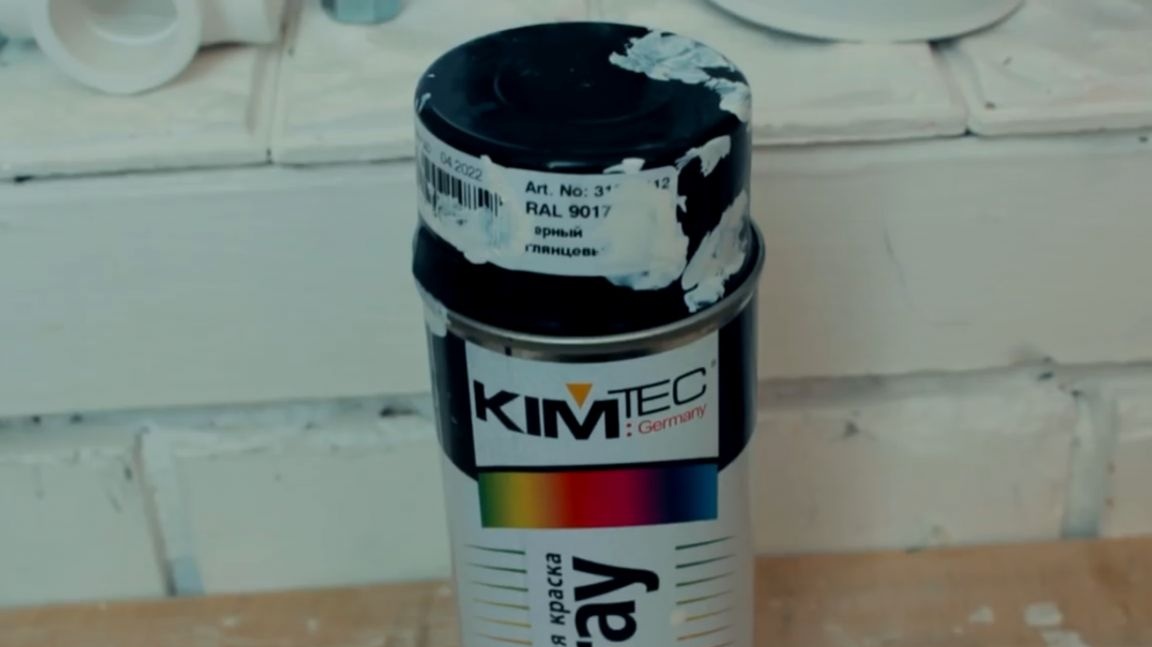
Having finished drilling holes for all self-tapping screws, the author applied a base layer of black glossy paint.
Further, with the help of masking tape, he protected the studs, as he decided to leave them black and thereby give the product an additional contrast.
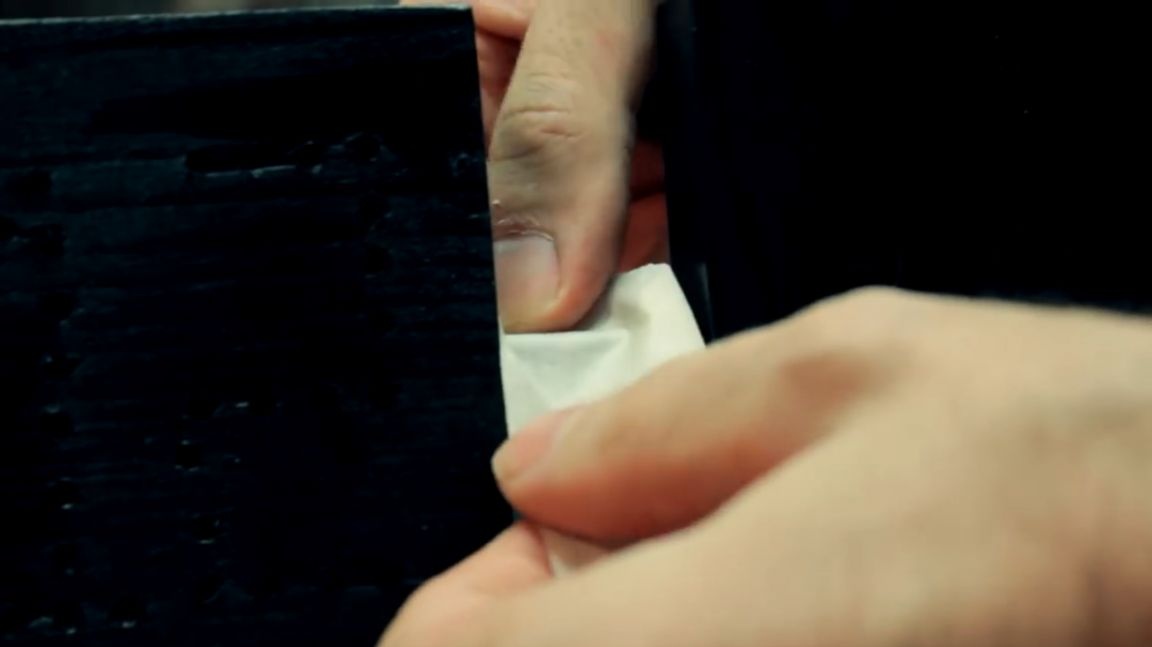
On top of the base black layer, a white craquelure layer of paint was applied, which did not appear as intensely as I wanted. The thing is that the base coat would have to be applied two or even three times to a wooden surface.


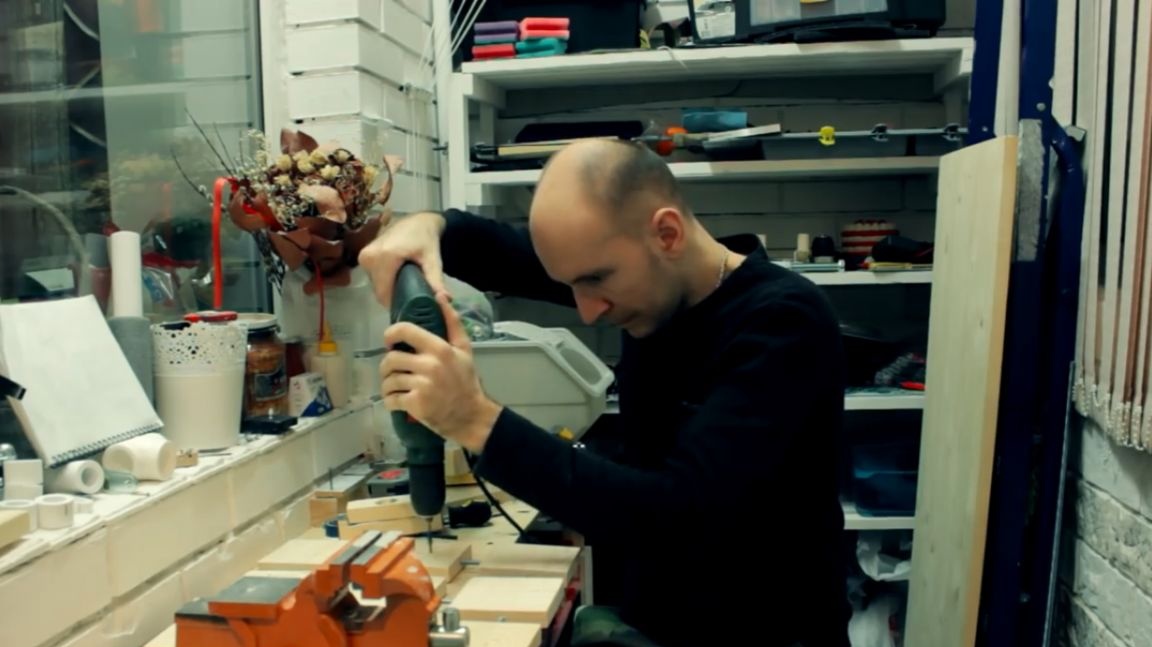
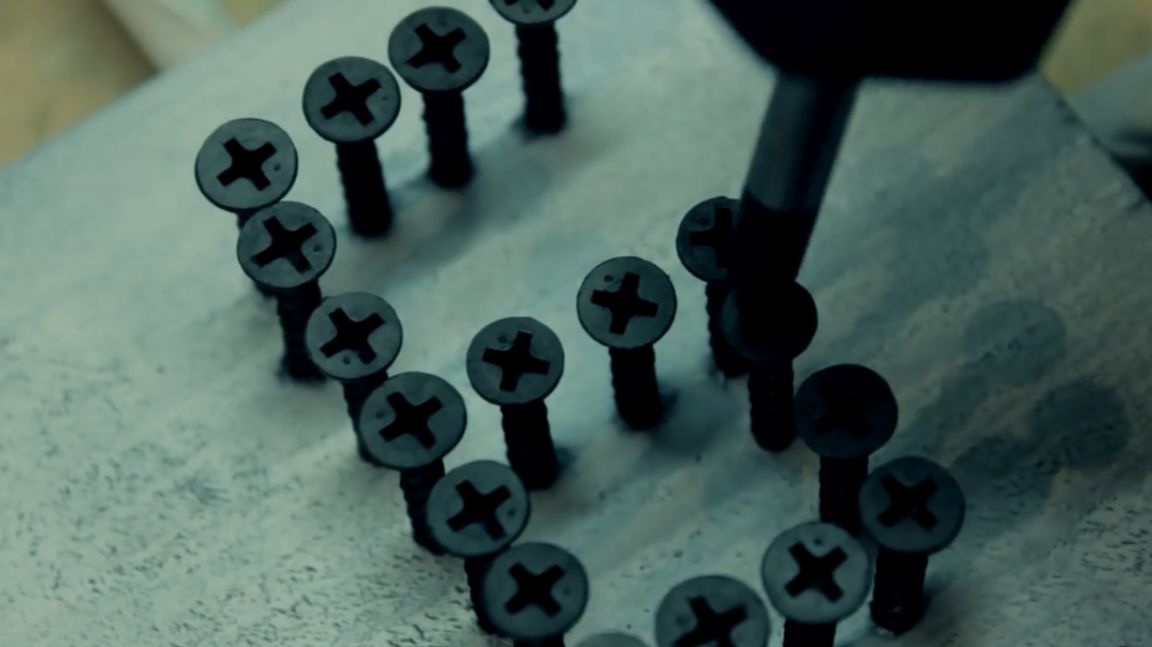
After that, we screw our screws with a screwdriver or screwdriver. Self-tapping screws must be left unscrewed by about half. If you will do this with a screwdriver, act extremely carefully.
At this very stage, beautiful numbers are already beginning to appear. To give aesthetics, we equate the crosses of the hats of self-tapping screws.
The final stage of our coating will be colorless acrylic varnish.

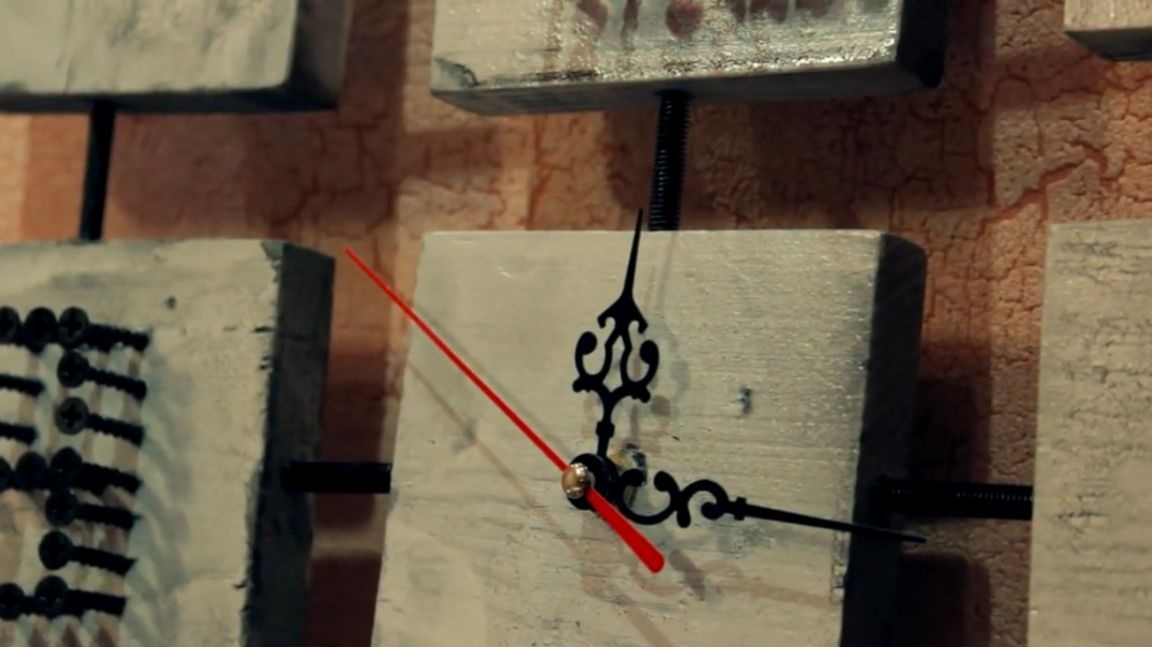
After applying the varnish, install the clockwork in the middle workpiece and fix the arrows on the back side.
At the exit, we get such cool creative watches that you definitely can’t buy in a store.
Thank you for attention. See you soon!
Video: