

Hello, friends! Very soon, summer is certainly very good, but many with the advent of this time of year have such a problem as overheating of a laptop.
It's no secret that regular cooling of a laptop does not do its job very well. This is because an ordinary fan cannot take away warm air, and it is forced under the laptop and, therefore, the laptop starts to blow warm air, which is not good.
Overheating a laptop can lead to malfunctioning, for example, freezing bugs and lags. Also, the laptop may turn off from overheating, which may not correctly affect the operation of the operating system, and it’s just unpleasant when you work on the laptop, and it turns off.
But there is a solution, you should buy a stand with active cooling. But such a stand is not cheap.
So, to help you avoid this problem, I will try to describe the assembly of the laptop stand in as much detail as possible.
For the stand we need:
1- Sewer fittings.
2- "T" shaped connectors 4 pcs.
3- "G" shaped connector 4 pcs.
4- A pair of computer fans.
5- 12V power supply
6- Connector for power supply
7- Wires.
8- Switch.
9- Ruler
10- Marker.
11- Drill.
12- Soldering iron.
13- Plastic ties.
Assembling a stand with active cooling.
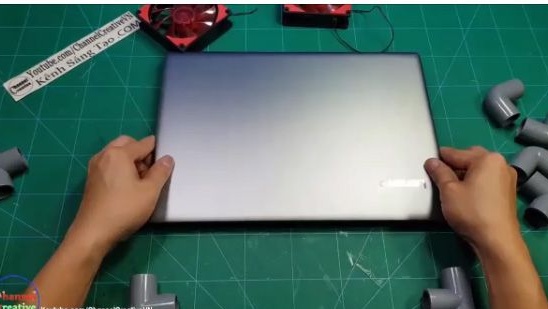
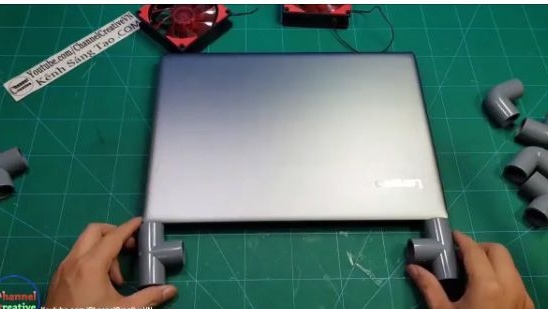
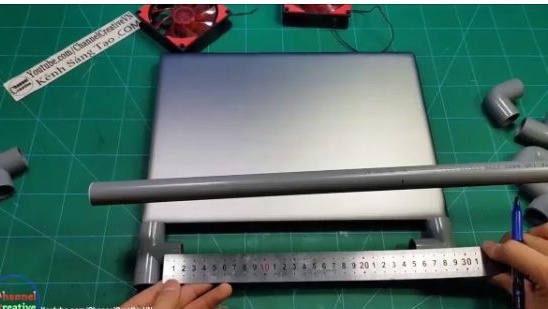
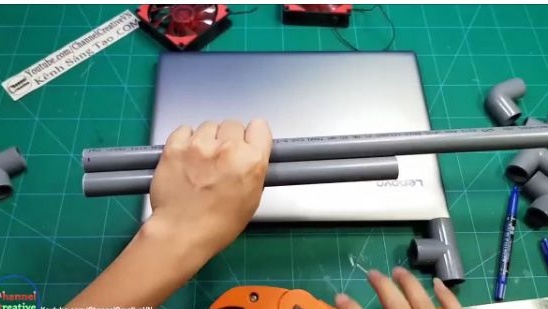
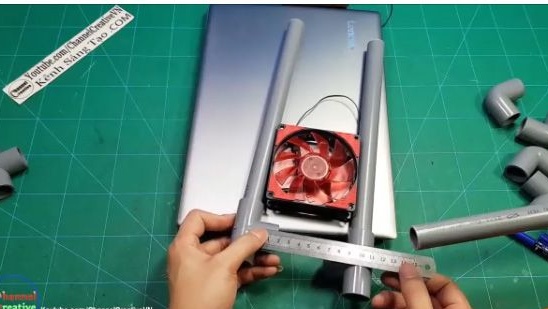
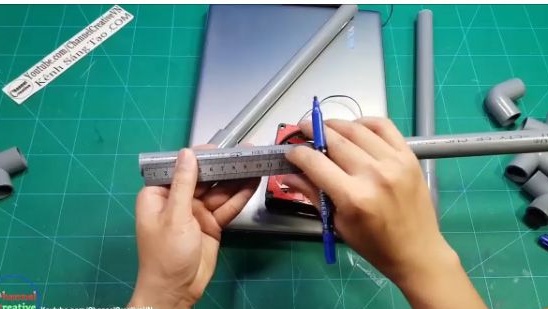
1- First, we should decide on the size of the stand, it is very easy to find out by taking your laptop. Attaching “T” shaped connectors to it in this way (see photo below).
2- Using a ruler, we find out the distance between the two connectors and transfer these dimensions to the PVC pipe. Such blanks will need 2 pcs.
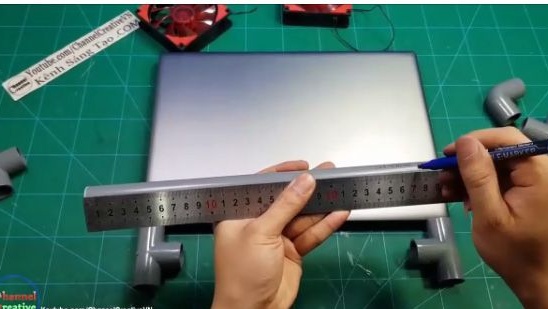
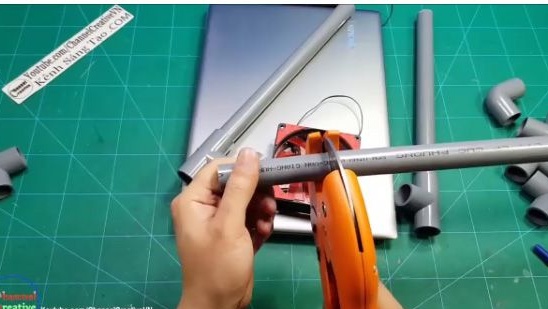
3- Crop.
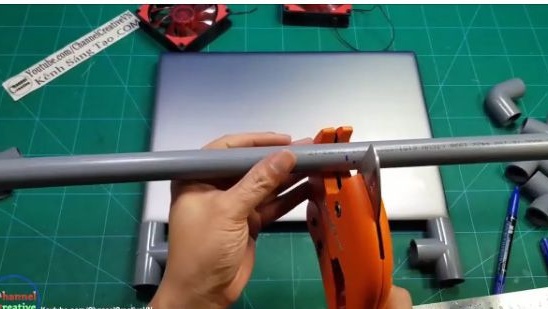
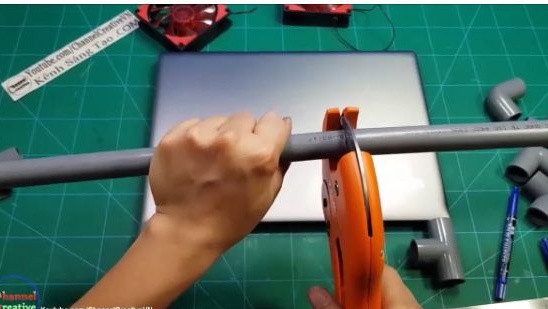
4- After which we should repeat the steps only with the fan.
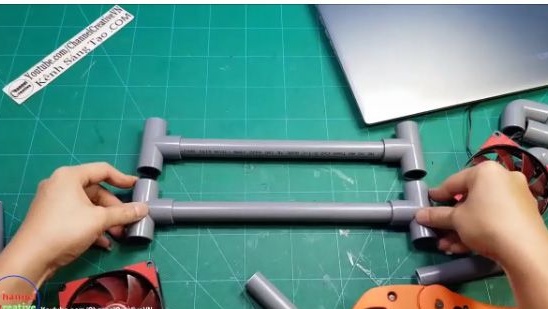
5- Then we assemble the structure. The “T” connector is interconnected by a long pipe. As a result, we should get a design similar to "H".
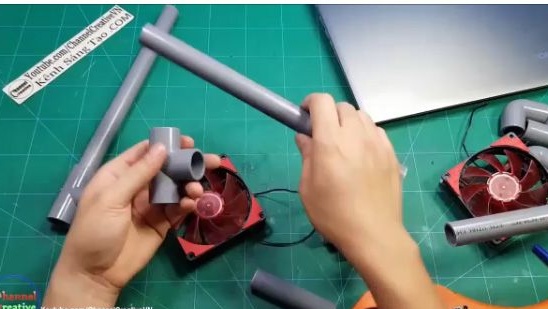
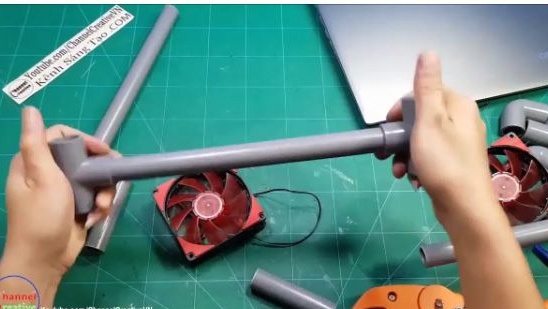
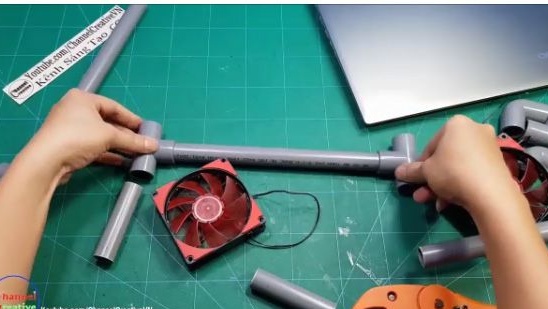
6- Repeat the above steps.
7- About these two blanks we should get (see photo below).
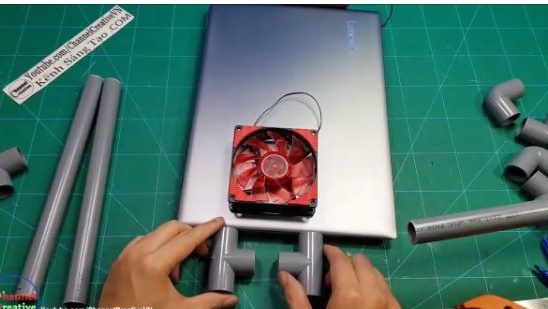
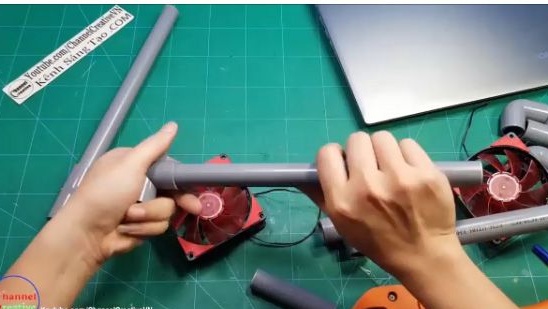
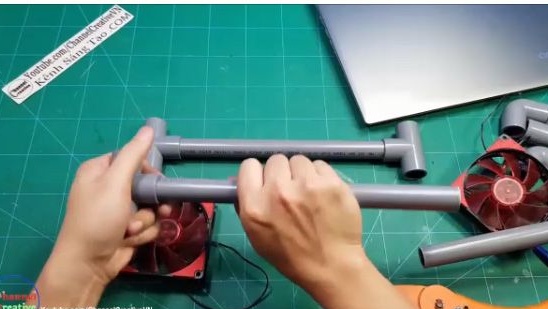
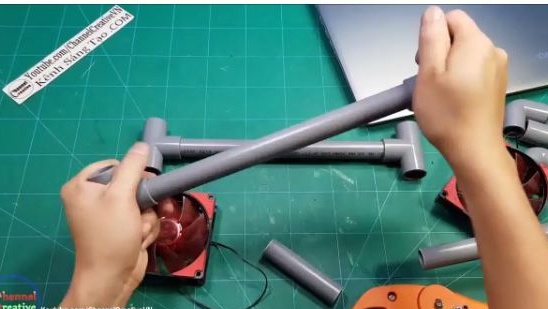
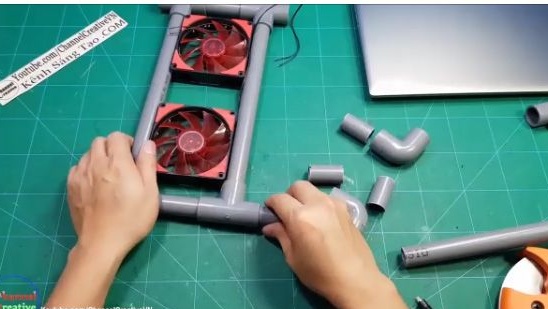
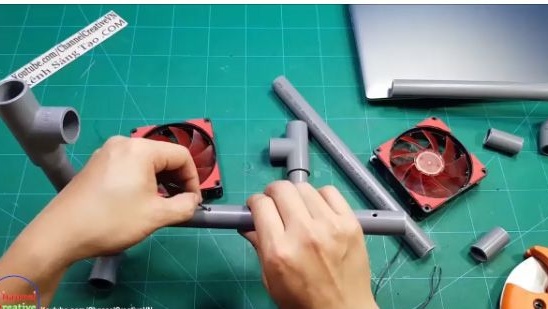
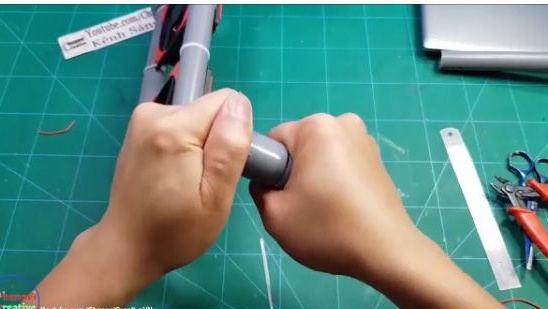
8- After which we should connect the two newly made workpieces with short pipe sections.
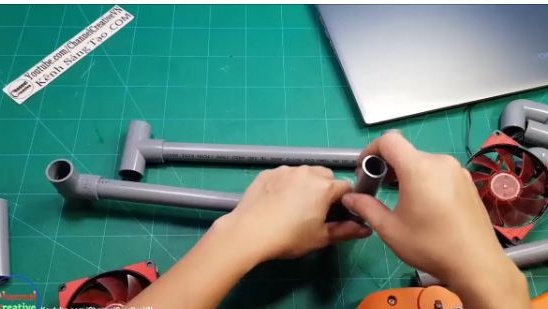
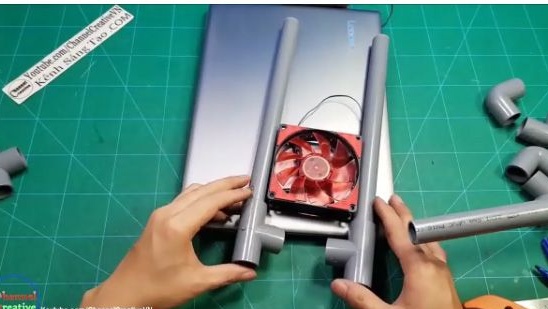
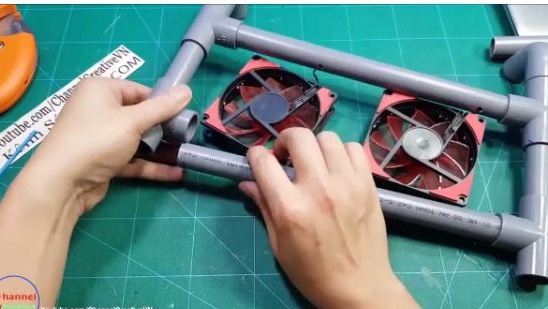
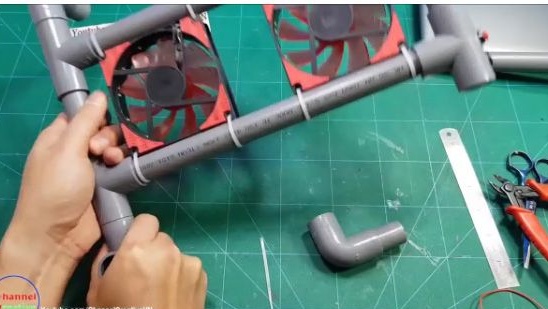
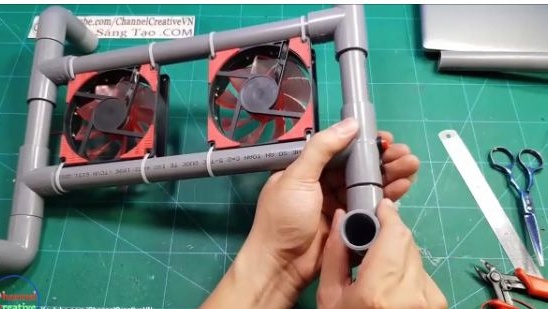
9- In the space between the workpieces, the computer fan that you use should fit and sit tightly.
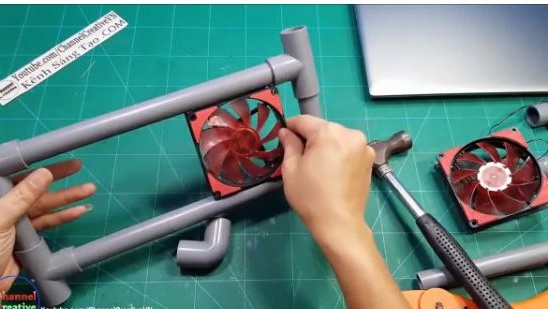
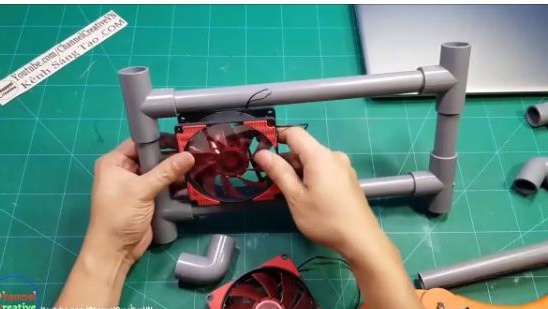
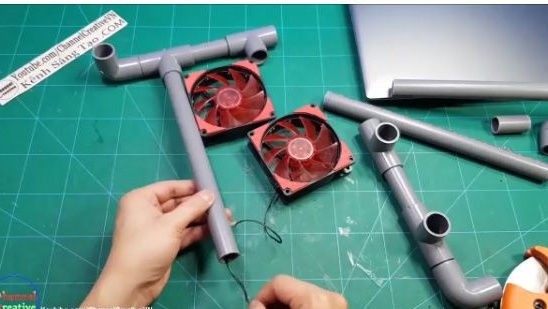
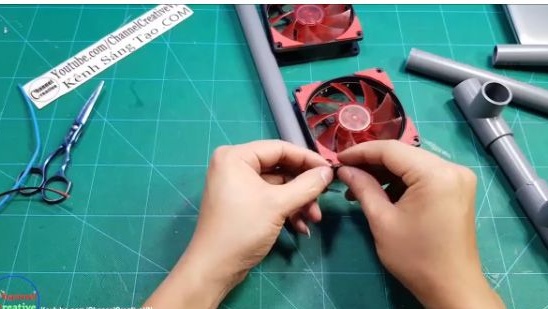
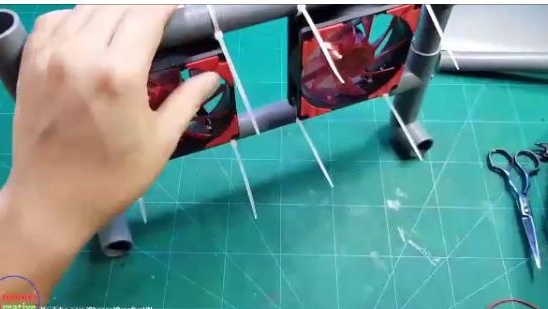
10- Then we place the computer fans on the workpiece, as this is shown in the photo below.
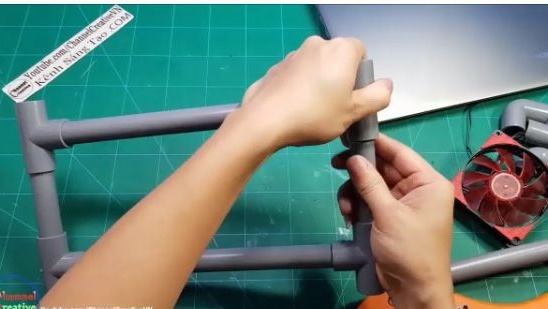
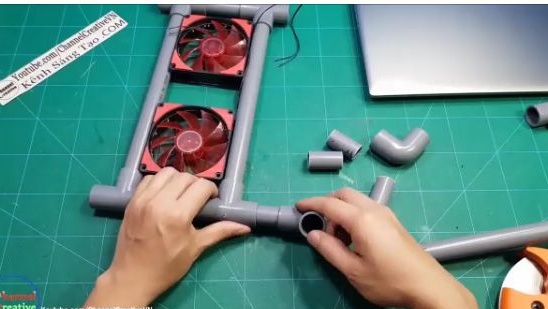
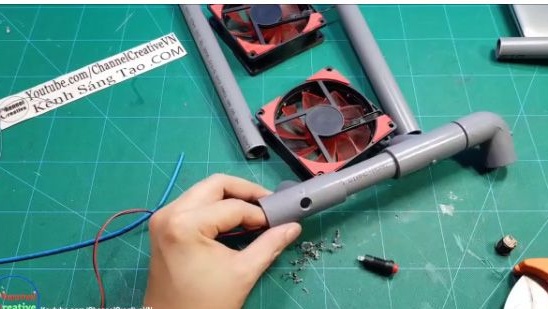
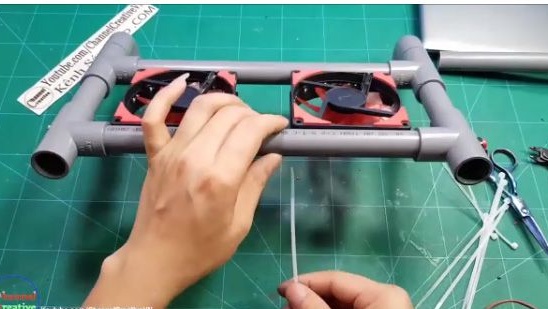
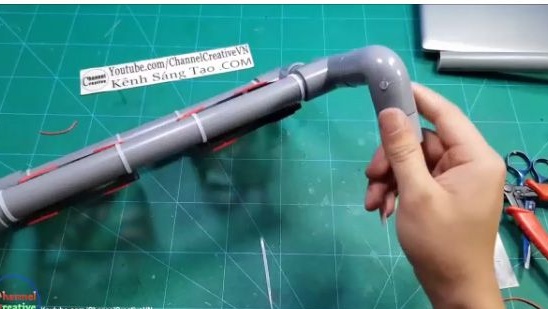
11- Next, we should make adapters for the "G" shaped connectors. On a plastic pipe of a suitable diameter, we mark 4 marks at a distance of 4 cm from each other.
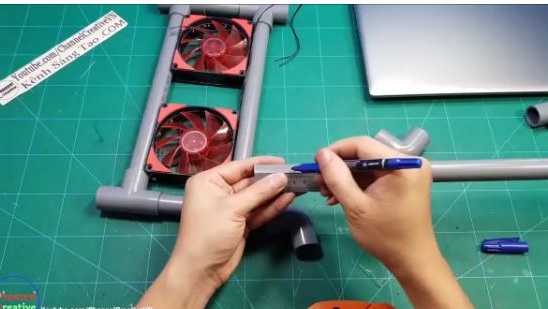
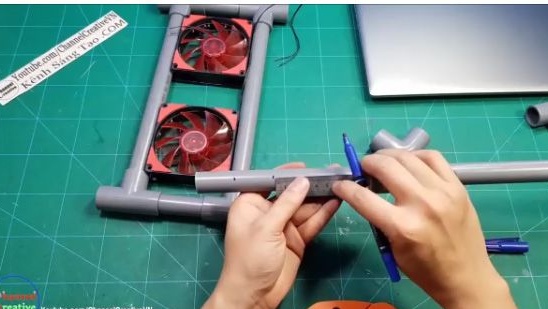
12- Crop.
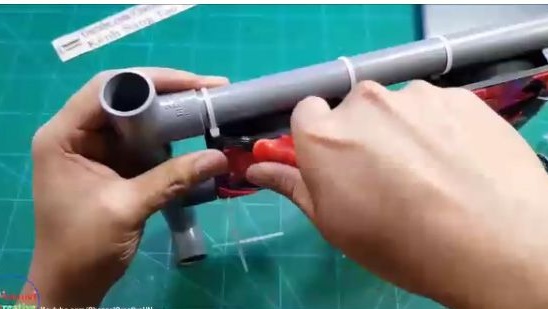
13- And insert two “G” shaped connectors, as this one is shown in the photo below.
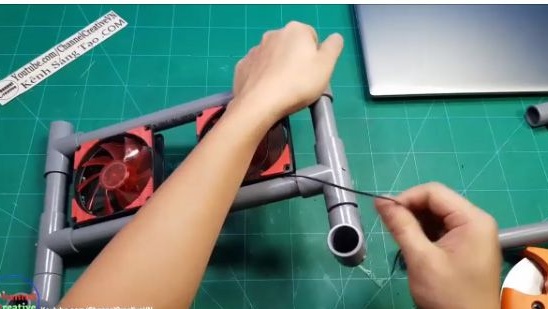
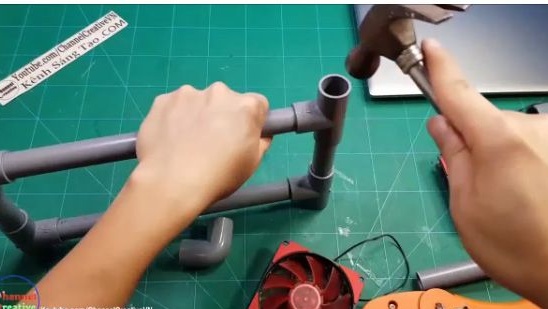
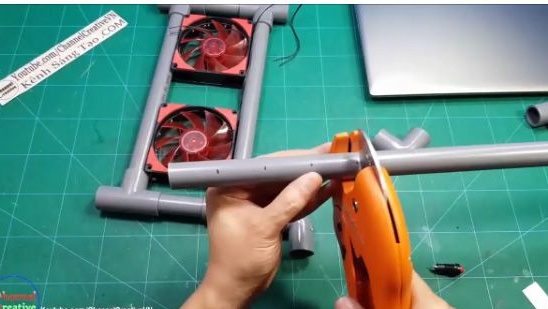
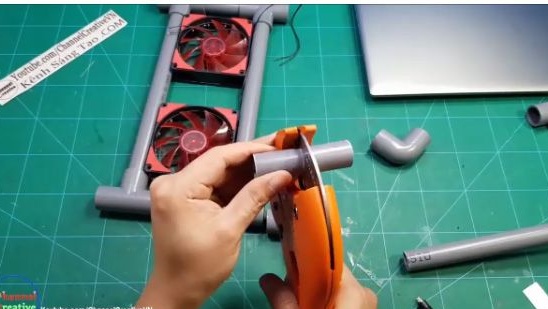
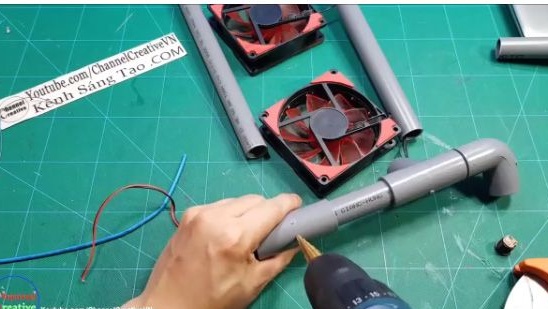
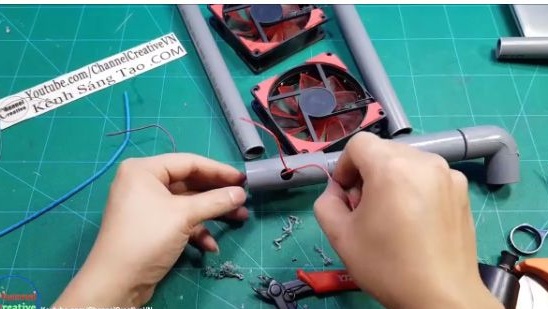
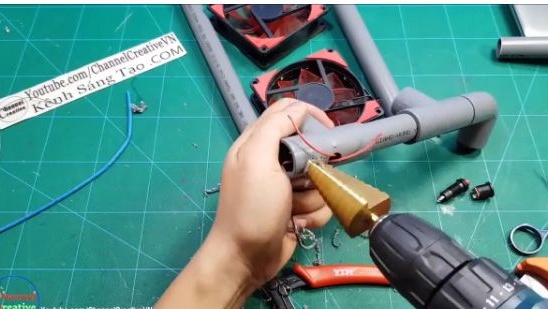
14- After which we should run the wires from the fans inside the structure. To do this, we disassemble the structure and drill through holes in the indicated places (see photo below).
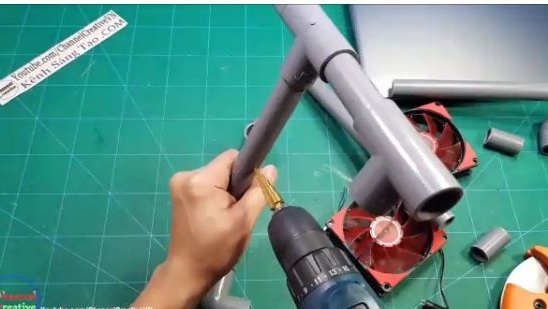
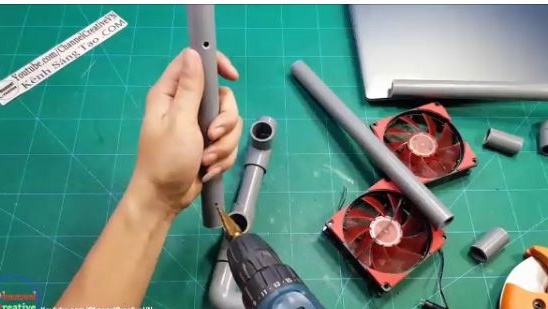
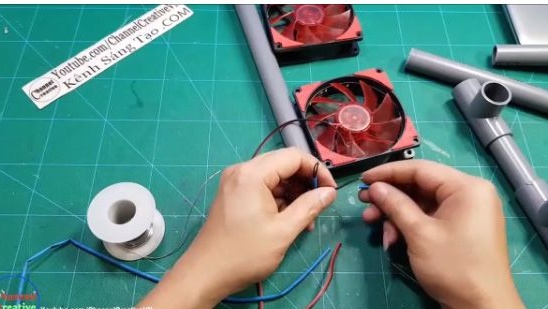
15- Poke wires.
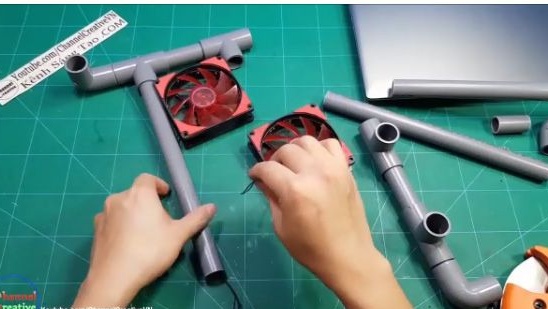
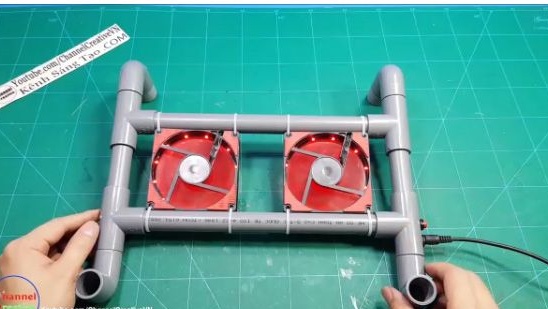
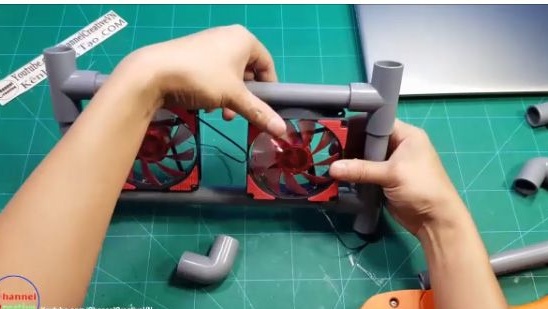
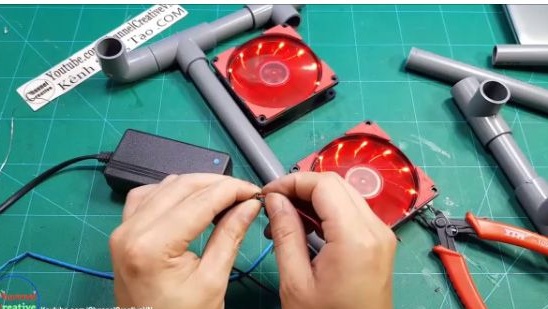
16- In parallel, connect the fans and check their performance and the direction of air flow,
by connecting to a 12V power supply.
17- After the toga, as we were convinced of the operability and direction of the air flow, continue assembly.
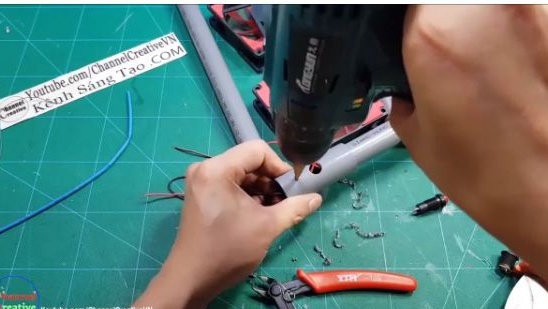
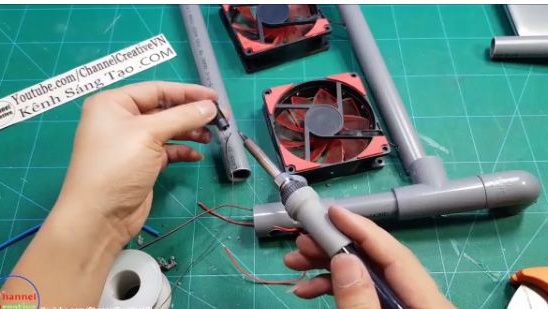
18- We drill a hole for the switch and poke wires.
19- We also drill a hole under the connector for the power supply and poke wires.
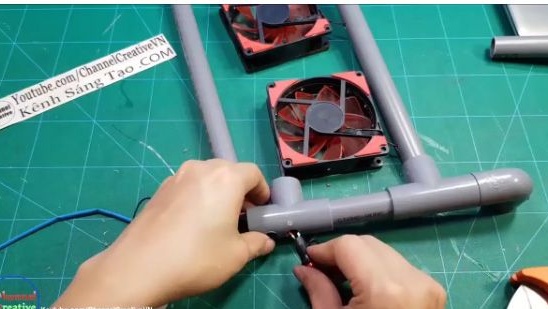
20- First, solder the wires to the switch.
21- And install the switch in its place.
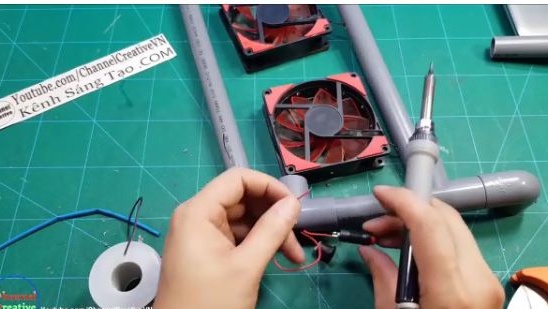
22- Then refrain the wire to the power supply connector.
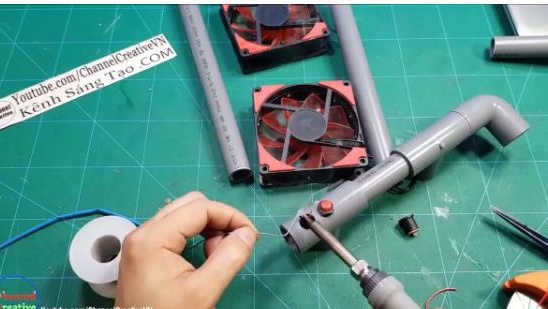
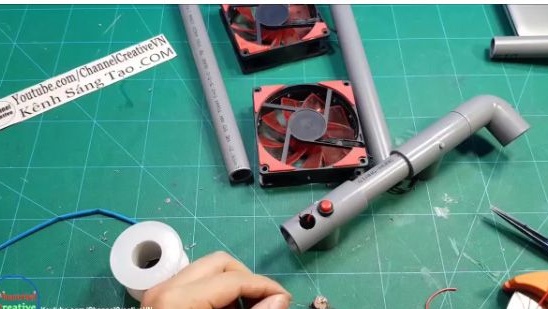
23- And install the connector in its place.
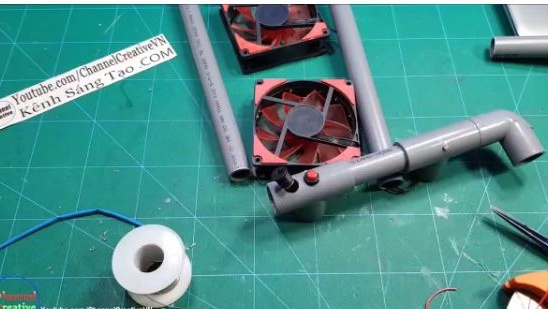
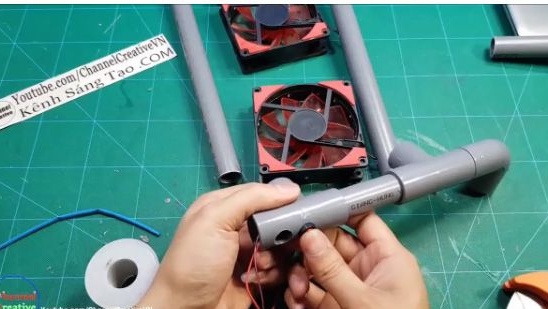
24- It should work out approximately, as it is shown in the photo below.
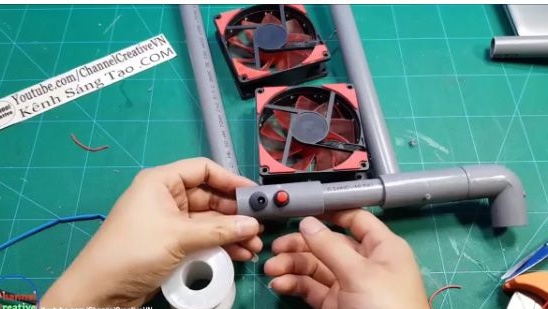
25- Again we assemble the structure.
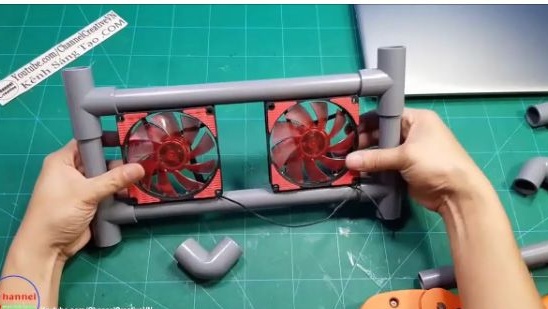
26- And then we should fix the computer fans on the case more reliably. And we will do this with plastic ties.
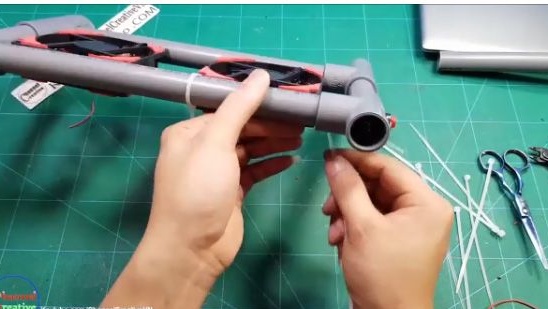
27- We cut off excess from plastic couplers.

28- Something like this should happen (see photo below).
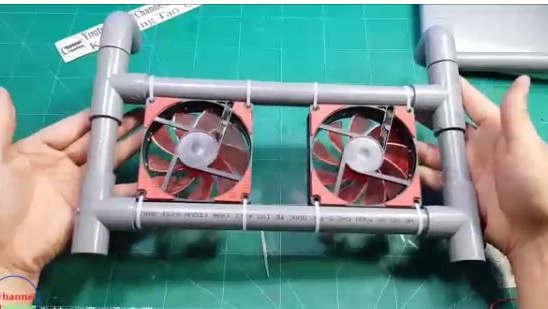
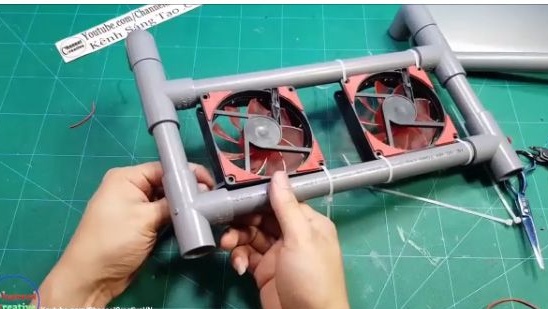
29- On the side where we installed the “G” shaped connectors, we will install plugs, they will play the role of legs, so as not to spoil your desktop.

30- After which we install "G" shaped connectors on the other side and in the opposite direction.
31- Ready!
Tests and conclusions:
.
We connect the power supply and check the performance of the structure.
As a result, we got a pretty cheap and practical homemade, which is likely to find its application. She can certainly help you on hot summer days.
Well, that's all thank you for your attention, I hope this article was not useless for you, and you also have a great opportunity to watch a video assembly of this homemade product.