
Hello to all electronics lovers. I think everyone has electronic a gadget that serves you faithfully, to which, like other portable devices, you need to recharge the battery. Usually, power supplies are included in order to charge the device’s battery, but who likes ready-made solutions when it comes to assembling a kit kit. In this article I will tell you how to assemble a power supply for your gadgets using the kit kit, a link to which is located a little below.
Before reading a detailed description of the assembly process, I suggest watching a video where the assembly steps and the test of the assembled power supply are clearly analyzed.
In order to make a power supply do it yourself, you will need:
* Kit
* Soldering iron, solder, flux
* Side cutters
* Device for soldering "third hand"
* Load for testing
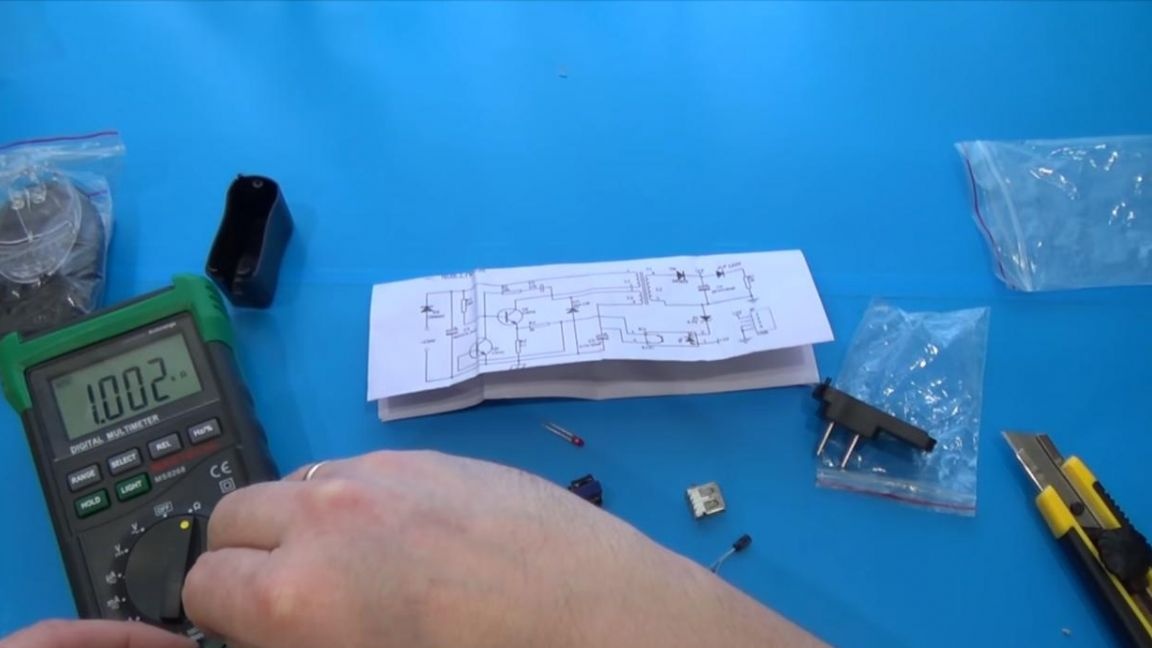
* Multimeter
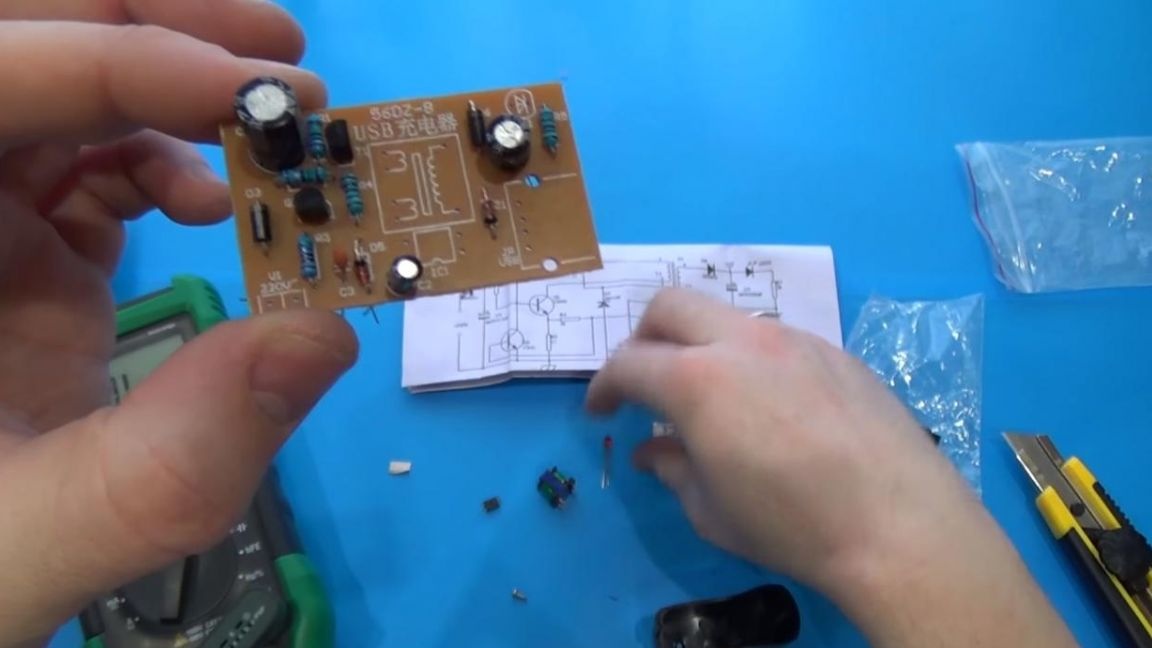
Still need such an instruction, according to which we will collect the whole scheme.


Step one.
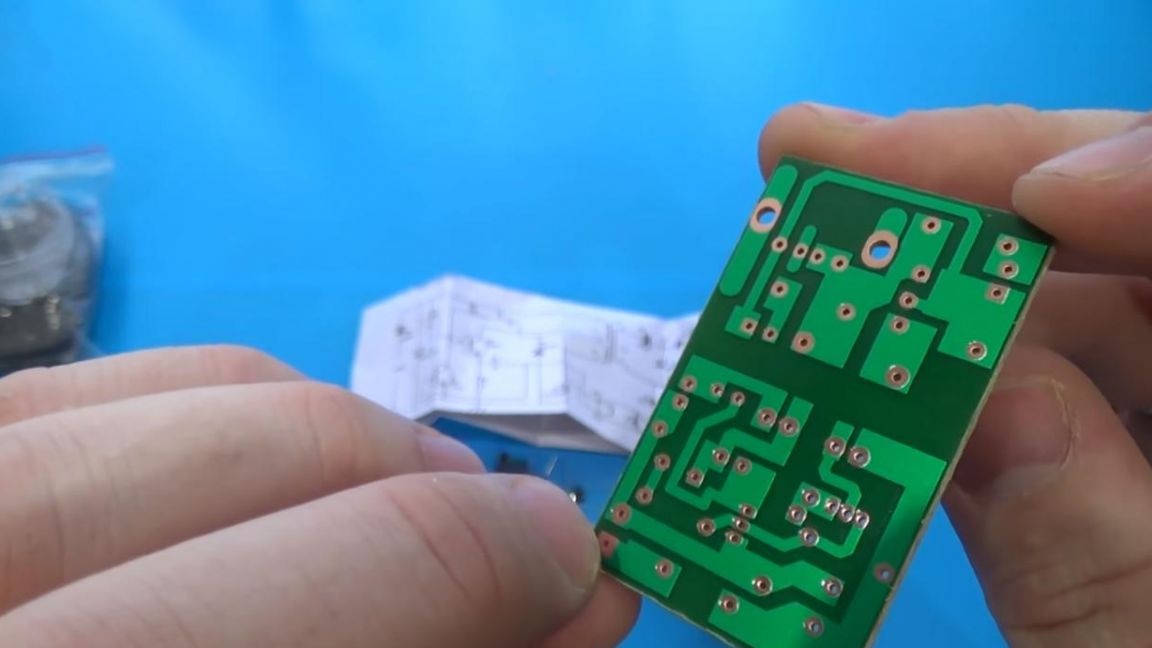
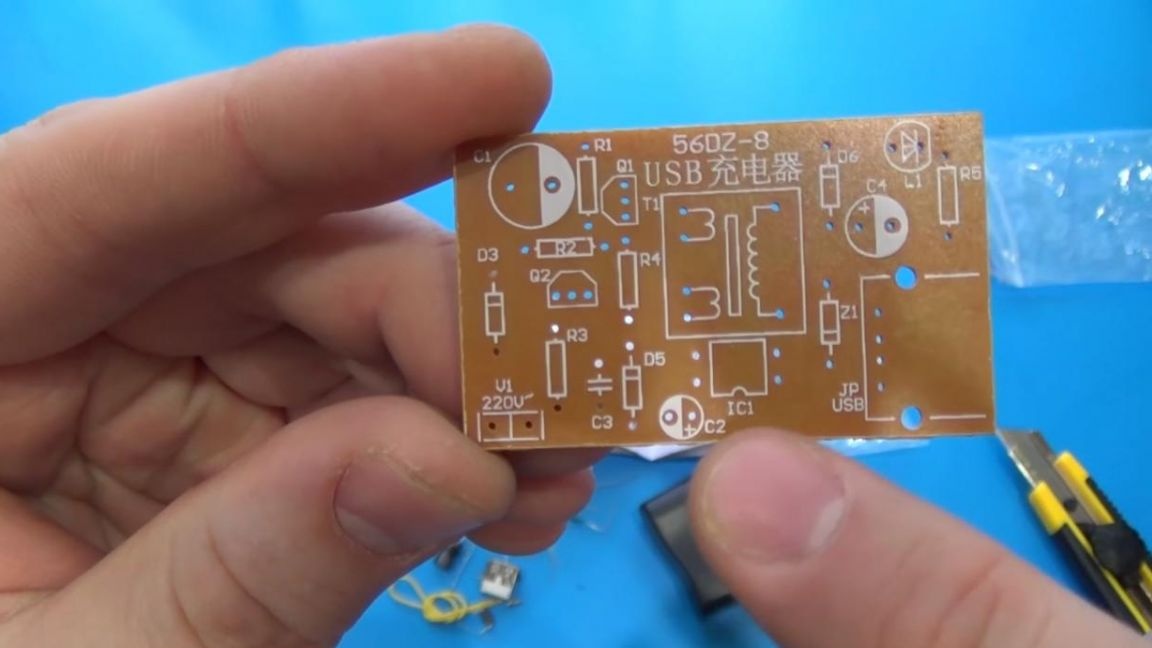
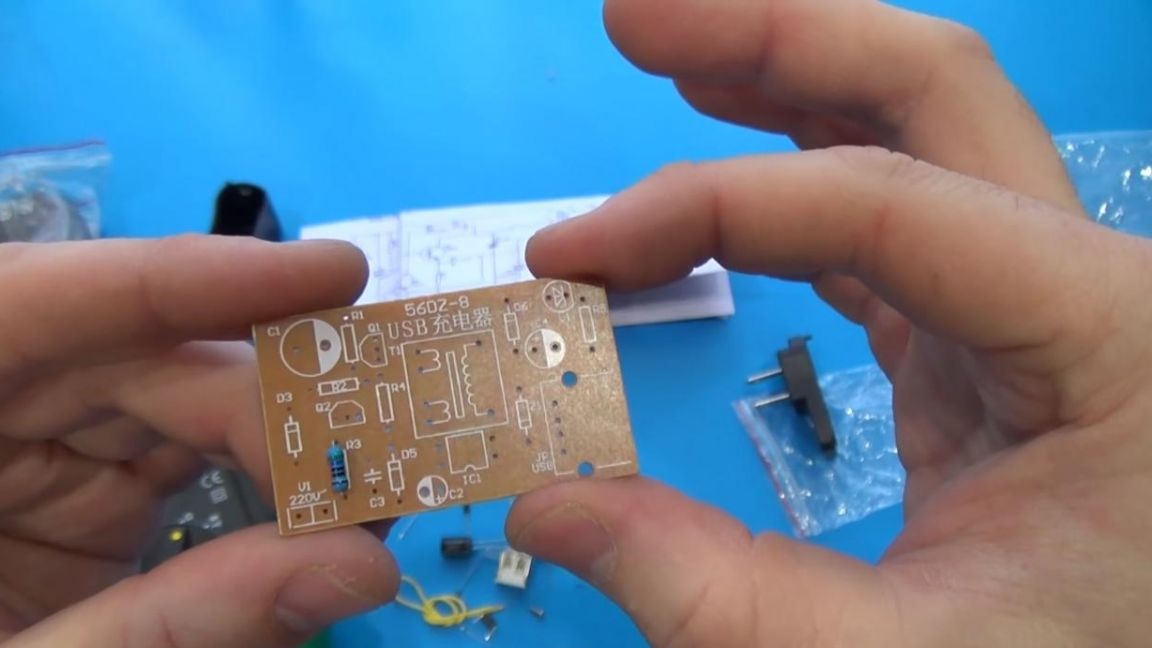
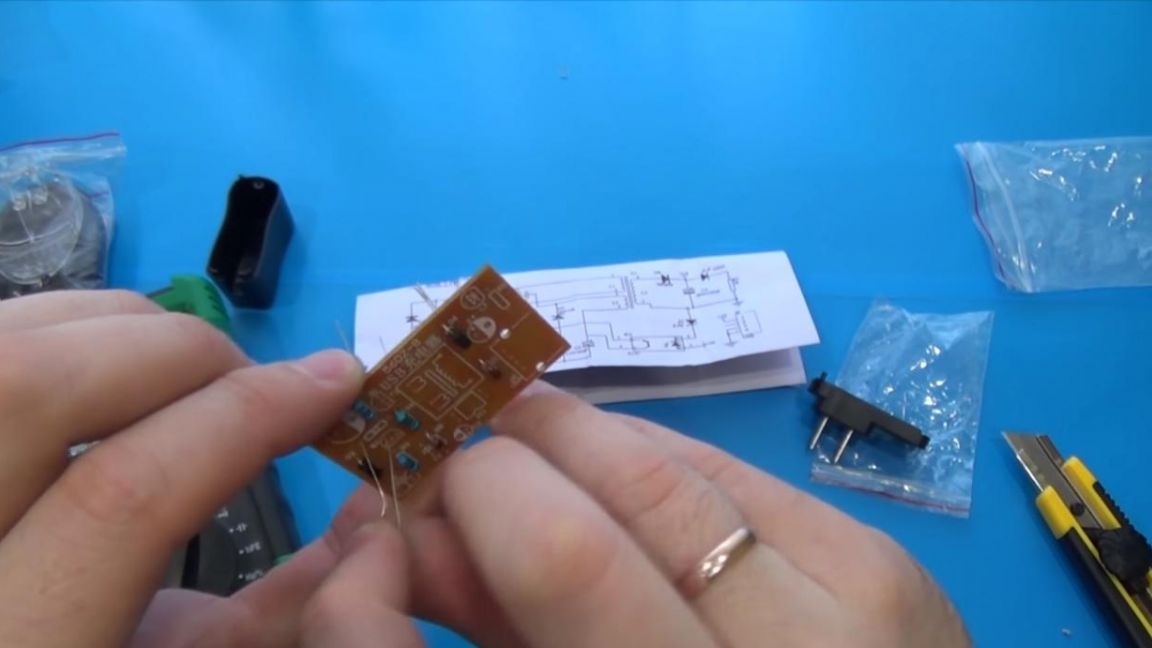
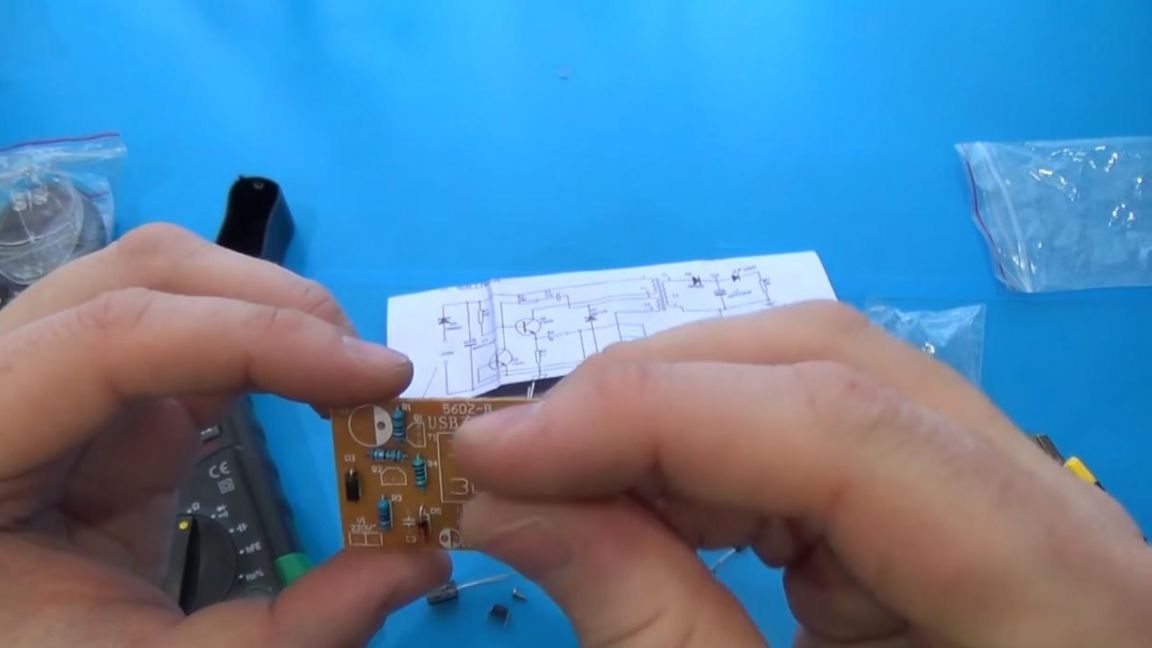
From the very beginning, you need to prepare the tool, of course this is a soldering iron, since the size of the components is small, then we also take a soldering iron smaller, a 20 watt power will be enough to make the soldering convenient and not overheat the radio components. Initially, we install components on an already finished printed circuit board, they must be arranged in the correct order, namely, following the instructions that came with the kit.
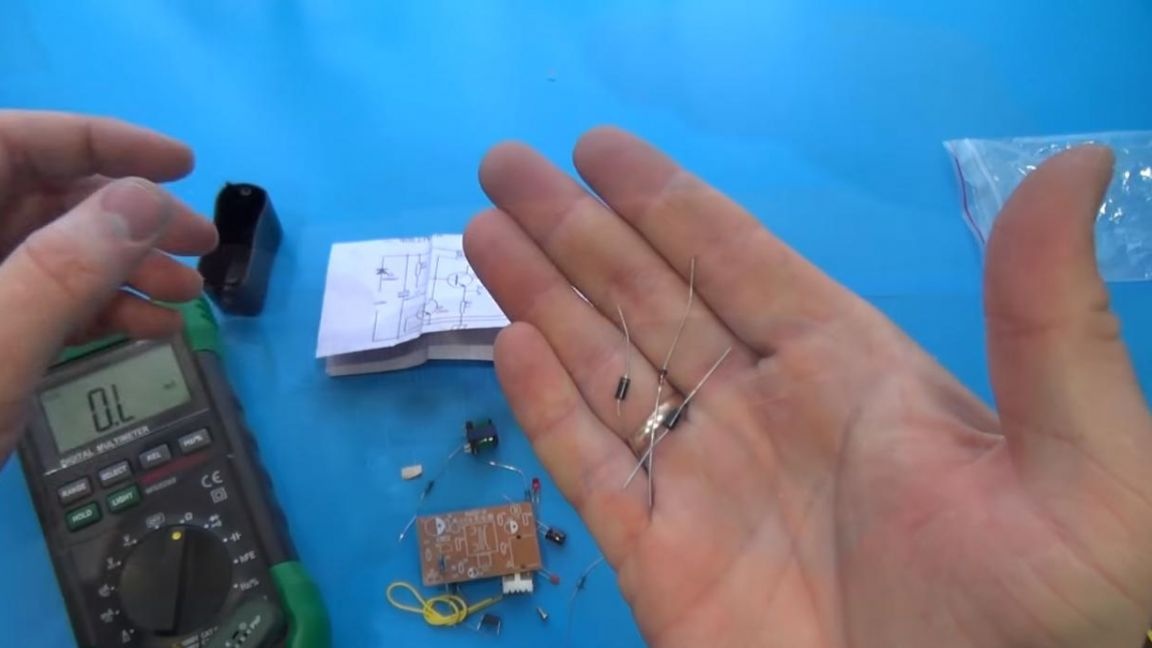
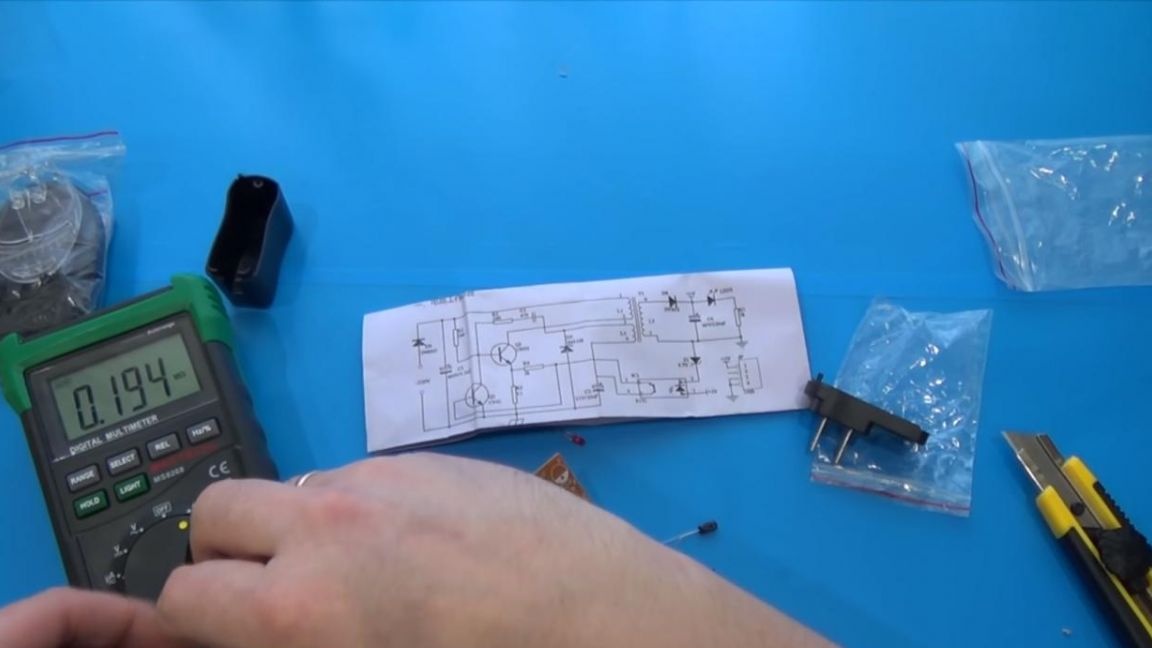
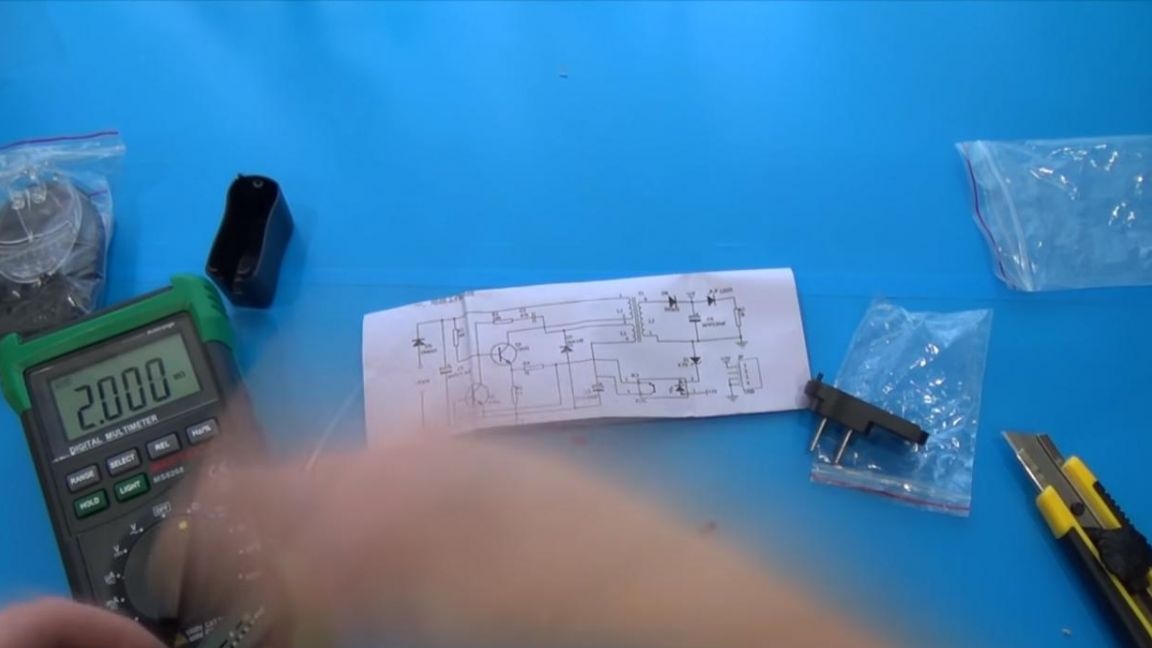
In order to determine the values of resistors, there are three ways: using a multimeter, a look-up table and a resistance calculator. The first method will be the fastest, but if you do not have a multimeter, then you can also build a circuit without it.


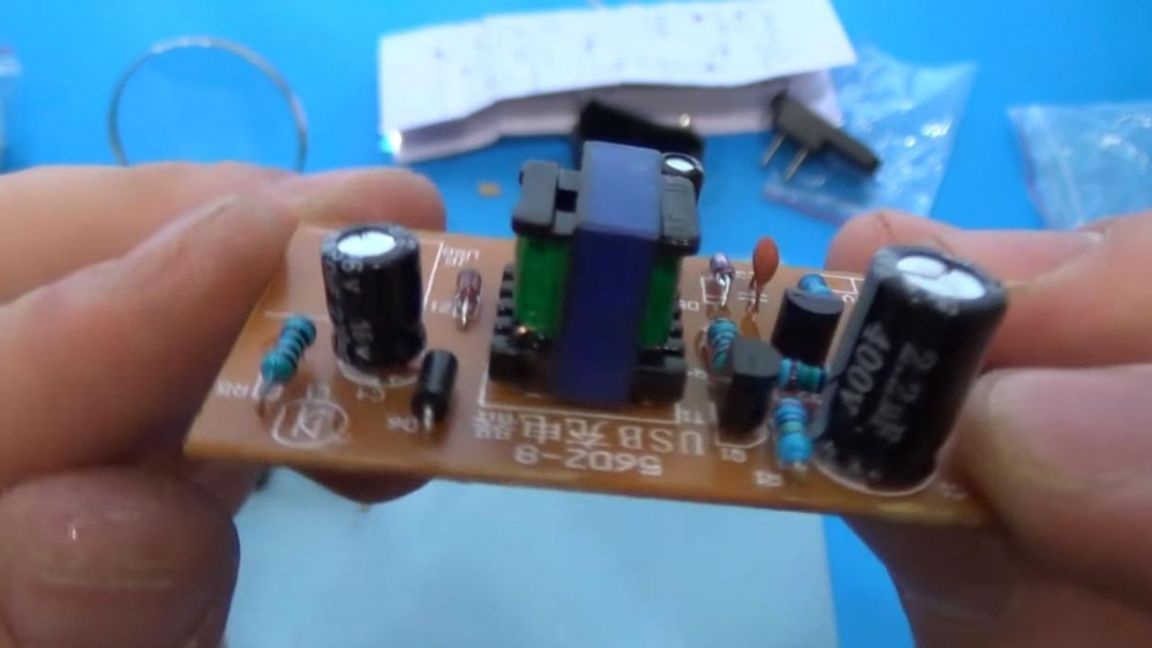
The location of the resistors on the board is horizontal, so you can bend the legs in advance in advance. It is necessary to compare the resistors according to the figure on the sheet, for example, the value of the resistor R4 according to the data in the table is 1 kOhm, and there we solder the resistor with this value, we perform similar operations with the rest of the components.

In our case, transistors also take place on the board, we install them according to the marking on the case according to the instructions.
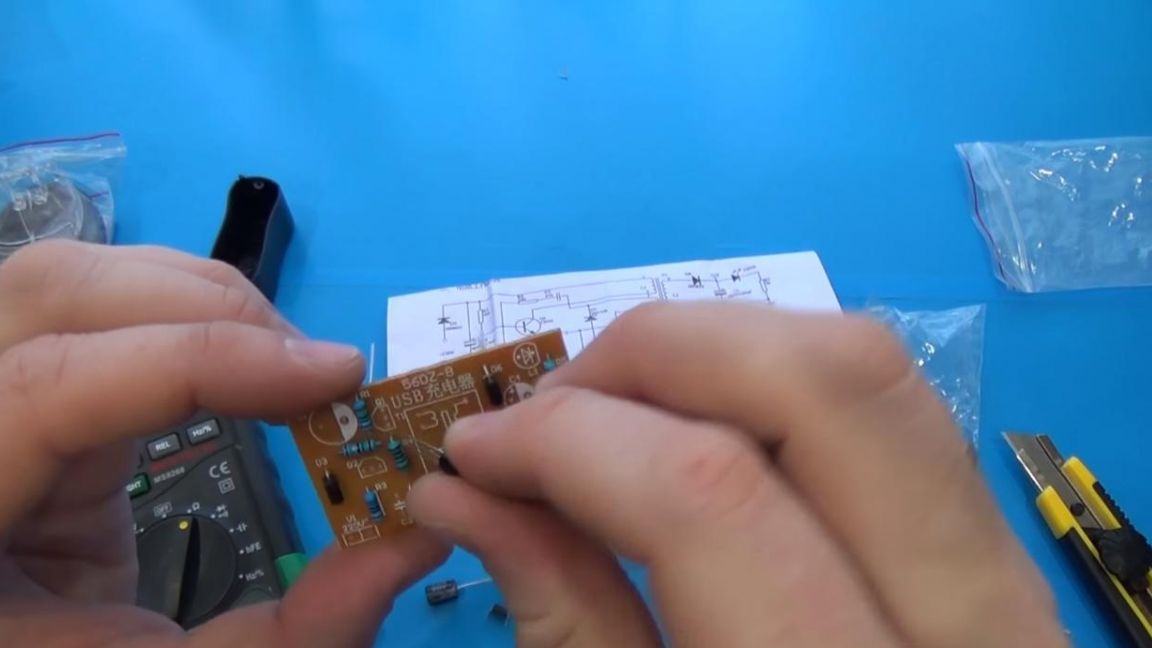
Next up are capacitors, there are three of them in this set, and their sizes are different for everyone, so it will be difficult to mix up their places, the positive contact of the capacitor is a long output, the short is minus, and the negative contact on the board is shaded in white.
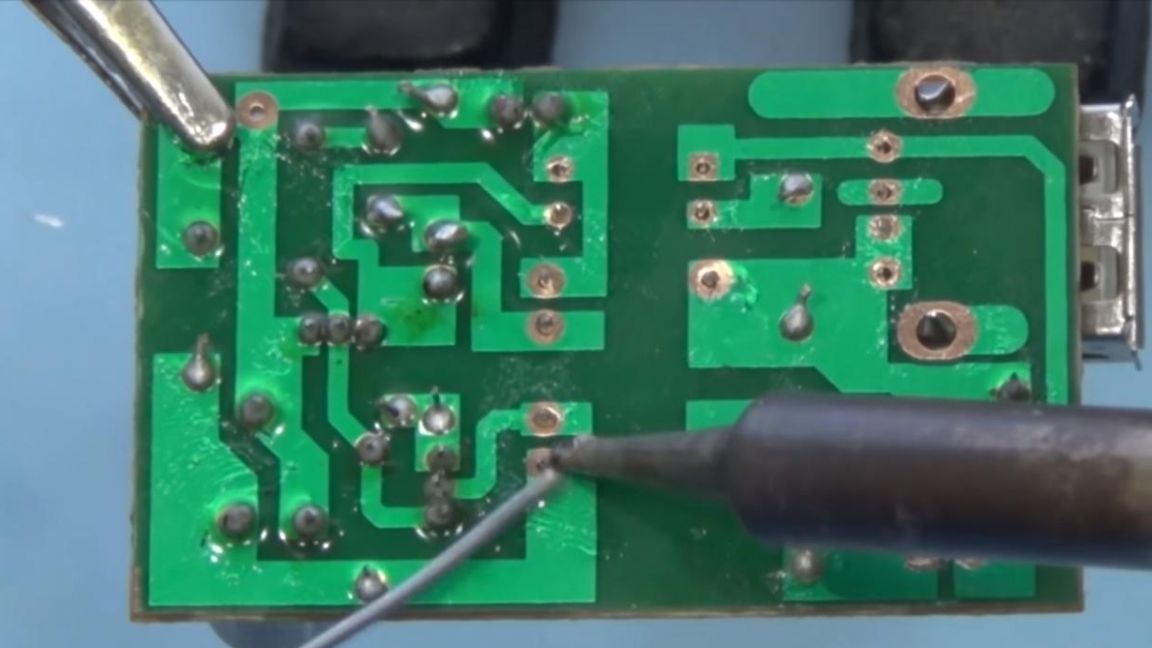
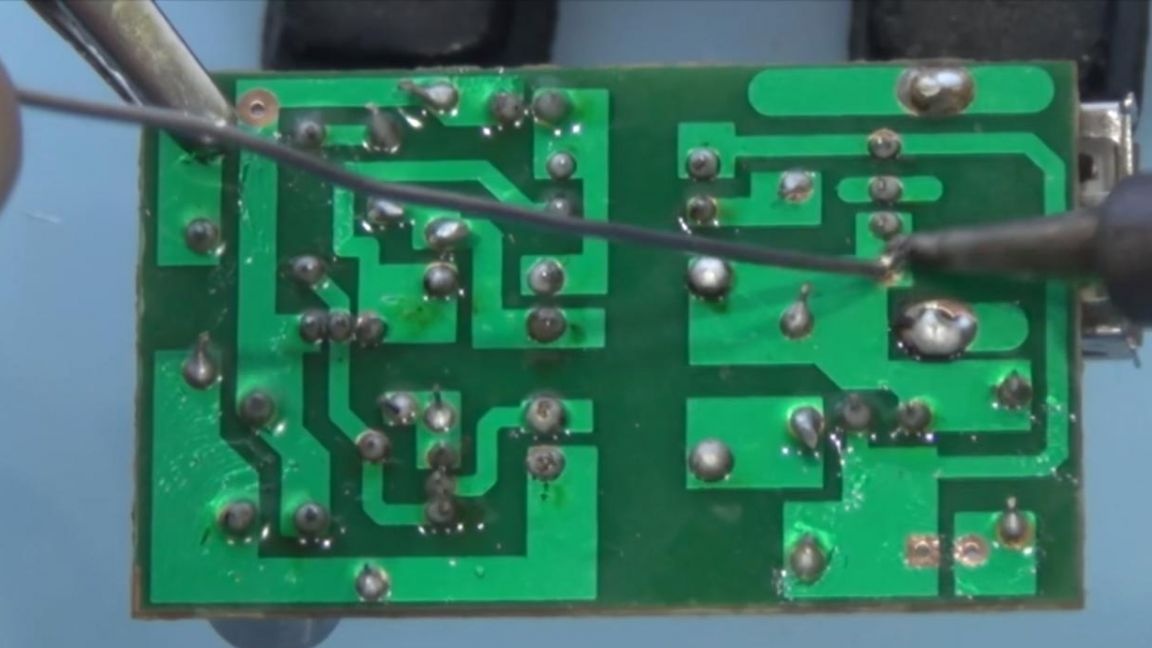
Step Two
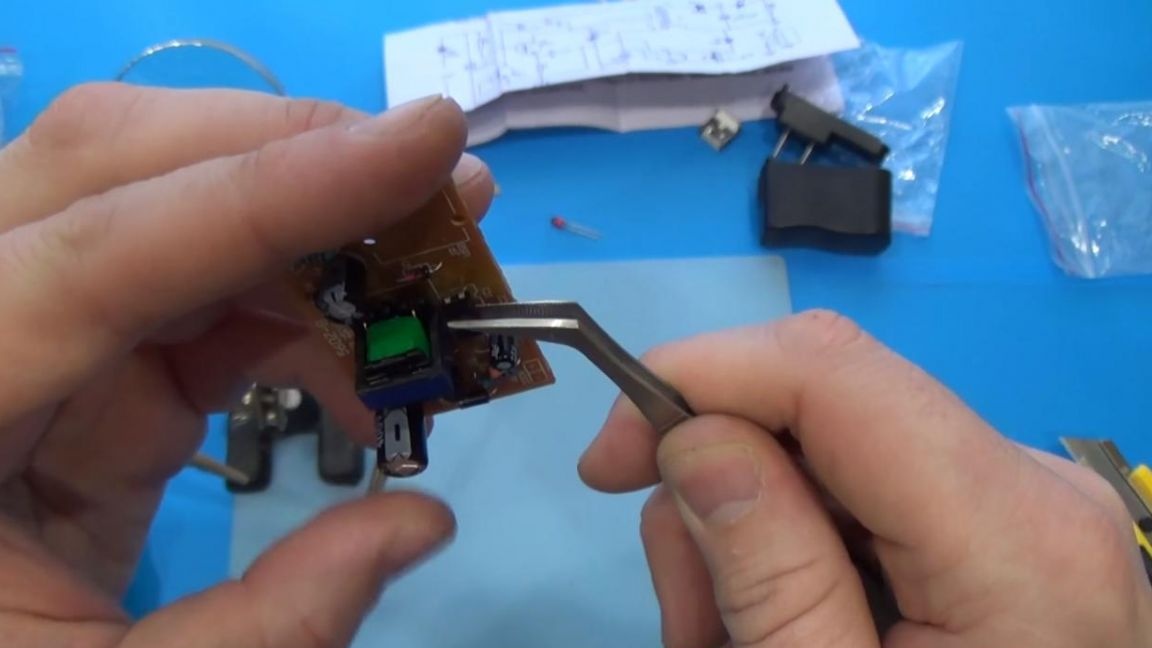
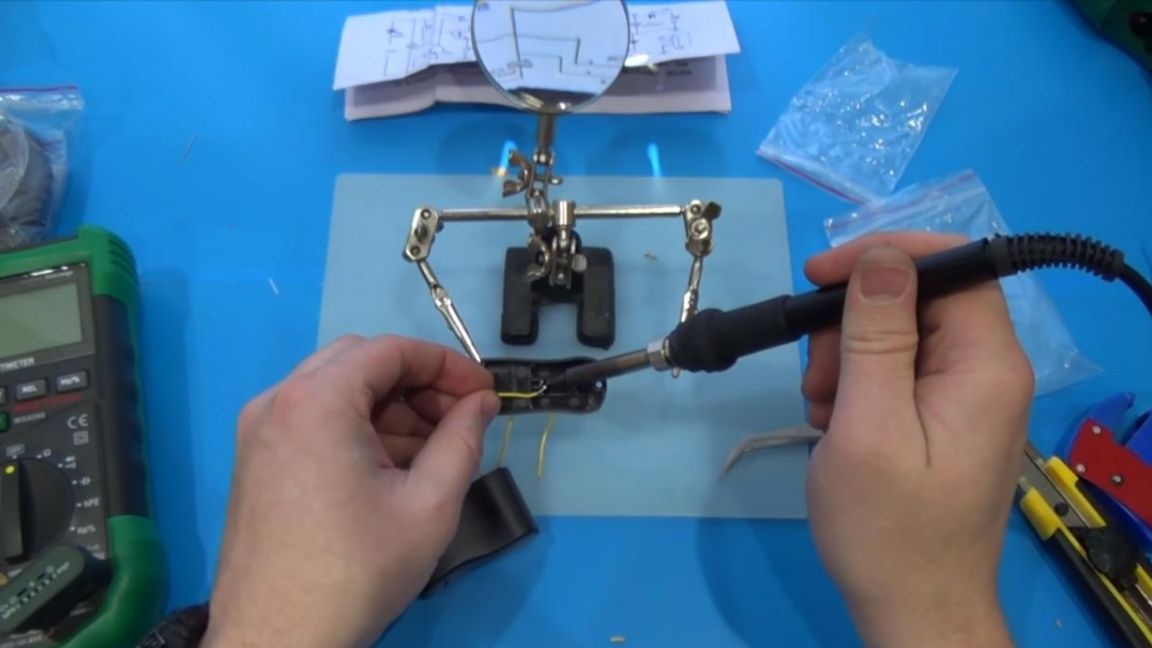
Now we clamp the board into the “crocodiles” of the “third hand”, since soldering in such a device is much more convenient than on the knees and applying flux, after which we solder each output thoroughly with a soldering iron and solder, in which case, remove excess solder.
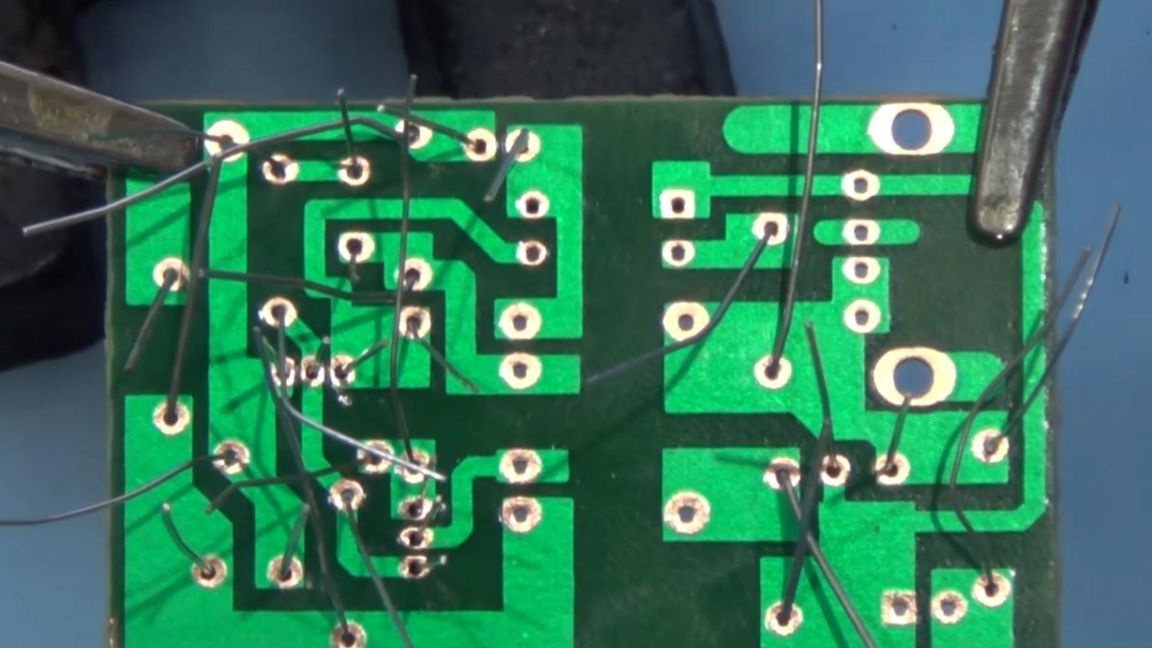
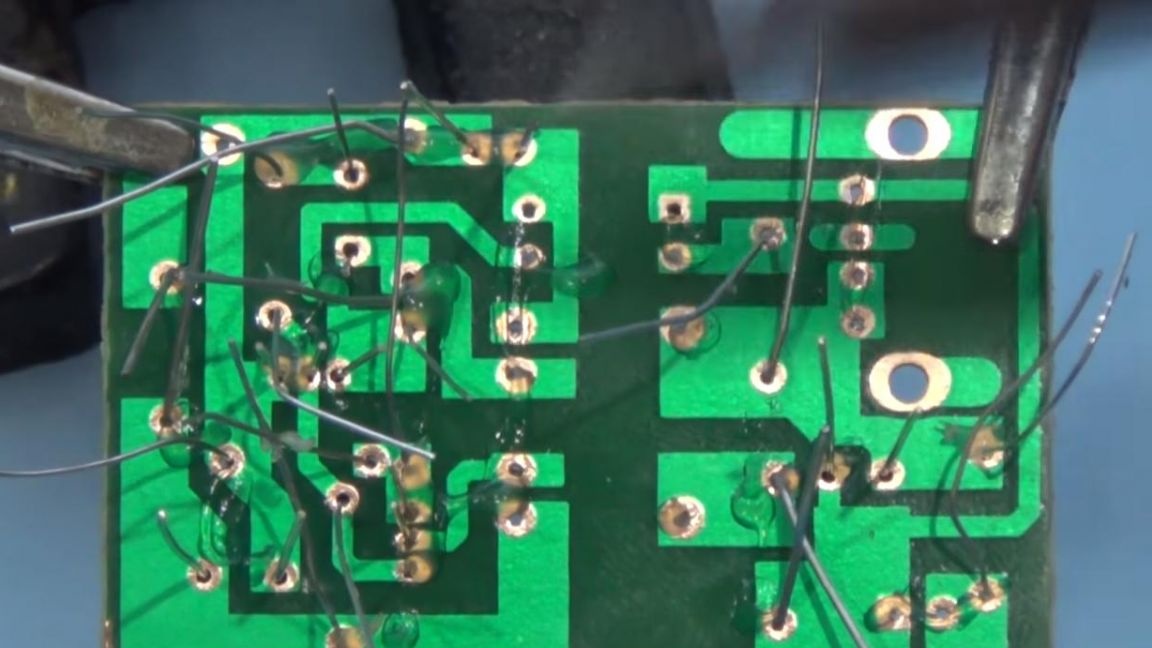
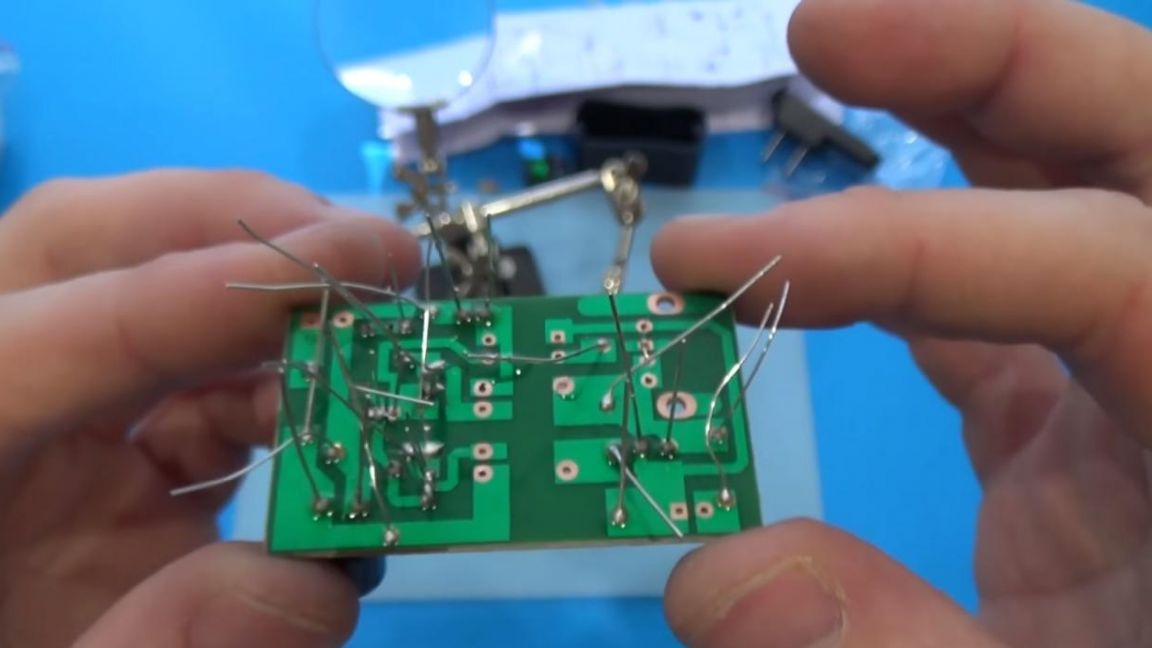
After soldering, bite off the protruding legs of the components using side cutters.
Step Three
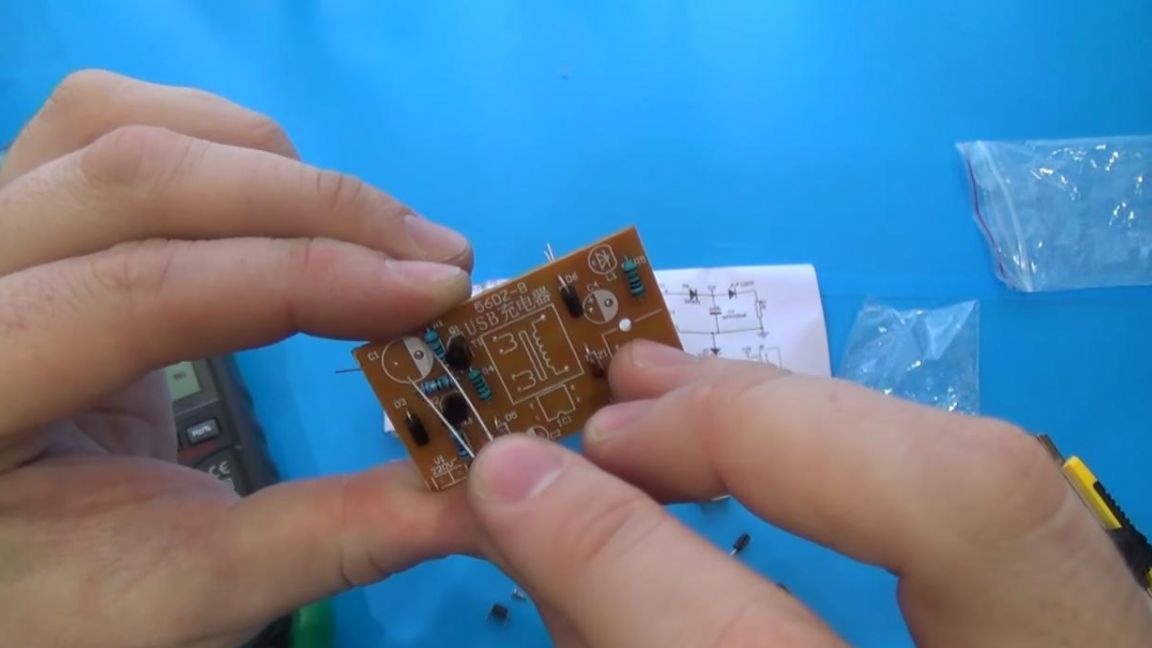
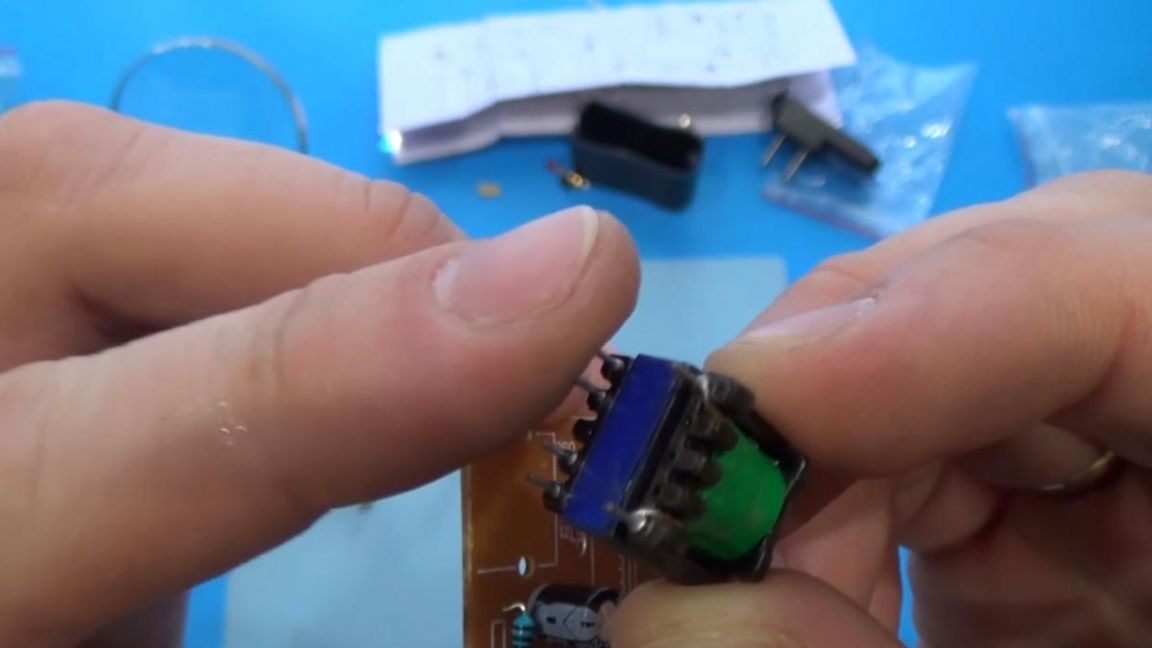
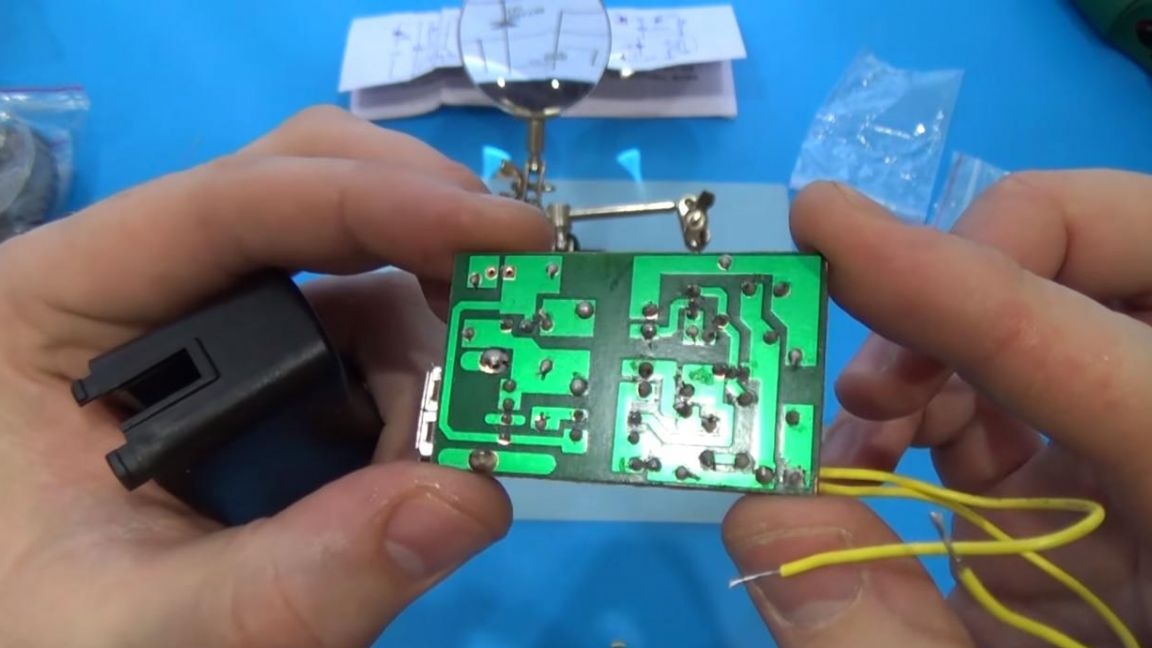
It's time to solder the coil, on the one hand it has four leads, and on the other two, I think you will not be mistaken, install it on the board, we also combine the microchip key with four legs with a picture on the board, do not forget about the USB socket, with which it will be connect the cable to the phone, solder it all with a soldering iron.

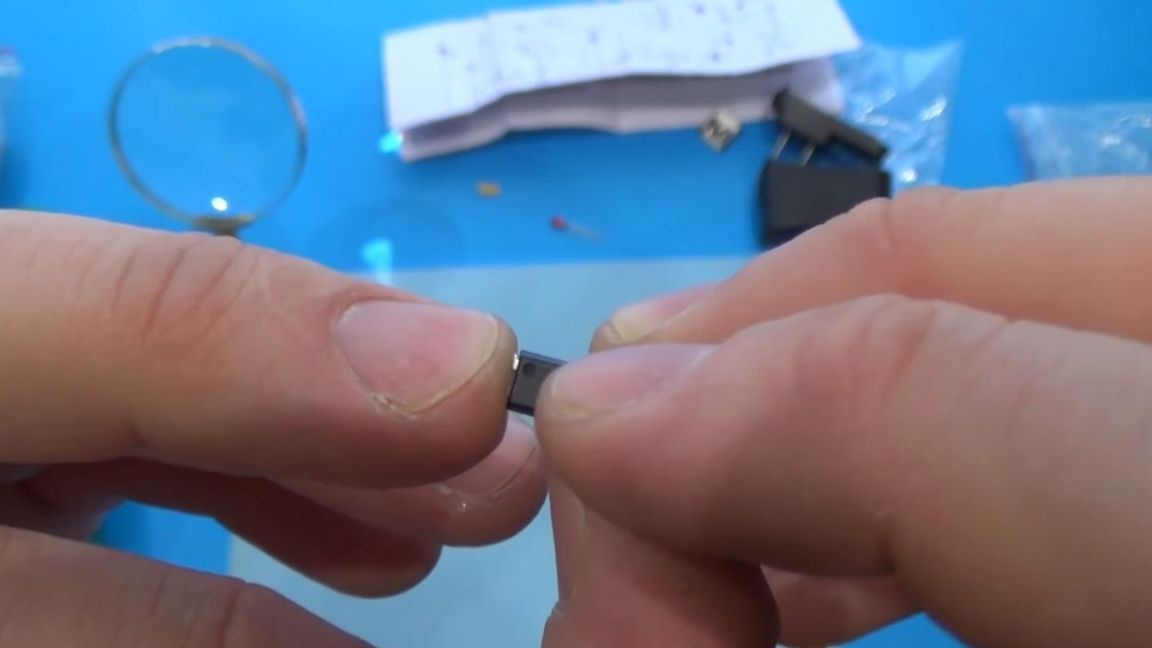
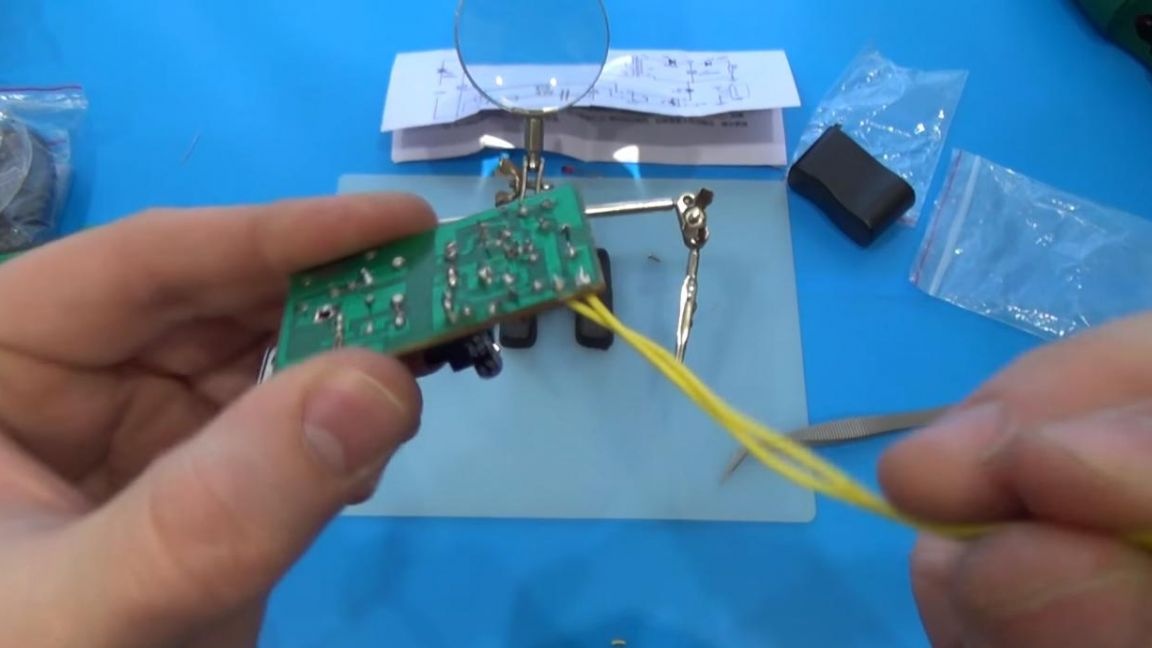
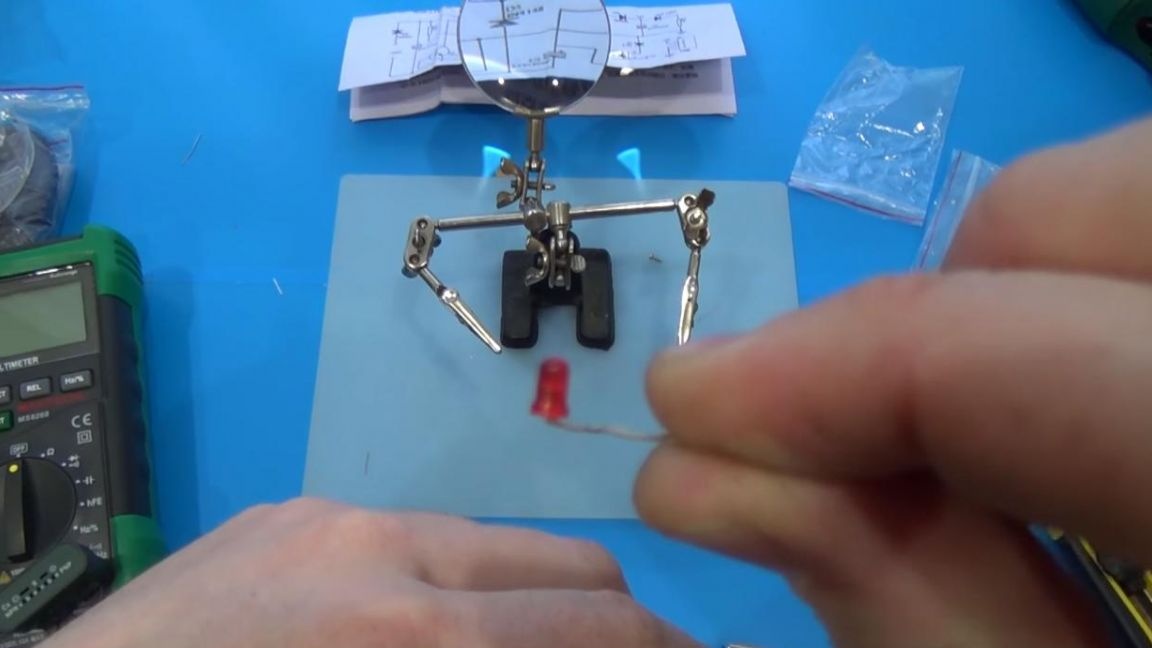
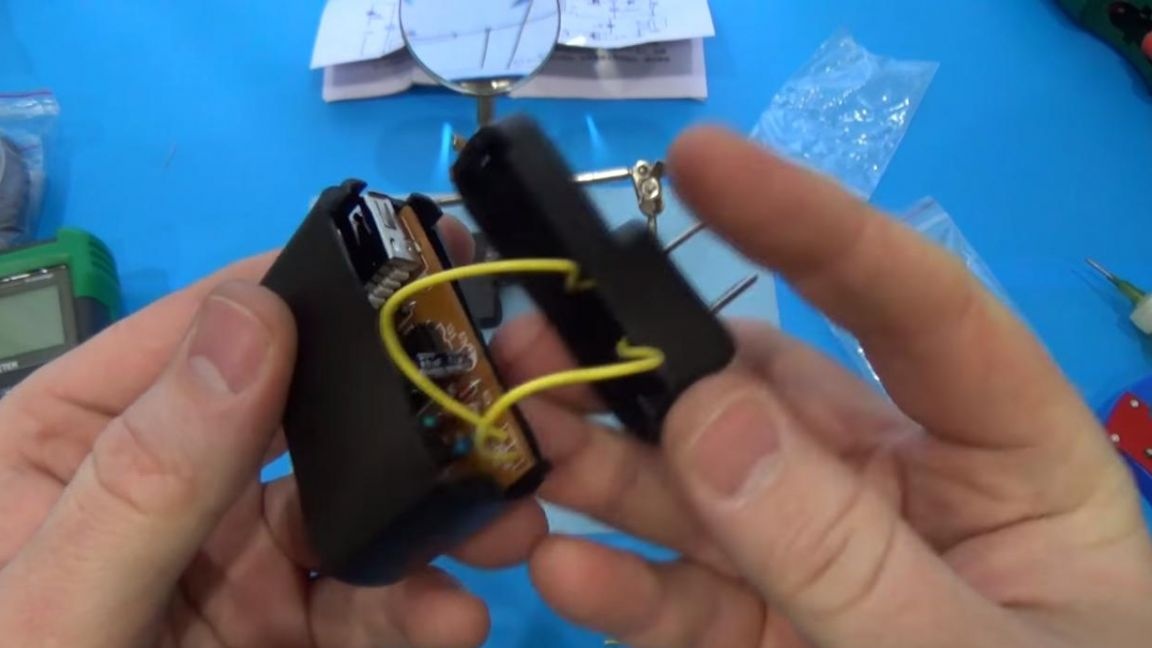
Next, solder the wires that will transfer current from the outlet to the power supply board, we also solder them to the plug on the case, but do not overheat, since the case can be melted. Then we install and solder the red LED and close the finished board in the case that comes with the kit, after which we fasten one single fixing screw. The power supply is ready for use.

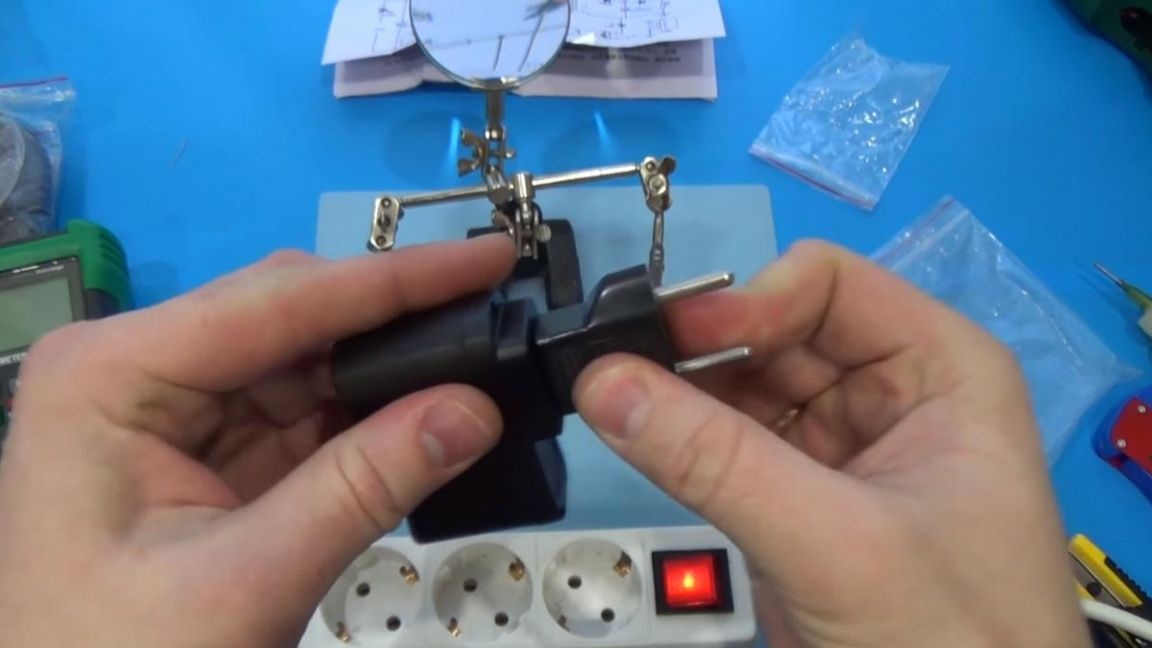
Step Four
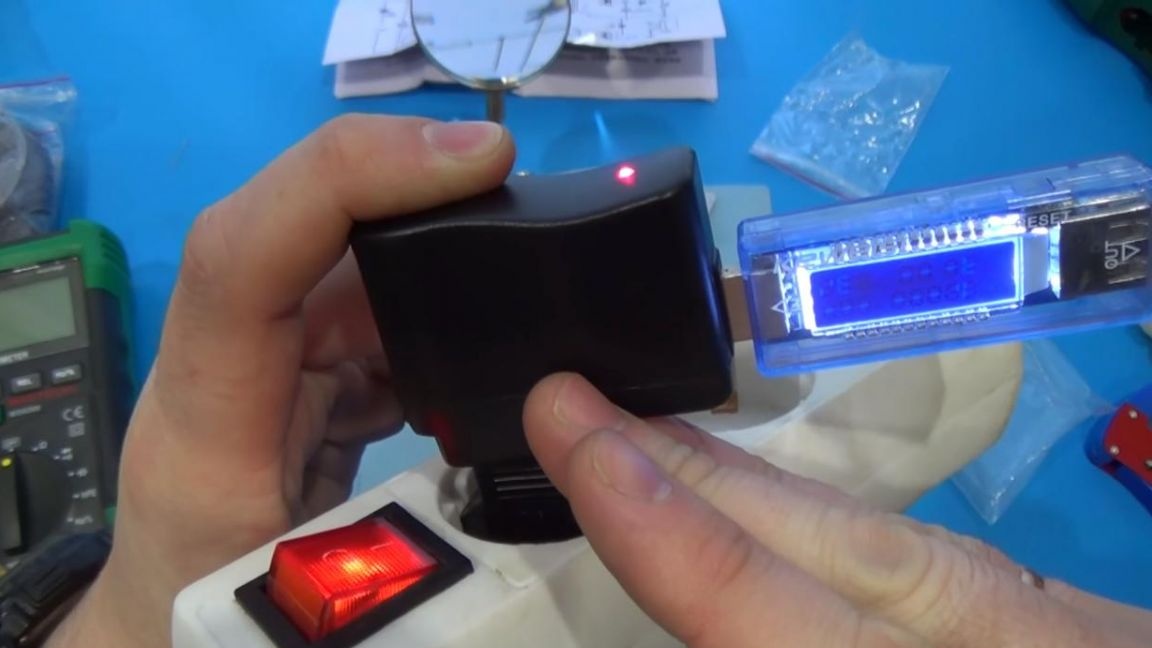
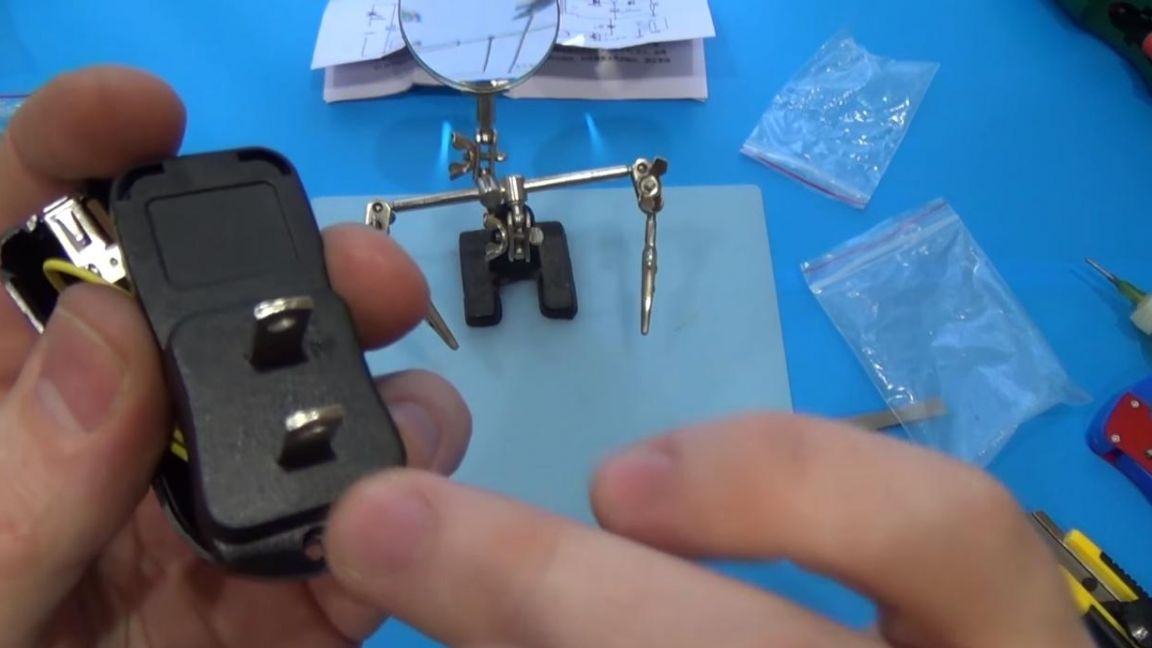
And now it's time to check this power supply for its performance, put on the adapter from the American to the European plug and plug into the outlet.
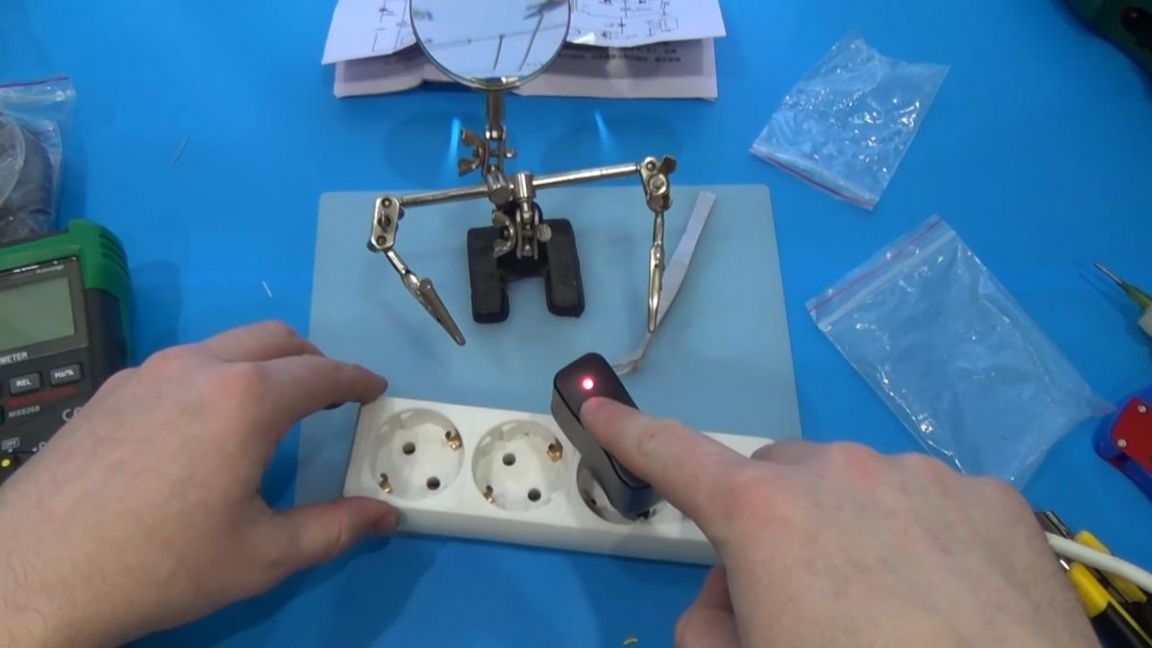
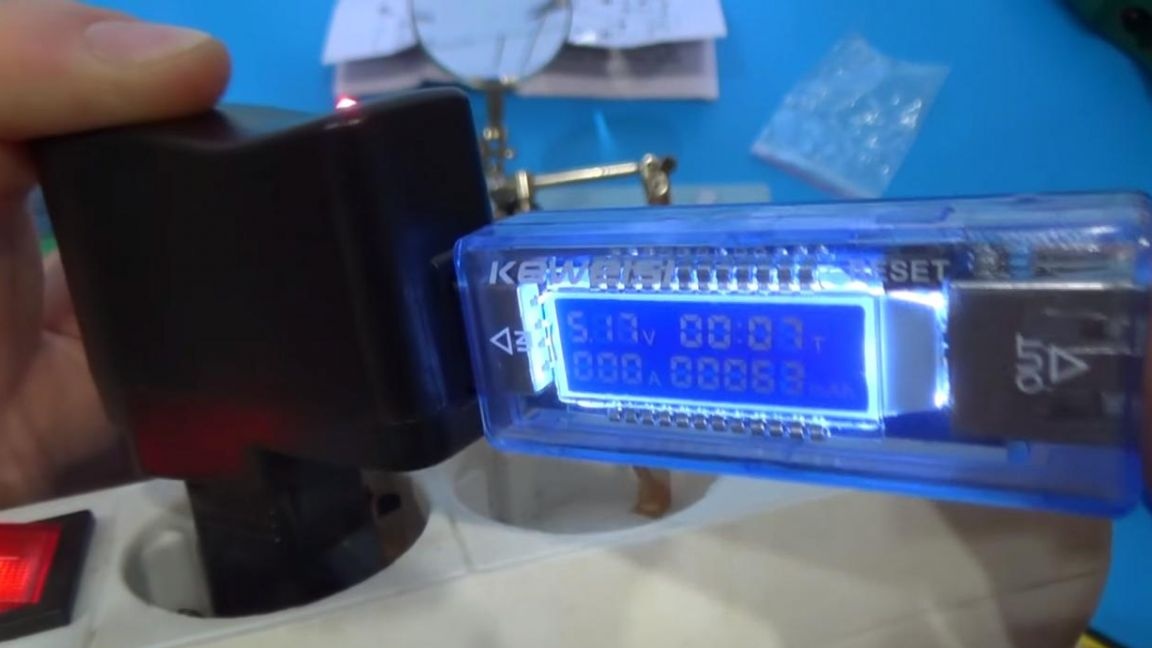
The red LED indicates that the power supply is working and there is voltage at the output. The power of this power supply is rather weak for smartphones with large capacious batteries, and then their charging time will be several times longer than usual, therefore such charging is suitable, for example, for an MP3 player, smart watch and other low-power devices, in any case, collecting this kit you will get invaluable experience and pleasure from the process.
That's all for me, thank you all for your attention and creative success.