


Greetings to all fishermen-masters. Today we’ll make a simple self-saver for donkey. The main advantage of this design is its ease of manufacture, it can be made of available materials with a minimum set of tools. The disadvantages include the dimensions and the need to level the site on the shore of the reservoir for its installation. This design has already been tested and proven to work. It may seem to someone that the spring is too powerful and the lever works very sharply, but this is not so. In real fishing conditions, when the gear is thrown into the water, hooking looks very different than in the workshop. It even seems that the power should be increased.
Tools needed.
1. Vise.
2. The hammer.
3. Pliers.
4. A screwdriver.
5. Hacksaw for metal.
6. Hacksaw for wood (if necessary).
7. Drill and drill (optional).
8. Roulette.
Materials required.
1. Board.
2. Steel spring wire with a diameter of 4-5 mm.
3. Bicycle spoke.
4. Galvanized metal with a thickness of 0.7 mm.
5. The nail.
6. The eraser.
7. Self-tapping screws.
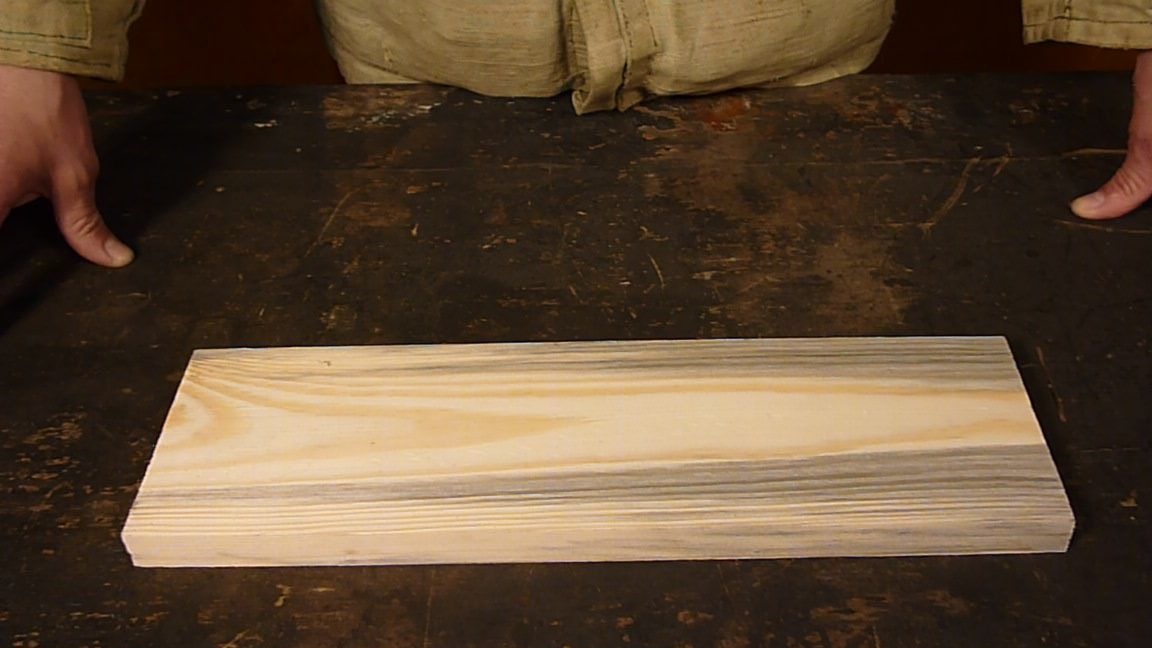
For the basis of the cutter, we take a 40 by 12 cm board. 1 cm thick. I will make a reservation right away, all sizes are very arbitrary and can change.
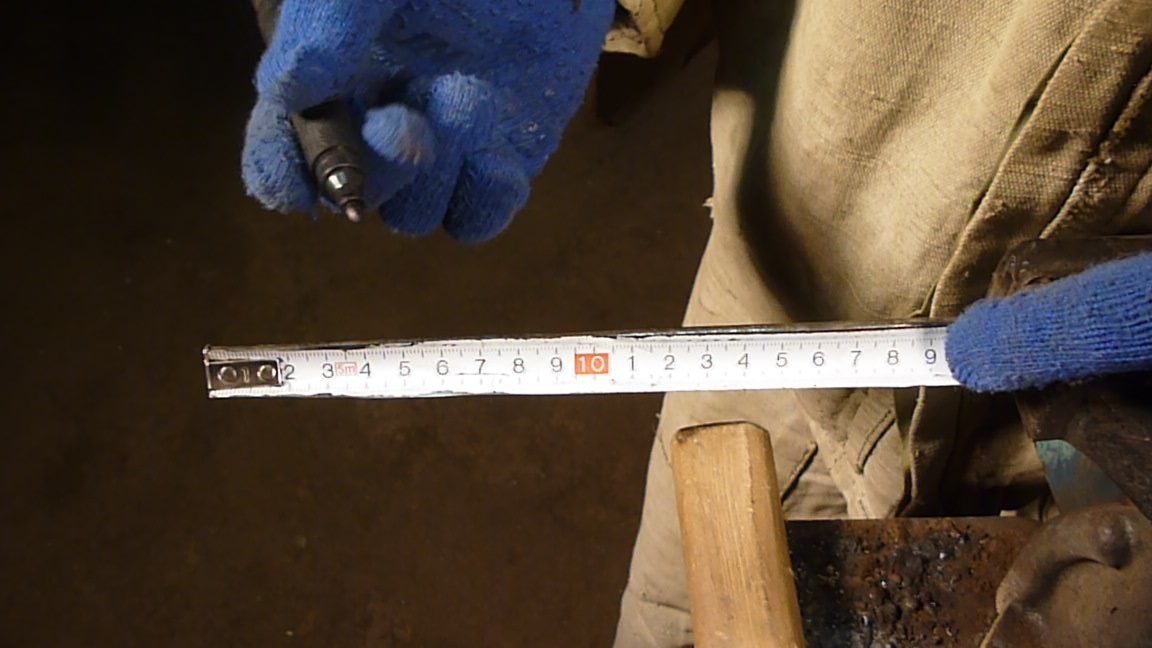
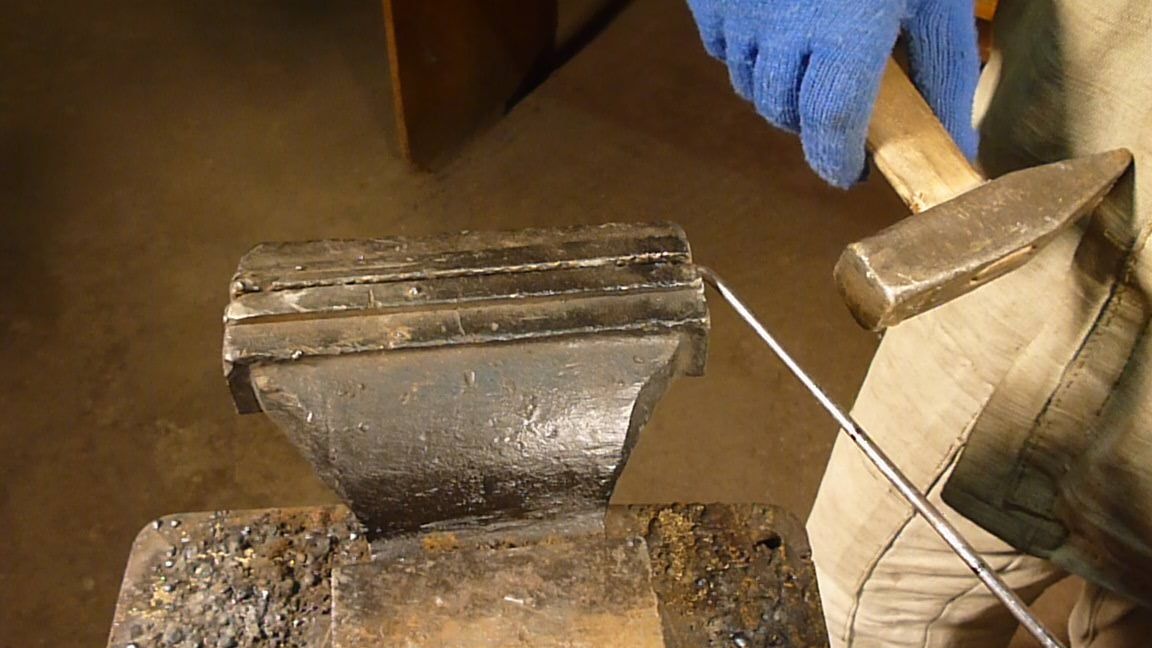
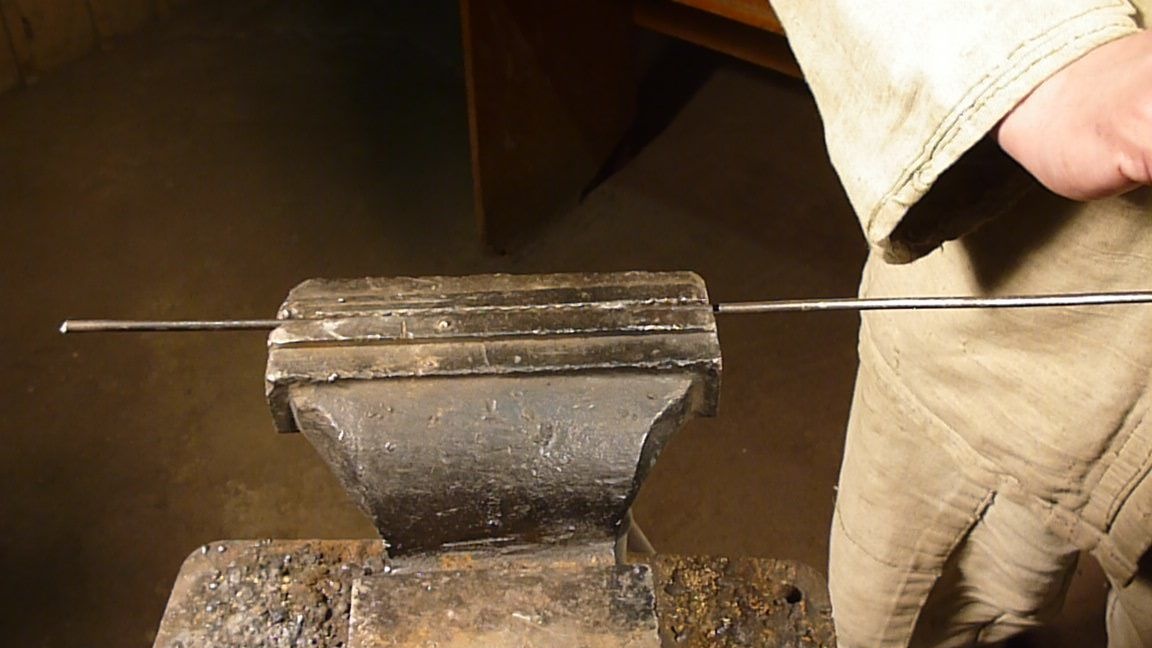
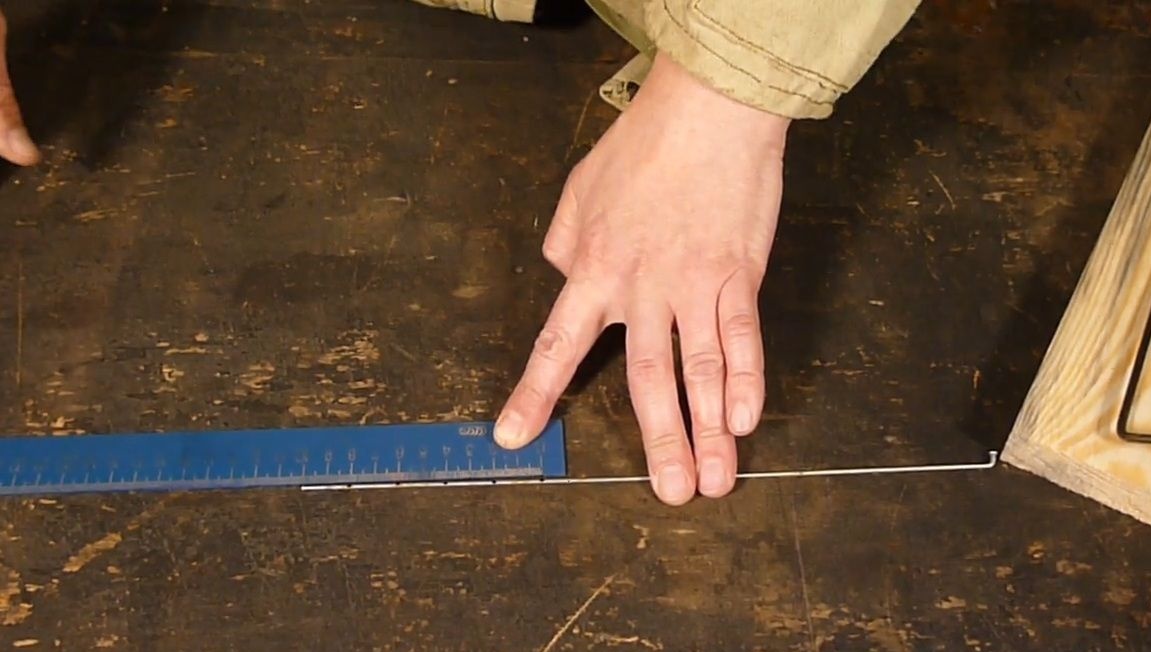
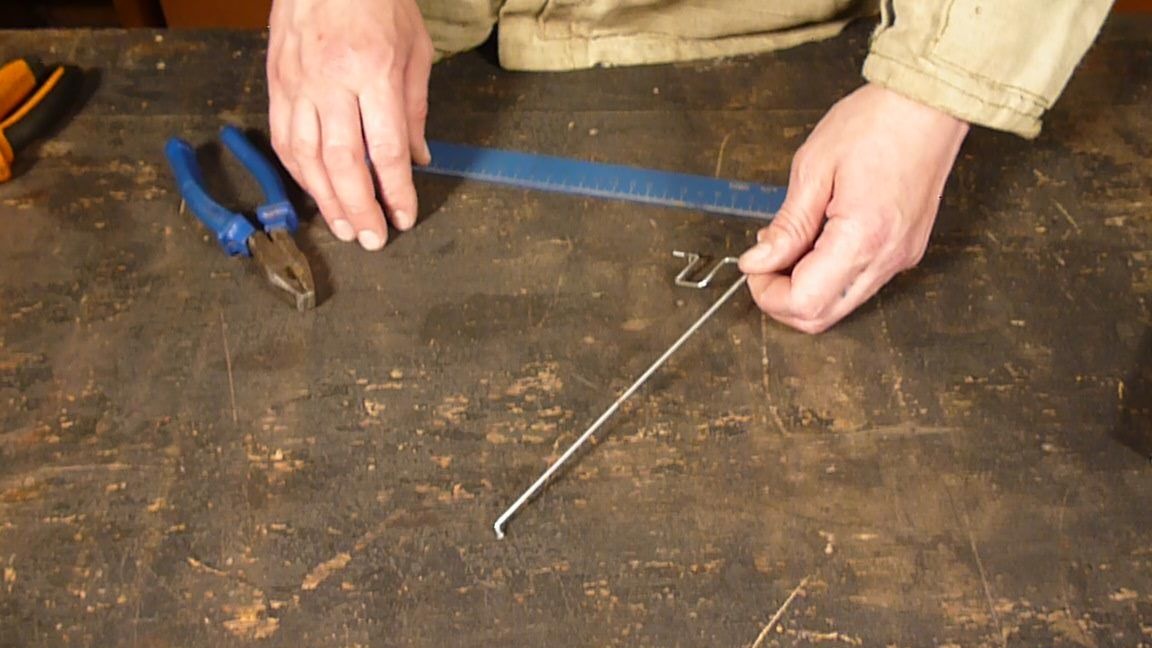
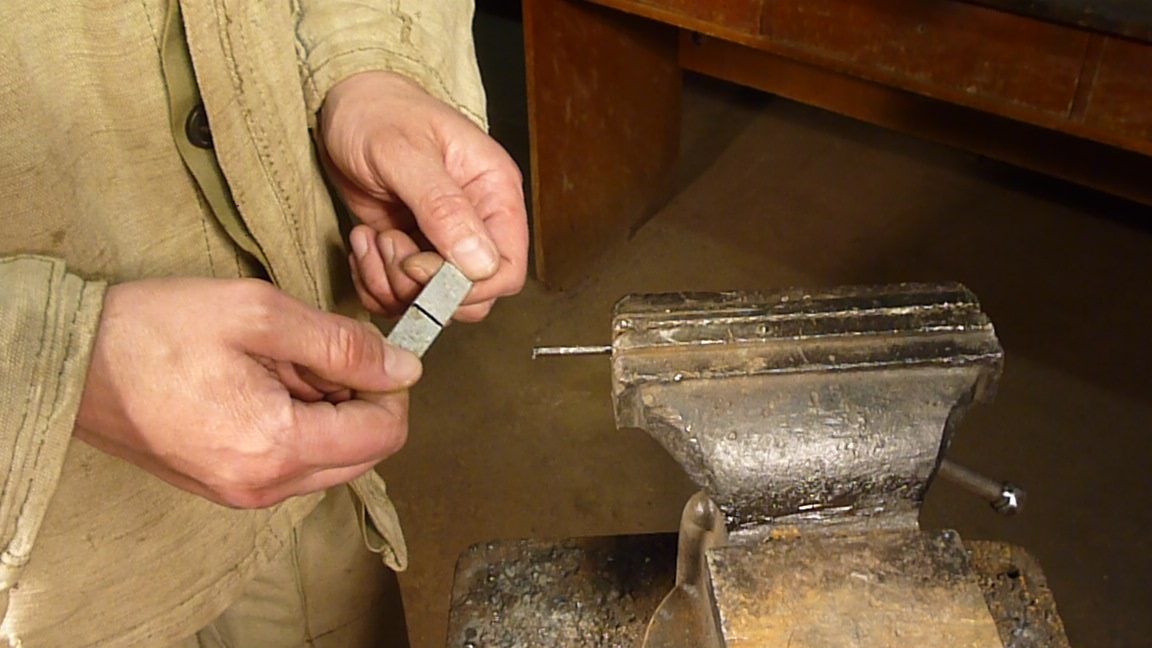
The most time-consuming part of the job is to bend the scaffold out of the spring wire. We mark from the edge of the wire 5 cm.
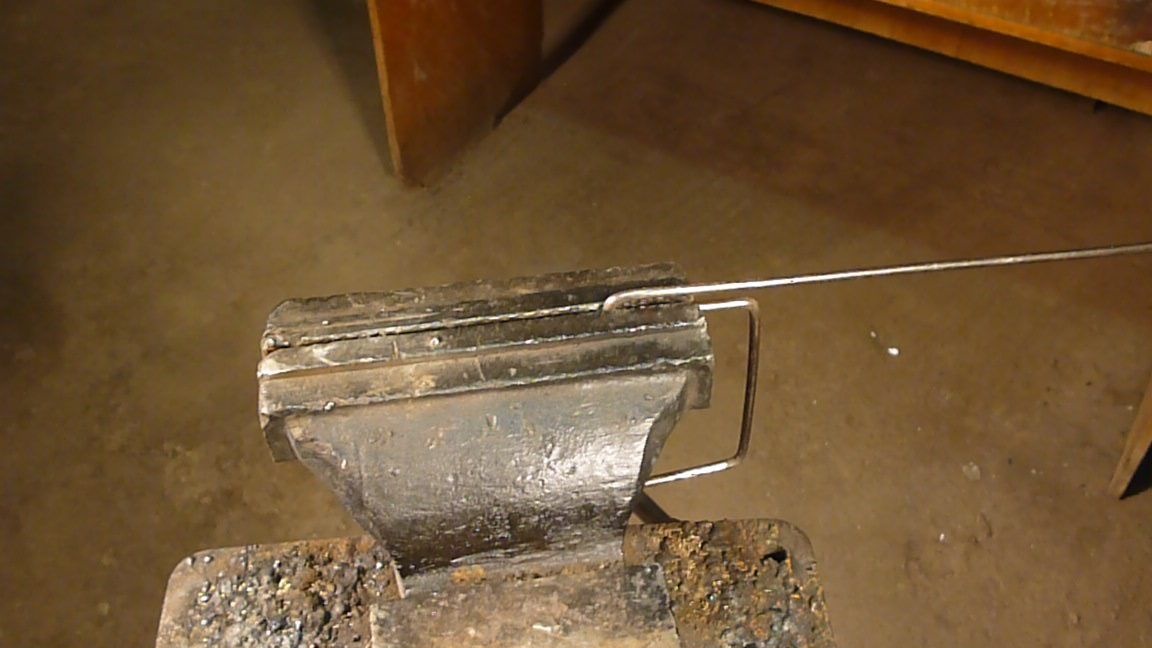
Clamp in a vice and bend to 90 degrees.
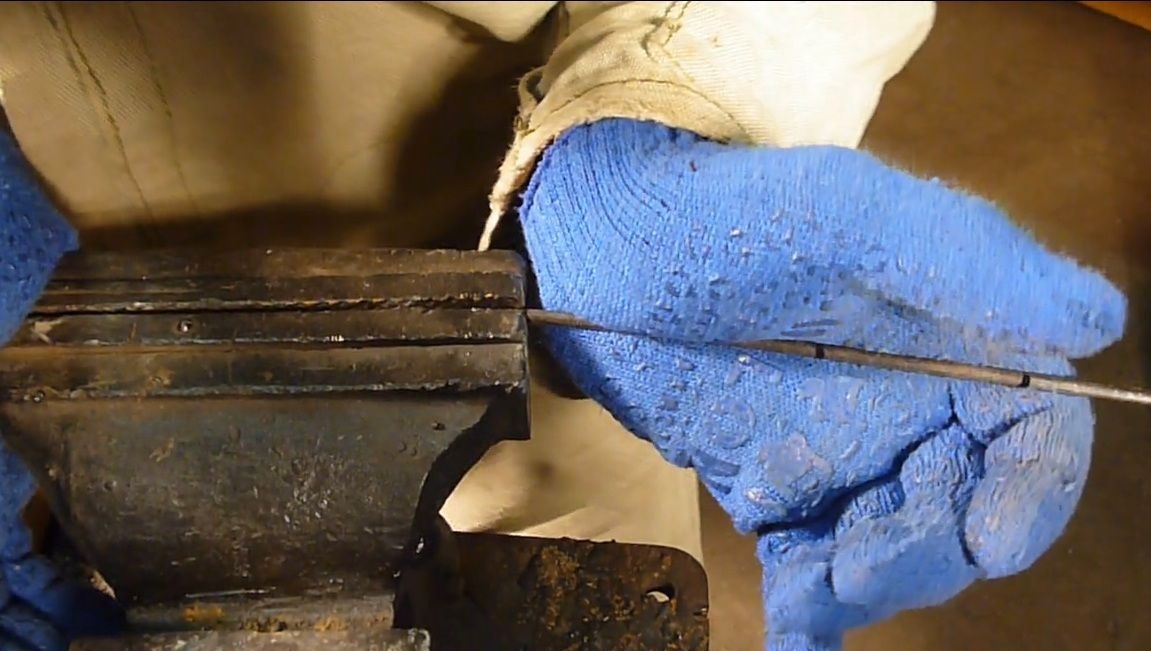
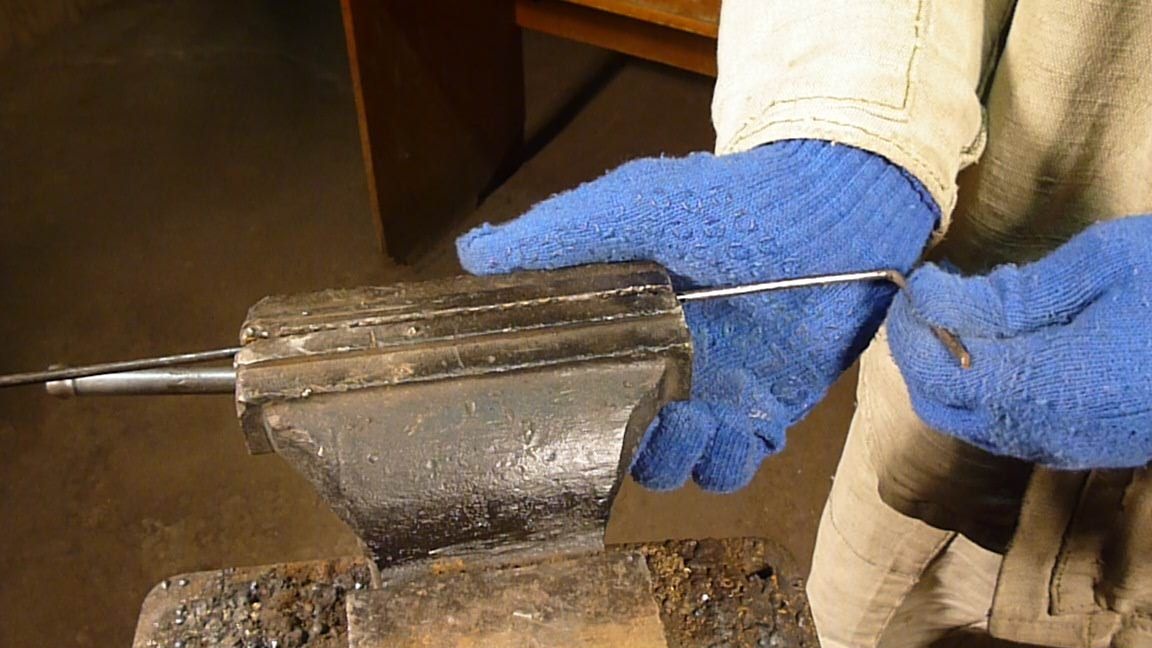
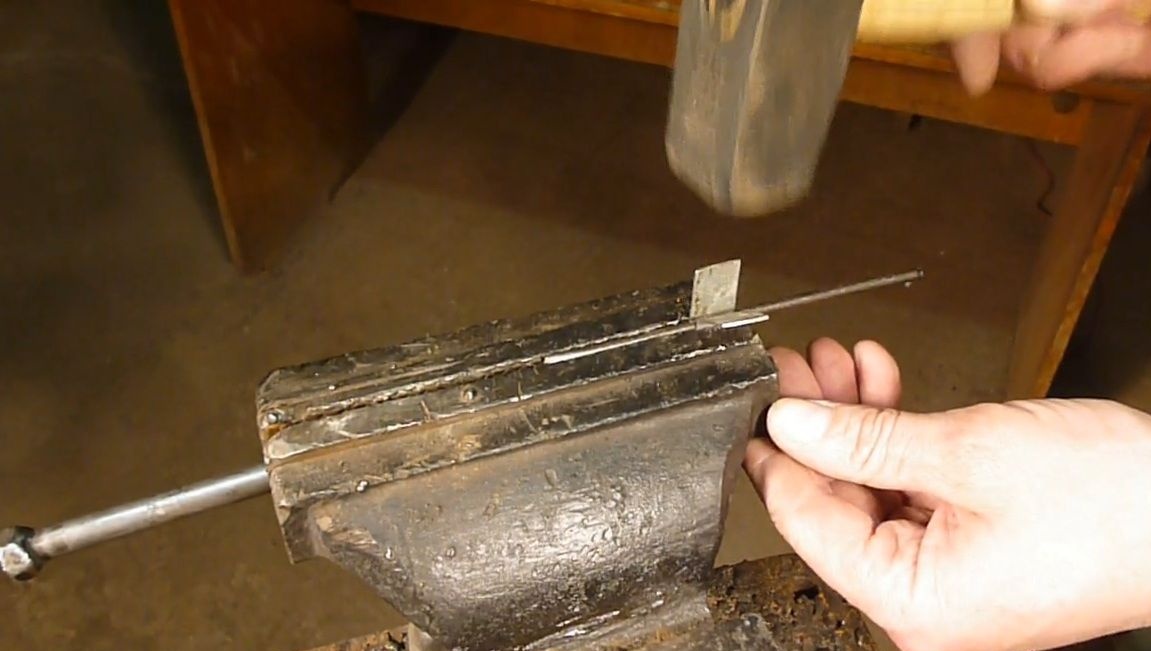
We trim the resulting bend with a hammer. The main thing is to do everything slowly so that the wire does not burst at the bend.
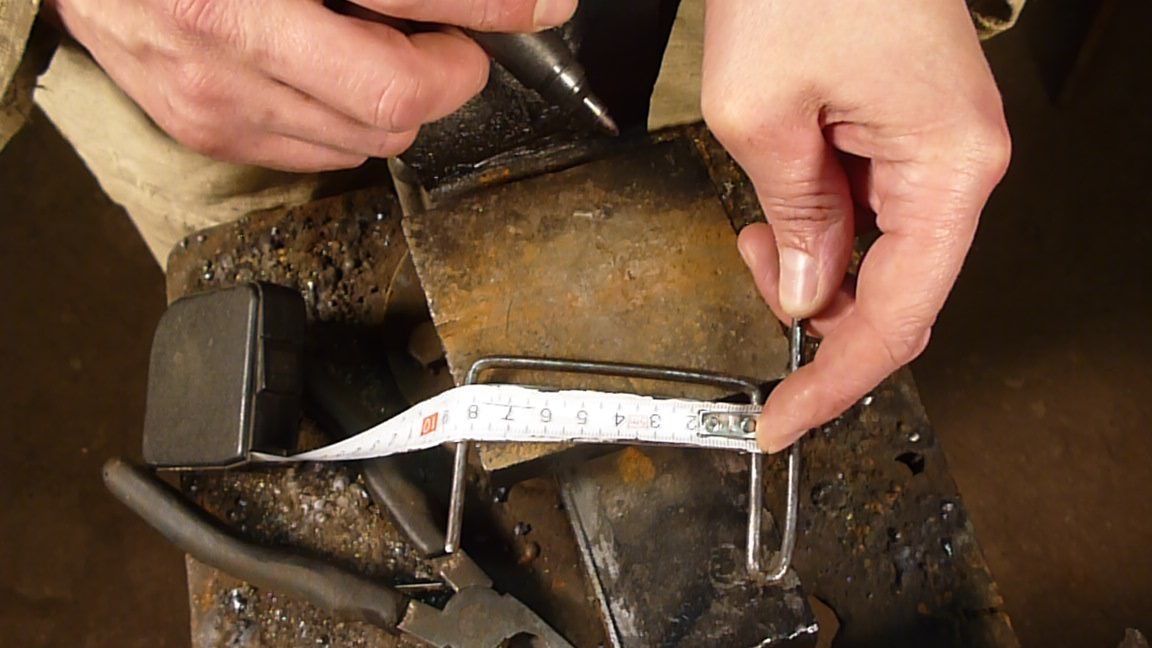
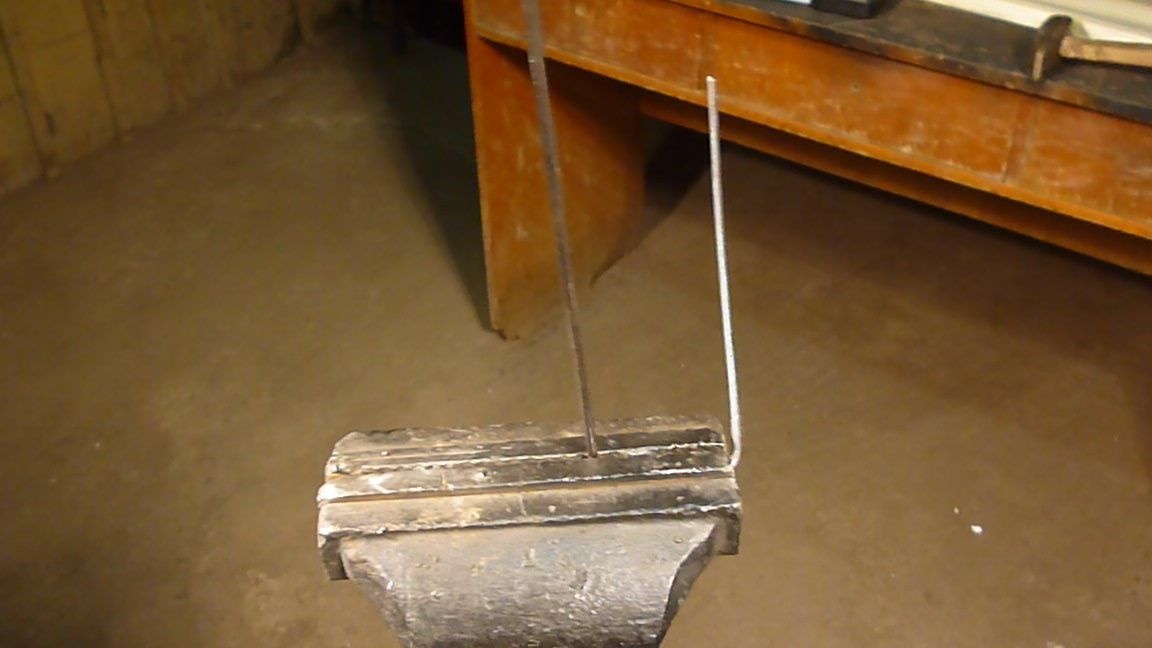
Now mark 8 cm. From the bend, we also clamp in a vice and bend in the opposite direction.
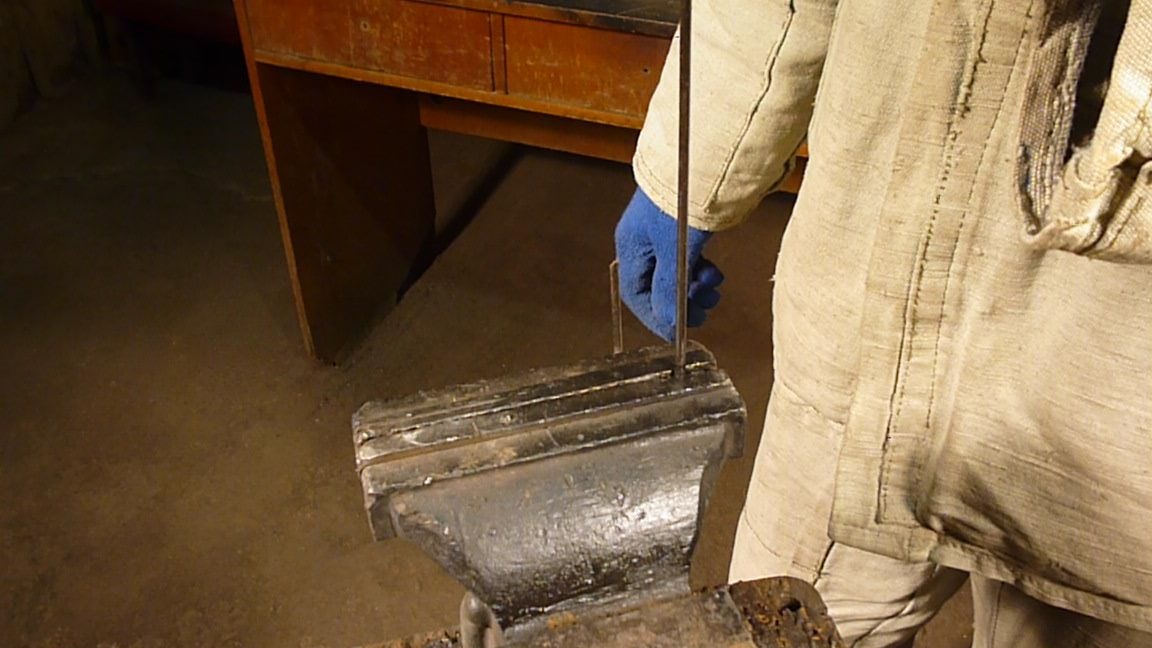
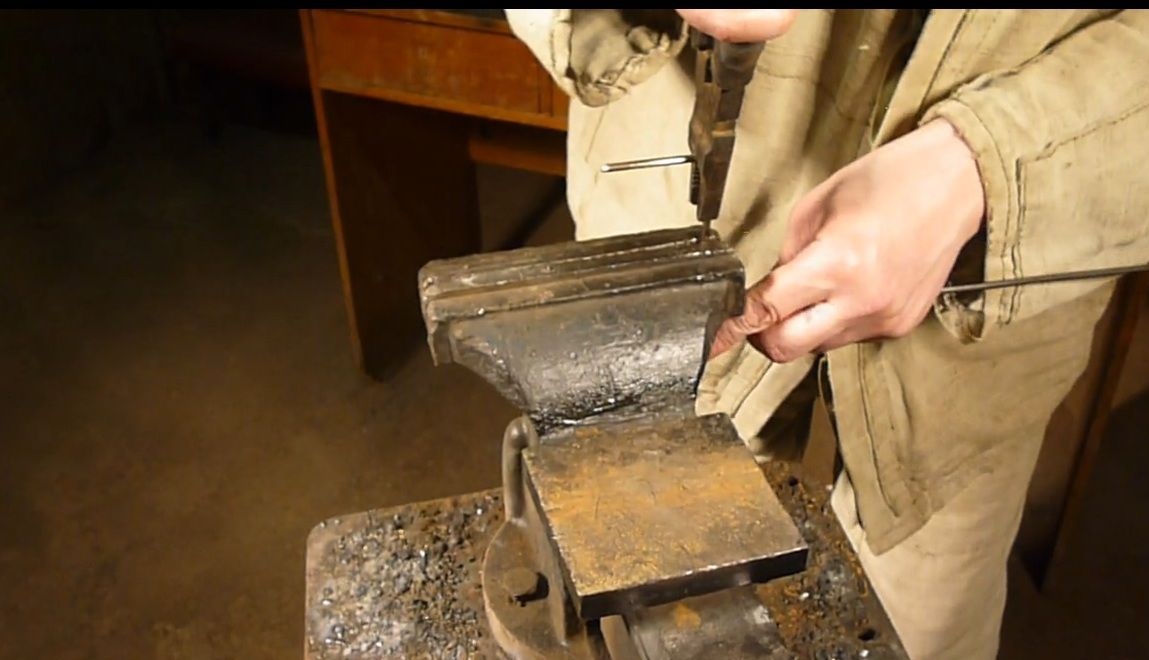
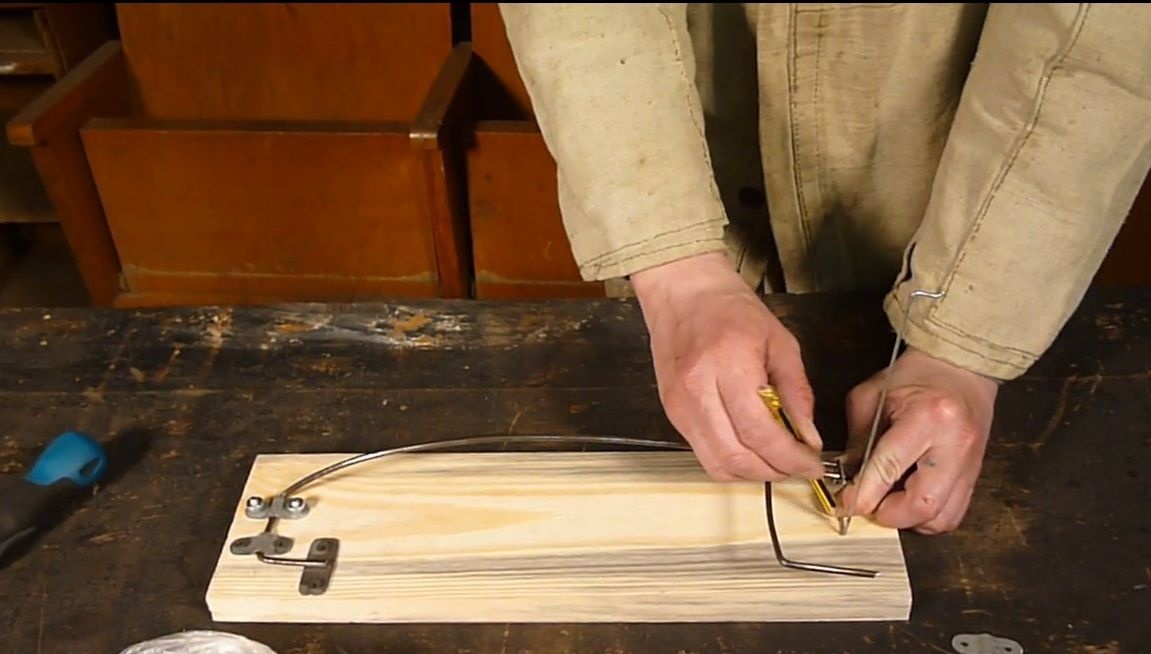
The most important part of the job is to bend the wire 180 degrees. We mark 5 cm. We clamp in a vice and for a start we bend under 90 degrees.
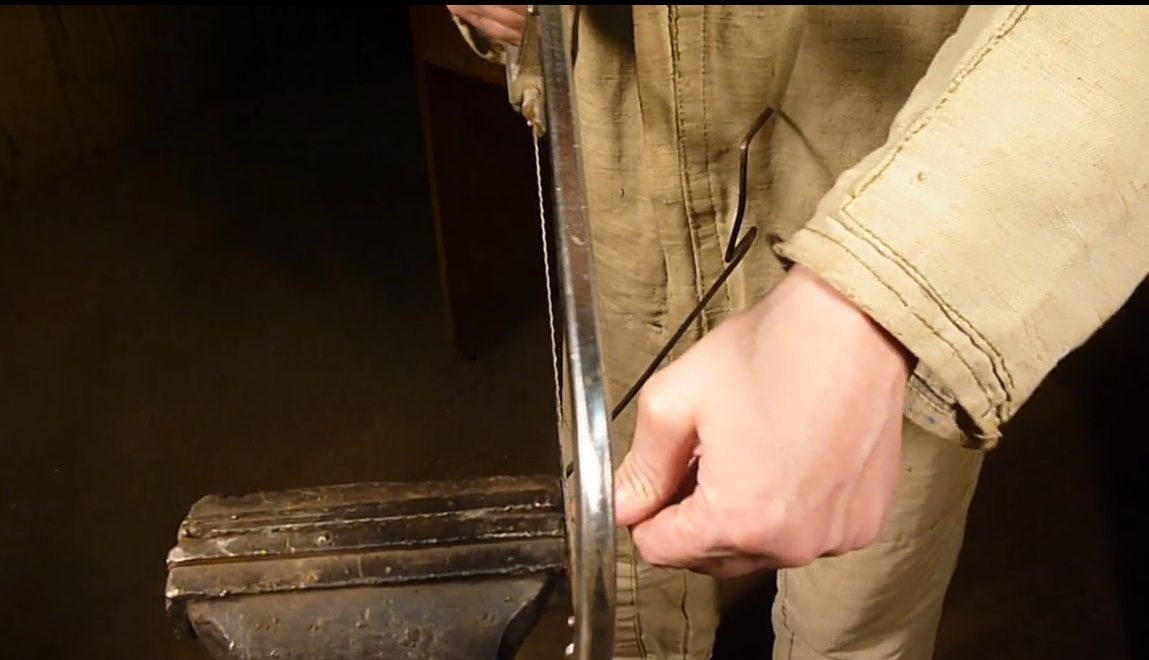
Now, using a screwdriver and a hammer, gently bend the wire 180 degrees.
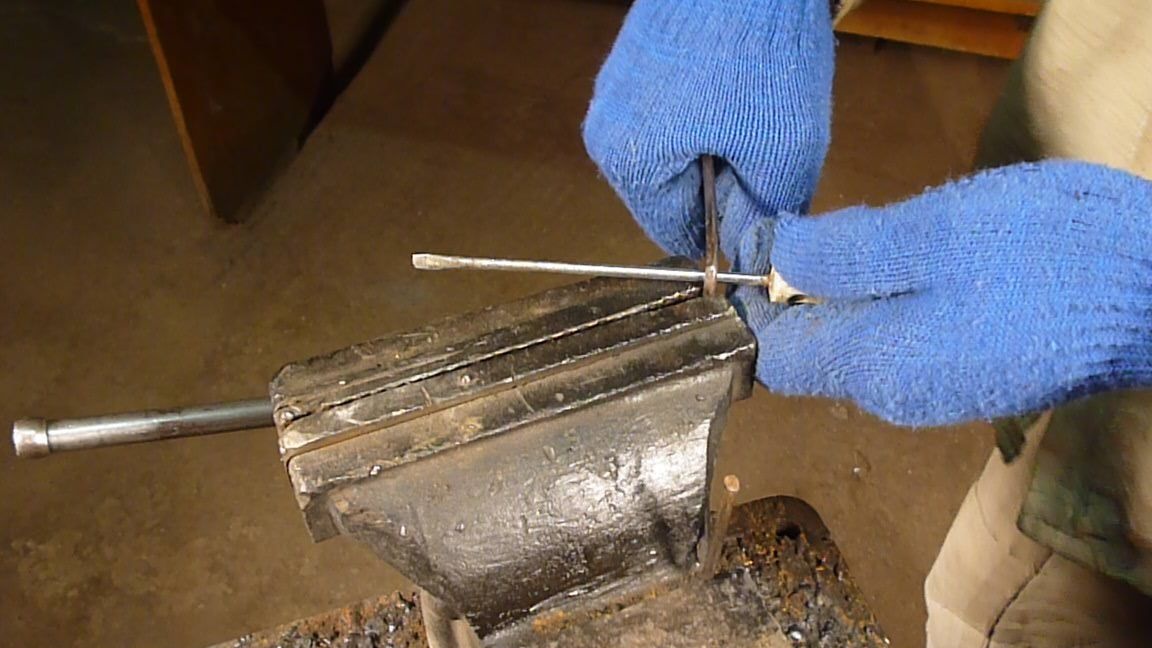

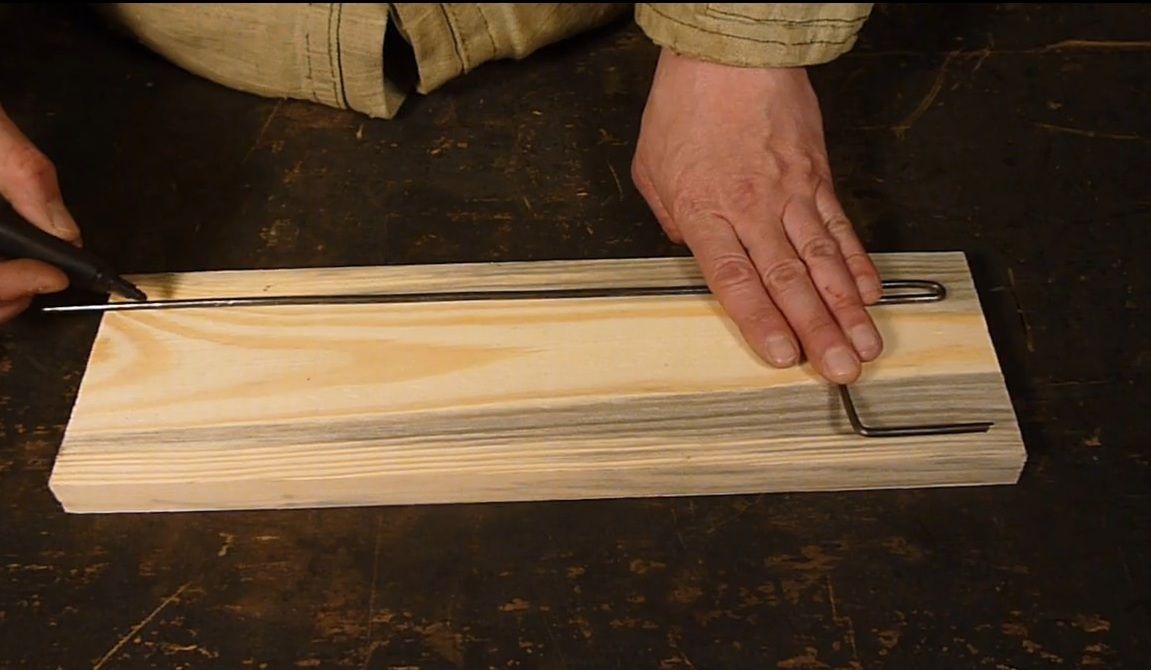
If everything worked out, mark the center of the fishing line and bend a little.

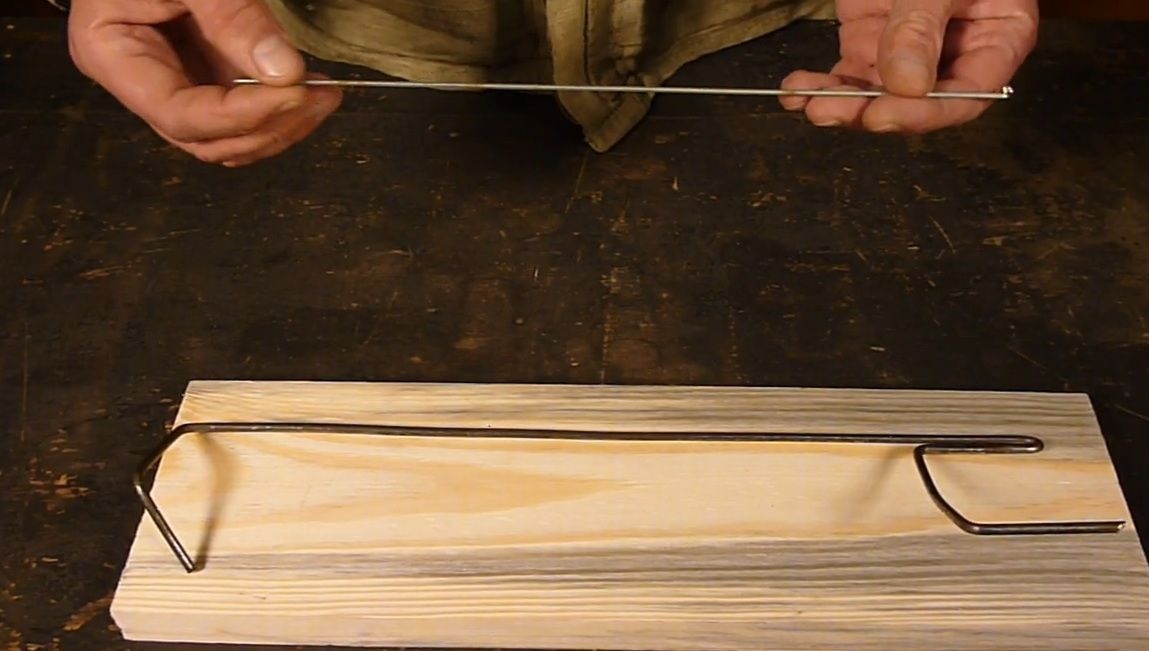
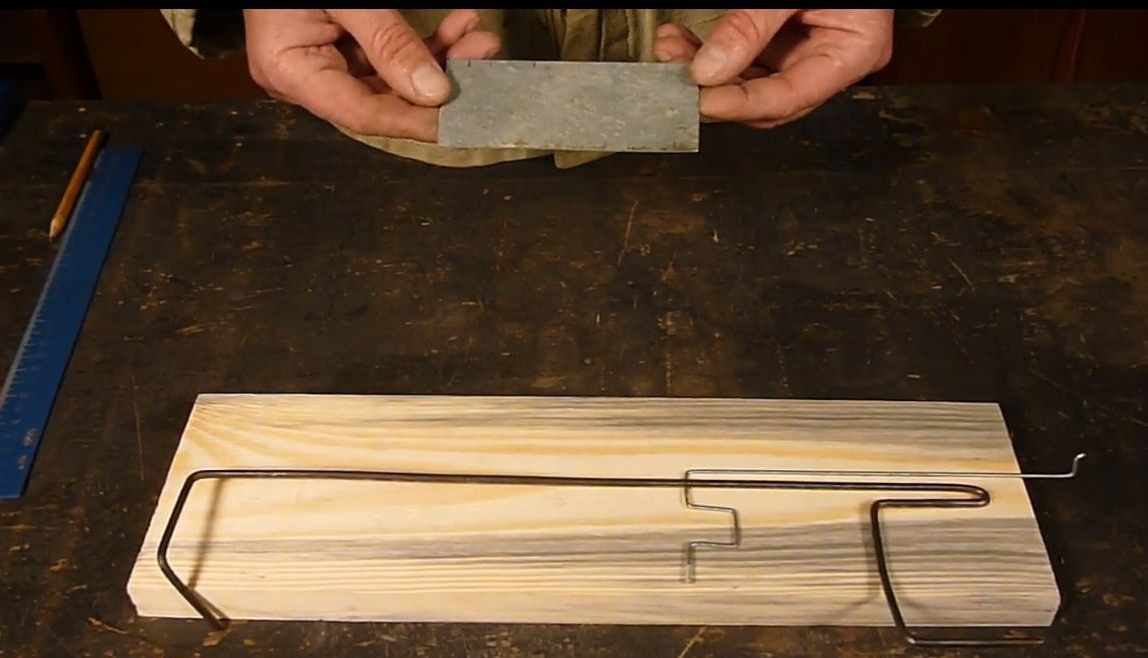
We apply the resulting workpiece to the base and mark the beginning of the spring bend.
Clamp with a vice and rot under 90 degrees. in the direction of the scaffold.
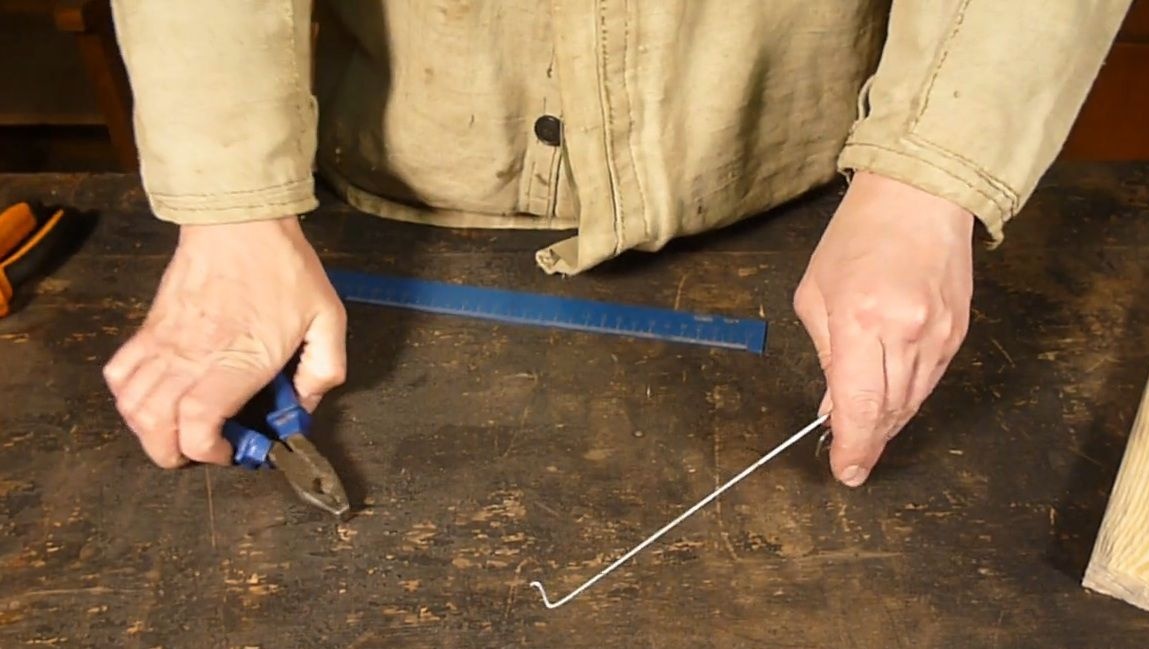
We note the size approximately equal to half the width of the board and bend at 45 degrees. to the plane of the undercutter lever.
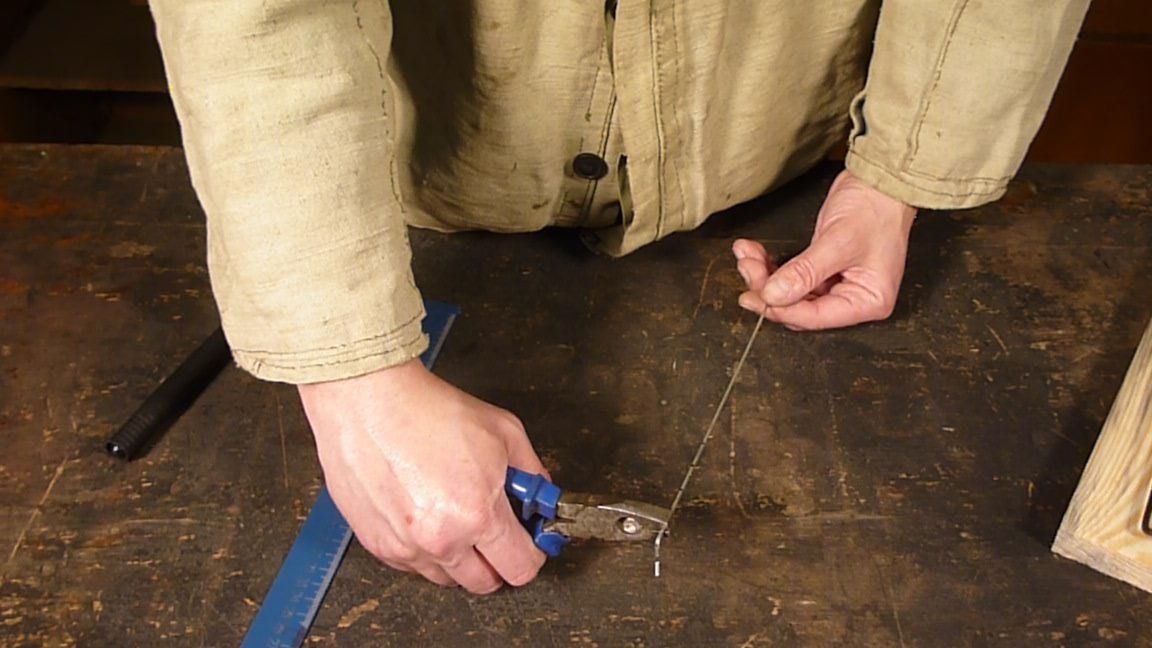
We mark 5 cm. And cut off the excess with a hacksaw.
The lever with the spring is ready, now we will make a gatehouse from a bicycle spoke.
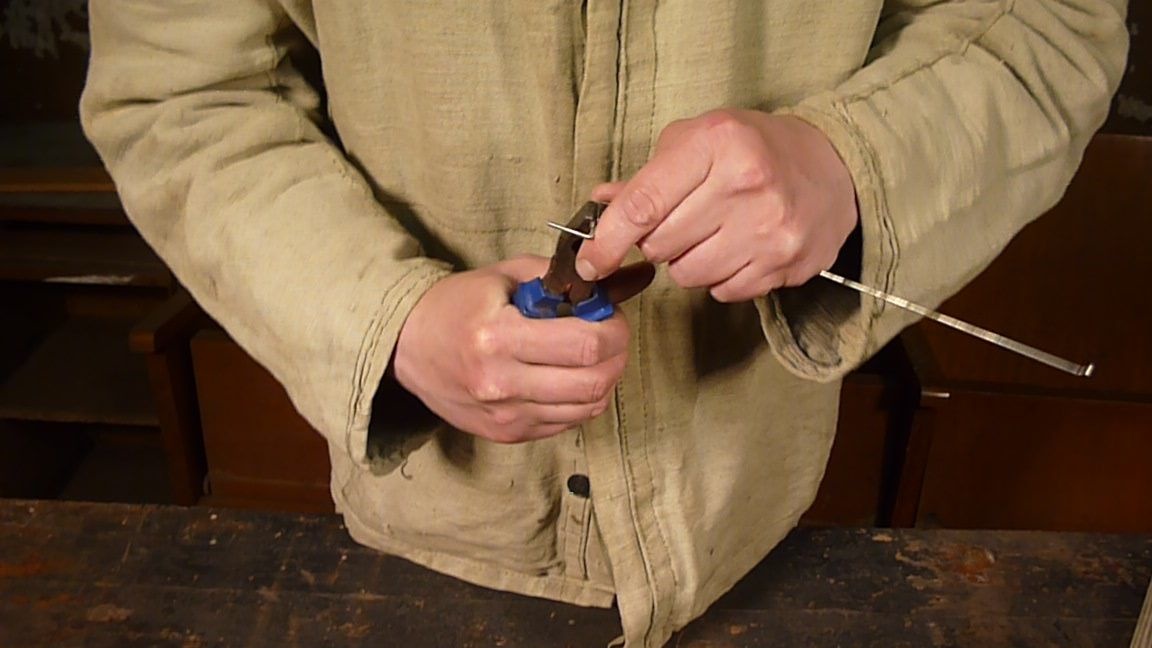
Mark from the edge of the knitting needle 5 times 2 cm.
We bend with pliers, forming a part, as shown in the photo.
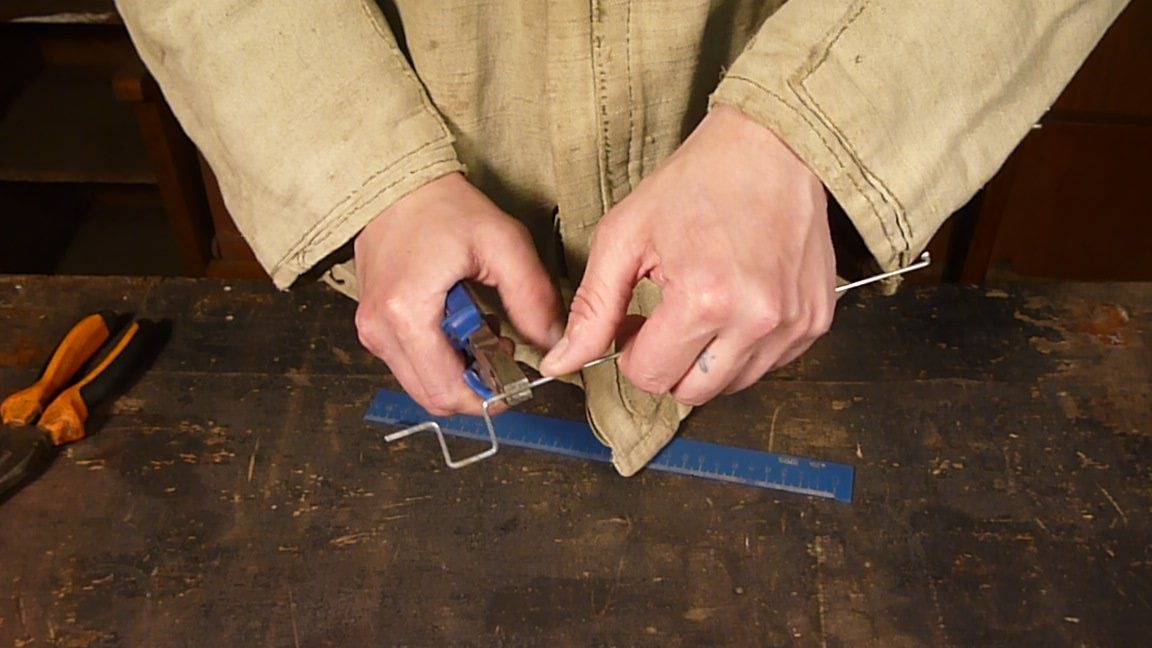
On the other edge of the knitting needle we bend the hook for attaching the eraser.
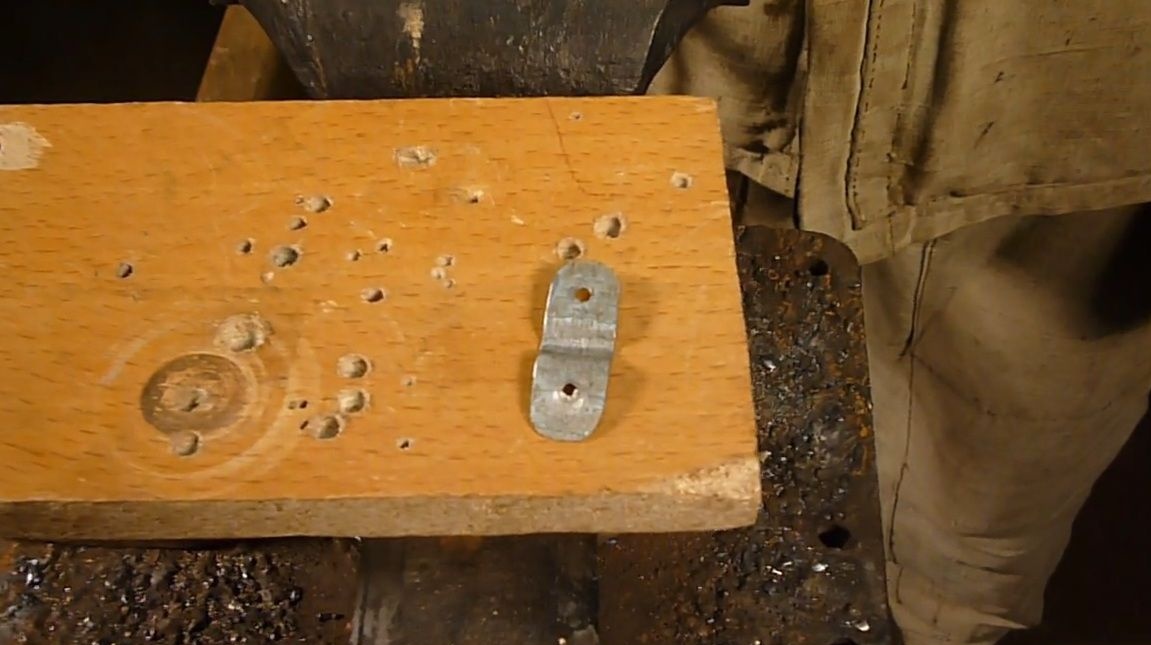
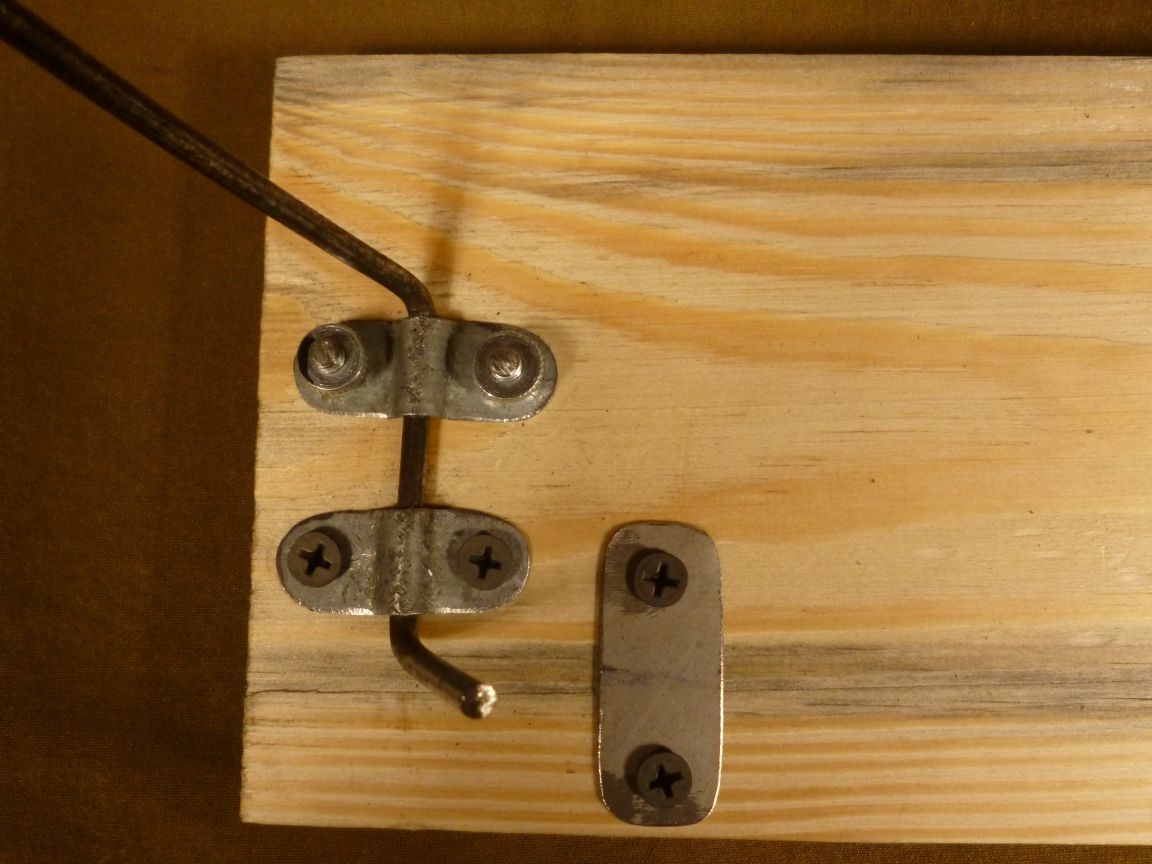
Now you need to fix the resulting parts on the base.To do this, we make four clamps made of galvanized metal with a thickness of 0.7 mm.
We mark four segments of about 4 by 1.5 cm and cut it with a hacksaw.
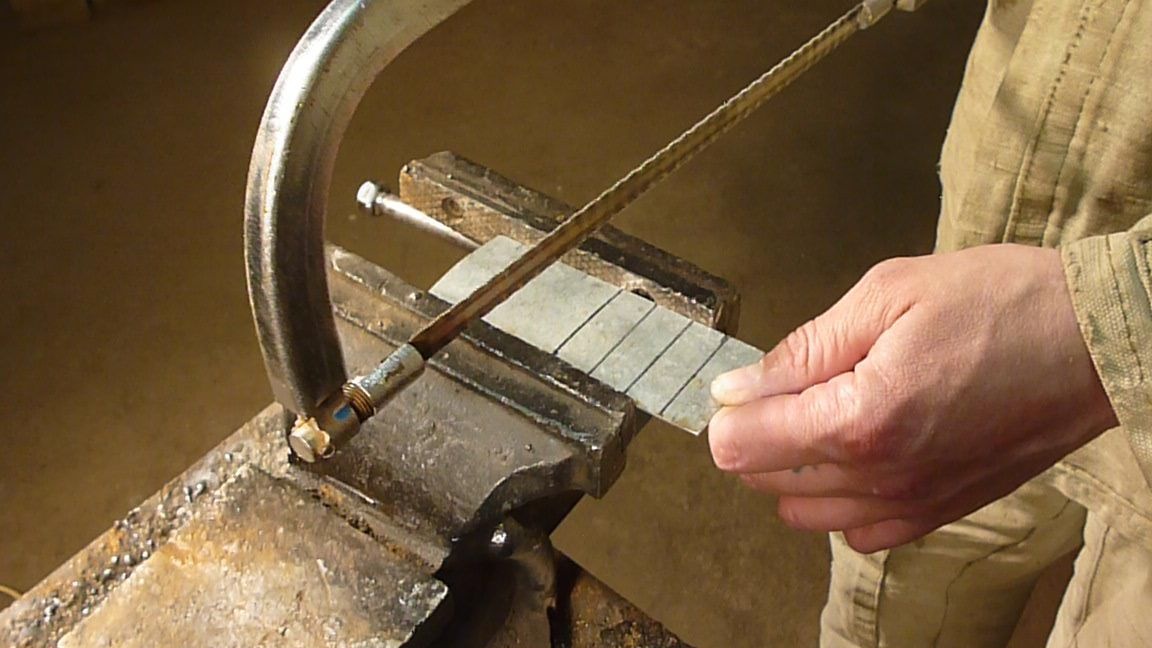
Bend the segments in the center, using the remaining piece of wire as a template. Also, if there is anything, you can round the edges.

The holes in the clamps for self-tapping screws are of course better to drill, but if there is nothing, then you can pierce with a nail or dowel.
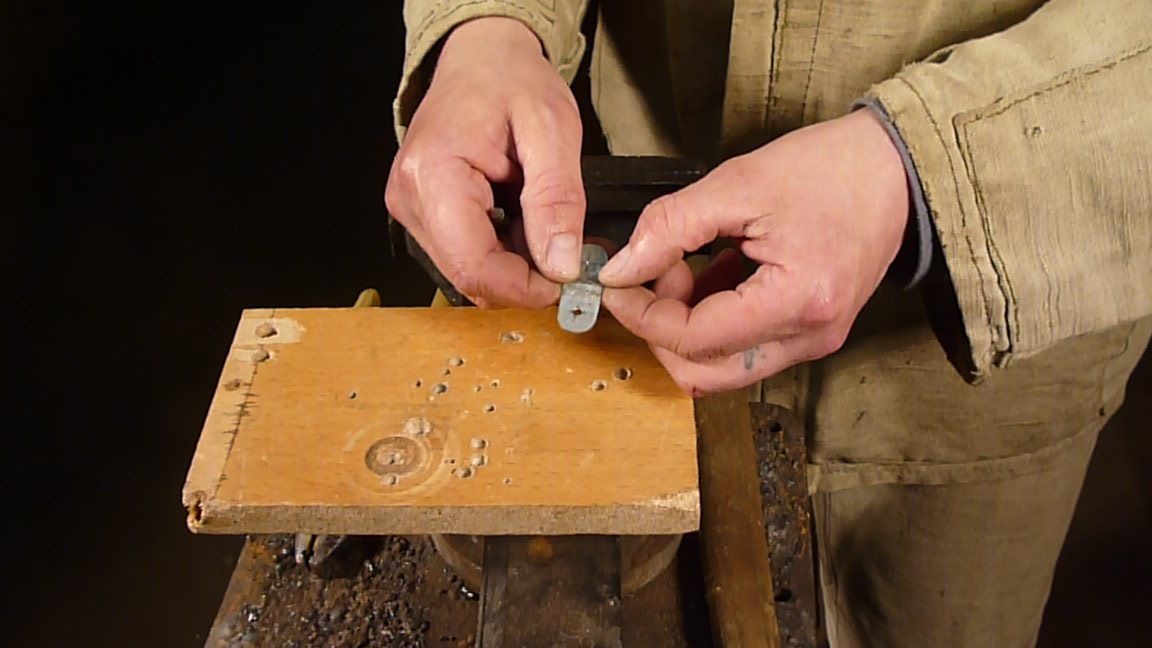
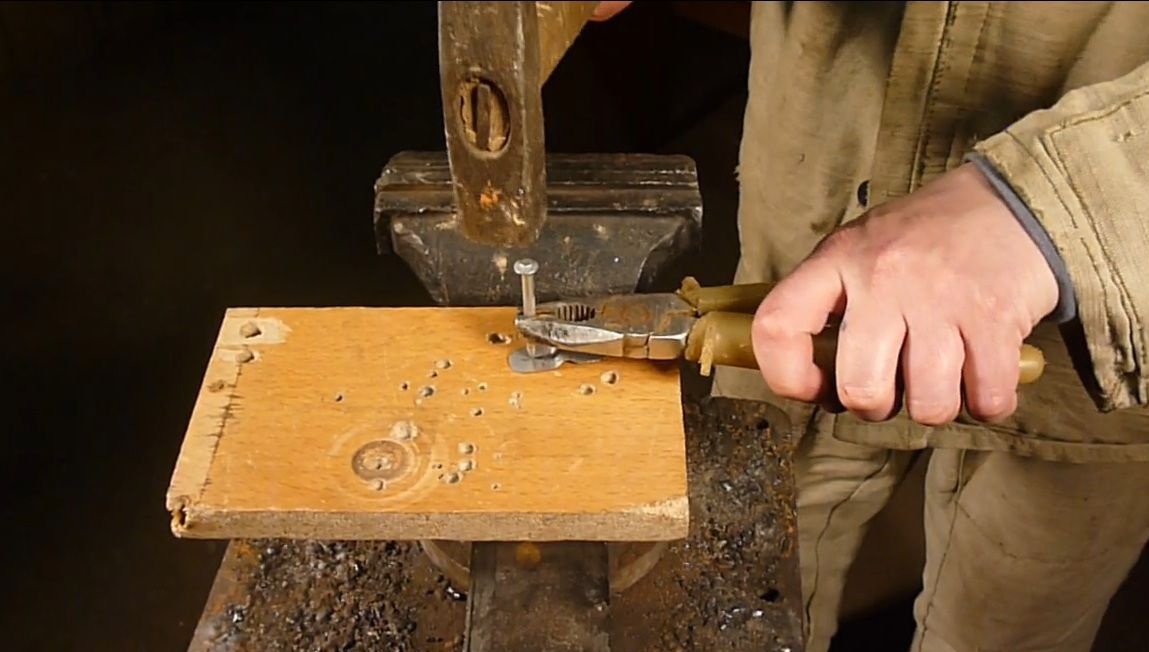
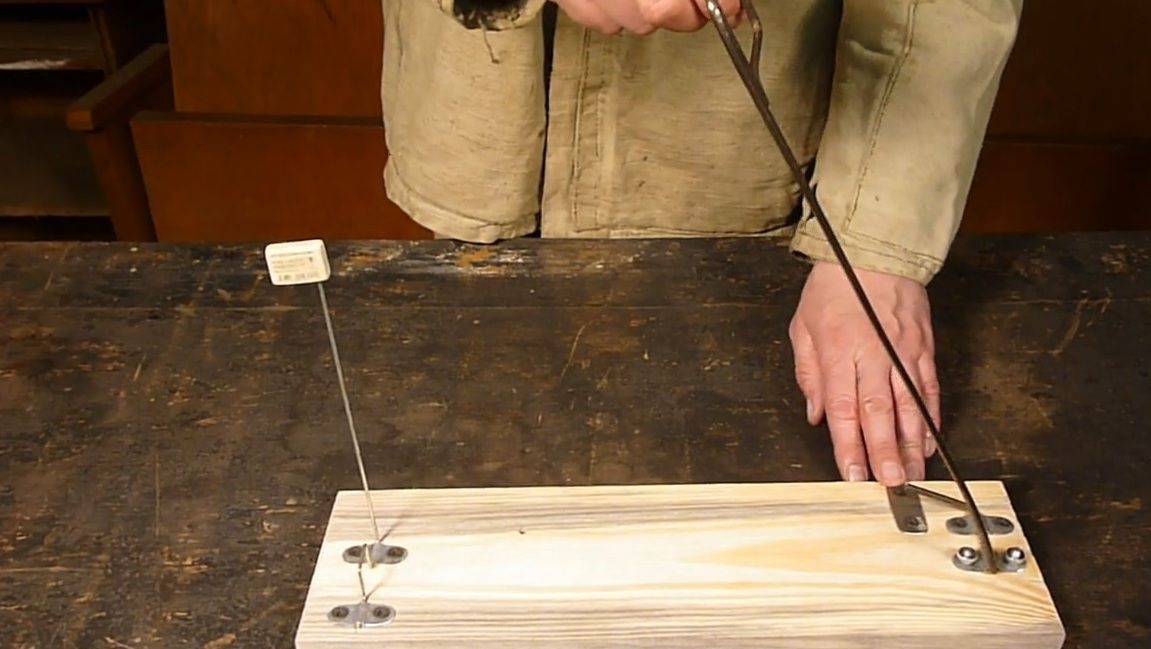
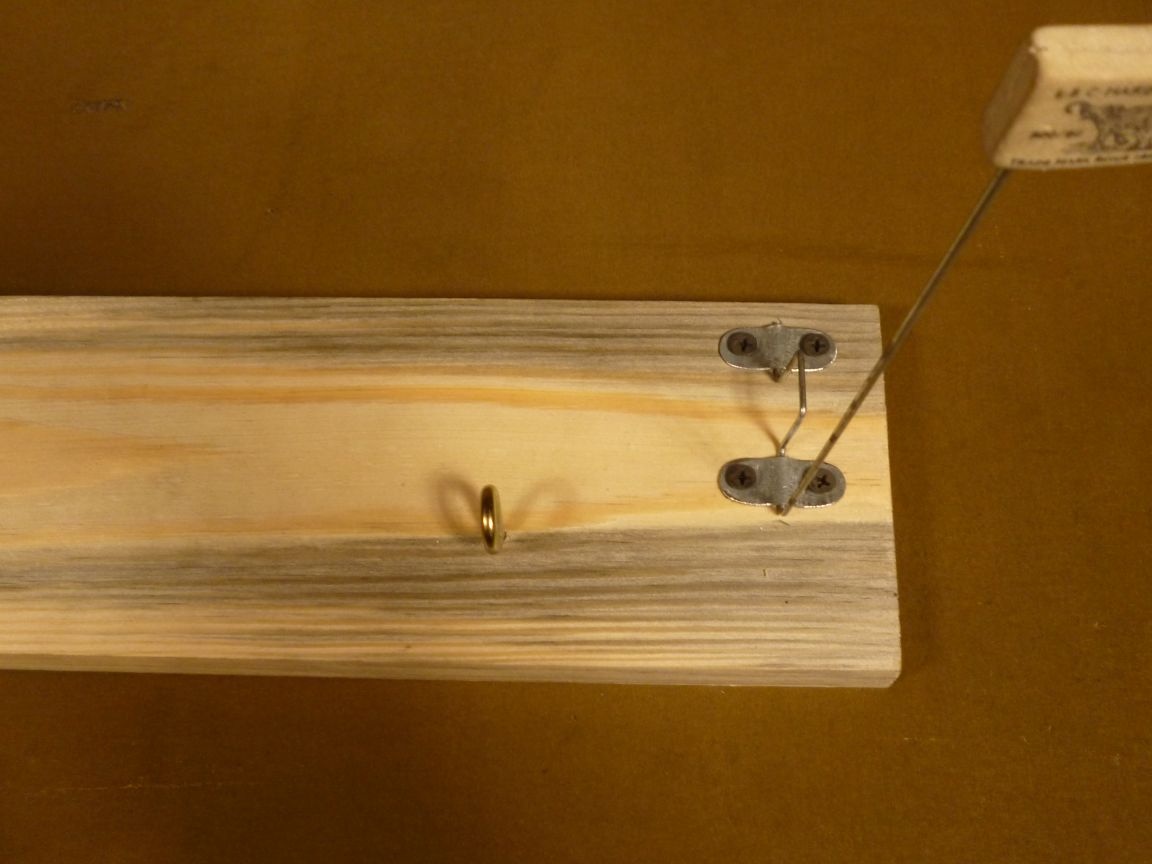
We fix all the details to the base on the screws. All the same, it is better to put one clamp on the screws and make it removable, although this is not necessary.
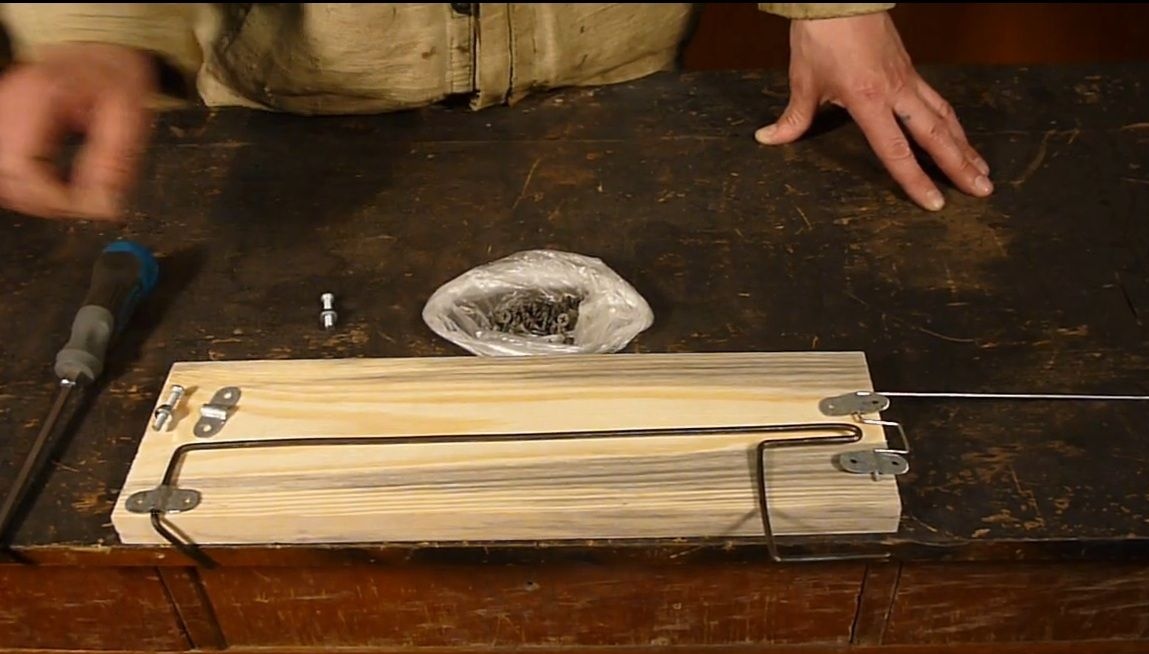
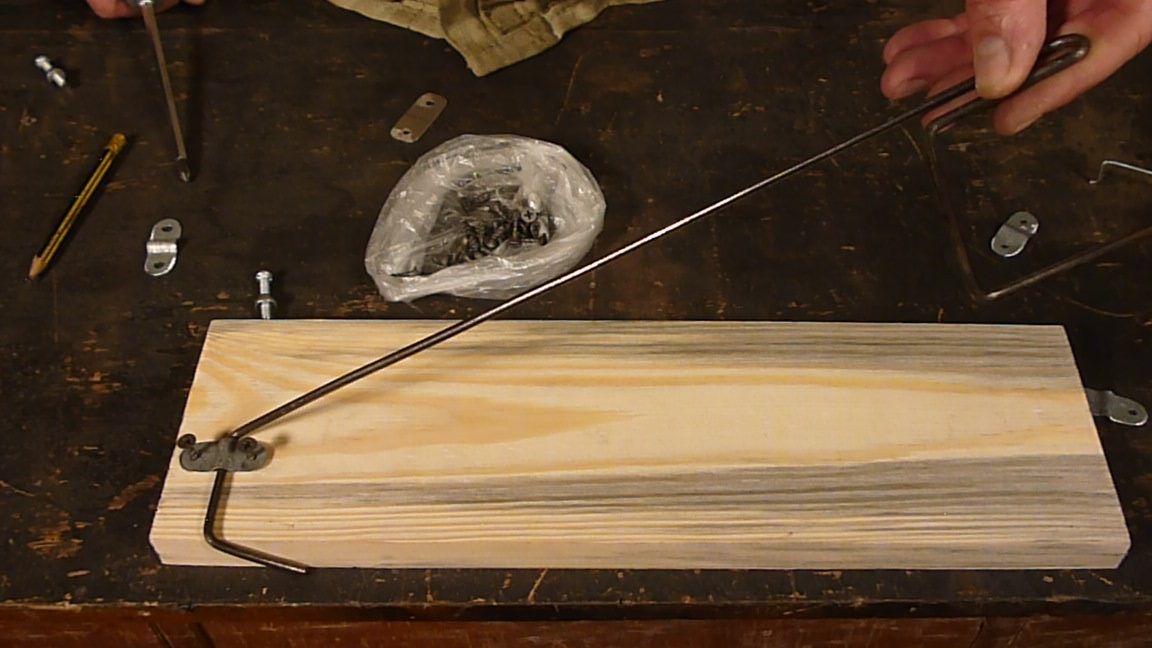
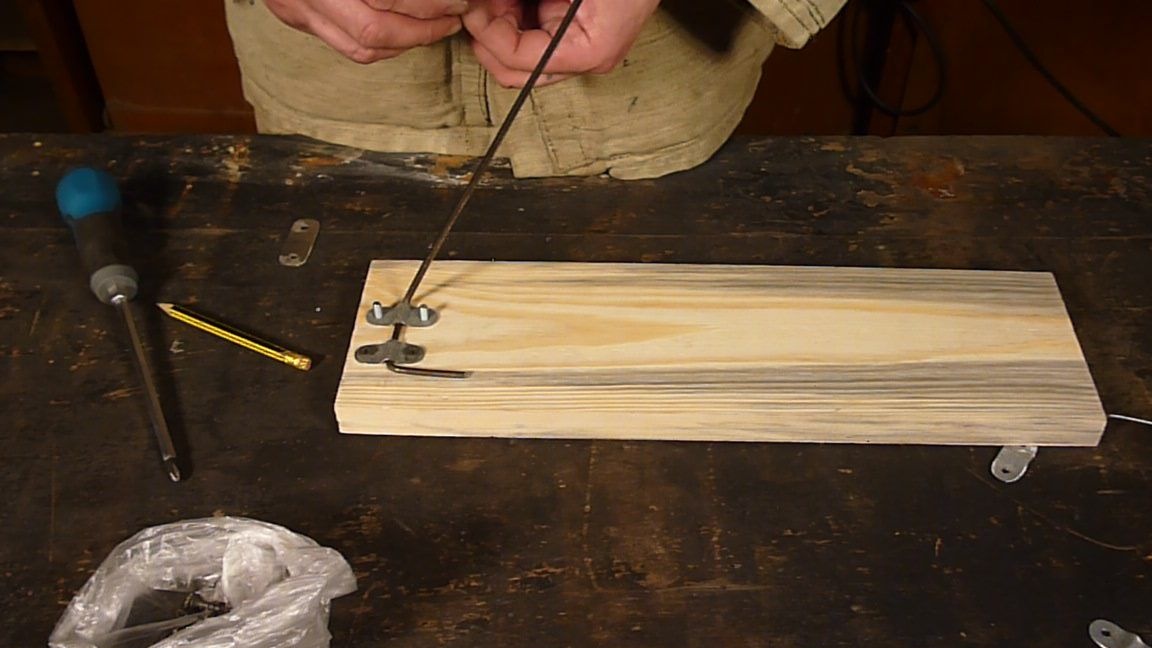
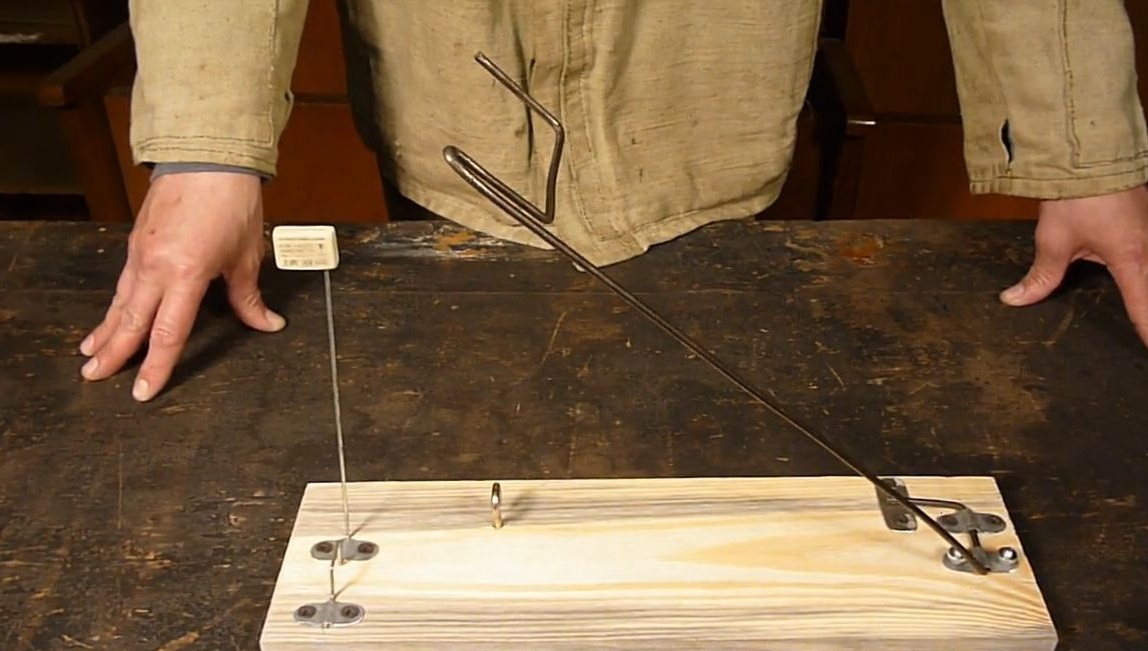
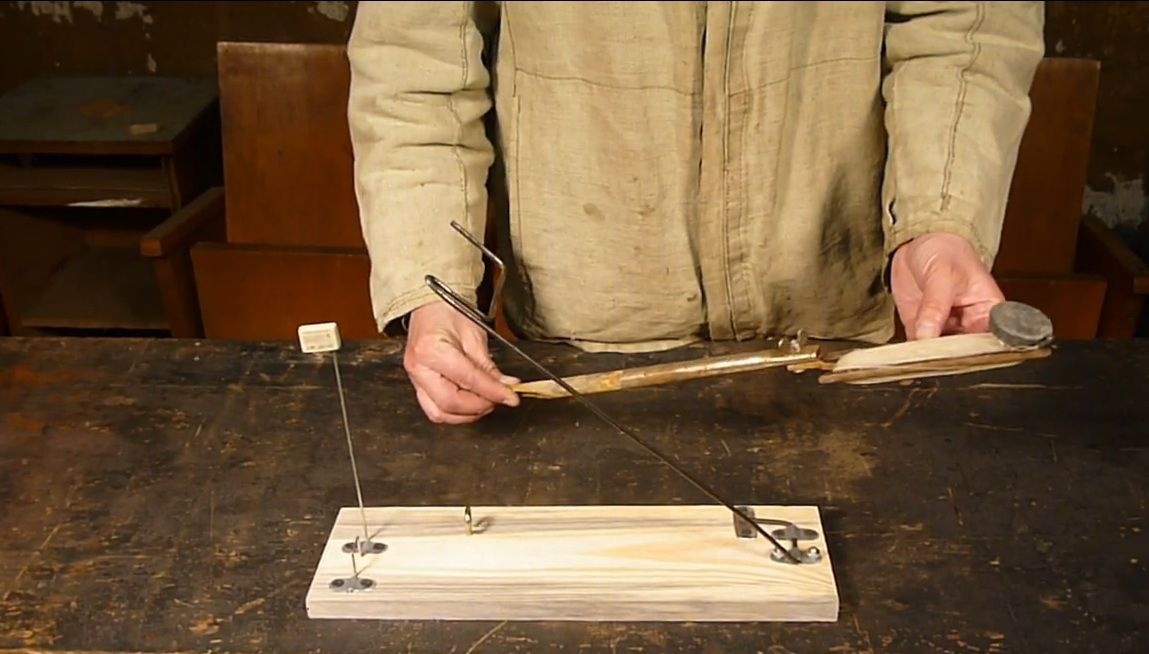
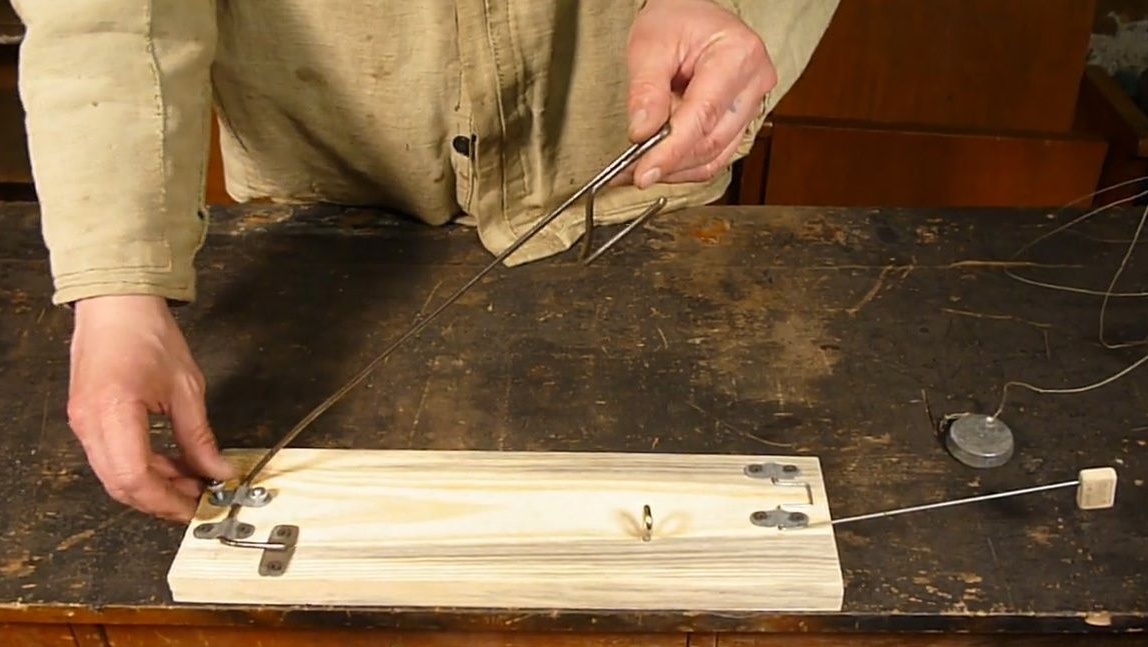
We bend the lever of the undercutter, mark the location of the gatehouse and fasten it.
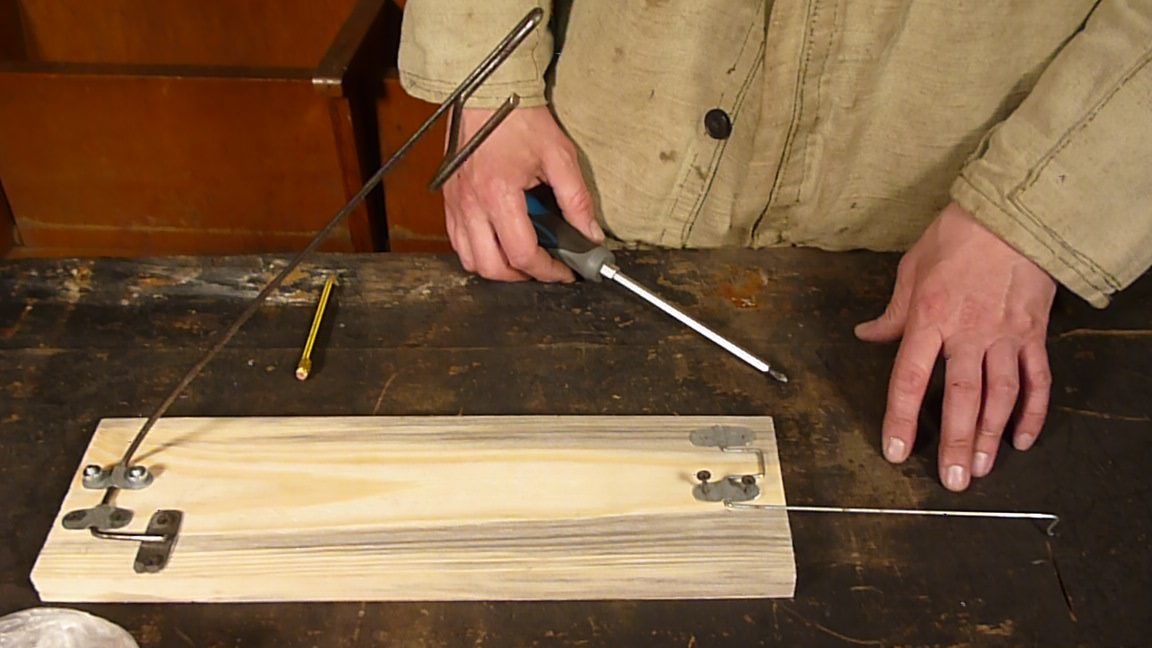
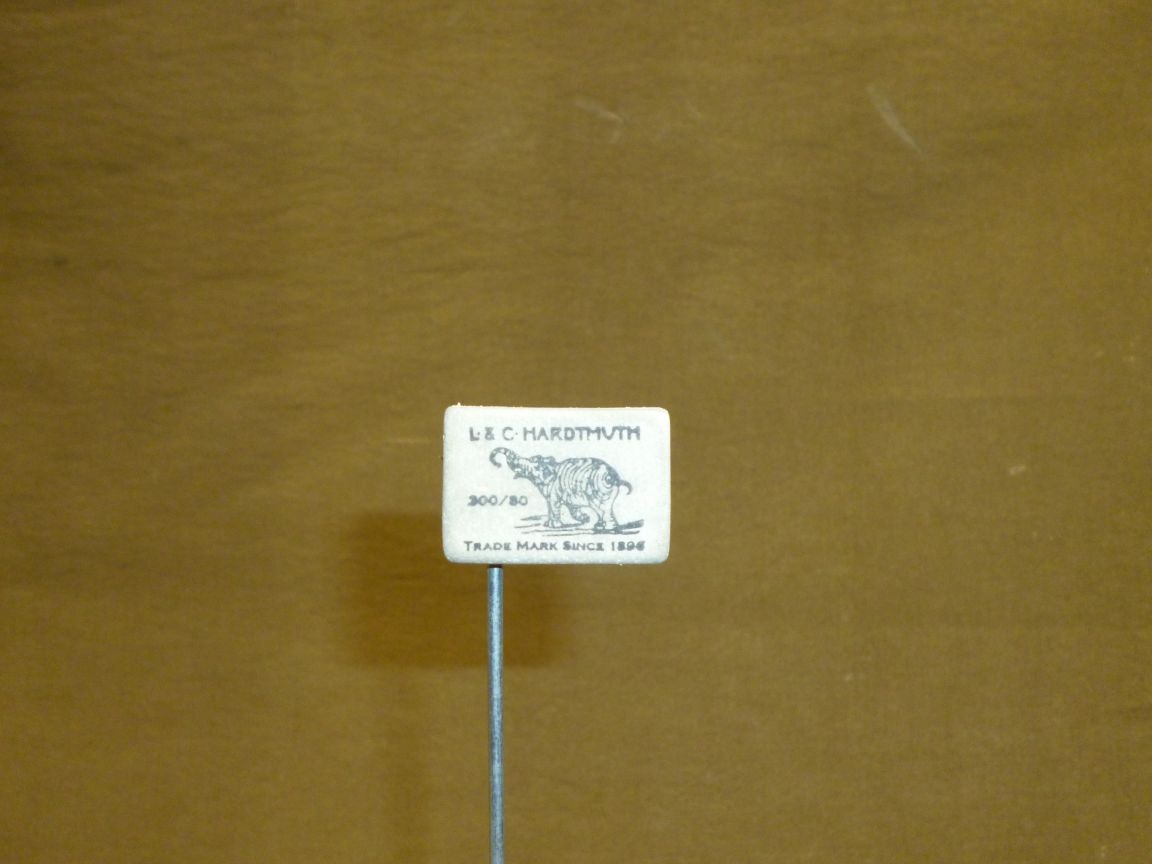
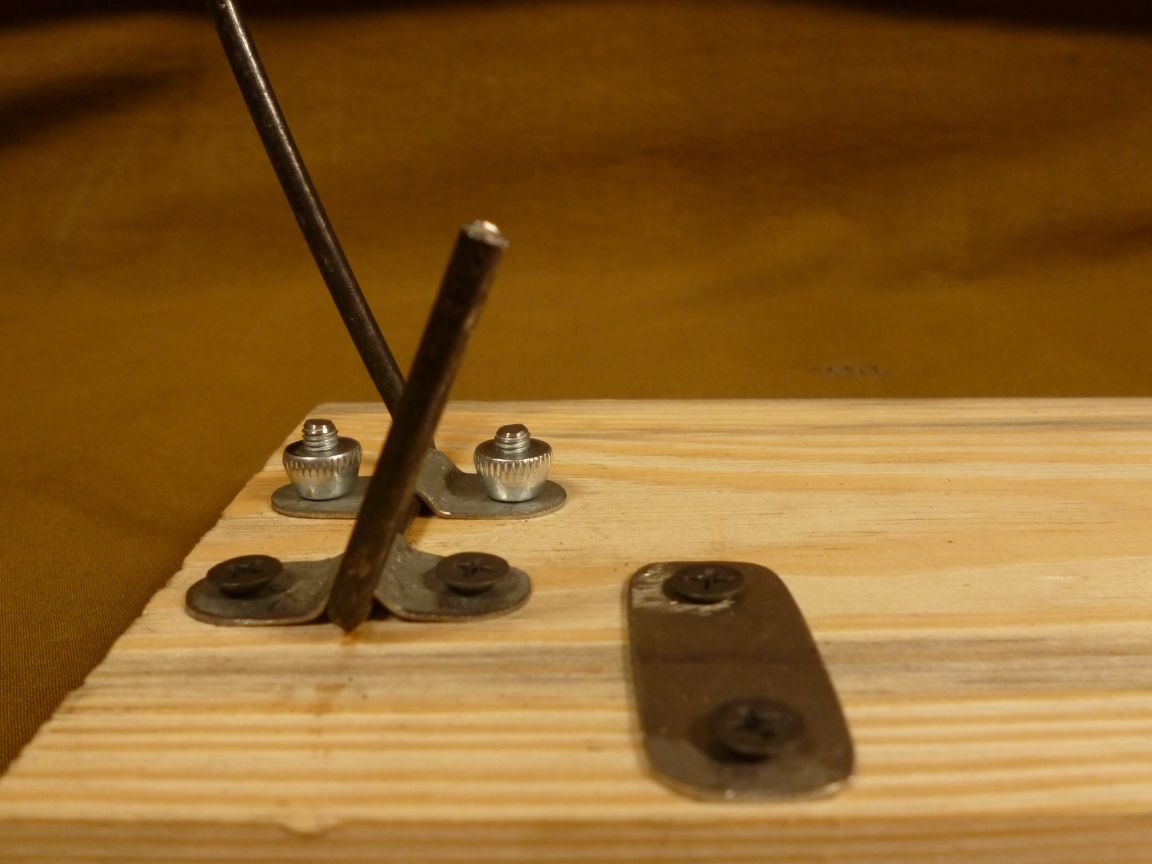
In order for the edge of the spring not to push through the board, we install one more metal plate. We install an eraser with a slot on the top of the gatehouse to fix the fishing line or cord.
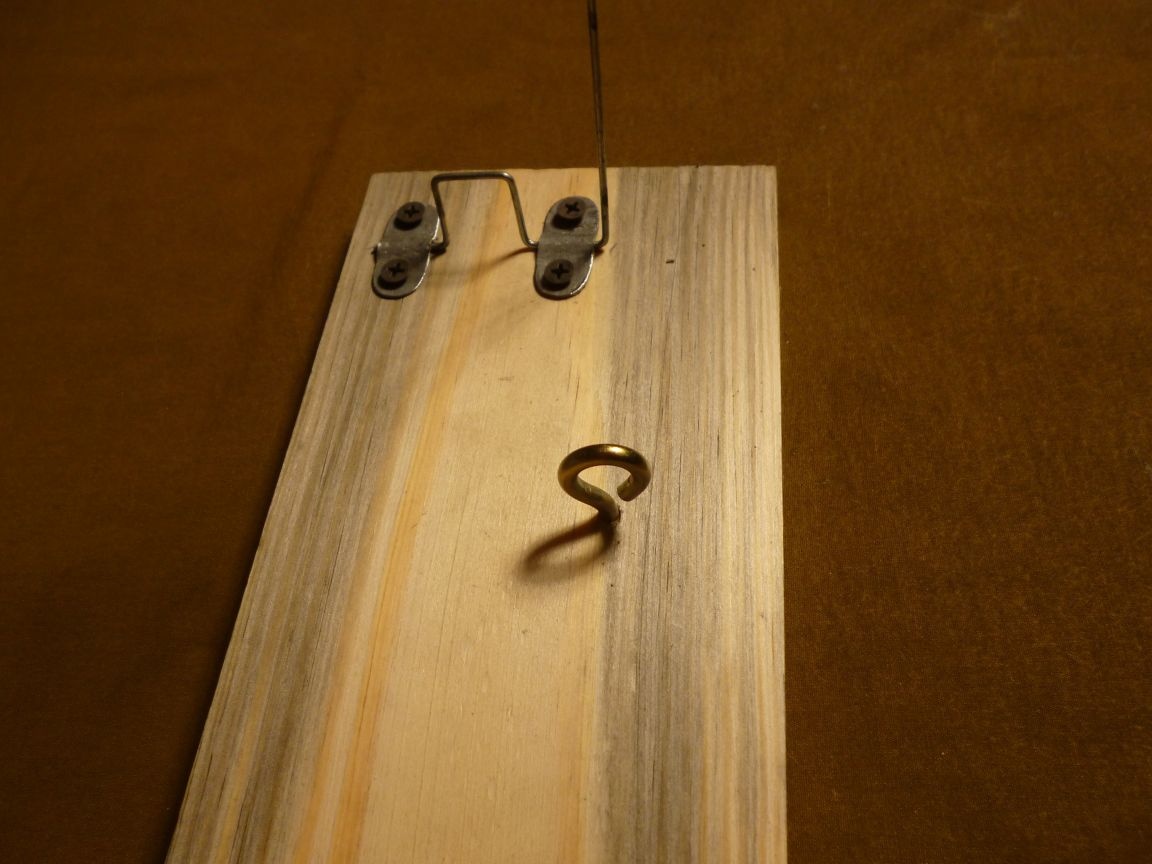
The self-protector is almost ready, it remains to install another part, without which it will not work. Here is a hook.
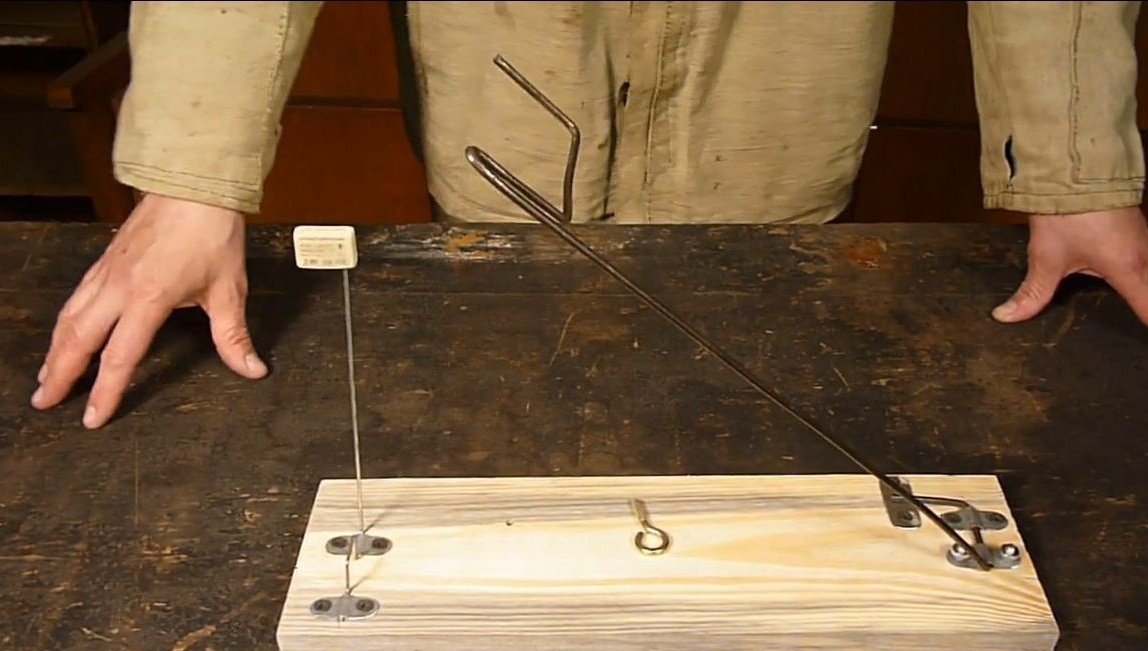
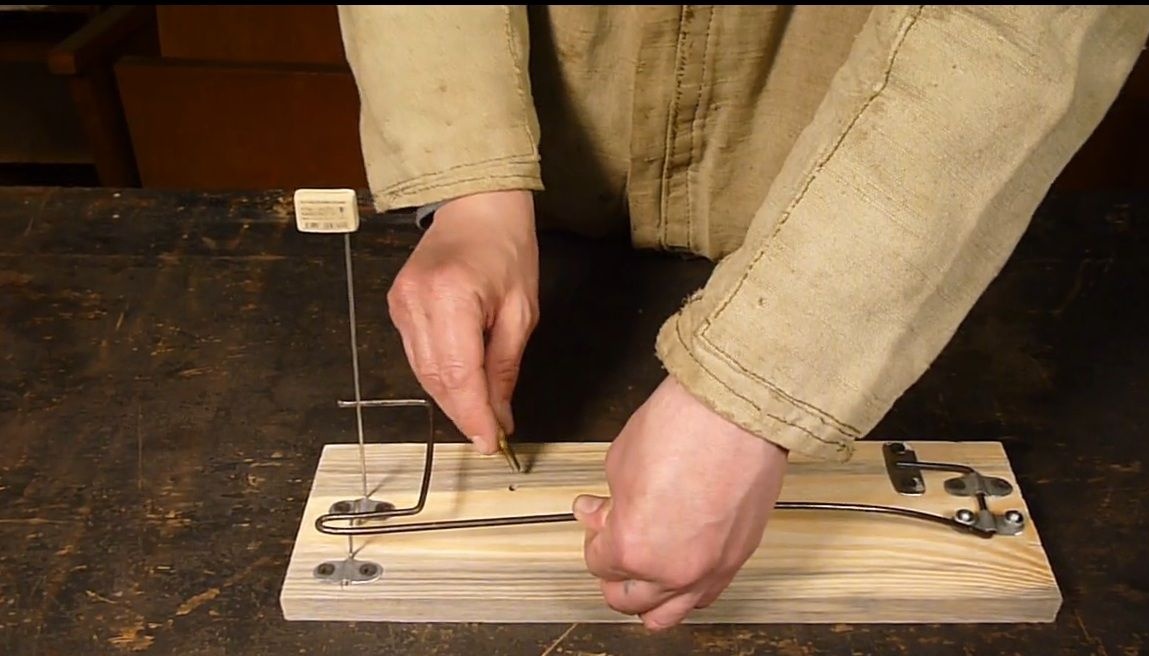
It can be bent from a nail and driven into the base. We found the finished one and screw it into the base in the center of the scaffold.
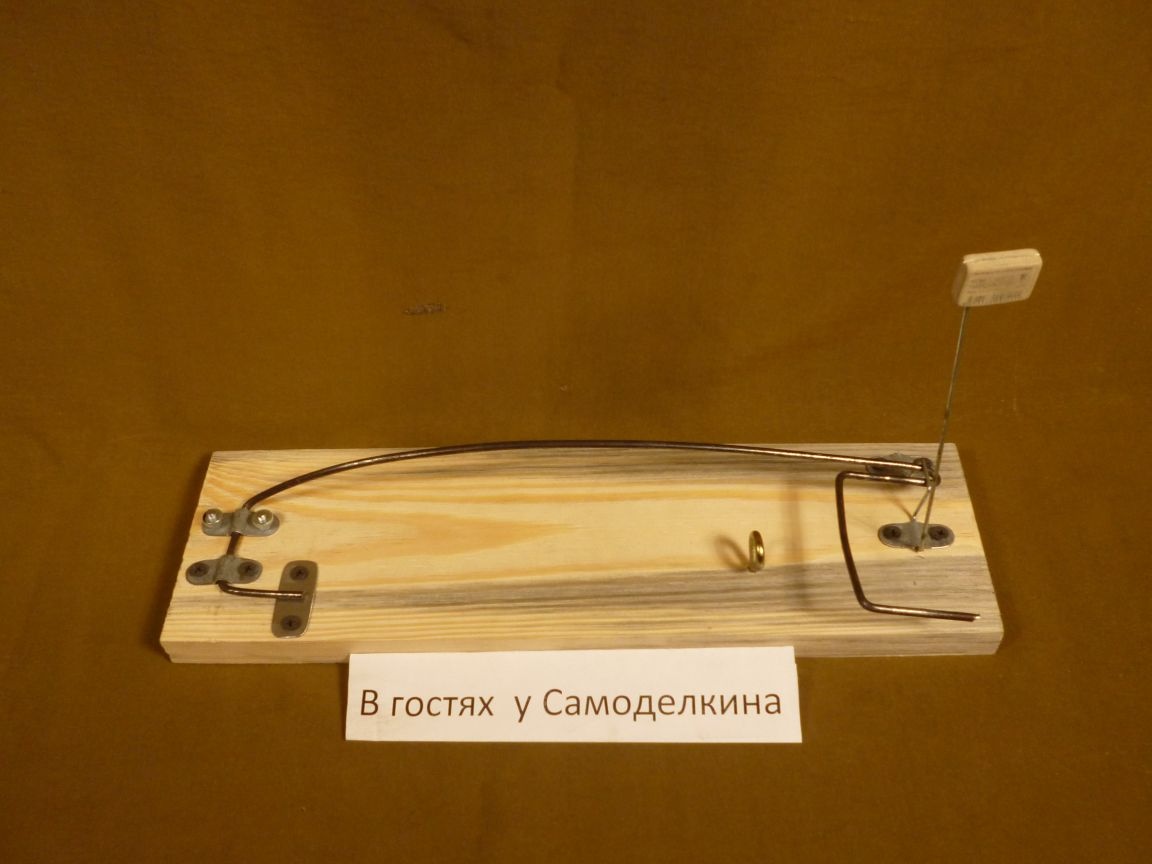
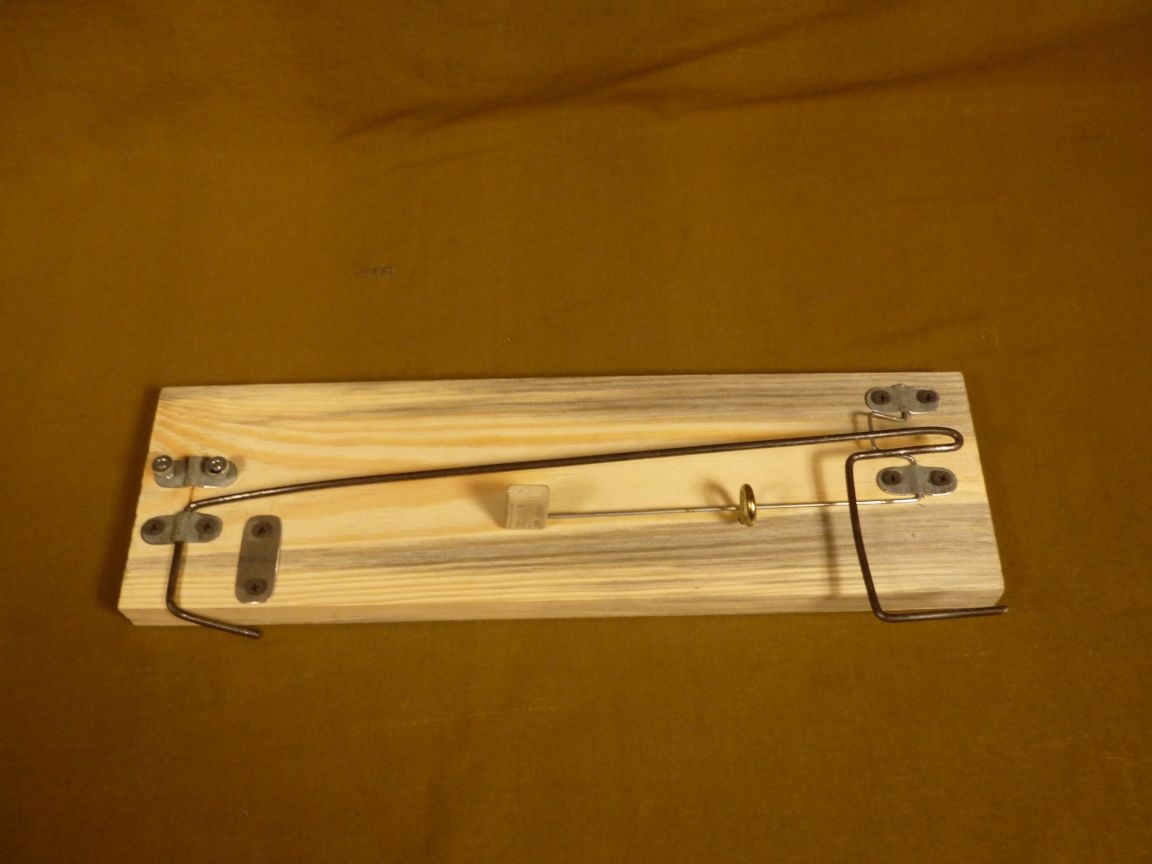
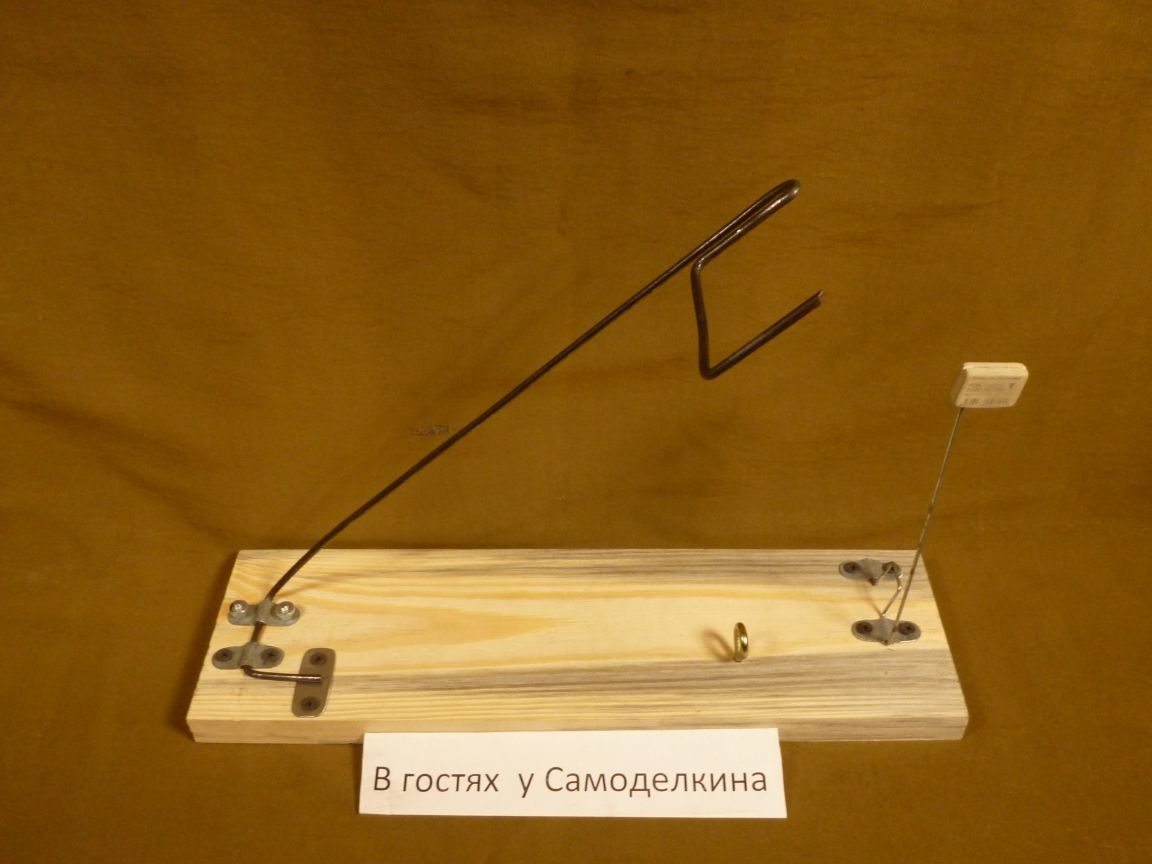
Our chopper is ready to go.
A little tip. In order to avoid accidental operation of the undercutter when alert, it can be fixed with a nail, for example.
This sub-hook design is designed for bottom gear such as a dummy or elastic band.
The principle of work is this. Throw the tackle into the water, alert and fix the hooker, thread the fishing line into the hook.
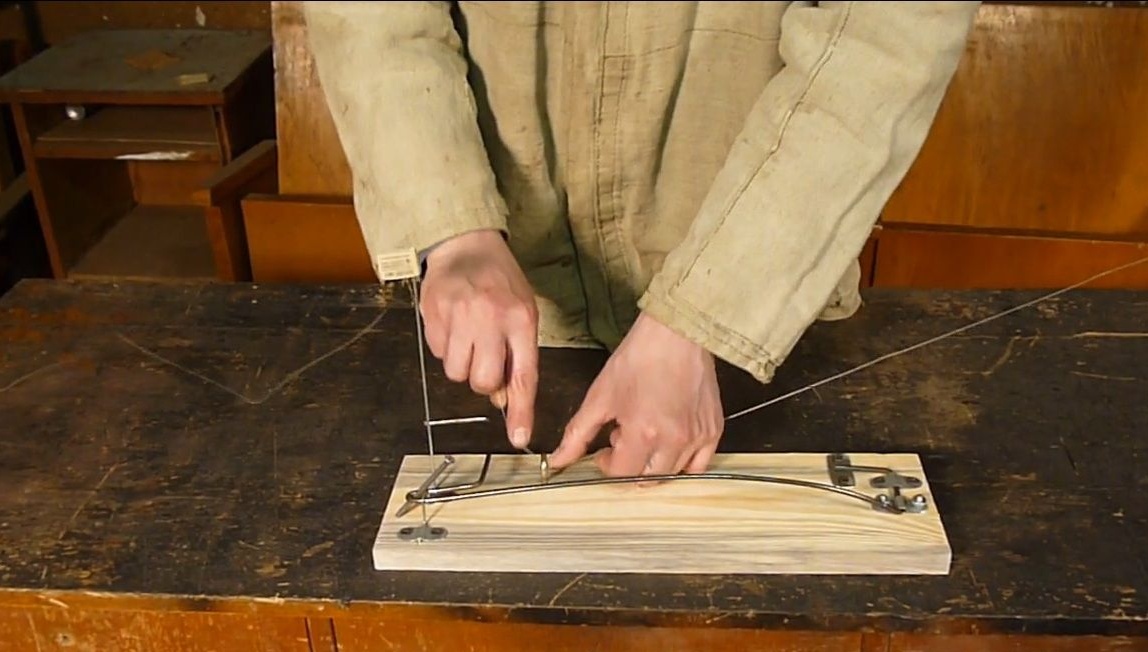
We fix in the slot of the eraser.
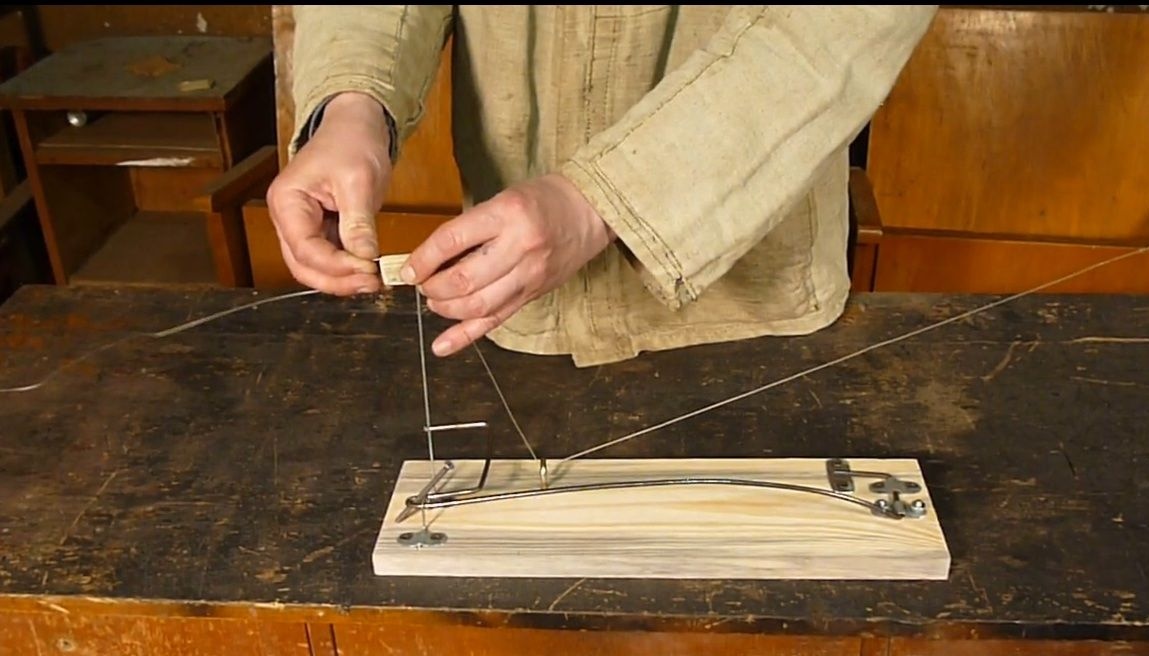
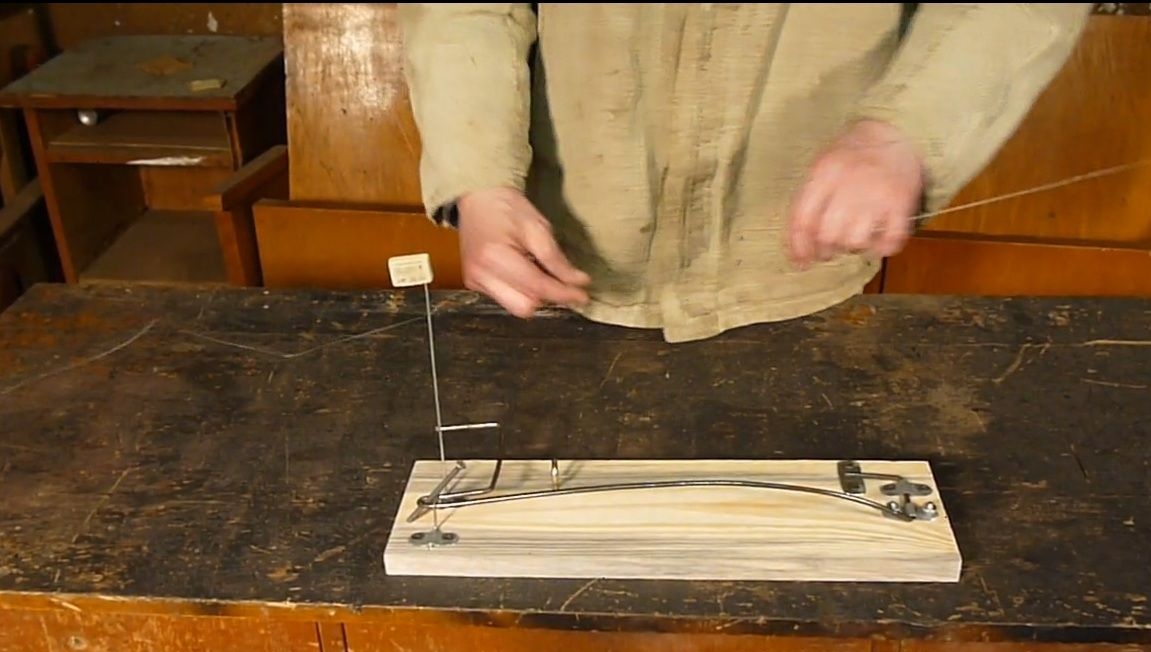
Remove the latch and wait for the bite.
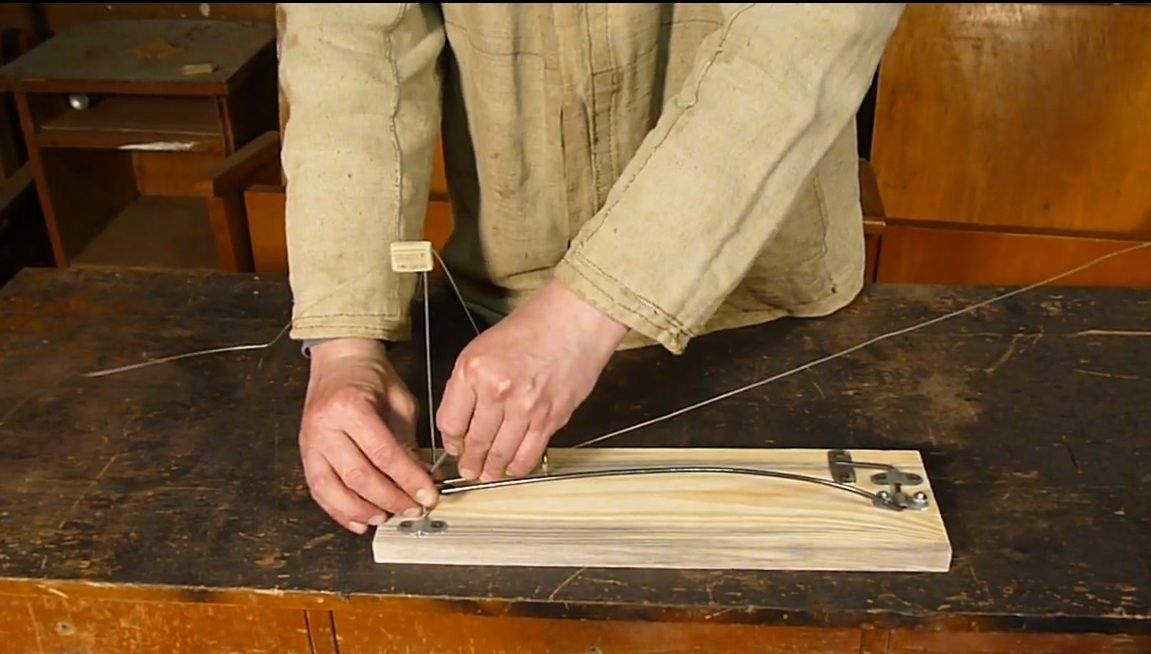
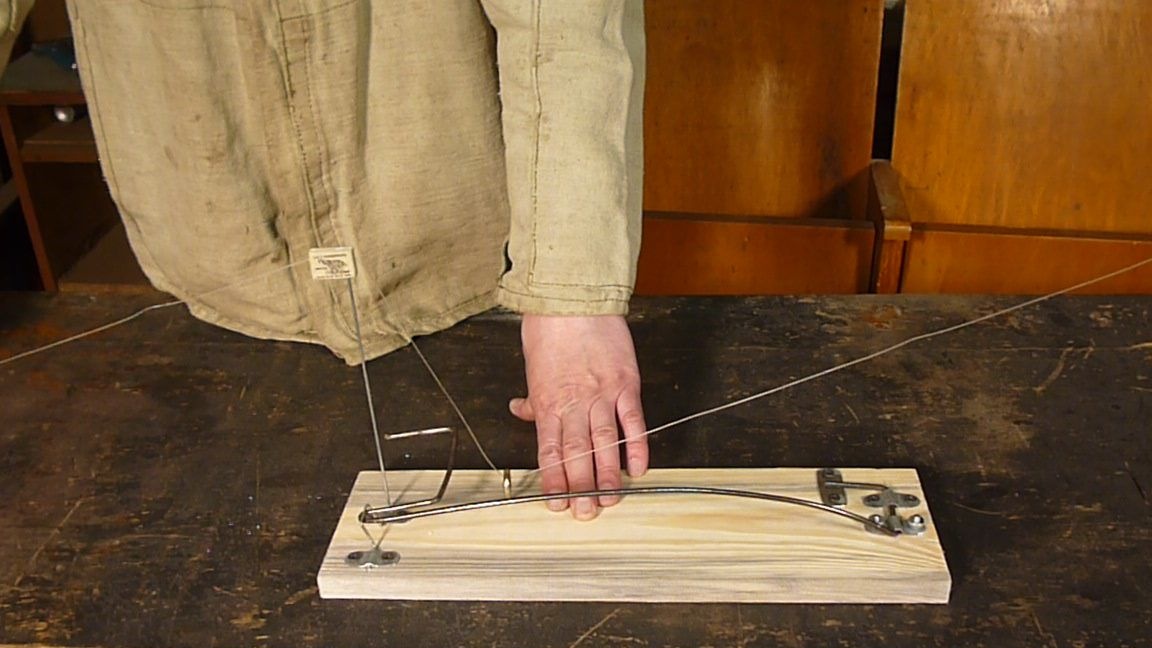
At the moment of bite, the gatehouse disengages and a spring is activated. Fish on the hook!
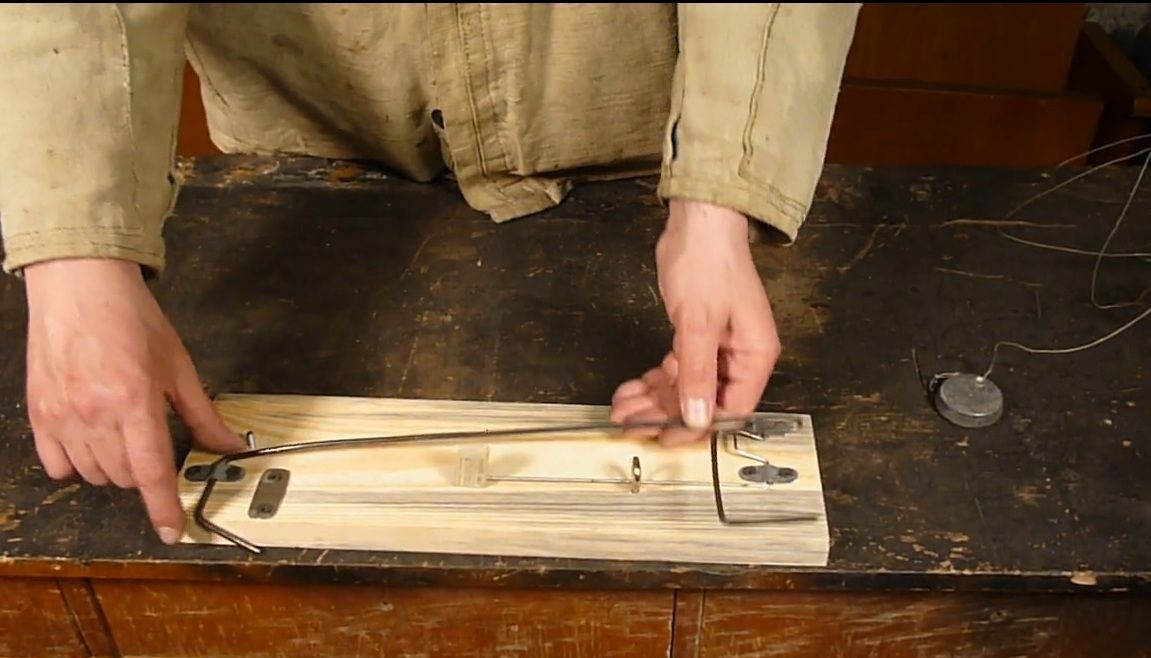
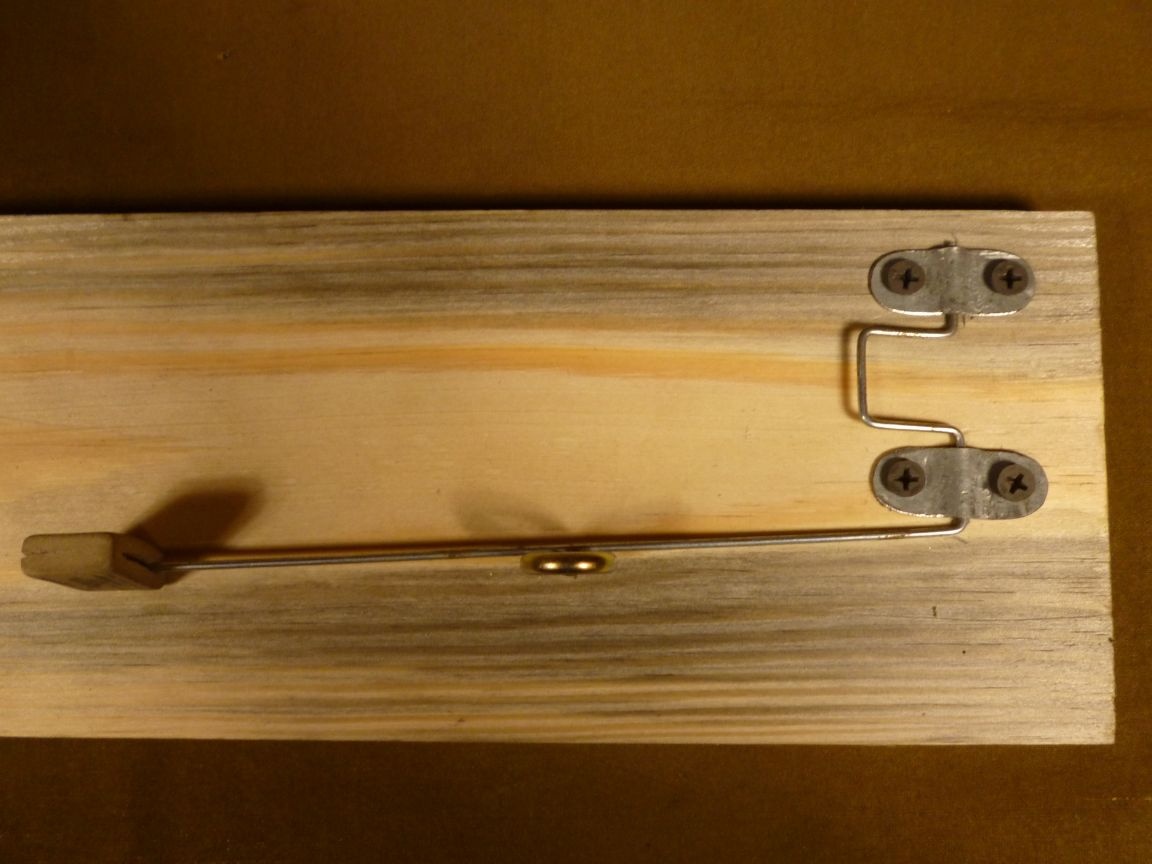
One clamp was made removable so that the undercutter lever could be folded up and it was convenient to transport it. Unscrew the clamp, shift the lever to the edge of the base and put the clamp in place.

Nodes in more detail.
No tail, no scales!
Watch the video about making a mono self-guide here.