

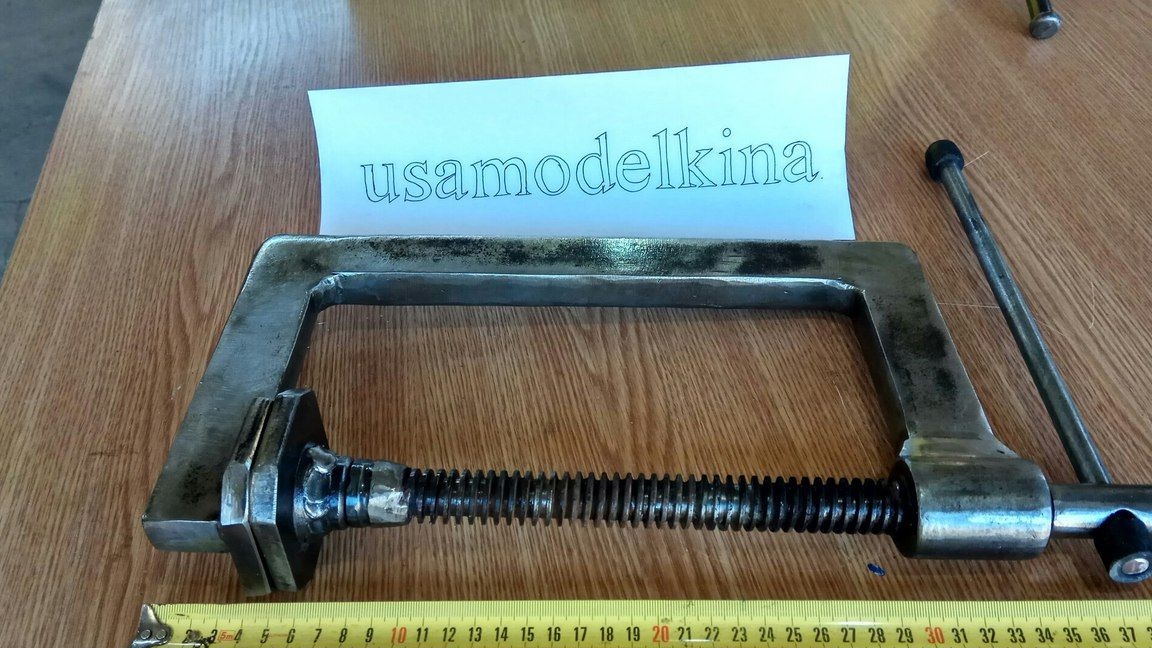
Hello to all lovers homemade. I am sure that those who are at least somehow connected with homemade products know that there is such an indispensable tool as a clamp. With it, you can fix the necessary part during processing or press the glued surfaces together, as well as drill a hole by pressing the part against the workbench. There are many varieties of this tool, but in this article I will talk about how to make a G-shaped clamp do it yourself from the spring.
Materials for this homemade product do not "hit" afford, and in the best case, they can be bought for a penny on a metal receiver.
Before proceeding to read the description of the assembly of the homemade product, I suggest watching a video that shows the entire production process with an analysis of all the details.
In order to make a clamp from a spring with your own hands, you will need:
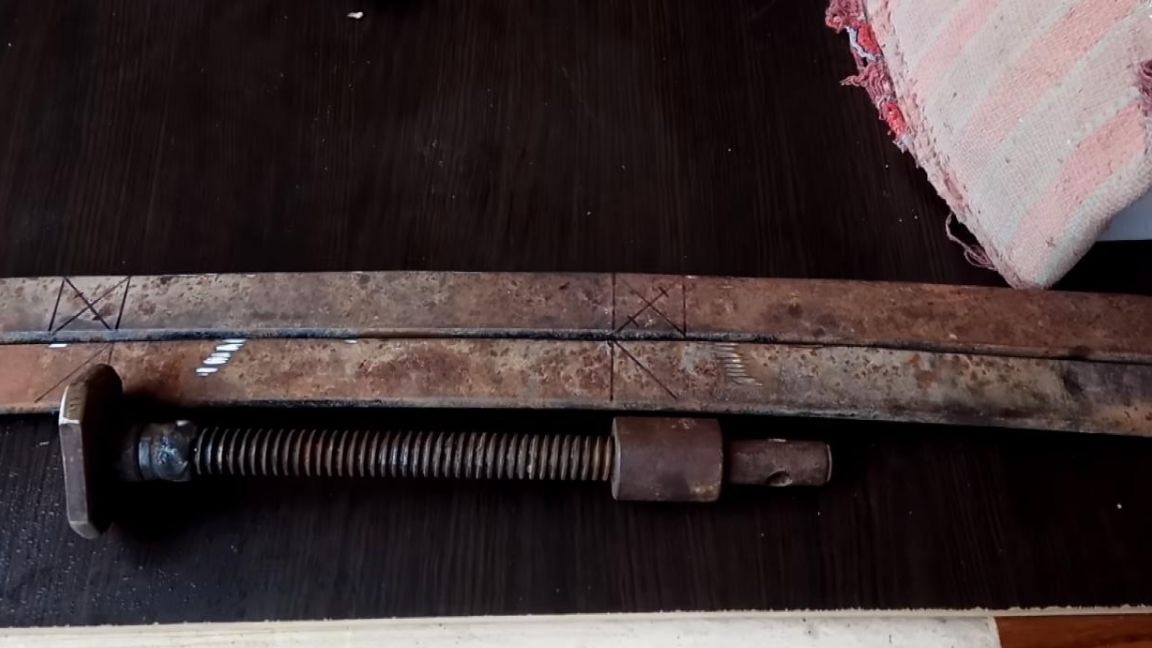
* Spring, in this case, a width of 75 mm and a thickness of 10 mm
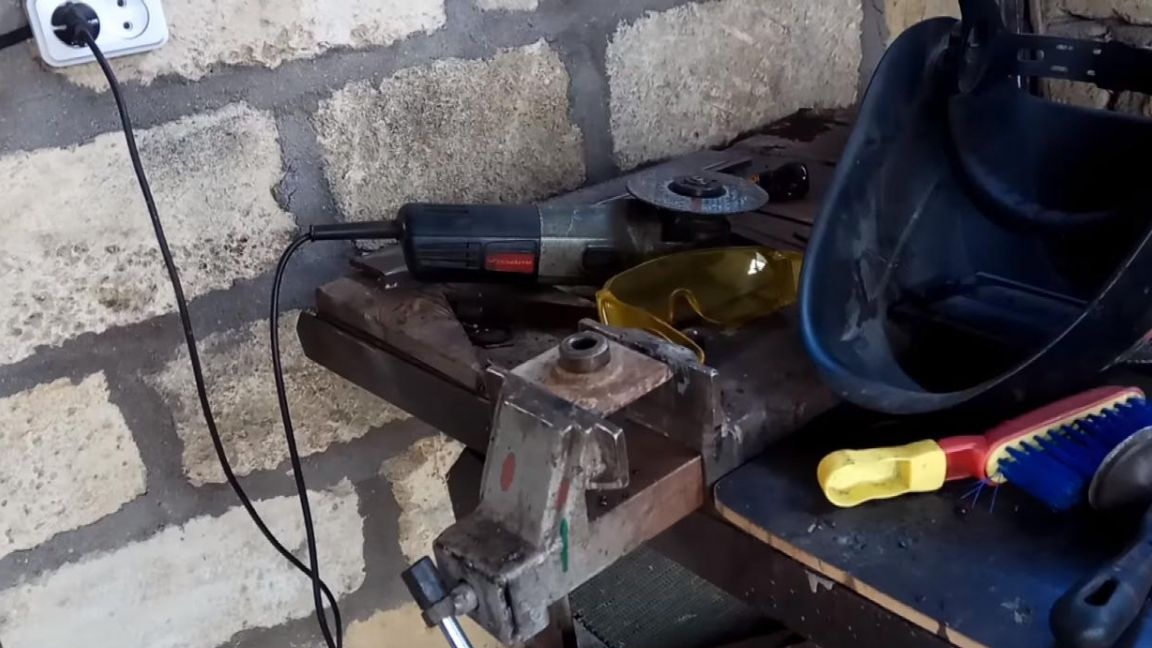
* Welding machine, electrodes
* Protective welding mask, gaiters
* Vise
* Angle grinder
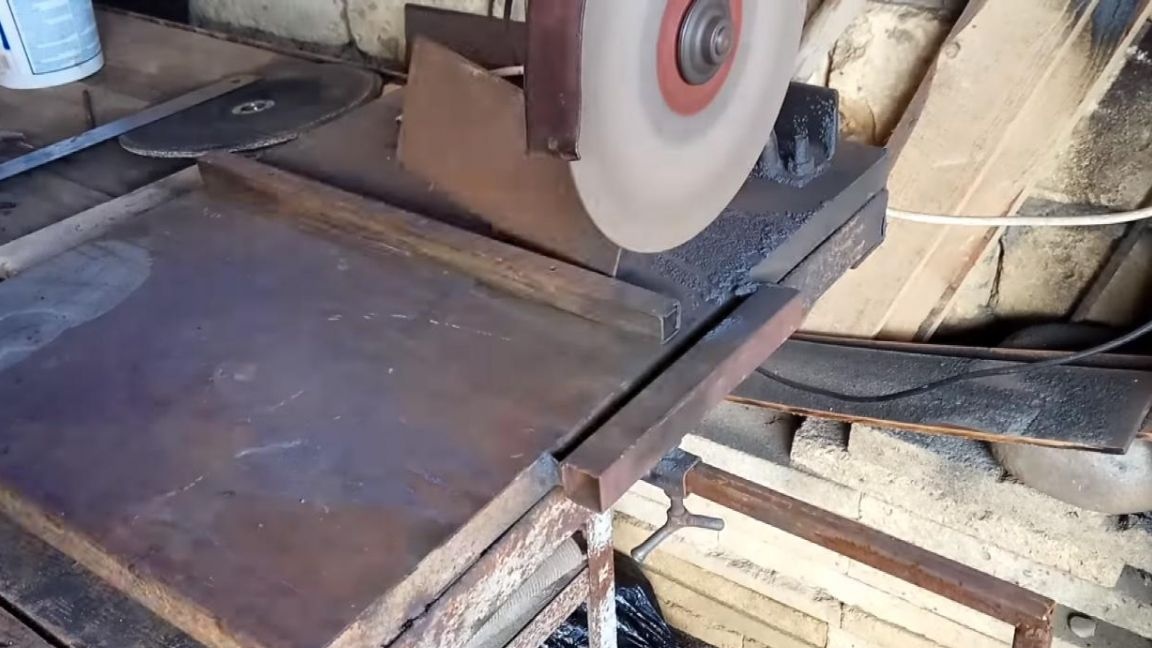
* Metal cutting machine
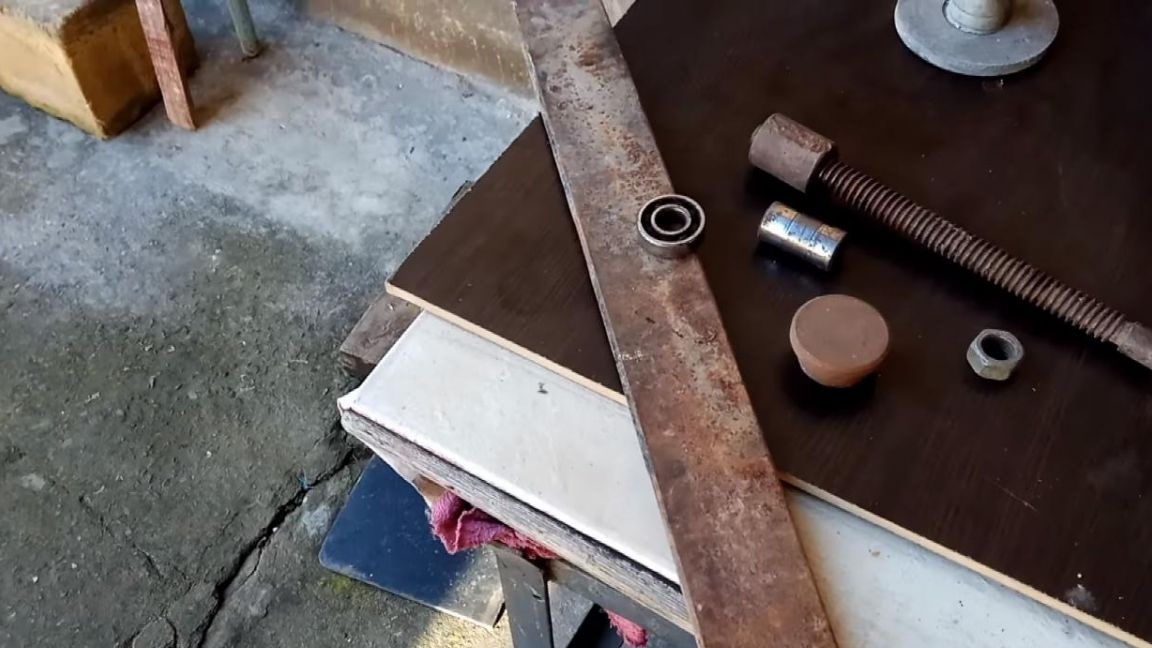
* Radial bearing
* Piston pin
* Tap
* Screw with nut, preferably from a jack
* Cutting and grinding wheel for angle grinder
That's all that will help in assembling the clamp, we also do not forget about the presence of straight arms and little experience with working with a power tool.
Step one.
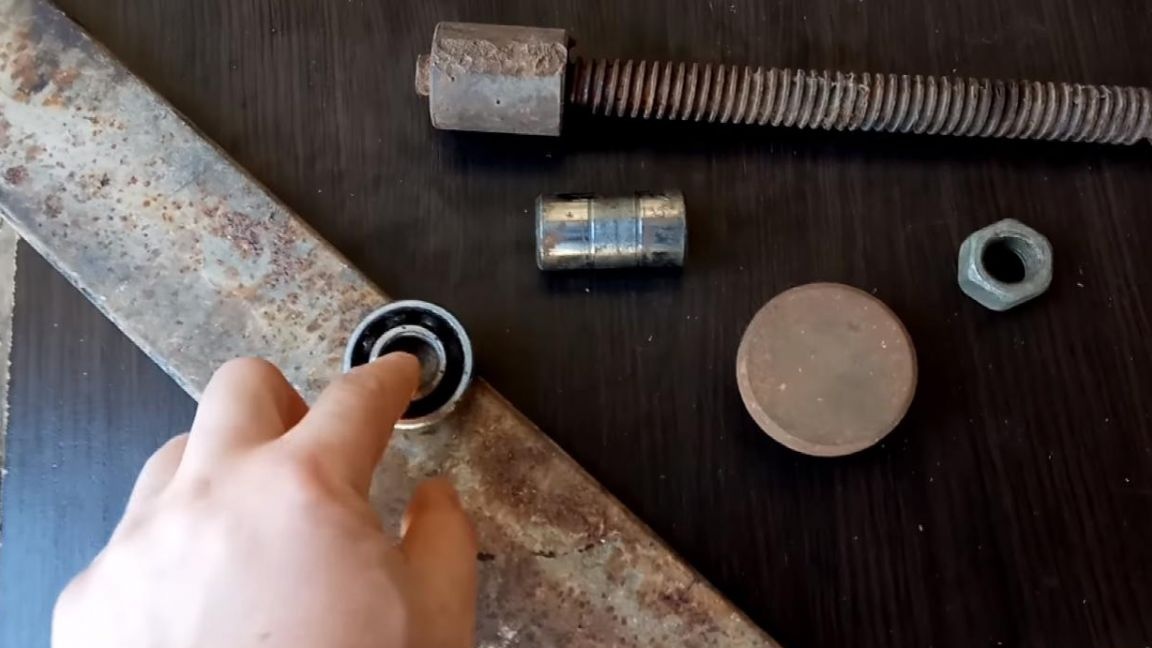
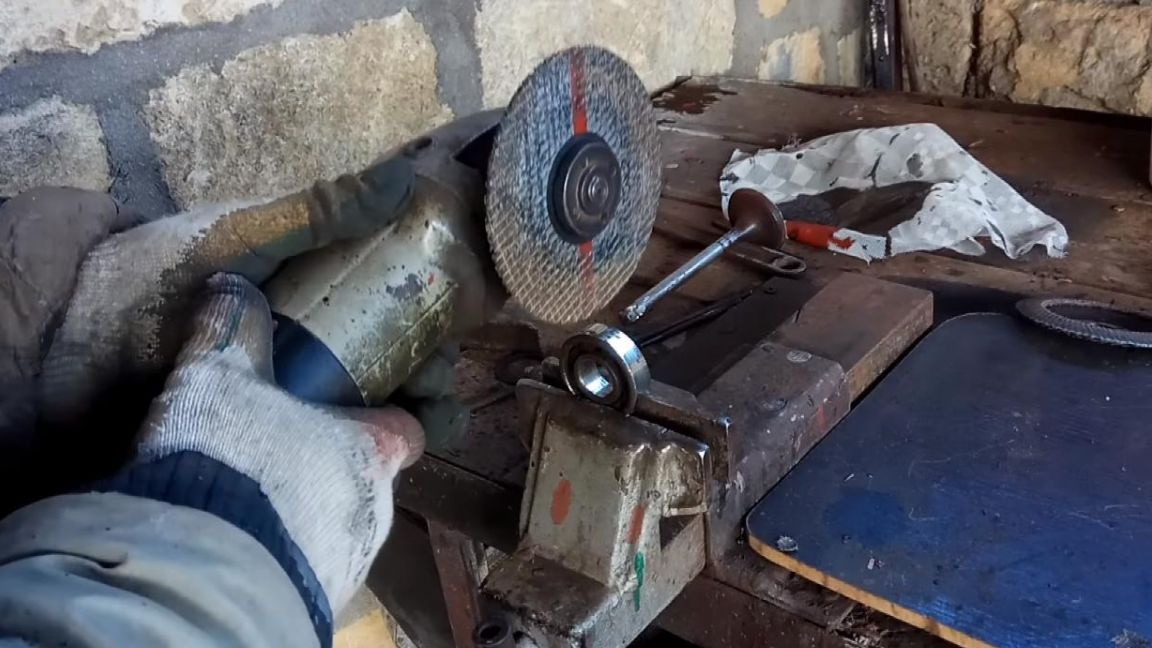
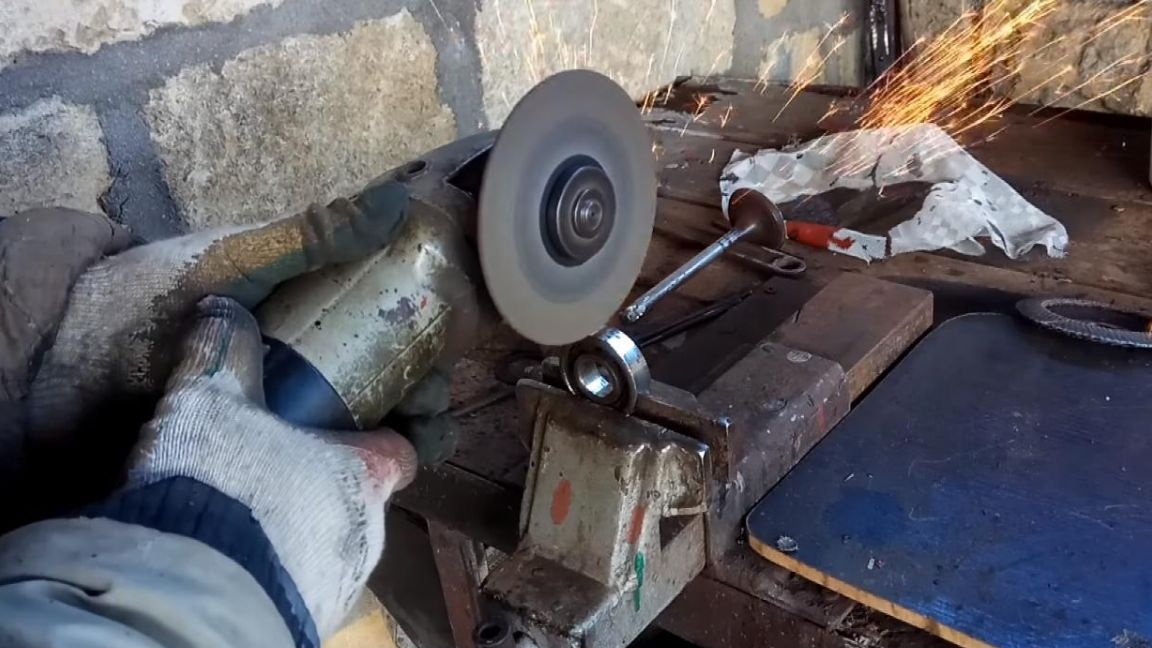
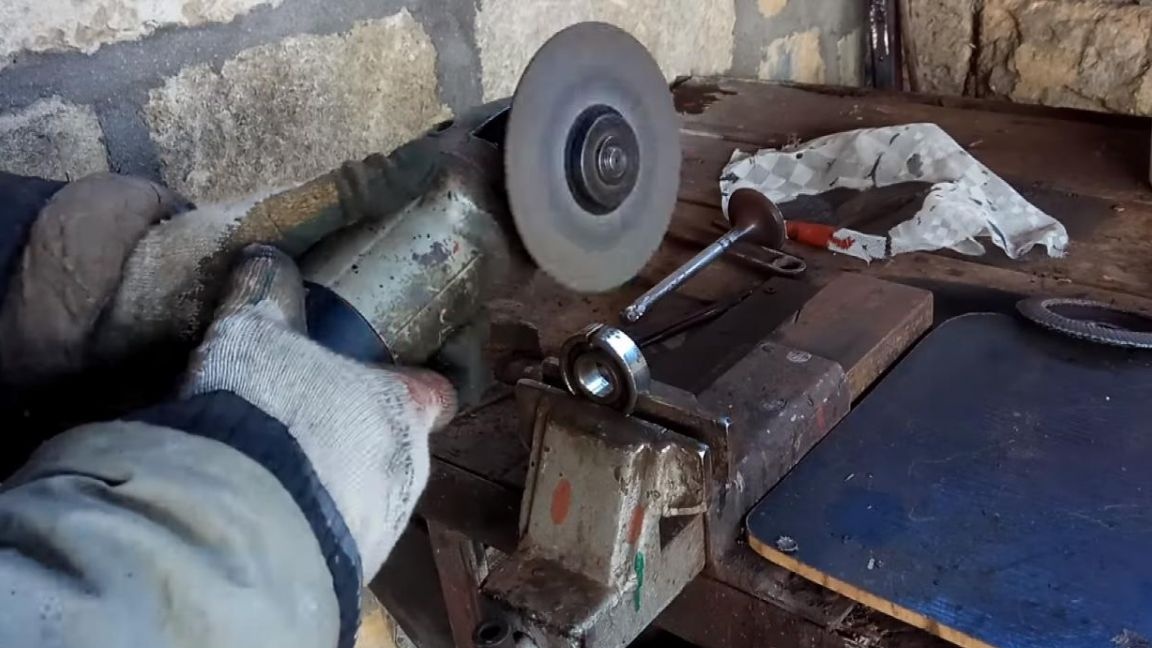
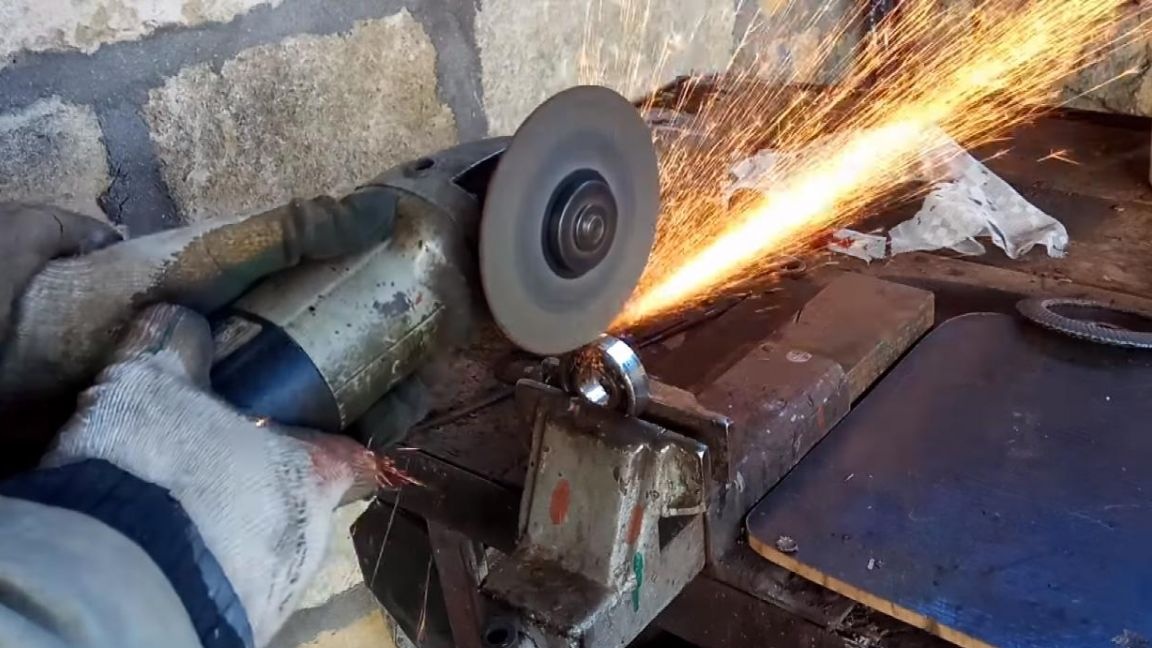
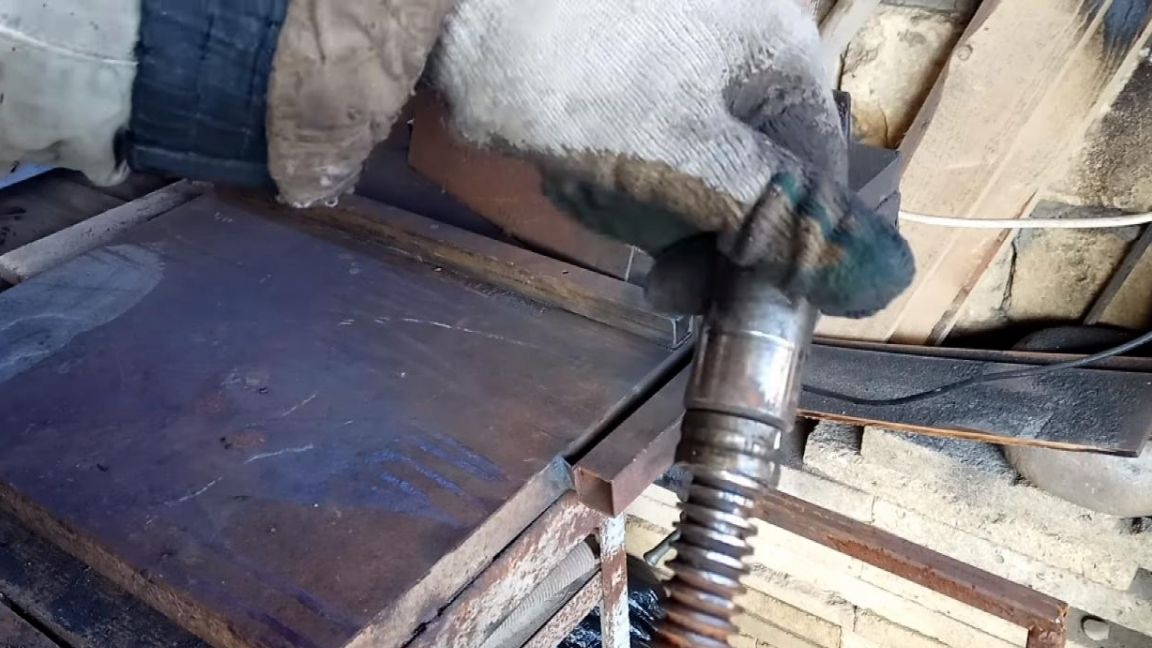
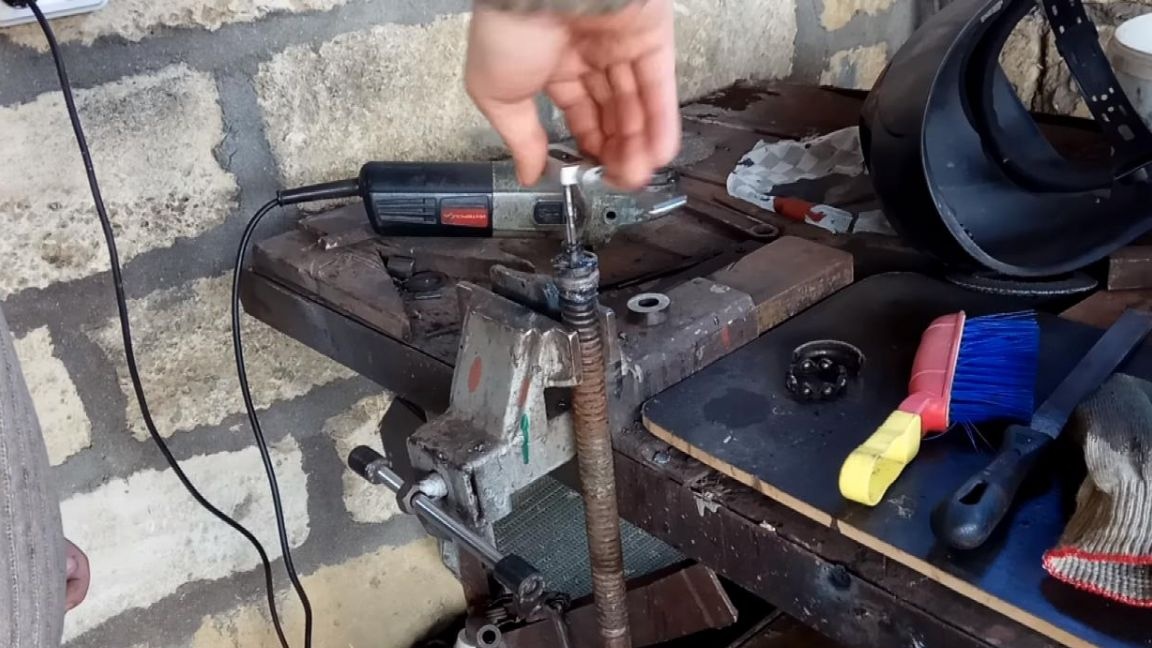
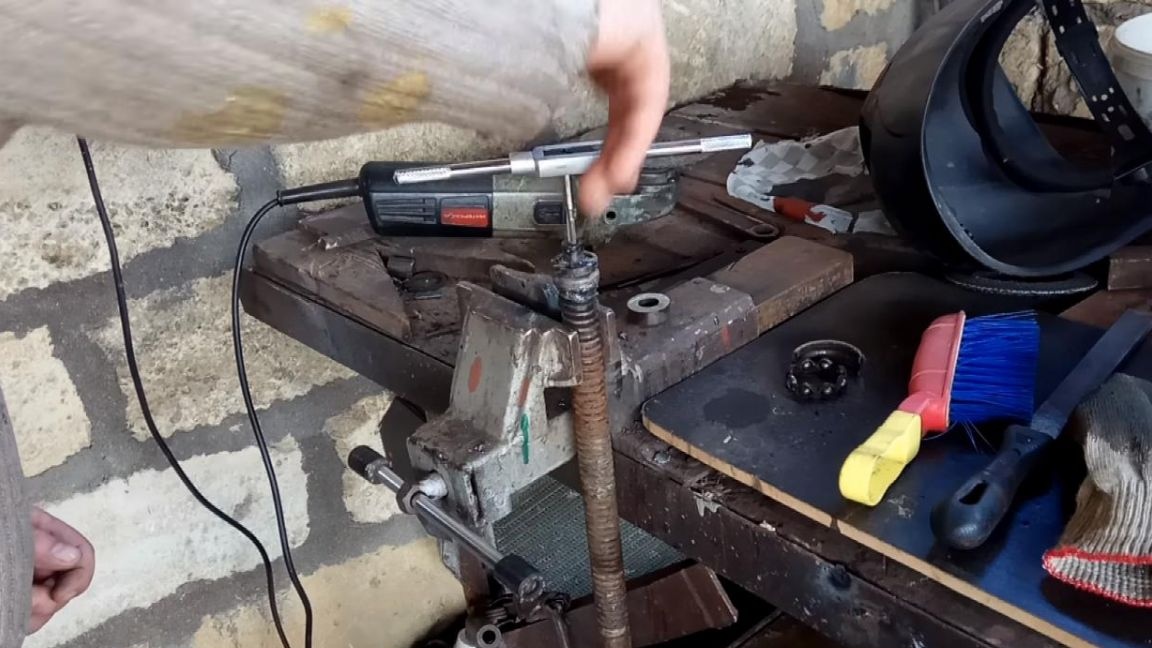
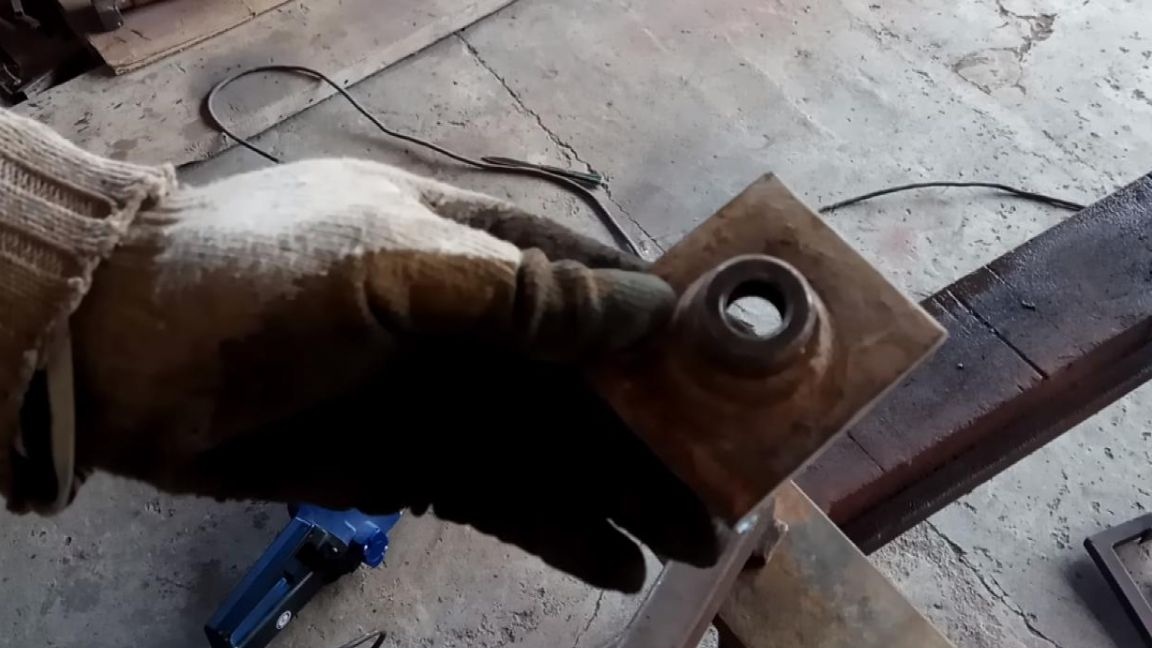
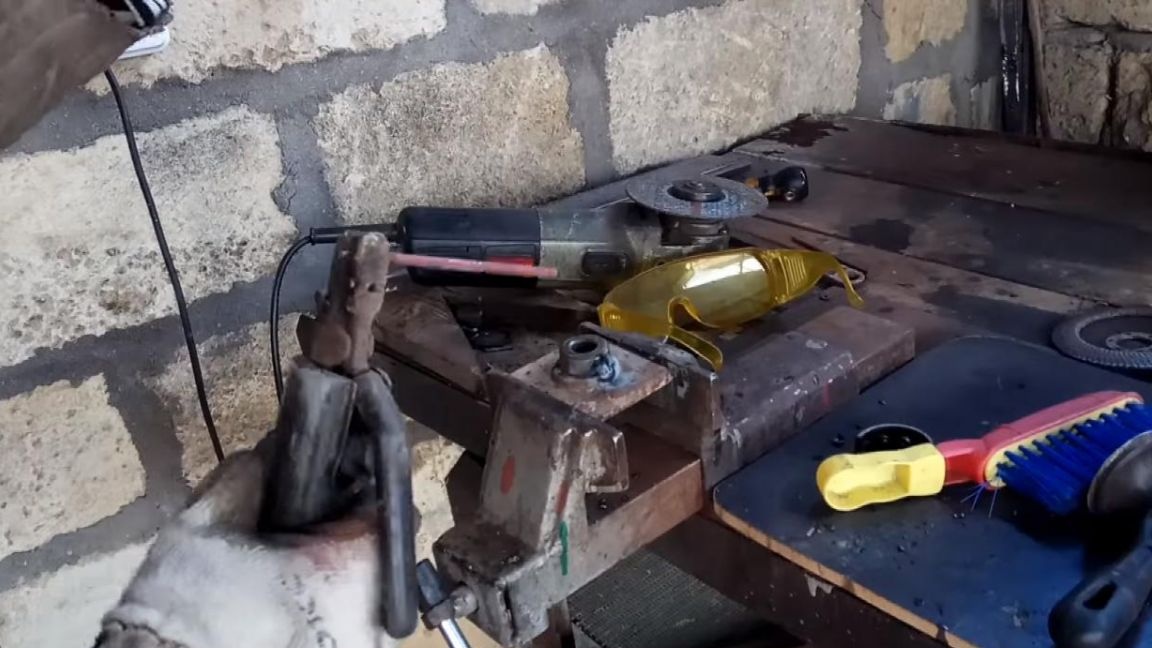
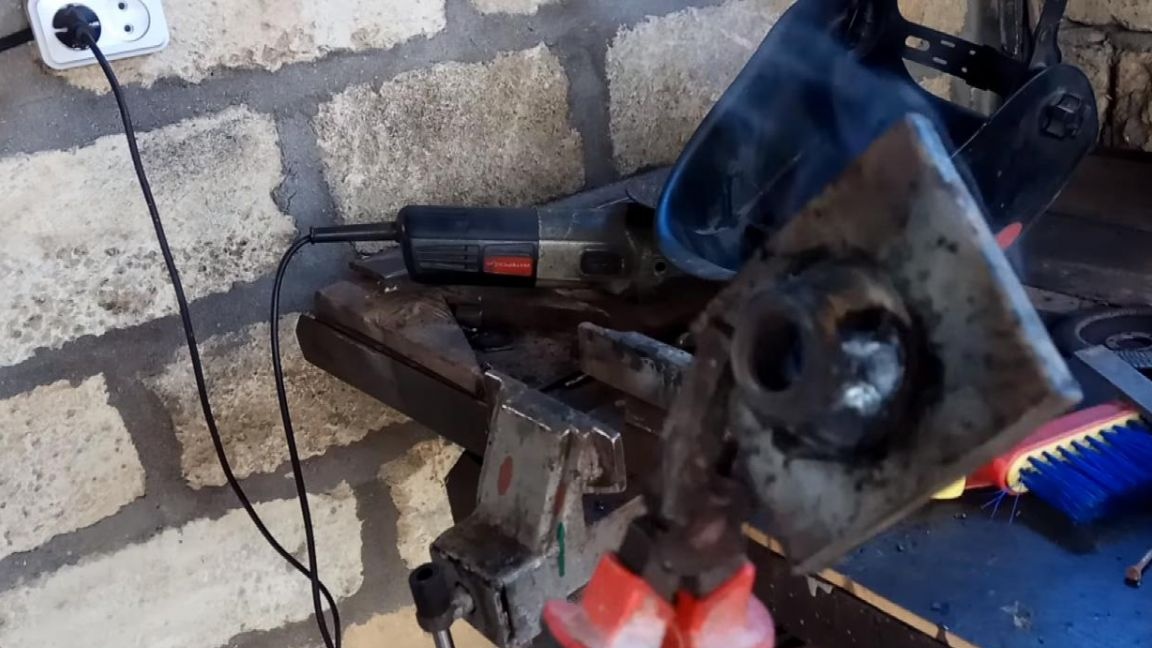
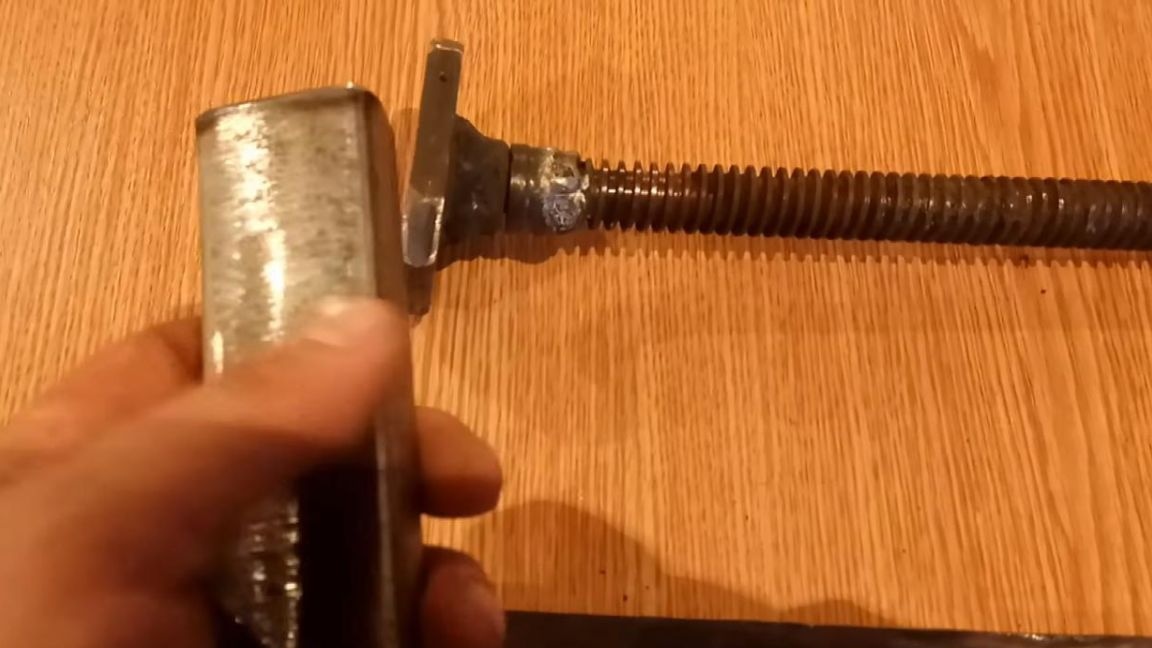
The first thing you need to do is the movable mechanism of the pressure plate. This is done so that when clamping with this clamp, the pressure plate does not rotate with the screw and does not leave circular marks on the pressed part, and therefore does not rub it. For these purposes, it was decided to take the inner race of the radial bearing and install on the screw.
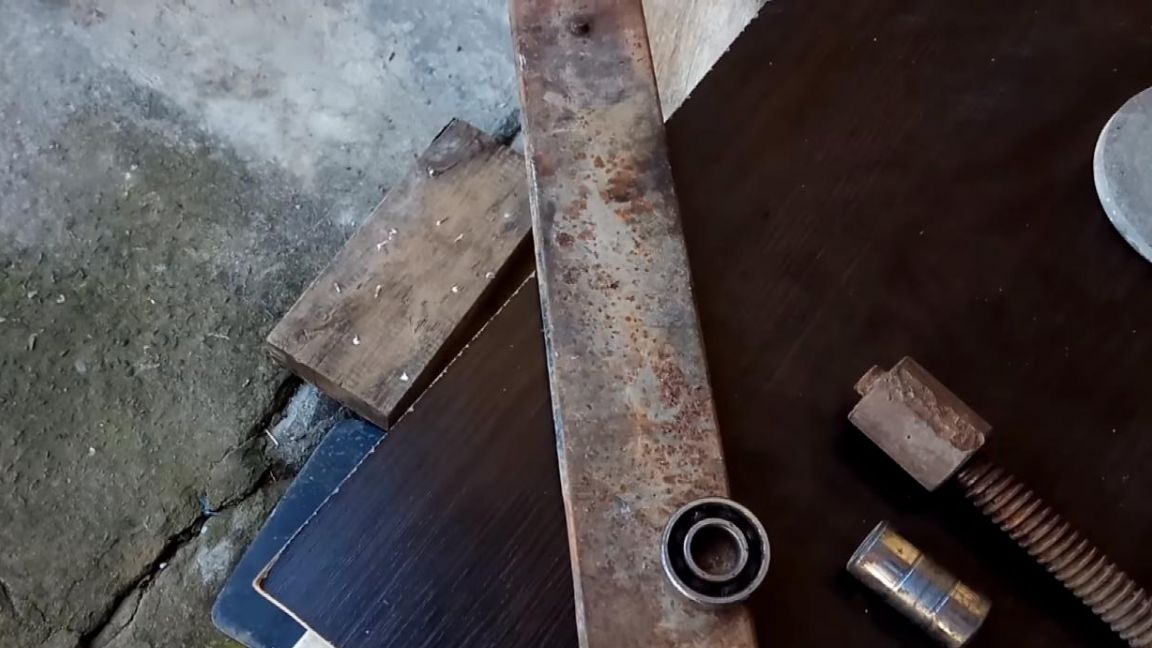
To get to the inner race, hold the bearing in a vise and use an angle grinder to cut the outer race in two places.
When working with an angle grinder, be careful not to work without protection, and wear glasses and gloves.
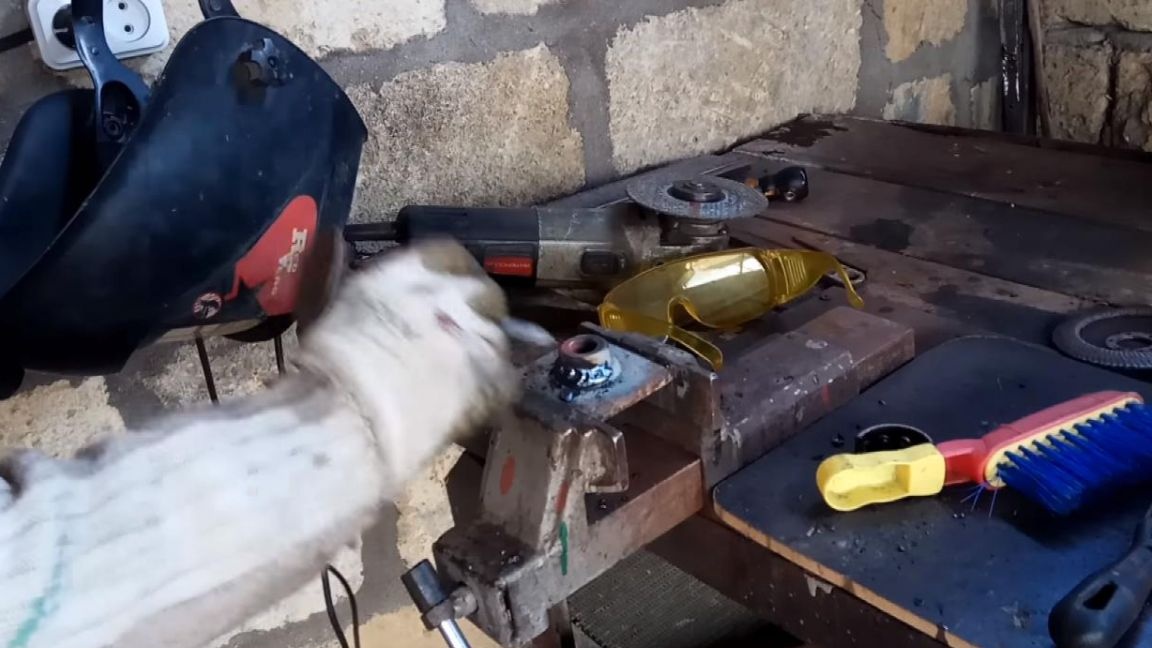
Step Two
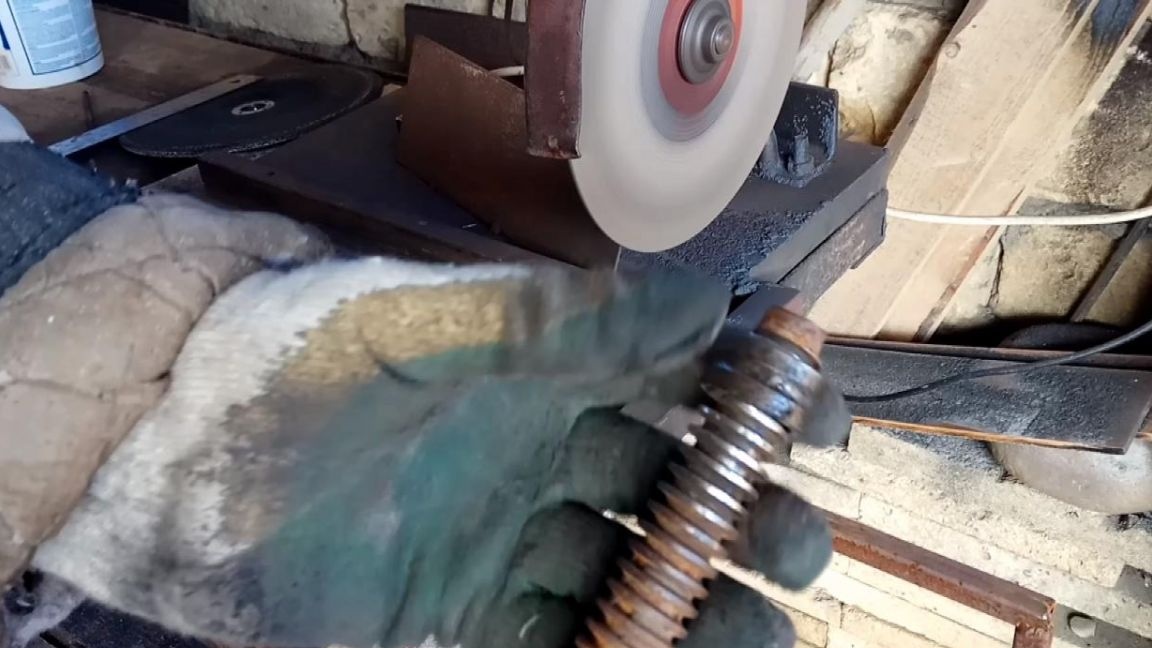
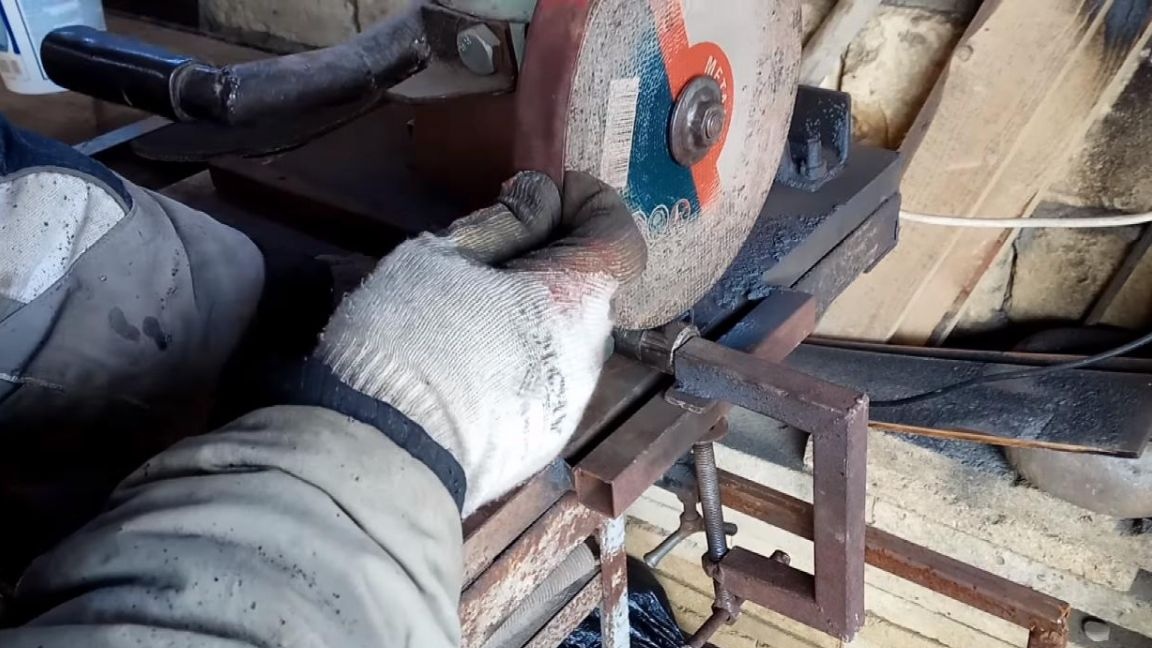
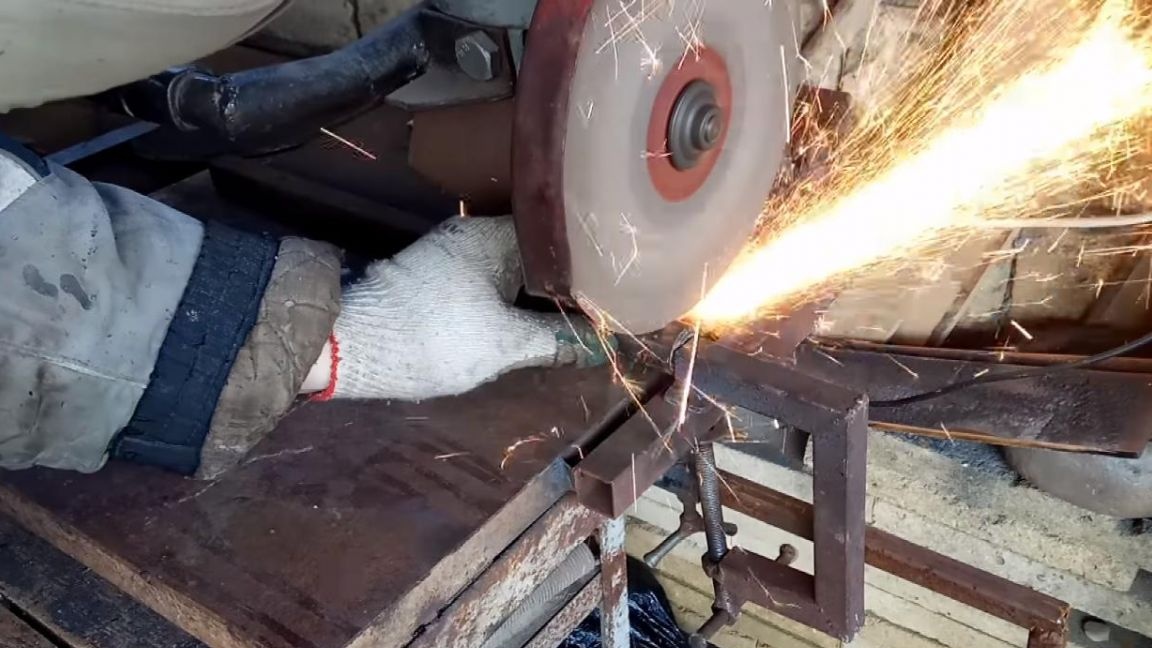
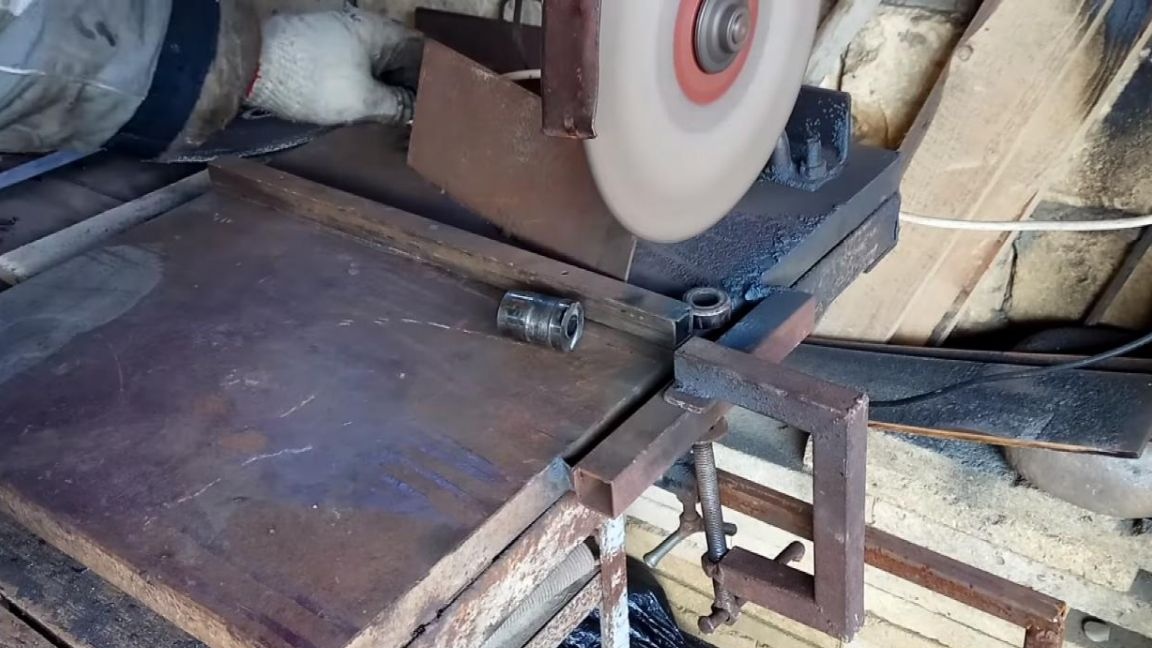
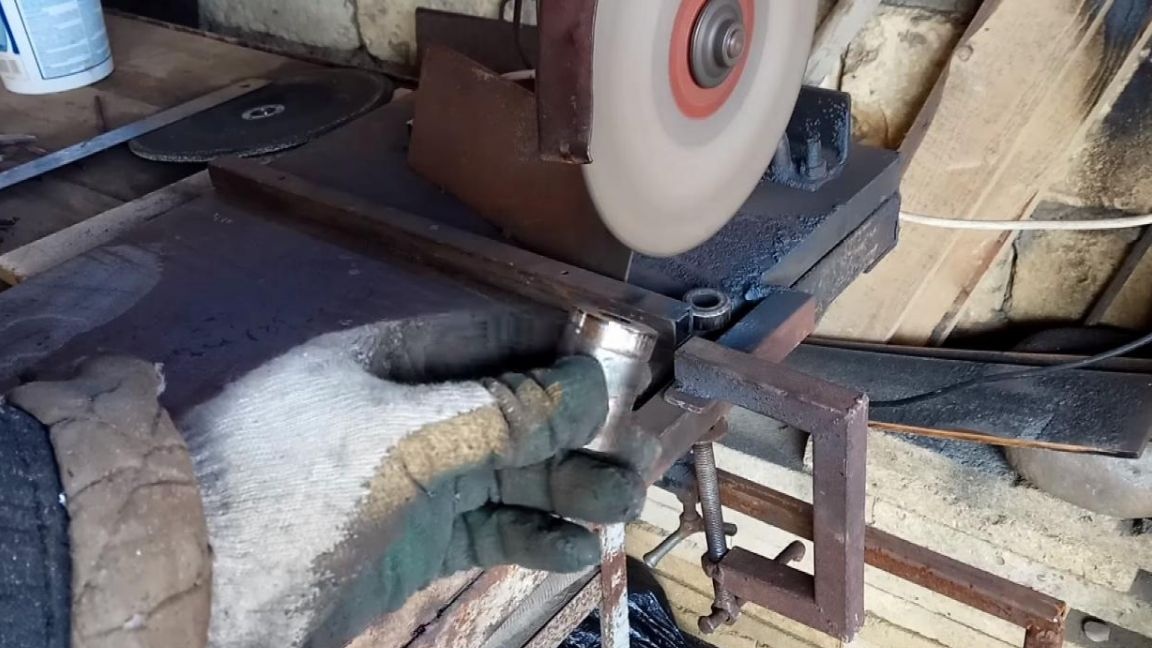
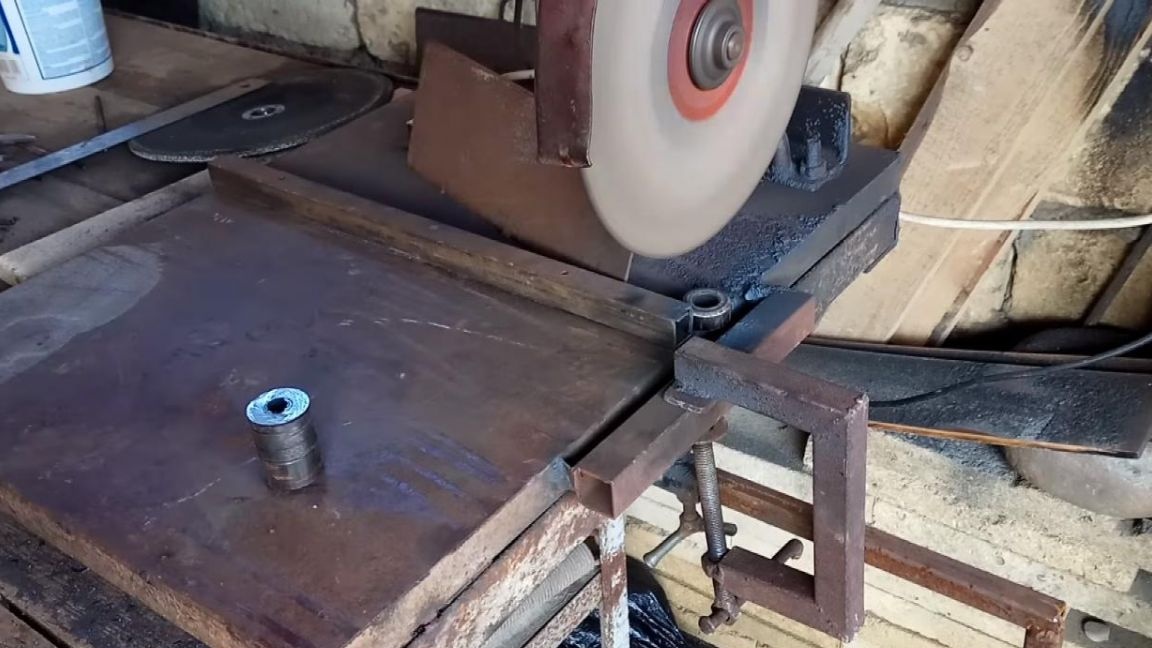
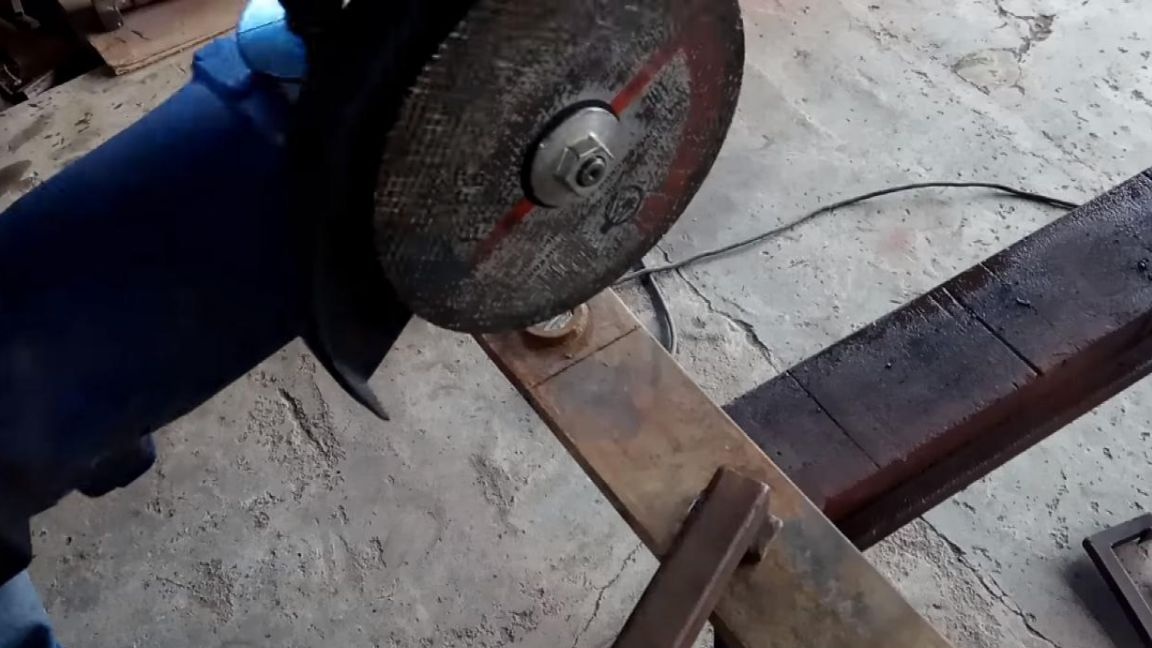
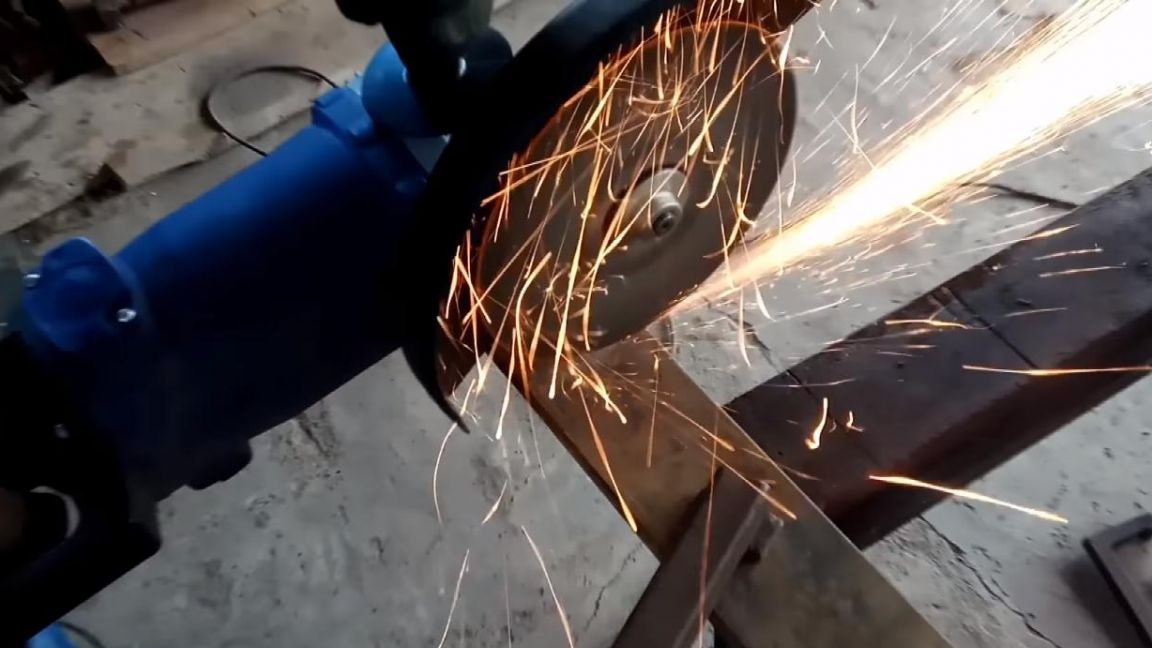
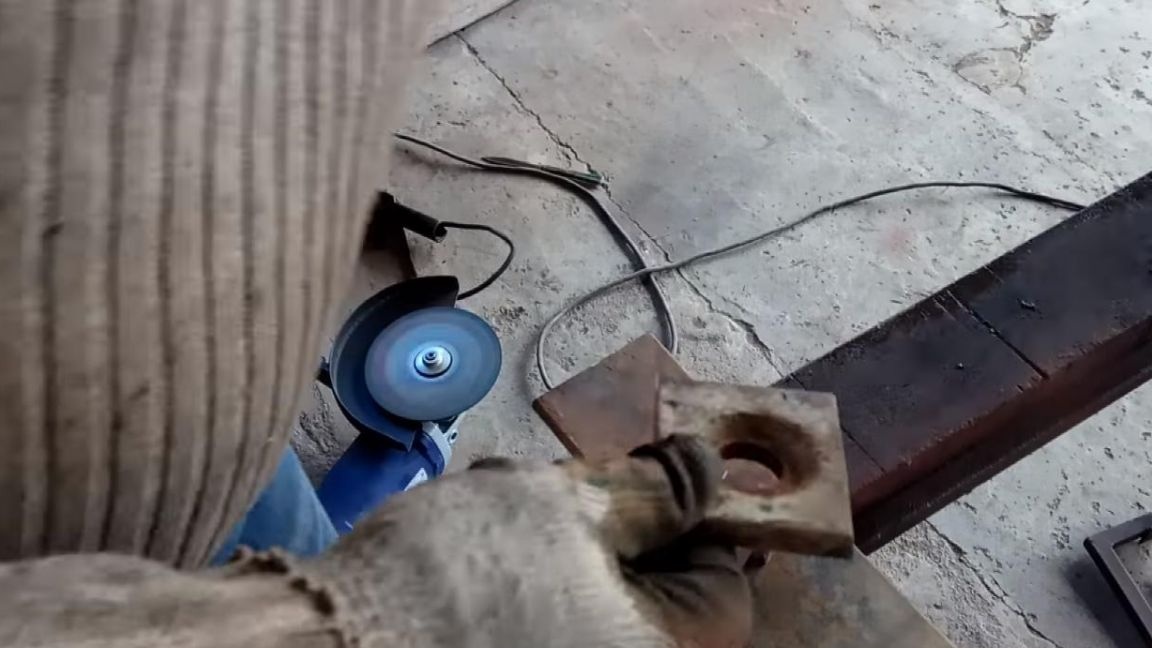
Once we got to the inner ring, it needs to be put on the screw, in this case their diameters do not match, therefore, on a metal cutting machine, we grind part of the screw thread to fit the ring. During processing, we check whether the clip is worn on the thread, if so, go to the next step.
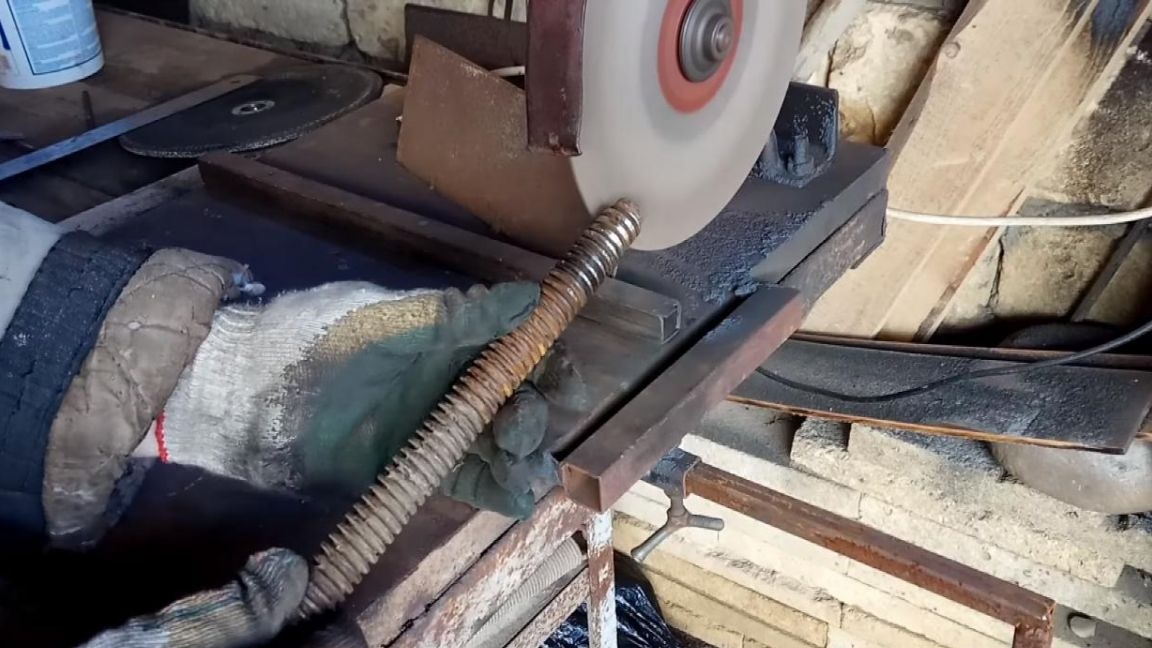
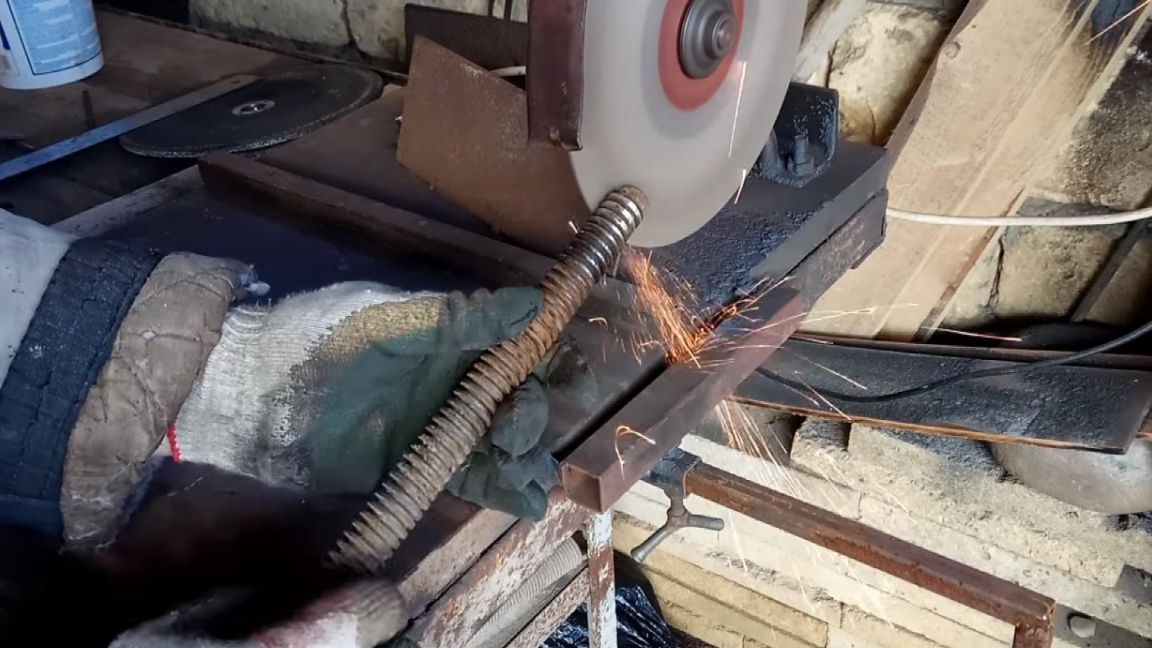
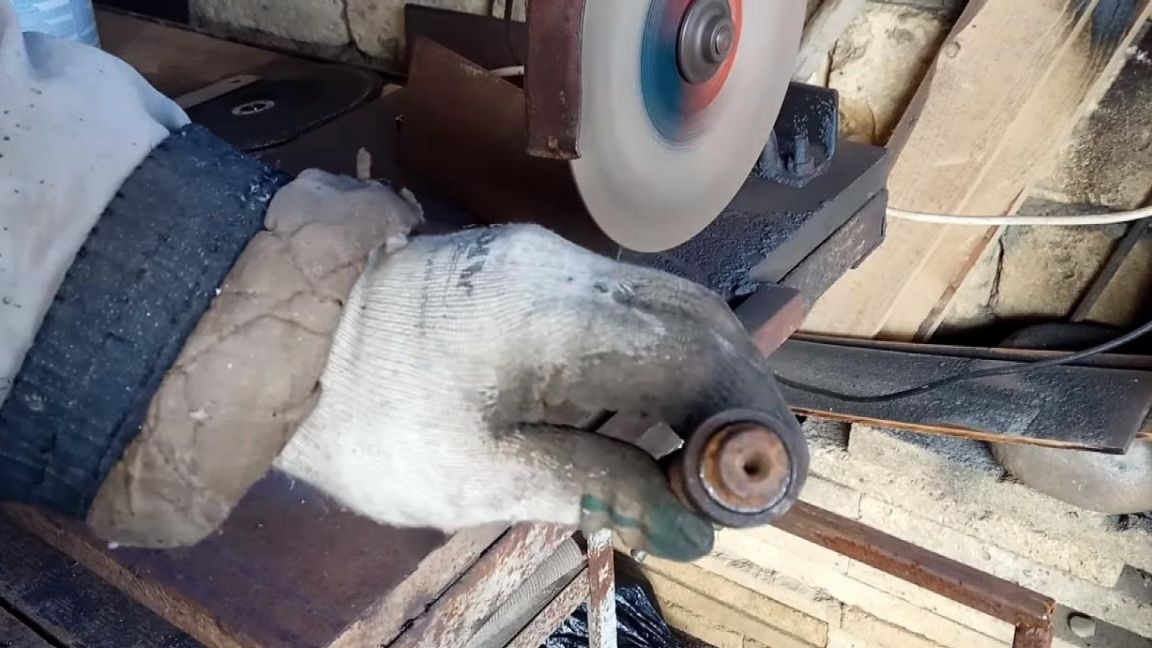
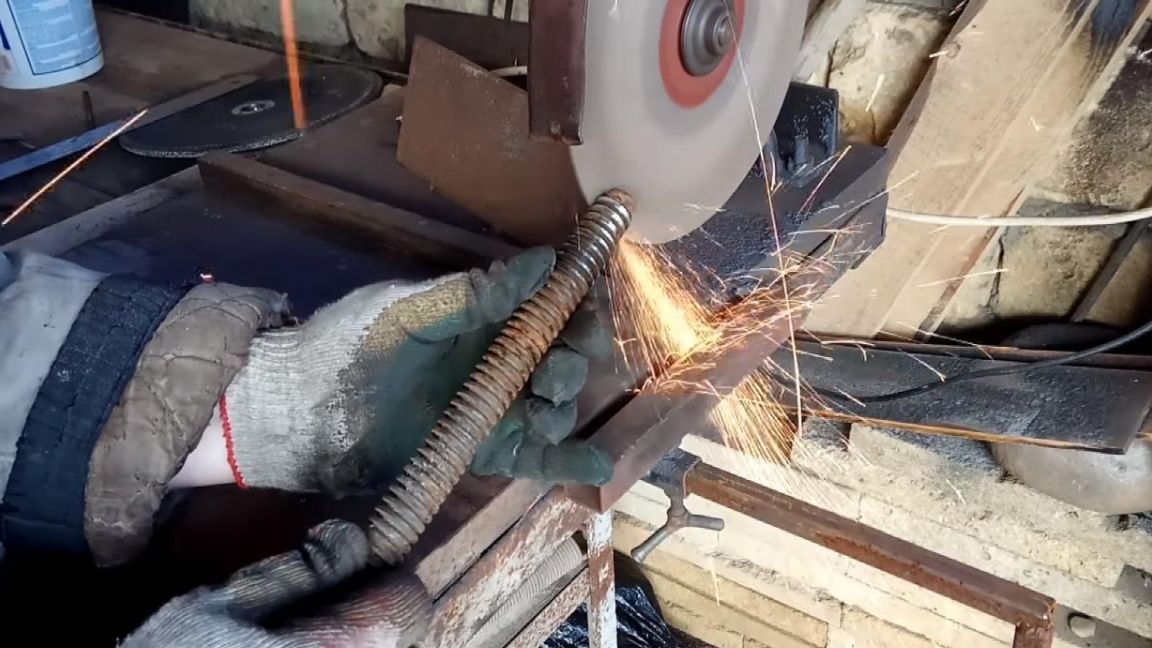
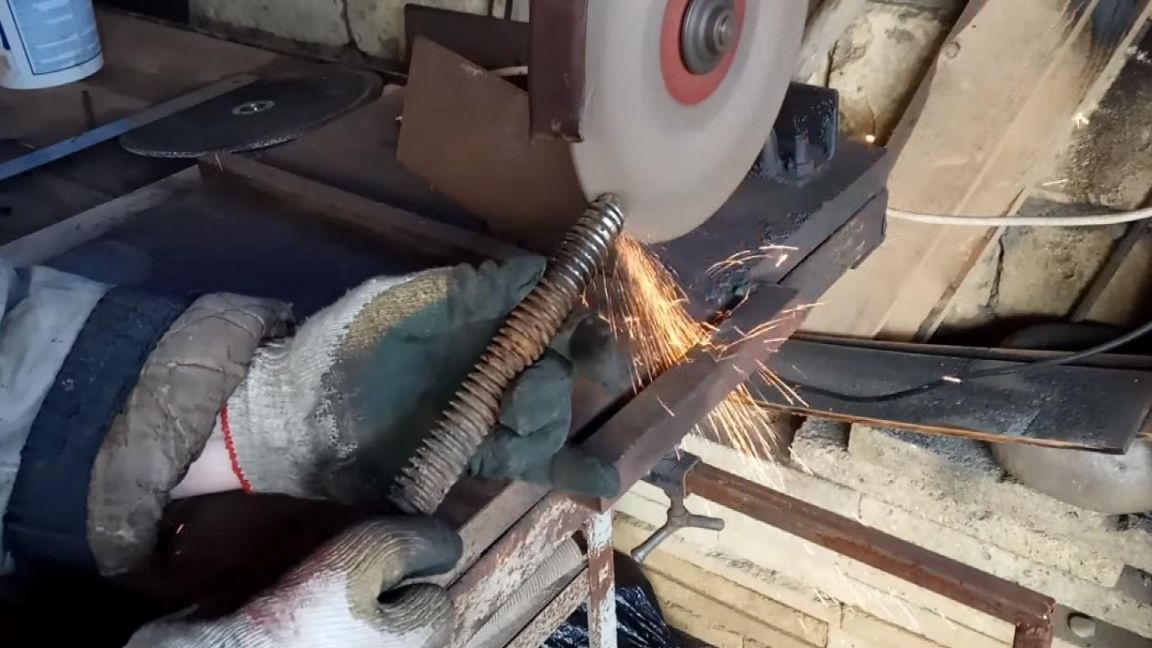
We cut a piston pin on the same cutting machine for metal, the outer diameter of which coincides with the diameter of the cage, a couple of centimeters will be enough for the pressure plate.
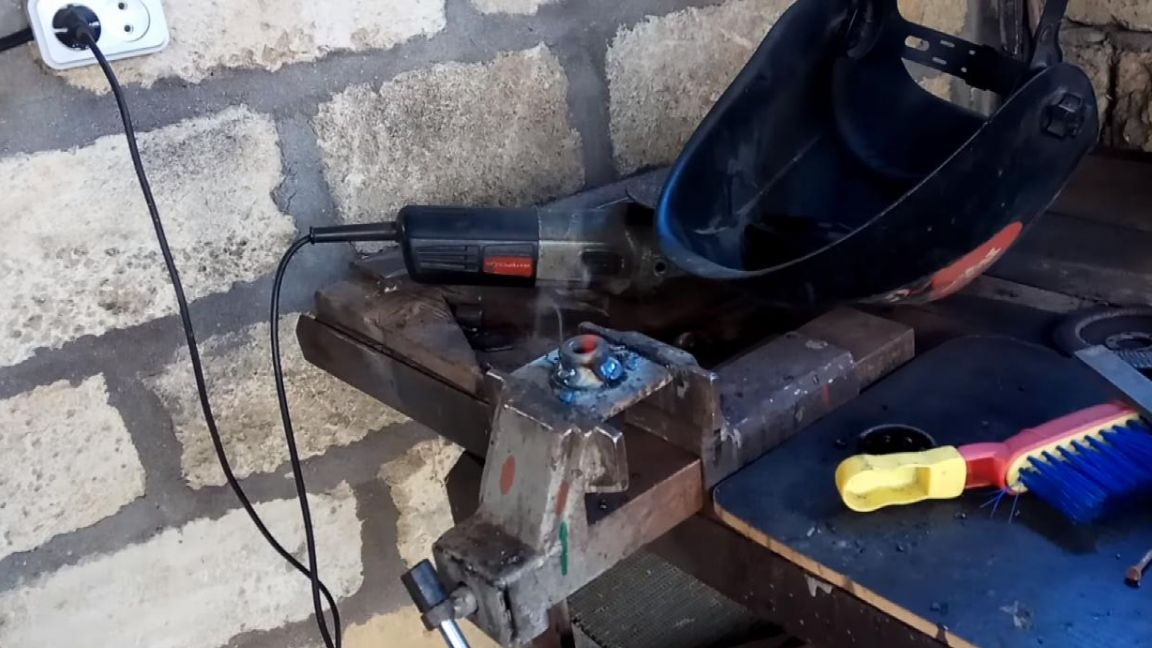
Step Three
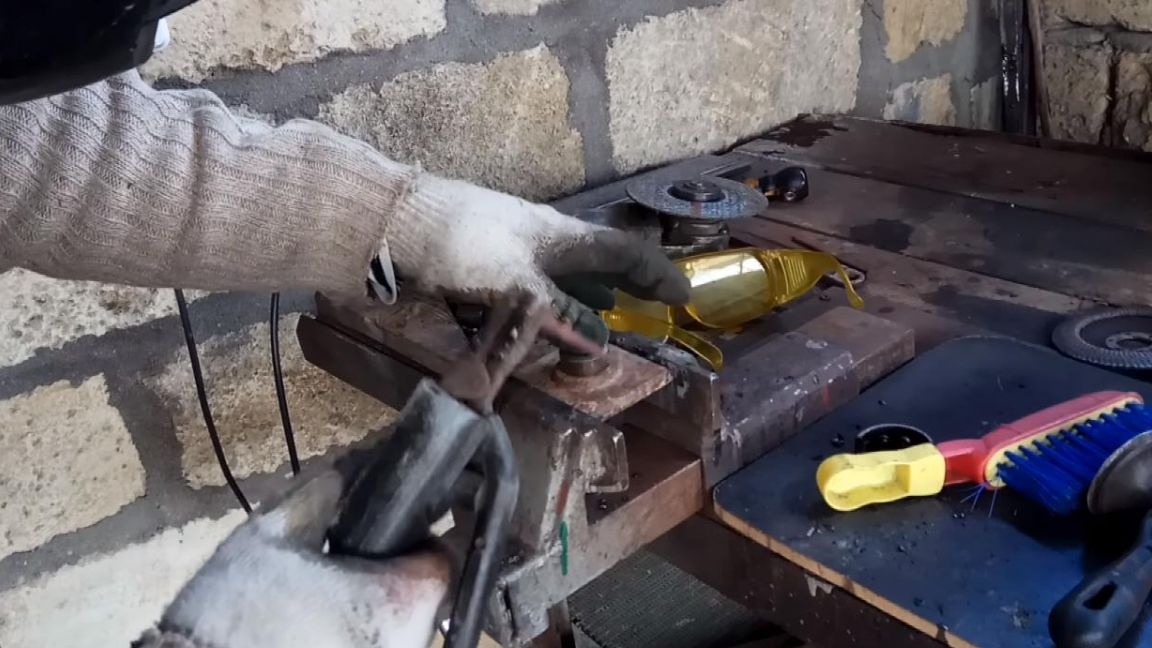
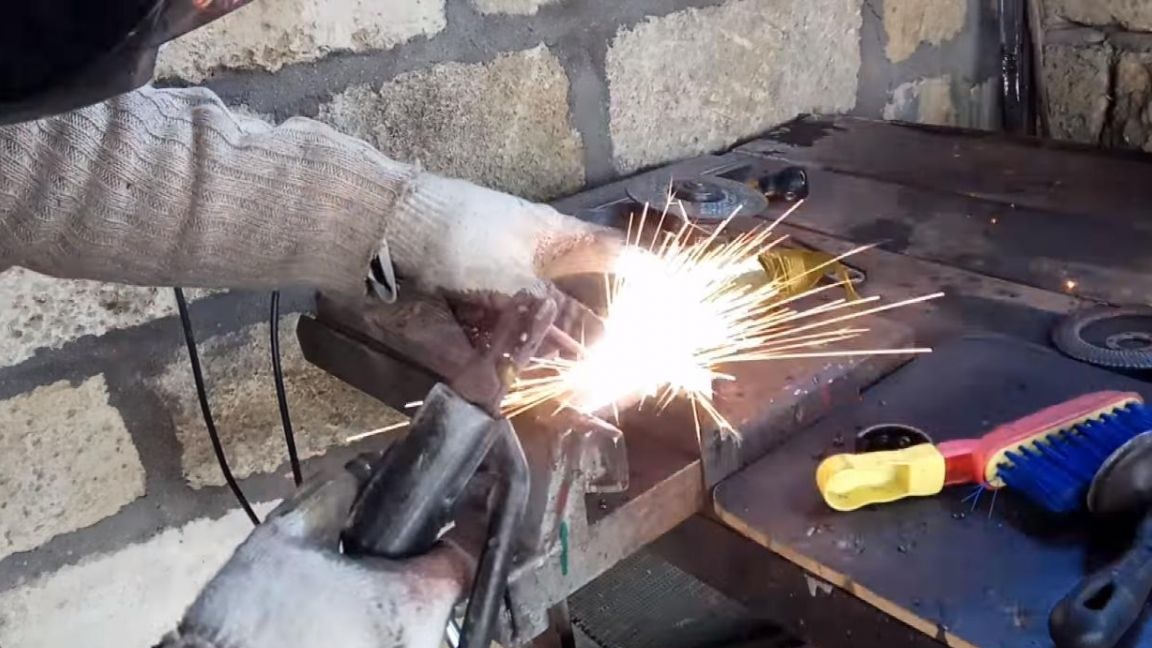
Now we clamp the screw in a vice and scald on all sides the inner race of the bearing, seated on it earlier. When welding, do not forget about the protective welding mask and gaiters.
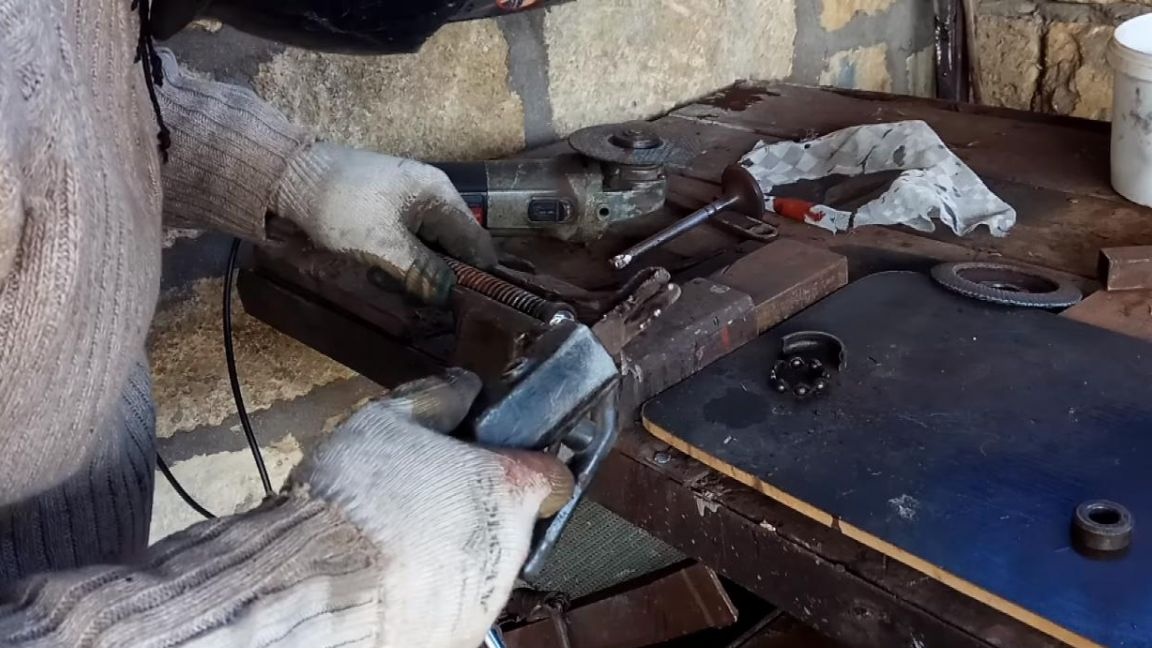
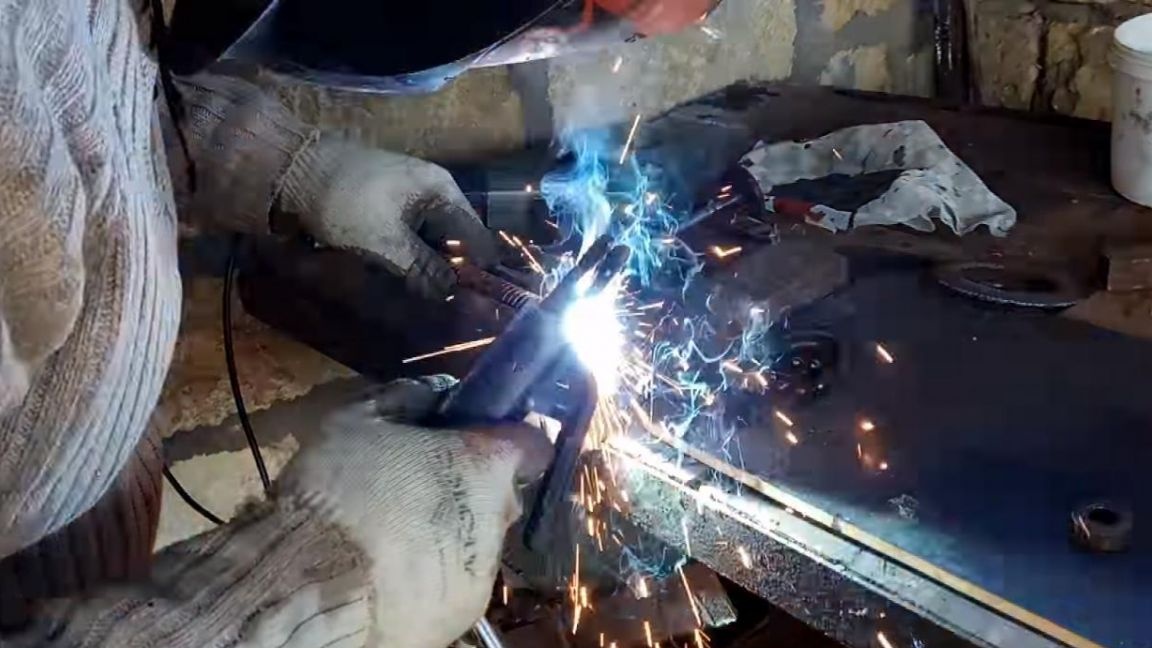
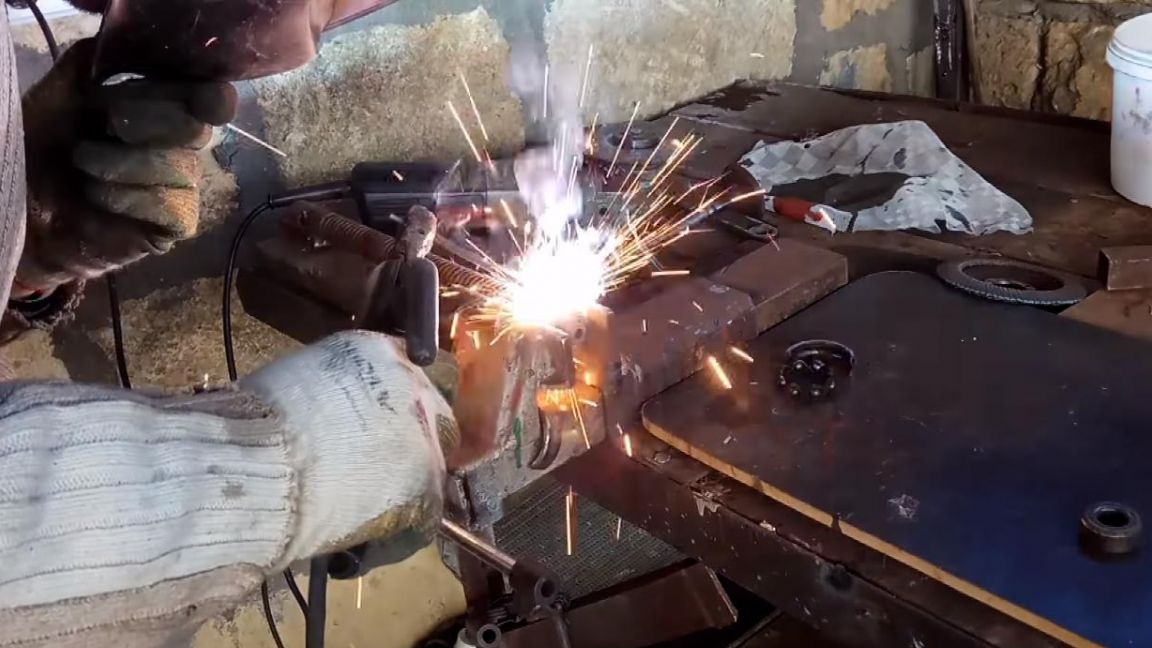
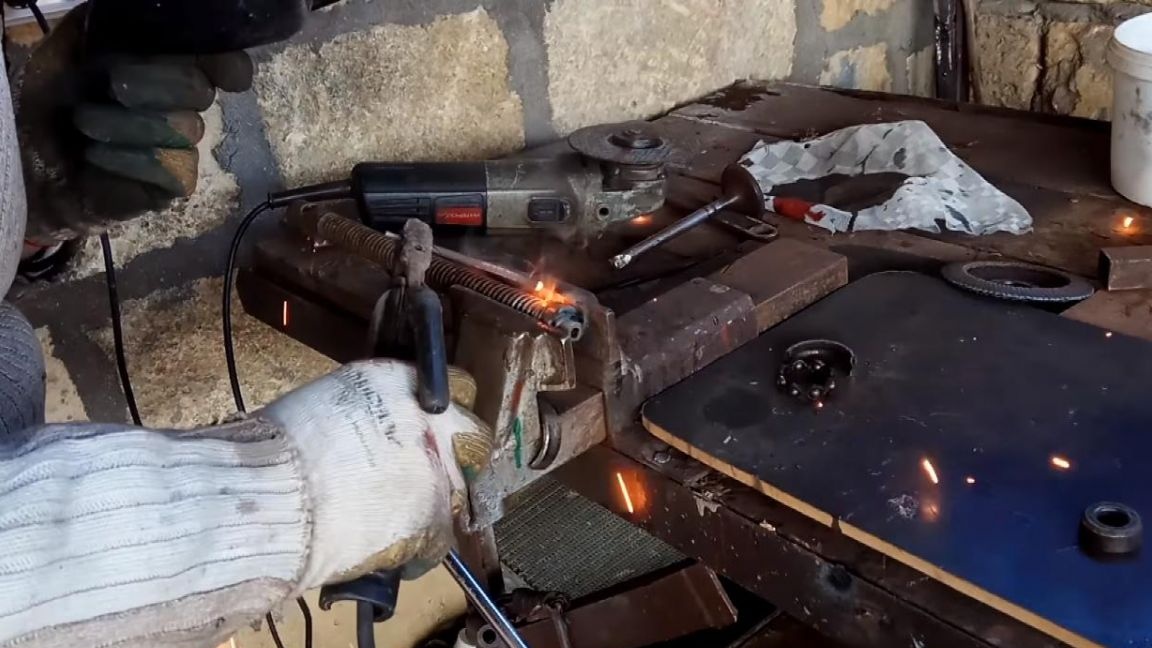
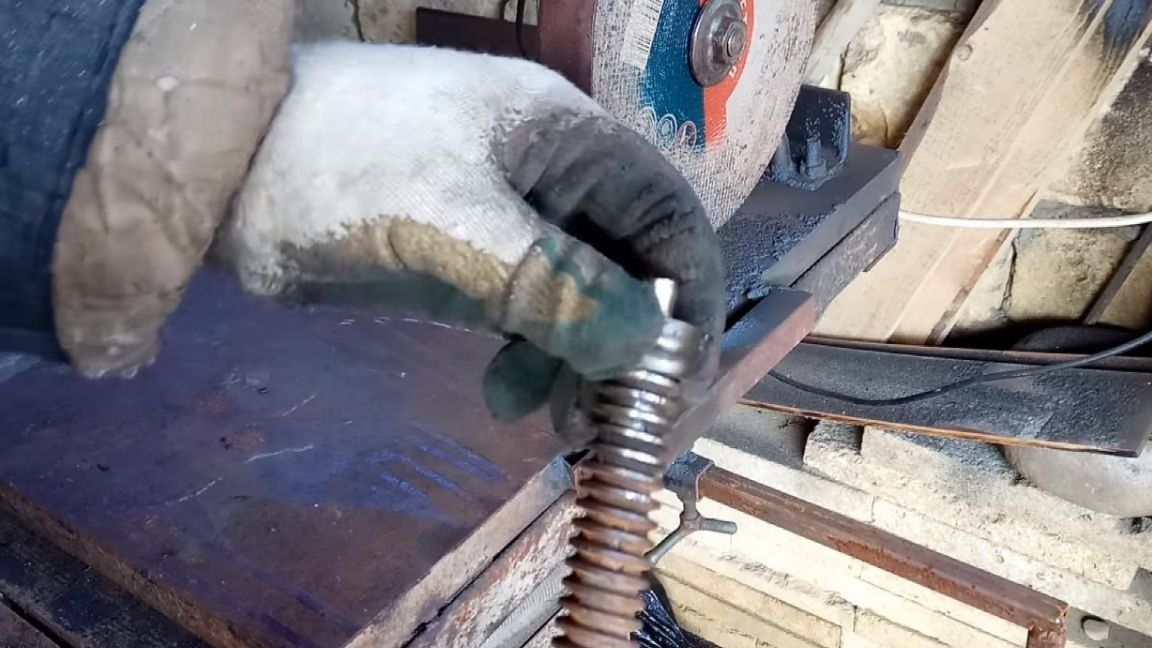
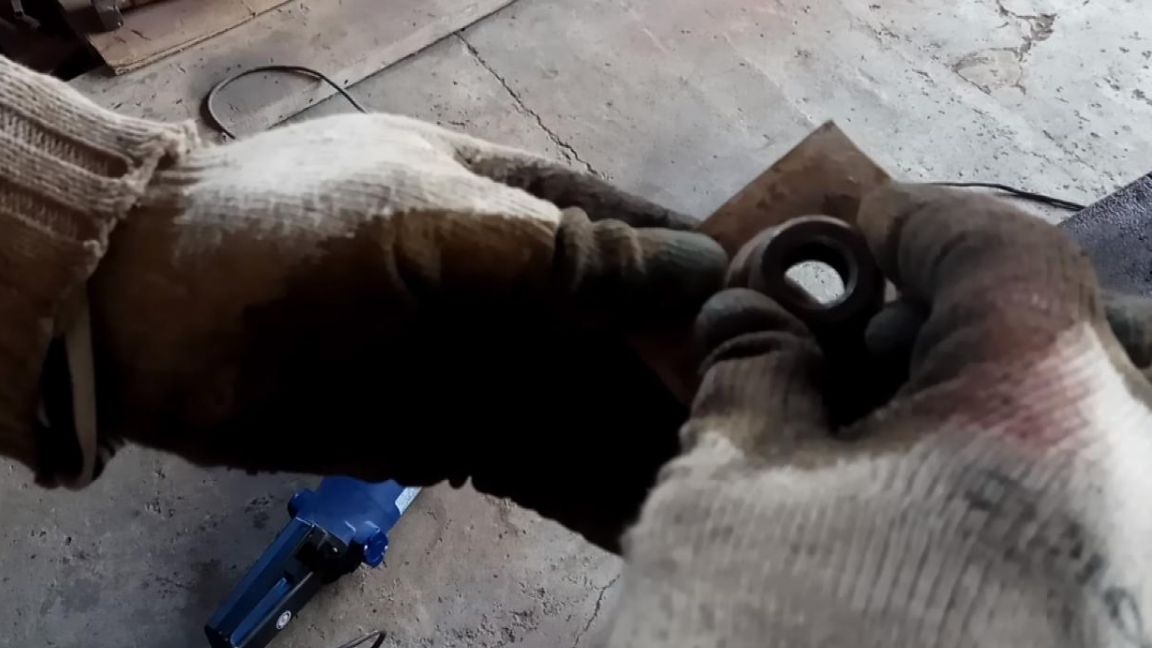
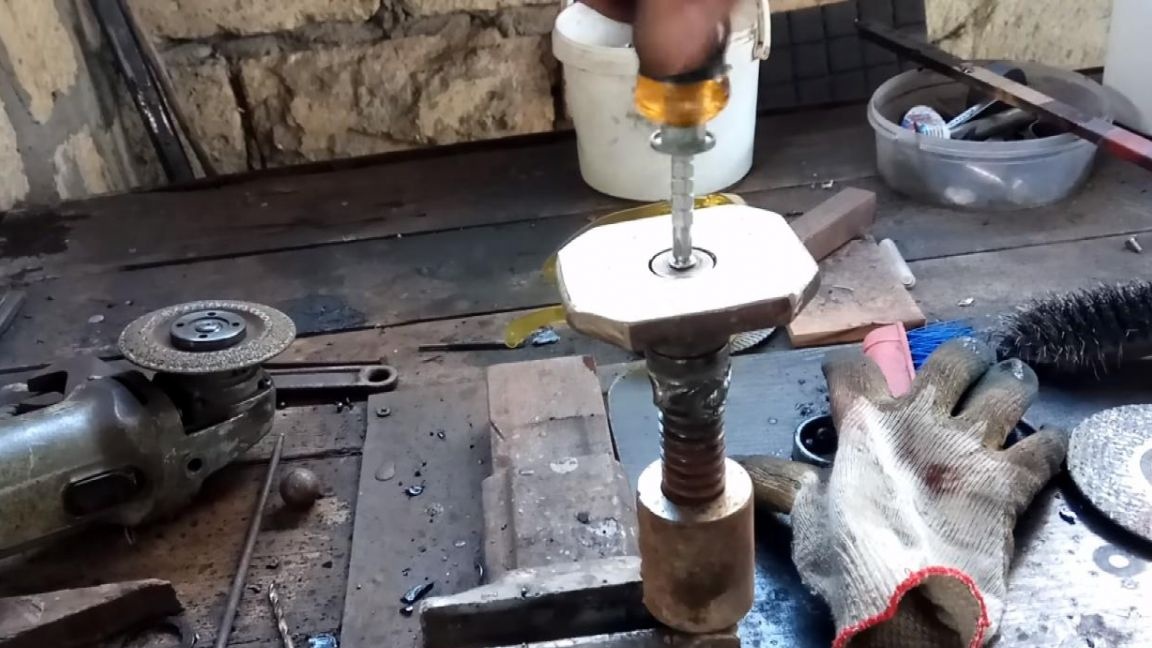
After welding, we beat off the slag from the weld with any metal object, for example, with a pointed valve made specifically for such purposes. In the upper part of the screw we drill a hole for the bolt, this is done with a screwdriver and a drill for metal, we drip machine oil into the hole to facilitate the drilling process and prevent overheating of the drill, if you have a special oil for this, it is better to use it.
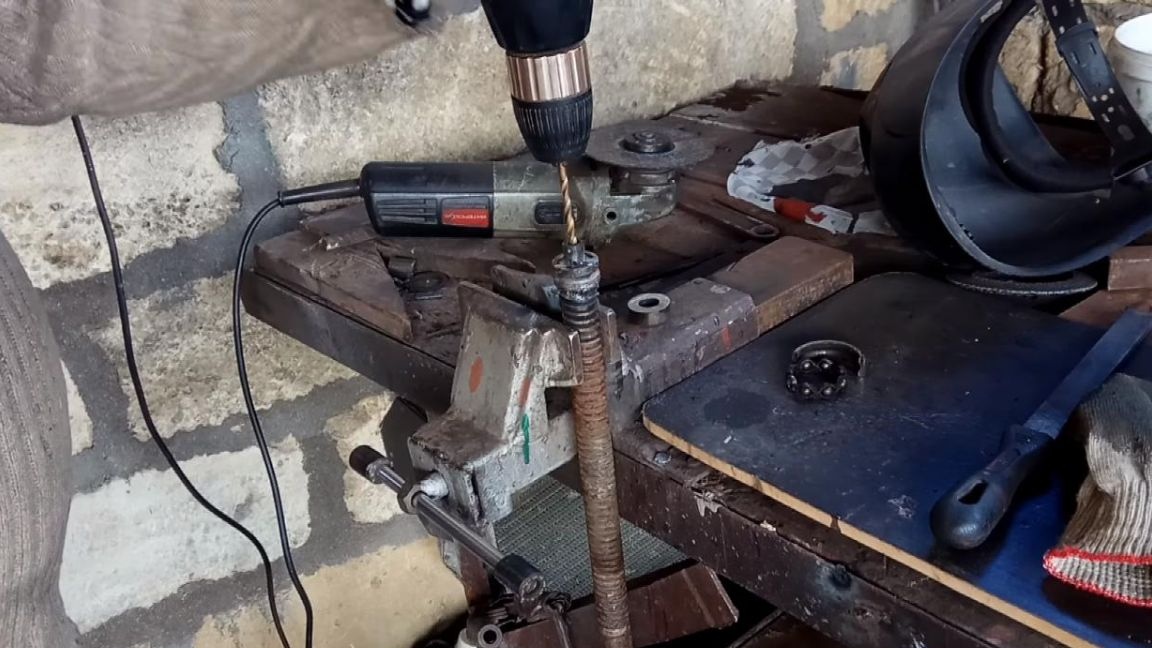
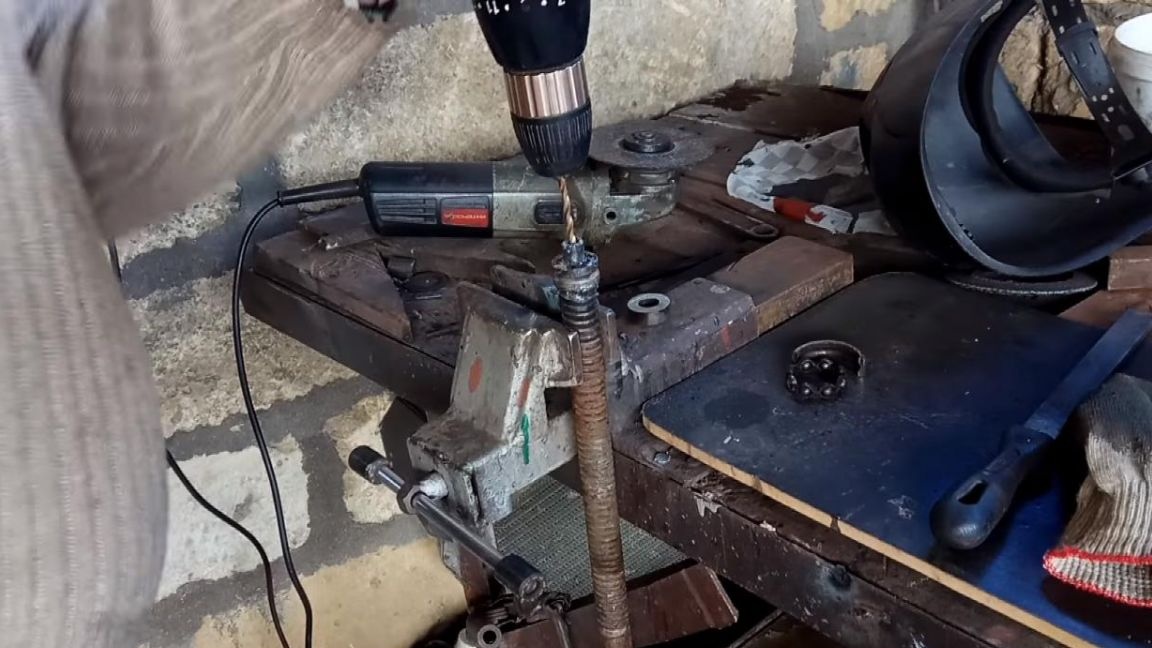
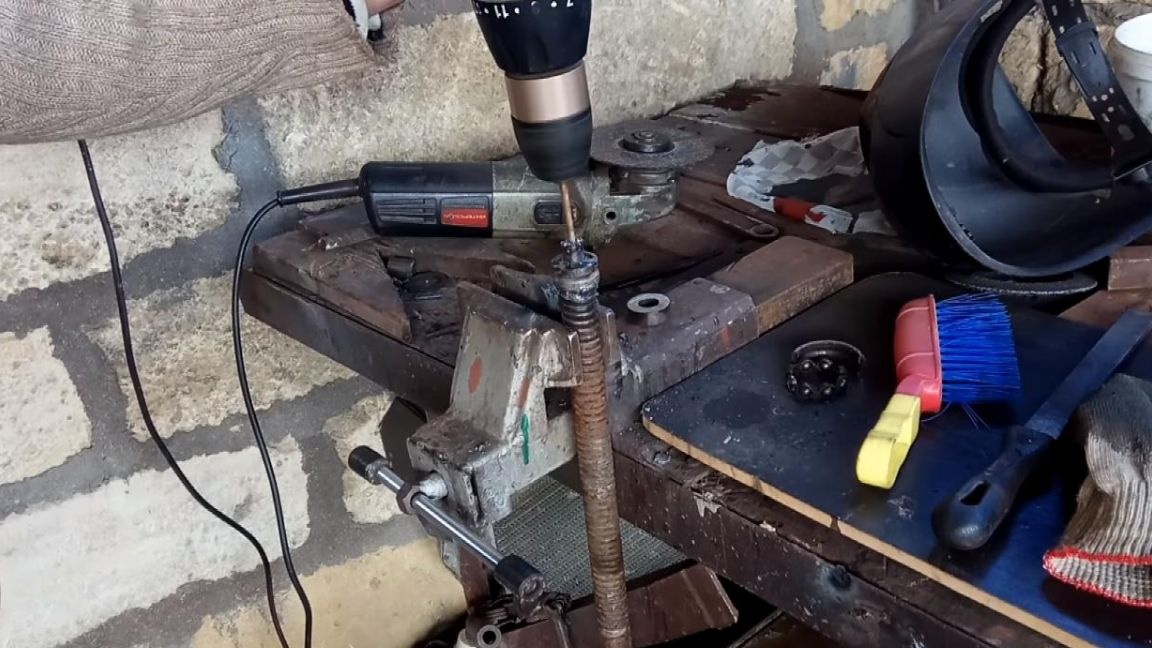
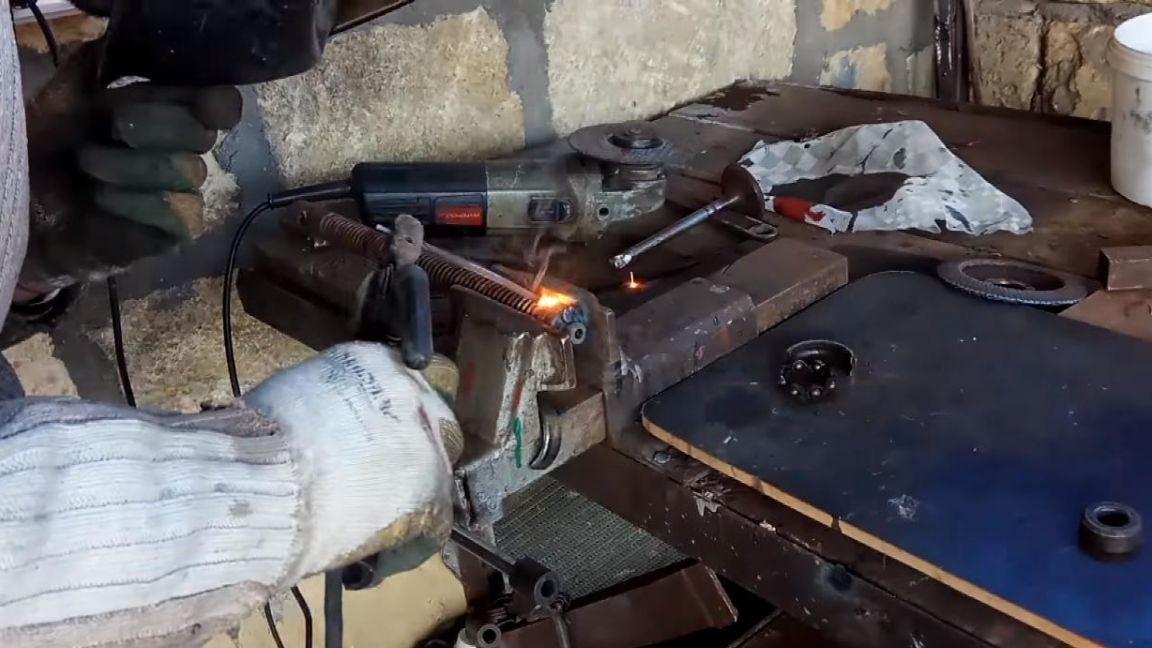
After the hole in the screw is made, we cut the thread with a tap; in this process, it is also necessary to wet the tool with oil.

Step Four
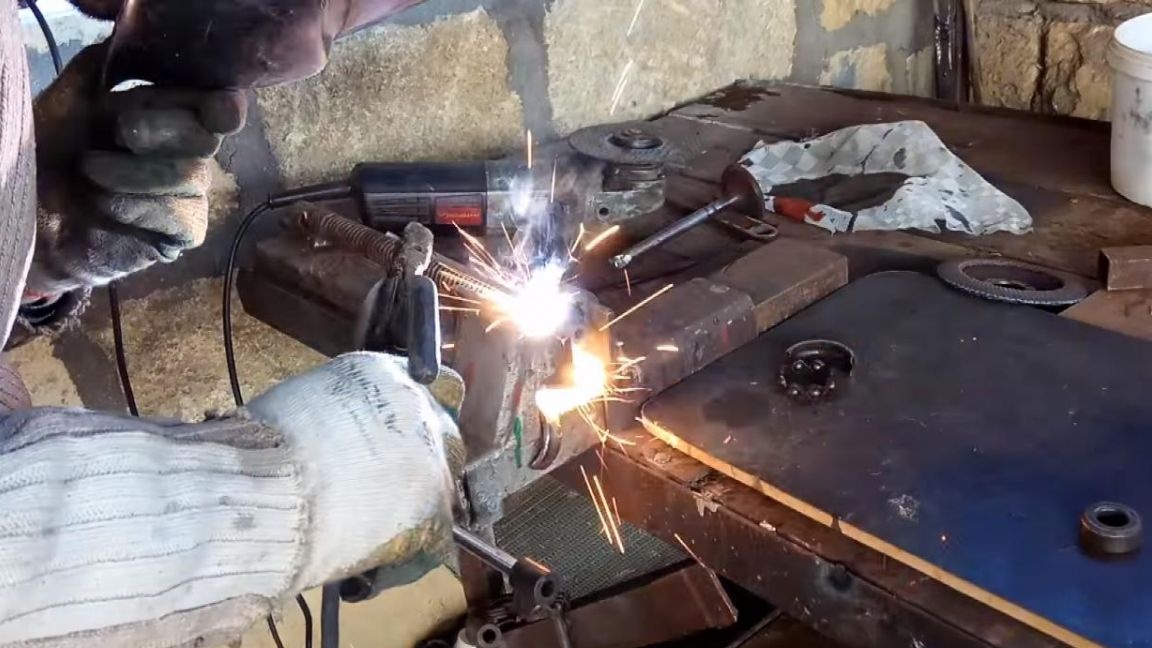
To this segment, it is necessary to weld a thick plate of metal, which will be clamped, it is sawed off using an angle grinder.
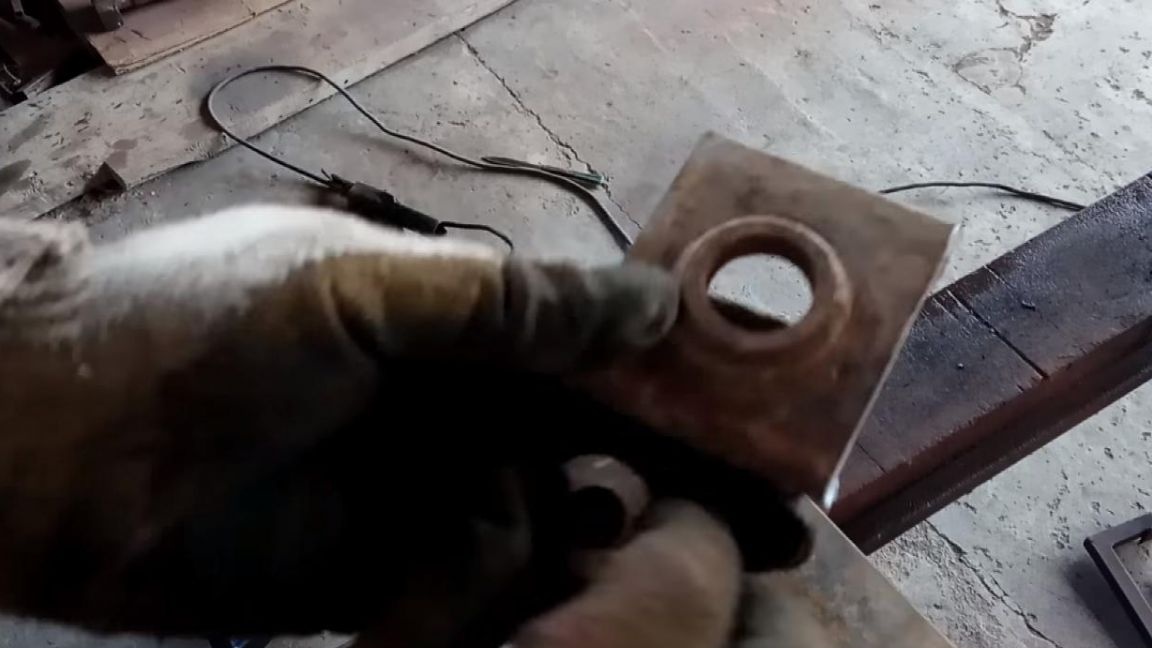
Then we fix the plate with a bolt and washer, so it will rest with a piston finger in the holder on the screw, thereby preventing it from scrolling when fixing.
Similarly, we make the second pressure plate, but without the ability to rotate, simply sawing the plate with the angle grinder.
Step Five
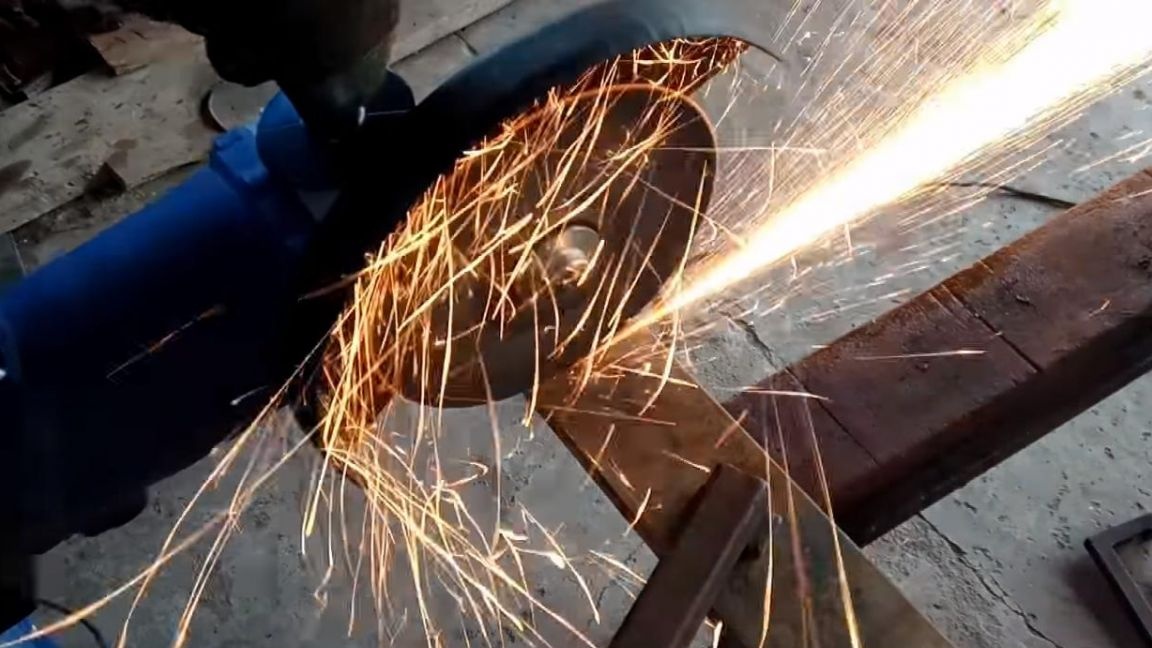
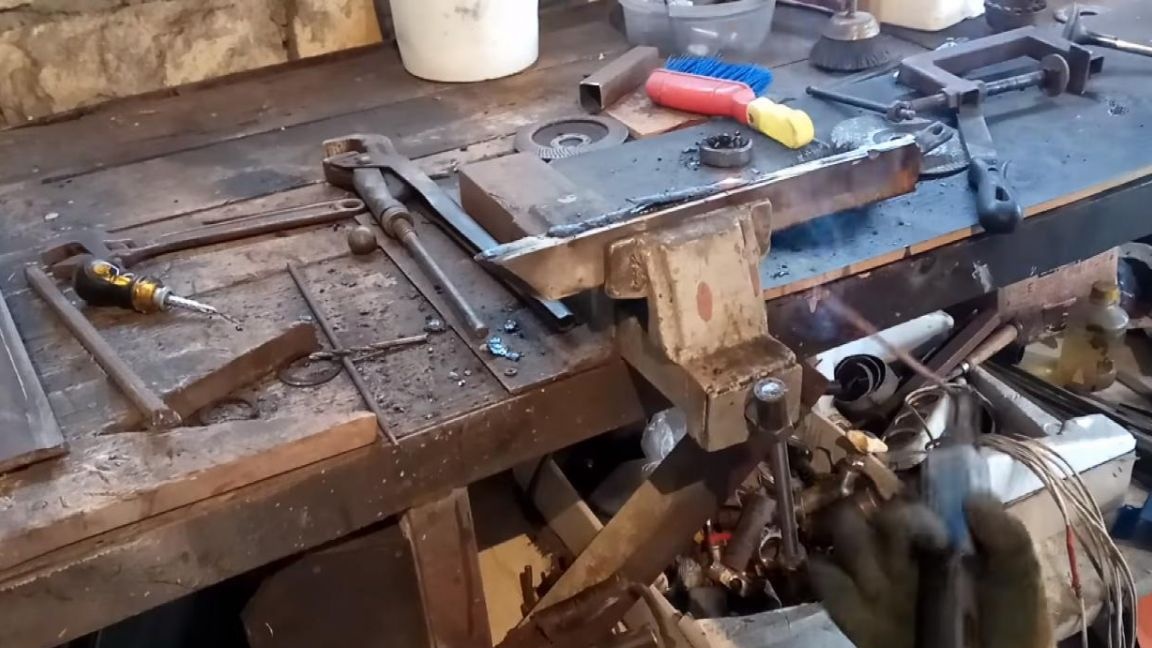
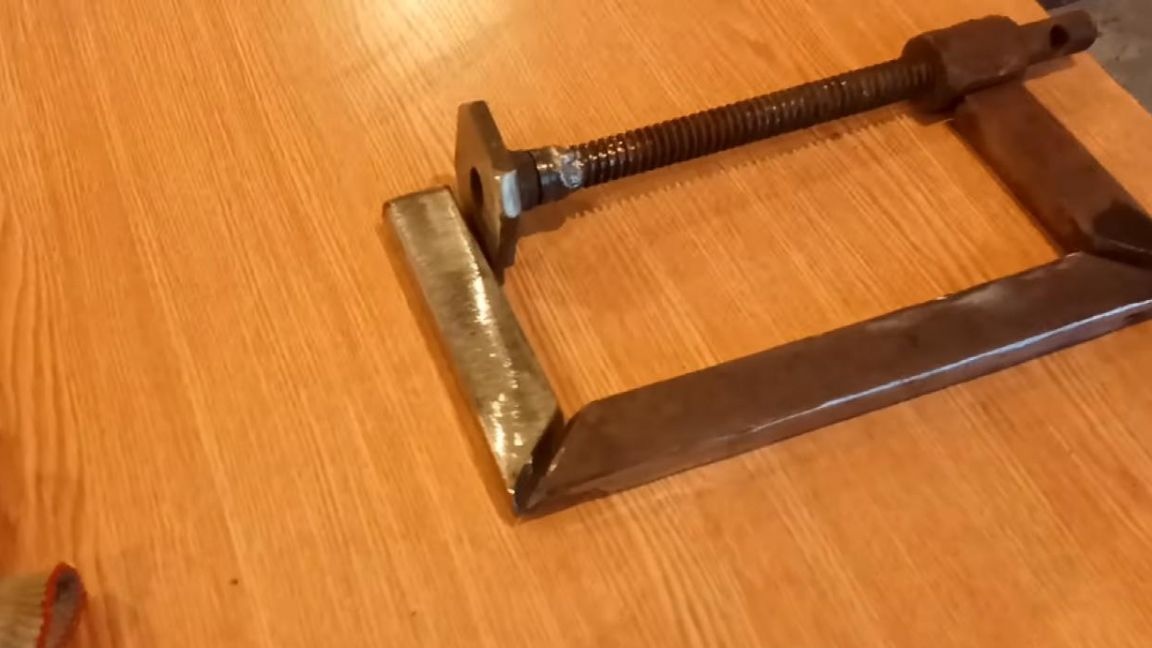
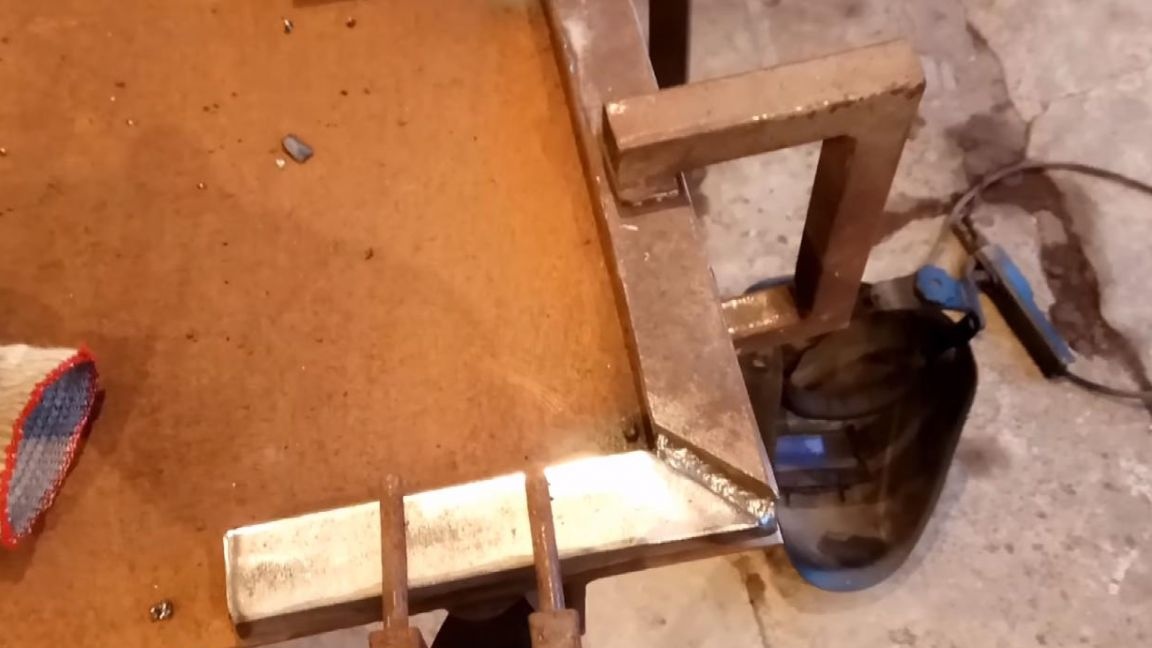
It's time to make the clamp frame itself. As you know, the strength of the clamp is ensured by the correct geometric shape, in this case it will be in the form of the letter G, which I consider the most optimal. We mark the spring in half in width and use an angle grinder to saw it.
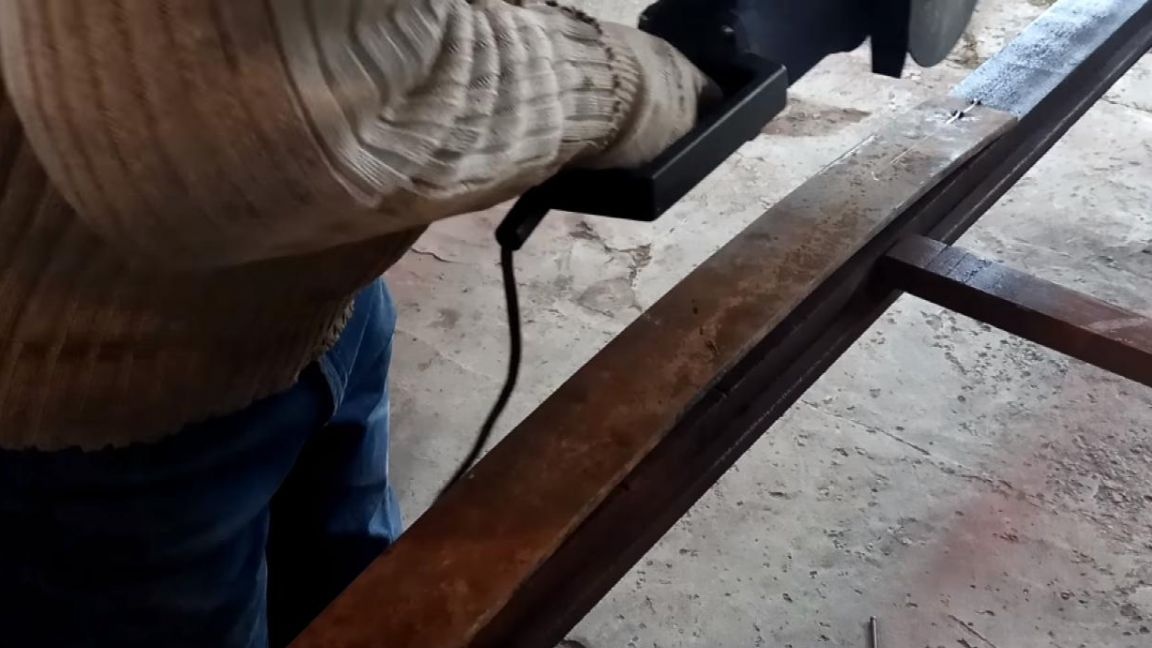
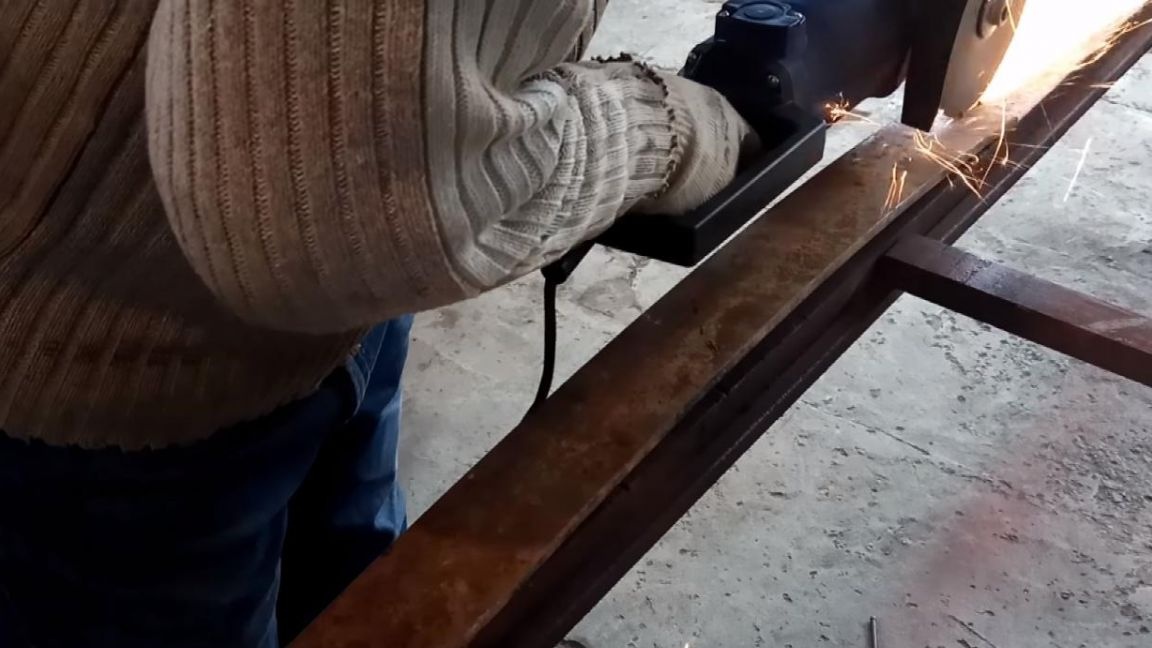
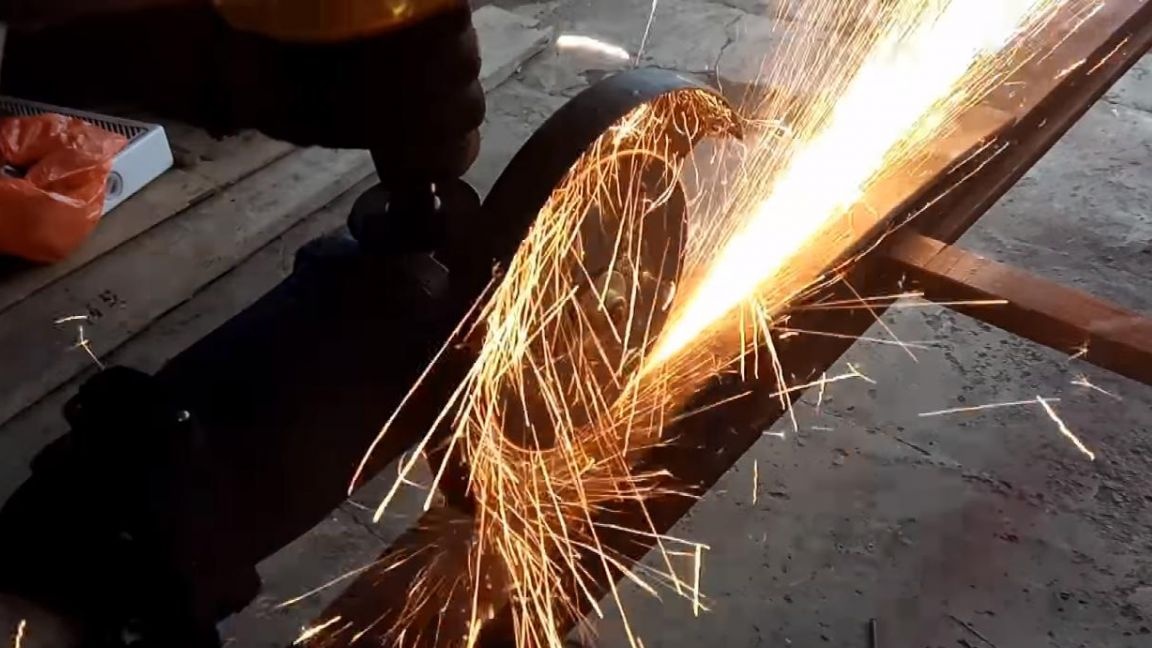
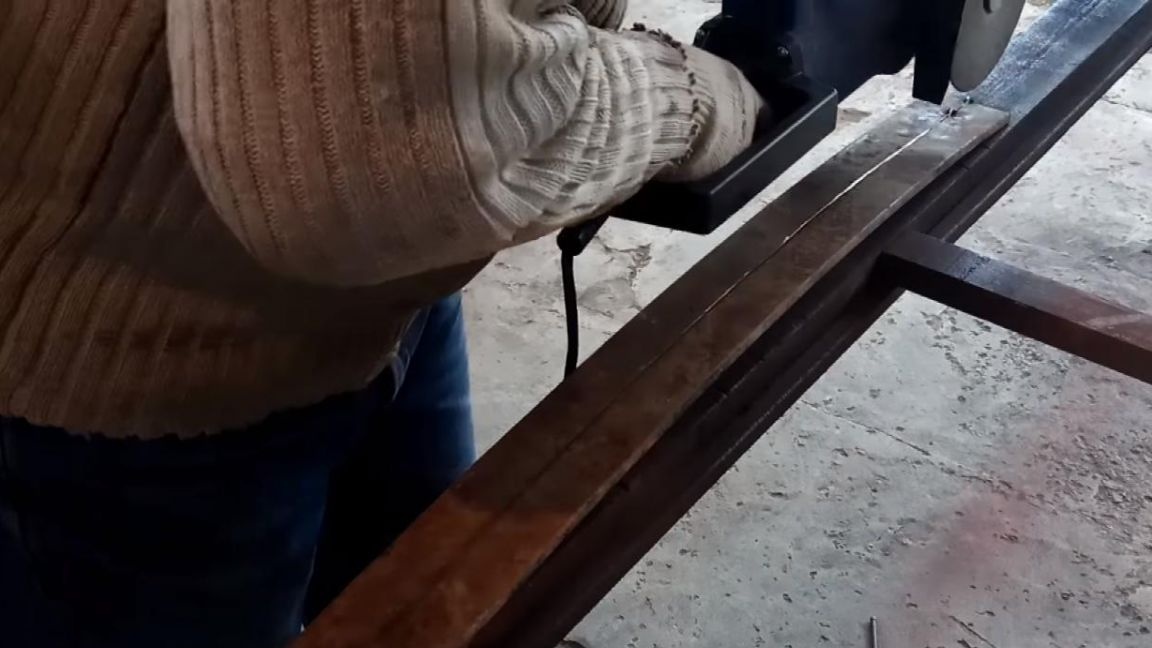
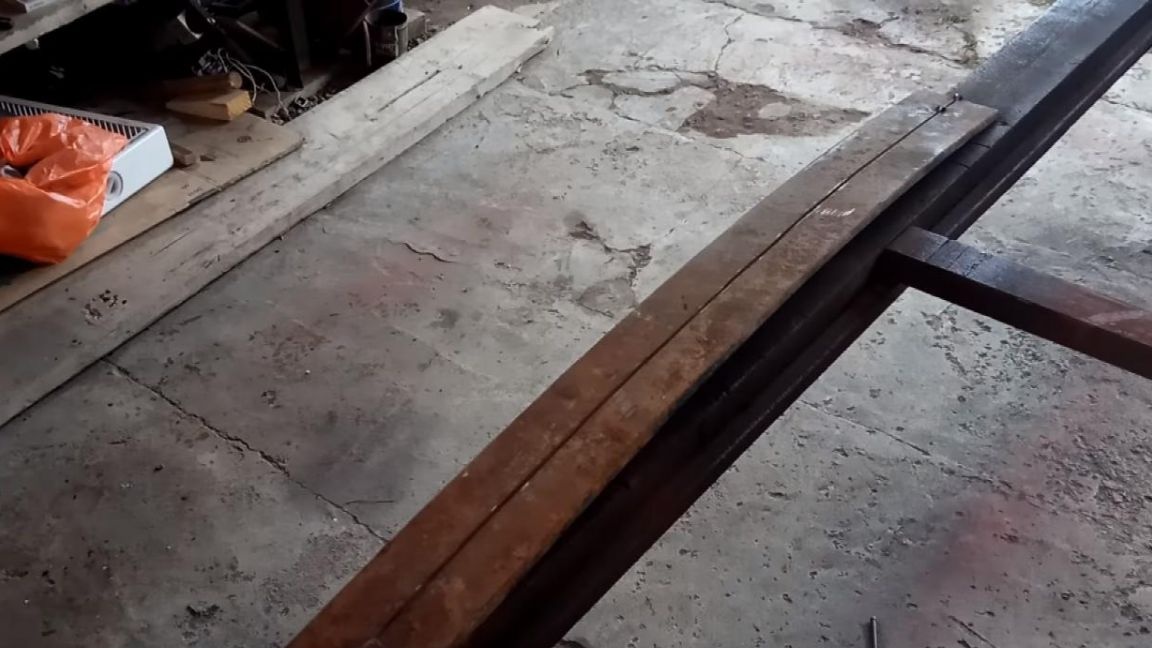
It’s not worthwhile to deepen the disk quickly, as it can “bite”, so we make a cut in several approaches. You should get two plates of the same width, of them we make a G-shape with an angle of 45 degrees, and for the weld we make a groove for better welding.
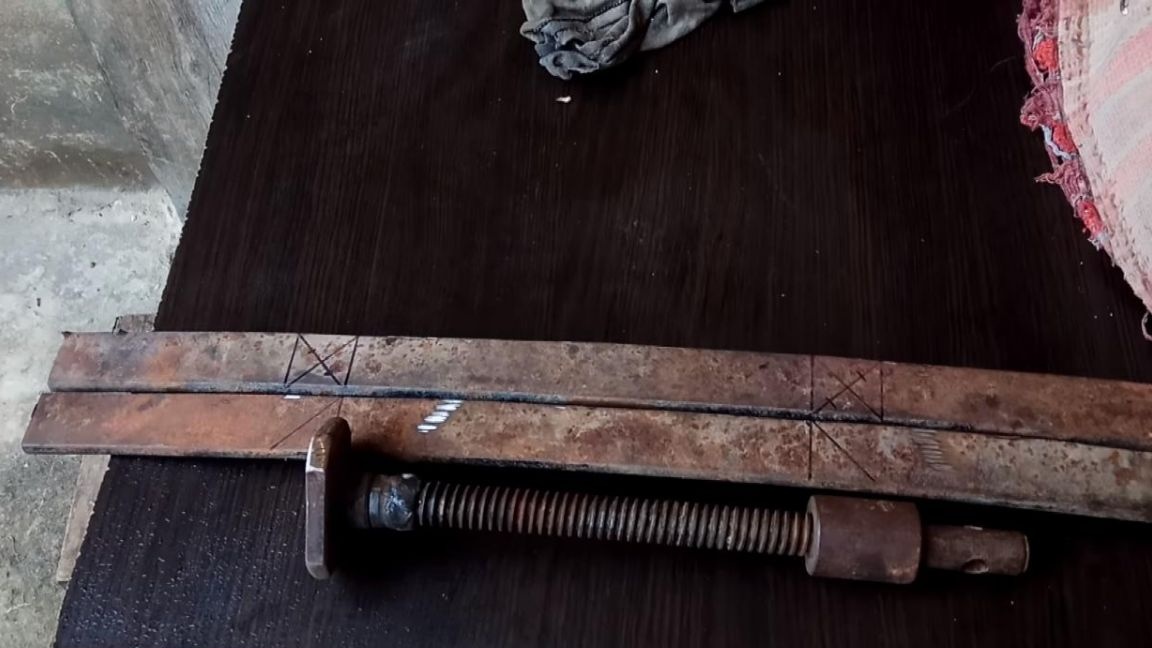

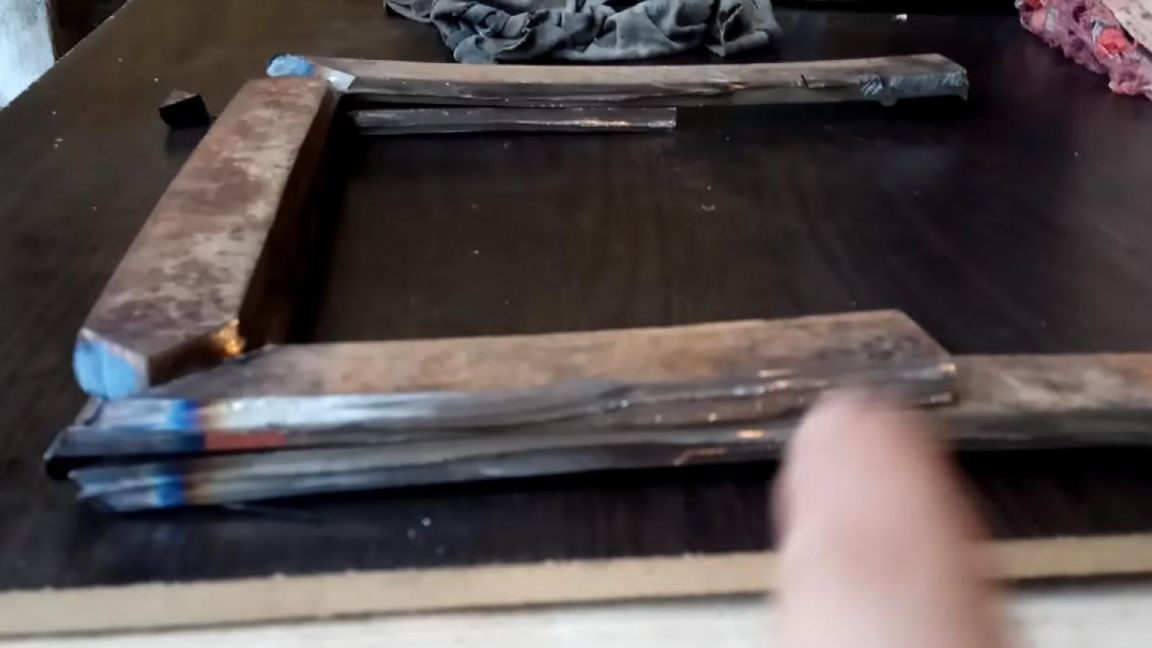
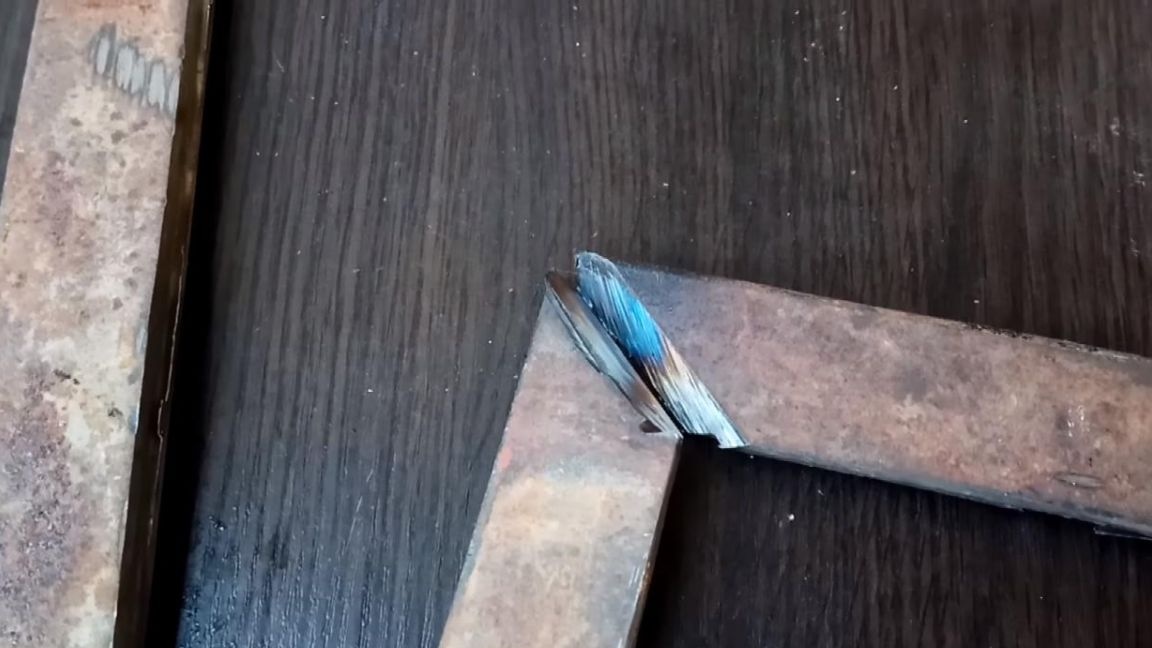
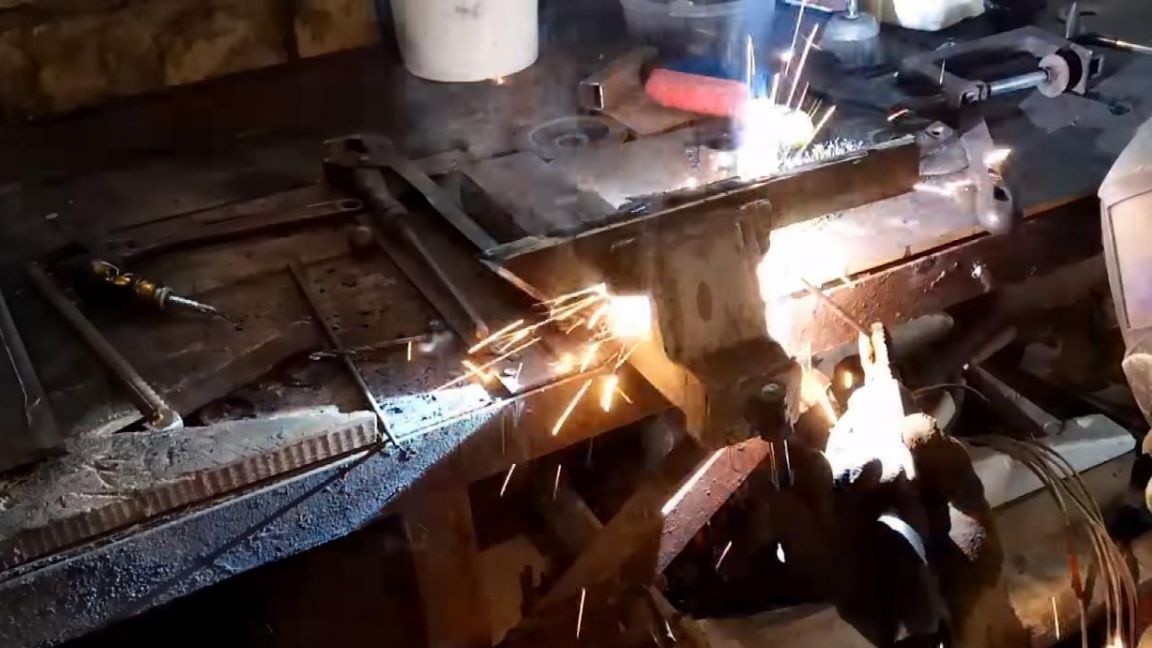
For structural strength, we weld two plates together, clamped in a vice, since the spring is curved. As a result, the thickness of the clamp will be 20 mm. In the places of welding, we grind the surface using a grinding wheel mounted on a angle grinder.
Step Six
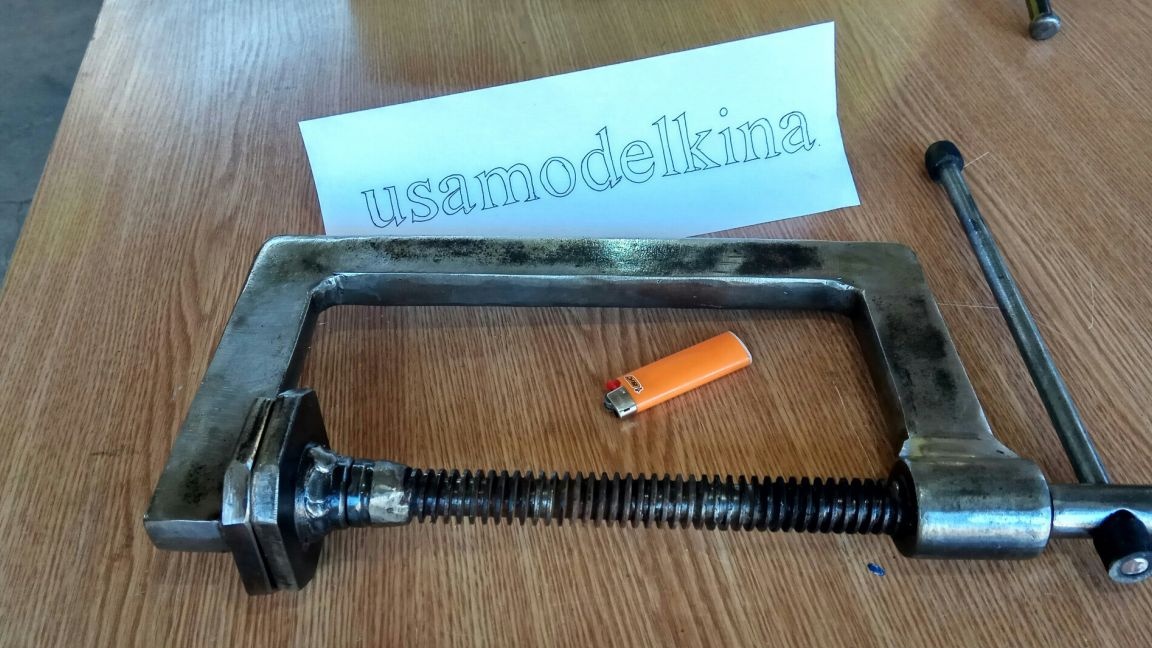
We weld a nut with a screw to one of the edges, for this we also make a small groove. After welding all the joints, homemade can be considered finished.
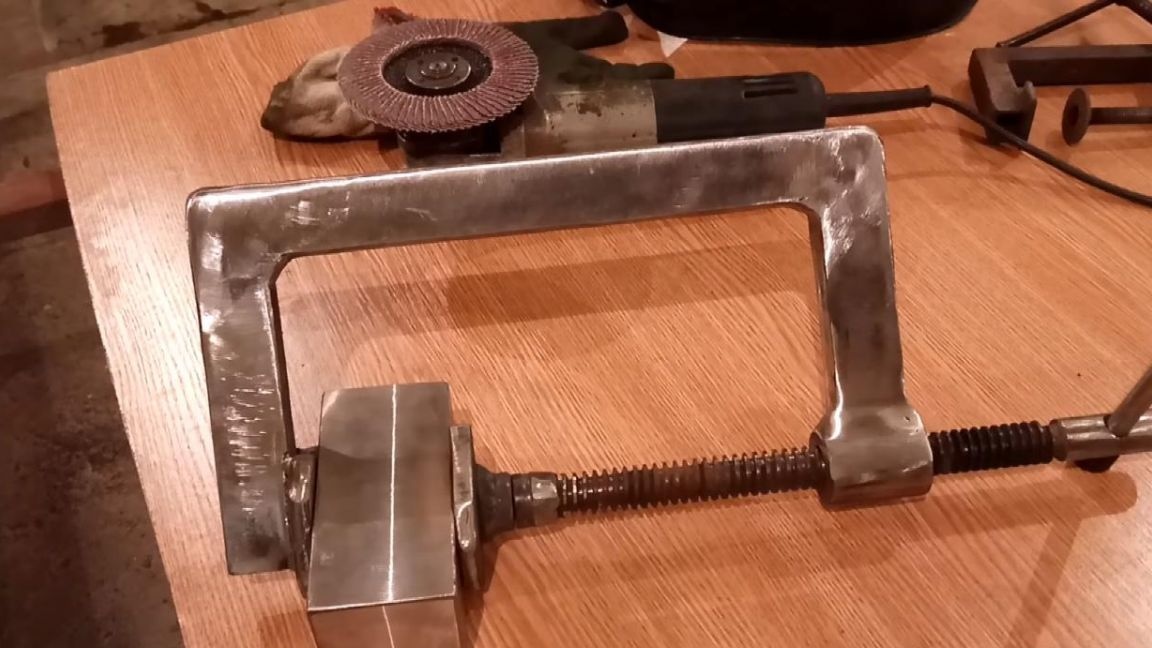
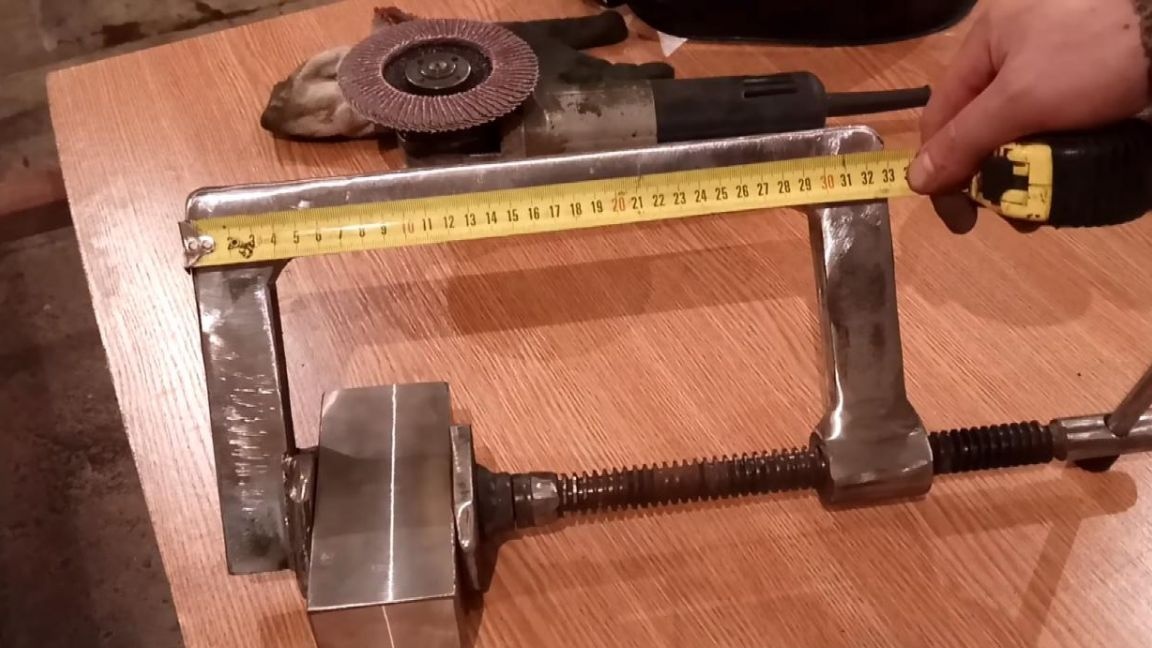
That's all for me, this clamp came out pretty solid, and the weight was about 5 kg due to its large size.
Thank you all for your attention and replenish your workshops with useful homemade products.