

Hello to all lovers homemade. As you know, in every workshop there are tools that can not be dispensed with, in this case we will talk about a clamp. I will not explain in detail why it is needed and why it is so necessary in each workshop, I will say briefly that with its help you can fix any item for its processing, as well as for gluing materials. In this article I will step by step tell you how to make an F-shaped clamp do it yourselfHaving at the same time a minimum of details and spending a penny on this, also all the necessary details can be in your workshop, which significantly reduces the cost of assembling such a homemade product.
Before you read the article, I suggest watching a video where all the details of the assembly of this clamp, as well as verification, are described.
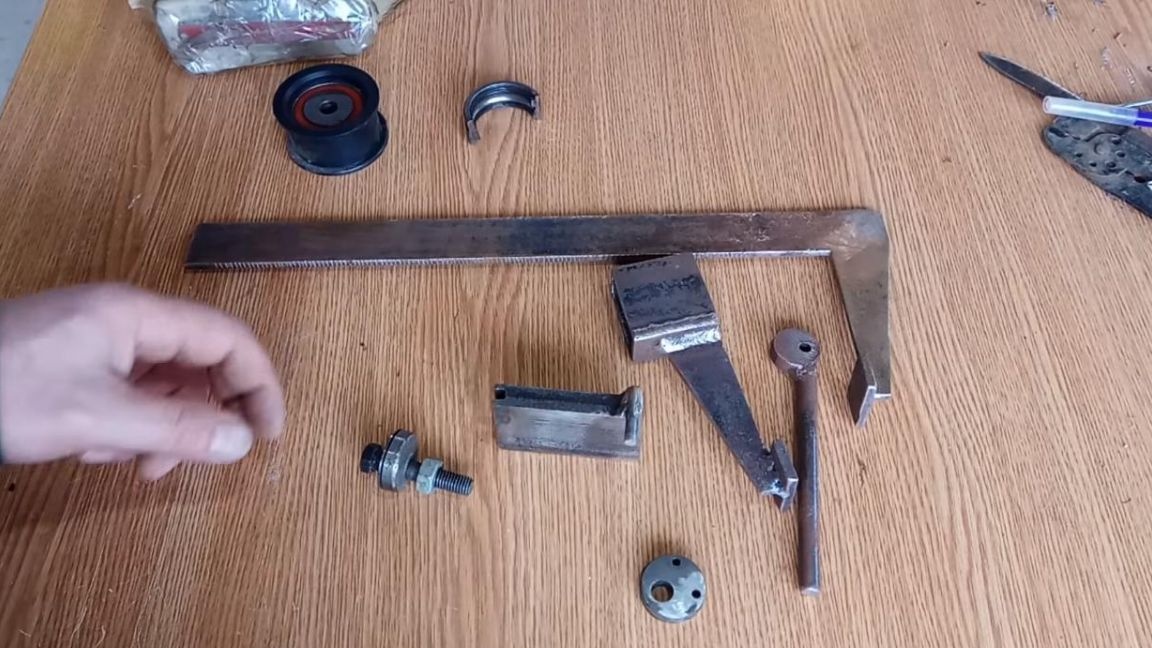
In order to make an F-shaped clamp with your own hands, you will need:
* Sheet metal 5 mm thick
* Angle grinder
* Cutting disc
* Vise
* Welding machine, electrodes
* Gaiters, welding mask
* Metal angle 50 mm and 40 mm
* Metal rod with a diameter of 25 mm
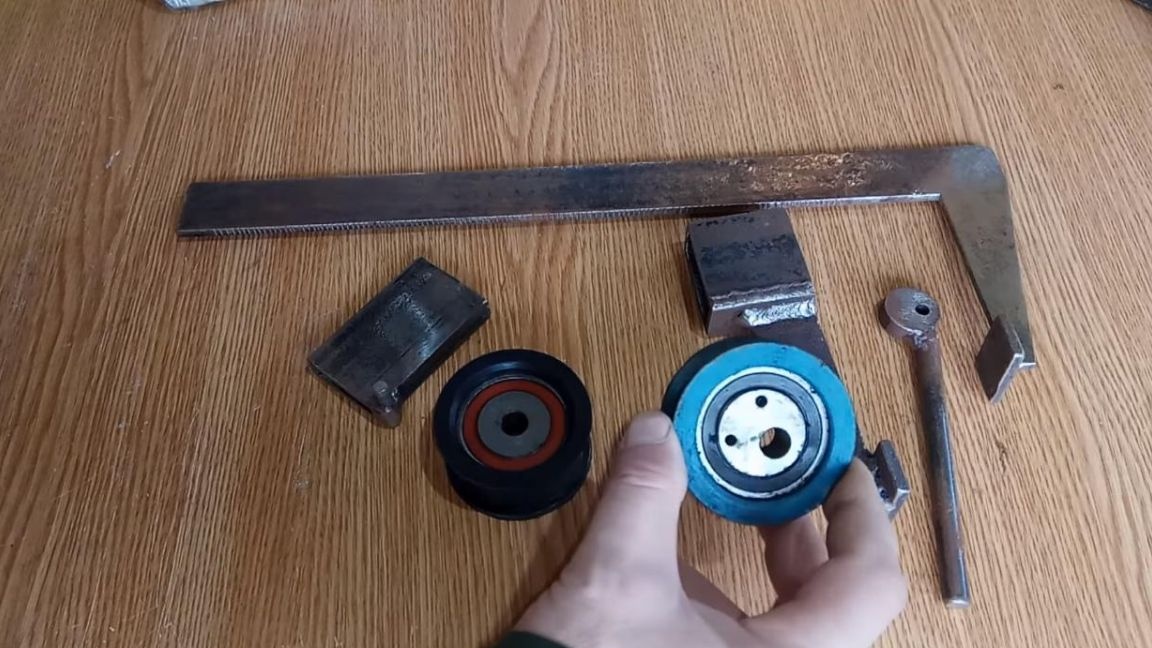
* Eccentric from timing belt tensioner
That's all you need to build such a useful tool.
Step one.
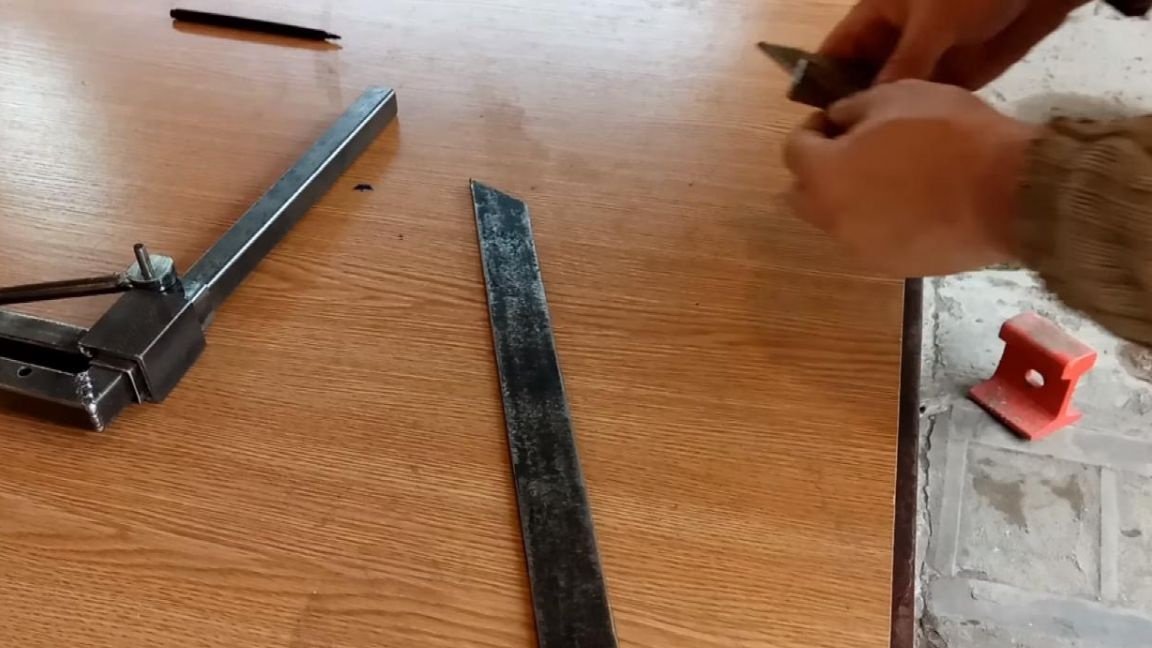
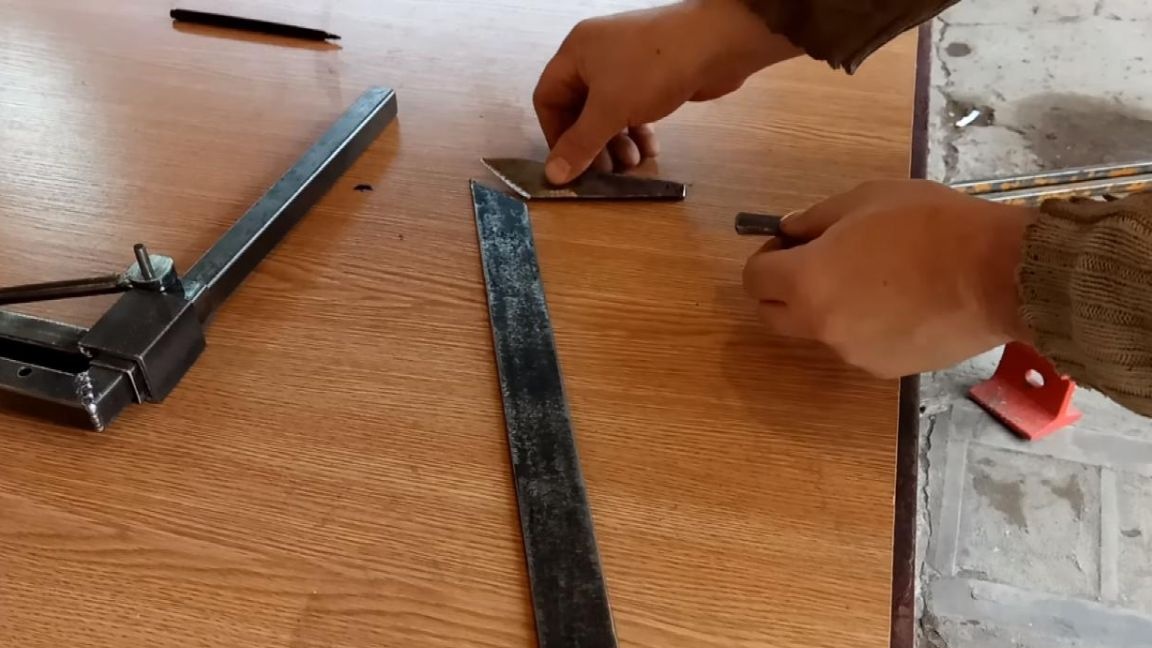
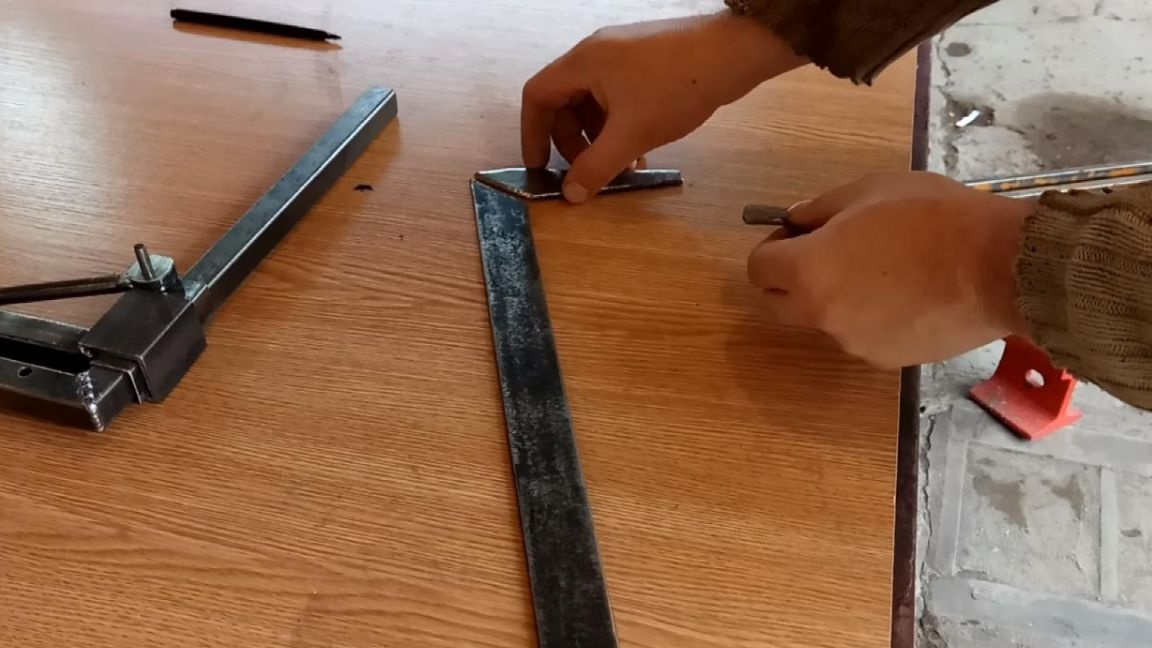
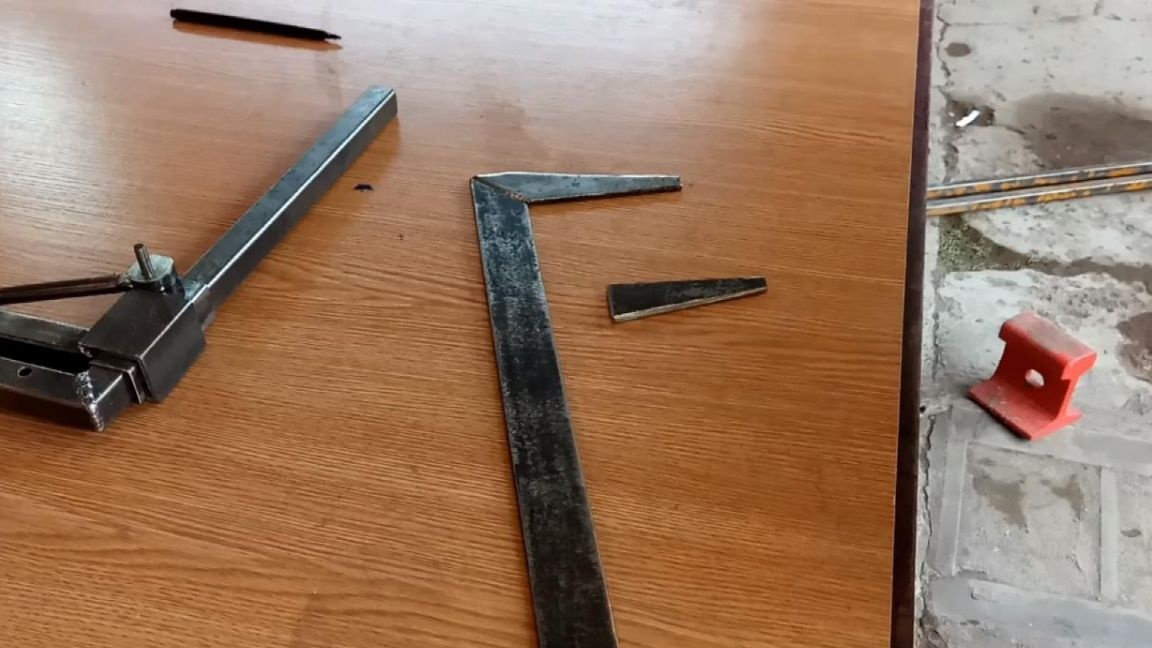
The first step is to make the clamp frame itself. It is made of a sheet of metal 5 mm thick, which for a not so large clamp will be enough. Mark the sketch of the F-shaped clamp and use the angle grinder to cut out the components. We take the length arbitrarily, since it depends on your goals, but I recommend doing no more than 50 cm, since then the design will not be so rigid. From the same sheet of metal we cut out the corners, to which then you will need to weld the paws for tight pressing.
Step Two
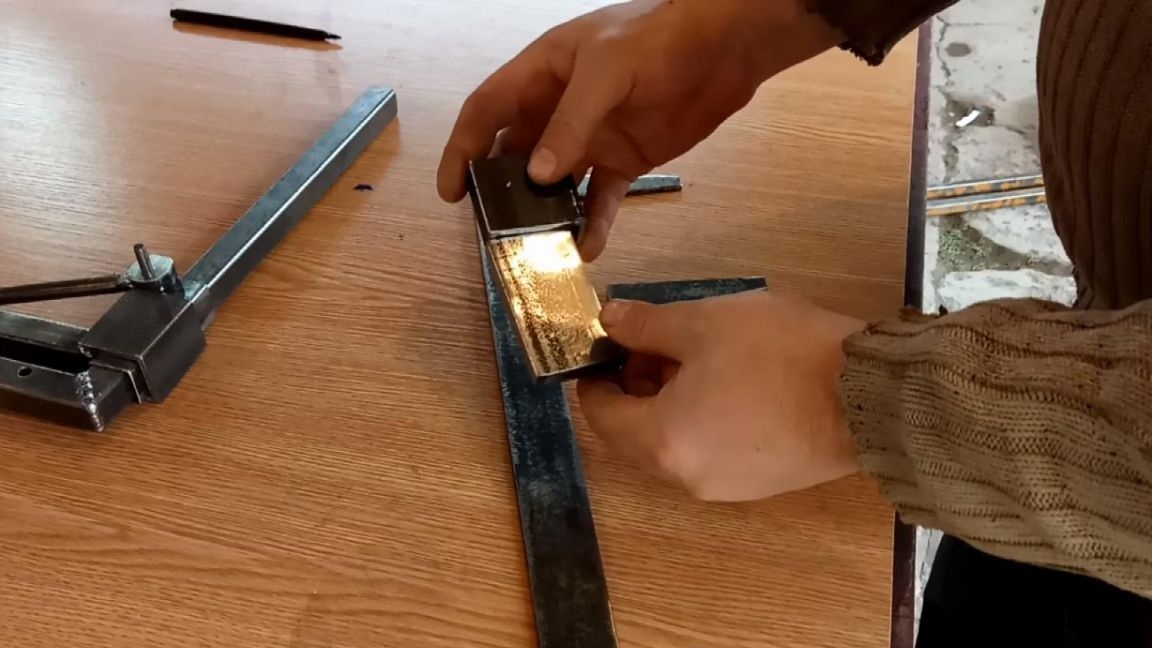
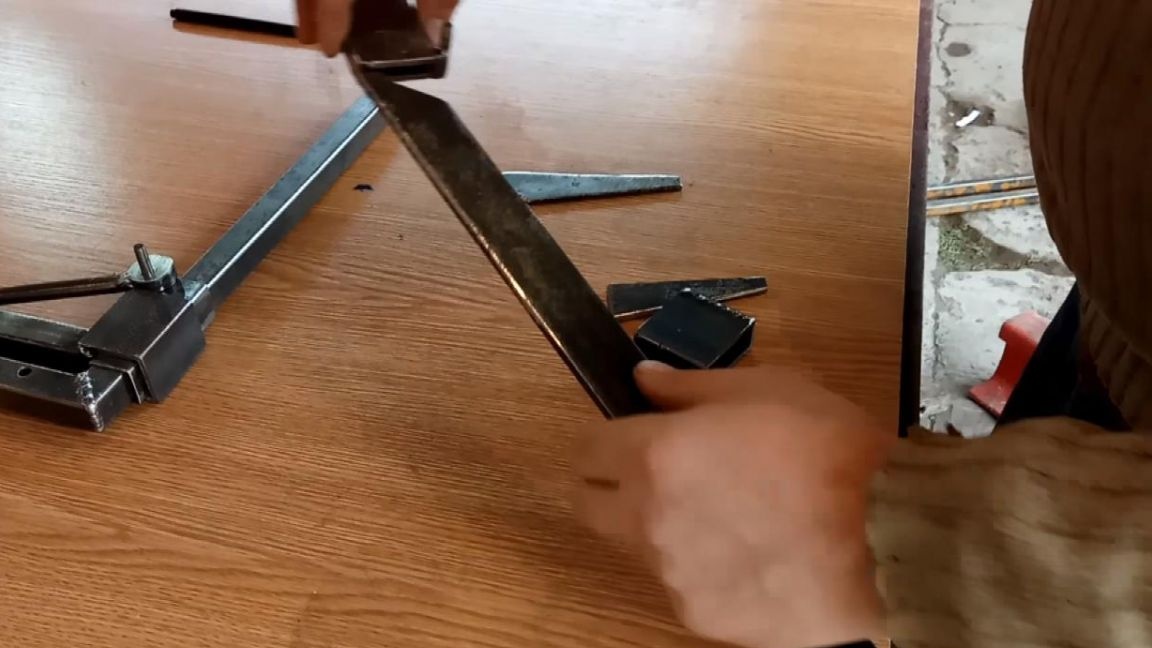
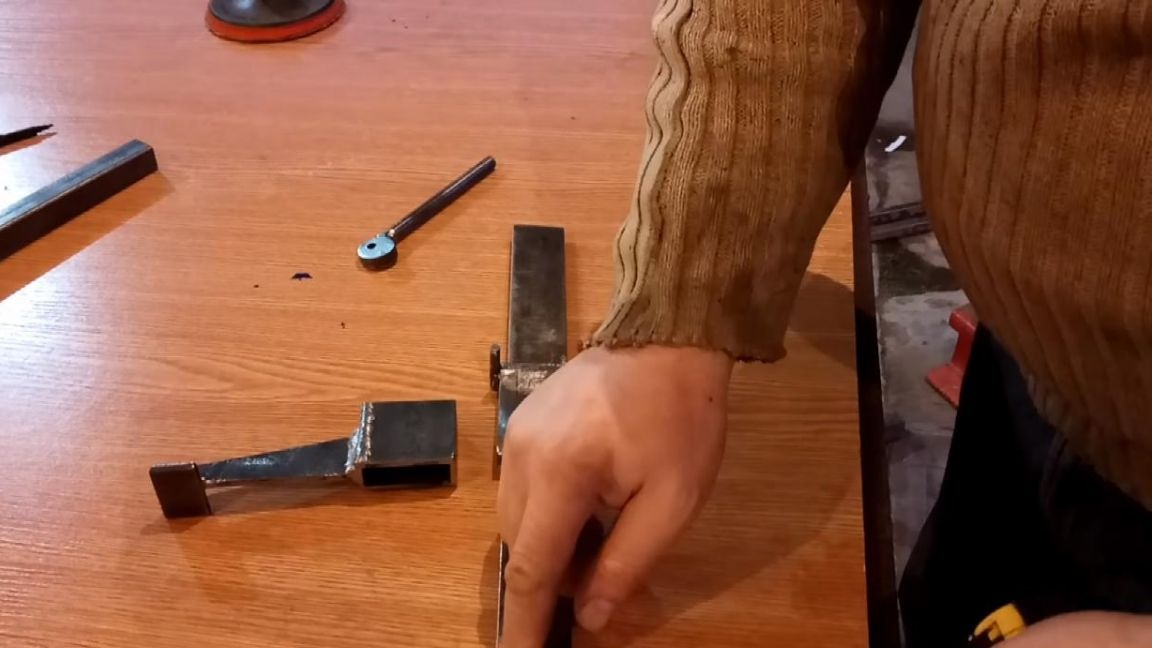
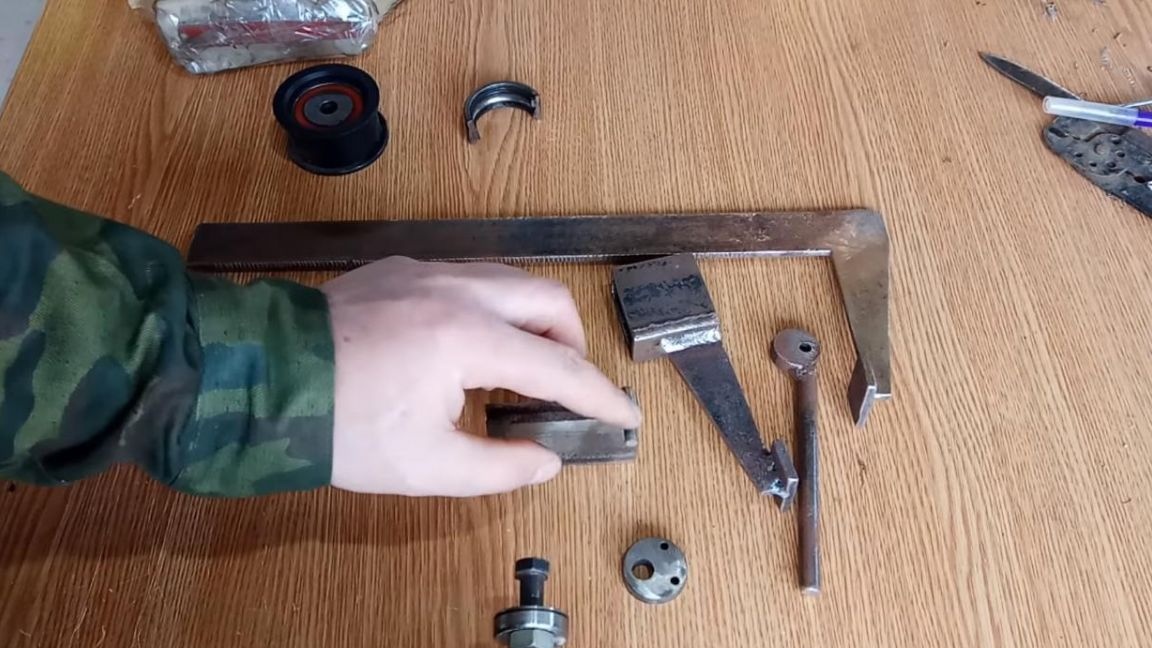
Now you need to make the movable part of the clamp. From a 50 mm corner we make a profile pipe 46 mm long, into which a pipe 70 mm long welded from the 40th corner should be inserted with a small gap.
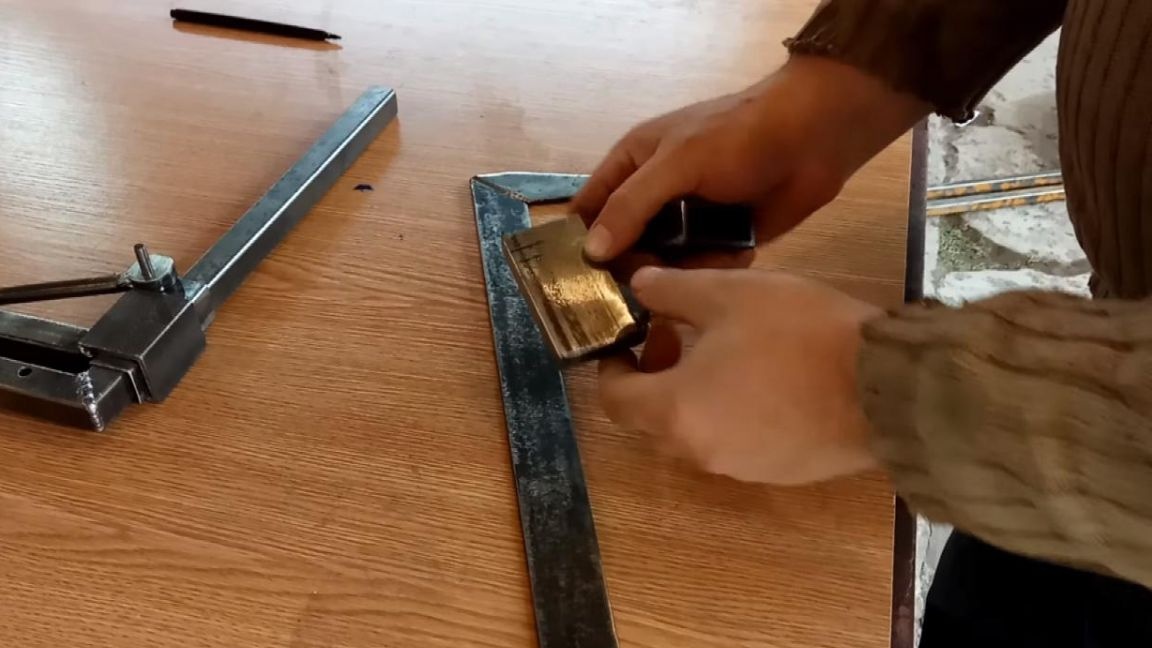
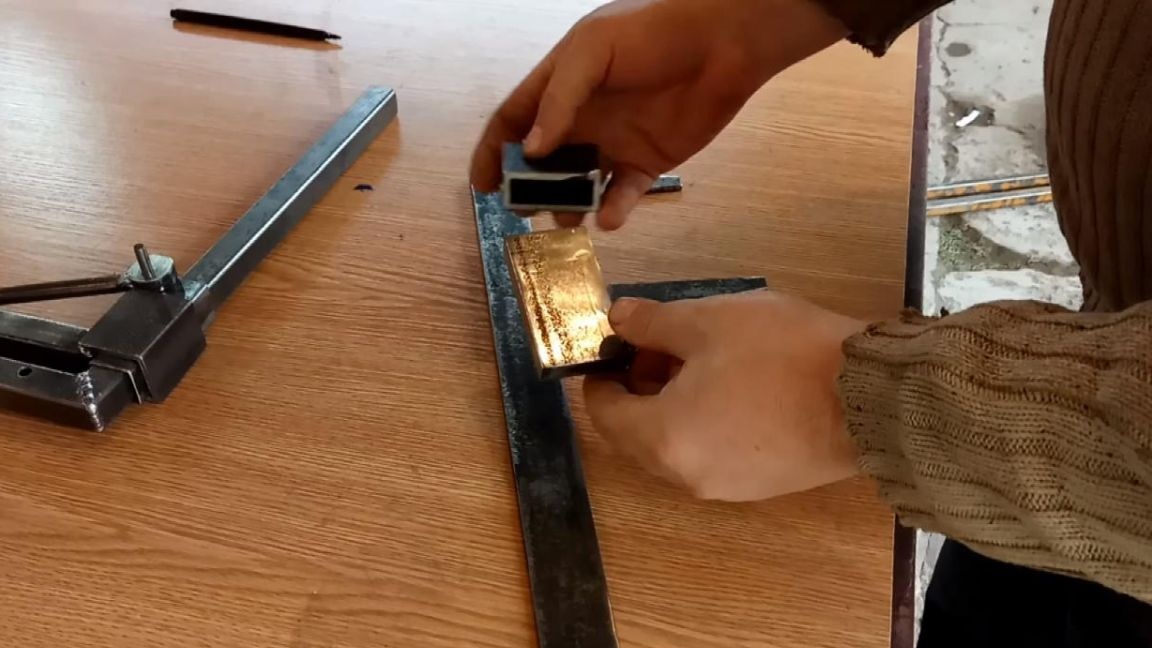
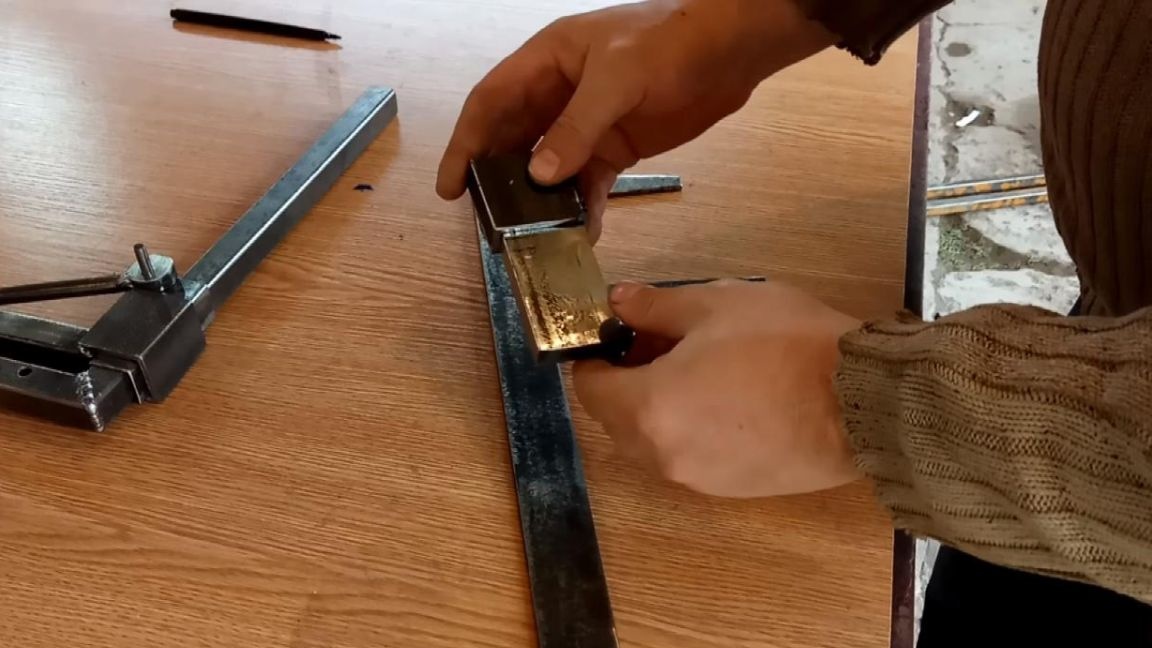
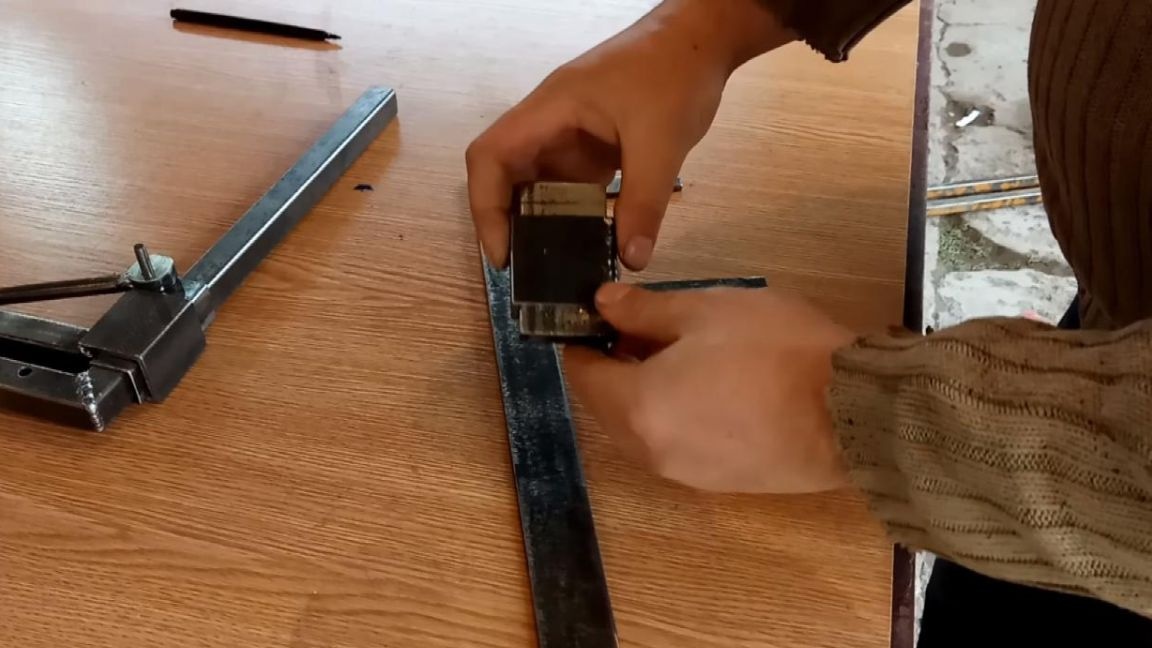
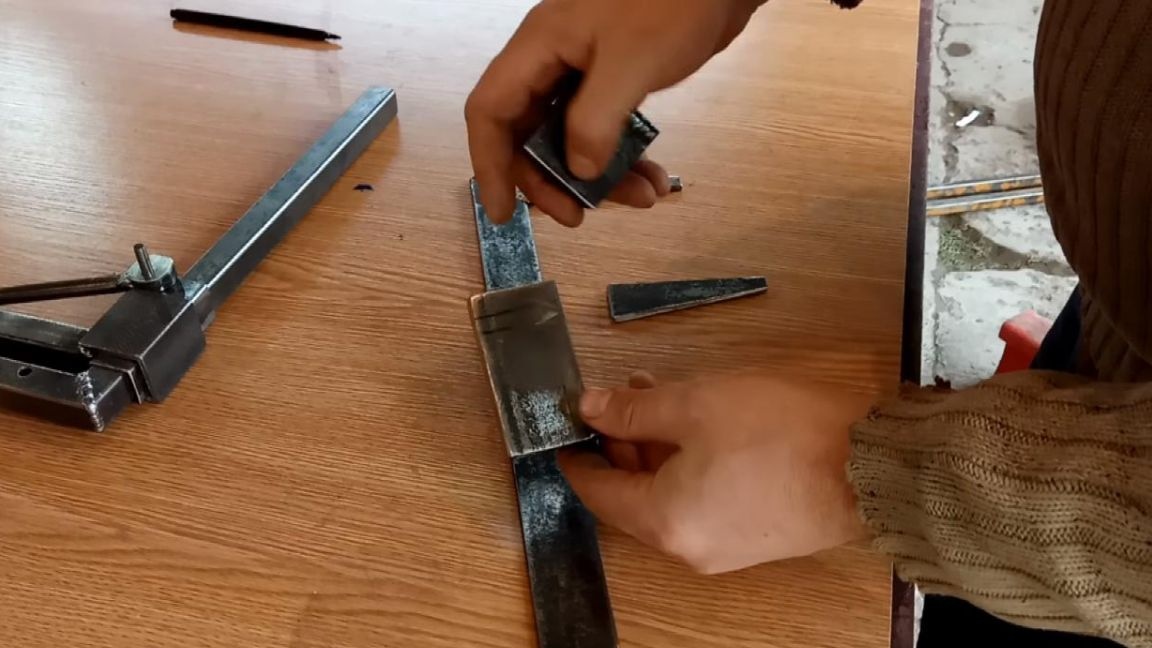
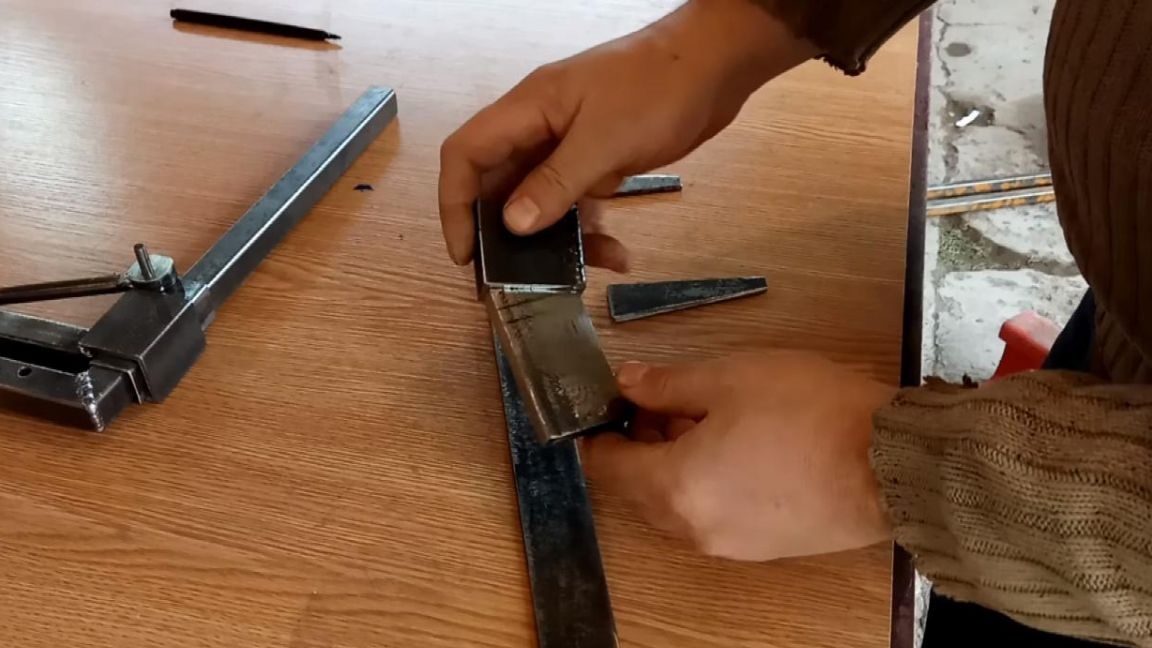
The width of the base on which the 40 mm corner will be located should be 35 mm.
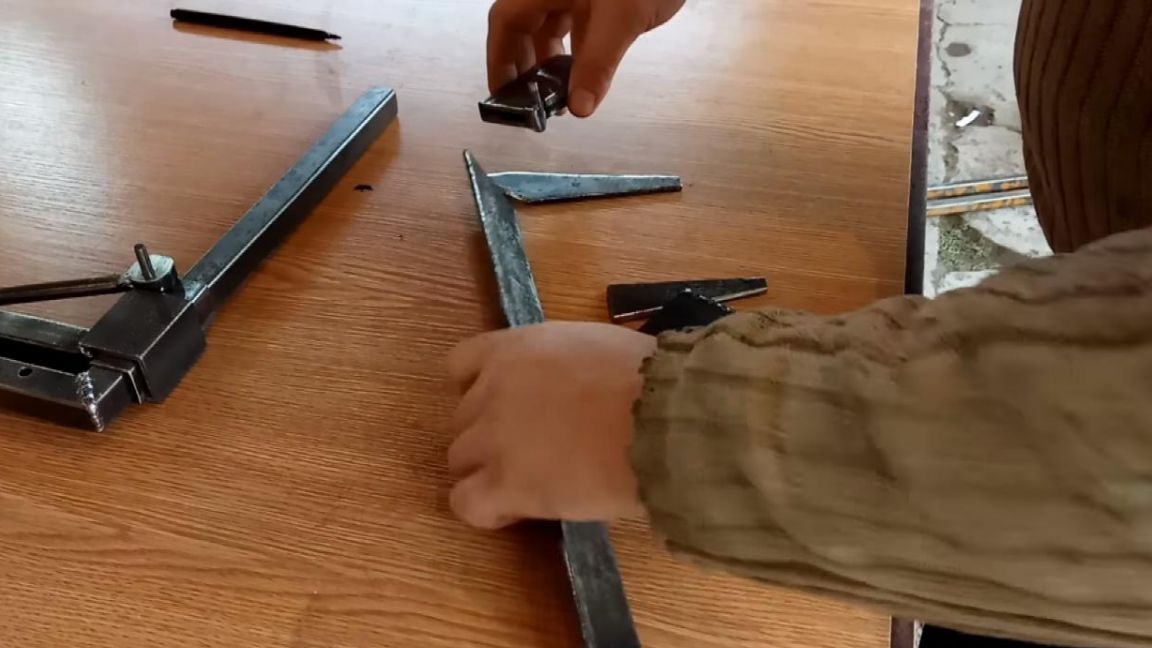
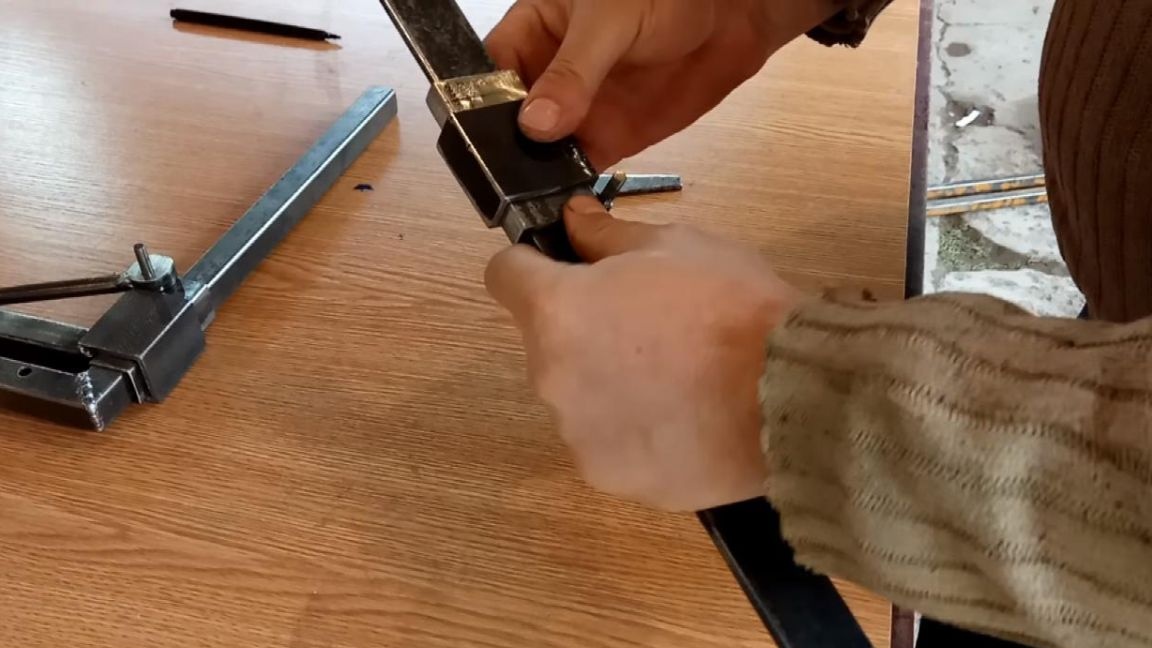
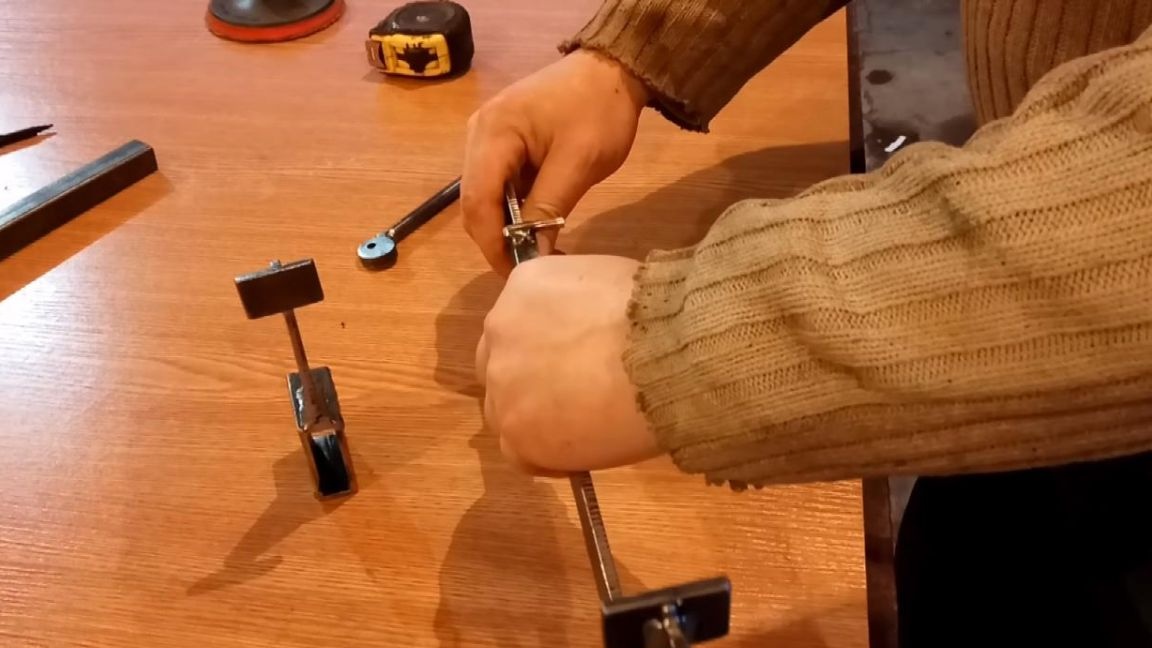
Then we weld a rod to a corner of 40 mm, on which thereafter will be an eccentric with a handle.
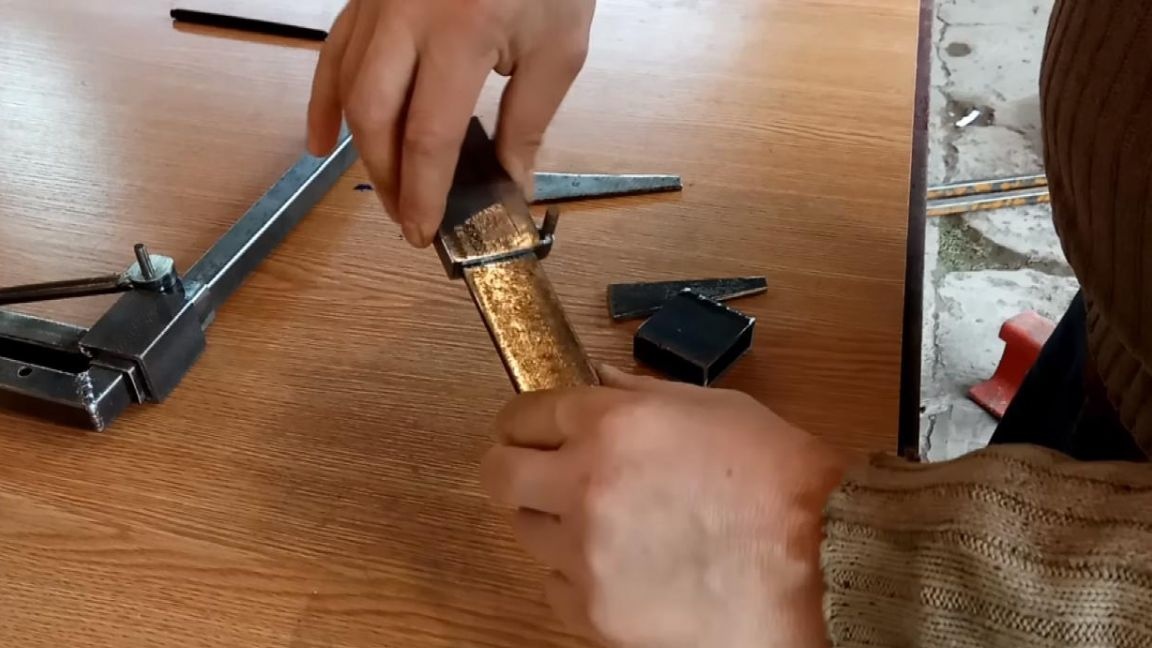
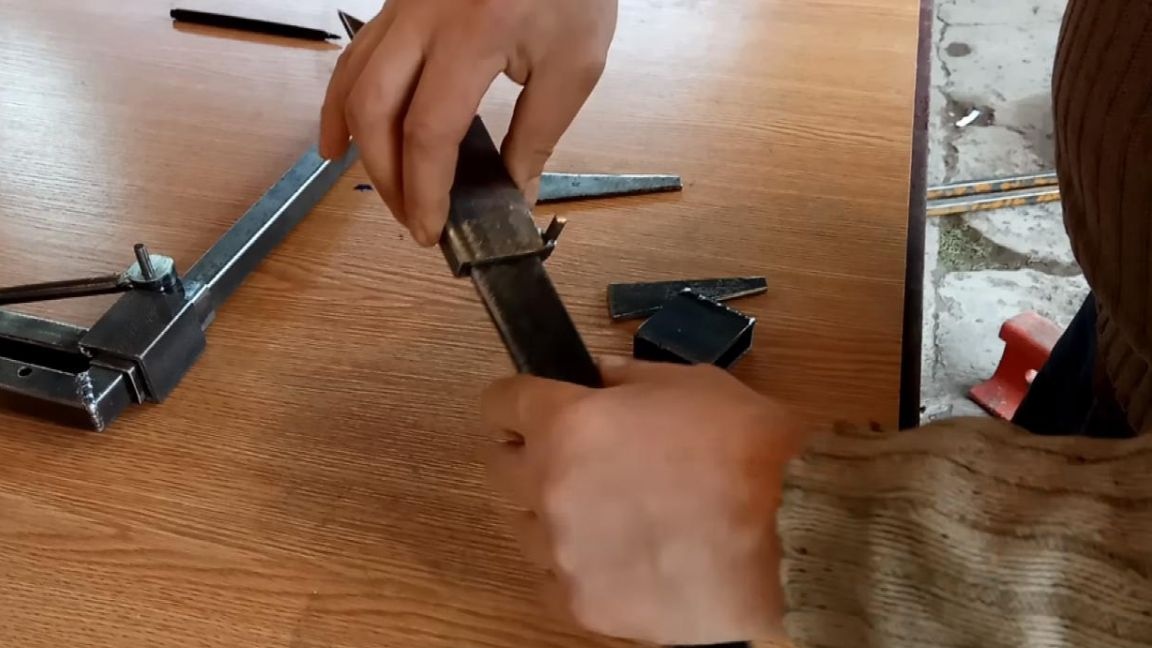
Step Three
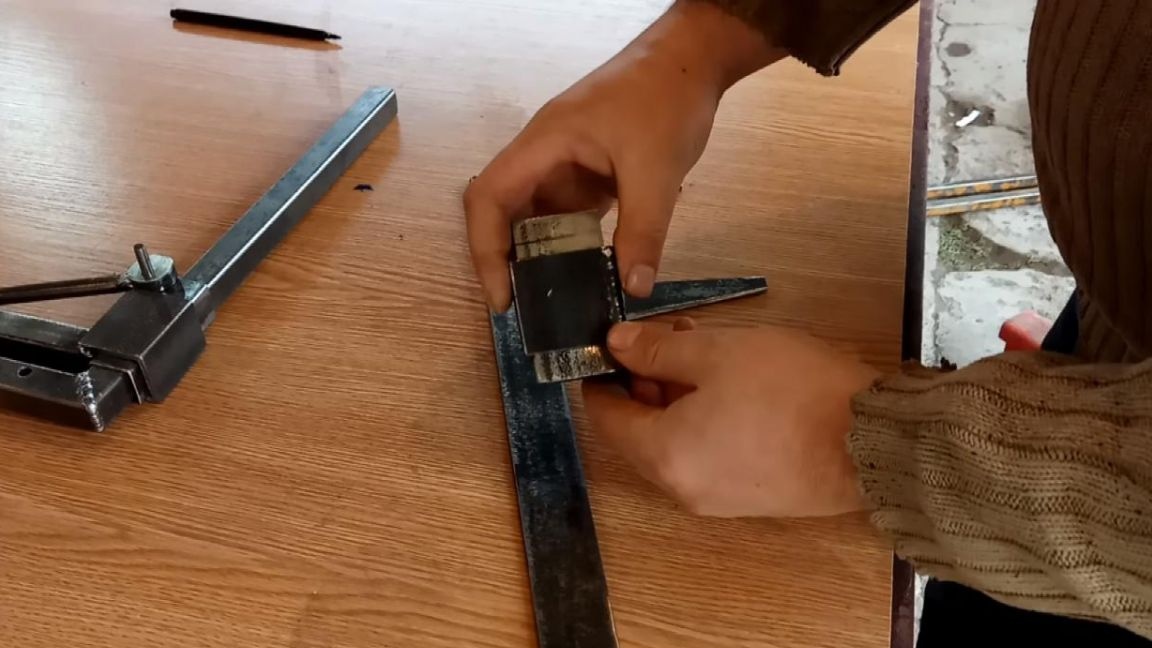
For better welding, we make grooves using angle grinders at the joints and using the welding machine we weld the finished parts.
Do not forget about personal protective equipment, gaiters and a protective mask are required. Next, we weld a metal handle to an eccentric made from the 25th rod.
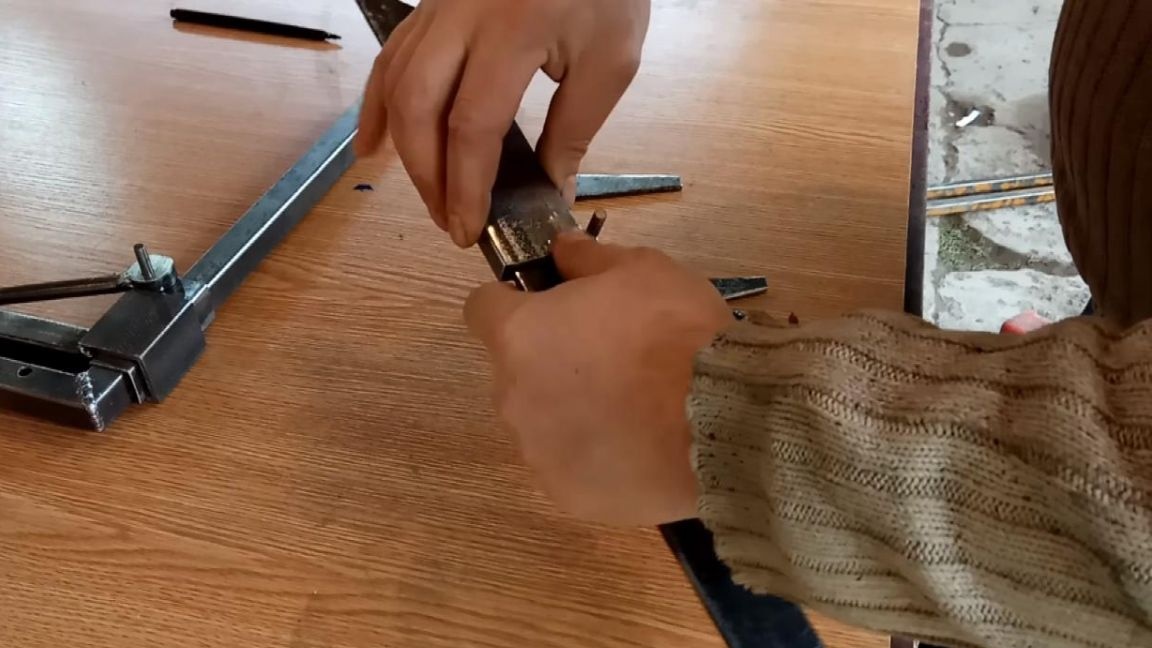
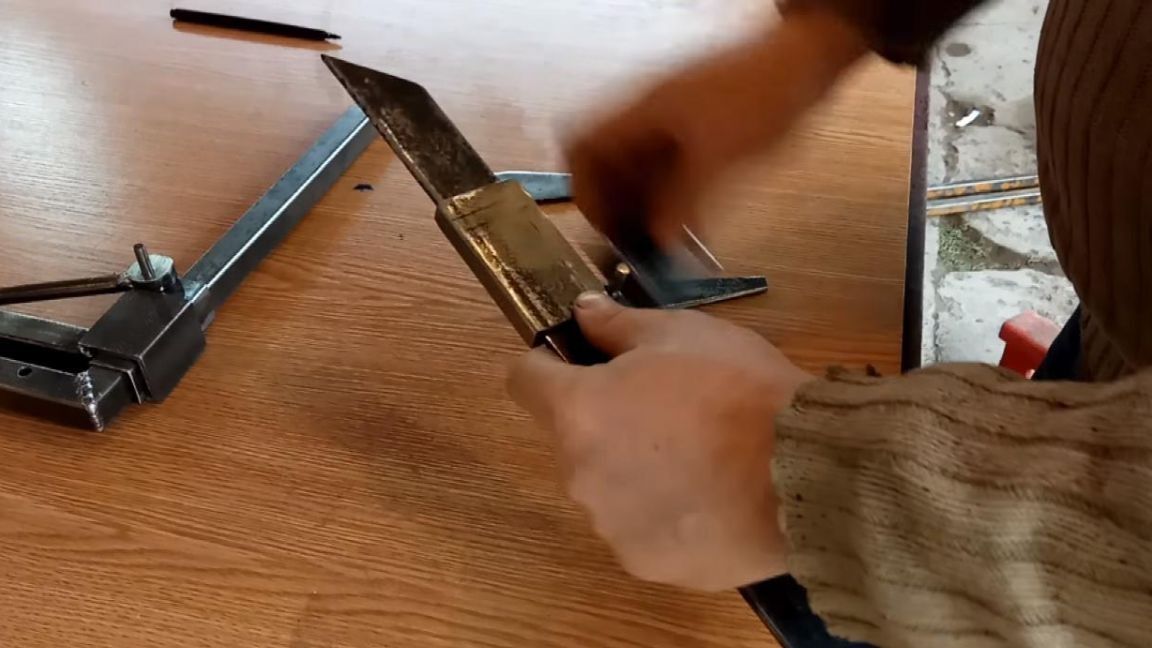
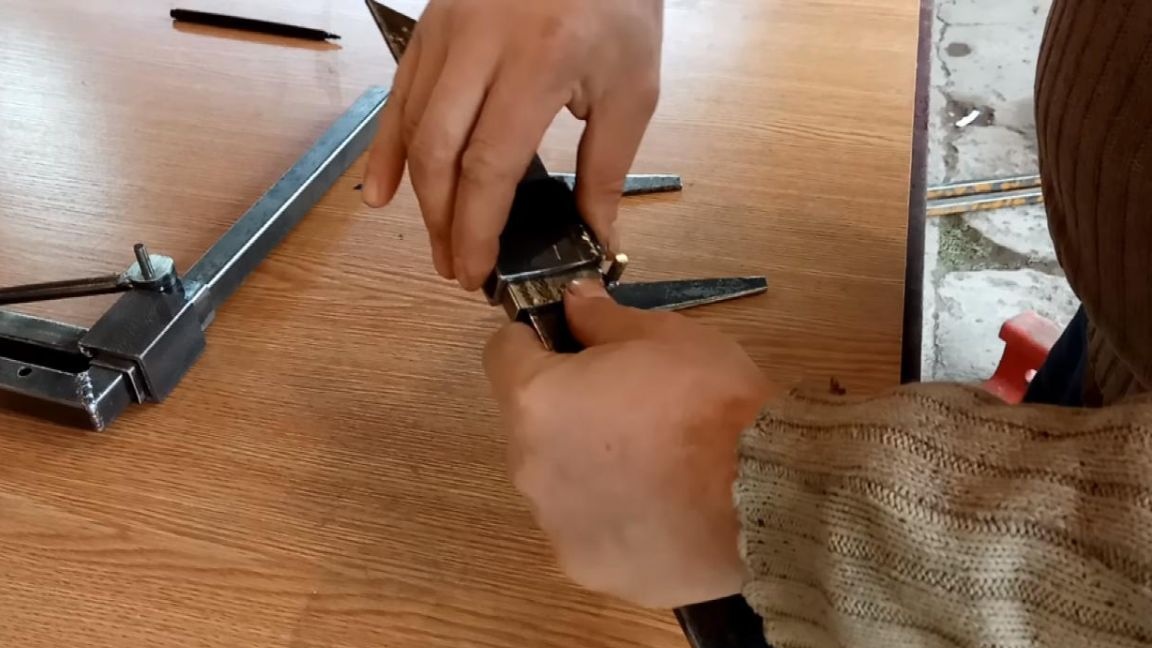
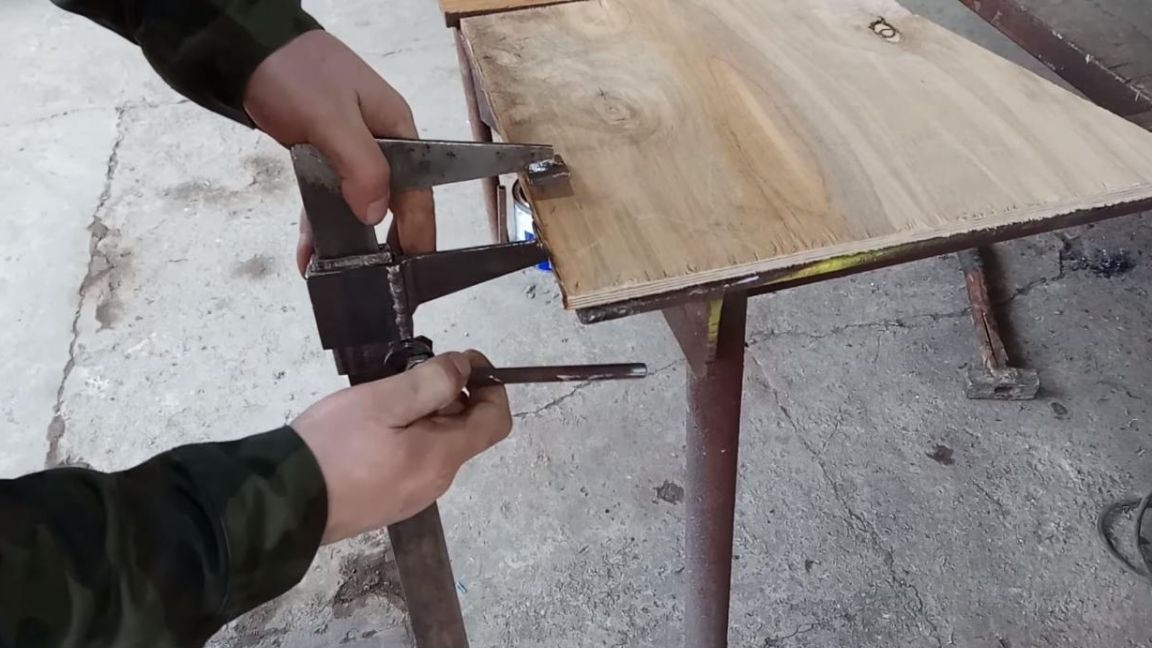
Step Four
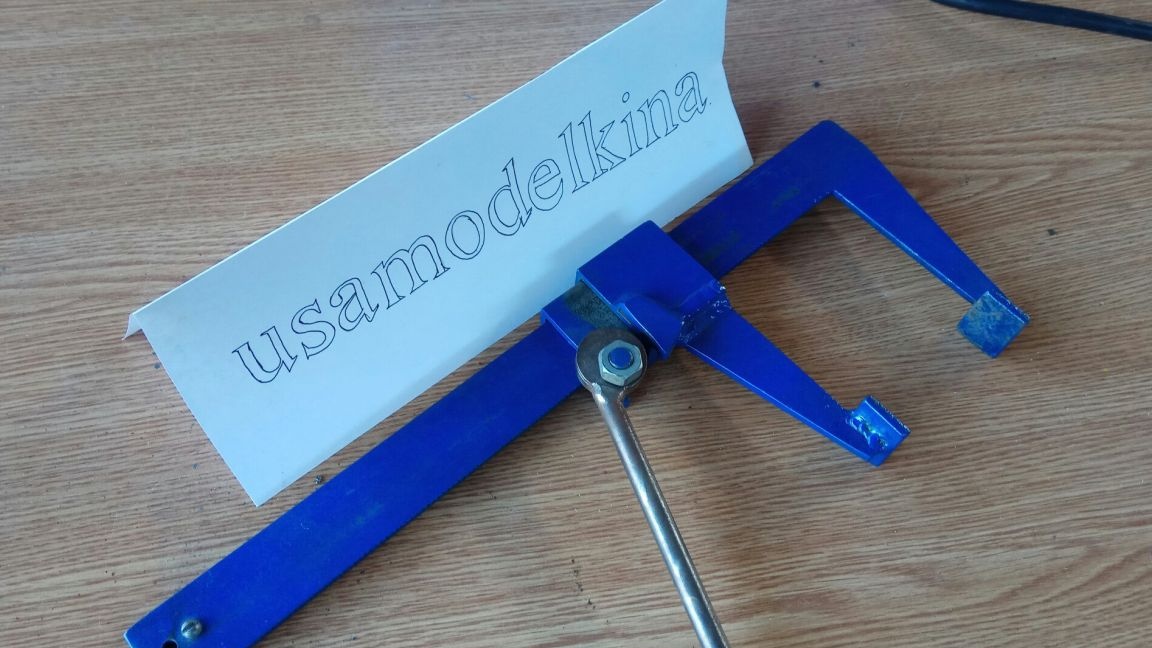
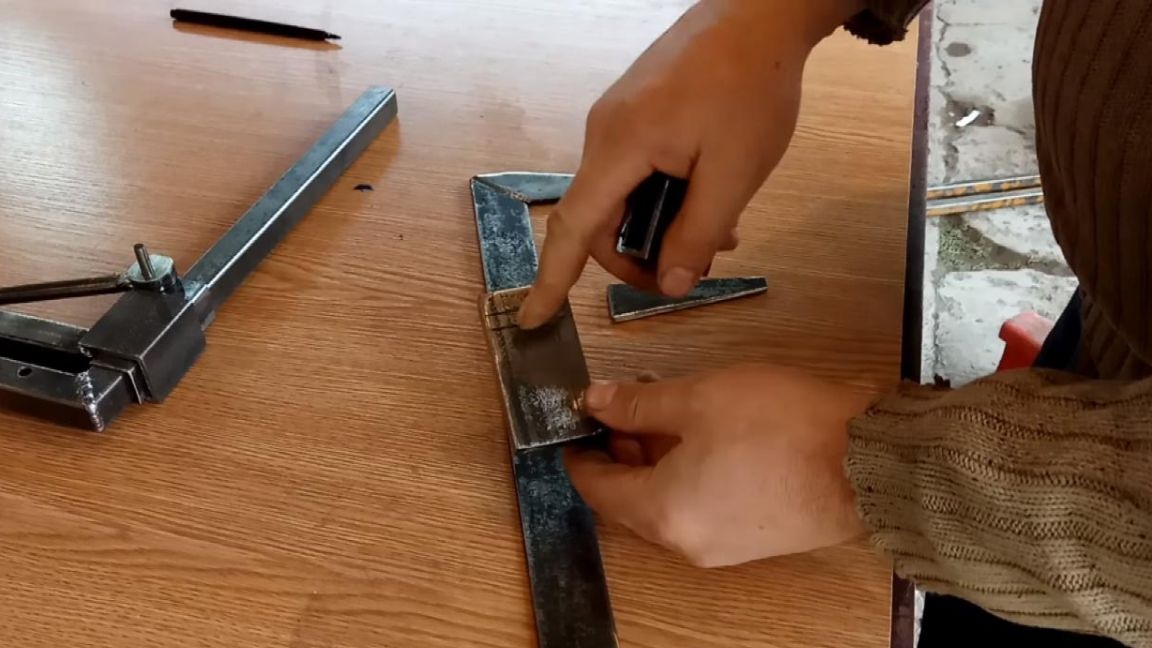
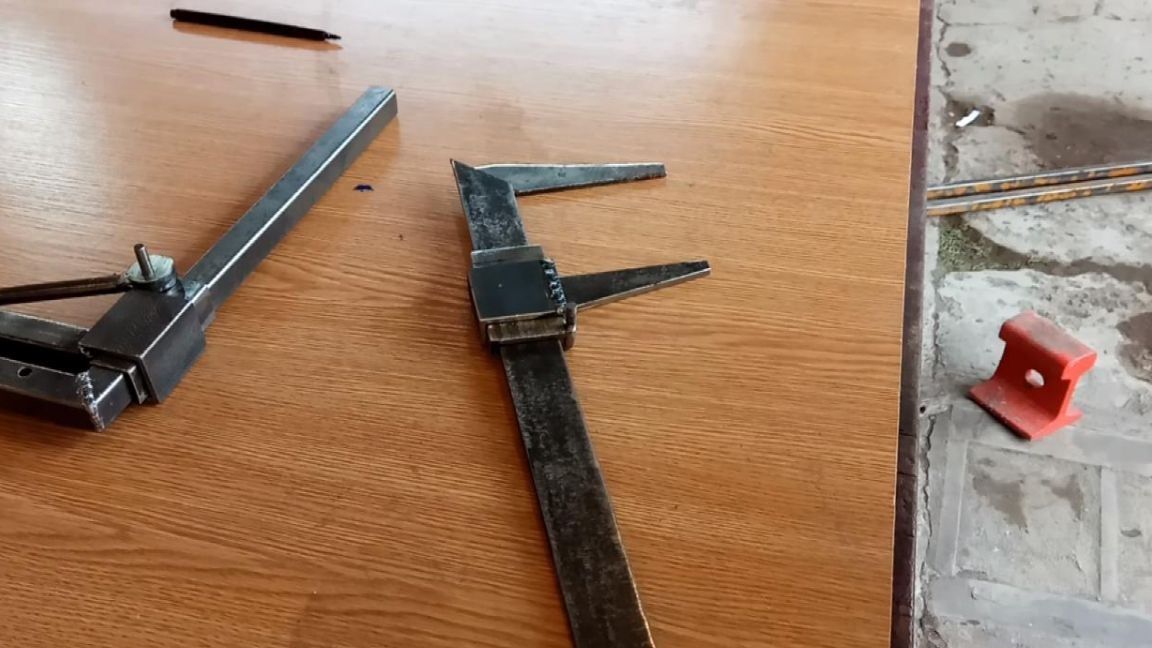
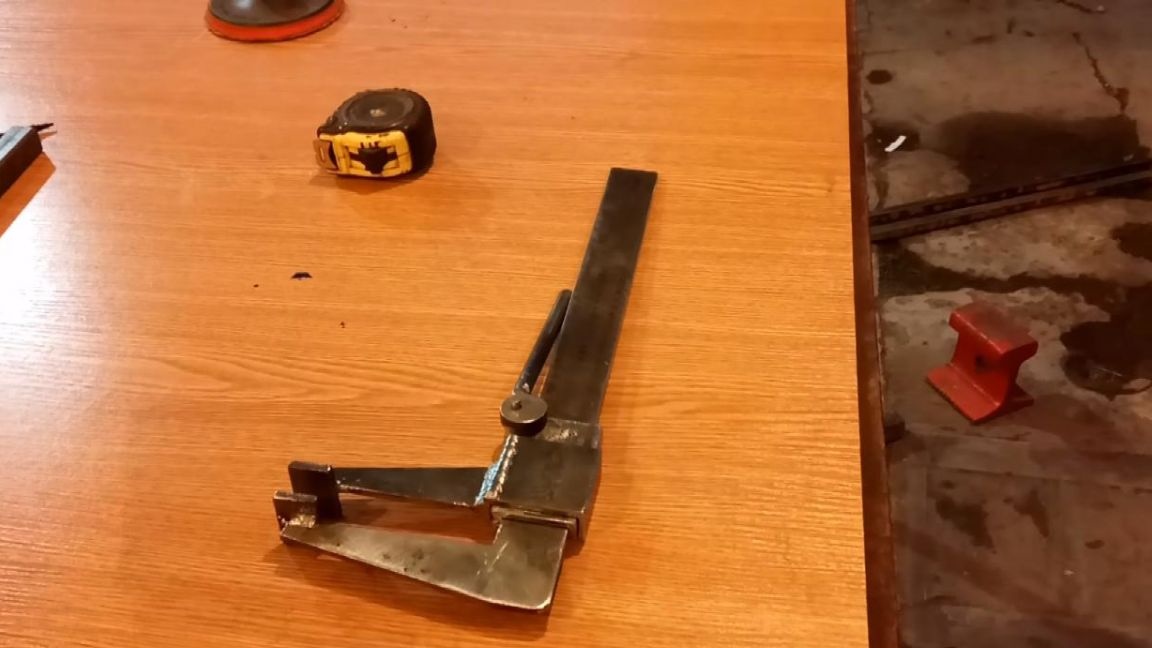
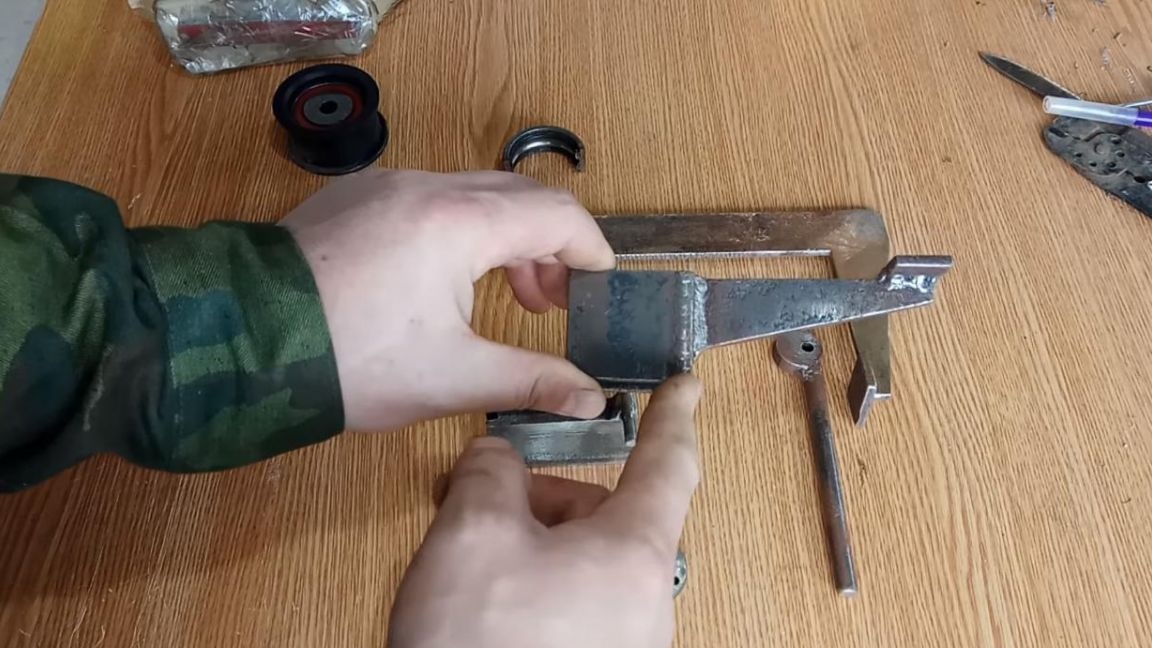
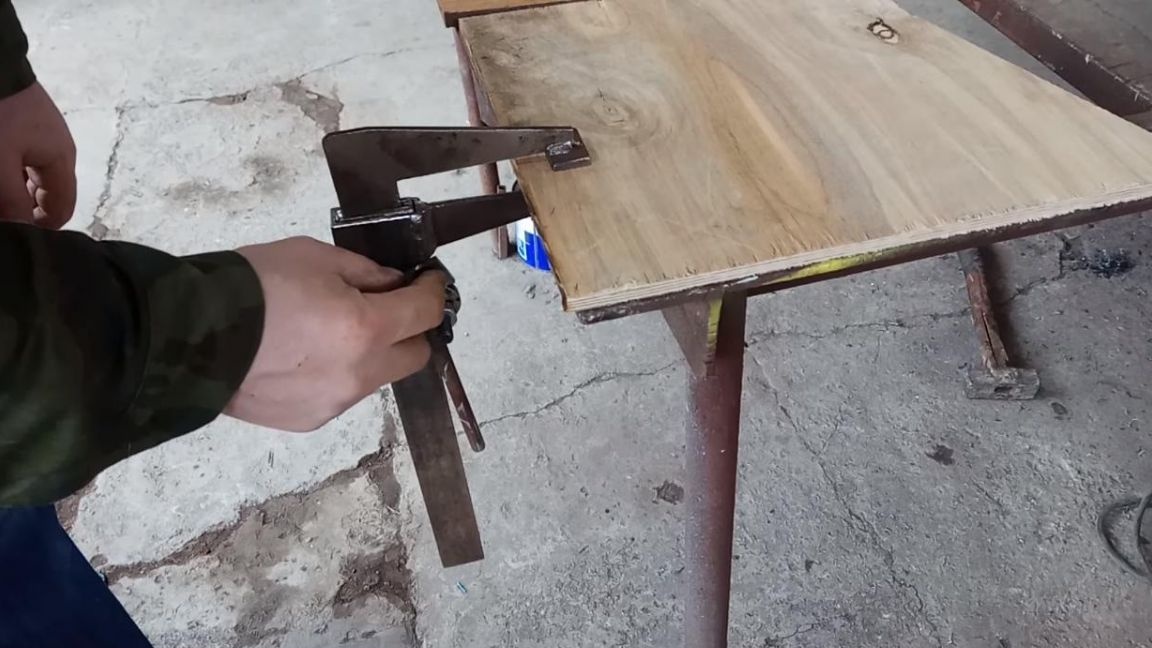
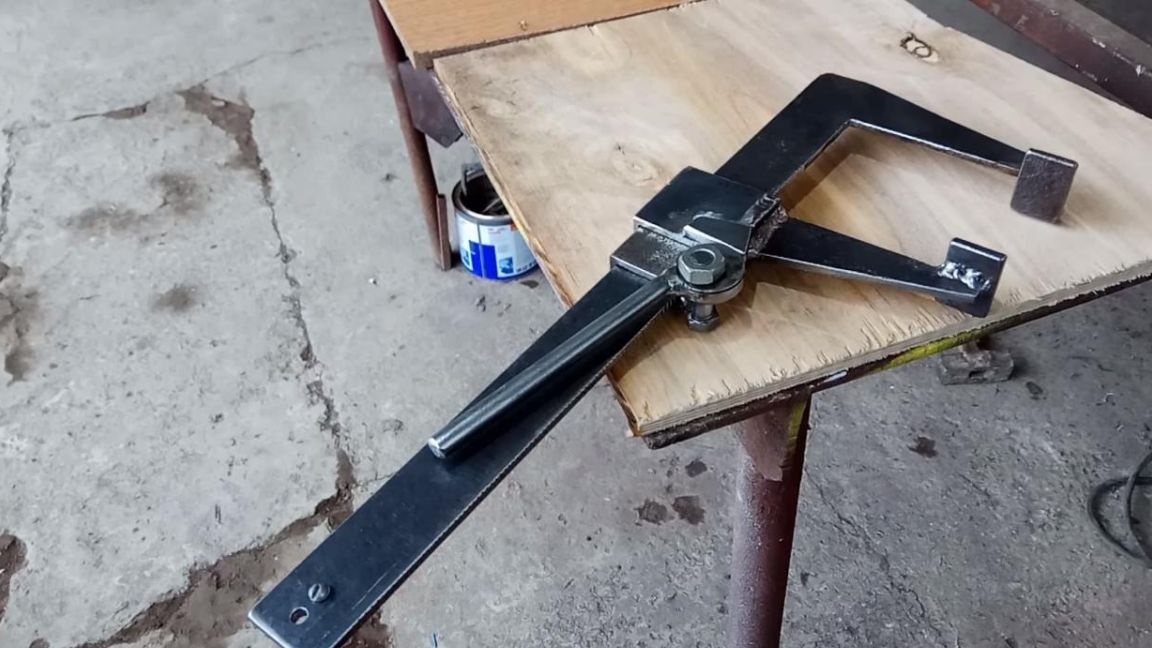
We weld small “paws” to the corners, both movable and stationary, which will press the part; if desired, notches can be made on their surface. After welding all the parts, such a clamp is obtained.
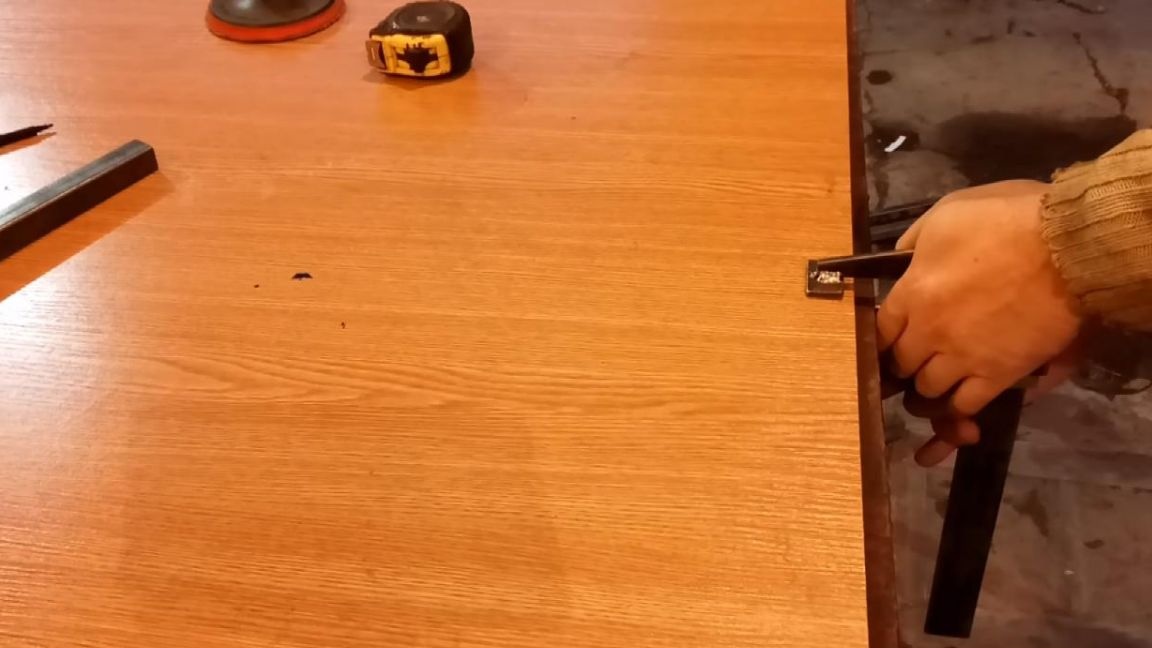
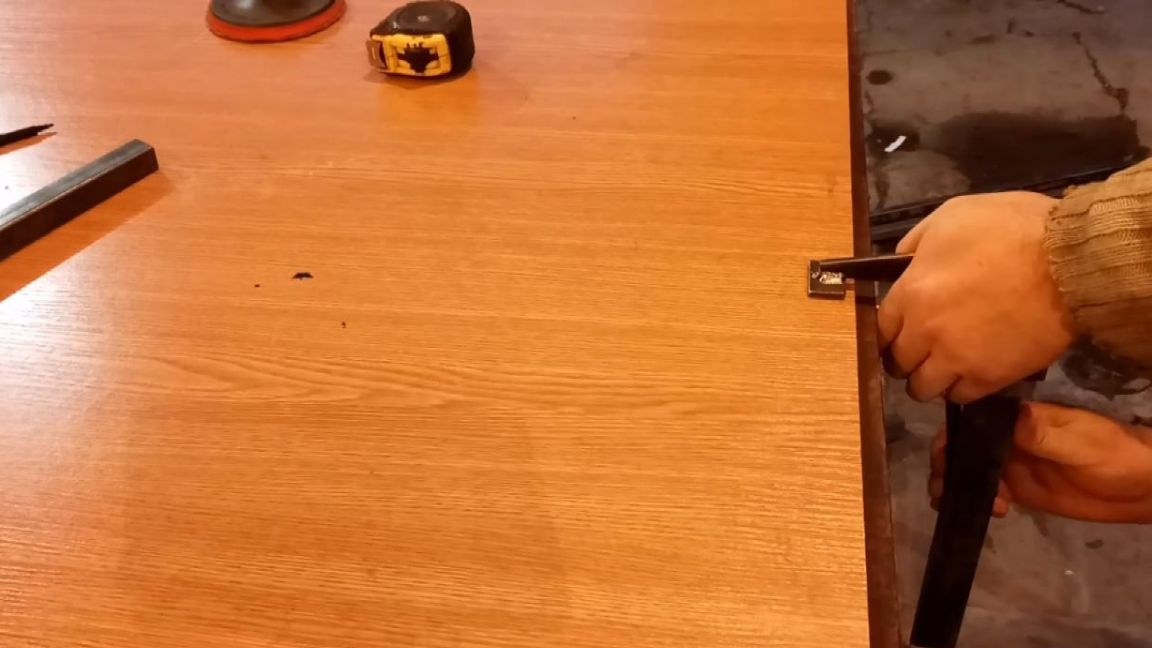
Its principle is based on the jamming of profiles welded from corners, which is ensured by turning the handle with an eccentric, for better fixing and reducing the likelihood of slipping, we make notches on the base with a angle grinder or file.
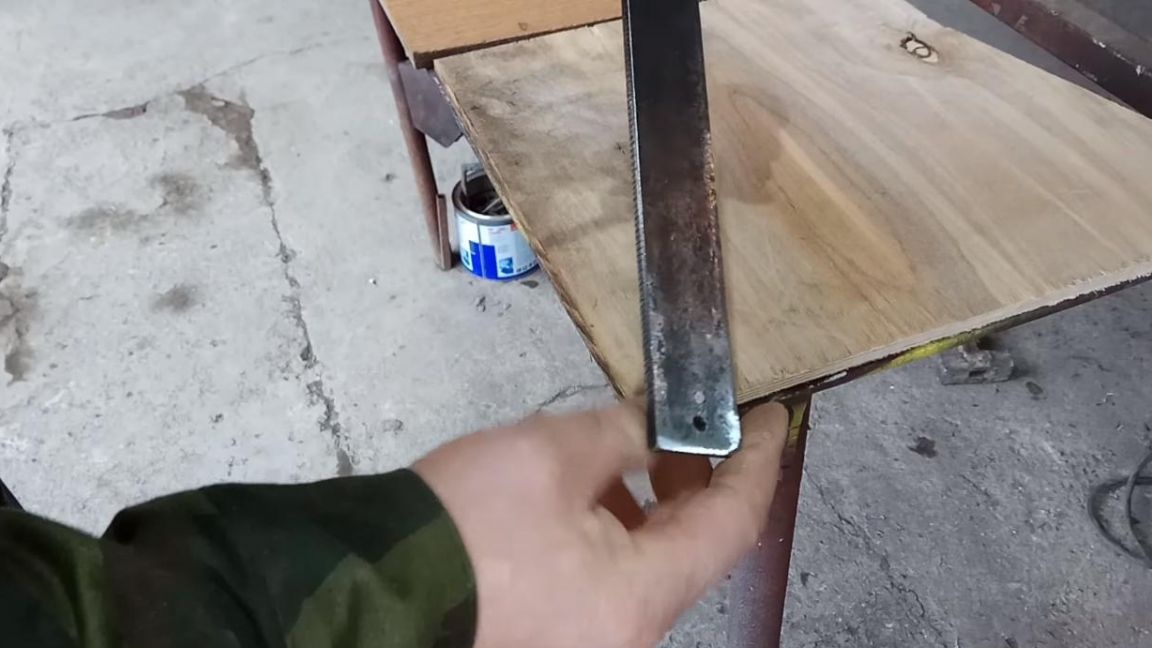
Departure of a motionless "paw" makes 104 mm.
This homemade product is completely ready, but at some time it was finalized, which I will talk about now.
Before proceeding, I suggest watching a video on finalizing the clamp.
Step Five
Since the eccentric was made of non-hardened metal, the wear of this part was inevitable; at the moment of pressing, the metal gradually wore out and a working out appeared.
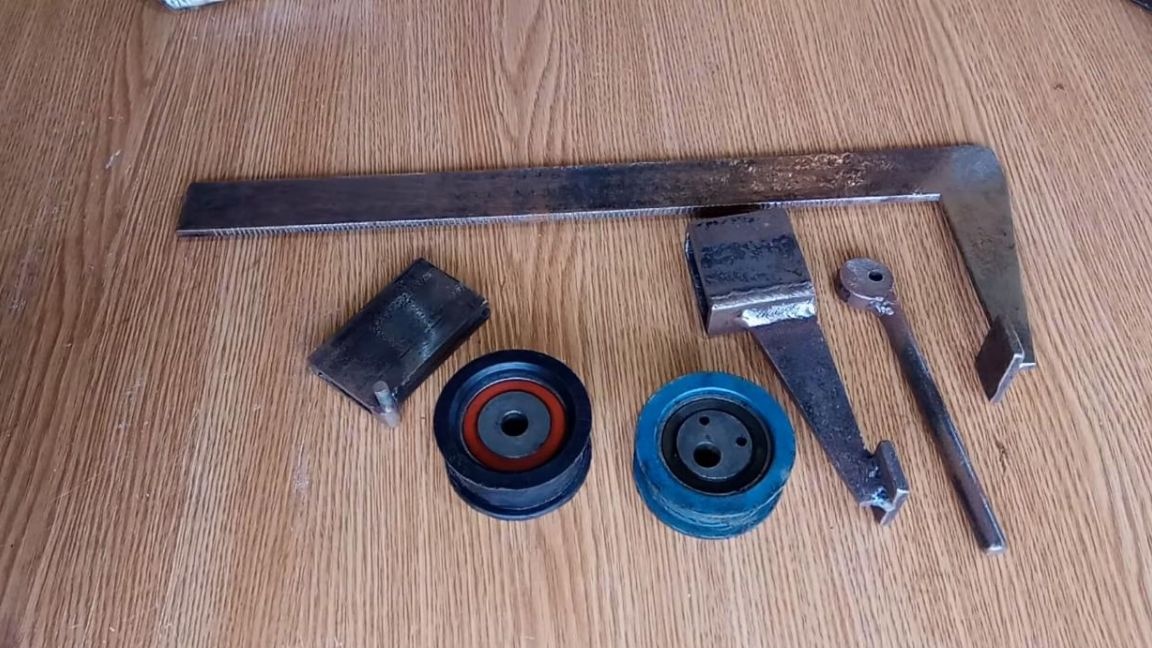
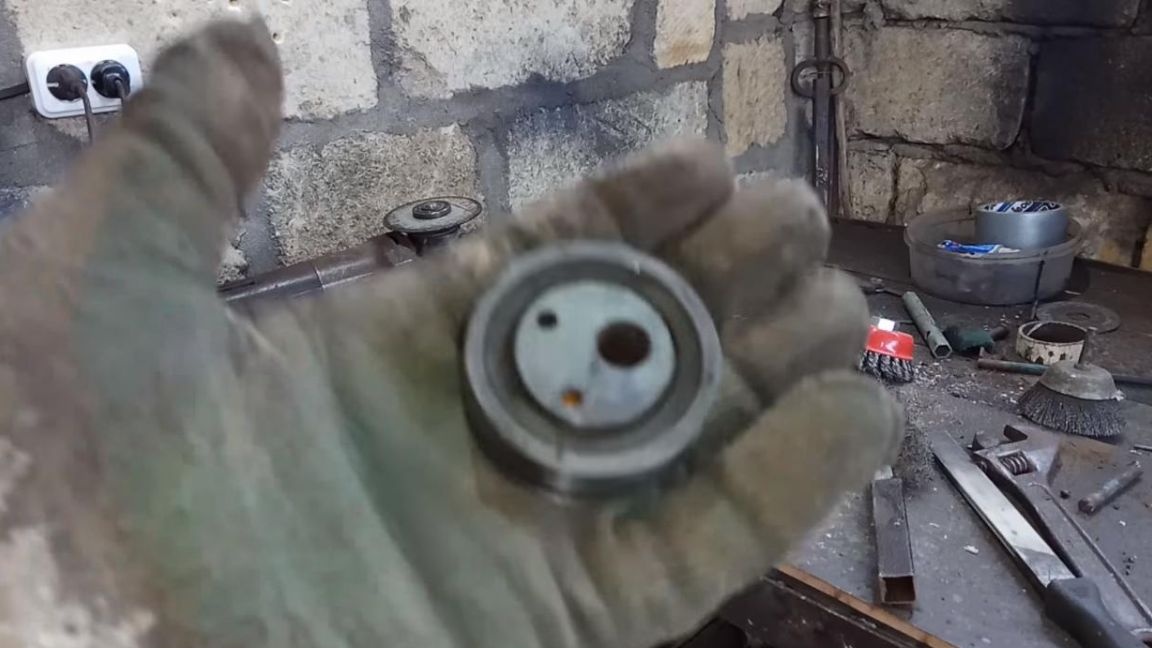
To prevent this from happening, it was decided to make an eccentric from the timing belt tensioner of AvtoVAZ, since the metal is hot there, which is what we need.
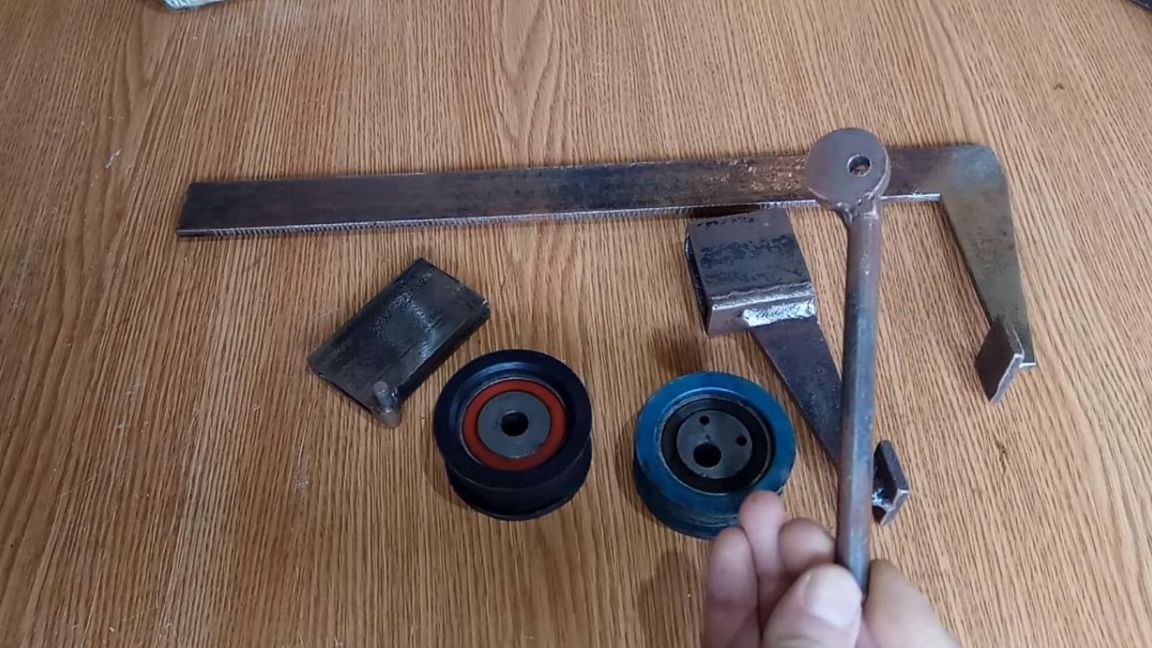
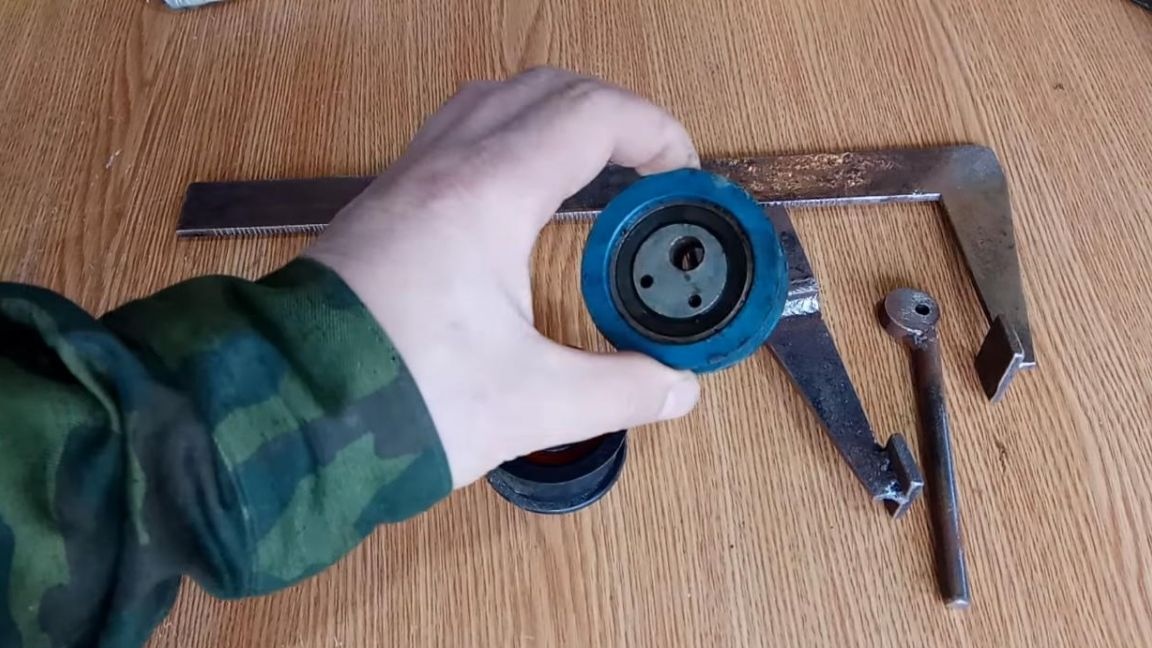
We clamp the timing roller in a vice and use an angle grinder to cut the housing to get to the bearing itself.
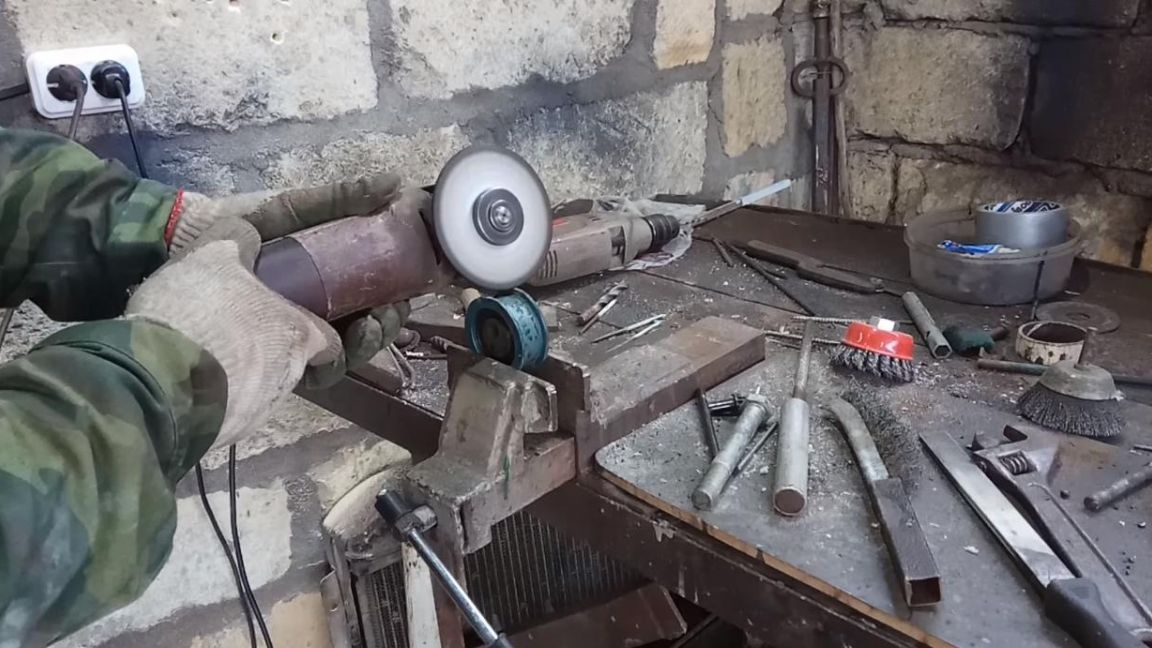
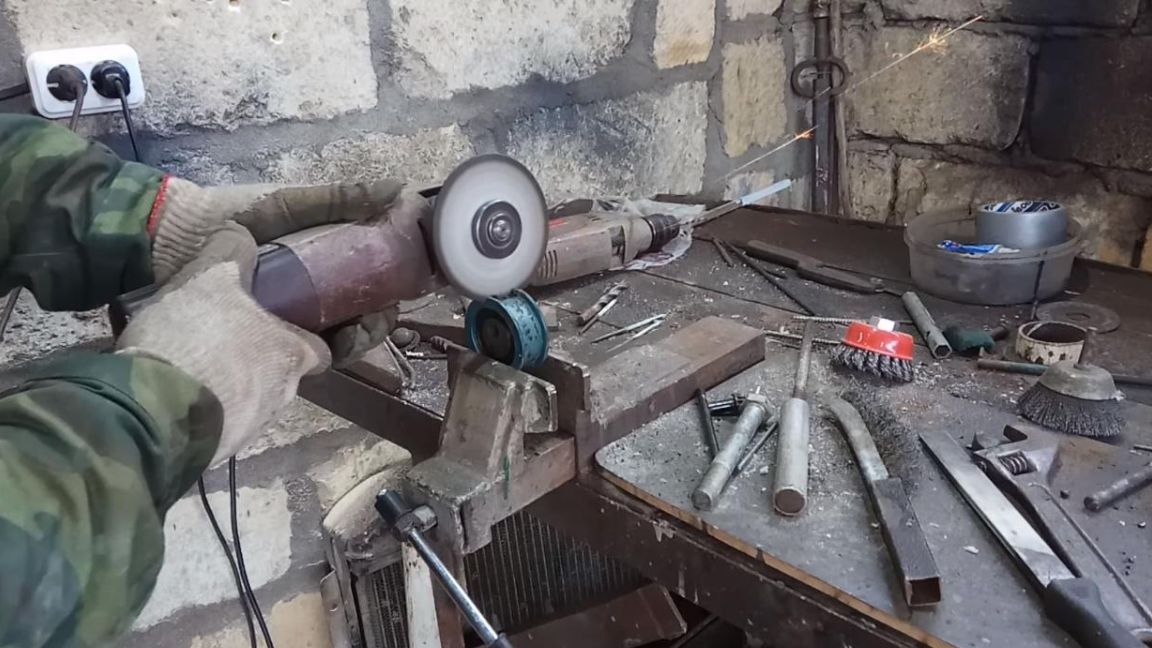
After that, we fix the bearing in a vice and saw the outer cage in two places.
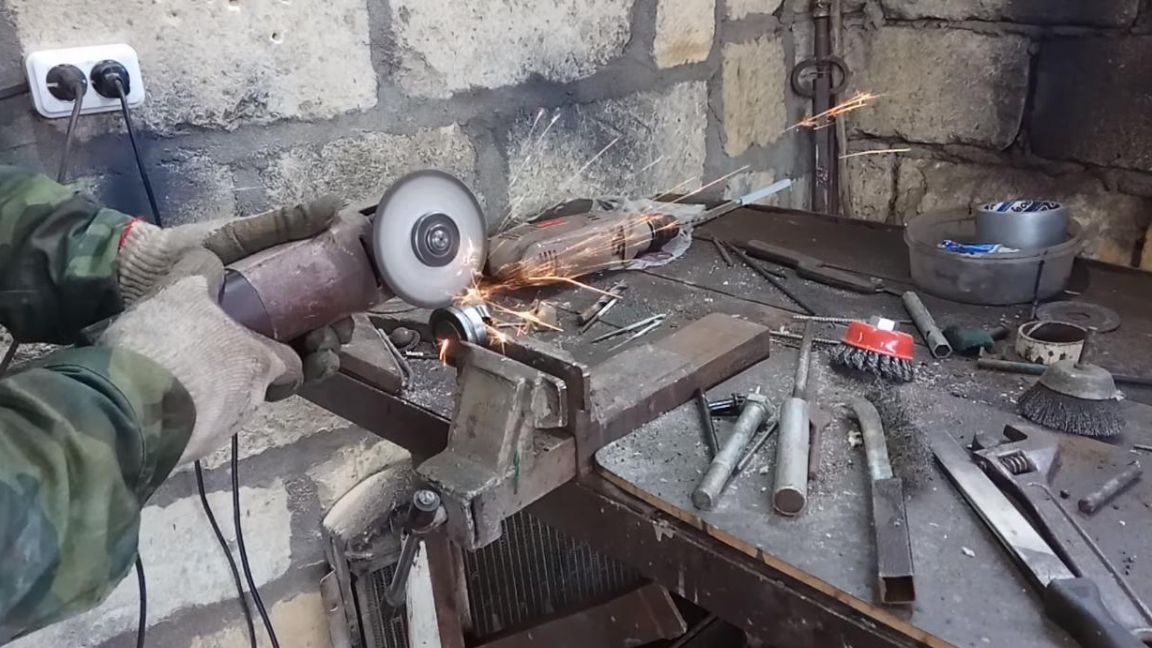
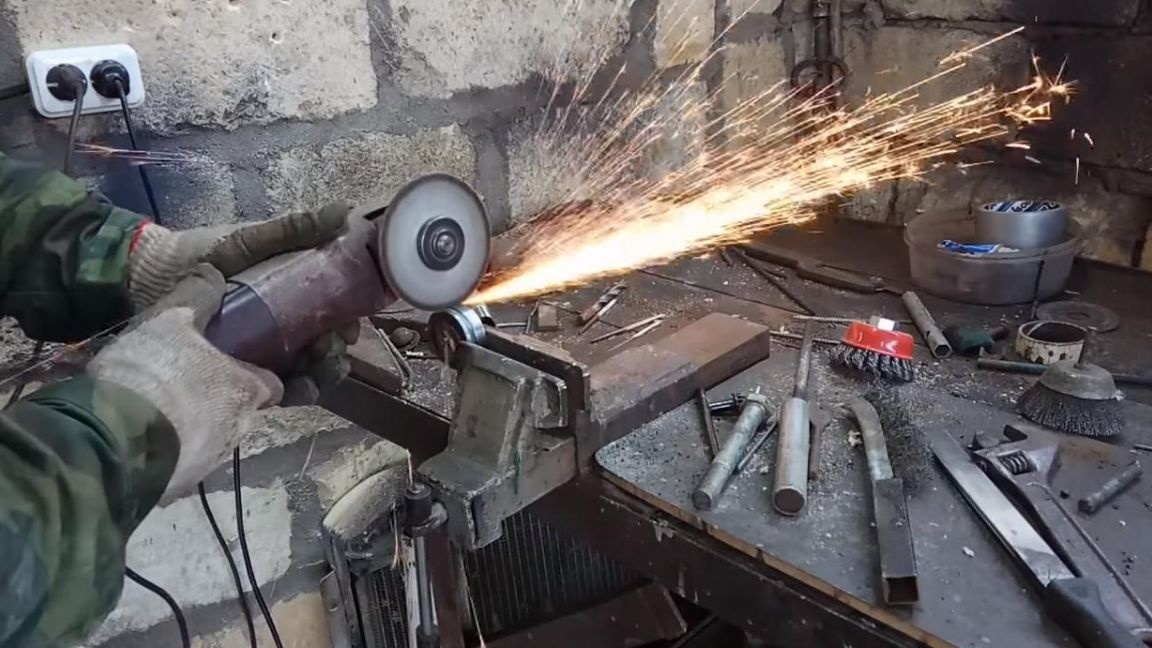
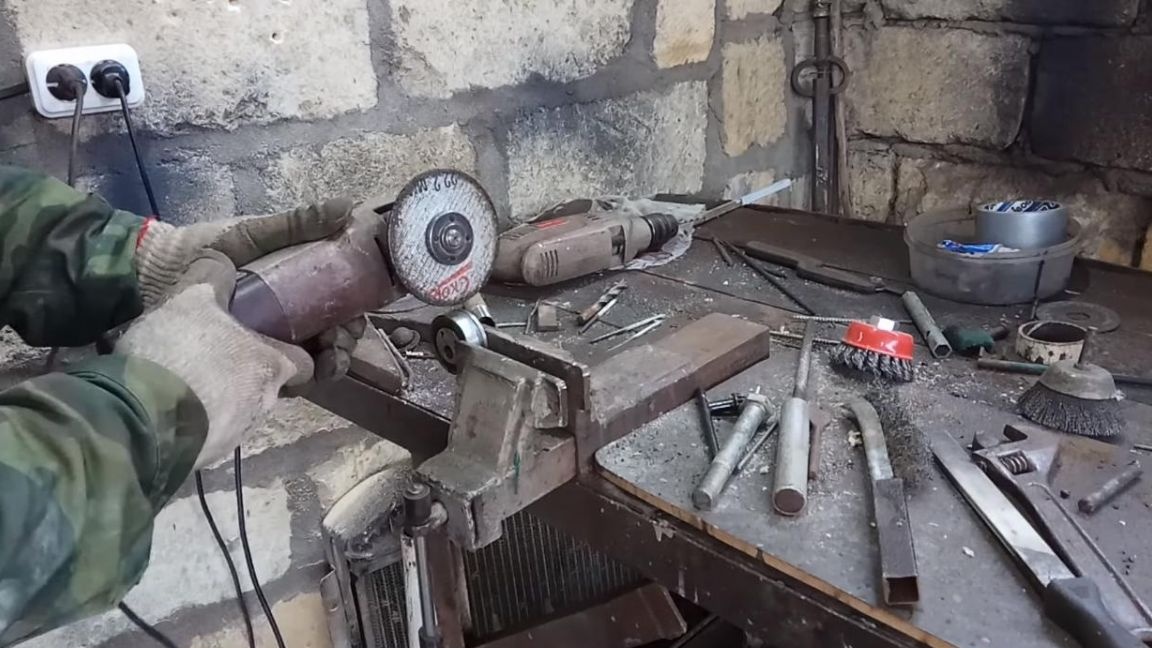
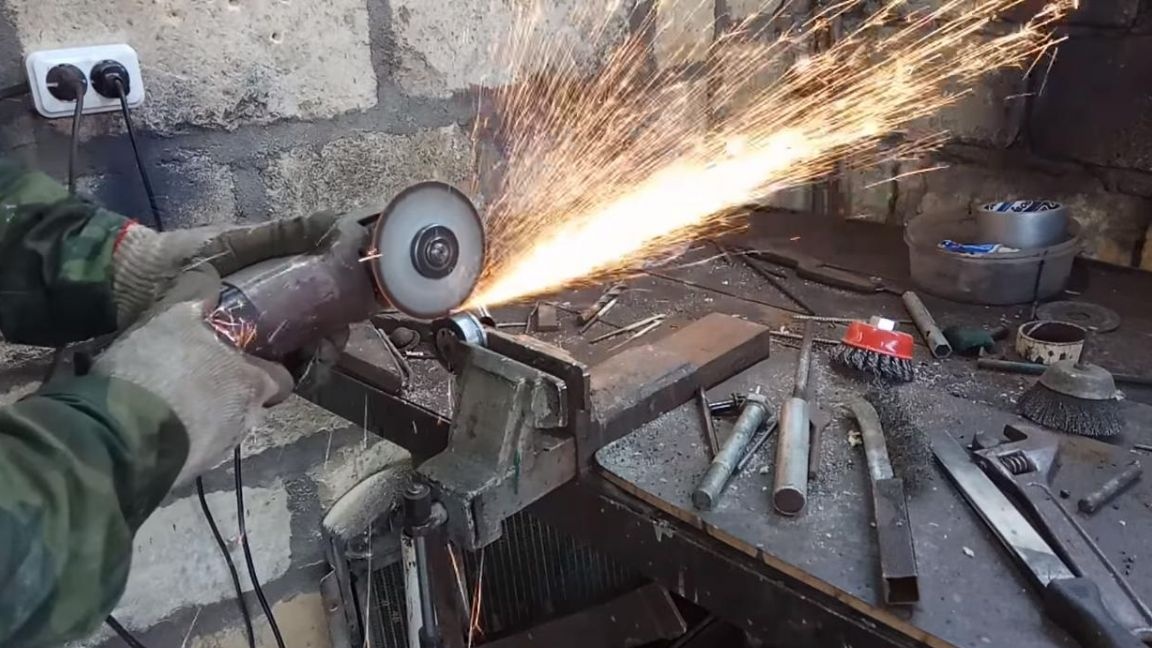
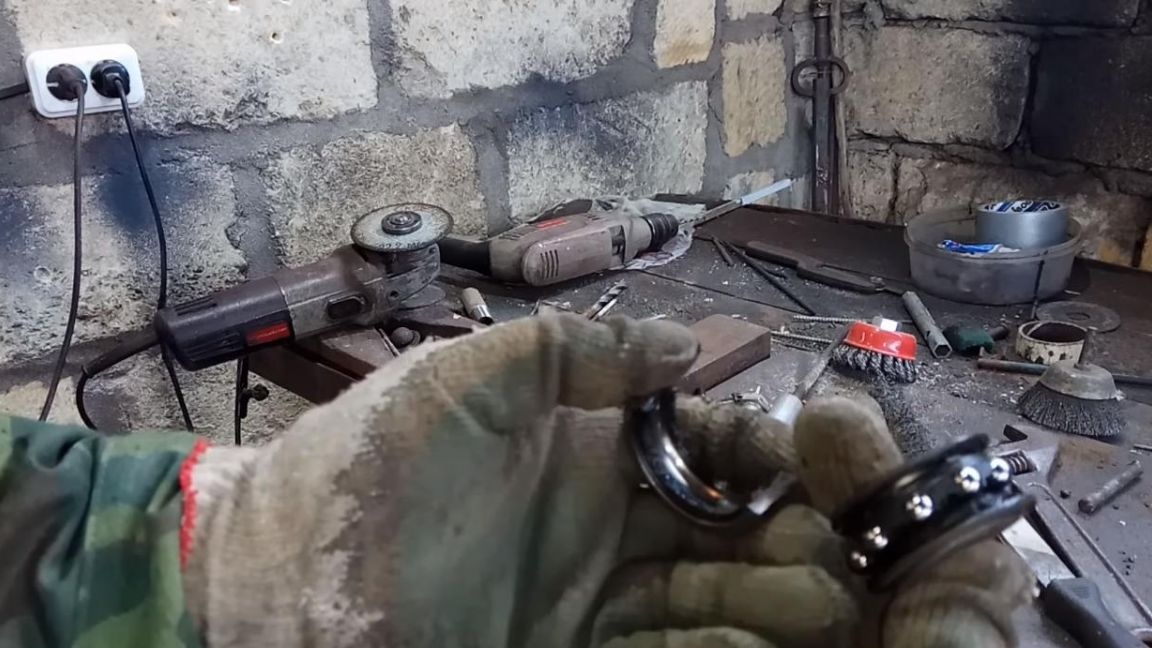
When working with angle grinders, be careful not to work without a protective casing and glasses.
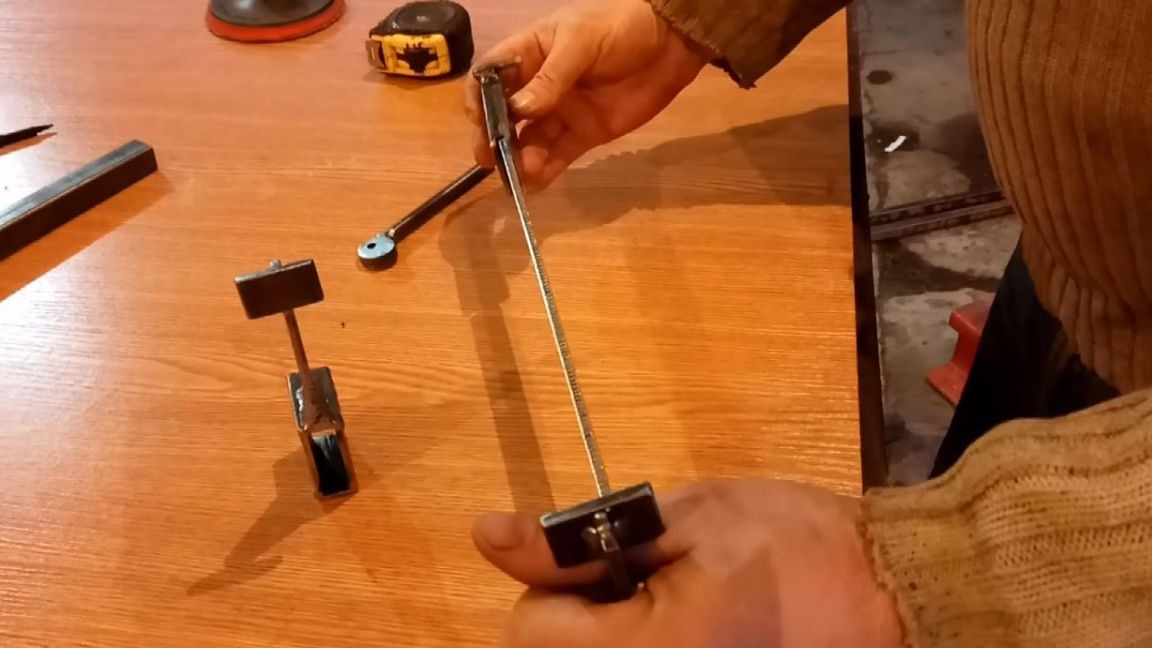
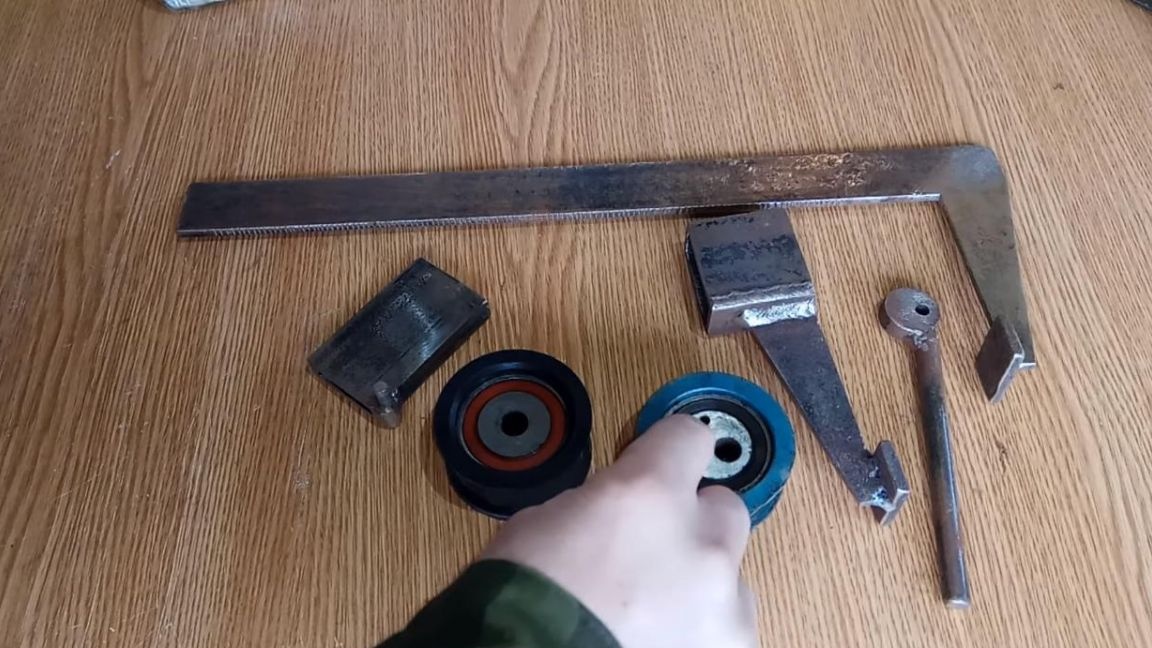
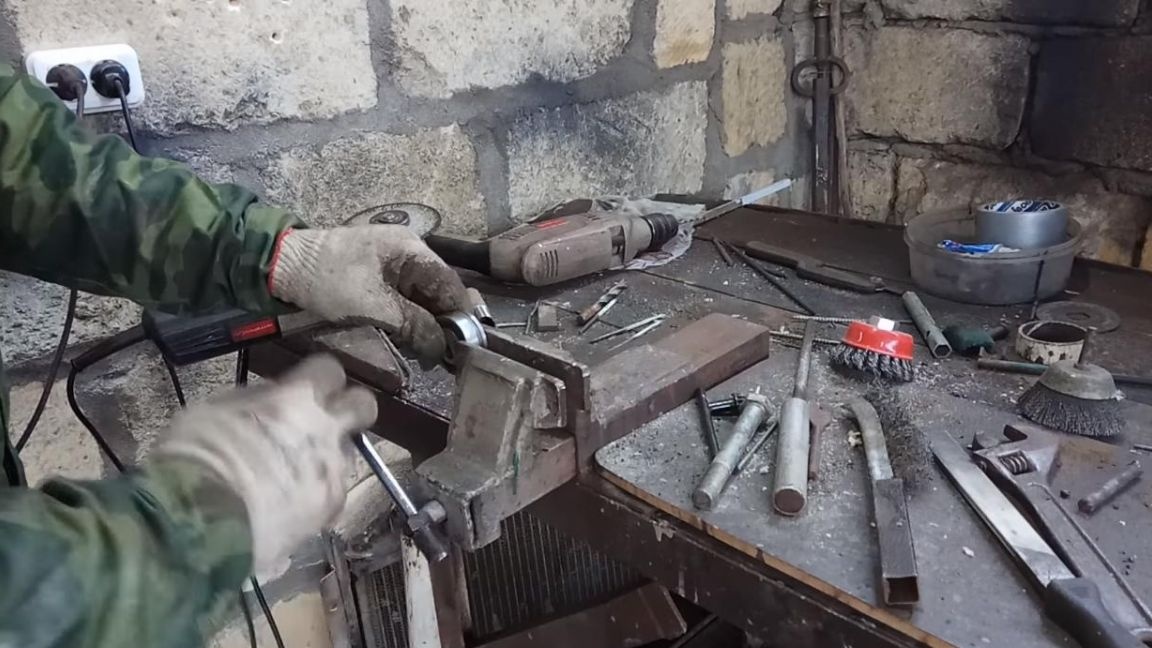
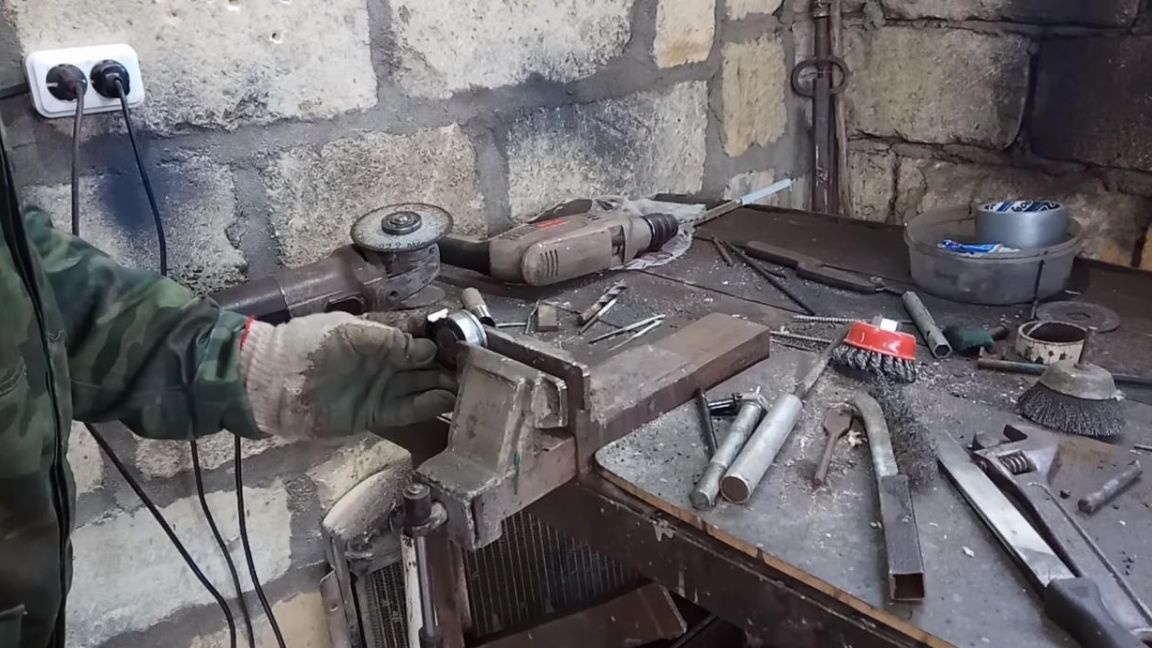
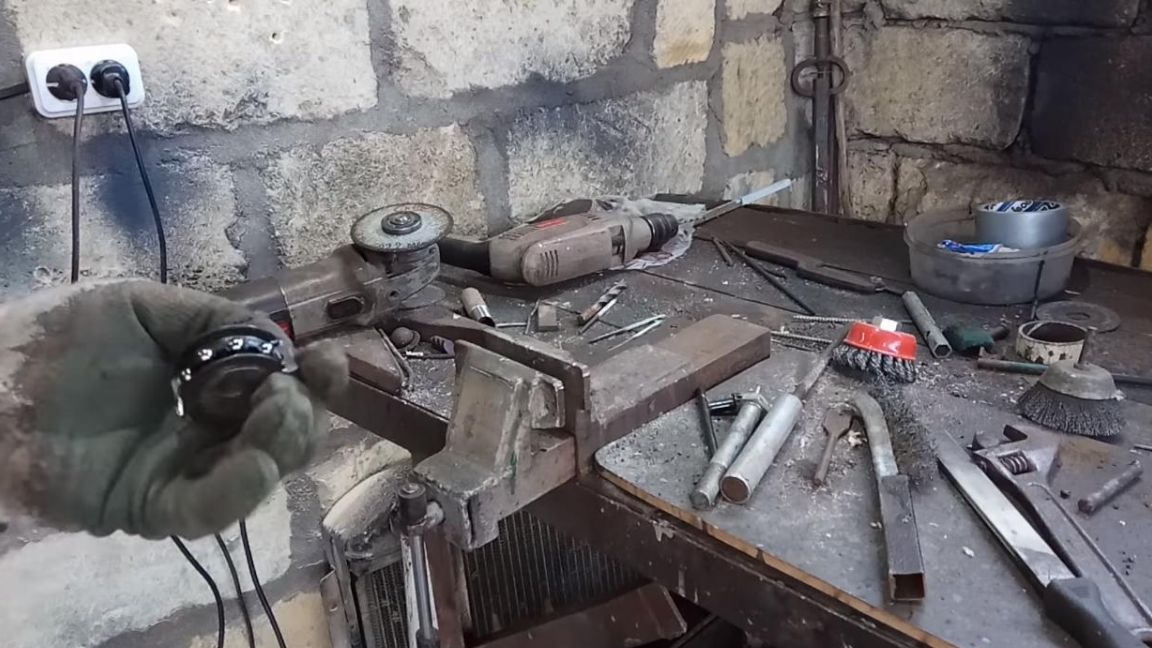
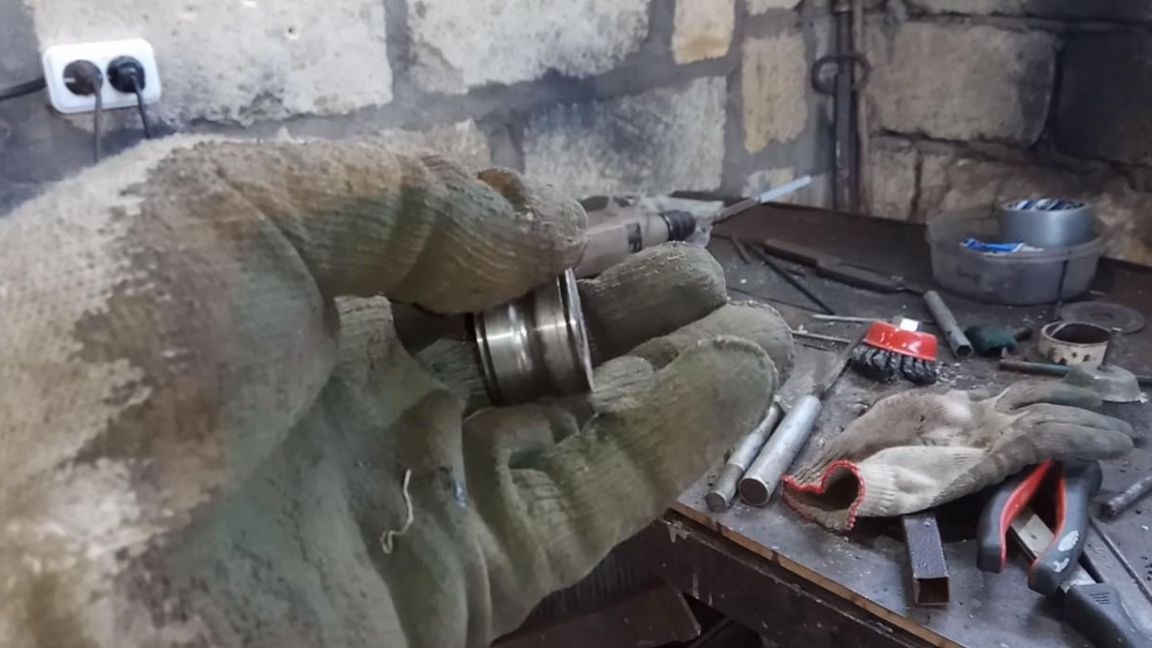
As a result, we get such an inner clip, from which we get two identical eccentrics. We saw this clip in half and grind the excess with the help of angle grinders.
Step Six
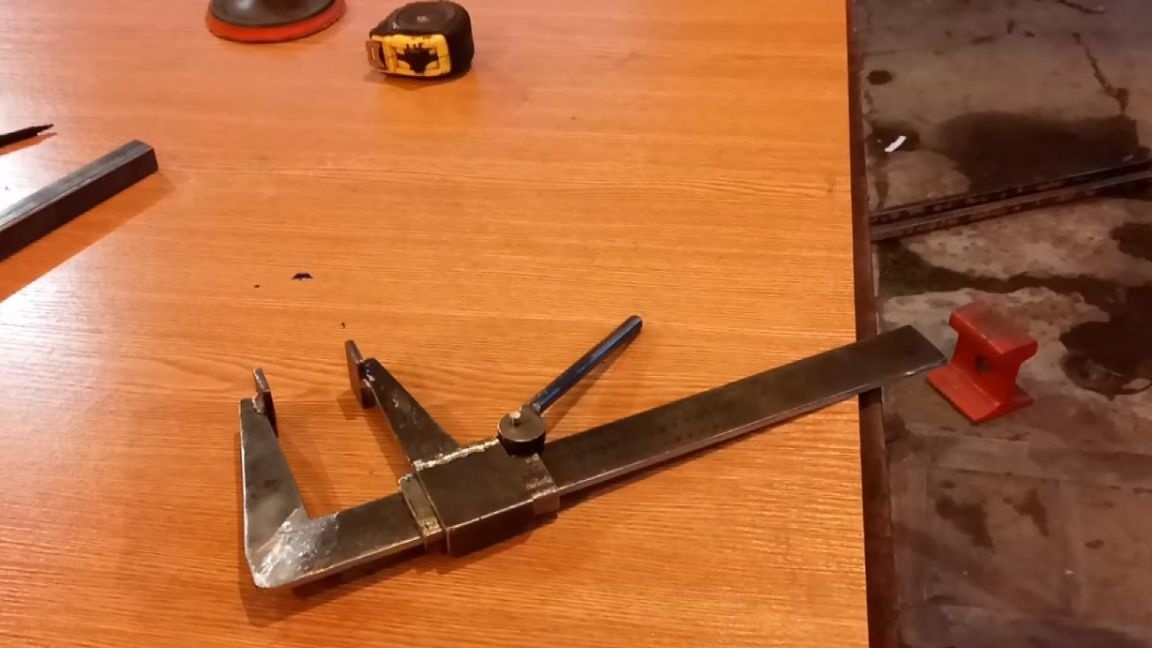
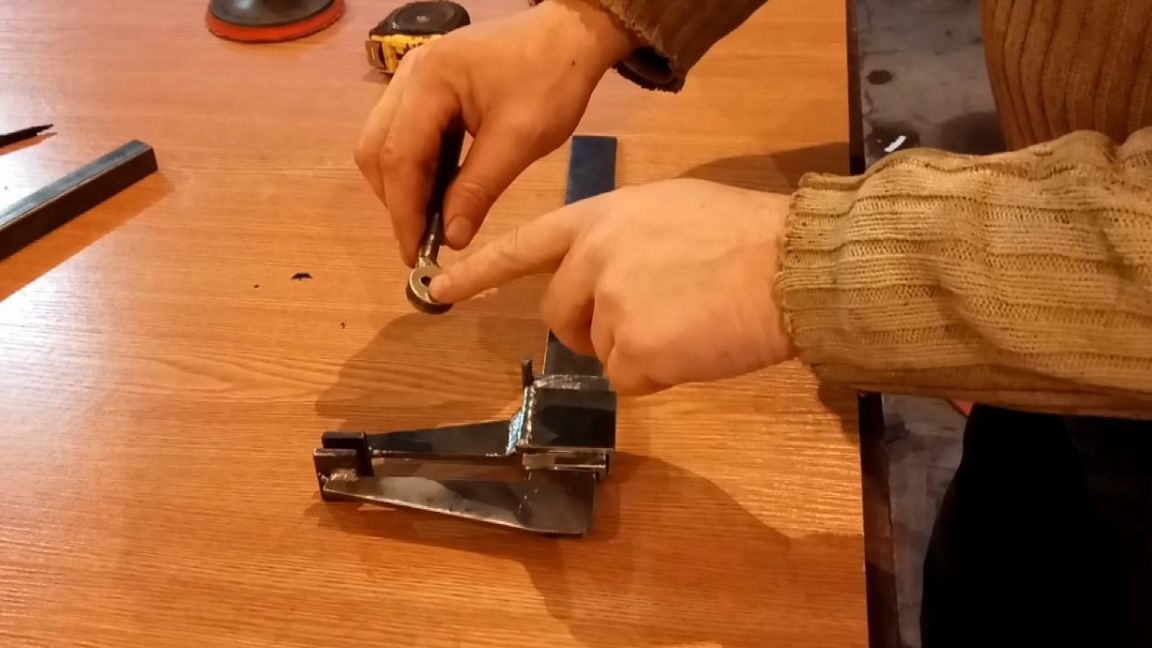
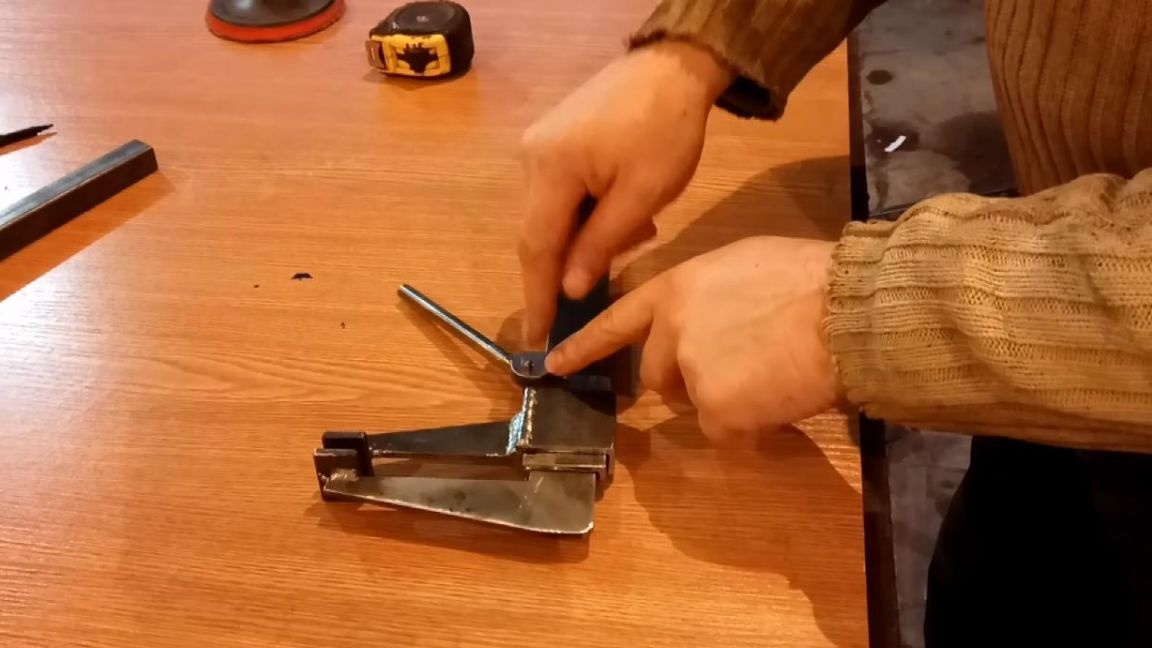
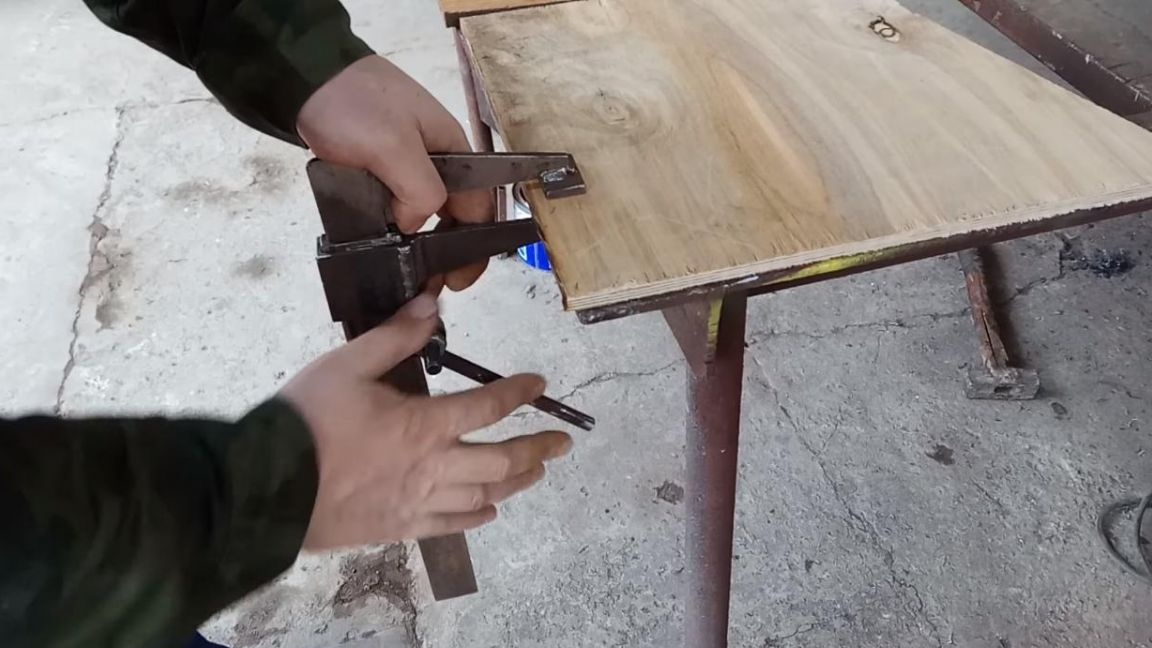
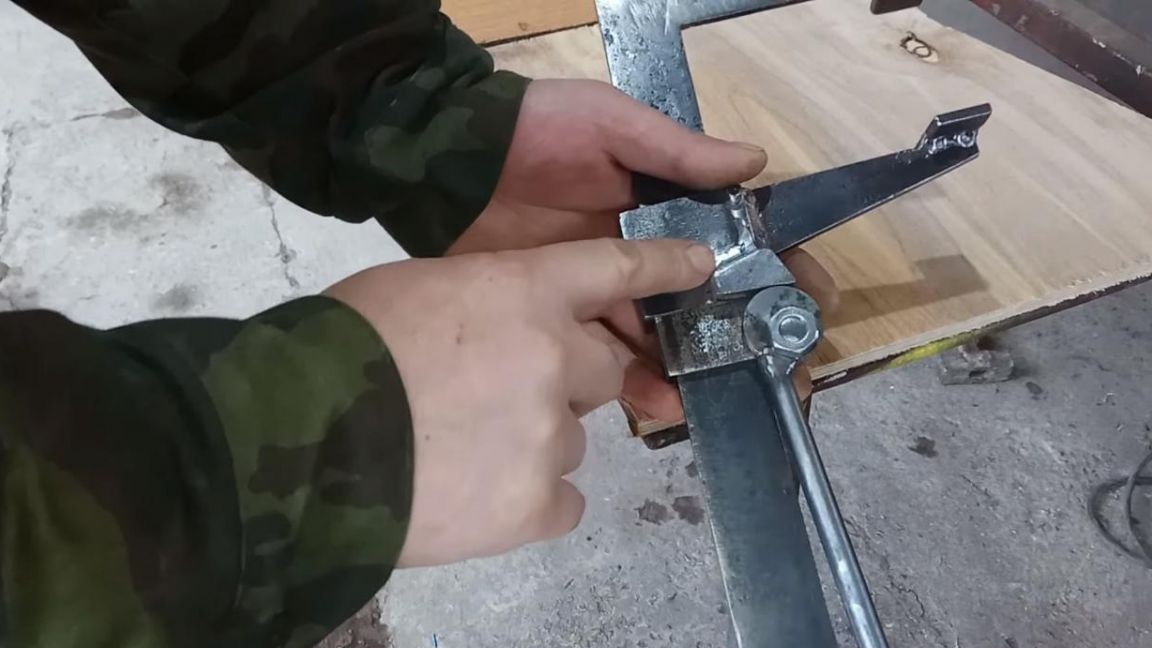
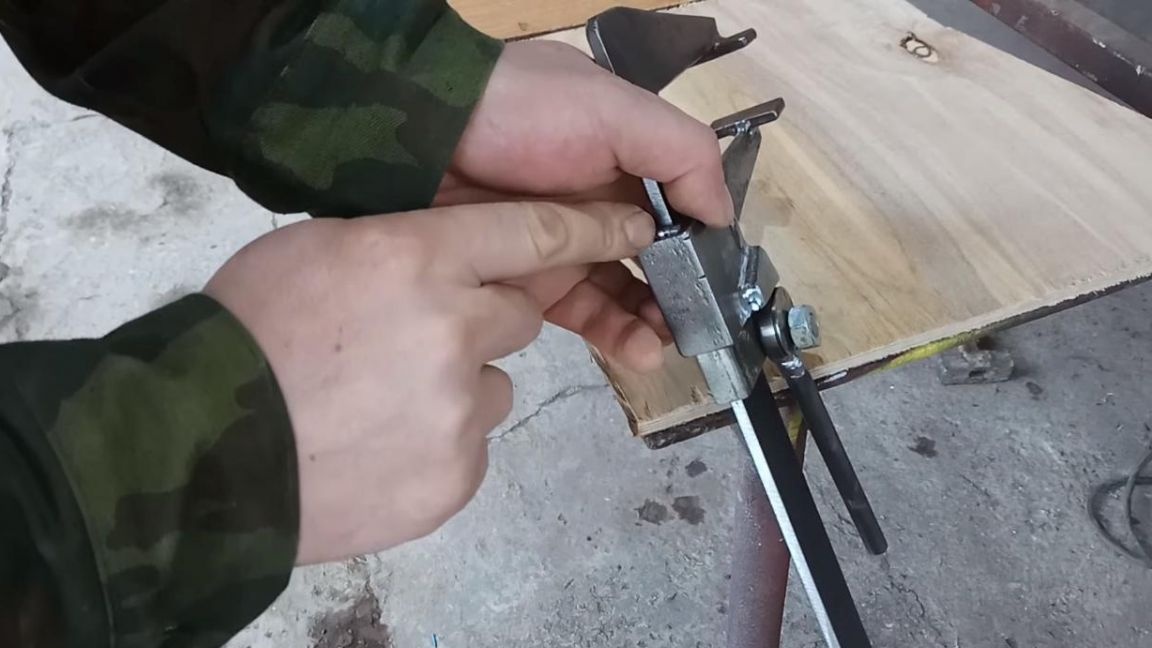
We cut off previously welded fasteners for the clown and weld a new one from the bolt in its place, with a strength class of at least 8.8, and then weld the handle for fixing.
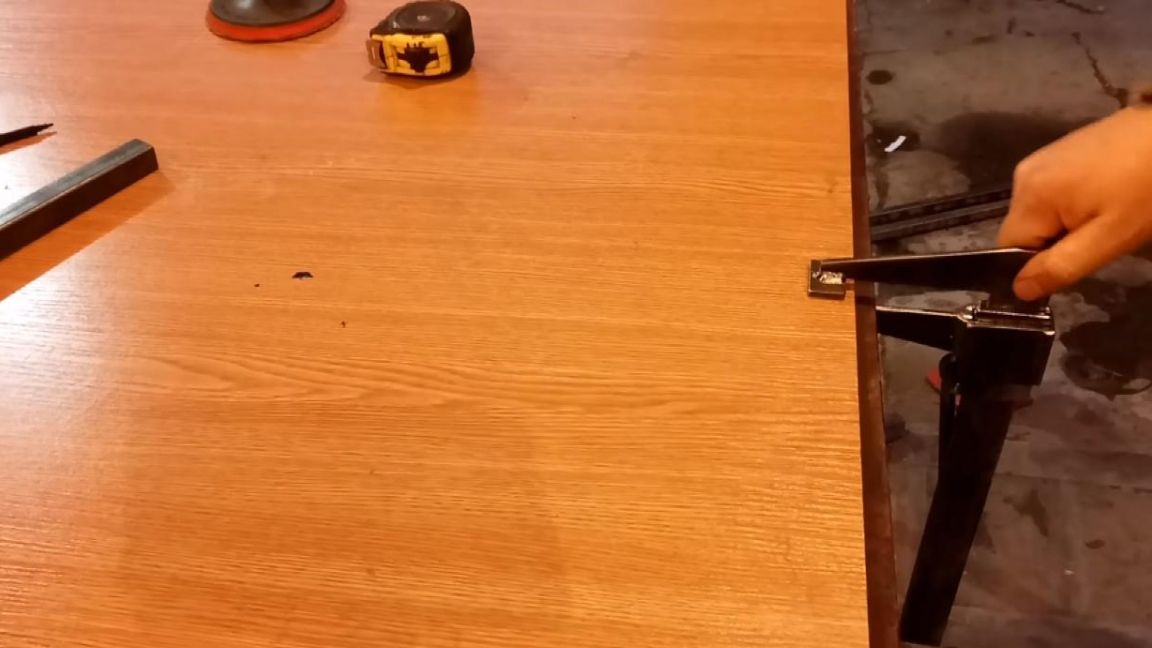
We check the clamp, clamp one well enough, the stroke has become larger, but the eccentric touches only part of its body. It needs to be fixed.
Seventh step.
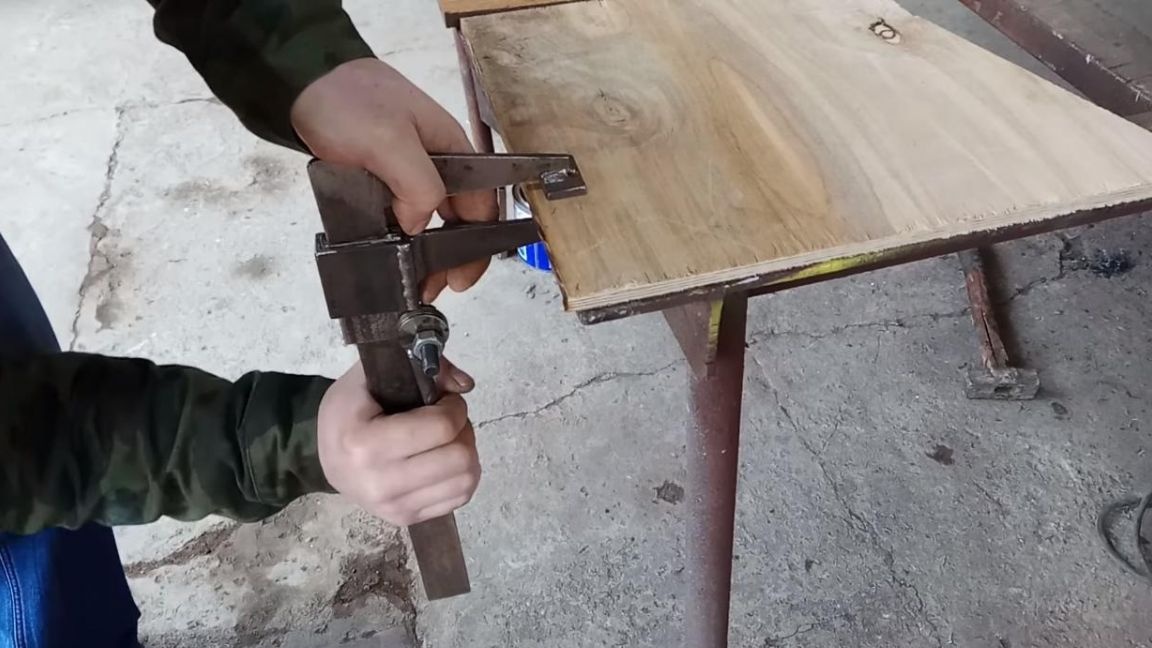
We weld a piece of metal, 6 mm thick, to the part with a movable “foot”. Now, when clamped, the eccentric touches the entire surface, which means that the clamp will be more reliable and the wear of the part itself is less. At the end of the base we drill a hole, cut the thread in it and tighten the screw so that the movable part does not fly out, if necessary, it can be twisted. On the carriage, we make a small point by welding, so that the parts of the moving part do not come out of each other.

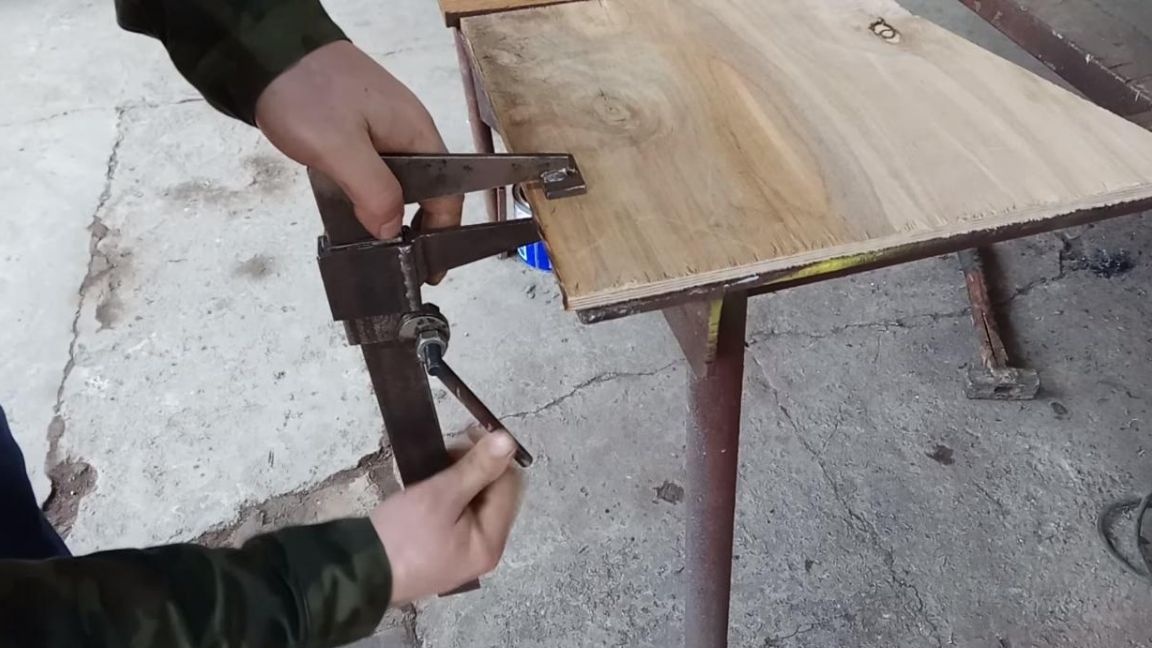
That's all for me, this clamp is ready and at the end it can be painted, which will slightly transform it and increase its service life. I hope you enjoyed the homemade work and you will be happy to repeat its assembly in your workshop.
Thank you all for your attention and successful homemade products.