
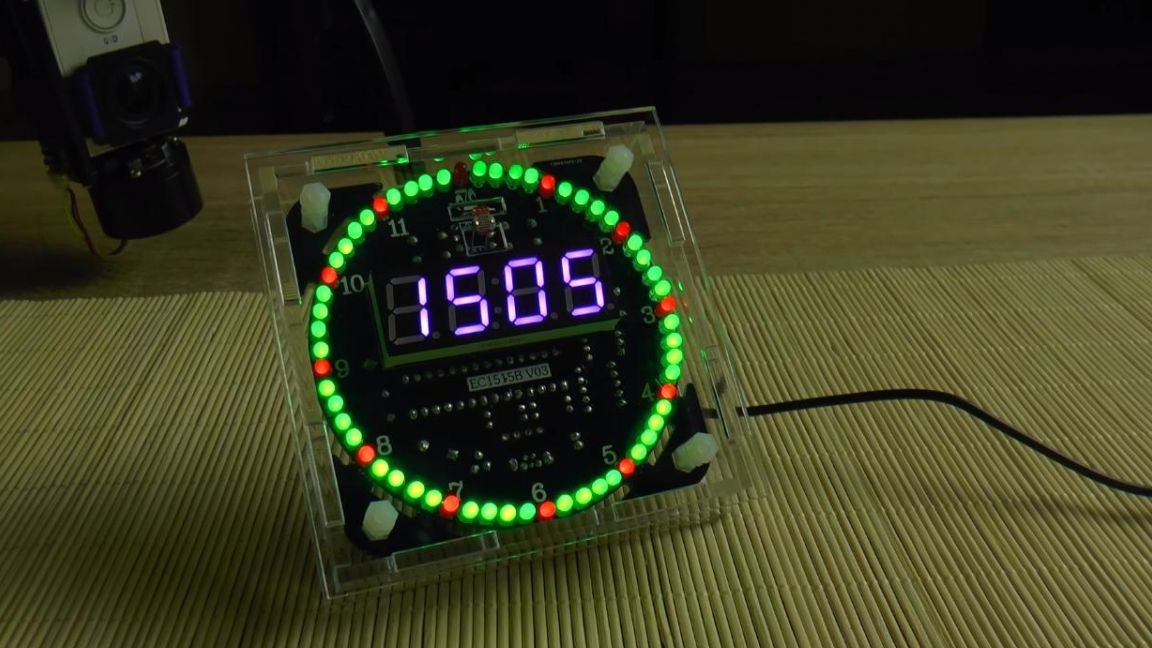
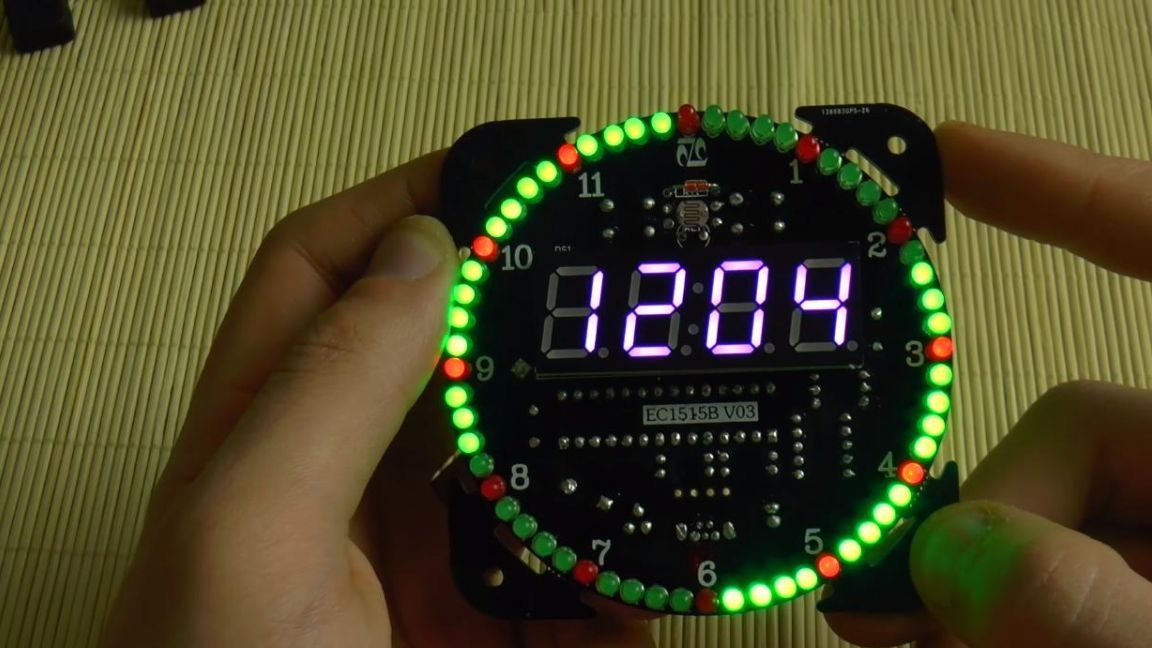
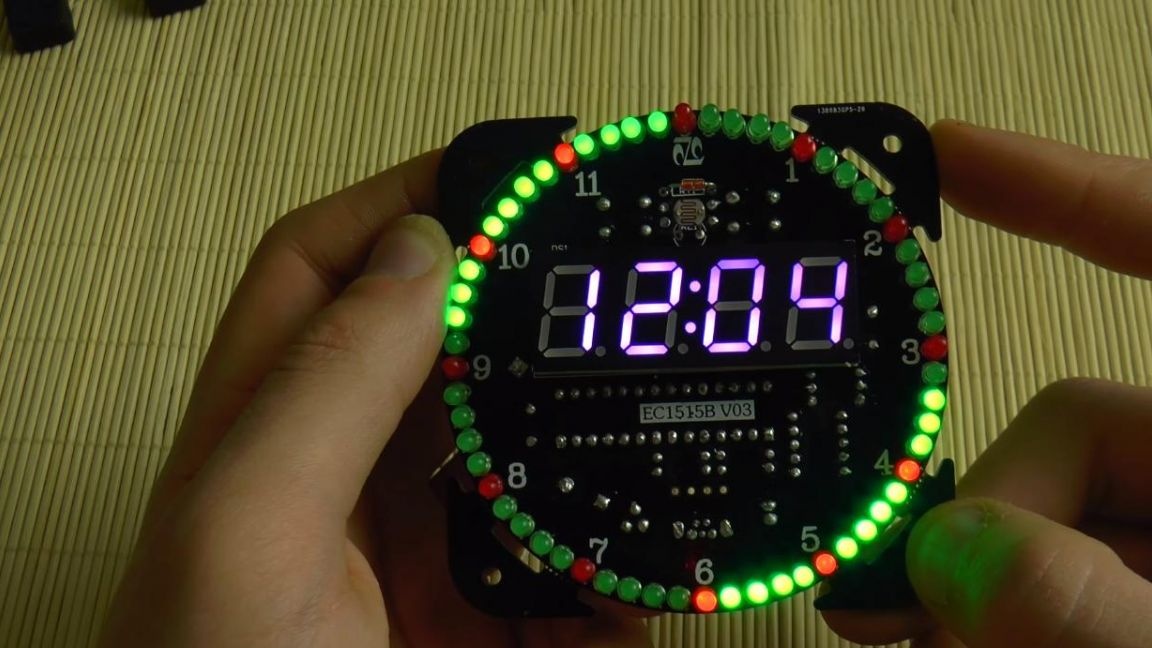
Hello to all lovers homemade. Manifold electronic There are so many hours for home that sometimes you don’t know what to choose. In this article I will tell you how to make an LED watch. do it yourself, which will be very original and surprise everyone with its unusual design and combination of LEDs with a digital display. In the assembly of such a homemade kit will help kit, which can be ordered on aliexpress, a link to which is at the end of the article.
Before reading this article, I suggest watching a video with a step-by-step assembly process and setting up and testing the watch.
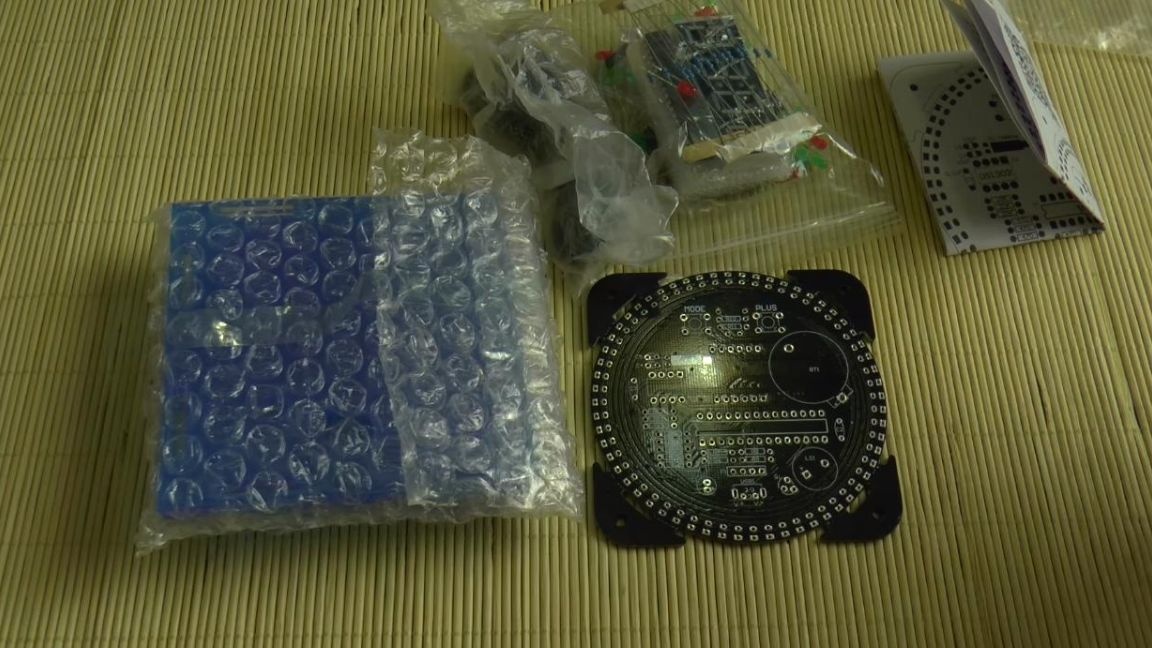
In order to make a LED watch yourself, you will need:
* Kit
* Soldering iron, solder, flux
* Side cutters
* Device for soldering "third hand"
* Home-made clip for fixing boards
* USB power supply
* Multimeter
Step one.
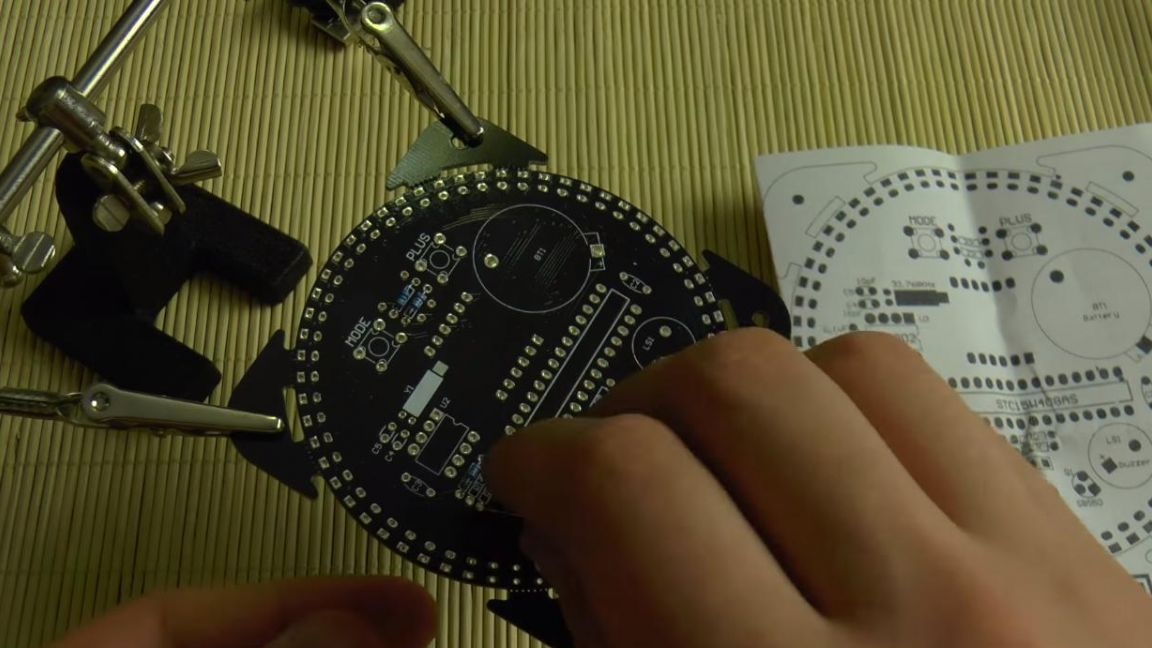
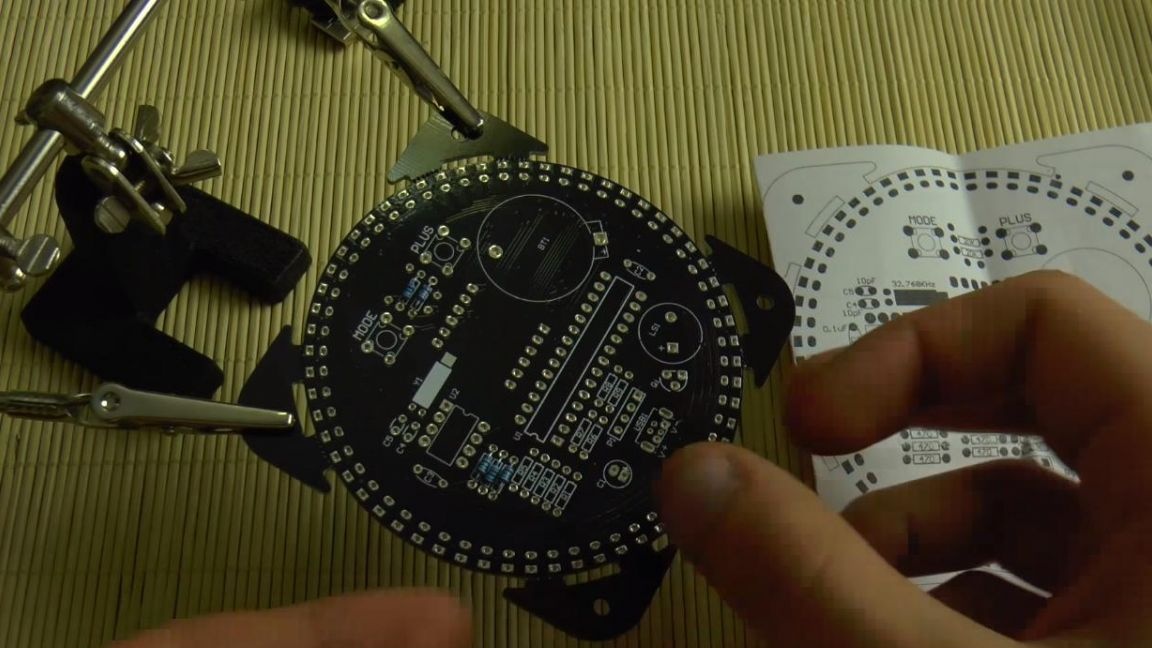
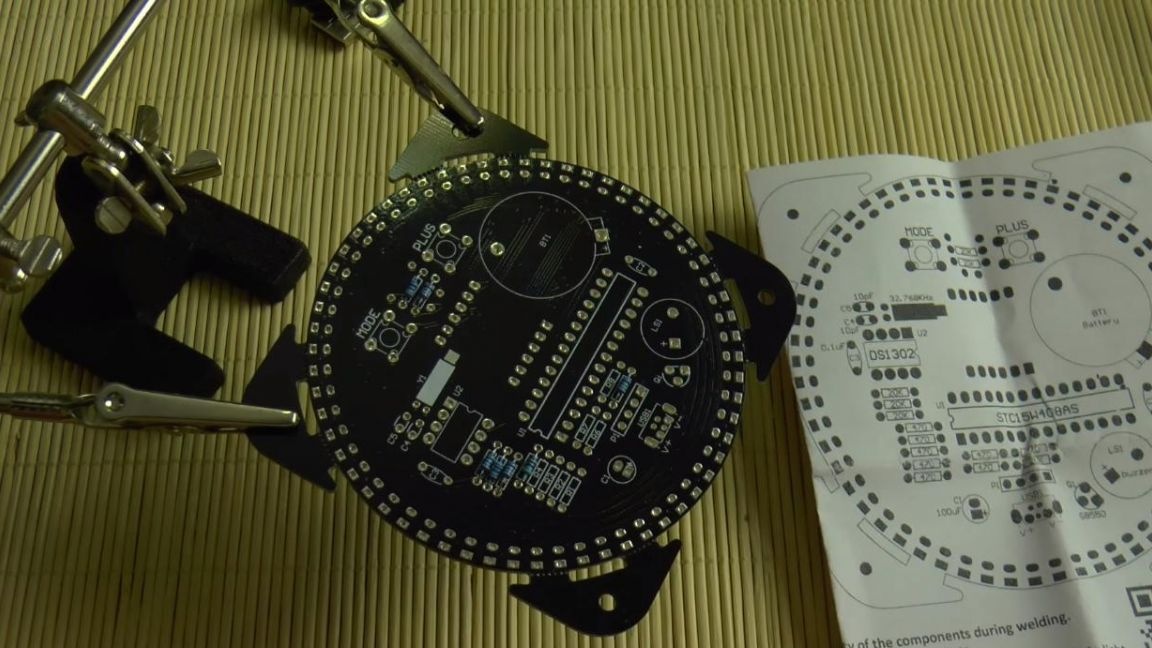
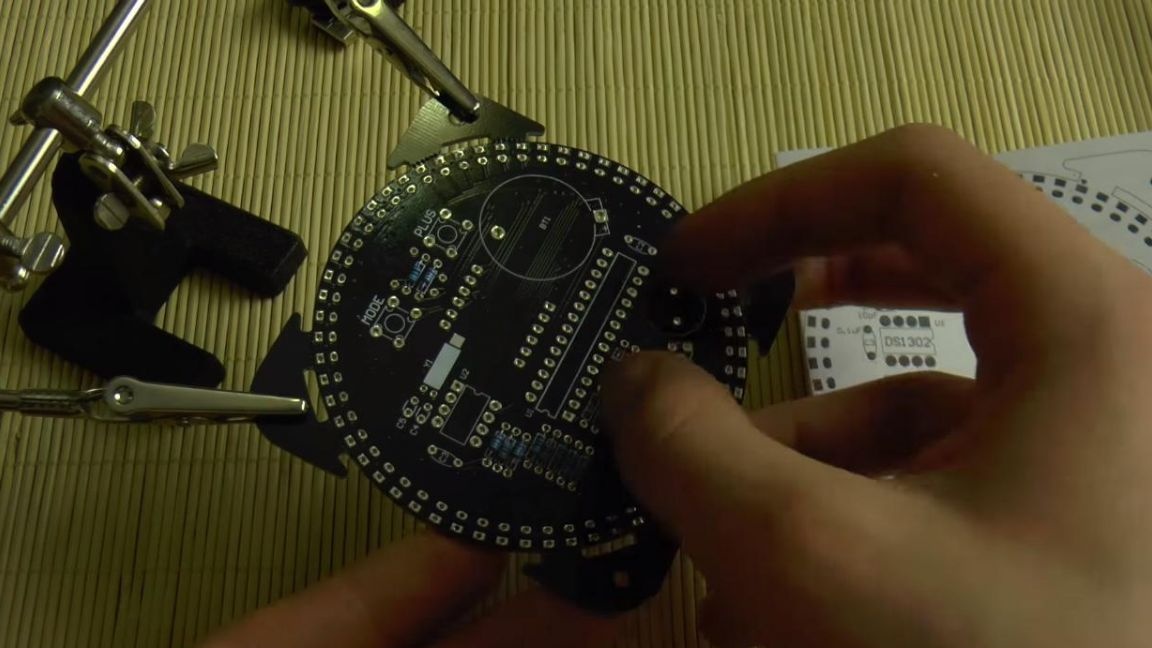
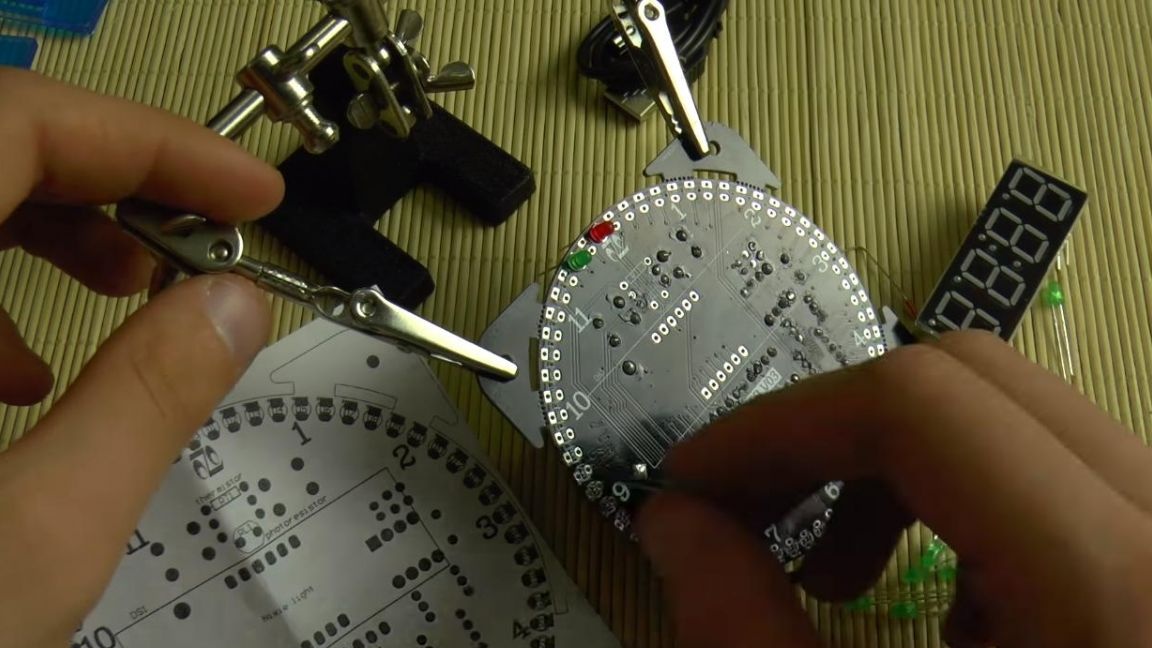
The kit comes with a very large board, made quite high quality, but also two-sided. To begin with, according to the classics of the genre, we install resistors in their places, since there are most of them. The board shows the numbers of each resistor.
You can determine the nominal resistance of a single resistor in several ways, using a multimeter, color coding, or an online calculator. If you do not have a multimeter, then you should not worry, the following two methods are no worse, they just require a little more time. When arranging the resistors, we look at the instructions on which their ratings are indicated.

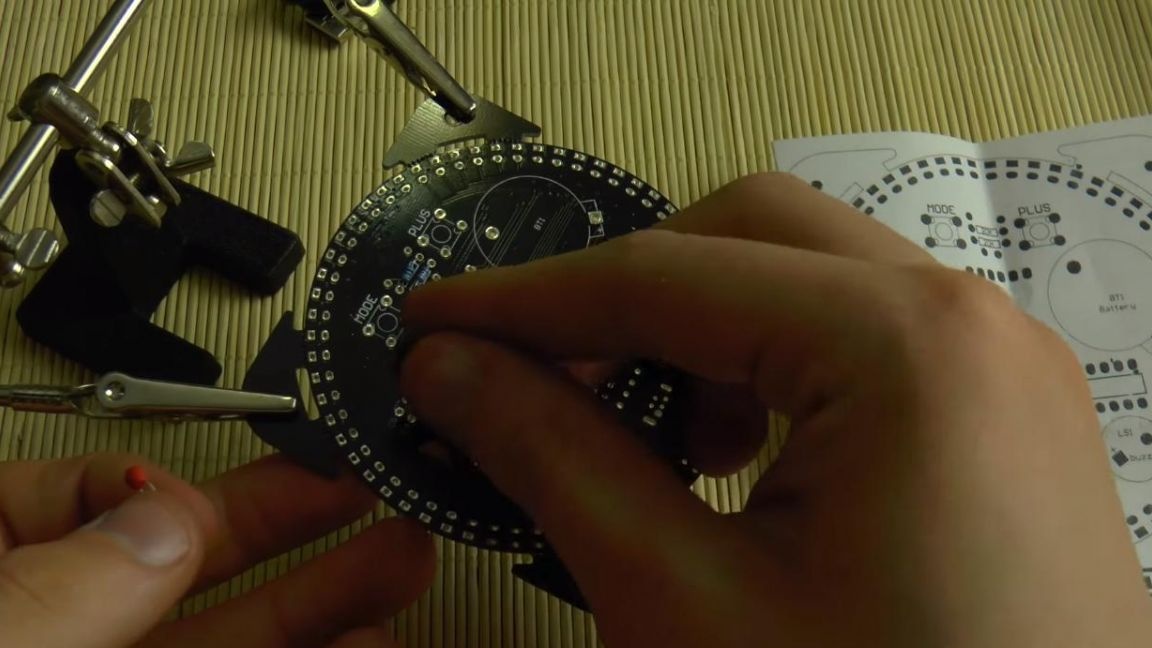
Step Two
Having installed the resistors in their place, we turn to non-polar ceramic capacitors, there are four of them in the circuit, they are marked on the case, and the instructions indicate their position depending on the rating.
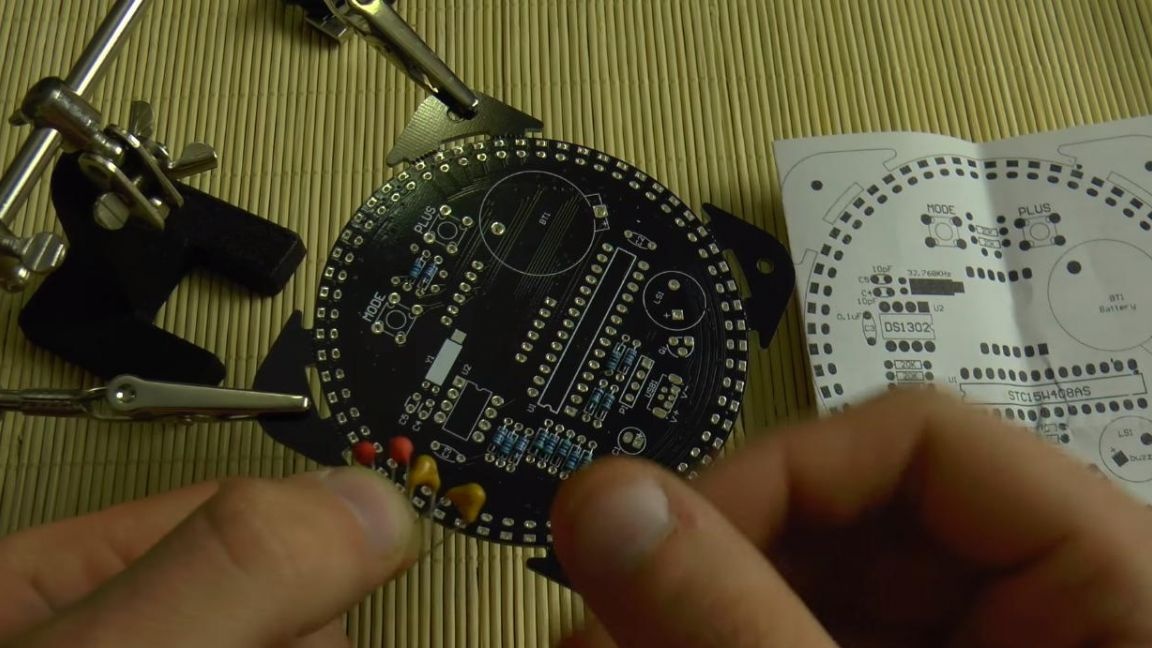
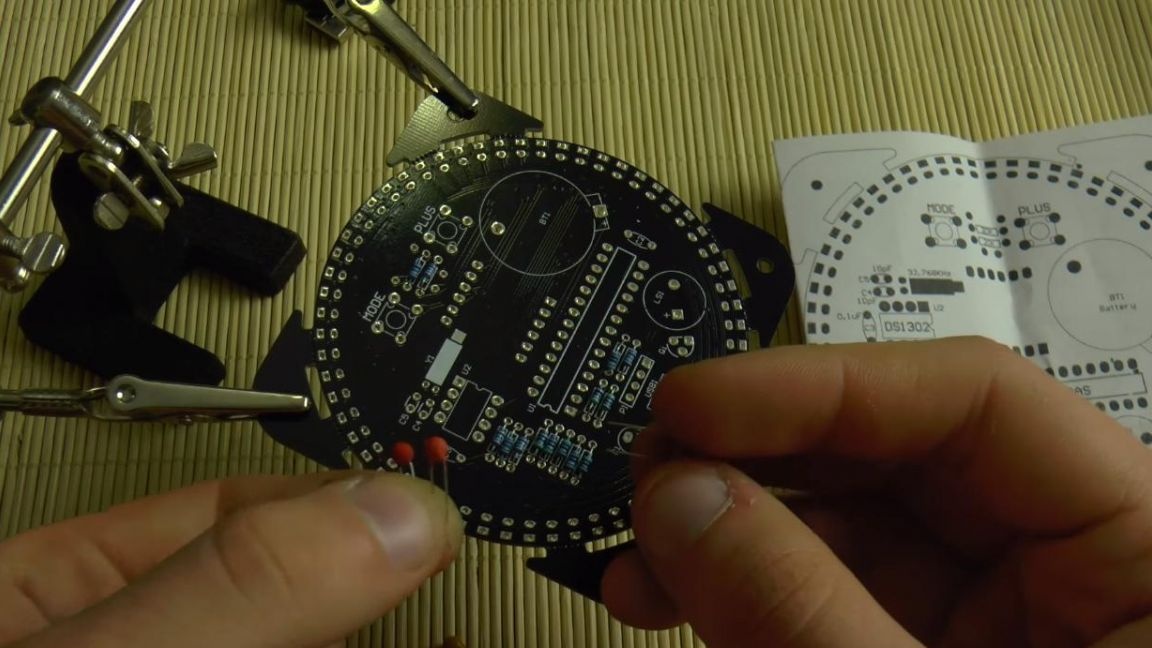
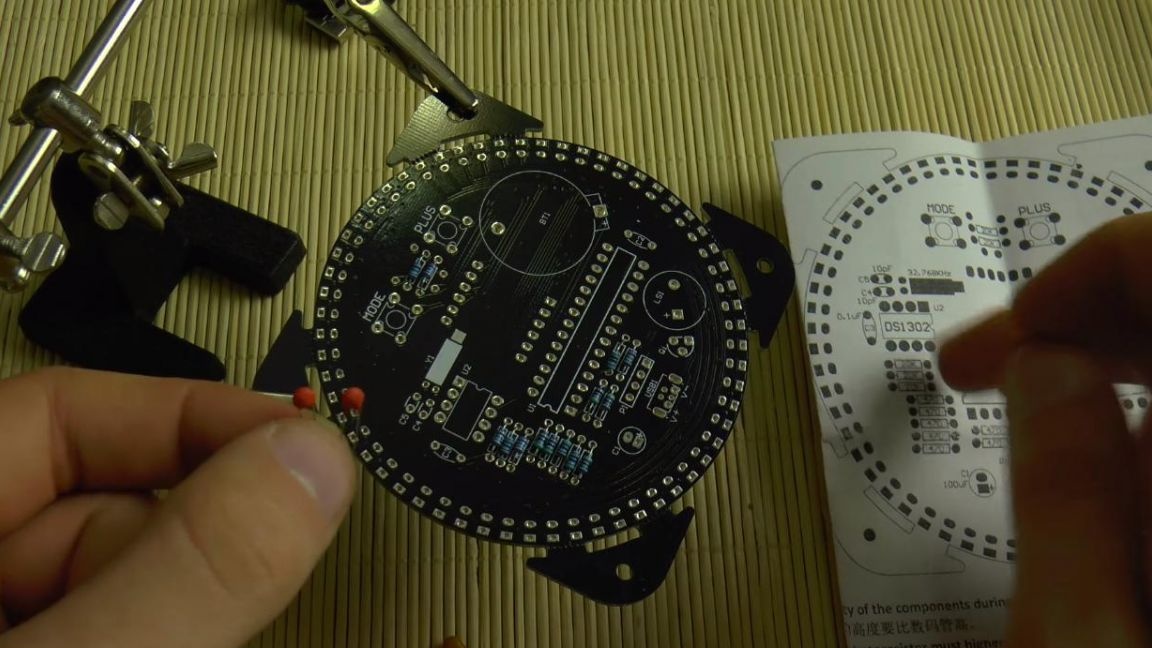
Following the non-polar is a polar capacitor. On its case, the negative terminal is marked with a gray stripe, and the positive contact is indicated on the board itself.
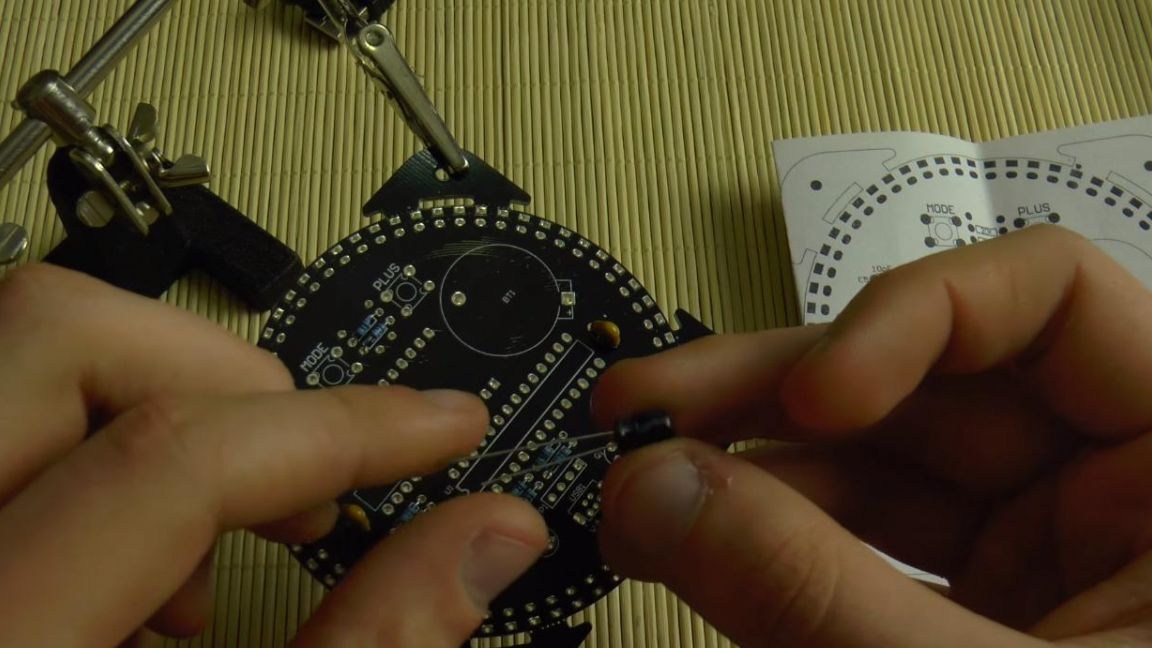
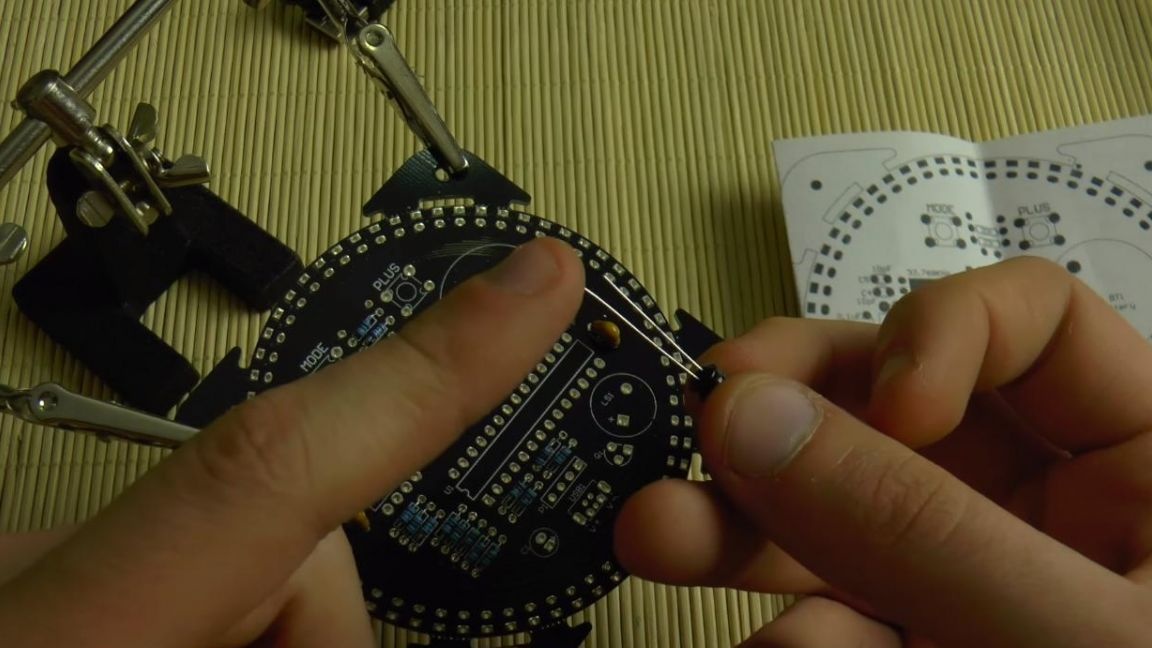
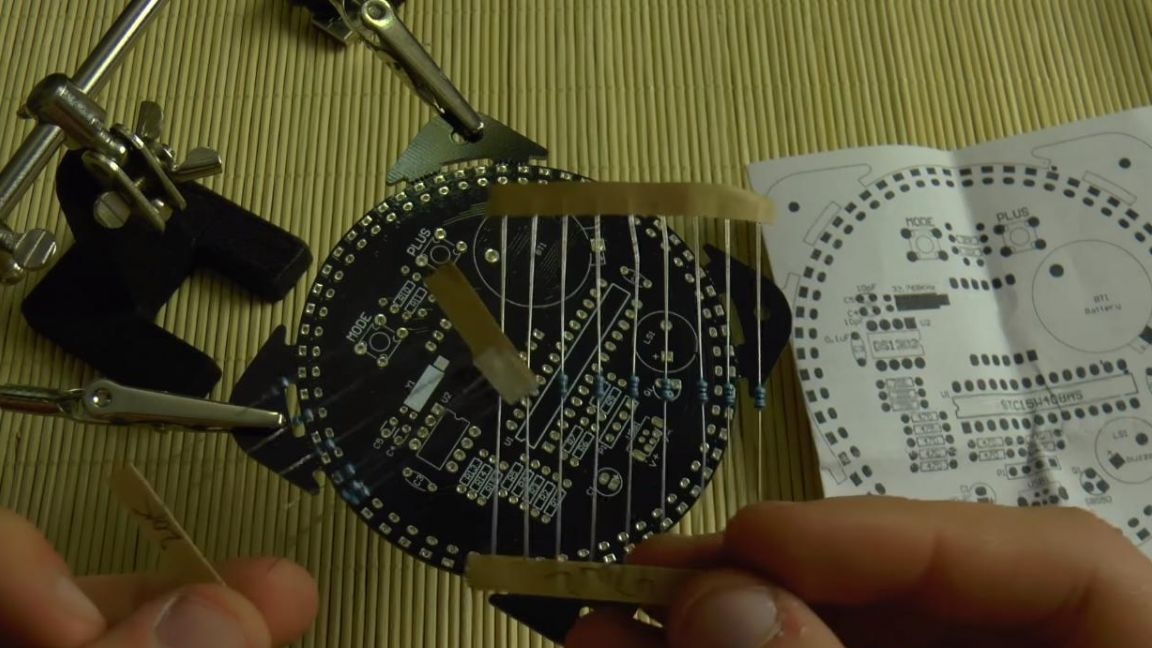
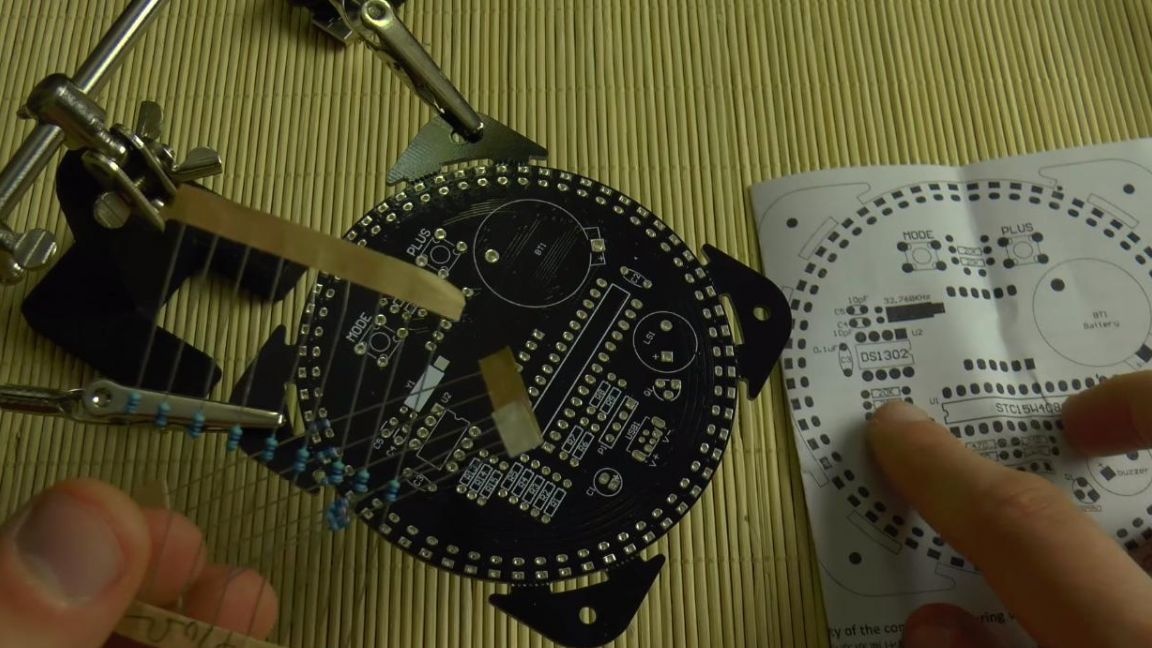
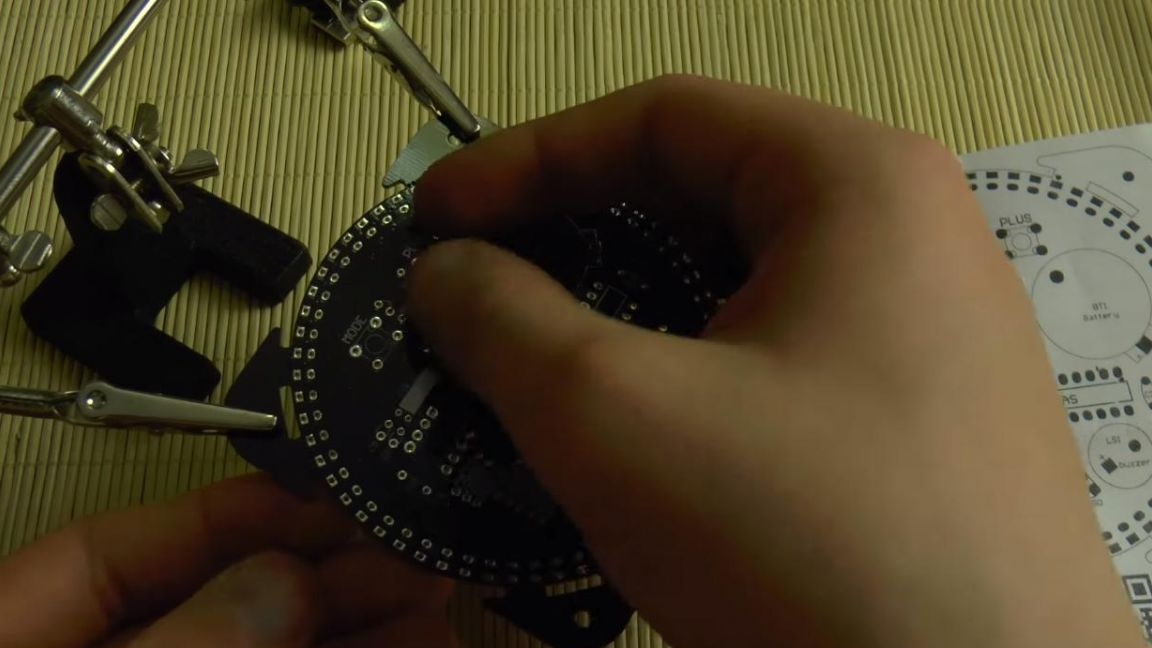
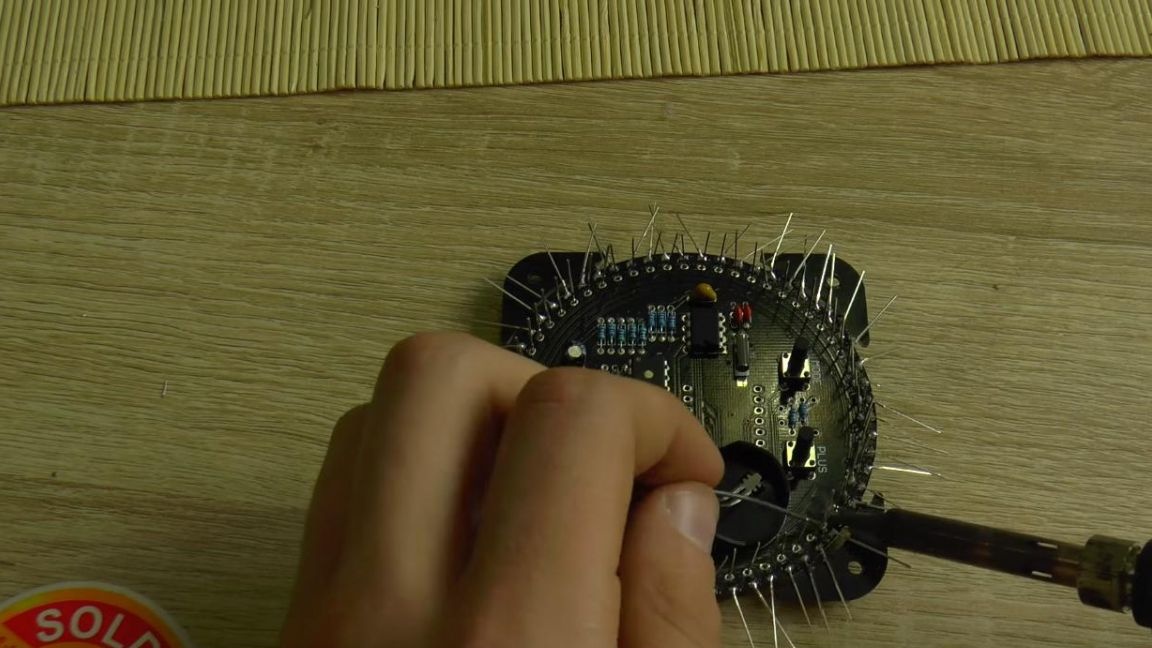
To ensure that when soldering all components do not fall out, we follow their conclusions. Then we fix the board in the "third hand" and solder the contacts with a soldering iron, having previously applied the flux to the soldering place.

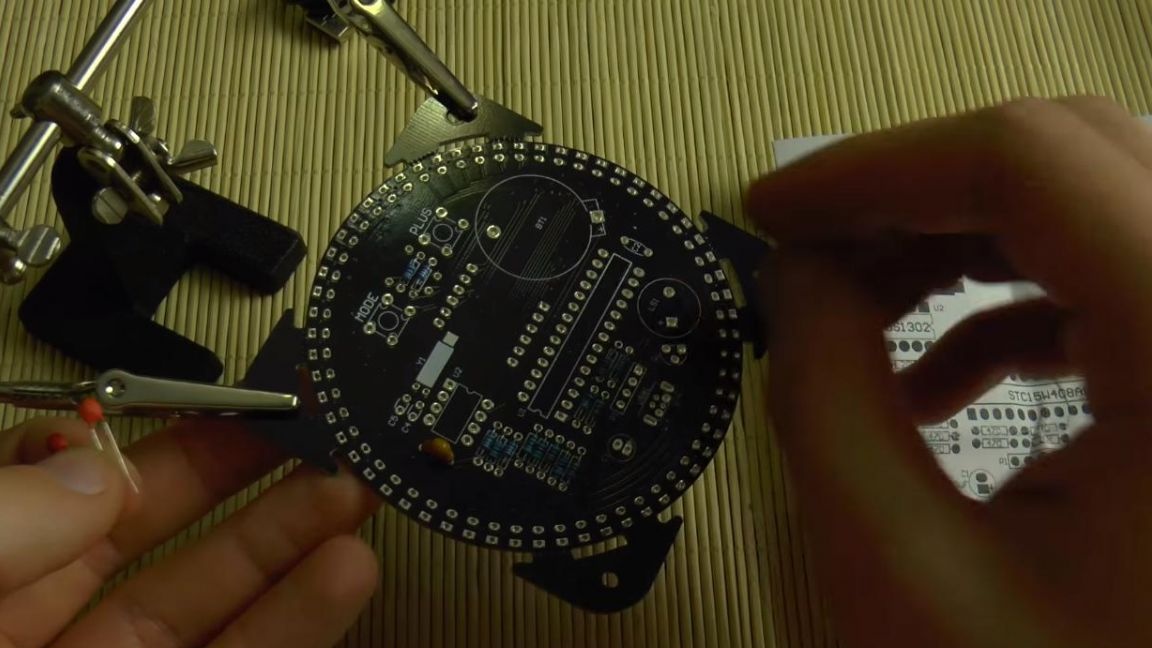
Step Three
Next, we install the transistor, it has a semicircular shape, the same semicircle is made on the board just under its installation, after that we put quartz in its place, it does not have polarity.
Step Four
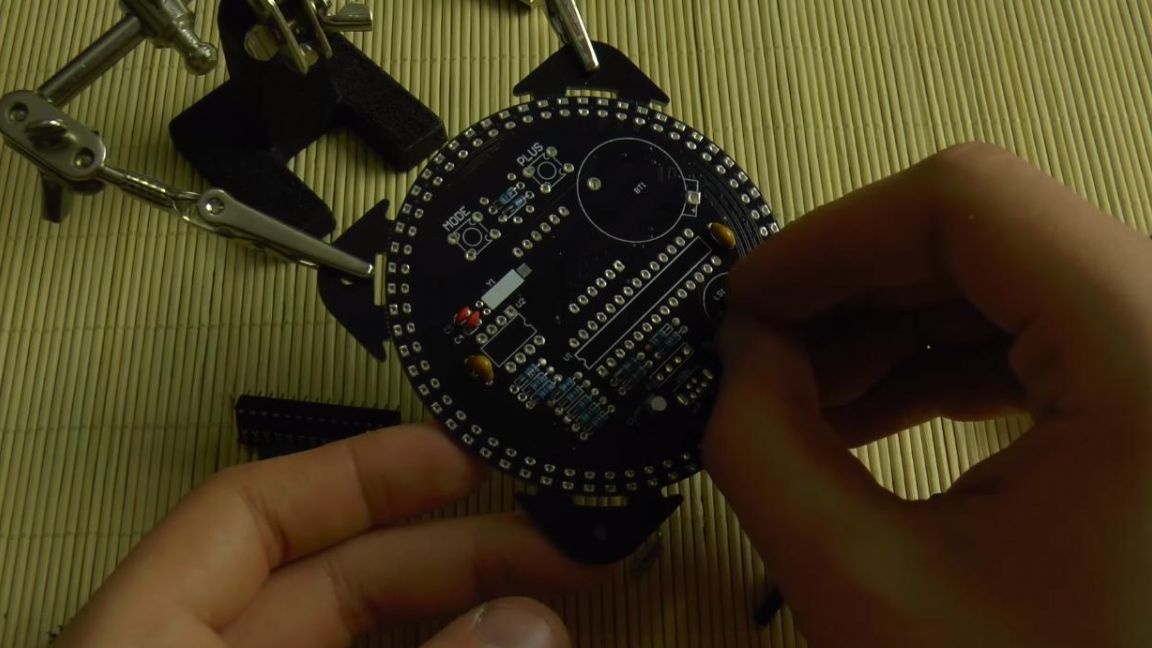
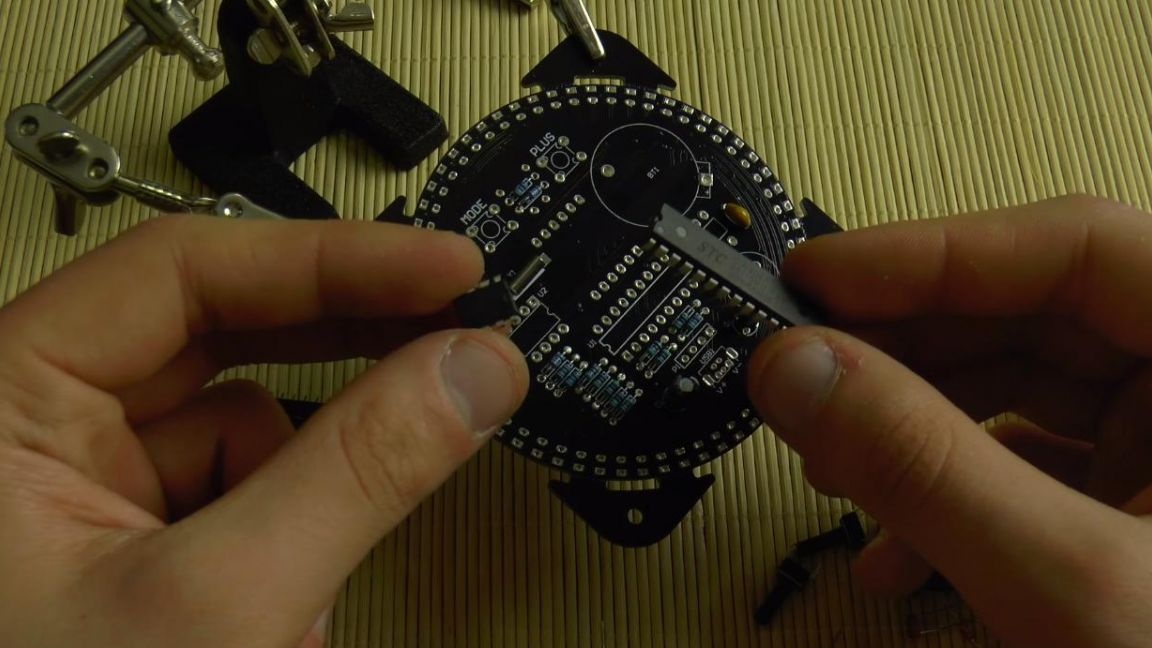
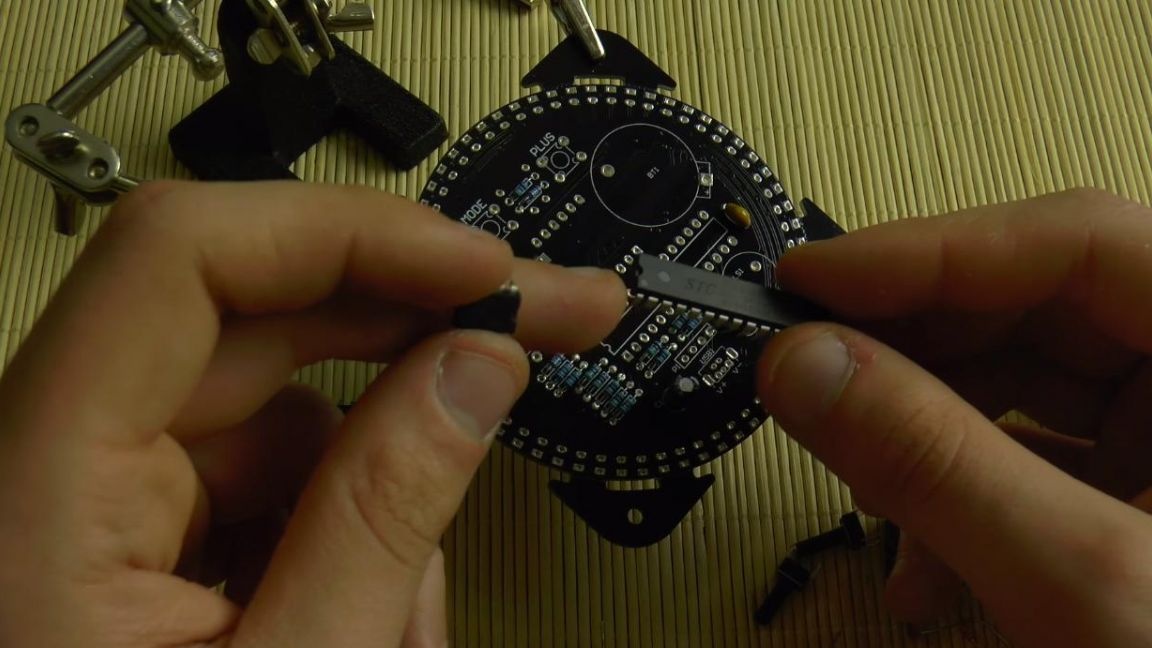
Now you need to place the chips in the right direction. In order for the circuit to work, we install microcircuits so that the key on it in the form of a semicircular recess coincides with the key on the board.

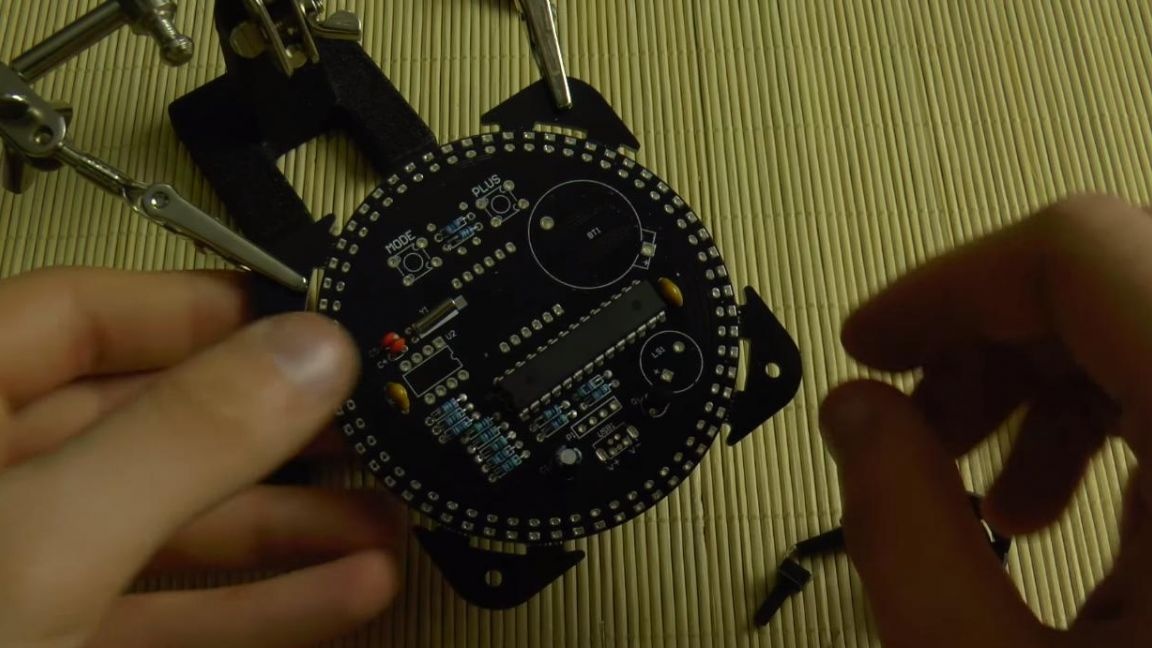
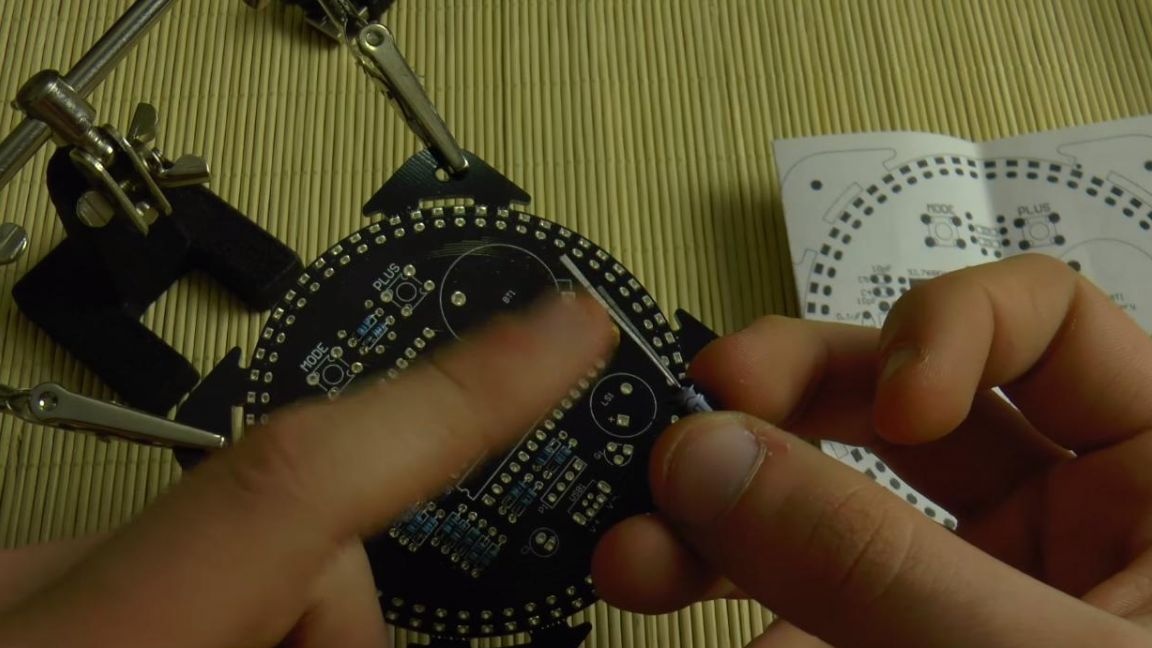
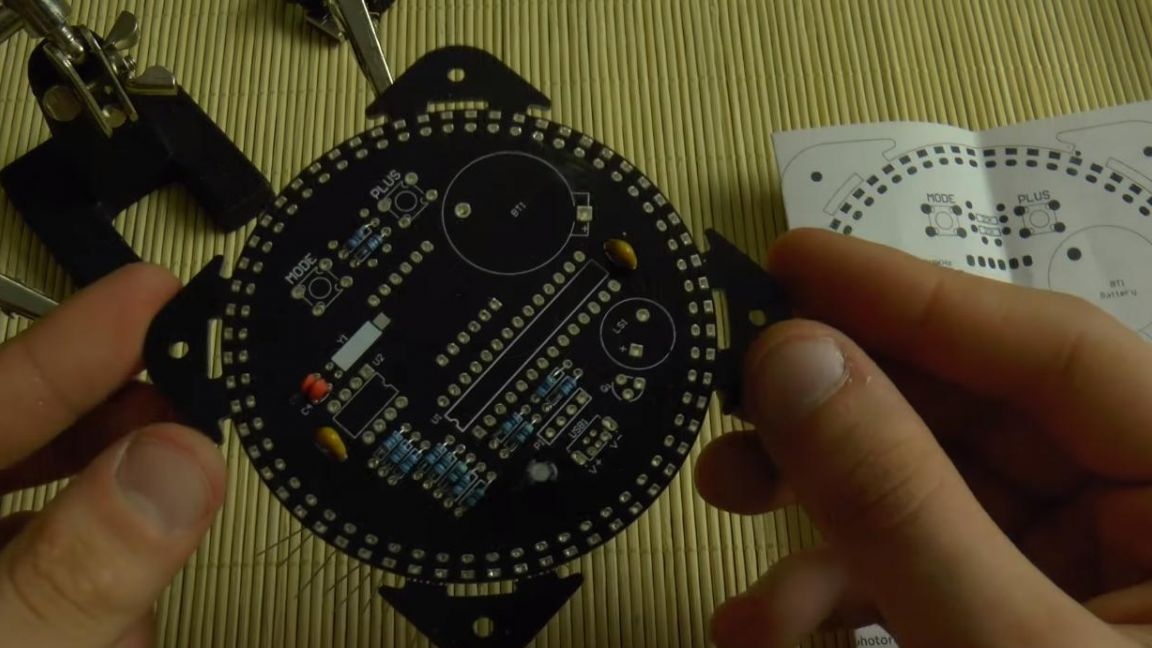
Next, we put the speaker, since the clock has an alarm function, then a sound emitter is also needed here. To install it, a positive output is indicated on the case, as well as on the board. Also, do not forget to put two buttons for setting the clock.


Step Five
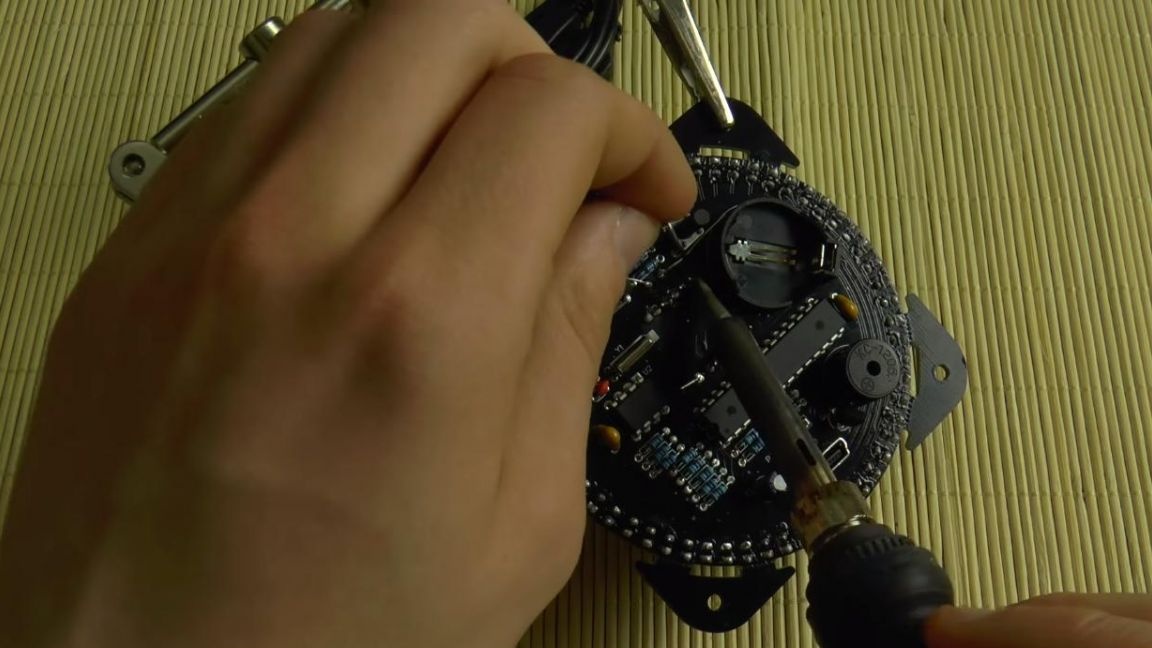
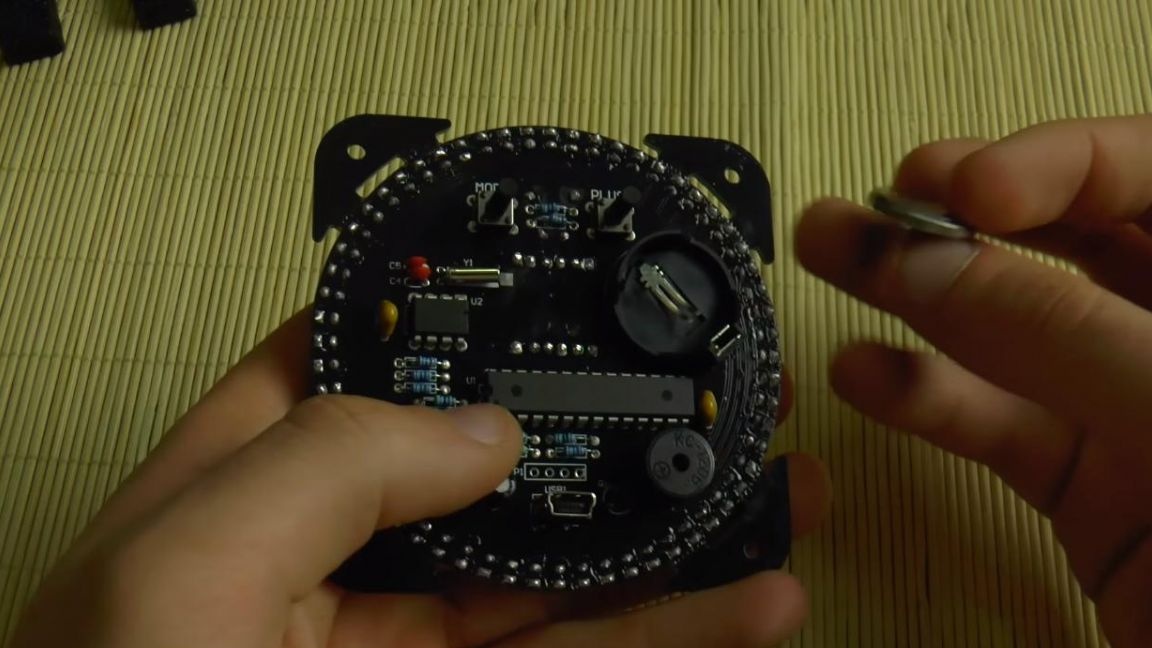
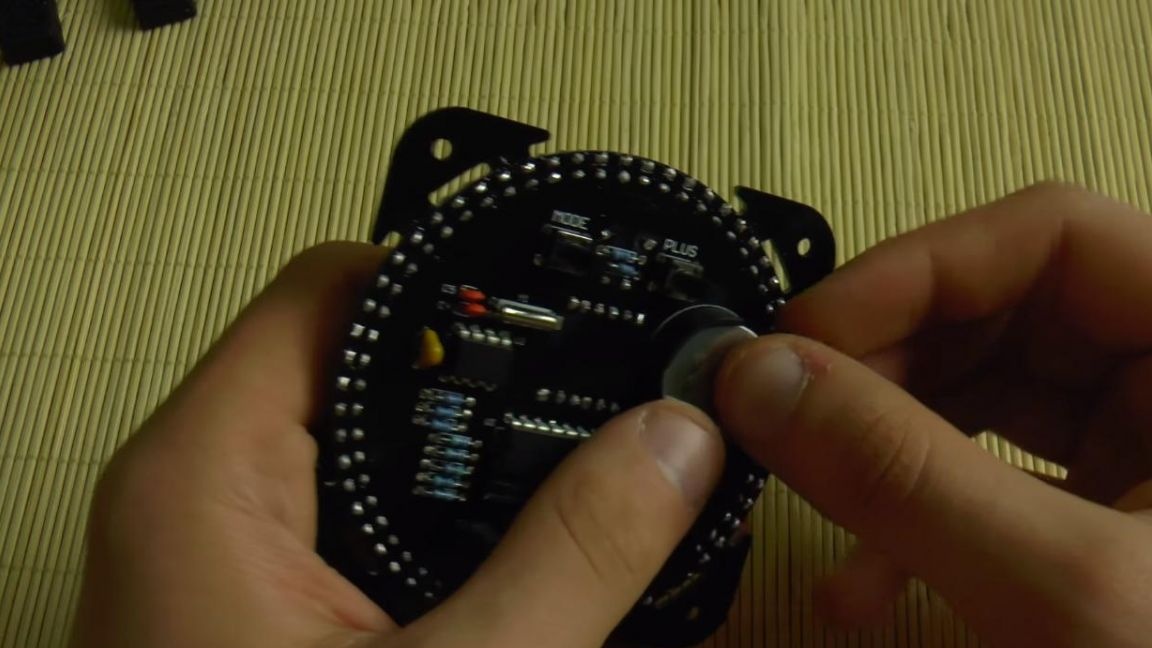
Under the battery, which will keep in memory the time when disconnected from the power supply, we put a special clip, as well as a micro USB plug for connecting power.

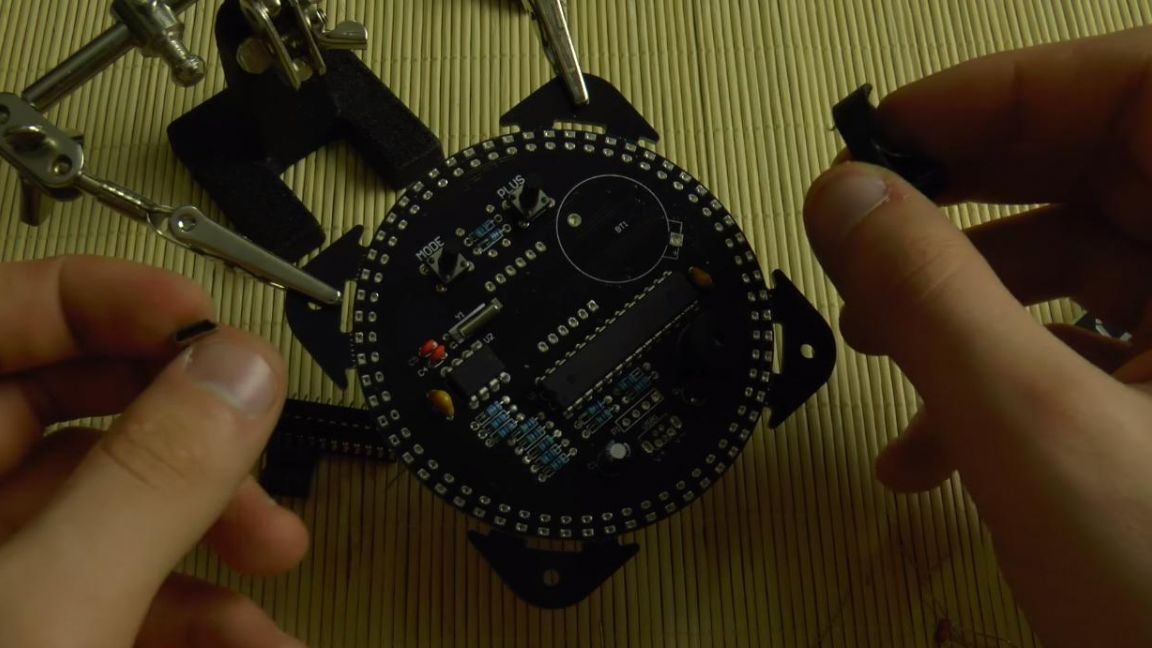
Step Six
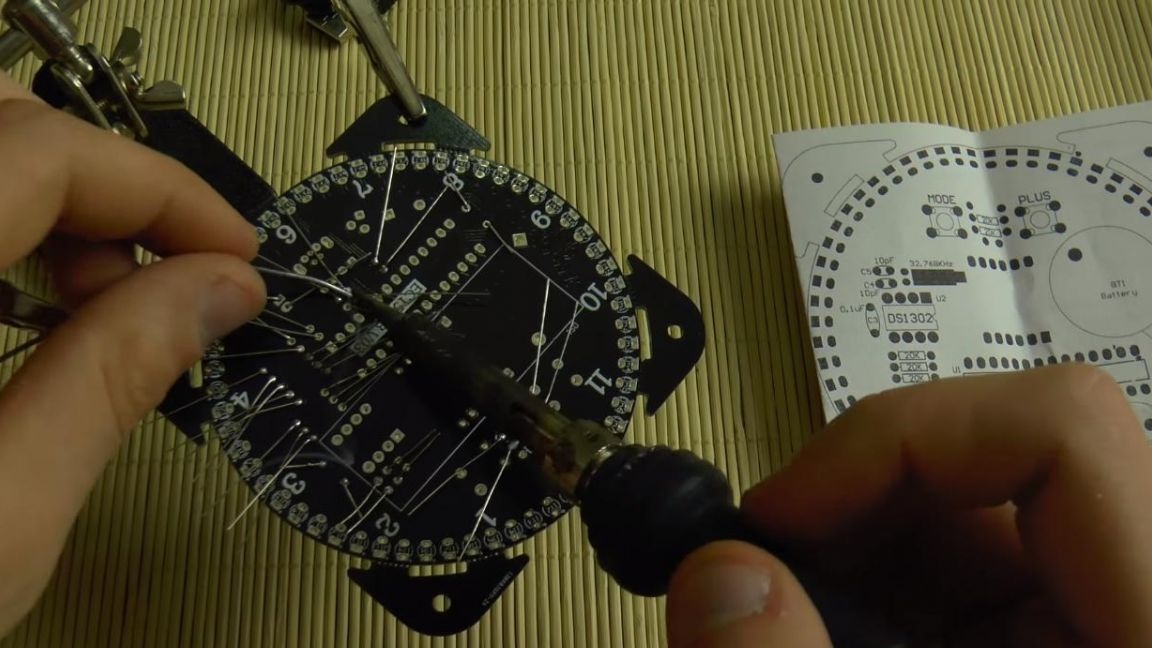
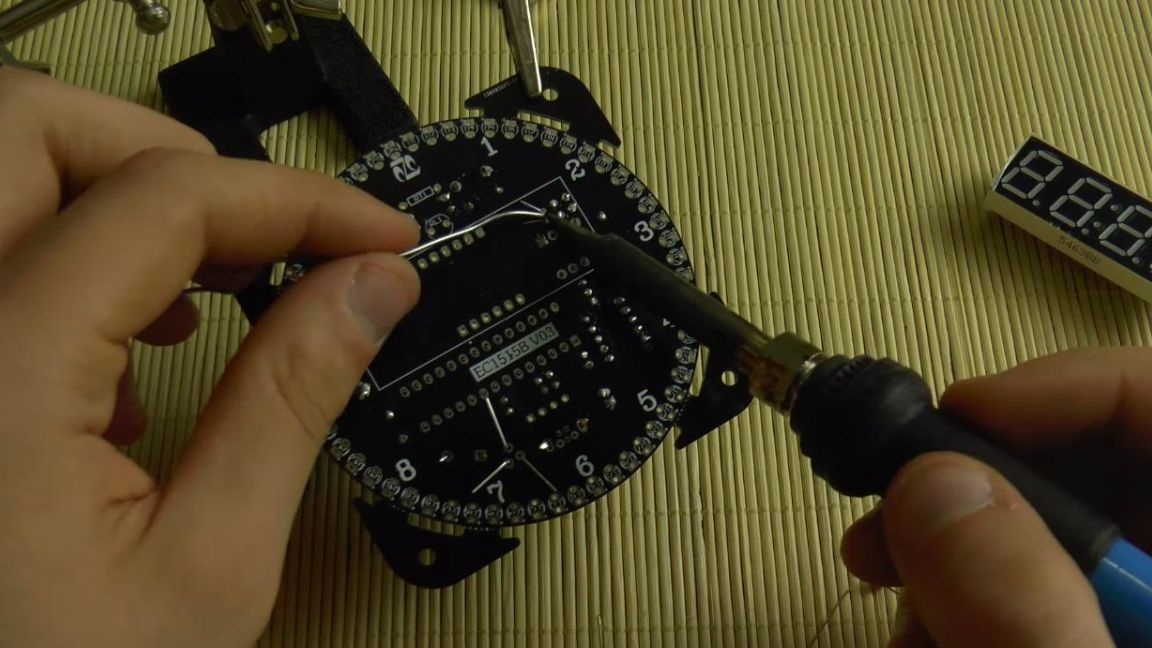
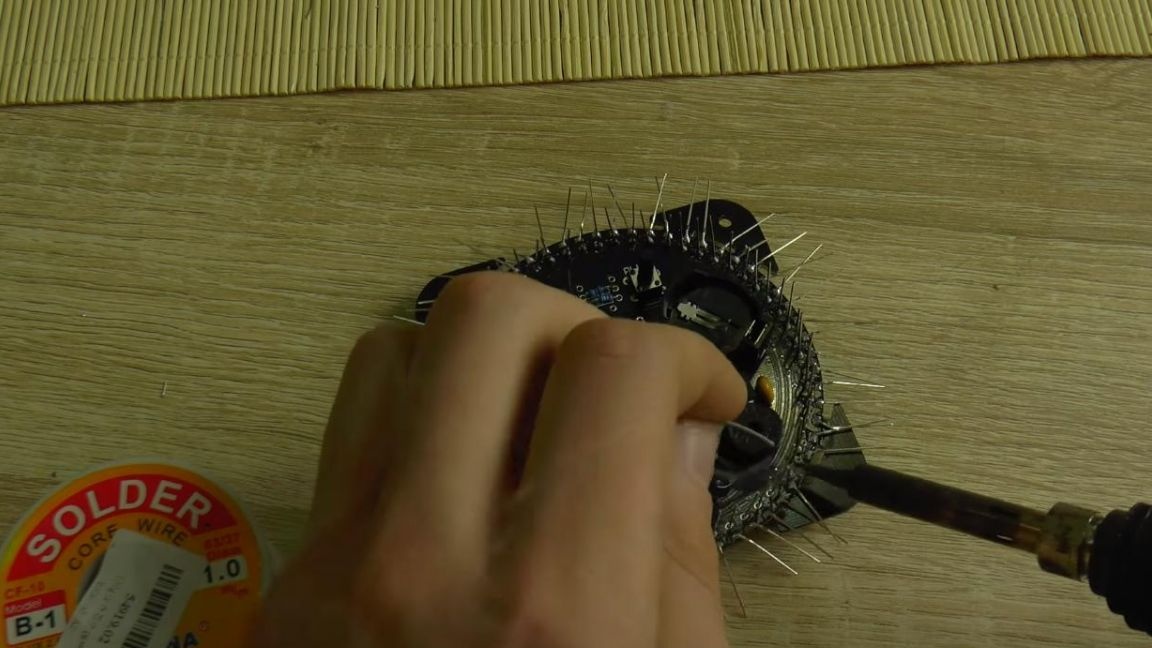
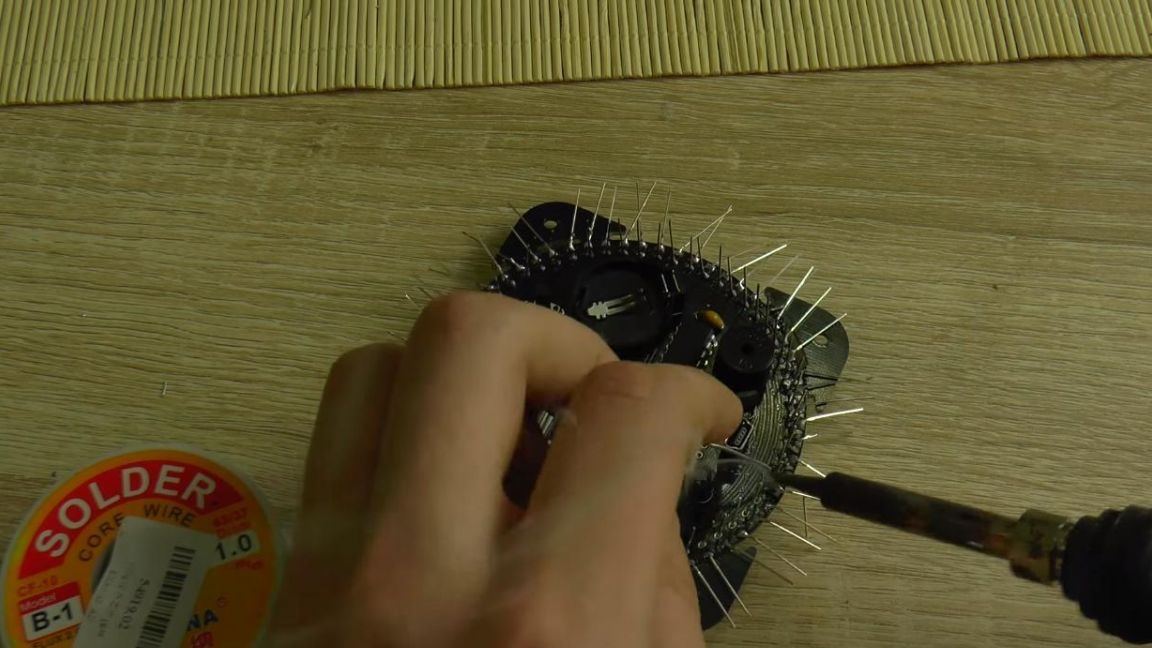
We fix the board in the soldering device "third hand" and apply flux to the legs, then we solder the necessary contacts with the conclusions with the help of a soldering iron and solder.
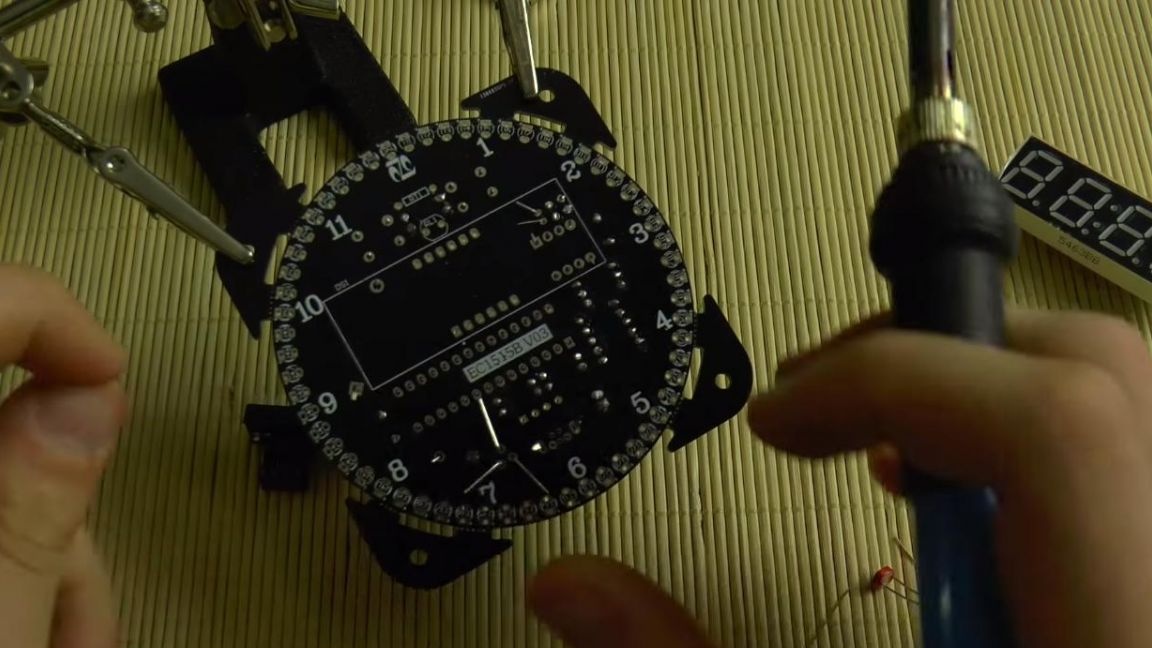
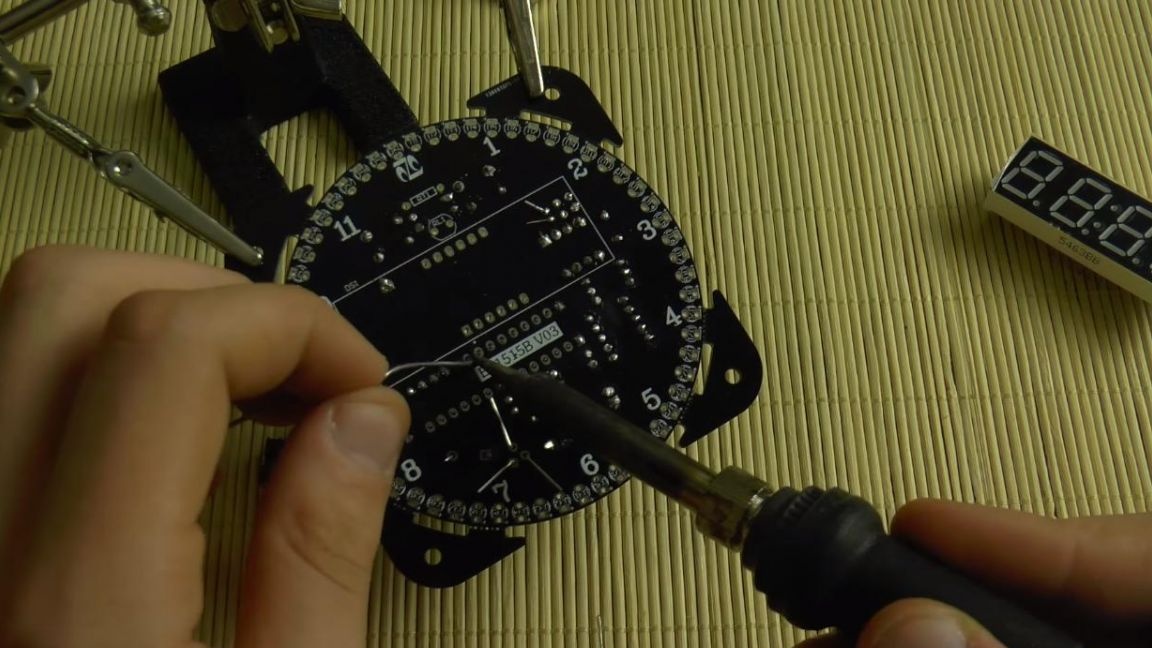
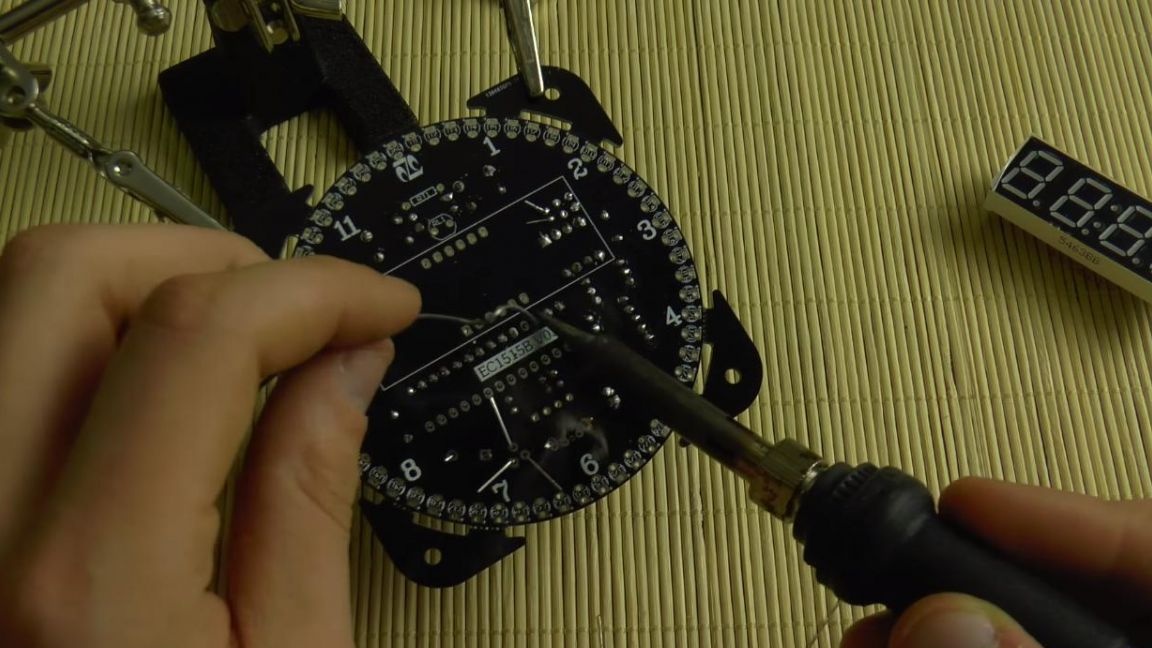
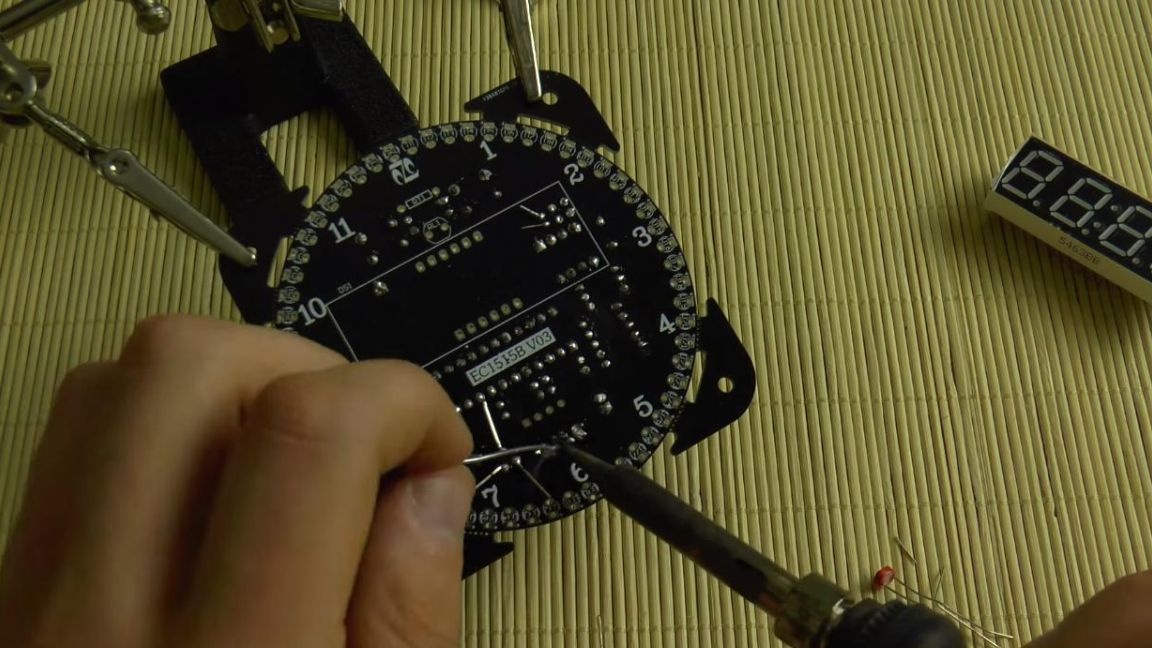
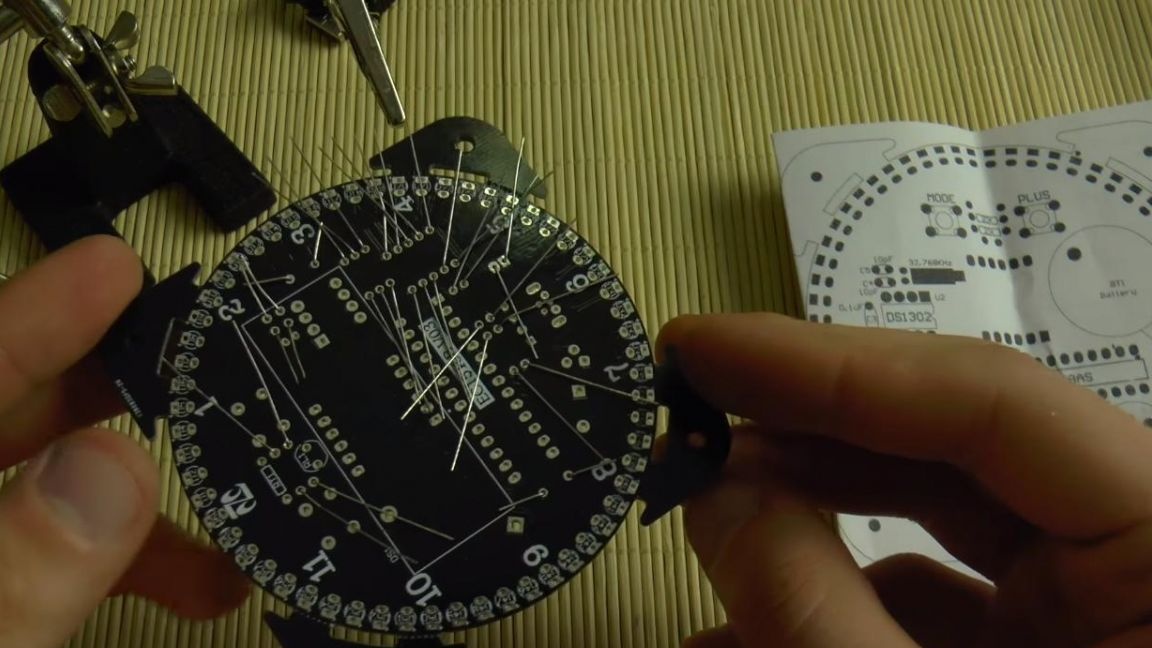
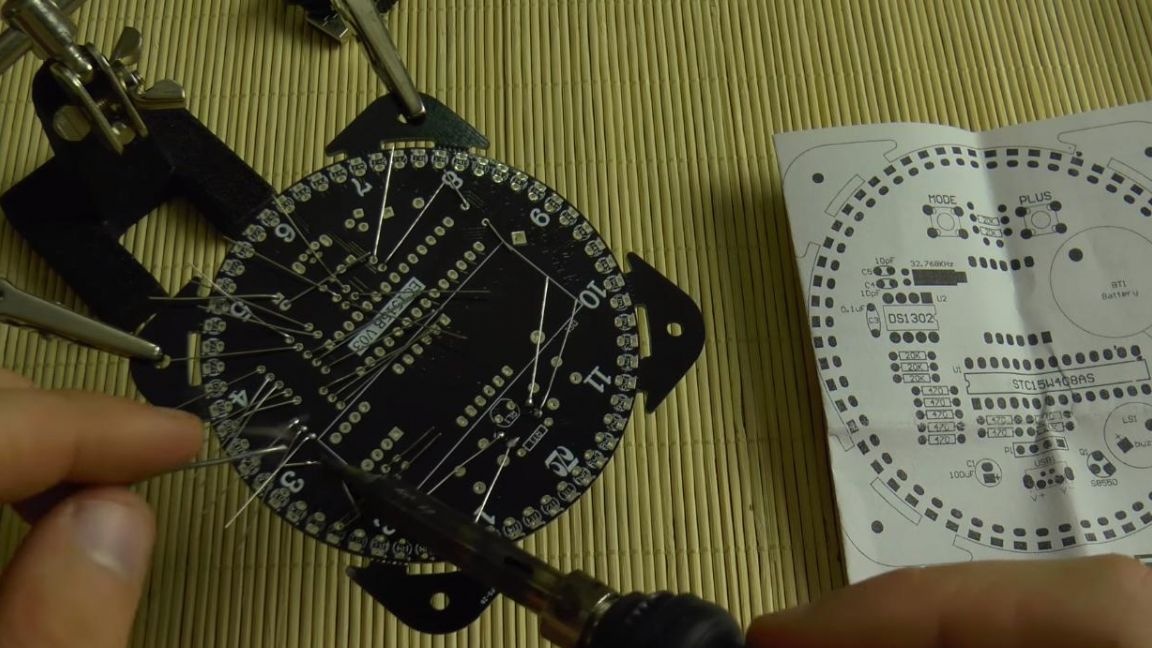
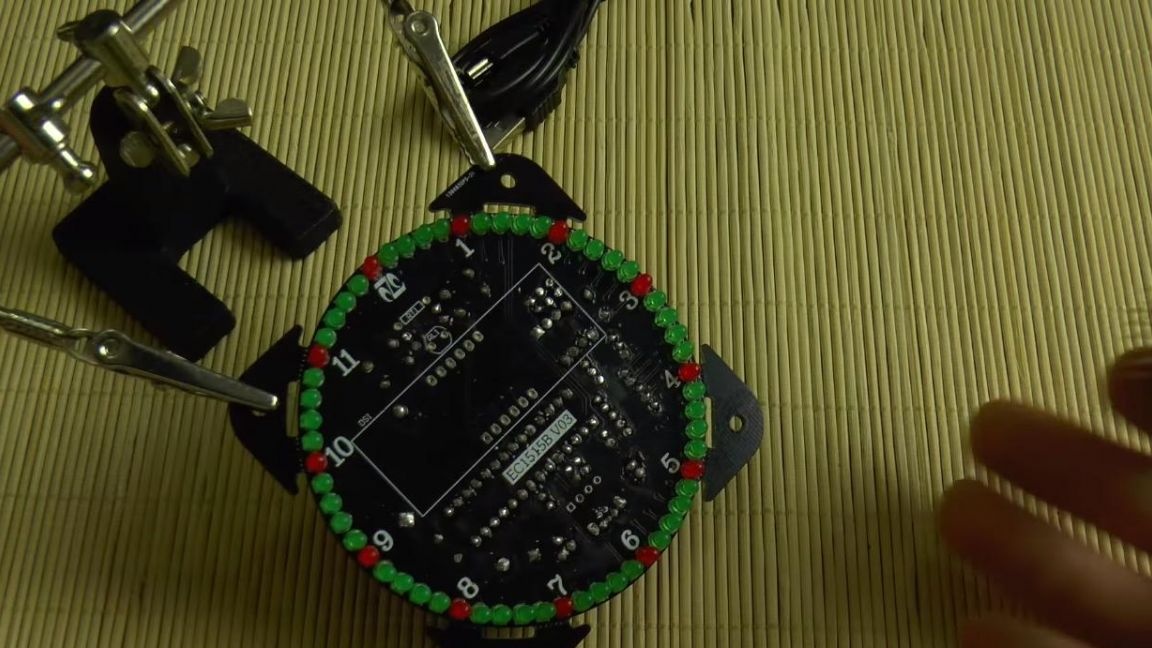
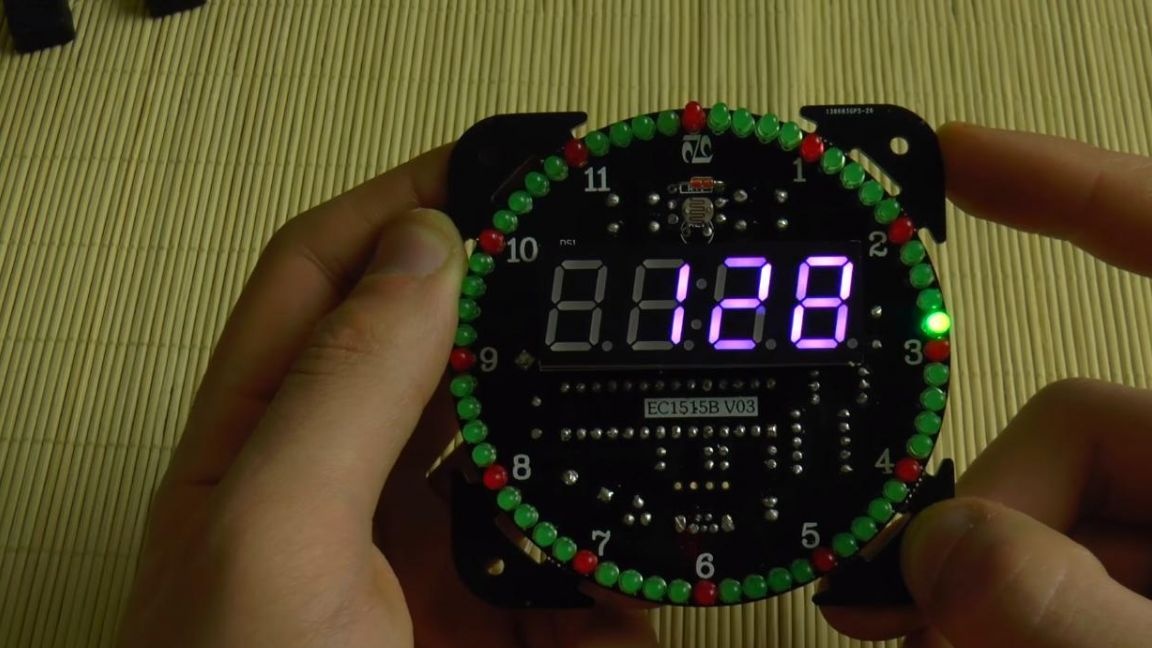
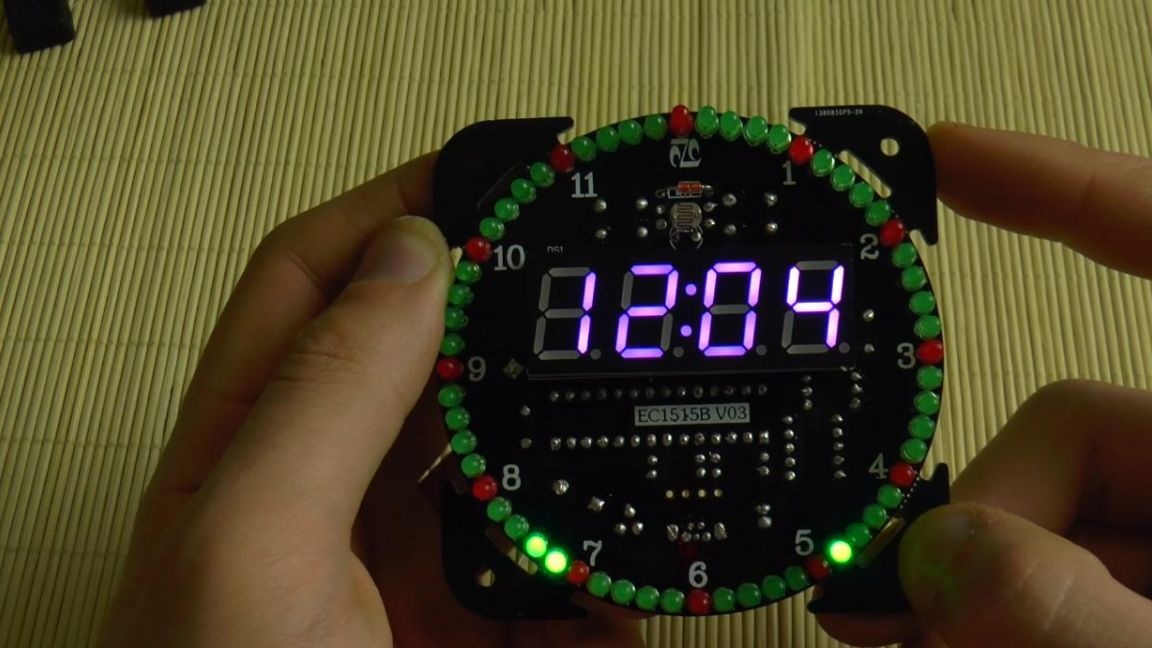
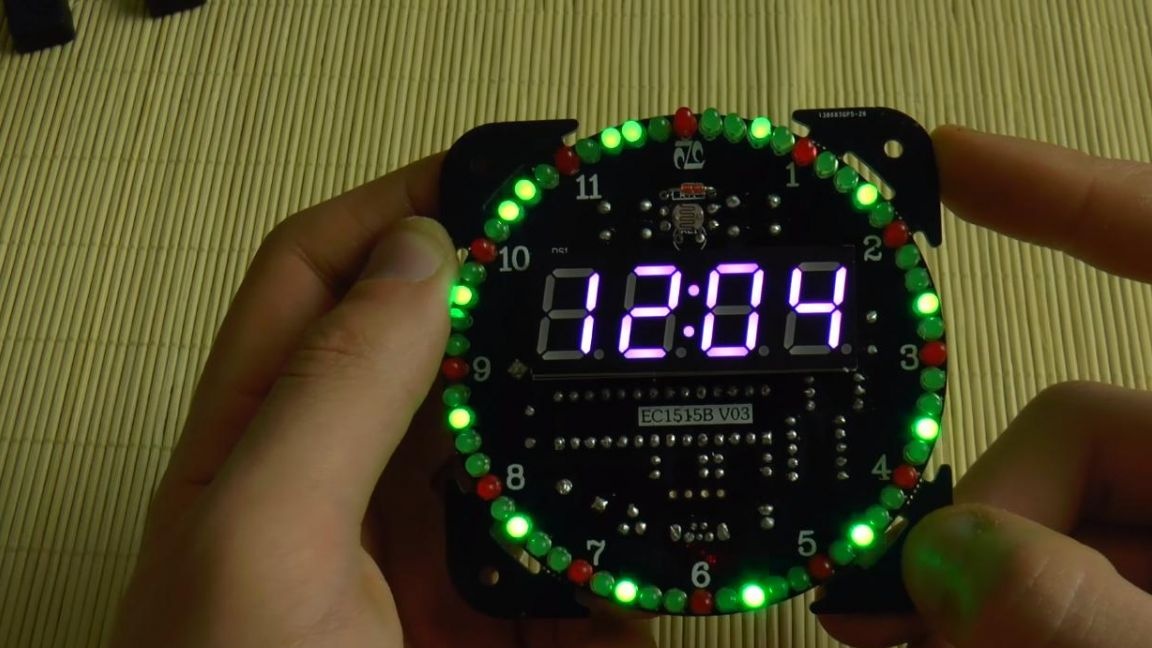
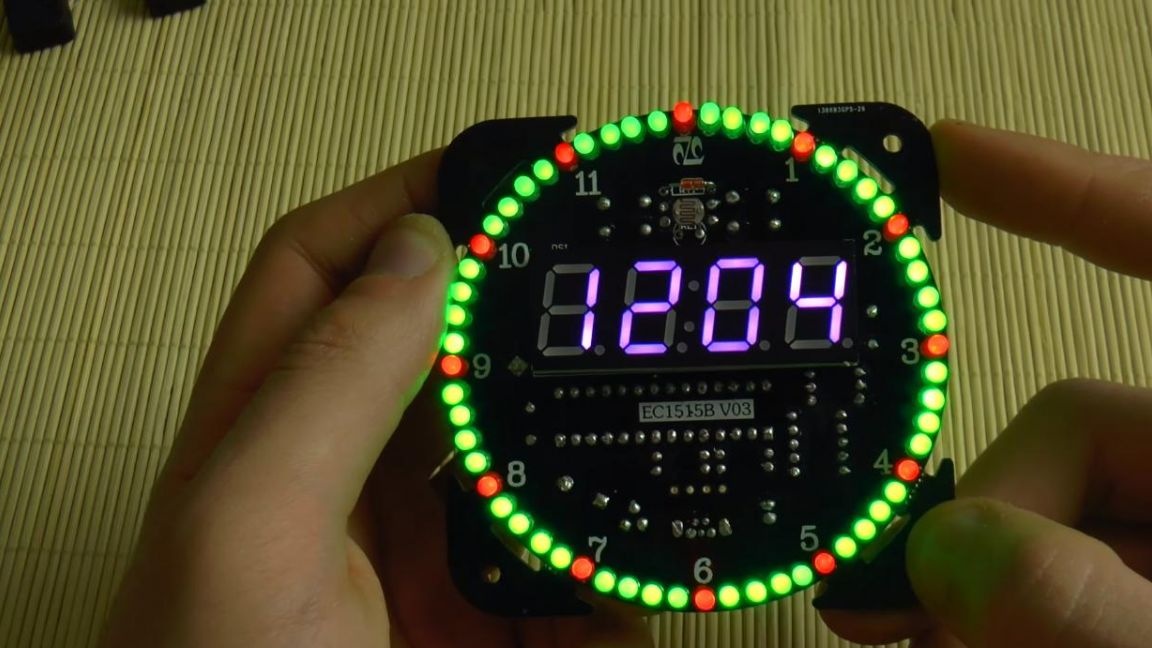
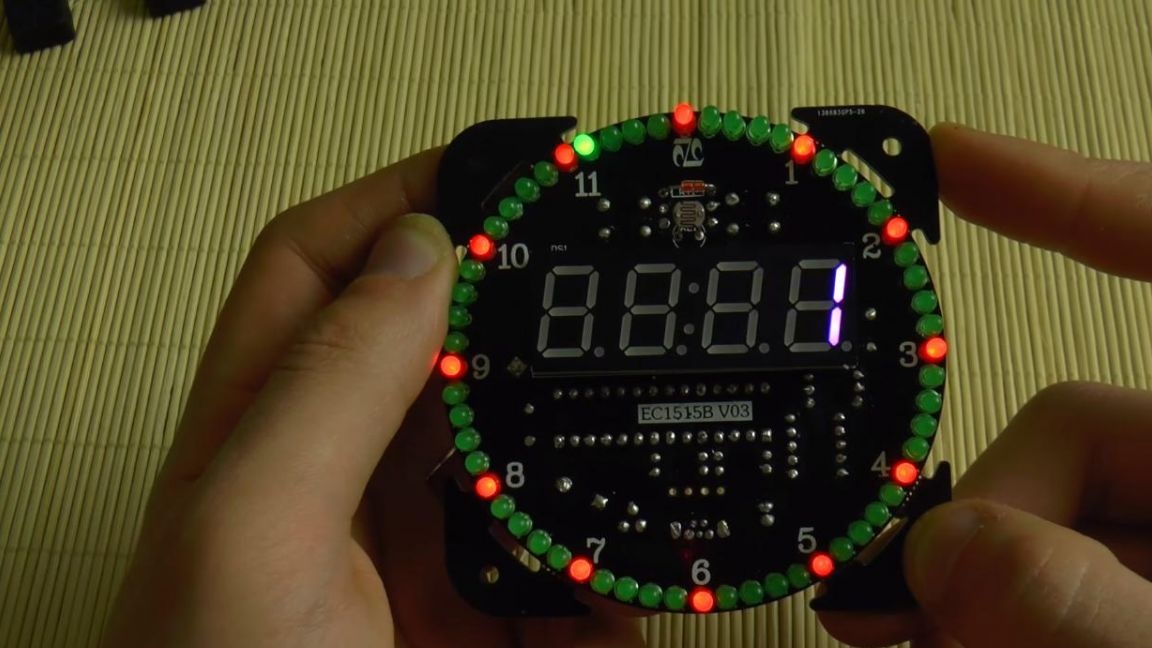
After soldering, we install many LEDs, since it’s not difficult to install them correctly. The external contour of the contacts for LEDs is a plus, on the LED itself it is a long output.
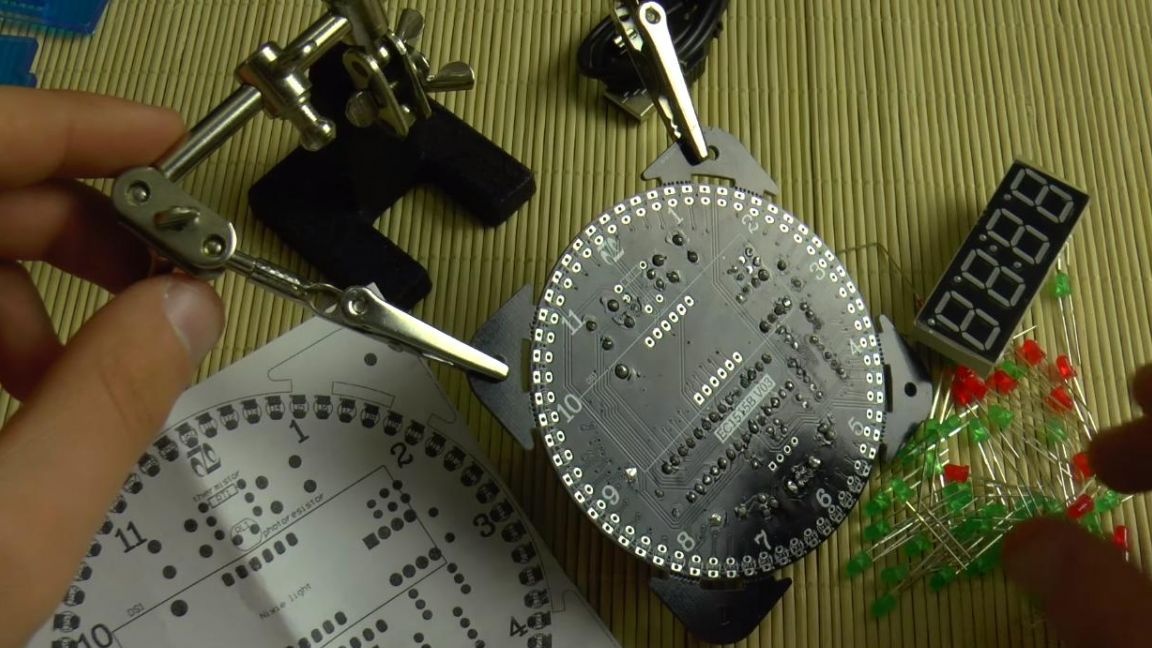

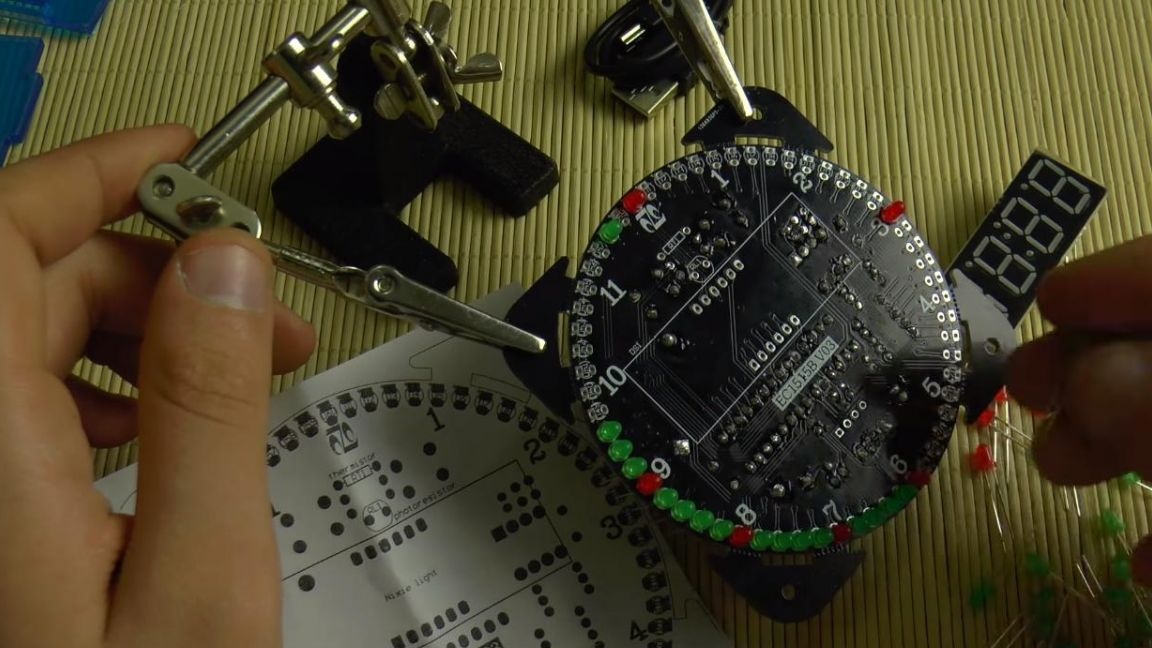

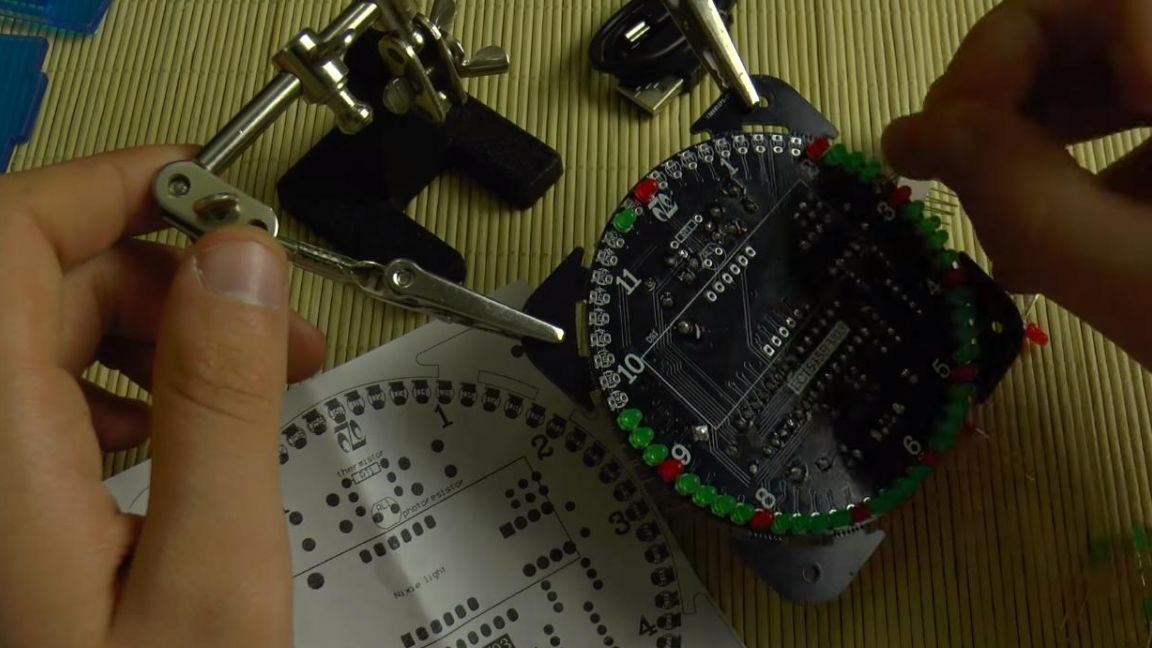

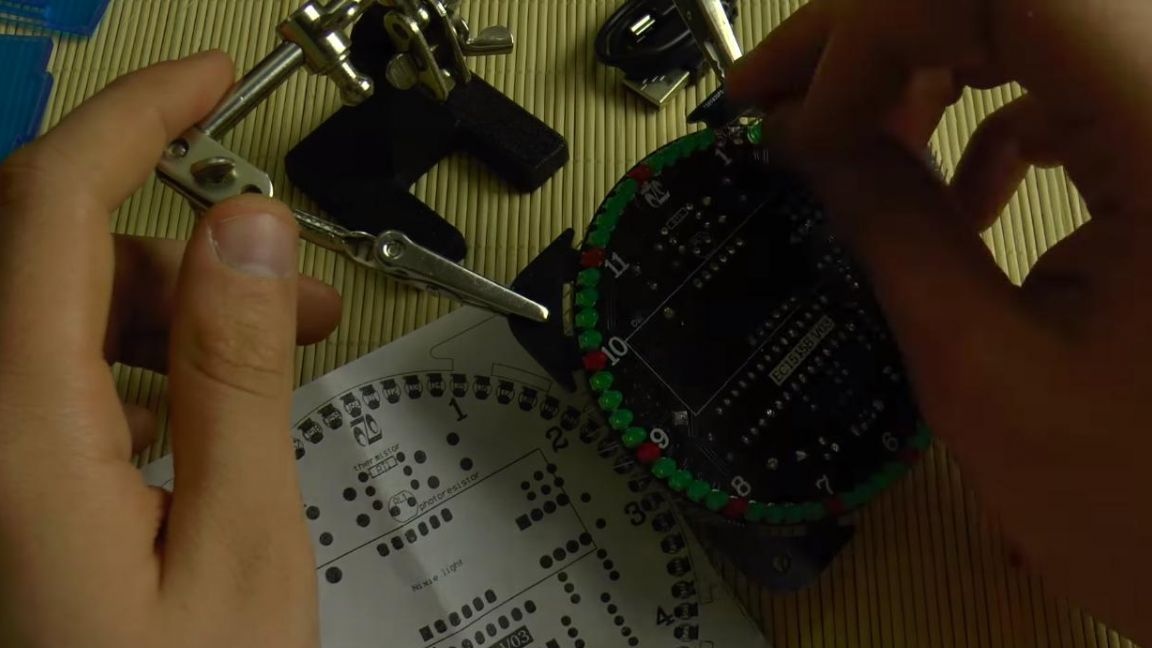
Having installed all the LEDs, solder them on the back of the board.
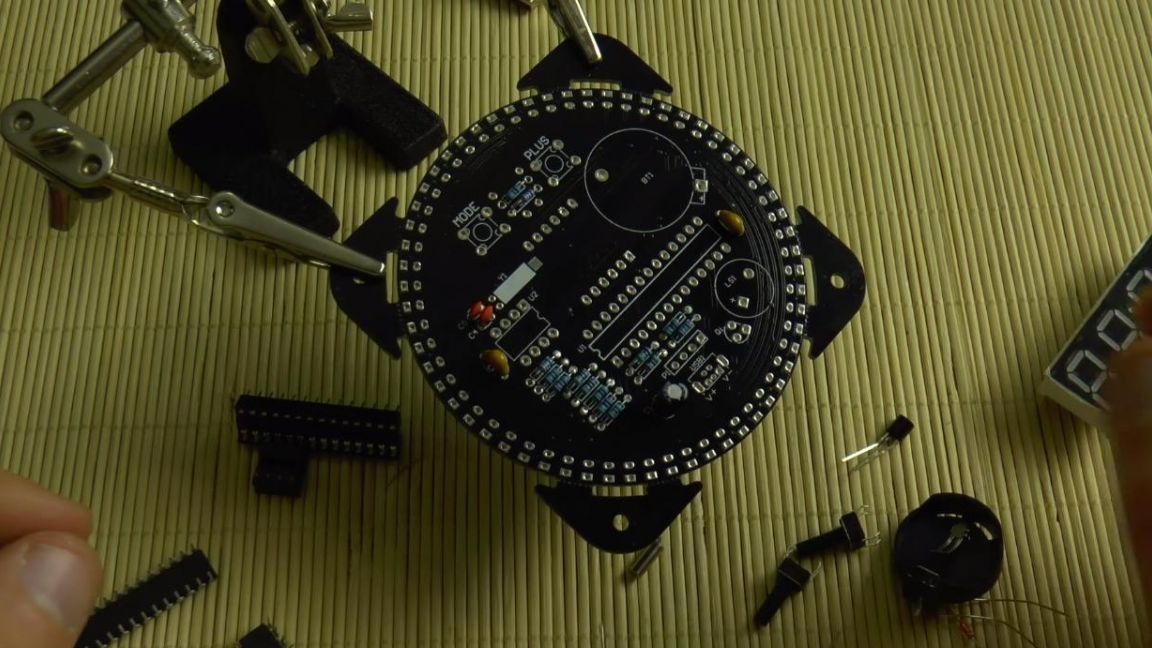
Seventh step.
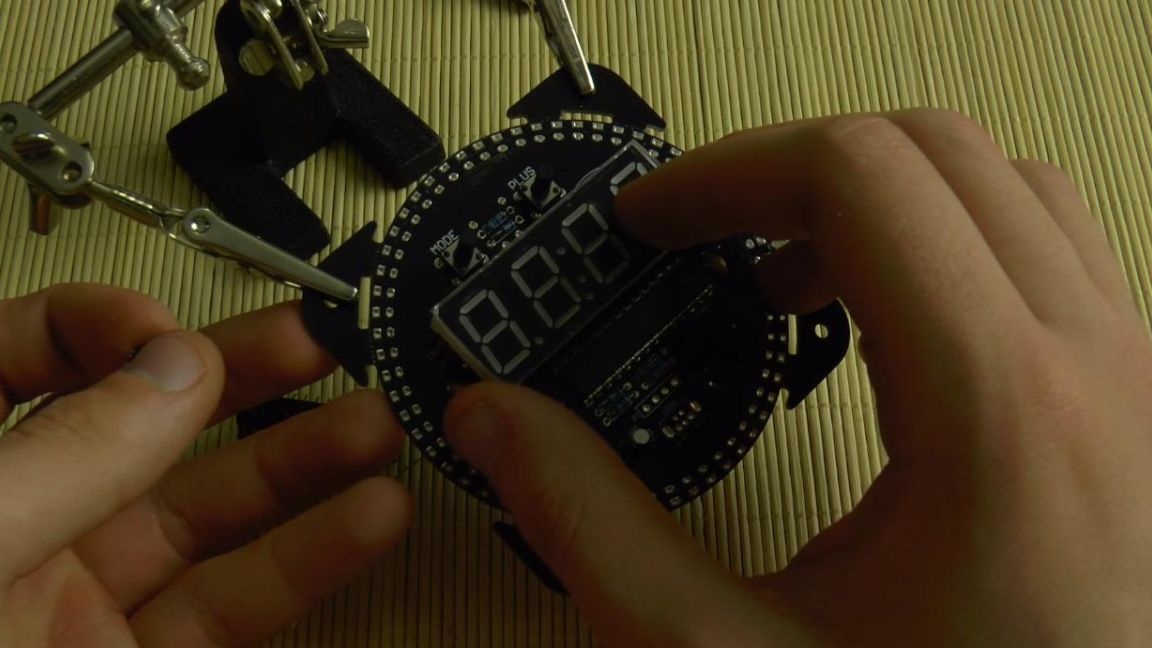
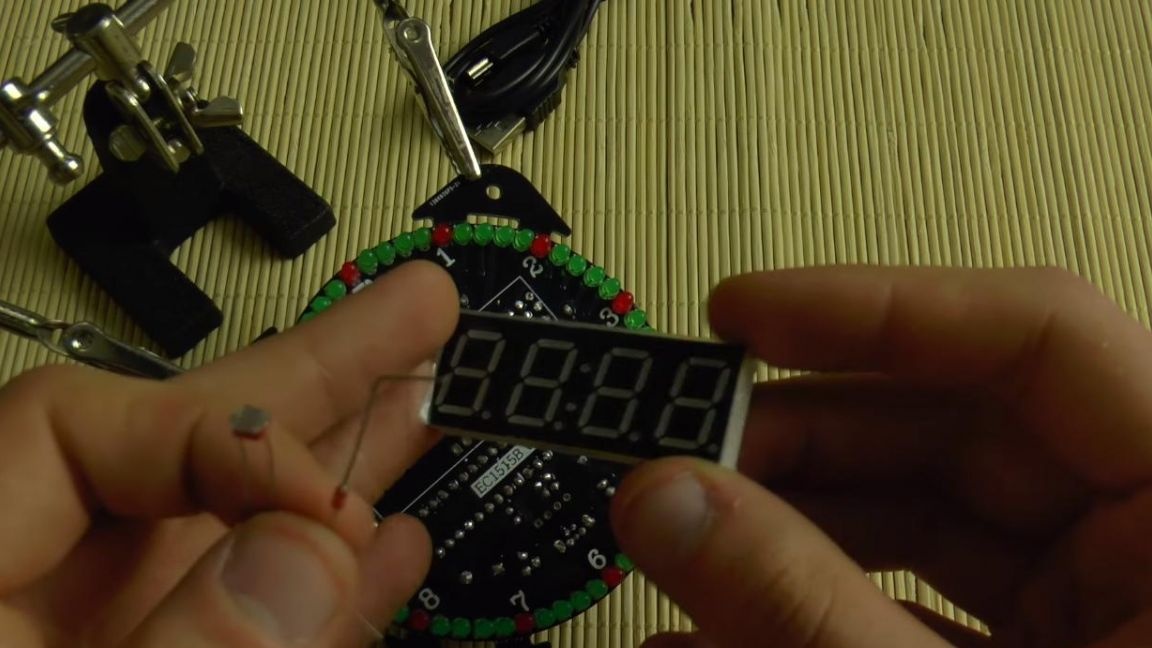
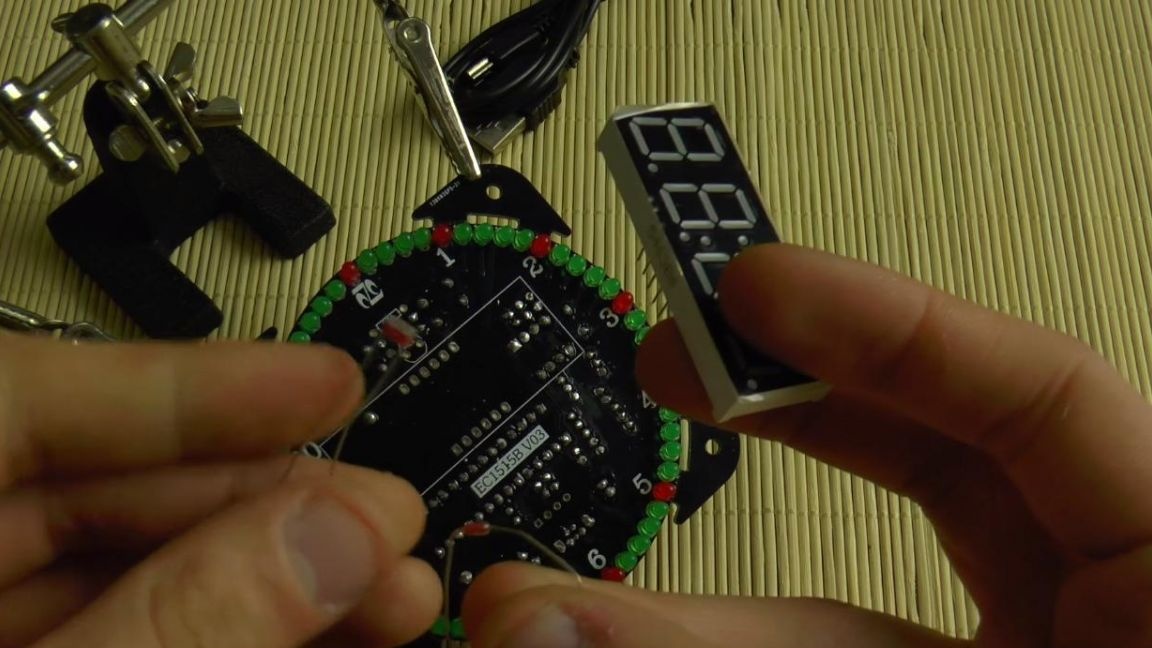
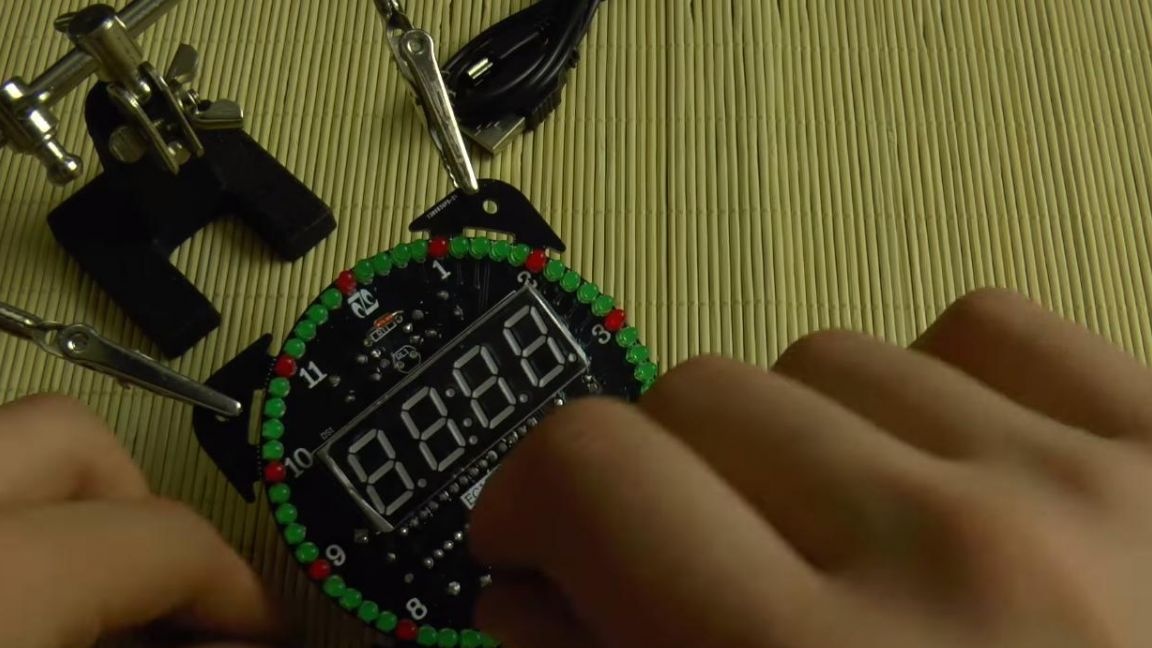
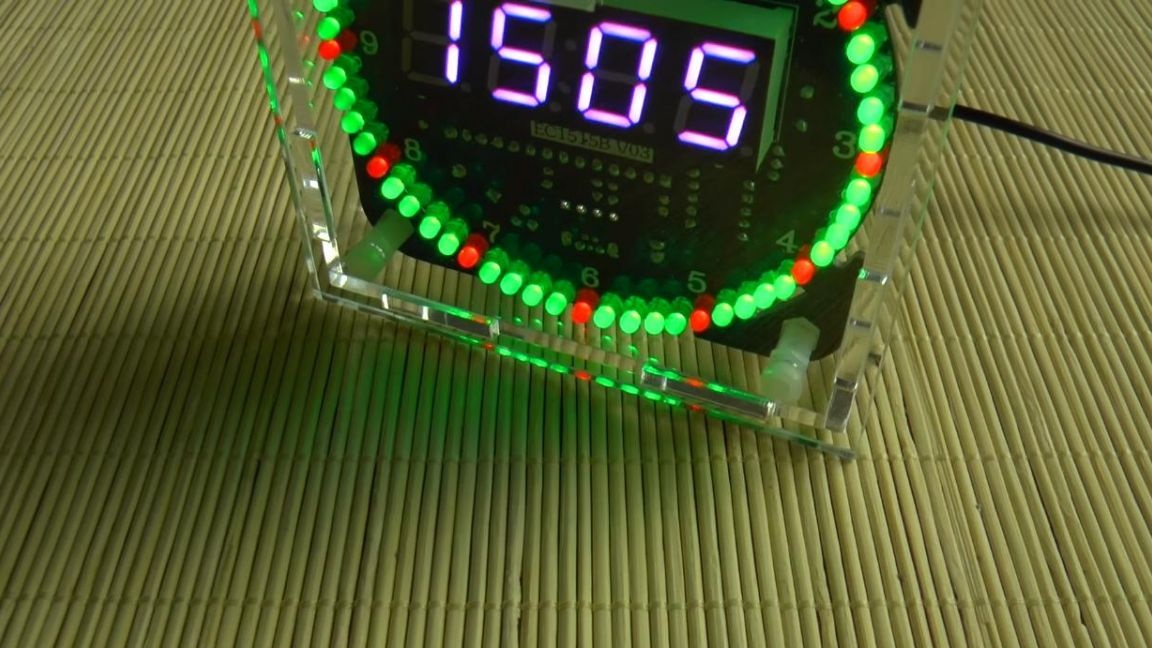
Next, solder to the board a digital board with luminous numbers, a thermo and a photoresistor. The last two need not be derived a certain distance so that they are outside the enclosure.
Step Eight.
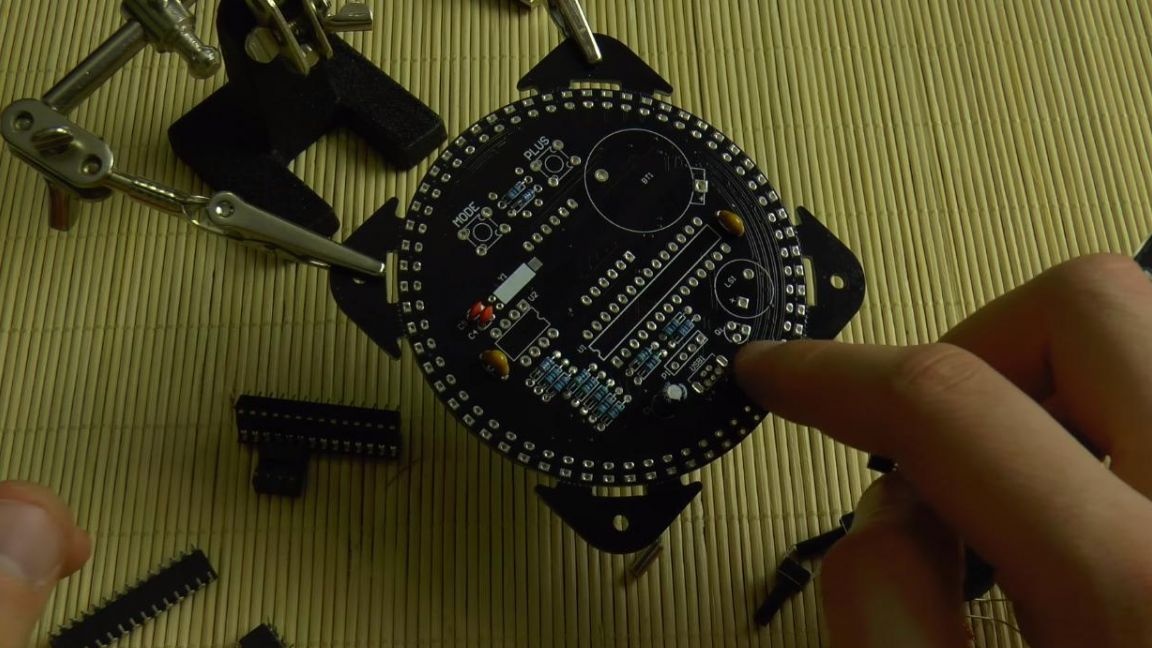
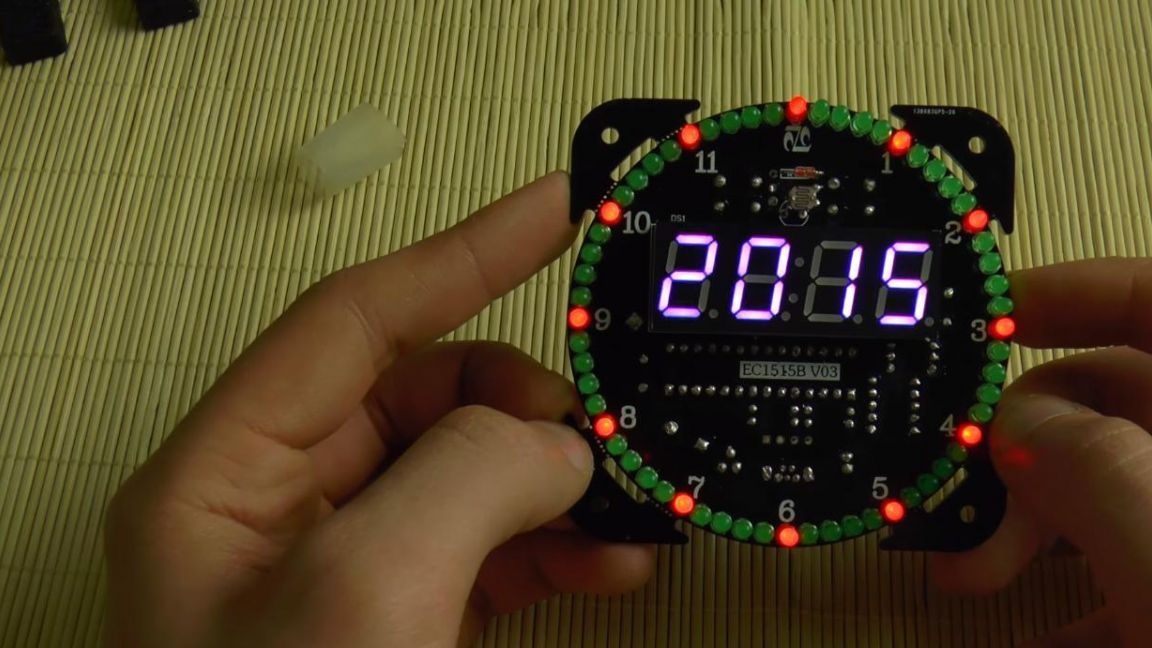
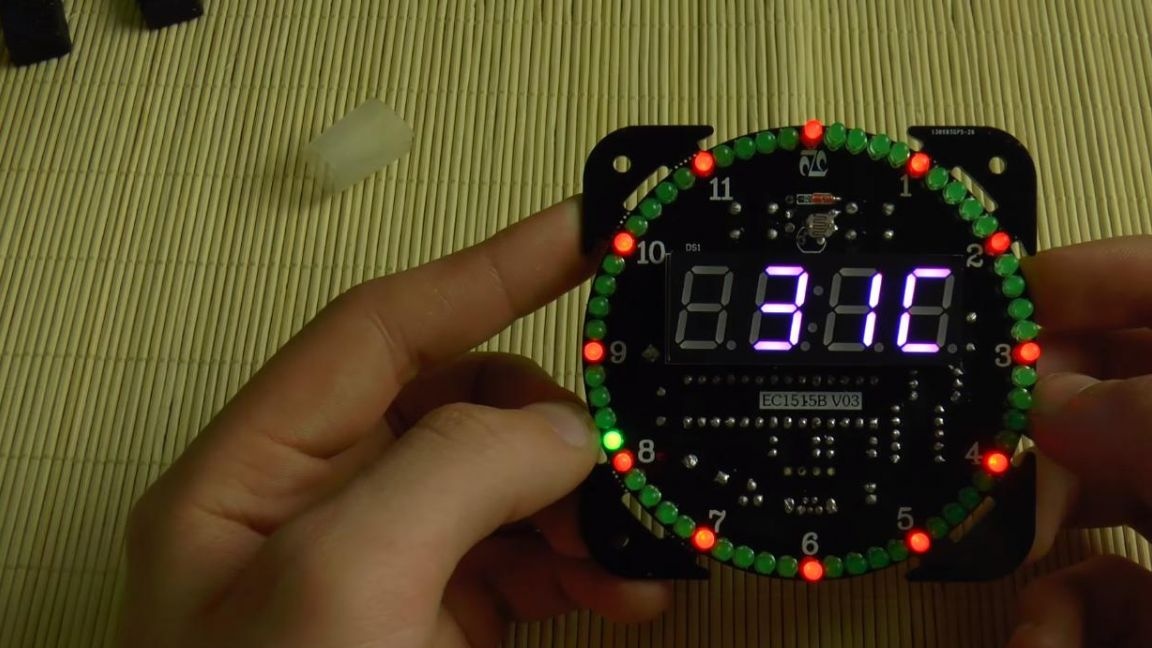
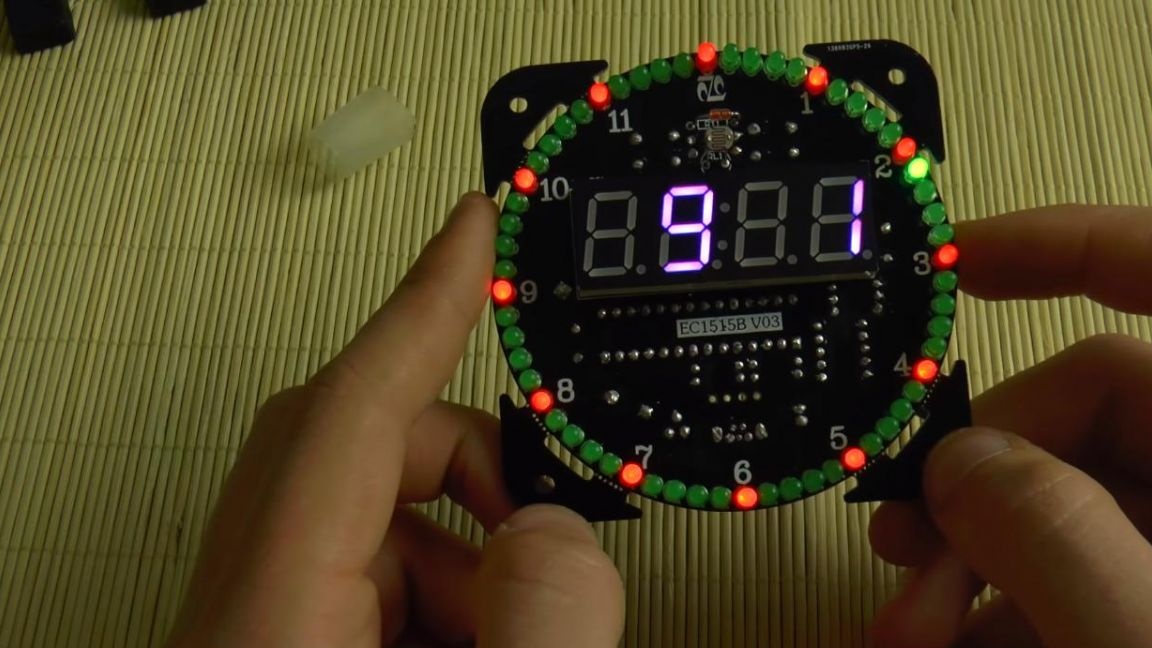
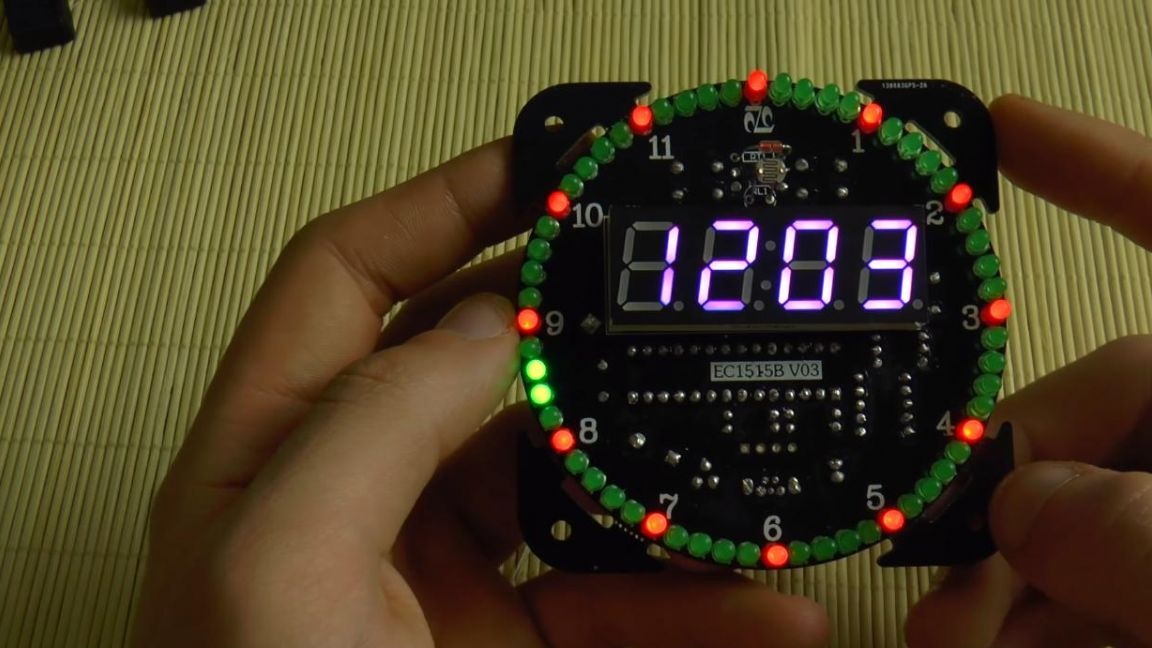
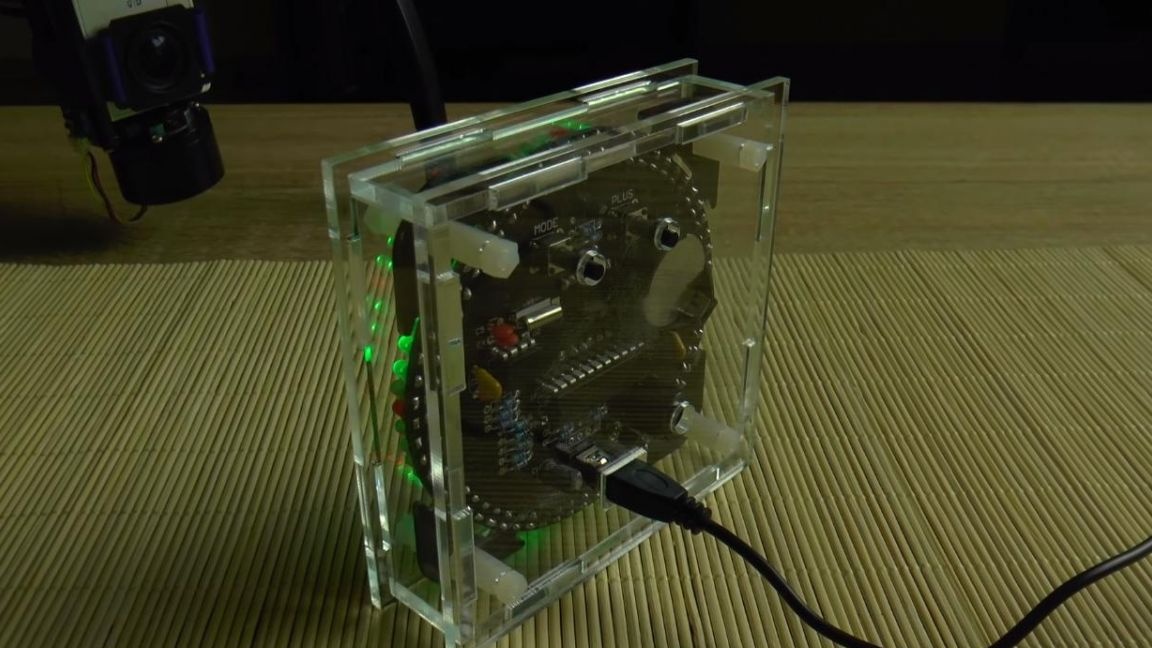
We insert the battery, remove the protective film from the digital electronic board and connect the power supply via the USB cable for verification, since before you install the entire board in the case, you need to make sure the electronics are fully operational.

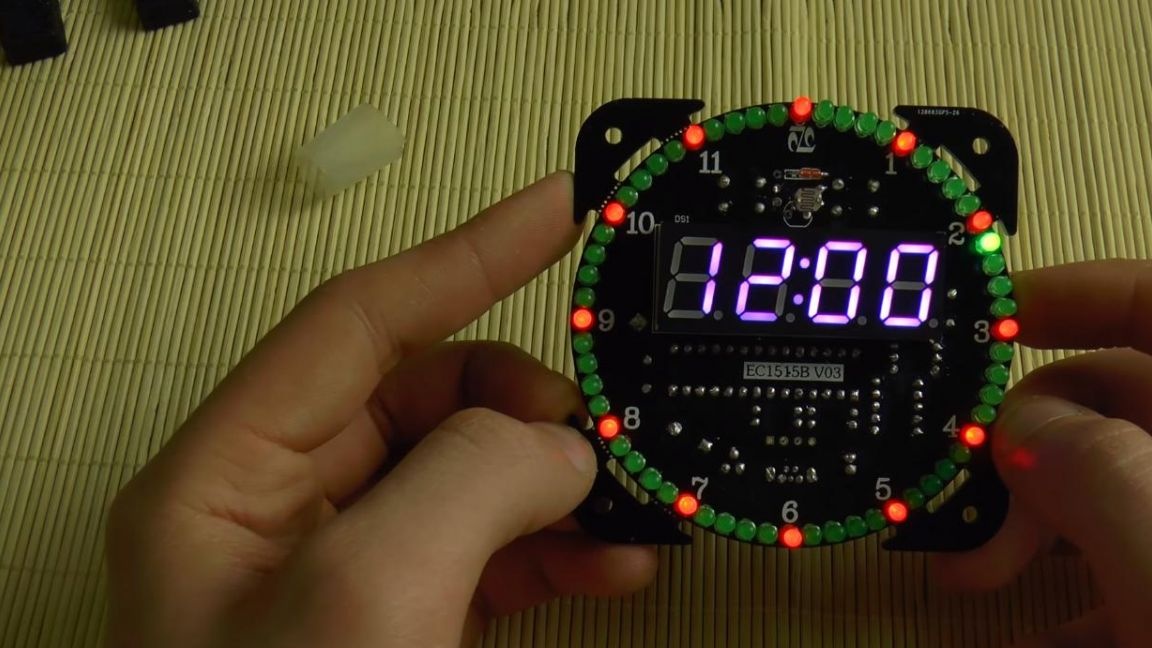
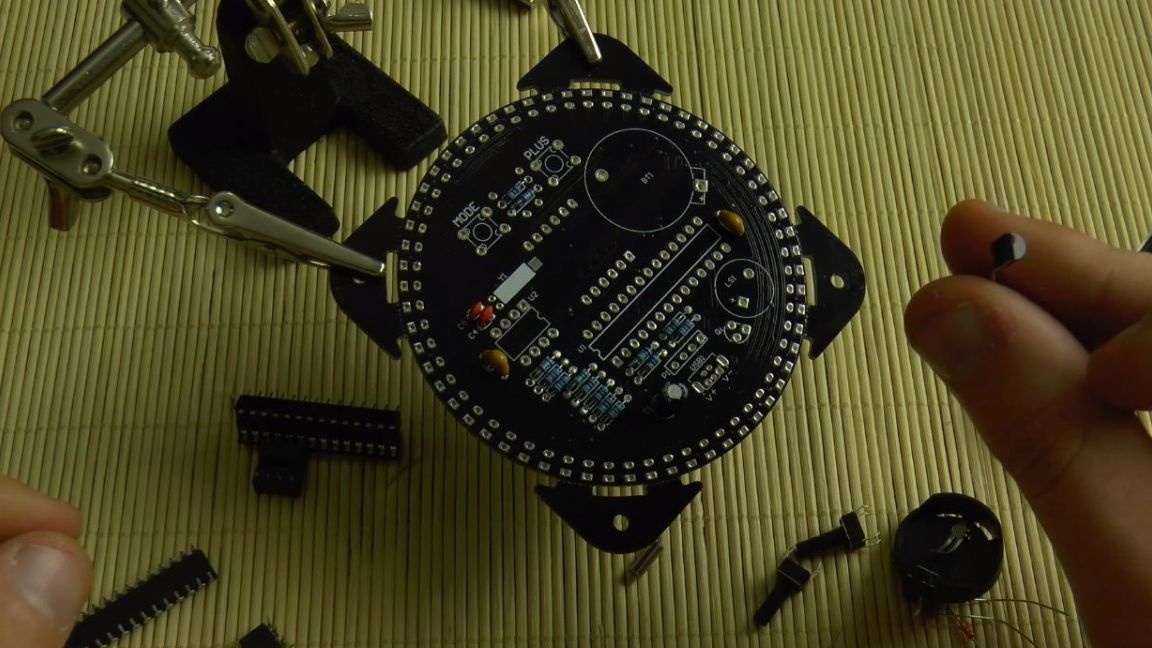
The watch also has various animation options for LEDs, which is quite convenient and looks beautiful in the dark.


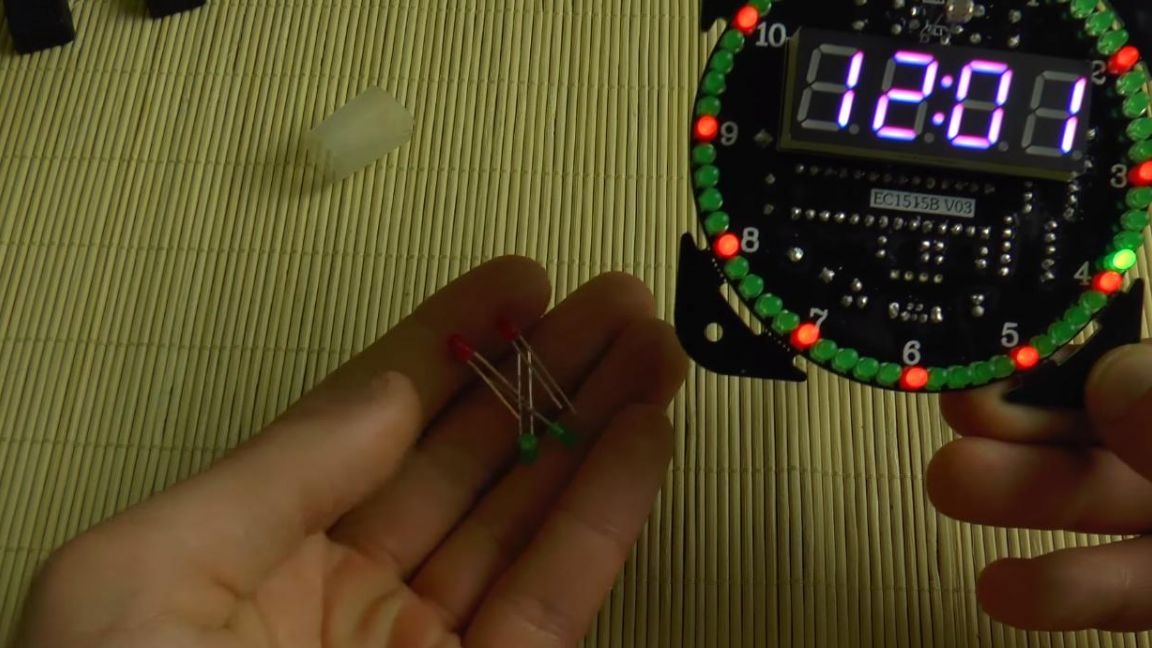
We didn’t forget to put a few LEDs in the kit, just in case, if during soldering you overheated a couple of LEDs or some of them failed over time.
Step Nine.
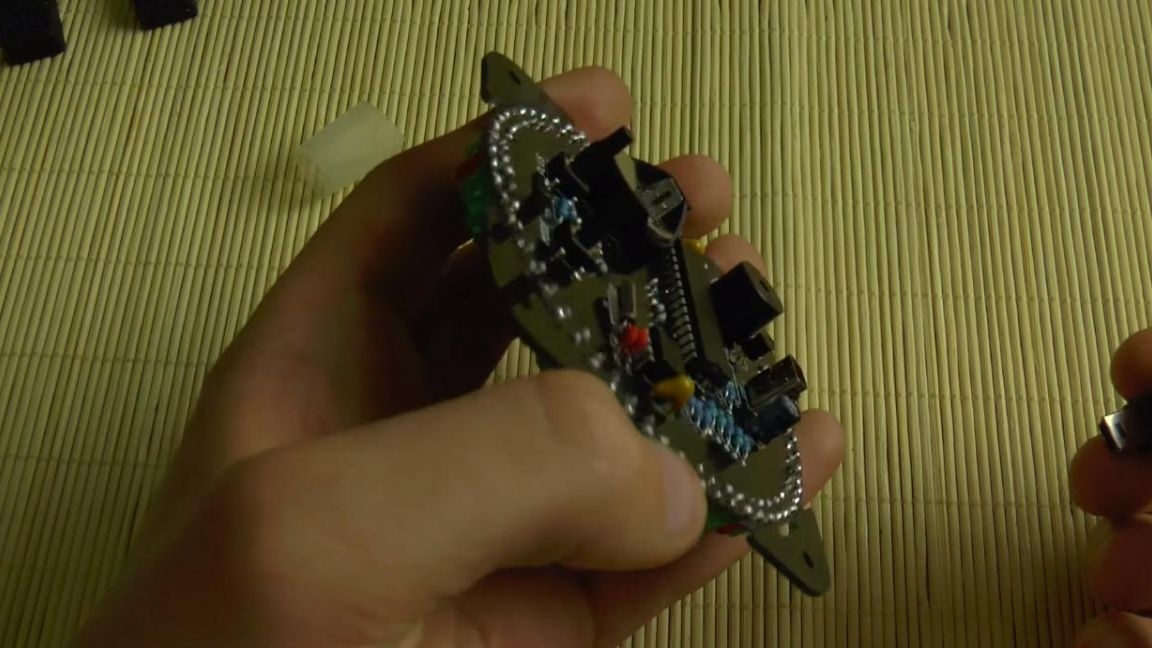
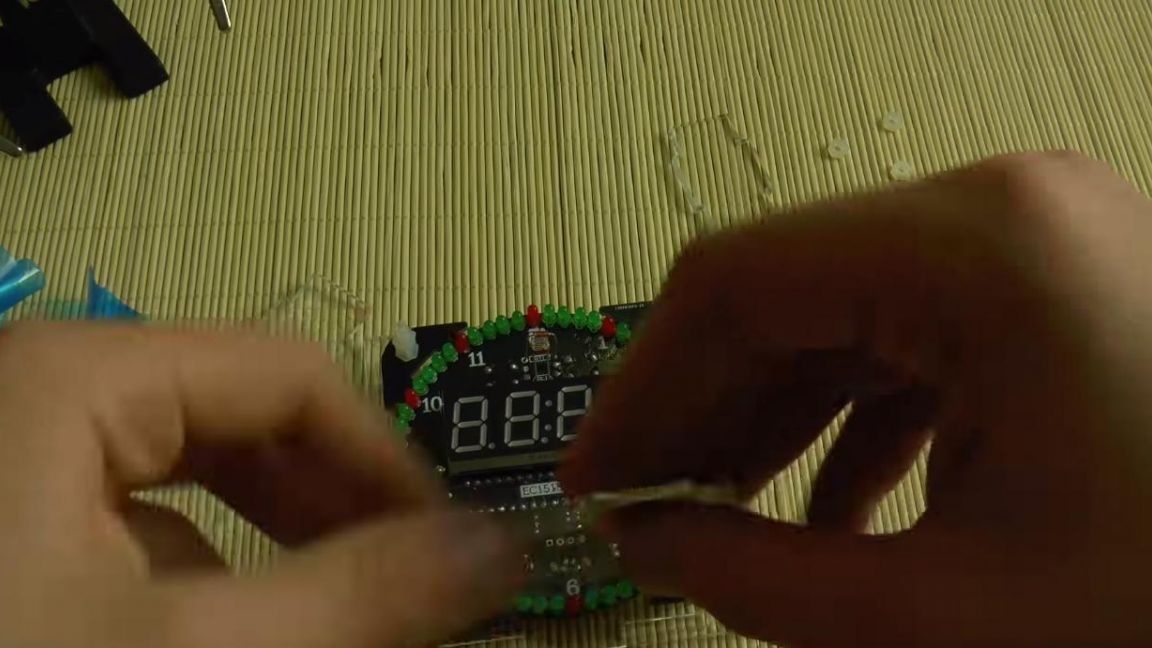
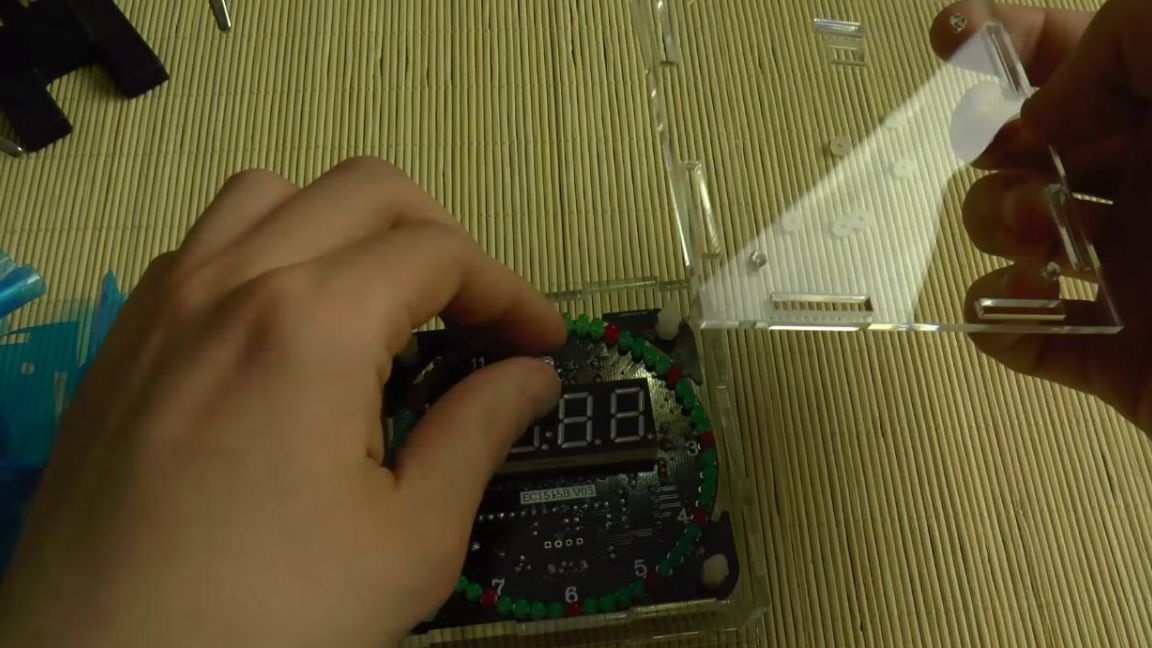
We clean the board of flux residues with the help of galosh gasoline or acetone. Next, we collect the board in the case from plexiglass, from the body parts you need to remove the protective films.
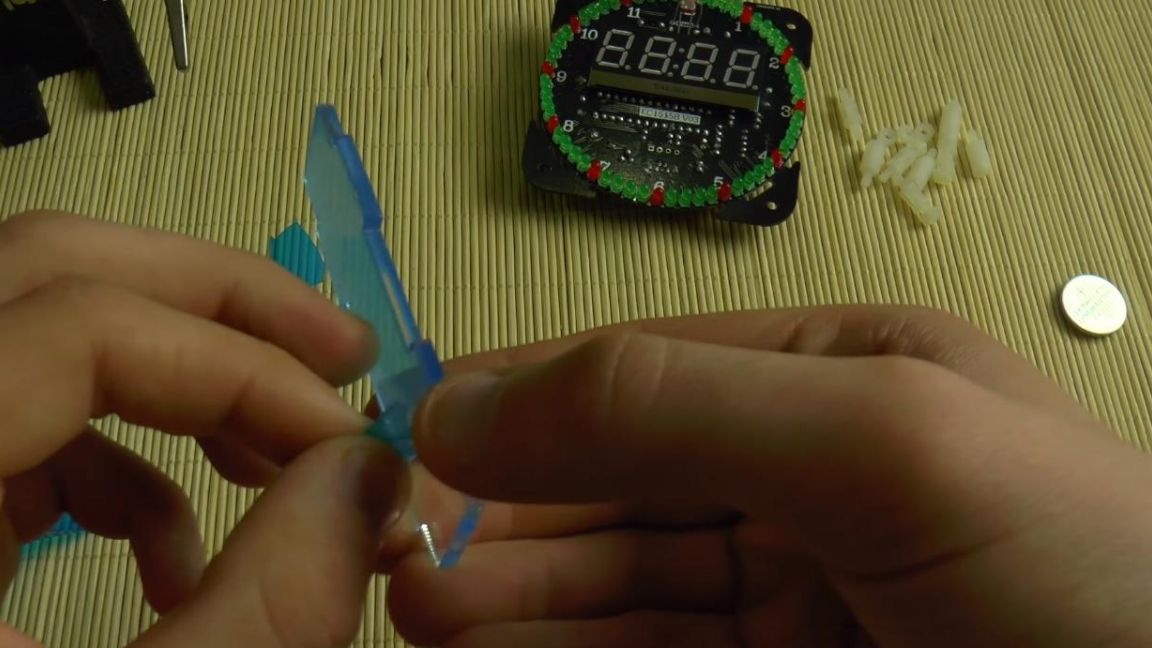
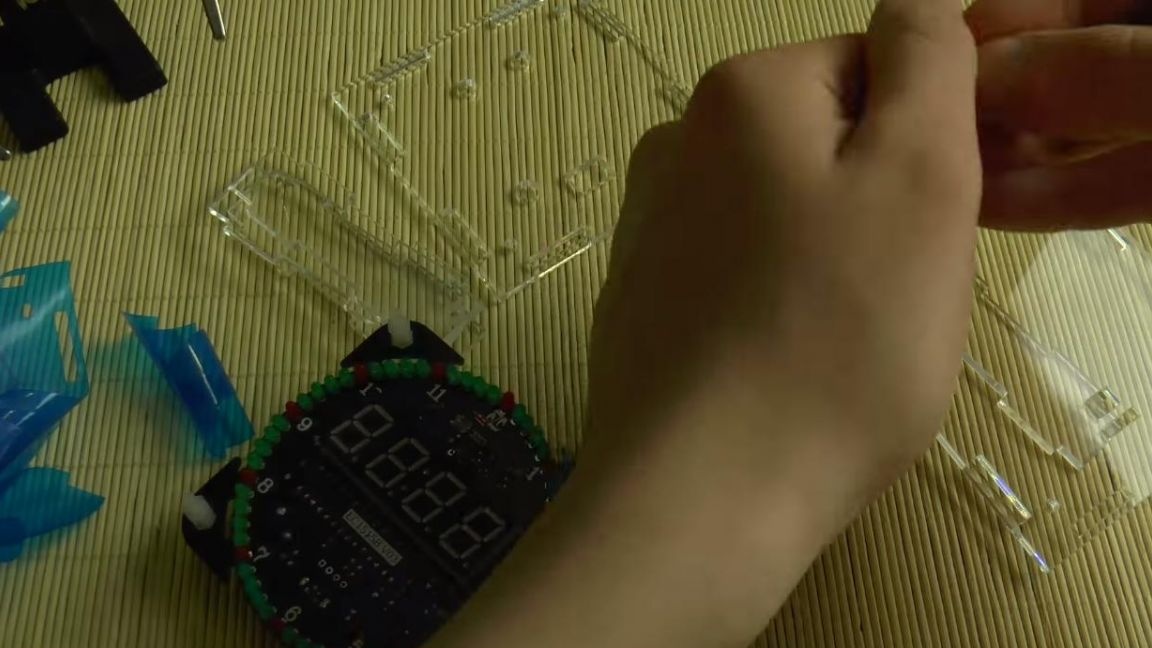
And the case itself will be attached with the help of special plastic latches.
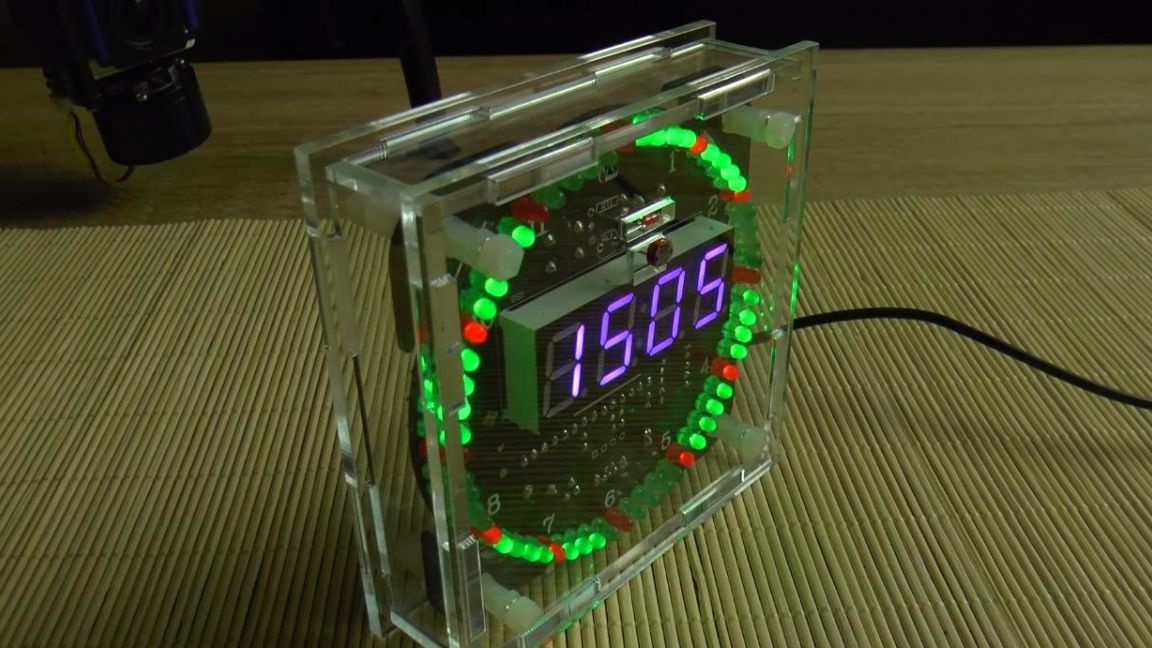
That's all for me, this watch with an LED interface will be a great gift for your friends and yourself, since the assembly of such a kit kit is very exciting.
Thank you all for your attention, good luck and creative success.