

Hello to all lovers homemade. Each workshop should have a bench vise, since without them it’s nowhere, but there are times when you need to fix the part mainly with a flat shape, for example, press two sheets and weld together, this is exactly the case in which a manual vice will help. In this article I will tell you how to make a manual vise. do it yourselfthat do not require any skills or expenses from you, such device Any beginner can allow.
Before you read the step-by-step assembly of this homemade product, I suggest watching a video that clearly shows how and what to make such a manual vise, as well as testing it.
In order to make a manual vise with your own hands, you will need:
* Profile pipe 20 mm and 25 mm
* Anchor bolt
* Cutting machine for metal or angle grinder
* Welding machine, electrodes
* Safety glasses, gaiters, welding mask
* Sheet metal 3 mm thick
* Piston pin
Step one.
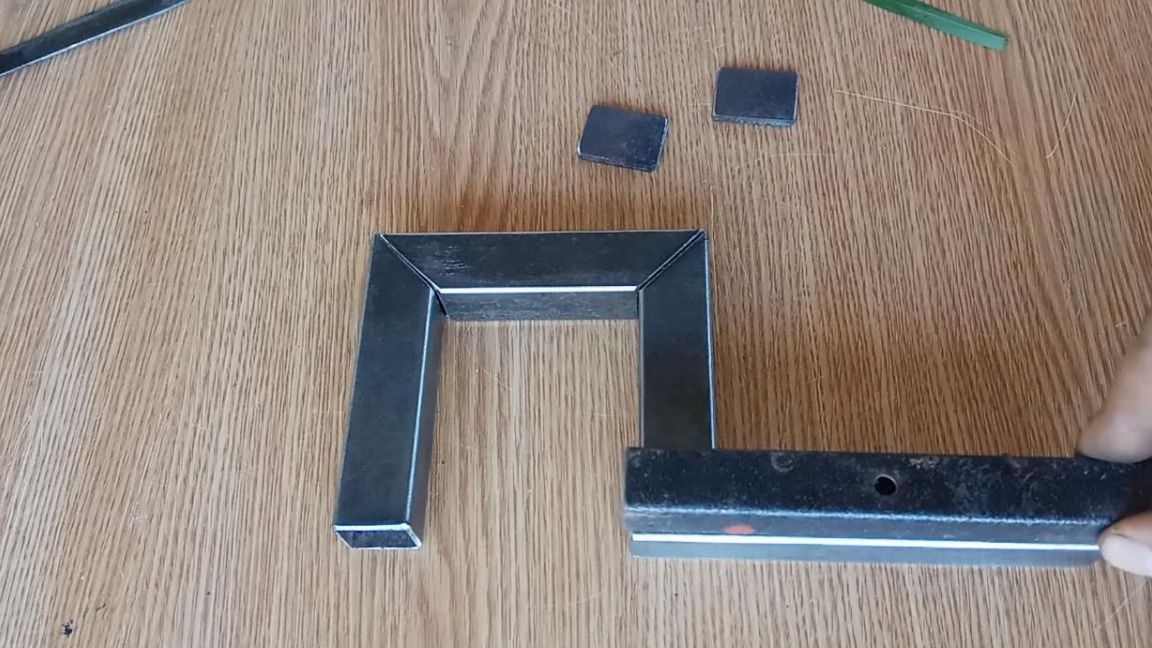
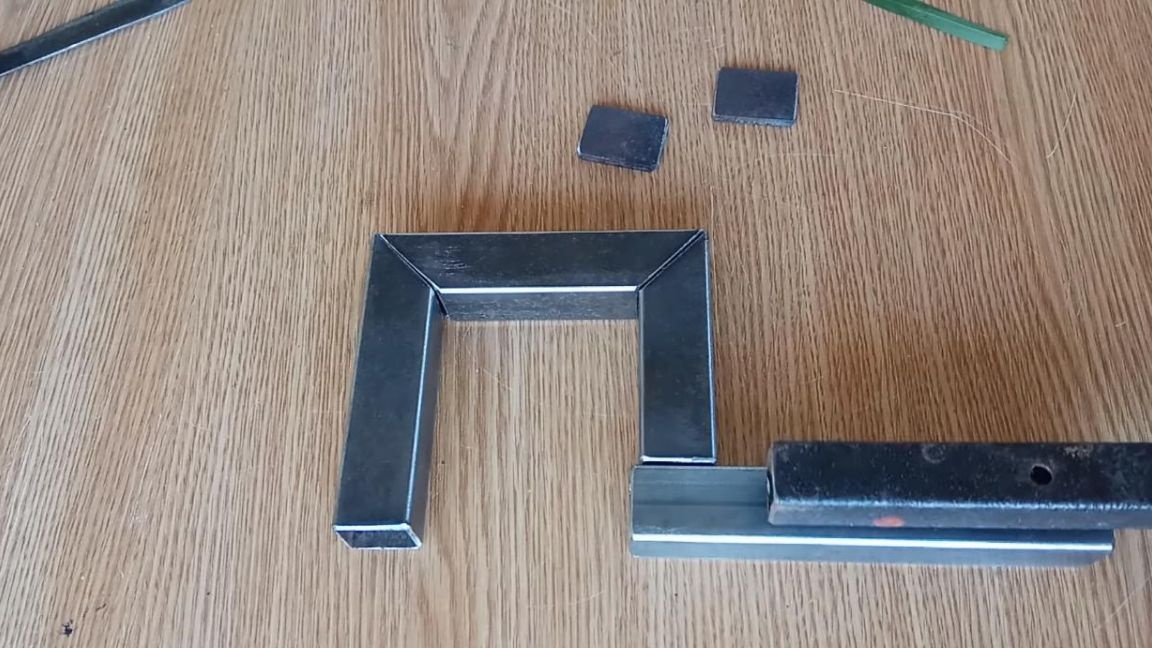
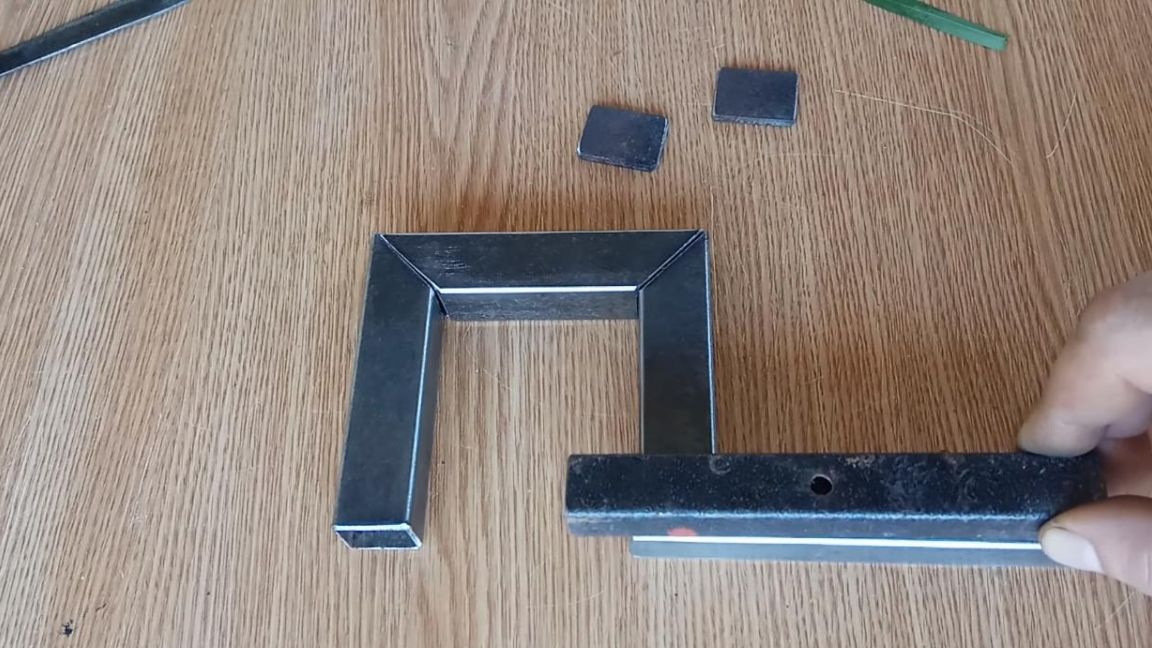
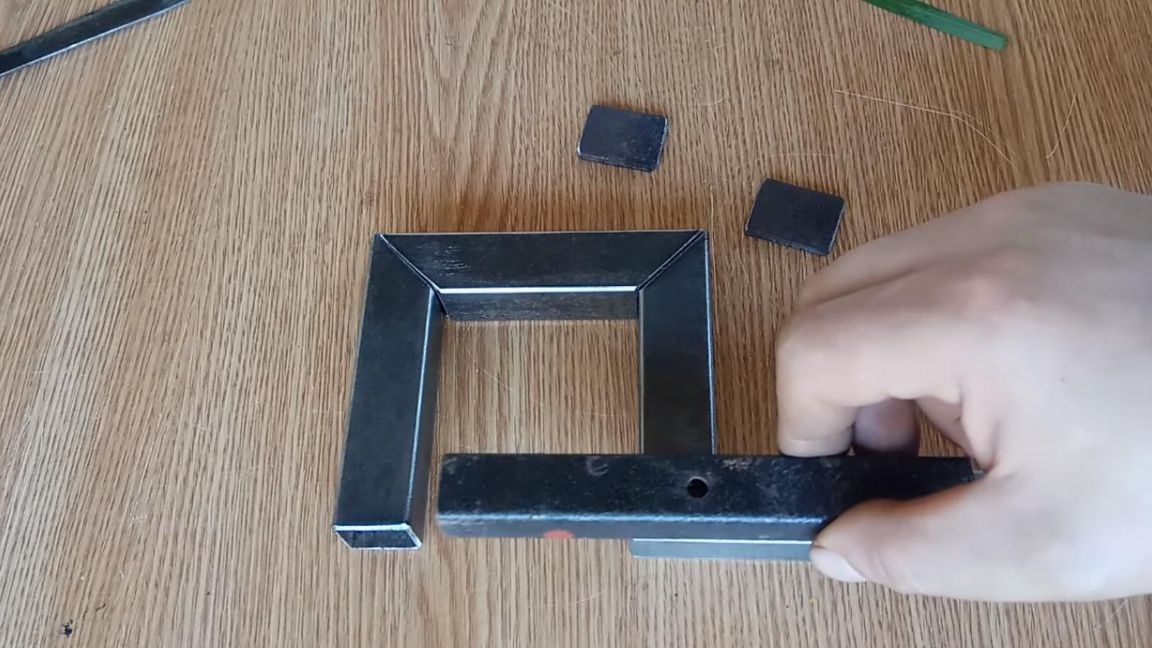
First of all, you need to make a frame from profile pipes. Using an angle grinder or a cutting machine for metal, we cut out parts of a manual vice from a profile pipe of 25 mm. The result should be something like this.
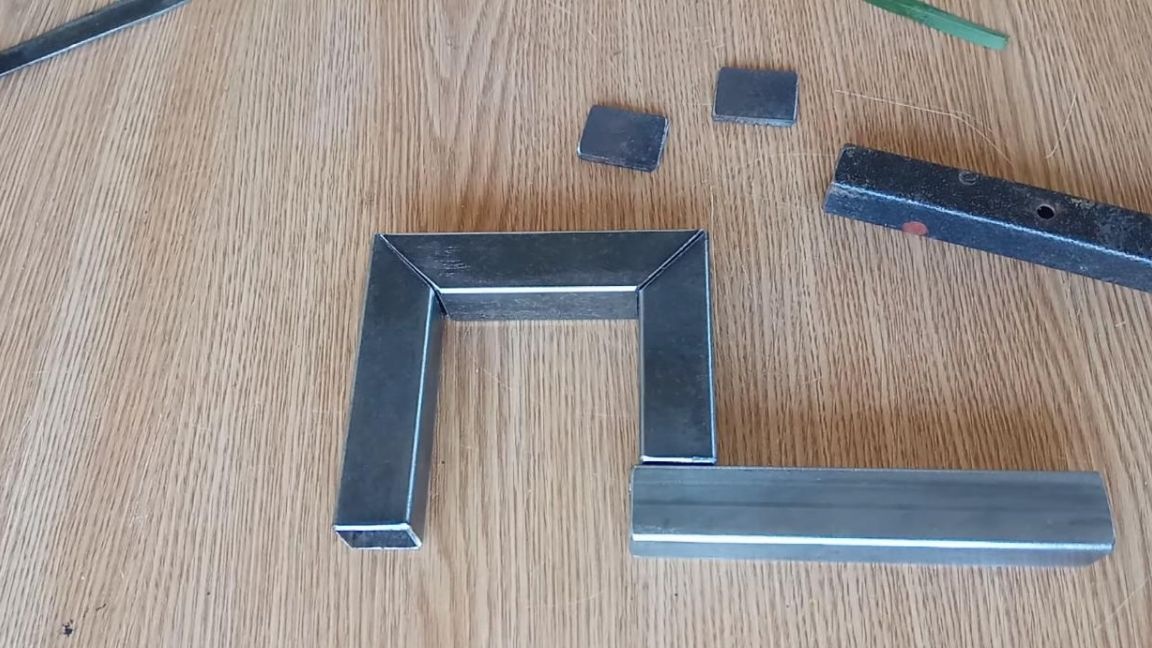
The design can be changed depending on the size of the clamped parts, as well as the length of the bolt, since the stroke will also change.
When working with an angle grinder, be careful not to forget about safety measures, goggles are mandatory, and also do not work with angle grinders without disc protection.
Step Two
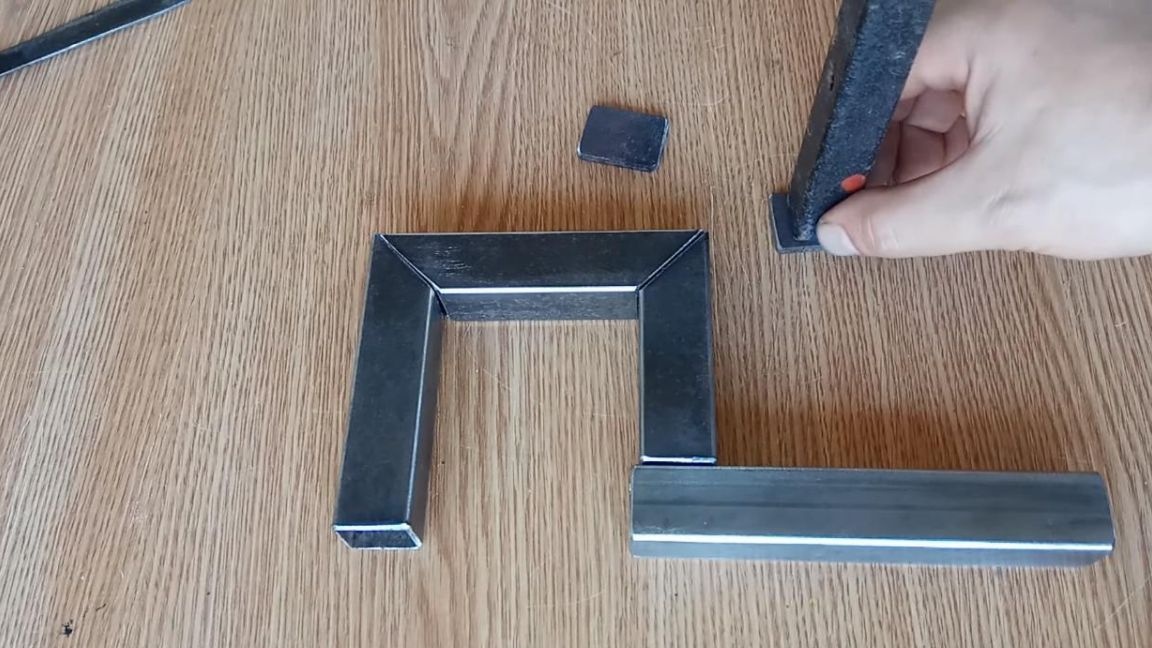
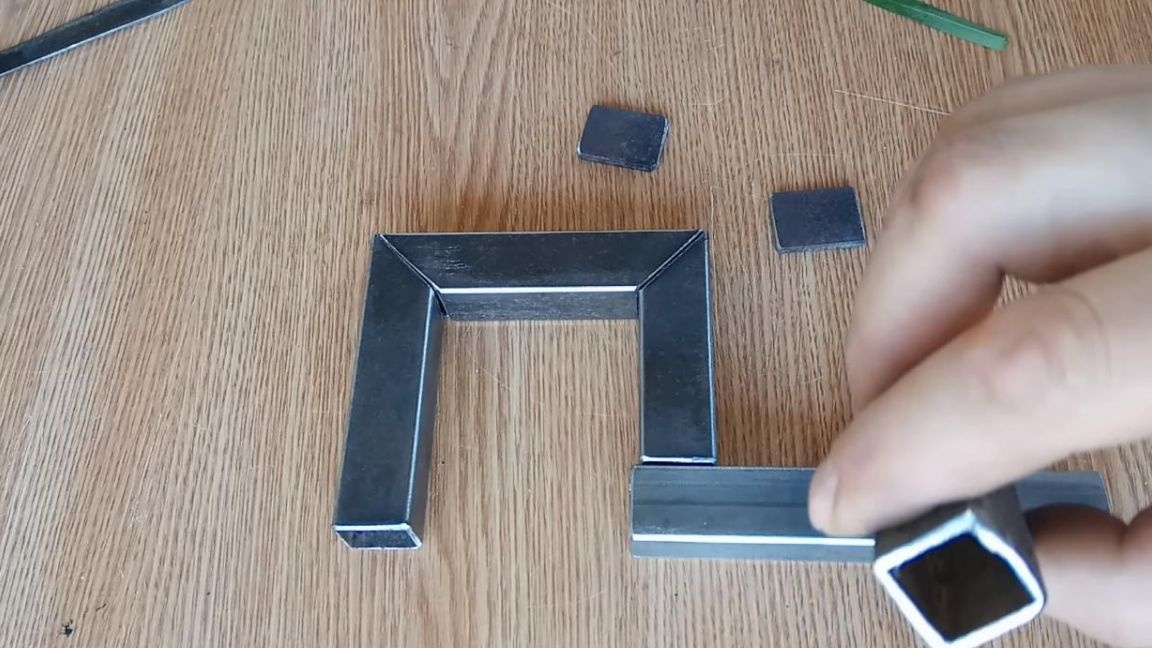
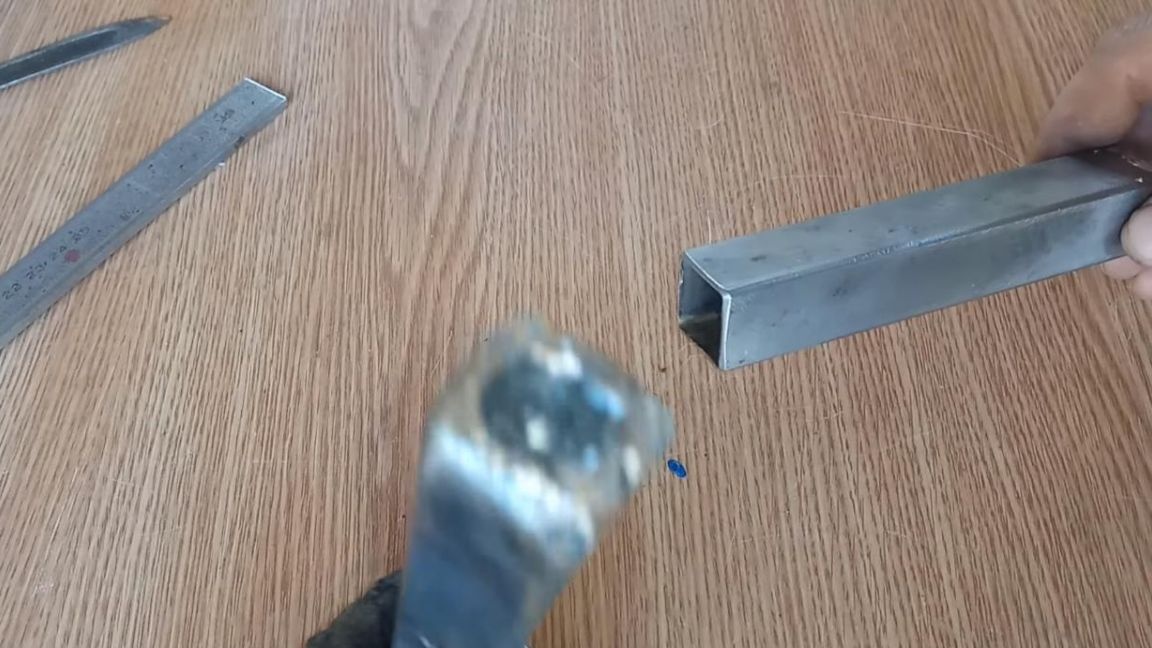
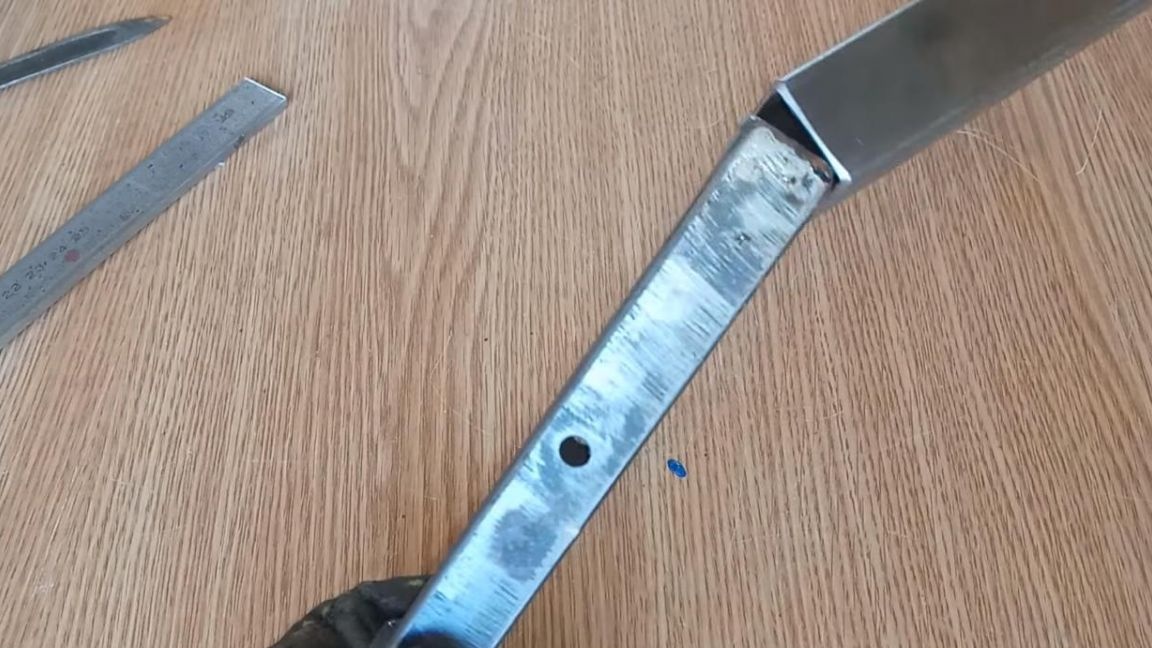
Now we need to make the movable part, we make it from a profile pipe of 20 mm, preferably 1.5 or 2 mm thick, in this case only 1.2 mm was found, which is not very good, since it is more difficult to cook such a metal.
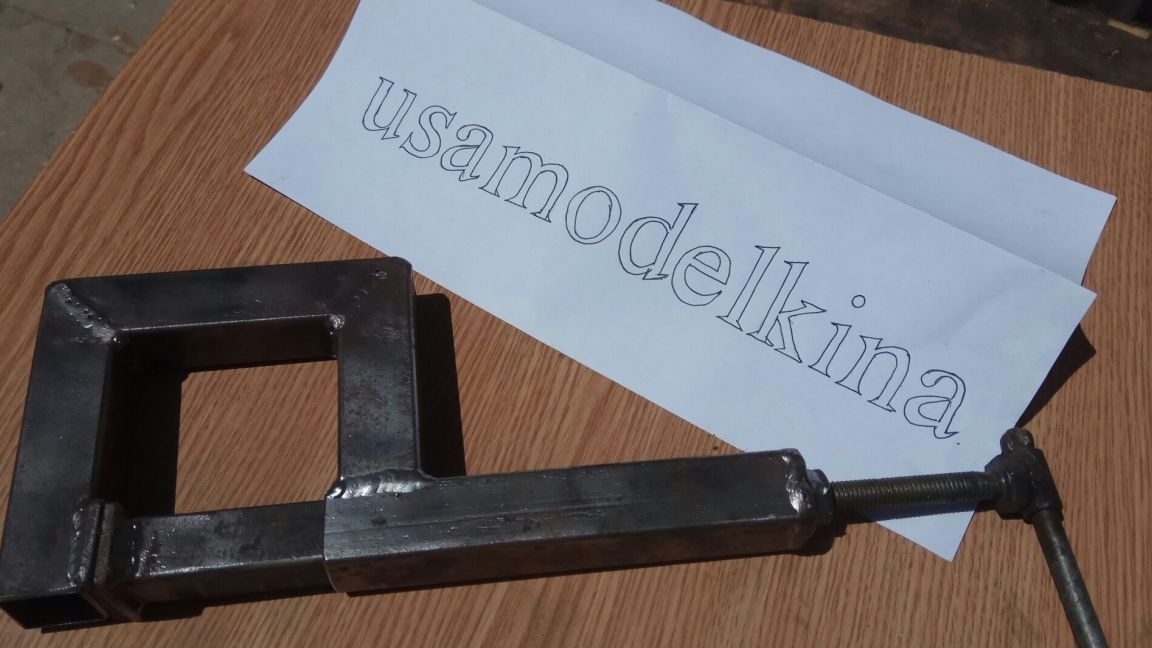
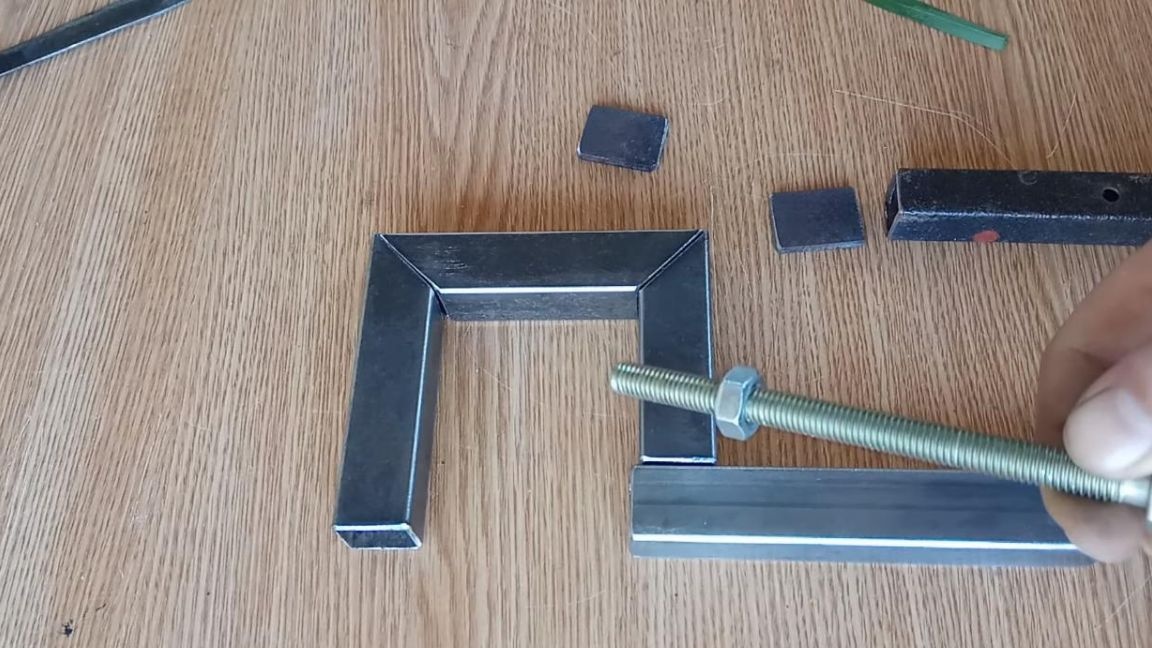
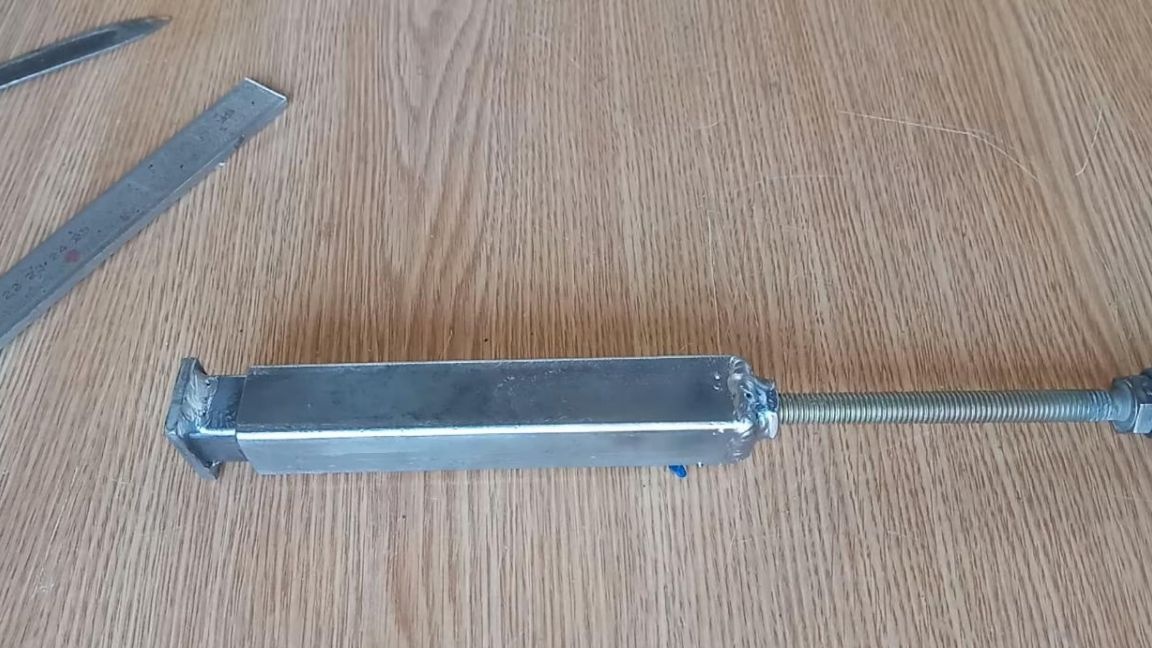
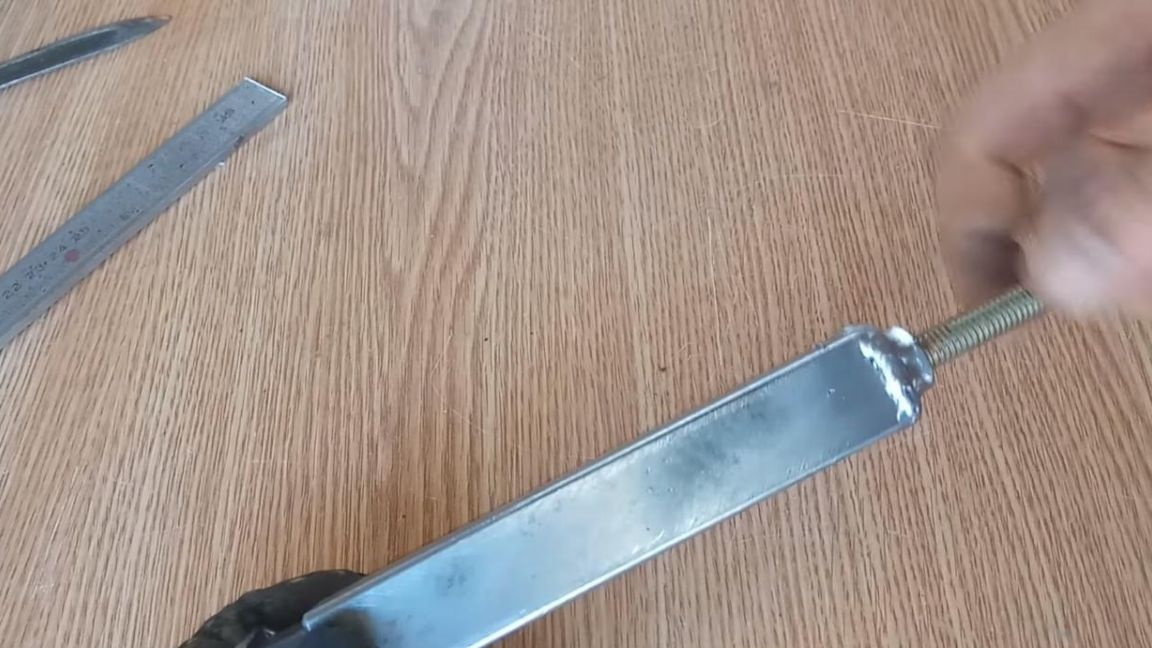
We make the length of the movable part such that when it reaches a maximum projection of 25 mm from the pipe, no large backlash is observed, otherwise there will be large distortions during clamping. Next, we weld a nut to a 25 mm pipe, and we weld a piston pin onto the head of the anchor bolt, after which it will be necessary to select a stud or bolt, which will twist the movable mechanism. To the 20th profile pipe, we weld on one side a sheet metal foot 3 mm thick, and to the other end we weld a round or ball from the bearing, where the bolt will press at the moment of pressing.
Observe safety measures when welding parts, wear a protective welding mask and gaiters to avoid burns and not to catch "bunnies"
Step Three
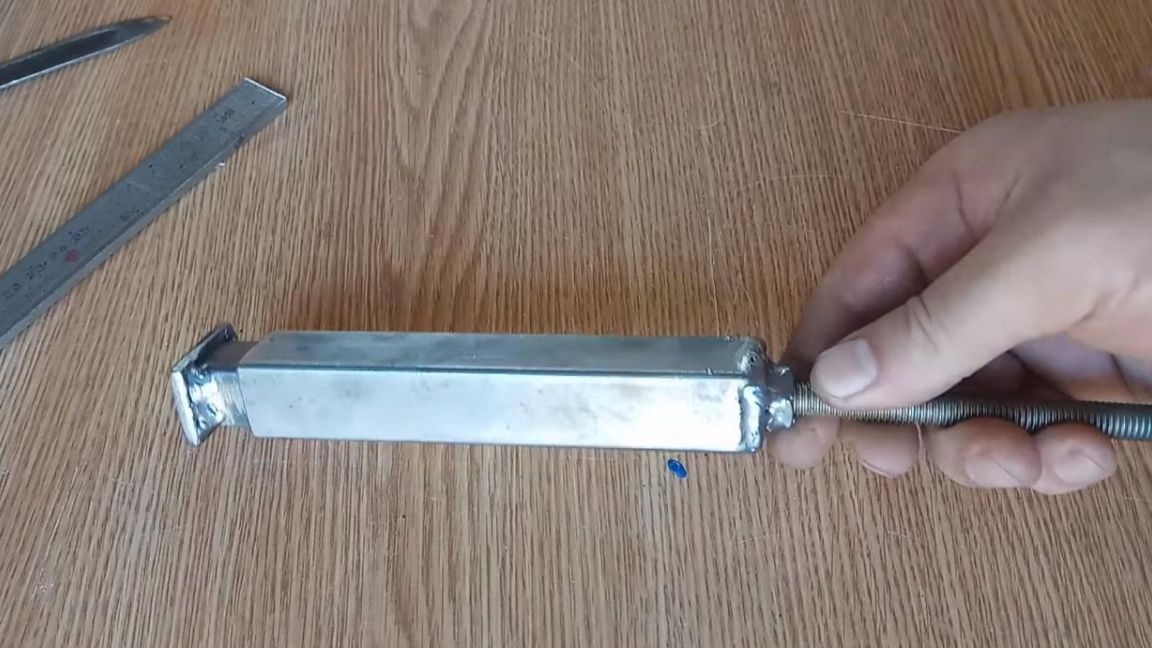
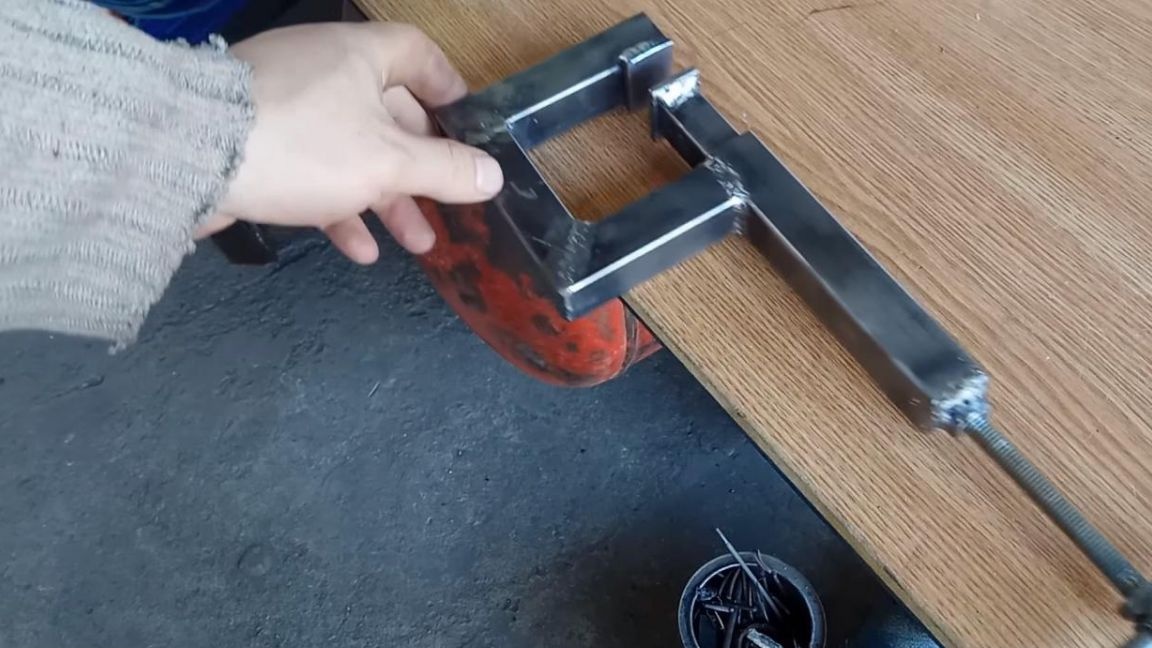
The previously sawn frame is welded into a single whole, in the end it should turn out like this.
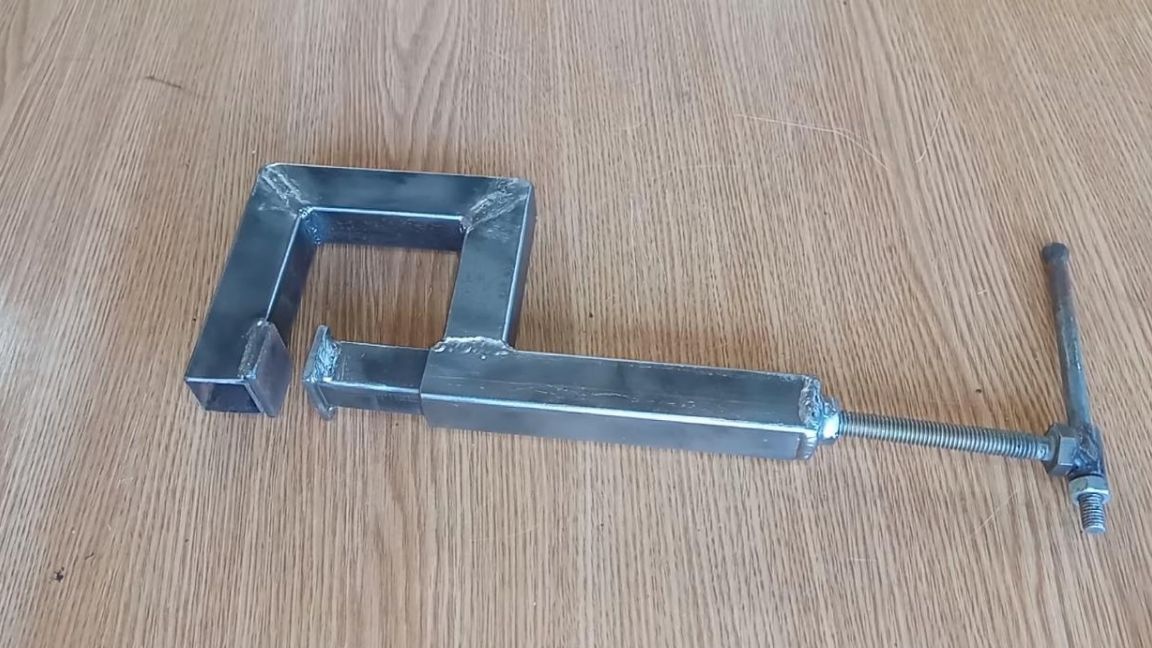
We clean the welds with an angle grinder with an installed grinding wheel.
On the fixed foot, weld the same sheet of metal. For greater tenacity, notches can be made on them using an angle grinder.
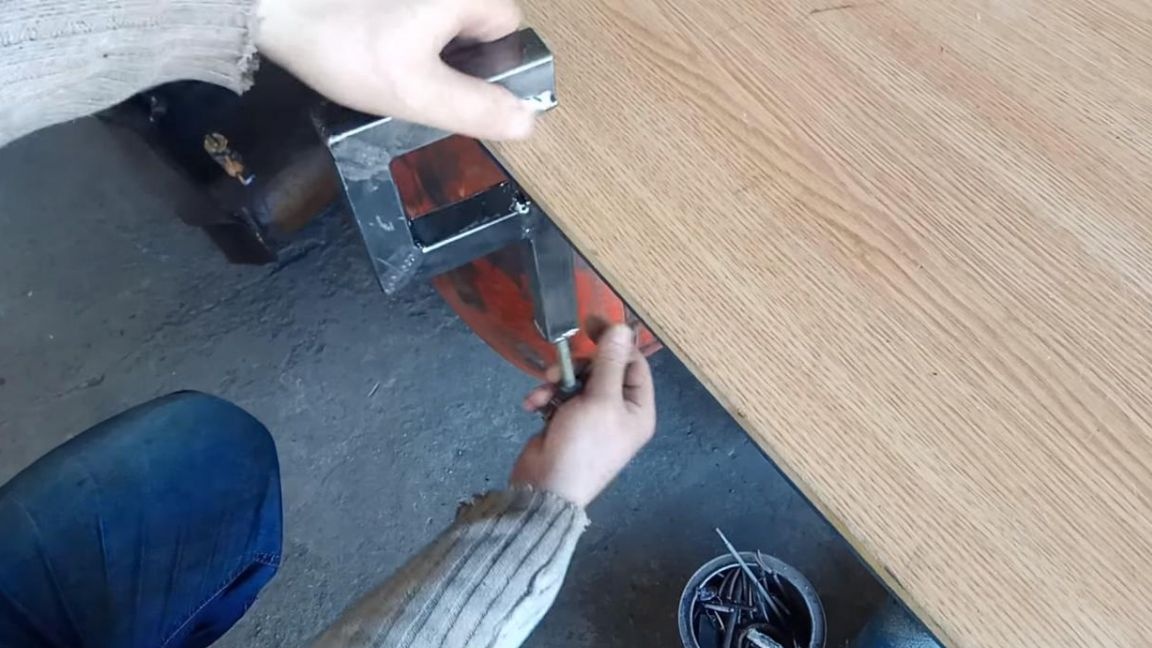
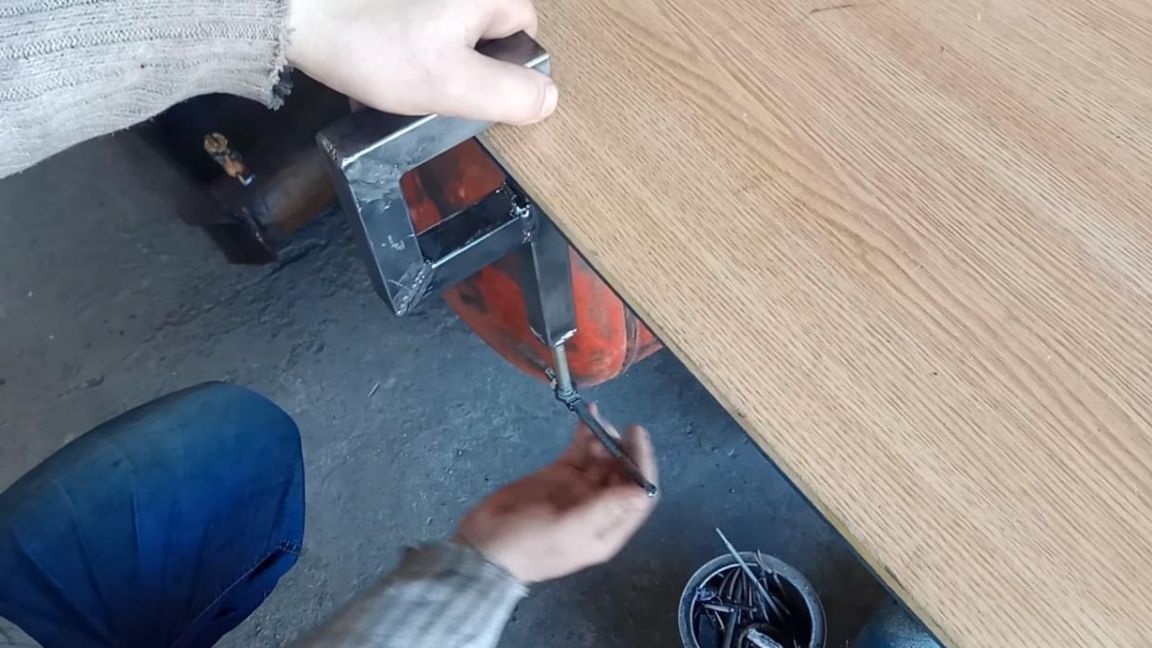
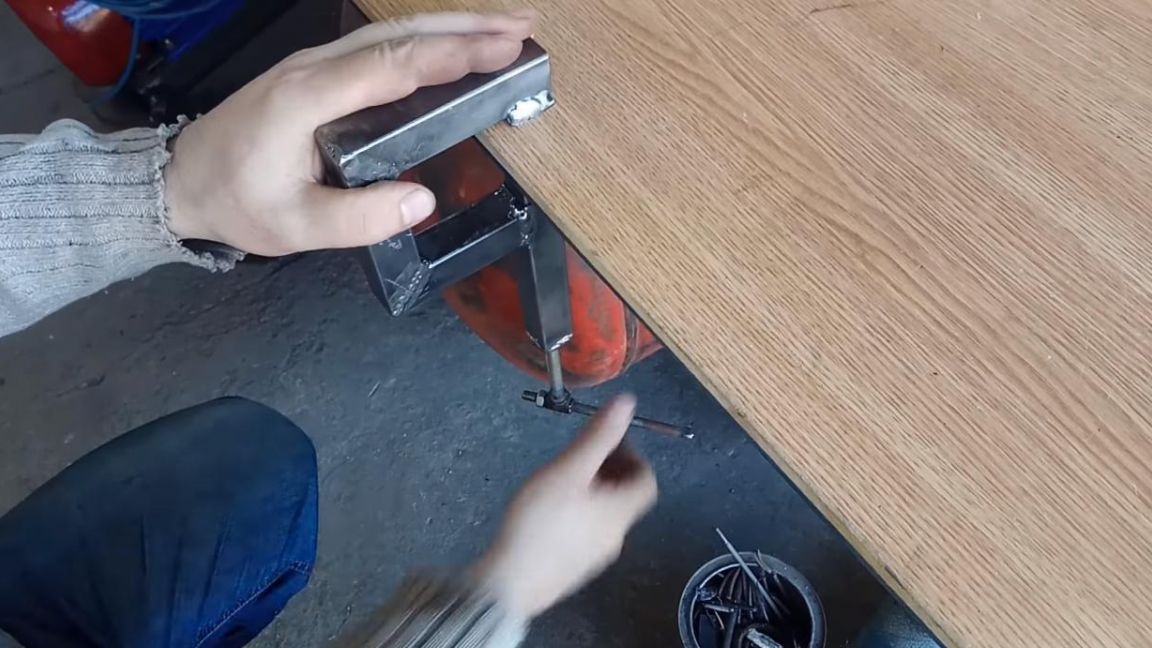
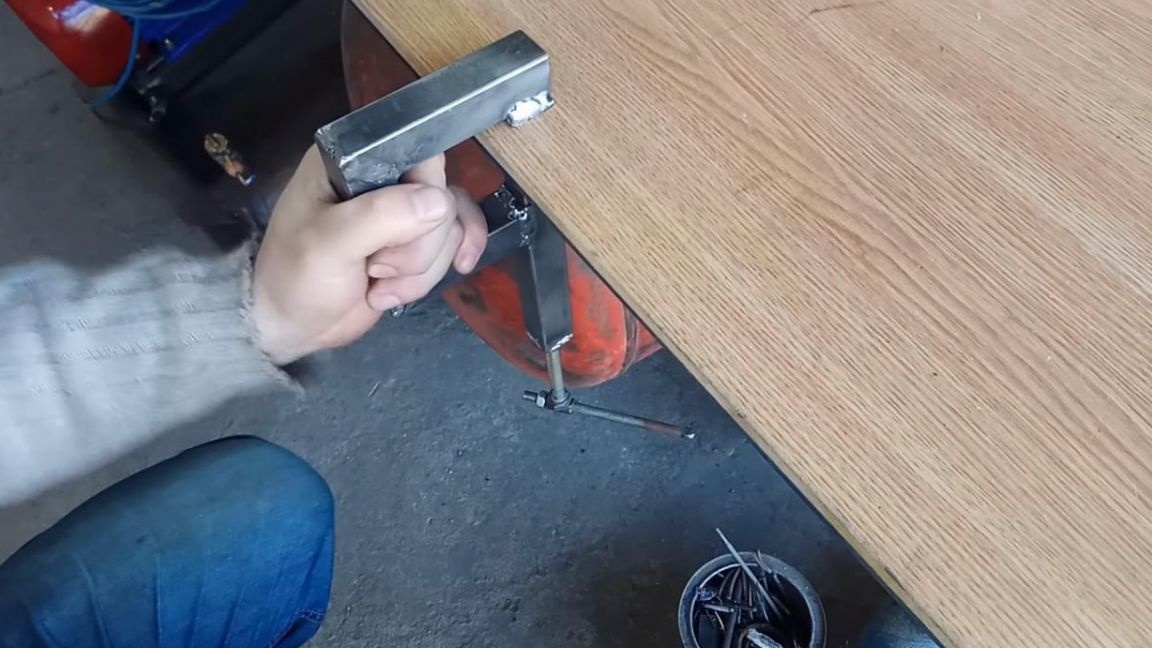
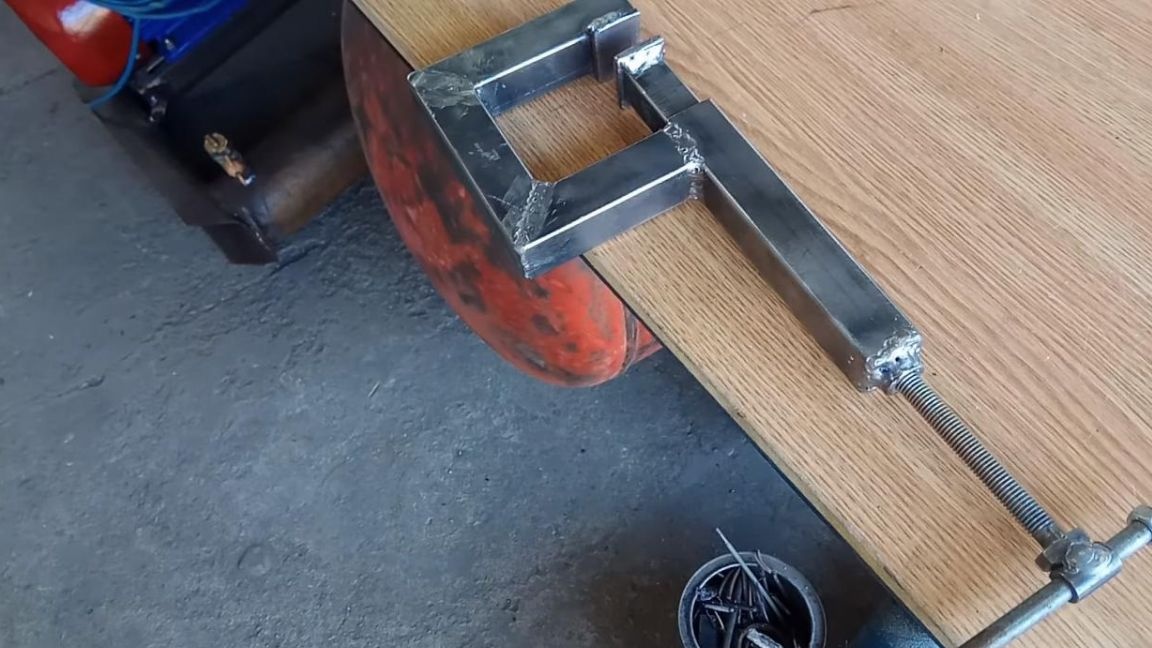
Step Four
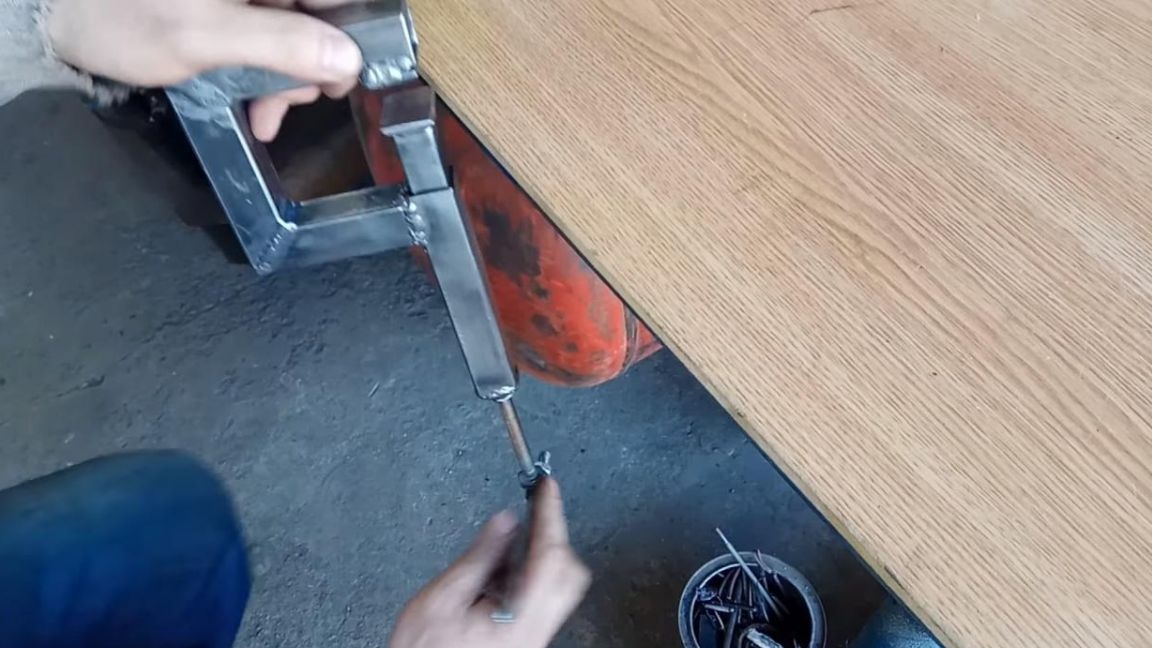
Now the device is completely ready, which means it's time to check it for performance. We select the part that we want to fix and with the help of a pin inserted into the piston pin on the bolt we press the movable part, as a result of which the necessary part is firmly fixed, after which you can work with it, cook, process or make some kind of gluing. The moving part is unclenched when the bolt tension is loosened and does not have a reverse stroke.
That's all for me, thank you all for your attention and creative success.