

Hello to all lovers homemade. You probably had a situation where you had to screw a bolt into a metal sheet, but since it is impossible to make a thread in the sheet because of its thickness, there was only one option, to put the nut on the back, but I consider this option not quite convenient and practical, especially when the goal is to speed up the process. After a little thought, it was decided to make a home-made tool that will solve this problem once and for all. Therefore, in this article I will tell you how to make a rivet for threaded rivets do it yourselfwith which you can easily make a threaded part in a sheet of metal for a variety of purposes. This article will help you save your money, as well as gain experience in the manufacture of such homemade products.
Before reading the article, I suggest that you familiarize yourself with the video material, which shows the entire process of assembling the rivet and its testing.
In order to make a rivet for threaded rivets with your own hands, you will need:
* Angle grinder, cutting disc
* Bench vice
* Metal lathe, metal drill
* Feedthrough, boring and cutting tool
* Welding machine, electrodes
* Personal protective equipment, gaiters, welding mask, goggles
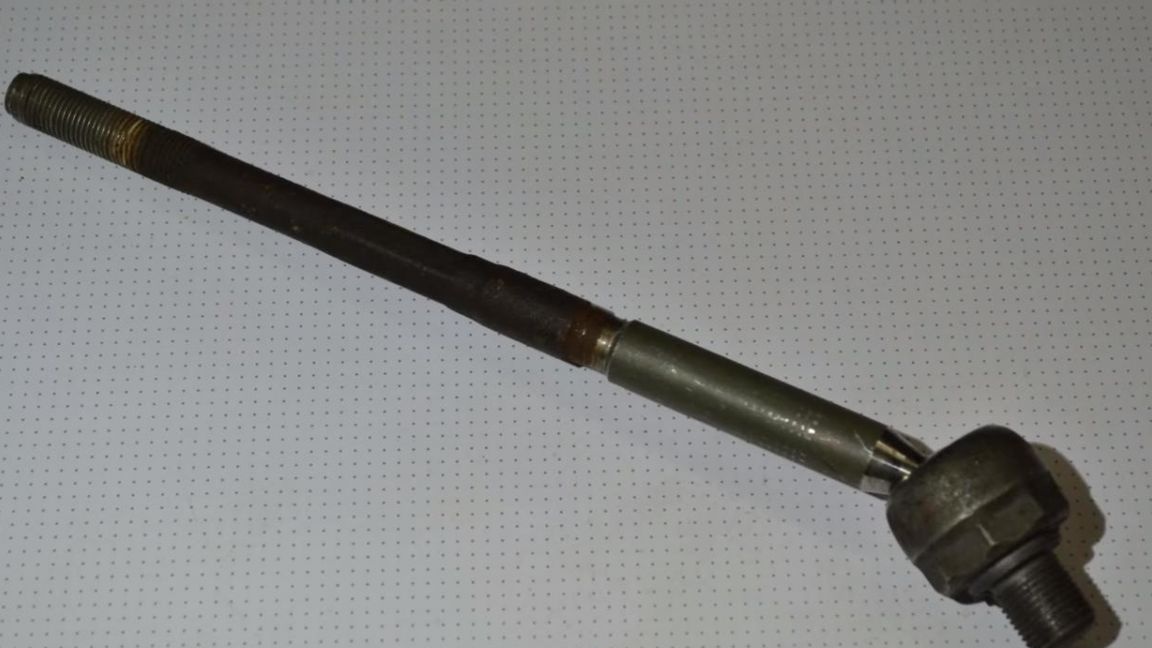
* Old steering tip
* Bolt from the hub of the car
* Tie Rod
* M8 bolt with a length of 100 mm and a strength class of 10.9
* Spray paint can
* Thrust bearing
* Sheet metal and threaded rivet for homemade inspection
That's all that comes in handy for creating such a useful tool. All necessary details can be found in your home. the garageif you are the owner auto, and if not, you can search for them at the metal reception, where they will ask for real pennies for this compared to the finished tool.
Step one.
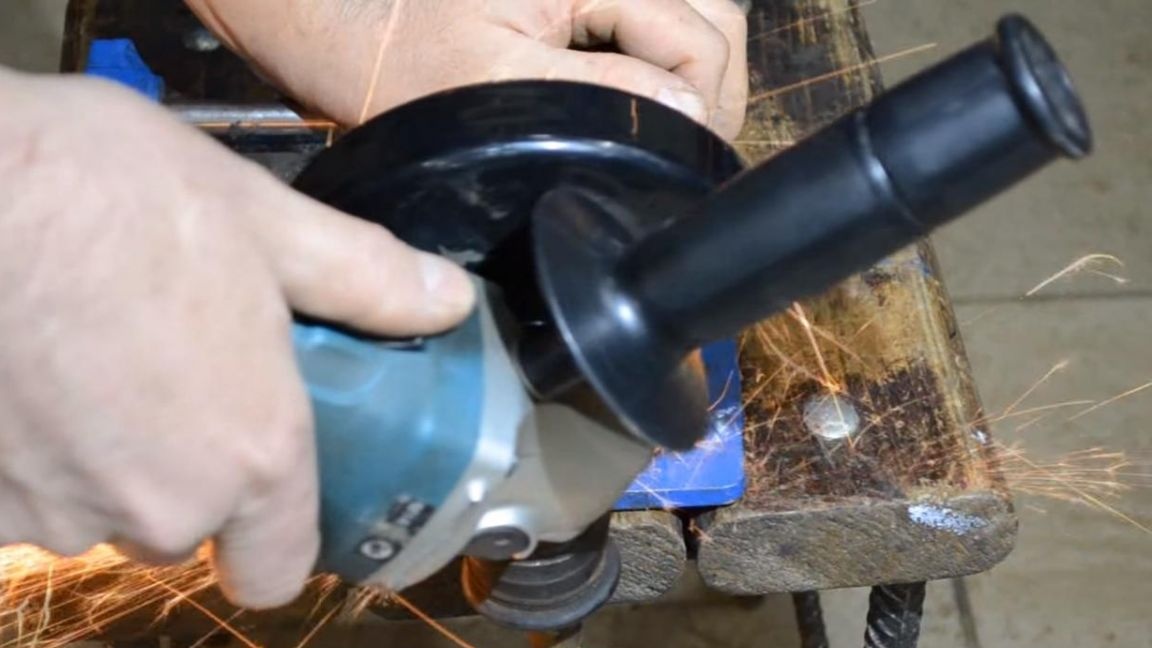
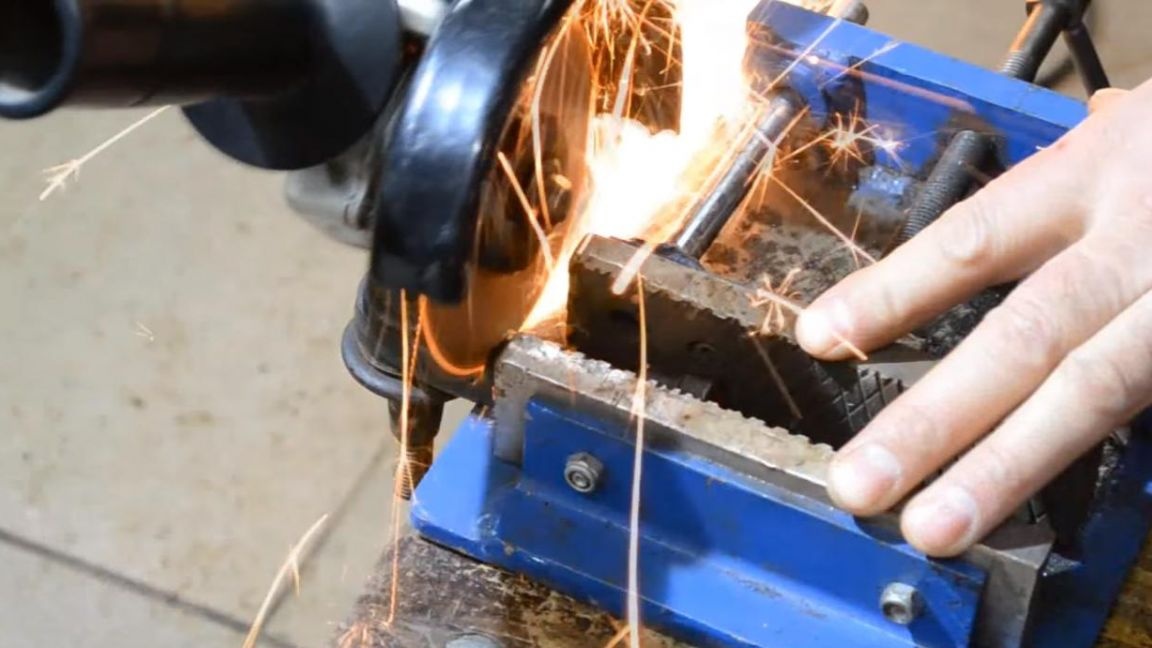
The basis of the body will be the old steering tip, which must be sawed off using an angle grinder, or rather separate it from the threaded part.
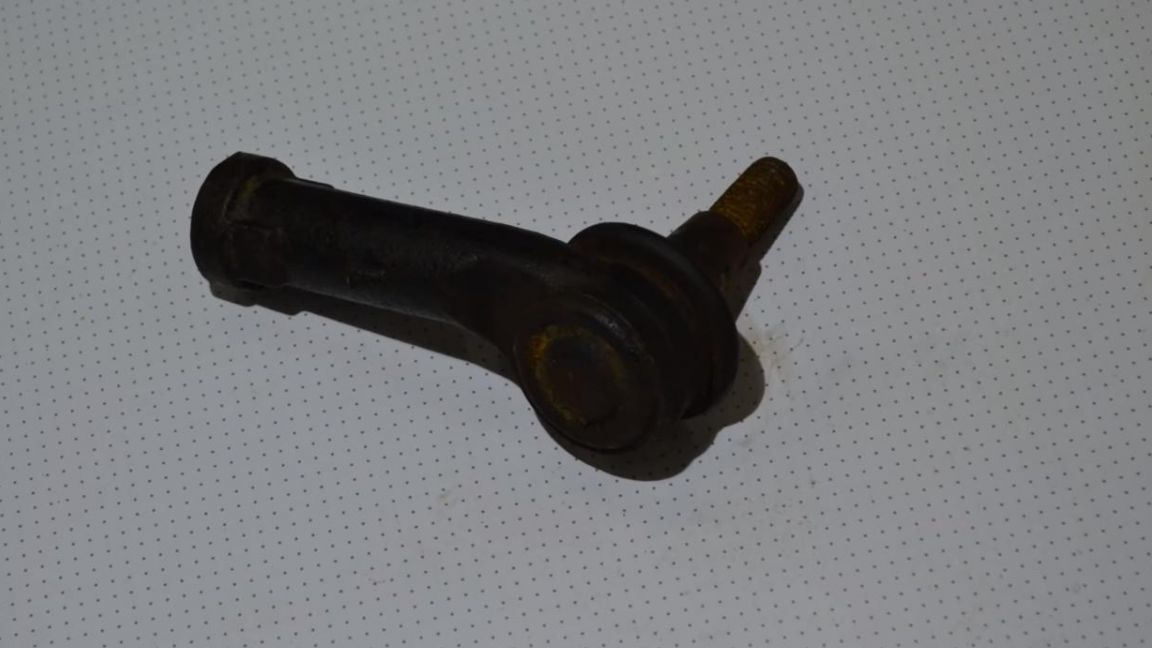
We clamp the tip into a bench vise and, using a angle grinder with a cutting wheel installed in it, saw off the unnecessary part. When working with an angle grinder, do not forget about safety measures, you need to keep the power tool confidently, and work with it only in goggles and gloves.
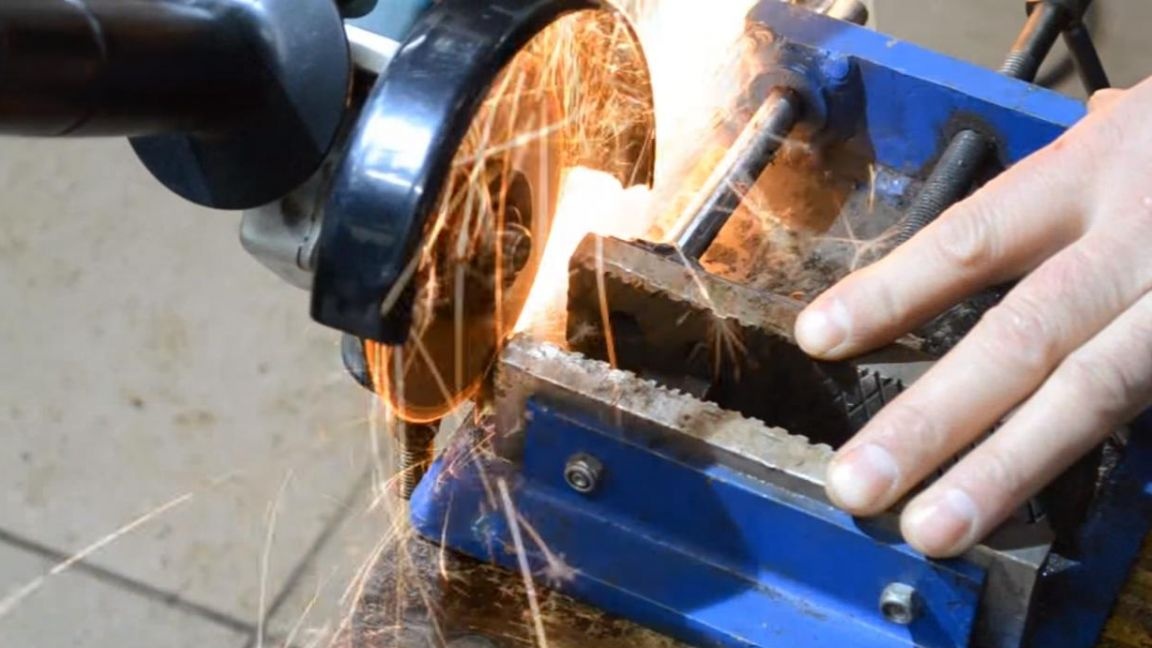
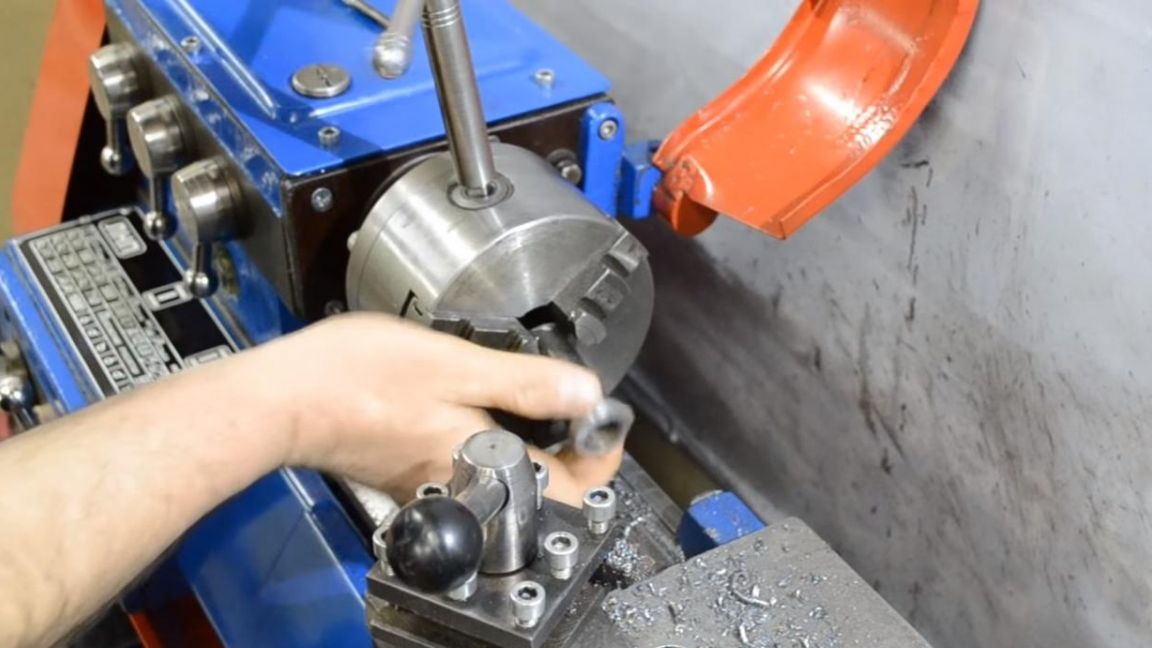
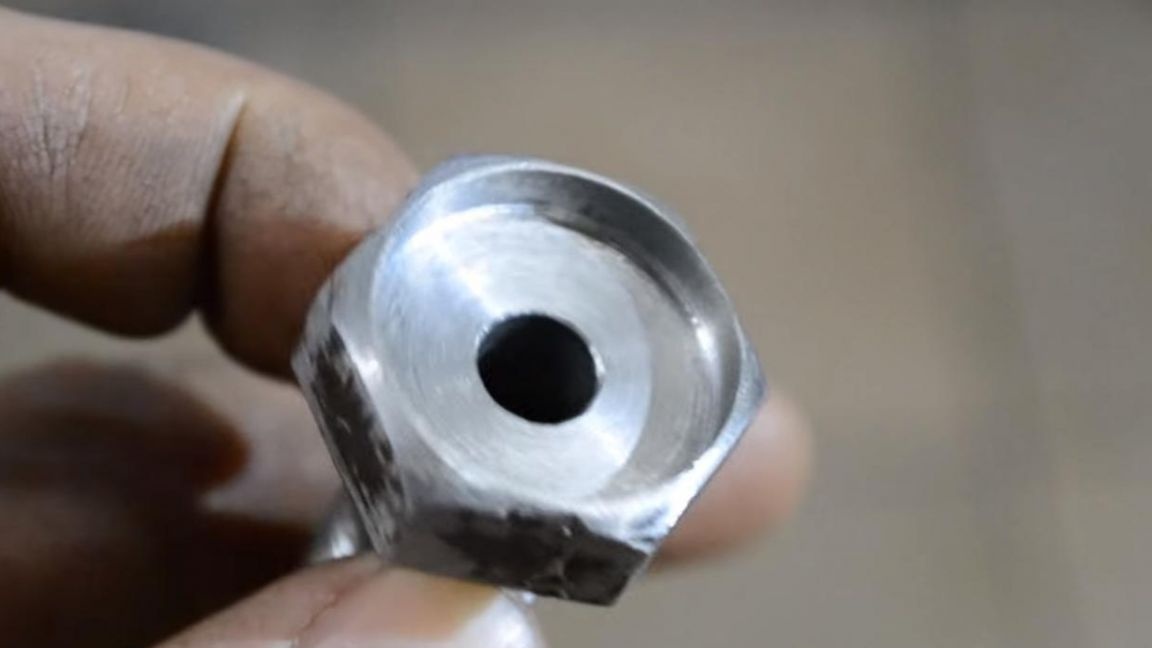
It should work like this. This part will be the basis for which further details will need to be done.
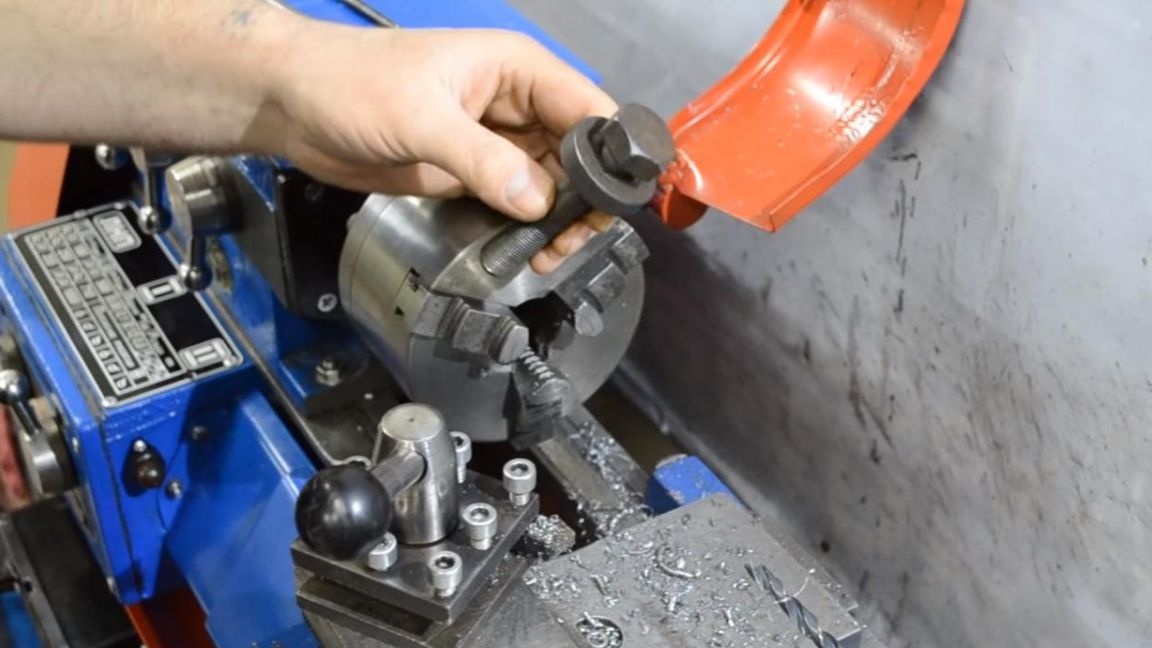
Step Two
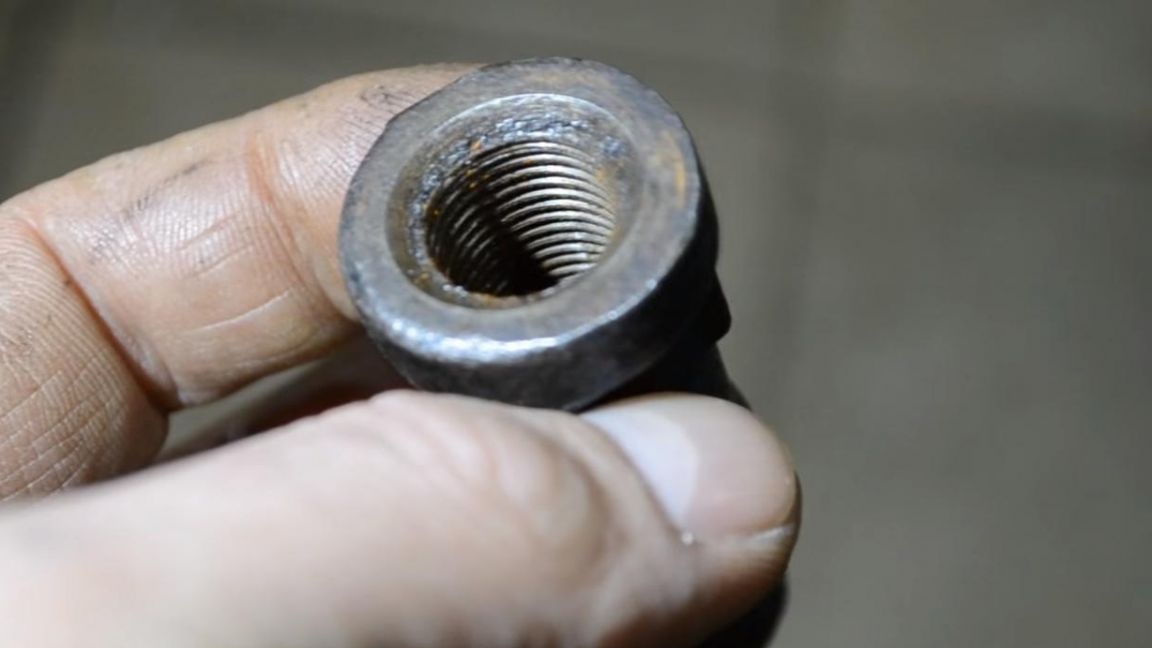
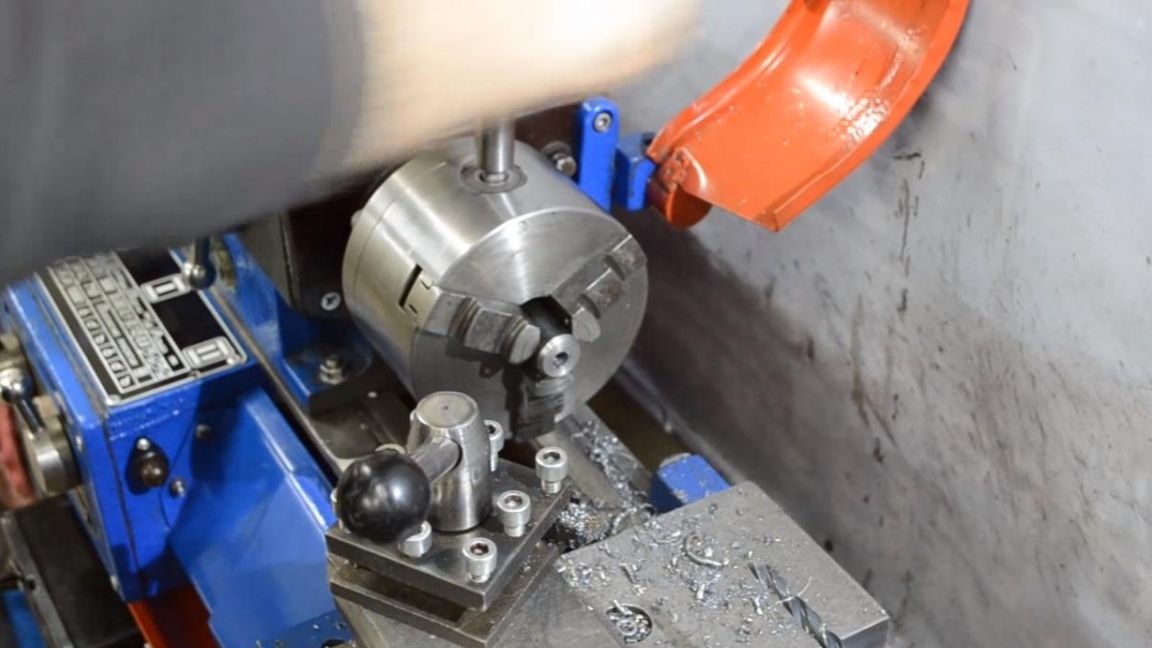
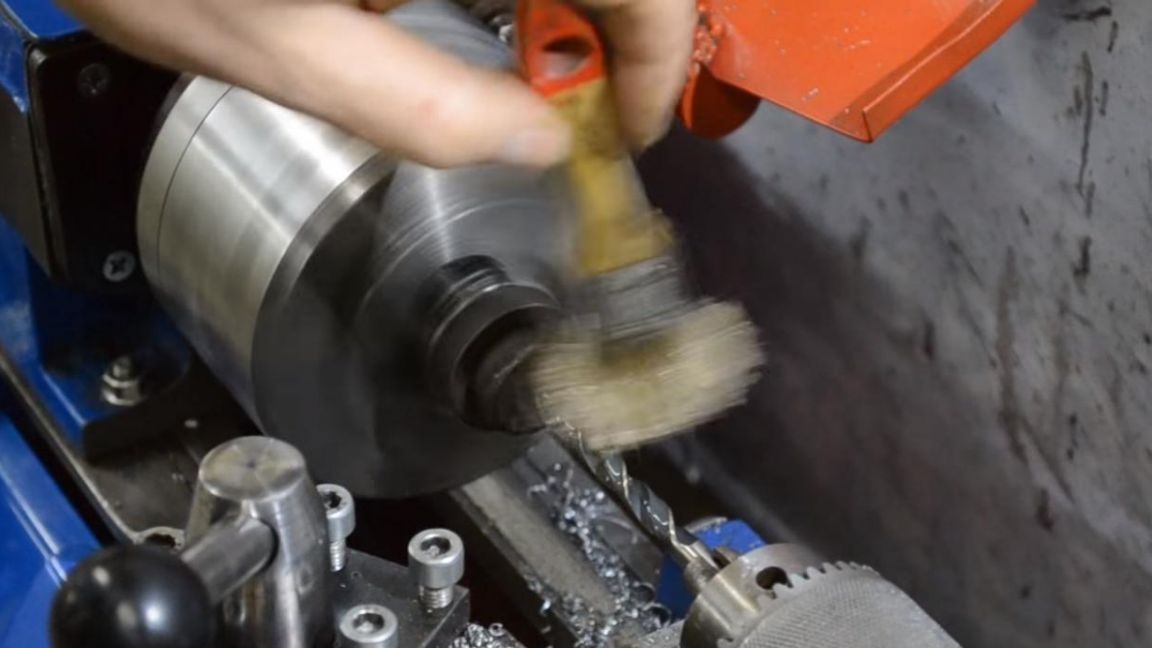
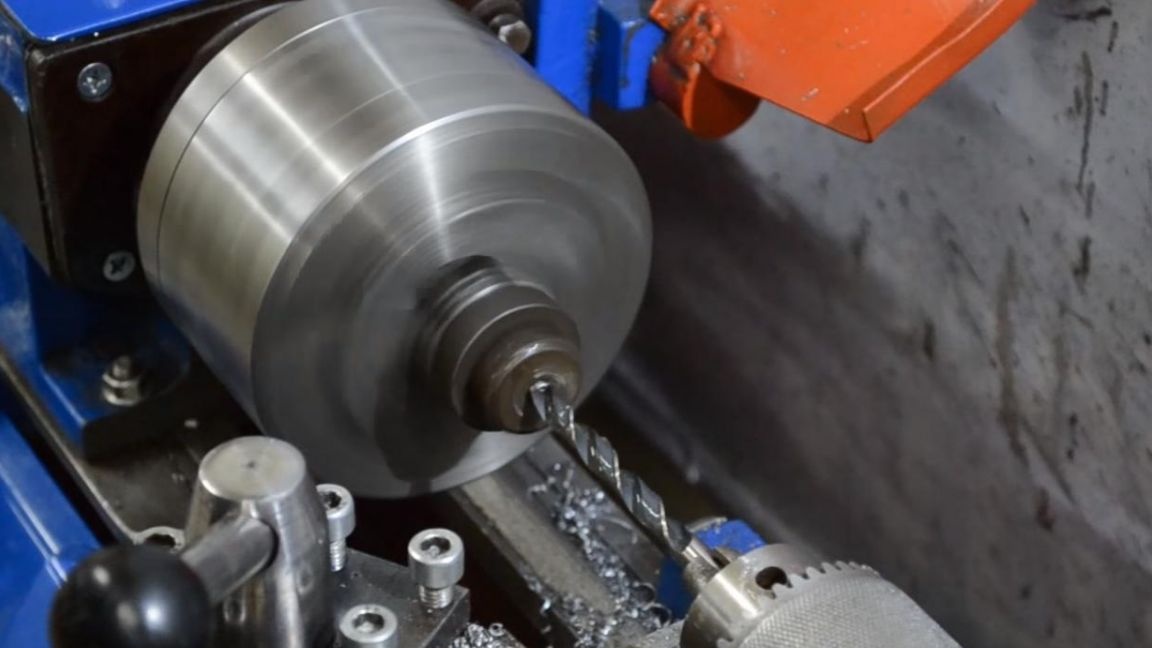
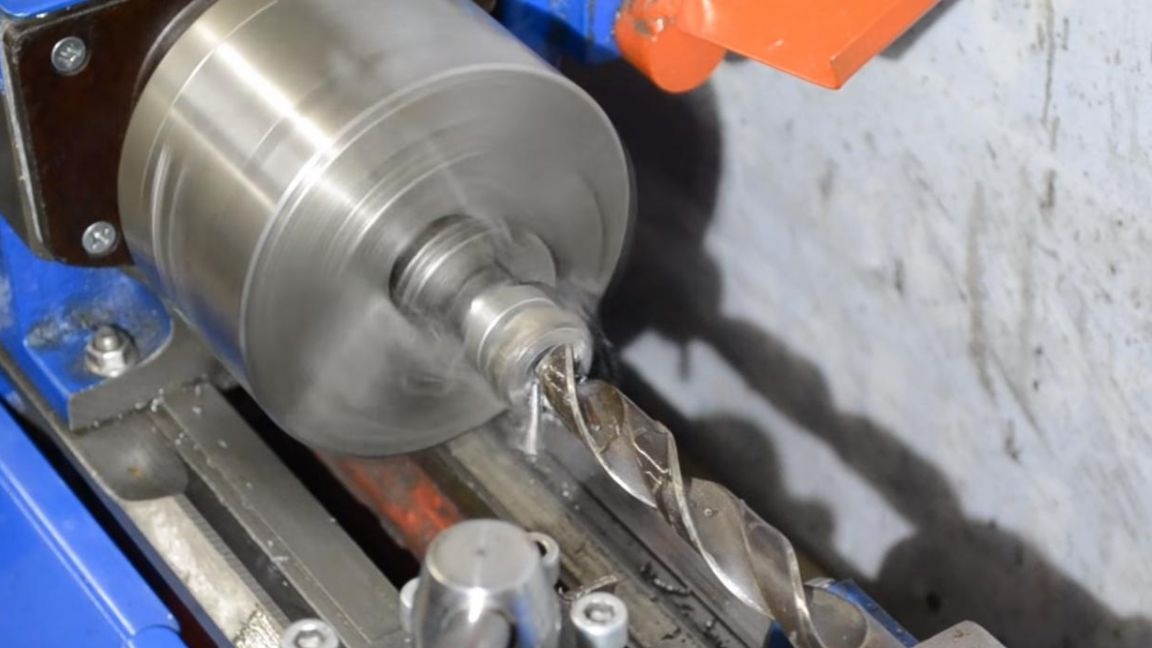
Next, we clamp the workpiece into a three-jaw chuck of a lathe and drill a metal hole with a diameter of 8 mm, make a hole through it, periodically lubricating the tip of the drill with technical oil, so the drill will keep sharpening longer, and hence the frequency of sharpening will decrease.
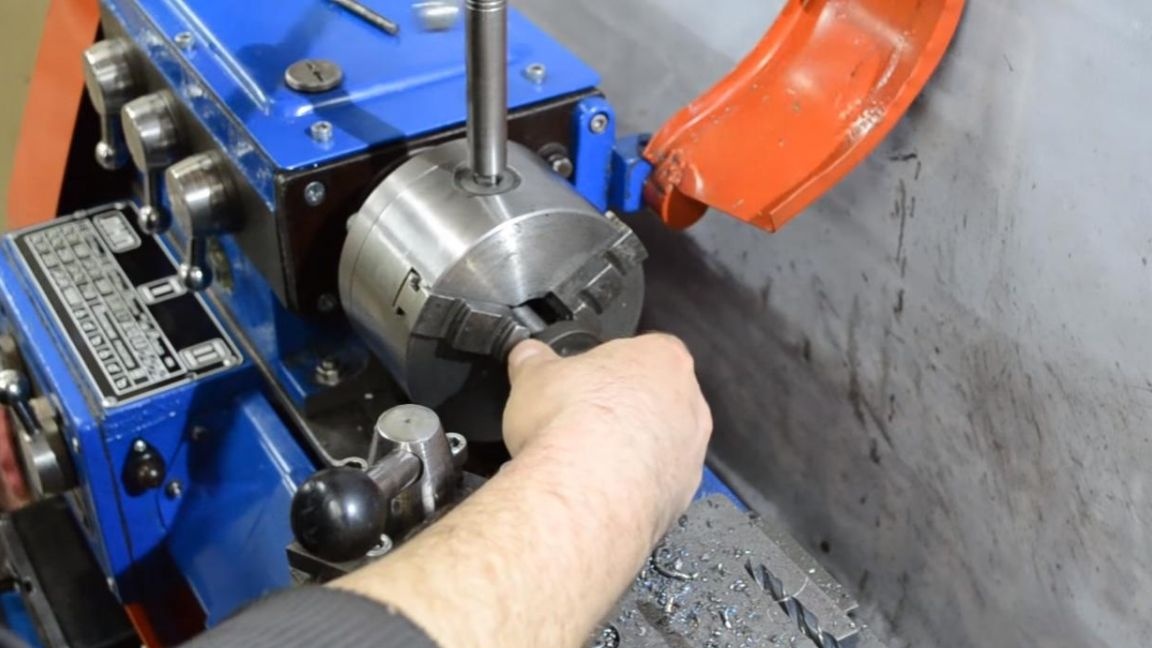
While the part is clamped in the cartridge, we grind it to an even state with a through cutter.
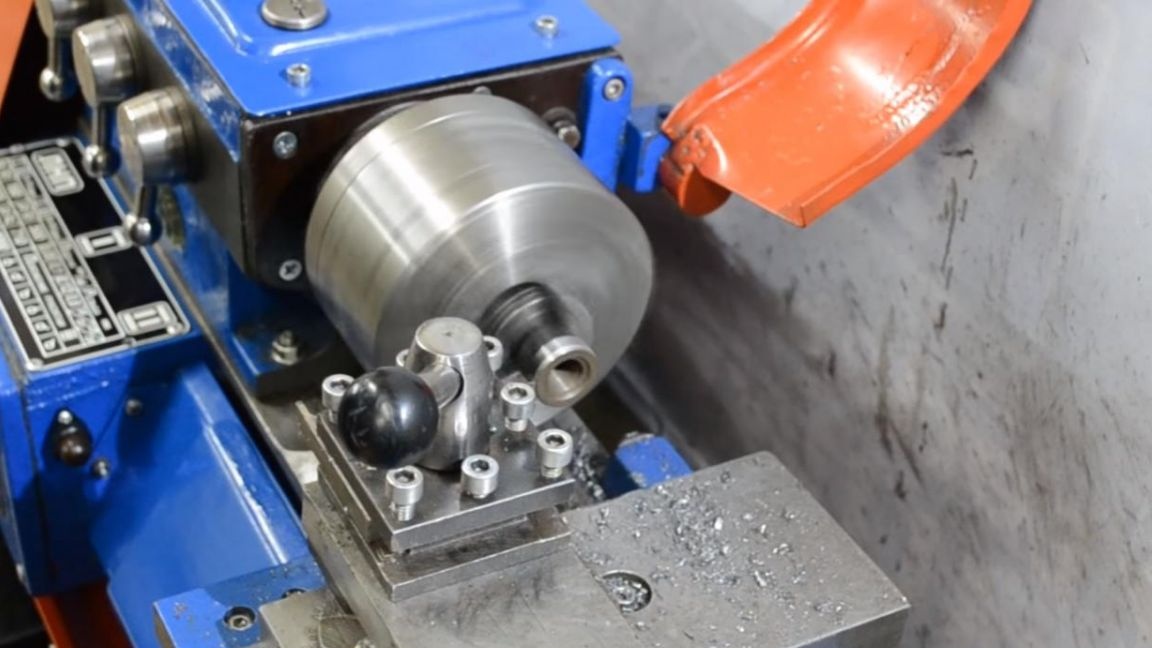
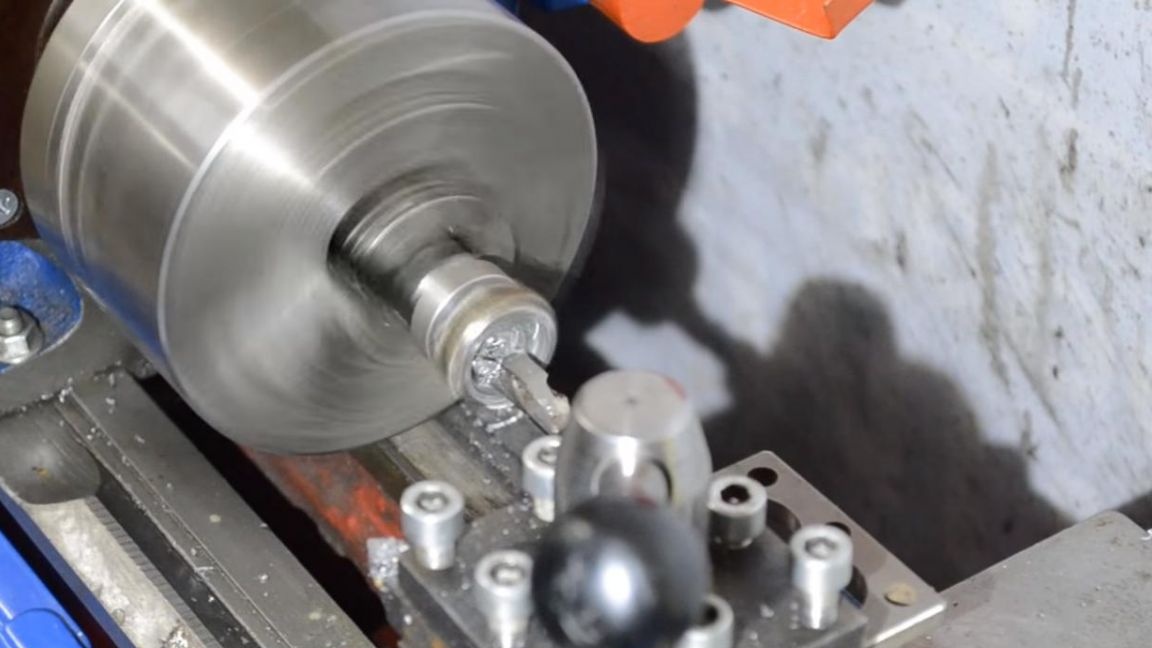
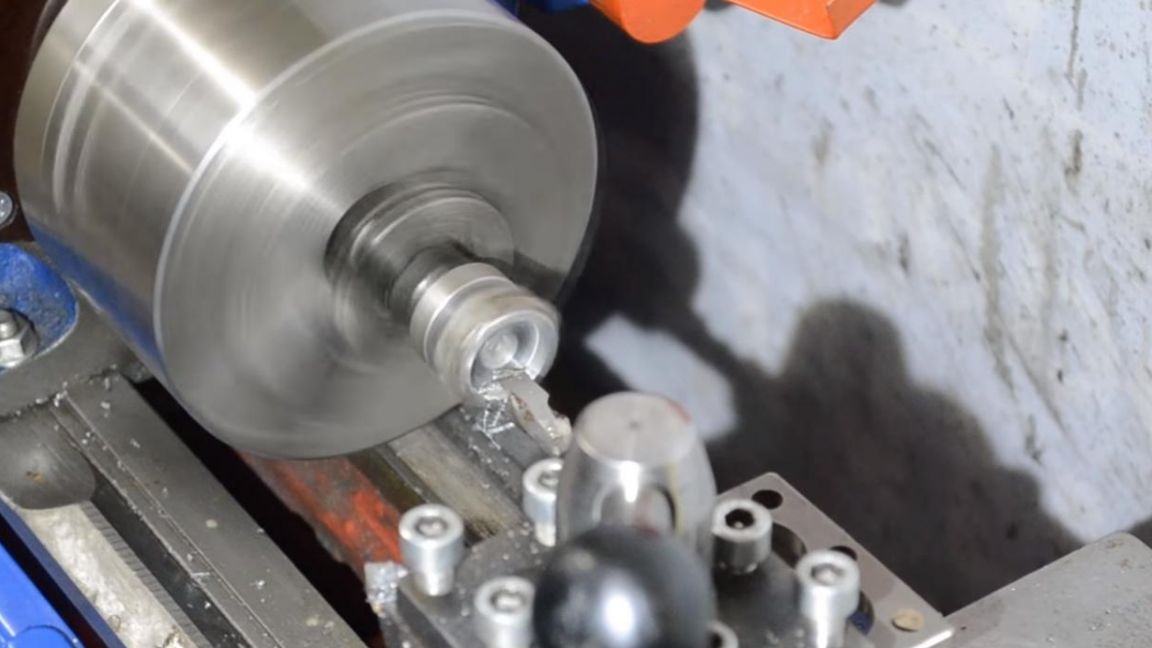
We face the back side, because after sawing with the help of angle grinders there are bumps that will not allow the rivet to fit snugly, and also make a small chamfer at an angle of 45 degrees.


At this stage, the foundation is ready. I want to note that if you do not have a lathe, then you can always turn to a turner who, according to your order, will make the part you need for a small fee.
Step Three
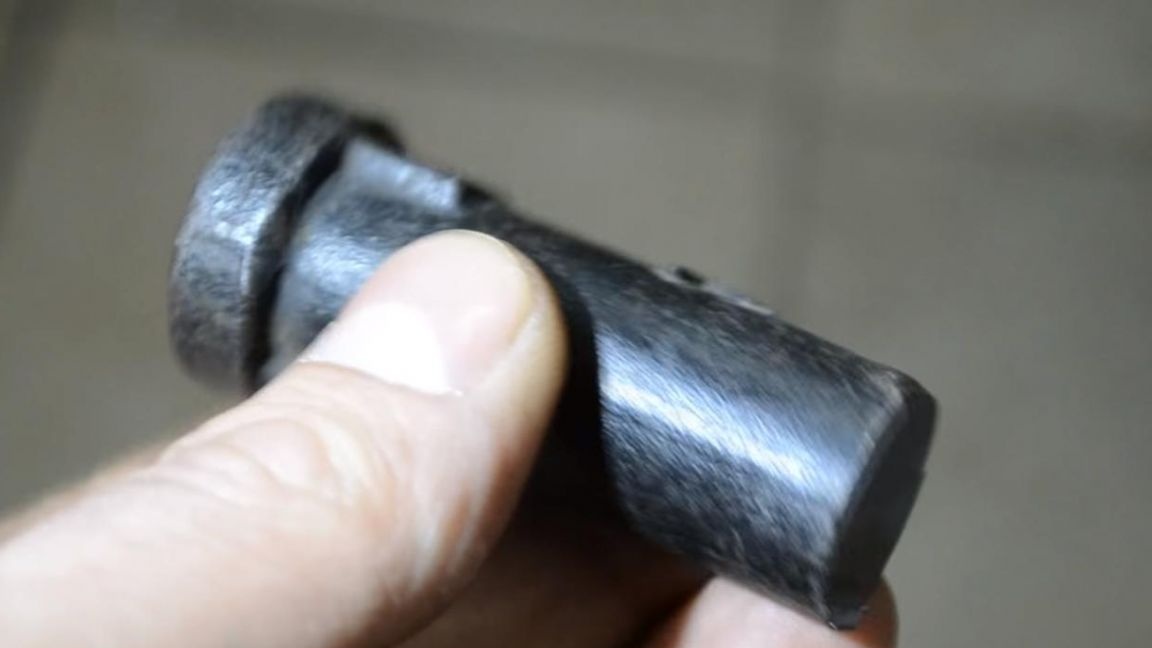
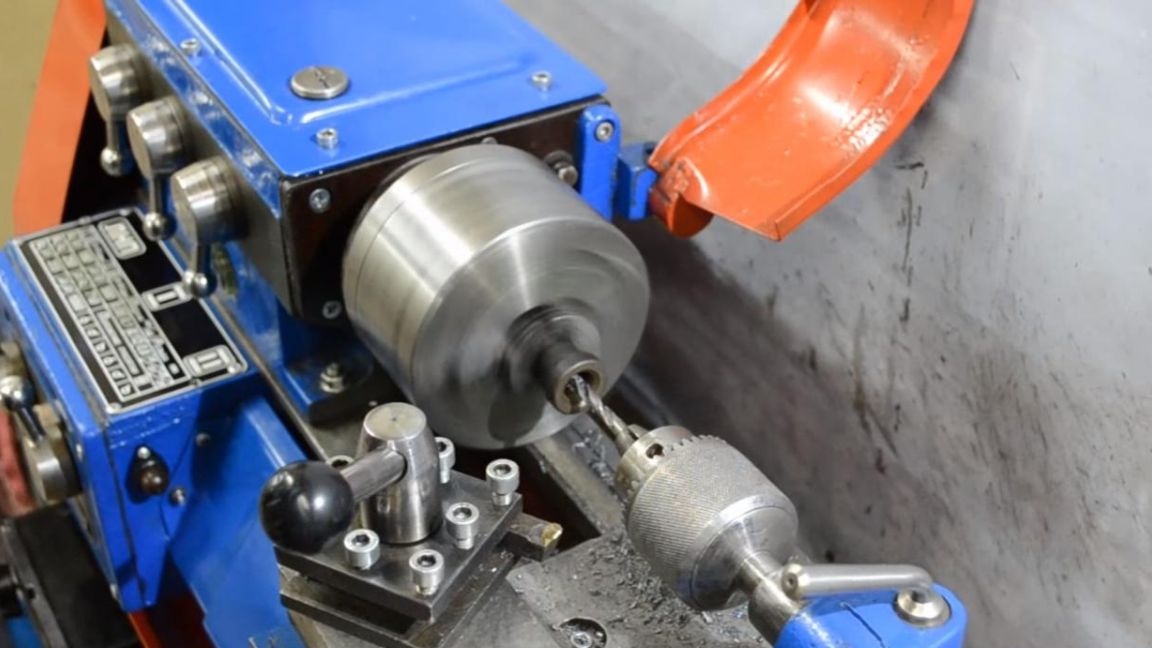
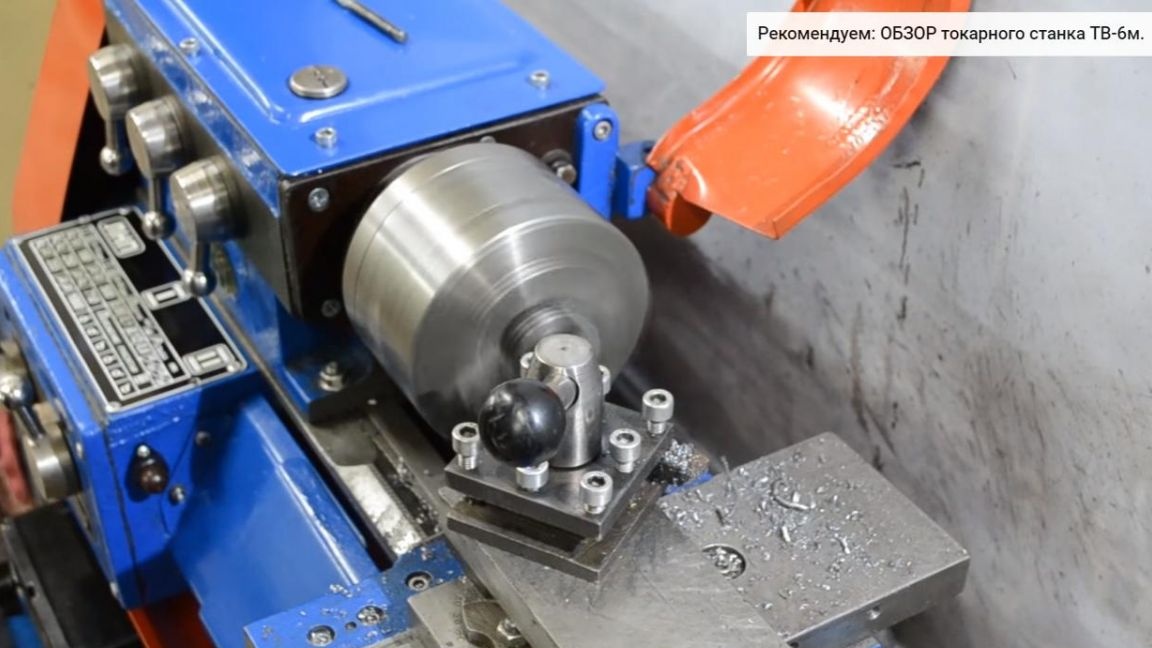
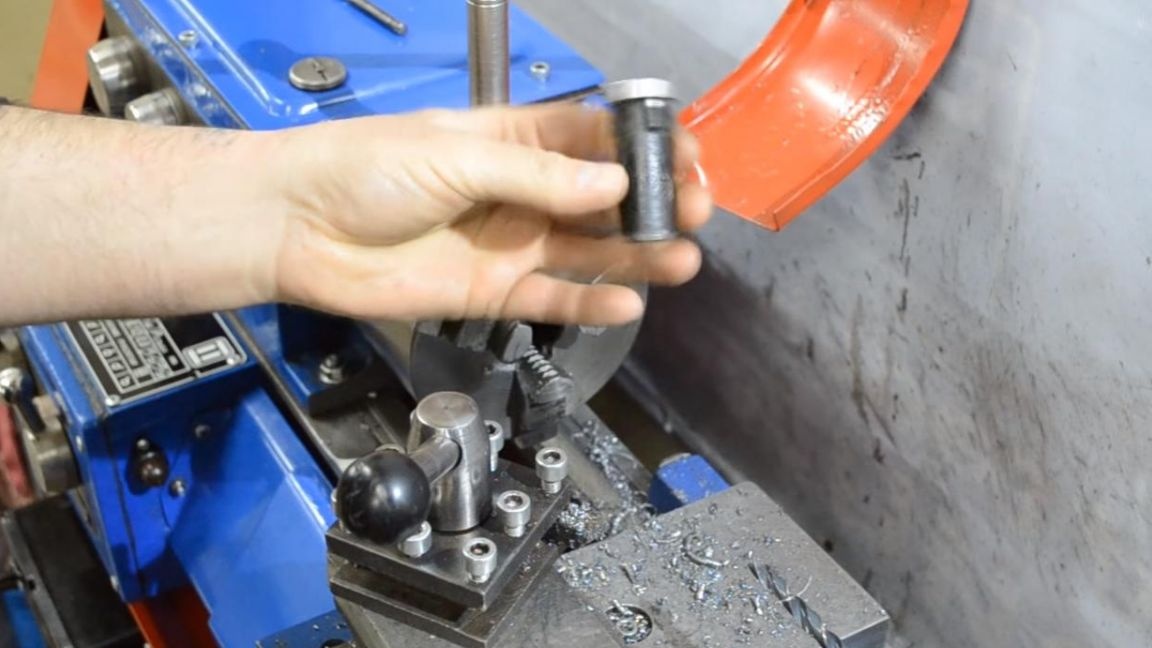
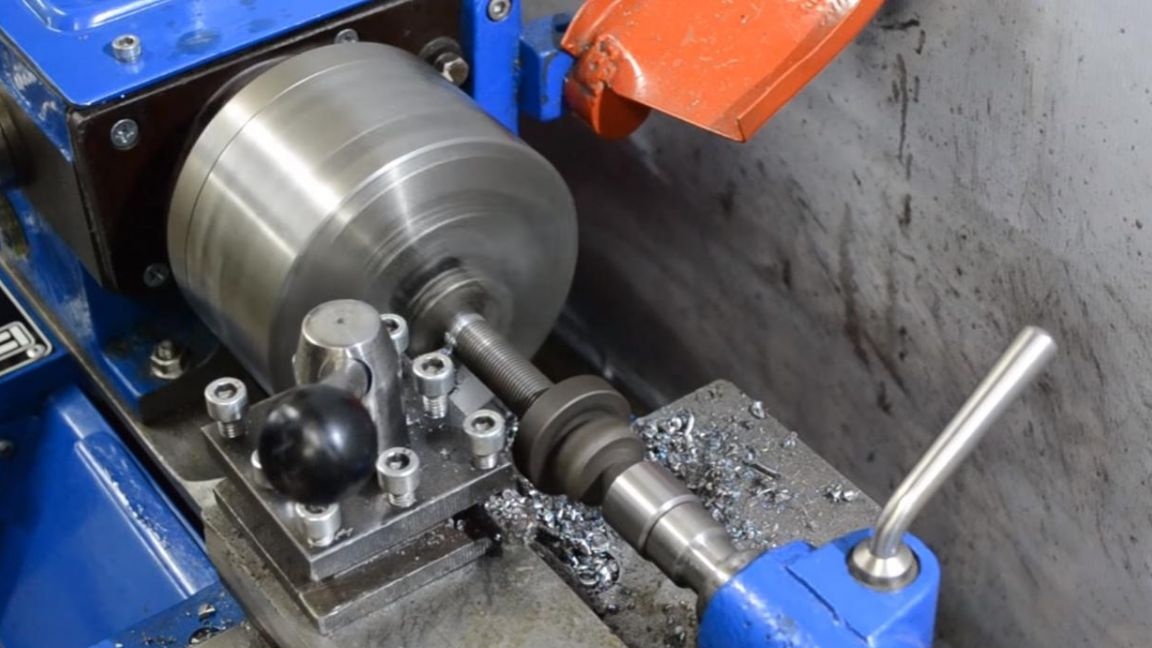
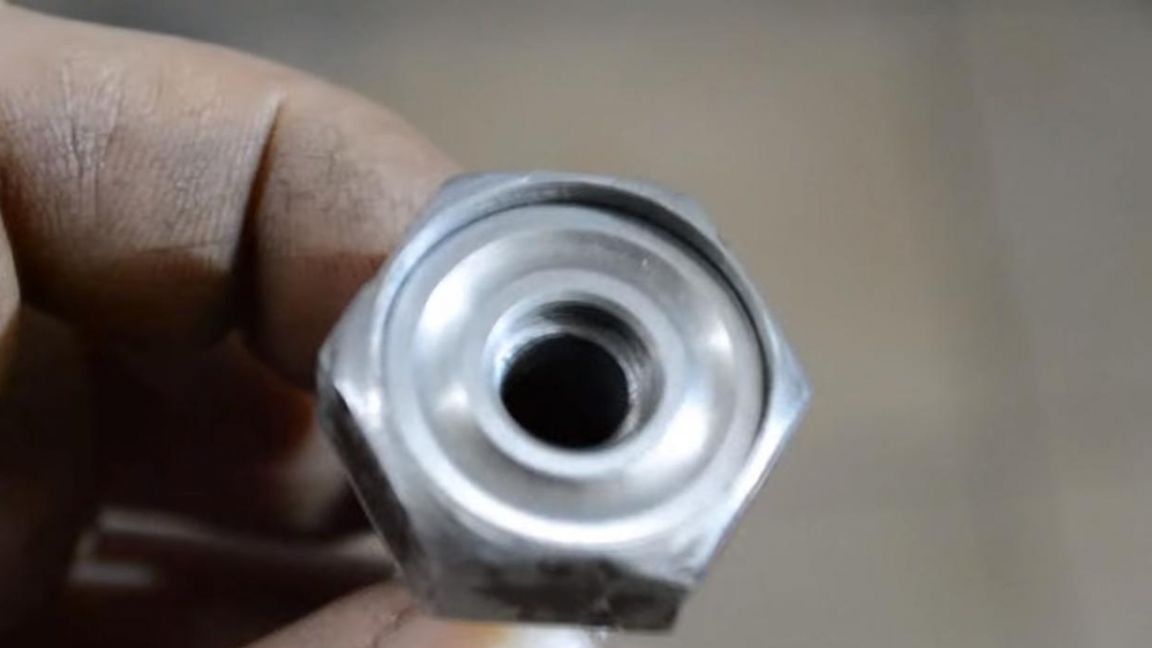
On a lathe, we refine the hub bolt, clamp it into a three-jaw chuck and make a small hole with a center drill for greater accuracy, after which we install a metal drill with a diameter of 8 mm and go deep into the body of the bolt to a depth of 60-70 mm.

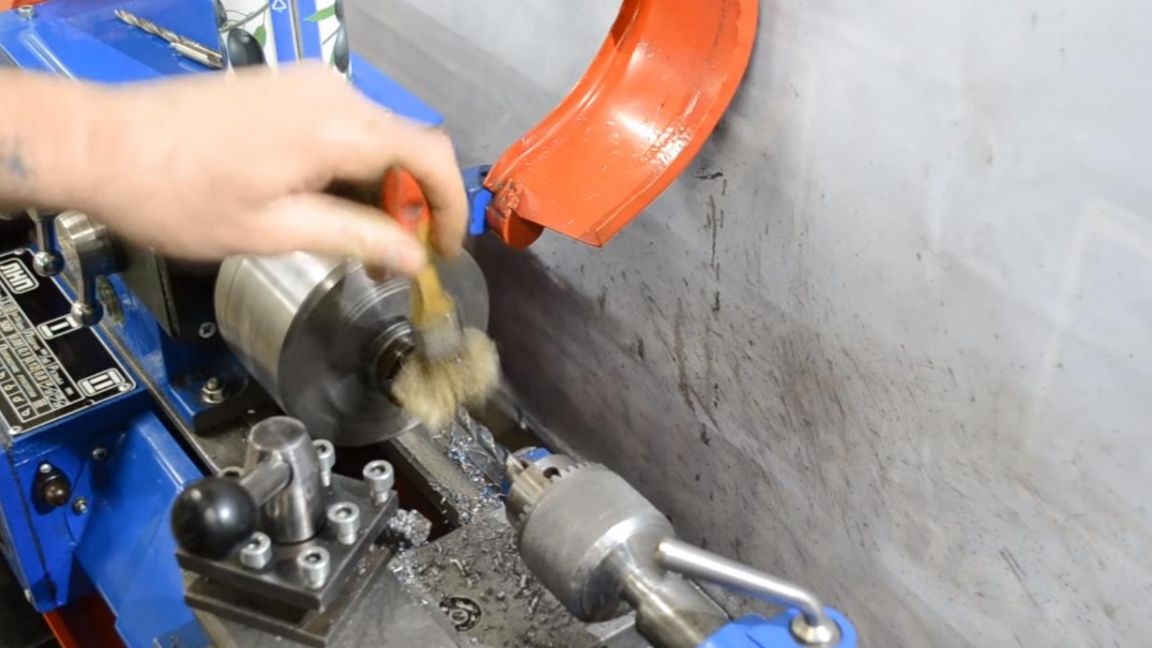
When drilling, do not forget to wet the drill with oil. Next, we install a cutting tool in the tool holder and cut the bolt to a length of 60 mm, propping it from the head side with a rotating center so that there are no distortions.
Step Four
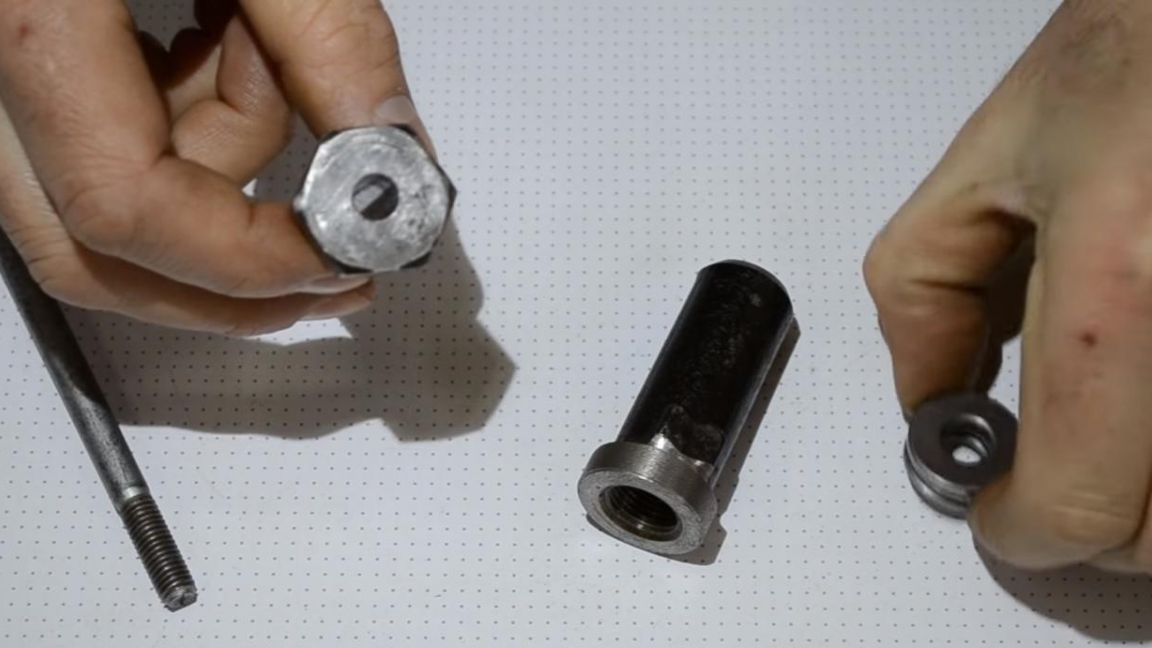
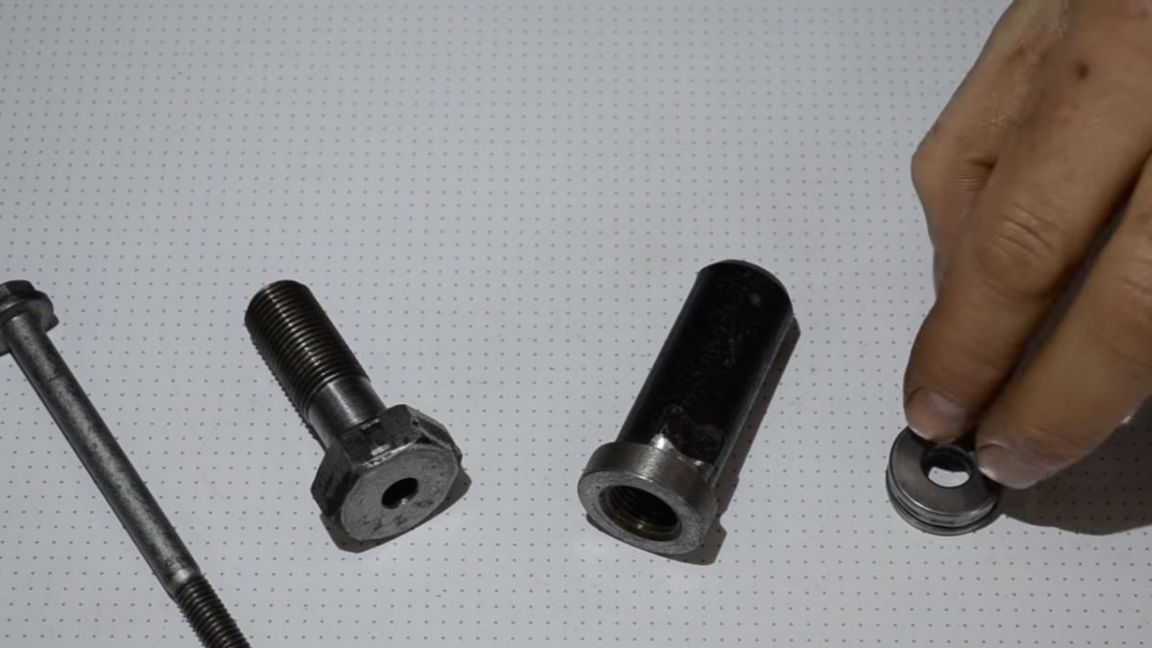
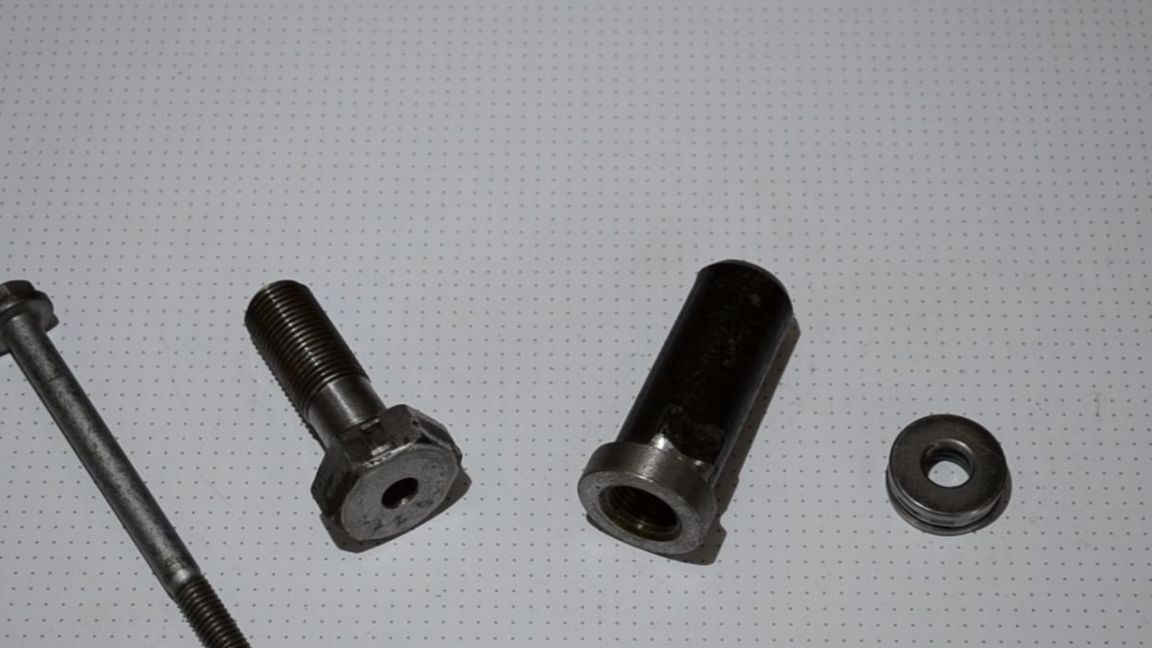
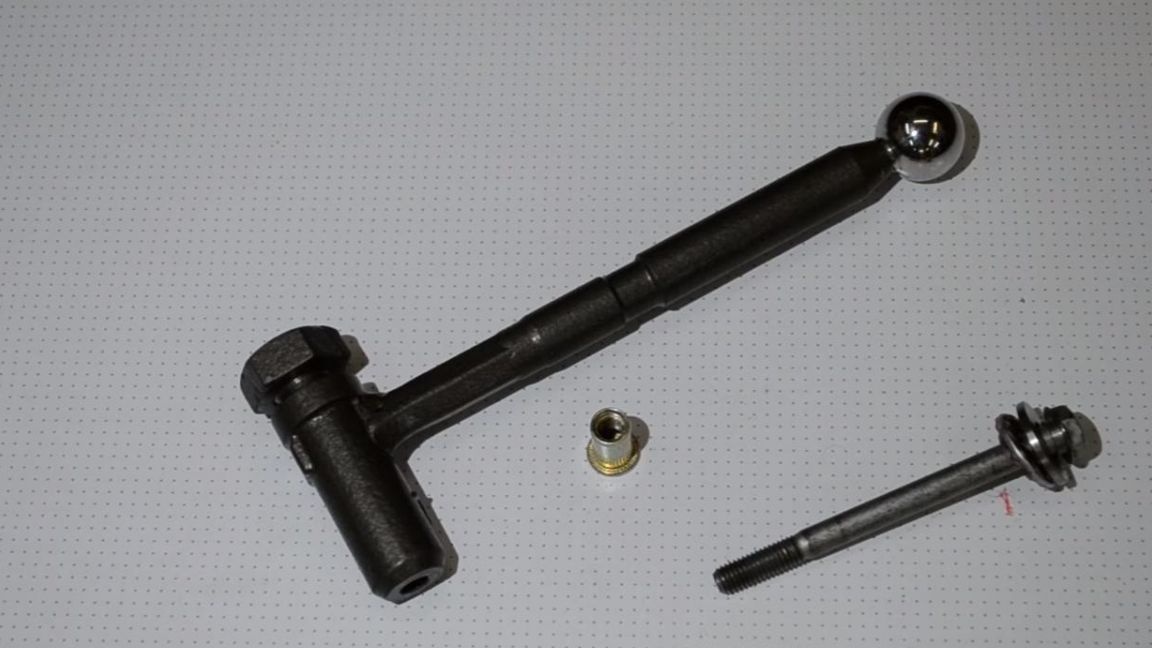
All components are almost ready.
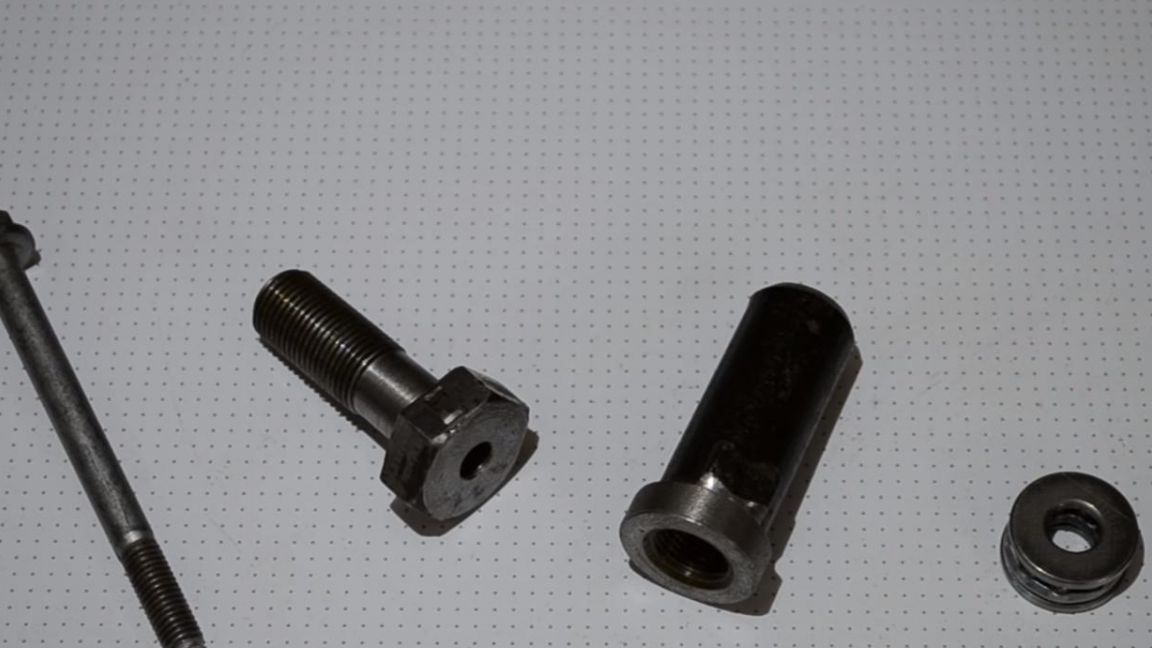
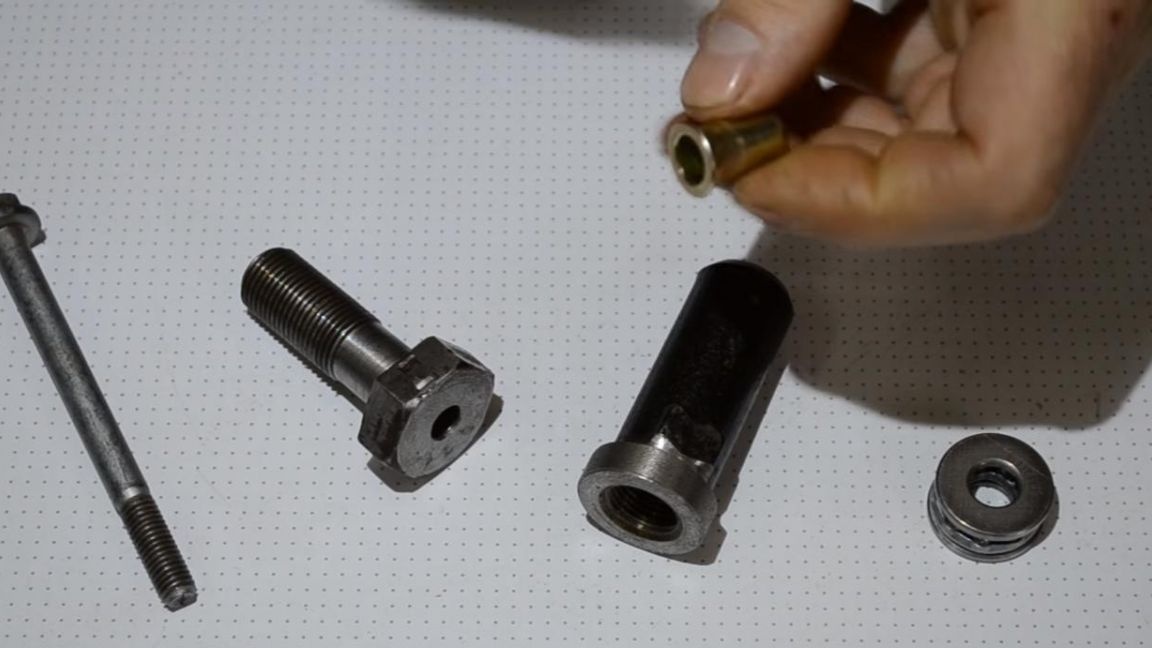
Threaded rivets that can be purchased at the tool store will be used for the tool.
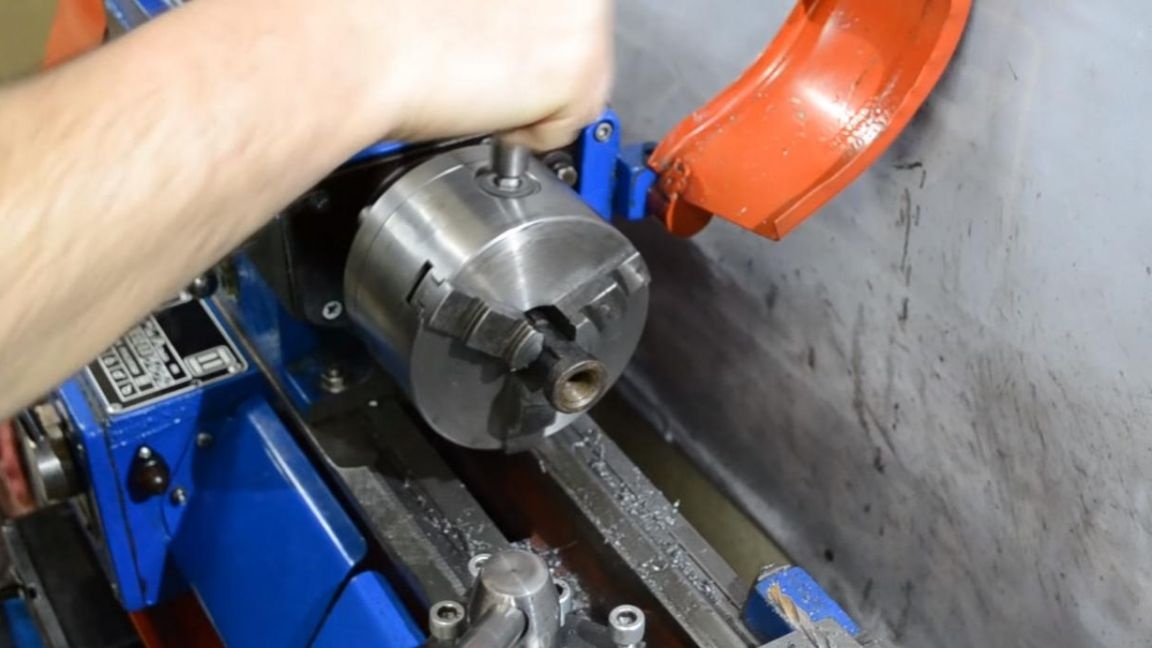
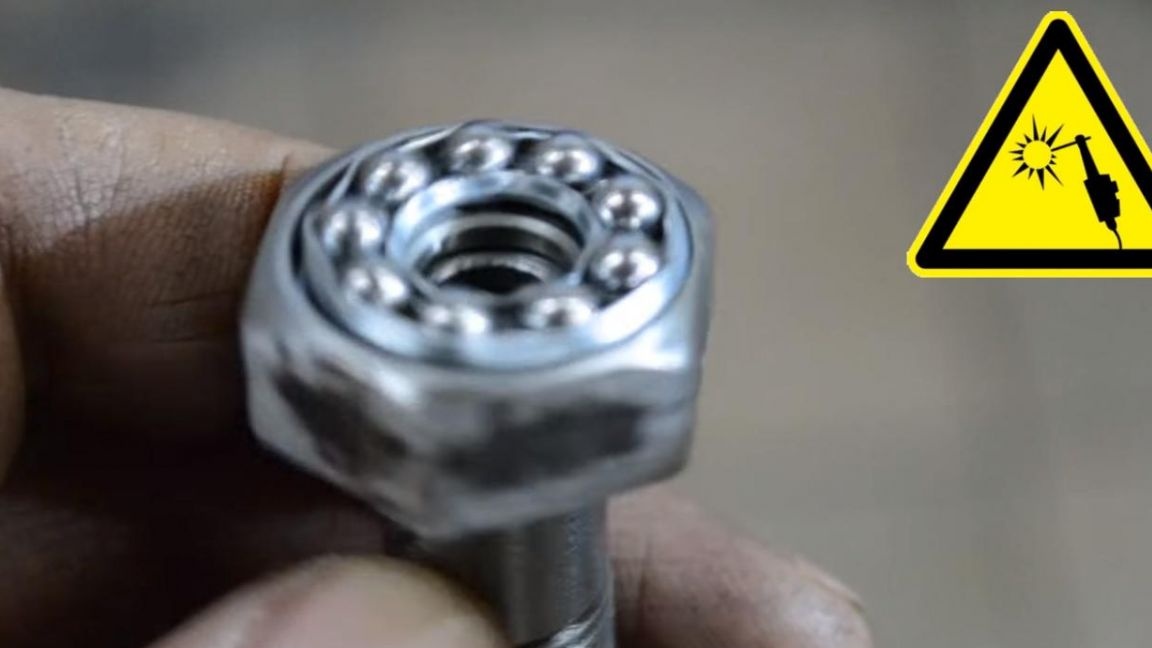
Since the hole in the thrust bearing is slightly larger than the diameter of the bolt, you need to make a groove on a lathe.
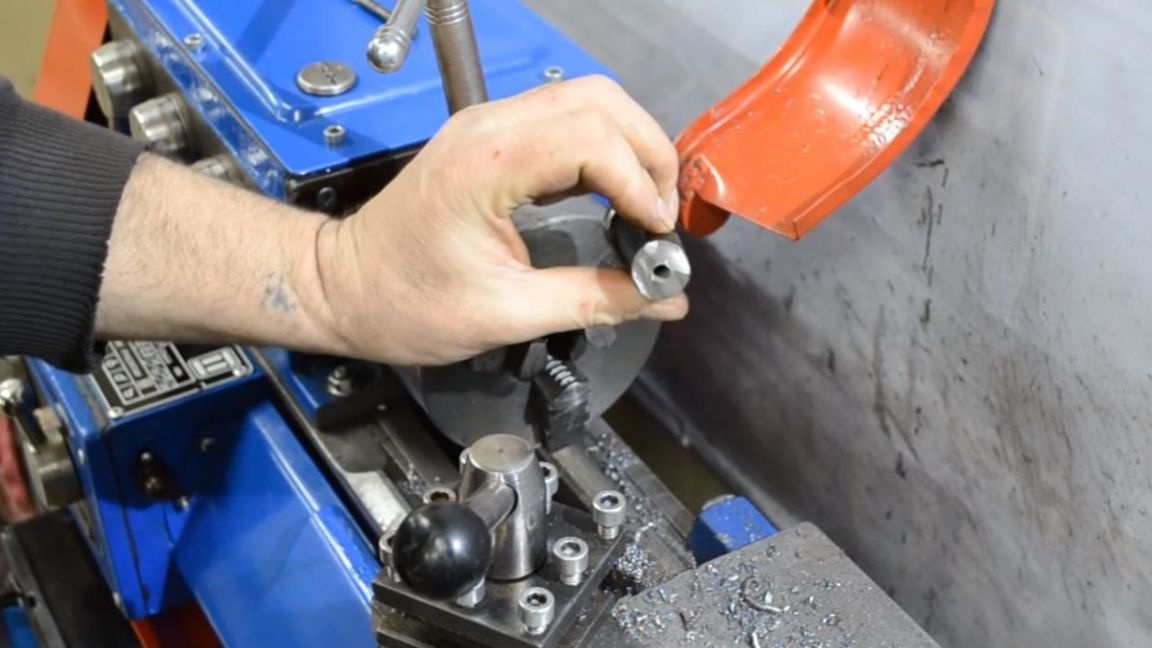
We clamp a bolt in the machine chuck and drill a recess under the bearing with a boring tool, but first we drill a hole with the most suitable drill in diameter.

After the groove, we install the thrust bearing into the bolt.
Step Five
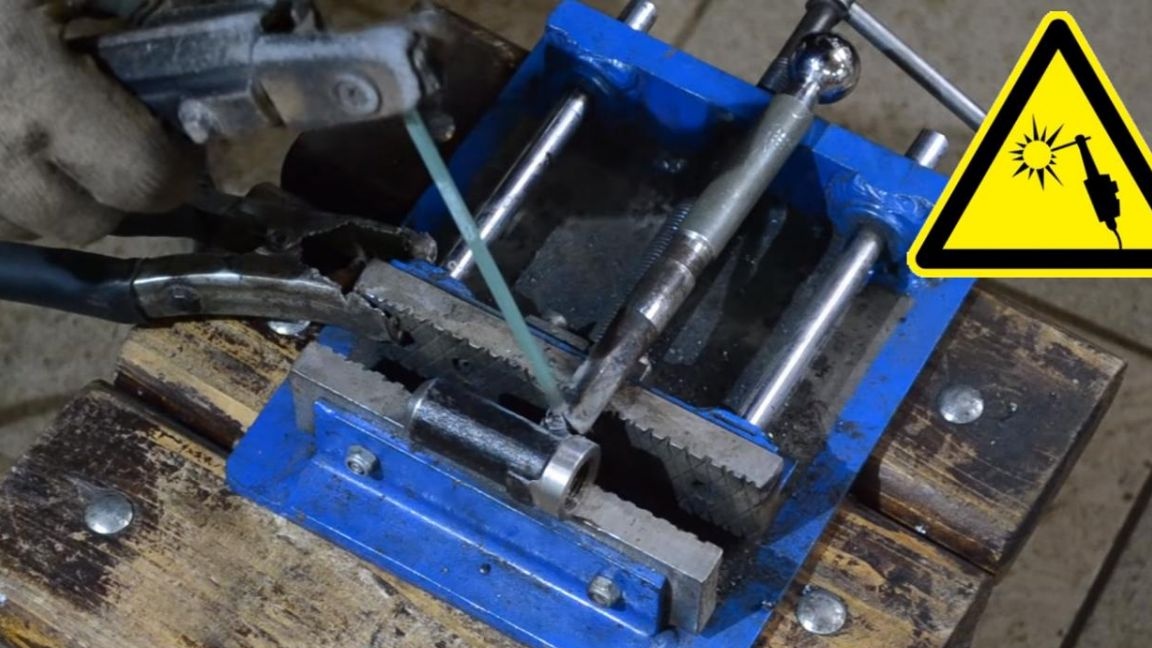
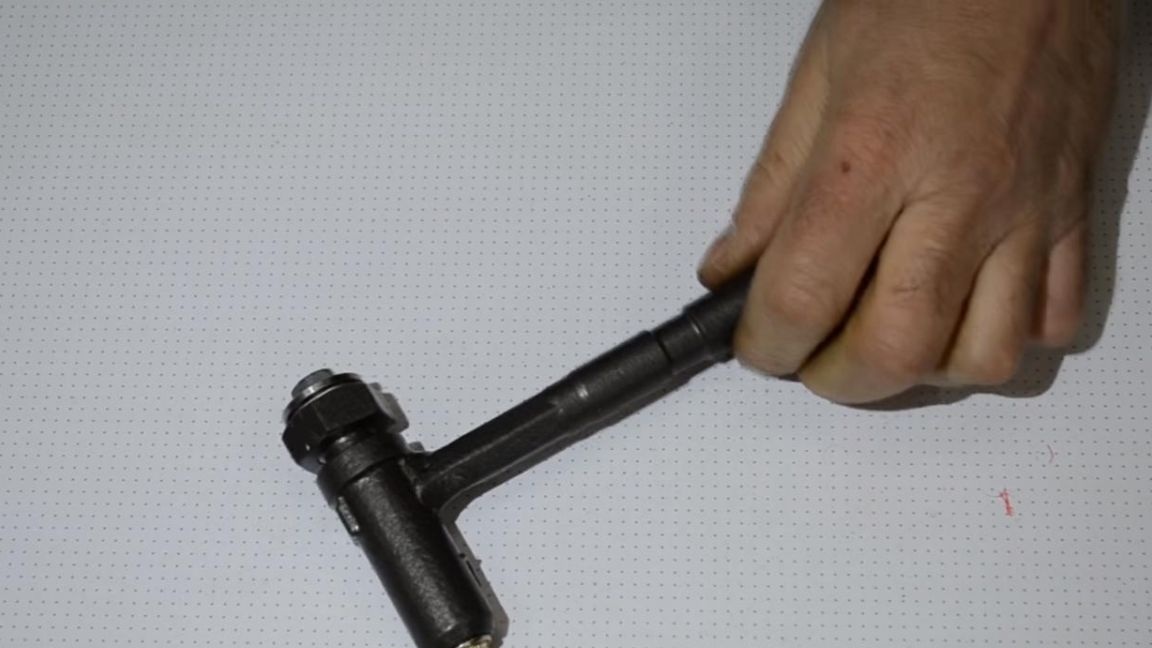
Having fixed the base in a vise, we weld a handle to it, in the role of which will be the old steering rod from the car.
When working with the welding machine, observe safety measures, wear a protective welding mask and gaiters, so as not to get burns, and also not to catch "bunnies".
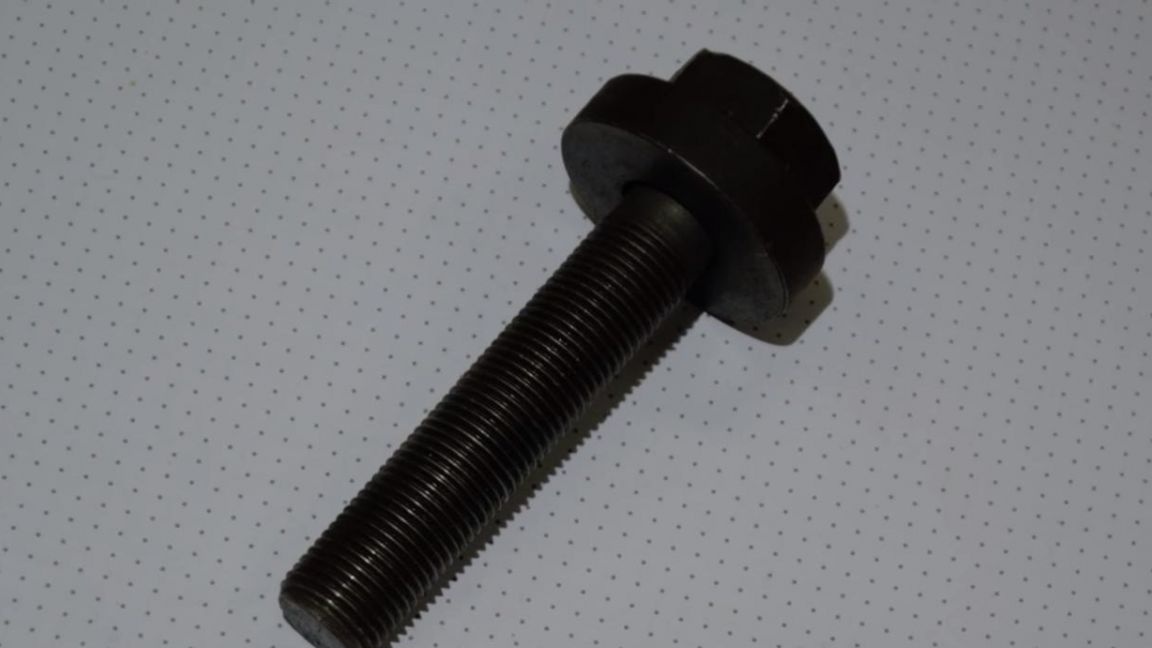
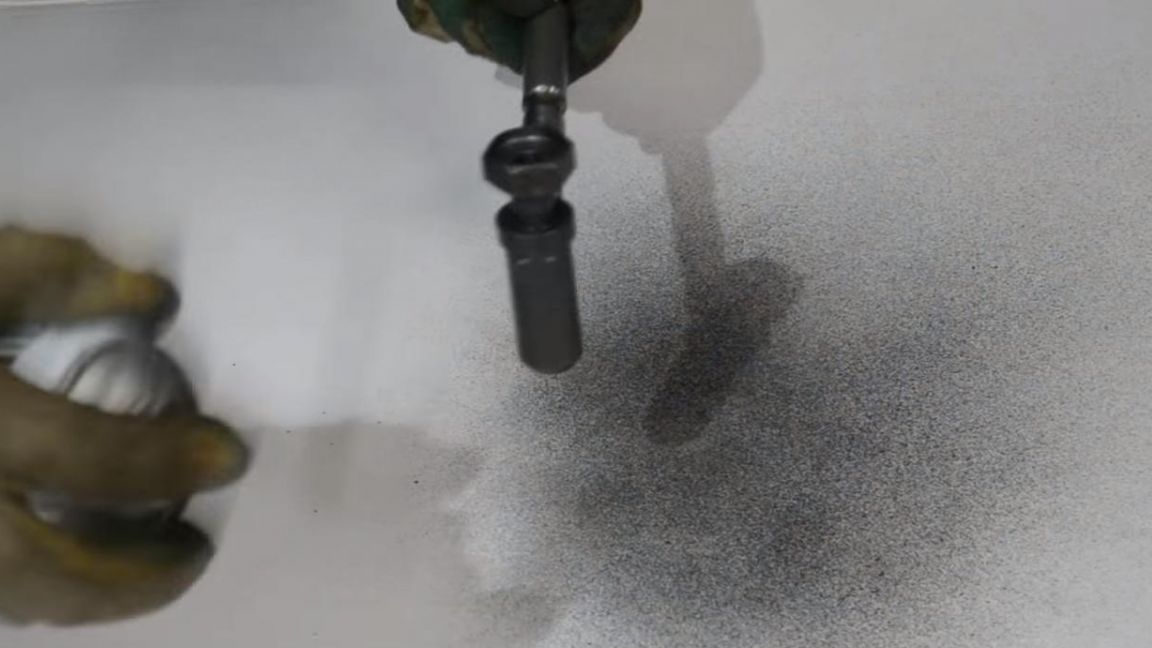
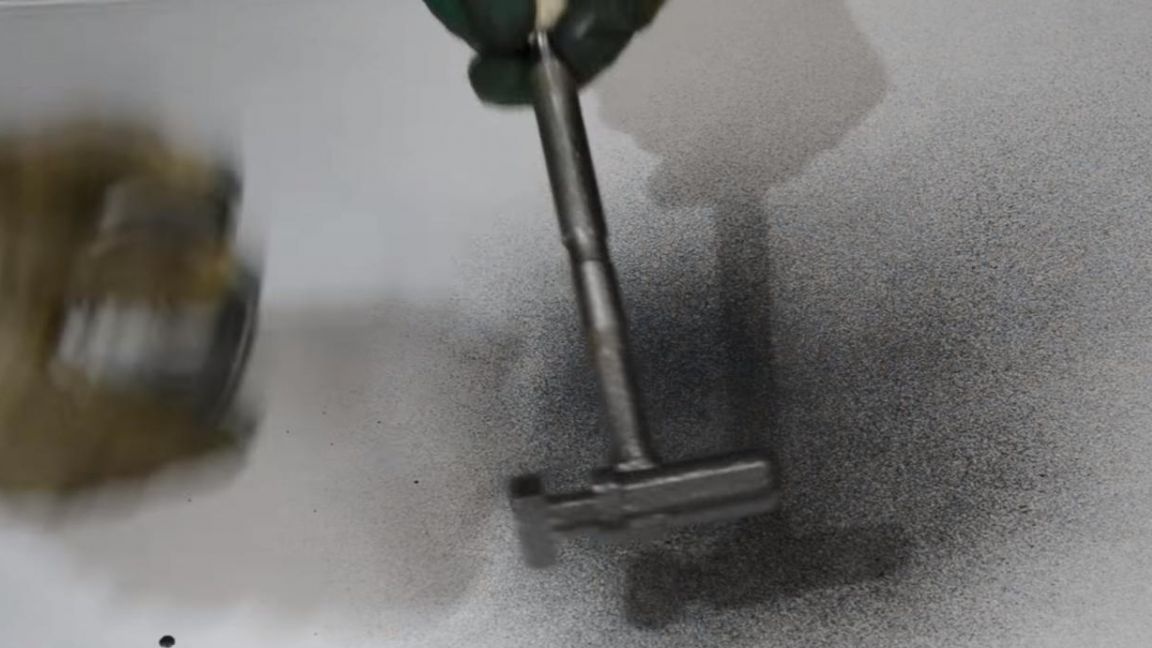
After the handle is welded, remove the slag from the weld. Next, paint the base with a handle and a bolt. We take a spray can of hammer paint and paint the details, for the best result we paint in several layers with a small pause to dry each layer, spray the paint at a distance of 20-25 cm to avoid smudges.
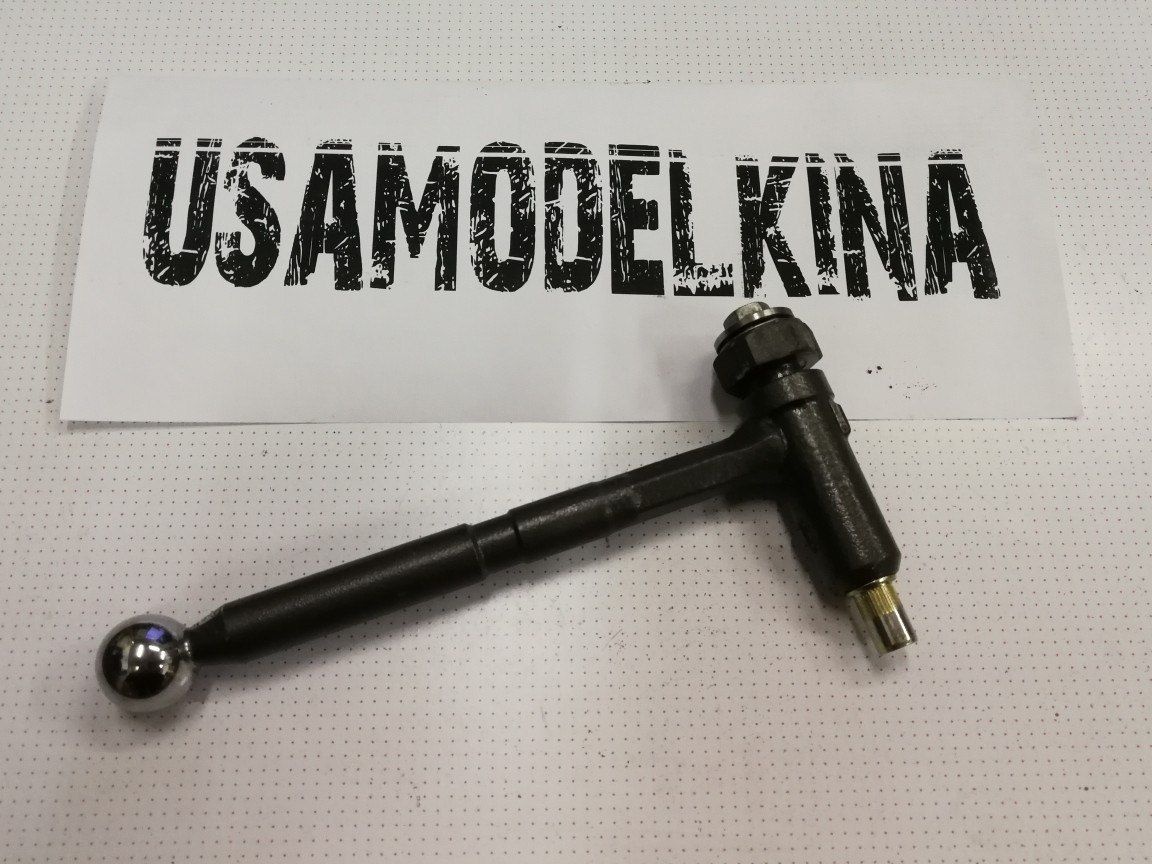
The tool is completely ready for this, which means that the time has come to test it for performance.
Step Six
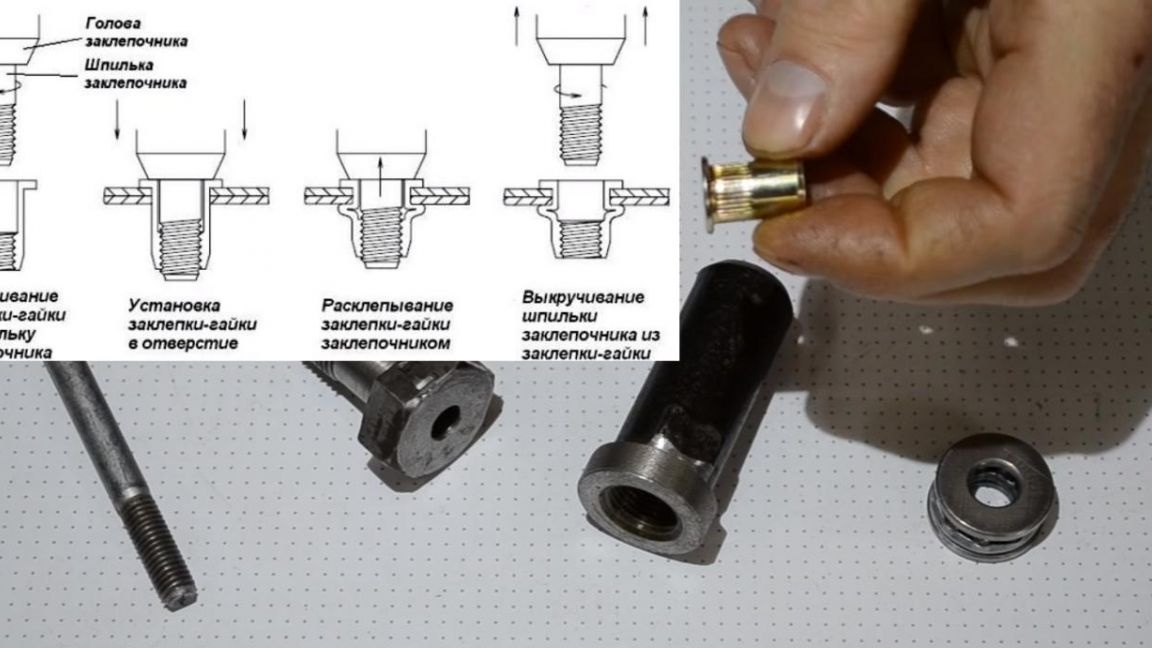
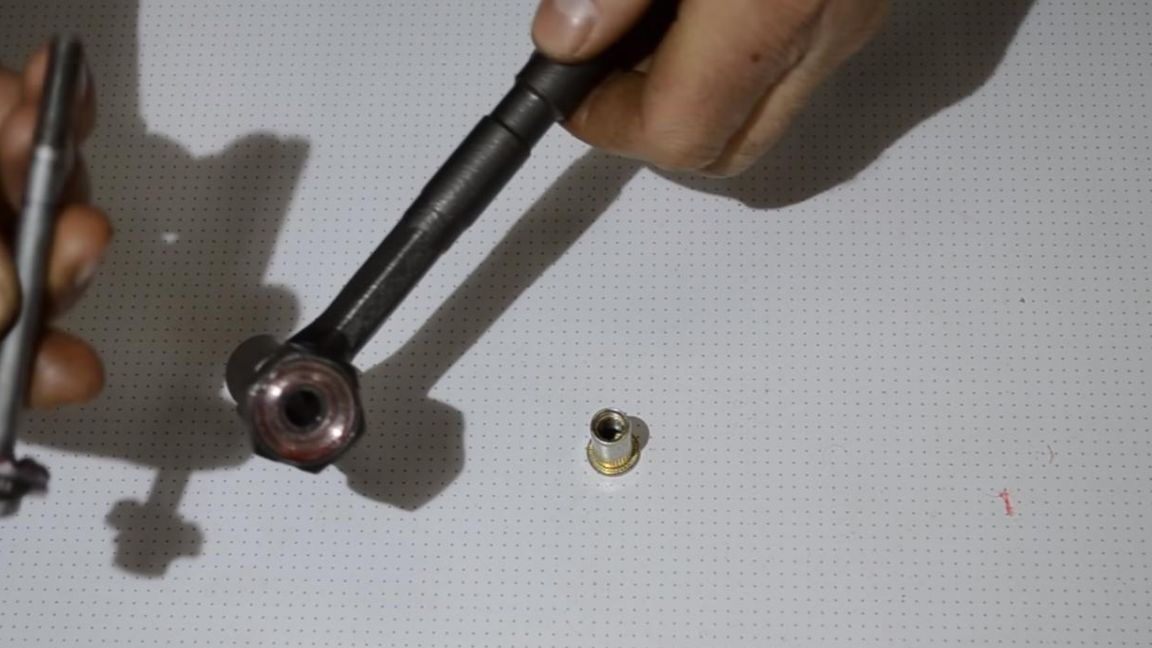
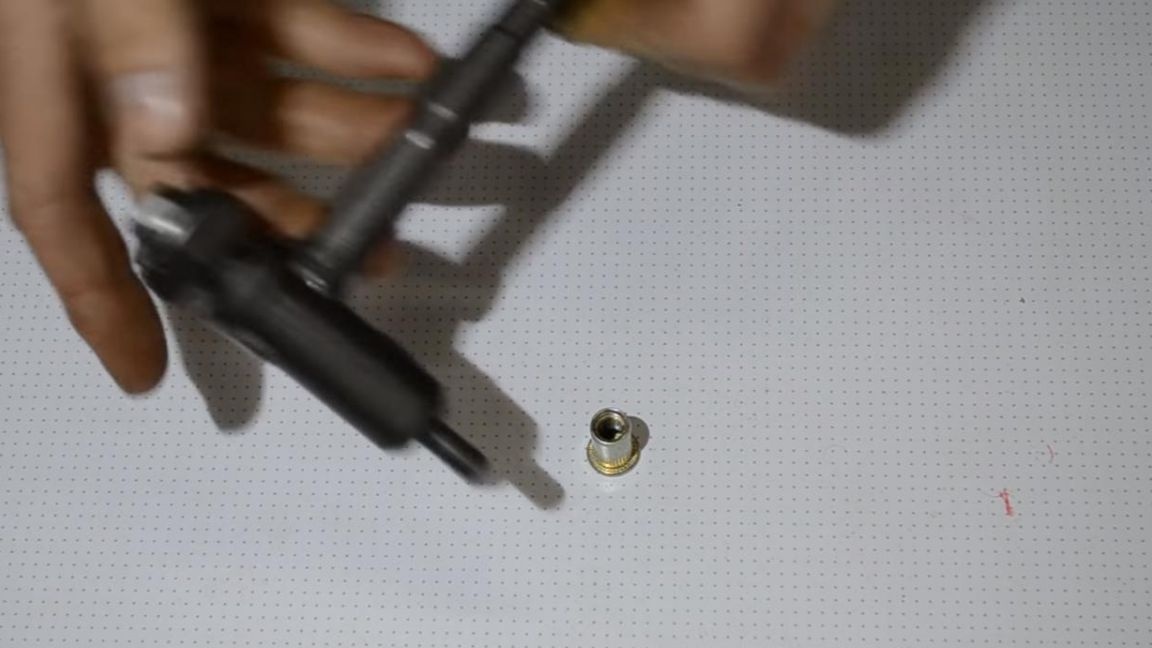
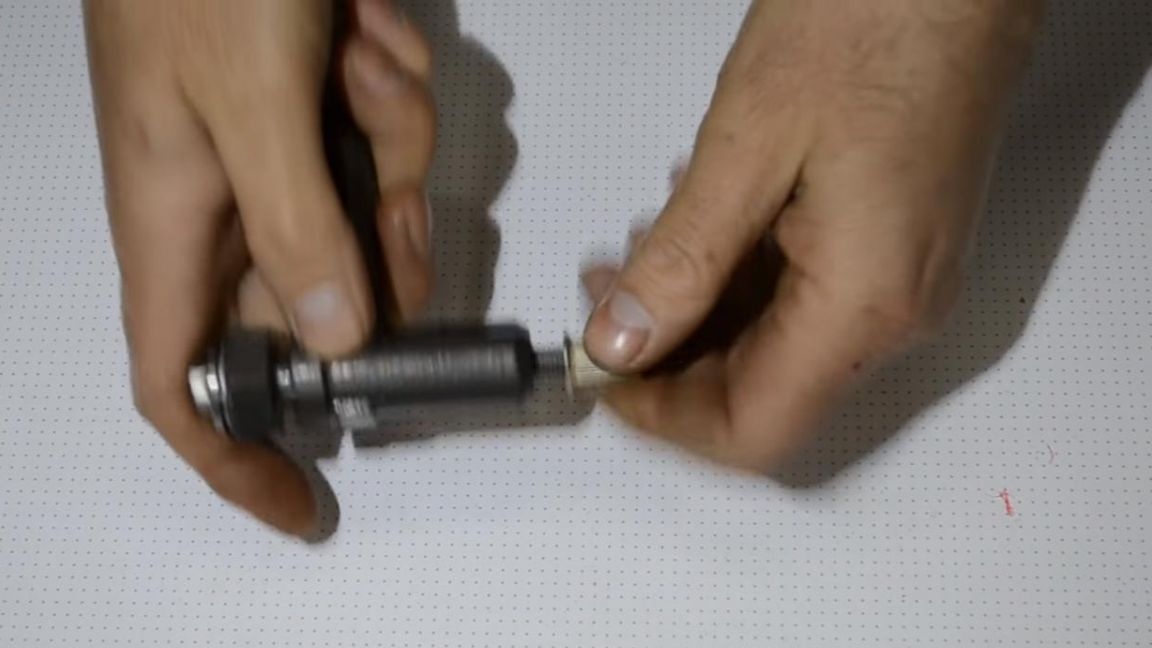
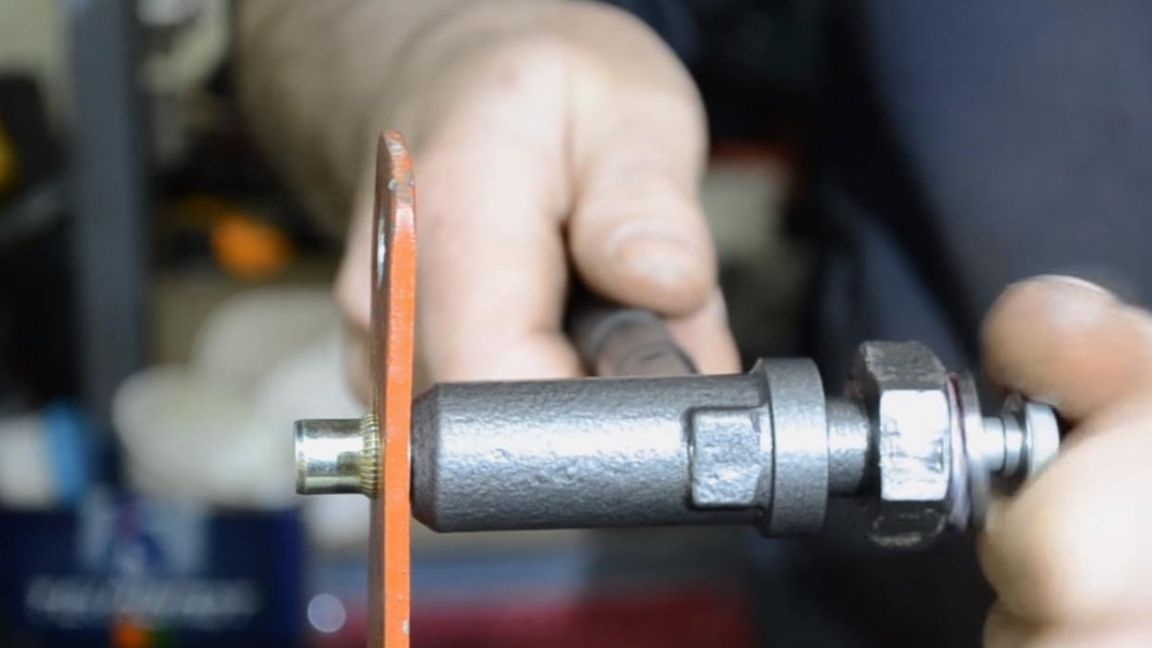
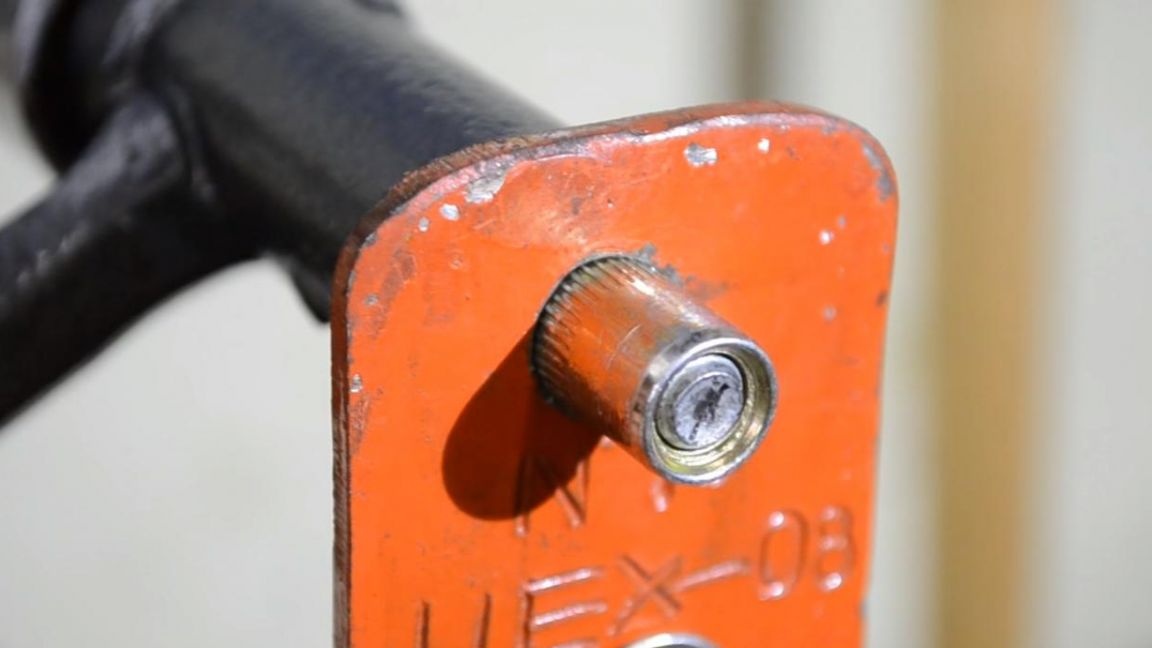
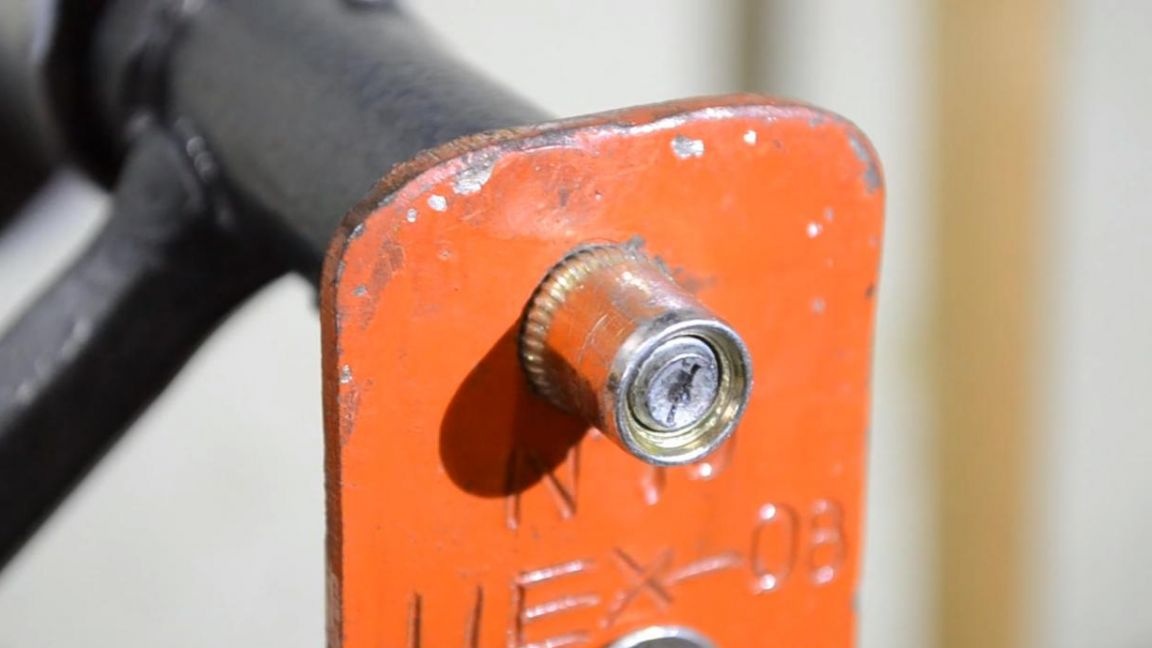
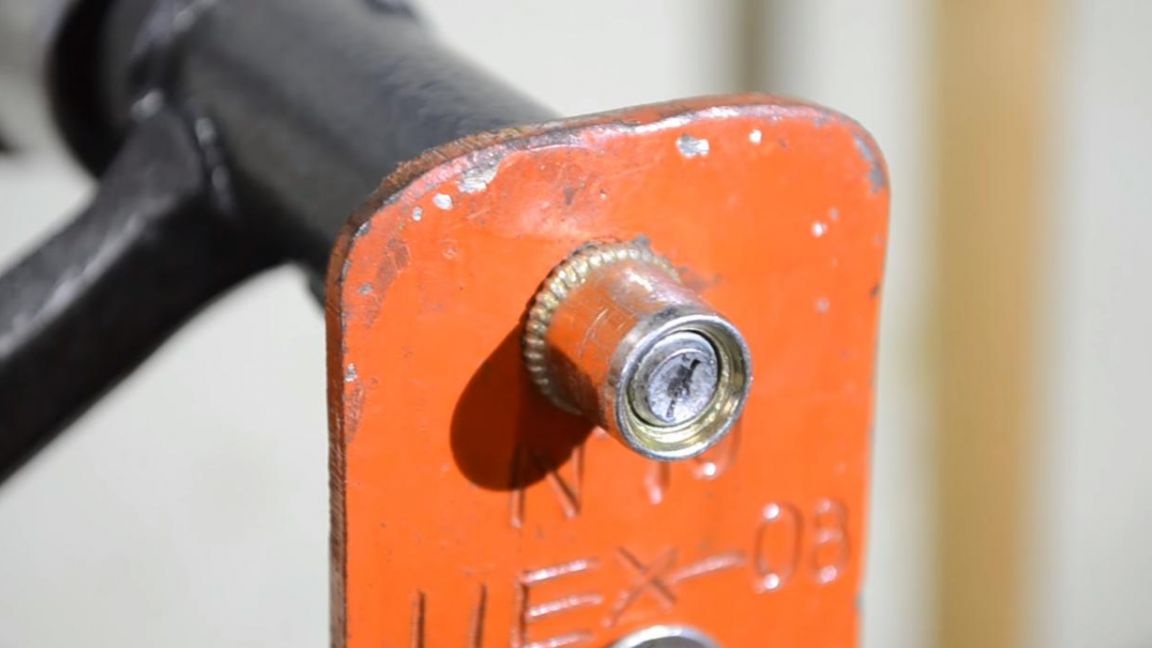
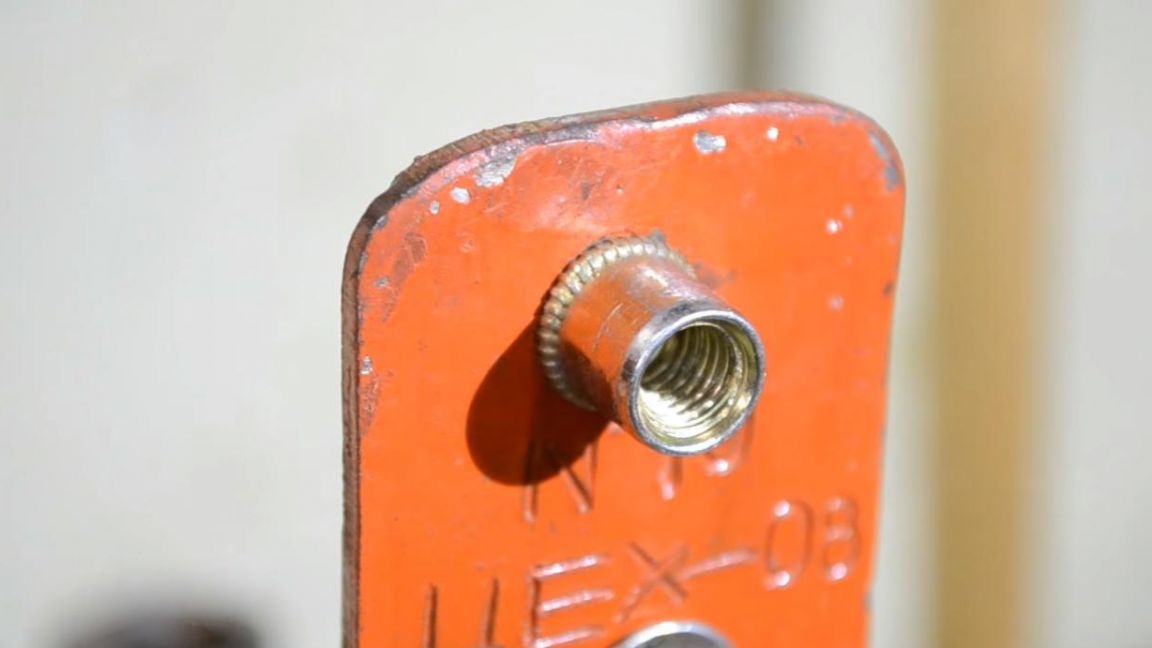
This tool is designed to install threaded rivets in a sheet of metal. Therefore, we drill holes in the sheet of metal for the installation of the rivet. We install a bolt with a thrust bearing in our home-made riveter, part of which is already in the head of the larger bolt and screw the rivet onto the thread until it stops by hand.
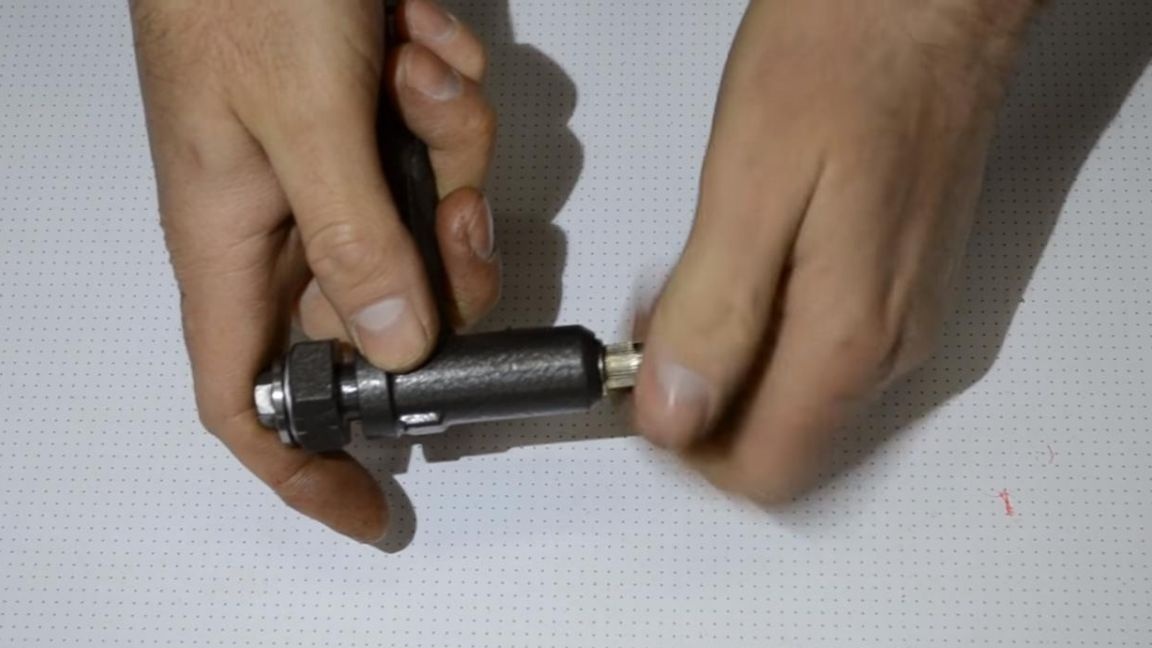
We insert the rivet into the pre-drilled hole under it and, using a ratchet with the head installed in it, start turning it counterclockwise by 27, that is, we unscrew the large bolt, thereby tightening the rivet body to the desired state, this is the basis for its riveting principle. Next, weaken the tension of the bolt and unscrew the smaller bolt to remove the tool from the riveted rivets.

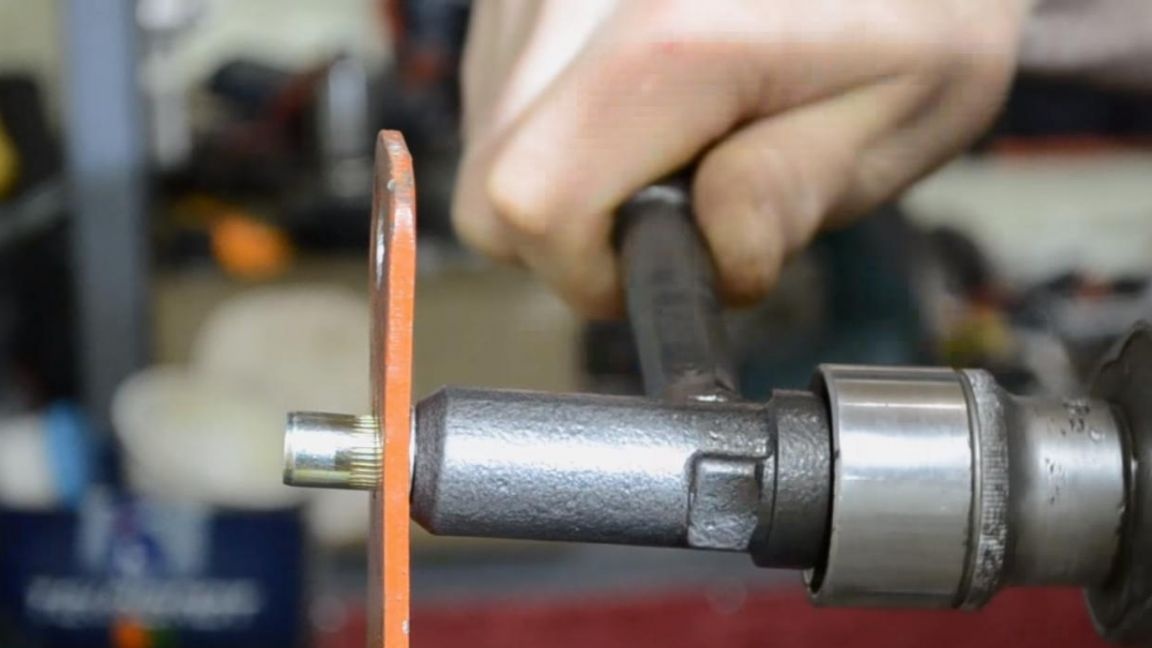
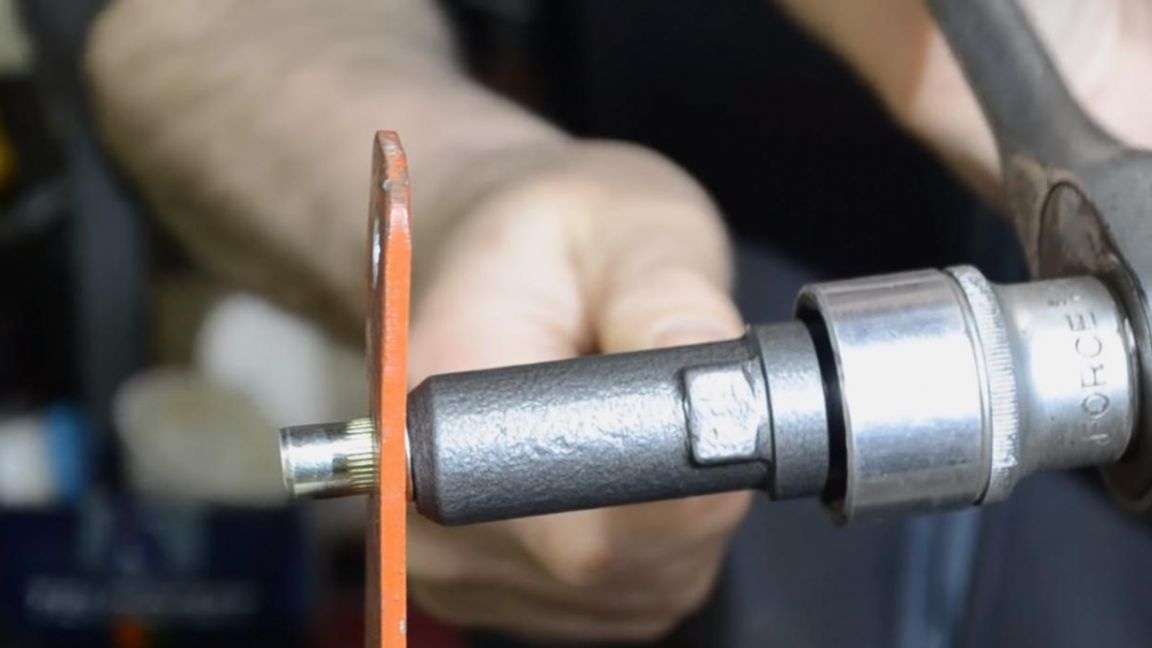

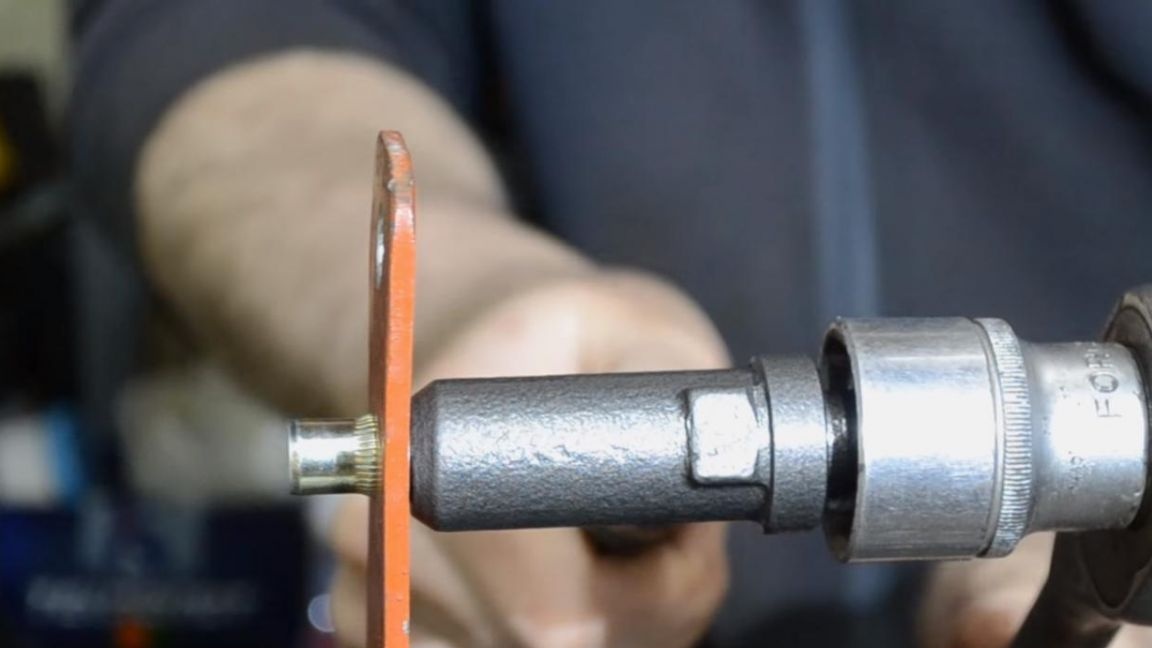
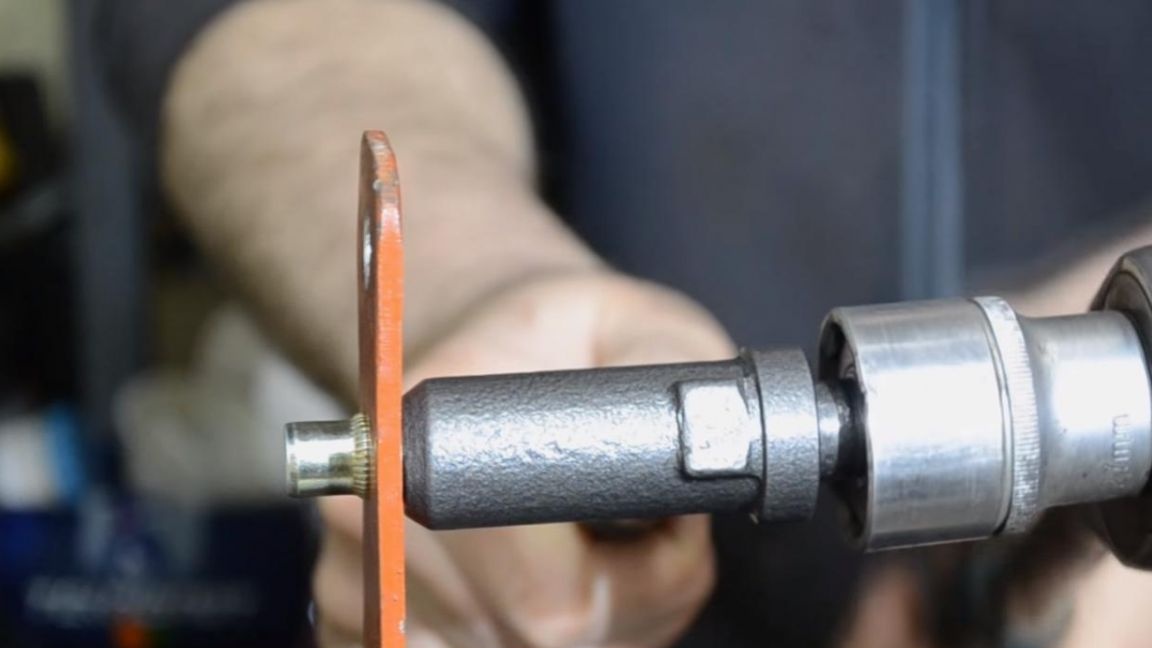
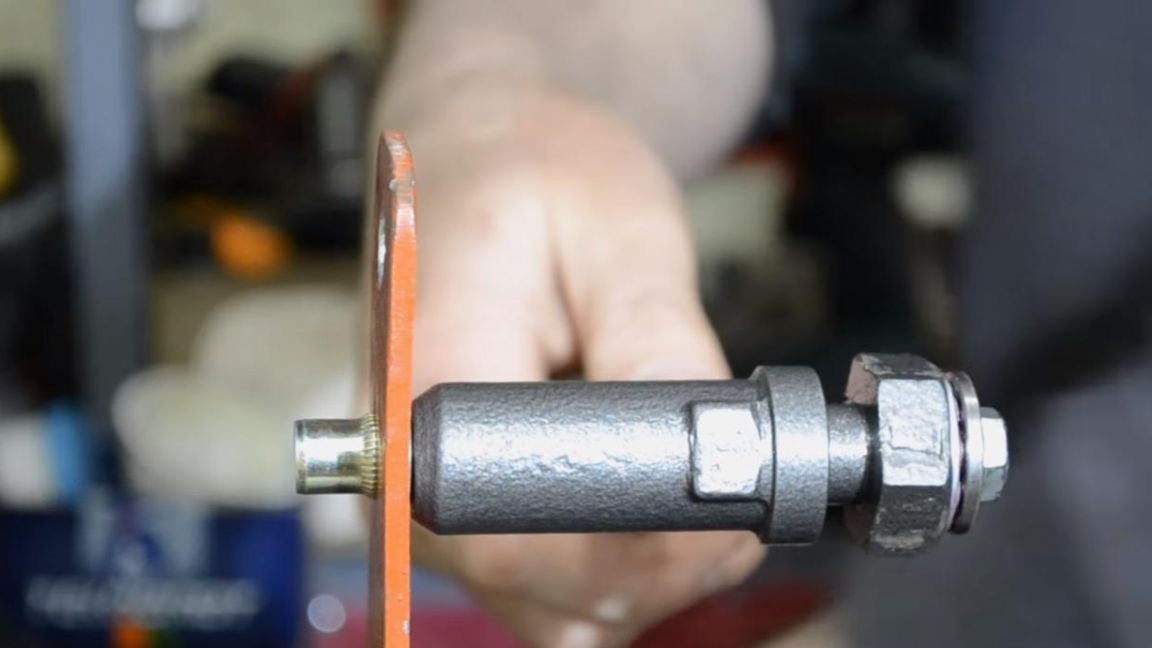
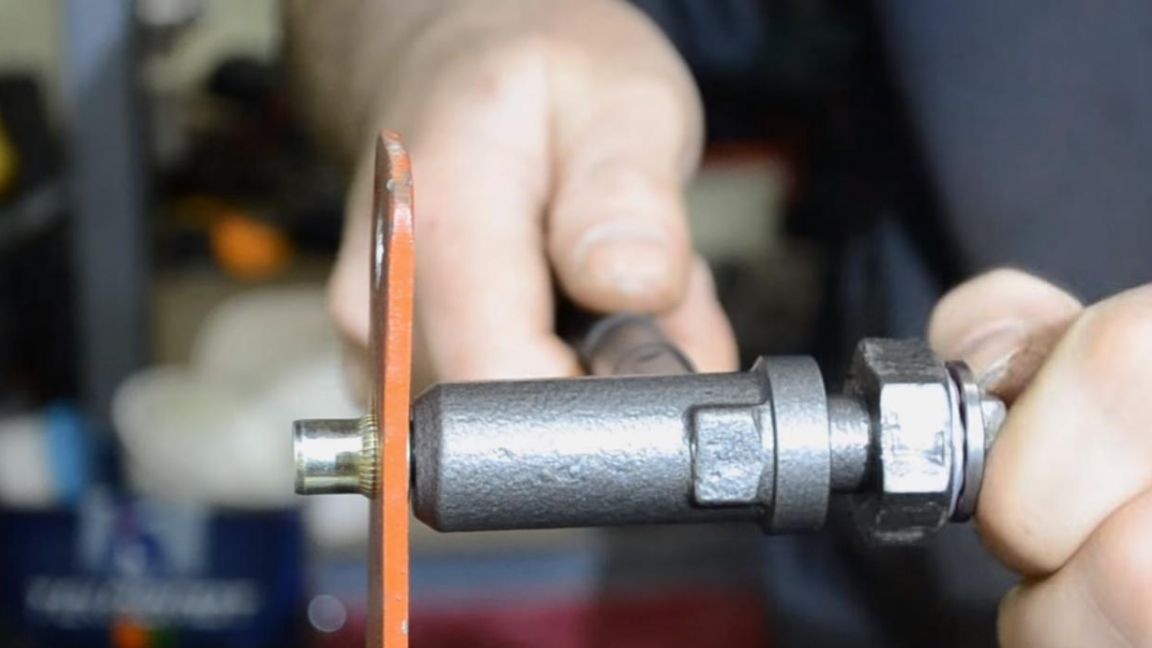
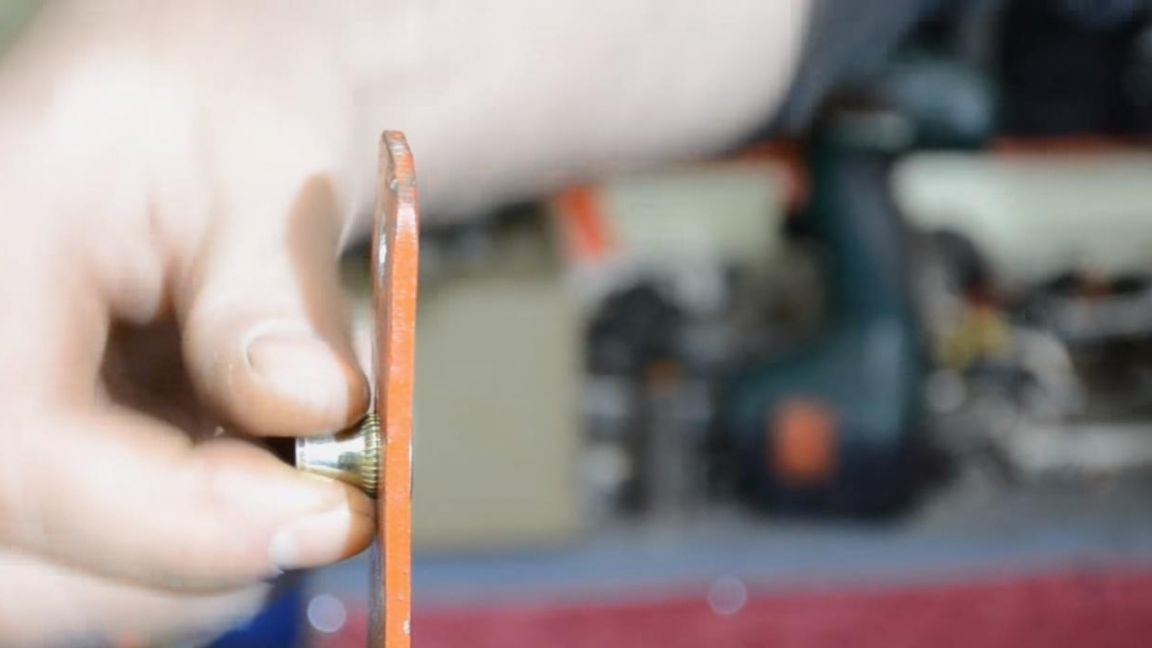
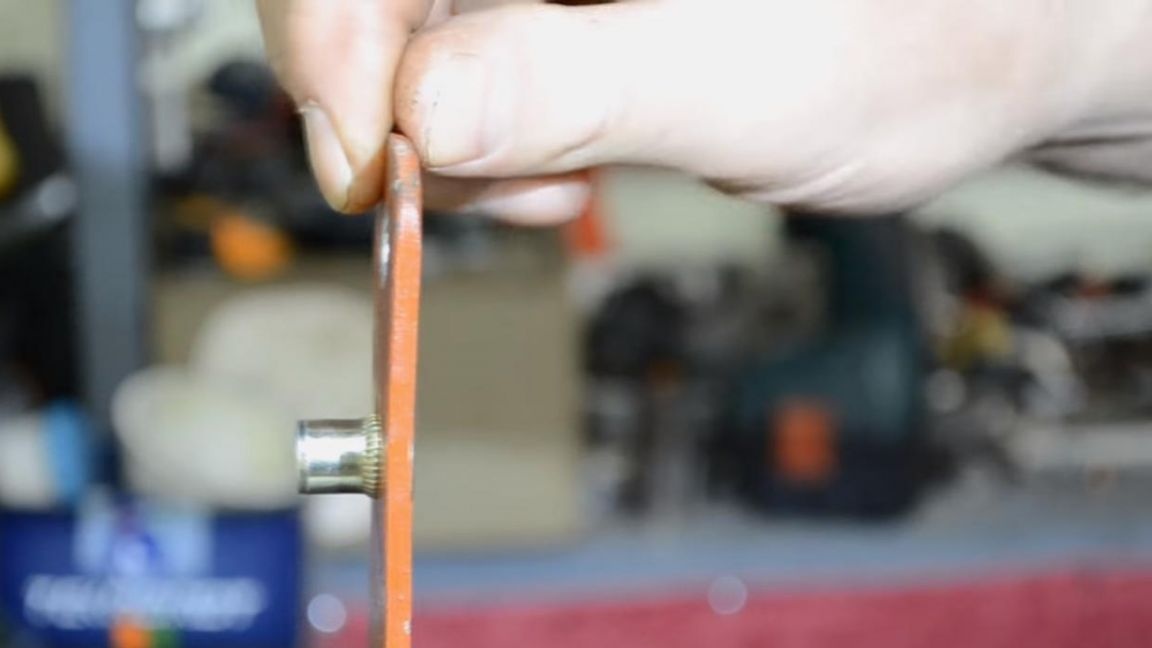
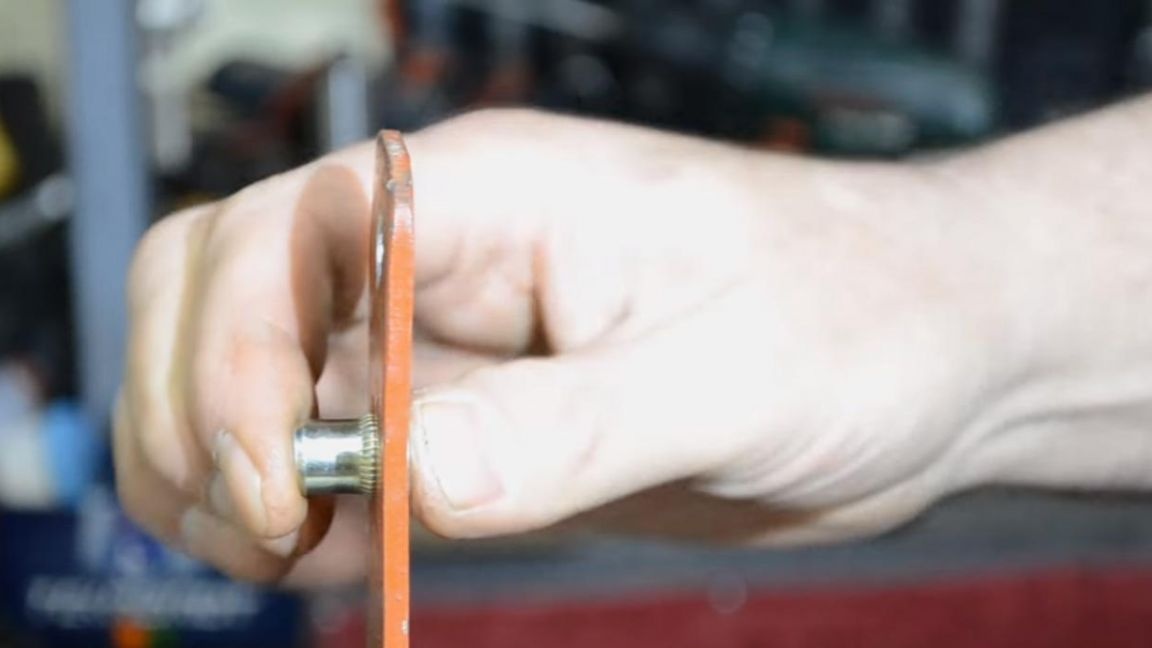
The rivet sits securely in the hole and does not play, and also does not scroll, which is what we need.This is how the riveting process looks in greater closeup; the main thing when riveting is not to twist the rivet, otherwise it may simply not be fixed.
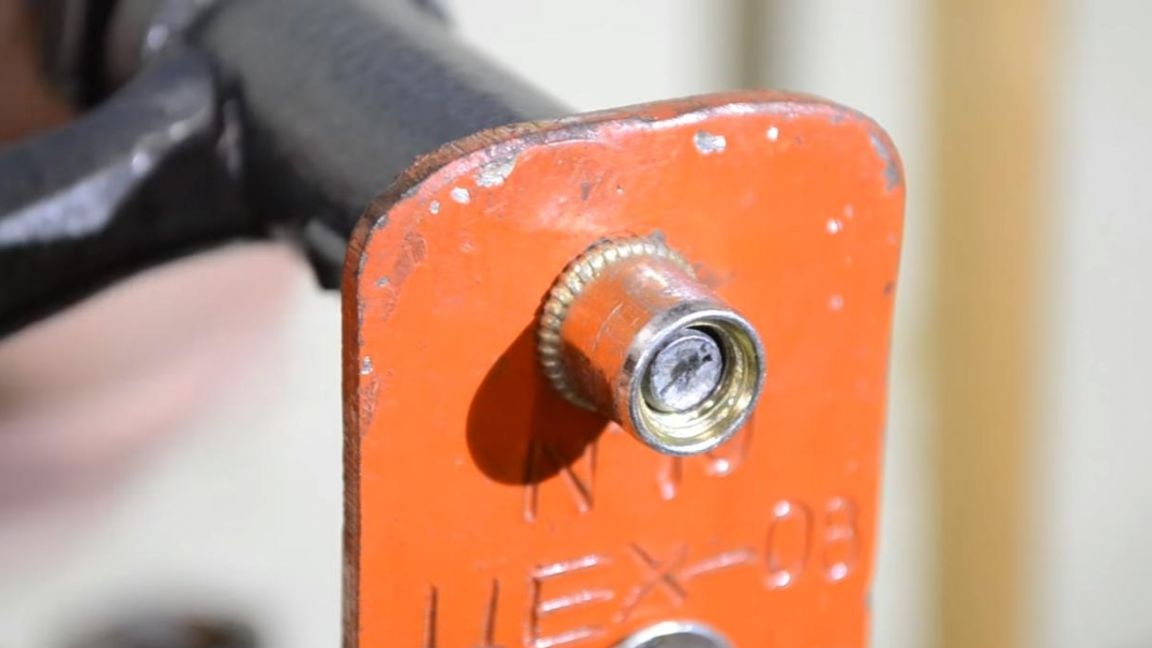

That's all for me, this homemade product turned out to be quite useful and easy to manufacture, and its functionality is no worse than that of the factory version.
Thank you all for your attention and good luck in creating your own, no less interesting homemade products.