
I think many people like radio-controlled cars very much, but they get bored pretty quickly because of their primitiveness (this does not apply to professional and semi-professional radio-controlled models), in this article we will look at how to remake and improve a very cheap machine on the control panel, if I'm not mistaken such a machine costs only 400-500 rubles. We will try to supply fpv equipment to drive and watch in the first person in real time. The article, of course, is not very big, but let's not pull it, let's go!
For this homemade product we need:
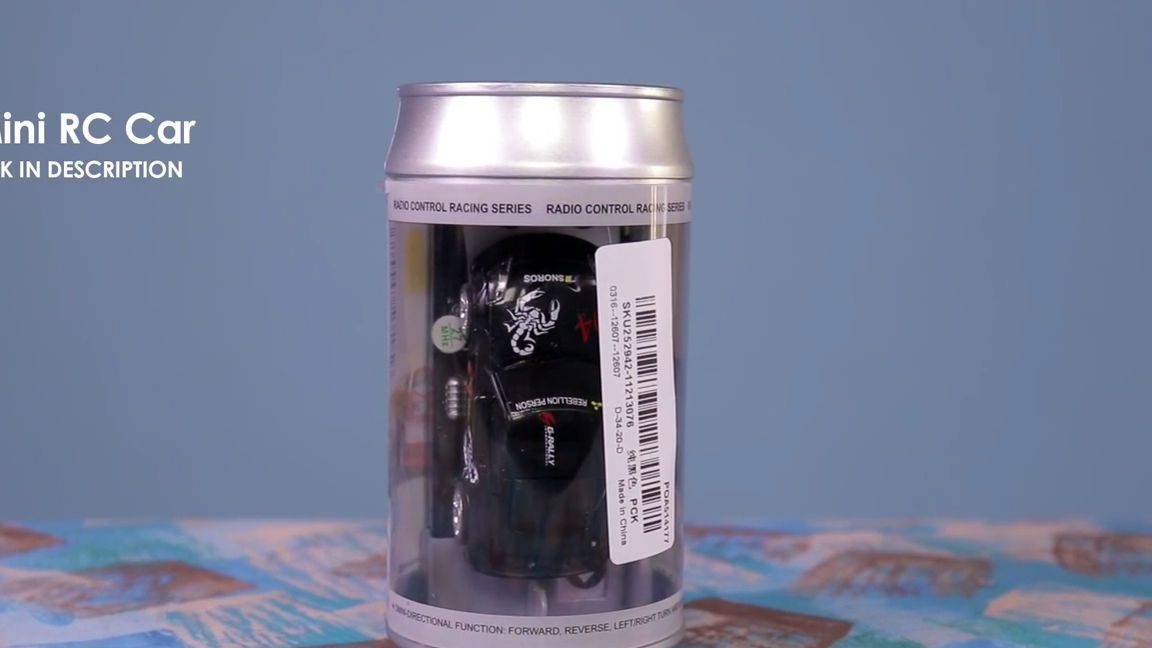
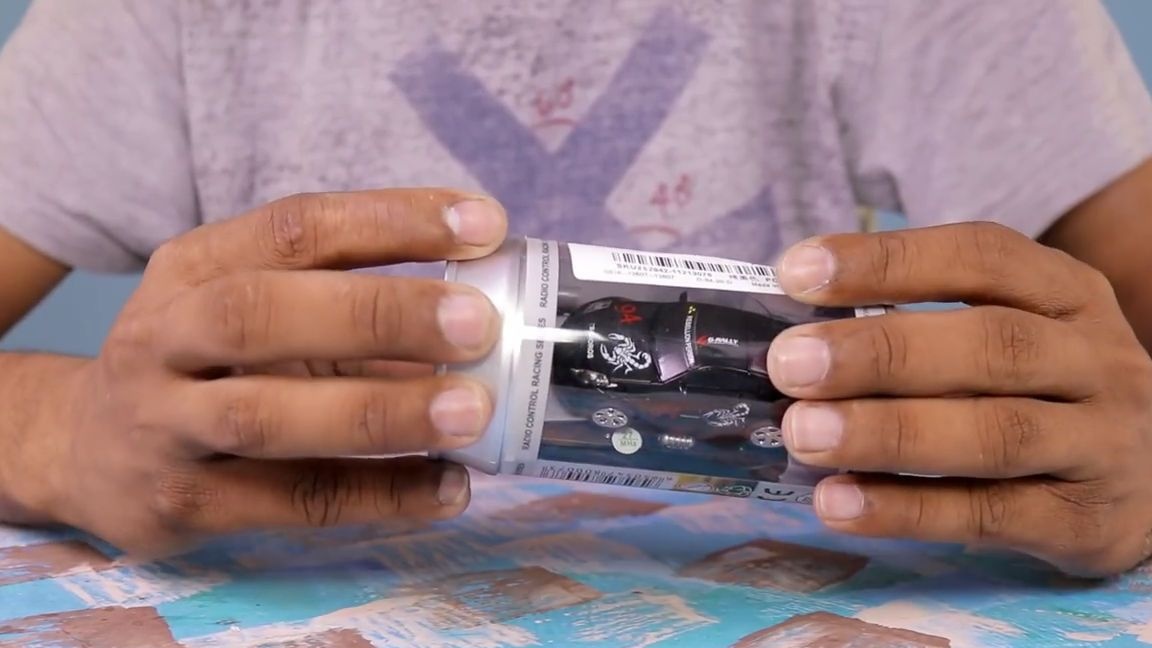
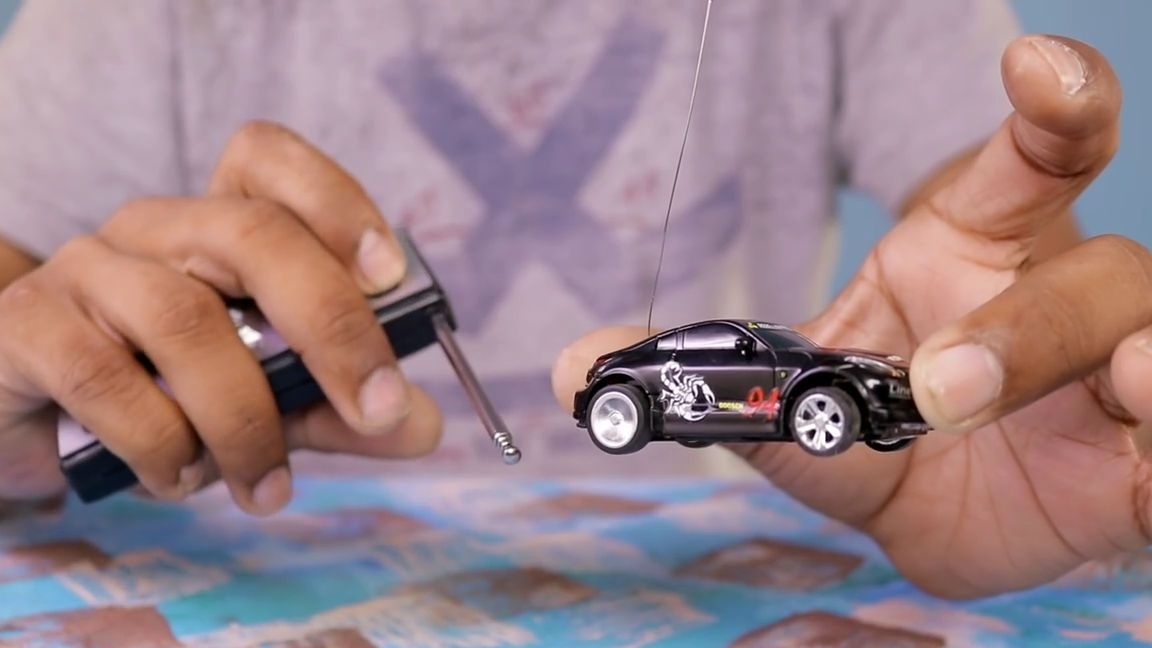
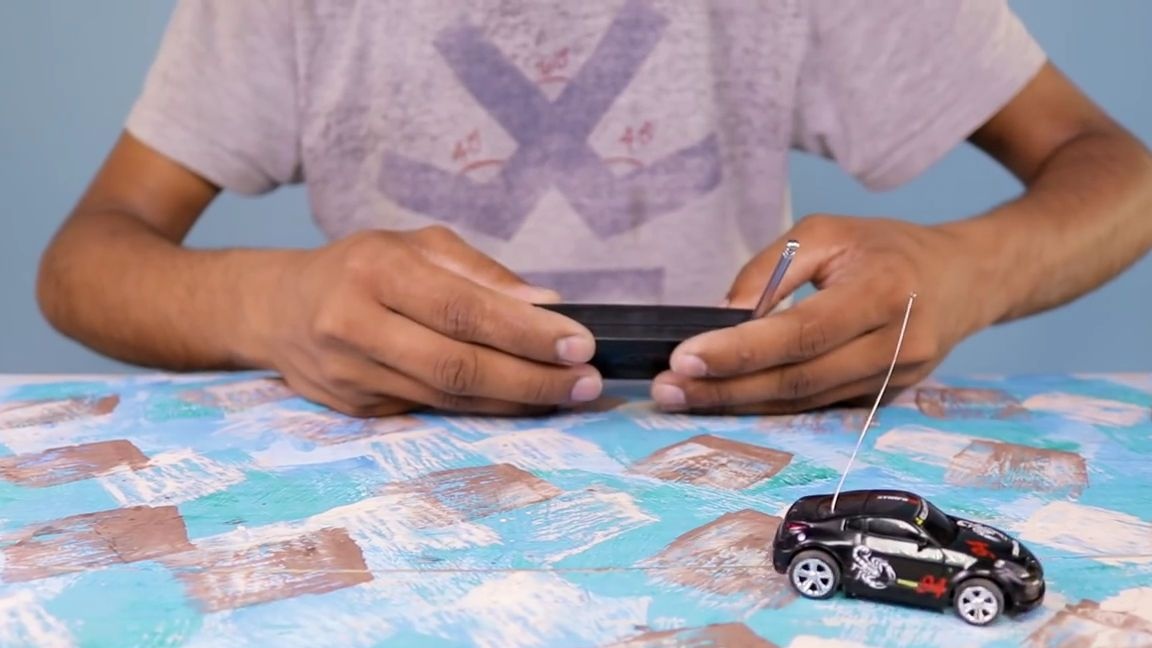
- the radio-controlled machine itself, any not expensive will do
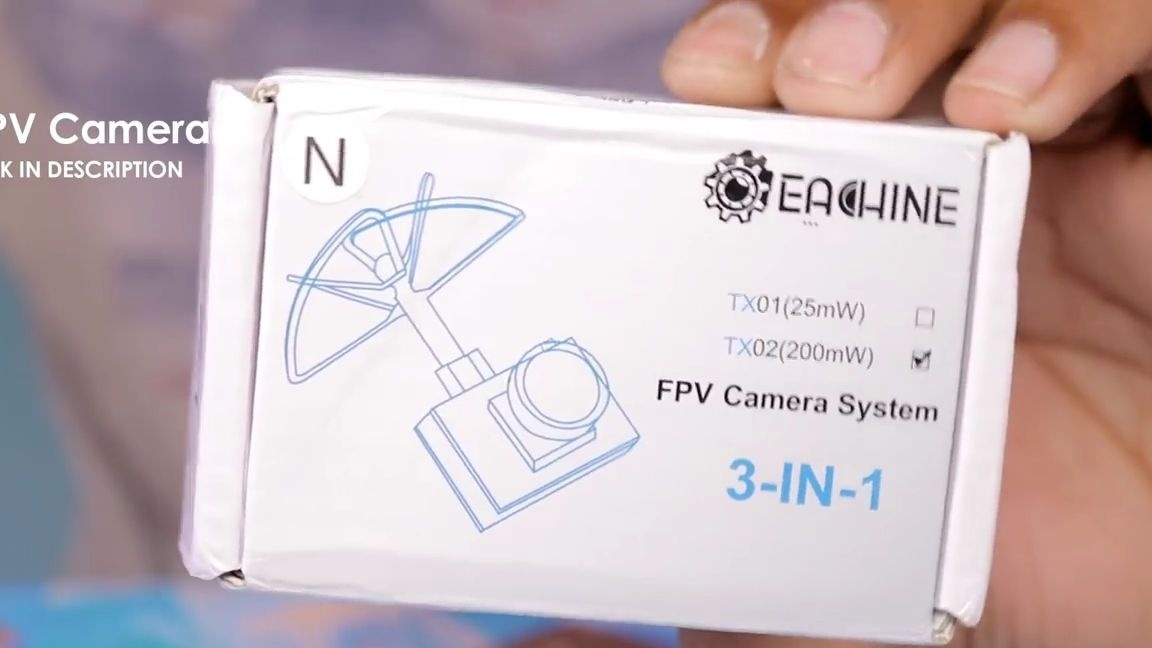
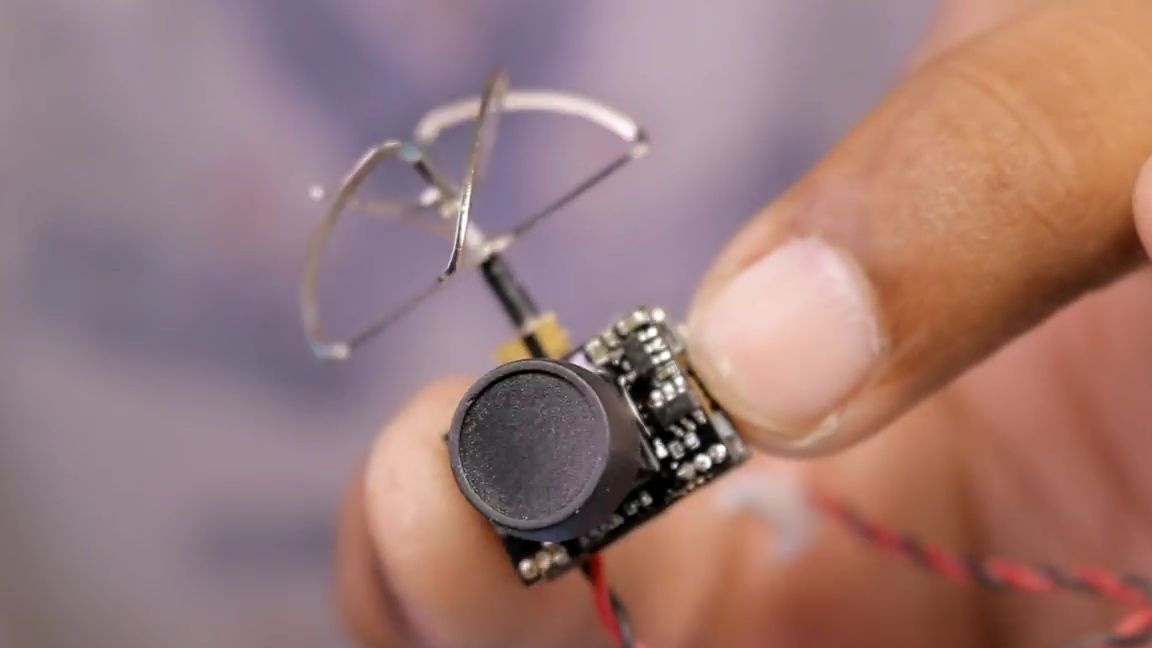
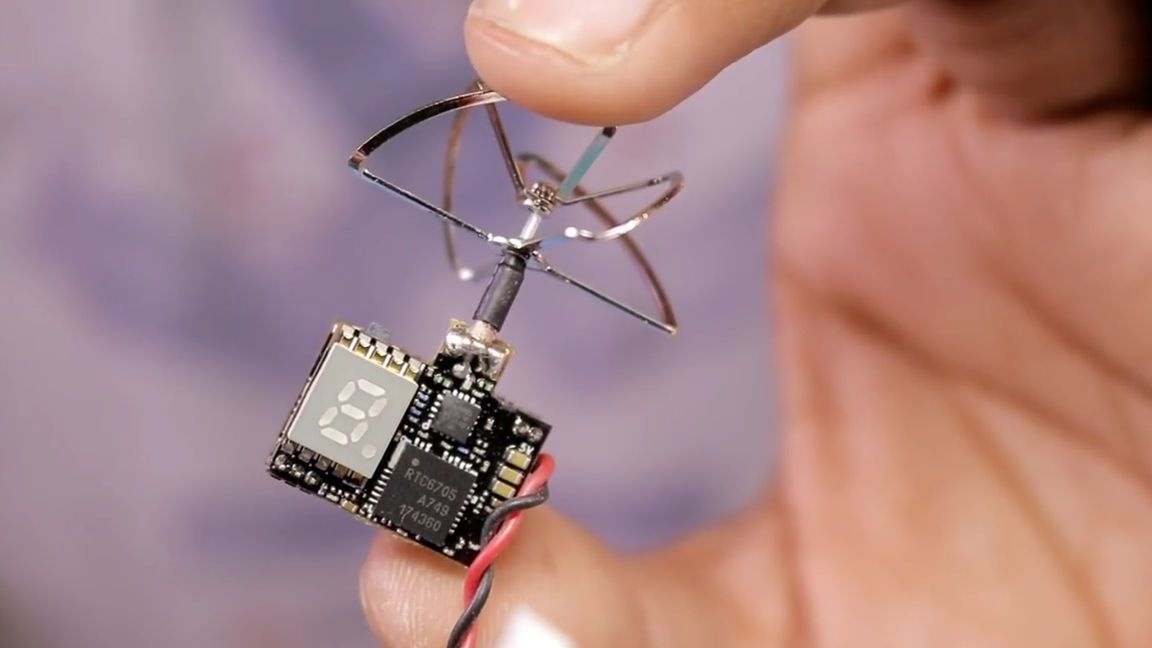
-fpv camera 3 in 1 Eachine tx-01 or tx-02 (by the way I did a separate article on this camera)
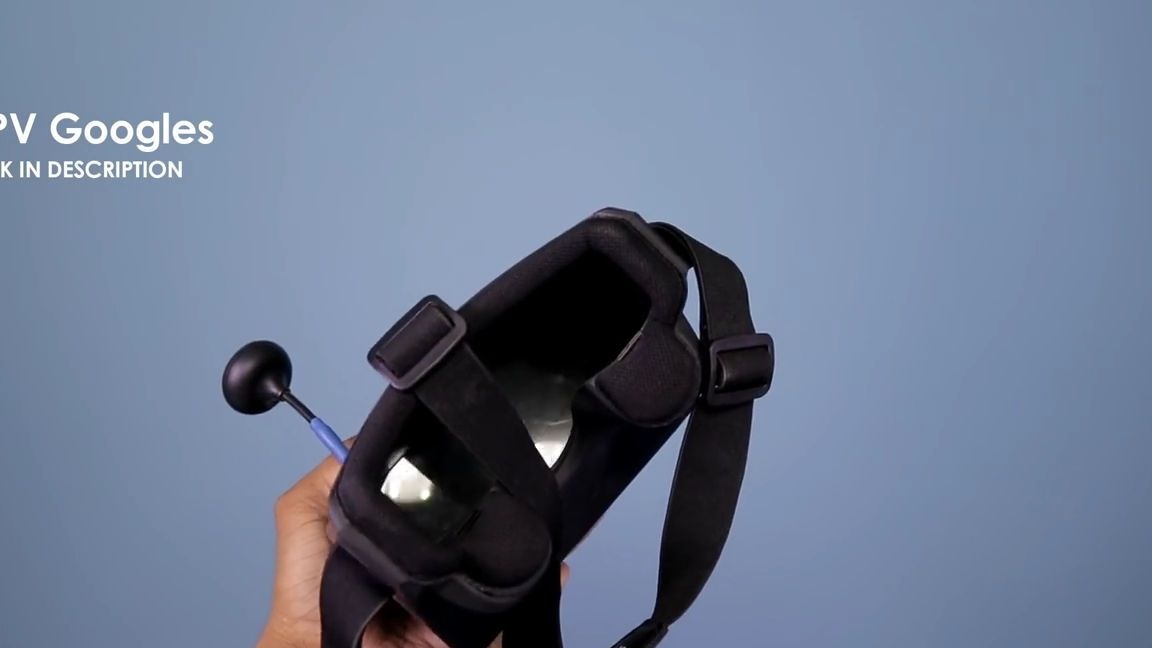
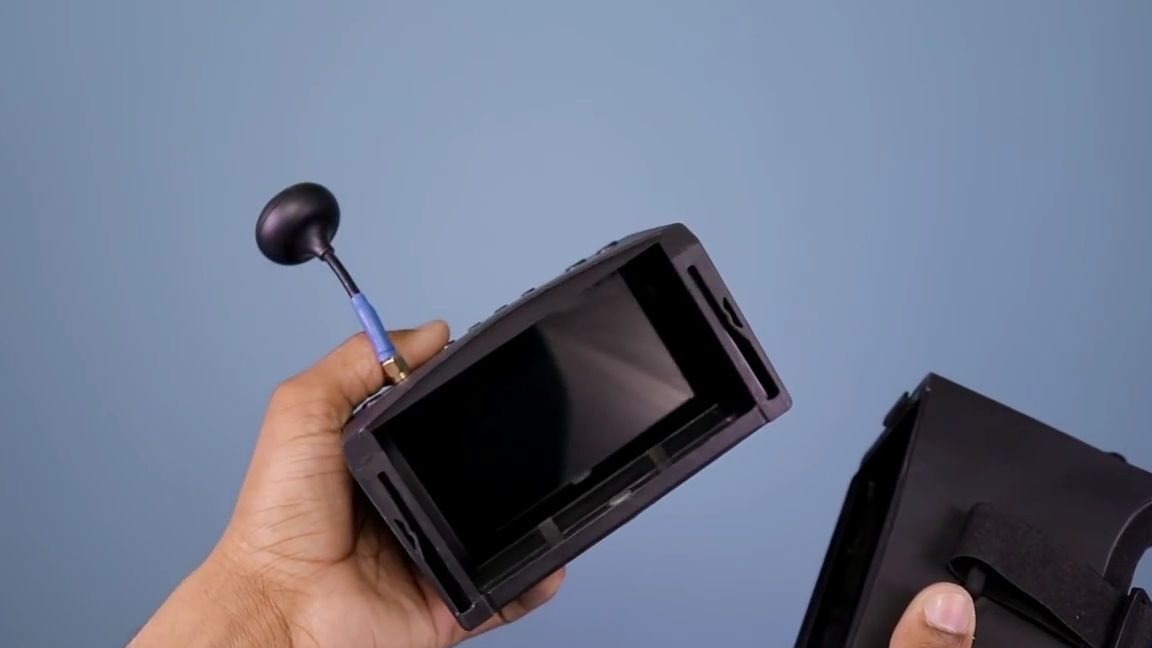
fpv helmet eachine ev800
-plastic ties
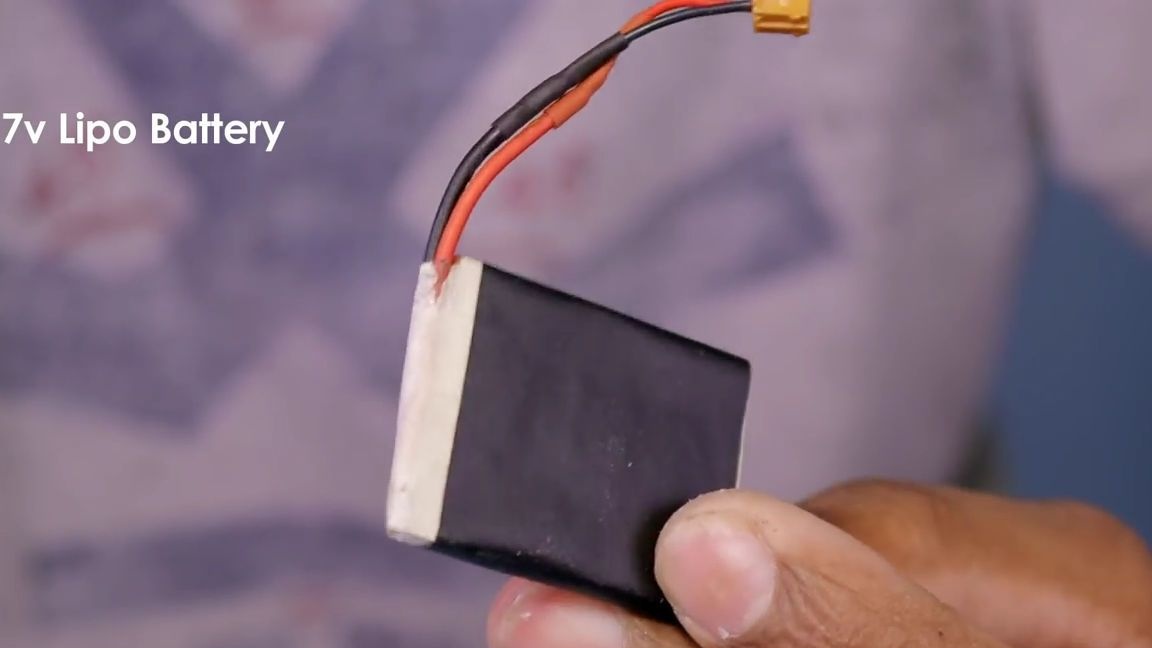
3.7 volt battery at about 500-700 mah
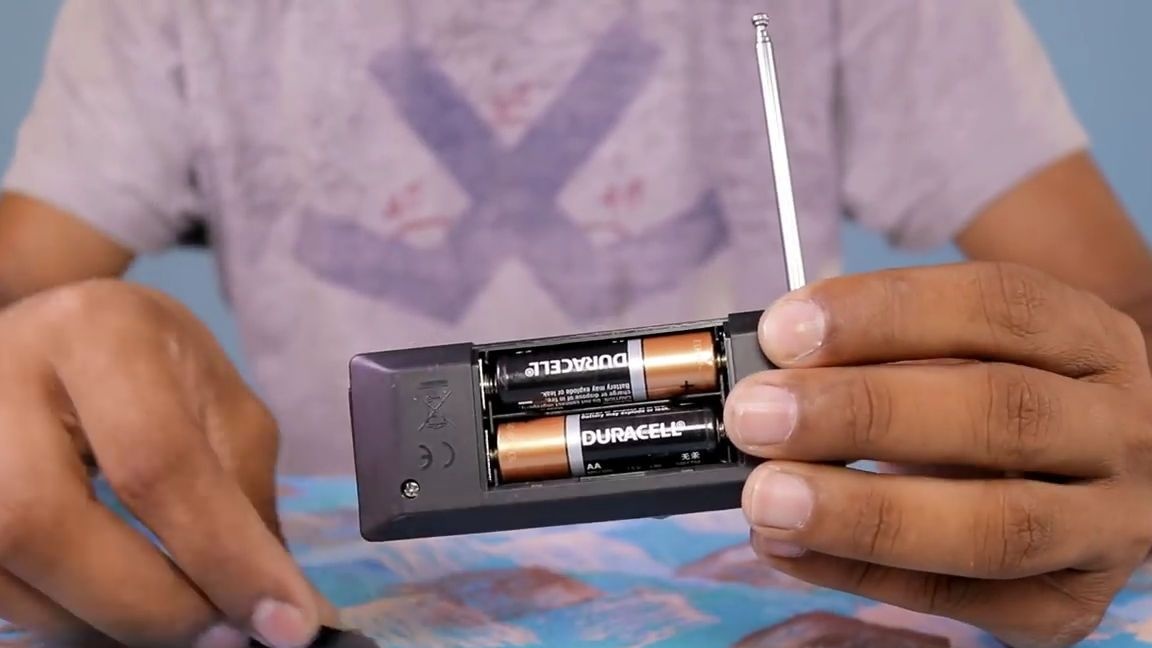
-batteries
Of the tools we will also need:
soldering iron
thermal glue
-scissors
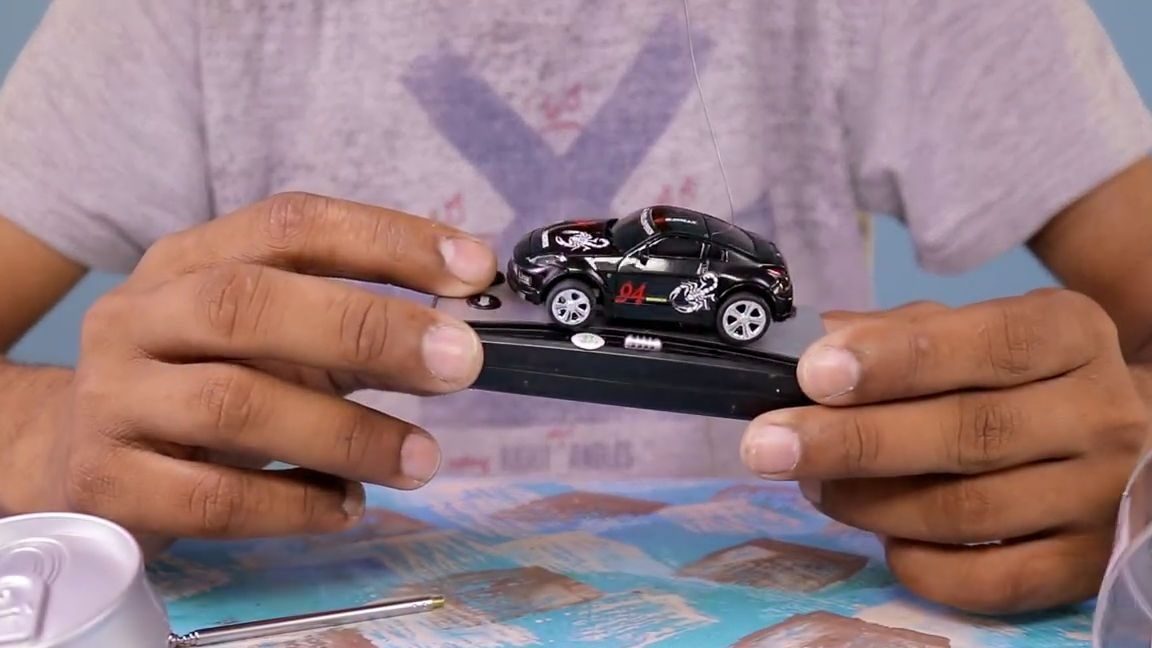
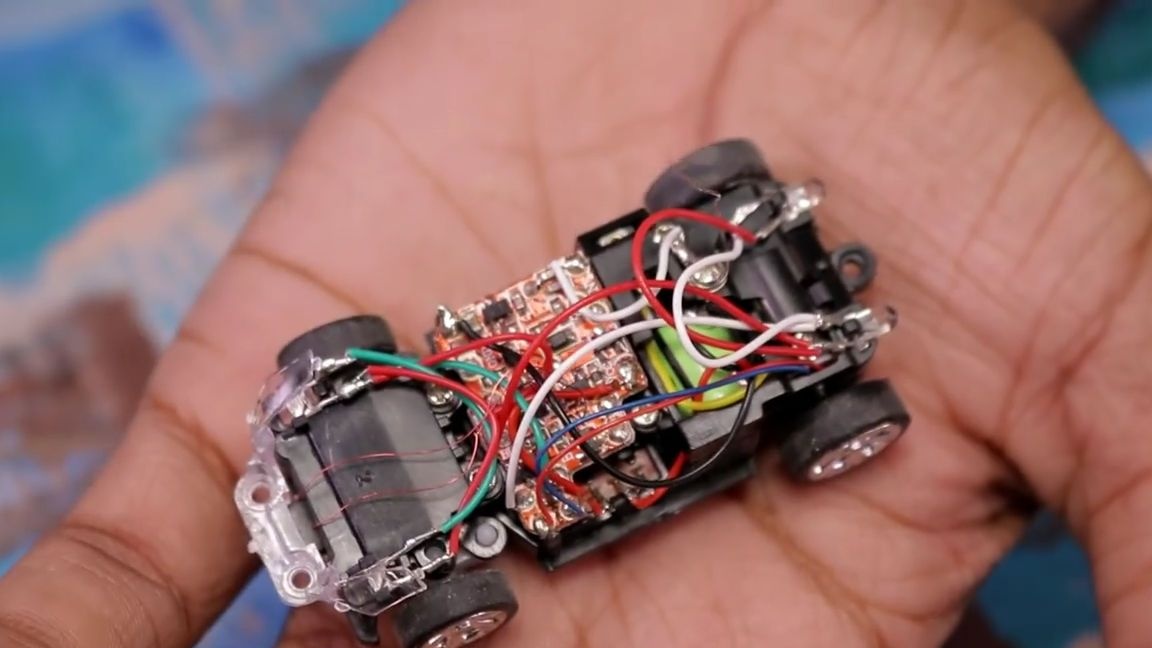
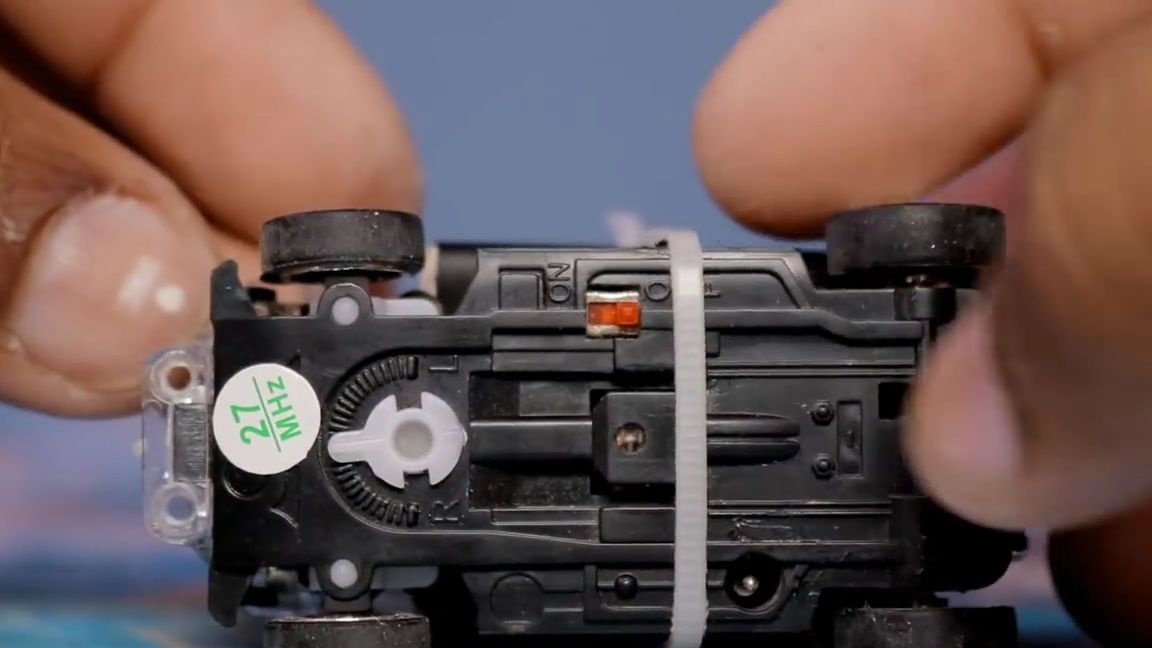
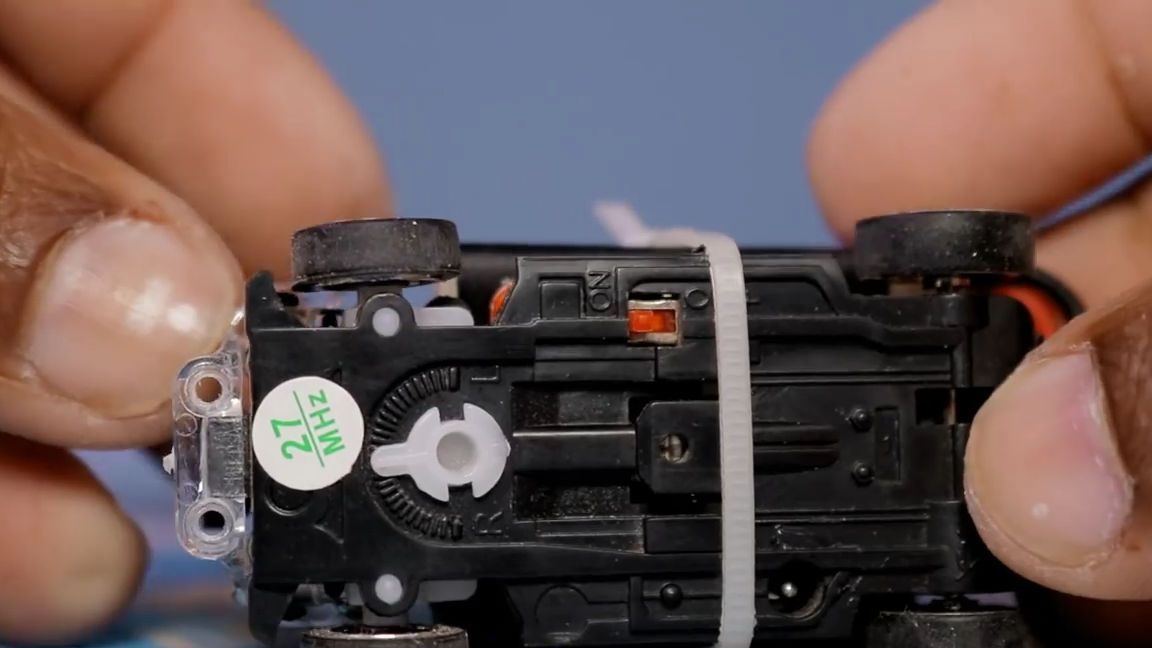
And so, first of all, you need to open the machine and insert the batteries into the control equipment, after which we test the machine for performance:
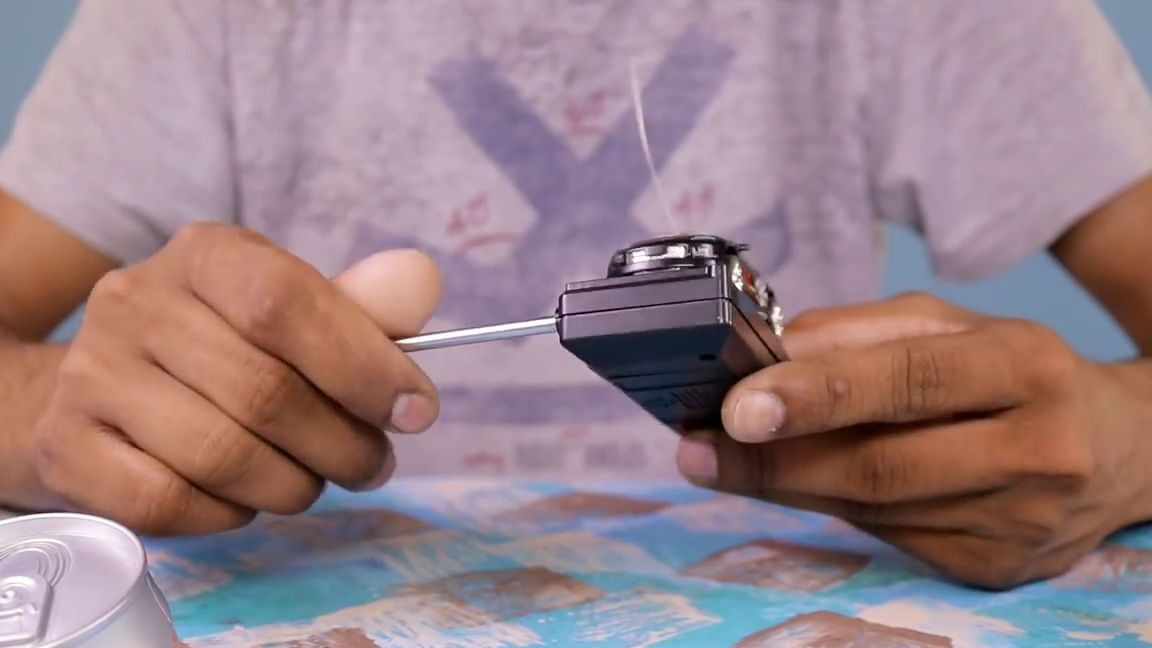
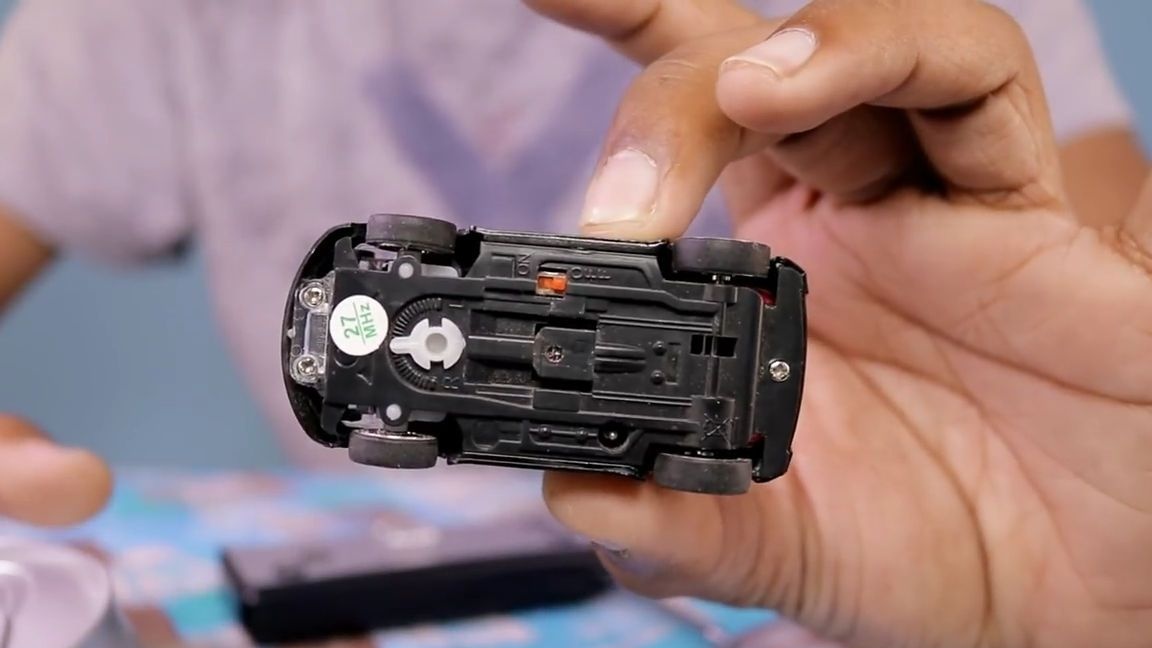
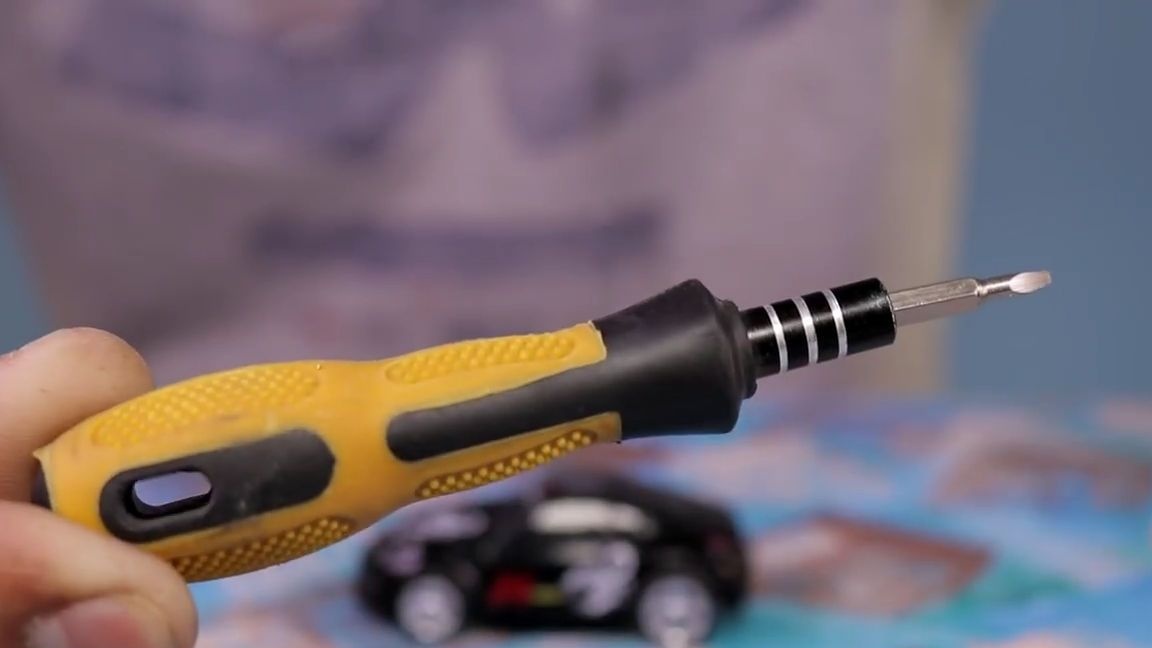
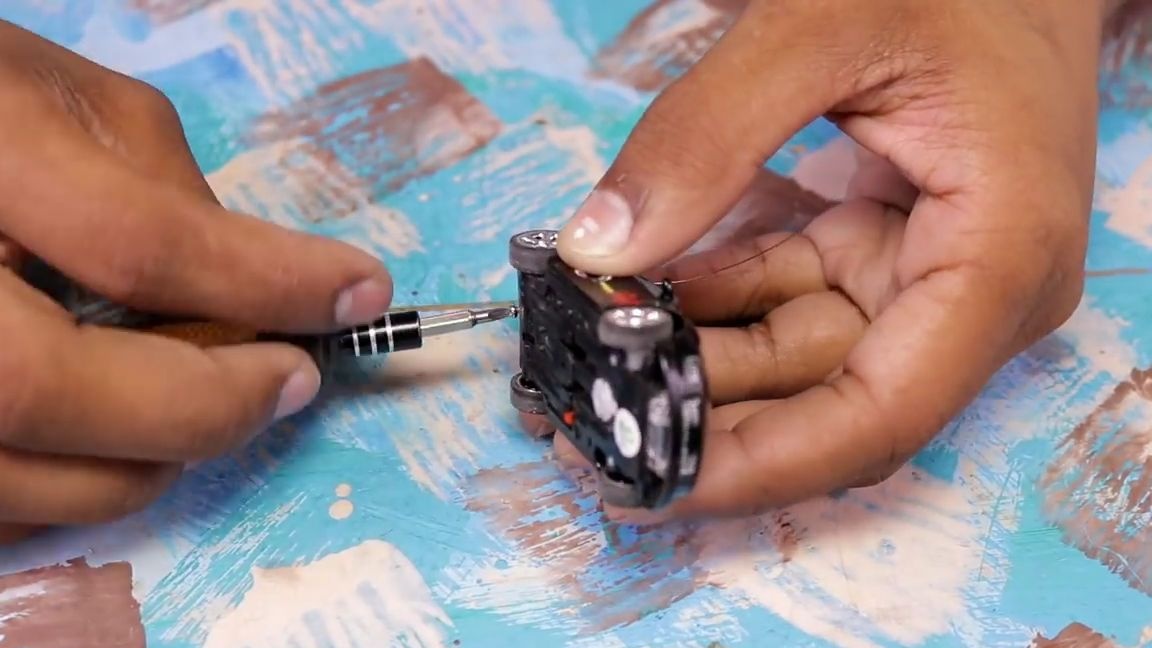
Now we take a screwdriver, unscrew the rear cogs on a typewriter and remove the case:

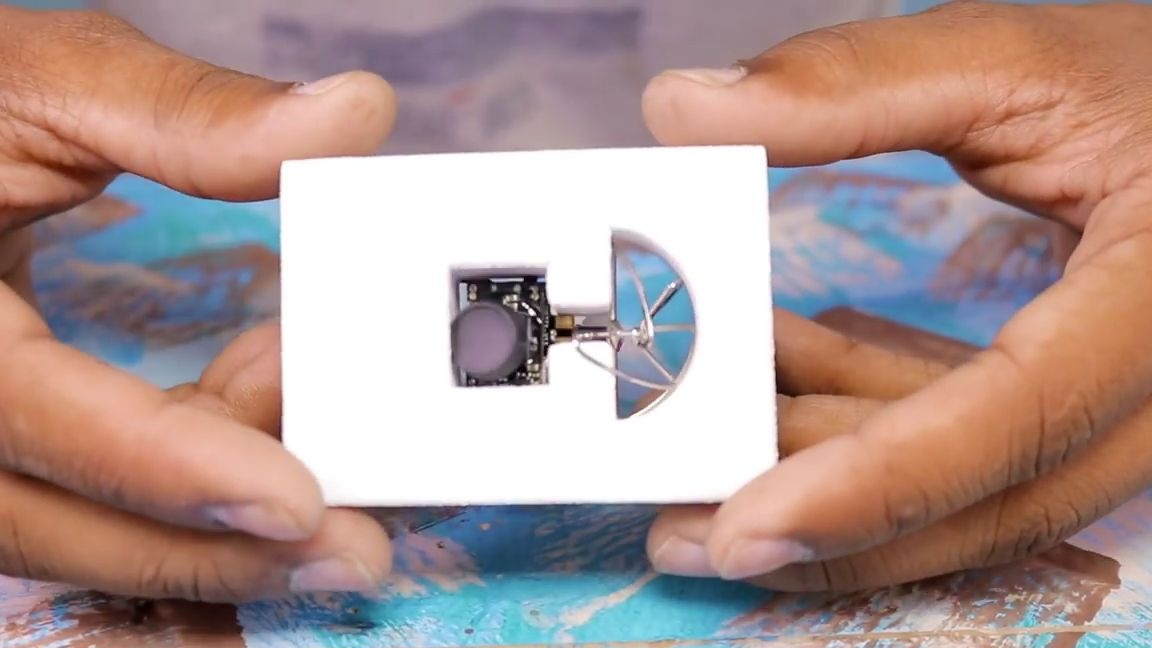
Then we take the fpv camera and take it out of the box:
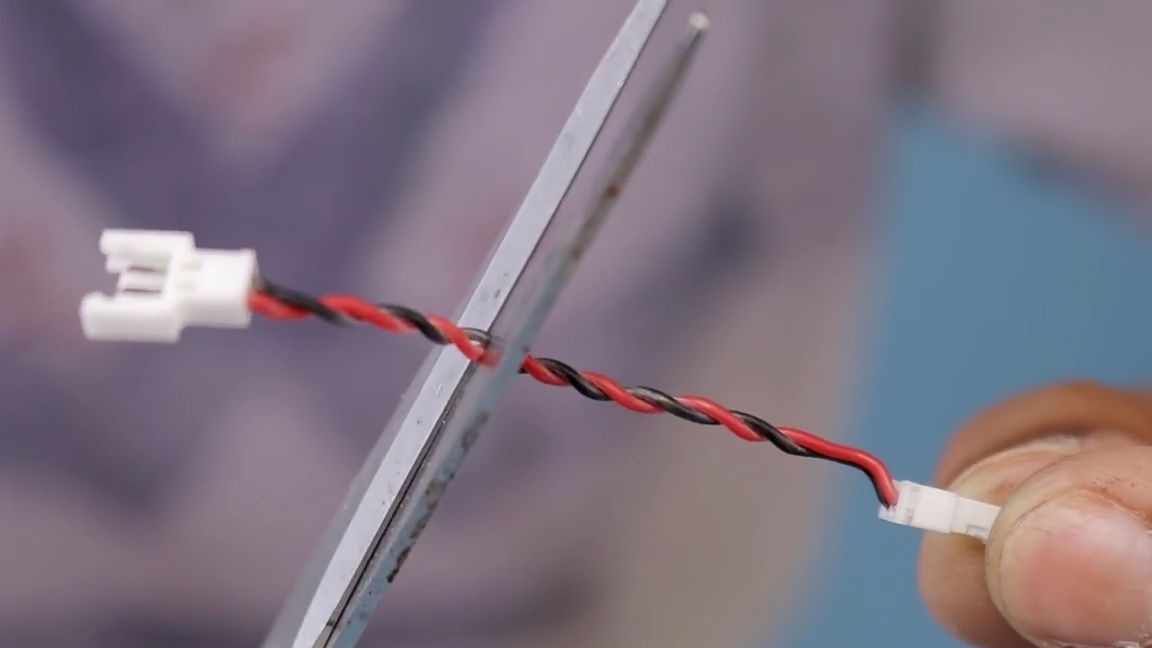
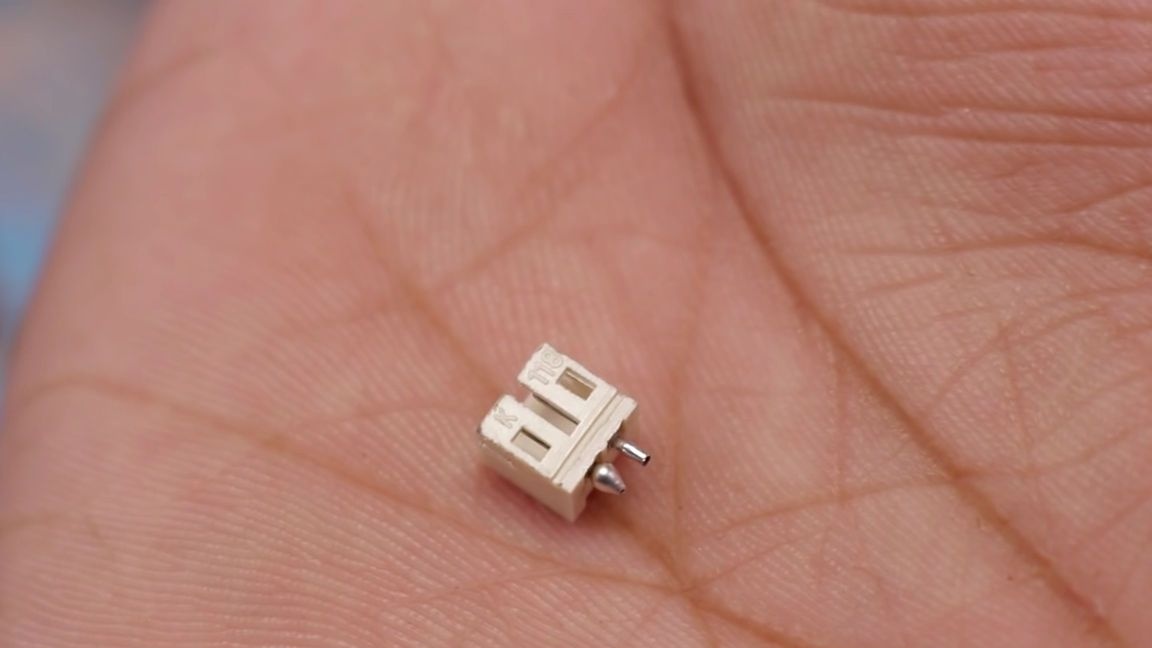
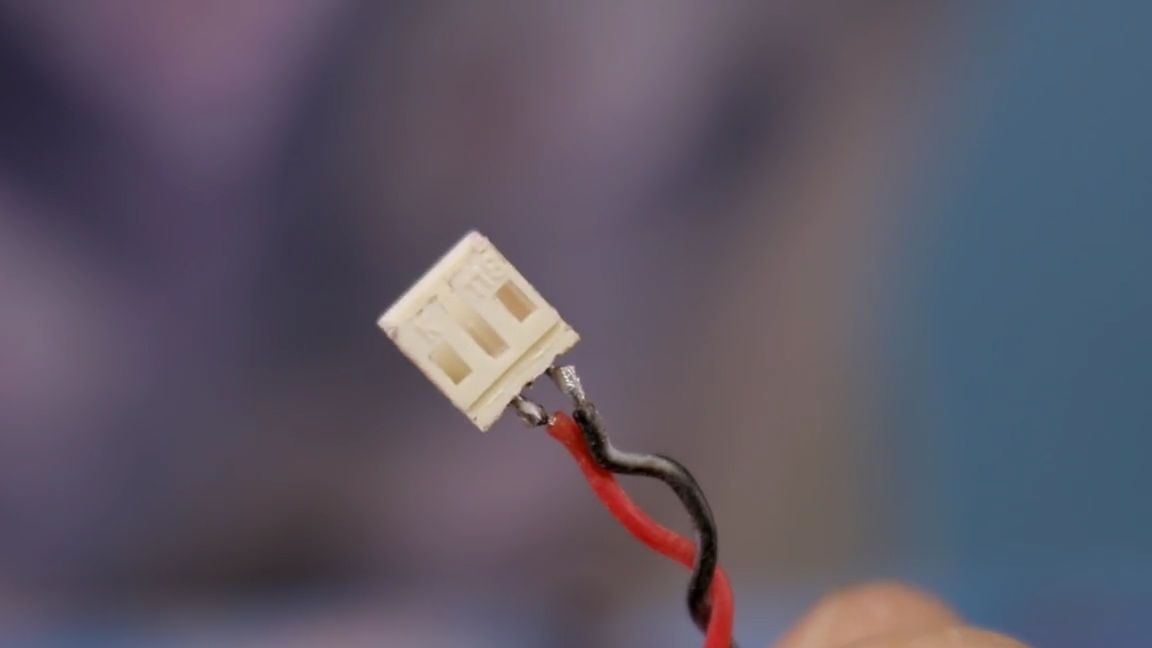
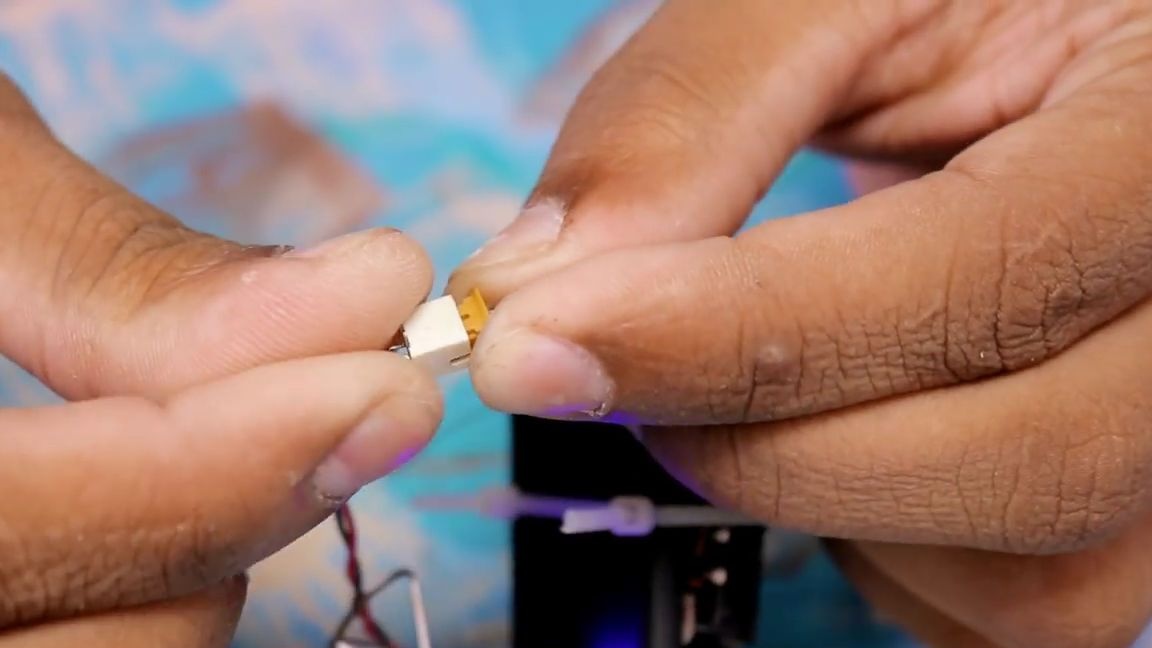
We extend its power wire with the adapter that came with it, then cut off the connector at the adapter and change it so that it fits the connector on your power source, if your power source is without a connector, you can make a small electrical circuit through the switch:


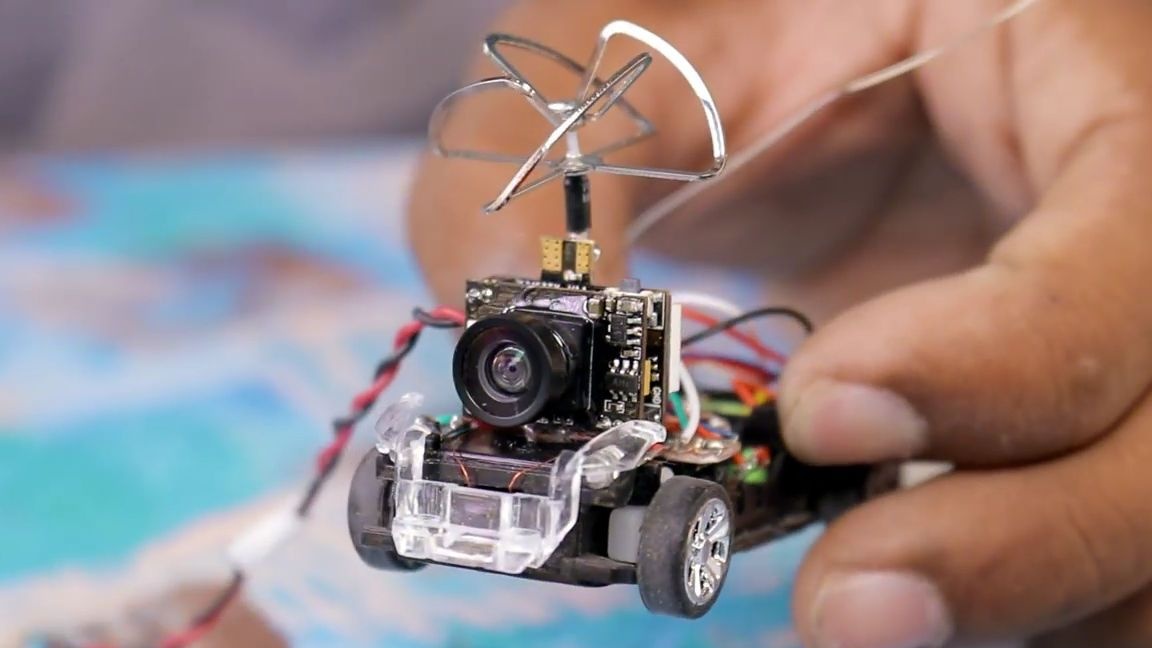
We put a little thermal glue on the camera and glue it on the front of the car body:
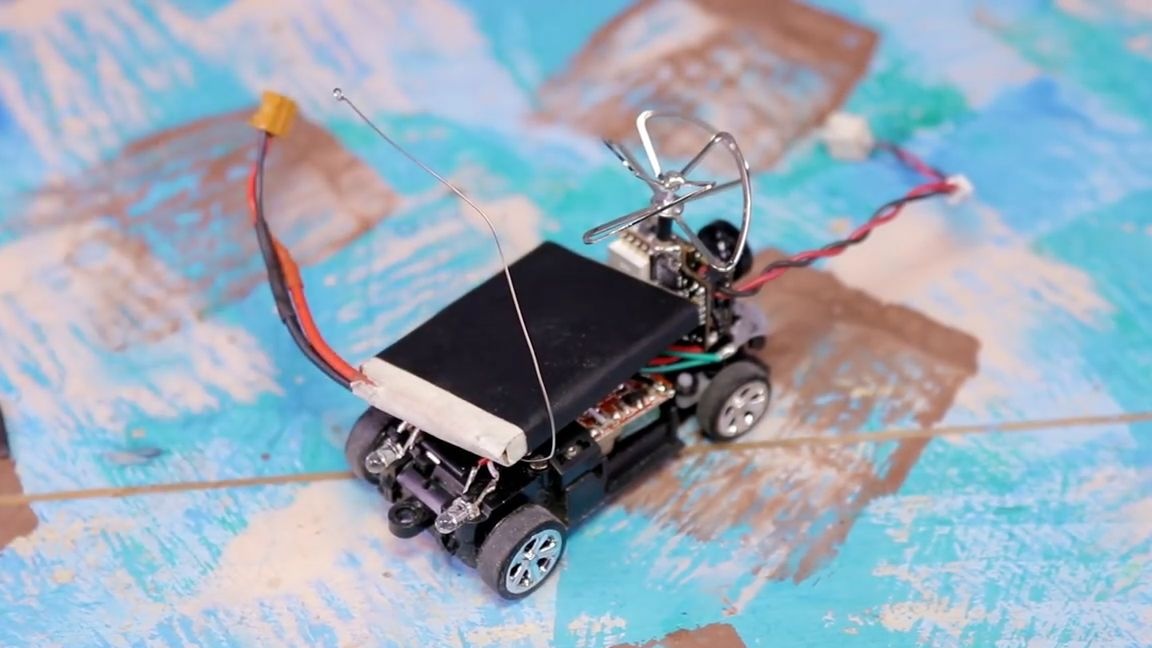
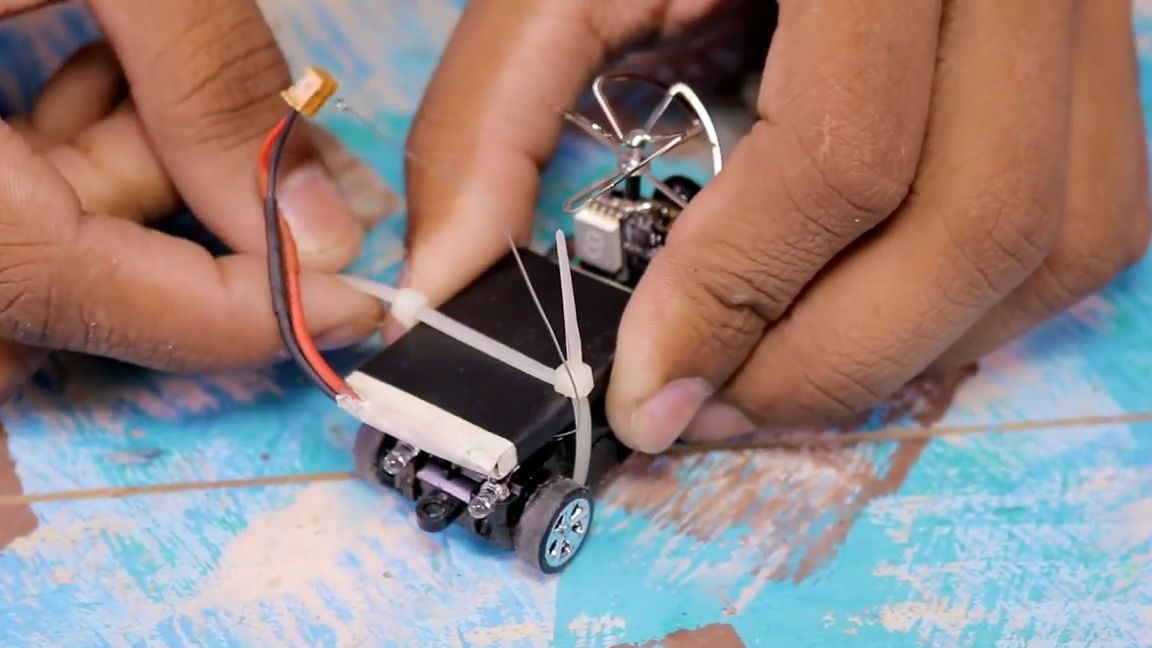
Now we take the battery, attach it to our case and fix it with a plastic screed, in principle, you can also use ordinary electrical tape:
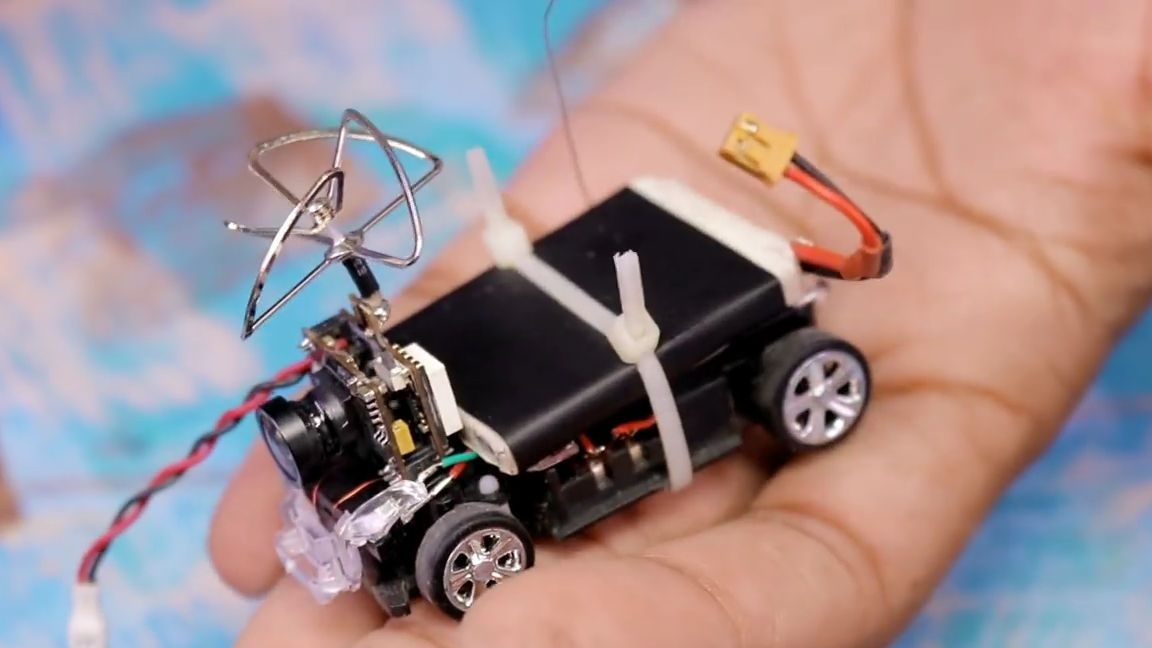
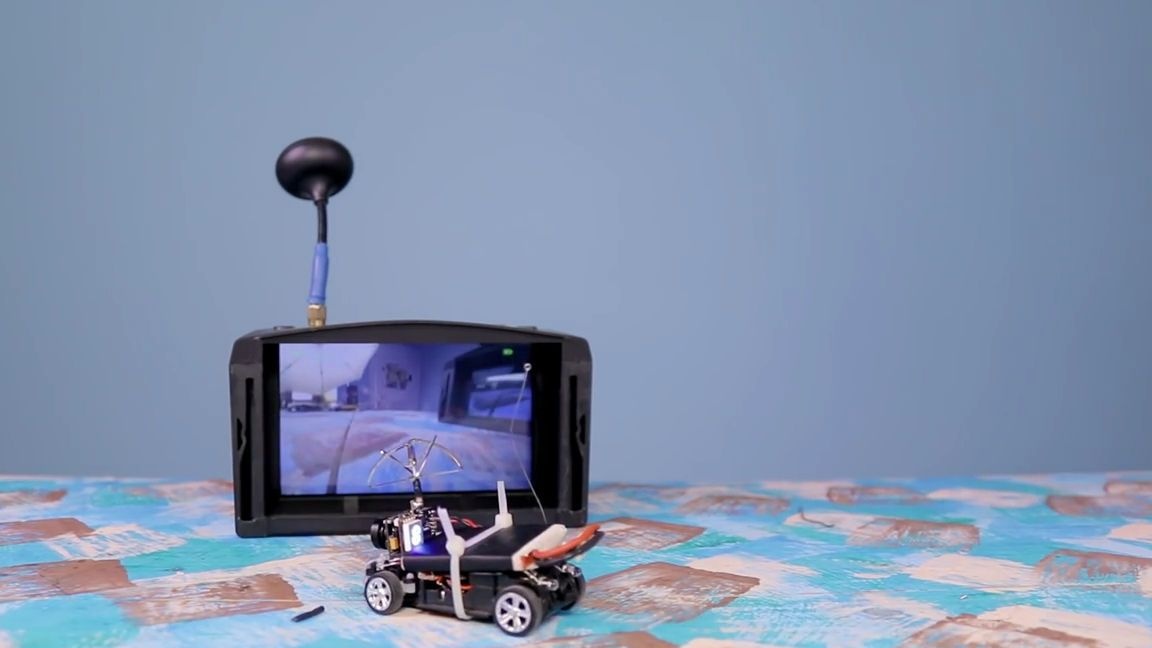
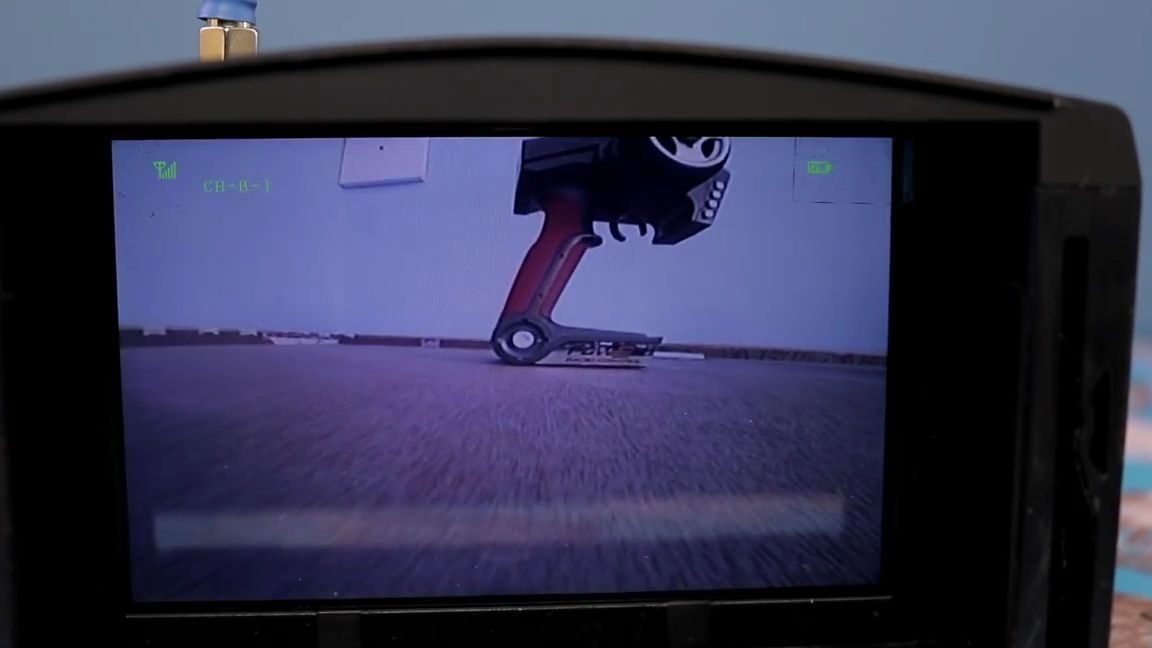
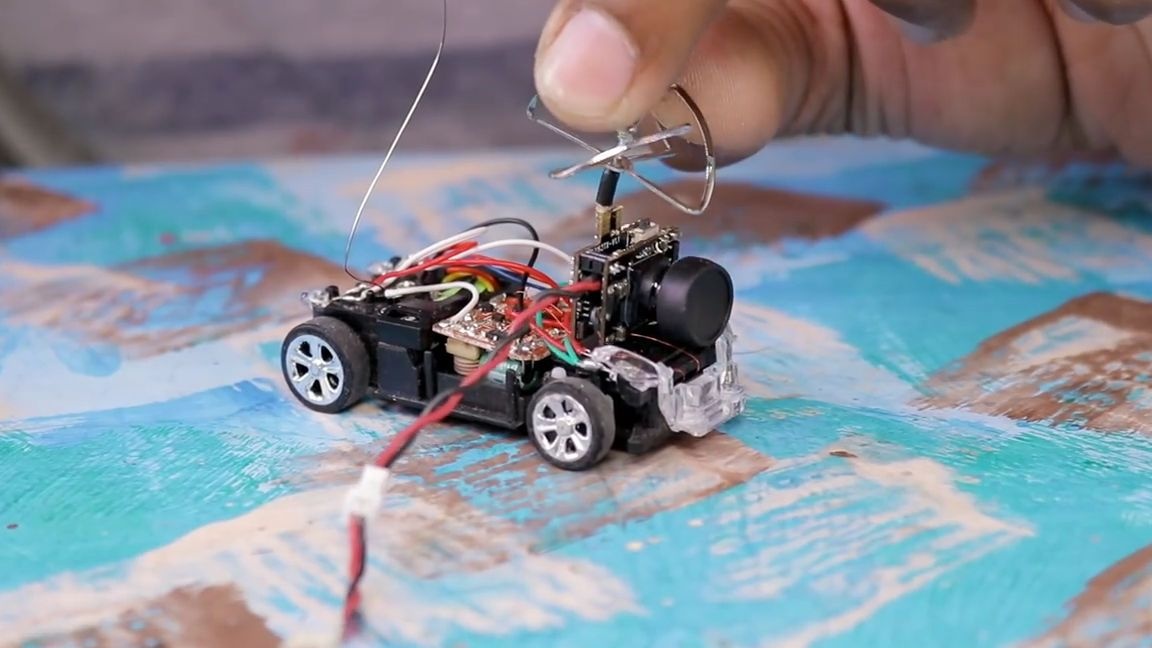
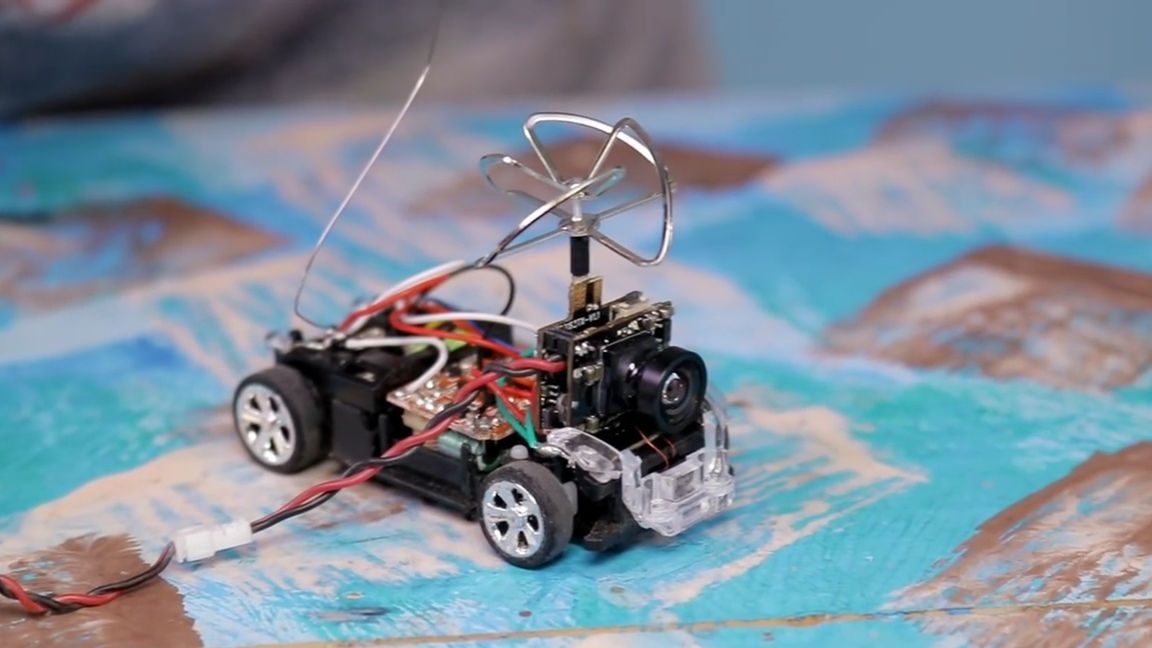
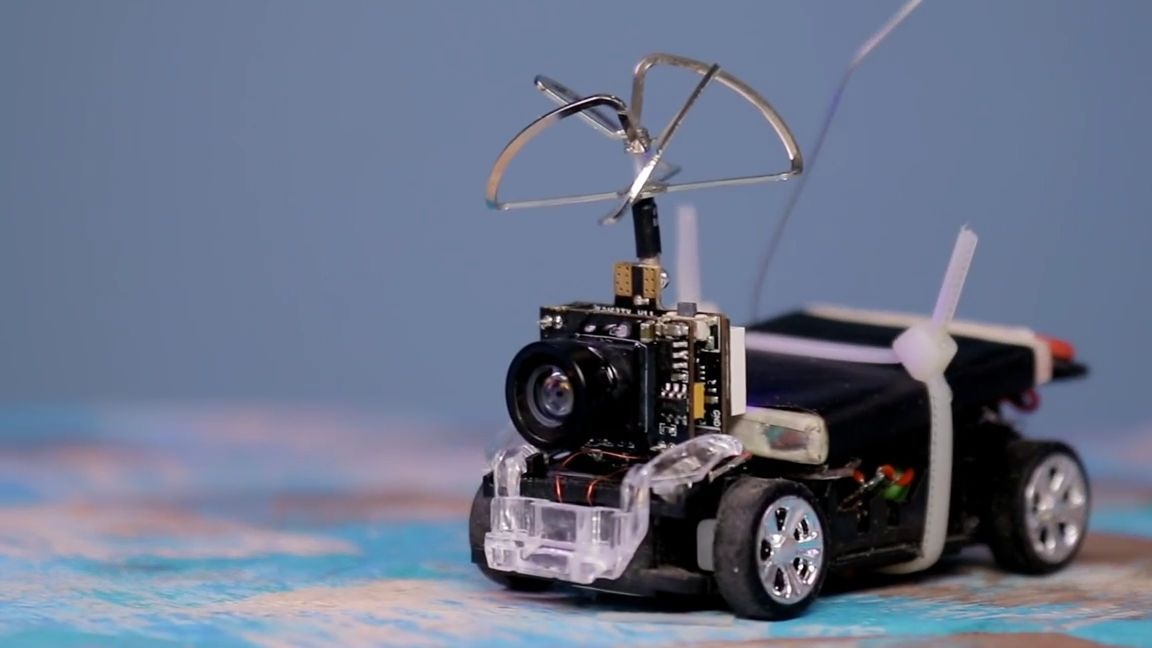
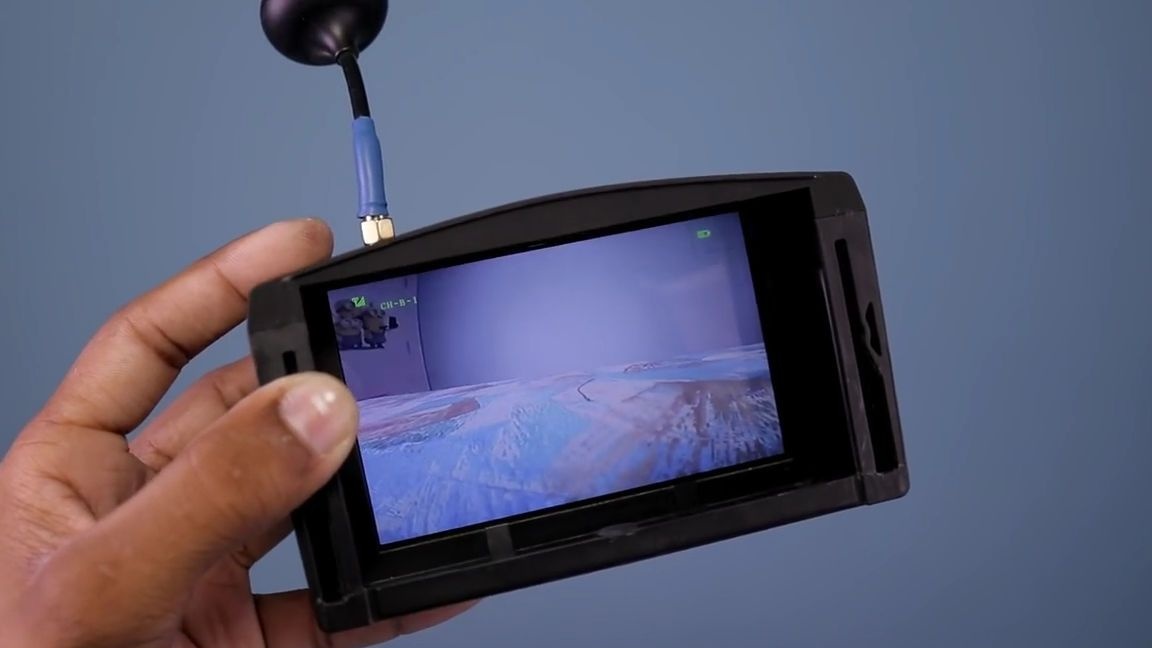
We connect the camera and the power source, the indicator on the camera should light up. If you have everything done correctly, then congratulations, the machine with fpv equipment is ready and it remains only to test it!
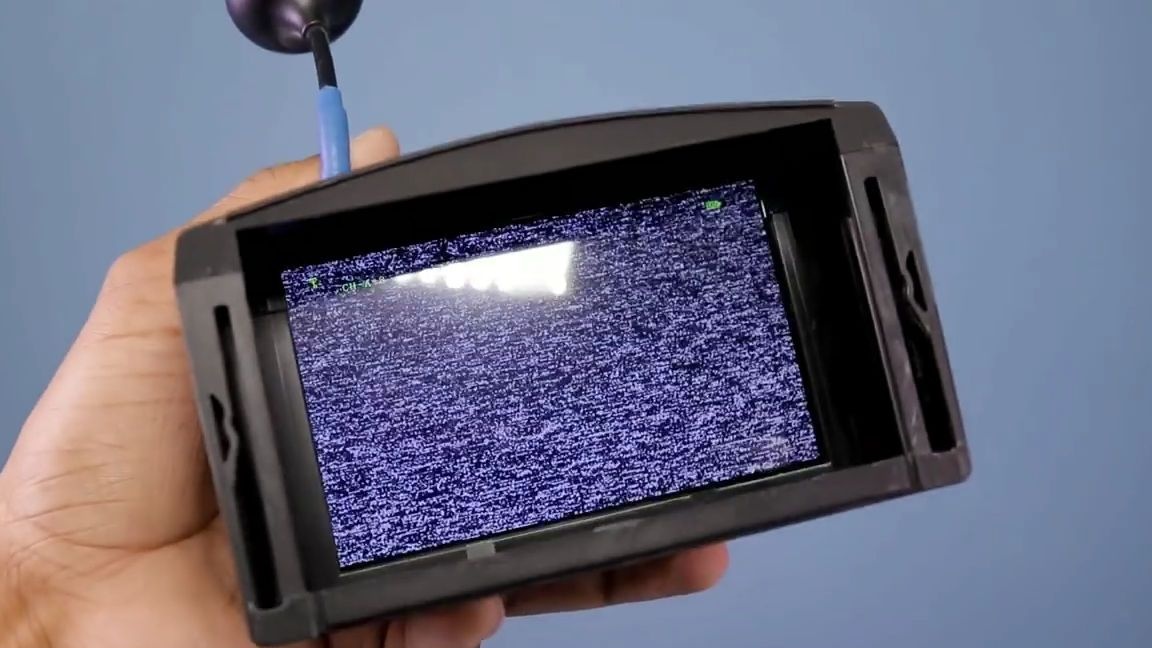
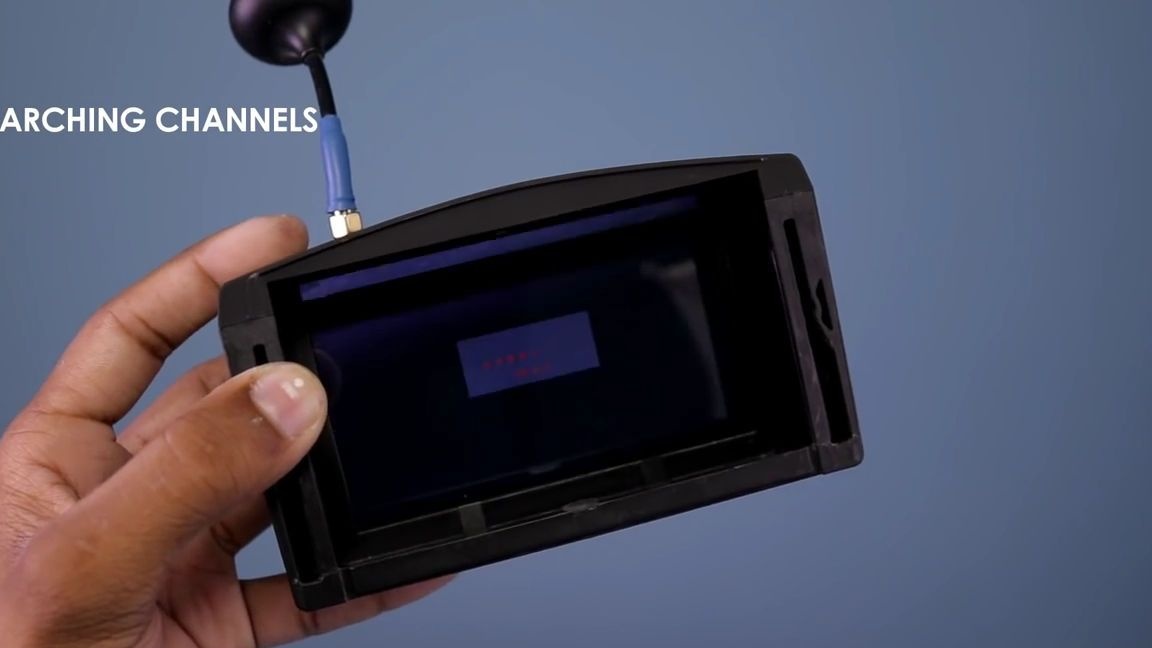
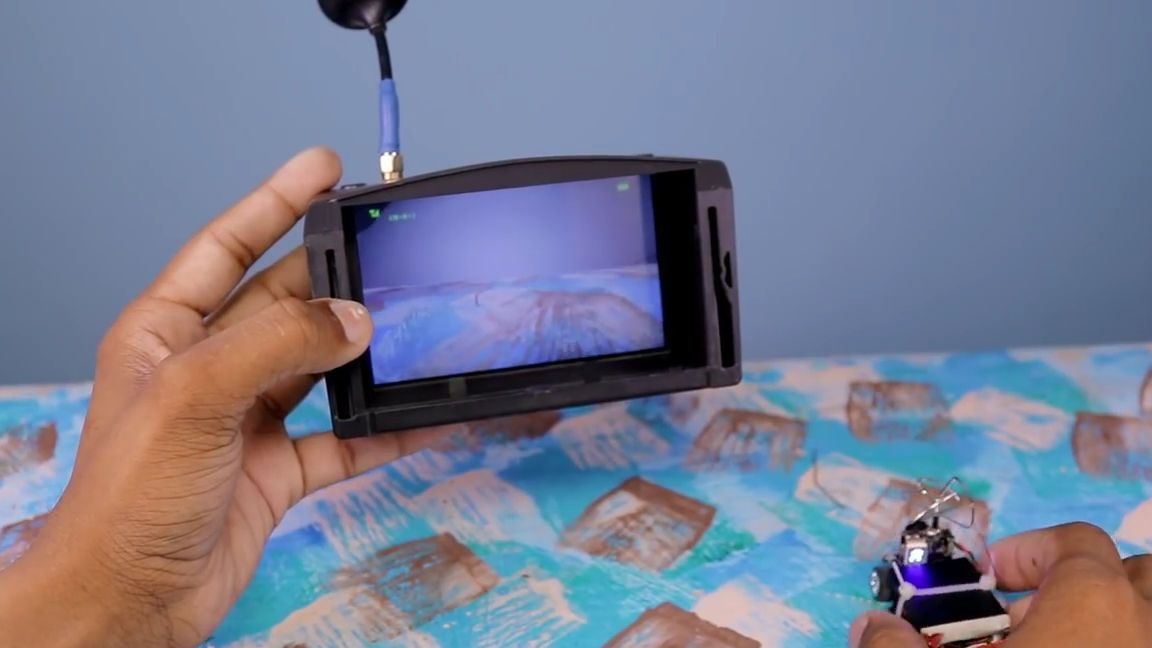
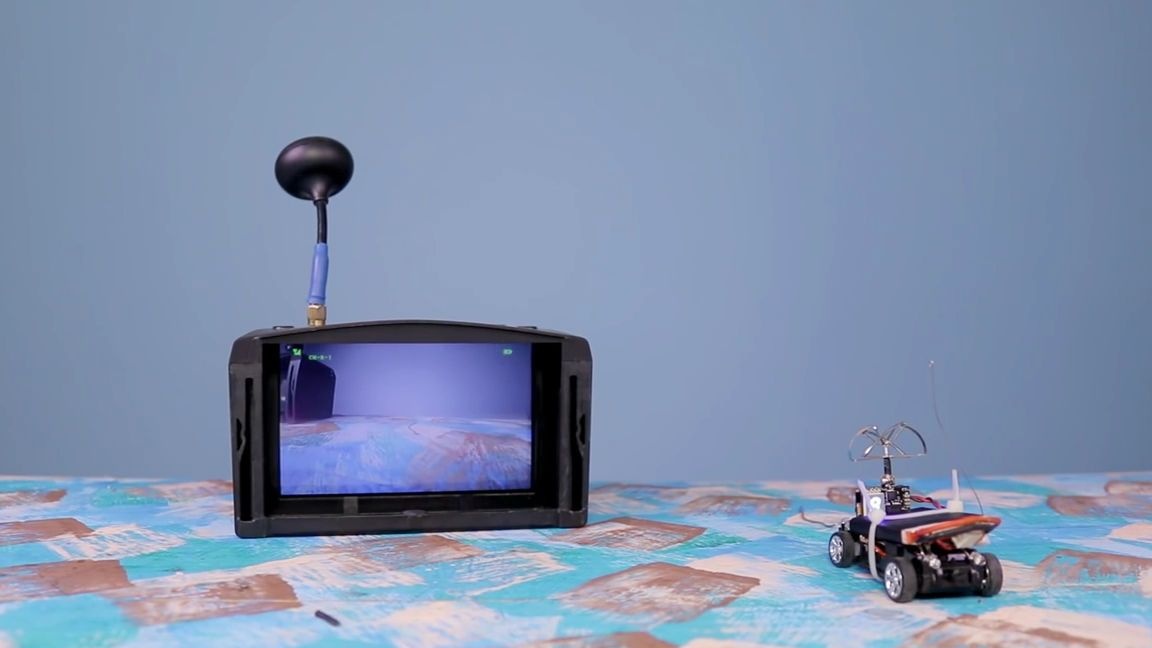
But for this it is necessary to take the fpv helmet, remove the lens from it if the helmet supports this function, turn it on and start automatic channel search, after the helmet finds its camera, you can start driving!
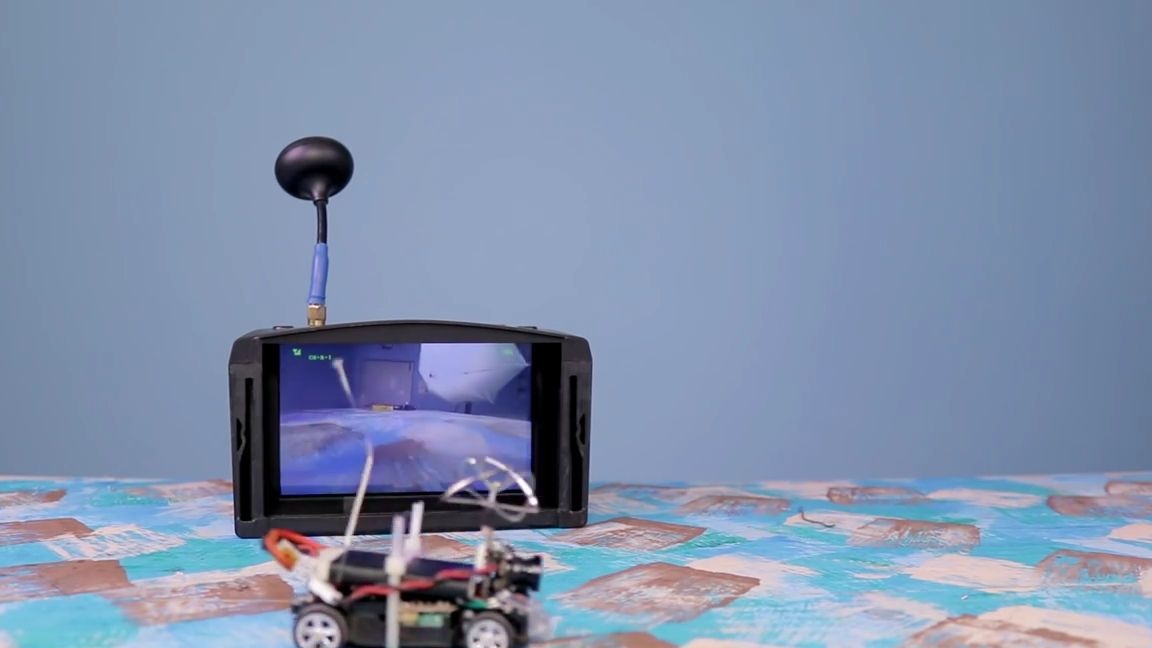
The toy is very interesting and I think it will appeal to both adults and children, because it allows you to drive cars from the first person directly around the house and as for me it is very cool.
By the way, if you want, I can make a separate article about this machine as a product from Aliexpress.
Here is a detailed video from the author with the tests and the assembly of this homemade product:
Well, thank you all for your attention and good luck in future projects, friends!