
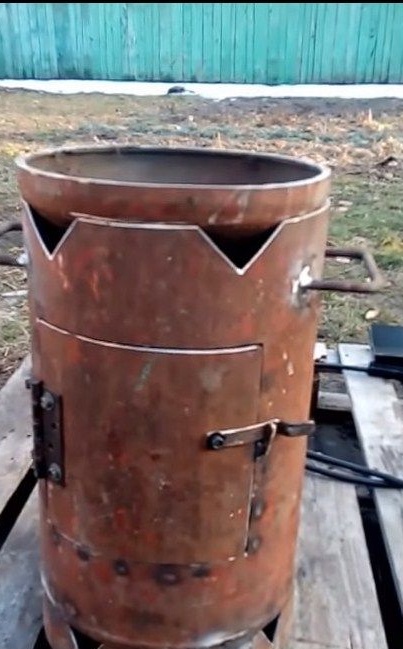
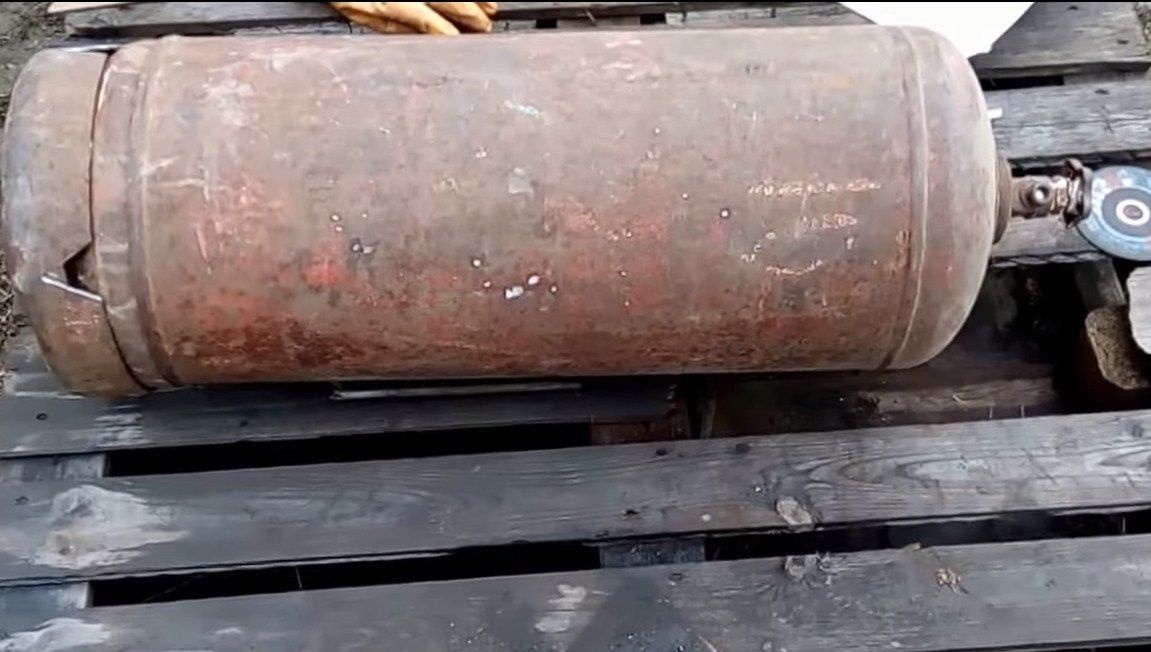
Greetings to the masters. If you are engaged in field trips or just you have country house, for such a thing you need a faucet portable stove on which you can cook or fry something. The best source material for such an oven can be considered an old gas cylinder. So if you have a lot of them, you can safely proceed to the manufacture of furnaces, especially since they can be sold. The cylinder does not have to be whole, it can have holes, but the metal must be less or less whole, otherwise it will quickly burn out.
The author made an excellent stove to order from a gas cylinder. It is designed to install a cauldron, and if necessary, you can put a frying pan, cast iron or something like that here. Everything is done quite simply, the main tool here is the grinder, as well as the welding machine. Everything else depends on the skill and patience of the master. It should be noted right away that you need to work with gas cylinders extremely carefully. So, we will consider in more detail how to make such an oven!
Materials and tools used by the author:
Material List:
- gas bottle;
- door hinge (to hang the door);
- bolts with nuts;
- fittings (for the manufacture of grates).
Tool List:
- ;
- ;
- spanners;
- a brush on the grinder for cleaning, refractory paint and so on.
Furnace manufacturing process:
Step one. Gas bottle preparation
First of all, remember that if a gas cylinder is not even used for a long time, it will most likely remain in it, and as soon as you start cutting it, an explosion will occur. Injuries can be serious, even fatal. Do not forget about others!
To well clear the container of its contents, there are many ways. To begin, turn off the tap and bleed the gas. After this, the valve must be turned out completely and the contents poured out of the cylinder.
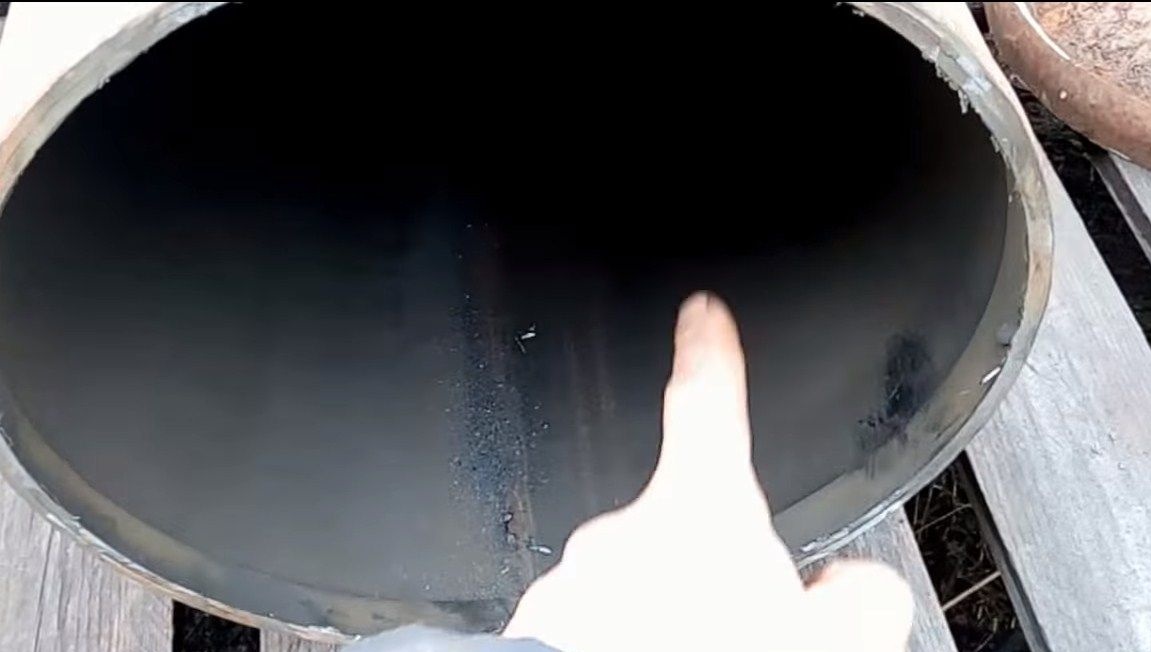
Well, then fill the bottle with water under the neck and turn off the tap. We cut the cylinder directly with water inside. Or you can rinse the bottle several times with warm water.For 100th safety, the cylinders are burned in a fire. We install it vertically, we turn off the crane, and we make a fire around. Step back to a safe distance immediately and wait for it to end.
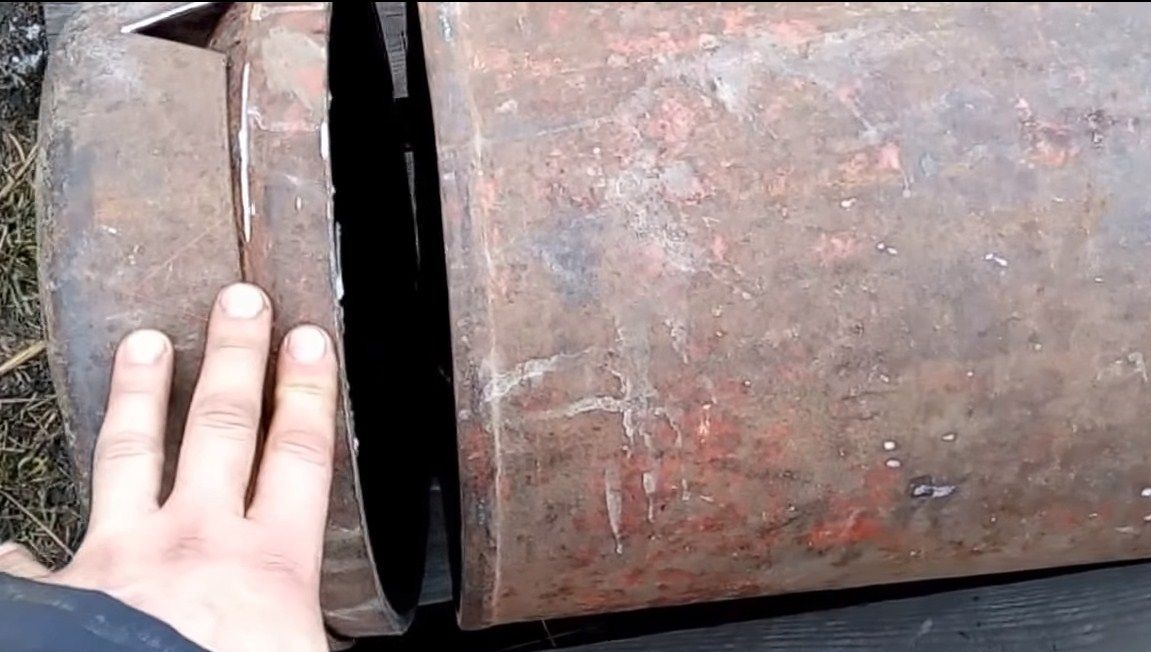
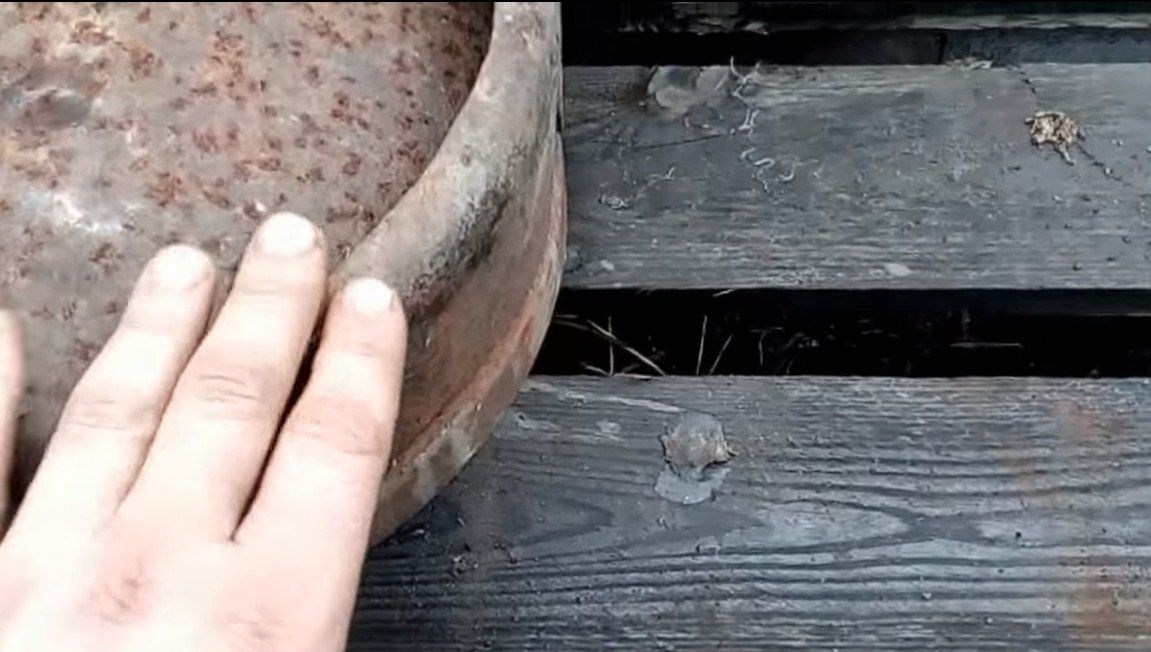
Step Two Cut off the bottom
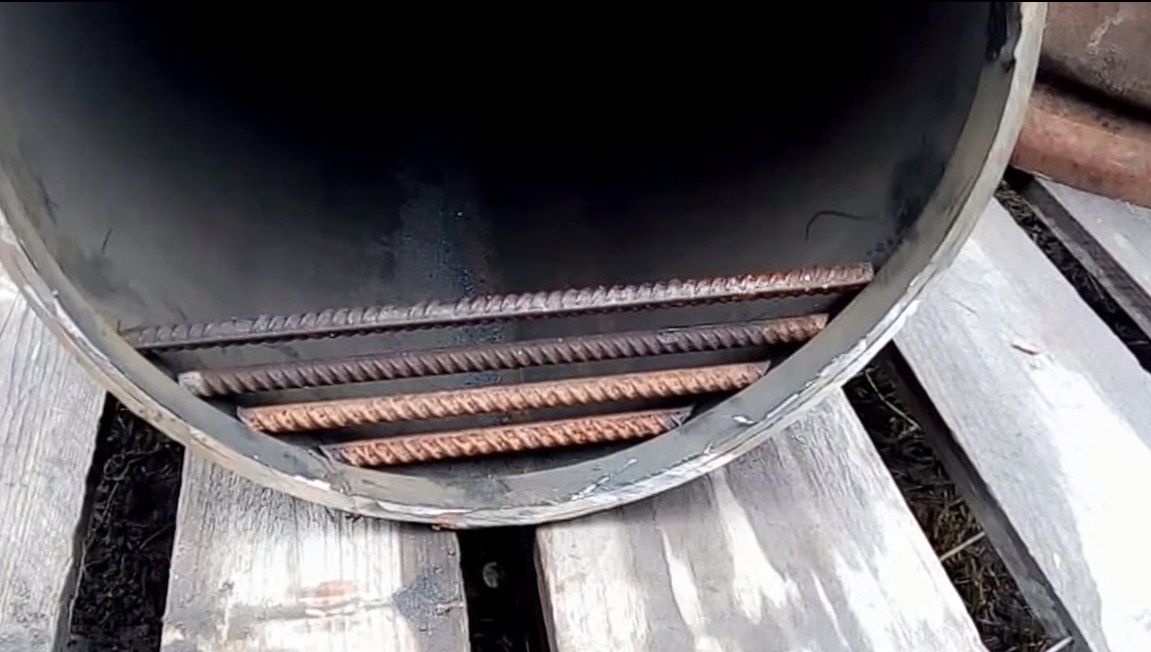
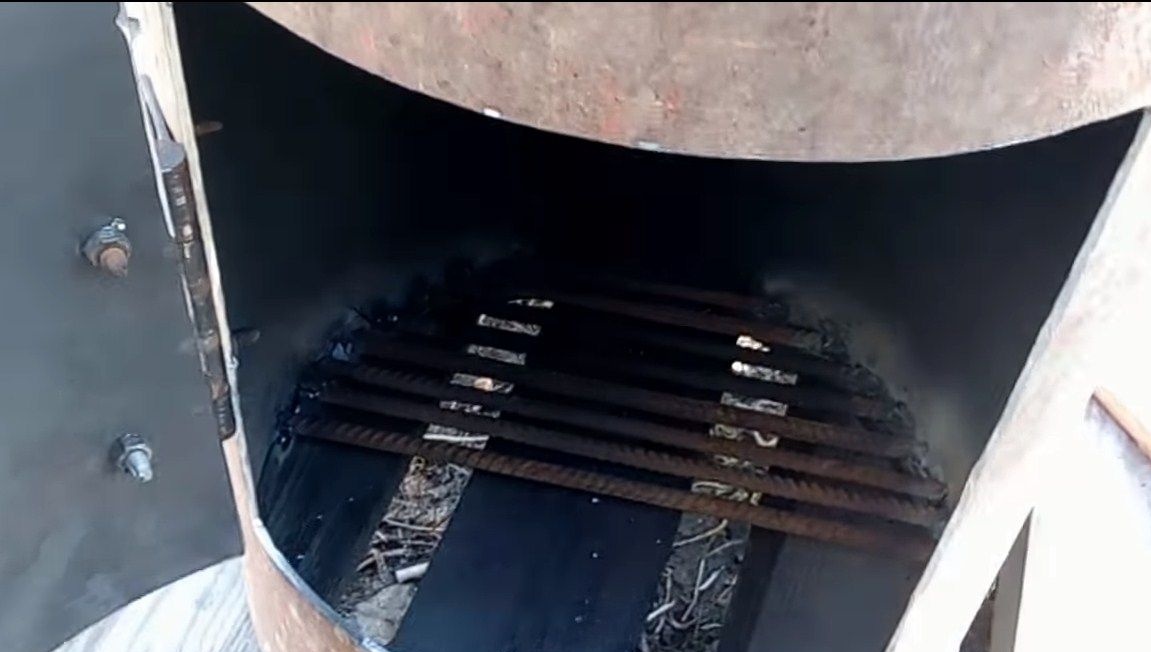
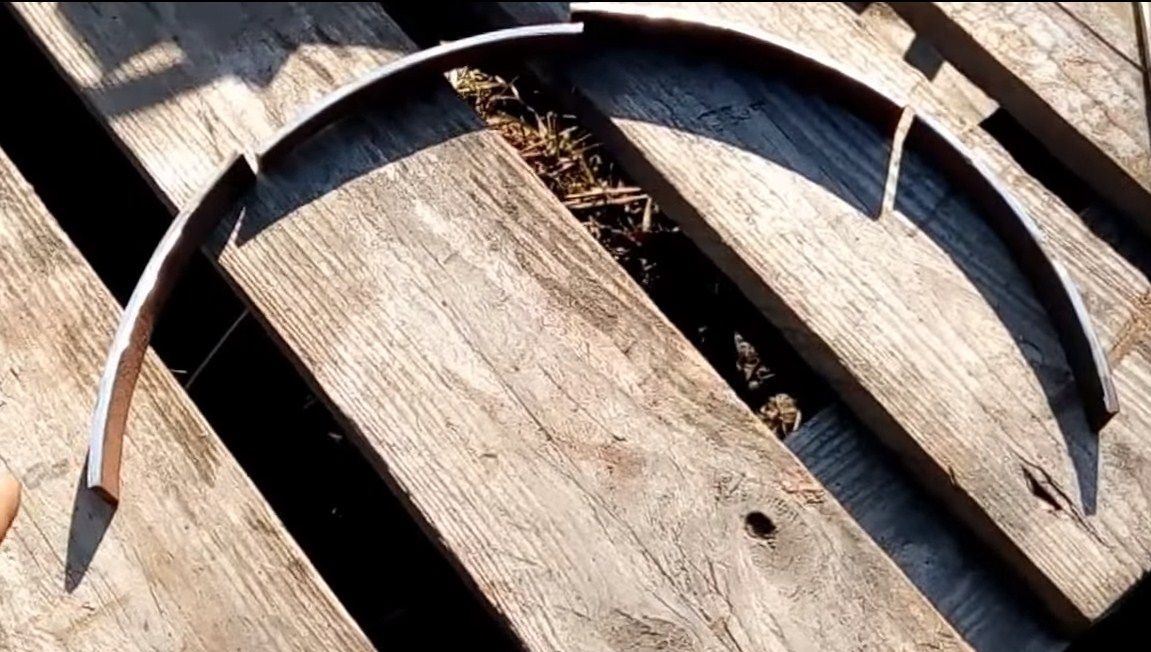
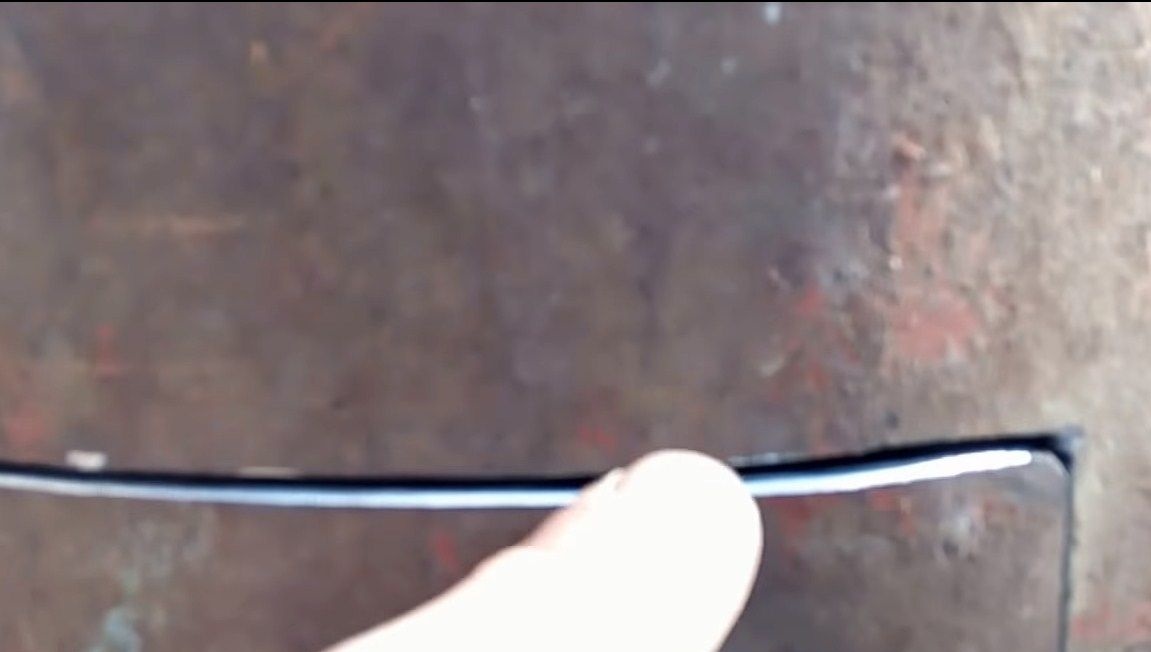
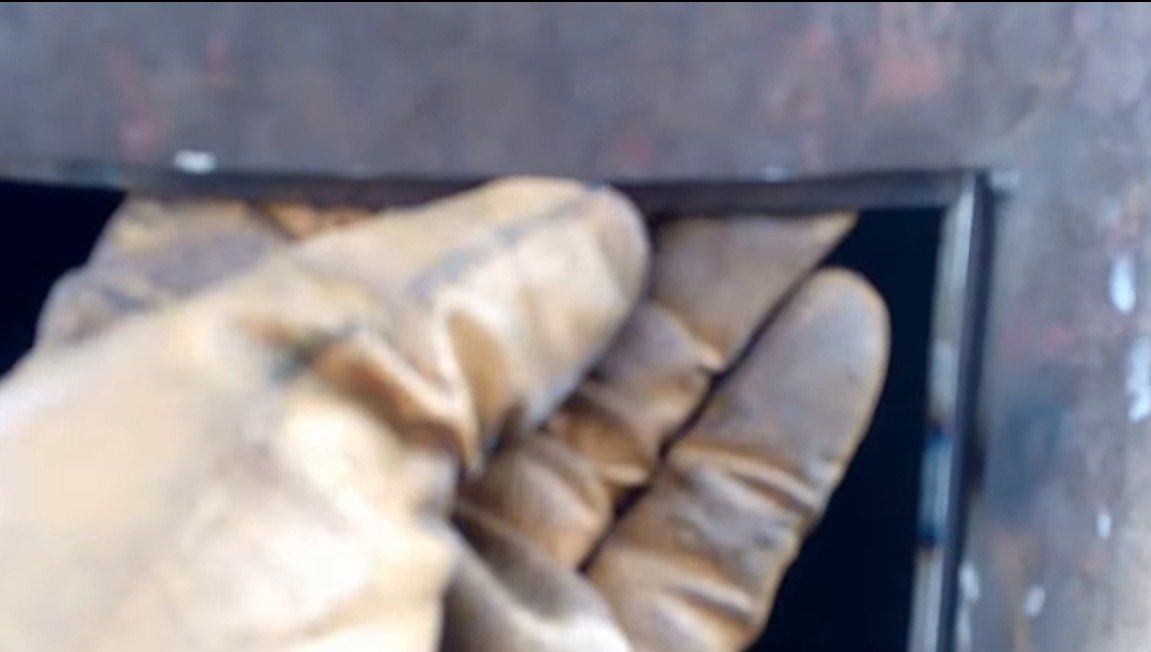
At the next step, we arm ourselves with a grinder and carefully cut off the bottom. You need to cut along the weld. But before you cut the bottom, first cut off the cylinder support, we will need it in the future, so we don’t do it anywhere. We cut the windows in the cylinder support, they will be needed for air to enter the furnace. As for the grate, they are made of reinforcement, but we will talk about this later.
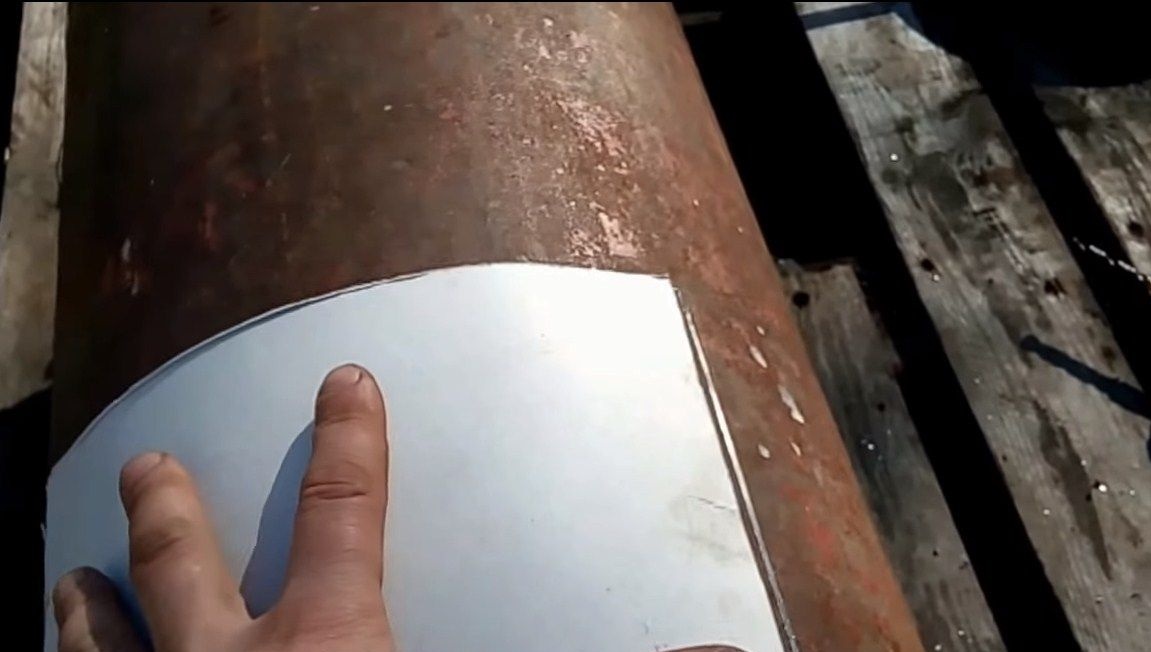
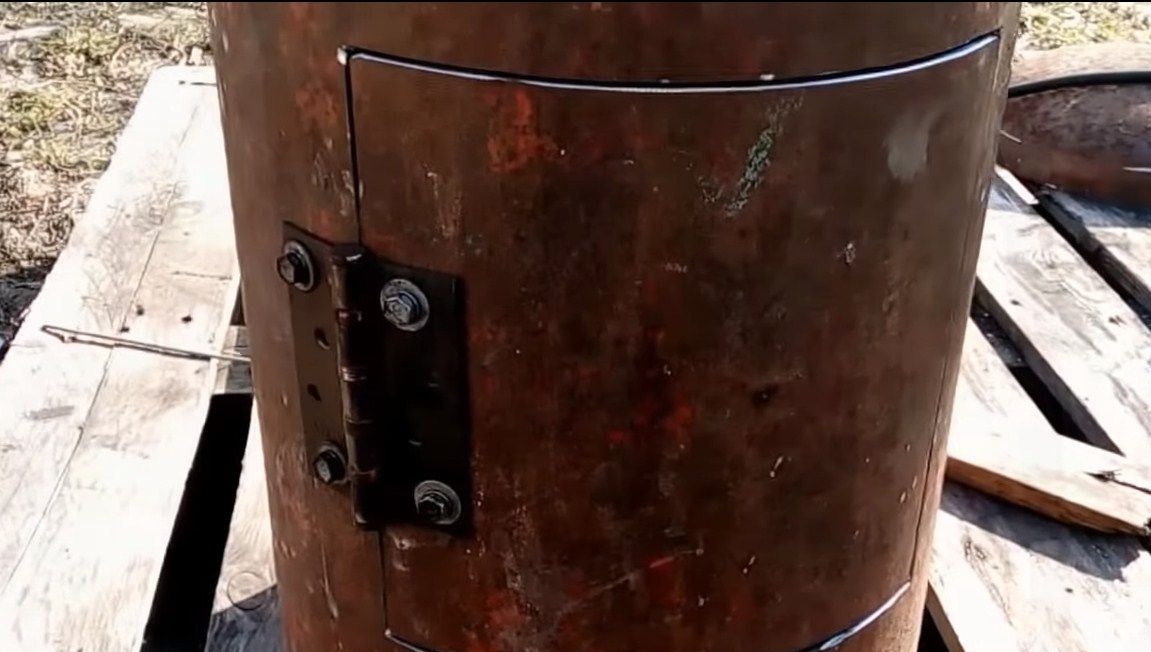
Step Three Door manufacturing
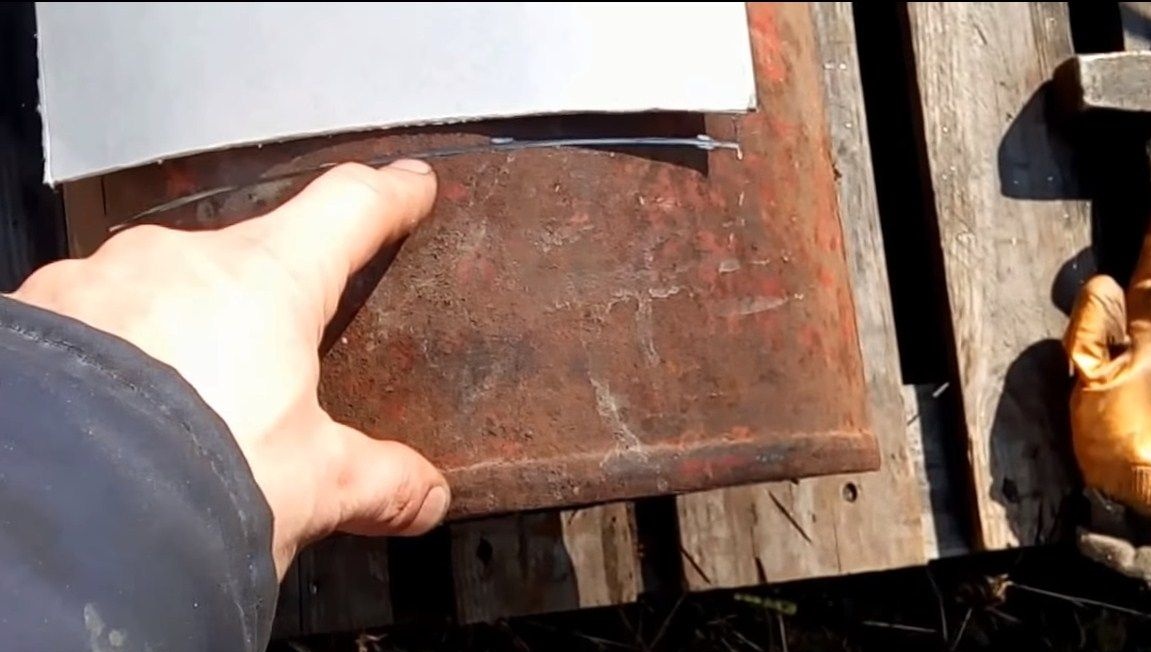
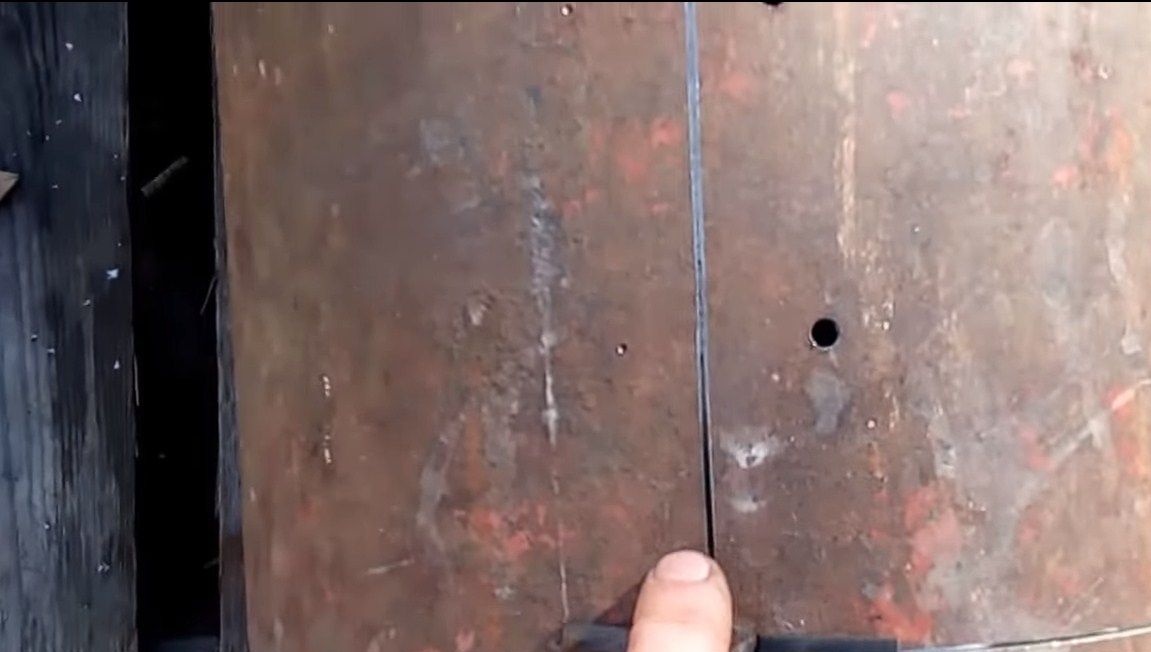
Now you can make a door. To do this, first cut out the template from paper, and then apply it to the balloon and draw a marker around it. Walk along the contour with a grinder with a cutting wheel in order to clearly outline the place of cutting.
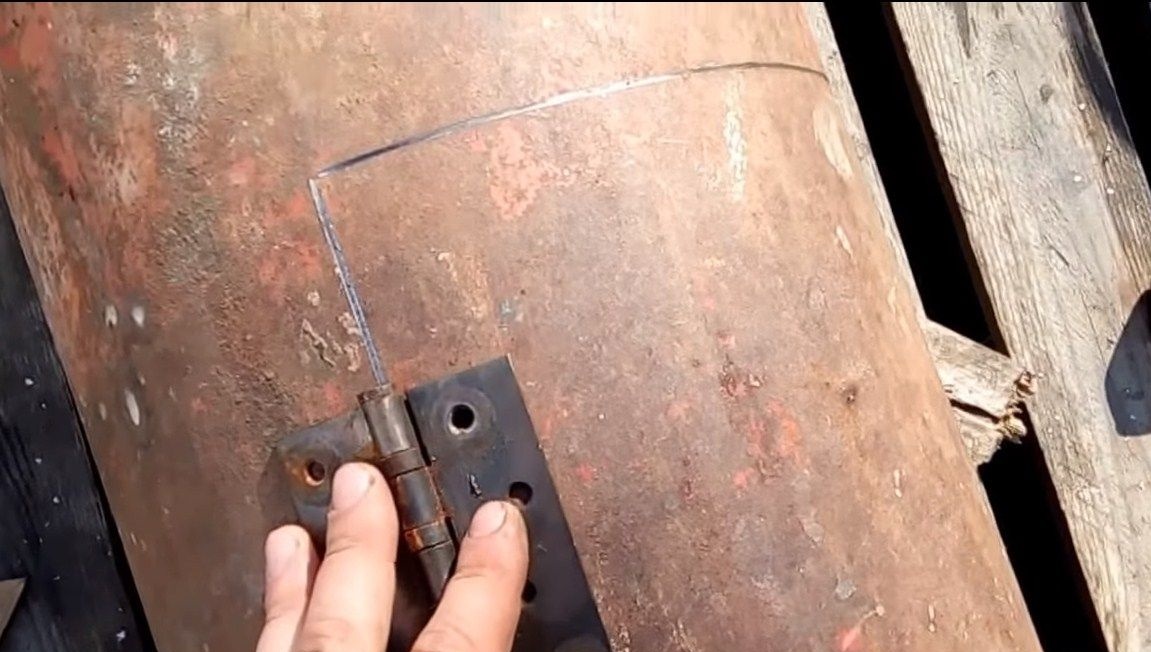
Next we need a door hinge, you can use two. In the place where the hinges will be installed, we cut through the balloon through, but the door itself has not yet been cut. We attach a loop and mark the places for the holes. Well, then we take a drill and drill holes, since the author fastens the loop with the help of bolts with nuts. If you wish, you can simply weld the hinges by welding.
Well, then we take the grinder and cut out the door, we fix it as the author.
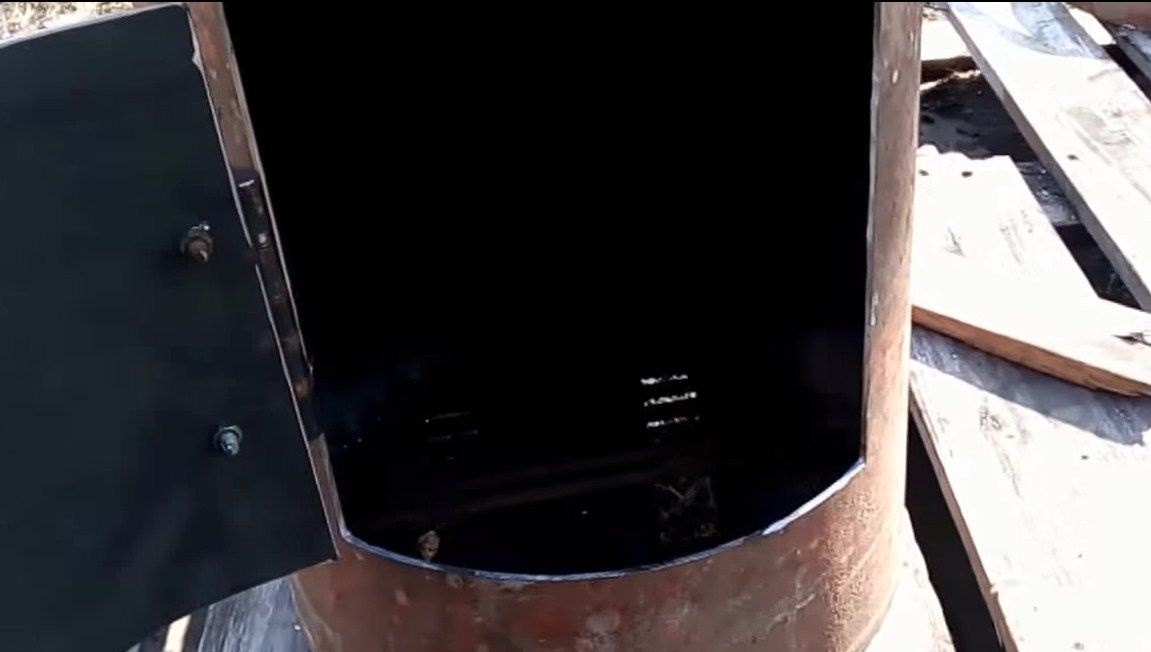
Step Four Sealing plates
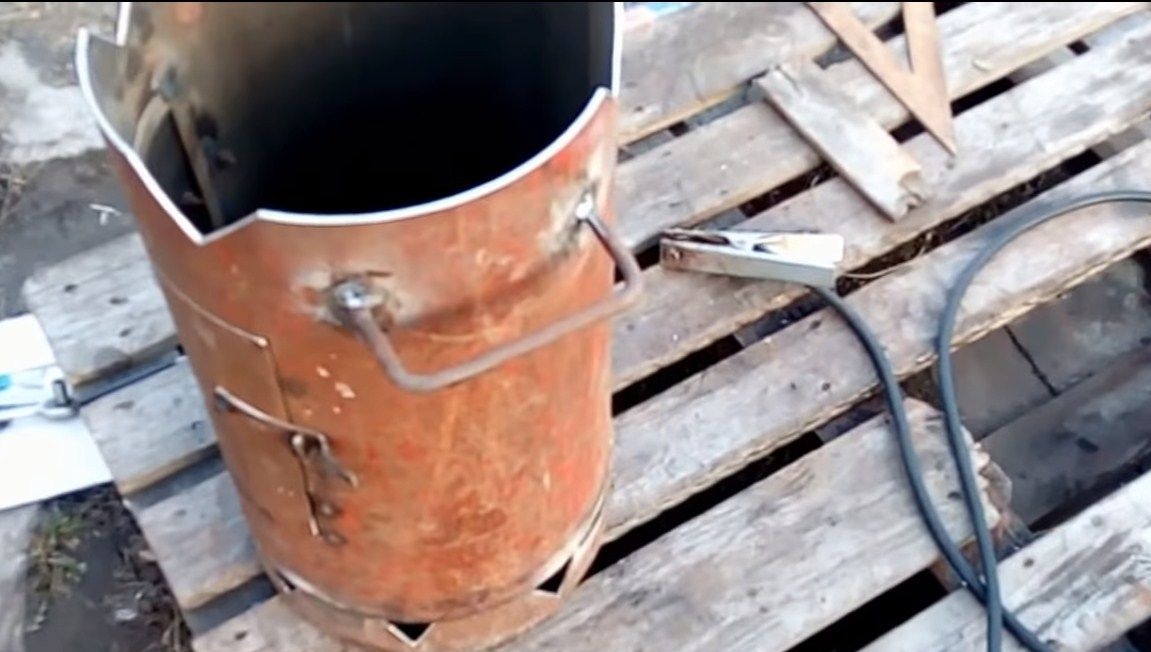
When the door is closed, there will be a gap through which smoke can pass or a coal can fly out, which is unsafe. To close this gap, the author cut out four plates, they are welded from the inside. Now that you close the door, the clearance will be minimal.
Step Five Finishing touches
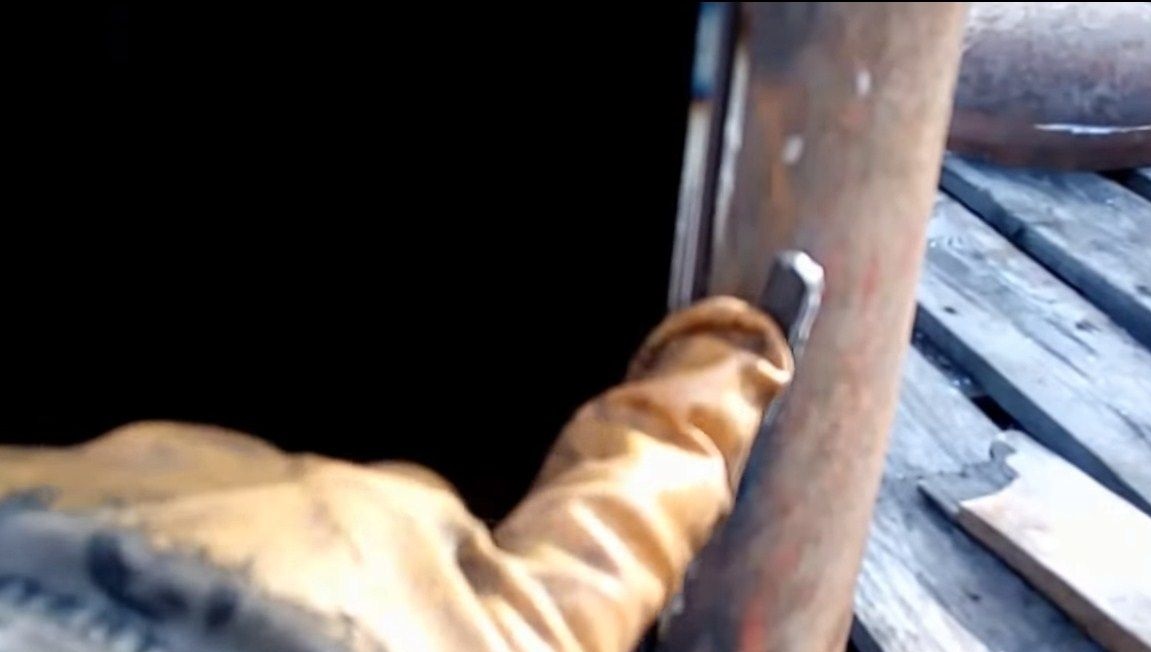
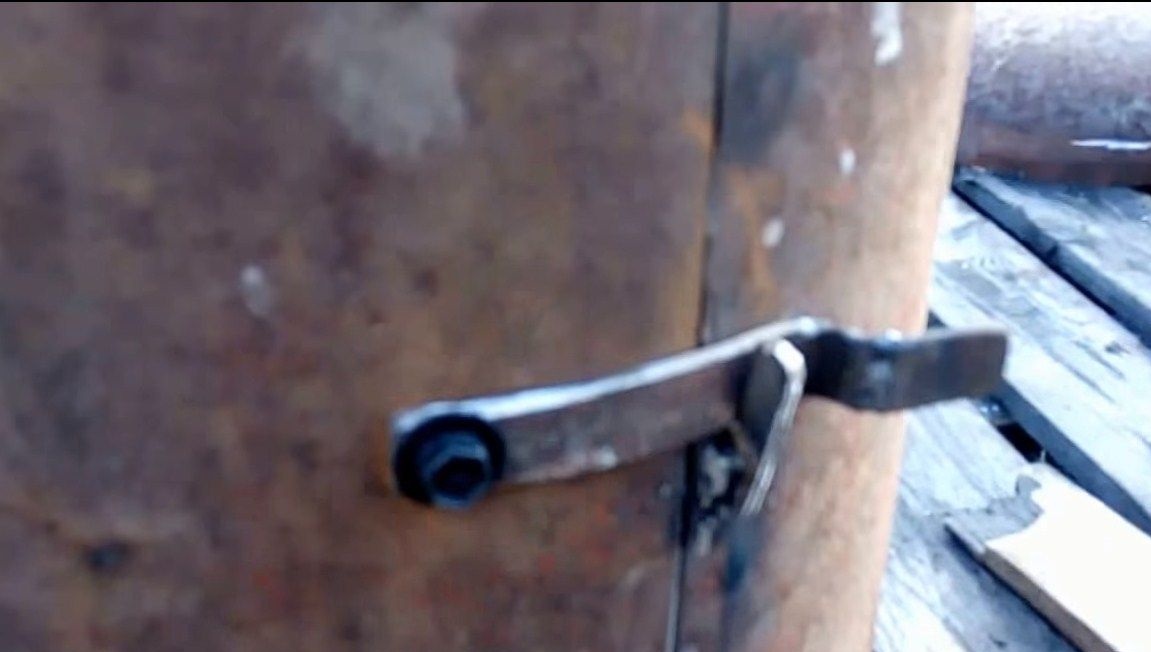
Weld the grate to the bottom of the oven. They can be made of reinforcement, just cut it to the desired length. We also weld a support with holes for supplying air. In addition, you need to make a locking mechanism. To make the handle move, fasten it on a bolt with a nut, put two nuts so that it does not unwind or just grab it by welding.
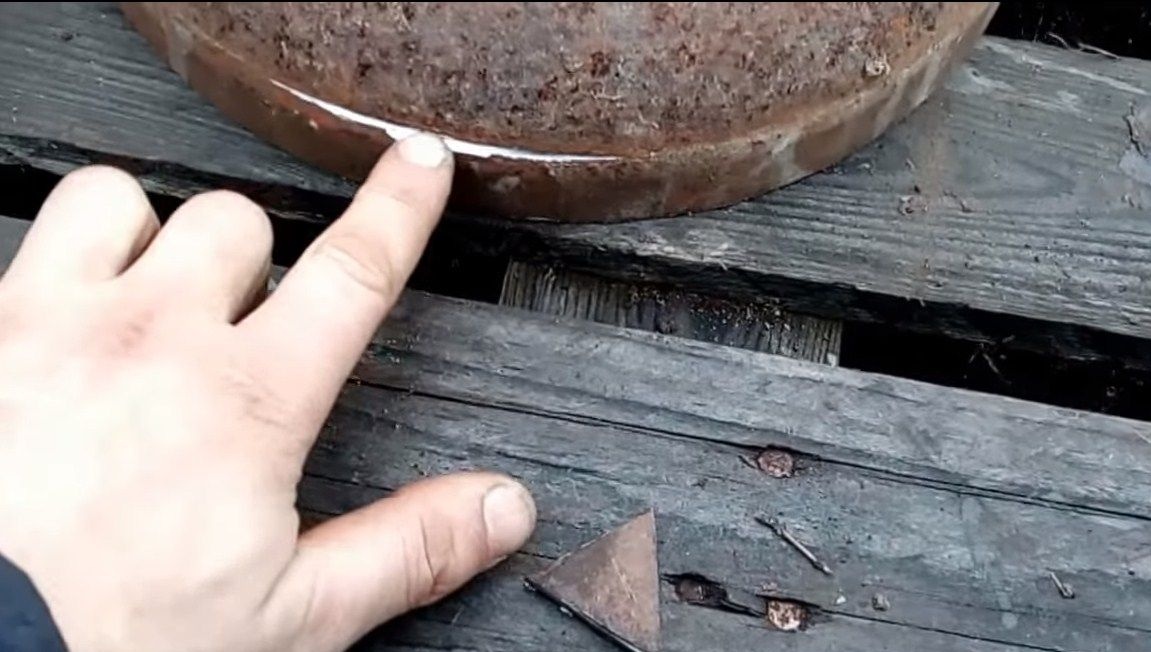
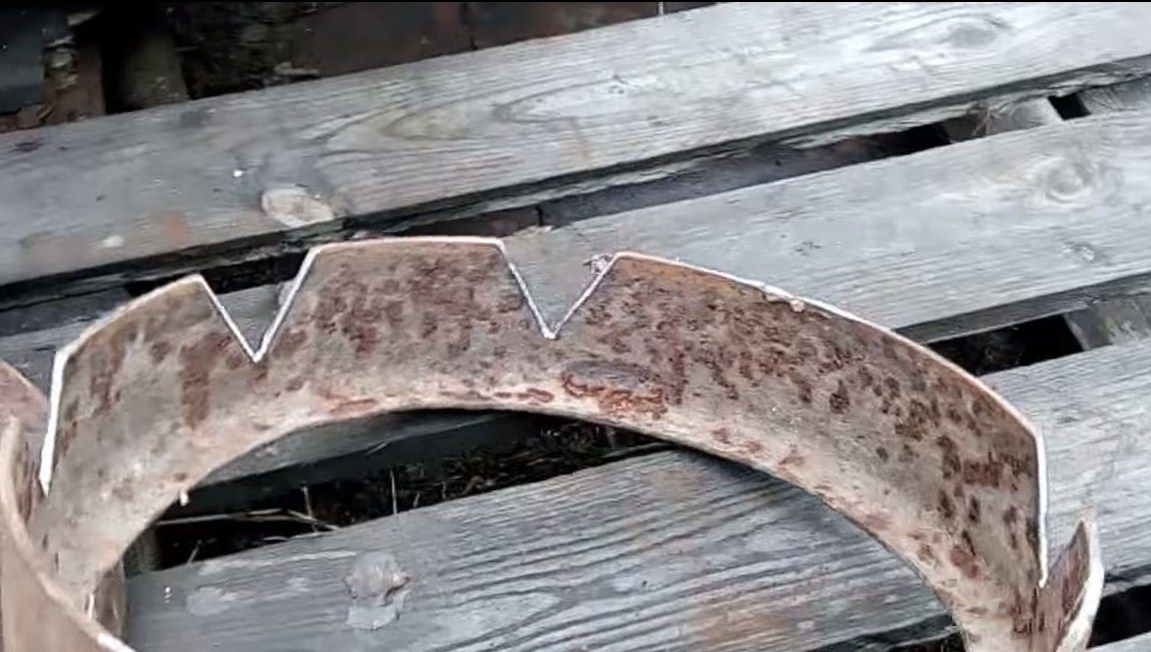
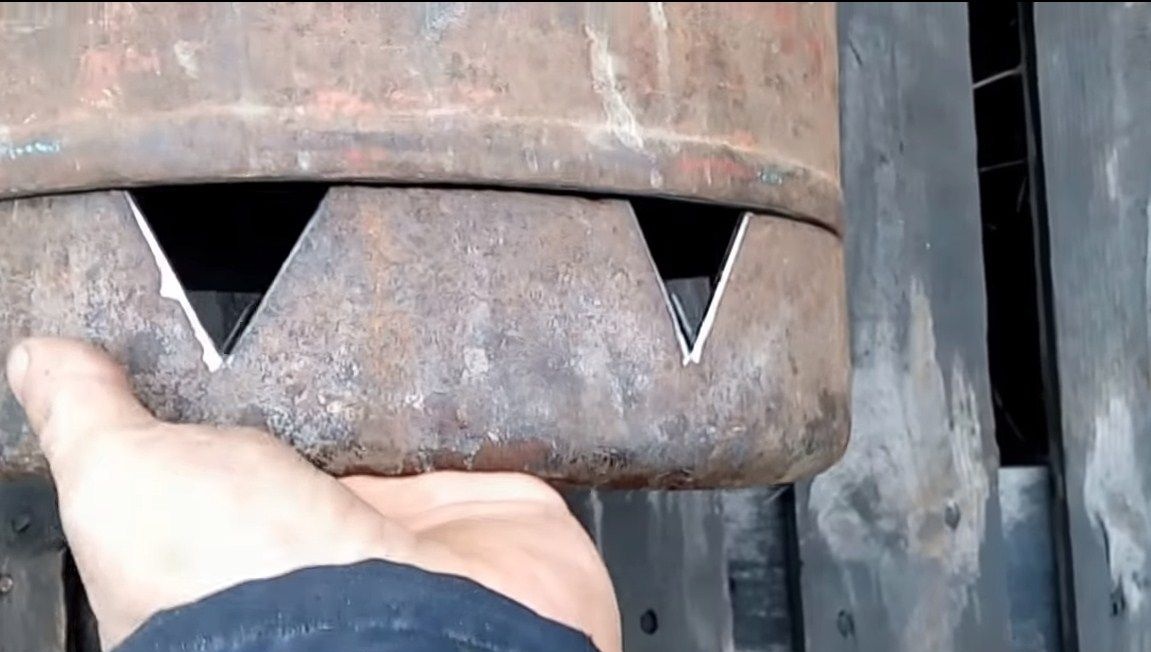
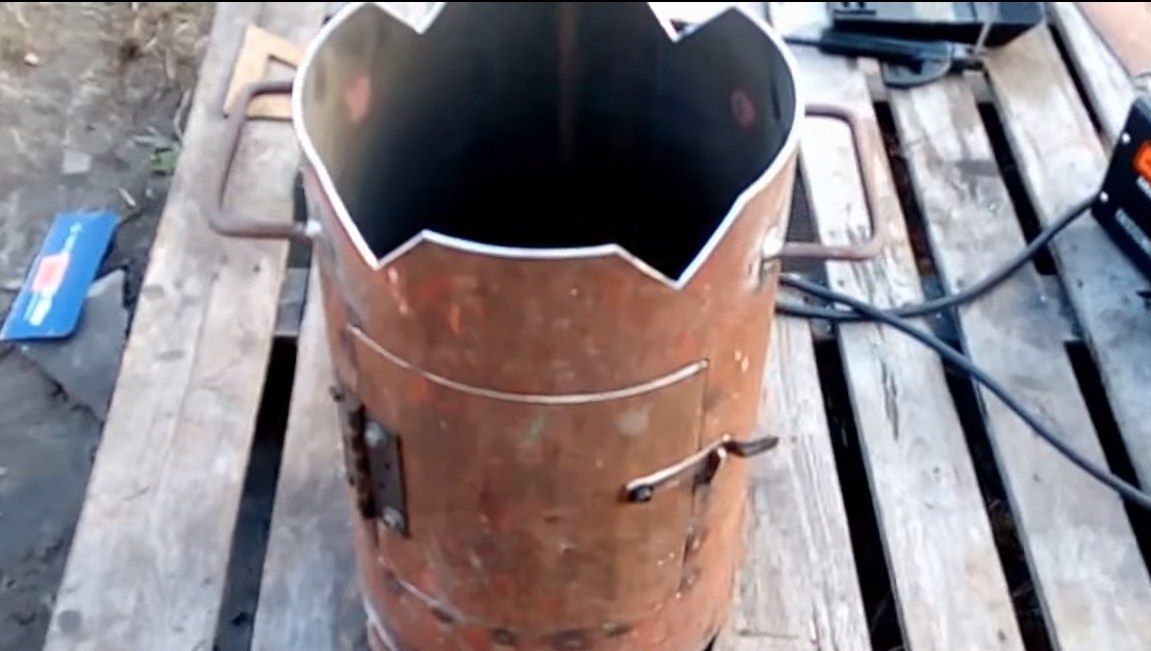
In the upper part, where you will install the cauldron, you need to do the windows. They will be needed in order for smoke to escape, otherwise the stove will not burn.
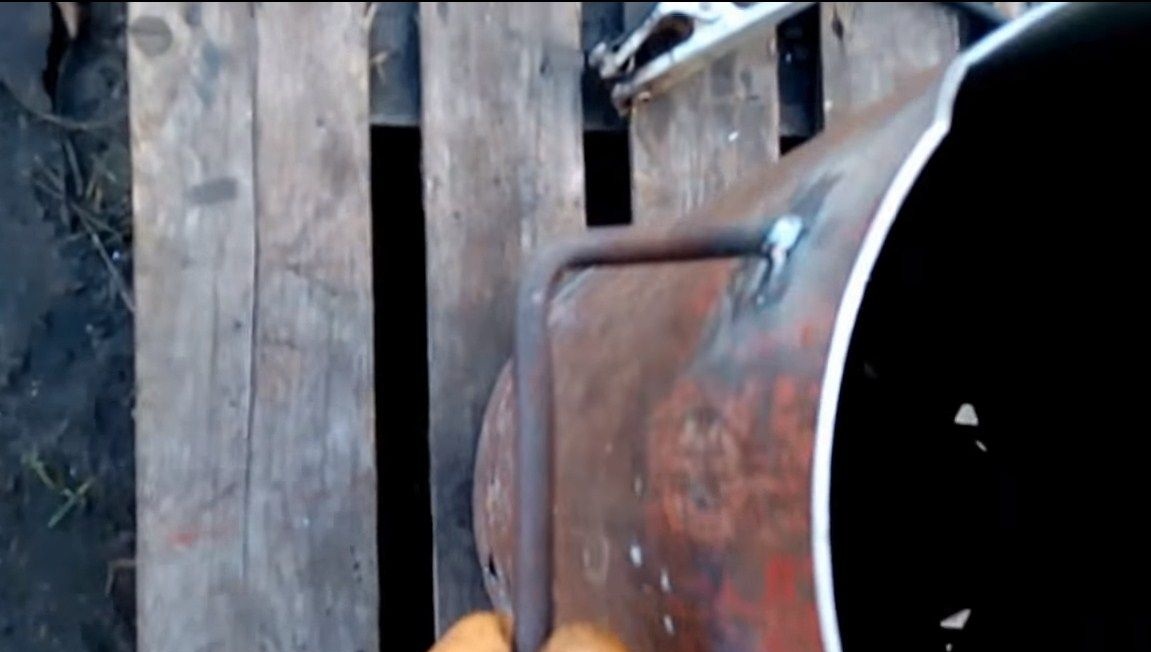
And if you need to transfer the oven, weld de handles to it that can be bent out of the fittings.
That's all, our miracle oven is ready. In the end, you need to clean it well, and then paint it with heat-resistant paint so that the stove looks good and does not rust. Can experience homemade! Such furnaces are often made, so they have already been tested by time and have shown themselves well.
That's all, the project is over, I hope you were interested, and you found information that was useful to you. Good luck and creative inspiration in the manufacture! Share your homemade products with us, site members will always be happy about this.