

Hello, dear visitors of the site!
Today I want to talk about my next simple little home-made, which I did “between things”, but, nevertheless, I think this experience may be useful to someone ...
I’ll start in order ... Although I’m very busy right now, although I don’t have almost free time, the "nature of the master" takes its own, and somehow I cut out time for this ... True, I have something this spring goes wrong.))). Because he started several home-made products at once, but their manufacture dragged on ...
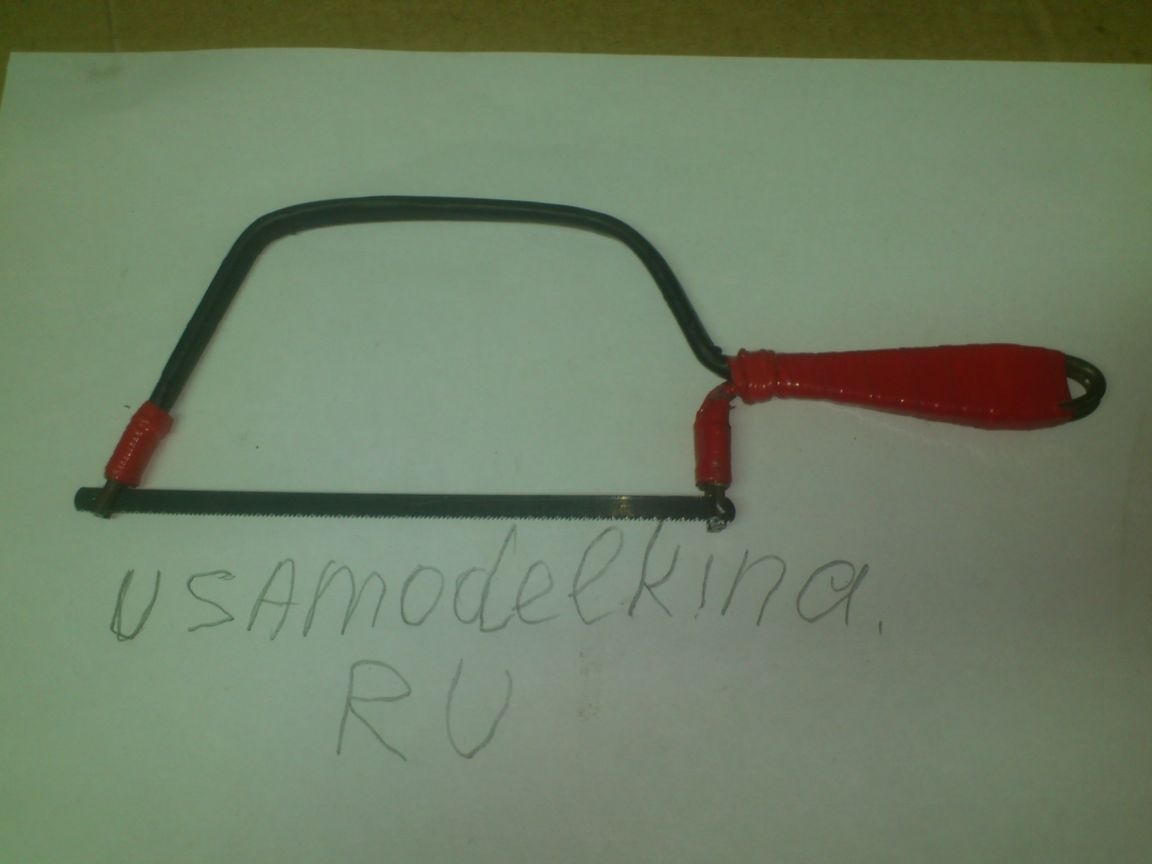
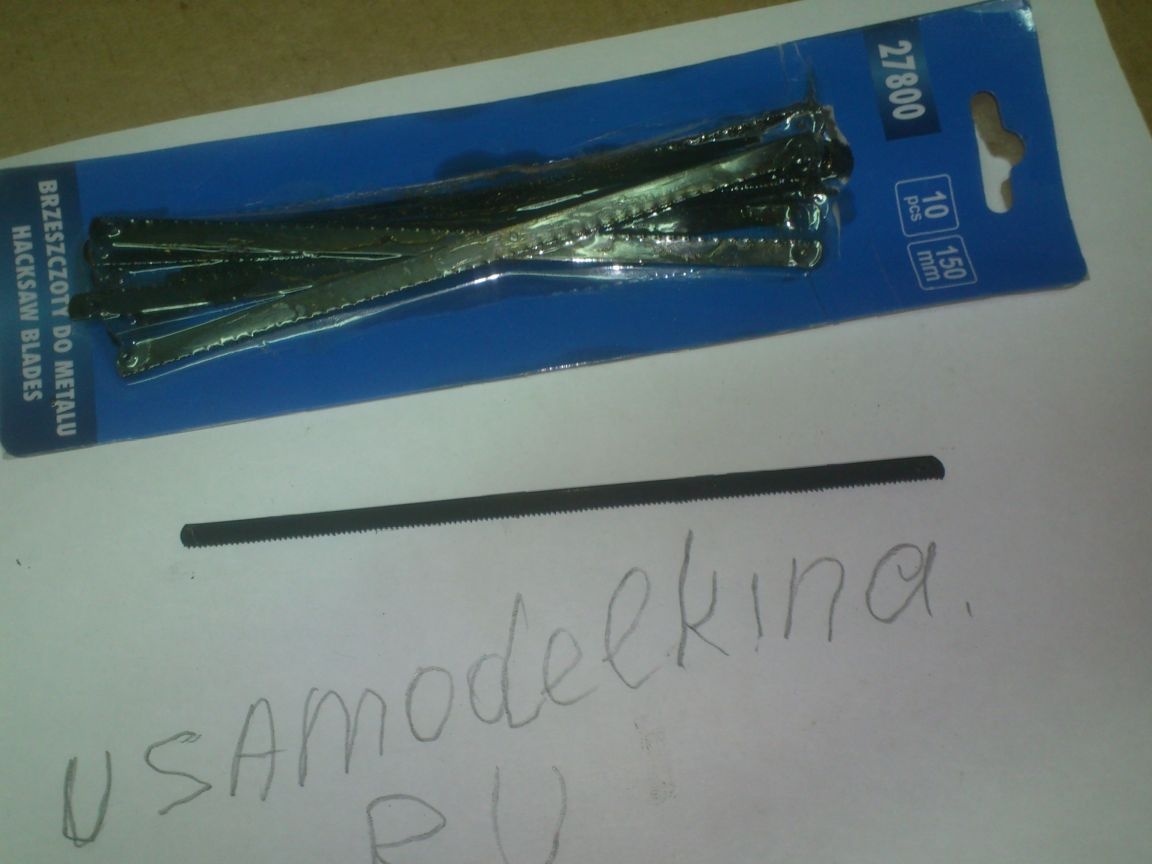
So now I needed to make very thin cuts in a thick plywood blank (for what purpose - I will tell in the next article. So far this homemade product is “not finished”). Having thought a little, I decided that the so-called mini-hacksaw for metal with a cloth one hundred and fifty long and five millimeters wide would have the thinnest cut. I have it, of course ...
Only now ... Where ???
Having spent the rest of the evening searching, I found both the usual “classic” hacksaw and a few so-called “slots” (although I hadn't used them for a very long time, preferring the “grinder” and the engraver)))) ..... But here’s a little file how it sank into the water !!!
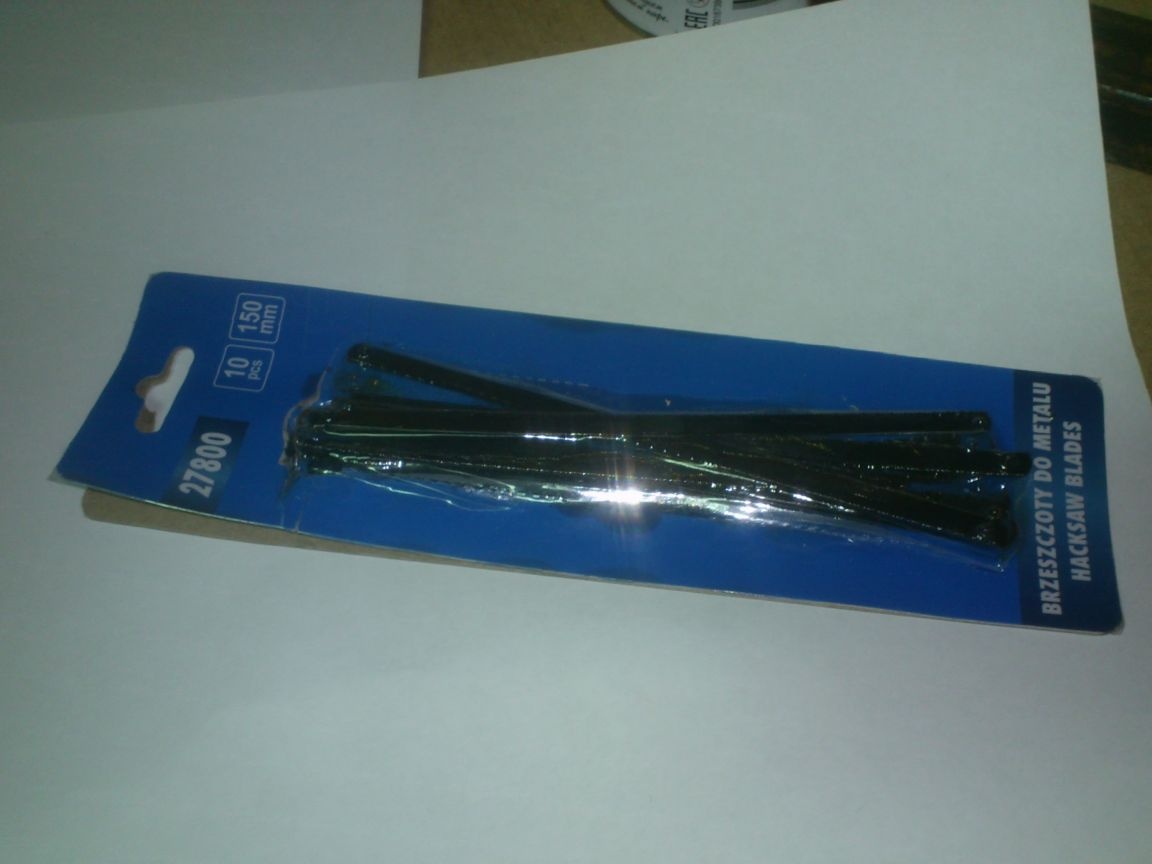
Spare cloths to her - here they are !!! Hanged on a carnation, in a conspicuous place!
And she herself is nowhere to be found !!! Desperate to find her, and explaining for myself her lack by the fact that I might have lent it to someone (and forgot), or taken it to the construction site and left it there, I decided to stop the search. In the end, there are canvases, but it will not be difficult to make a primitive frame ... What I did the next day right after work (in order to have time to use it also).
So, here is what I needed for the manufacture:
1. Steel wire with a diameter of 3mm.
2. Knitting thin wire.
3. Shrink cambric (optional).
4. Electrical tape.
Of the tools, nothing special is needed - angle grinder, vise, hammer, pliers.
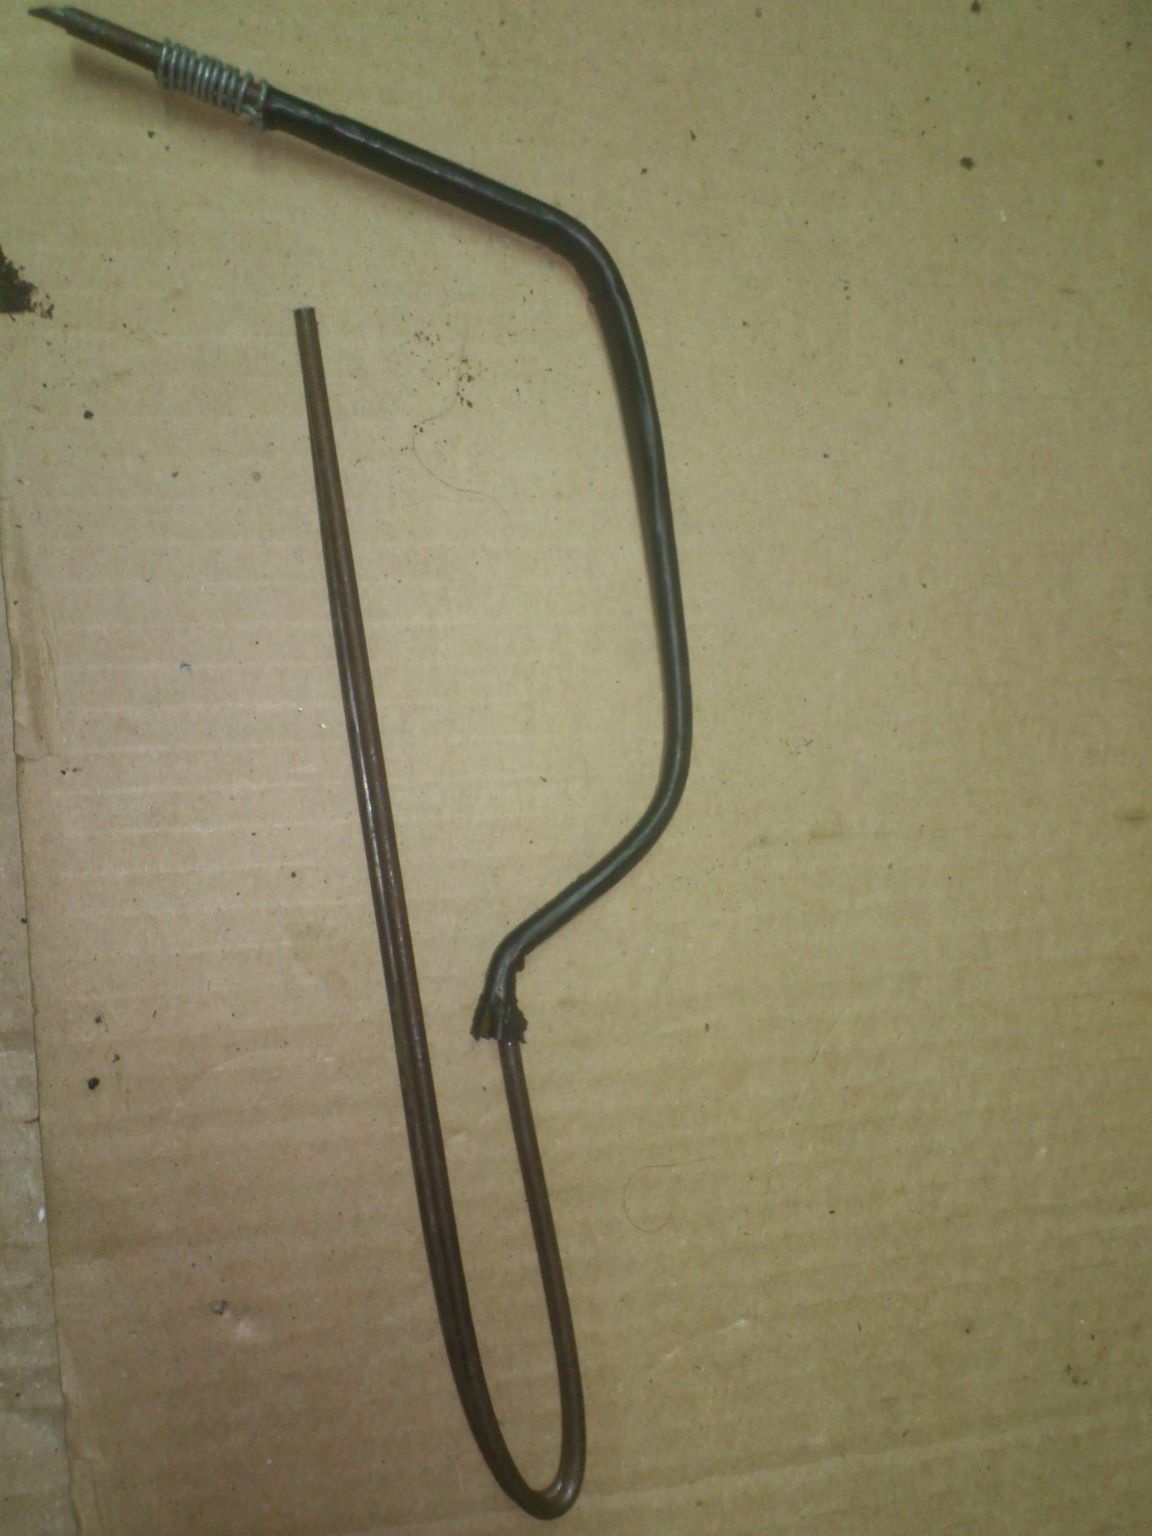
The hacksaw hiding from me was made of steel wire. I remember her shape well (it is primitive)))), so I decided to bend my version in a similar way. True, the base of the "purchased" was made of thick (about five millimeters) wire, and I only had trimming of three millimeter thickness from the "spring".
(Left after manufacturing Carpet beaters).
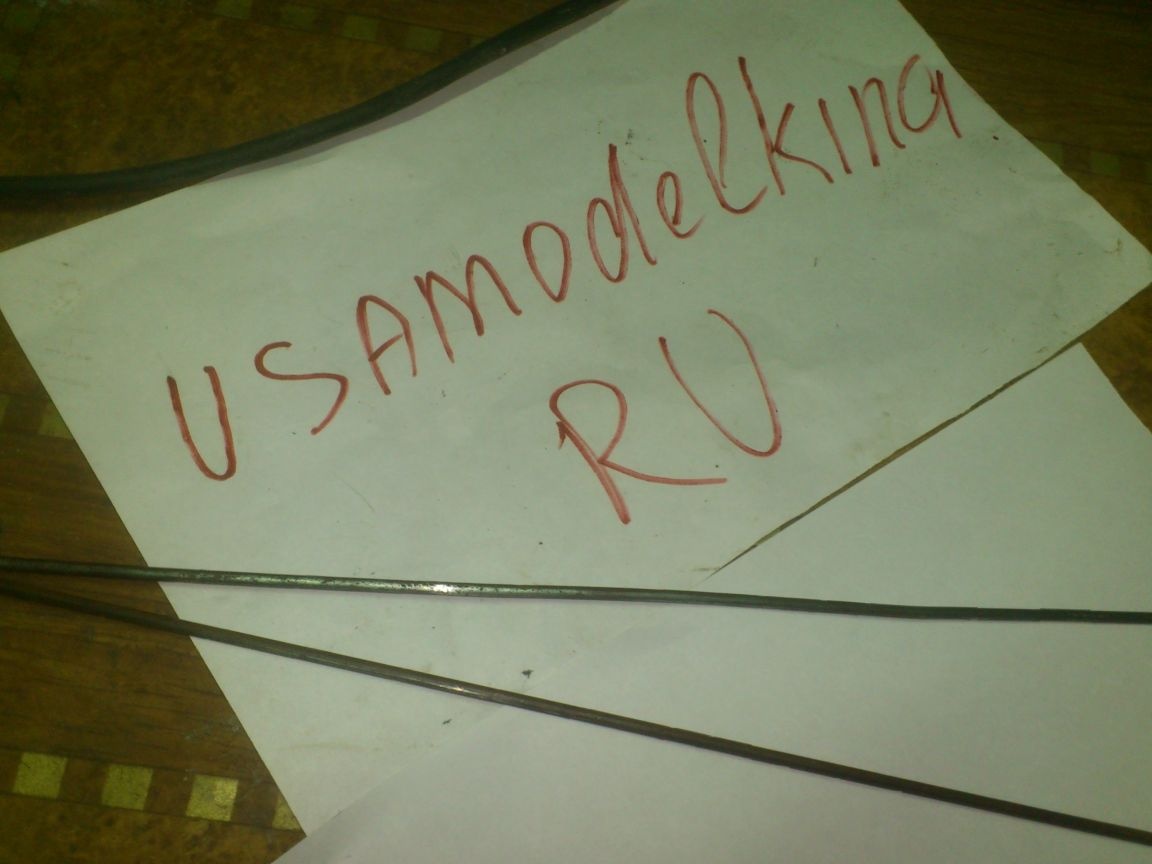
If you make of it - not enough elasticity. Yes, and a slot for the canvas at the end of such a thin section will be problematic to make .... (Unless a mini-hacksaw ...
 But it is just not there !!!
  Here is a vicious circle! To make a mini hacksaw, you need ... a mini hacksaw !!!
  )
)Well ... there are no hopeless situations, as the once famous baron used to say! )))). If you can’t climb a wall, you need to try to get around it! ...
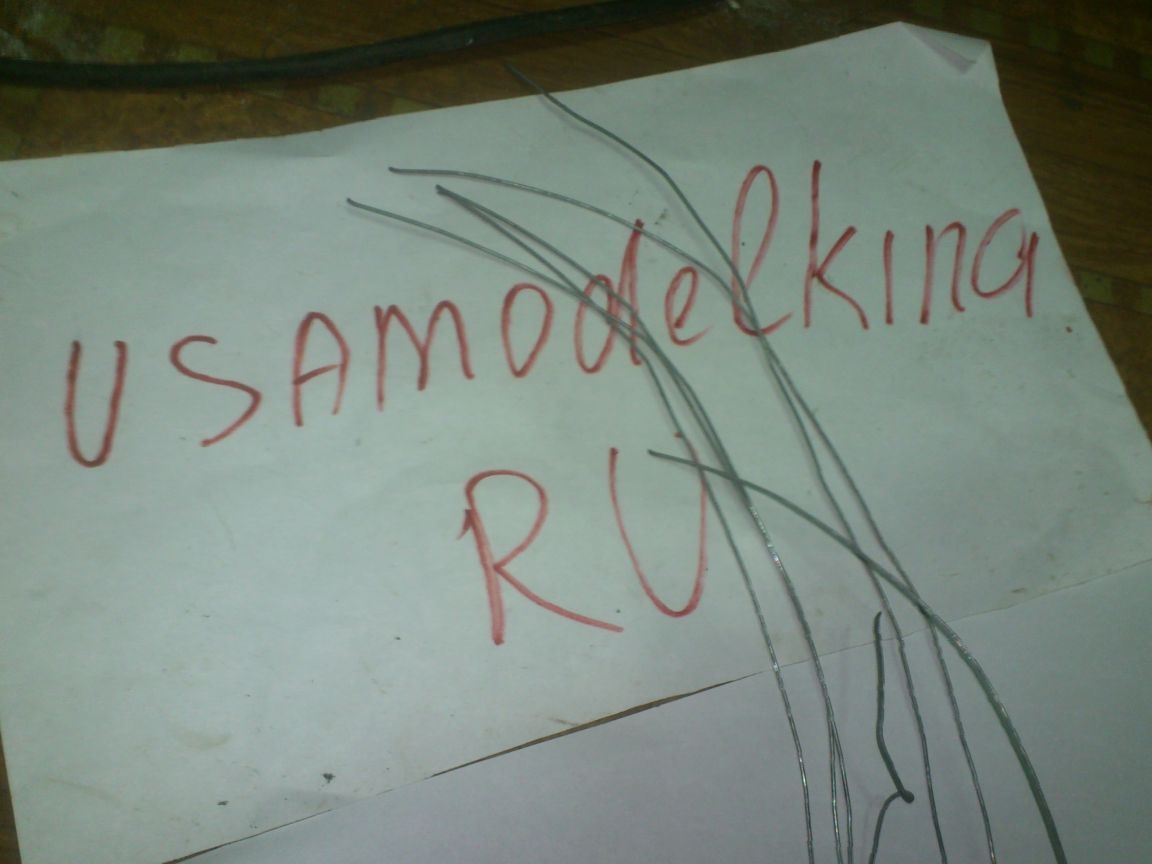
Which I did, with a little thought ... I decided to just make the saw bracket not from one, but from a pair of wires. So the rigidity will double by two, and the slot in the end will not be needed - its role will be played by the gap between the wires ...
I folded the two trimmers and knitted them together using a soft knitting wire with a diameter of 0.8 mm.
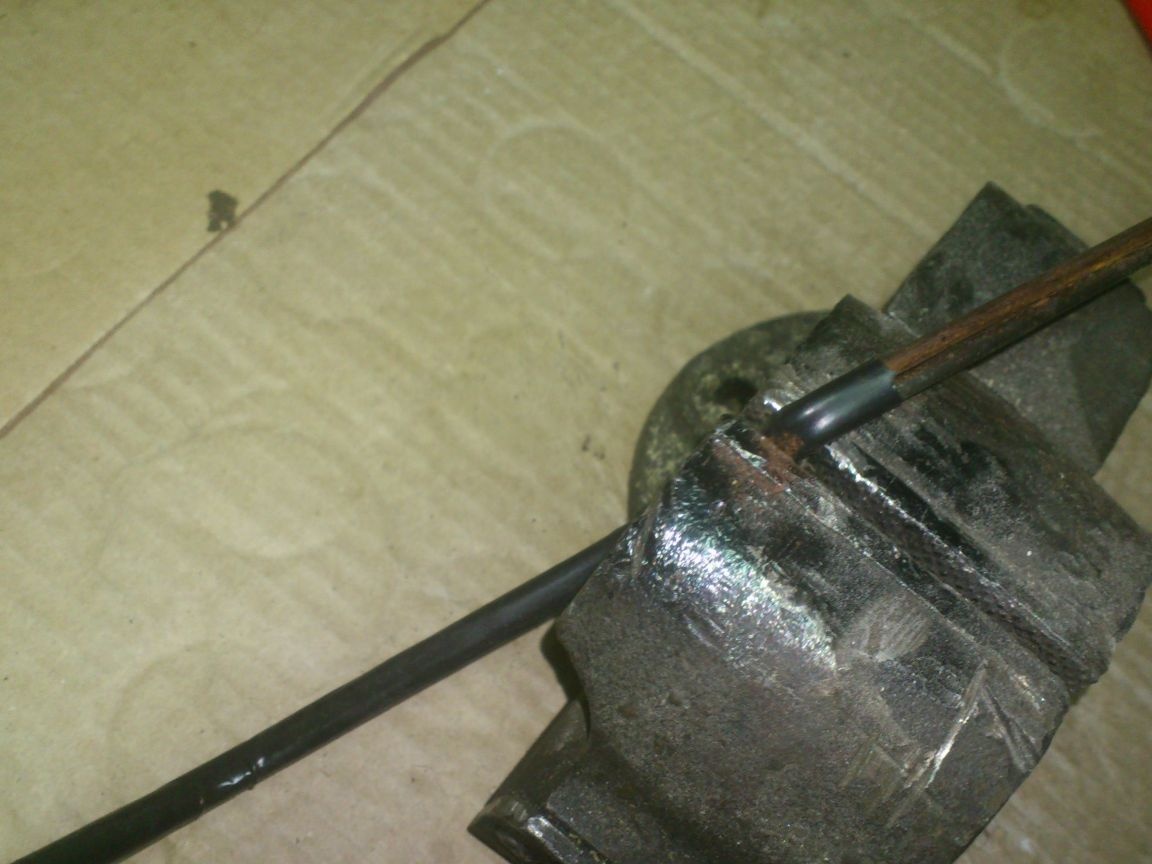
After which, I began to give the desired shape. It was not so simple. Steel wire is very springy. Yes, and you have to bend two at once. Therefore, they were only able to bend them by holding them in a vice and using a cropped profile pipe of a small section .. (Sorry, I did not photograph the process. Somehow, only later, looking at the photo, I found that there was only a photo of already bent corners.

When the shape of the staple itself was curved, I decided to decorate it with shrink cambric. (The stocks of it, of various sections, are usually always in my workshop. And I often use it in my homemade products)
And now, having cut off the necessary piece of black, I put it on the bracket:

And planted with a technical hairdryer:
Termokembrik not only gives a more aesthetic appearance, but also connects pieces of wire together, simplifying the work with them.
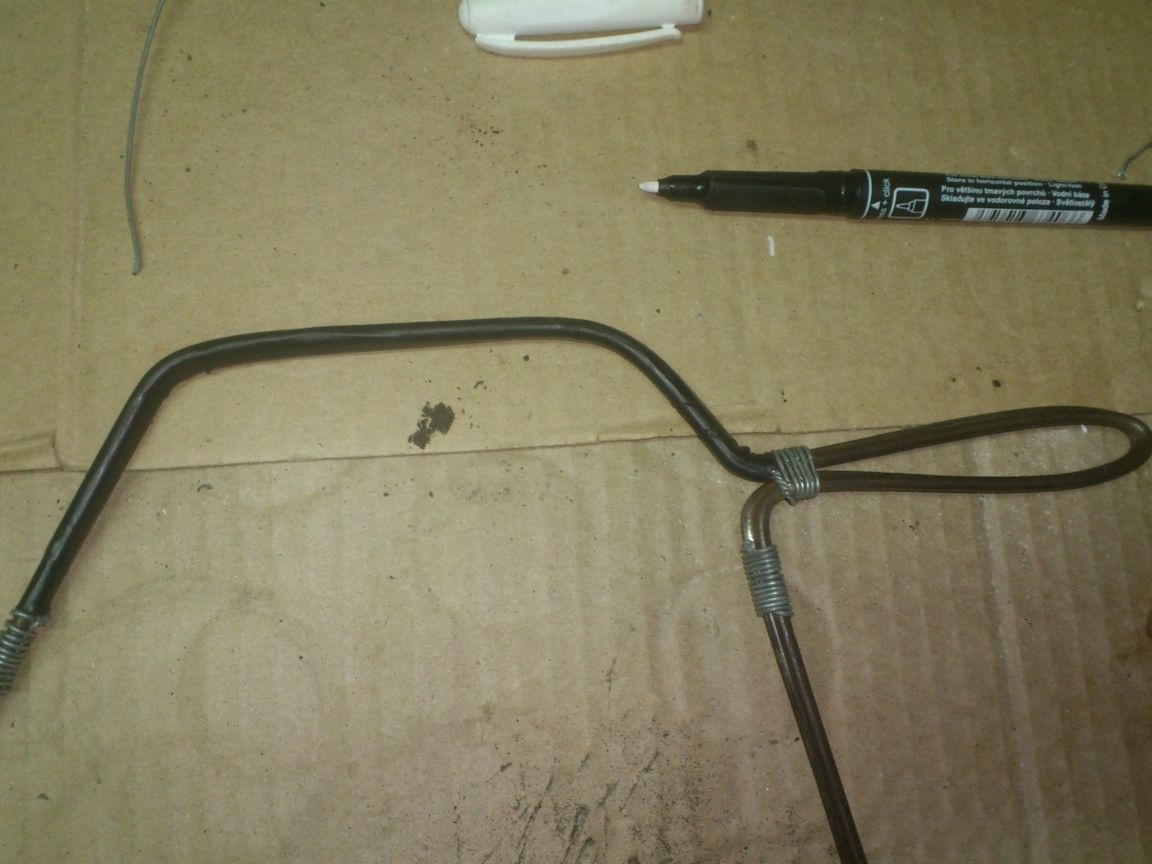
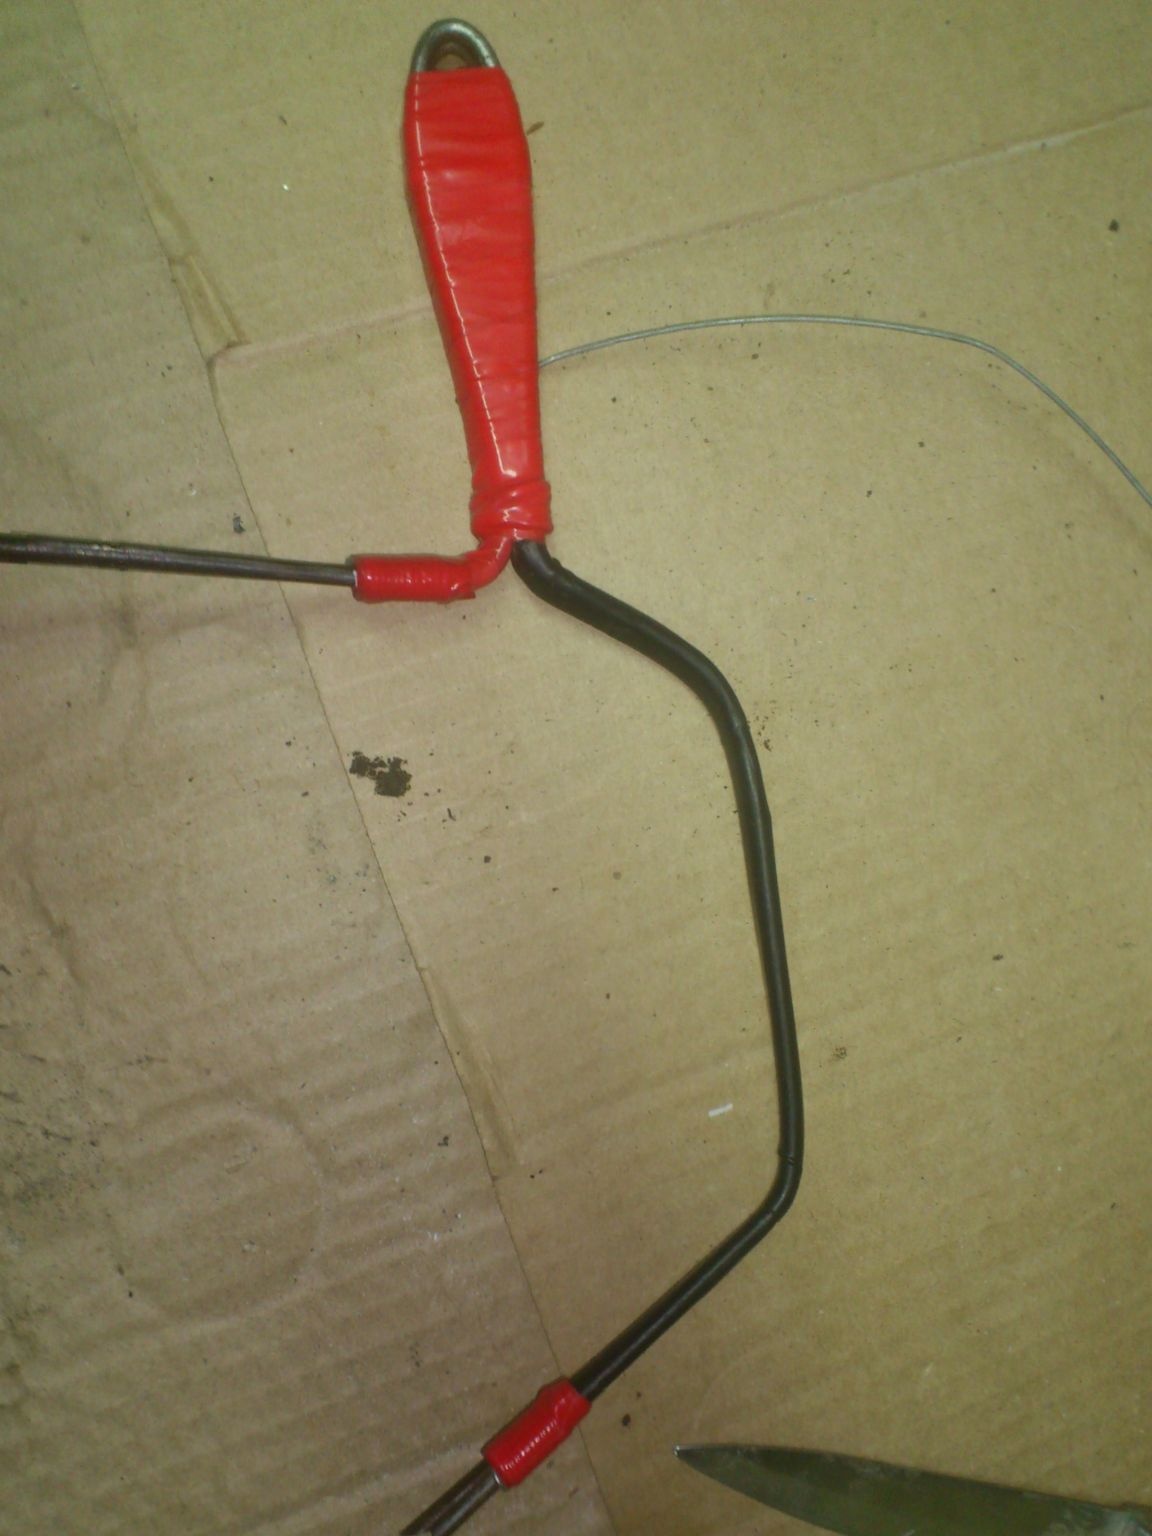
Now you need to bend the handle:
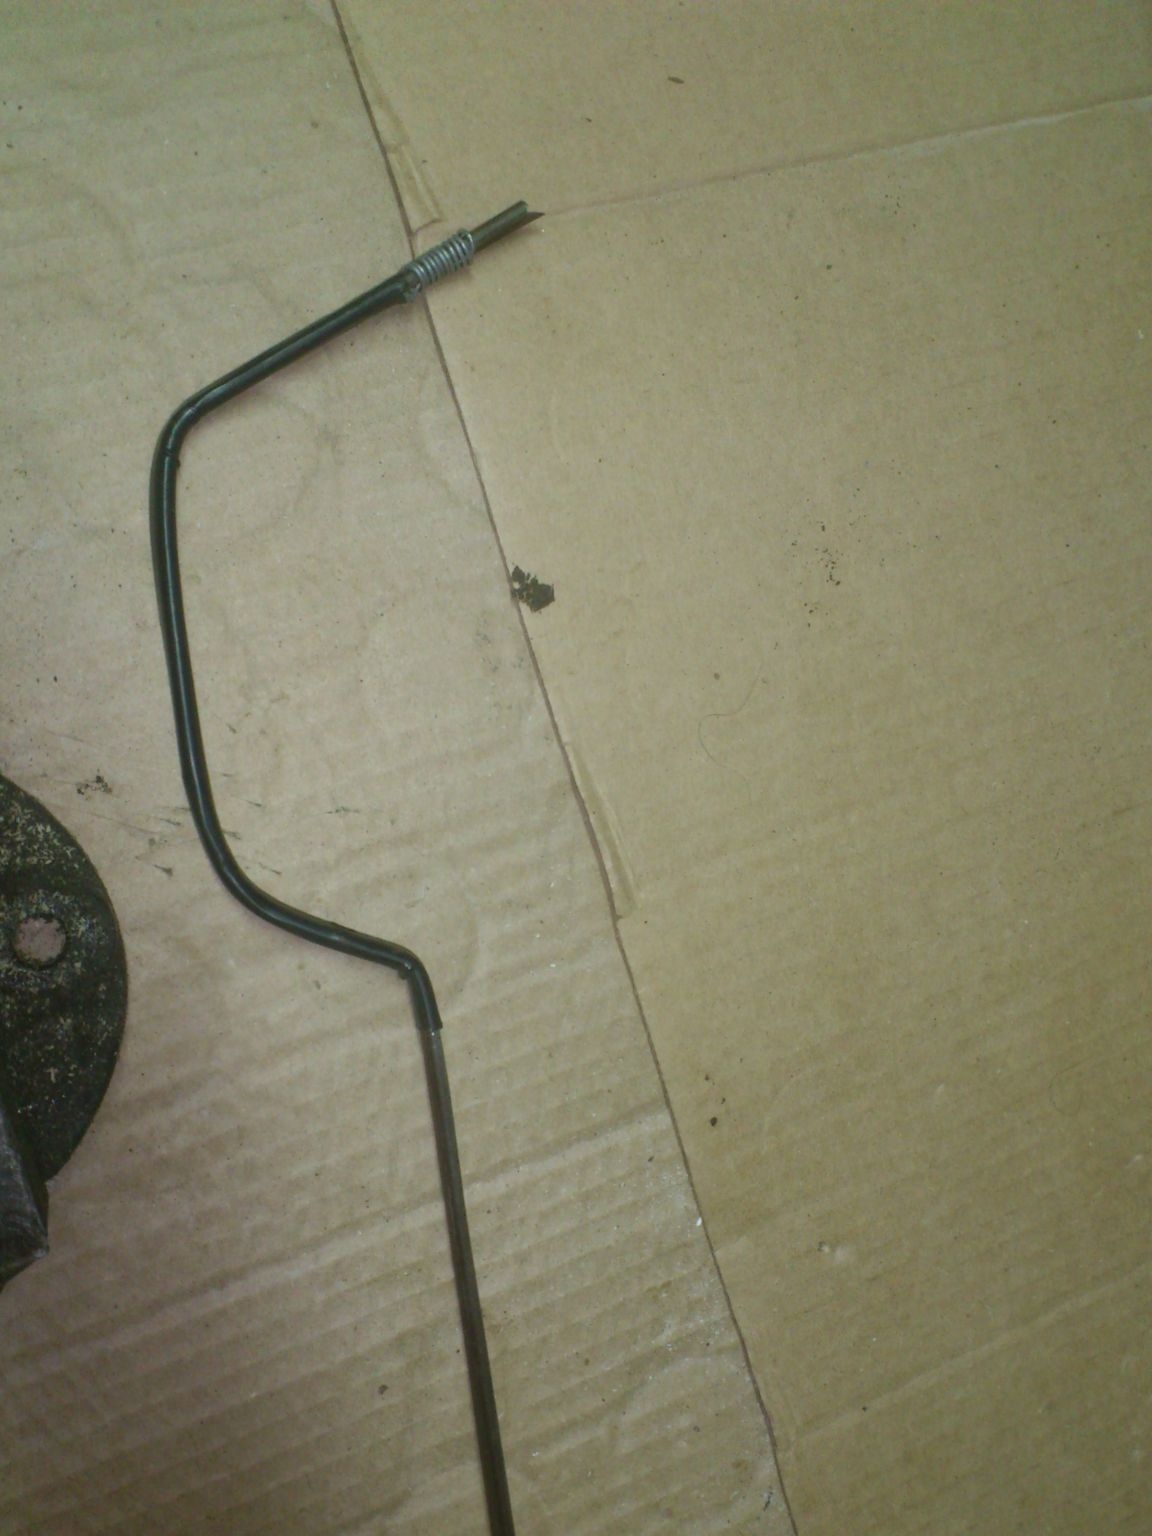
In this position, I tied the handle with a knitting wire at its base:

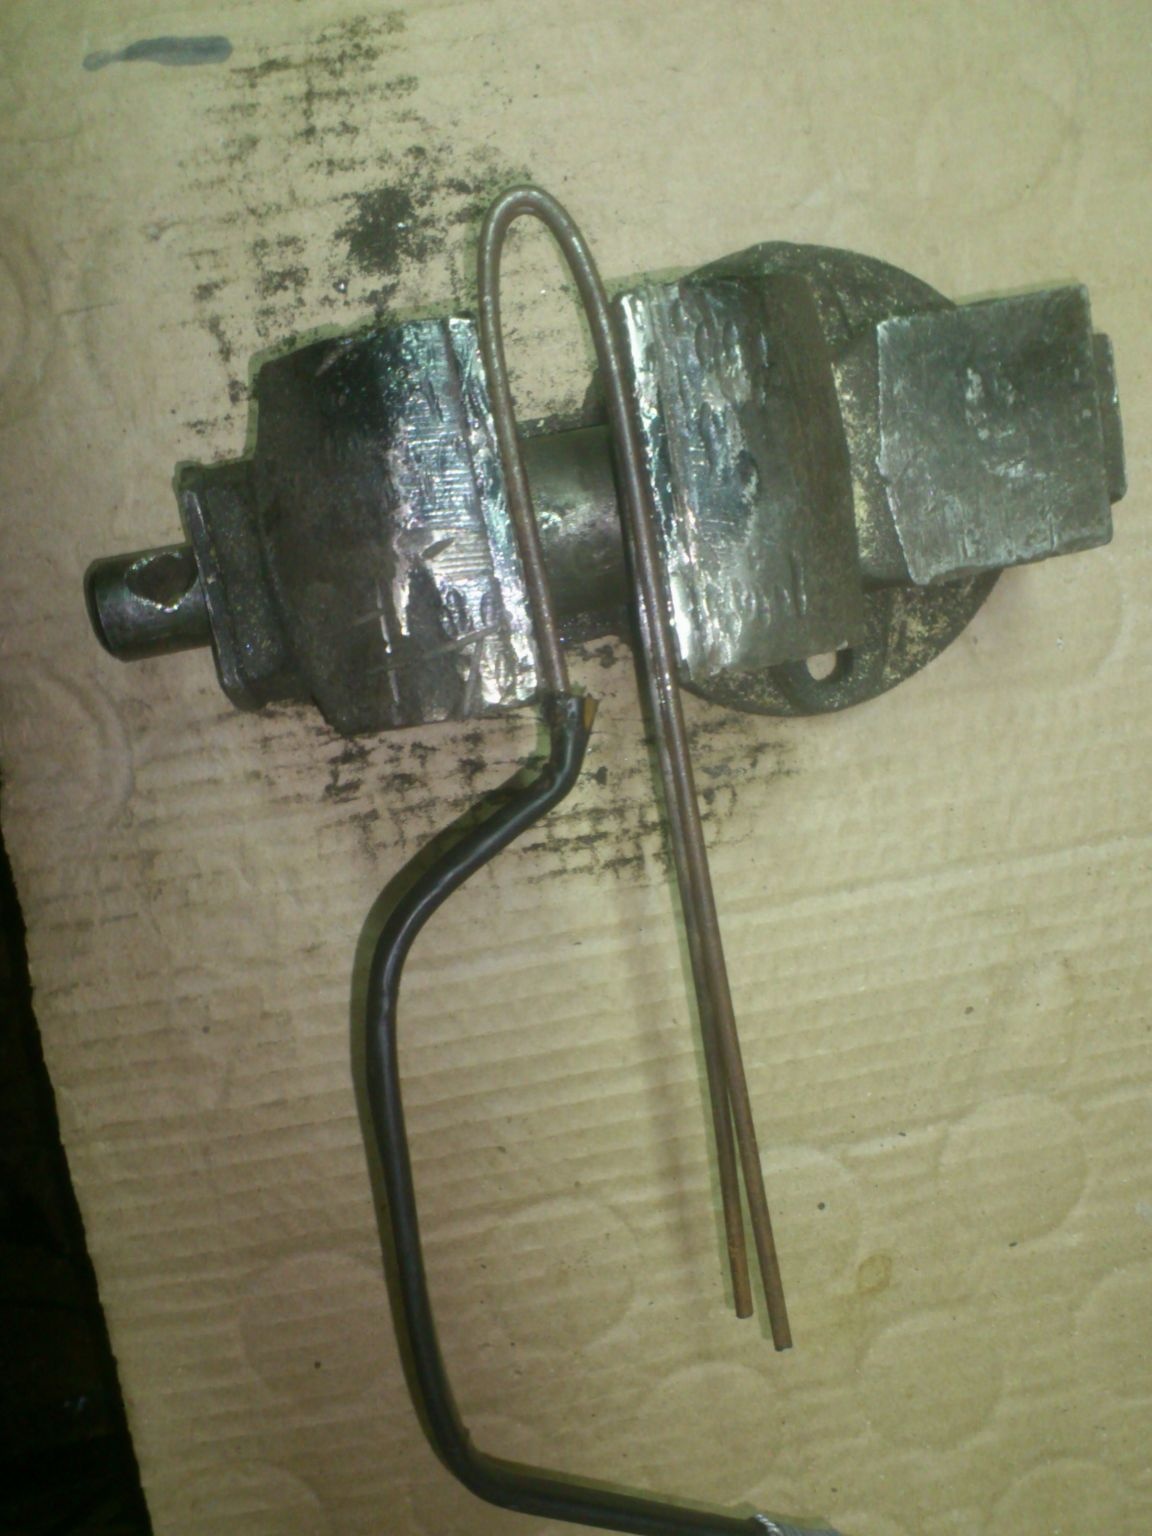
Bending the ends down, I tried on the canvas, and made a marker mark in the place where it should be fixed, and should not rise higher when pressing on the hacksaw:
And tightly tied with knitting wire to this very mark:

At first, I also decided to fit the handle with heat-shrink cambric, but this diameter I only had black cambric. Remembering that the tool has the ability to "hide", I decided to make it brighter! And therefore, instead of using thermocambric, I used a red tape:
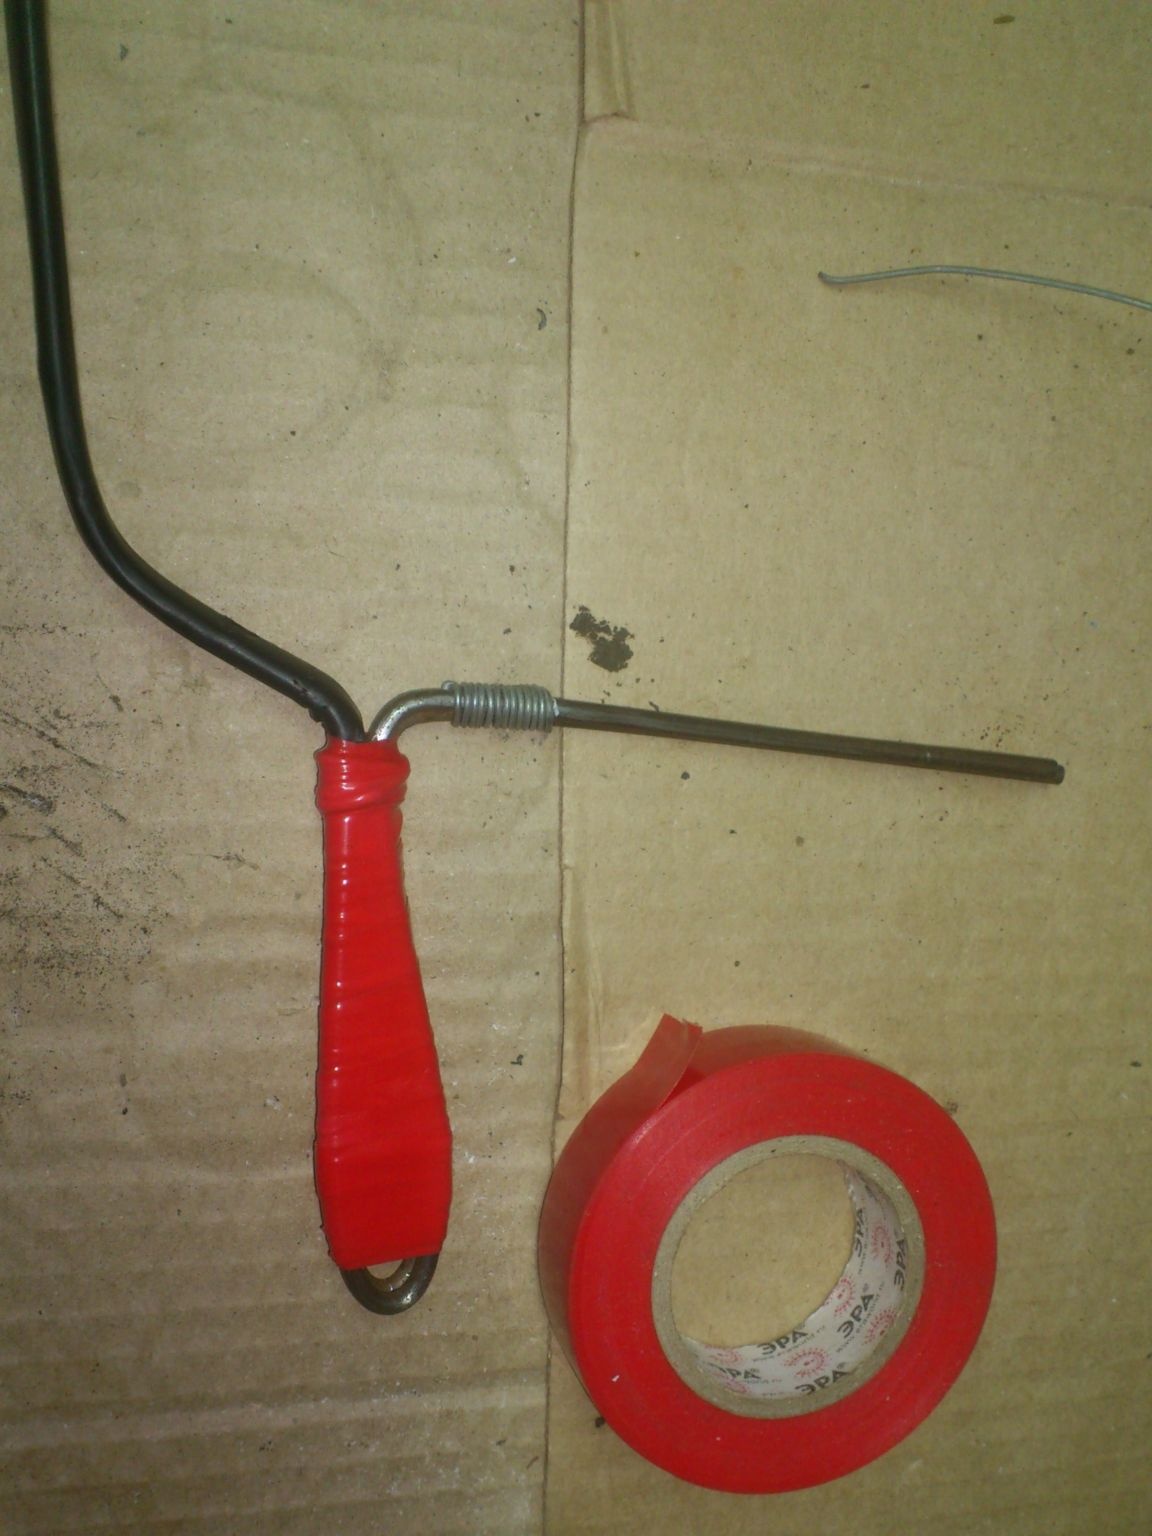
She wrapped it around the twisting places, hiding the knitting wire:
For some time I struggled with temptation ... But could we use the epic, legendary BLUE electrical tape? !!!!
Indeed, according to the Internet epic, it repeatedly enhances the properties of any tool repaired by it !!!
 ... But, having thought it over, I decided that I didn’t need such a powerful and strong hacksaw, and I took advantage of the red insulating tape ... In the end, red, along with black, shared the second place after blue for a very long time ...)))) And then yellow, green, white and other "Chinese fakes" appeared ...
Almost done ... I don’t think, I think, to say that in the manufacturing process I was guided by the dimensions of the canvas - I bent so that the hacksaw bracket turned out to be slightly wider:
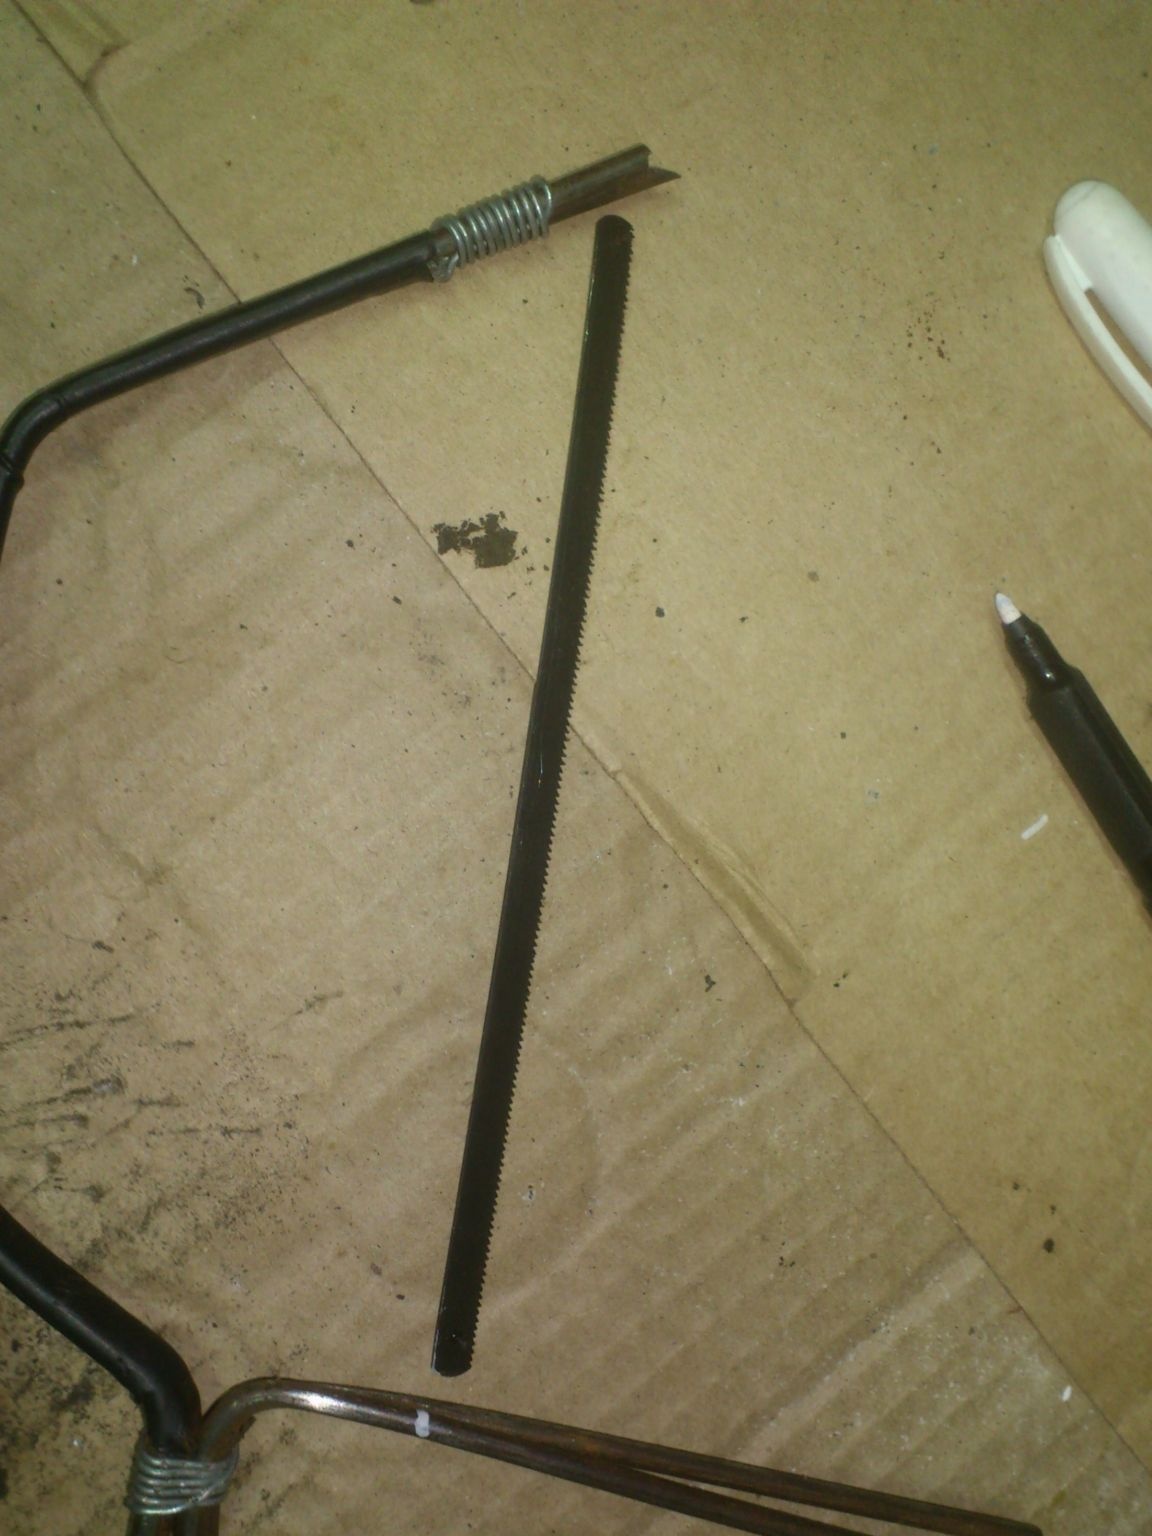
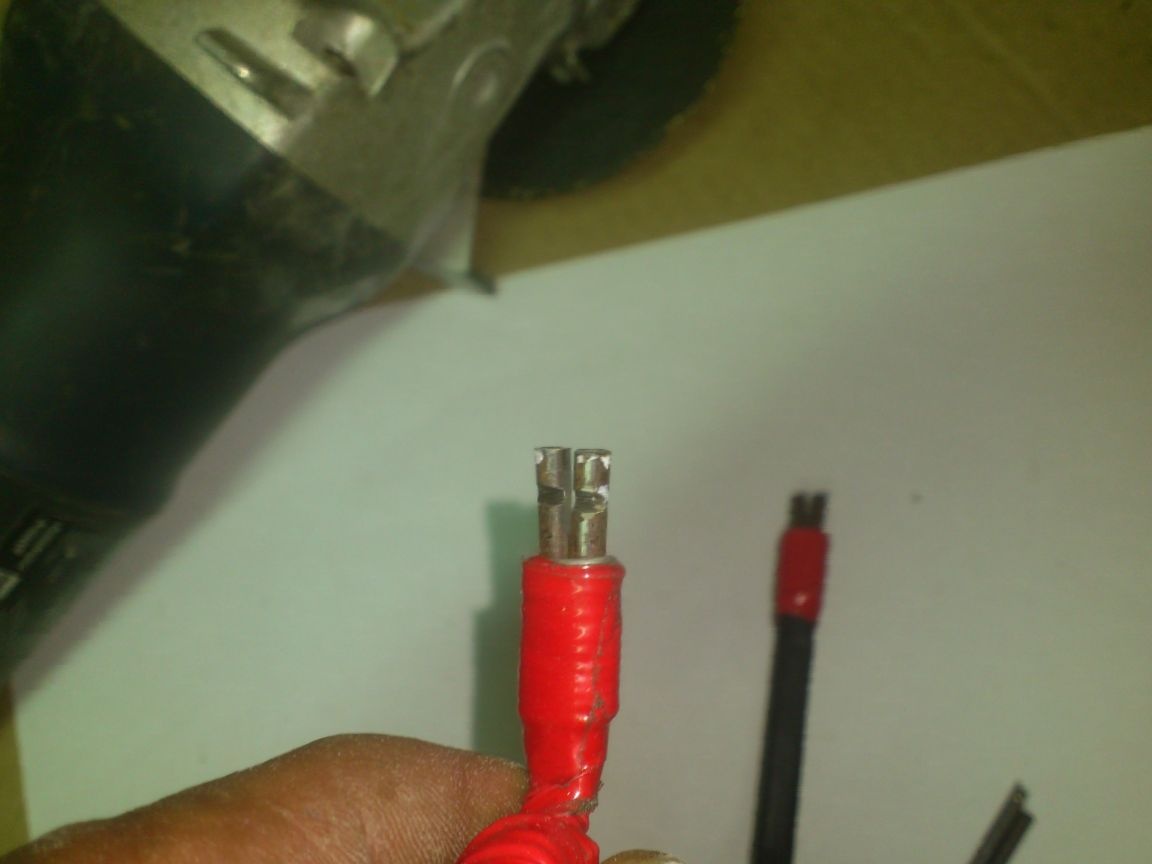
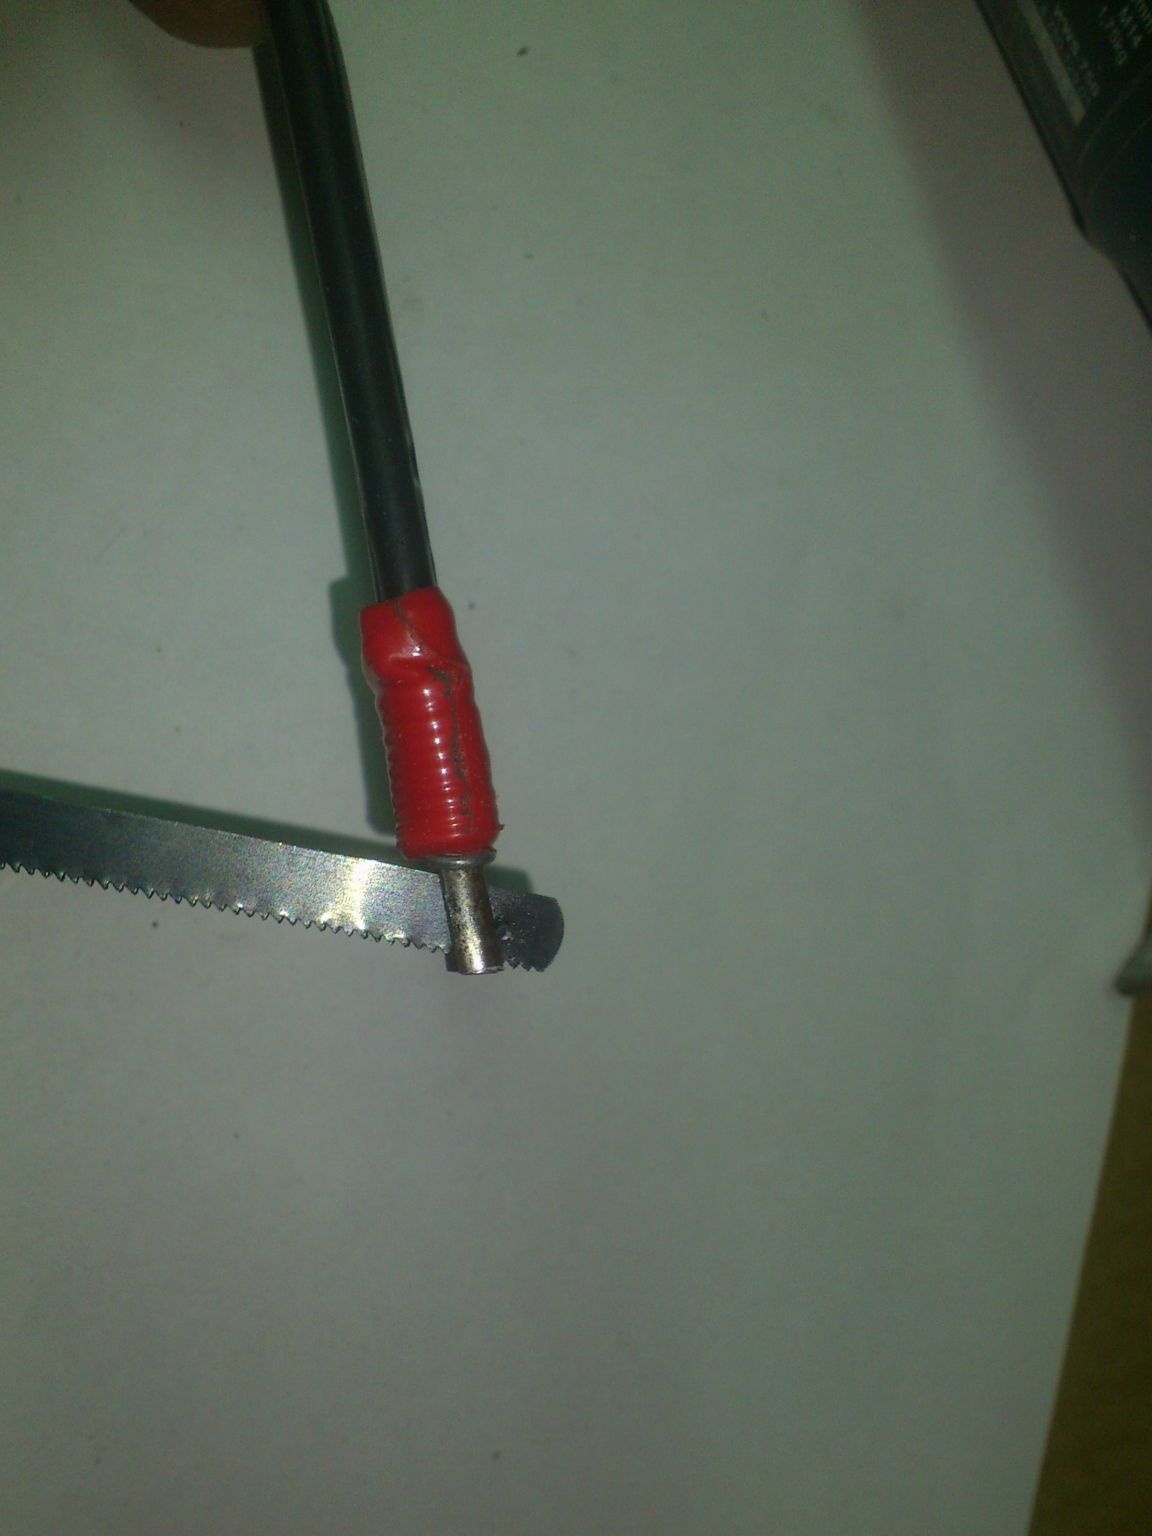
These canvases do not have fixing holes, like their "older brothers". Instead, thin steel pins are hammered at their ends, through which they are attached:
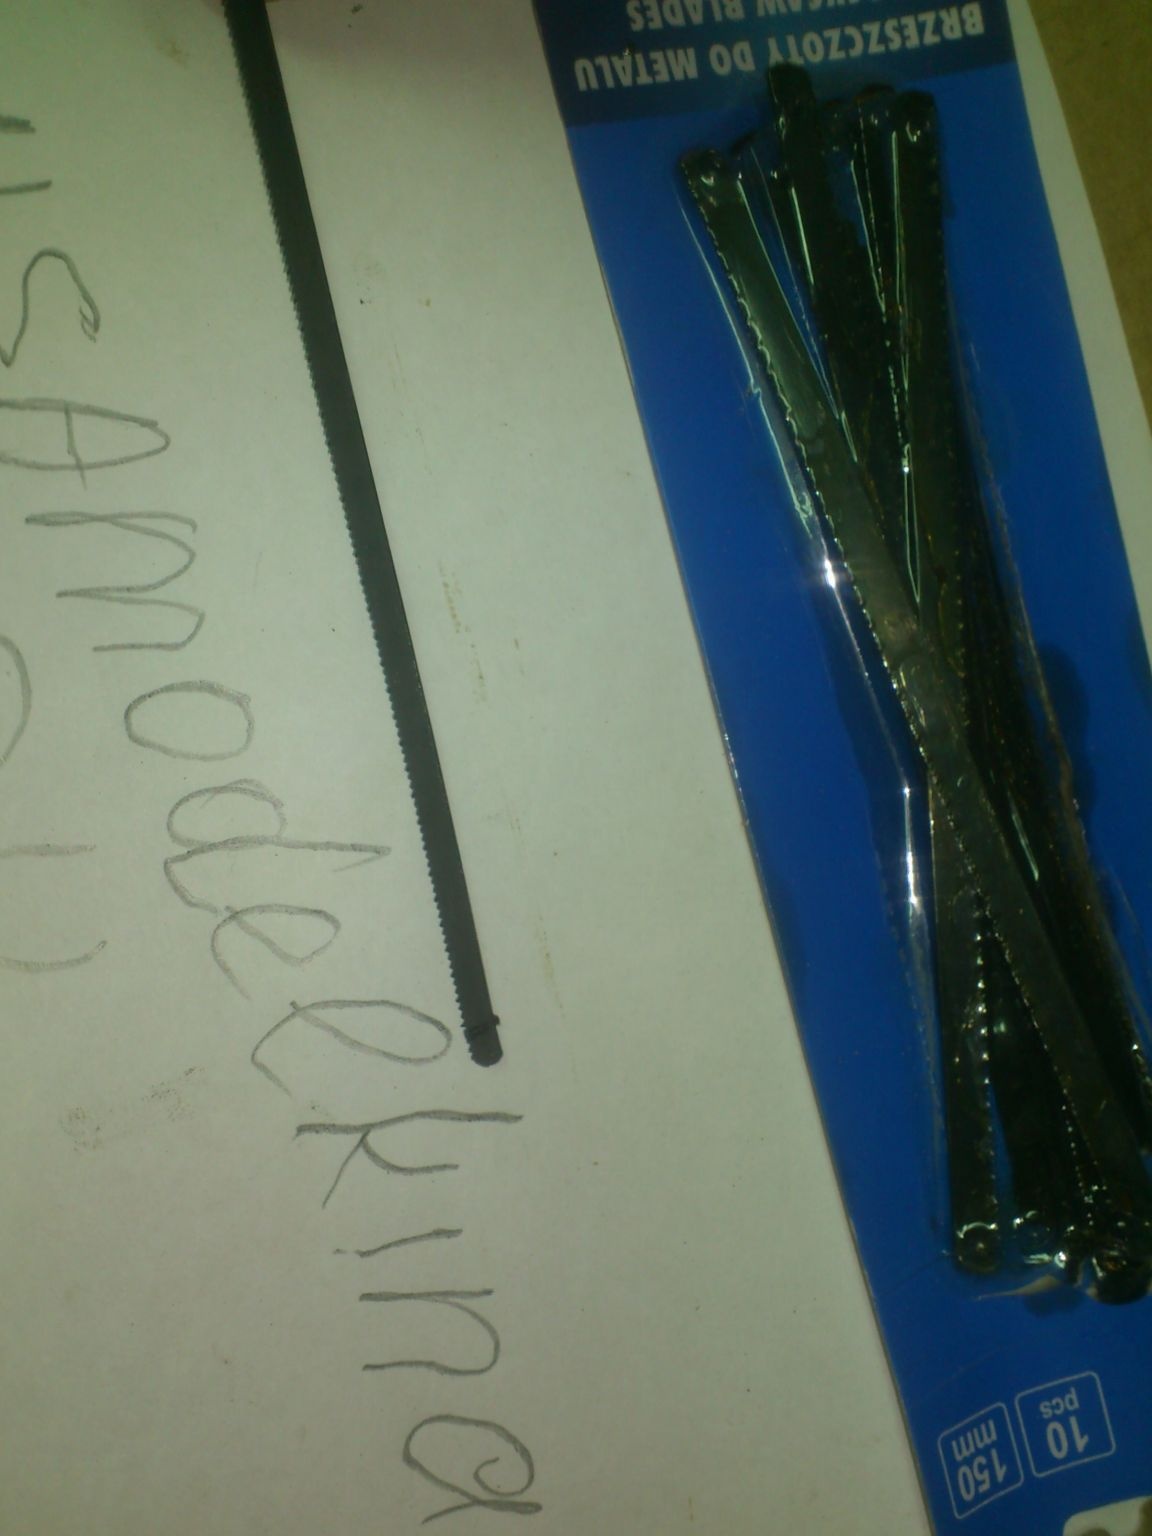
Squeezing the bracket, I inserted the canvas, sticking the ends into the gap between the wires on each side. Having springed together, the bracket rested against the transverse pins and pulled the canvas:
After that, I made notes with a marker and cut off the excess using the “grinder”:
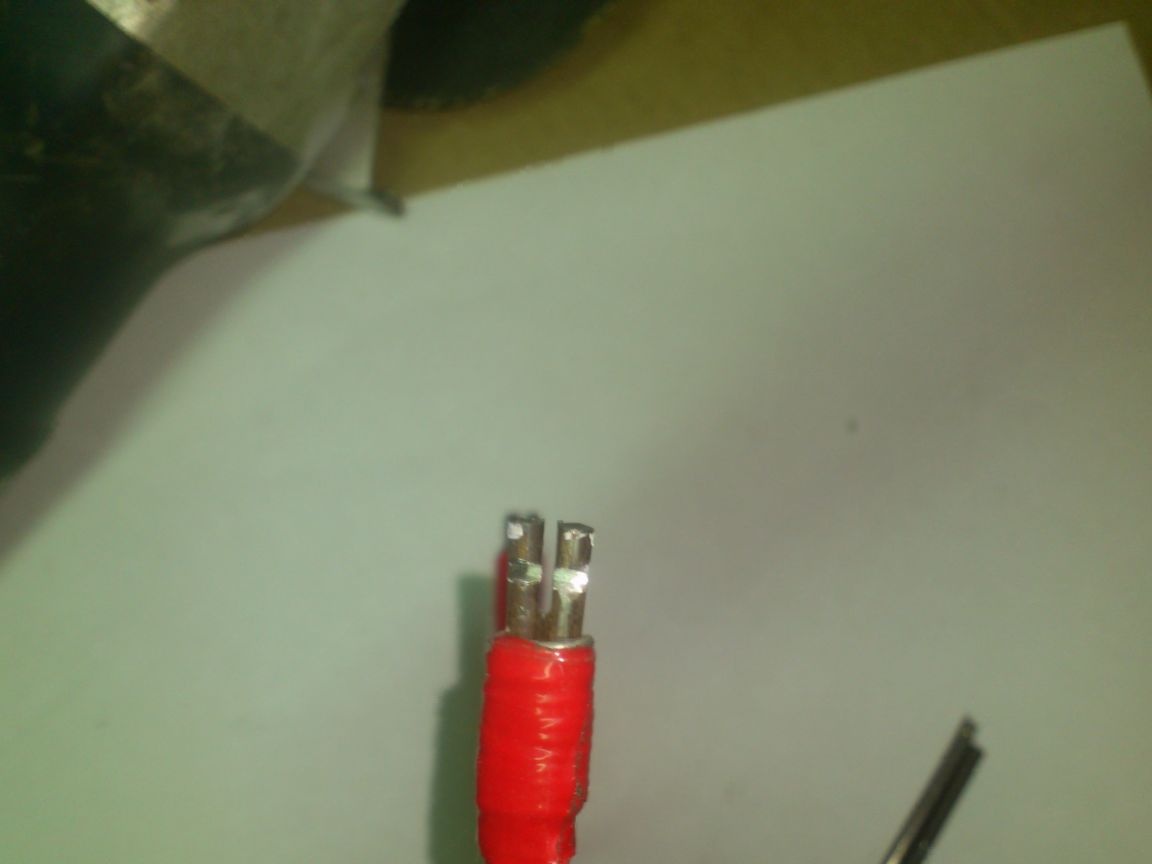
Now you need to fix the canvas in a vertical plane (so as not to slip down). Having made a mark with a marker opposite the pin, I took off the canvas, and made a “small grinder” a transverse incision from the back.
Since now the web will be tightly fixed by the pins that have fallen into this notch, then, to facilitate installation and removal, I cut (expanded) the “grinder” the gap between the wires into which the web is inserted:
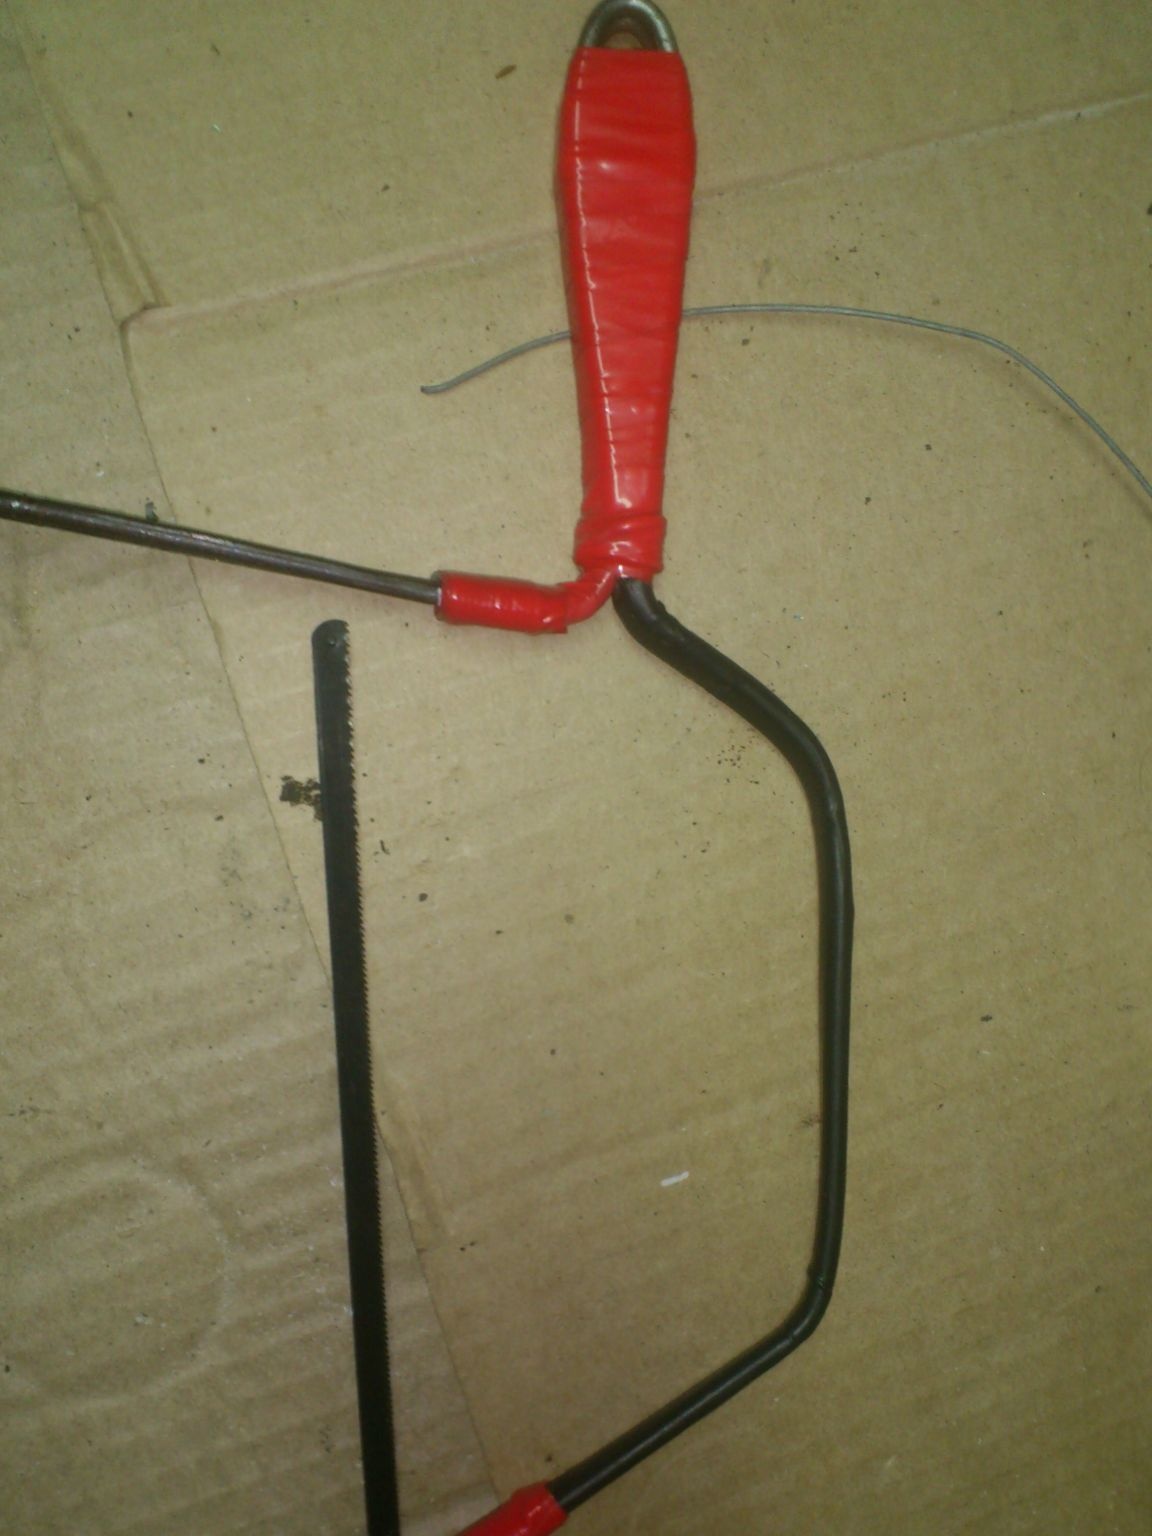
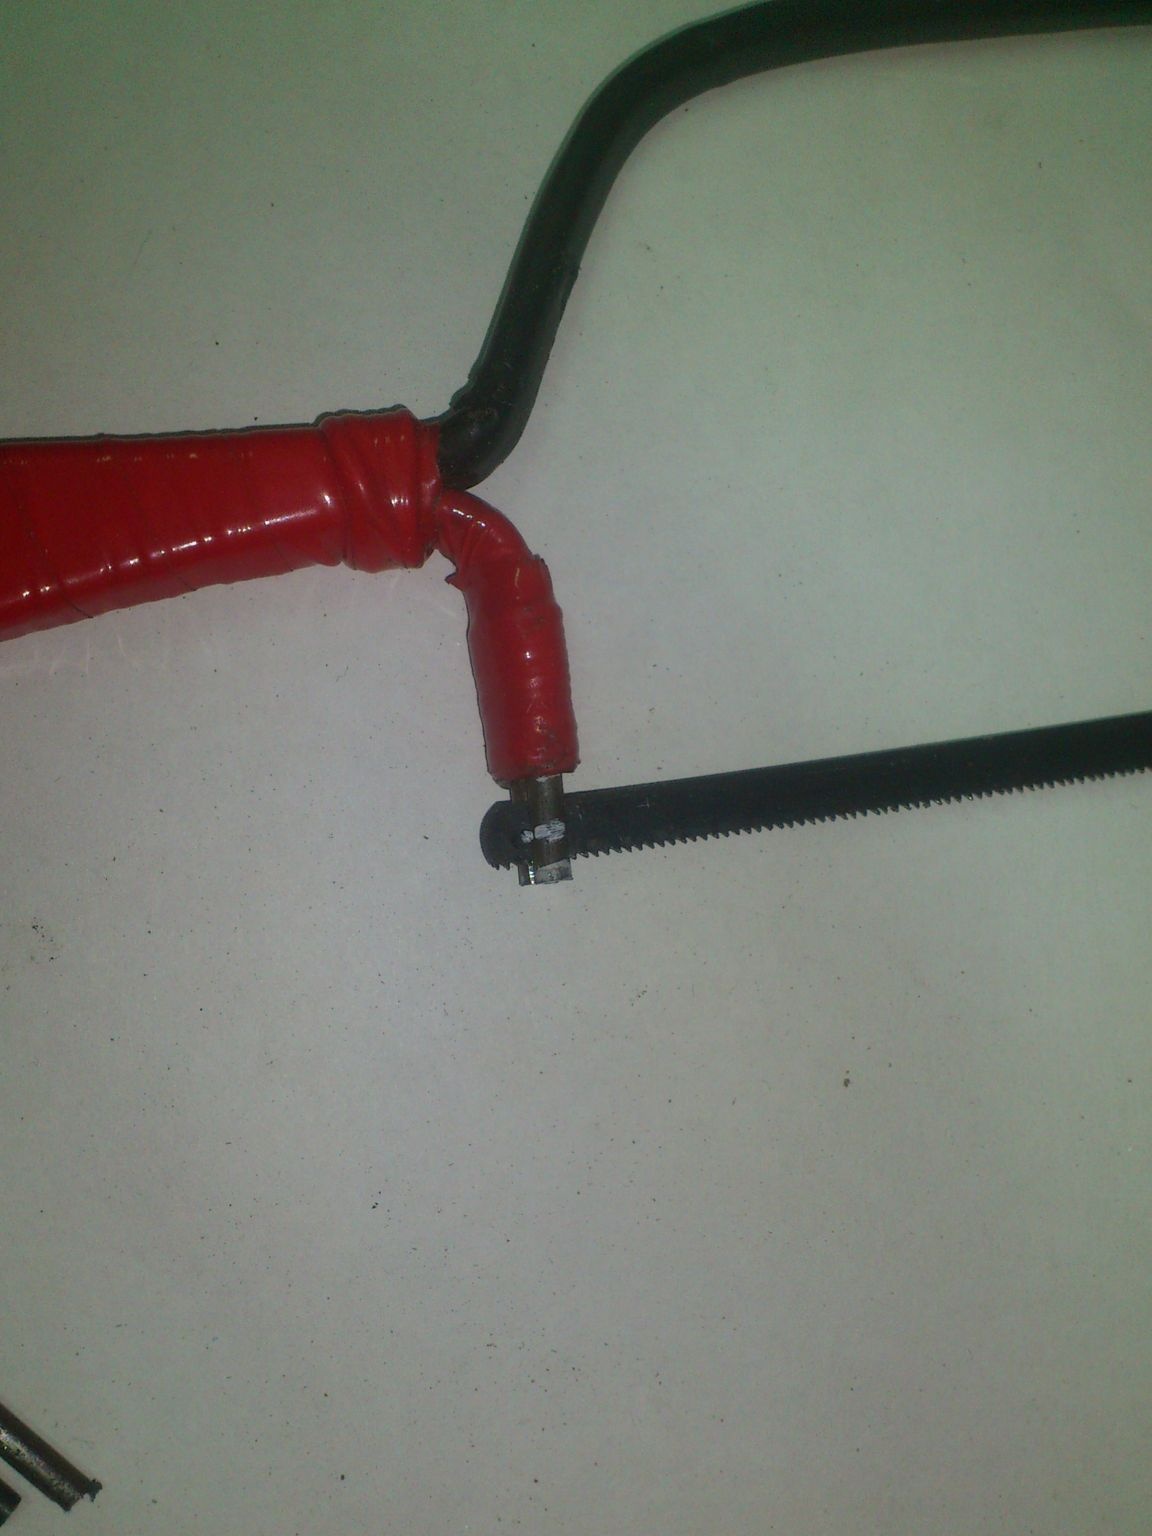
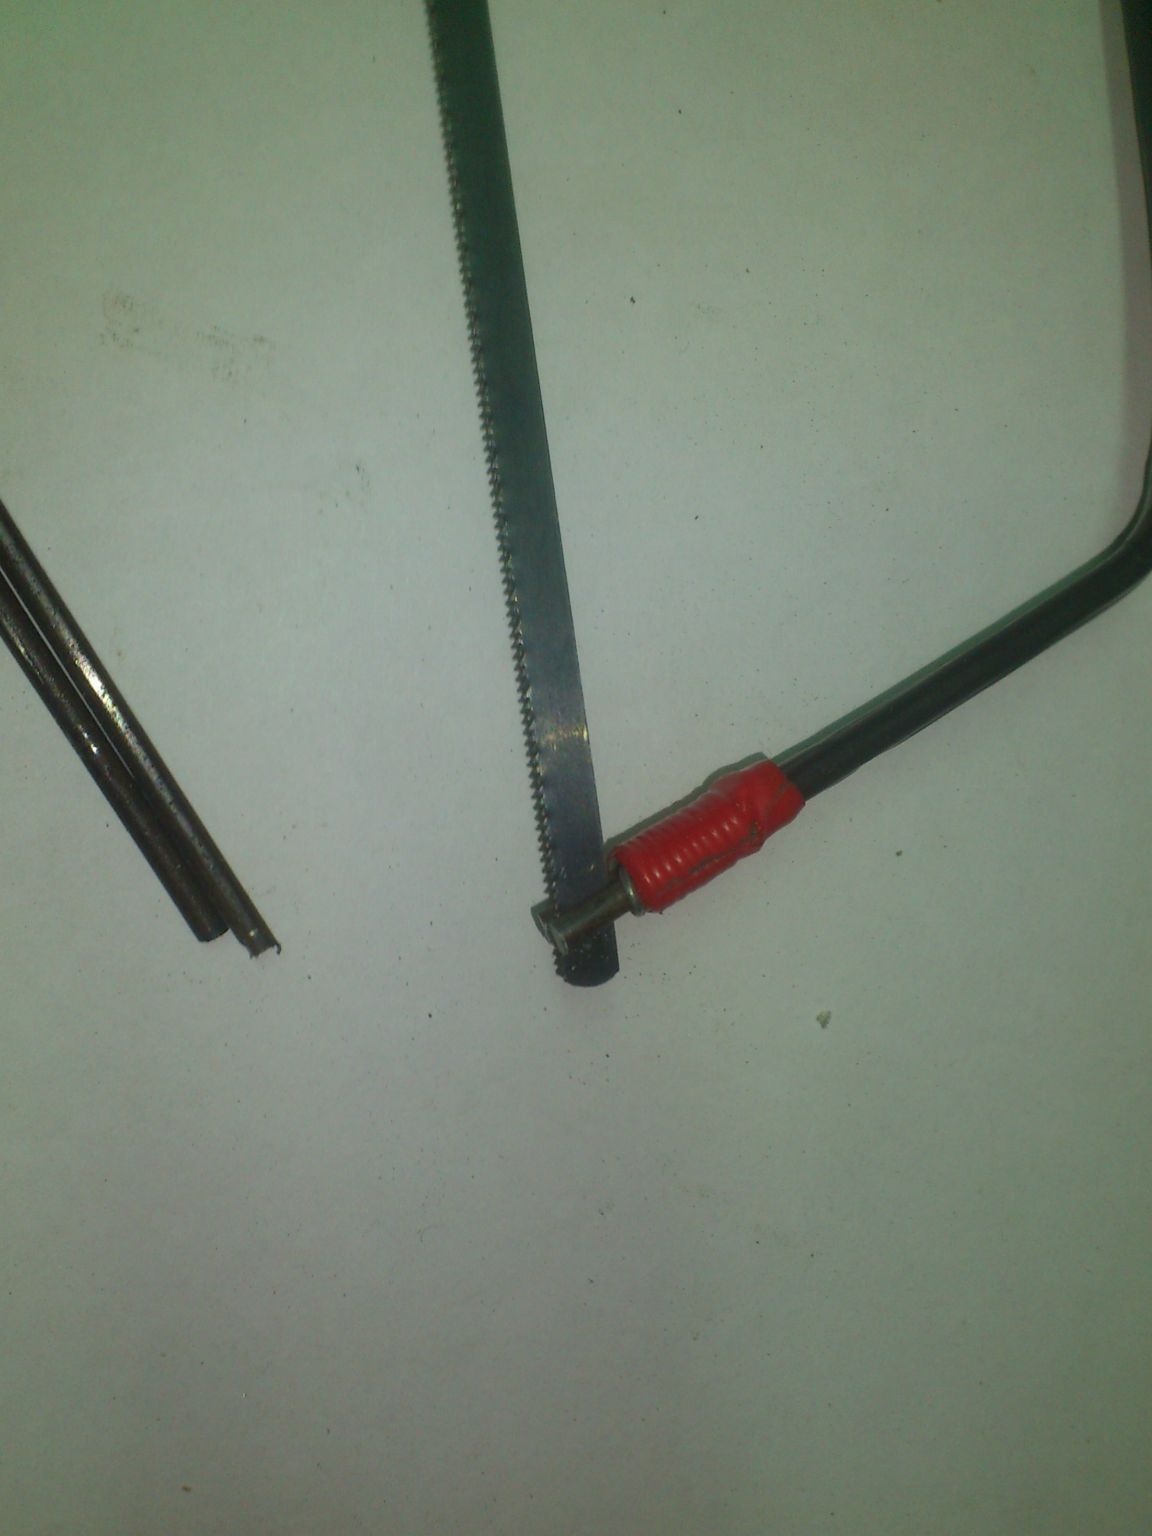
All!! The saw is ready! We insert the canvas in its place. In the back, it is securely fixed in the slot:
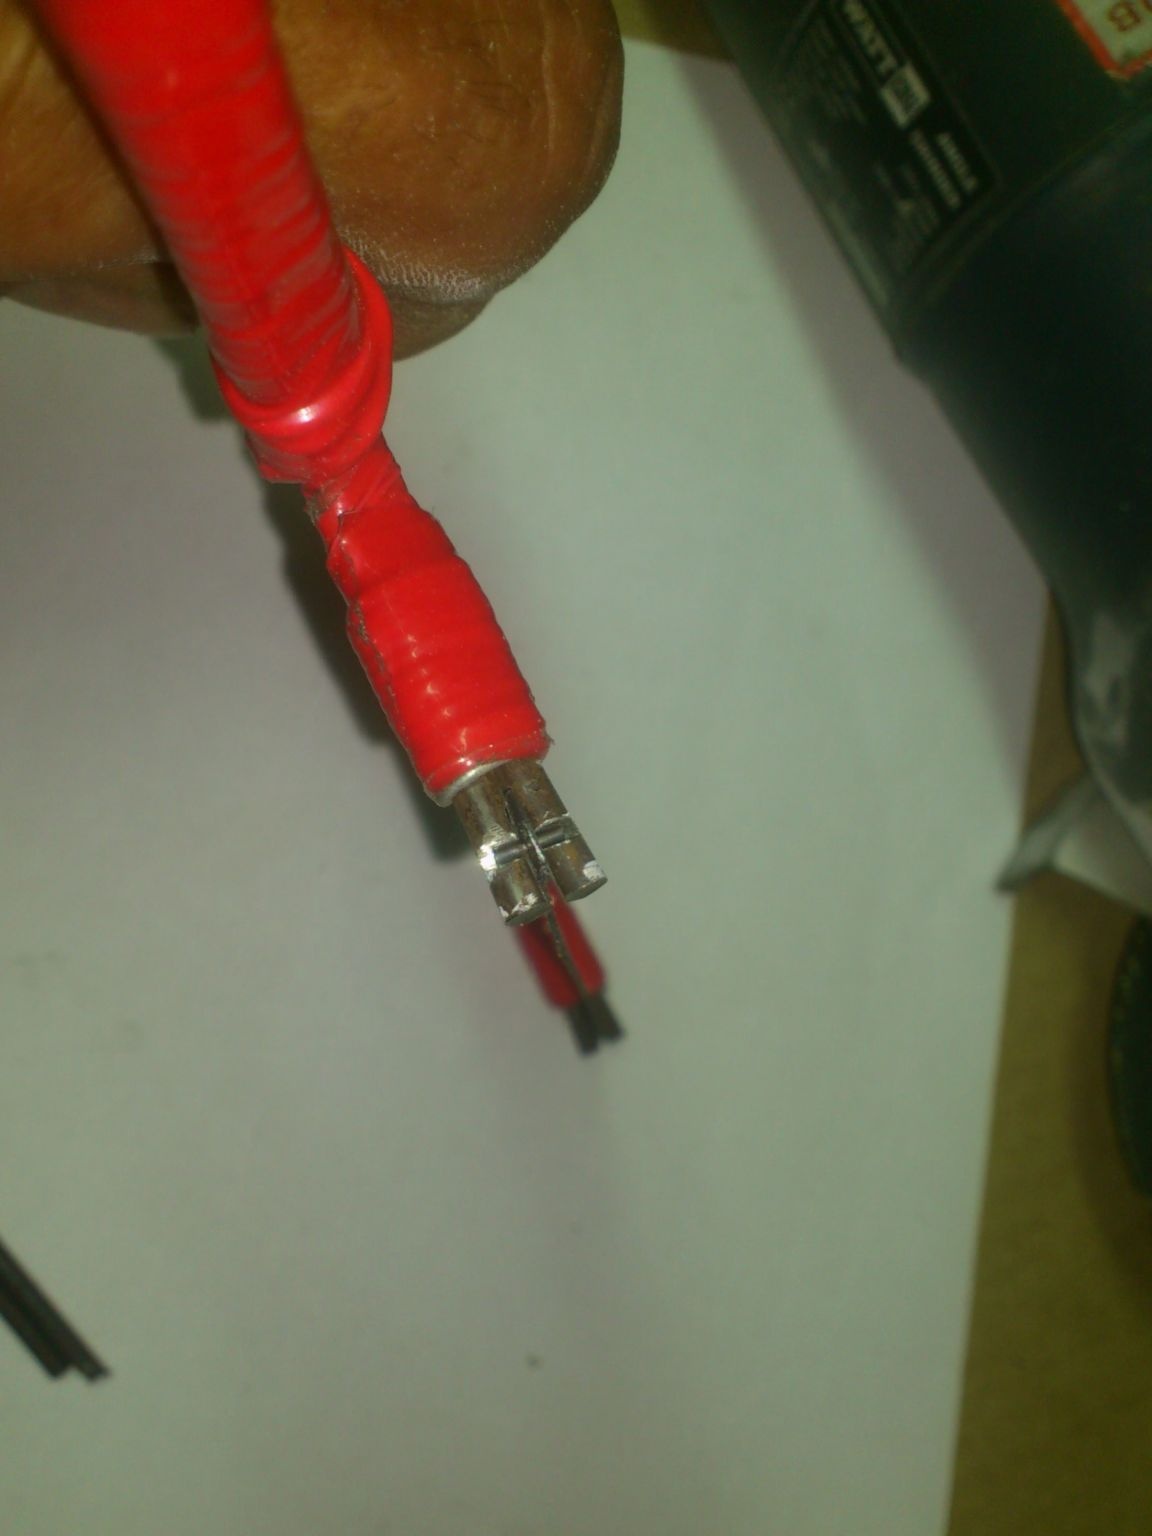
In front of me, I decided to do nothing.The cloth is simply tightly inserted into the slot until it stops against the knitting wire. The front protrusion of the hacksaw "sticks out", so the elastic force tends to casing the canvas as deep as possible. And it will not be able to jump out either!
The whole process of manufacturing this tool took about an hour. If I hadn’t photographed, it would have been enough for half an hour !!! So, I quite managed to take advantage of this hacksaw in the manufacture of homemade goods, which I will describe later ...
I also made this hacksaw last week, but it’s harder to find time for writing an article than for my favorite pastime !!!
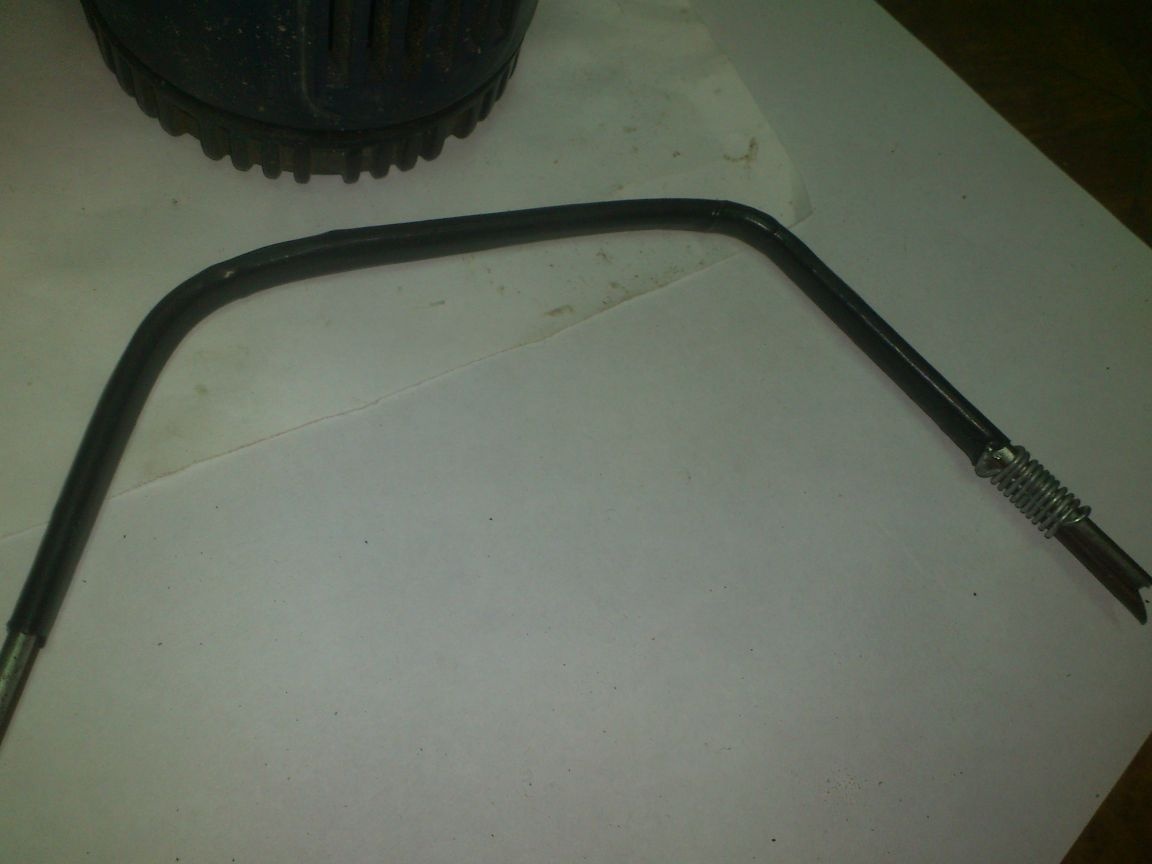
And the day before yesterday, hanging up the tool, I suddenly found a shop hacksaw on the hook that I could not find when I needed it:
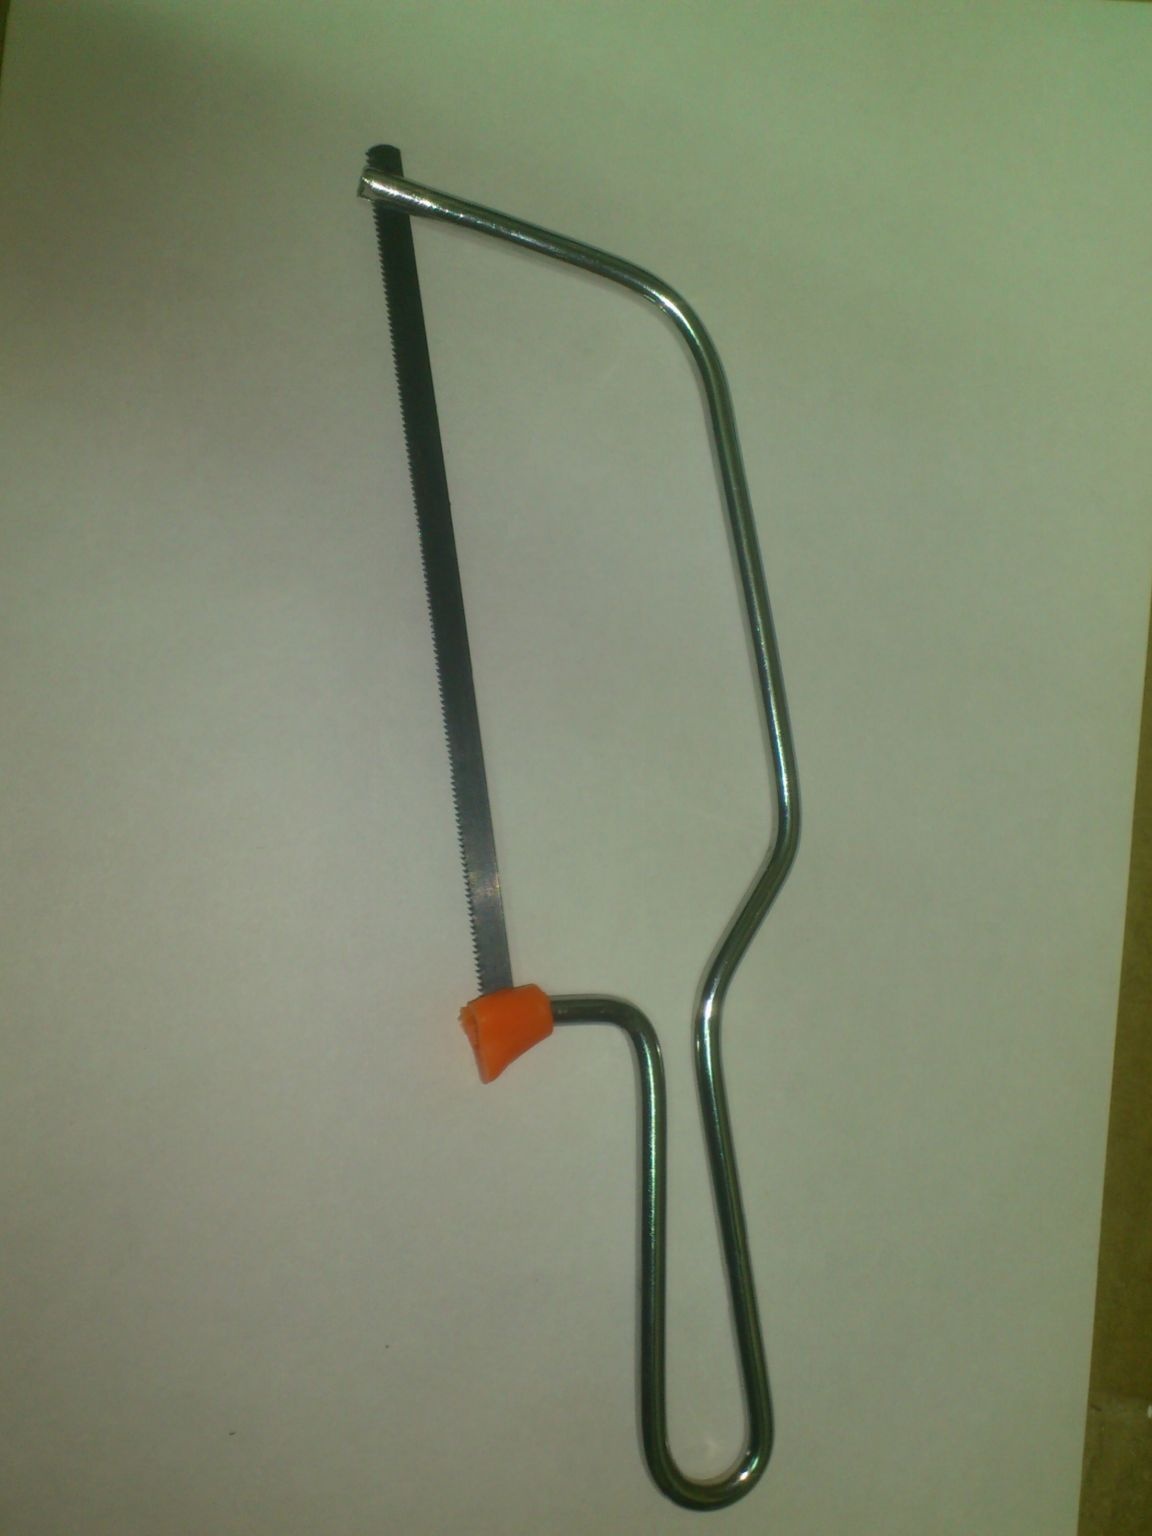
How could I not see her when I was looking for - I won’t put my mind !! I could not resist, put next to compare:
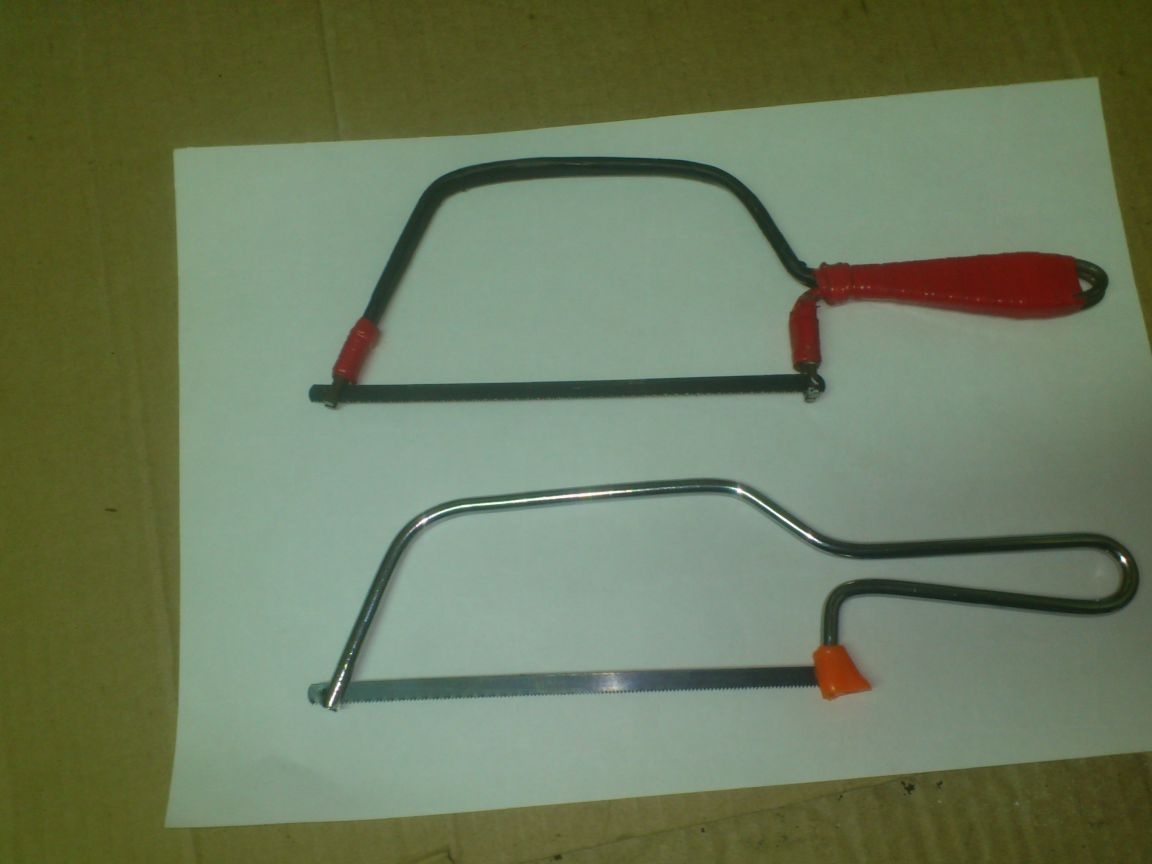
Of course, they are very similar in shape, since the length is regulated by the length of the blade, and the length of the handle is always made approximately the same. And in height I did a little higher ...
Of course, in appearance the store is superior to the self-made one, but in terms of functionality they are absolutely no different !!!
Not a bit sorry for the "lost time" ... I will have two.