

Hello to all lovers homemade. In this article I will tell you how to make a calculator do it yourself, in the assembly of which the kit kit will help, a link to it will be at the end of the article. This kit kit will be useful for beginner hams and those who want to try their hand at working with a soldering iron, and of course, such a calculator can be used for its intended purpose. To build such a radio constructor, you don’t need many tools, so everyone can assemble it.
Before reading the article, I propose to watch a video, which similarly shows the process of assembling a kit kit and its verification of operability.
In order to make a calculator with your own hands, you will need:
* Kit
* Soldering iron, flux, solder
* Side cutters
* Crosshead screwdriver
Step one.
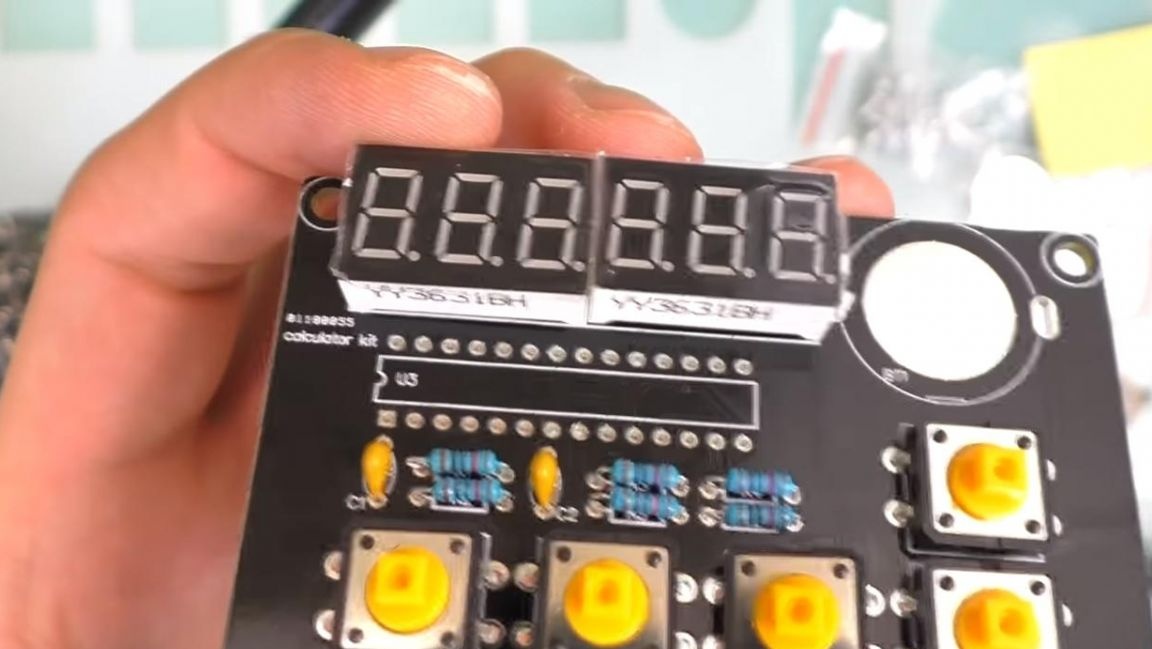
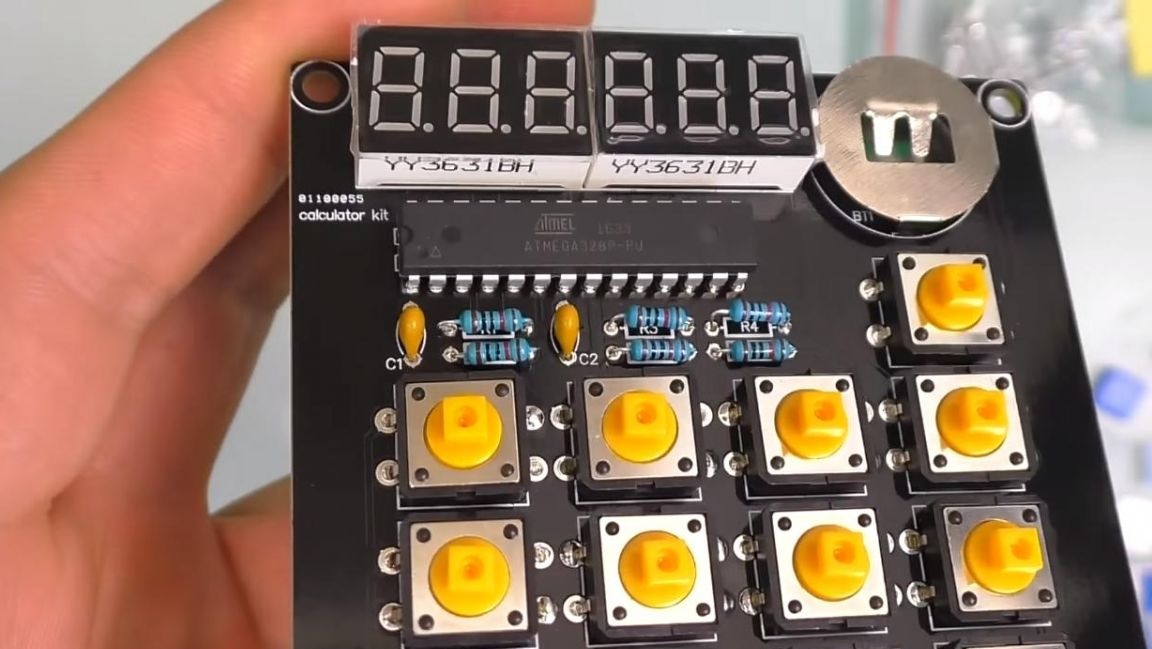
In the kit kit kit there is a printed circuit board with metallized holes, its workmanship is at a high level.
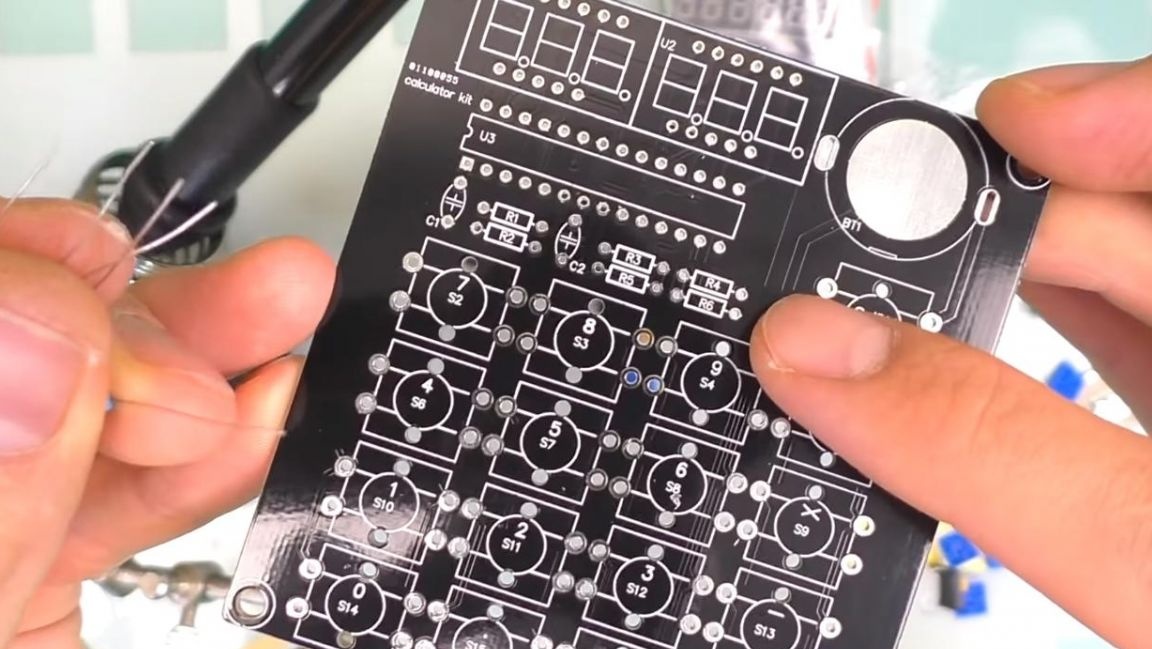
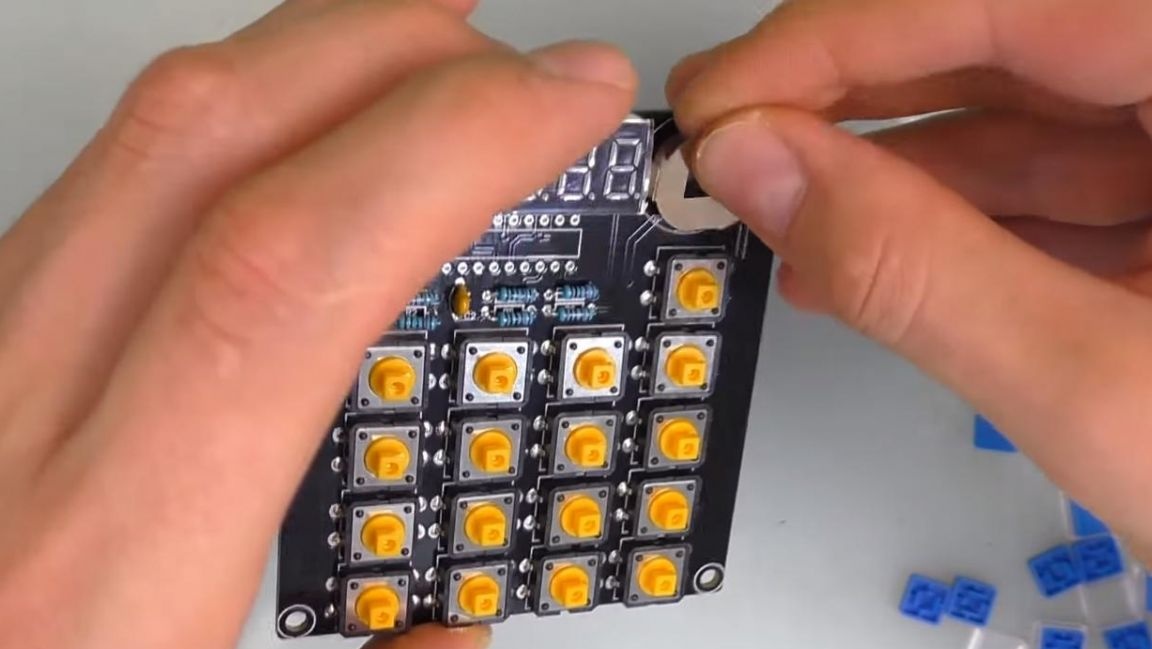
The keys are buttons with a plastic overlay, there are 17 of them.
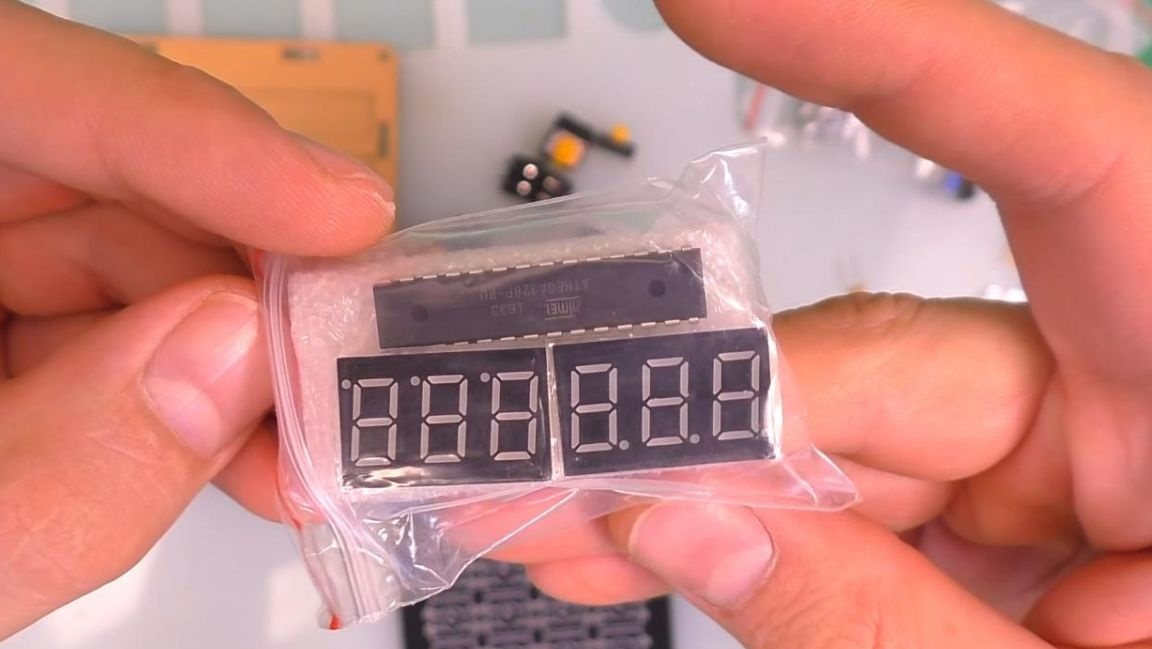
The instructions for the radio designer are not supplied, since there are not many parts on the board, especially since they have the same denomination, so there is no point in this. The expression will be displayed on seven-segment indicators with a red backlight, in the dark they are also clearly visible due to the glow.
Having dealt with the kit, we proceed to the assembly itself.
Step Two
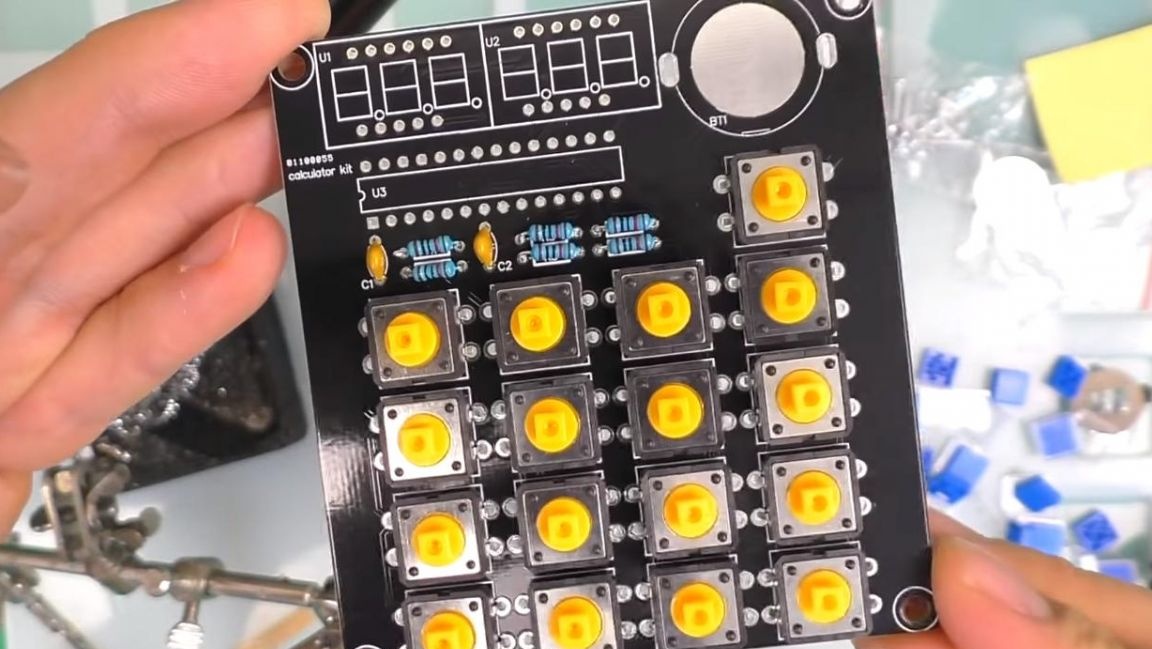
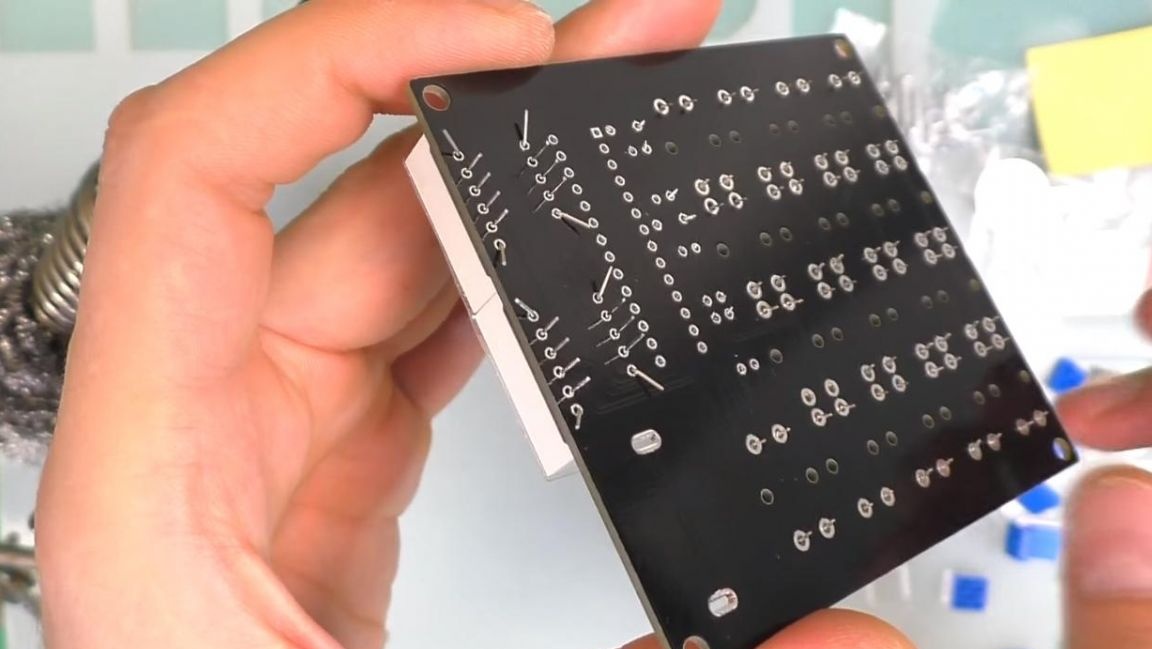
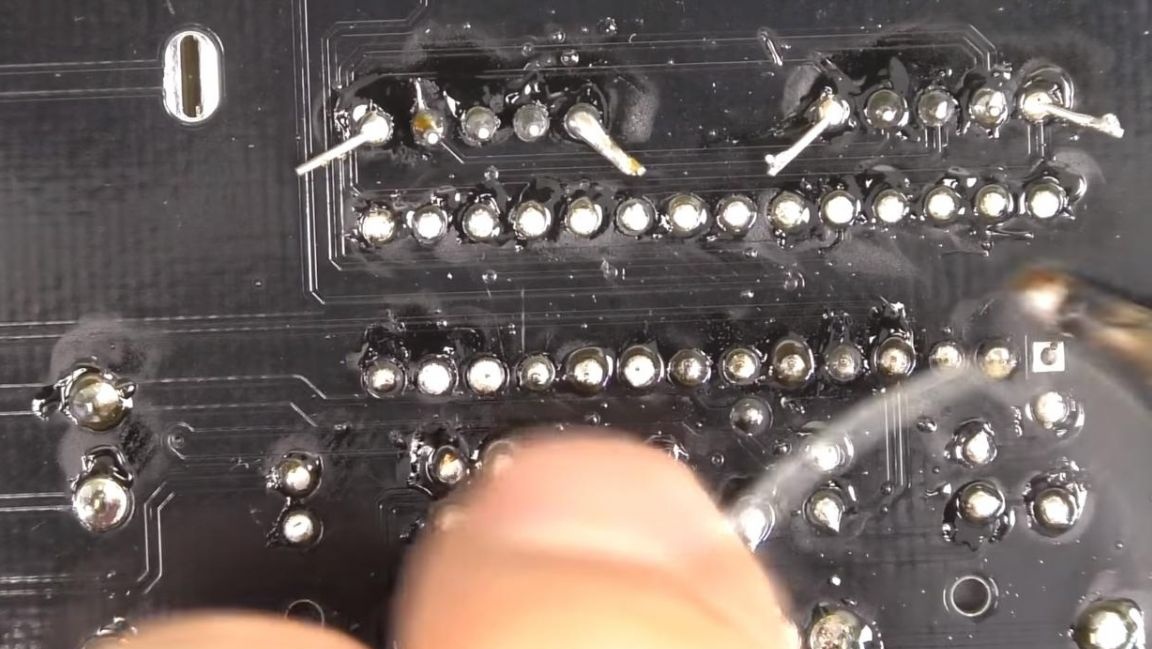
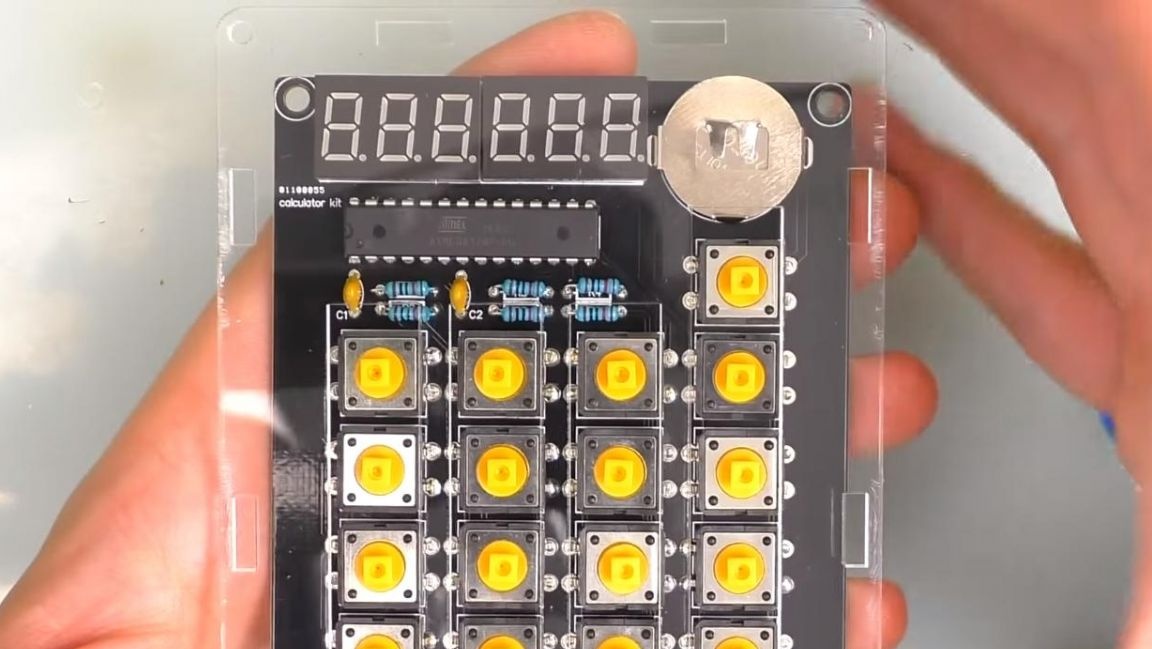
We install radio components on the board. First, we insert the resistors, there are six pieces of the same rating in the set, so you do not need to determine the resistance of each. On the reverse side of the board, we bend the conclusions so that they do not fall out when soldering. After the resistors, we install non-polar ceramic capacitors on the board, we also bend their conclusions. Next, put all 17 buttons on the board, and then seven-segment indicators, they have a special mark in the form of a dot, as well as on the board, then bend their legs.
Step Three
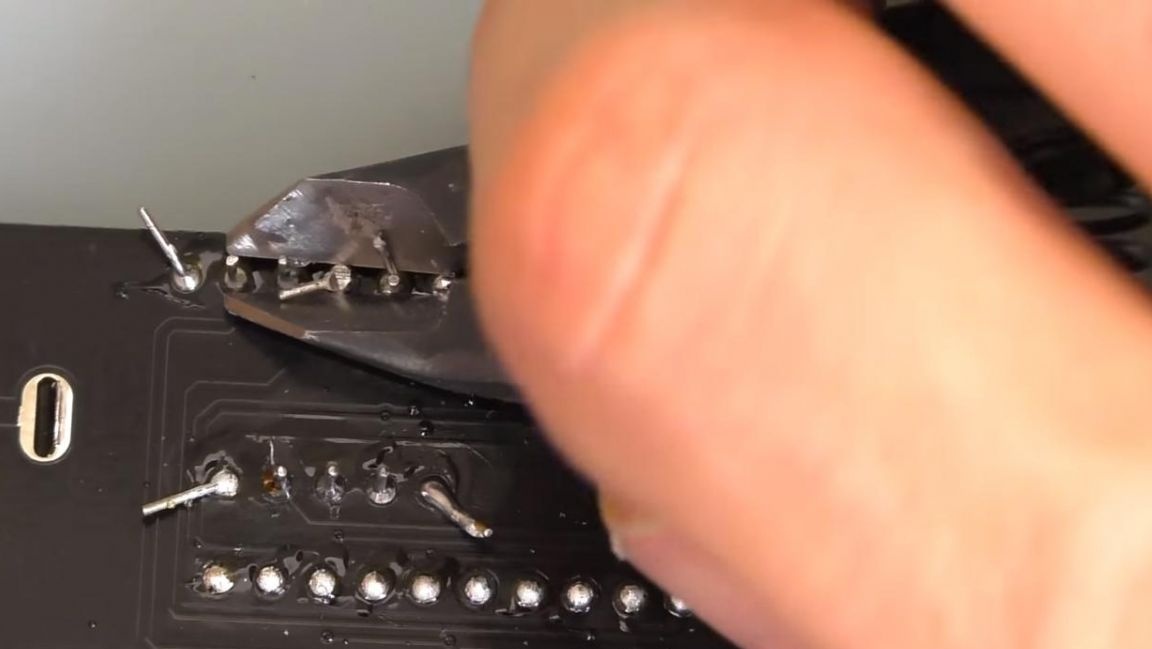
Now, using a soldering iron and solder, we solder the conclusions of the radio components to the board contacts, for a better soldering we apply a flux. In order that the conclusions are not oxidized and do not interfere, prematurely remove part of them with side cutters. When removing the legs of the radio components, be careful, as this can lead to clipping of the tracks from the board itself.
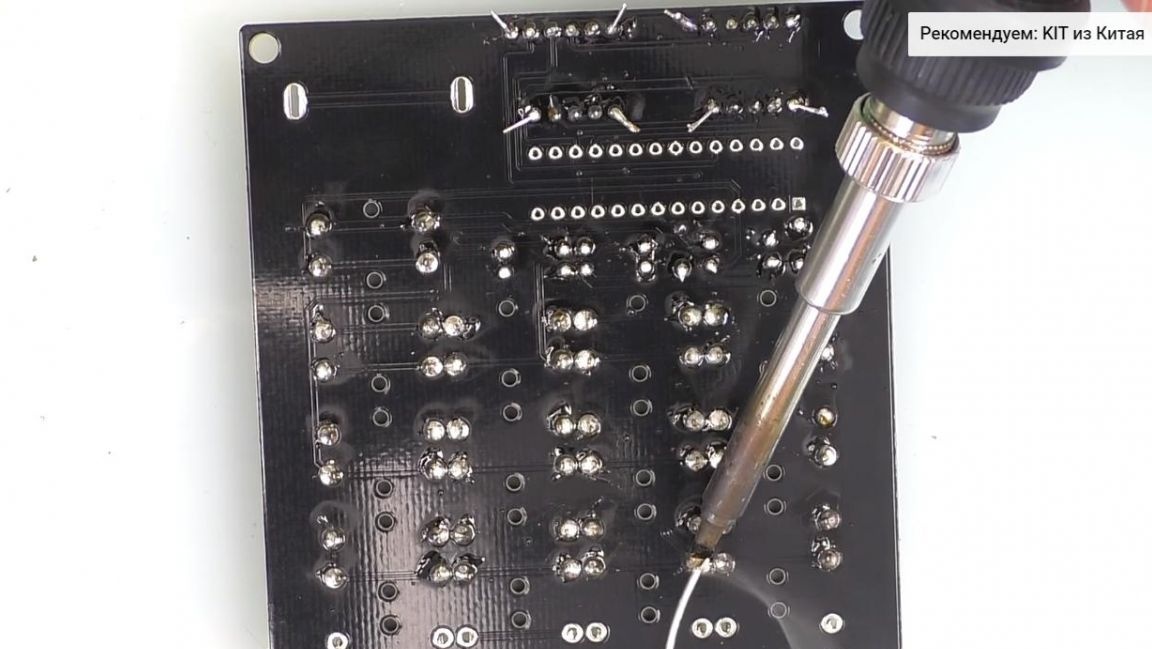
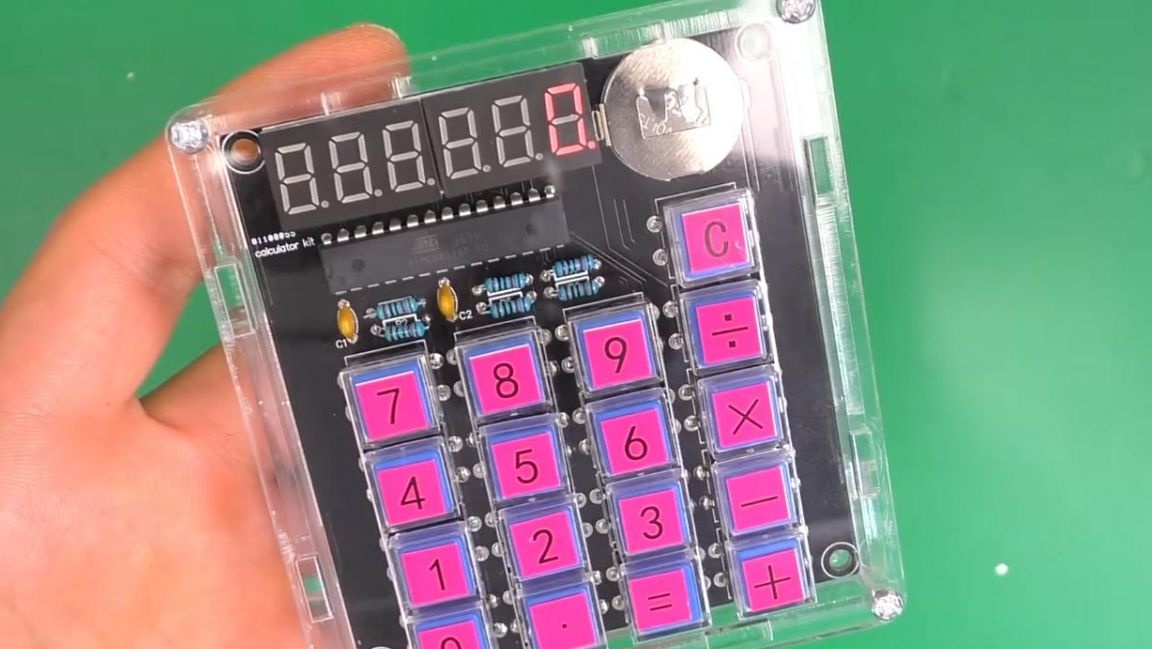
After soldering, we install the battery mount and the microcircuit, it must be positioned so that the key in the form of a recess on the case coincides in the direction with the key shown on the board.
Next, we solder the microcircuit and the battery compartment with a soldering iron and solder, it is advisable to solder the microcircuit quickly, since it can be overheated, after which it can fail.
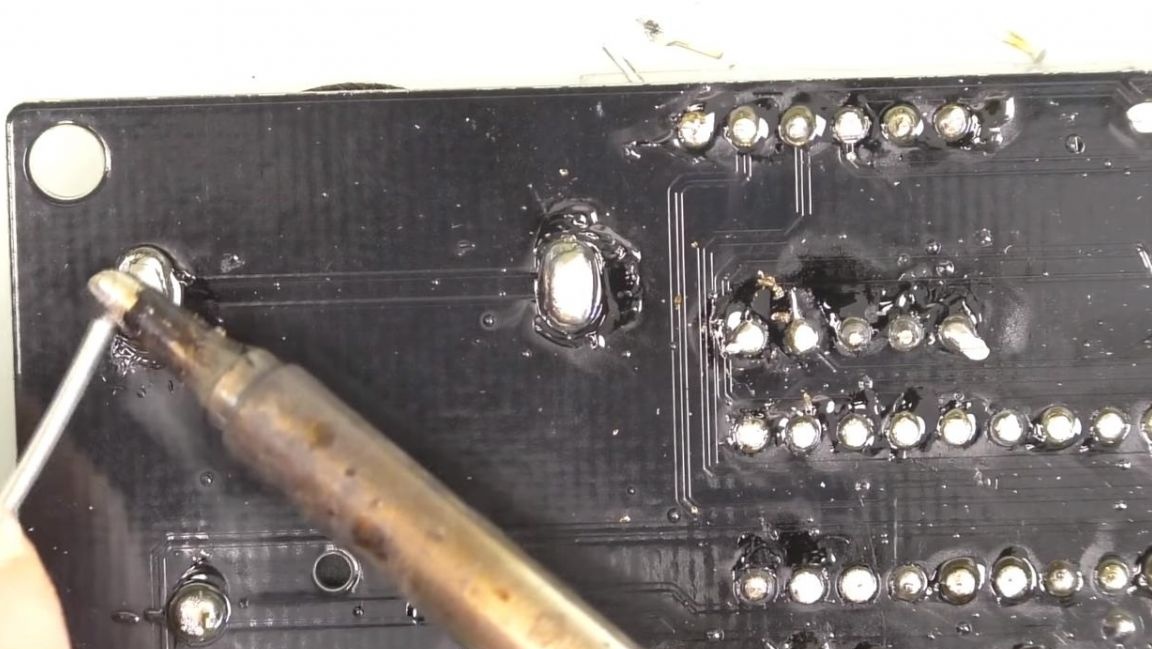
The extra part of the conclusions is also carefully removed.
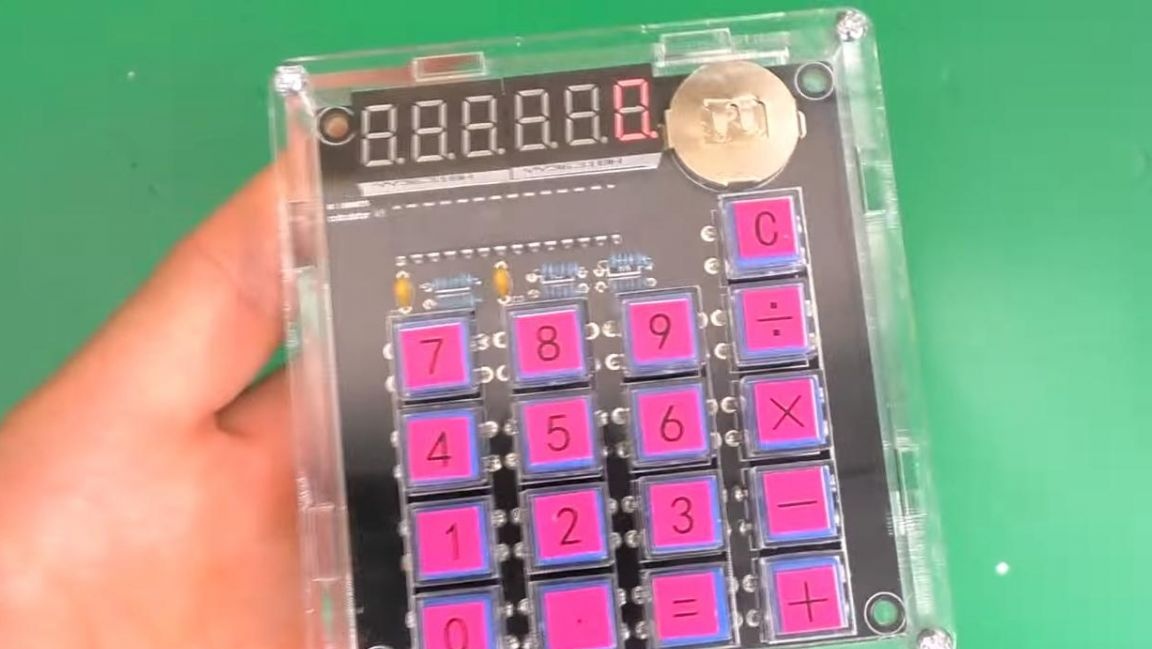
We check the calculator by installing the battery in place.
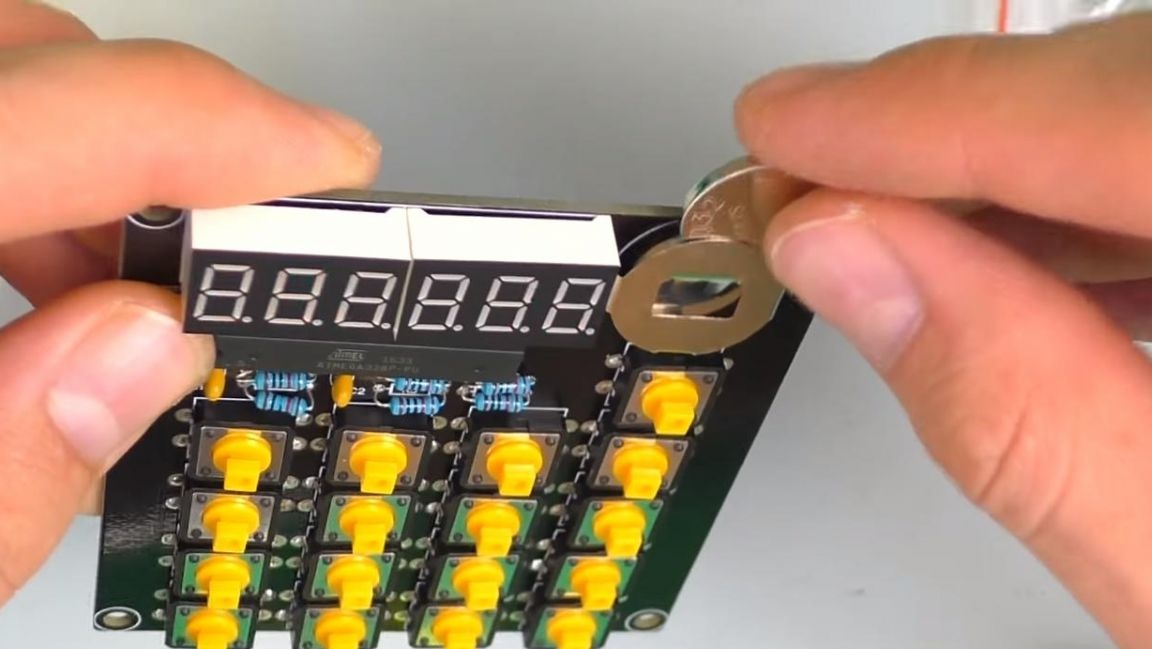
On the seven-segment indicator should display the numbers when you click on all buttons. After checking the calculator board, you can proceed to assemble it in the case.
Step Four
In order to protect the board and give the calculator the desired look, there are several parts of the plexiglass case in the kit. We remove the protective film from the plexiglass plates and assemble the case from them, fastening each other with screws and a Phillips screwdriver.

To make it clear which key to press, you need to install the plastic parts on the buttons in which you need to install signed papers, for the correct location, you can use the picture from the seller’s website. In the end, we check the calculator at work.
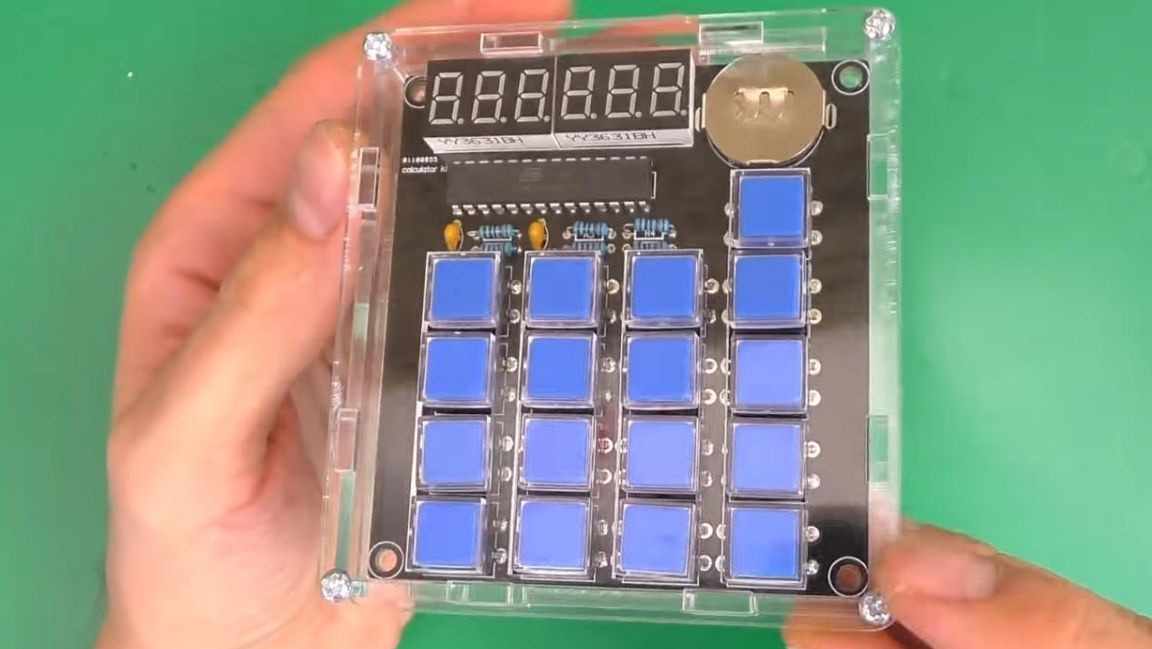
This calculator does not have a power button, after some time of inactivity they turn off themselves, and to turn it on, just press the C button. Such a radio constructor will help you get comfortable in radio electronics and try yourself in this area.
That's all for me, thank you all for your attention and creative success.