Hello, dear visitors of the site "". I finished my next homework and today I want to tell you about it.
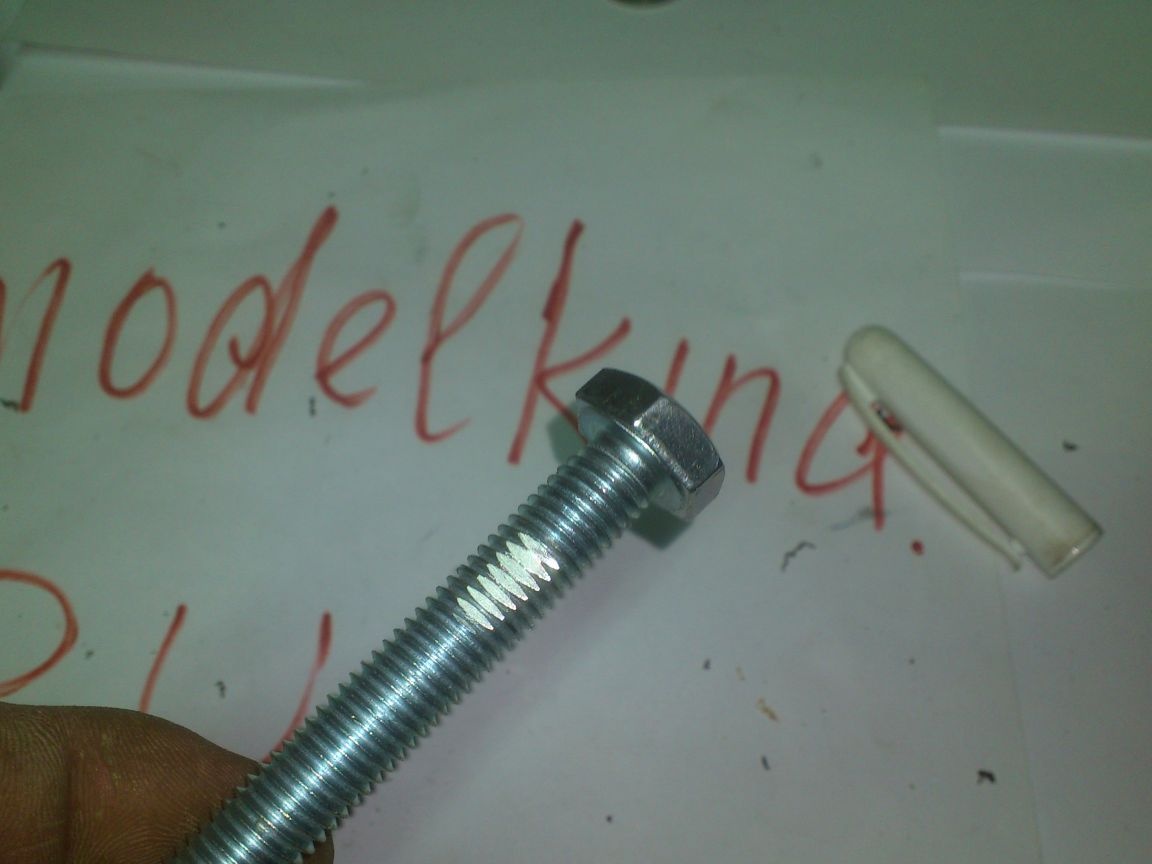
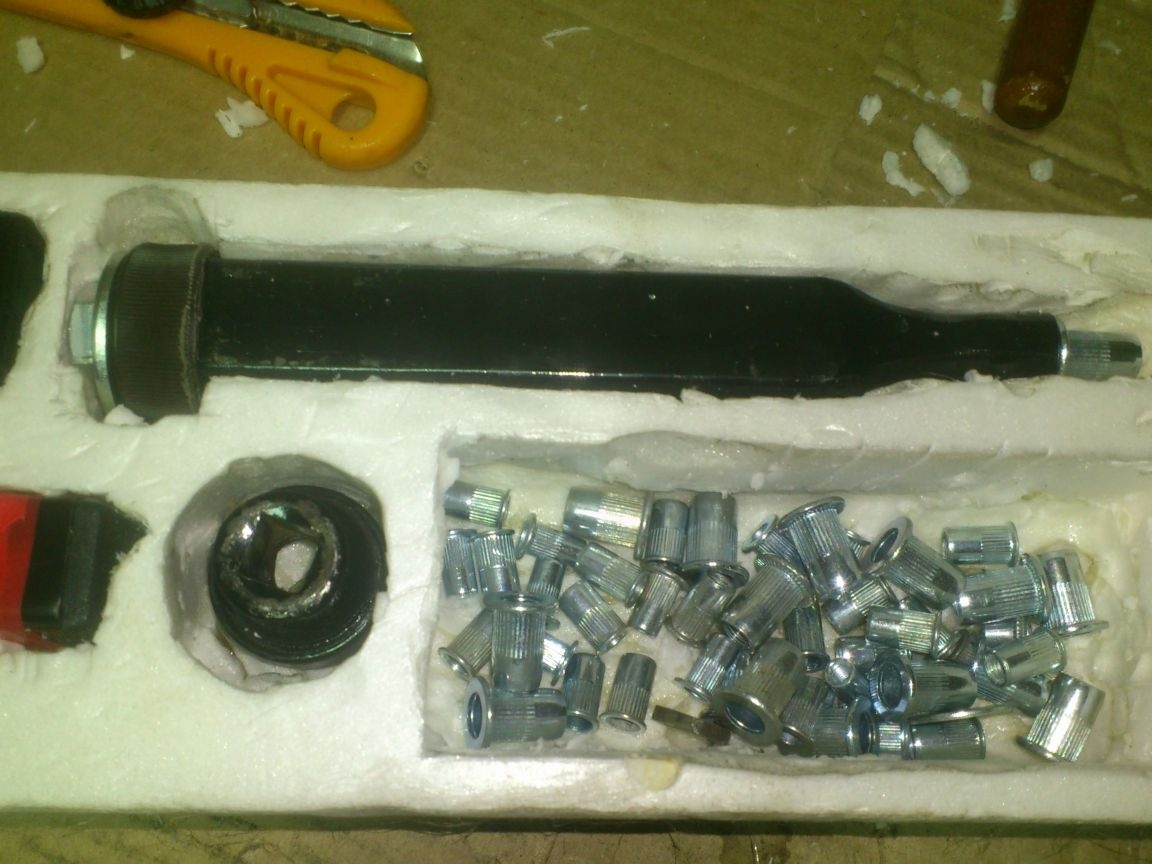
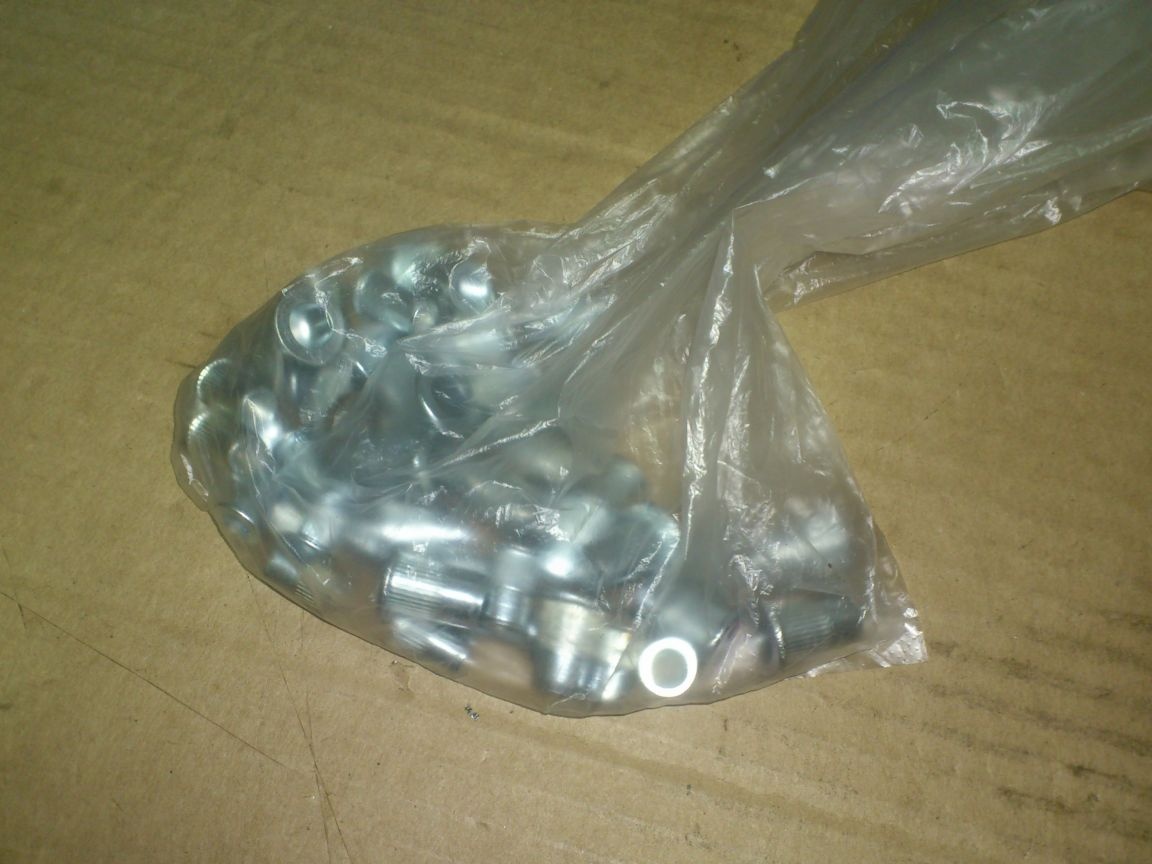
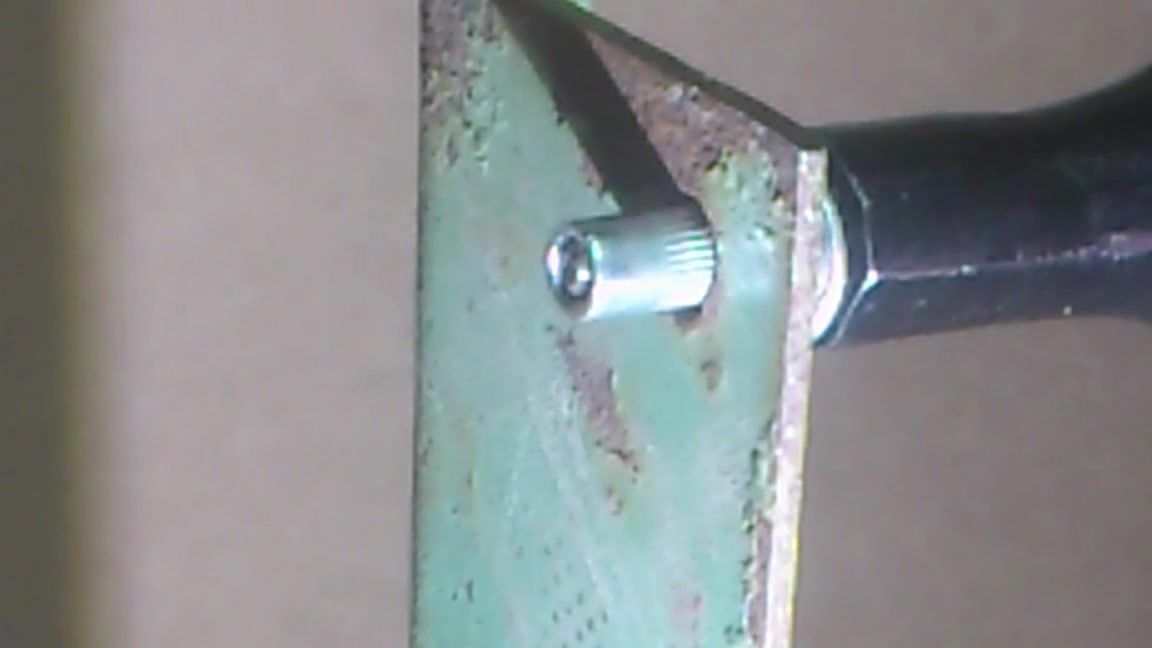
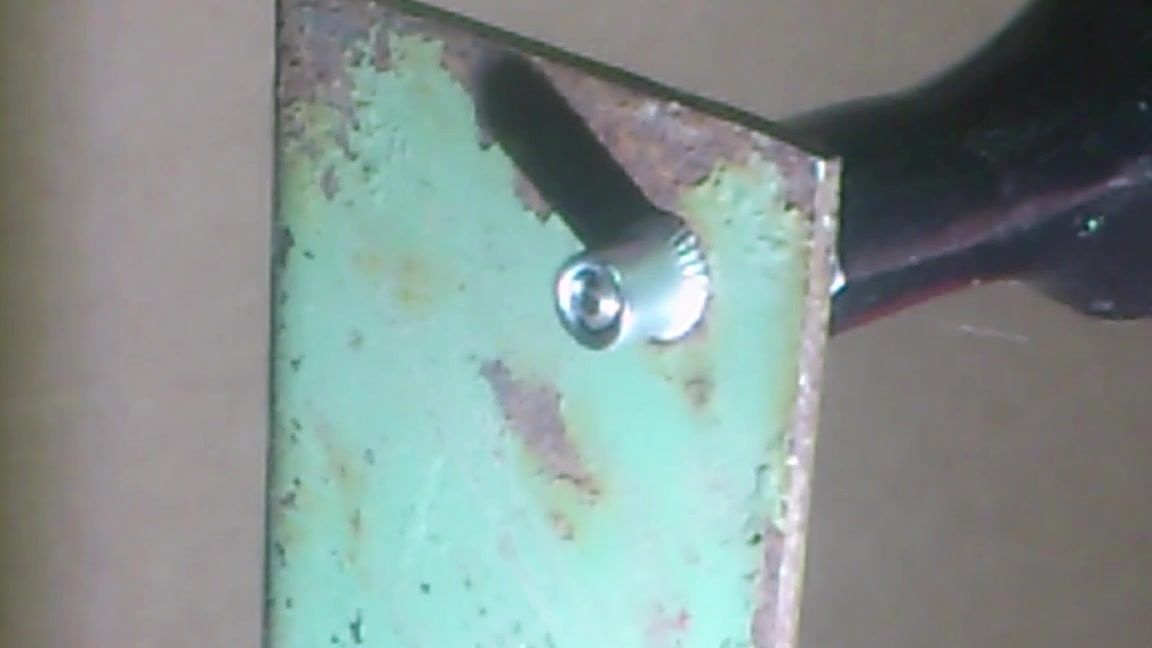
Recently, the so-called threaded rivets have become quite widespread:
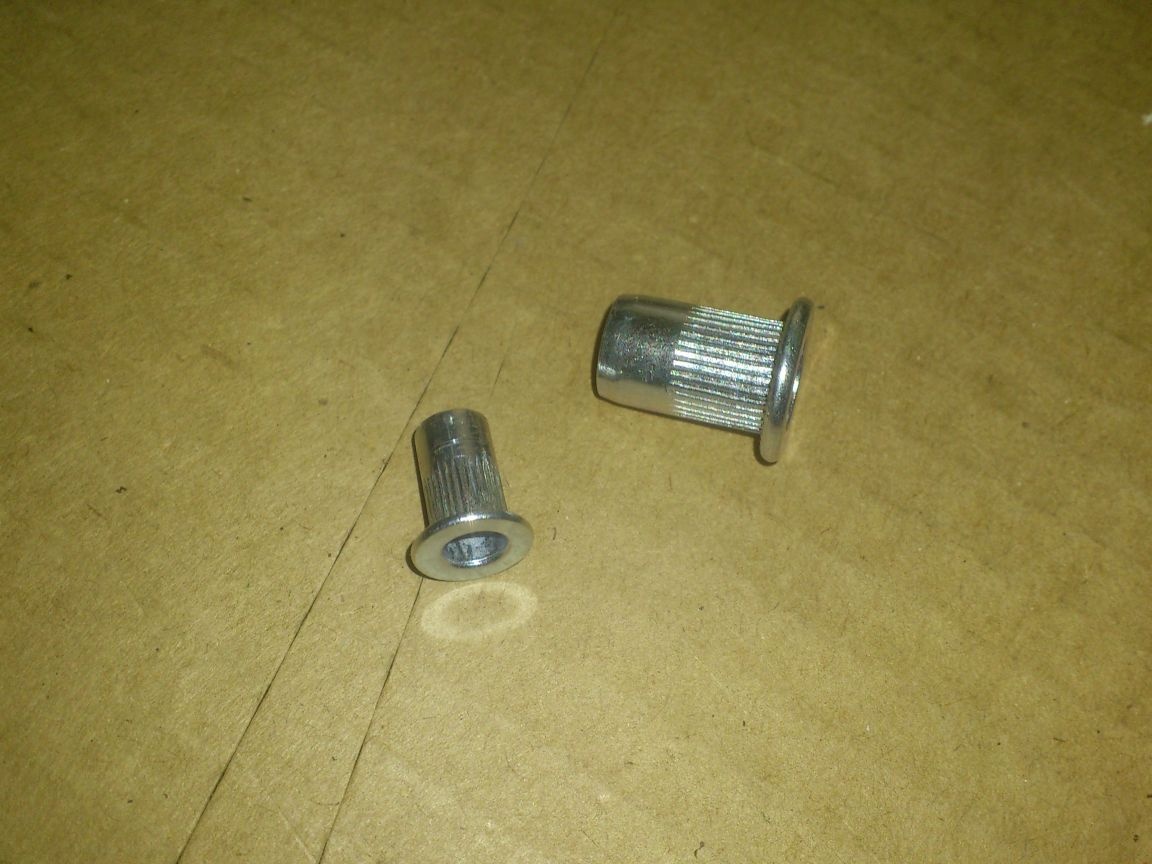
It is very convenient to use them if it is necessary to obtain a threaded hole for a screw in thin sheet metal, the thickness of which does not allow threading.
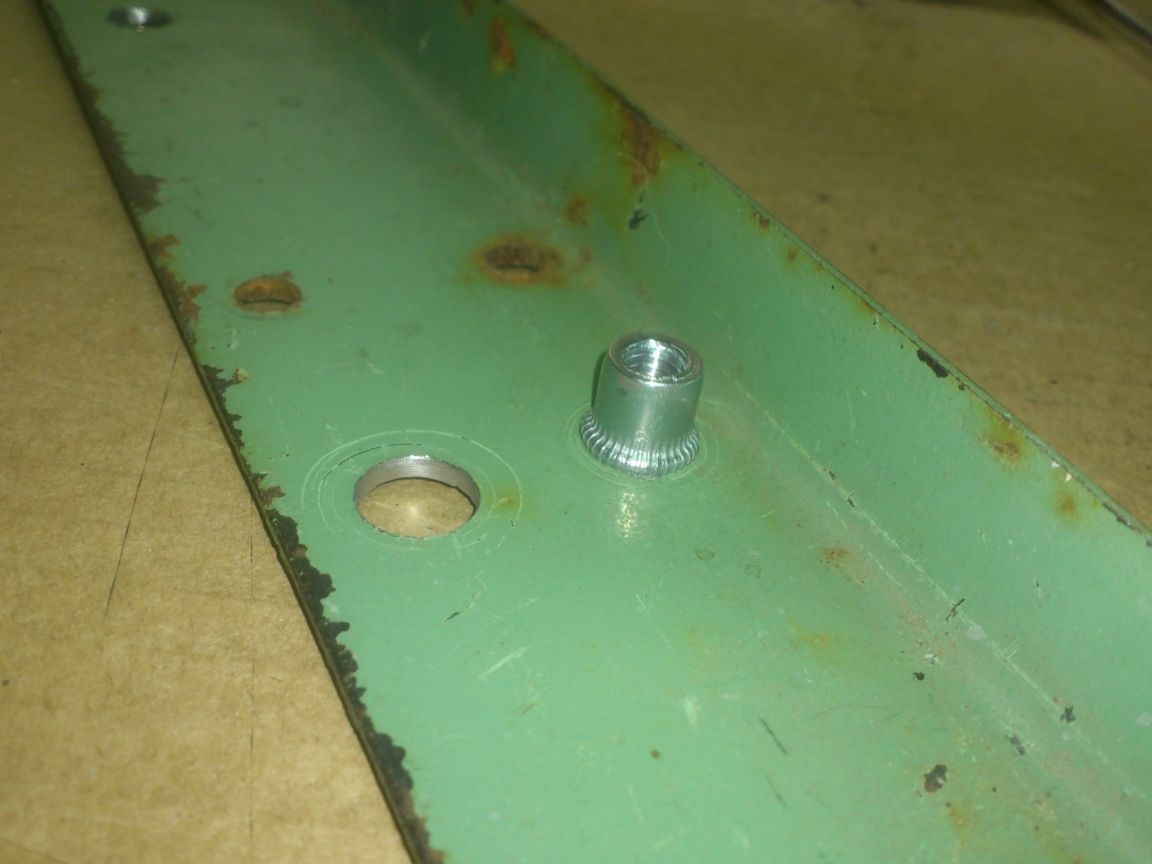
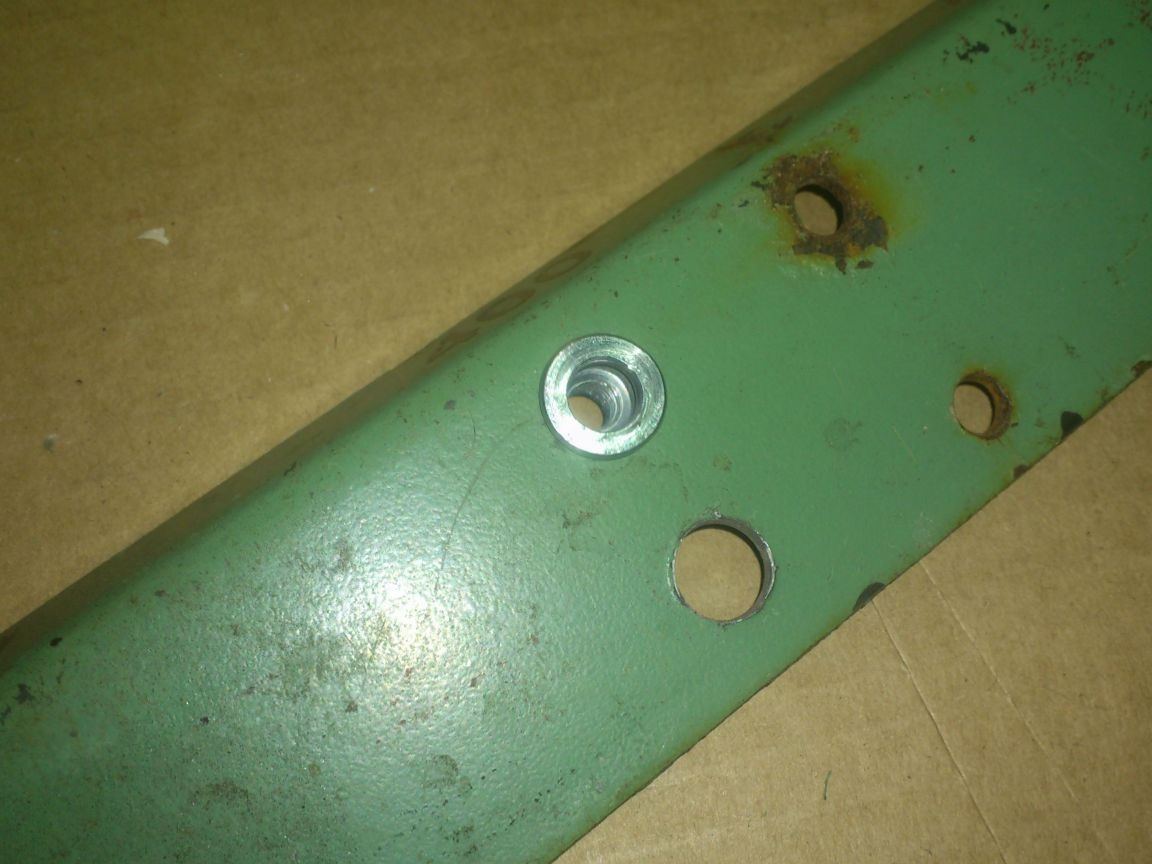
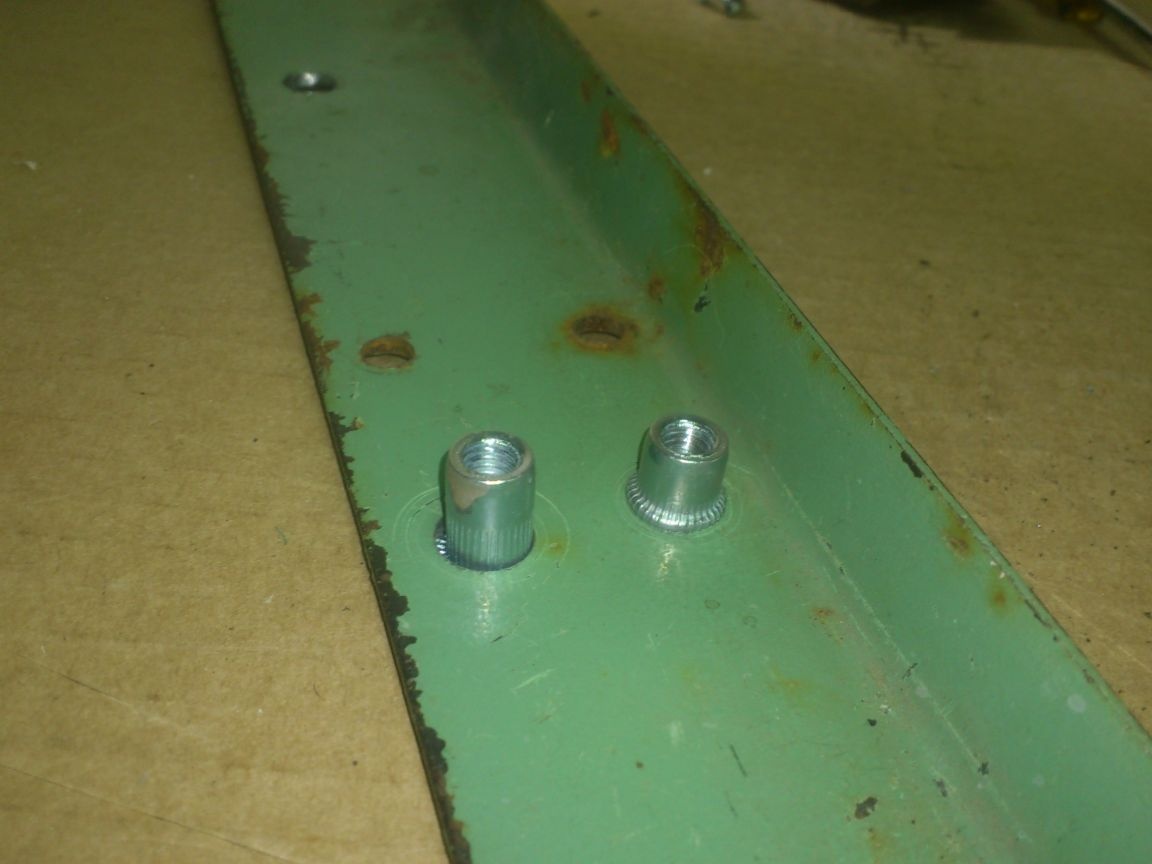
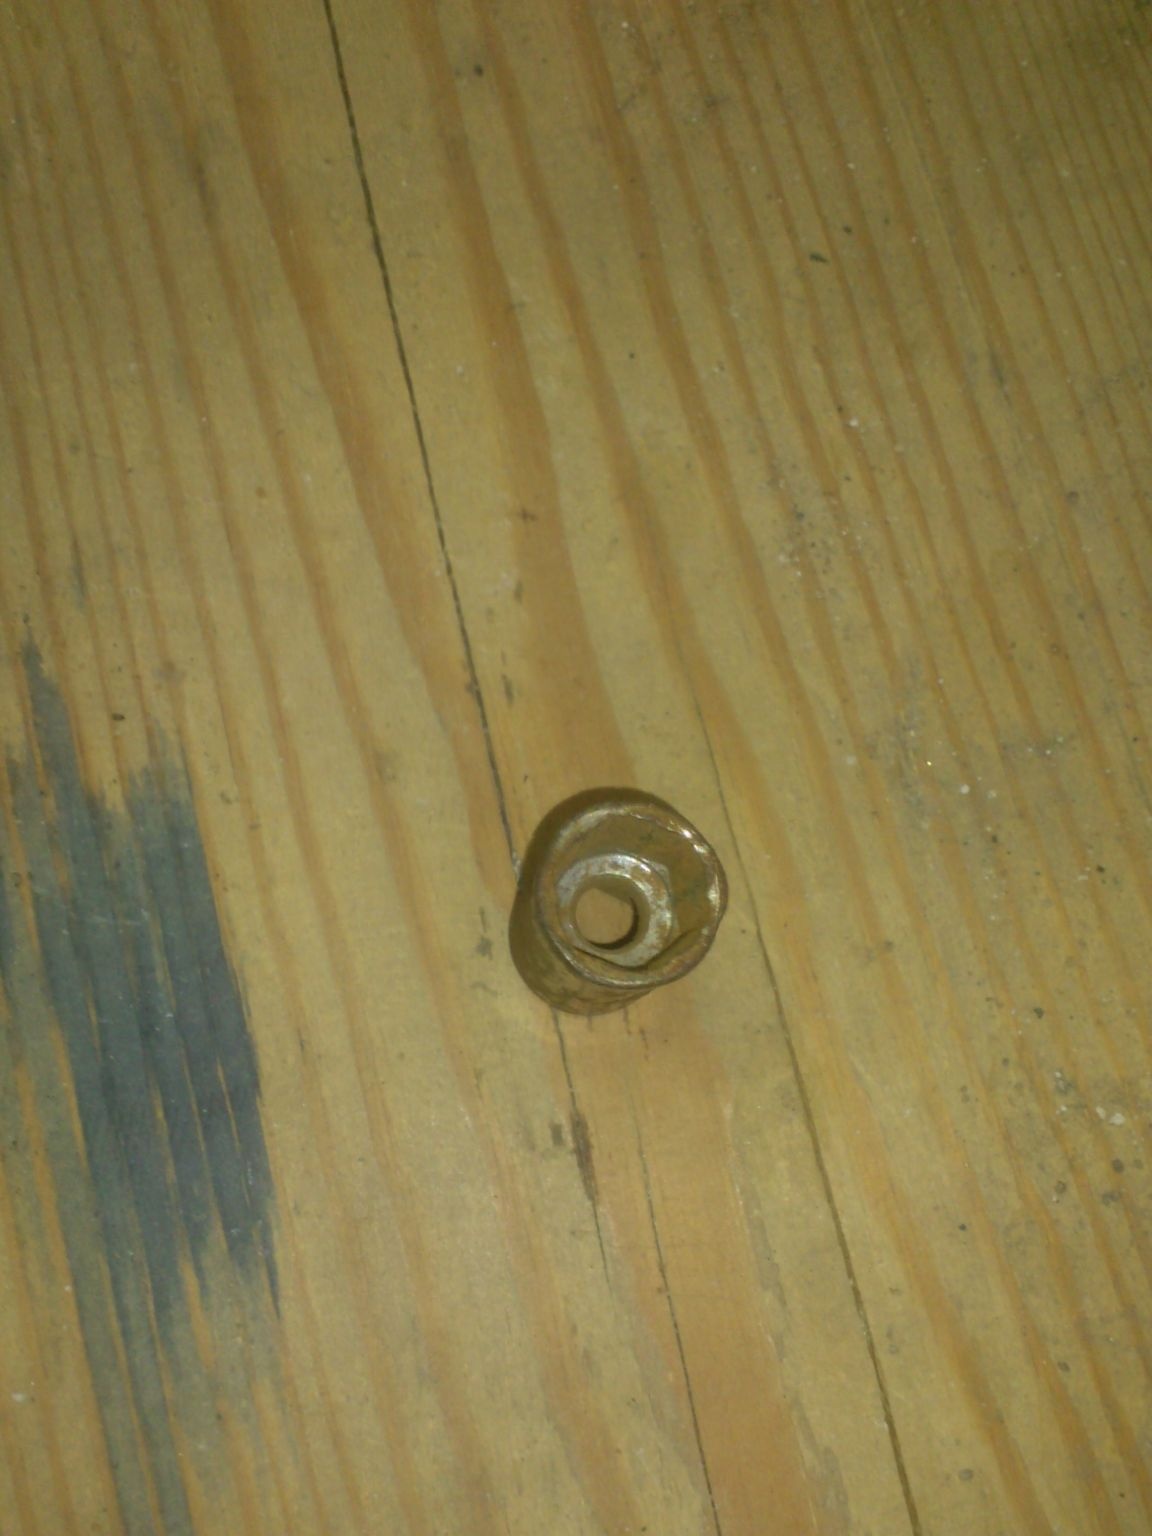
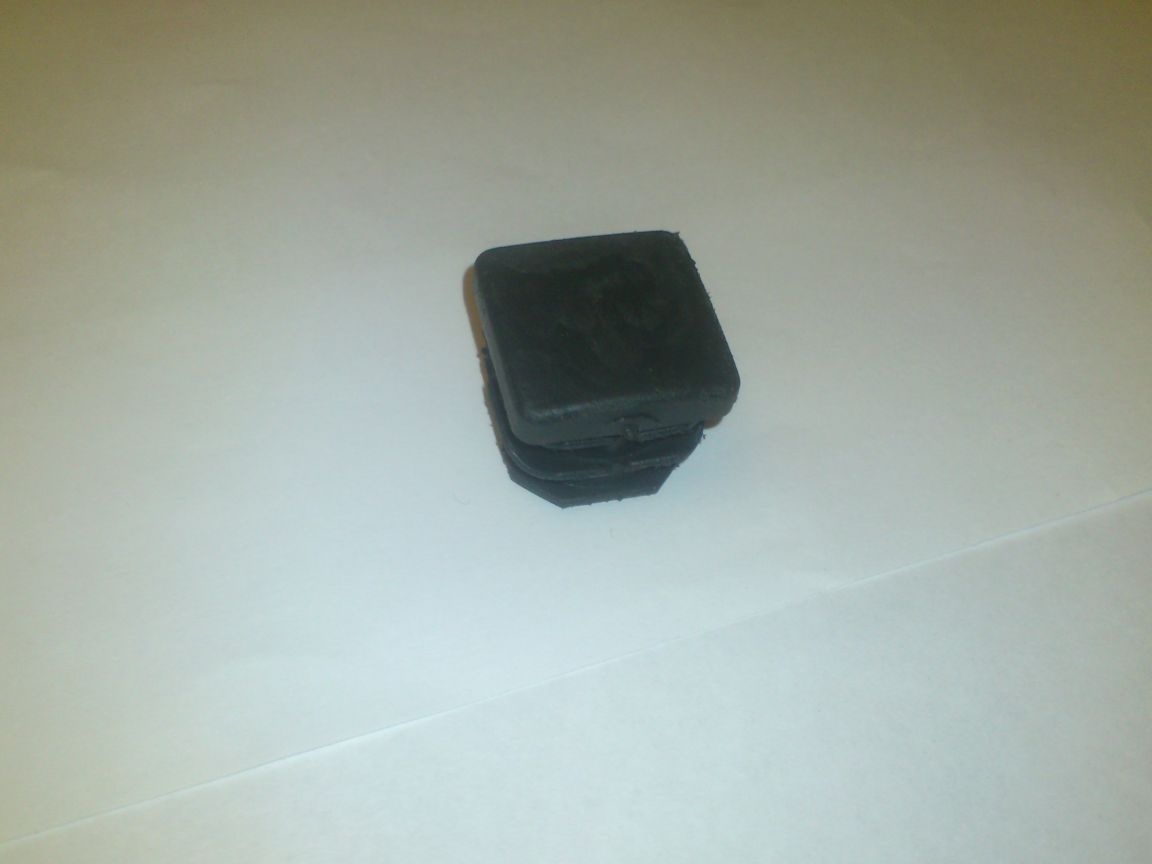
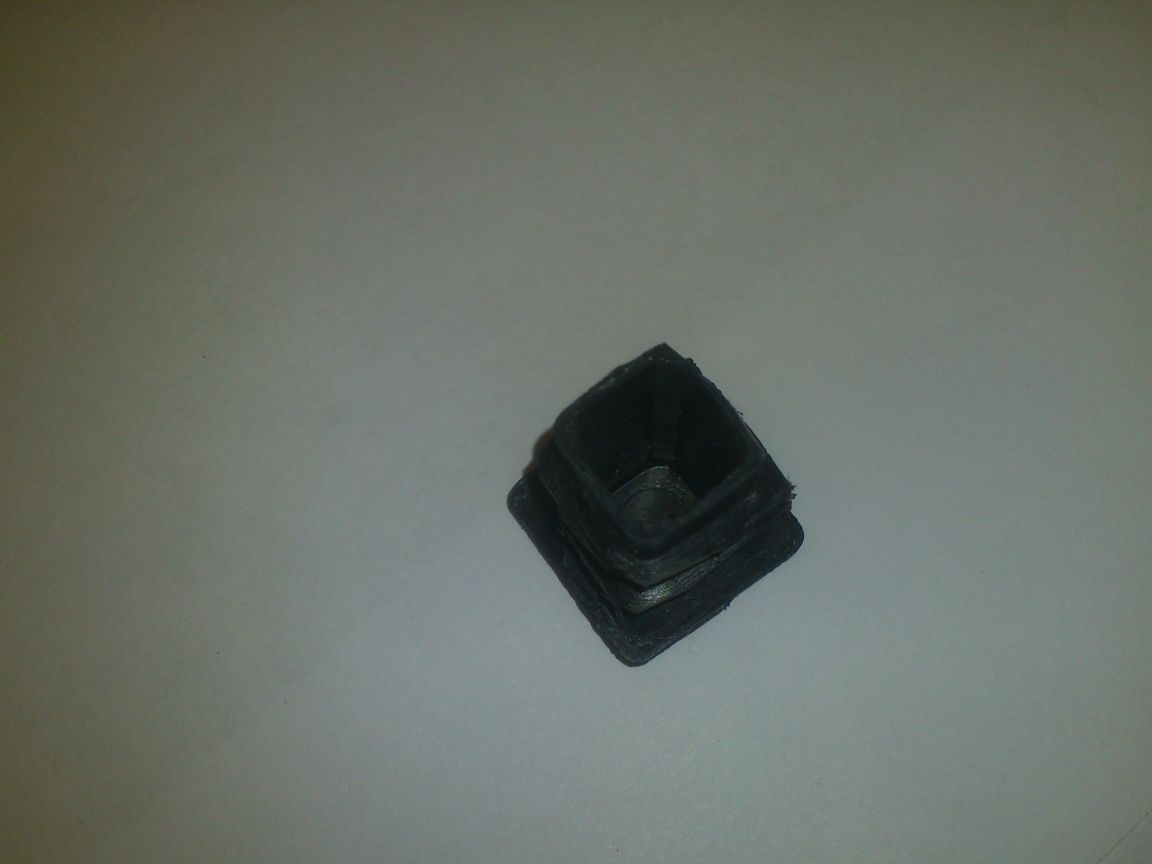
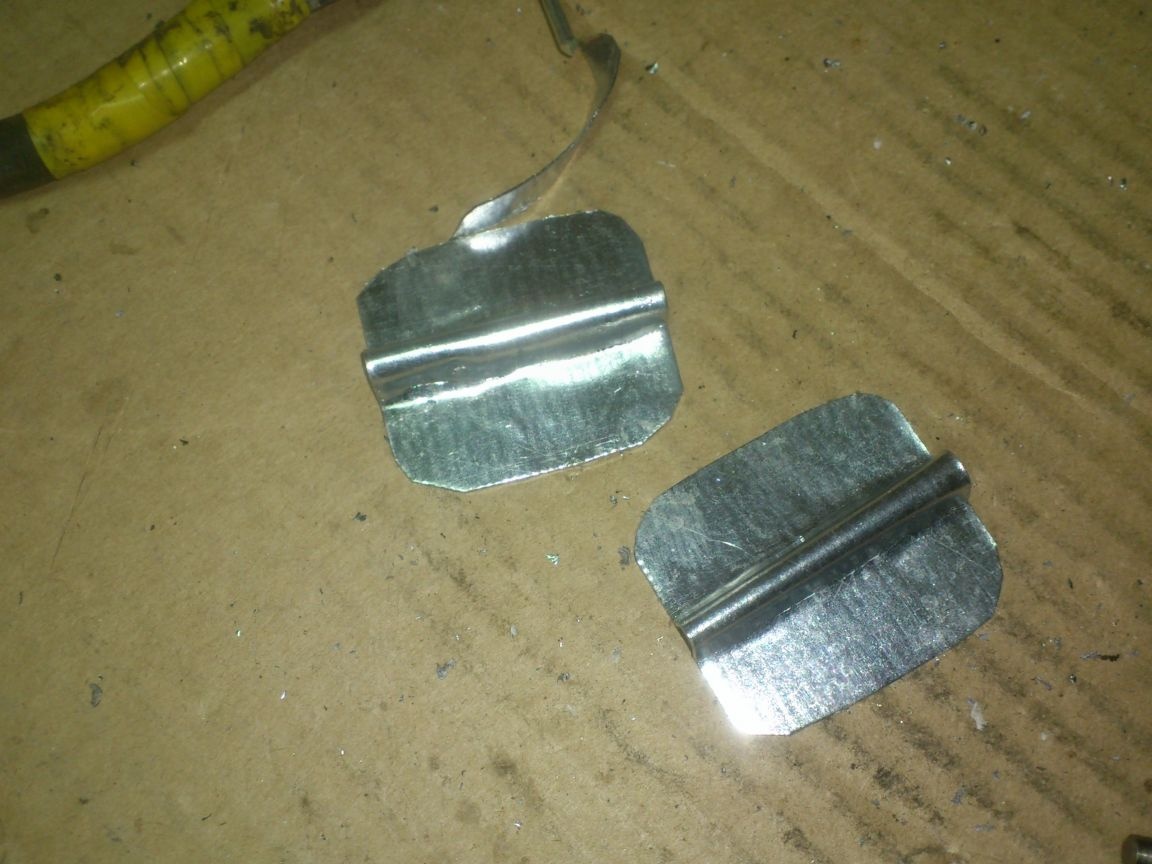
As we can see, a rivet is a sleeve made of metal, on one side having a flange, and on the other, at a certain distance, an internal thread. If you insert it into the pre-prepared hole until it stops with the flange, and while holding it pressed, pull the screw screwed into the thread, then the thinner at its beginning, the side walls are flattened unclenching outward and reliably fix the entire sleeve in the hole. Below, in the photo, the left rivet is simply inserted, and the right one is already installed.
For their installation, there are special riveters, similar in their design to riveters for installing conventional exhaust rivets. Often, these two tools are combined in one device. But the price of such a tool is quite high! In addition, as I heard, due to the heavy loads when working with them, such devices have the same drawbacks that are common to conventional riveters - a fairly low resource and reliability !!
And so I decided to make such a tool do it yourself. As usual, he began by studying the topic. Rummaging on the Internet, I found what I was looking for.
The first caught the eye was a homemade rivet head for a screwdriver:
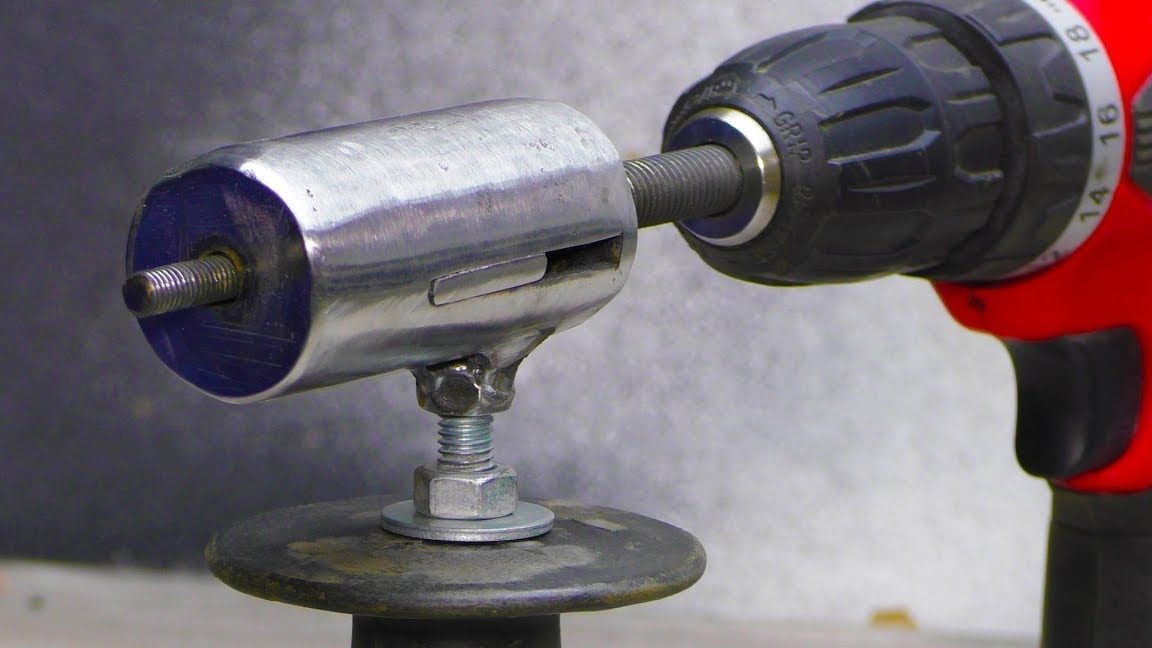
But, having analyzed her device, I was once again convinced that the commercials with high-profile titles "Unreal cool homemade!" look all the same, not worth it !!! ))) As always, such a nozzle may appeal only to “couch specialists” who do not have experience working with metal! ))))
That is, this nozzle, of course, performs its function !! ... Only, mainly, in the studio, and not in the workshop! ))) Because she has many shortcomings:
1. Why a screwdriver ??? After all, you need to make only a few revolutions of the pulling bolt! Isn’t it easier to do this with the usual “ratchet”, while feeling enough force than it is necessary to have a charged screwdriver, and even spoil a few rivets, picking up the necessary twisting force? !!!! (Hence the conclusion: a screwdriver is needed for "coolness" homemade!)))))
2.Such a fixture can only work with one rivet size !! That is, it turns out that it is necessary to make many of these - each for its own thread !!!
3. In real life (not in the studio), the rivet more often has to be set not “in the open field”, but close to the side wall, the bend of the base, another rivet, or some other protruding structural element. A "stupid snout" nozzle will not allow this !!! Such an instrument should have a long thin "nose", which can be used to "climb" somewhere ...
In fairness, I’ll say that I took the basic concept of the device all the same from this video, I just decided to eliminate the above disadvantages.
Looking ahead, I will say that I succeeded. The device is already ready and tested!
And here are the materials I needed for this:
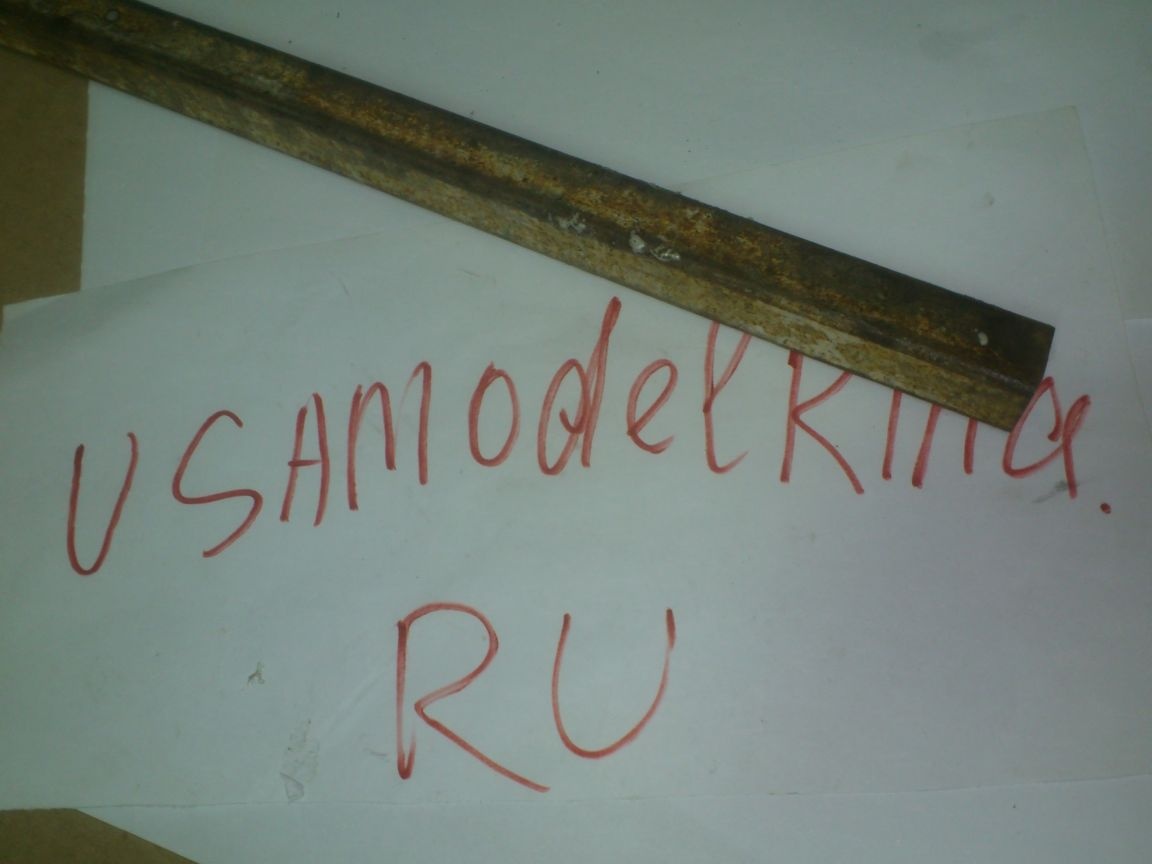
1. Cutting of a profile pipe, section 20 by 20 mm.
2. Cut pipe, section 25 to 40 mm.
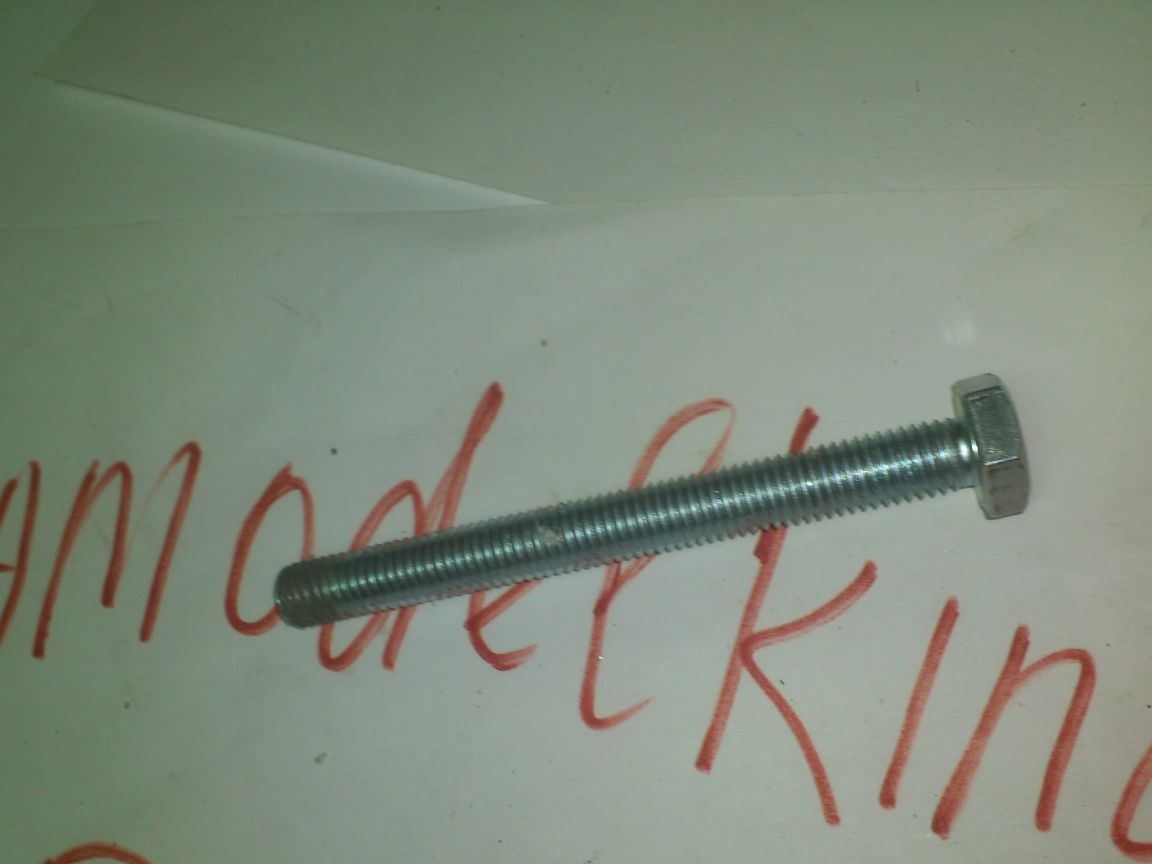
3. Screws M8, M6, M5, M4, length 50 mm, high strength.
4. M10 bolt, 100 mm long.
5. Thrust bearing.
6. The washer M10 increased.
7. Plastic plugs for profile pipes.
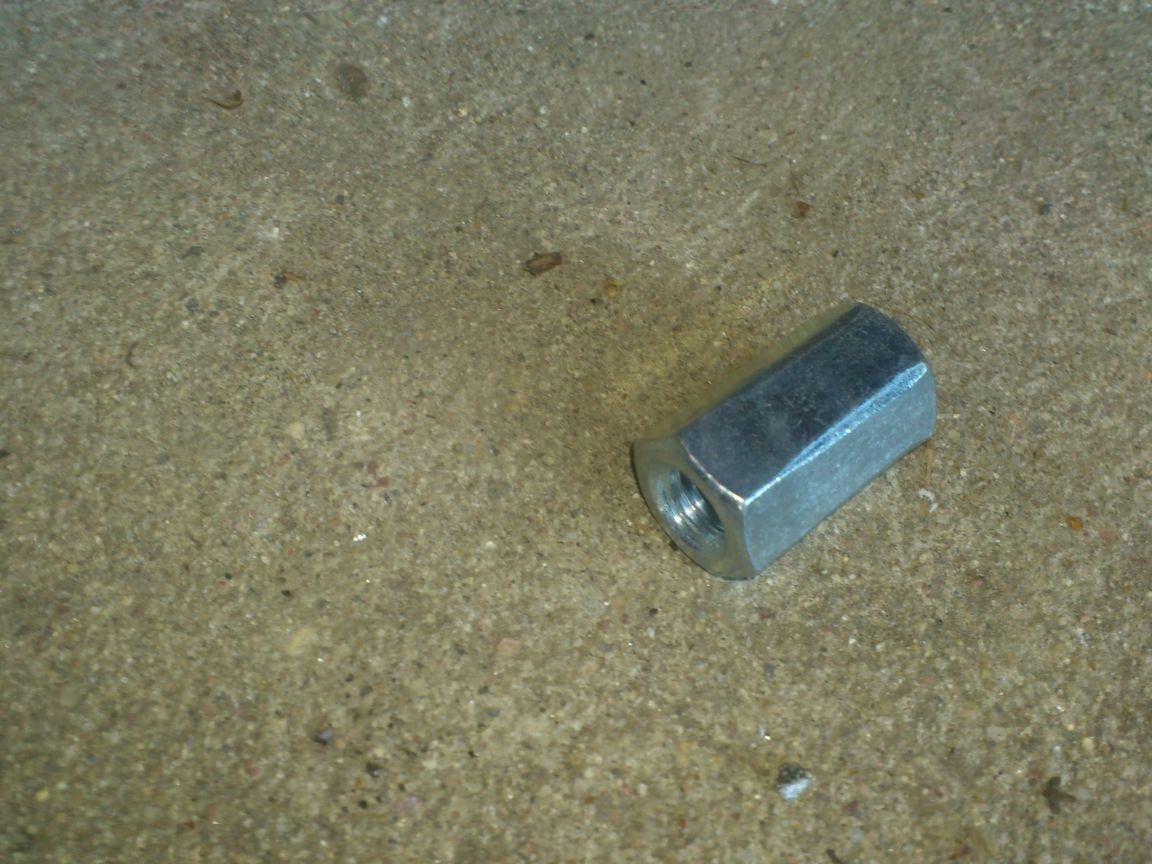
8. M10 nuts are connecting.
10. Cork from a plastic bottle.
To make a case:
1. Galvanized steel (scrap of roofing sheet).
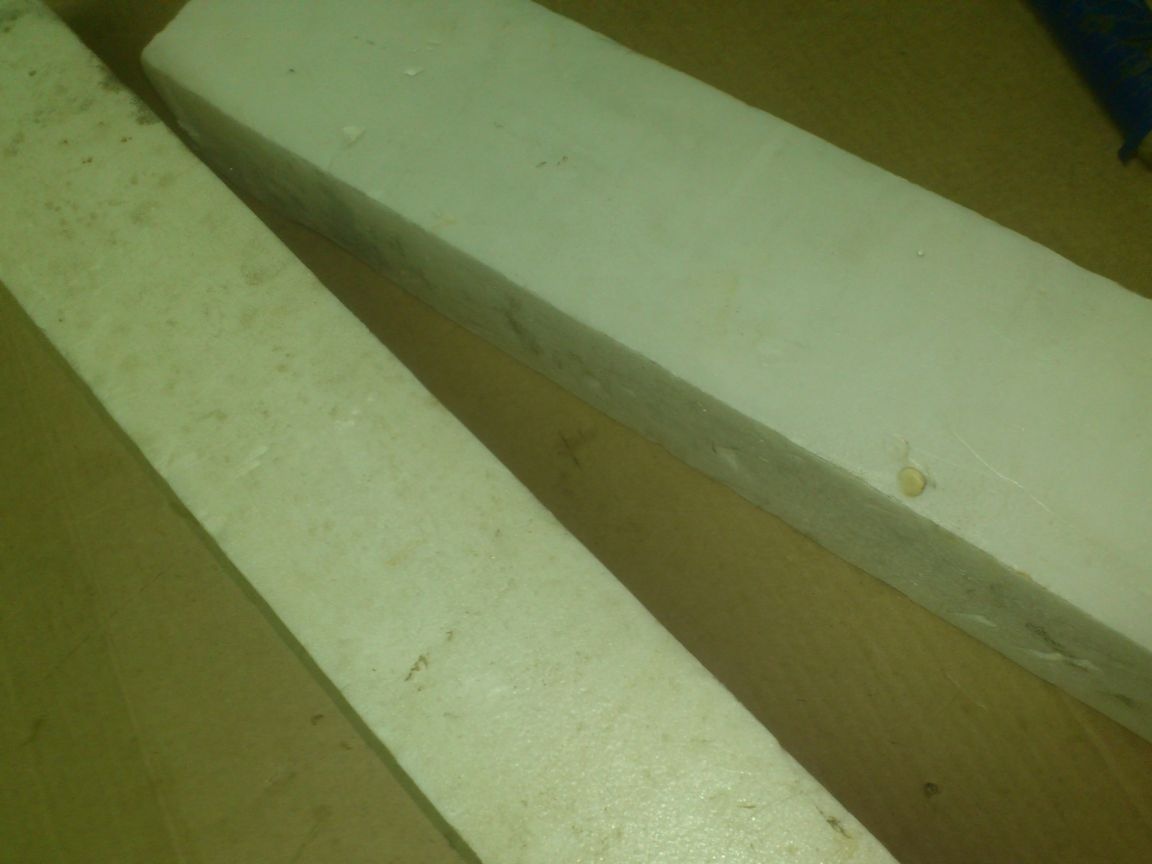
2. Cutting of extrusion foam.
3. Furniture fasteners.
4. The "royal" loop.
5. Cutting steel wire with a diameter of 4 mm.
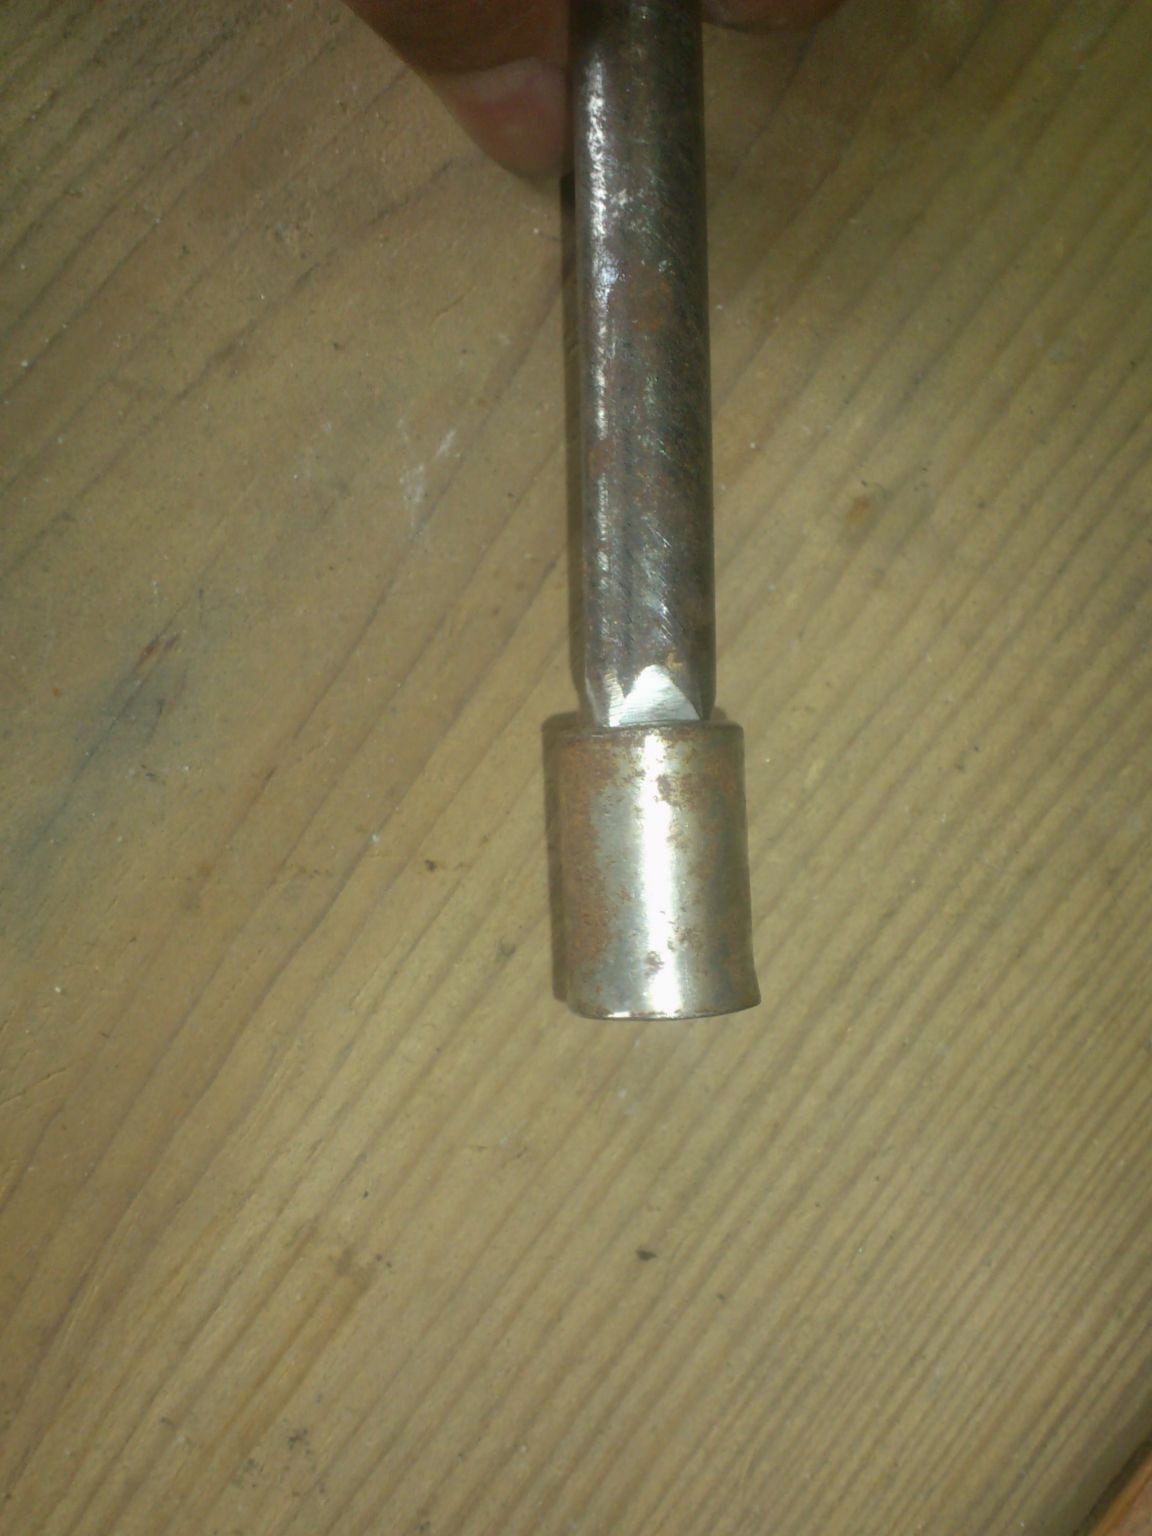
My idea was to put a square “piston” with a large diameter internal thread on the inside of the profile pipe, on the other hand which would have a thin stem with an external thread. Accordingly, if you screw a bolt in it, resting with a hat on the edge of the "cylinder", then this "piston, as the bolt is screwed, will be pulled inward. And if the rivet screwed onto the rod rests against the hat, then it’s just the right way it will “swell”, since the stem will pull it precisely by the thread. It will only be necessary to produce several such elements for different sizes of rivets.
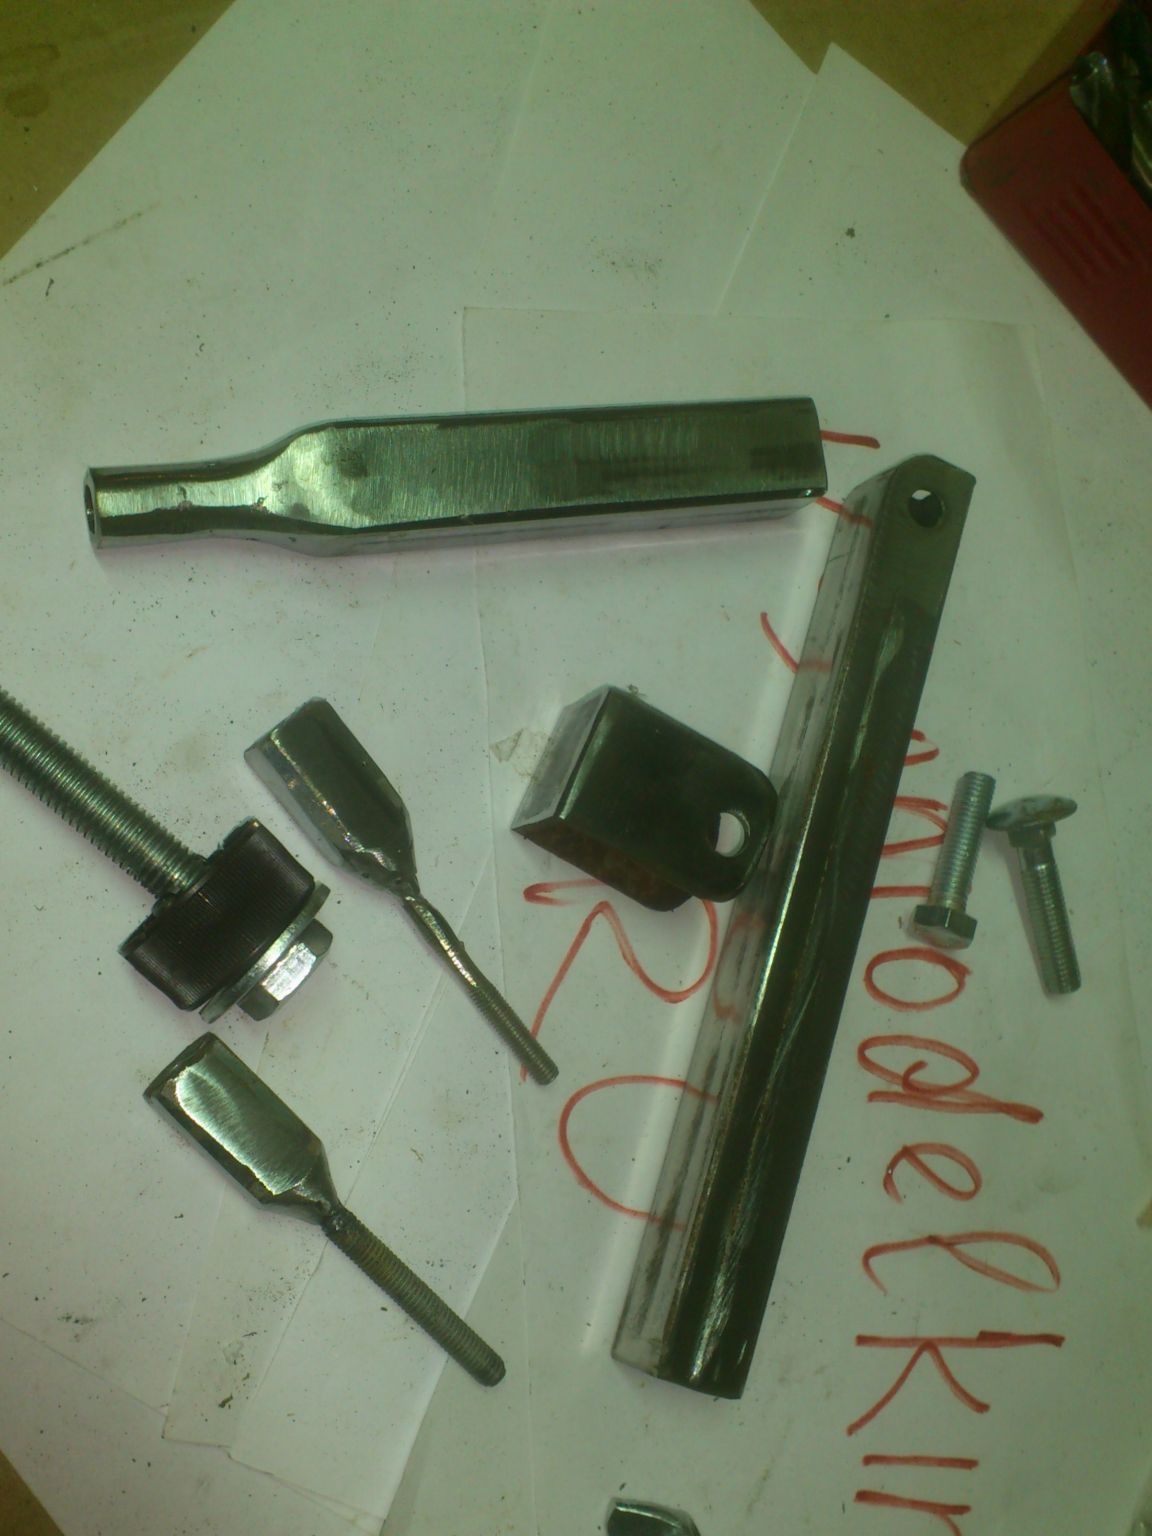
I started by making these very working elements ... (By analogy with the interchangeable working elements of other tools, I will call them bits))))
Initially, I wanted to make rivet bits with thread M4, M5, M6 and M8. It is these sizes that I will use ...
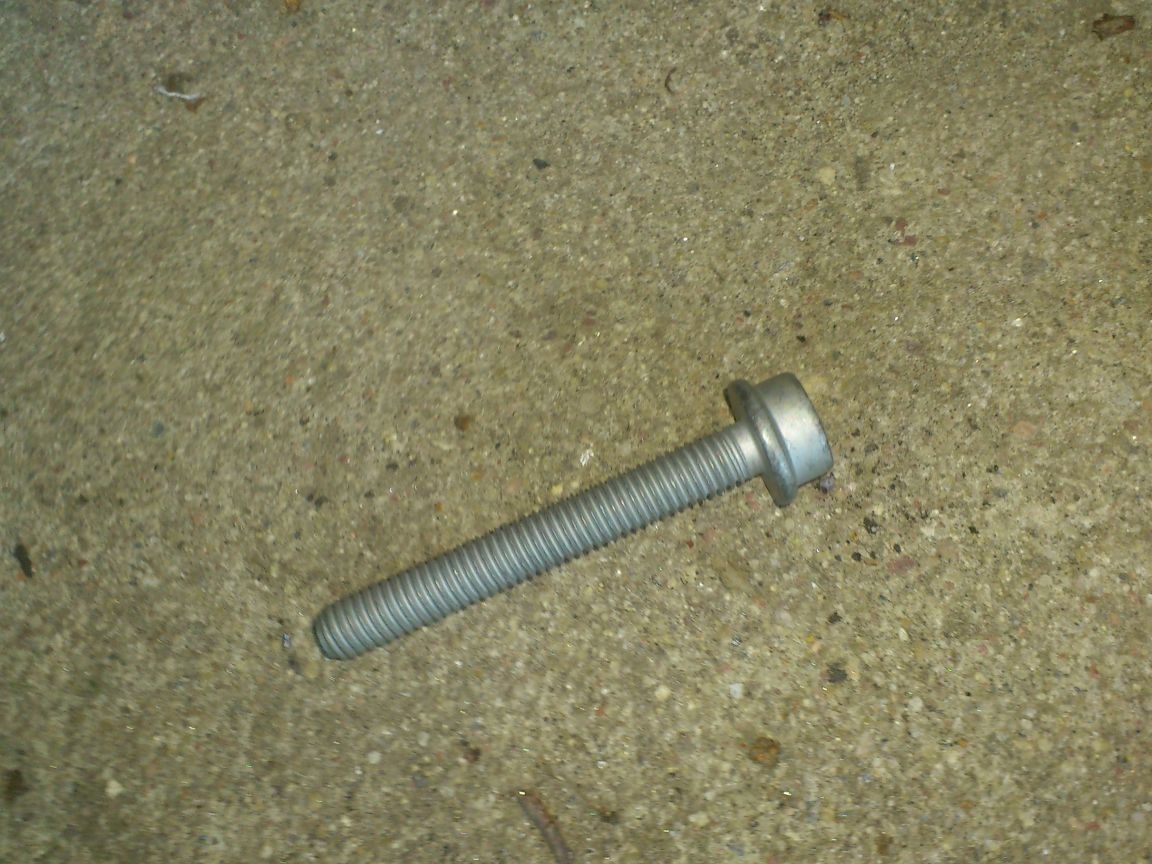
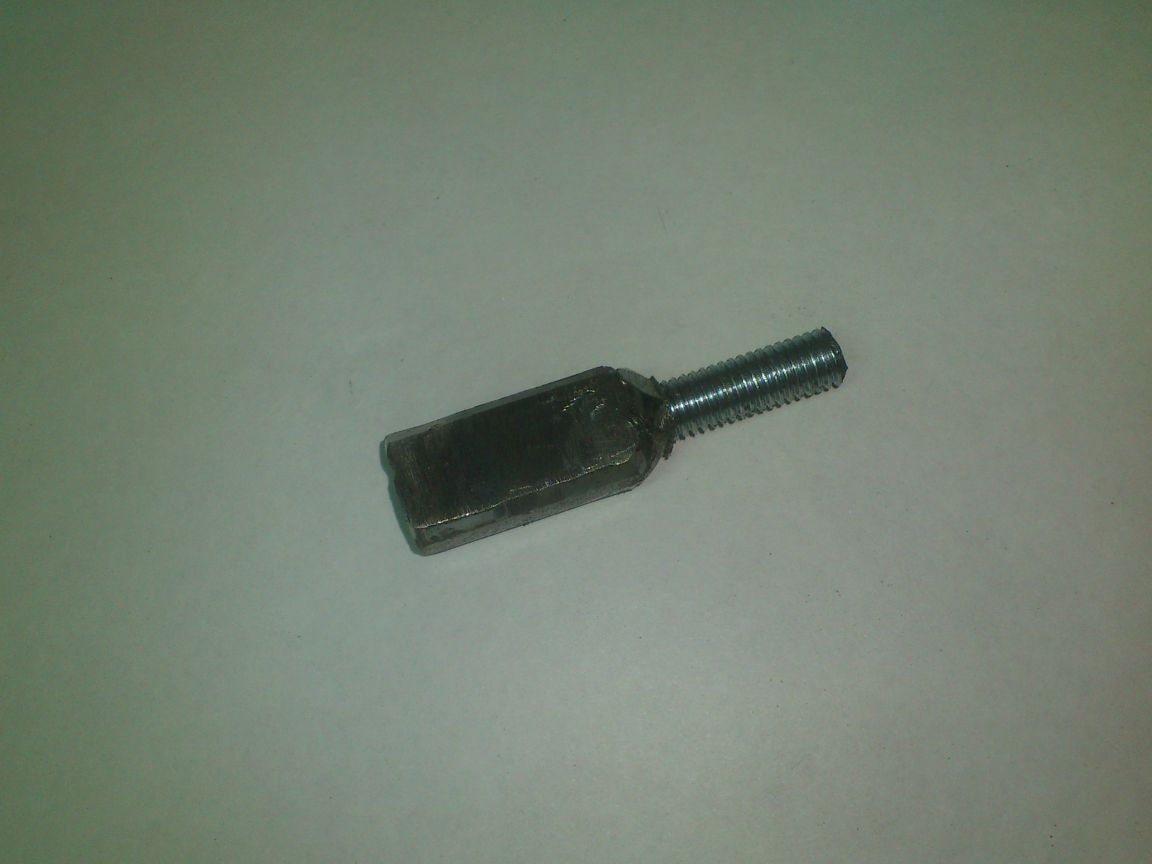
In the hardware store I bought a M6 screw, 50 mm long, of increased strength (10.9)
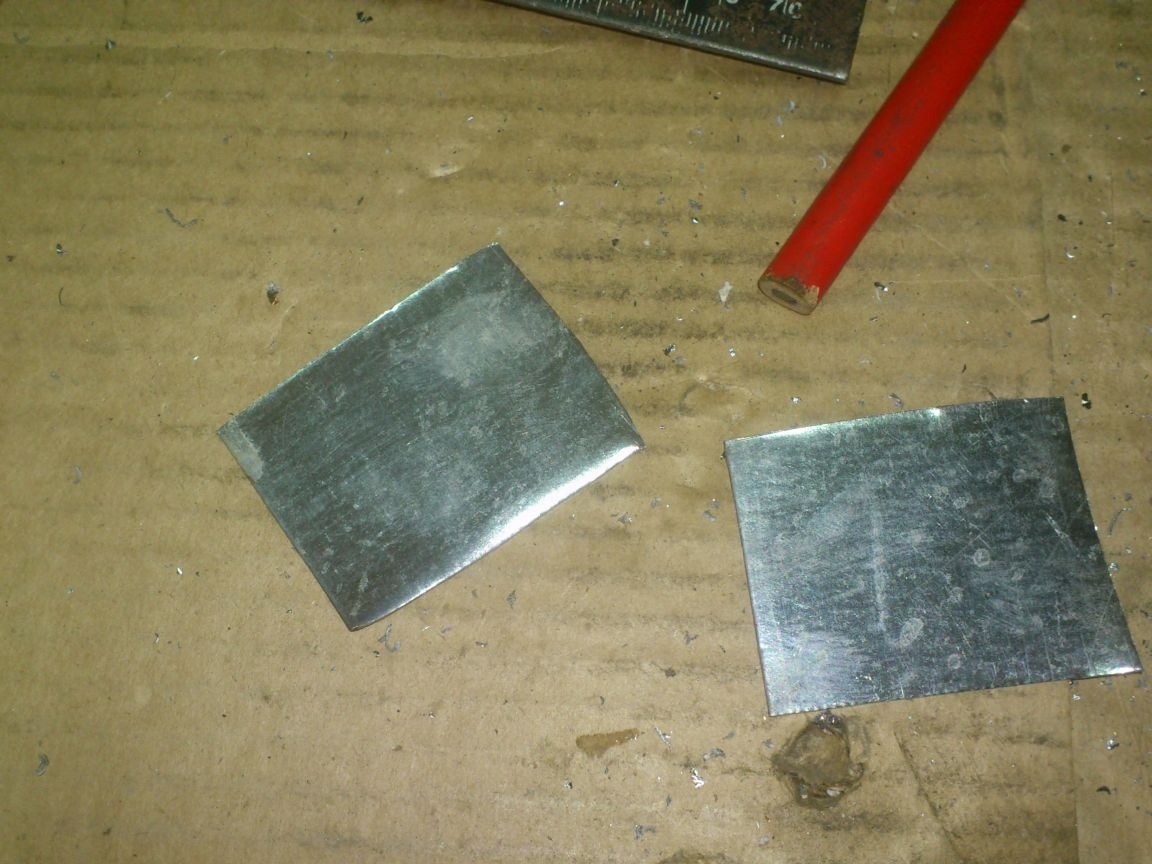
I decided to make the base of the bit out of the M10 union nut.
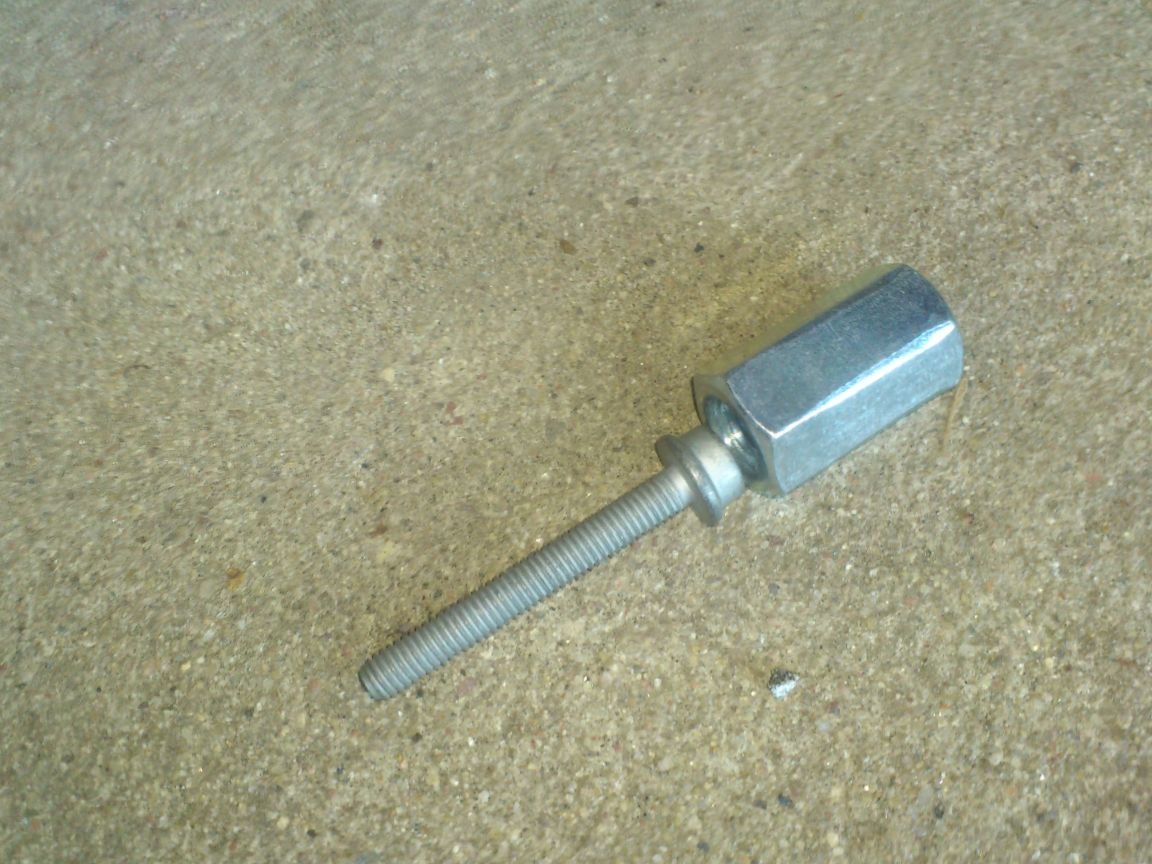
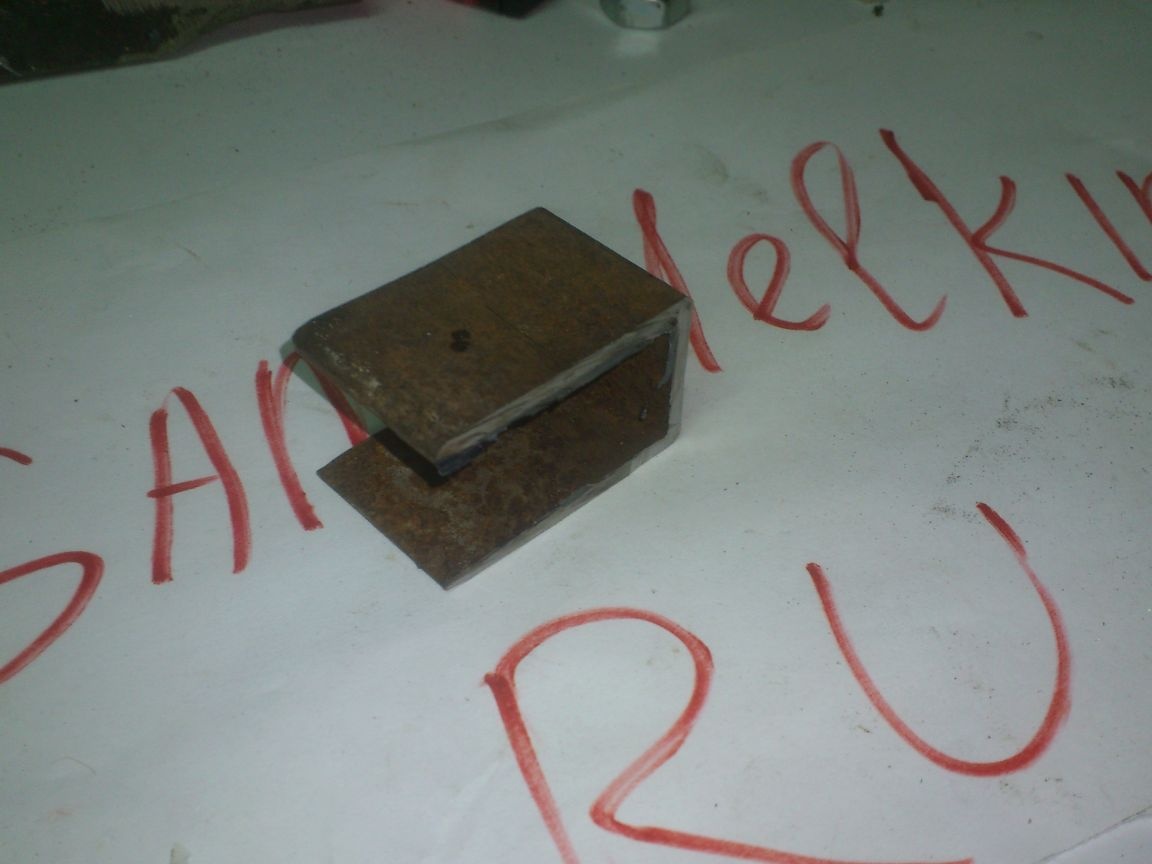
The screw was welded to the nut. After that, the nut was turned by a grinder with a cleaning circle to give it a square section:

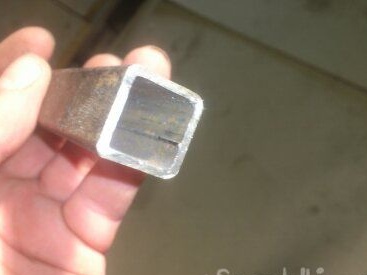
Its external dimensions were adjusted so that it freely slid inside the profile pipe 20 by 20 mm - it was from it that I decided to make the body of the future riveter. A piece of such a section was found in my “scrap metal” ... It was “used” and bent, but from it I was able to cut the desired length:
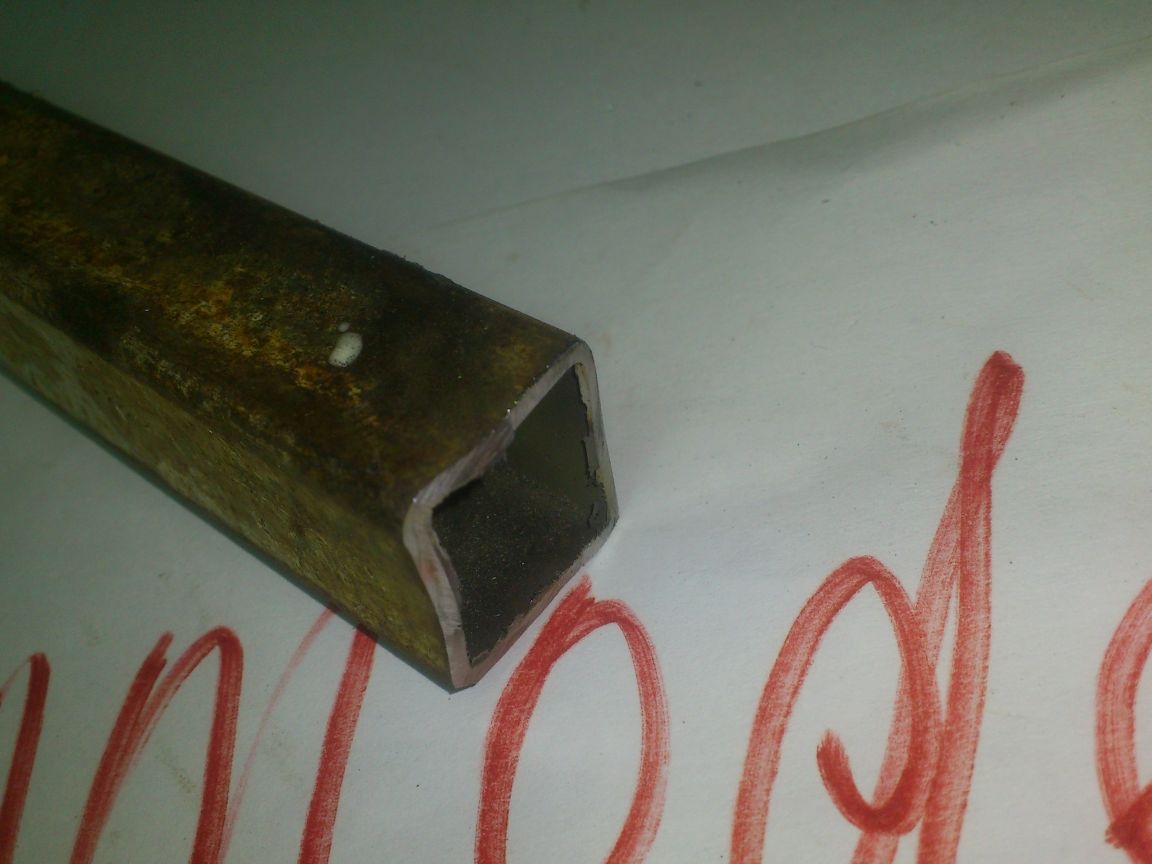
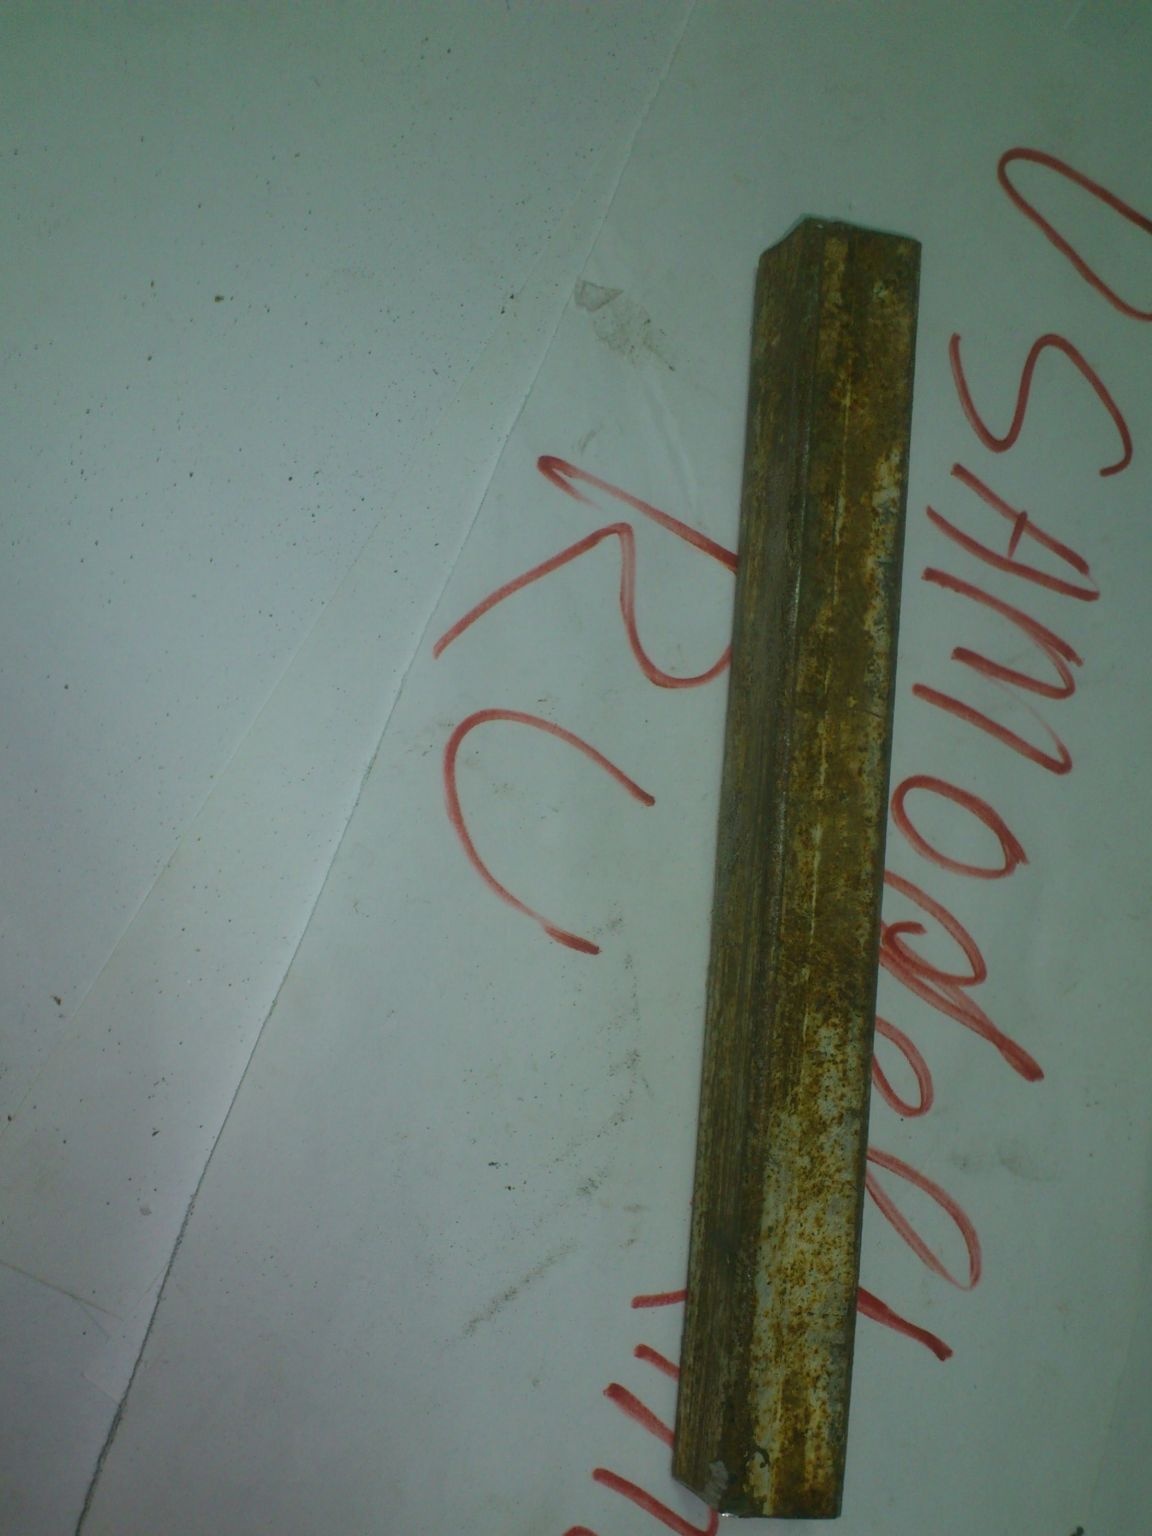
Inside it, like all welded pipes, there was a seam, but it was easily cleaned with a file:
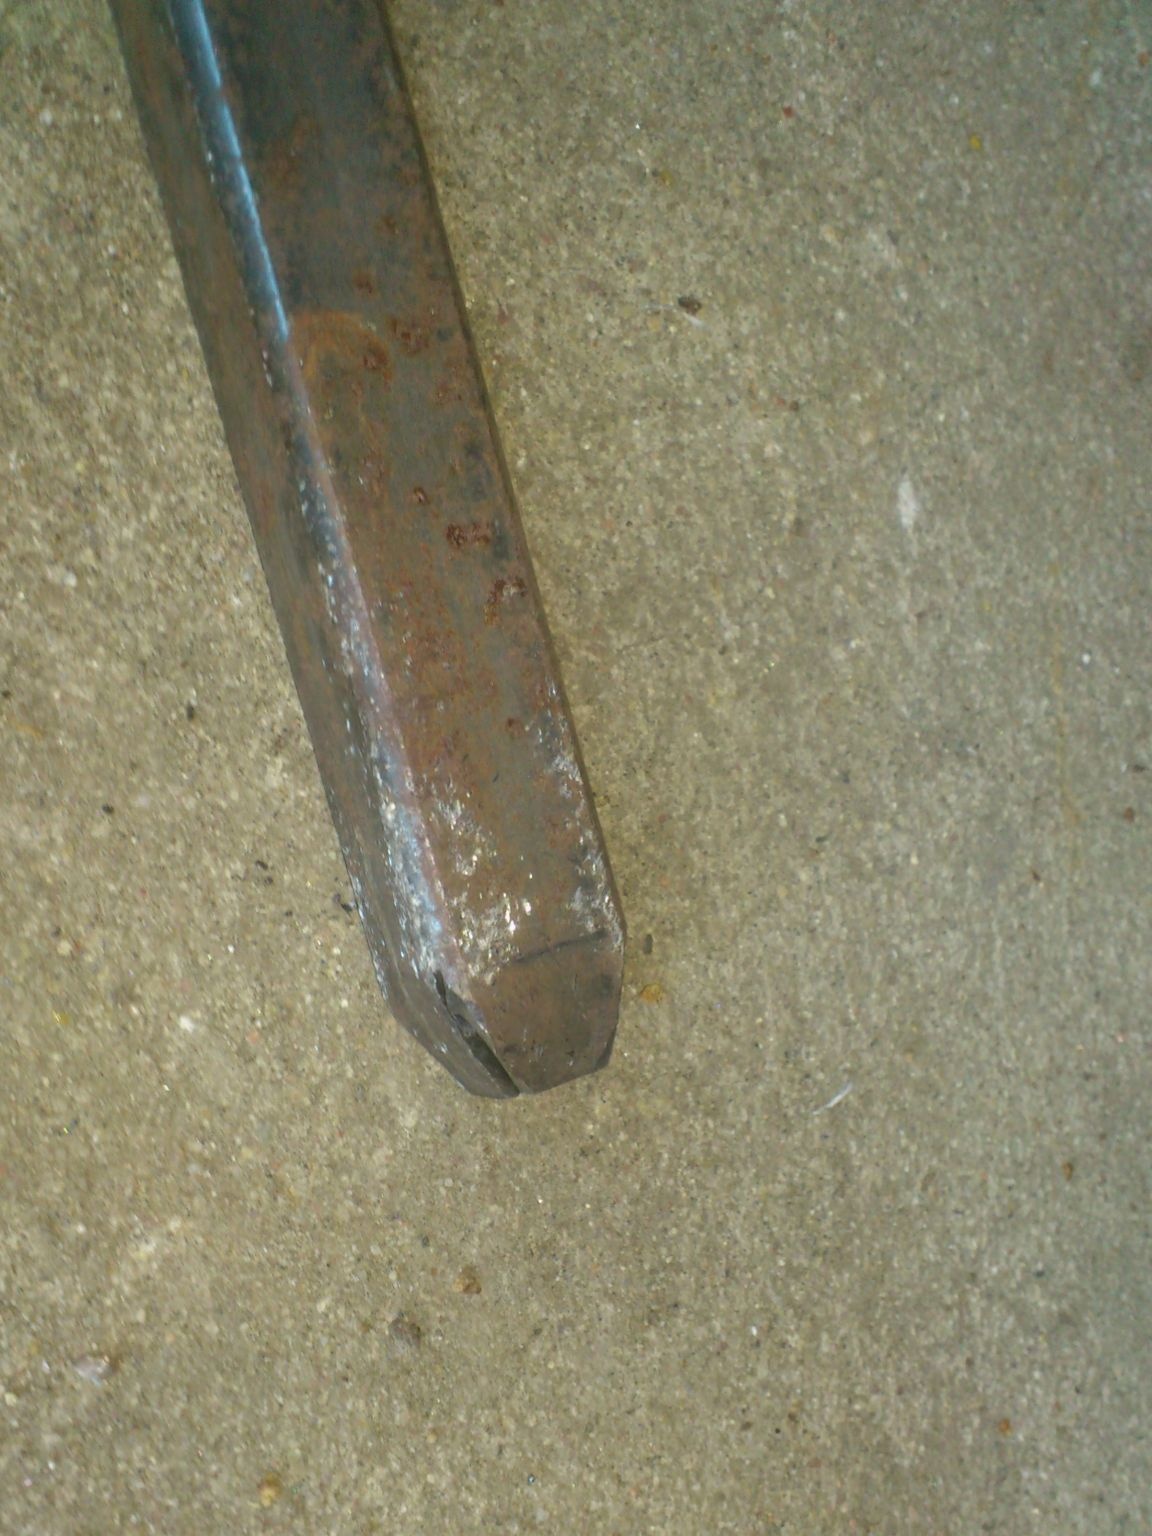
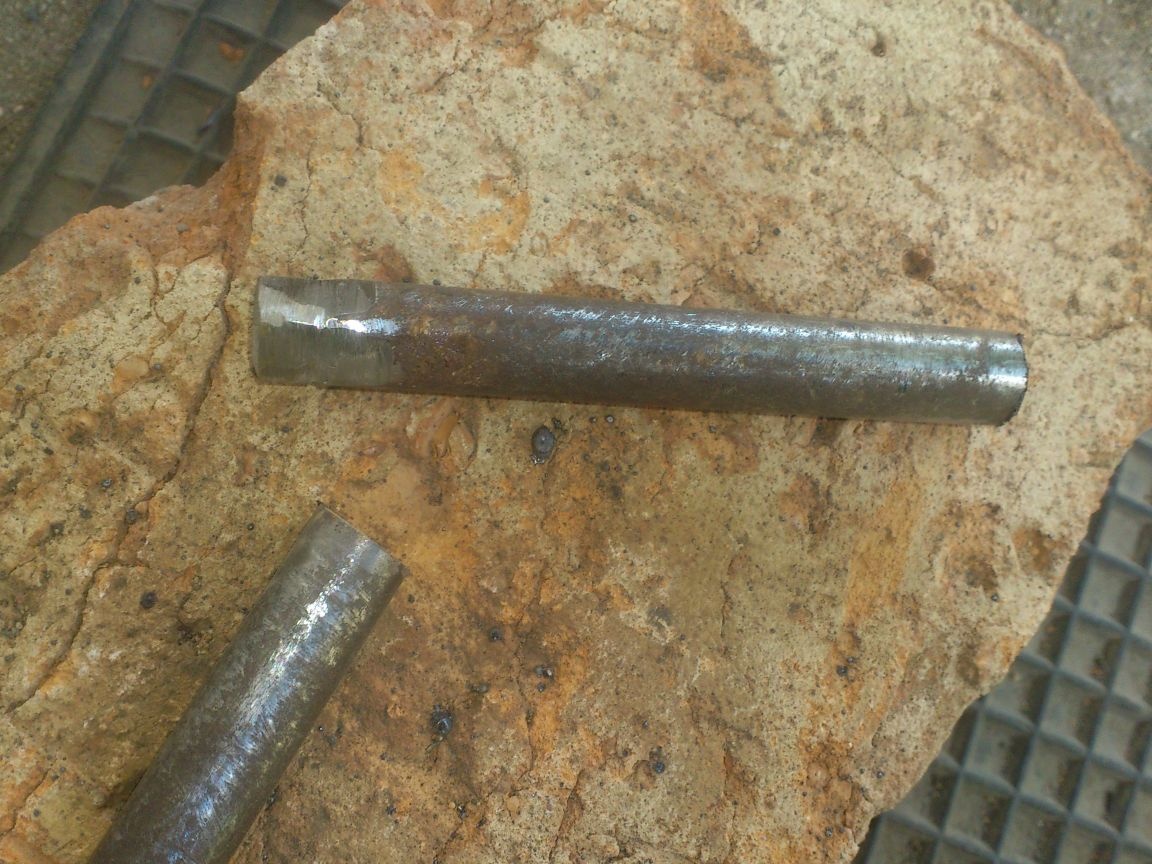
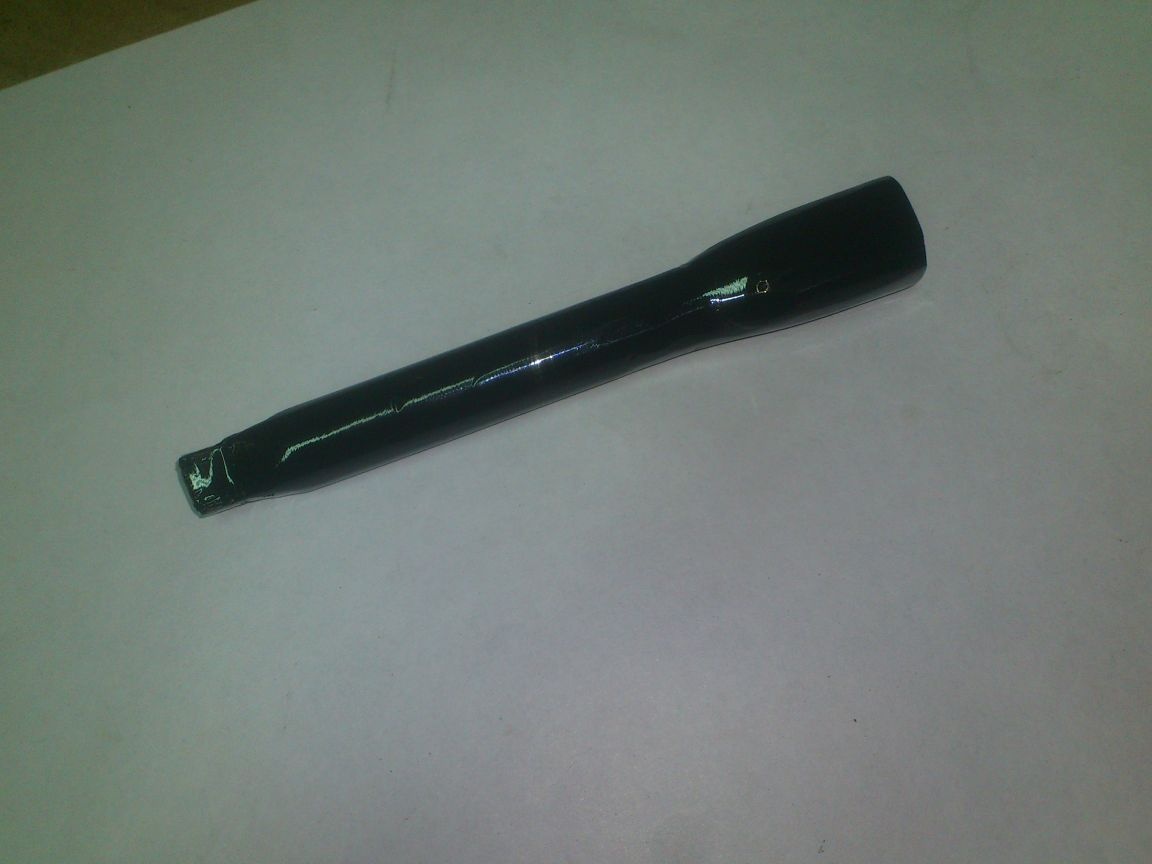
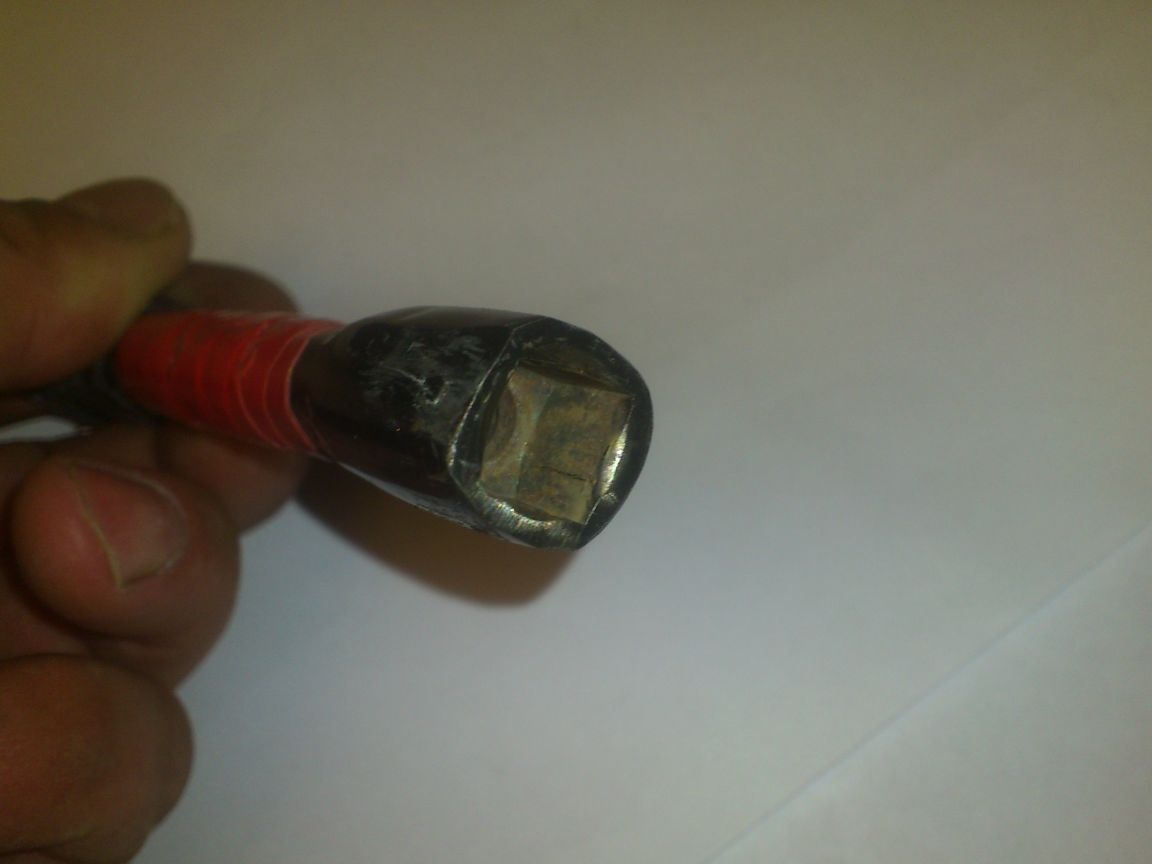
As I already said, the future riveter will have to have a sufficiently thin and long “nose” in order to be able to put rivets in hard-to-reach places.
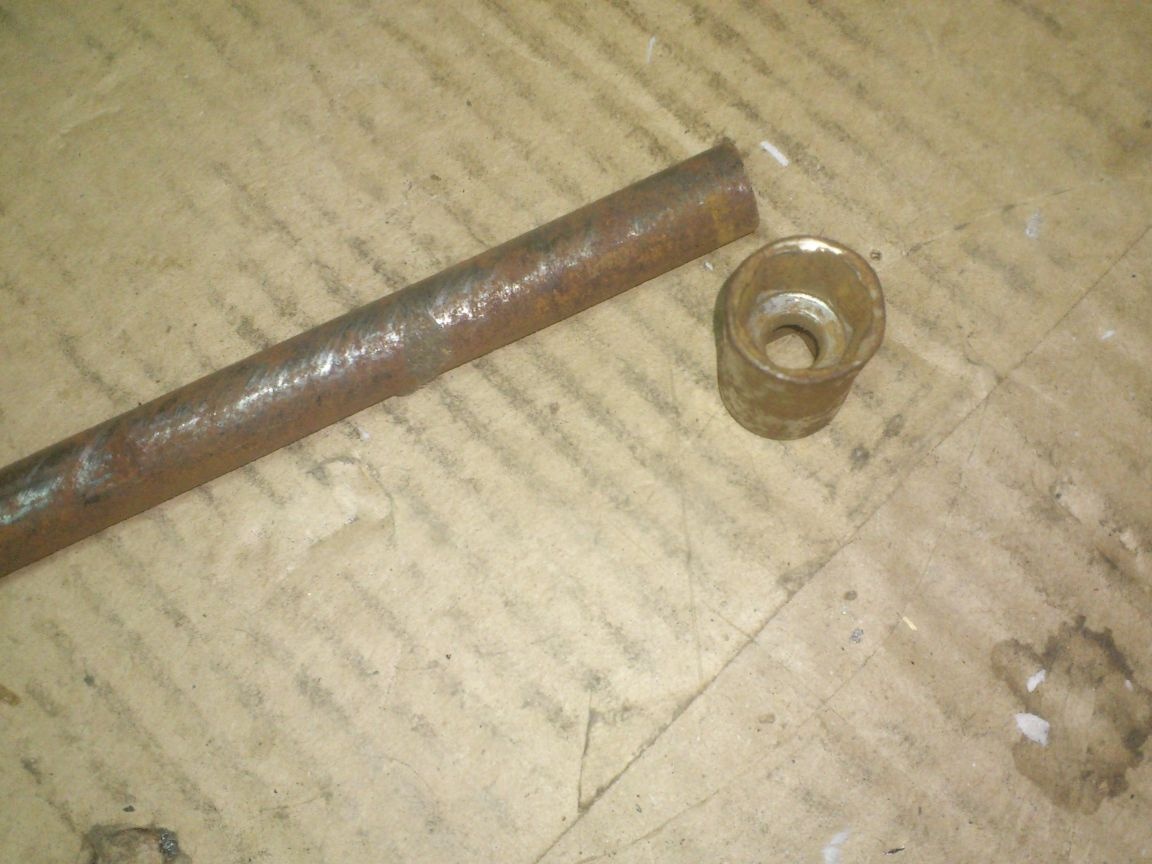
Having rummaged in "scrap metal", I found a scrap of a thin metal pipe. Apparently, it was an old gas supply, as there was a tap on the pipe, and the pipe itself turned out to be thick-walled:
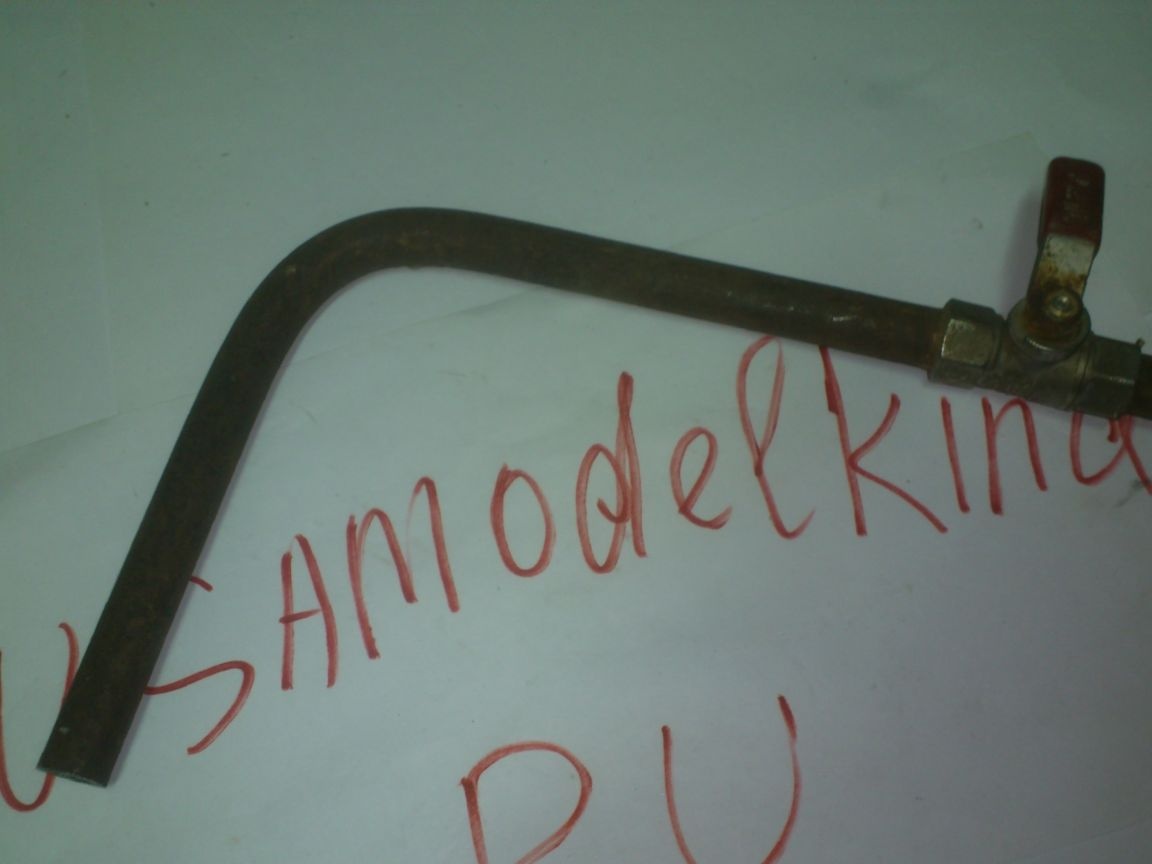
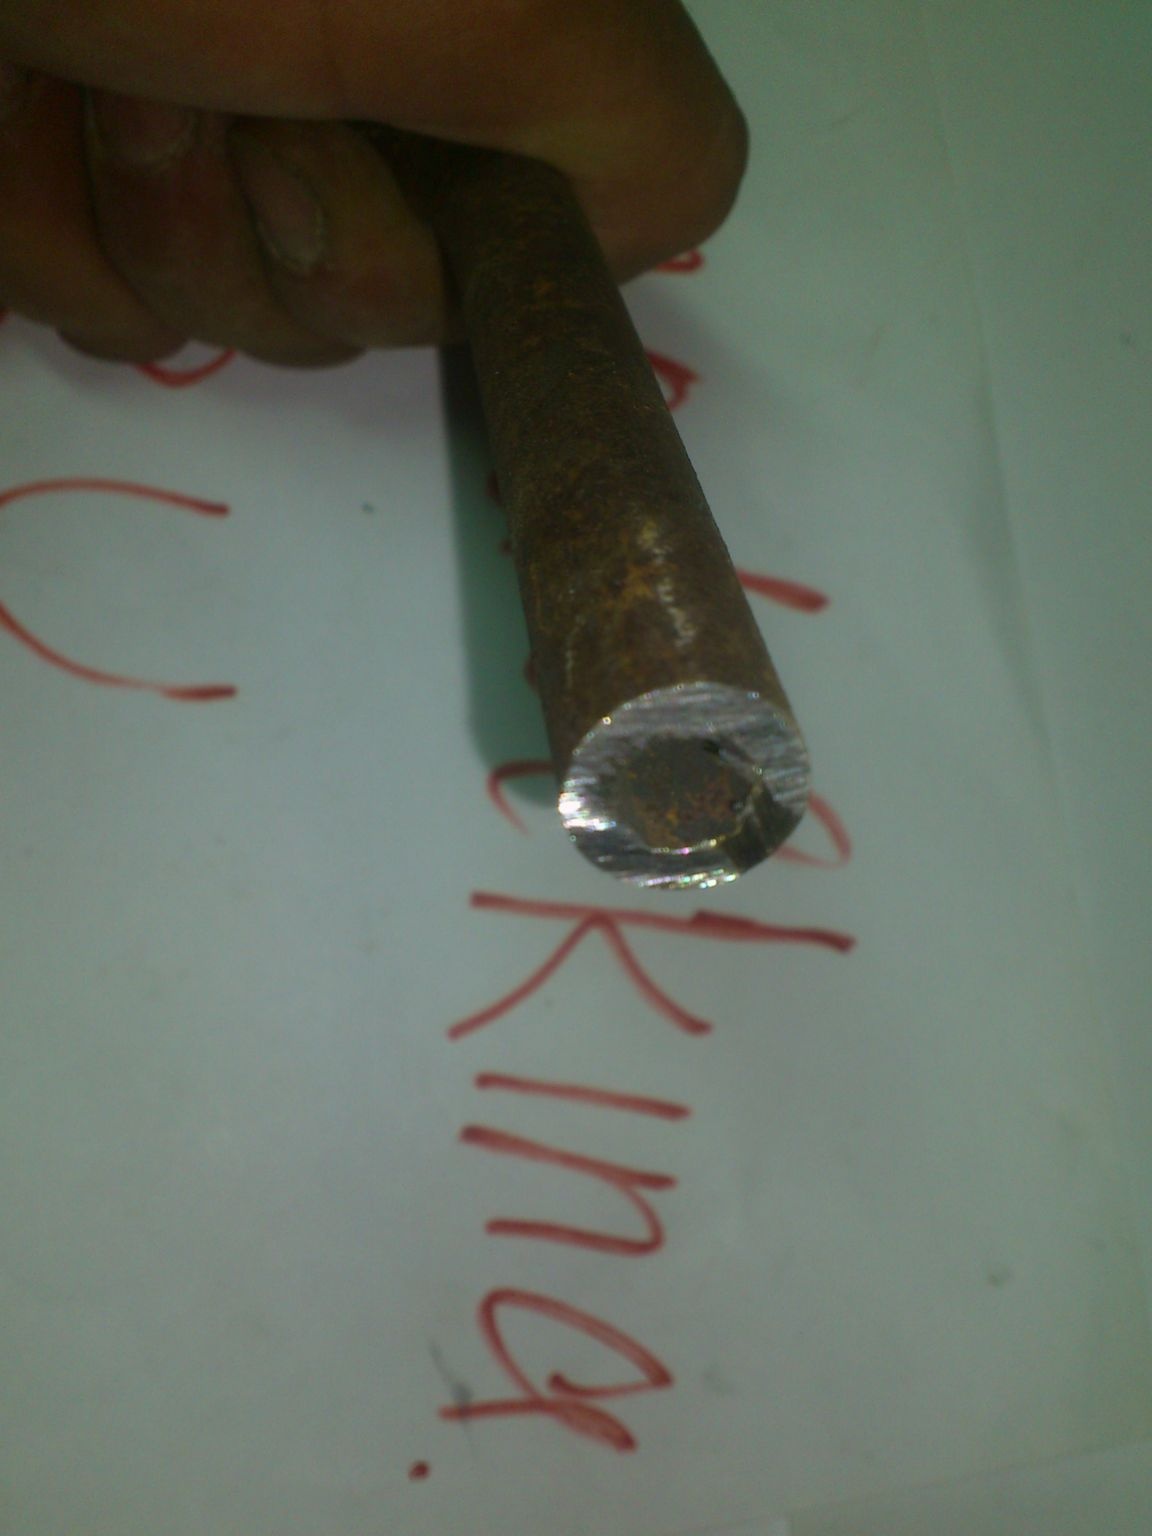

For a nose that will have to withstand heavy loads - that's it! )))
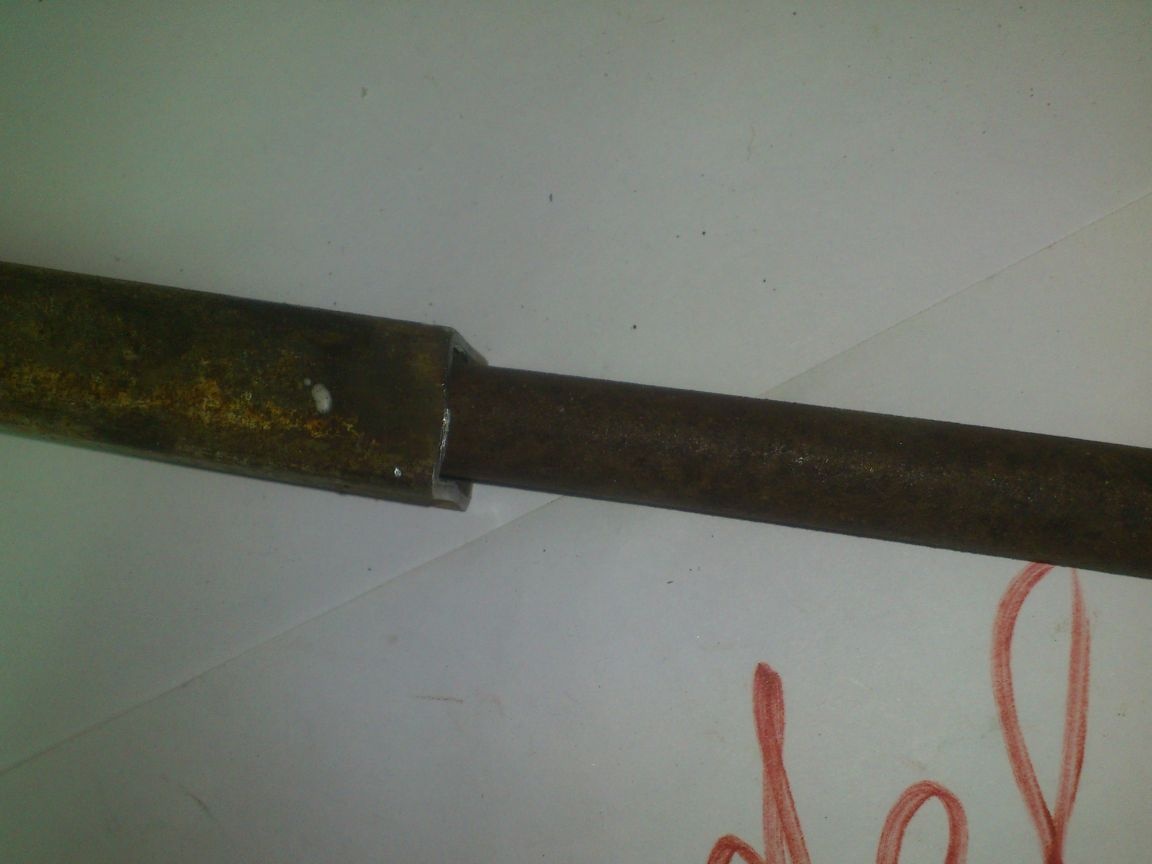
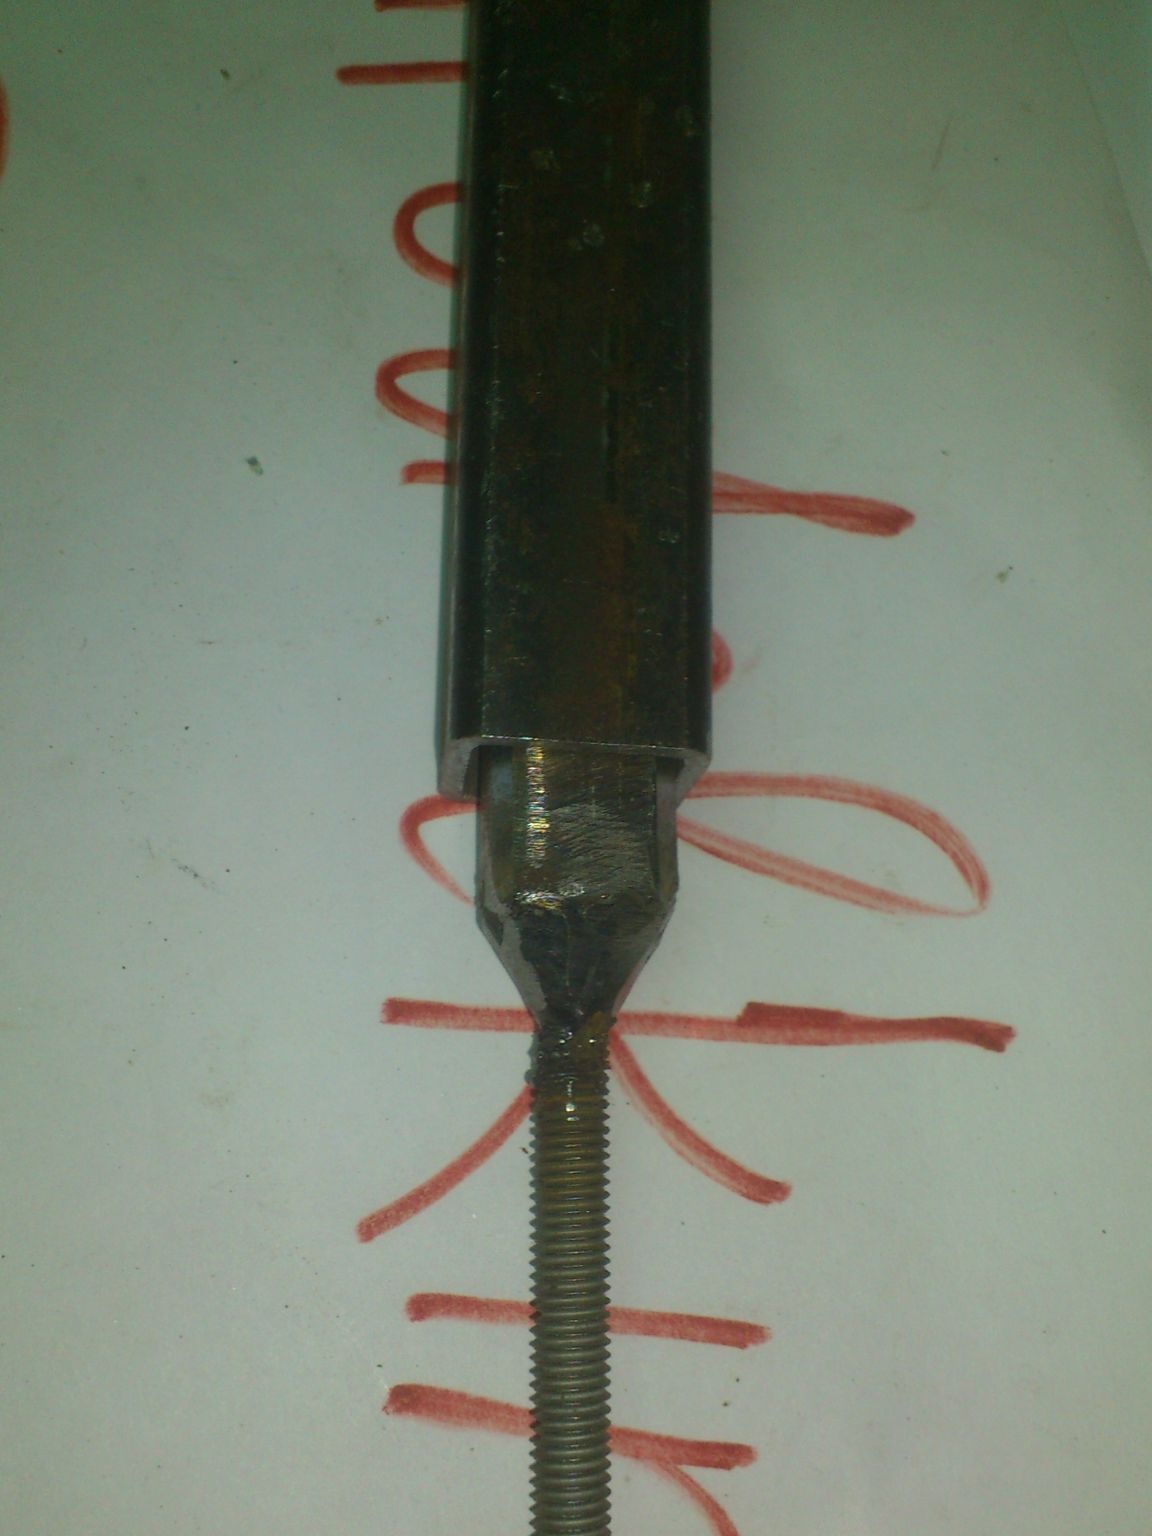
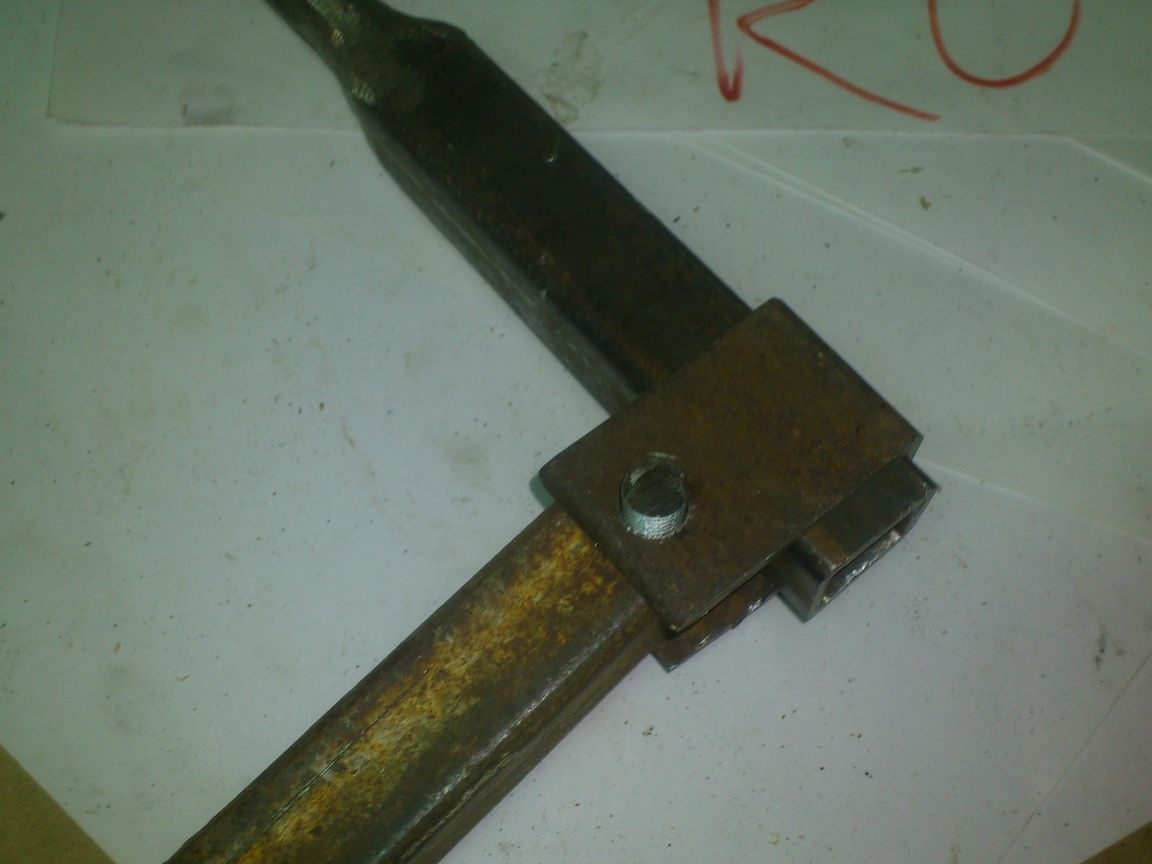
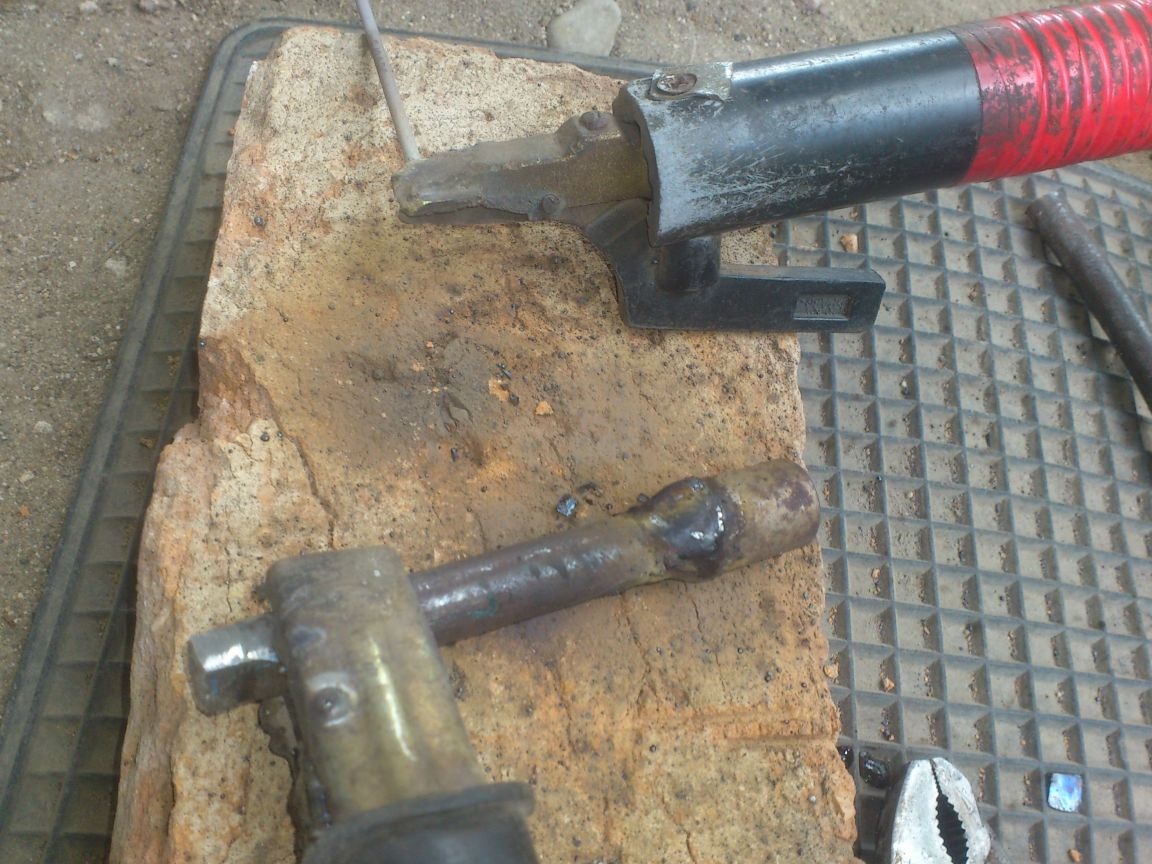
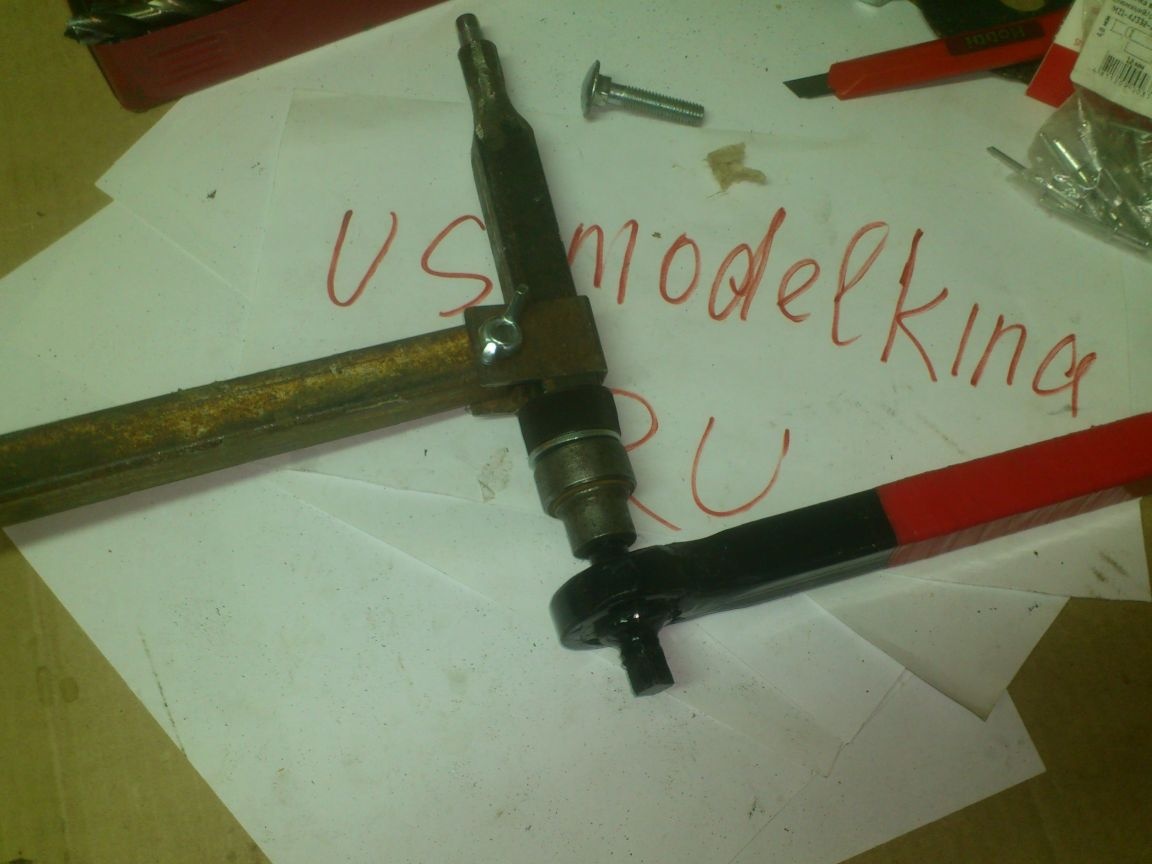
In order to dock both elements, I did the following:
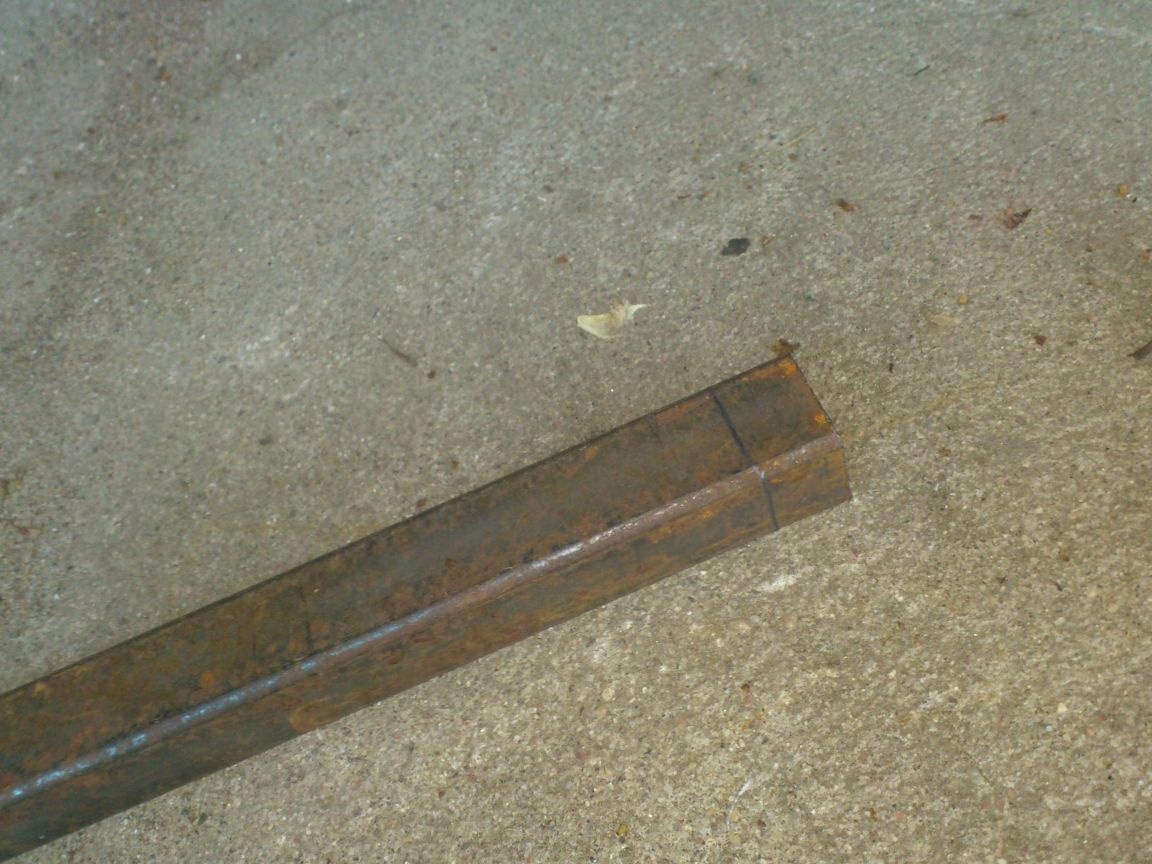
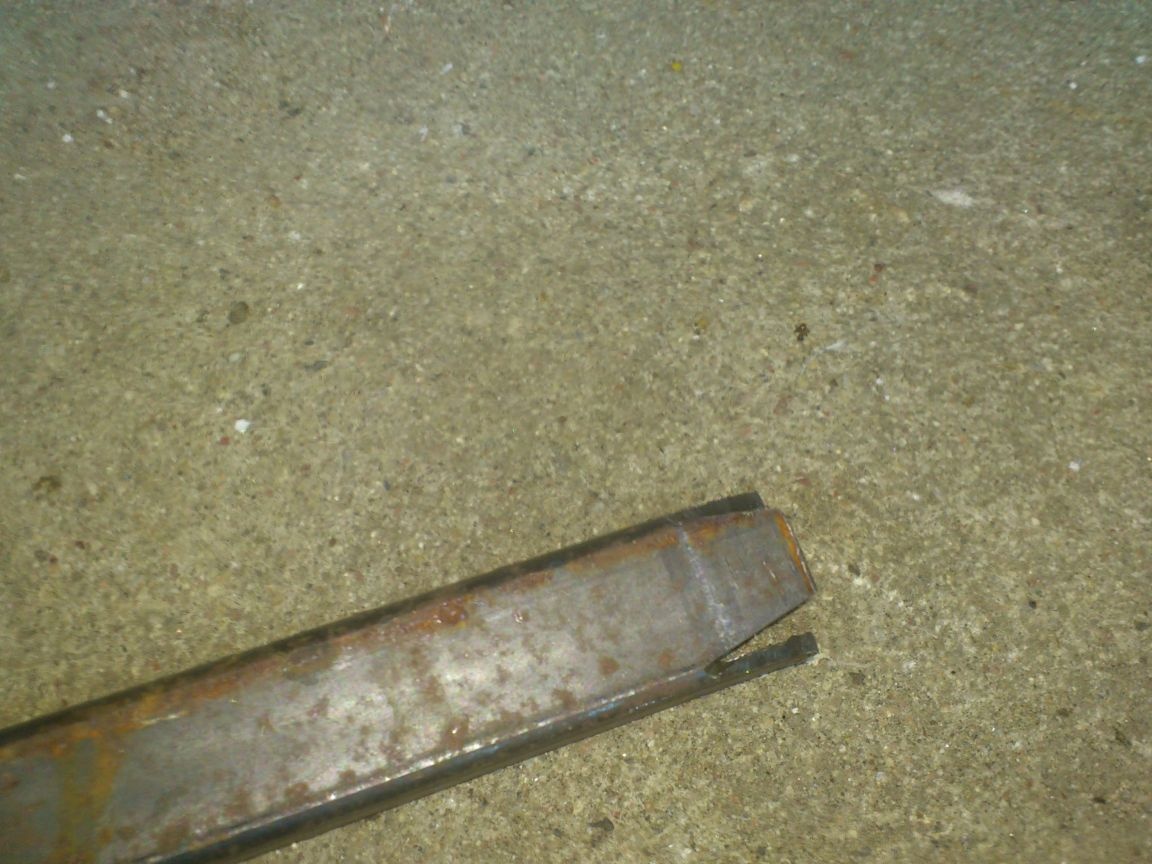
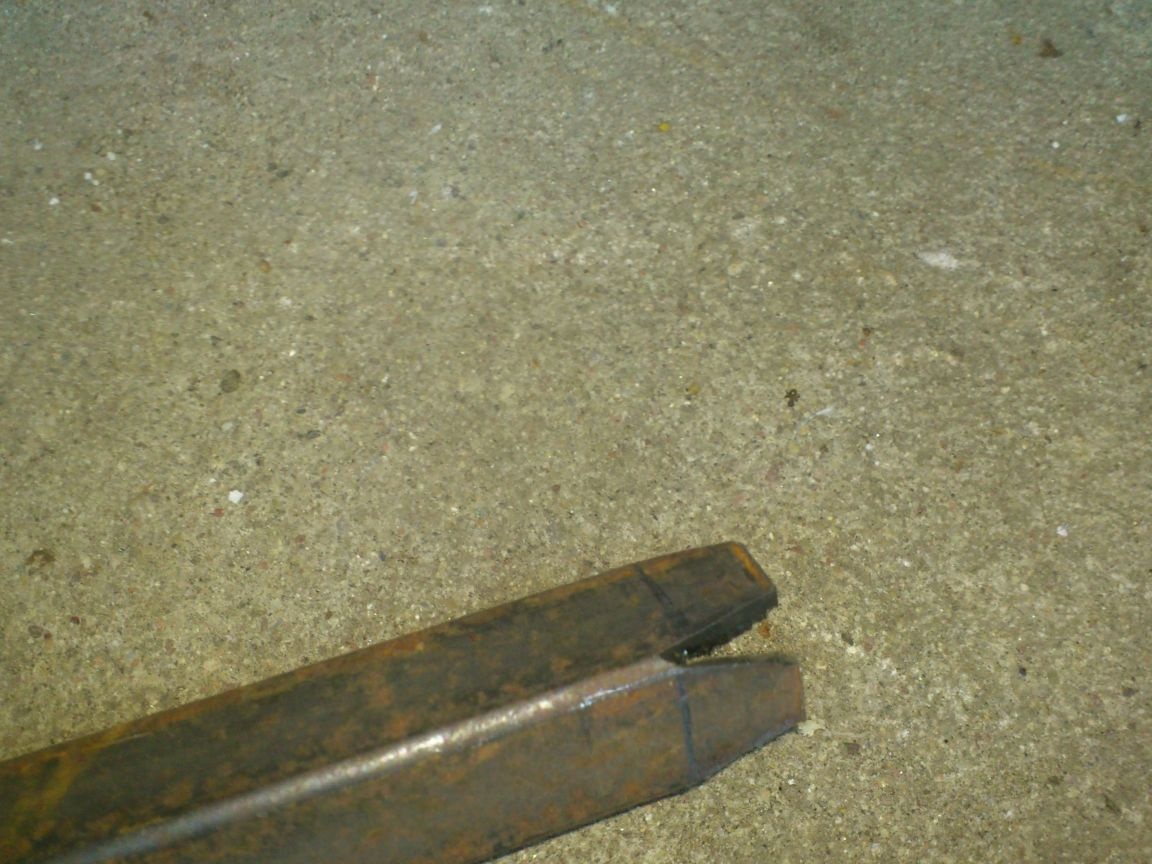
Then I welded the whole structure:
And cleaned up:
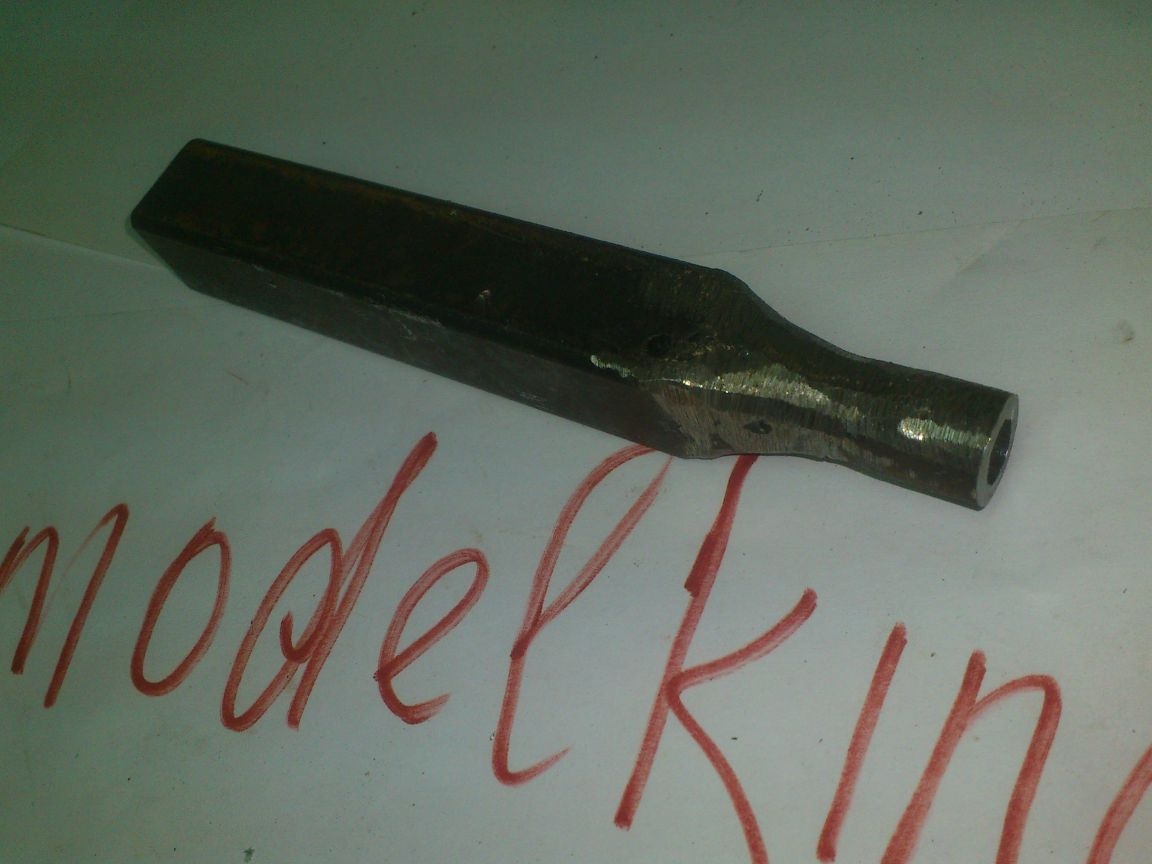
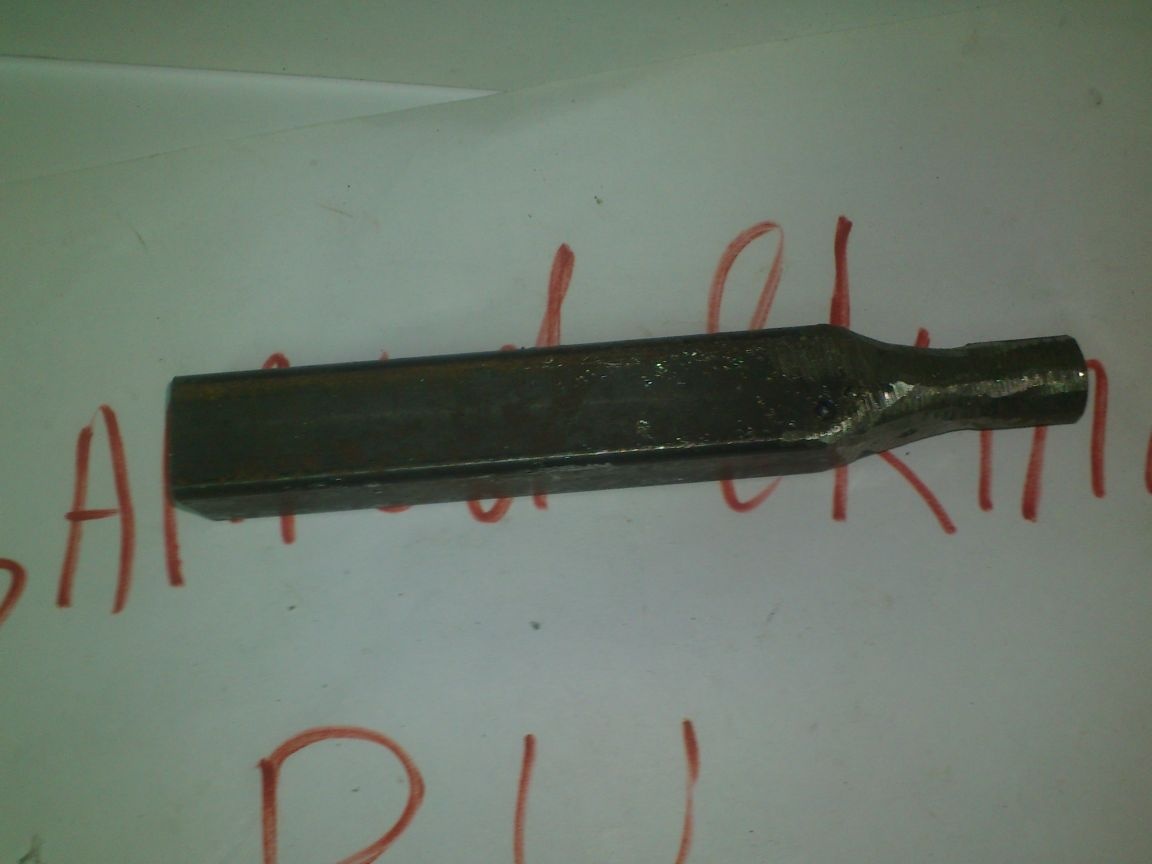
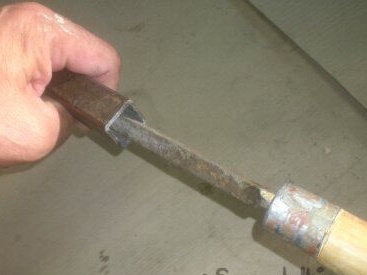
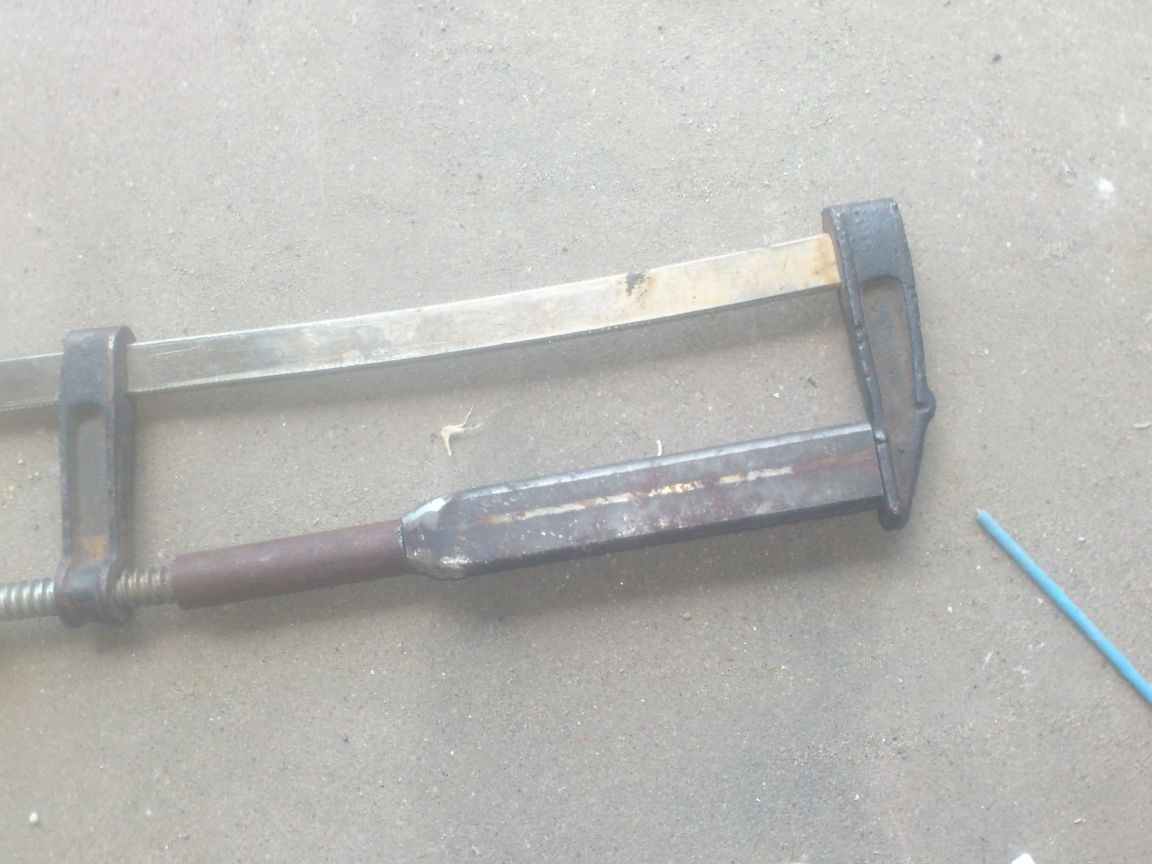
Having tried on a bat, I adjusted the length of the nose so that a rivet could be screwed onto the end of the stem protruding from it:

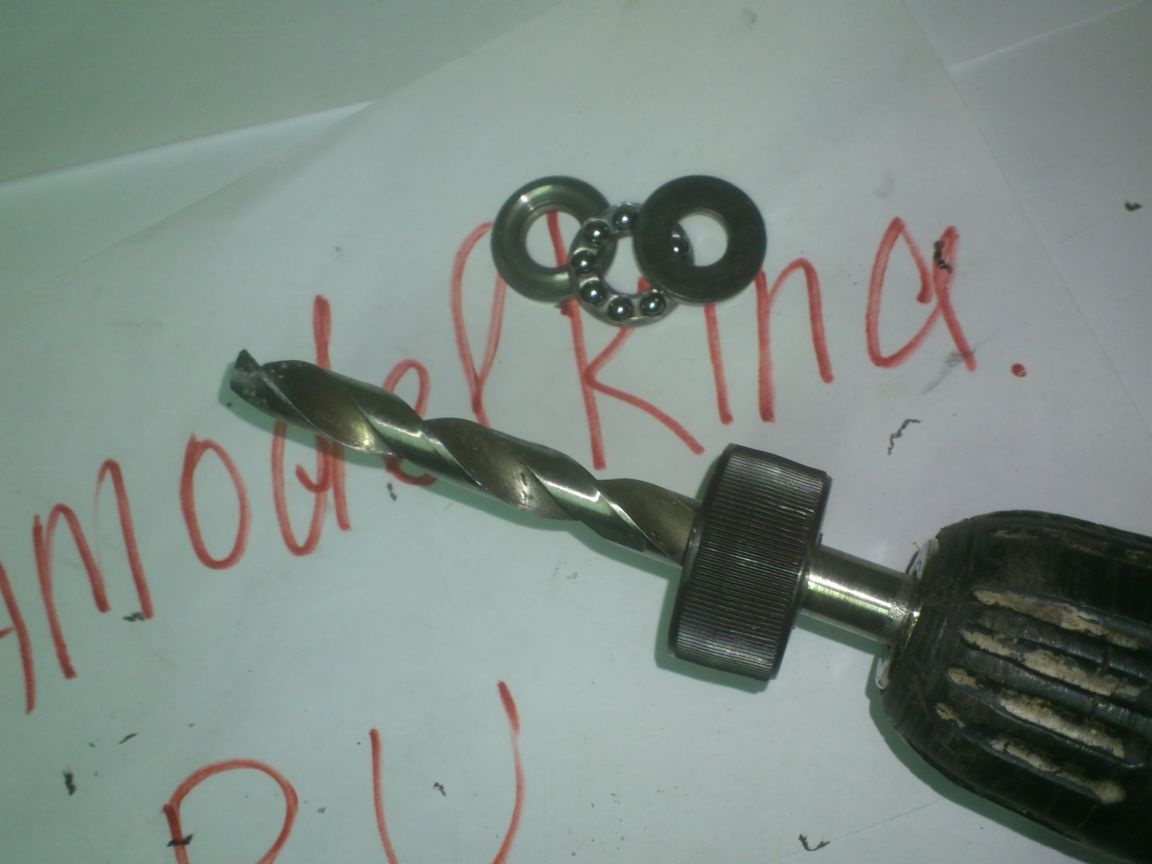
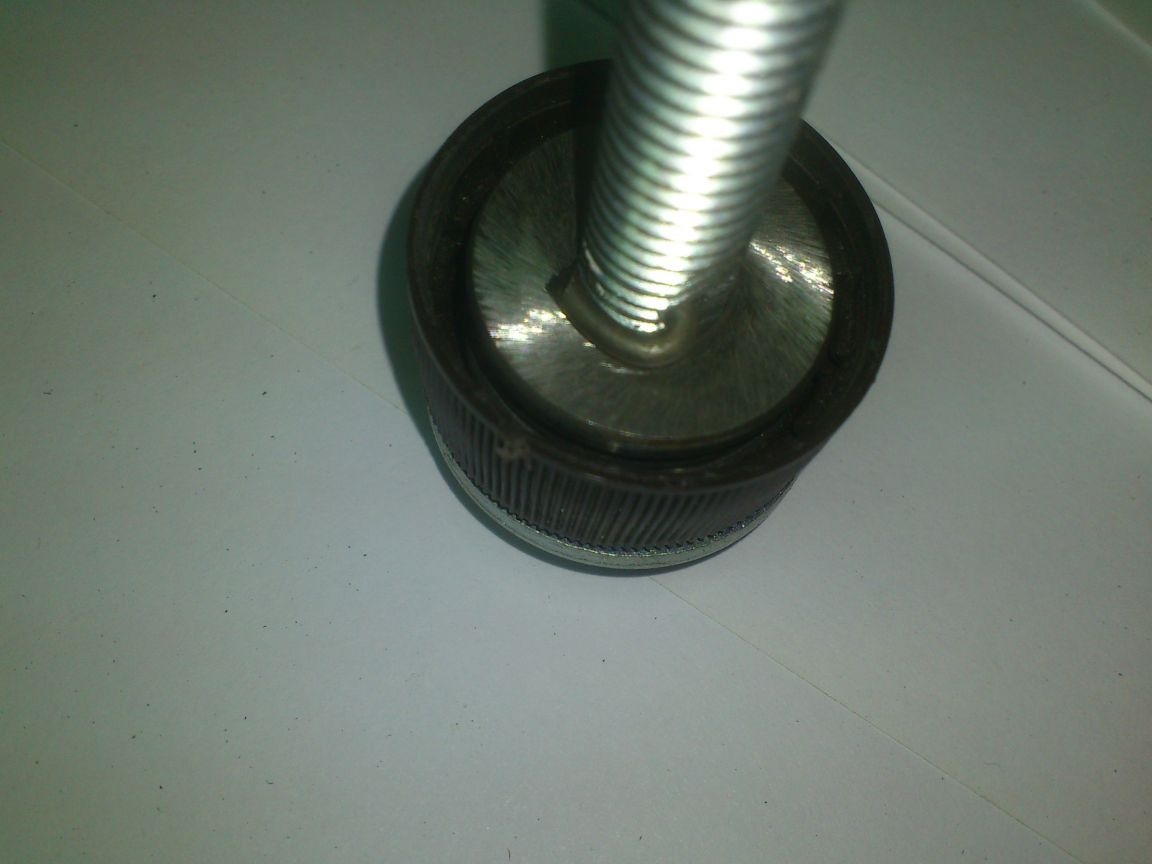
After that I started manufacturing the working screw. In his role, I decided to use an M10 bolt, 100 mm long:
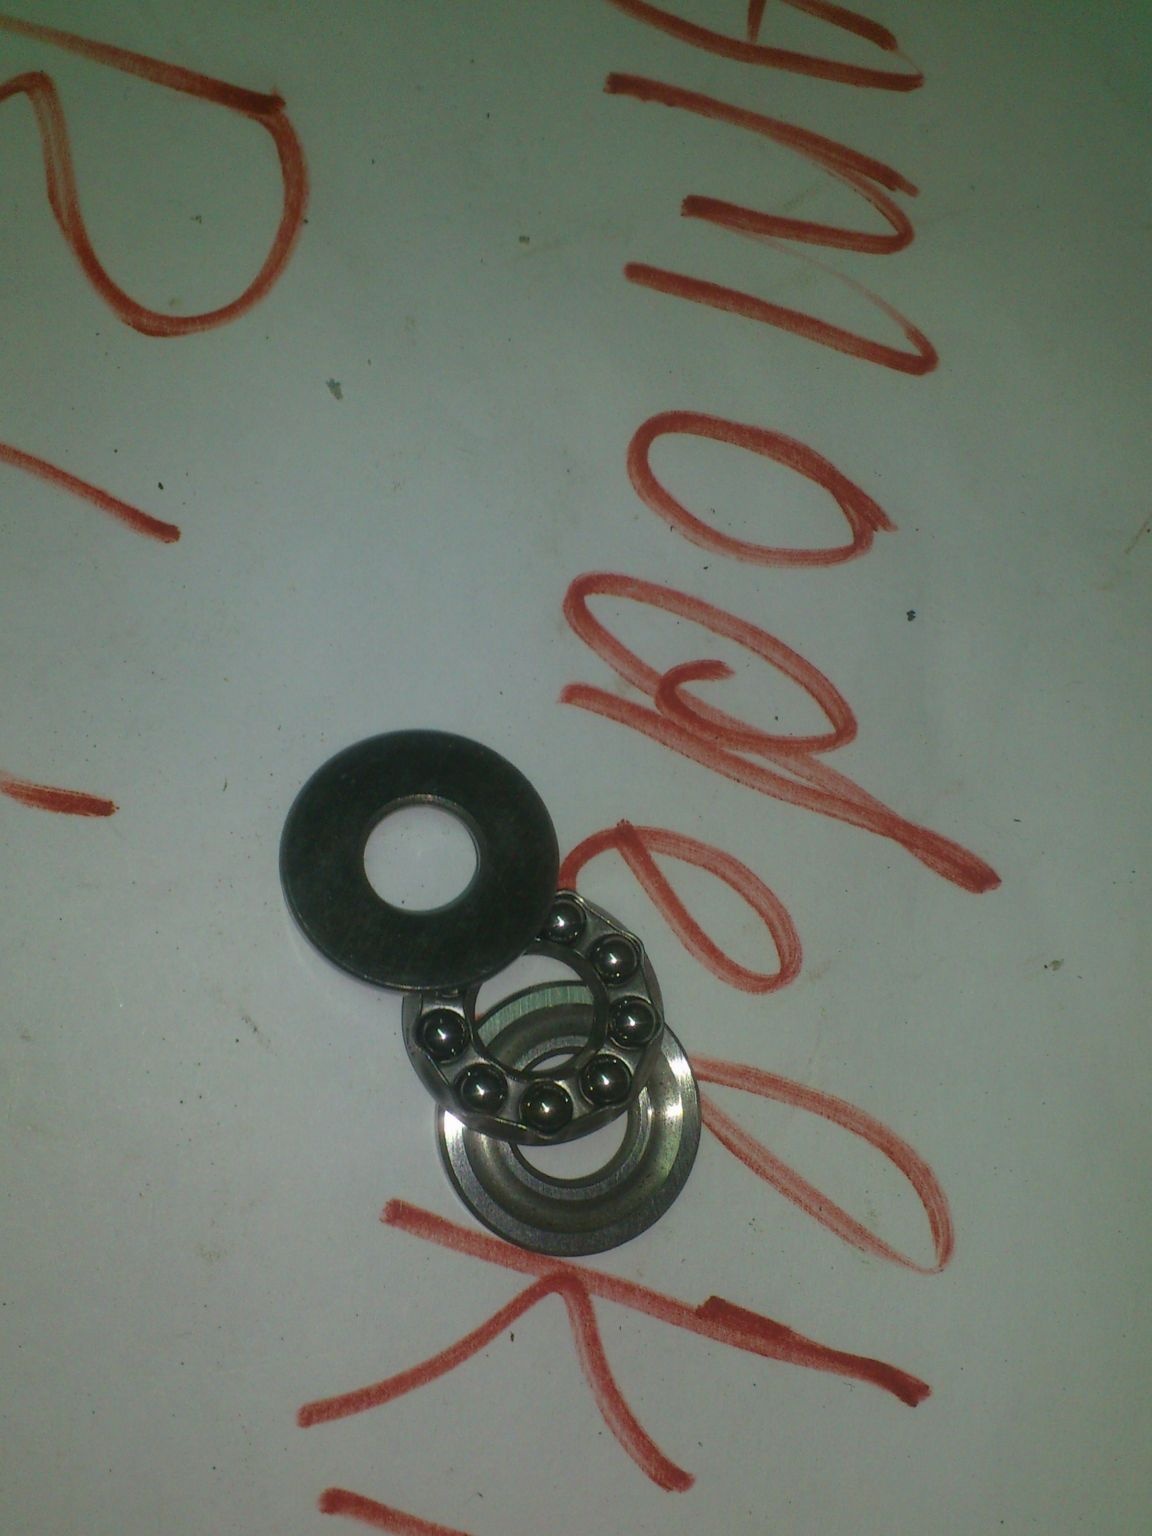
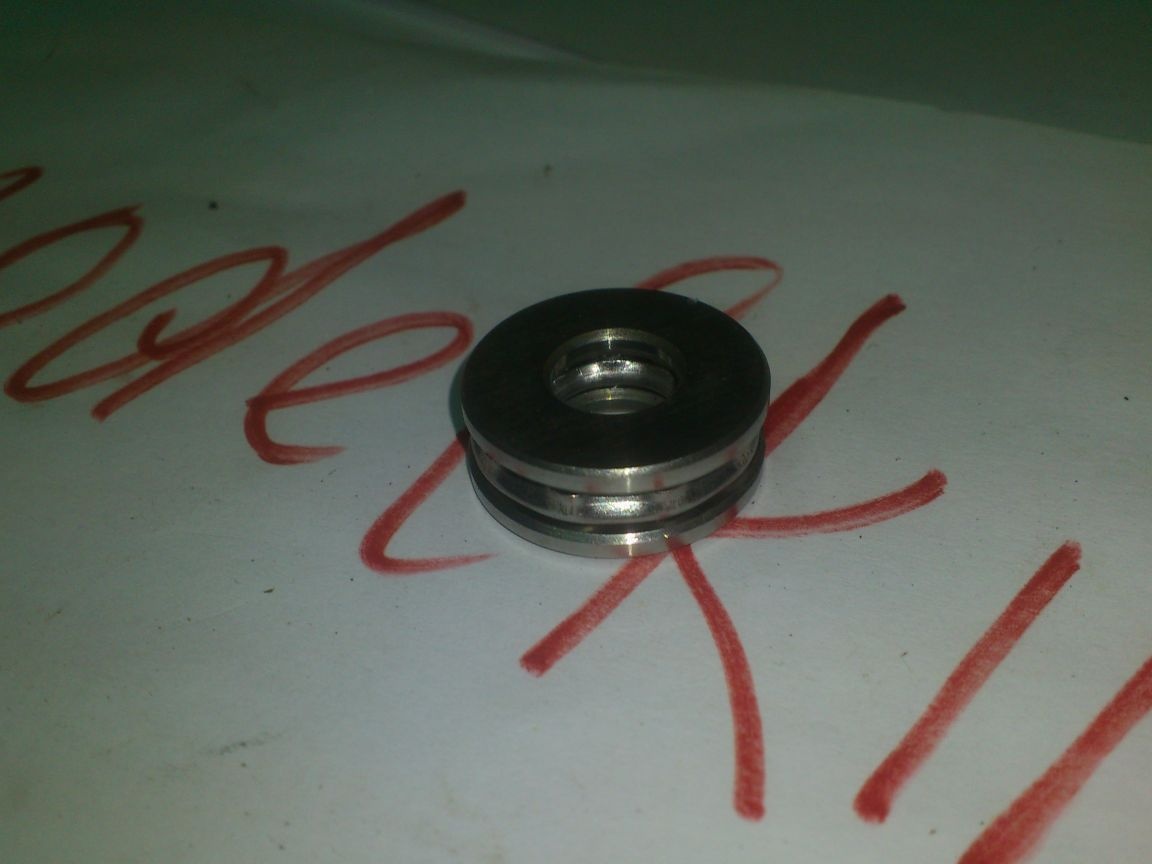
In order to reduce the friction of the cap of the bolt on the edge of the housing when tightening, I bought a thrust bearing. What number - I do not remember))). I just went to a store selling bearings and asked for one so that it had an internal diameter of 10 mm:
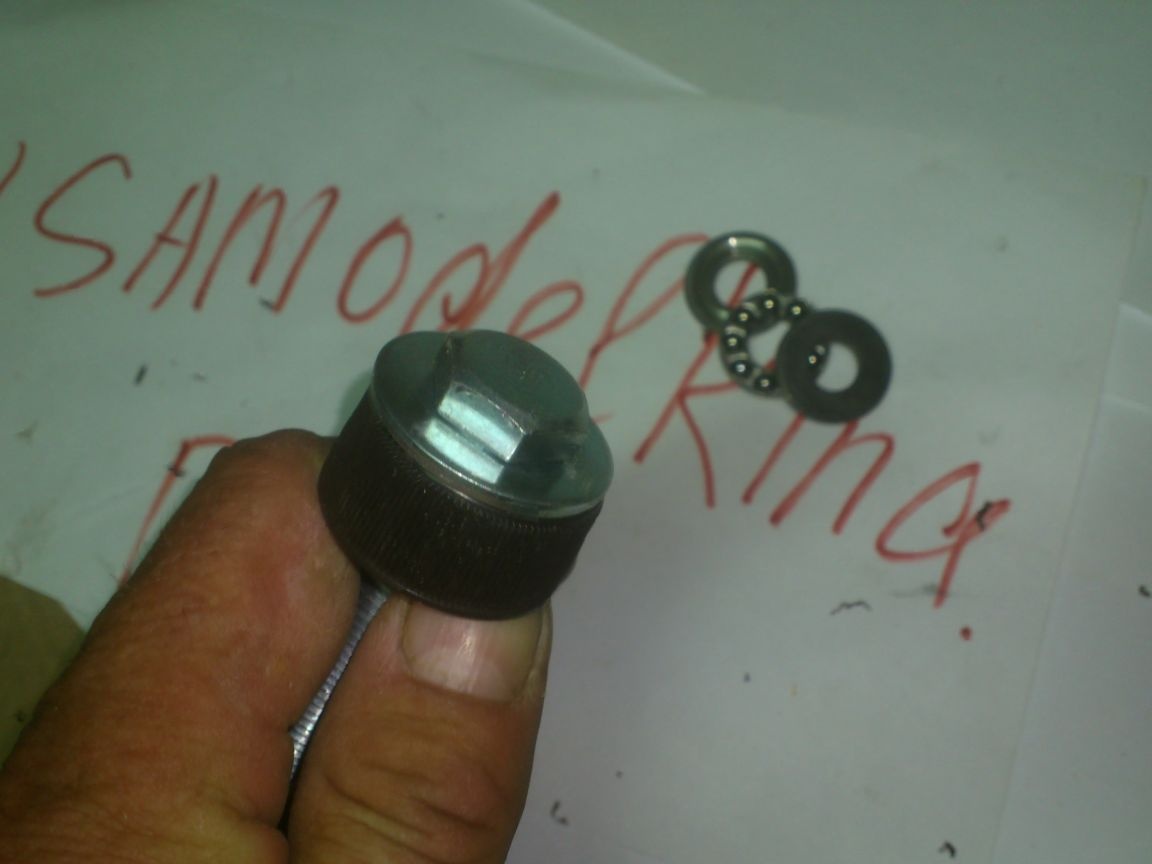
By chance, playing with him while sitting in a car, I noticed that he fits well inside the cork from a plastic bottle:
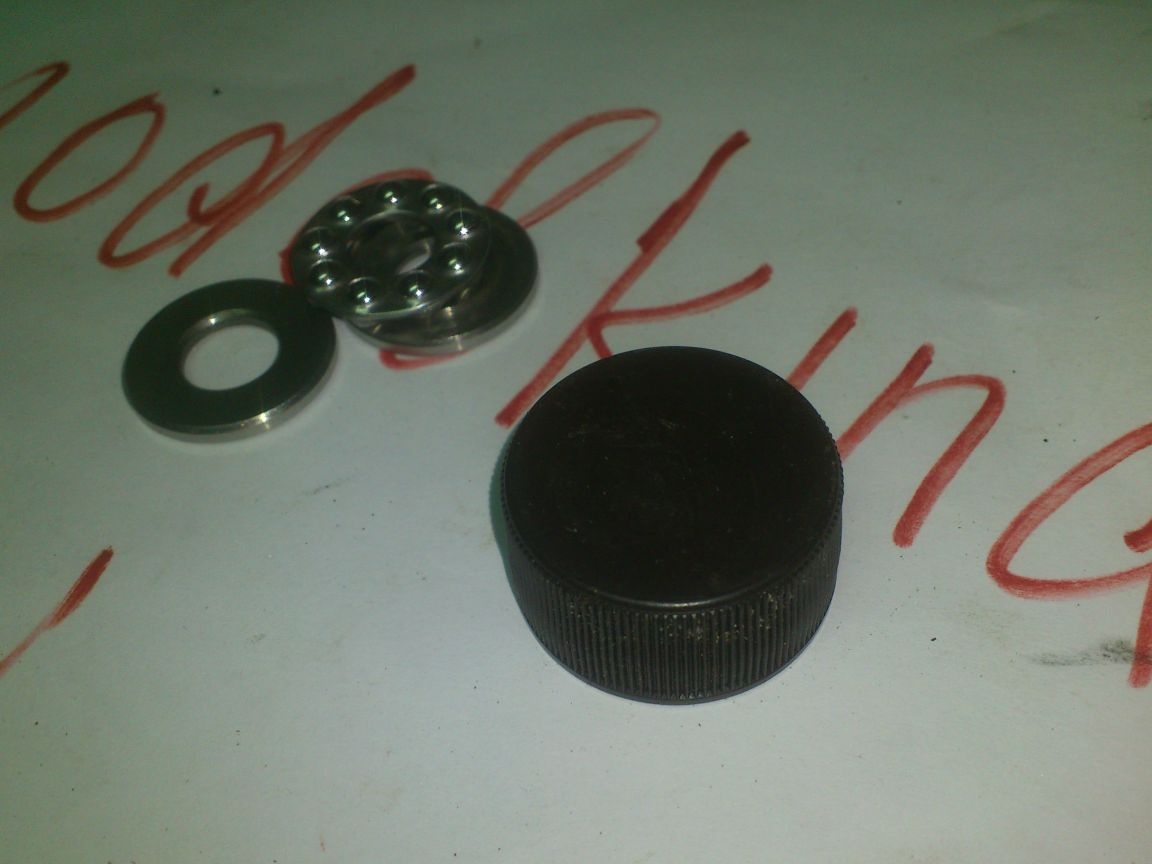

And I decided to use the cork as an outer casing.))). For this, a drill with a diameter of 10 mm. I drilled a hole in the cork:
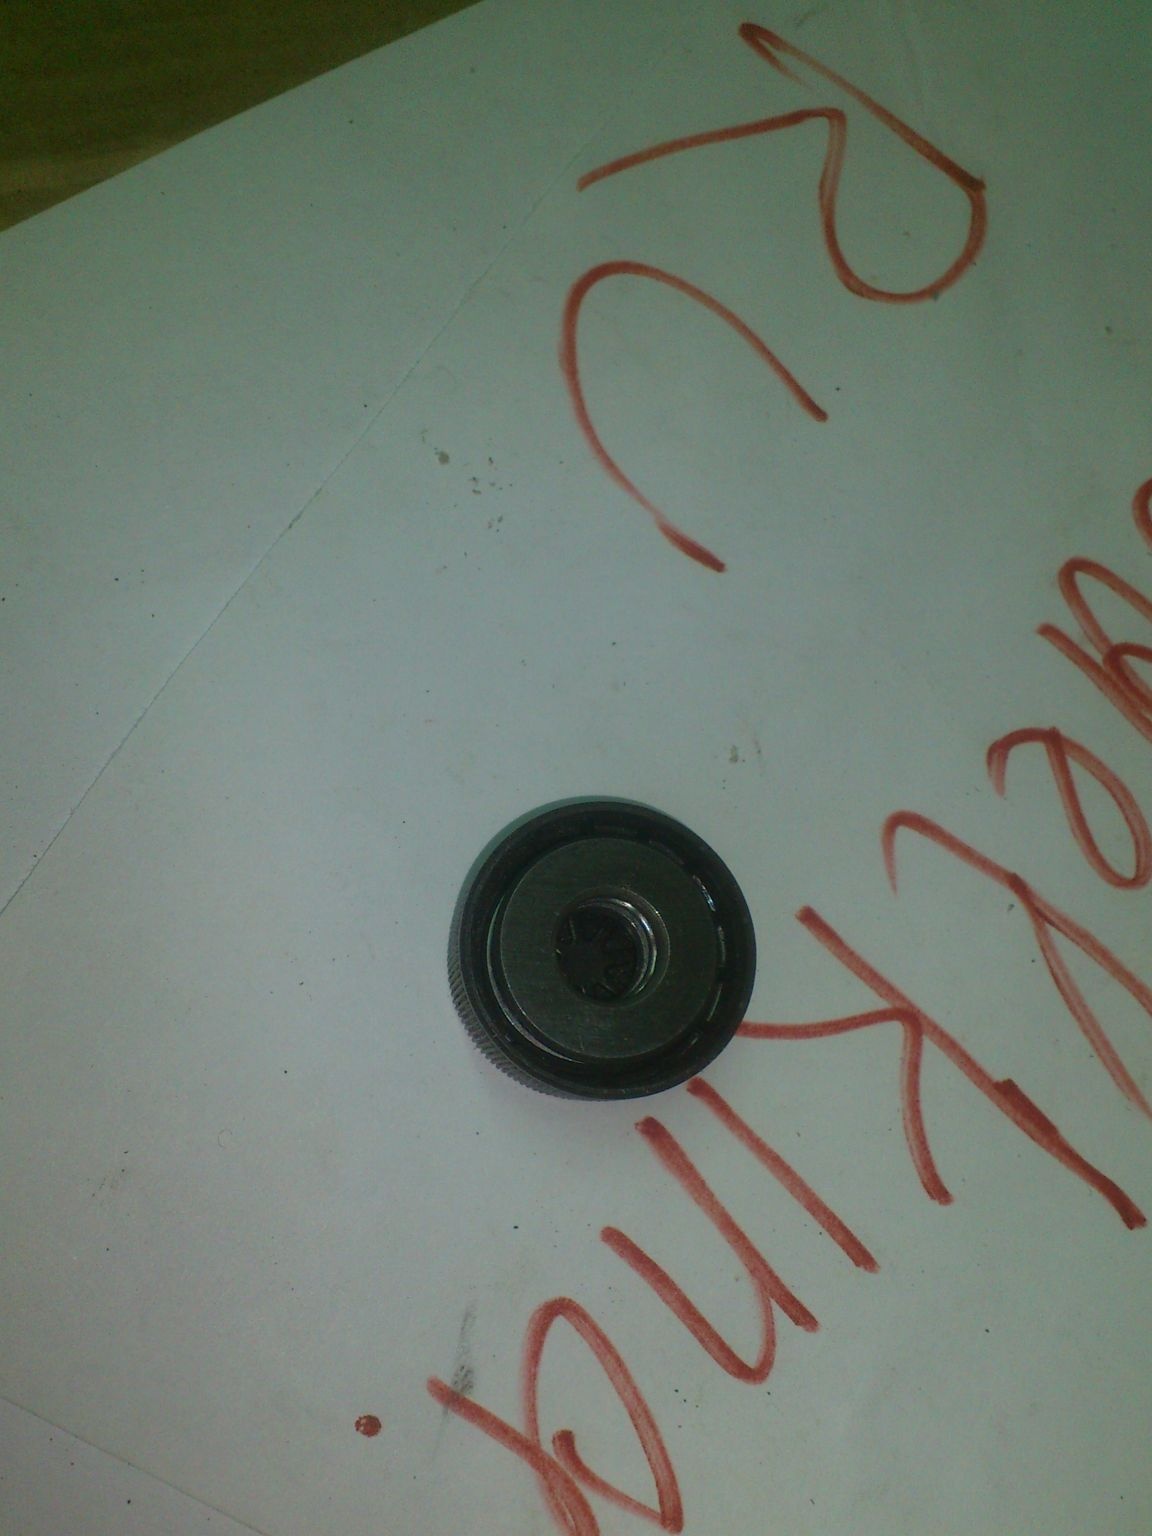
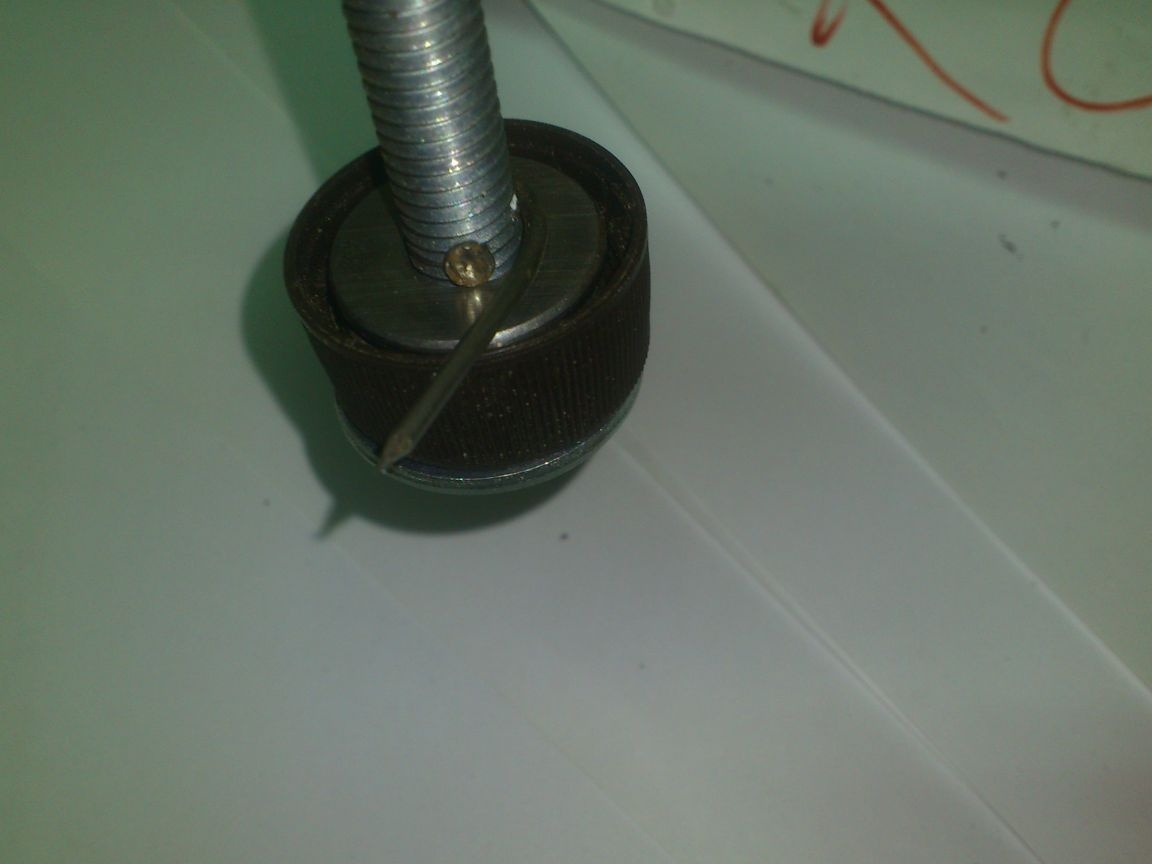
And tried it on a bolt. I put an enlarged M10 washer under the hat, then a cork, then a bearing:
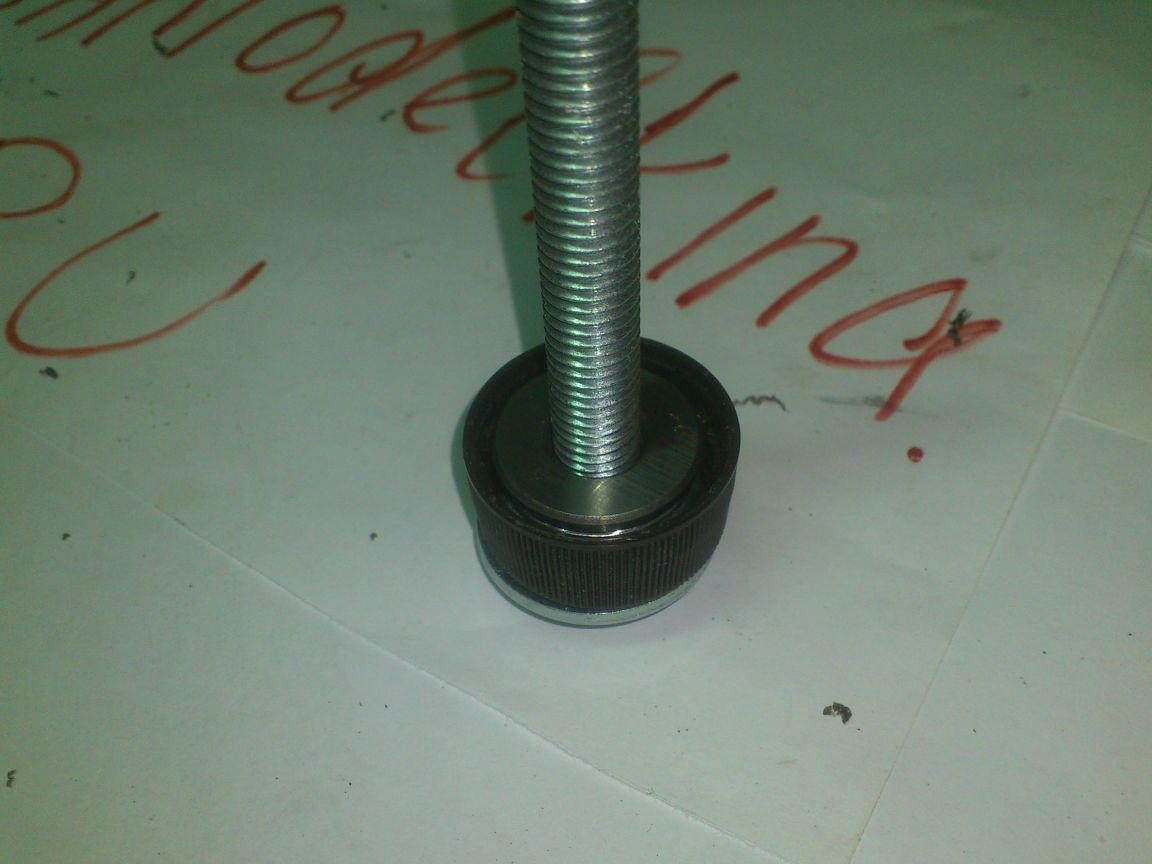
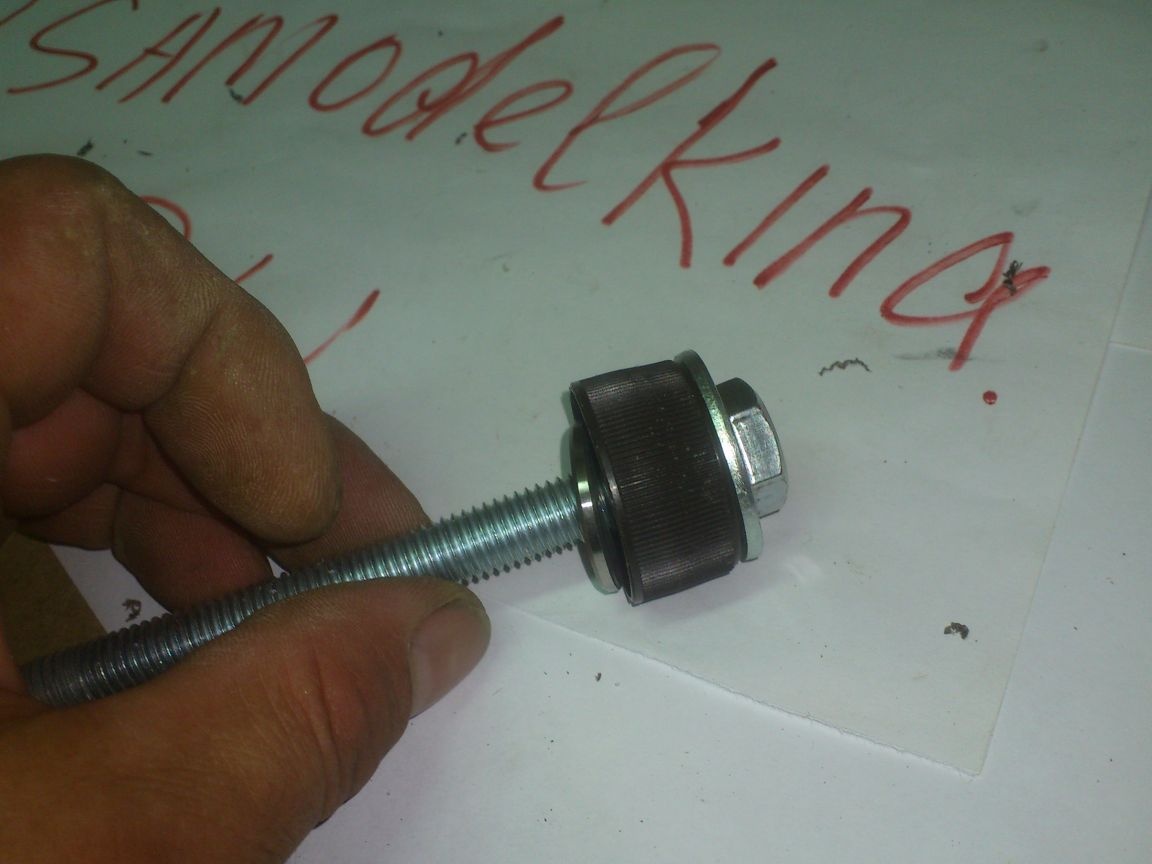
It remains to fix the bearing so that it does not fly off every time I unscrew the bolt. To do this, I disassembled the structure, marking the required distance, and sharpened the thread in the right place so that I could drill a hole for the cotter pin:
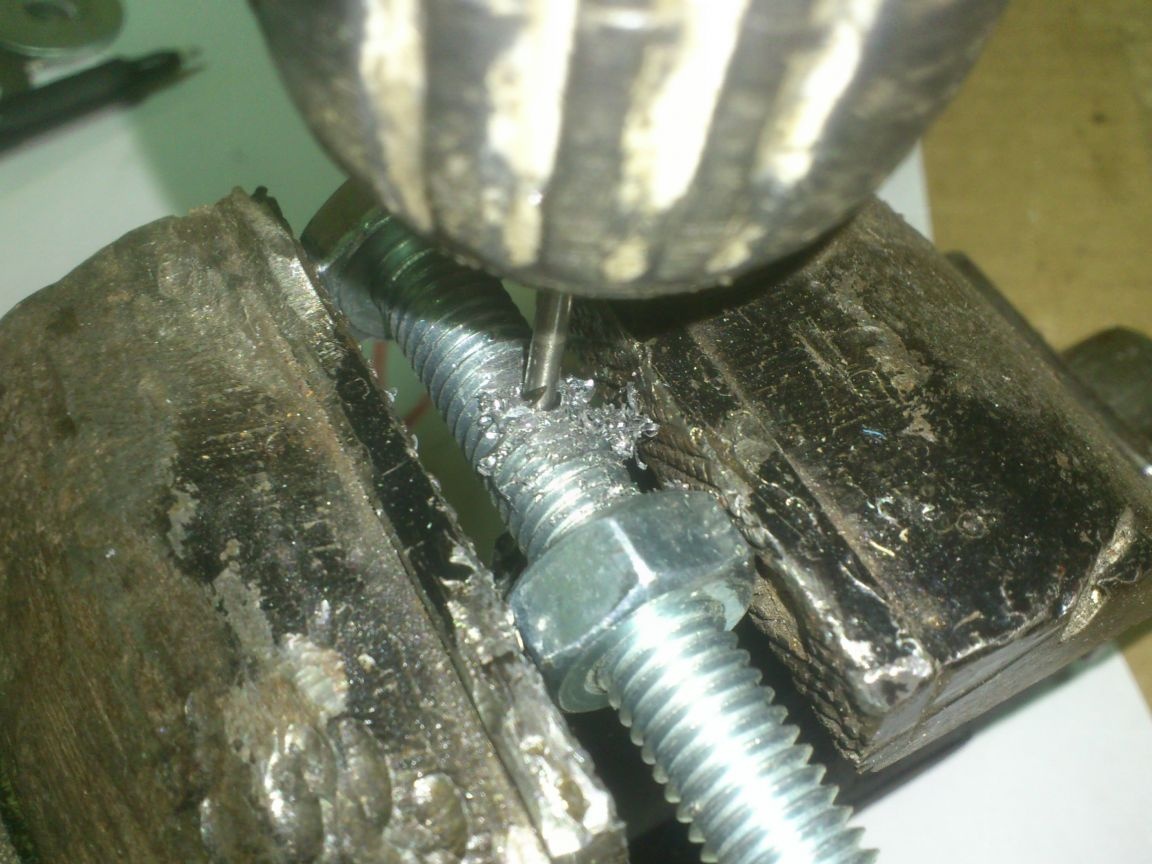
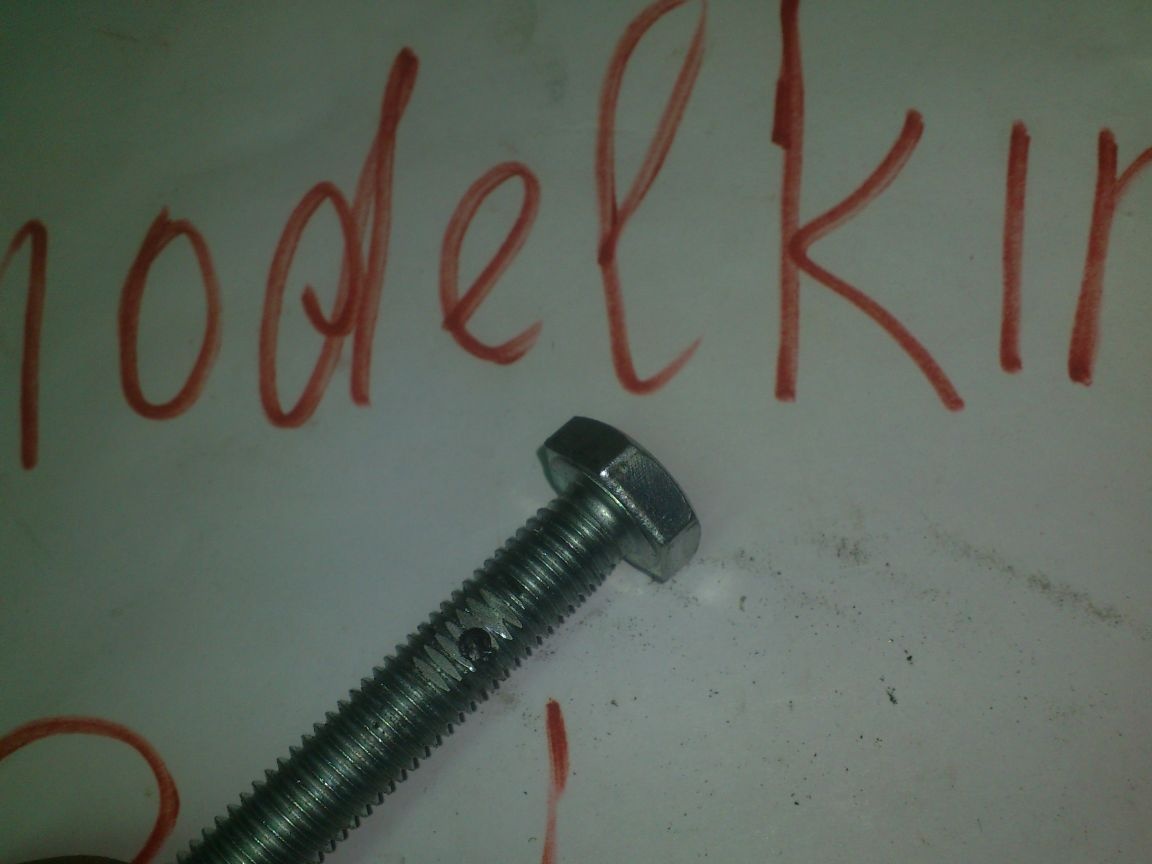
I did not find the cotter pins (although I remember exactly that I have them!)))), Therefore, as a temporary option, I used a suitable nail instead of the cotter pin!
(Although ... 98% sure that the proverb about "permanent and temporary", nevertheless, is true, and the nail will remain there!))))
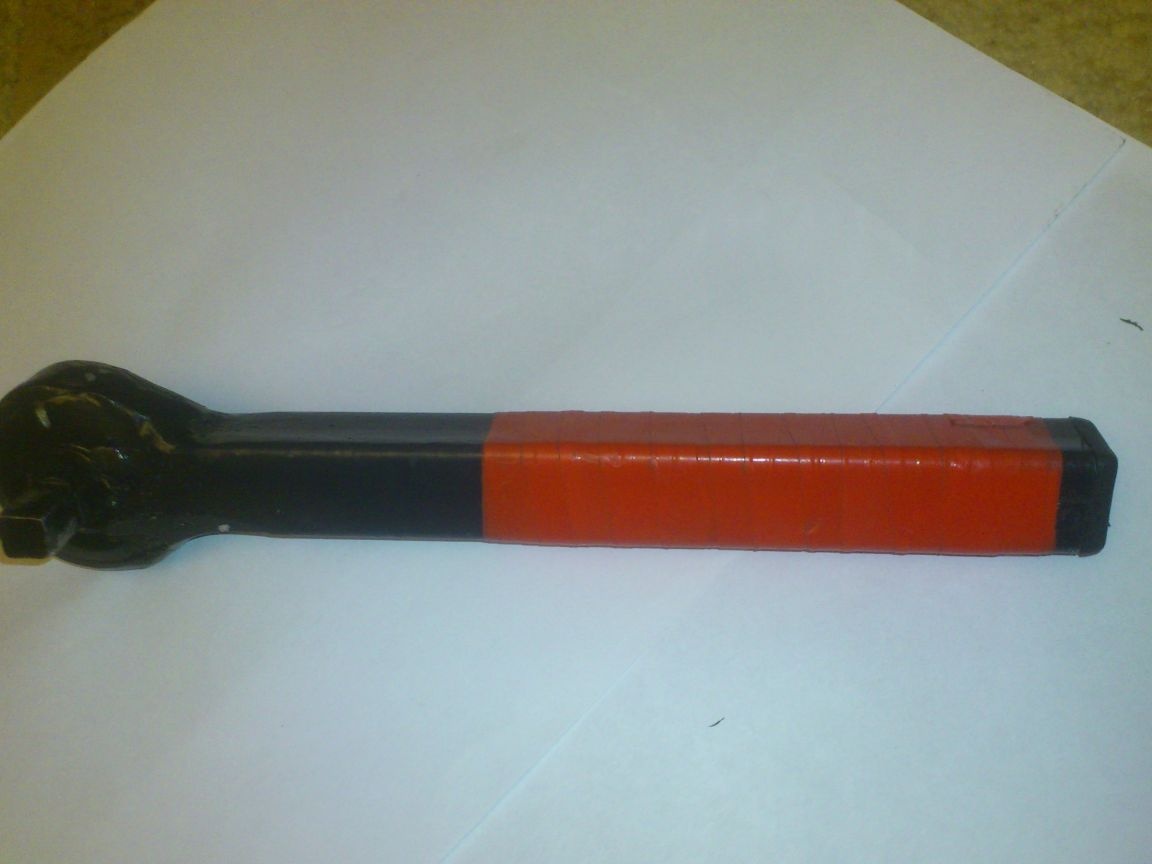
So, the housing, the propeller and one bit are ready! I will rotate the screw with the help of a "ratchet" .. And, more precisely, with the help of my homemade ratchet wrench, which I did specifically to complement the future riveter.))))
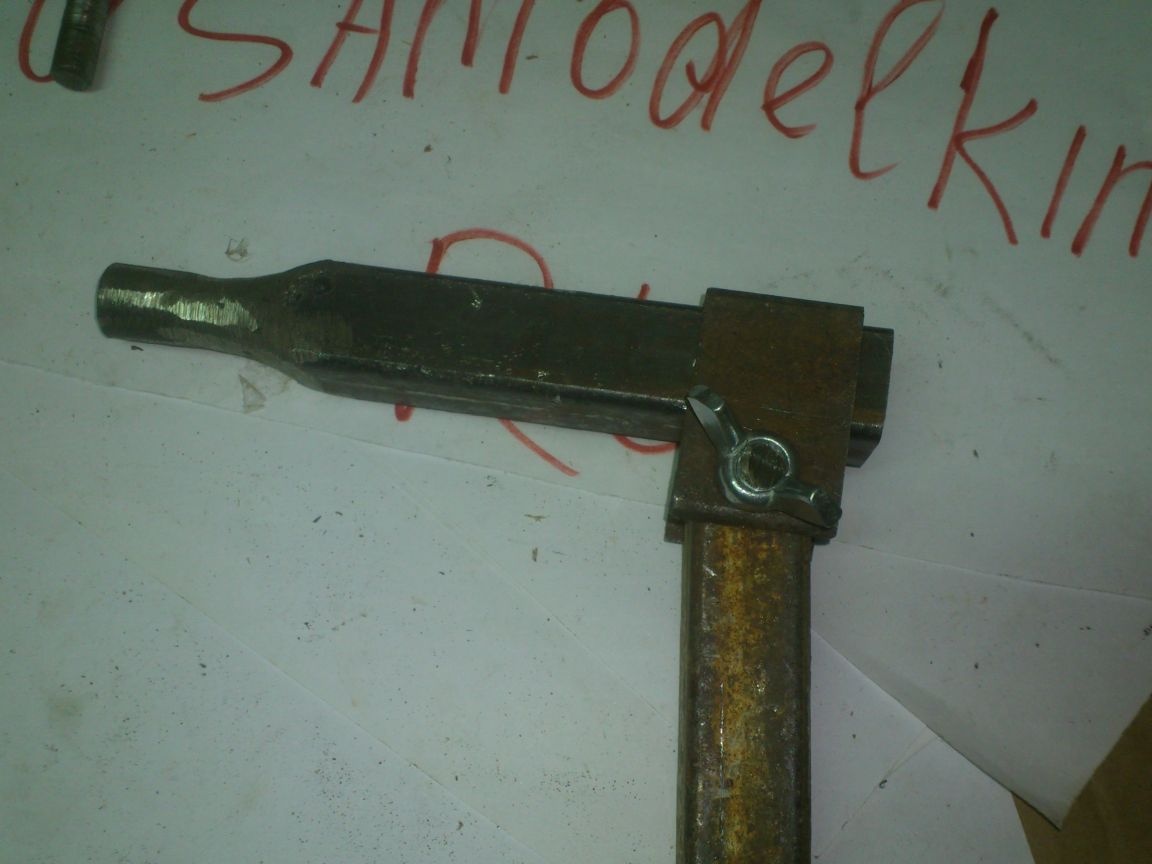
Now you need to make a handle so that you can hold the riveter while tightening the propeller. It must be removable! After all, after the rivet is installed, it will remain screwed onto the bat !!! Accordingly, it will be possible to remove the riveter only by rotating it in the opposite direction, thereby screwing it up from the rivet! And the handle sticking out to the side in real conditions, most likely just hooks on something and does not allow it to turn away !!! (As I said, very rarely have to put rivets "in the open field")))))
I decided to make the handle myself from the same profile pipe, (section 20 by 20 mm.), From which both the riveter body and the handle of the winch are made.
Mounting to the housing should not be rigidly fixed in a perpendicular position! After all, it is quite possible that you will have to work, for example, on the bottom of a box with high walls! And then, raising the handle at an angle up, we will thereby increase the maximum depth of use of the tool. (In this case, the collar will need to be equipped with an extension cord.)
Knowing from experience that a pipe of this section fits well inside a 25 by 25 mm pipe, I decided to look for a piece of pipe 25 by 40 mm, cut one smaller wall from it and make a bracket.
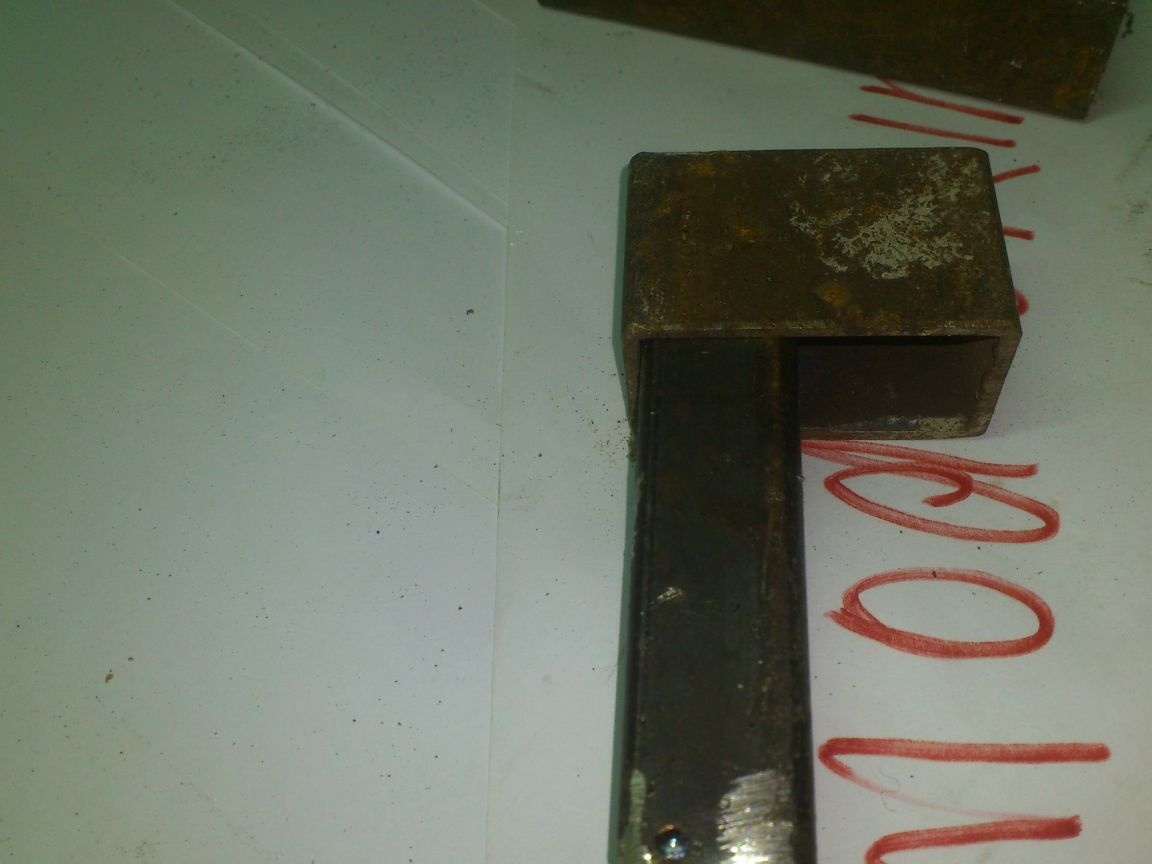
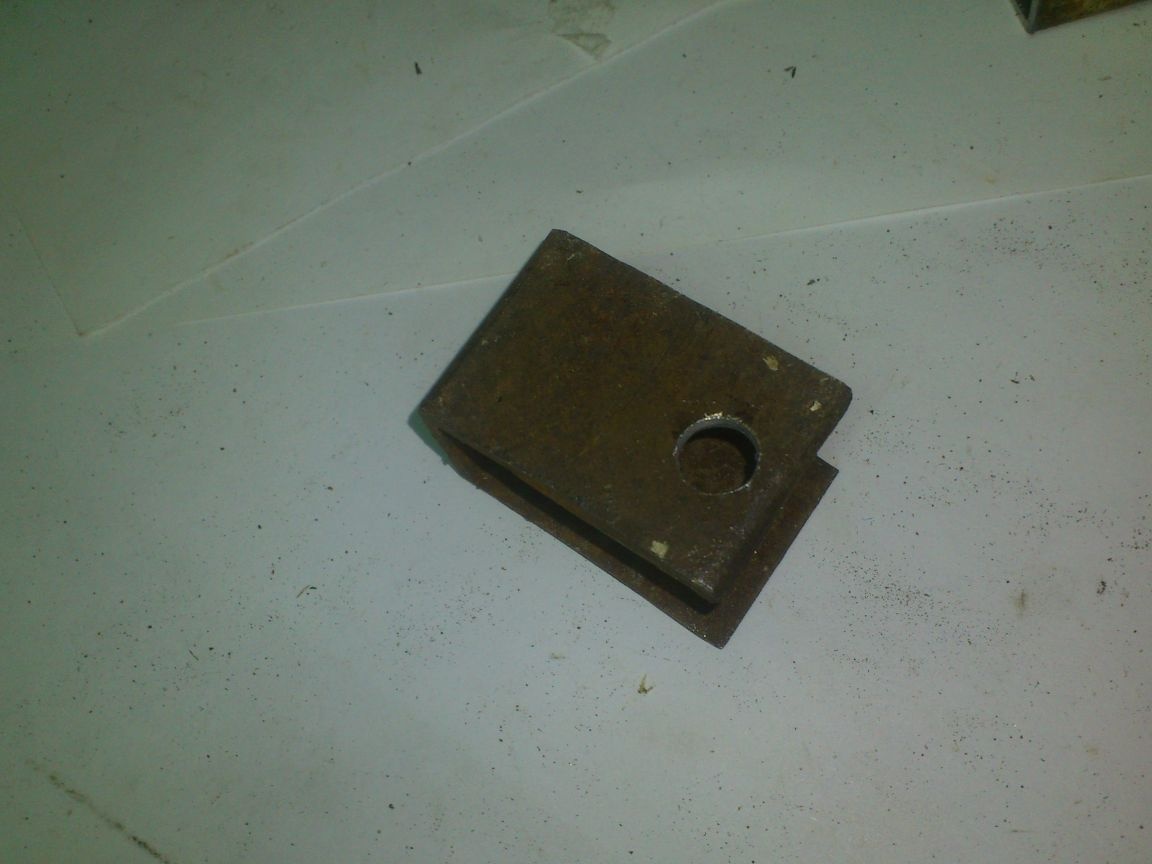
But dig deeper still, I found an almost ready bracket!)))). That is, a piece of pipe of the desired section to me with one wall already cut:

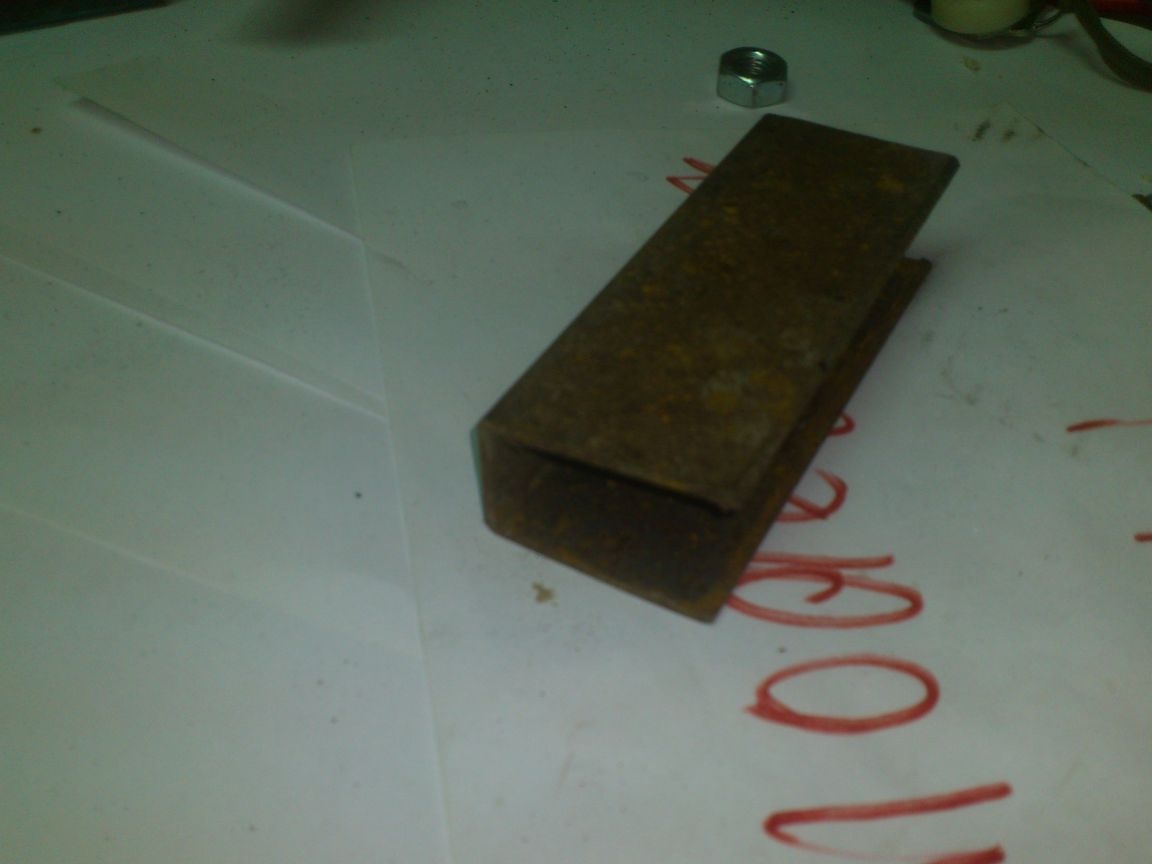
It remains only to cut the desired length:
And drill a hole for the M8 bolt:
At the handle itself, I rounded one corner so that later it could lean up. I inserted it into the bracket, drilled a hole "in place" and fastened the whole structure with an M8 bolt with a wing nut .:
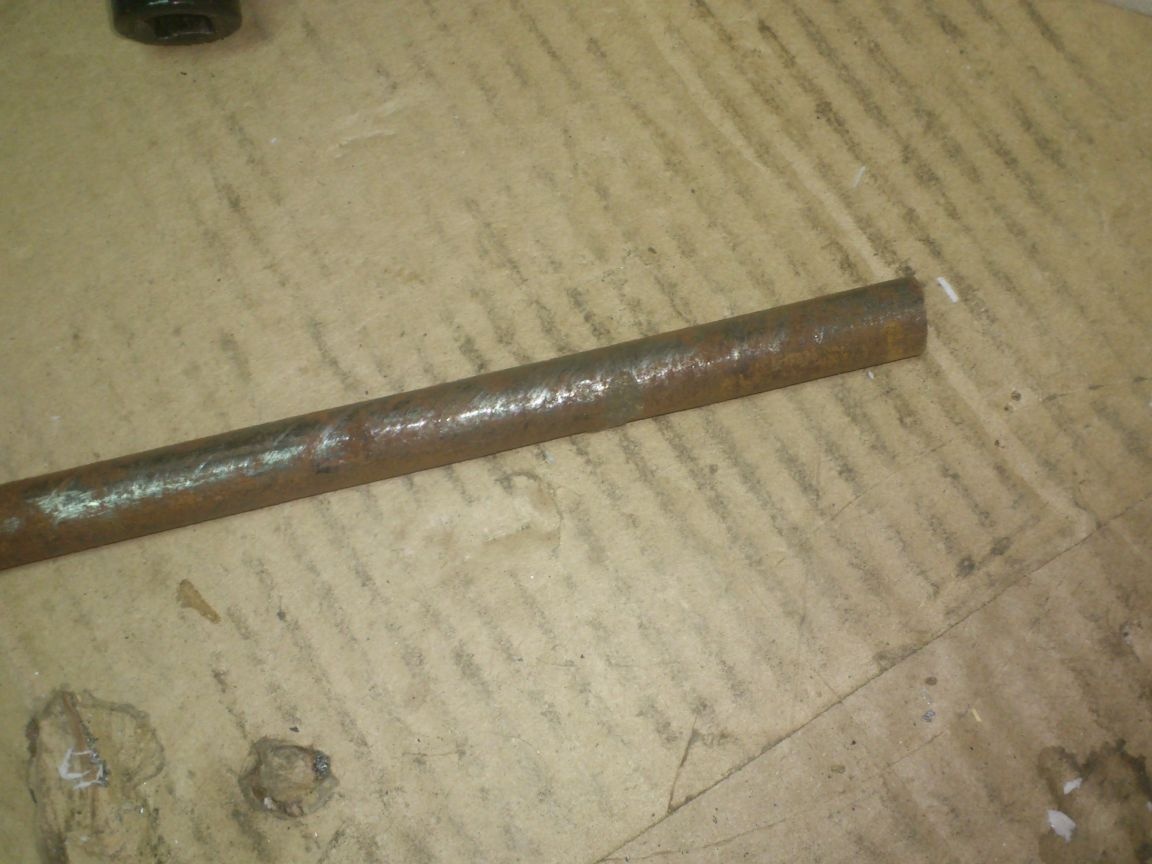
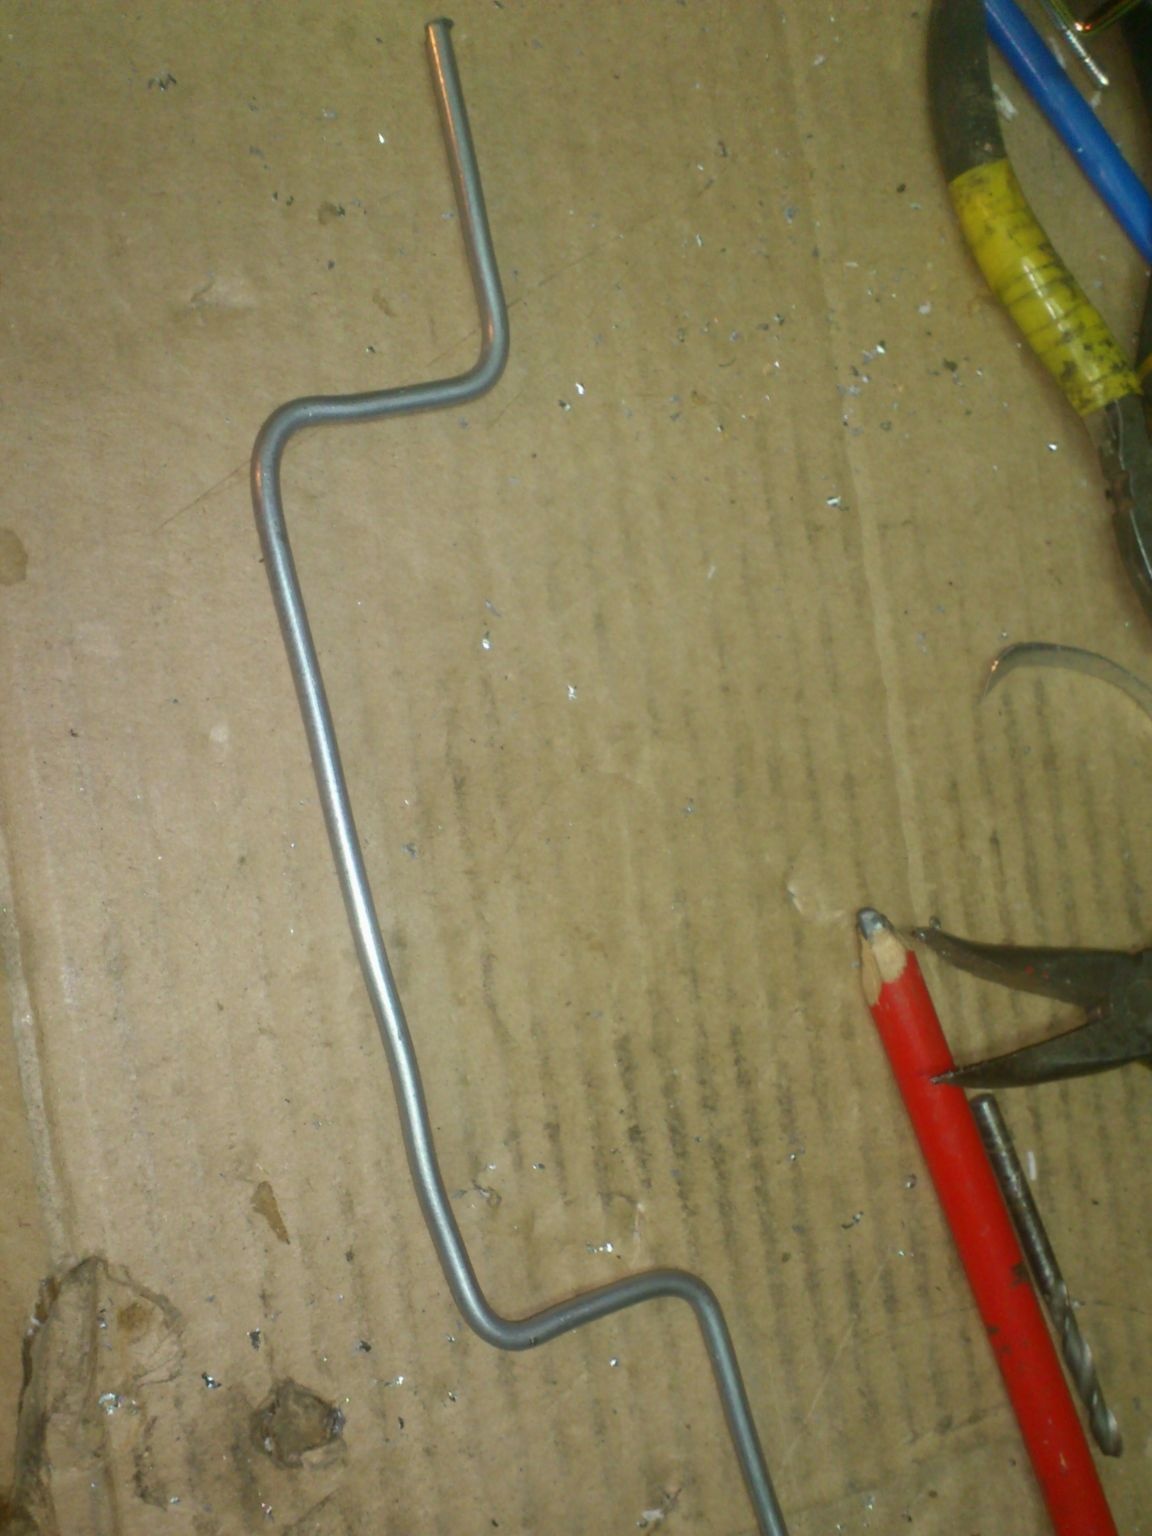
If necessary, loosening the nut, you can tilt the handle at the desired angle (or remove it altogether). But, if you have to work somewhere "in the back of the structure" by tilting the handle up, you will need an extension for the winch! I decided to make it from the same rod, with a diameter of 12 mm, from which the working shaft of the winder was made:
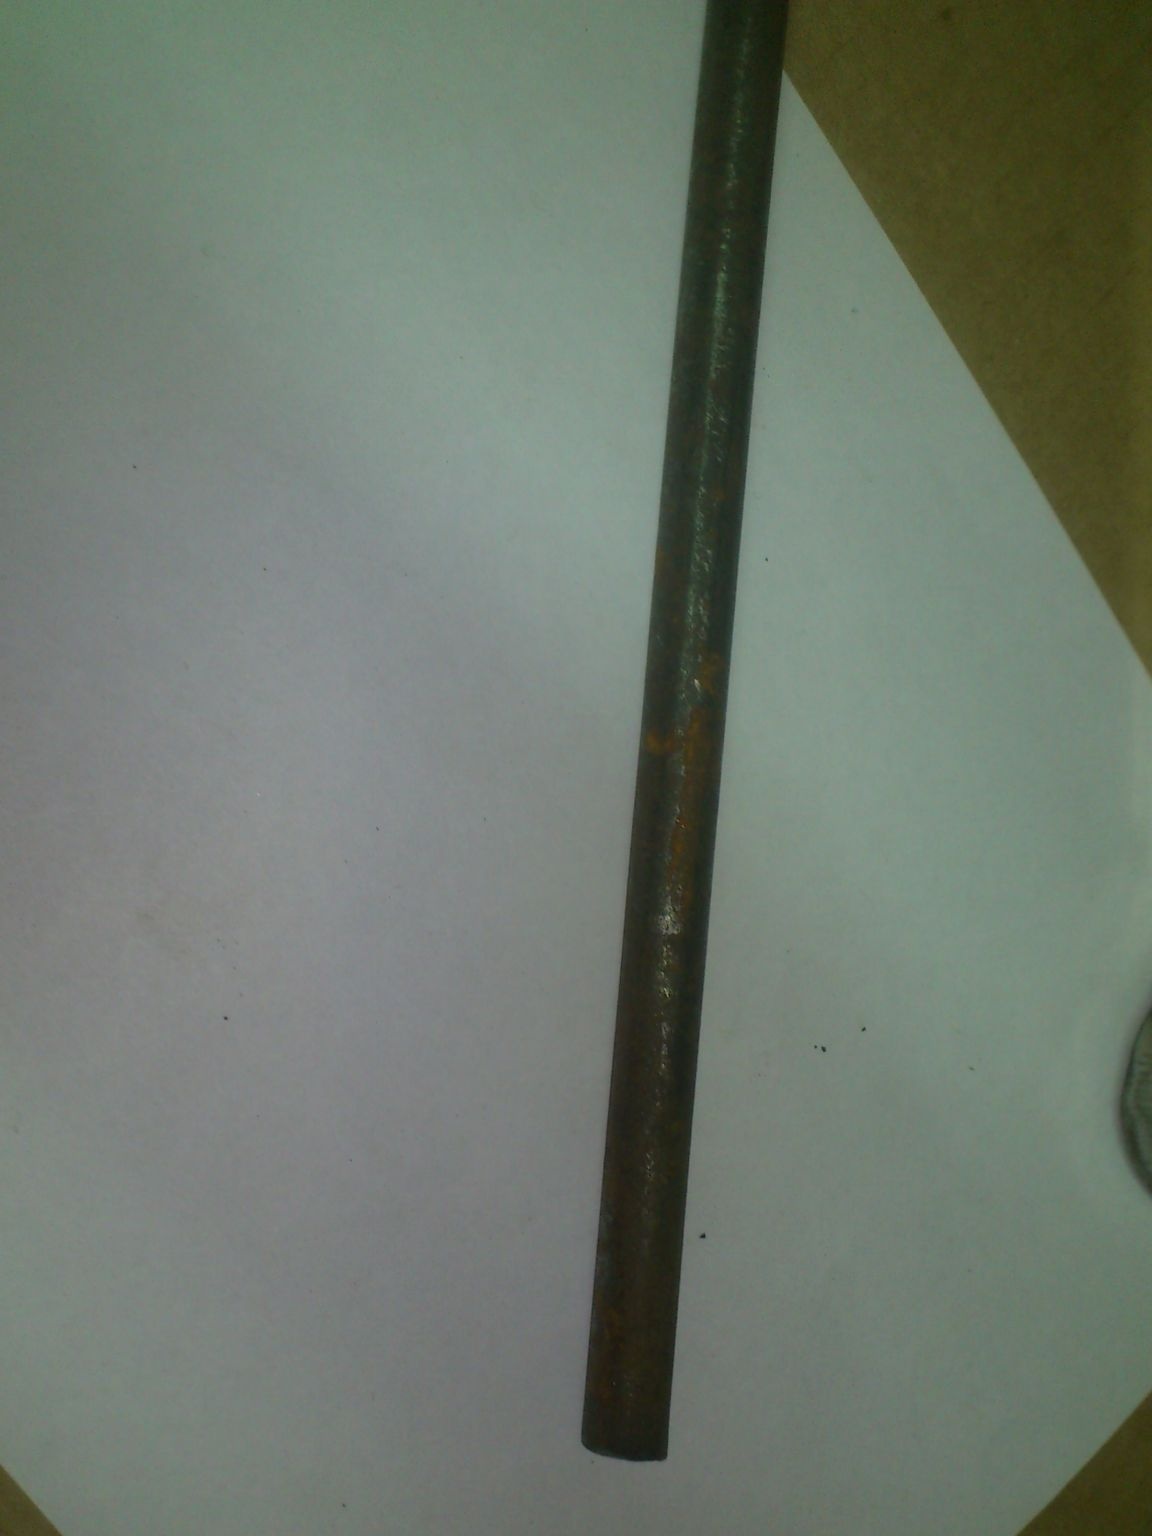
Since he will have to put on the collar on one side, and I have no opportunity to make a blind hole of square section, I decided to delve into my "stocks of unnecessary heads" and donate one of them.
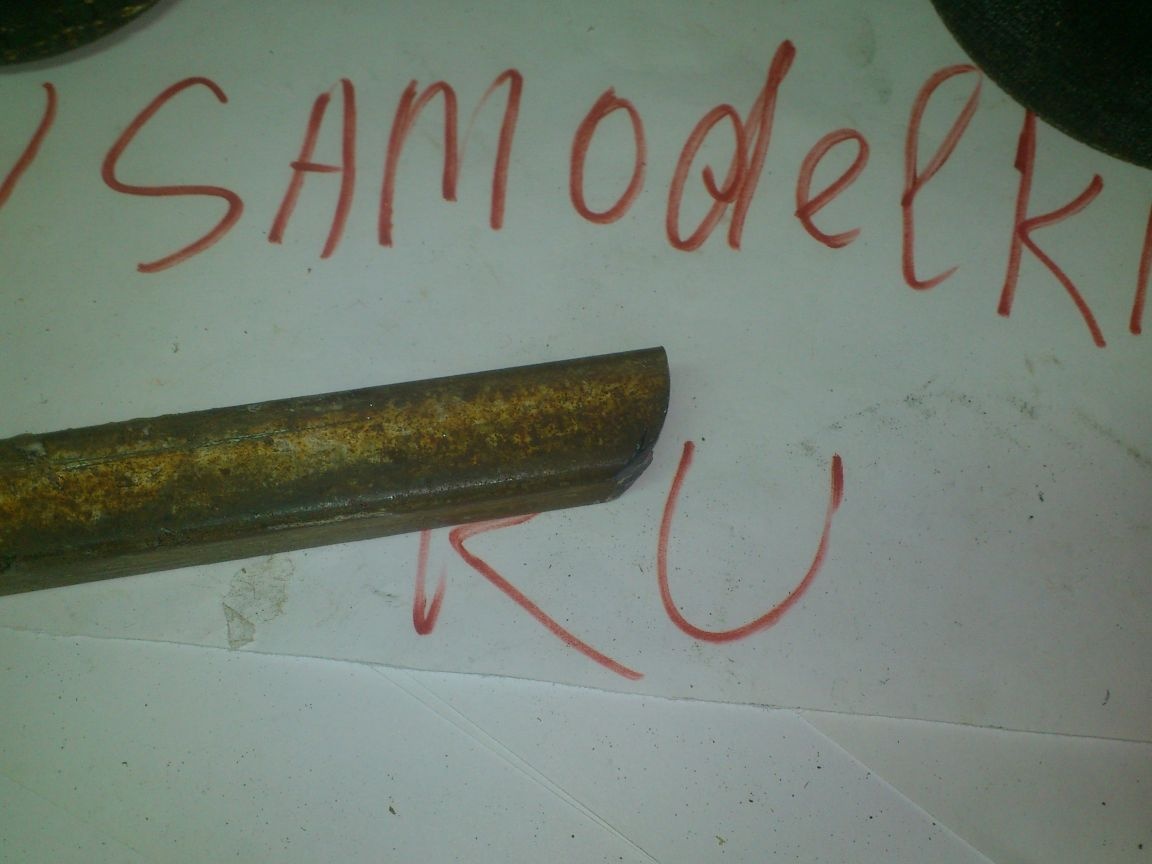
While working with the angle grinder, I gave one end of the rod a square sectional shape:
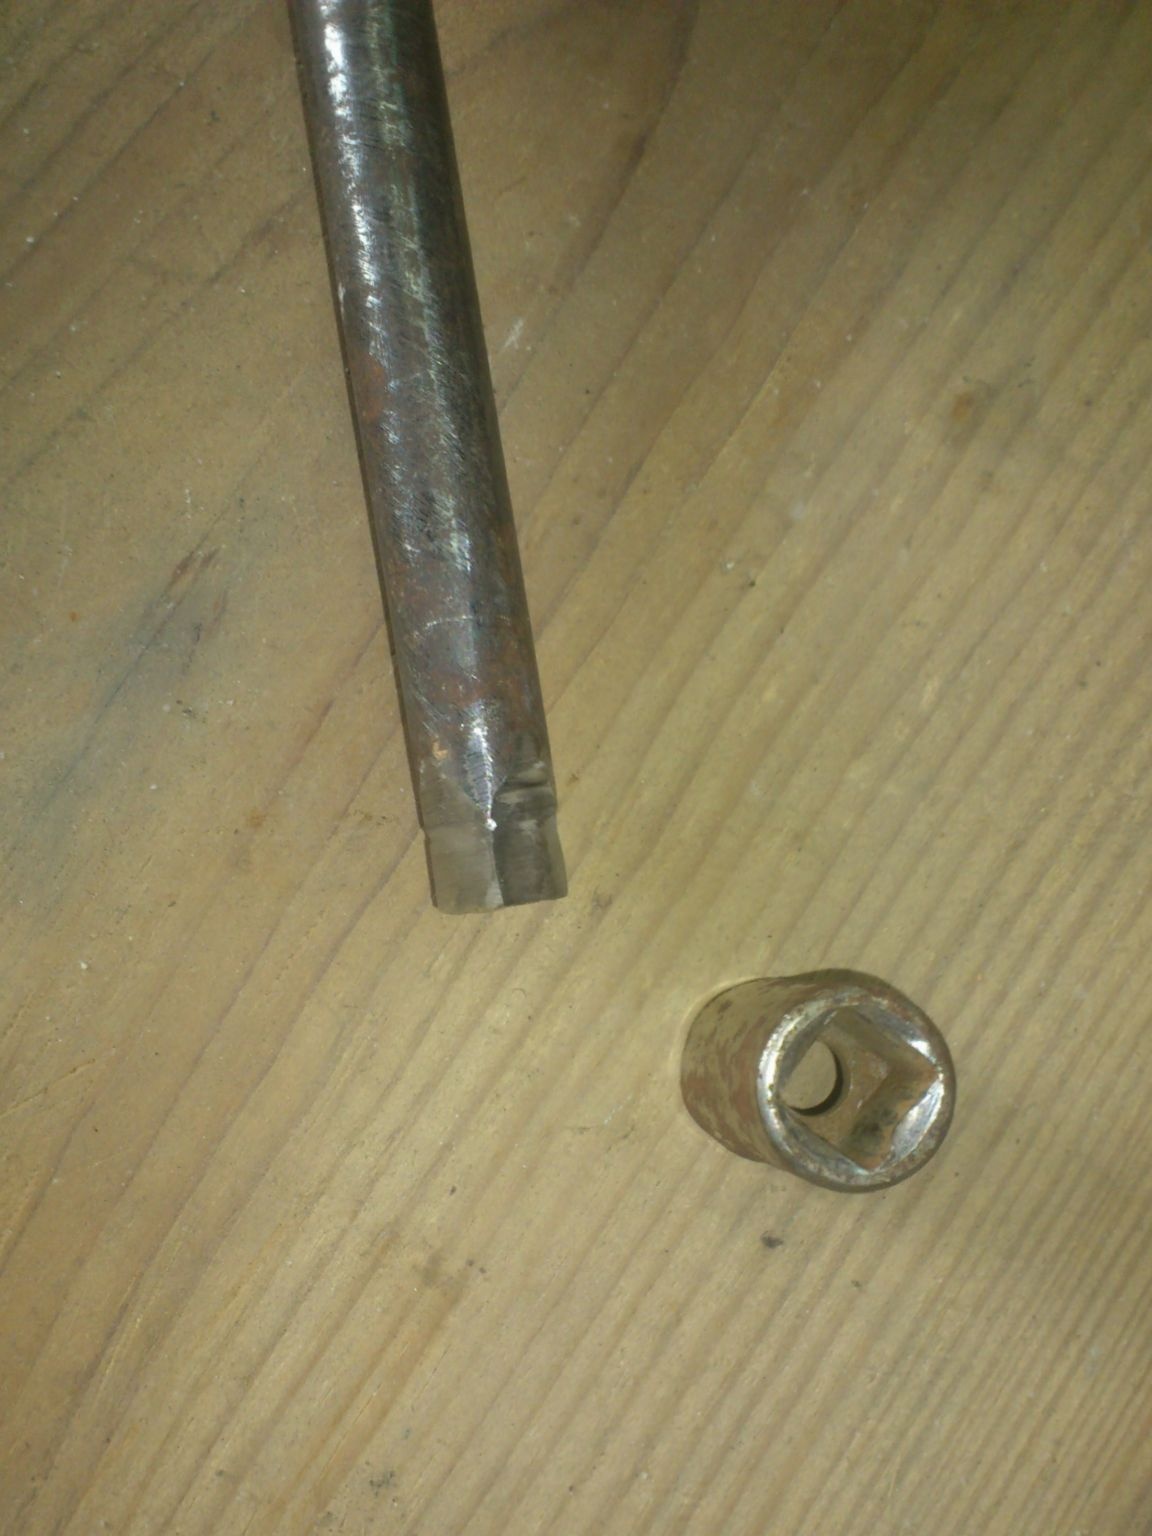
Since I’m not going to make a ball fixation of the head, I made the transition from square to round not flat, but flat - so the key will “stick”:
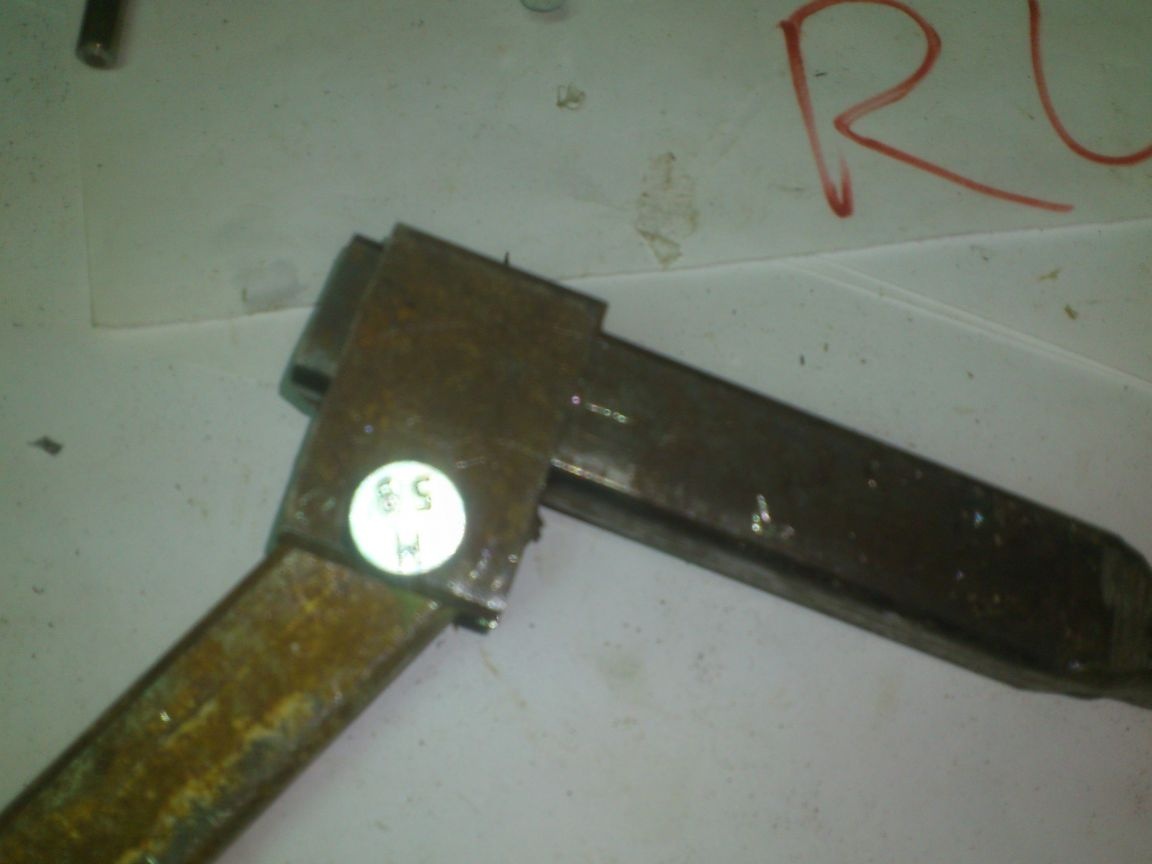
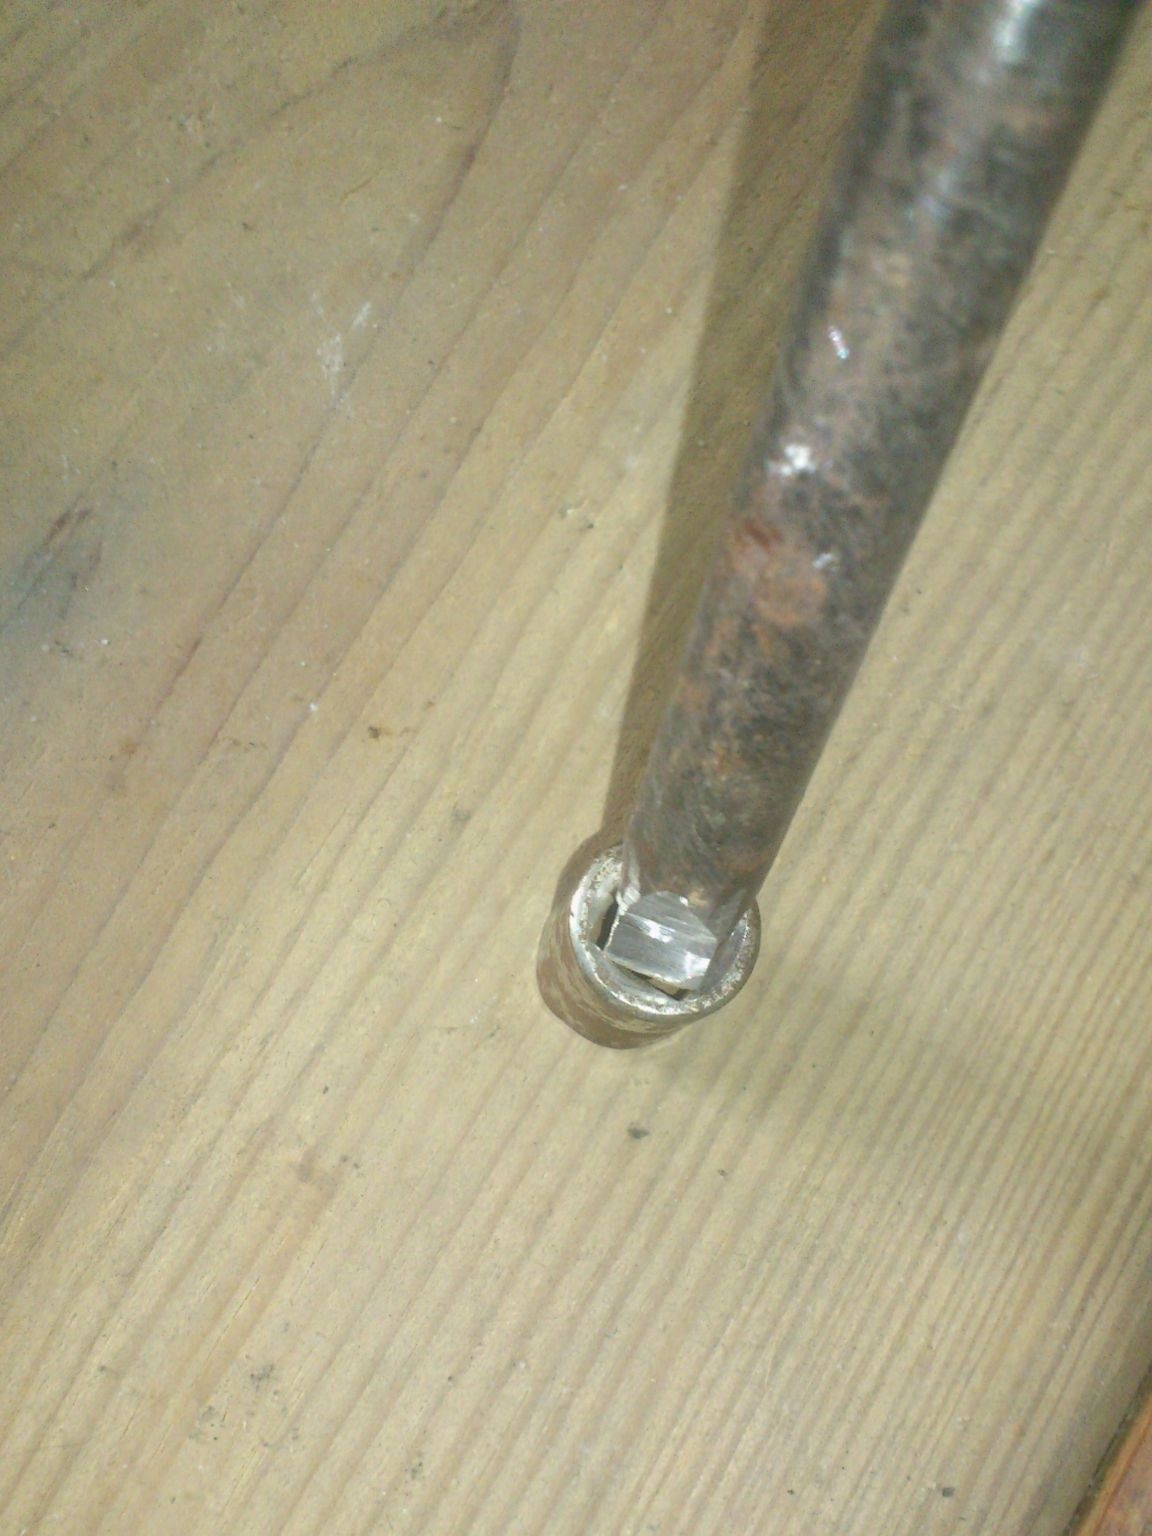
After which I cut 100 mm. rod, and on the other end put on and welded the head back side:

It remains to clean - and the extension cord is ready!

I would also like to talk about the production of bits for rivets M5 and M4.
The fact is that I could not buy screws of increased strength of such sizes. At first, I experimented with ordinary screws. But, the M4 screw exploded on a second rivet !!!
The usual fortress (4.8) is not enough.
It should be noted that hardware of increased strength is on sale. But, for some reason, there were no screws of the required length anywhere. (50 mm). M4 screws and thinner were on sale only 30 mm long and shorter.
... And then an alternative thought occurred to me!))))
STAINLESS STEEL !!!
Indeed, any stainless steel is stronger than ordinary non-hardened.I went to a hardware store, and asked me to sell 50 mm M5 and M4 screws made of stainless steel ....
They had M5 by 50. There were no problems with this. I bought and made a bat using the technology already described above ...
But with the M4, too, there were problems - the maximum length of the screws I found on sale was 40 mm.
... And I need 50 !! ...
..What to do? ... Shorten the rivet nose and cut off all the bits? .... I really don't want to !!! After all, initially this "nose" was conceived as long and thinner as possible to increase the functionality of the riveter ...
And I began to think about it, fingering the screws in my hands ... And, as they say, who is looking for - he will always find!)))))
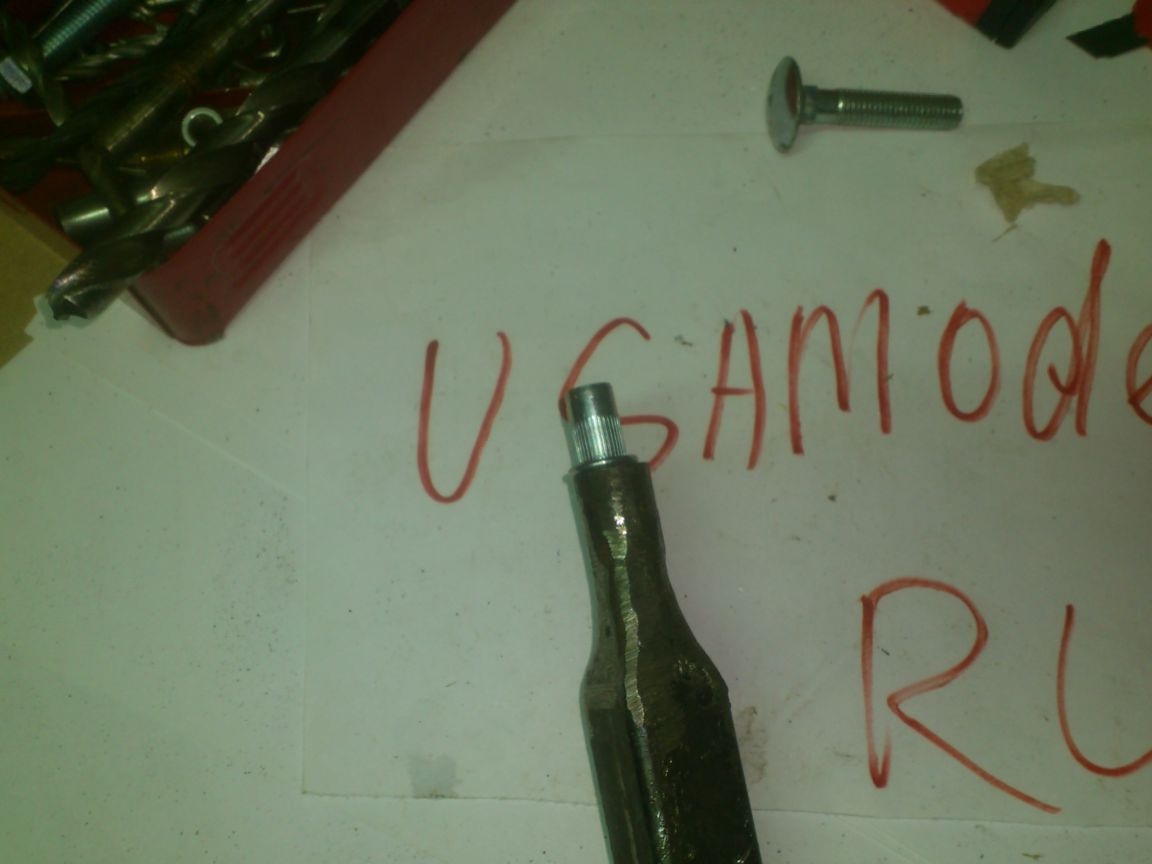
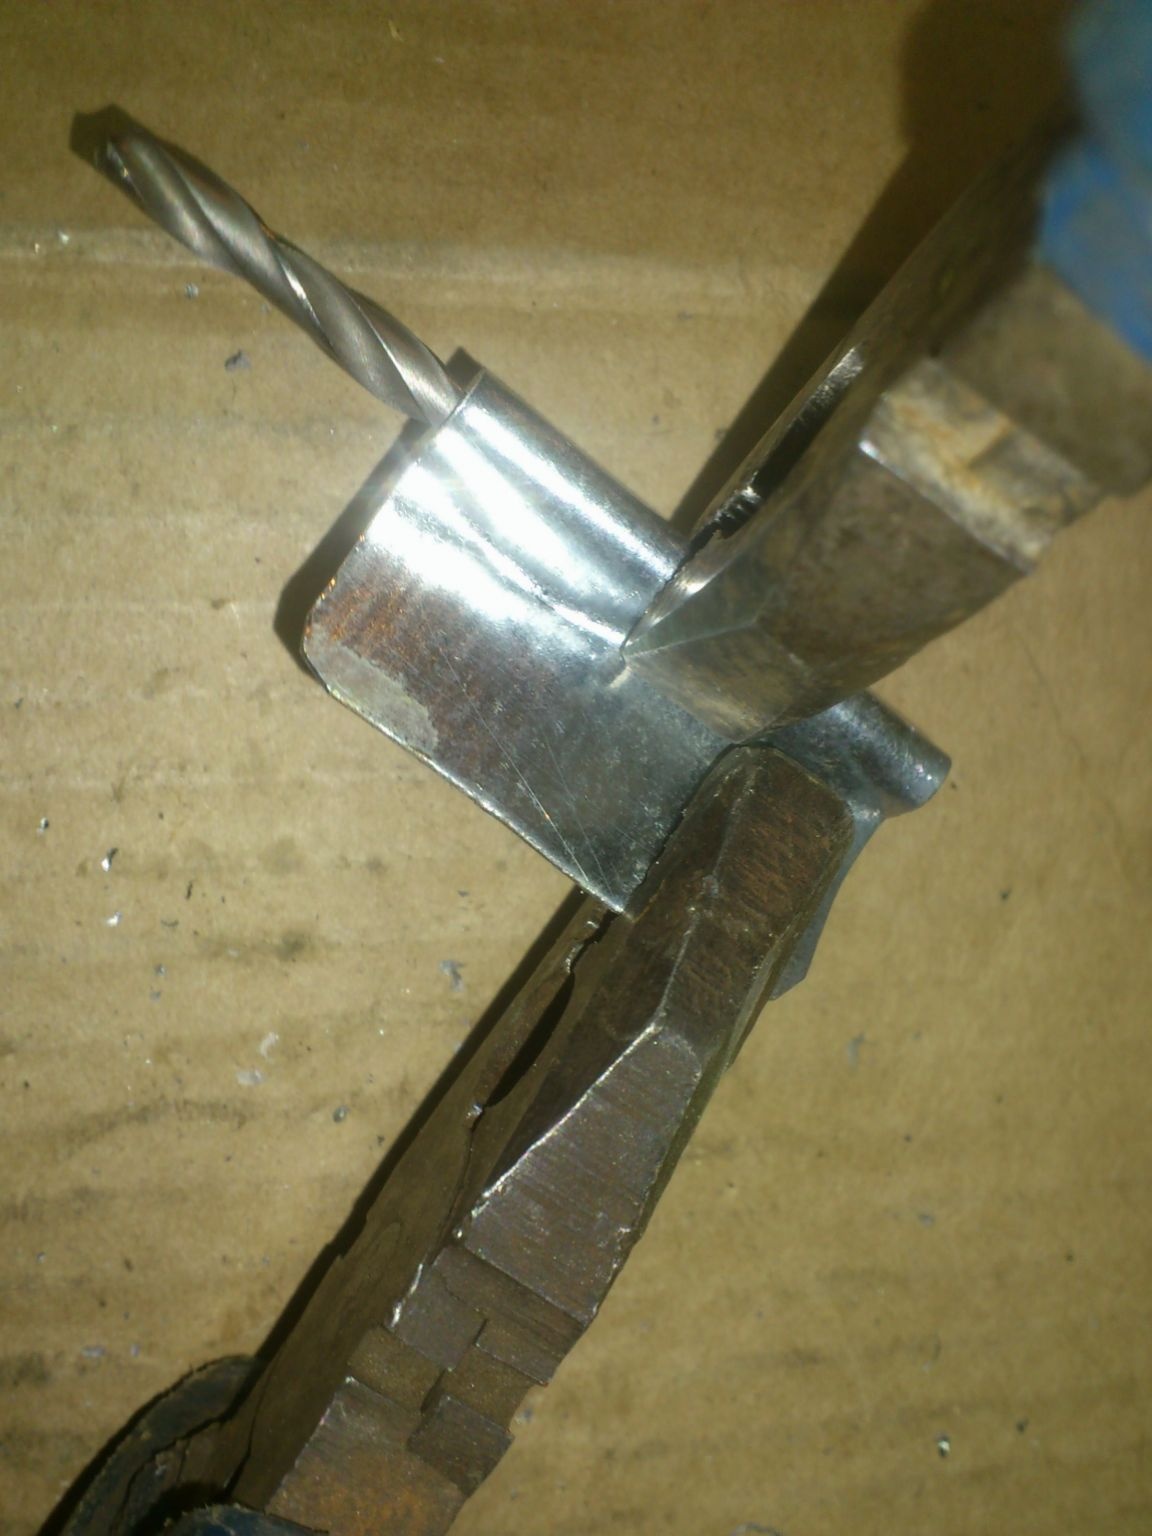
The M8 bit that I already made fell under my arm ... I cut the screw halfway
and drilled an axial blind hole in it with a drill, 3.3 mm in diameter:
After that I cut the M4 thread in it. Moreover, he made only one pass with the “first number” tap:

After that I screwed into it the existing short stainless steel screw:
The screw came in very tight. I needed it - I'm not going to extract it ...
It remains only to cut off the hat and strip the thread at the end of the burrs ...
So the problem was resolved ... The smallest bit is ready!
(I’ll tell you a secret, I haven’t done the M8 bit in return for the used one yet)))). Initially, no M10 coupling nut was found. Then I bought it .... But, by that time, I had "cooled down" ...))))
In short, when I need rivets for the M8, I quickly weld and grind it !!! ))))..... Probably....)))))
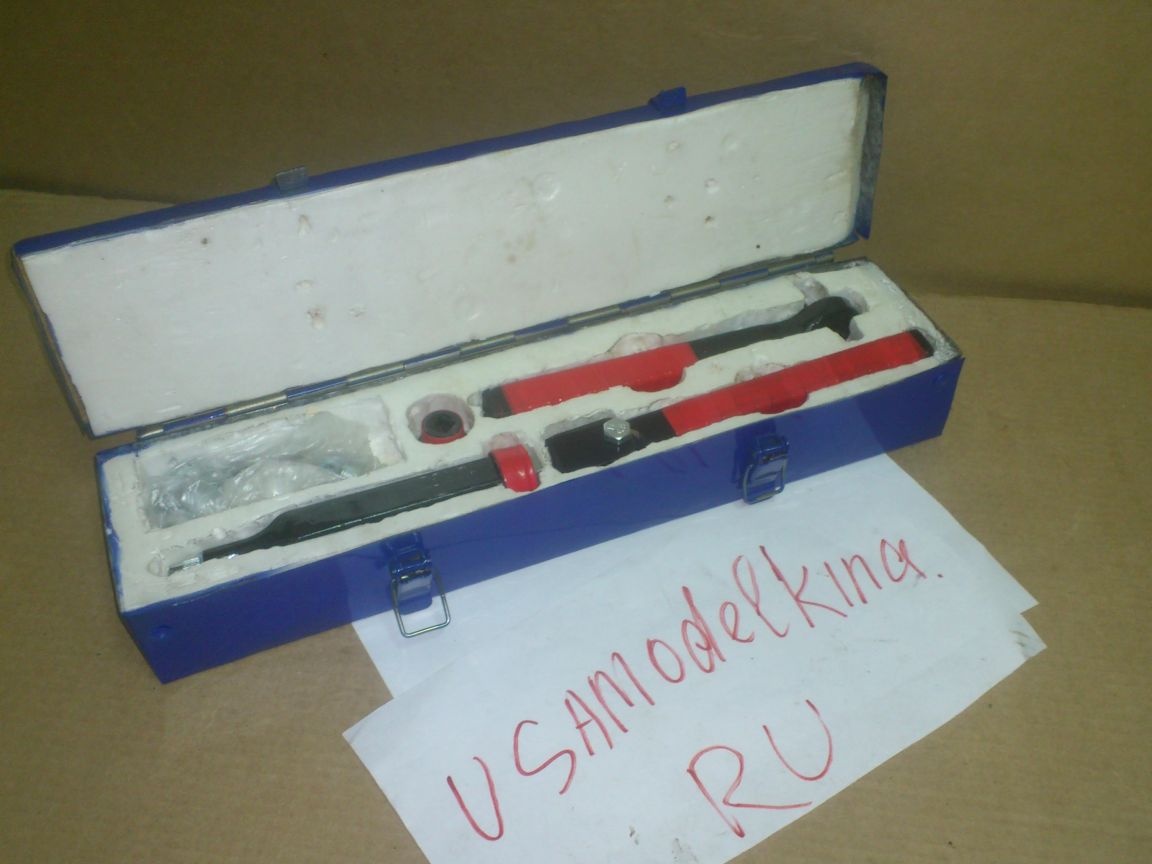
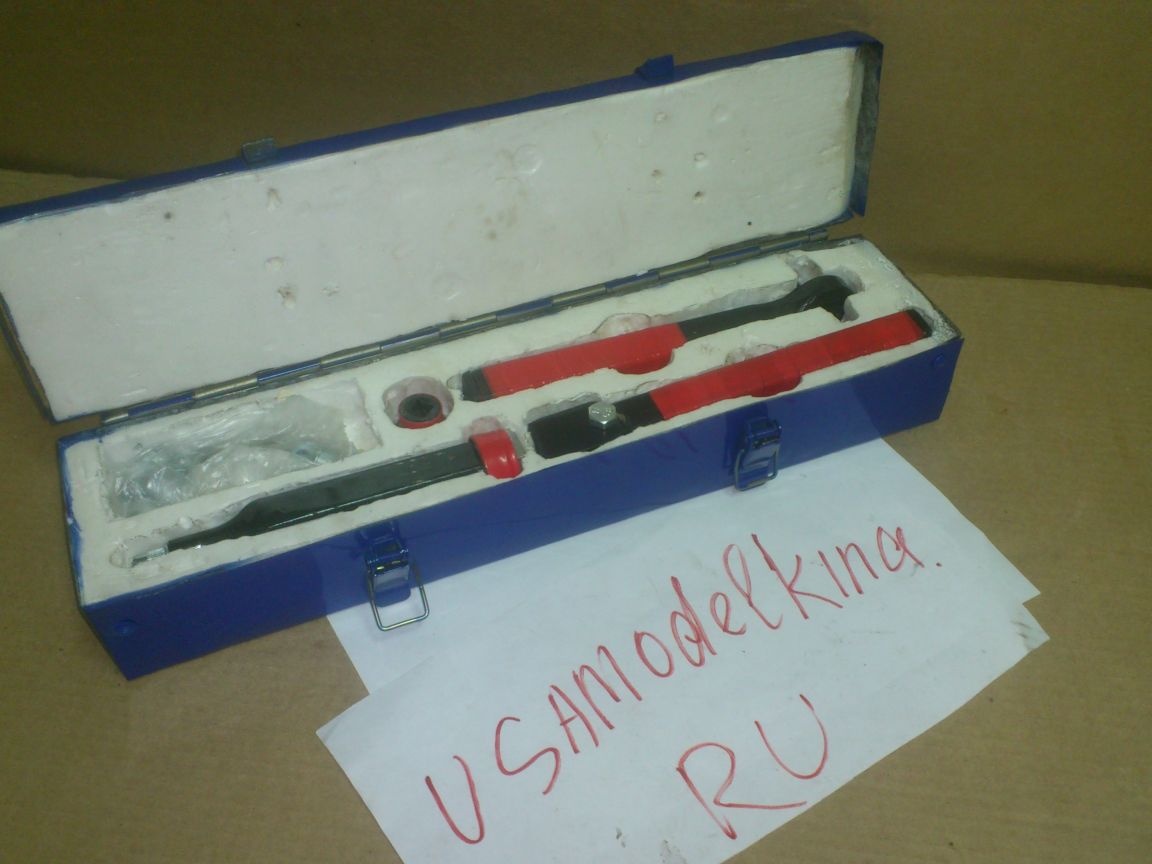
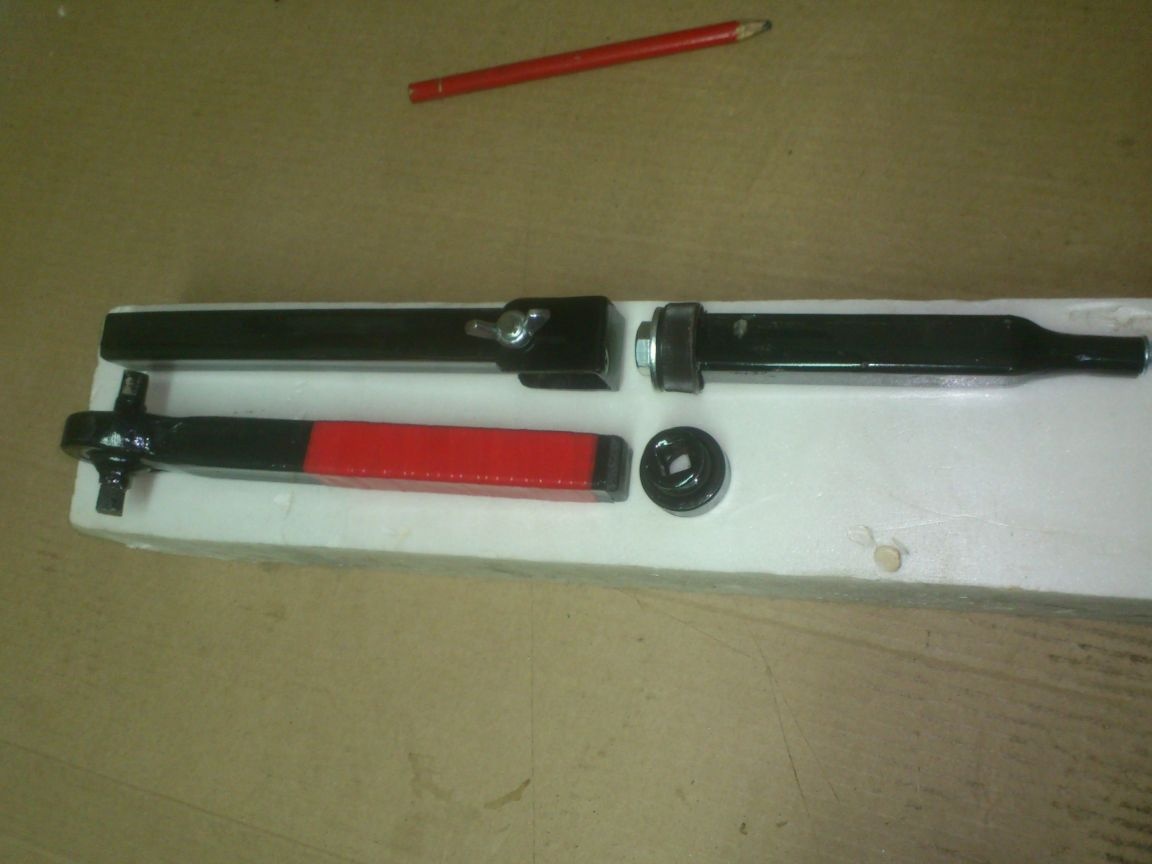
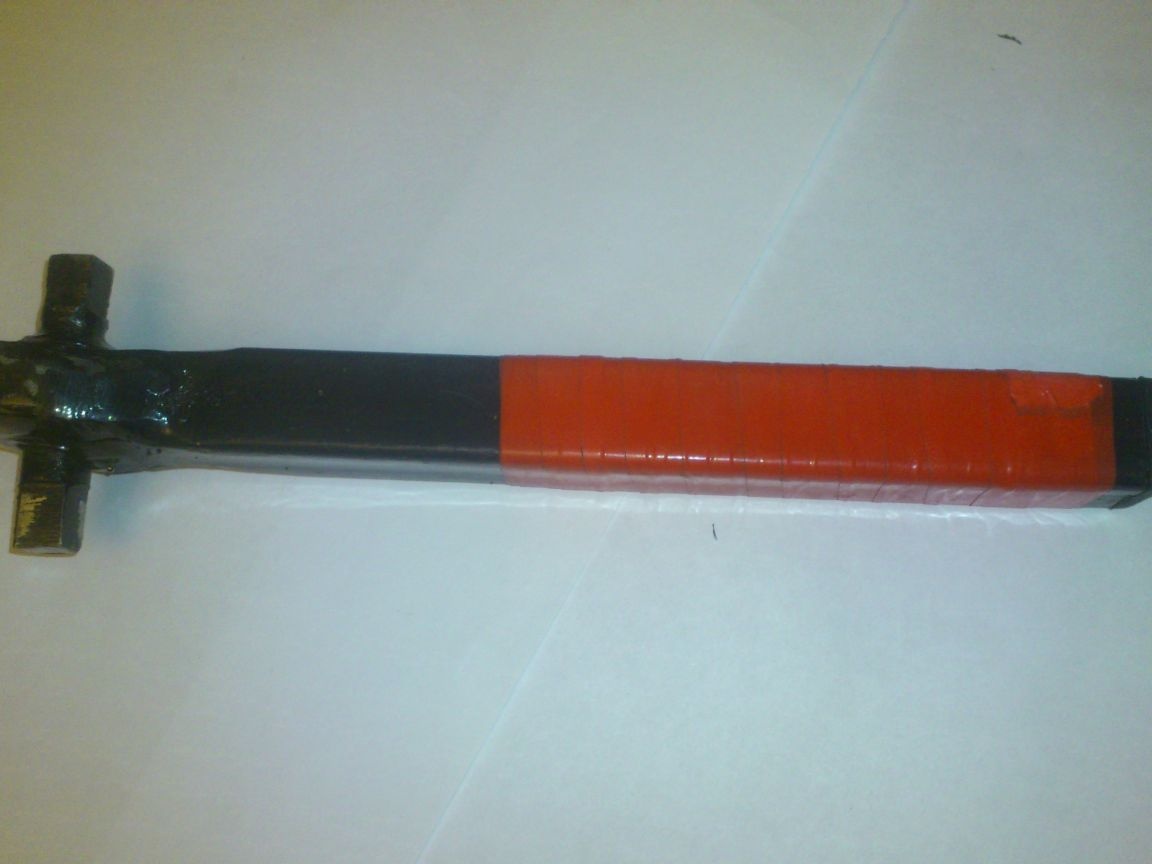
And my riveter is ready.
It remains, as I call this process, to "comb"))))
I cleaned it up:
And sent to the painting. In the meantime, I began to think about which box, and what was so unnecessary, I could make for him ...
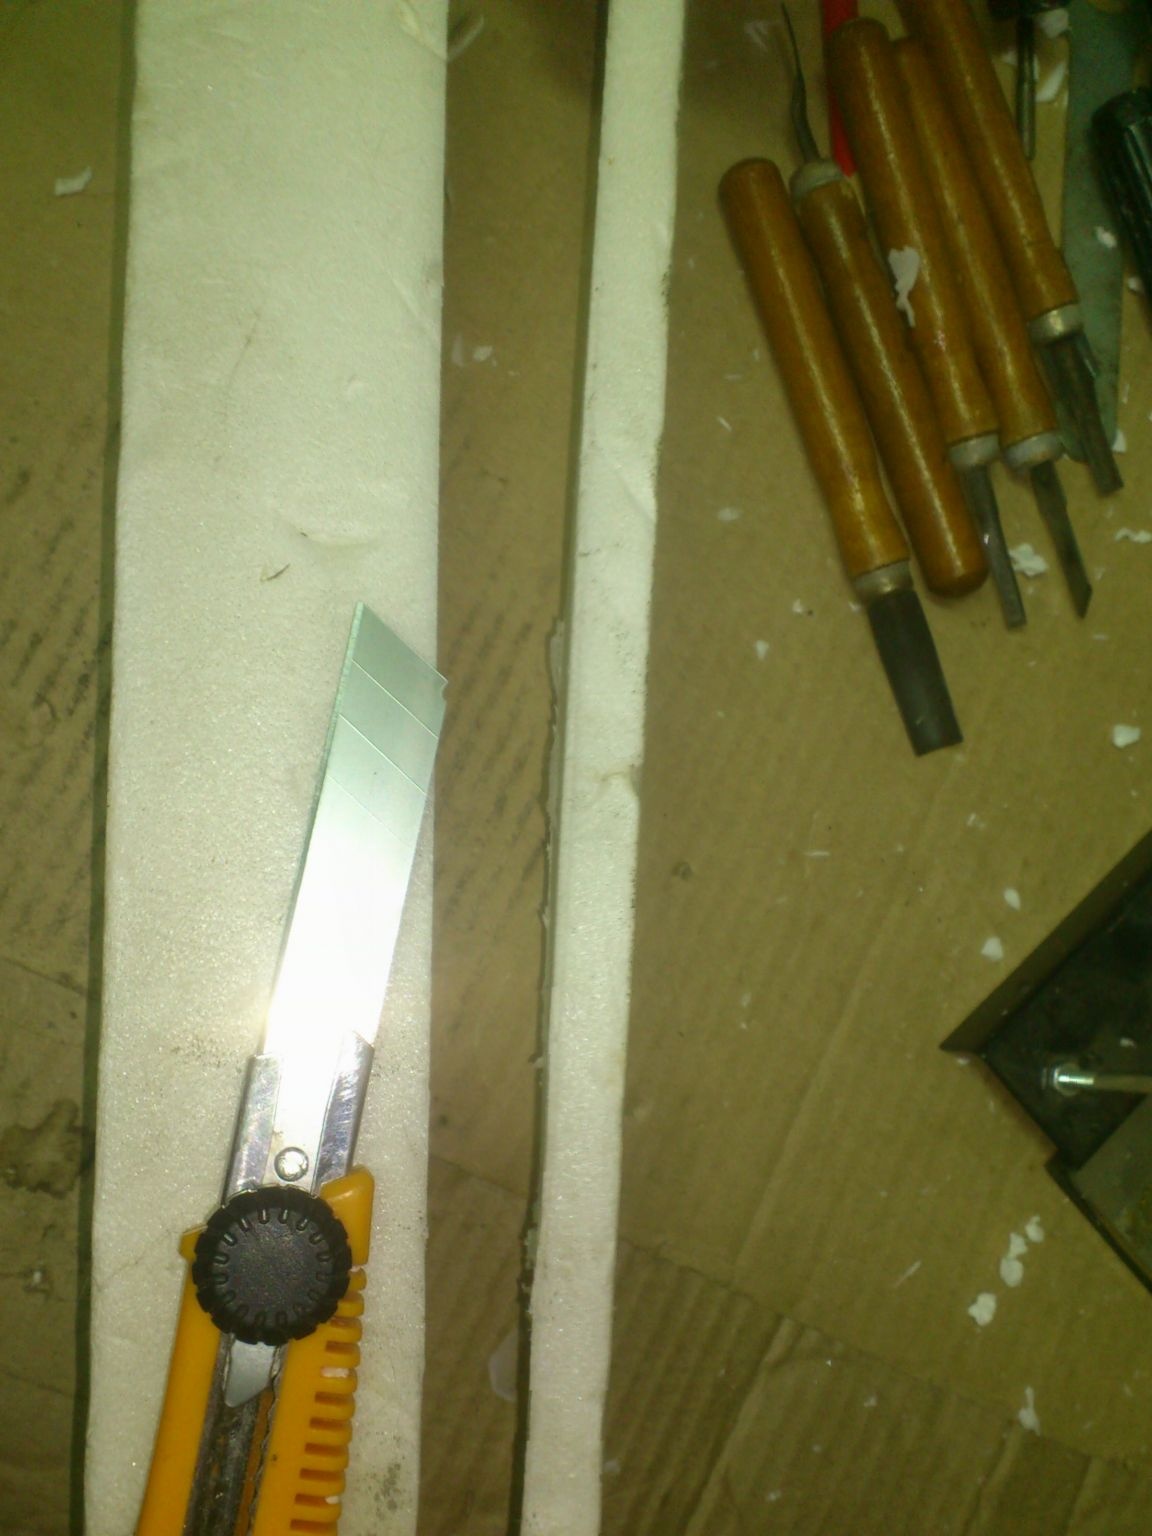
I decided to make the box out of scraps of roofing sheet that I have available. And inside, arrange seats from extruded polystyrene foam, which I also had scraps of. (Once, when I was receiving building materials in a warehouse, I drew attention to the long pieces of extruded polystyrene foam (apparently, they served as gaskets for some kind of sheet building material) that they carried away and asked not to throw them away, but to give me:
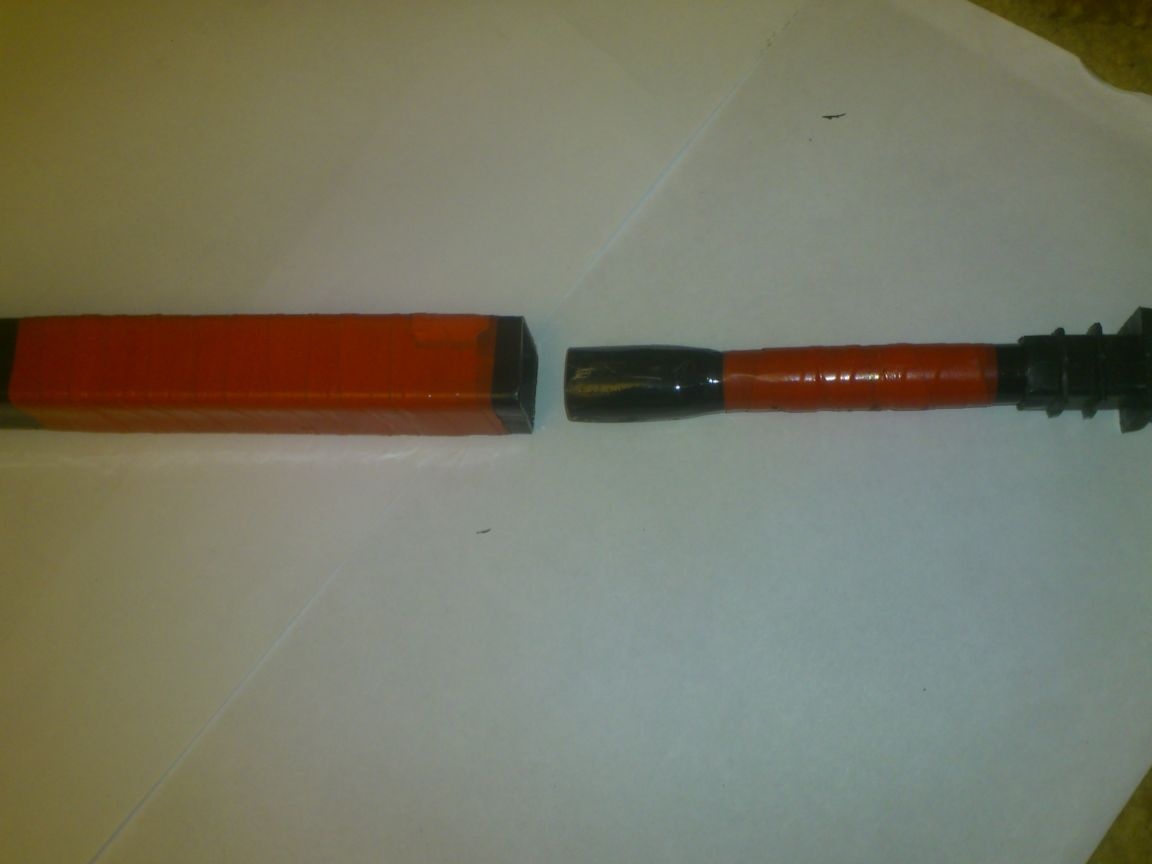
Meanwhile, the paint on the instruments dried up and I wrapped them with a red insulating tape. (As I said in previous publications, this is not fetishism!)))). Simply, a black tool is very difficult to find if, for example, it falls off a workbench into a pile of pieces of iron. That is why I try to make it more visible with bright paint, electrical tape, or shrink tubes of bright color!)
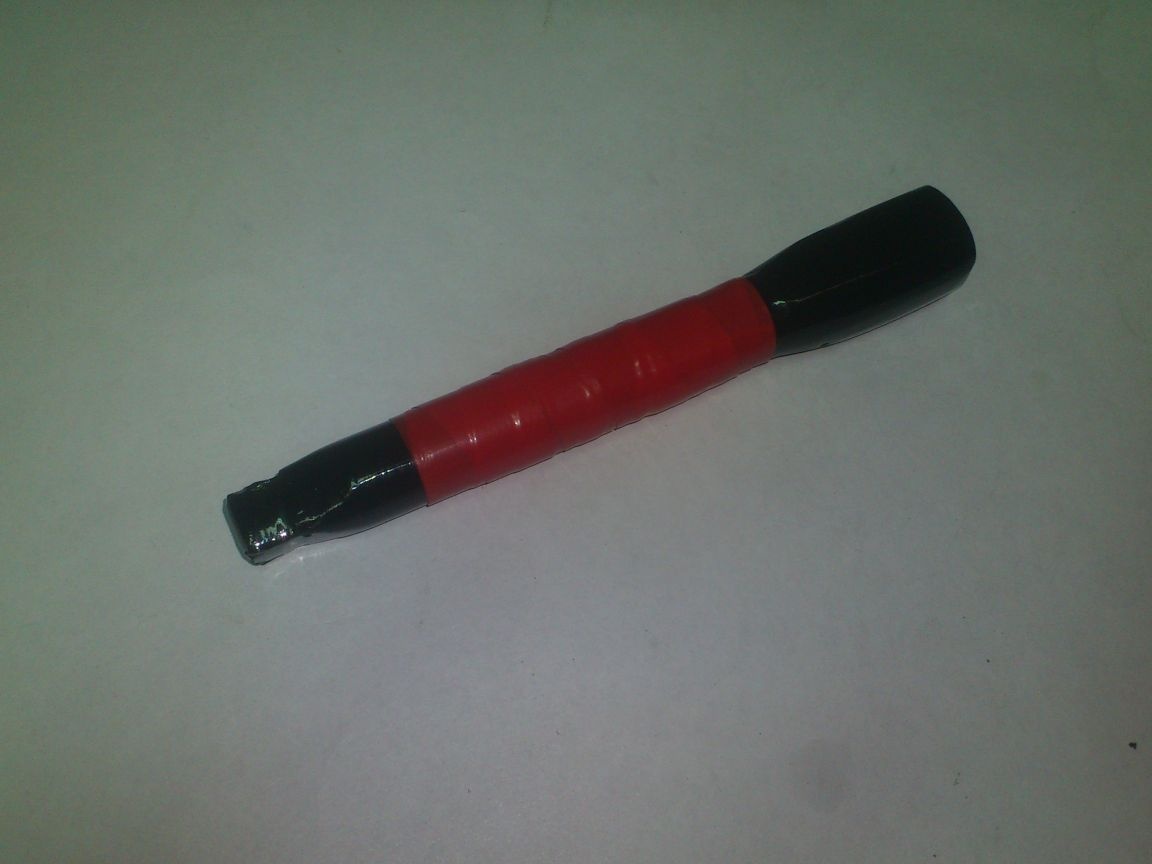
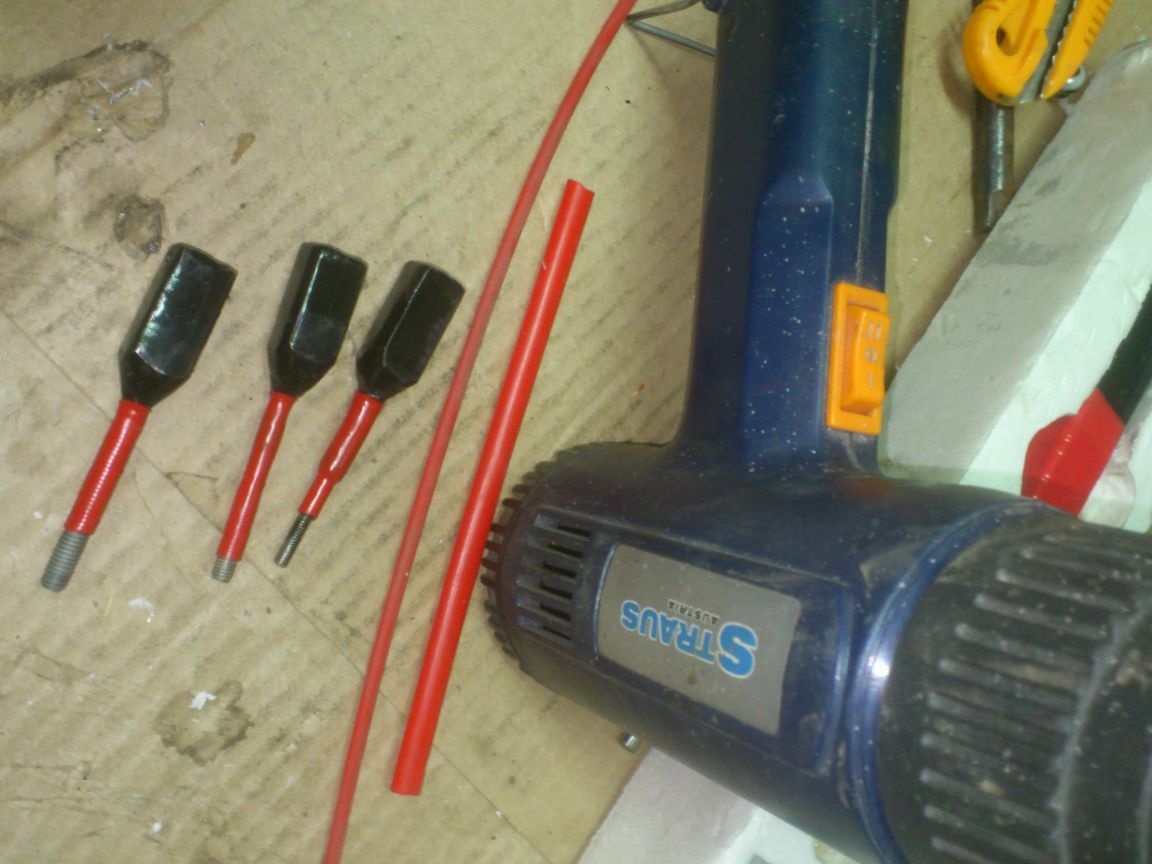
Bits, too, "painted" with red heat shrink - at the same time will act as a sliding bearing))))
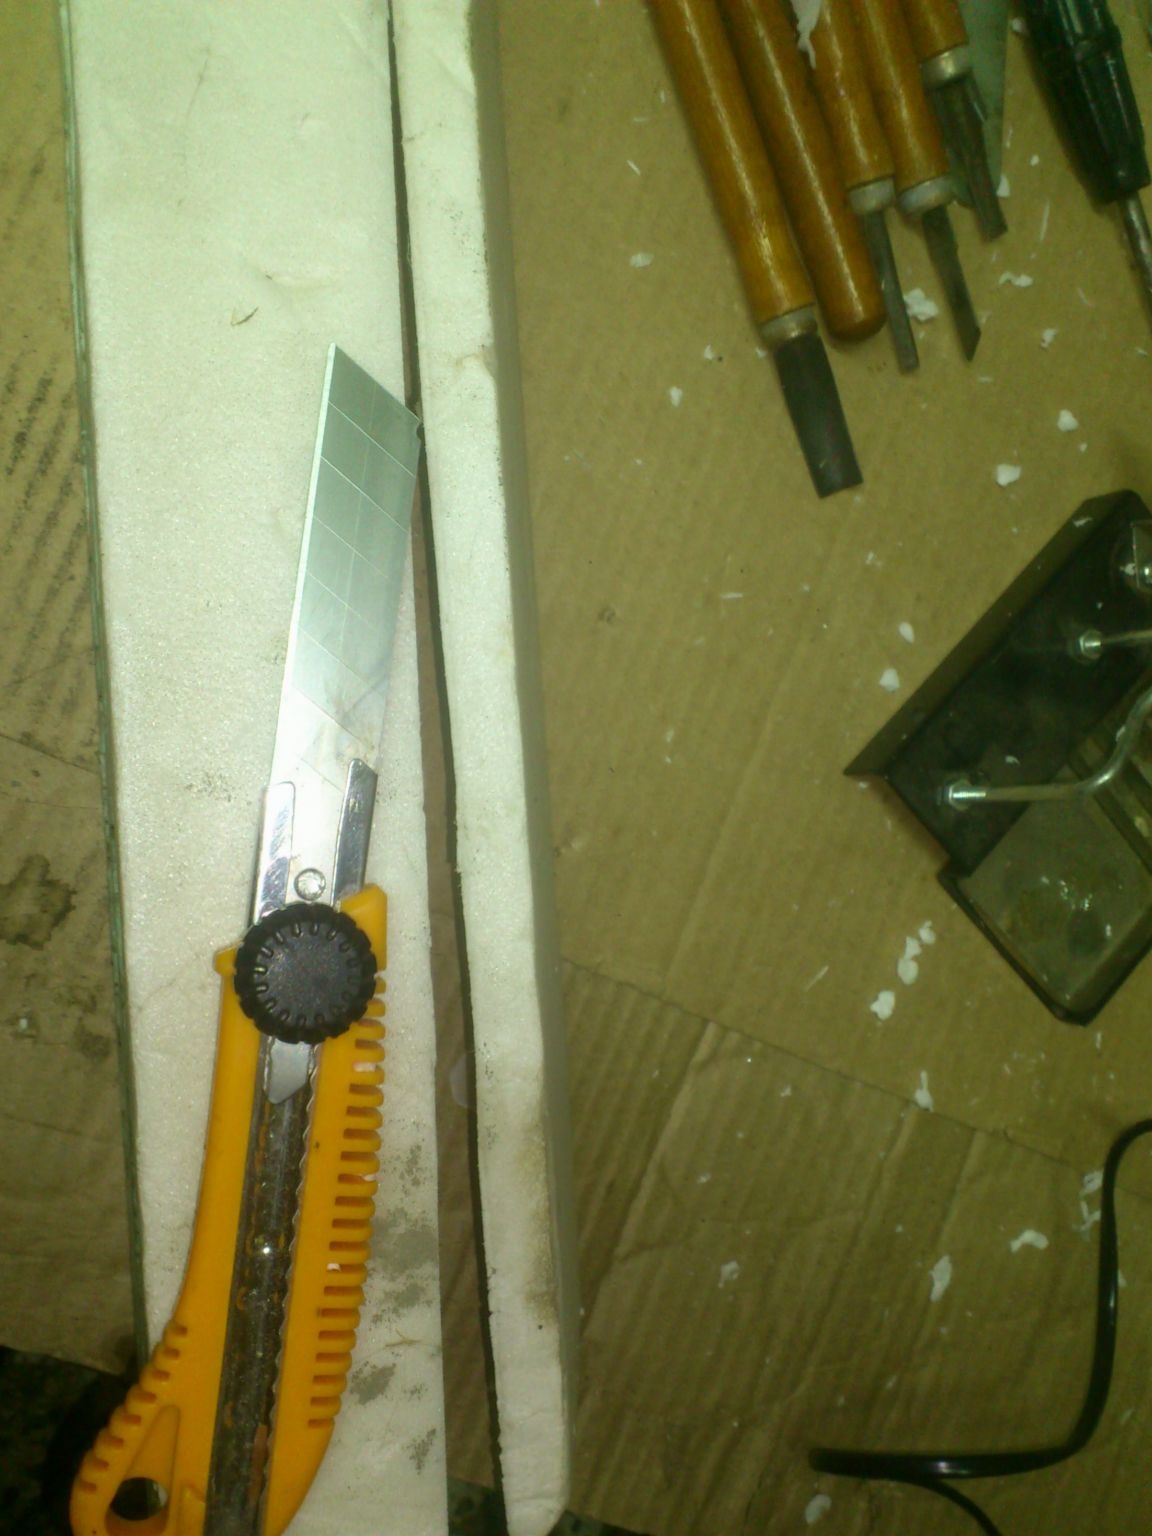
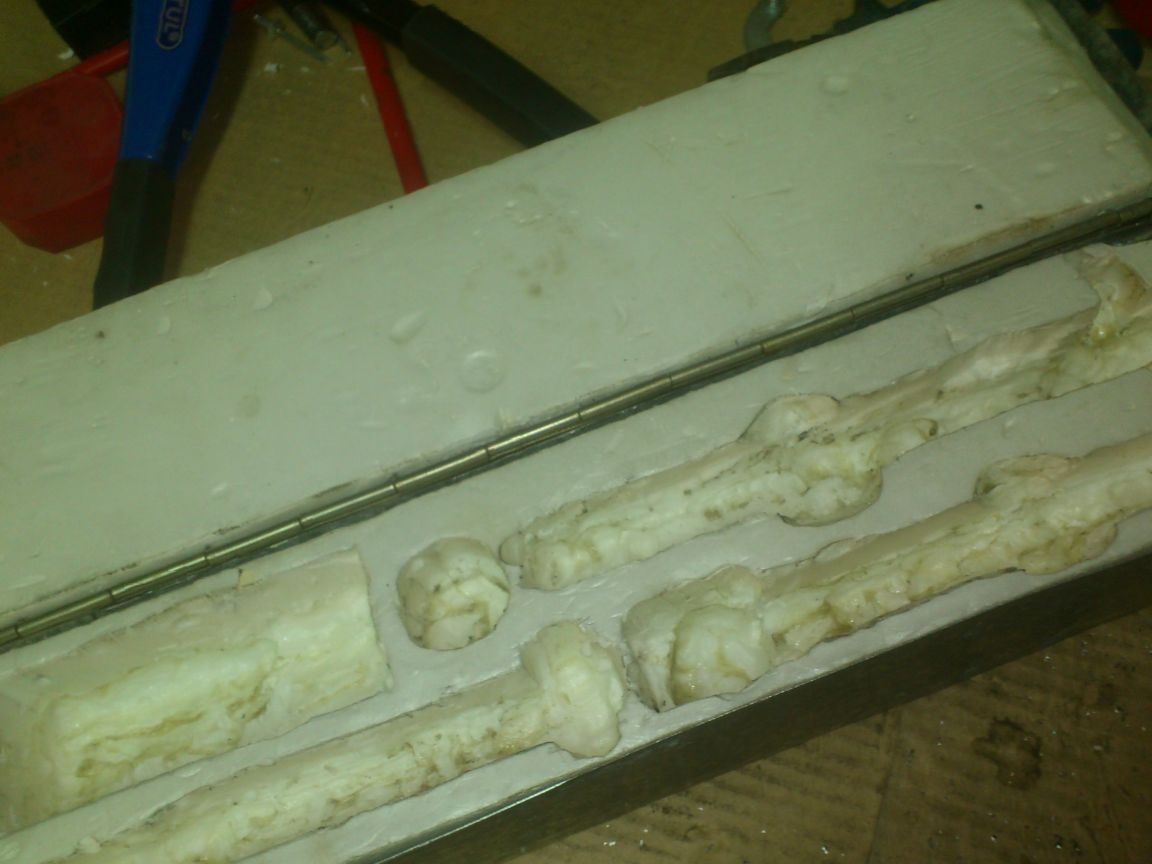
Having spread the tool on the foam, I figured out how it would be laid:
Then he put the first component on a piece of polystyrene foam, outlined it and melted the seat for it with a soldering iron:
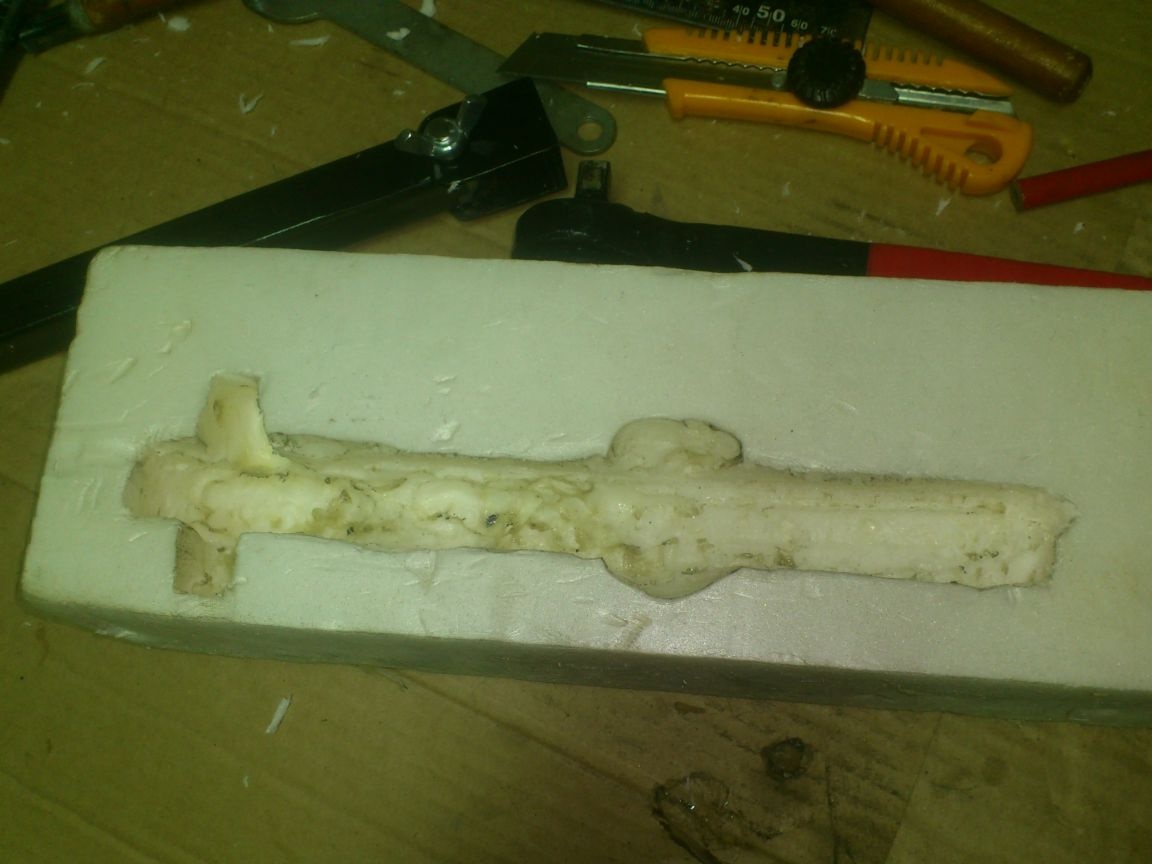
Then the following:
And last:

For rivets, I just made a rectangular recess:
Thinking, I decided that rivets, it’s better to put it in a bag. And then, with him, put in place:
Oh yes !! ... I completely forgot .. "Where is the extension cord and bits?" - you ask...
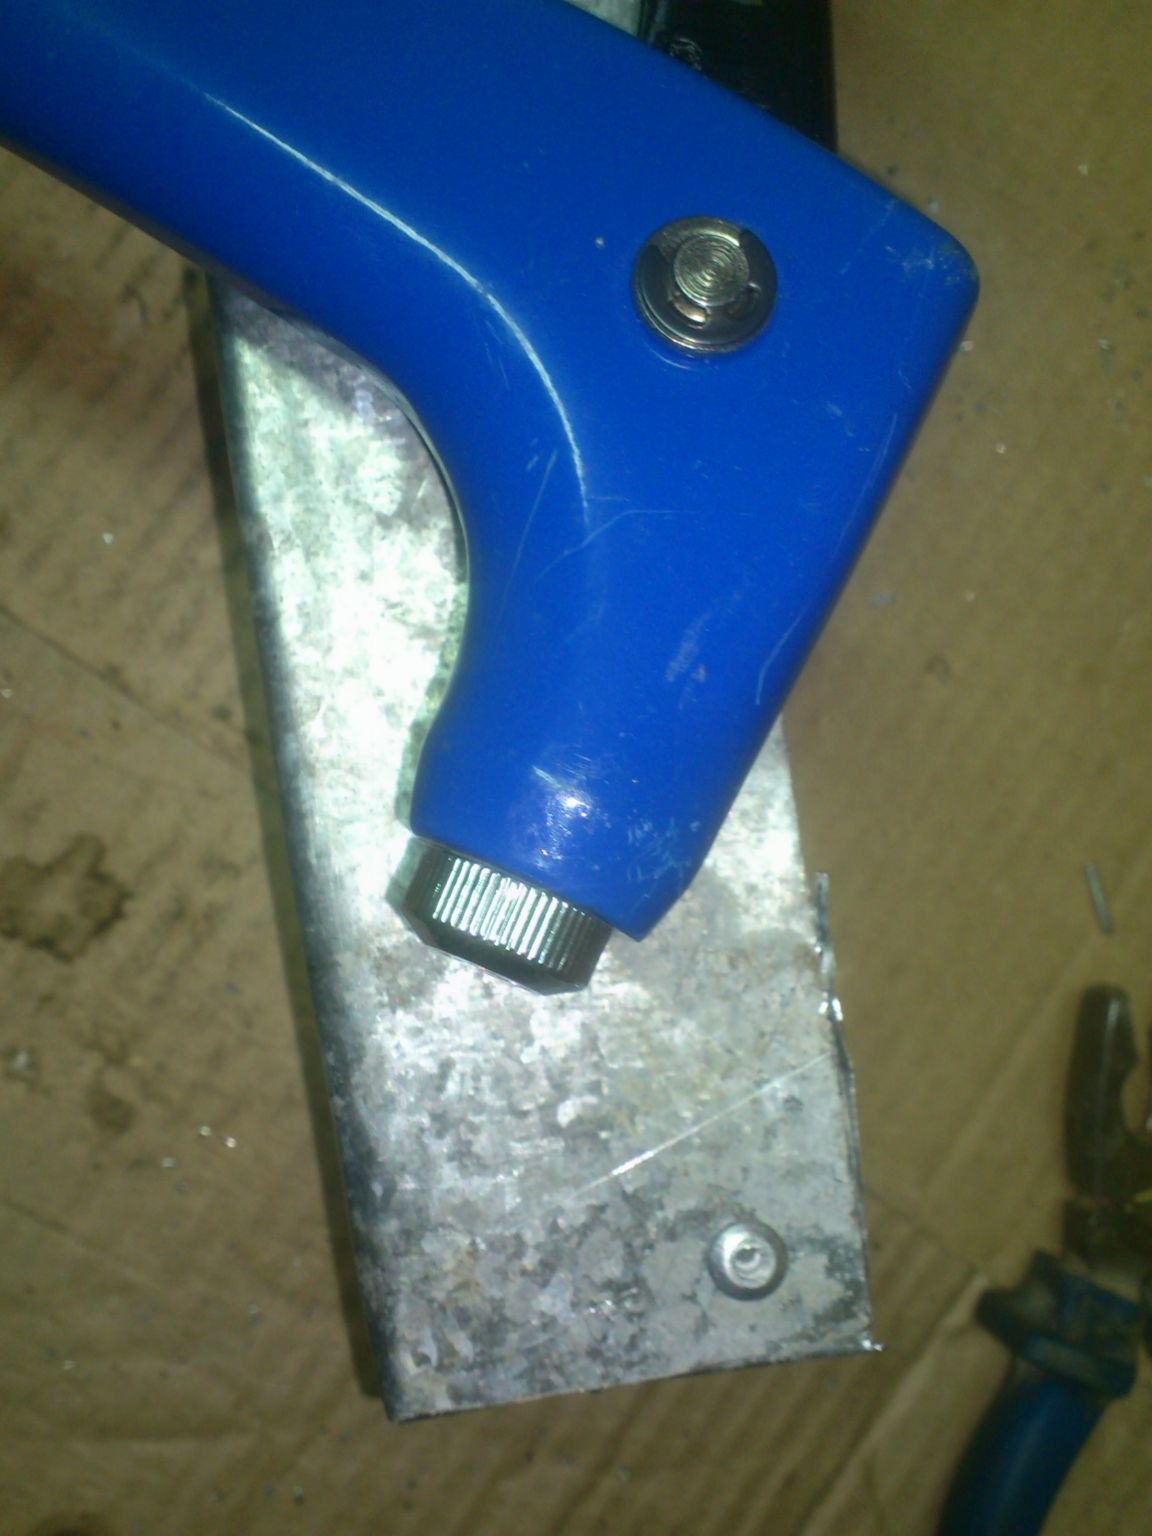
When I "combed" my product, I used these plastic plugs for profile pipes:

I always have them in stock. They give the product a finished look ...
So, I noticed that the extension cord fits tightly into the end cap.

And I decided to use it. He sharpened the thicker end of the extension cord before painting, giving it a "slightly square" shape:
Now, putting a cap on the end of the extension cord, we insert it into the handle of the "ratchet":
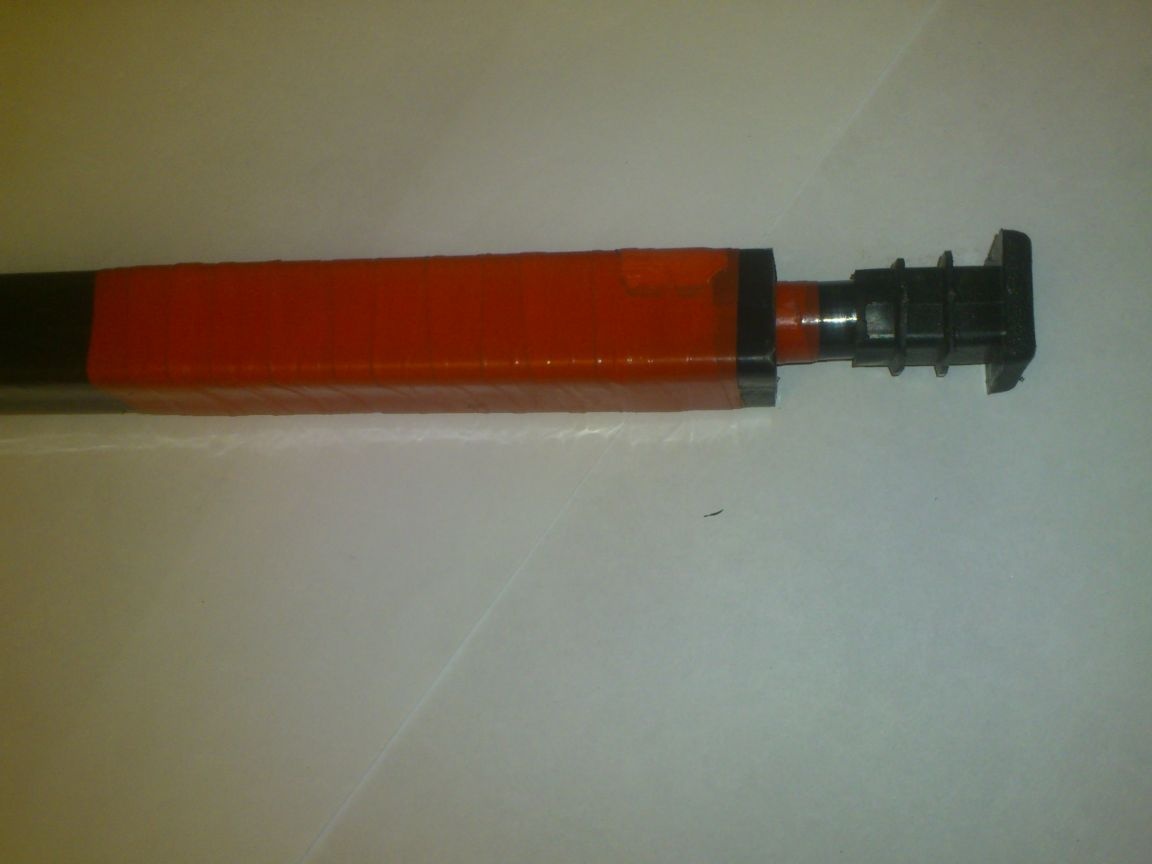
Now the knob is inseparable with an extension cord. When an extension cord is needed, it can be easily removed. (To do this, I slightly cut the "brush" plates on the plug.
So do the bits. Only they hide inside the handle:
There, under the stub exactly three bits will fit (I’ll finish the M8 !!!)))). And the fourth will remain in the riveter itself.
Sorry, distracted ... We continue to do packaging for storage ...
I cut off the excess polystyrene:

I also cut a few centimeters from the bottom - the depth of the seats is much less than the height of the bar.
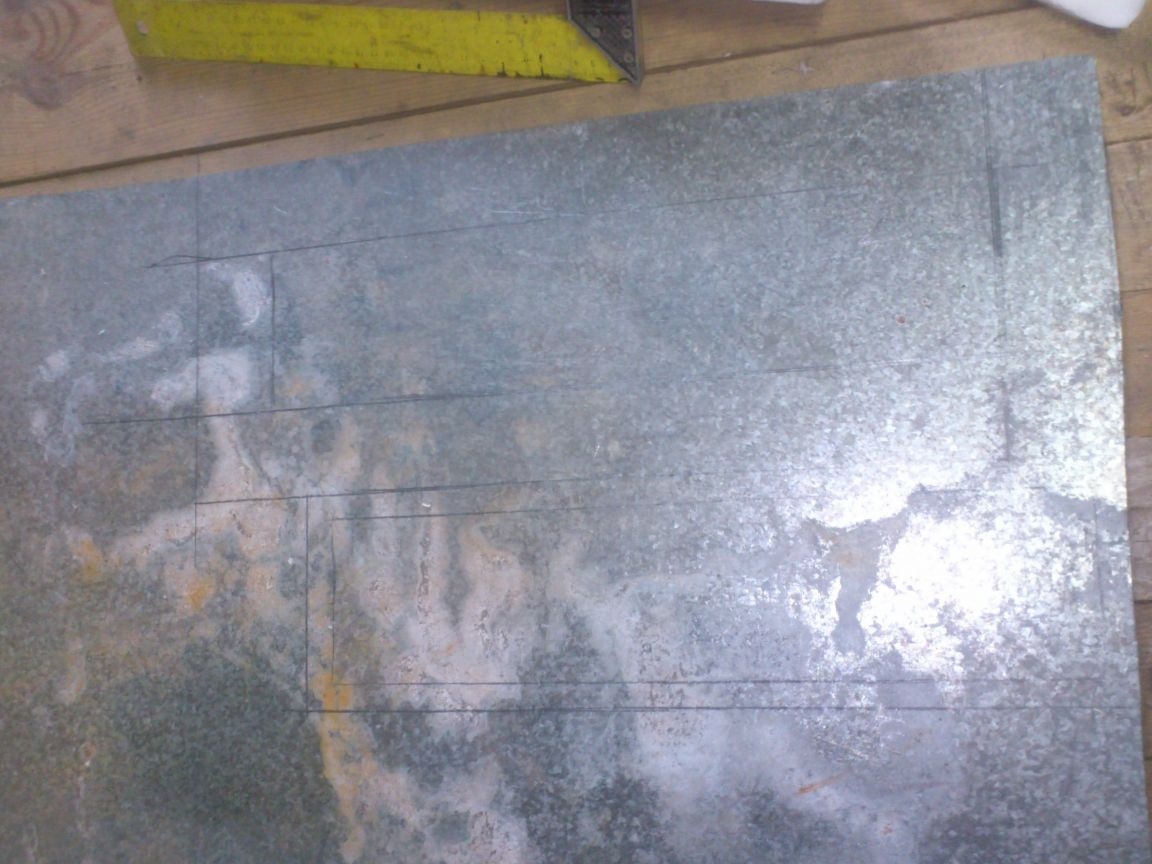
Having found a piece of the old galvanized sheet, I, having attached my foam insert to it, drew a scan of the future box:
Cut and bent with a mallet, using everything that was right at hand - the "lug" from the pallet, trim boards and bars, etc. (Ahhhhhhhhhhhhhhhhhhhhhhhhhhhhhhhhhhhhhhhhhhhhhhhhhhhhhhhhhhh
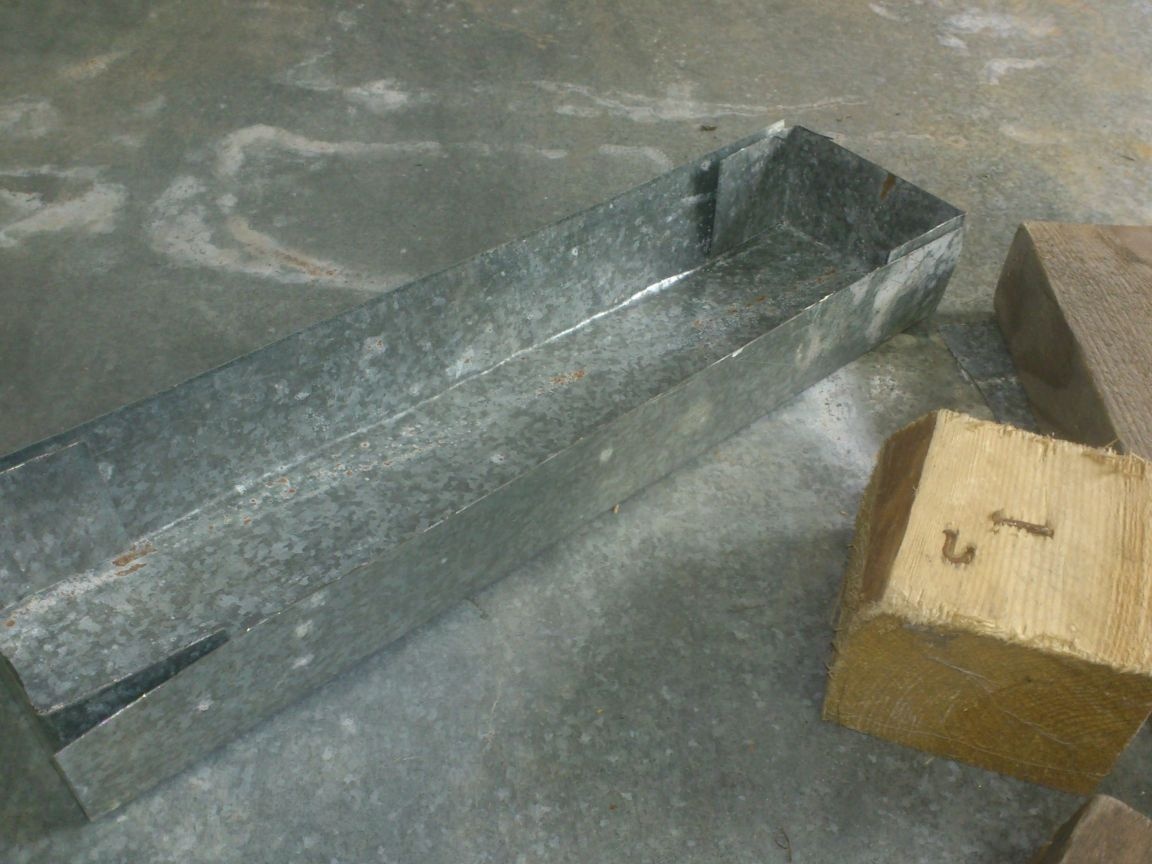
Bending it, fastened it with exhaust rivets and inserted the foam insert inside:
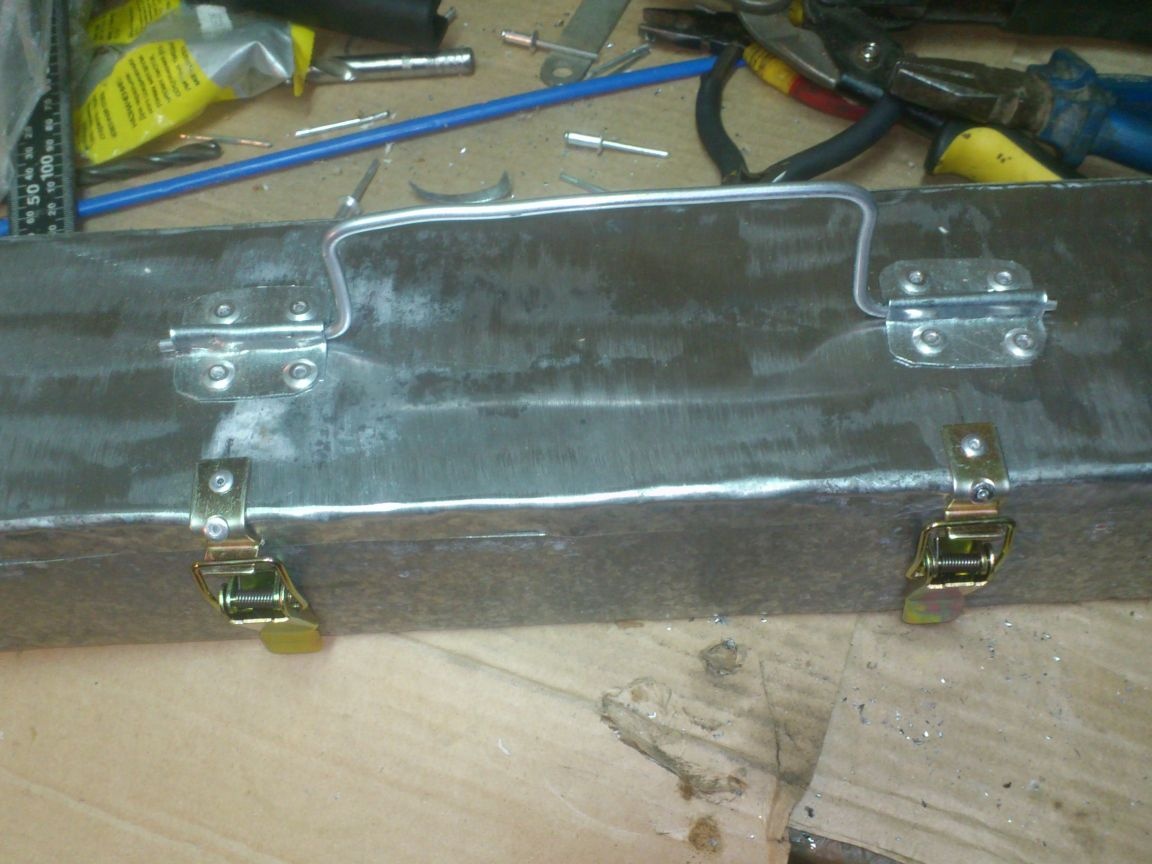
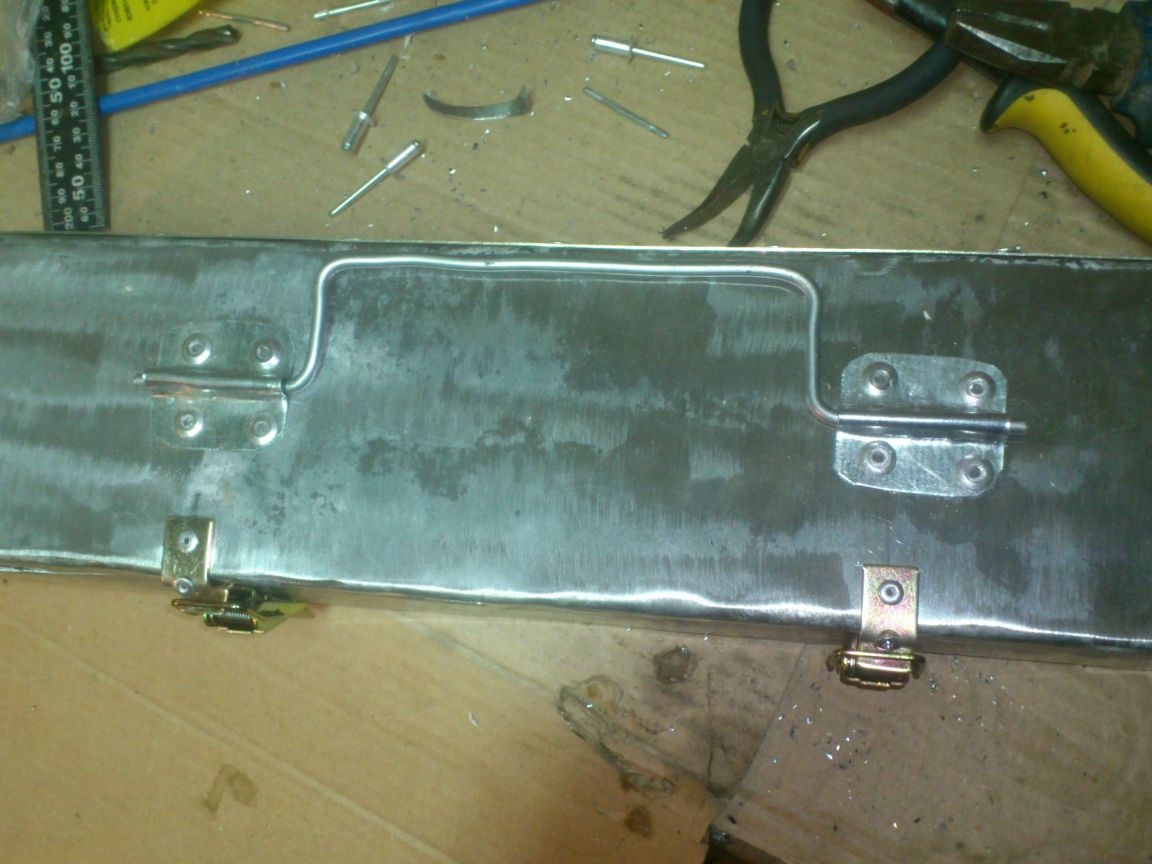
And only then he remembered that he had not left the protrusions from which it was possible to bend the “tube” hinges and fasten the lid with the box, hammering the pins ...
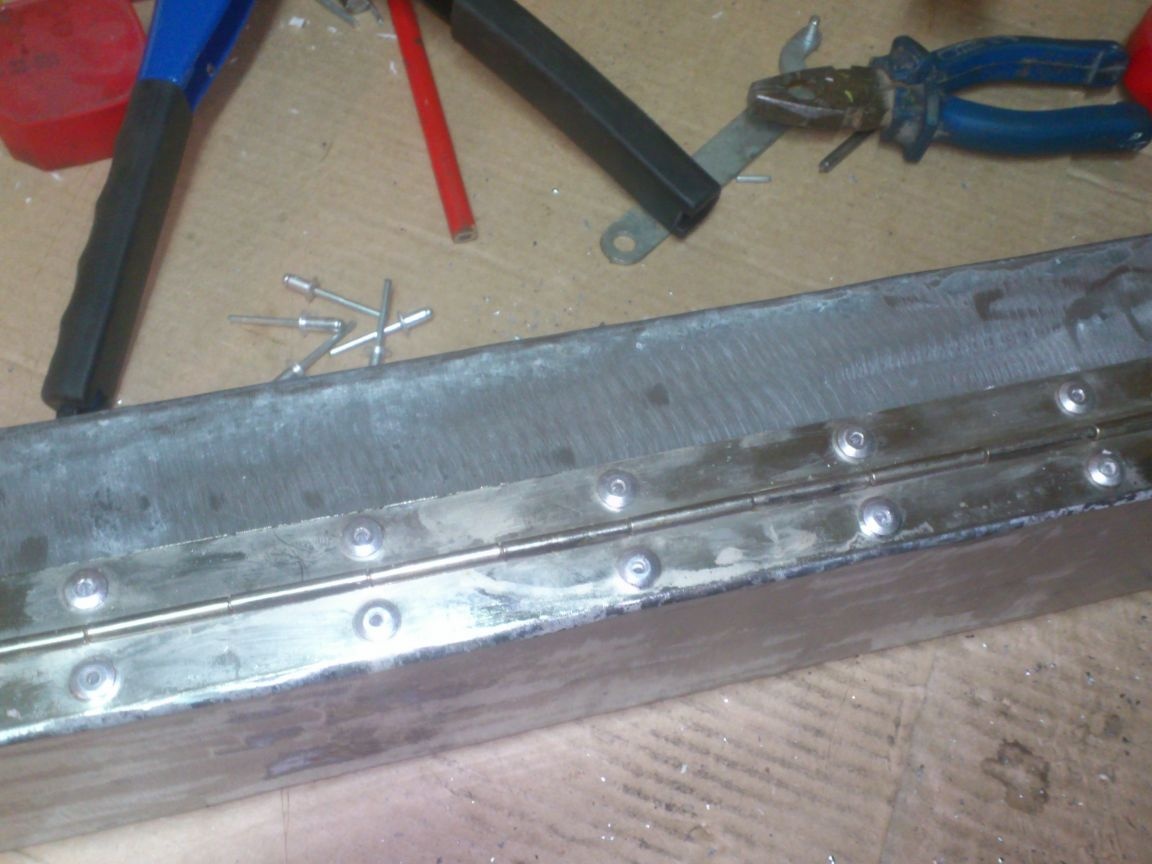
Well ... Well, let's look for the finished ones ... There were several “piano” loops from the old cabinet in the trash. I decided to use one of them:
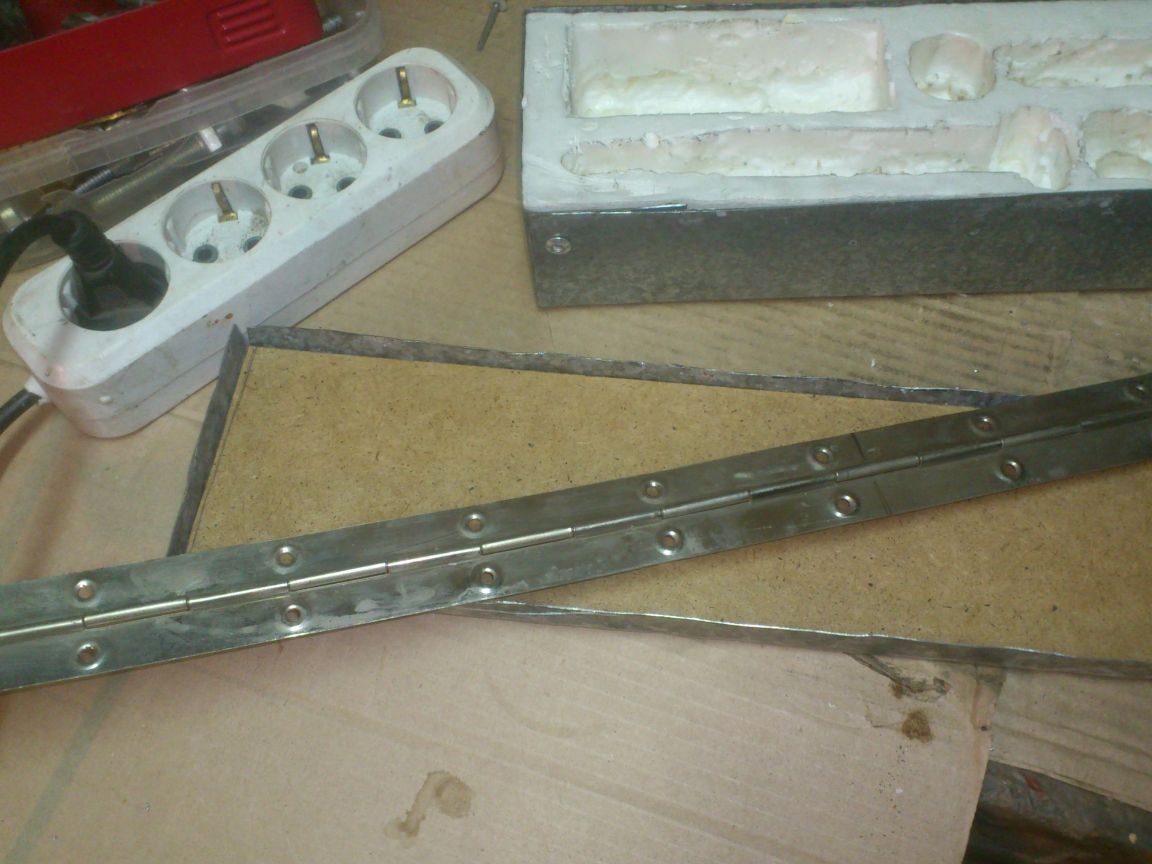
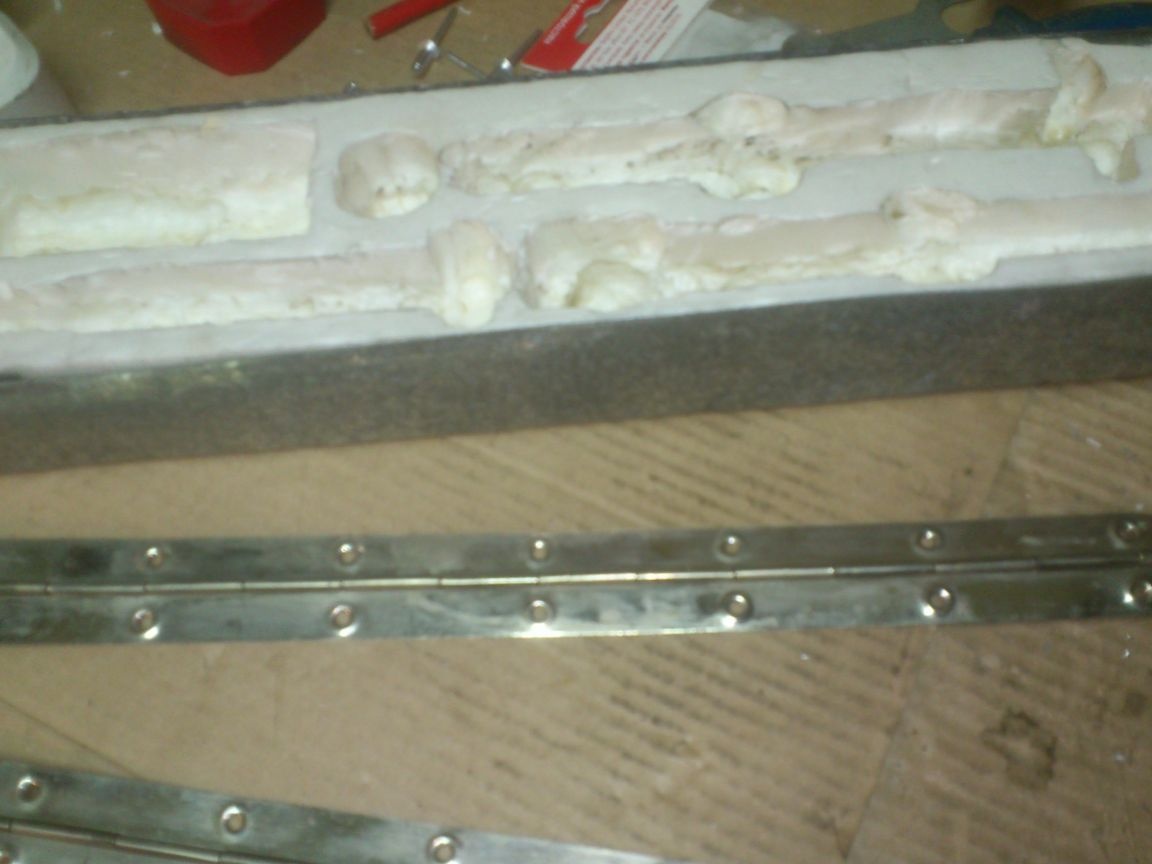
Having cut off the desired piece, I riveted it first to the lid:
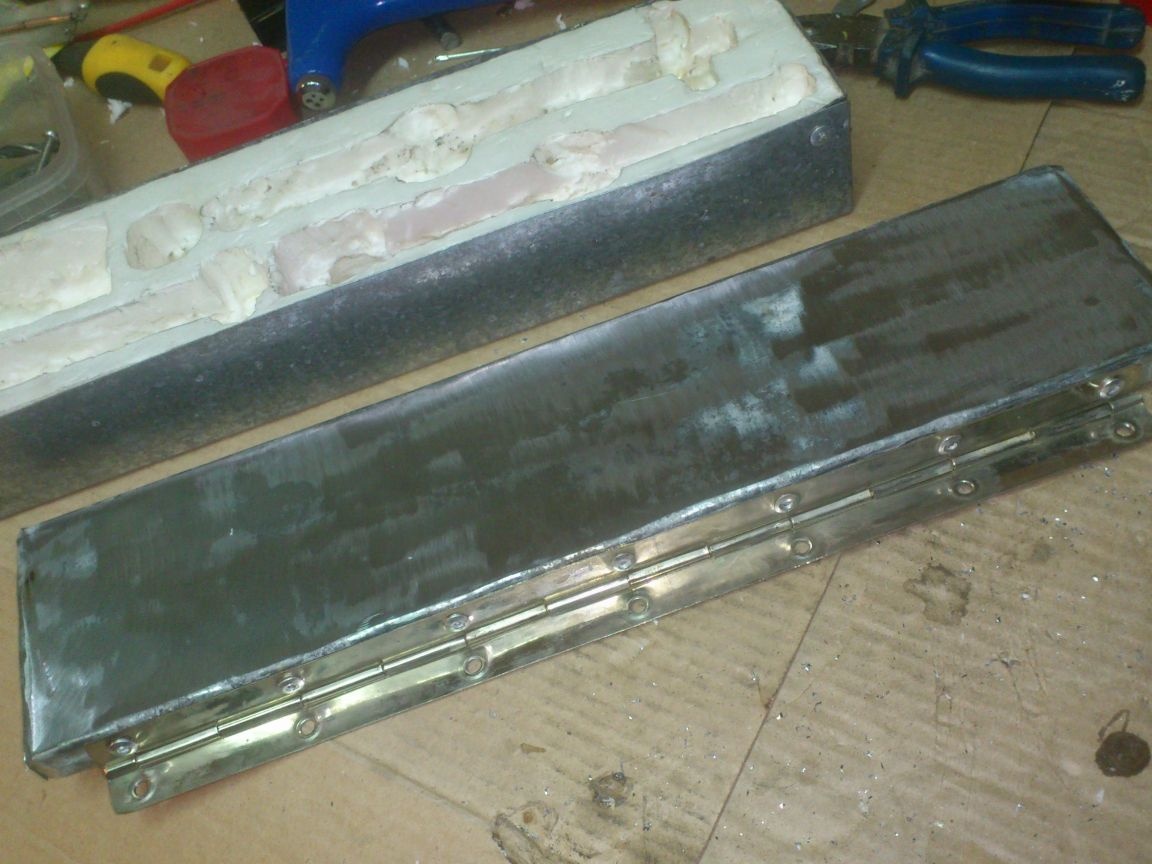
Then to the box:
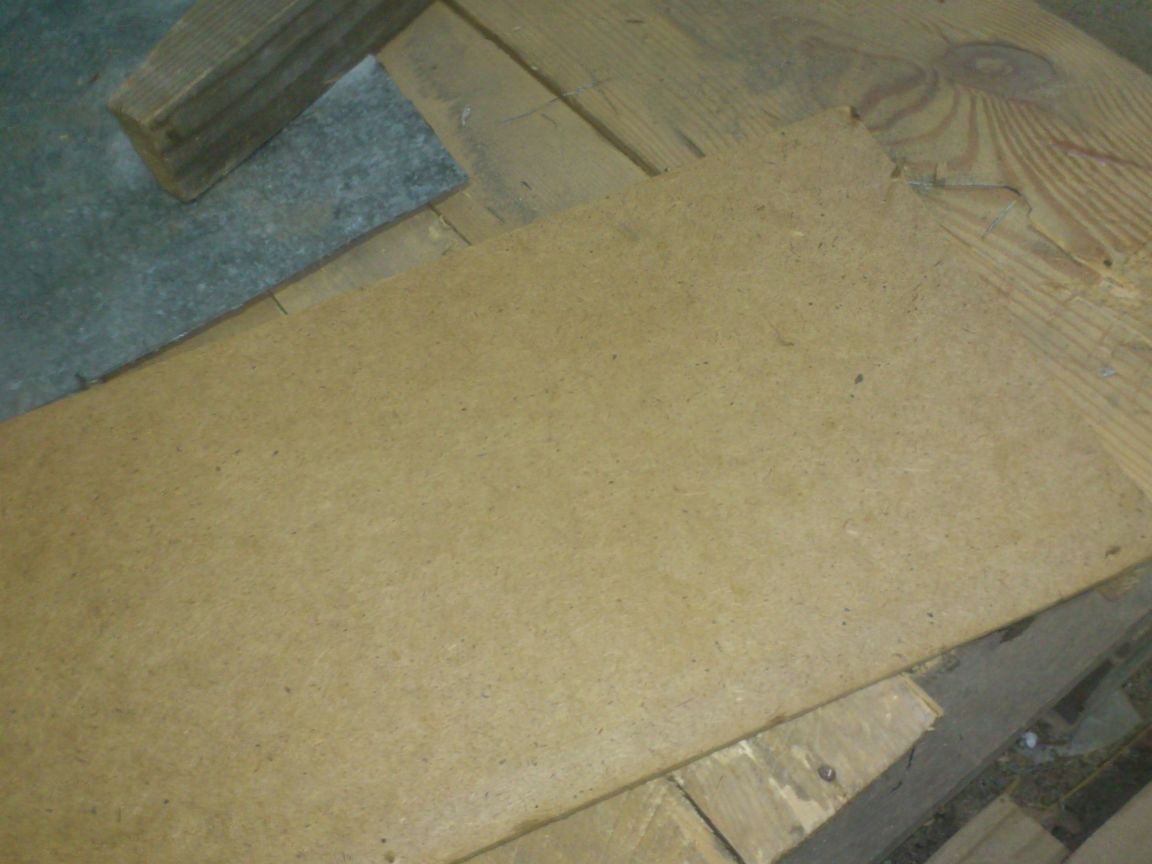
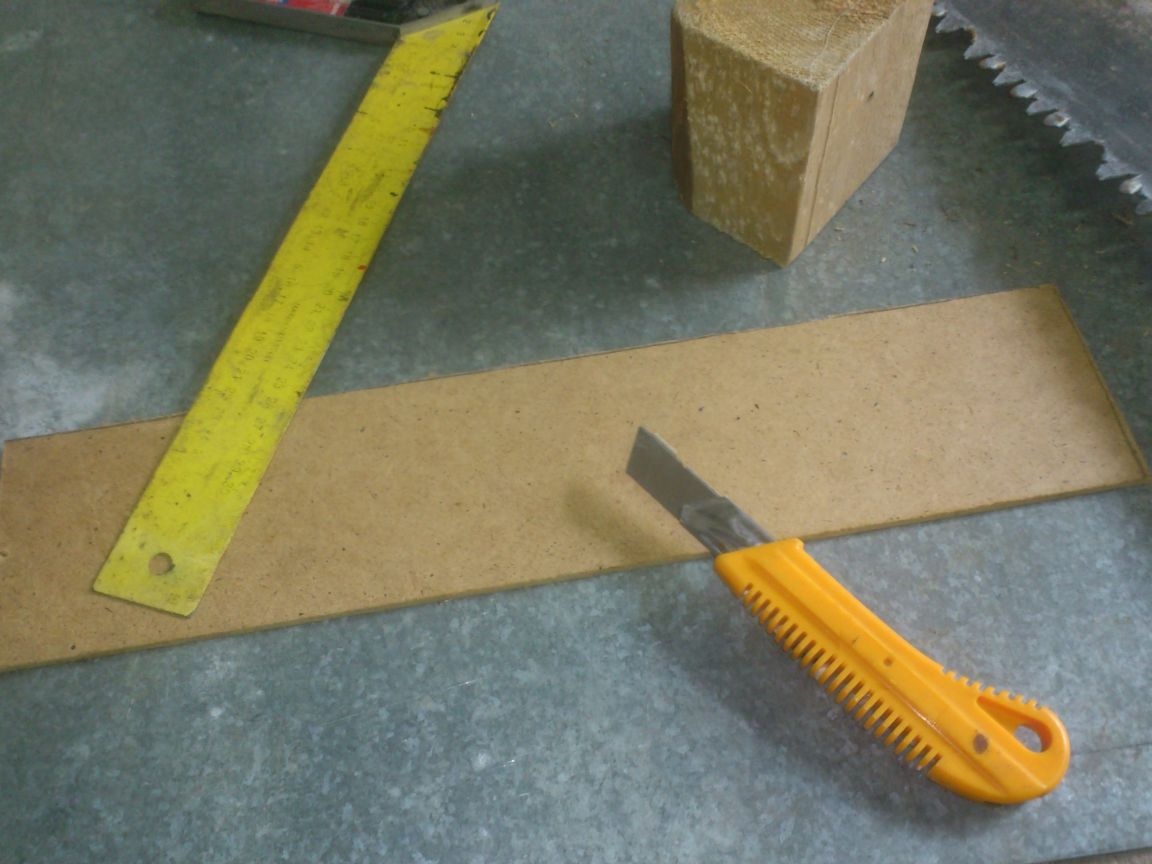
In the lid for stiffness, I inserted a cut-to-size piece of an old fiberboard:
And then a sheet of polystyrene cut off from the bottom:
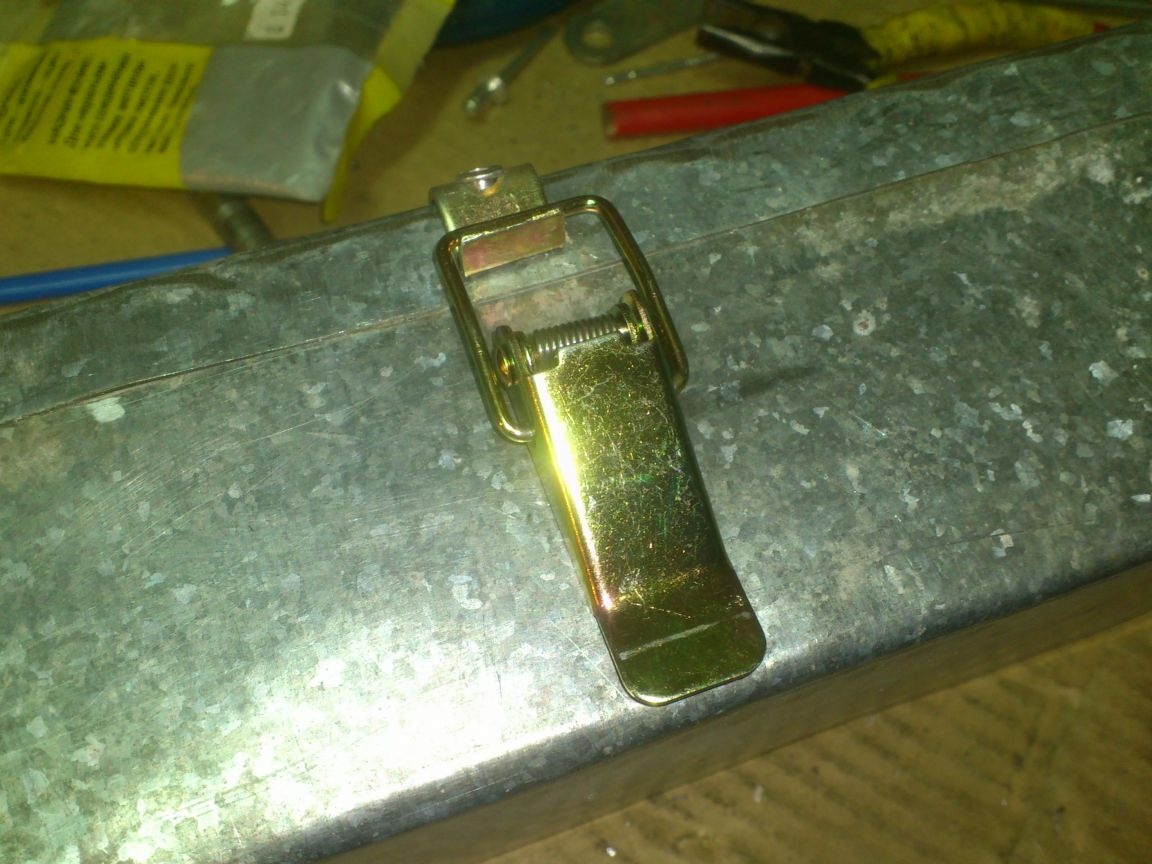
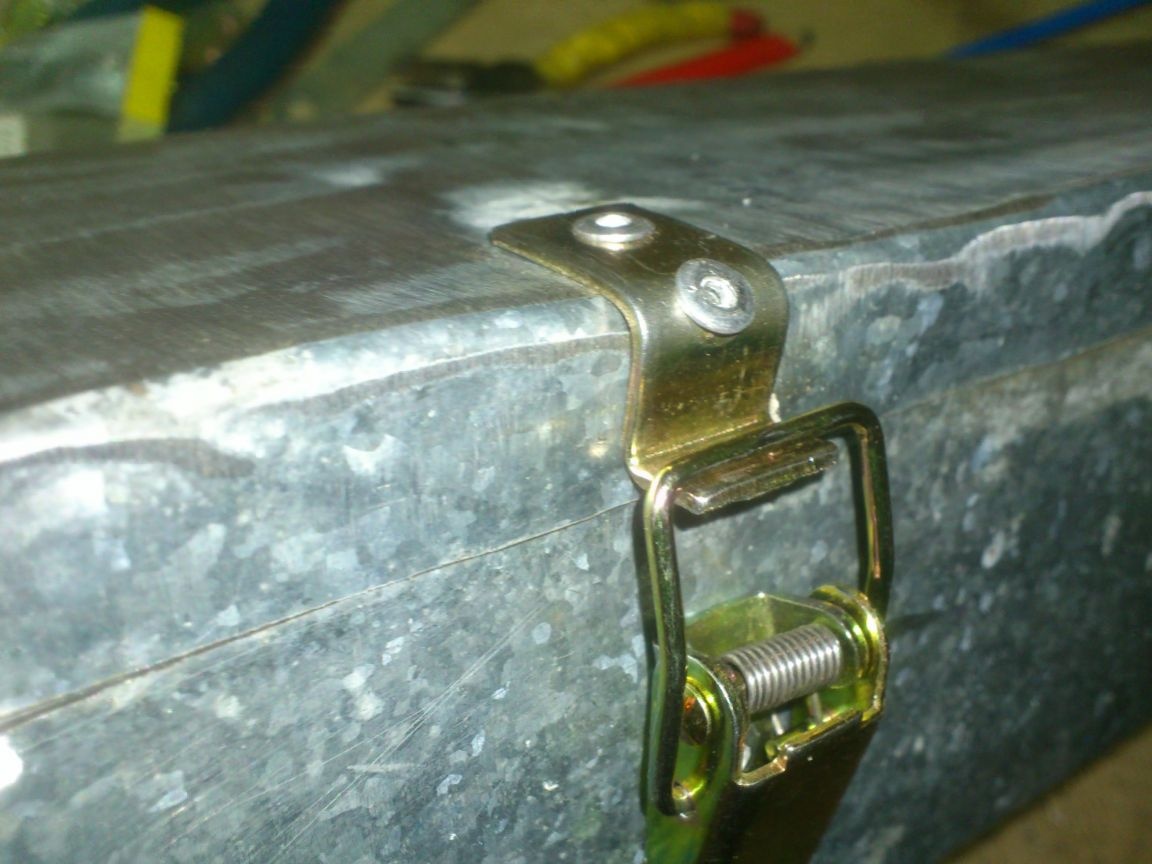
Almost done ... I decided to use the clasps "classic" ... I mean, those that I use most often in my homemade products:
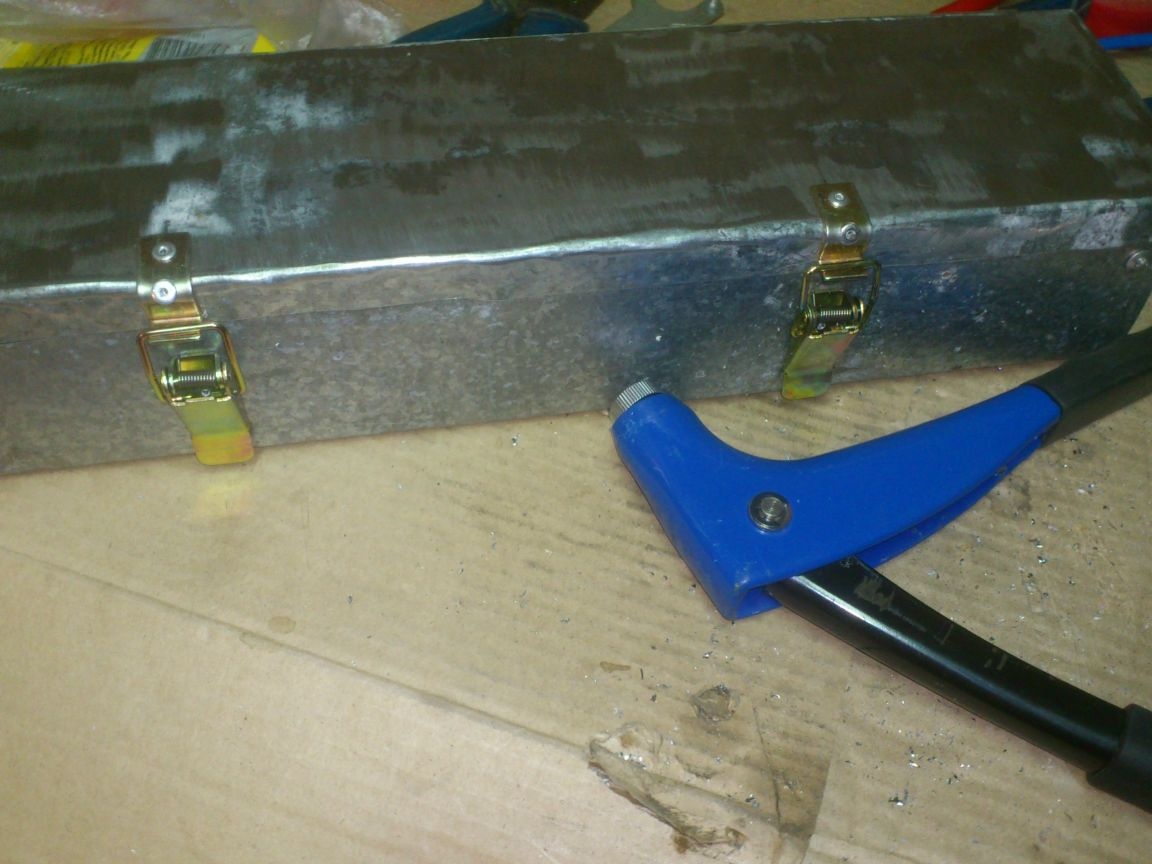
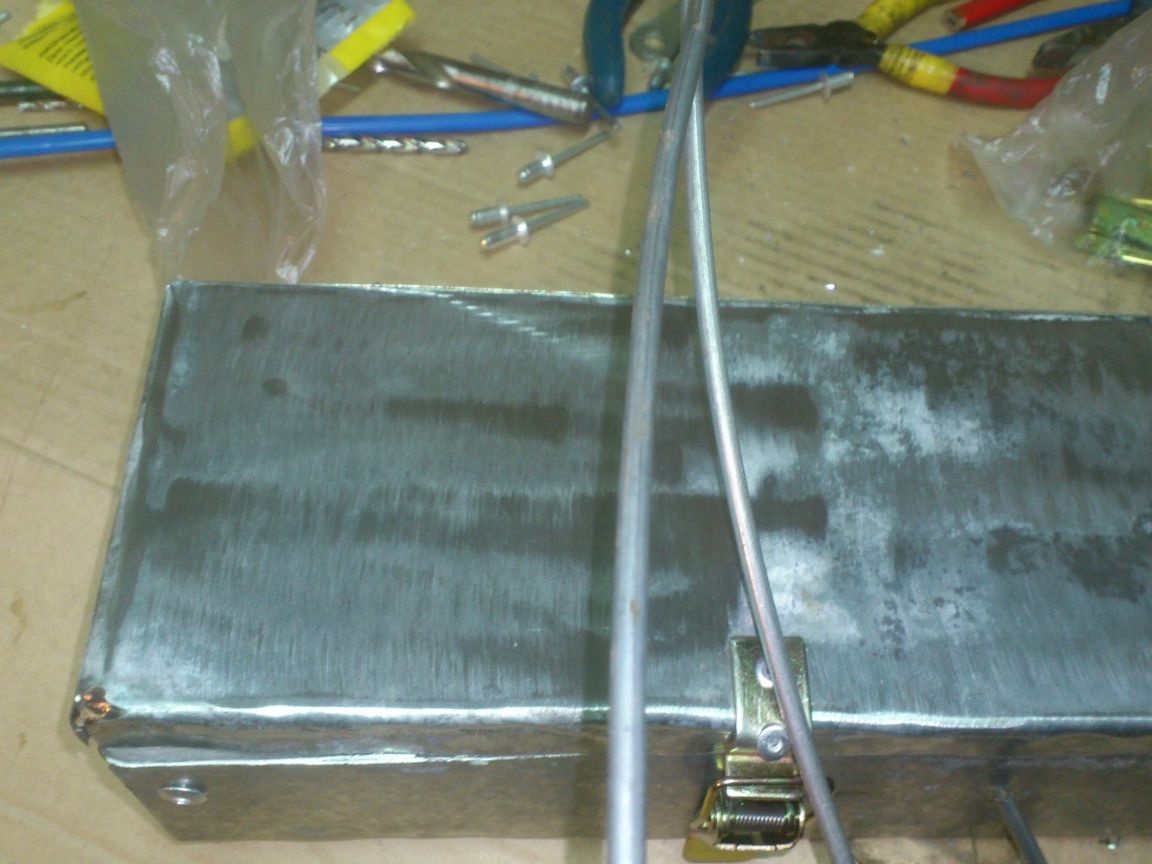
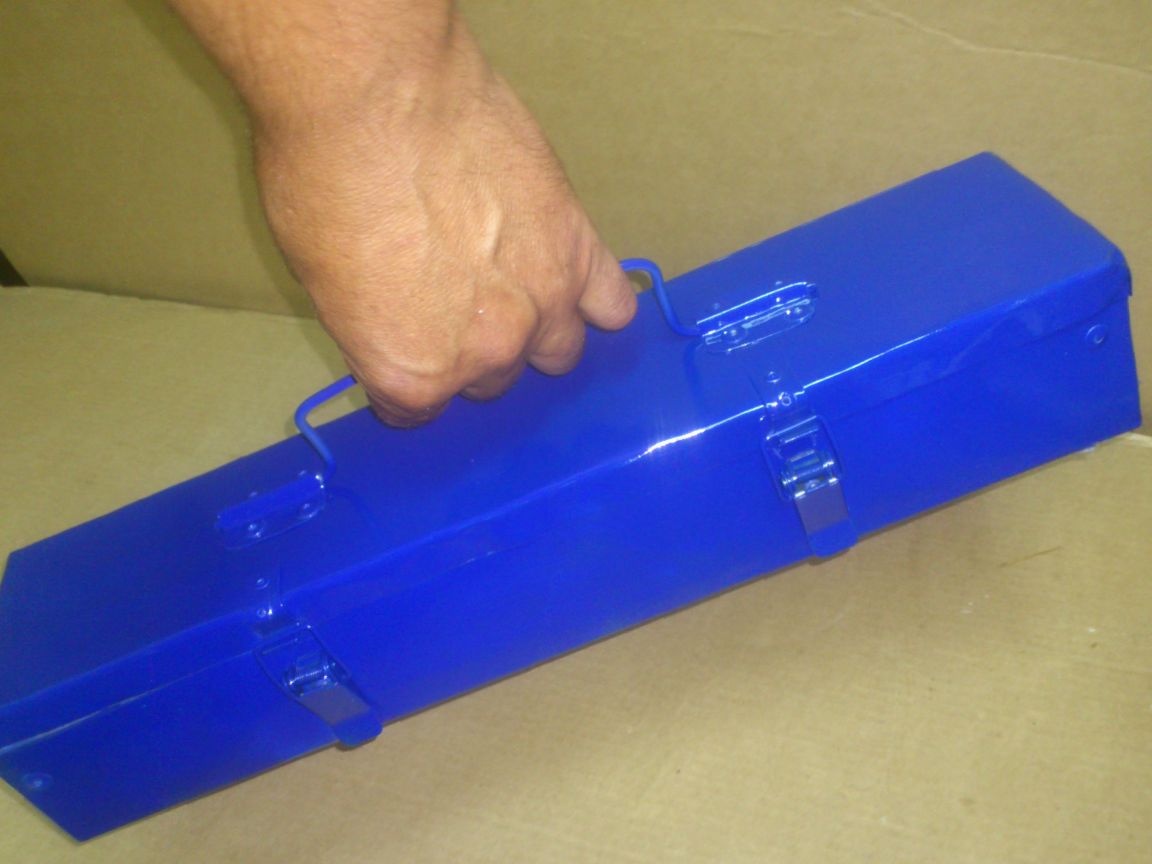
For ease of carrying, I decided to make a wire handle on top:


That's all!!! All that remains is to paint it ... The spray can, by which I painted my Extension lamp ... (It seems that a blue spray gun accidentally taken when painting a pipe bender becomes my signature color!))))))
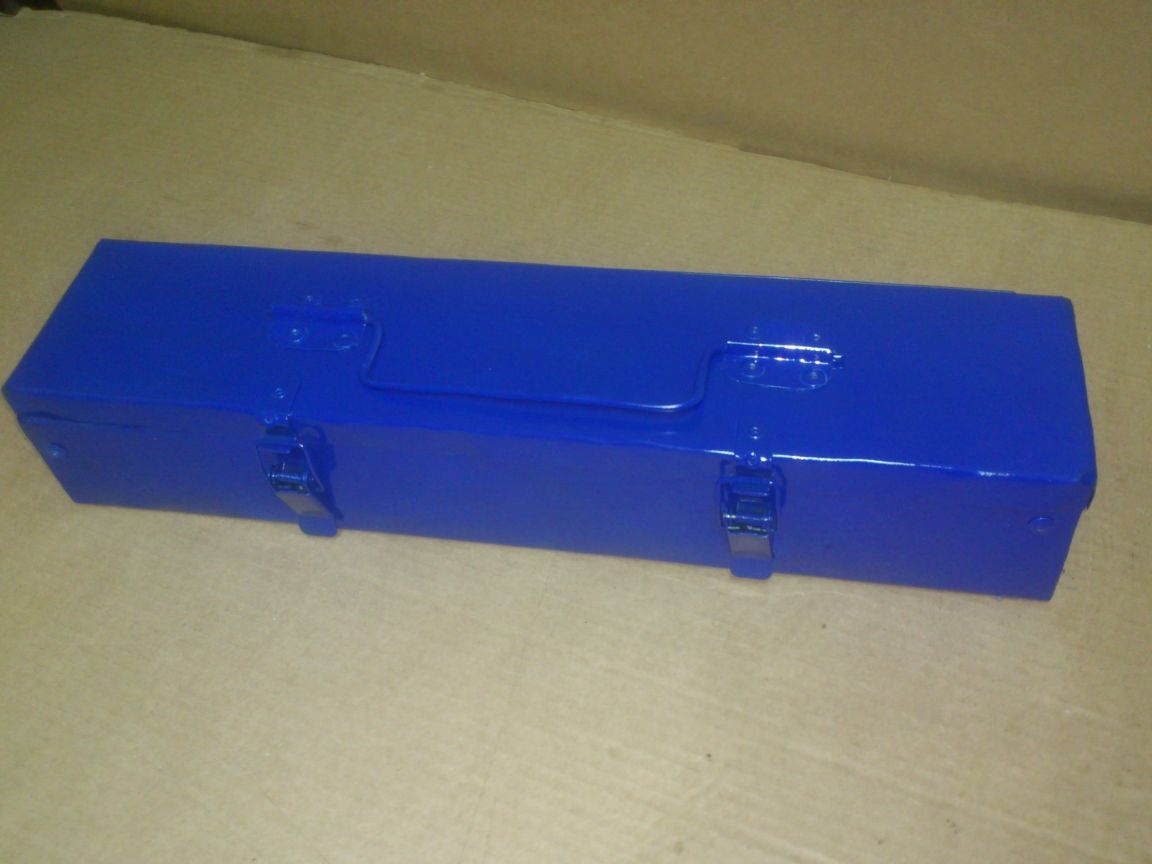
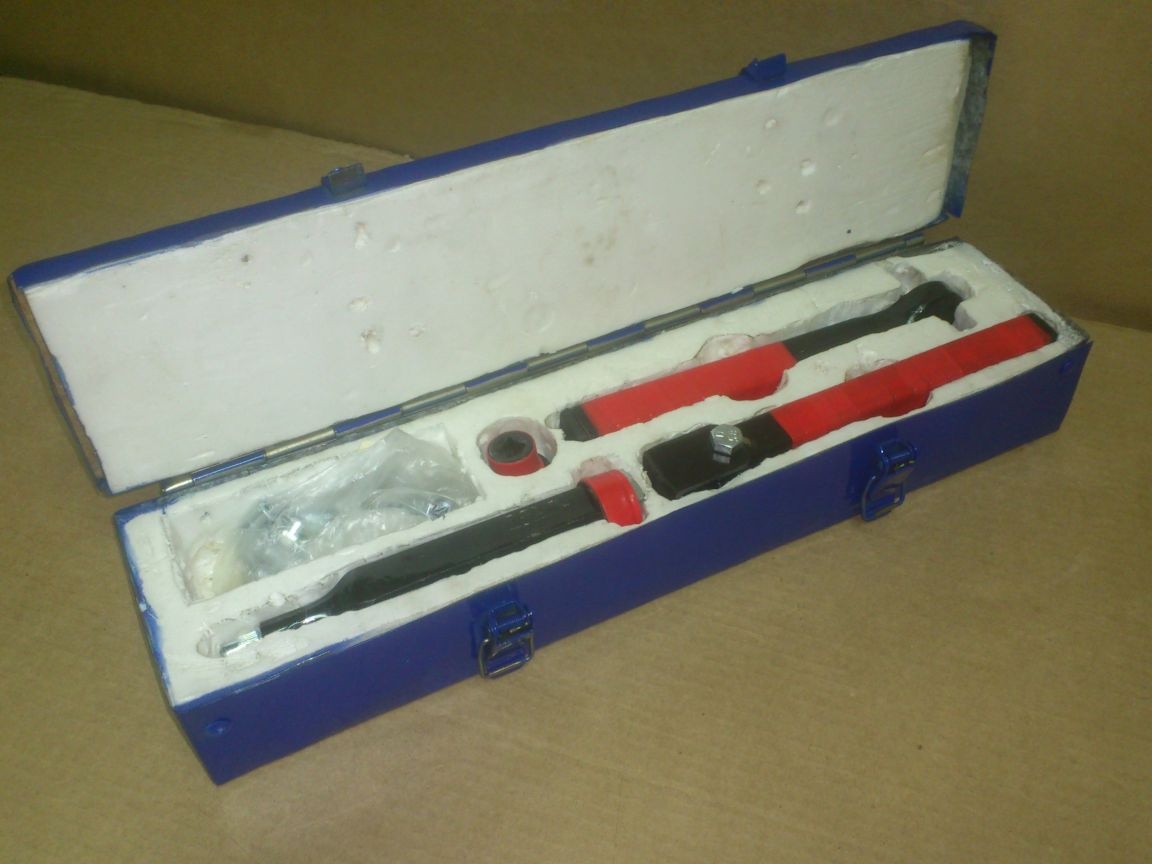
That's all ... Now certainly everything ... (Although ... but what about the M8 bit? !!!!!))))))
The resulting tool has been repeatedly used for its intended purpose:
And when you don’t need it, you can put it on a shelf without fear that its numerous components may get lost.