
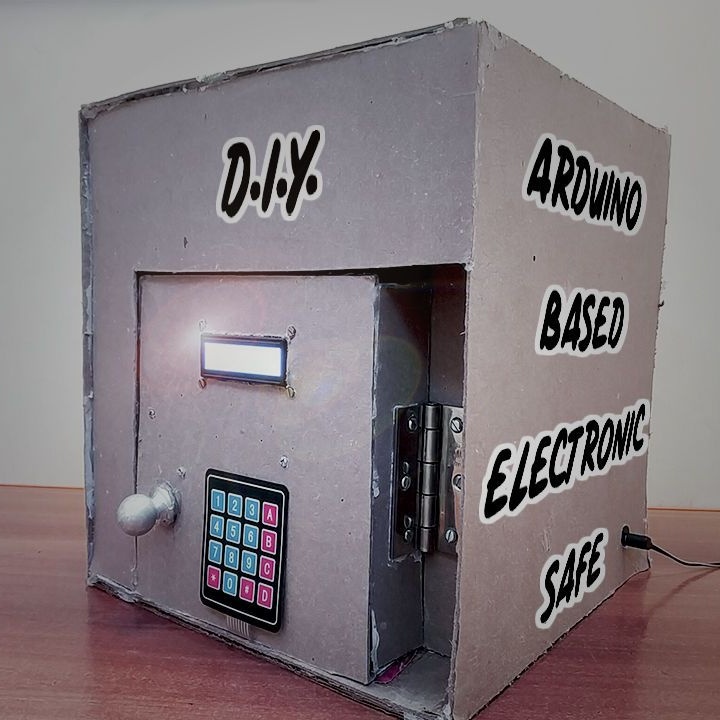


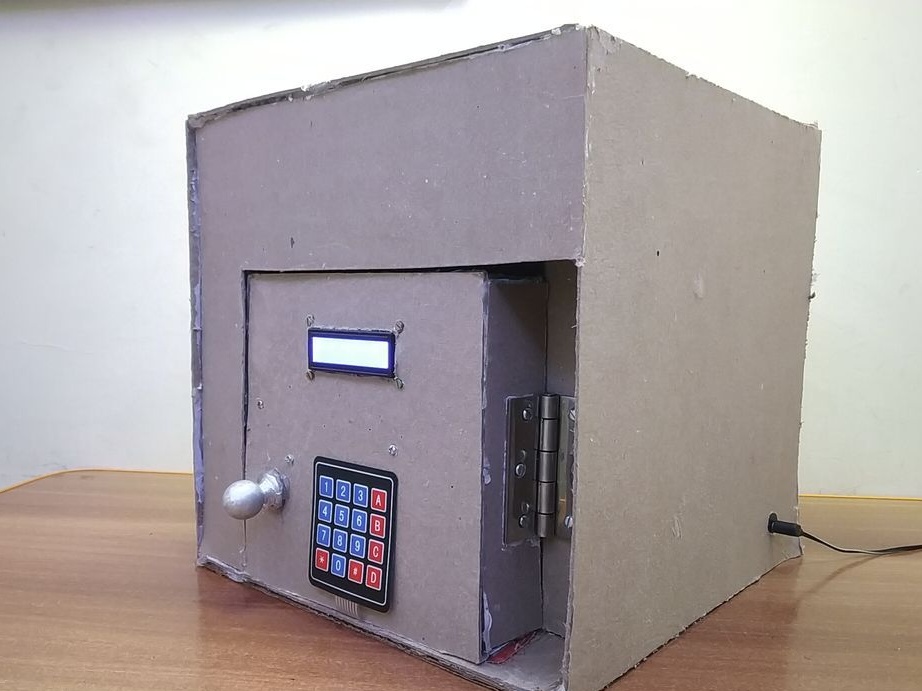
Of course, this is not a full-fledged safe, but an existing one. model. But taking as a basis this homemade can install digital electronic lock on any necessary thing door, closet, safe, gate.
To make a safe, the master used the following
Tools and materials:
- Resistor 10 kOhm;
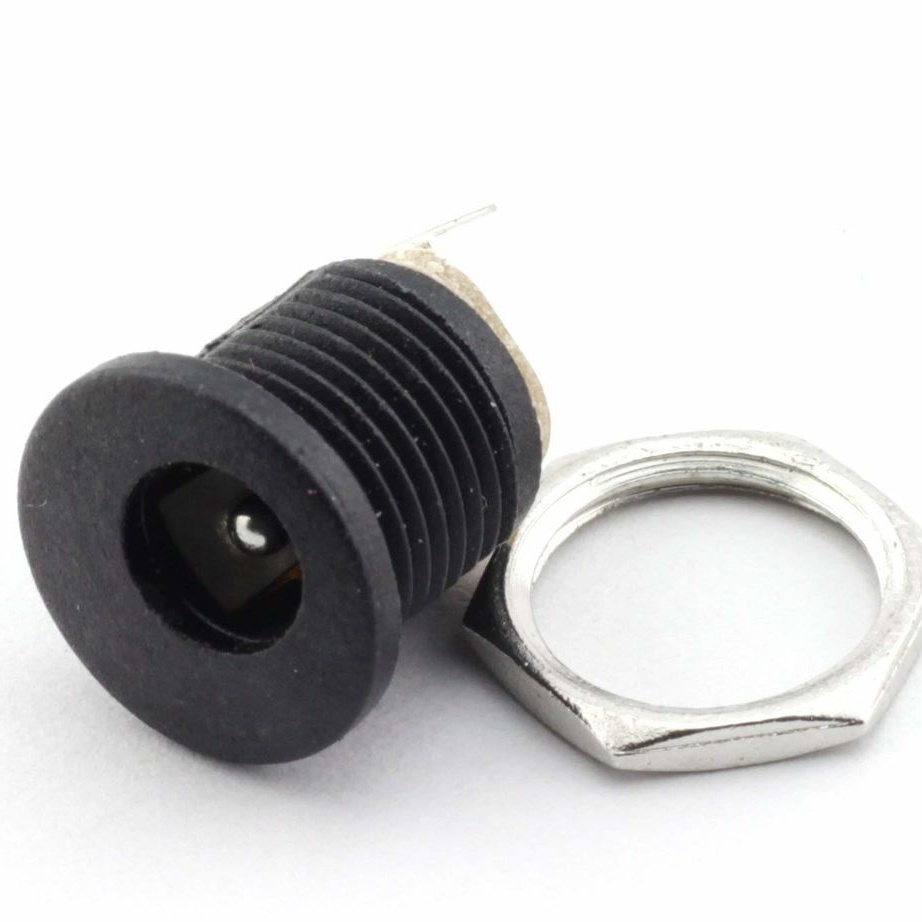
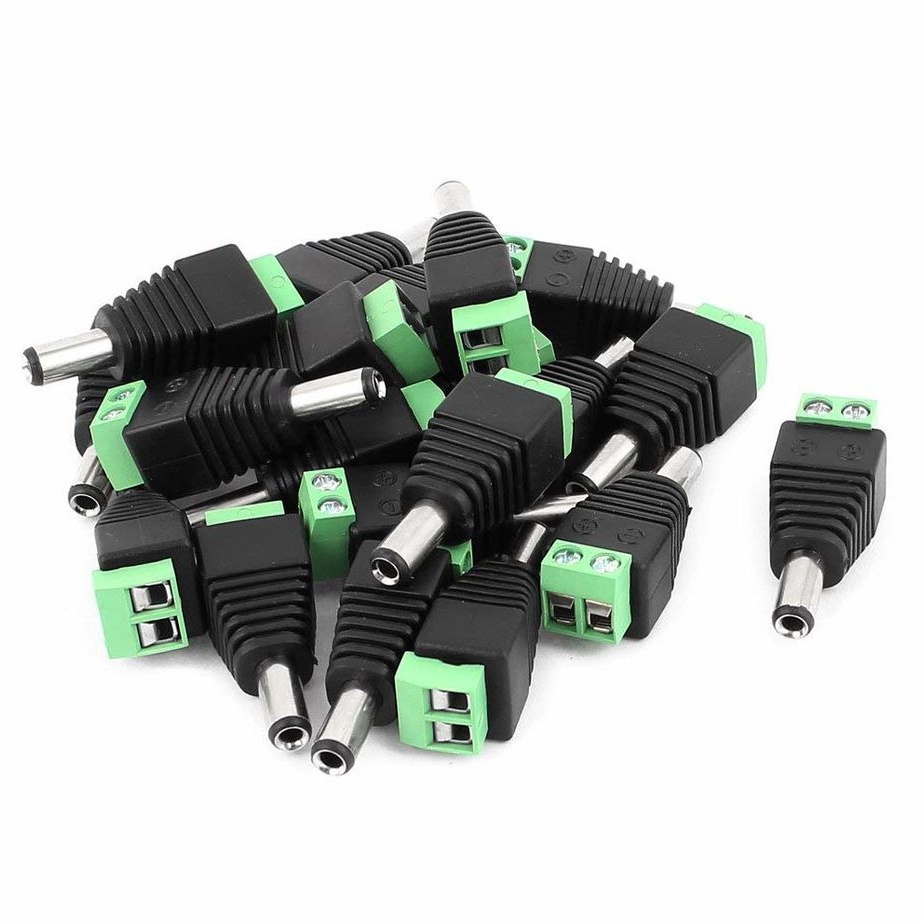
-Connector;
-Plug;
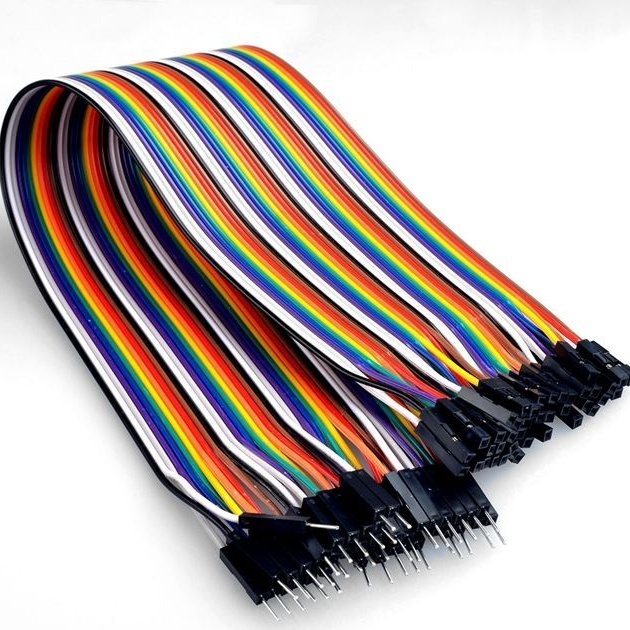
- Jumpers;
-Bread board;
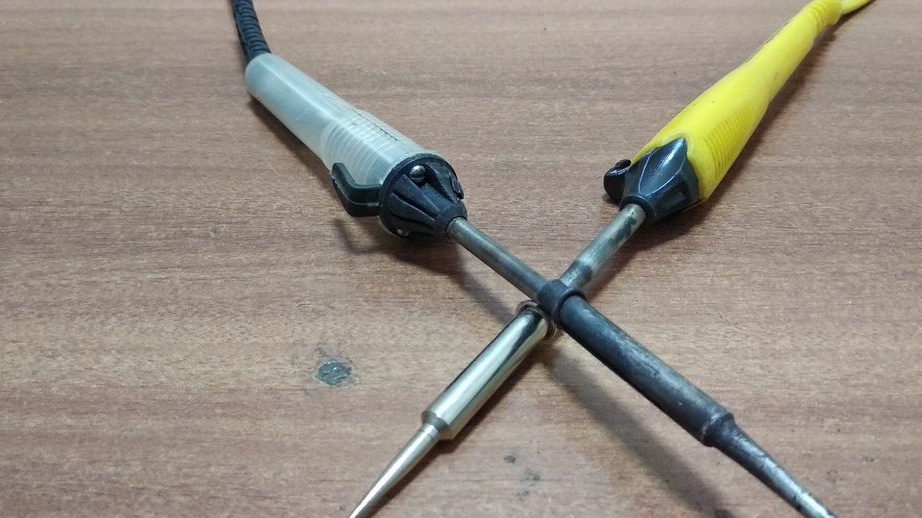
-Soldering iron;
-Wire;
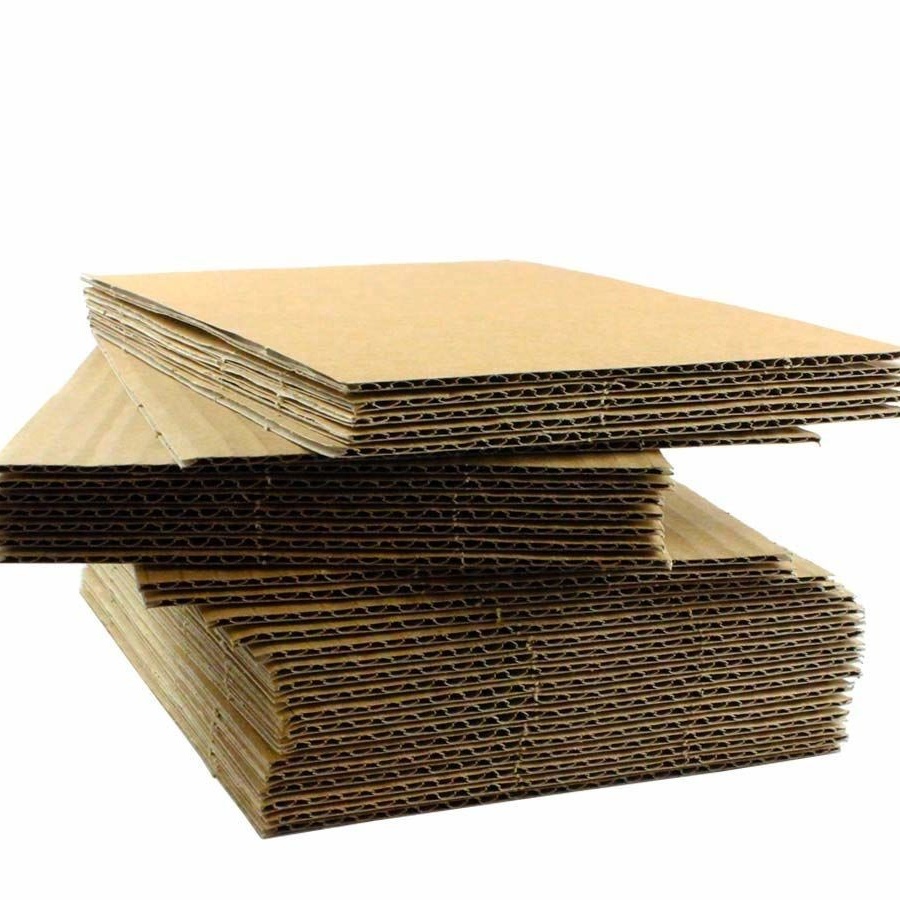
-Cardboard;
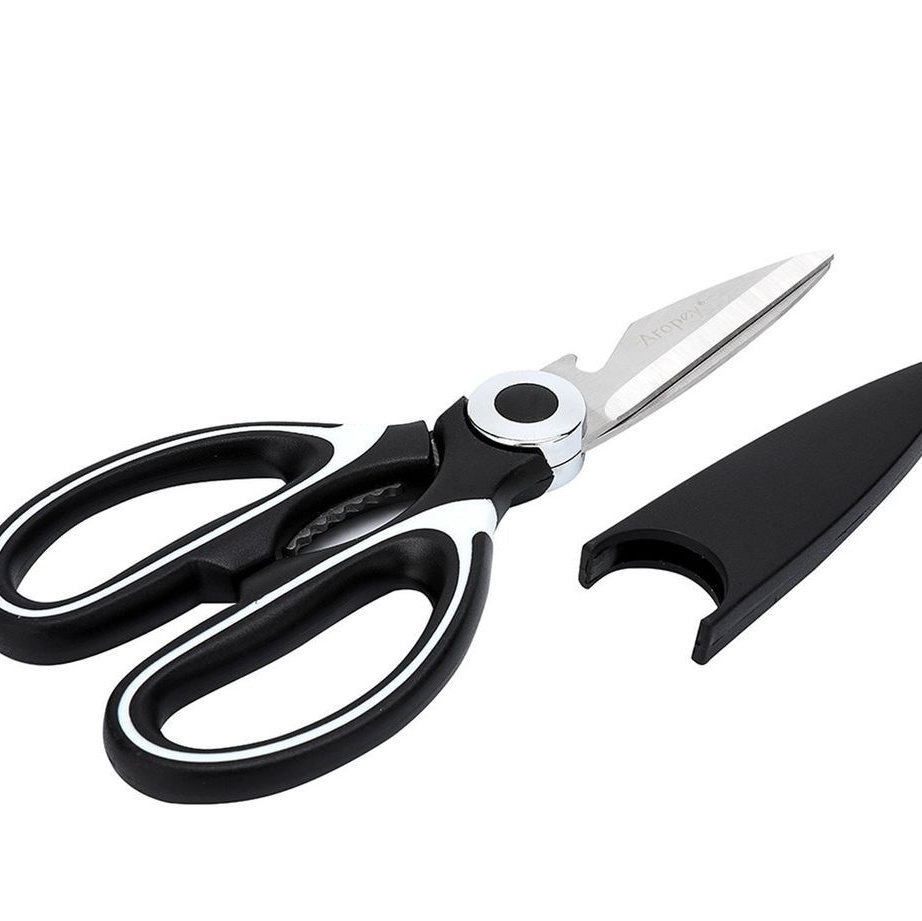
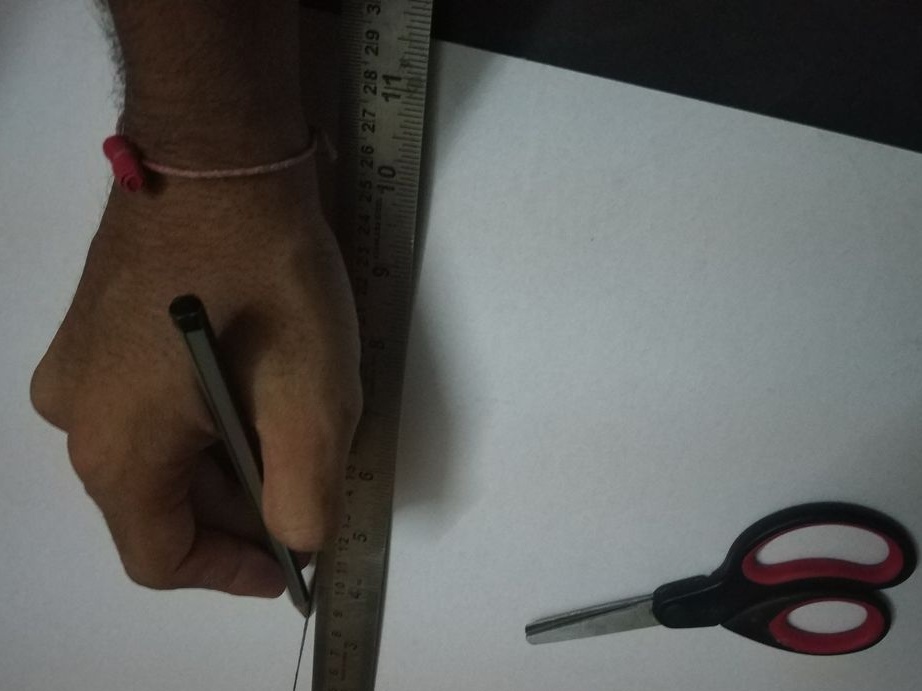
-Scissors;
-Knife;
-Glue gun;
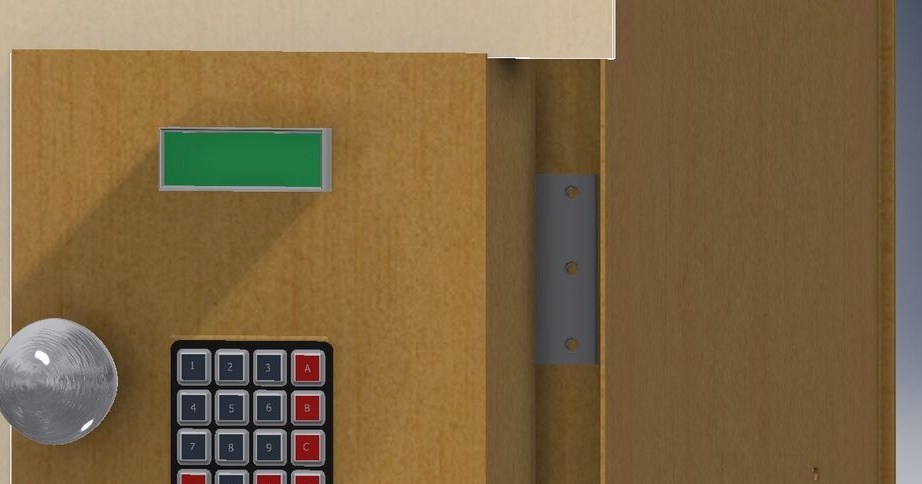
- Loops;
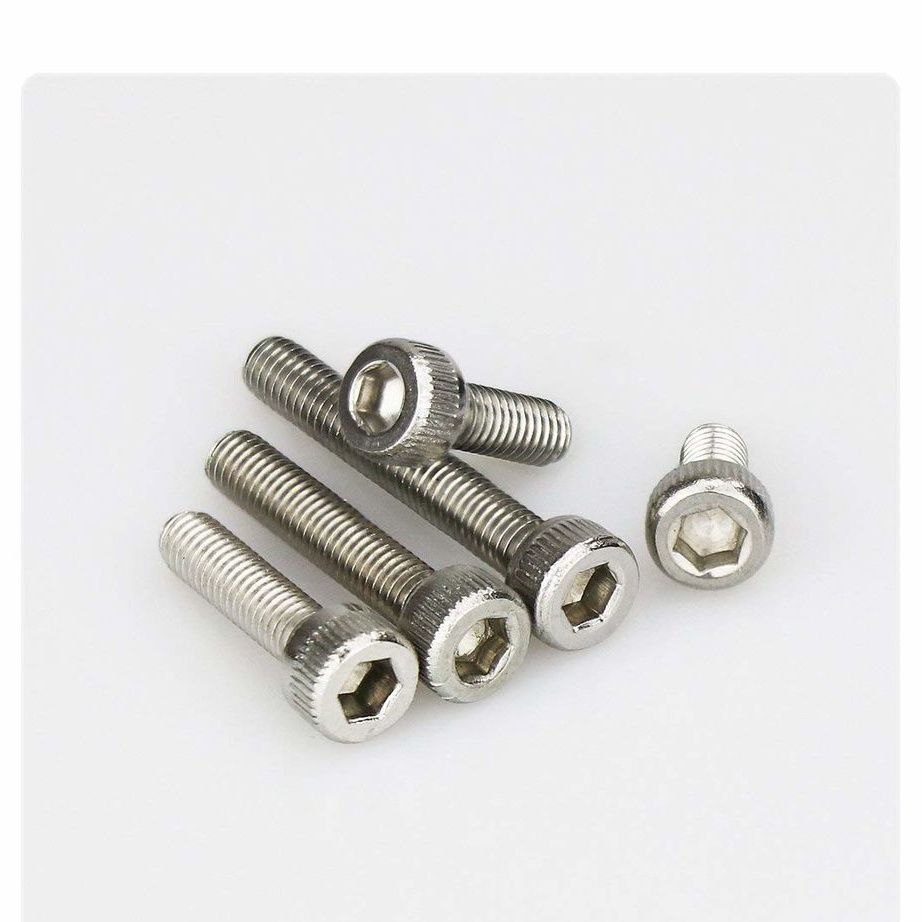
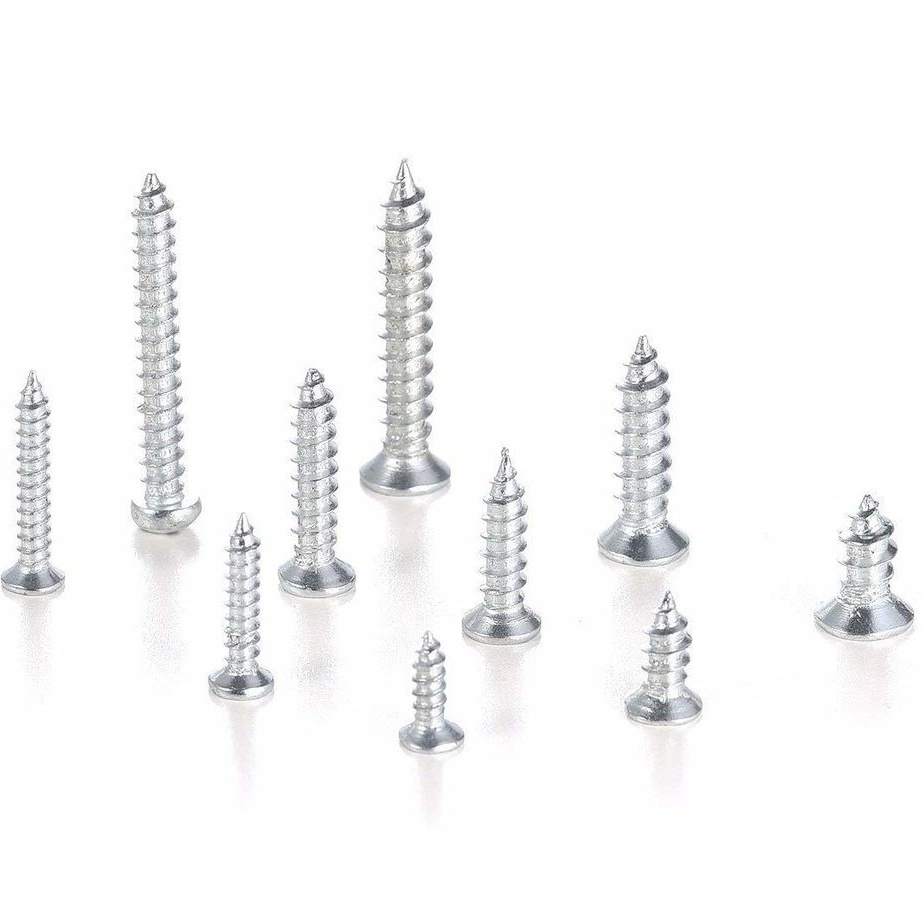
-Fasteners;
-Screwdriver;


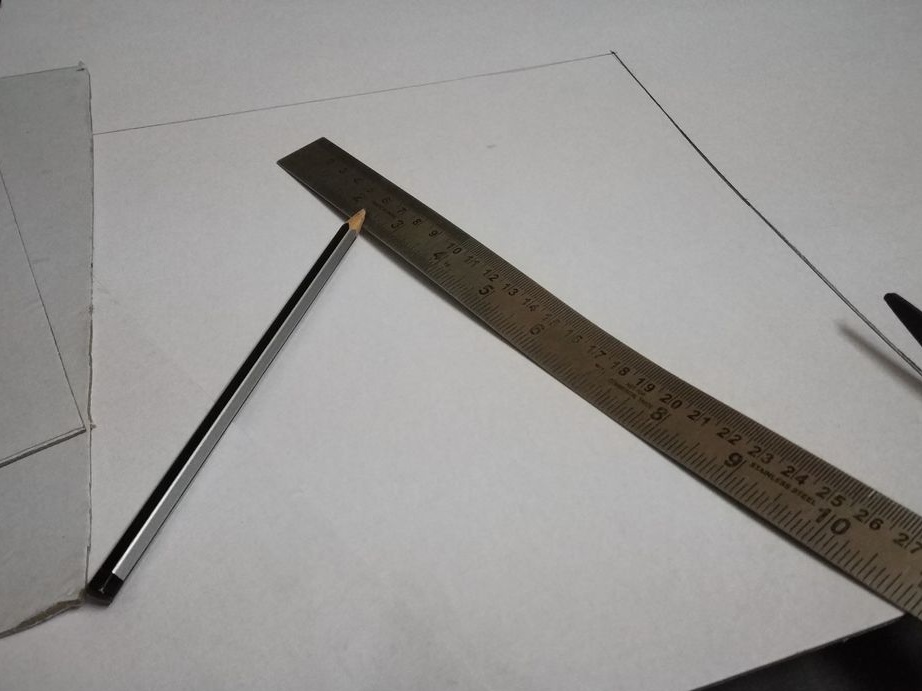
Step One: Design
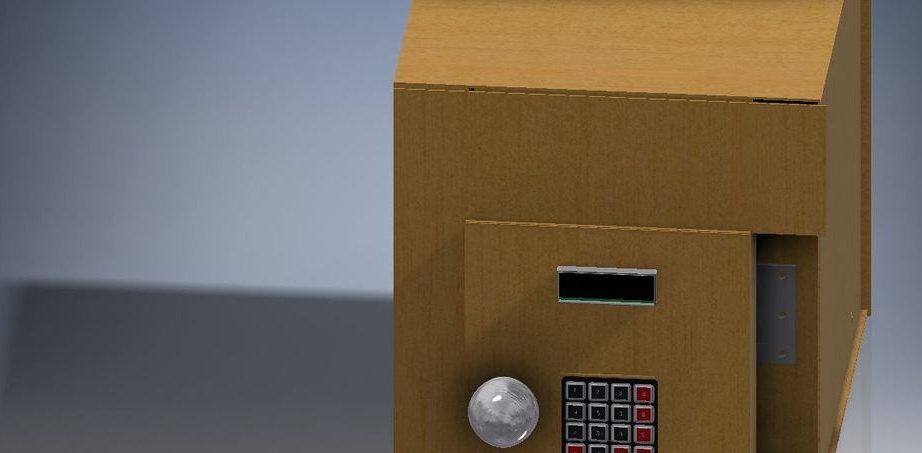
In 3D CAD, the wizard makes a safe design. The size of the safe is 300 mm x 300 mm x 300 mm. Door size 200 mm x 50 mm x 200 mm. He selects the material and designs the electronic part.


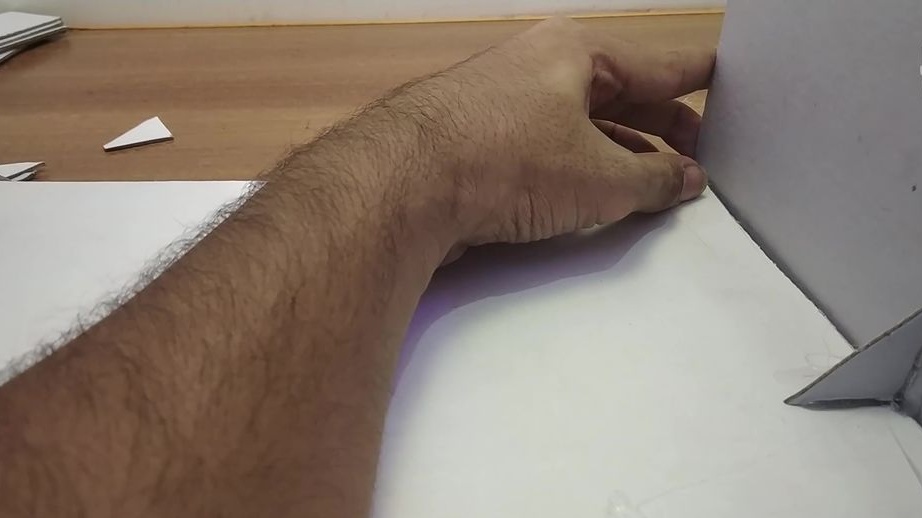
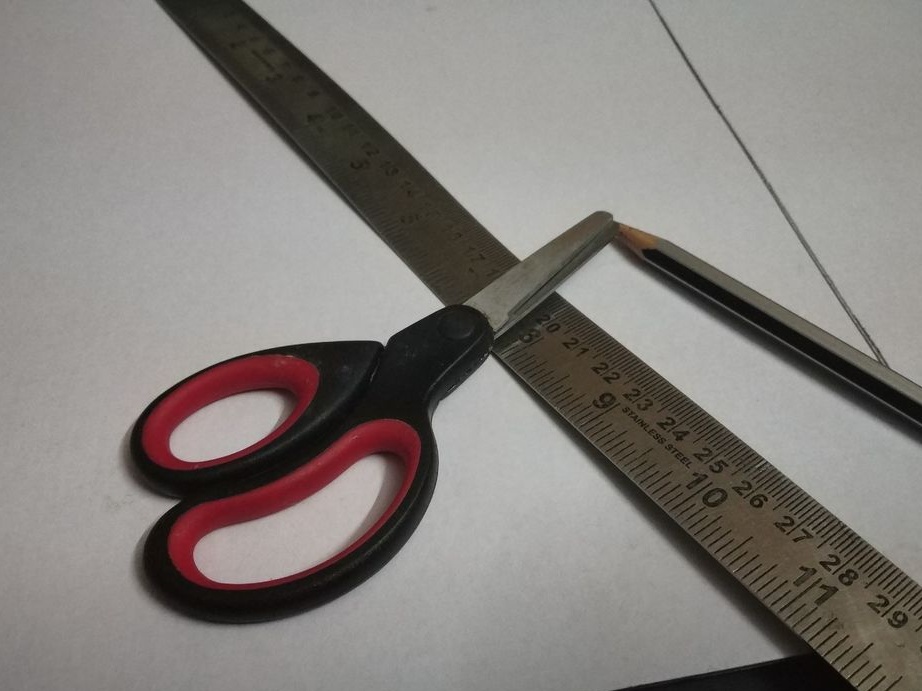
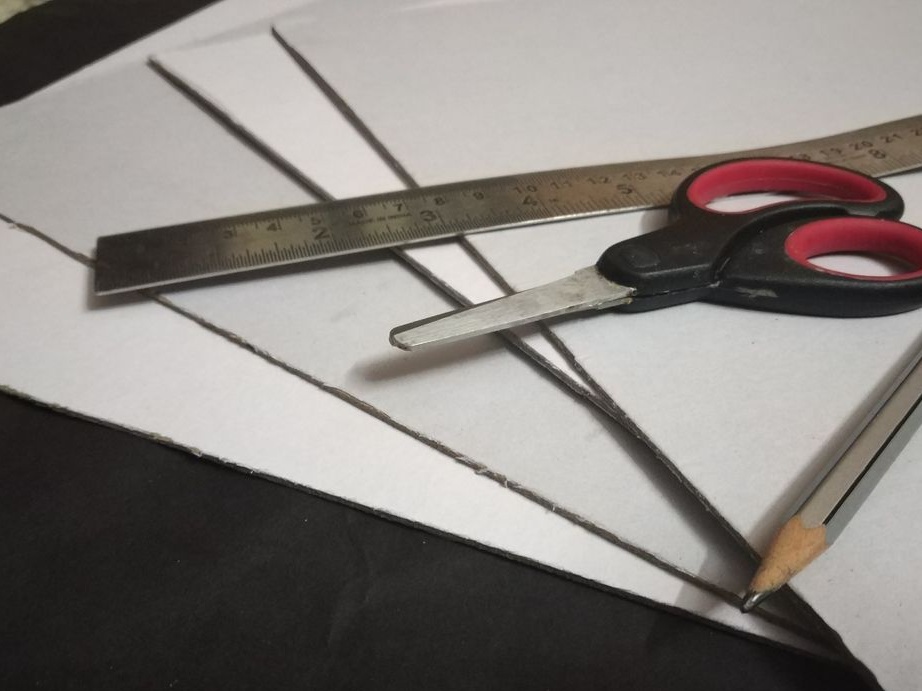
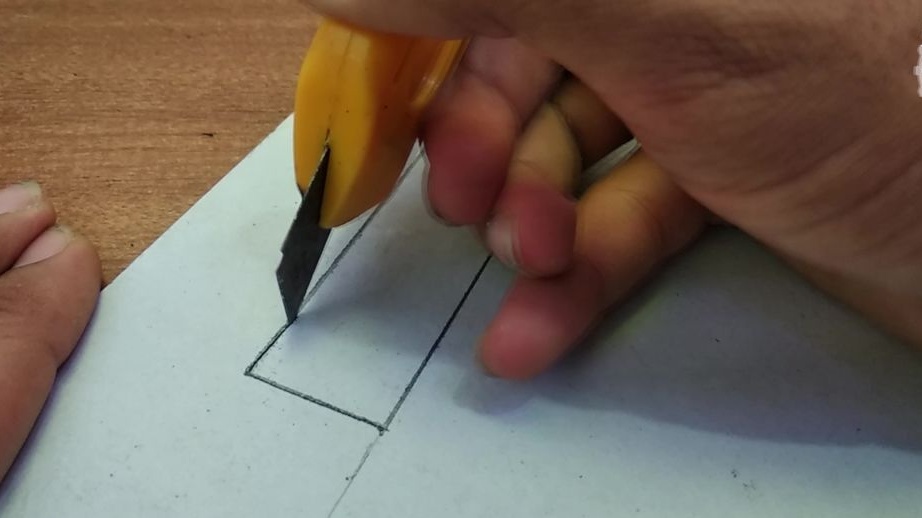
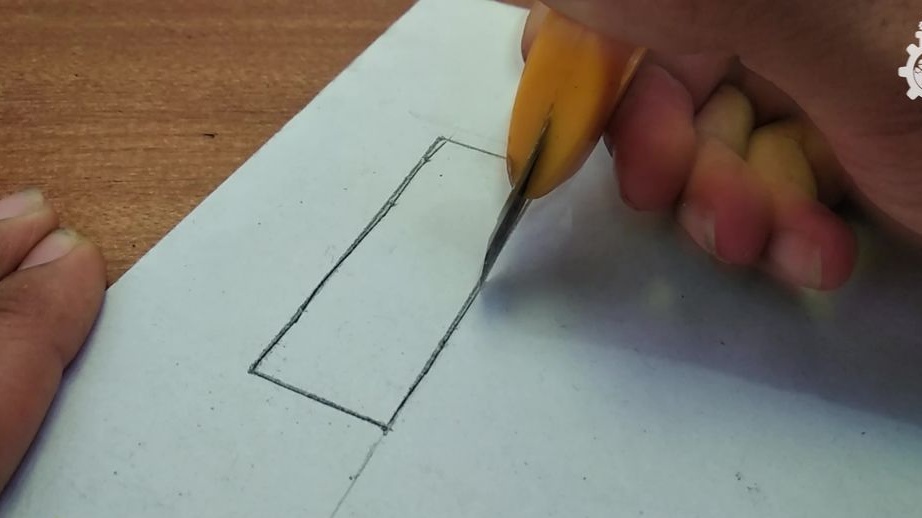
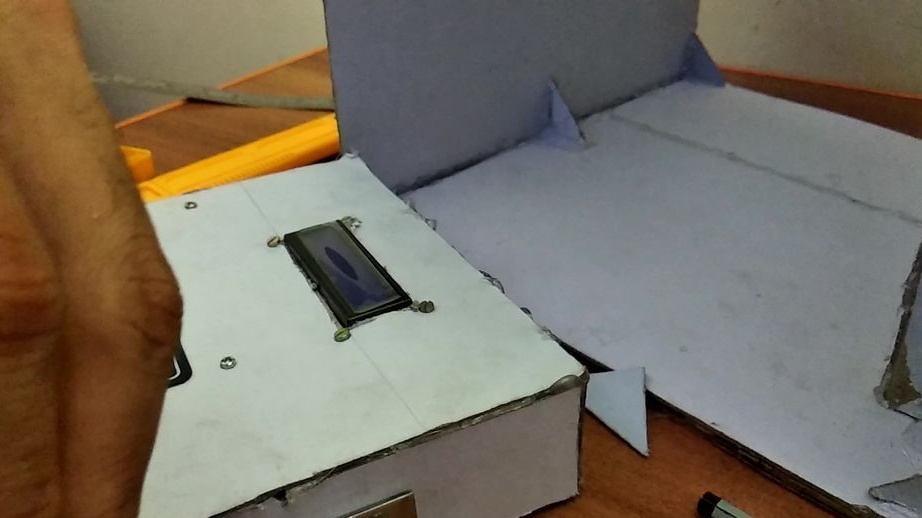
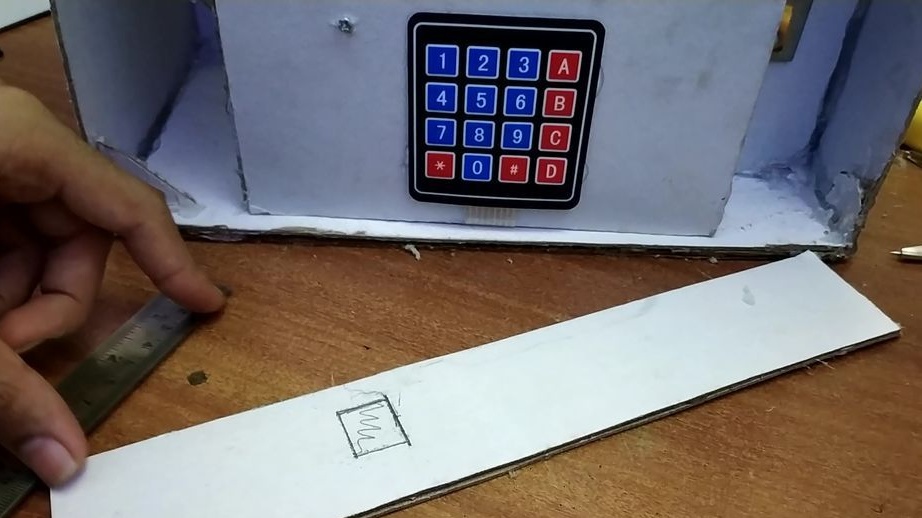
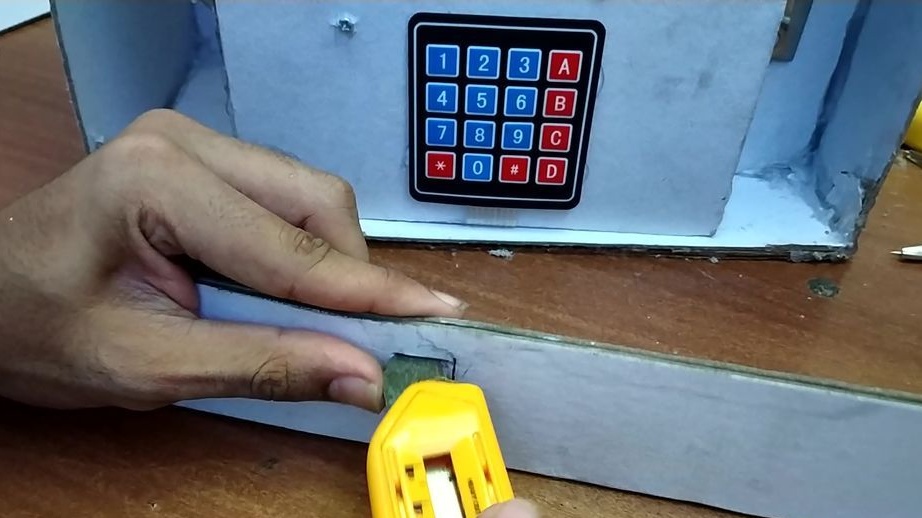
Step Two: Making a Safe
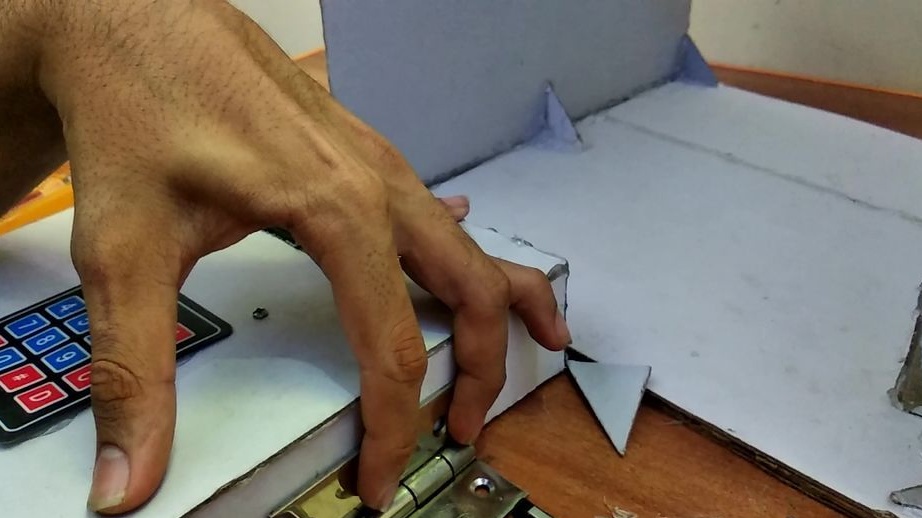
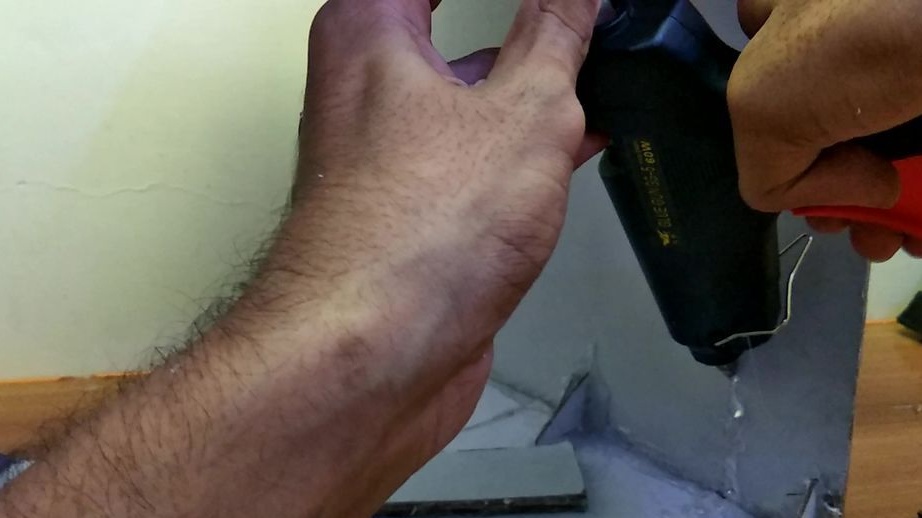
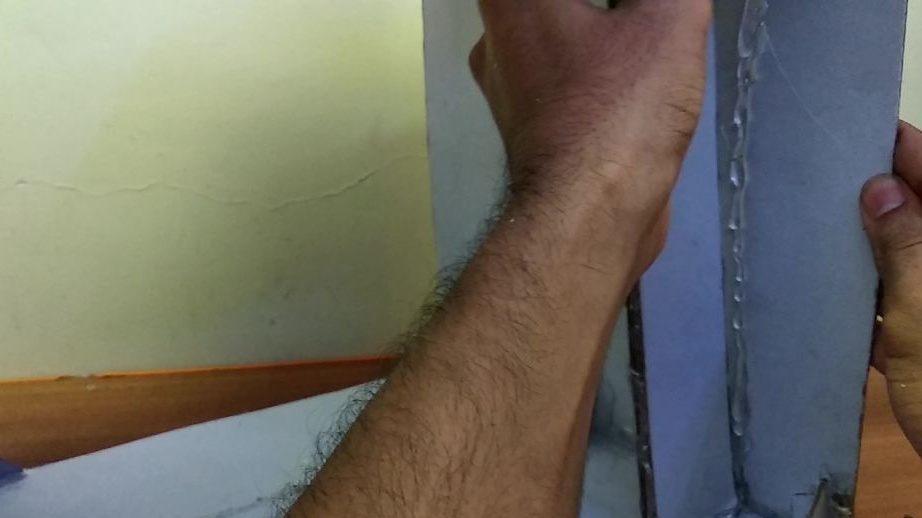
Since this is a layout, the master makes it from cardboard. Cut to size and fasten with hot glue. For support, fix the walls with cardboard triangles. The front part of the master does not close yet.


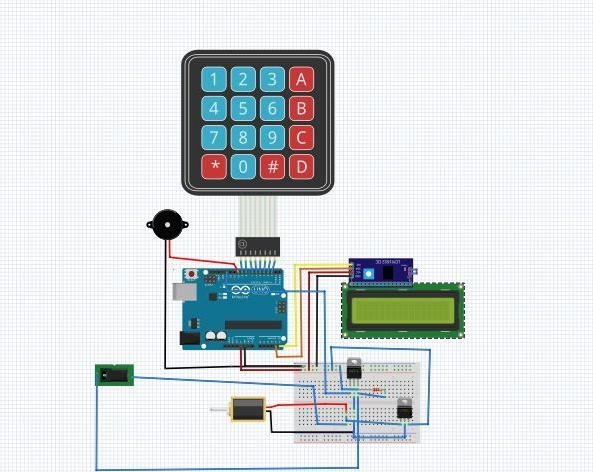
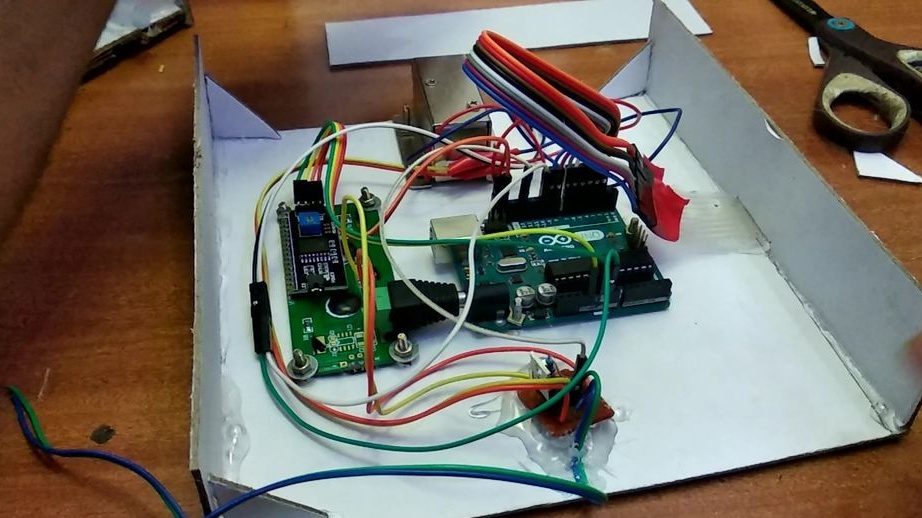
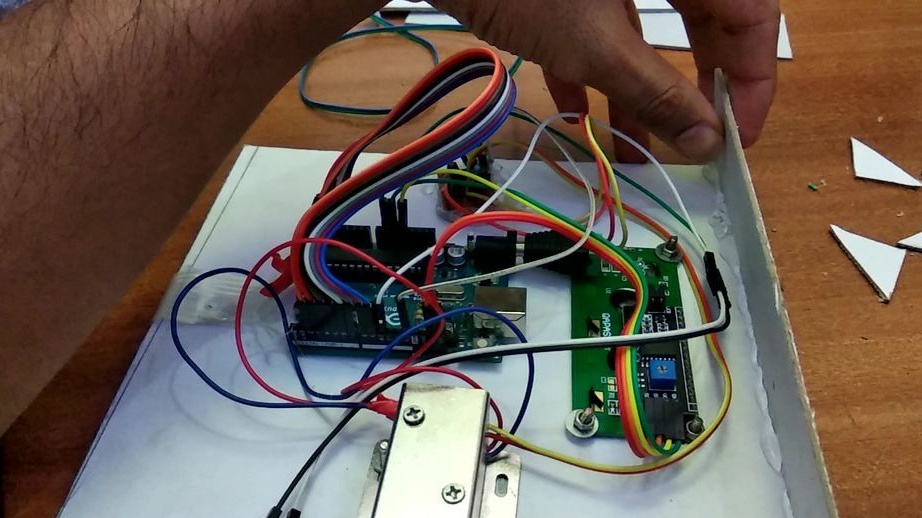
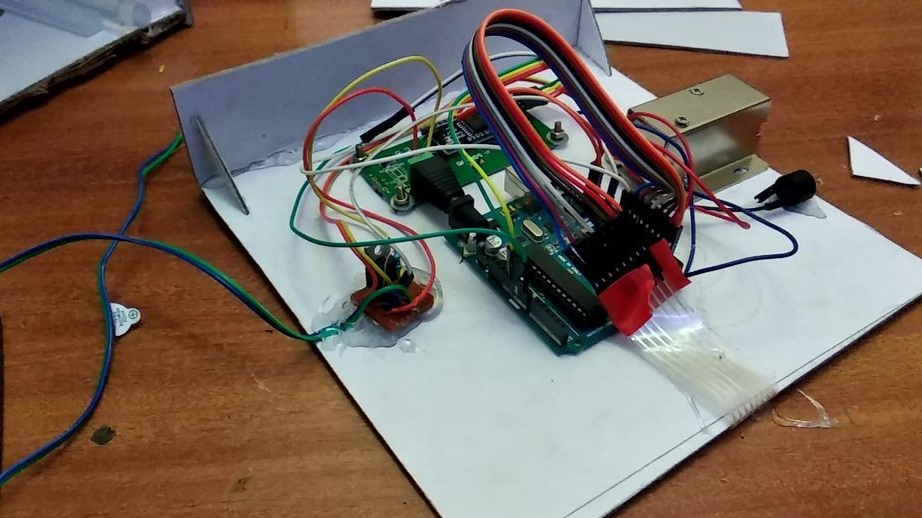
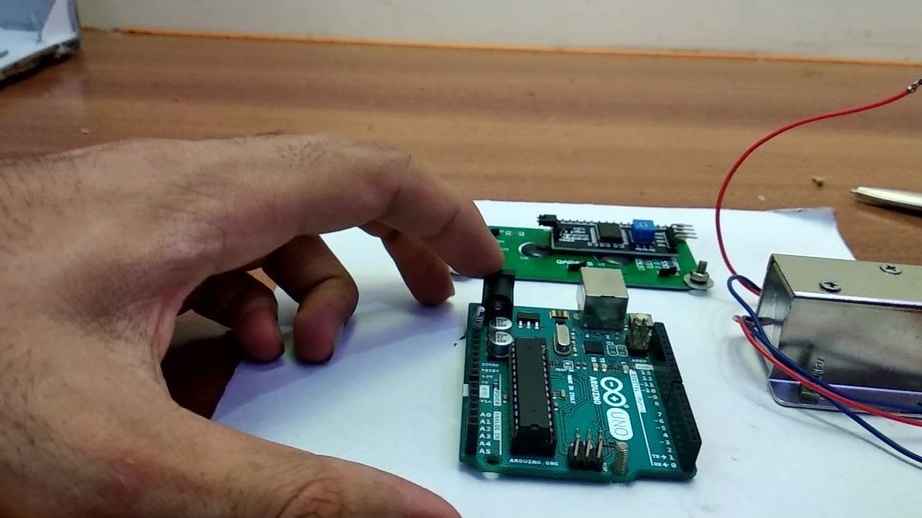
Step Three: Electronics
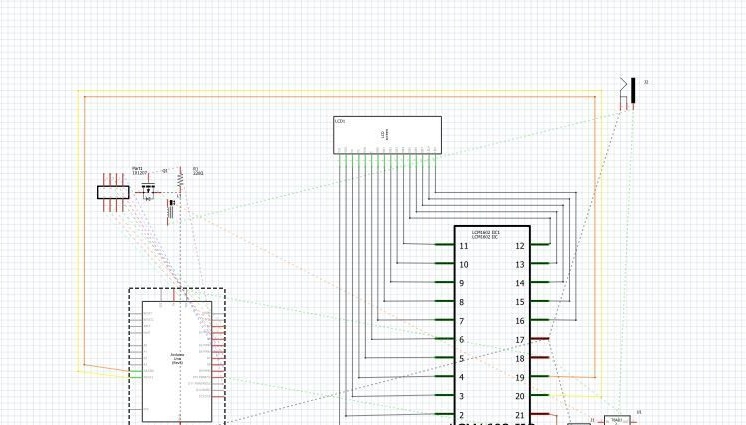
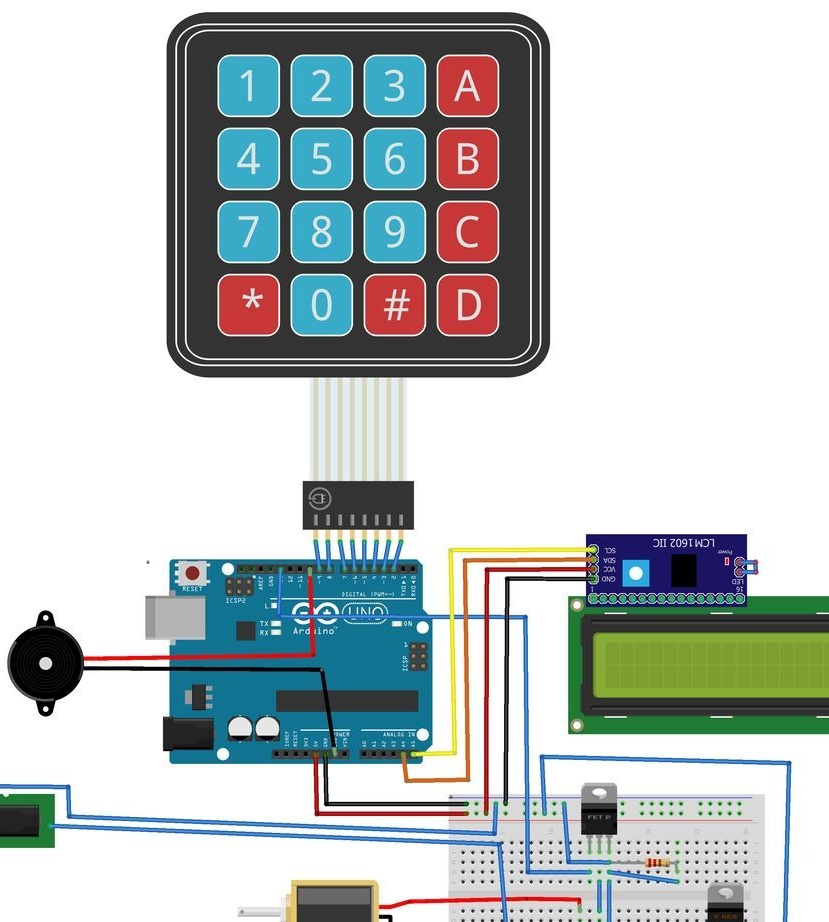
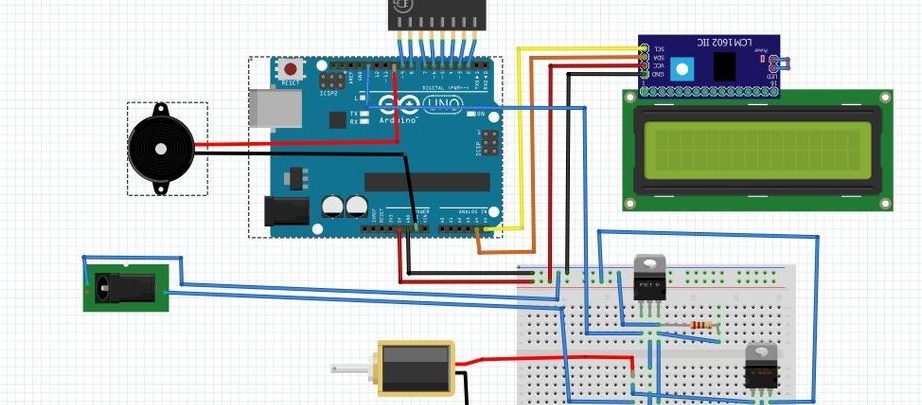
Installation of electronics will be carried out according to the scheme.
Connects to Arduino.
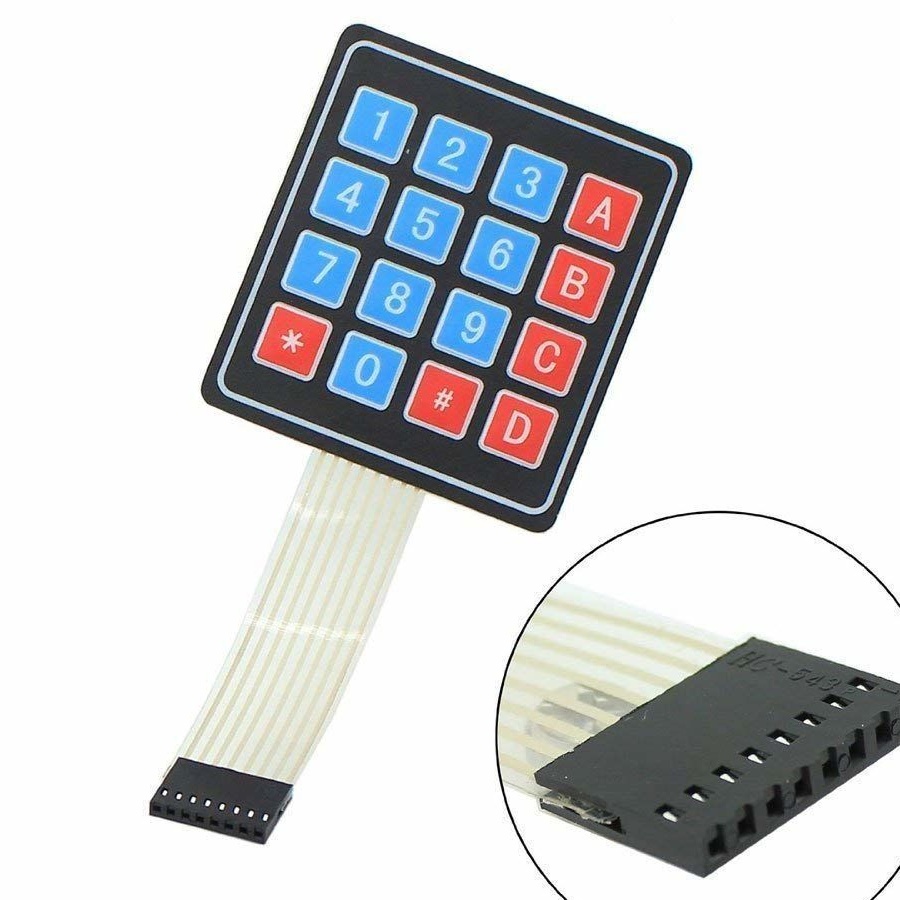
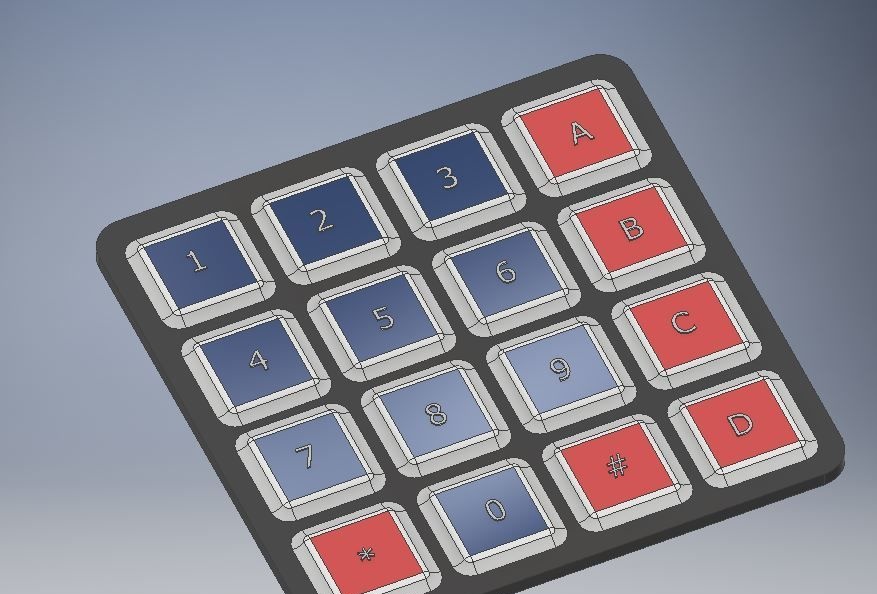
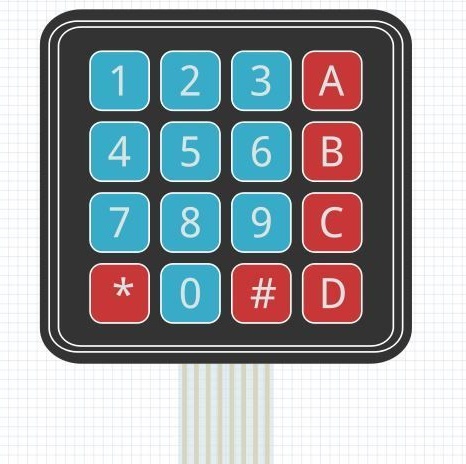
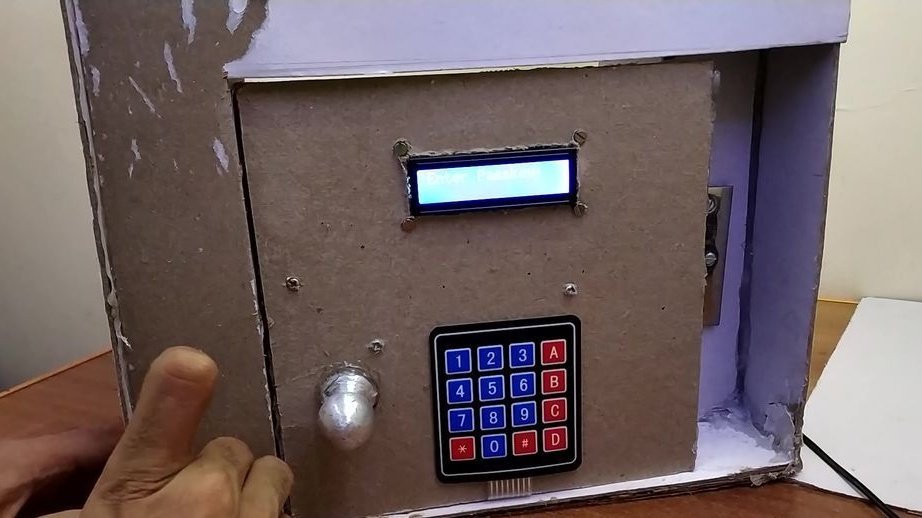
Keyboard Contacts:
1- D9
2- D8
3- D7
4- D6
5- D5
6-d4
7-d3
8-d2
Buzzer:
plus is D10, minus is GND.
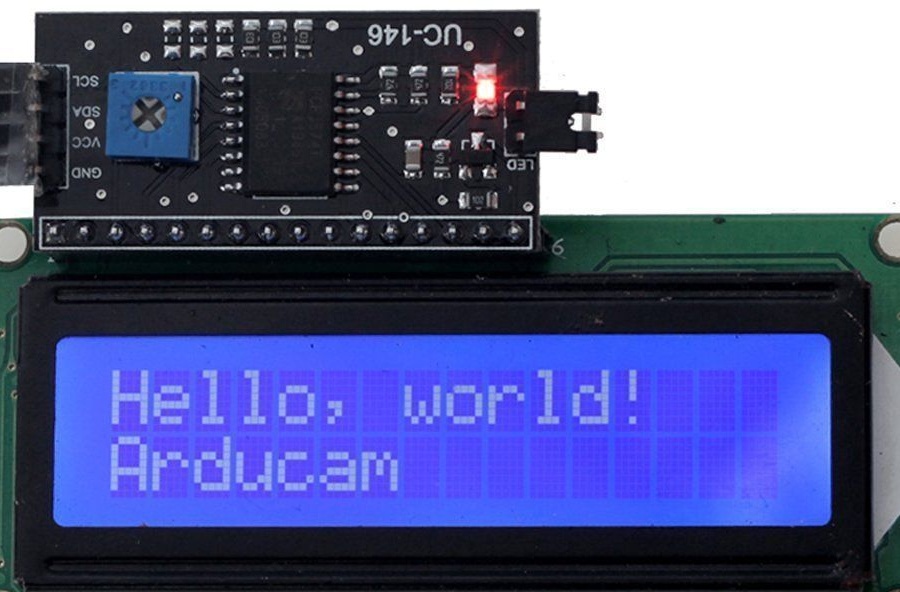
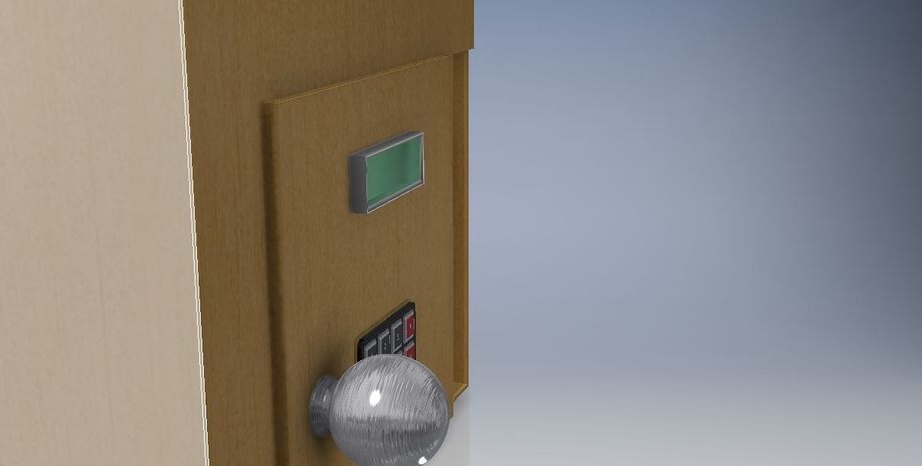
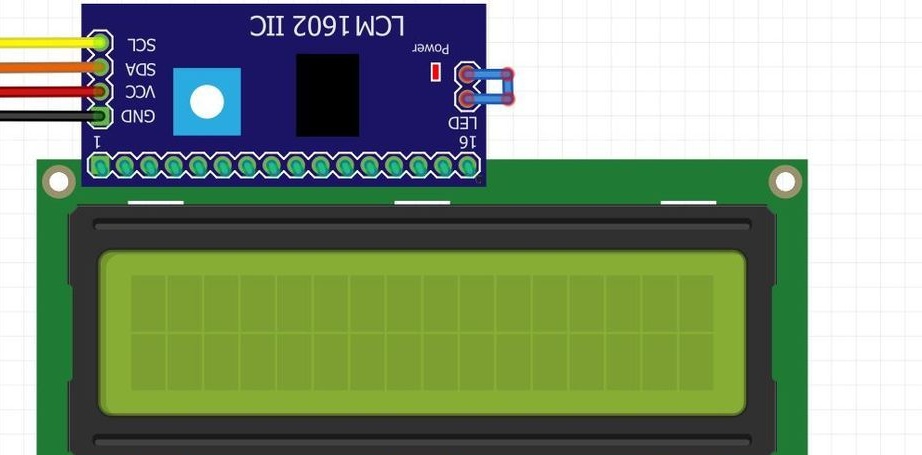
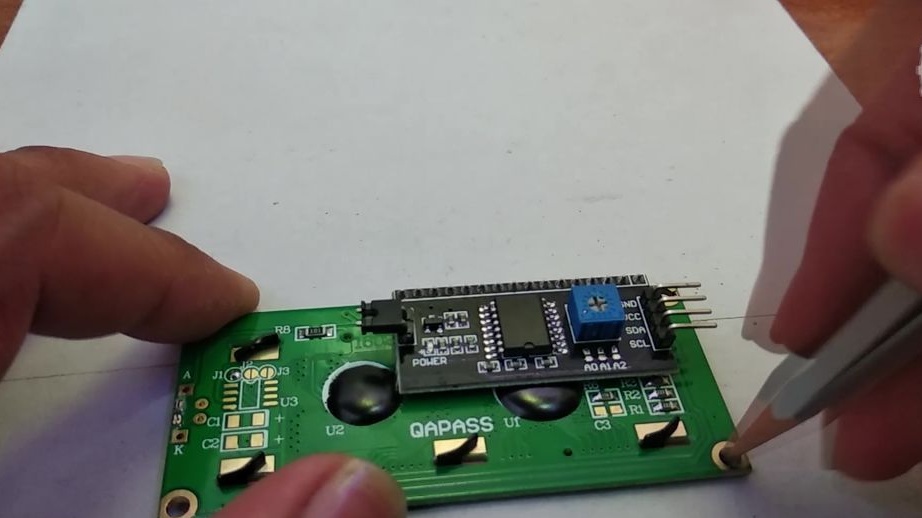
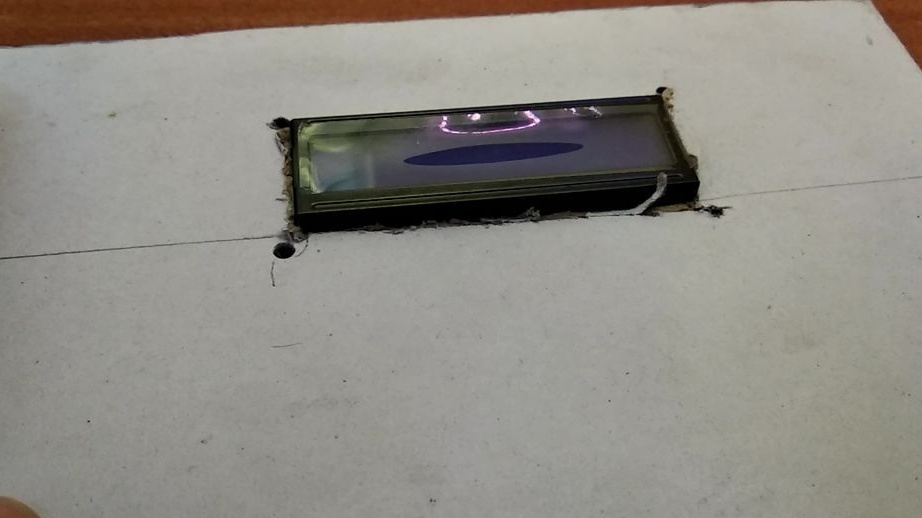
LCD display:
SCL - A5
SDA - A4
Vcc - 5V
GND - GND
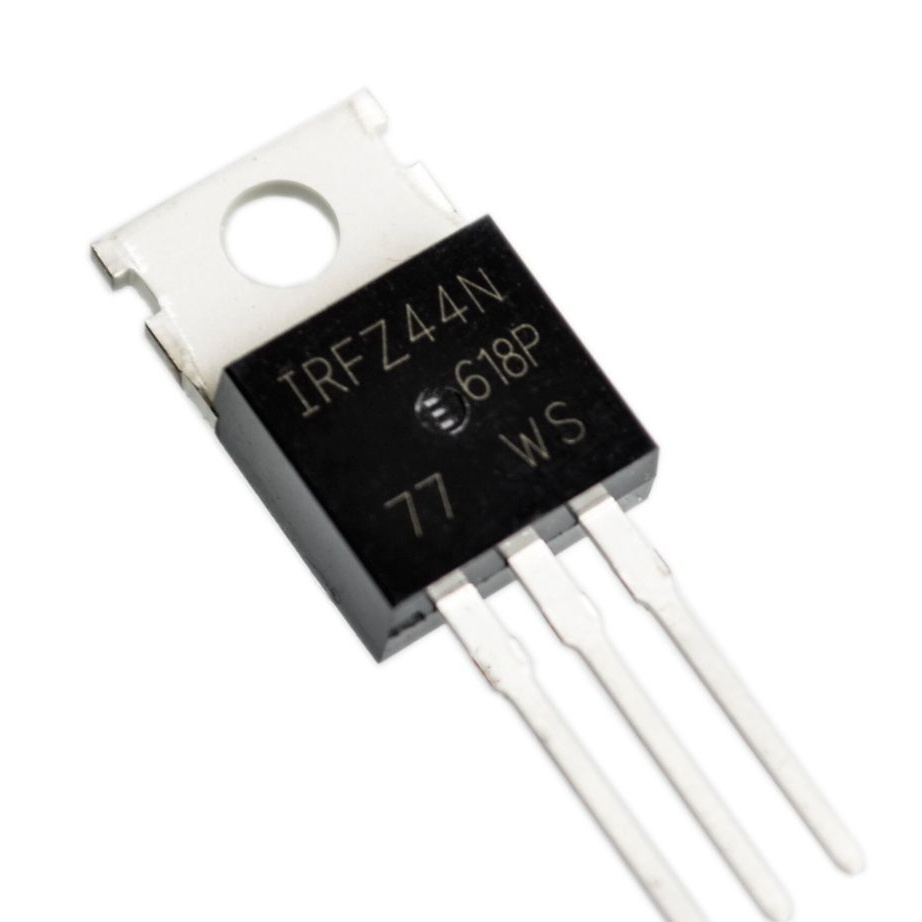
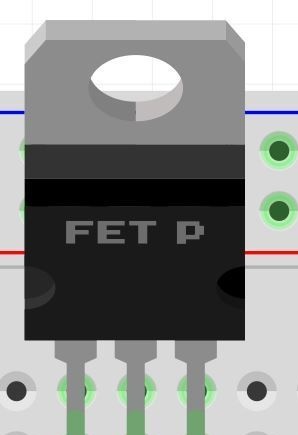
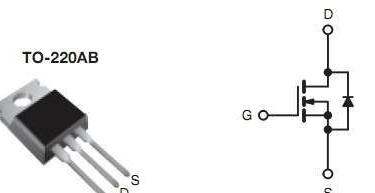
Transistor IRFZ44N:
S - GND Arduino and minus 12 V power supply
G - D13
D - minus the electric lock
10 kΩ resistor between S and G
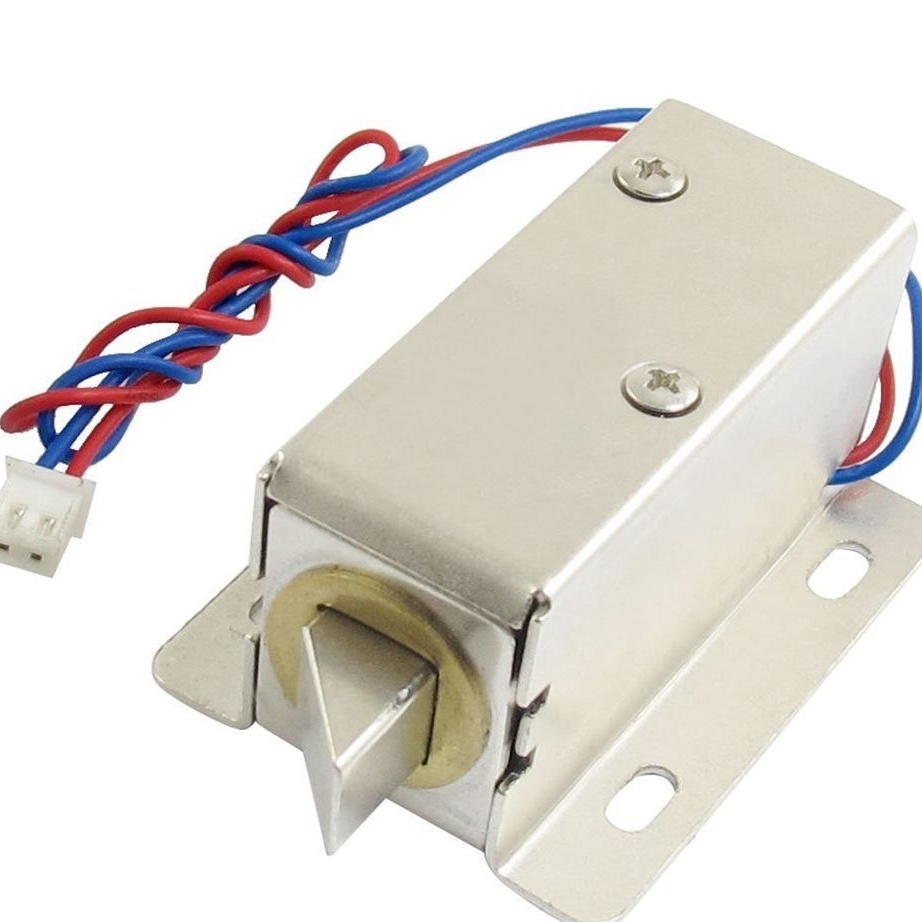
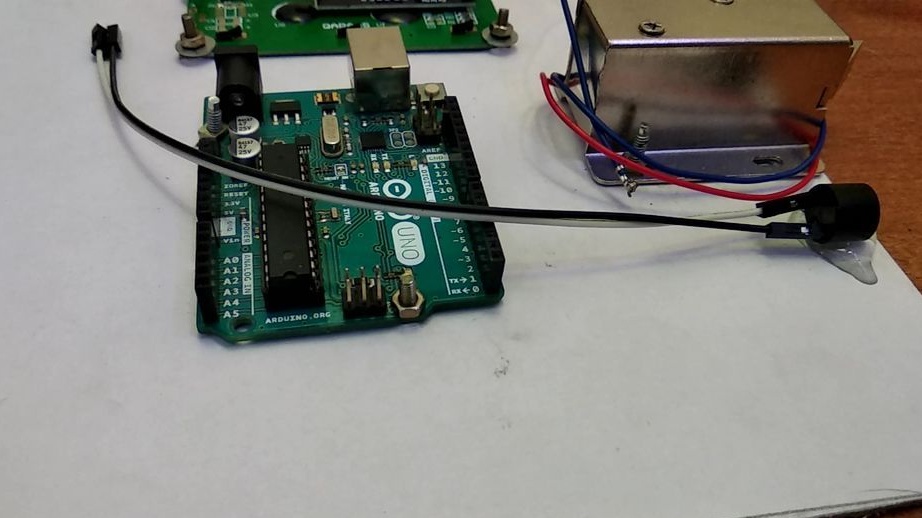
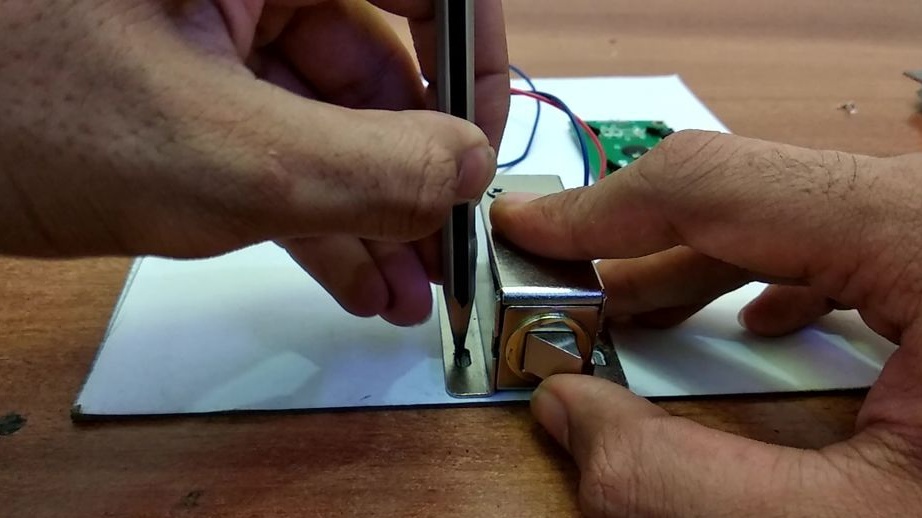
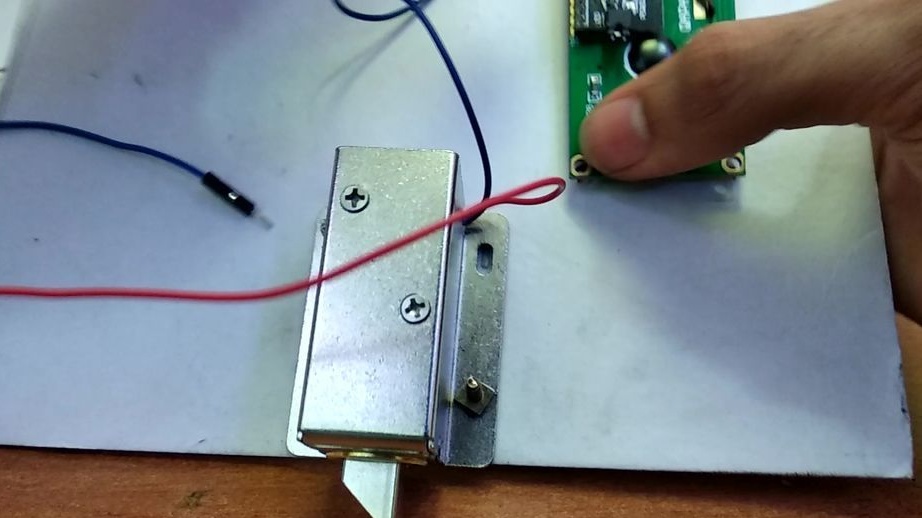
Electronic lock:
positive - plus 12V power supply
negative - D transistor
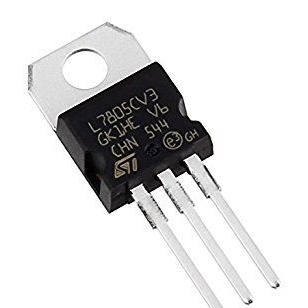
Voltage Regulator LM7805
in - plus 12 V power supply
Gnd - gnd
out - 5V Arduino


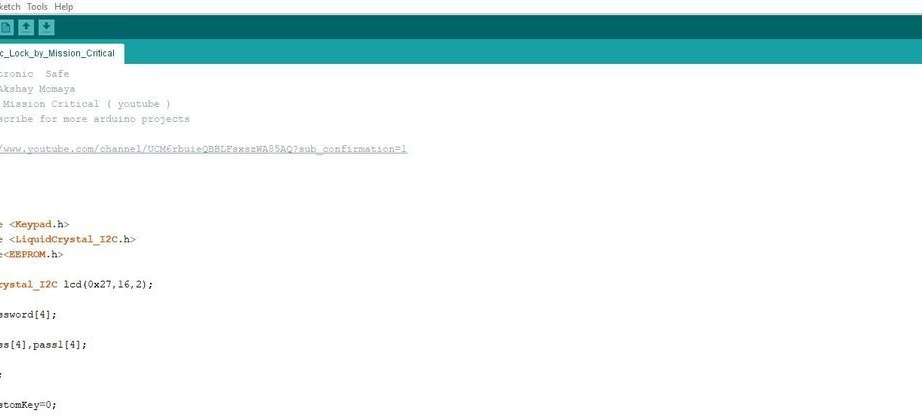
Step Four: Code
For the code, the master used three libraries: eeprom, Liquidcrystal_I2C, and keypad. The default access code is 0123. You can change the password using the “#” symbol.
LiquidCrystal_I2C
EEPROM V2.0 for Arduino
For keyboard.
Arduino-LiquidCrystal-I2C-library-master.zip
Keypad-master.zip
EEPROM-master.zip
Electronic_Lock_by_Mission_Critical.ino
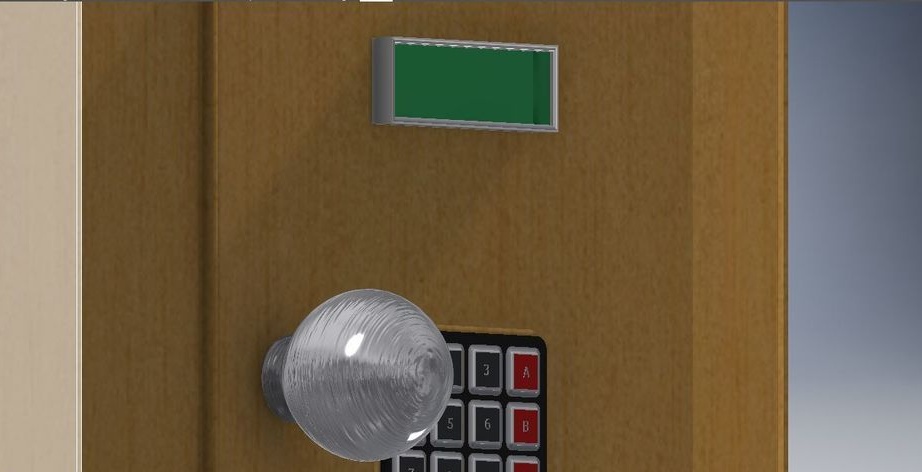
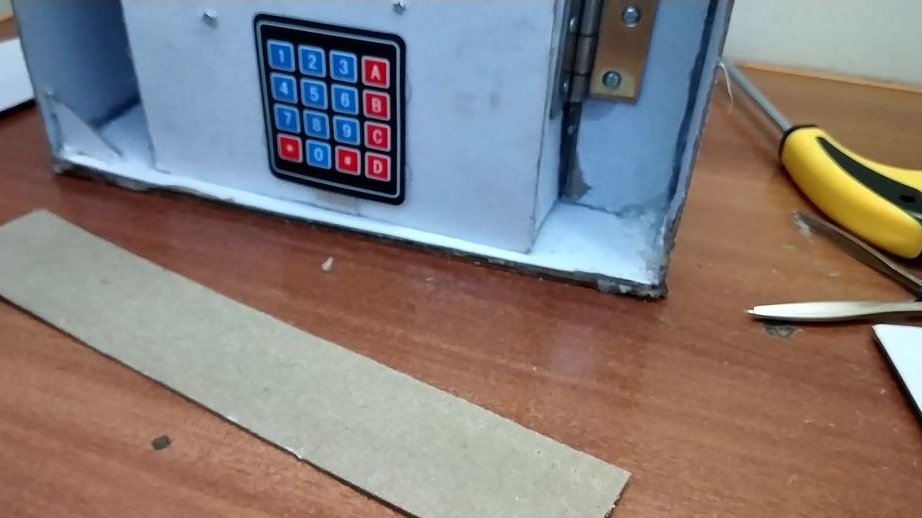
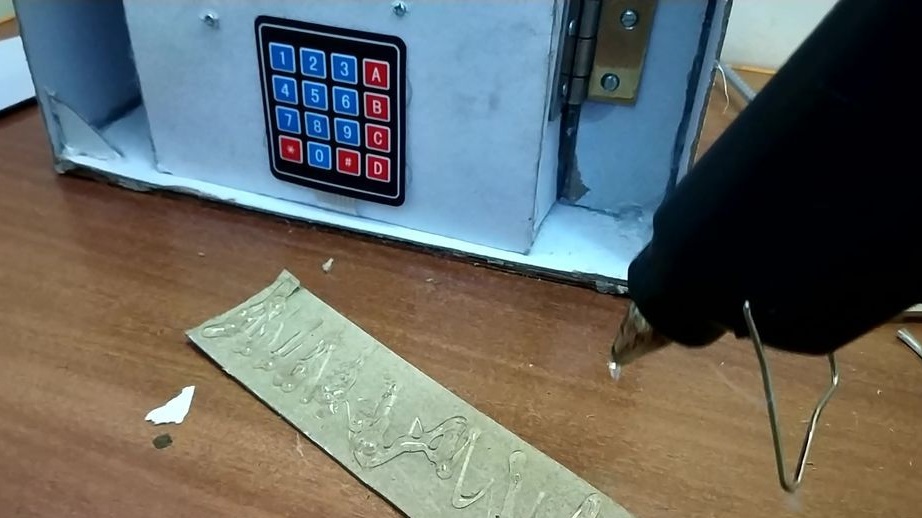
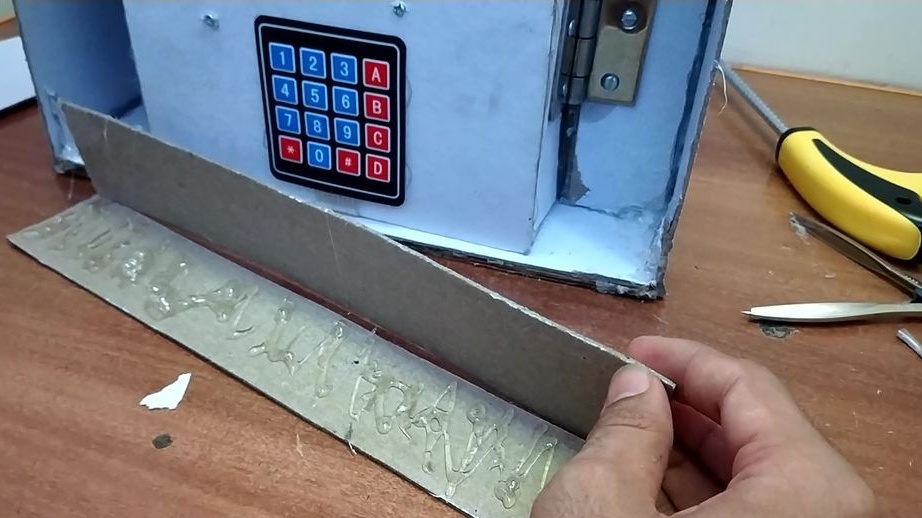
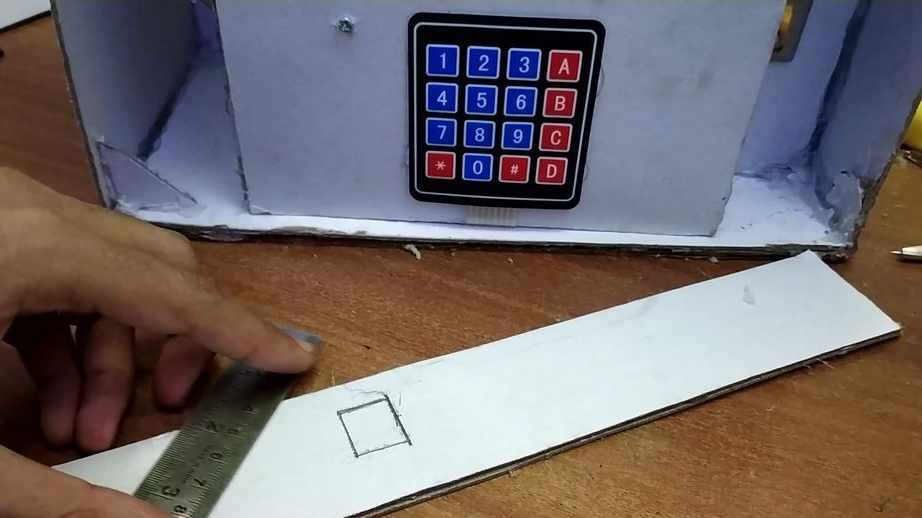
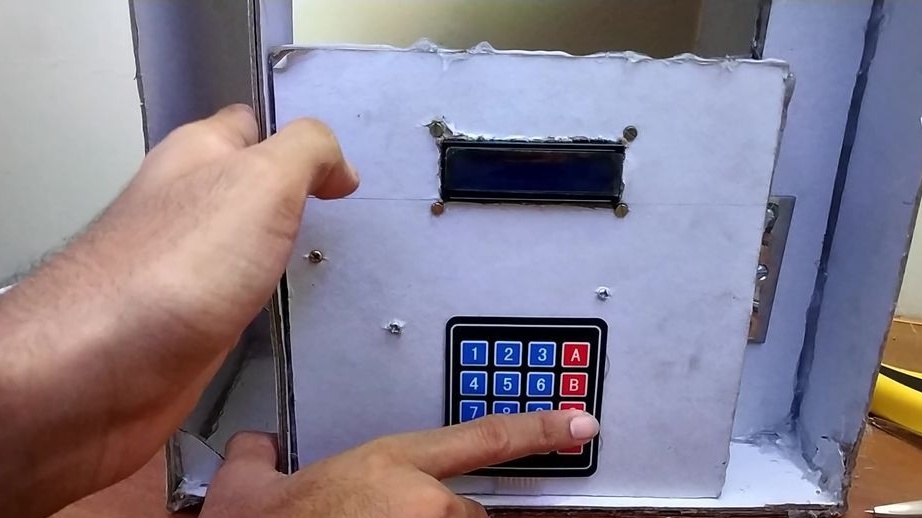
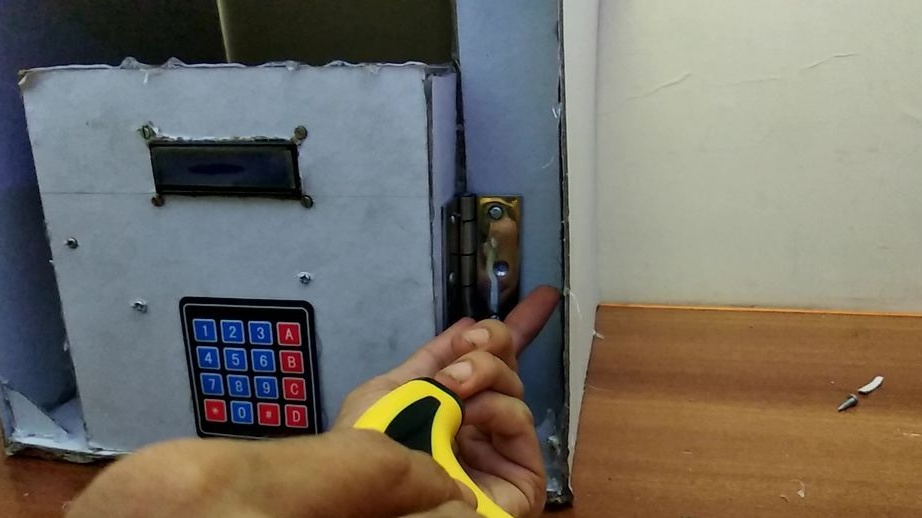
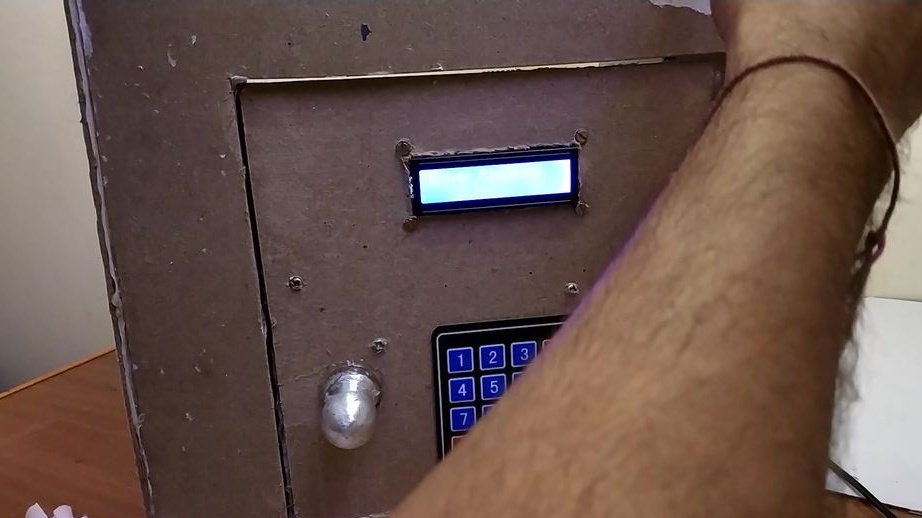
Step Five: The Door
Installs electronics on the safe door. Screws a hinge to the door.


Step Six: Installing the Door
Sets the door to the safe.


Seventh step: finish
Wraps the interior of the safe with red velvet paper. Paste paper on the front side.
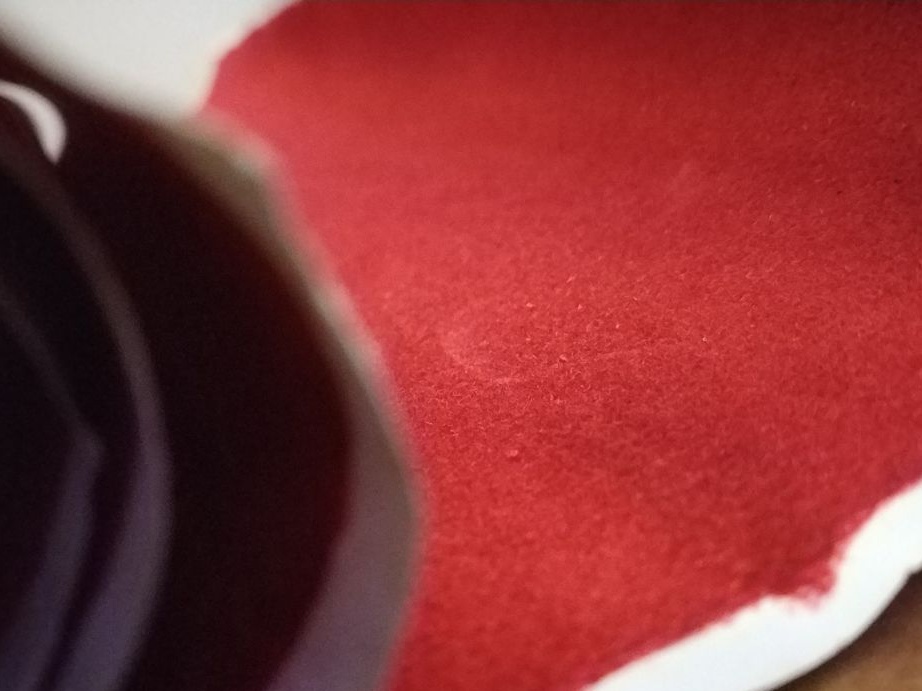
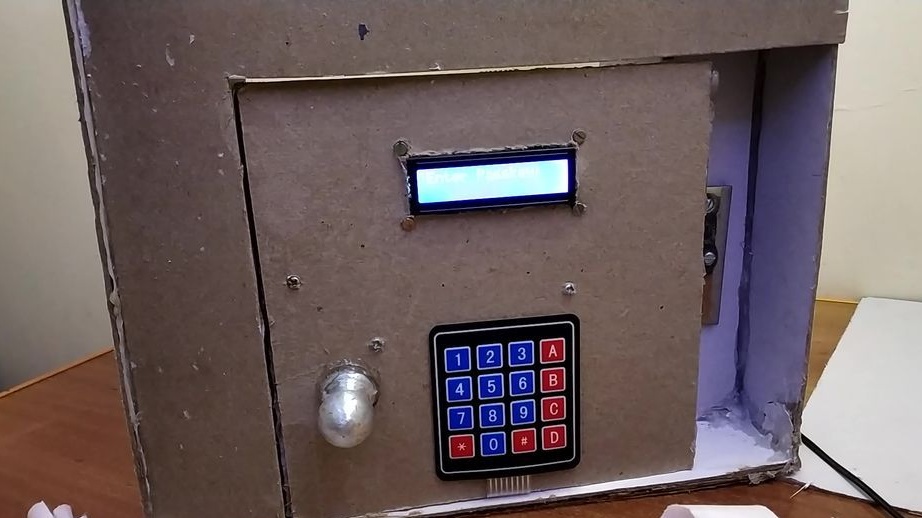
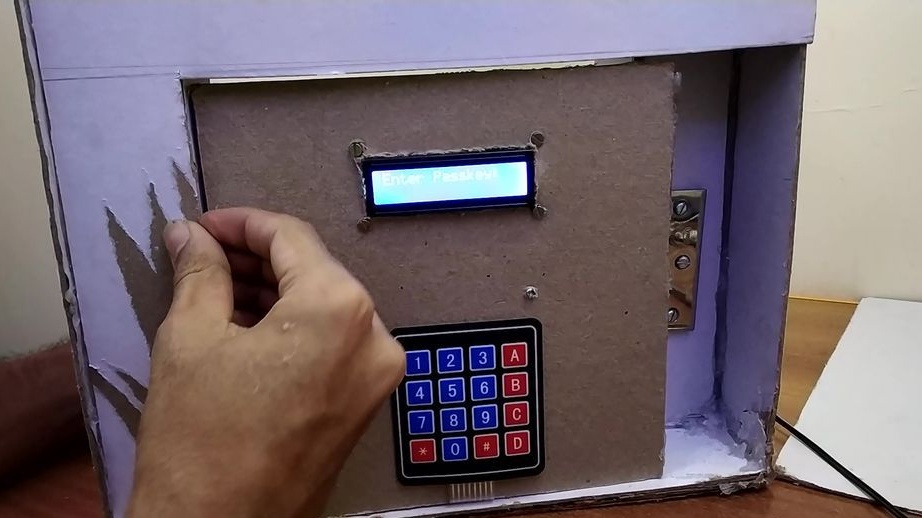
Safe with electronic lock is ready.
You can watch all the stages of manufacturing a safe on video.