
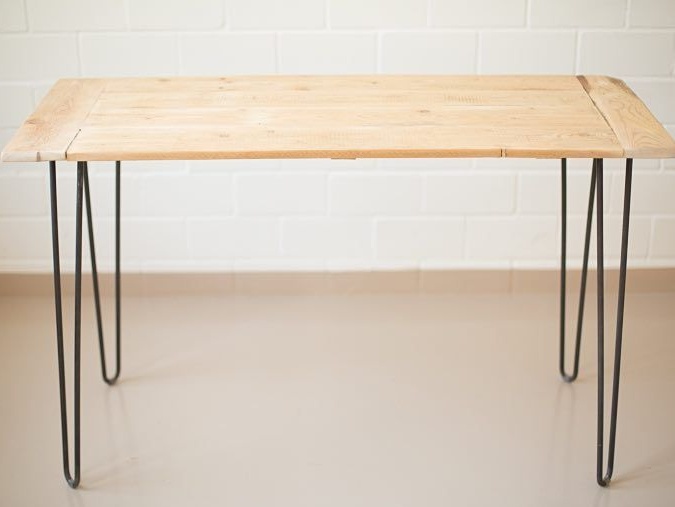
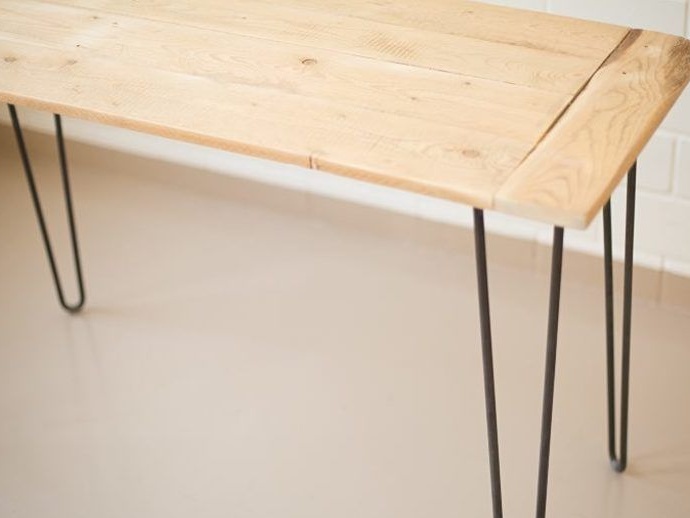
In this article, Melanie will show you how to build a table from old floorboards and metal stilettos.
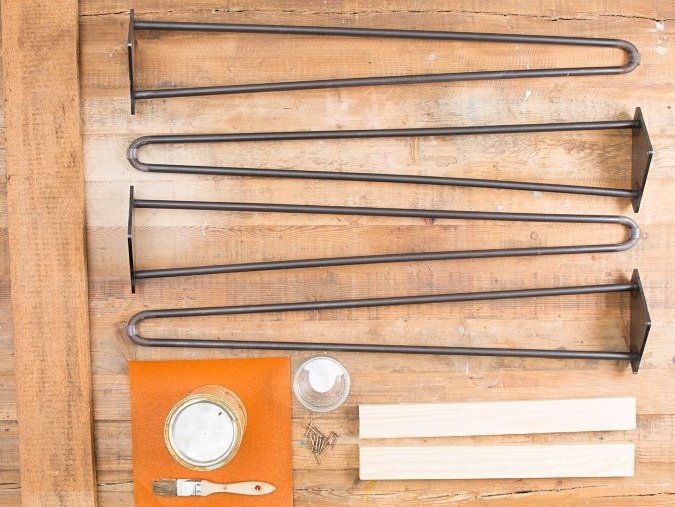
Materials and tools.
• Old wooden floorboards.
• Small wooden planks.
• Four stilettos.
• Wood glue, carpentry or PVA.
• Sanding machine or sandpaper.
• Cordless screwdriver or screwdriver.
• Cordless drill.
• Manual jigsaw (hacksaw).
• Screws.
• If necessary: pull belt (fastening belt), clamping clamp.
• Optional: brush and varnish or varnish.
Have you always dreamed of creating your own table? With this instruction it will not be difficult. All you need is a tree, iron legs in the form of hairpins and a not very complicated tool. Consider the whole process step by step.
STEP 1: Prepare the material.
To build a table, you need space and appropriate material. If you do not have all the necessary appliances at home, you can purchase them at some hardware store. Finding a cheap, suitable tree is not so simple. The author was lucky and she found something in the attic. Newspapers and ads on the Internet can be a good help in finding the right materials. If you do not find anything there, you can contact building materials dealers who will offer you boards of various thickness and quality and let them go to you in the right footage. The thickness of copyright boards is 10 mm. Pay attention to ensure that the material meets the requirements of the table.
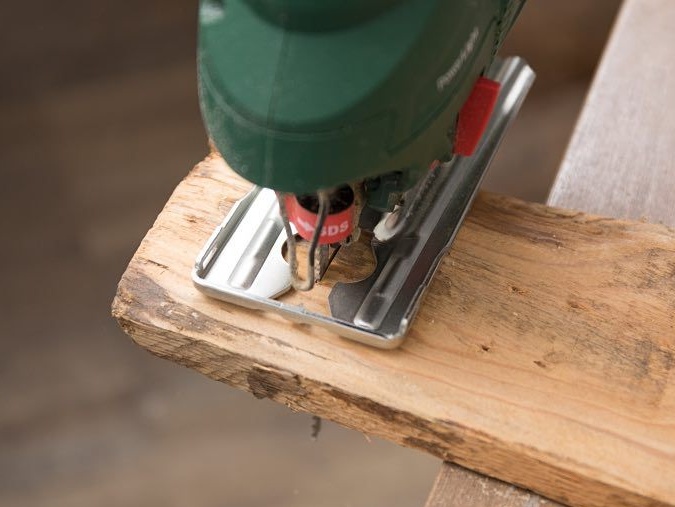
STEP 2: Cut the boards.
Before you start assembling the table, you should cut the boards of the desired length using a jigsaw.
For a table of 120 x 50 cm, the author used a total of 4 boards 100 cm long and two smaller boards 50 cm long. This length is suitable for a desk. For a dining table, you need a little more wood.
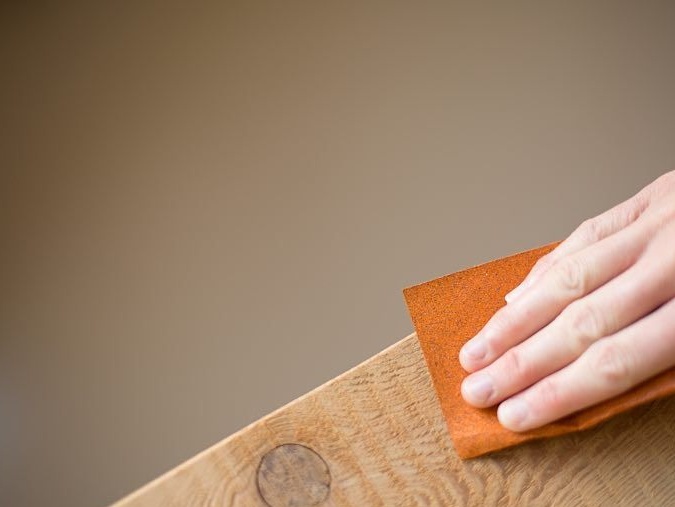
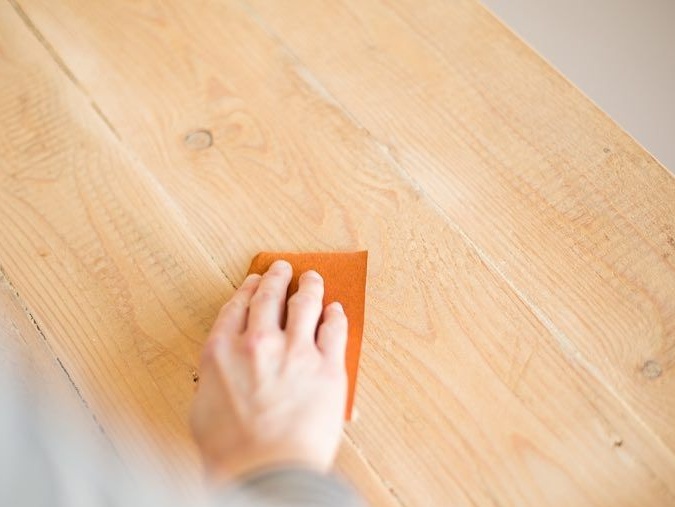
STEP 3: Strip the boards.
An old forest often has a rough surface and is covered with mud. Therefore, before use, you must carefully clean and sand the boards. With a grinder, this is done quickly and easily. You can also sand the surface of the wood manually. Depending on the condition of the boards, first sand with coarse sandpaper (grain size 60 - 80), and then work on the surface with thinner sandpaper (100 - 120). Depending on how smooth you want the tree to be, you can always use thinner paper.
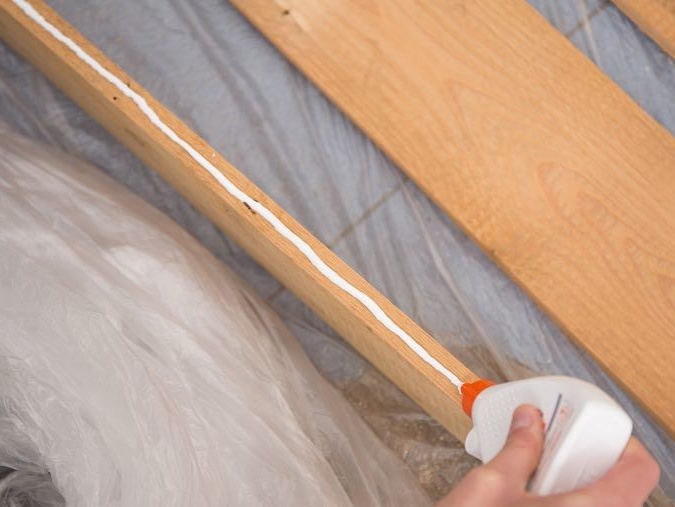
STEP 4: Glue the boards.
At this point, you glue the boards together. Start with long boards. To make sure that the glue holds well, you can glue two boards first. To do this, apply glue on the tree to the corresponding edging and slightly distribute it with your fingers. Then firmly press both boards and tighten them with straps or clamping clamps. It’s not scary if a little glue comes out as a result. While the glue is drying, you can remove it with a spatula. Wait until the glue has completely dried. The drying time of the adhesive is usually indicated on the packaging. Then connect the glued floorboards in the middle so that the result is a solid countertop. Before proceeding, wait until the glue has completely dried and the boards join tightly together.
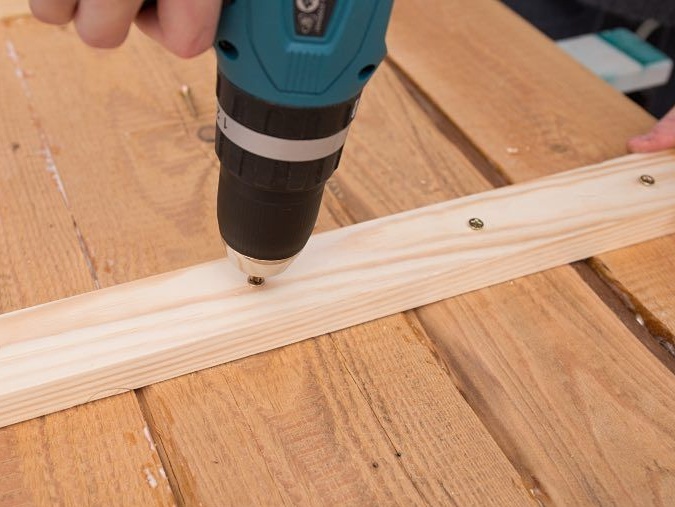
STEP 5: Attach the slats (slats).
For greater structural rigidity, it is recommended to fasten the boards on the back of the table with the help of rails (bars). To do this, place the rail (beam) on the left and right of the solid plate (future countertop) at a certain distance from the edge, across all the boards. Drill 4 holes in each bar (one for each of the countertop boards) to prevent cracking of the rails. Self-tapping screws will need to be screwed into these holes. The author used self-tapping screws 25 mm long. They should be so long that the rail and the surface of the table are well interconnected, while the sharp end of the screw does not protrude from the surface of the countertop.
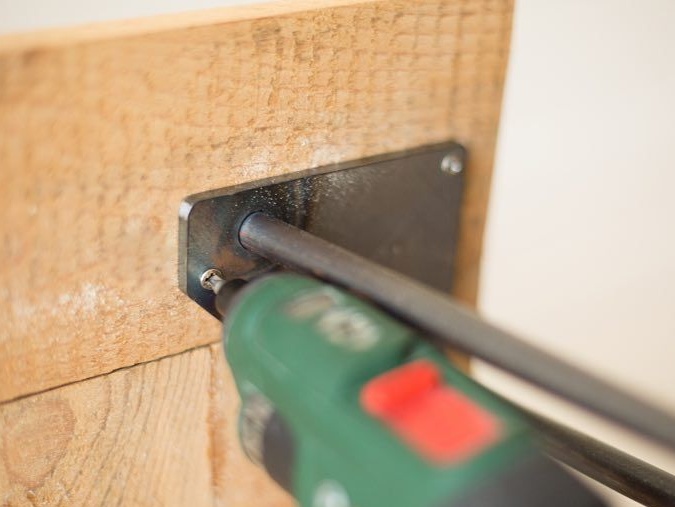
STEP 6: You can screw the legs.
Your countertop is ready. It remains to screw the legs. The stud legs usually have three mounting holes for the screws. Place the legs on the countertop so that two holes are located on the transverse short board and one hole on the longitudinal long boards. This will give the table even more stability. For screwing it is best to use a screwdriver. But you can also use a regular screwdriver. Again, it is important to pay attention to the correct screw length.
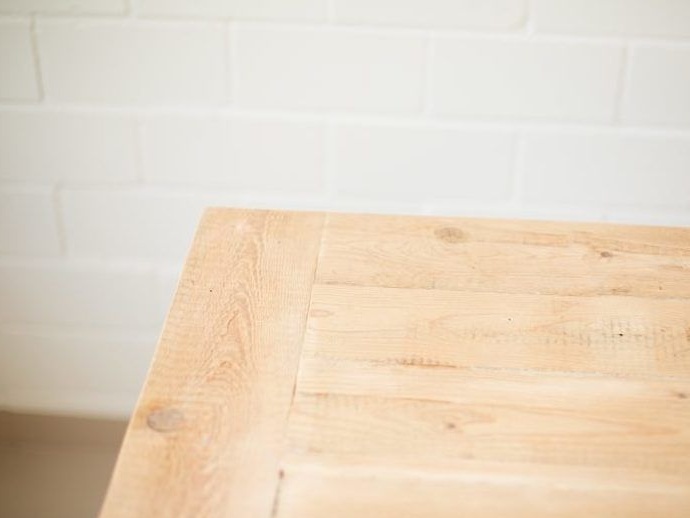
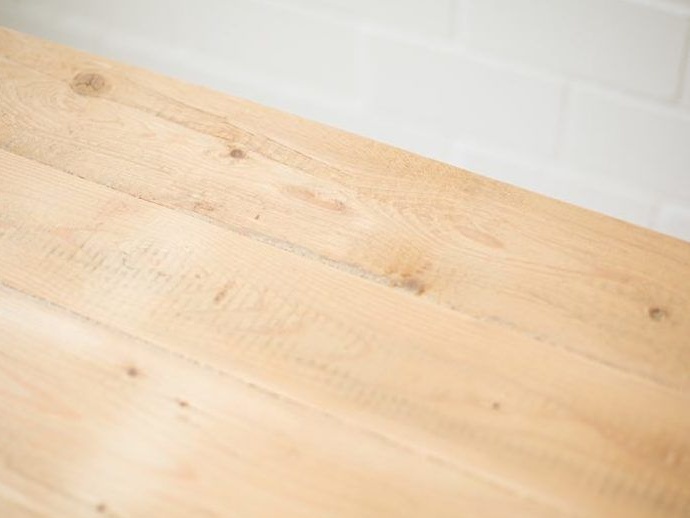
STEP 7: Finish.
The table itself is ready. To make the surface smoother, you should again grind the countertop and all its edges. If large gaps (grooves) occurred between the boards during gluing, you can putty them with a mixture of sawdust and wood glue, or PVA. At the end of everything, you can also proliferate the countertop or open it with varnish.
P.S. I recommend taking boards for countertops thicker, 20mm.
That's all, the manual was prepared by Melanie.
All good homemade!