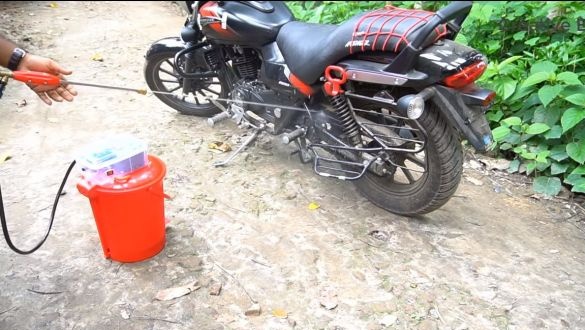
Greetings to fans traveling through the mud by car, motorcycle or even bicycle. Surely after such a ride you have a problem - how do you wash vehicles from this whole thing now? This is best done with the help of a powerful pressure of water, this will quickly wash the dirt from the most inaccessible places, and all this happens quickly and efficiently. But what if there is no pipeline with high pressure or you do not want to constantly drag the hose? There is a way out of this situation, you can do do it yourself mobile car wash!
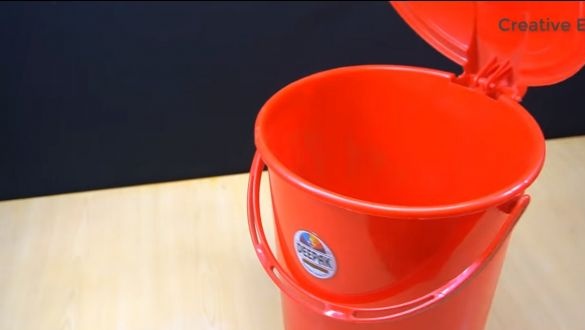
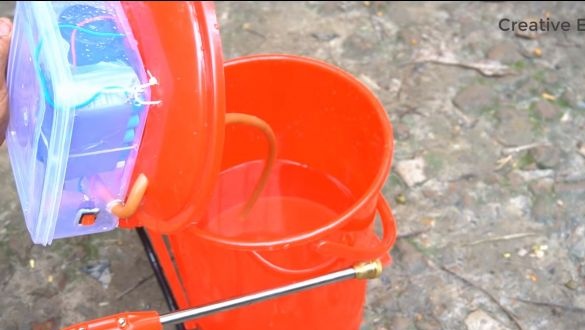
Essence homemade very simple, it is a bucket on which a powerful pump is installed. Pour water into a bucket and get a powerful jet for washing. By the way, for primary treatment with severe contamination, you can add detergent to the water to dissolve the dirt. You can also use hot water, this approach will wash away any dirt, even automotive grease, left after repair.
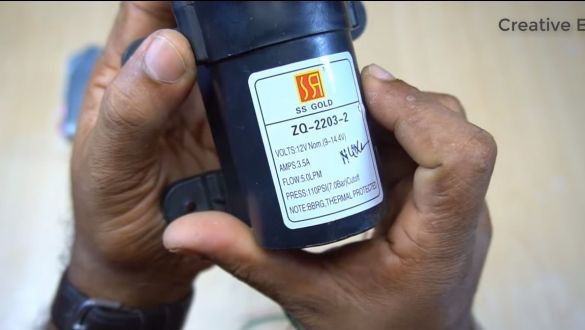
The device works from a 12V power supply, which means that you can even power it from a car battery. The author made a separate lithium battery for the washer. Wash now car easy and simple everywhere, even by a lake or any other source of clean water. So, we will consider in more detail how to assemble such a homemade product!
Materials and tools used by the author:
Material List:
- ;
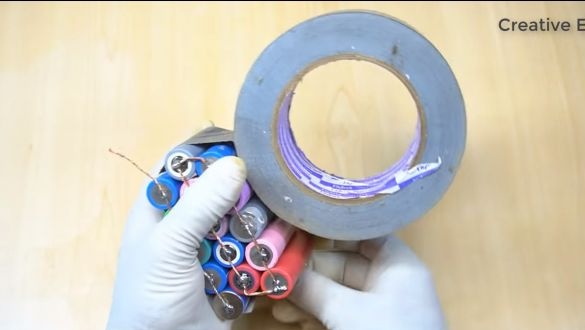
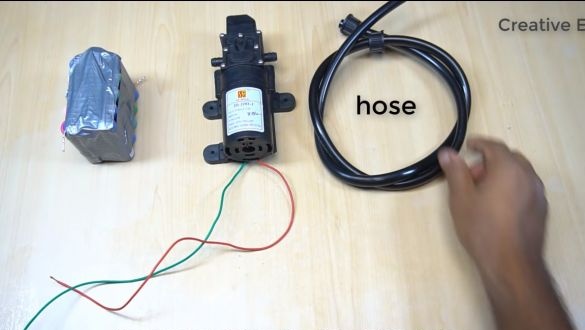
- 15 lithium cells from old laptop batteries;
- plastic ties;
- Plastic container;
- a plastic bucket with a lid;
- switch;
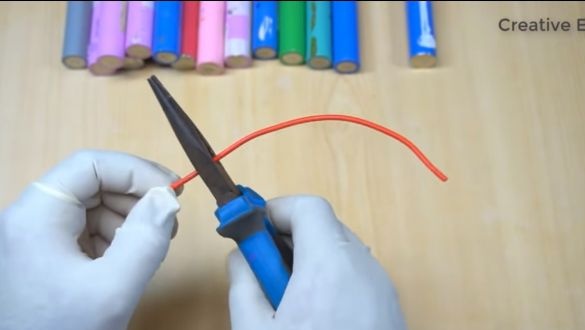
- wires;
- a socket for connecting a charger;
- hoses;
- adhesive tape or electrical tape;
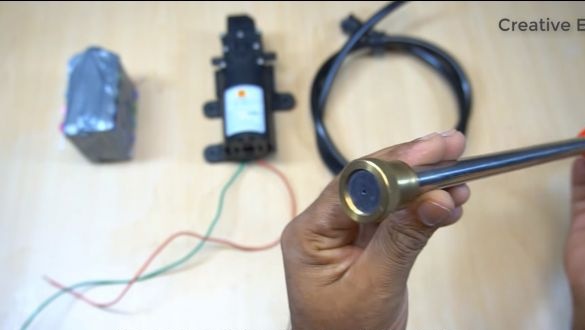
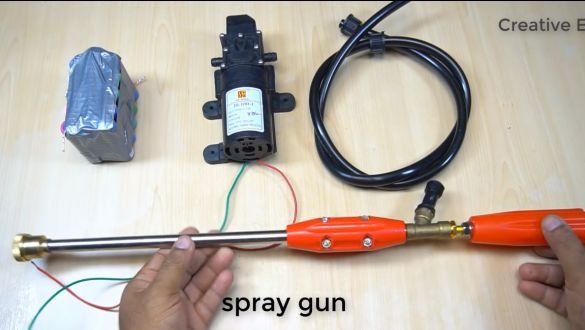
- the handle of the sprayer (you need to get not a spray, but a jet).
Tool List:
- soldering iron;
- nippers;
- glue gun.
Homemade manufacturing process:
Step one. Assembling the battery pack
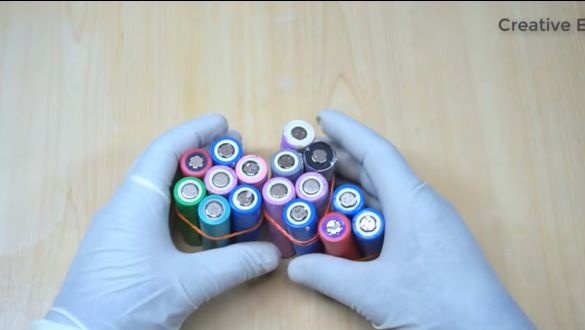
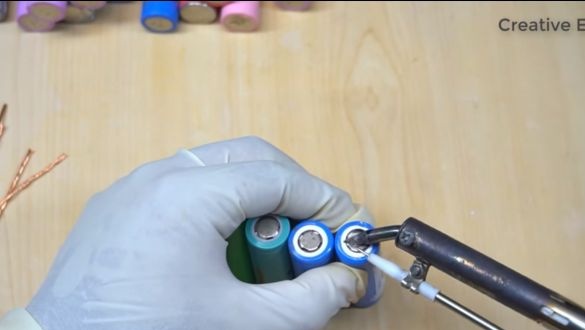
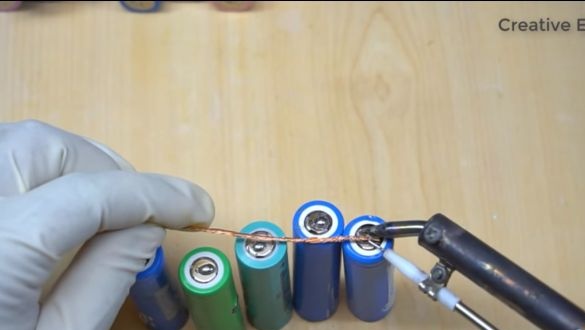
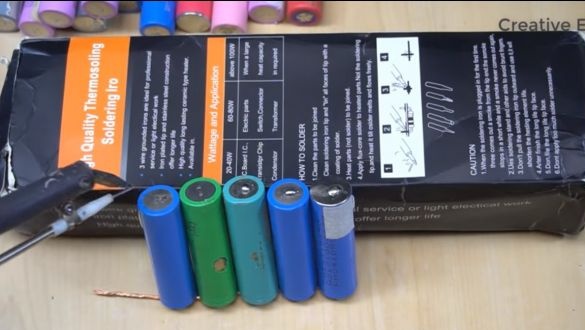
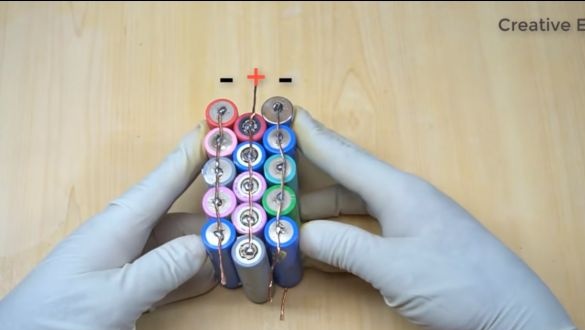
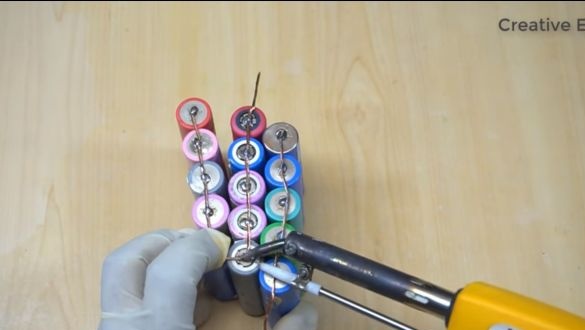
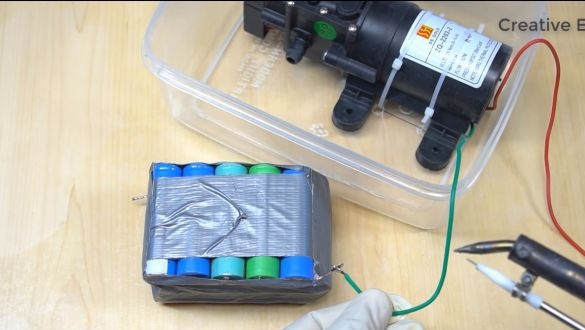
The battery pack consists of 15 lithium cells. They can be found in older laptop batteries. Although they are old, they usually still serve a lot. But such batteries are important not to discharge deeply, as they quickly fail.Still, such batteries are afraid of overcharging. So it’s best to equip a lithium battery with a charge controller.
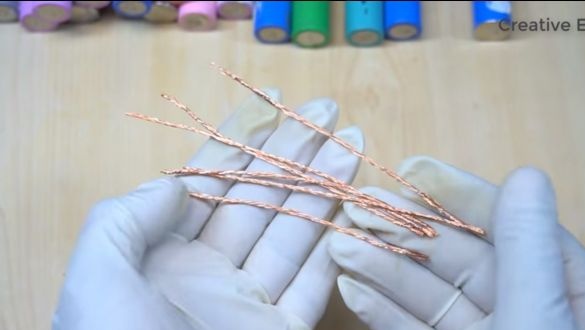
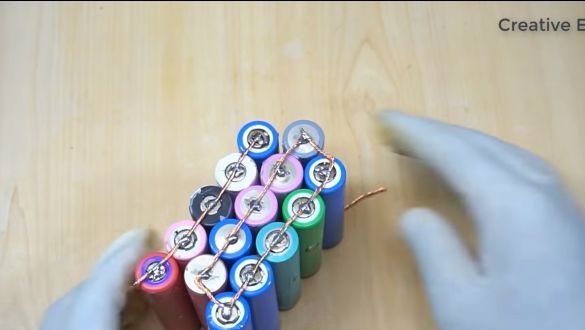
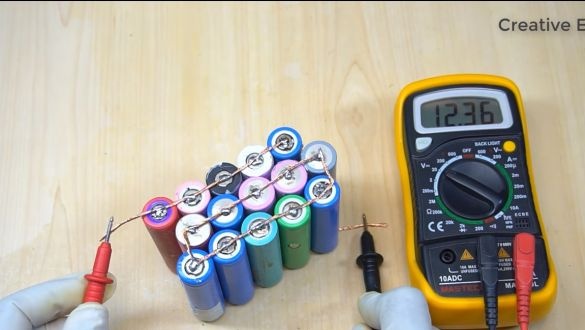
We assemble three blocks of 5 batteries each, and then we connect these blocks in series. We need to get a voltage of about 12V so that the pump can work properly.
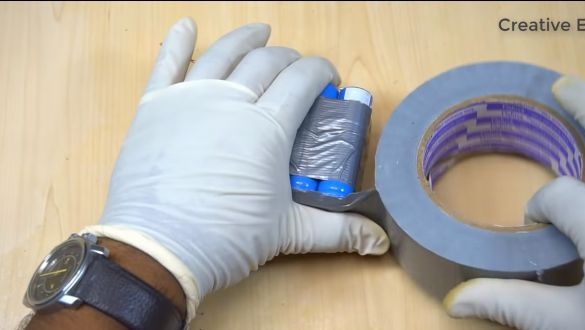
When the unit is assembled, wrap it with tape or tape, we also isolate the contacts well. That's it, the battery pack is ready!
Step Two Installing the filling in the housing
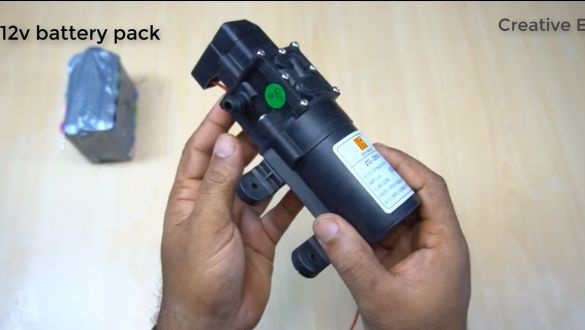
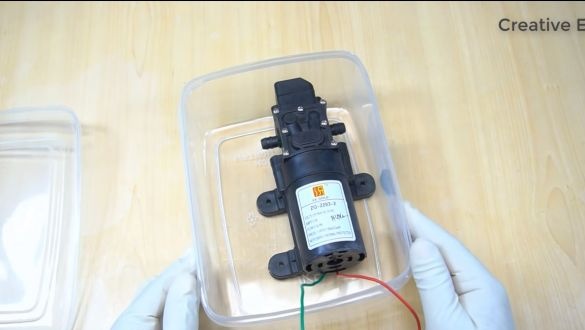
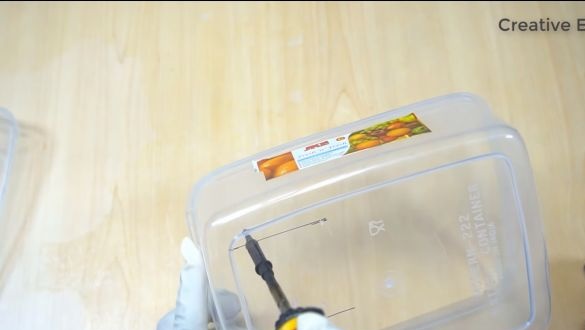
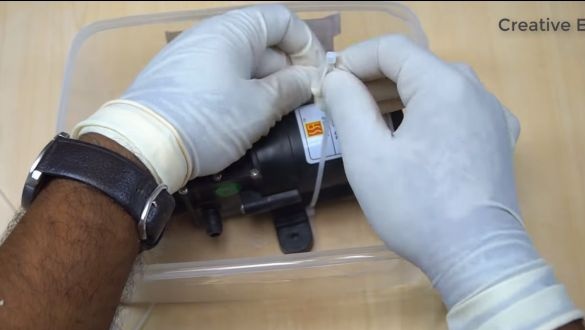
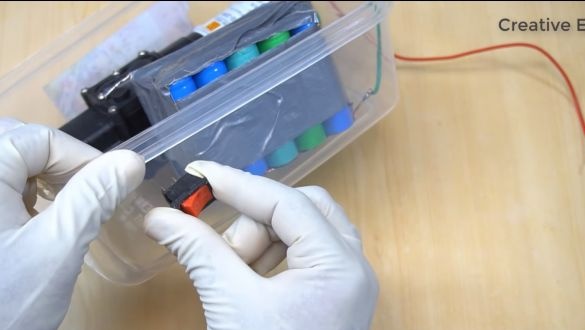
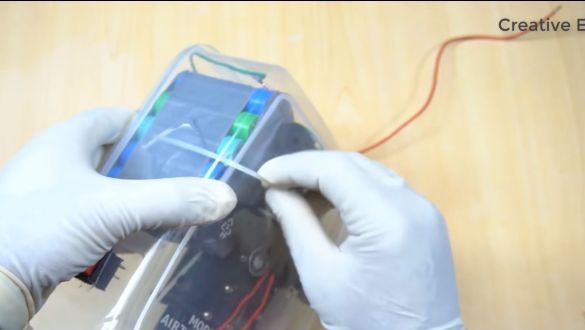
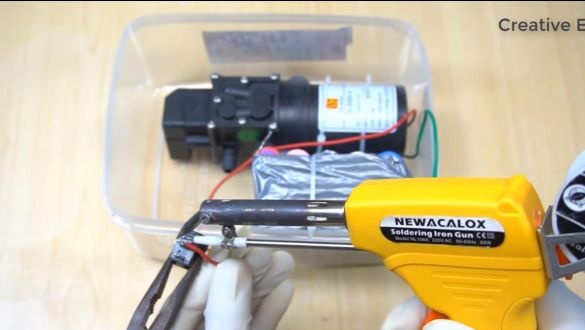
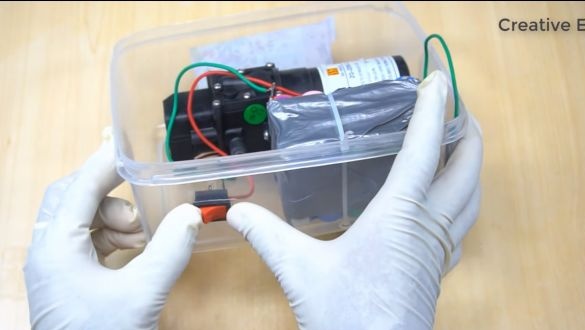
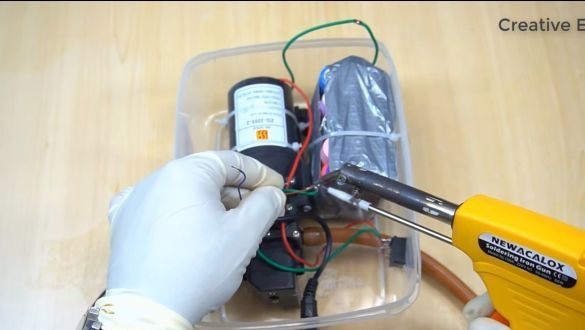
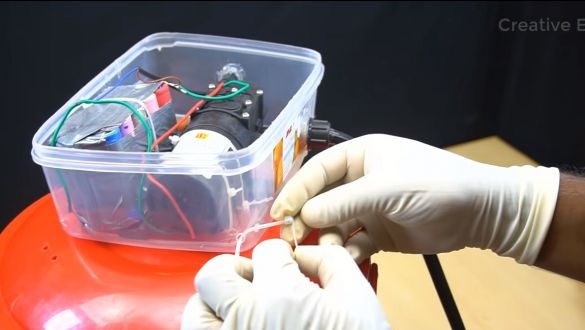
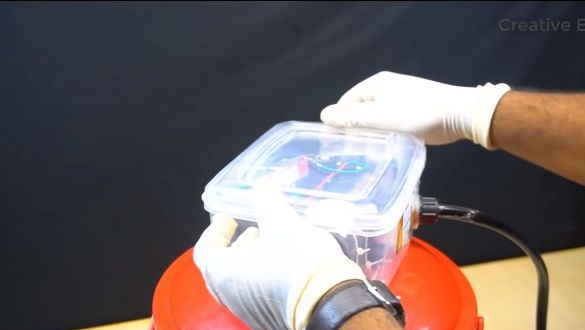
A membrane-type pump with a working voltage of 12V is used as the main power organ of the device. We fix it inside a plastic container for food, this will be our case. For fastening, the author used plastic ties. We simply burn the holes with a soldering iron, it's quick and easy.
Similarly, using plastic ties, we fasten and the battery.
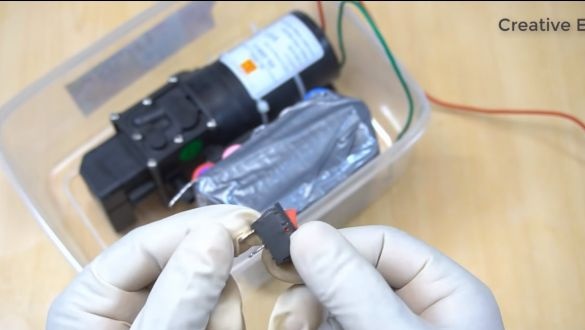
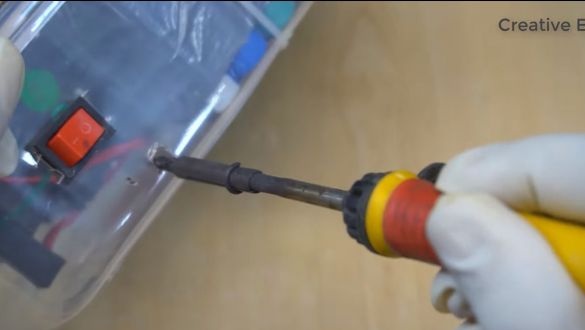
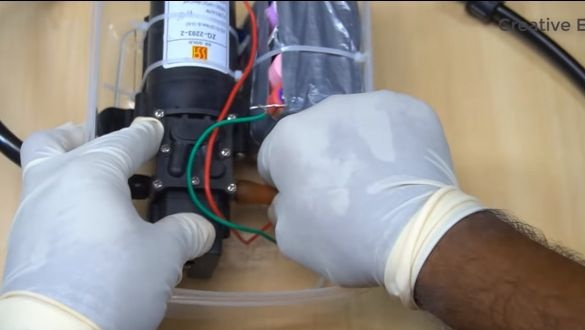
Next, we need to install the switch, cut out a window for it in the case and solder the wires. After that, you can try to turn on the pump, if everything works, fine, move on.
Step Three Hoses
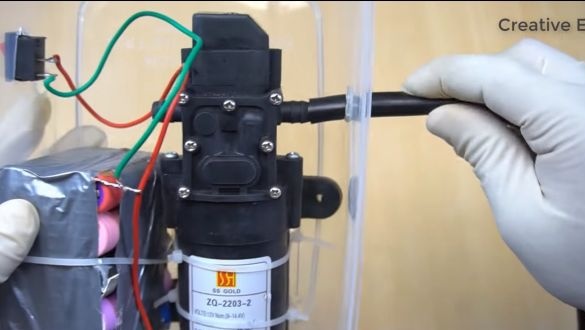
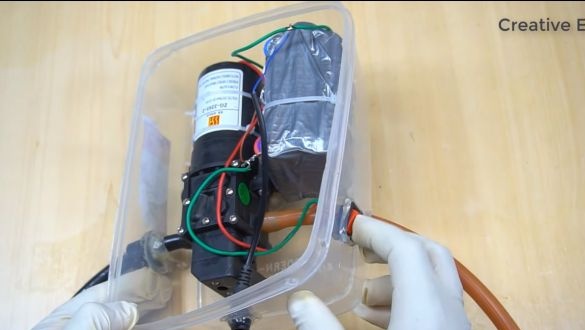
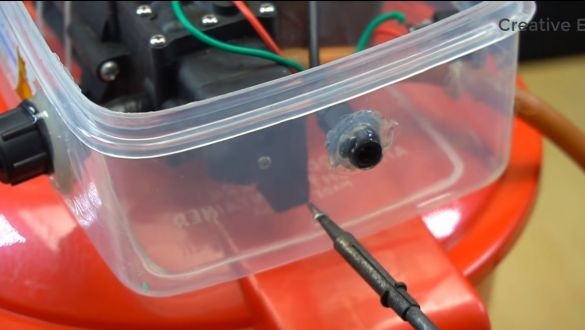
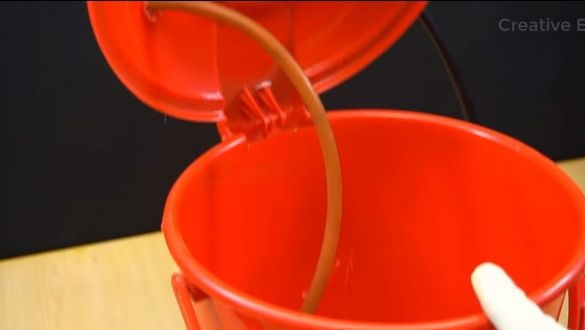
Two hoses must be connected to the pump. One hose will sink into a bucket, and take water, it is brown from the author. And the second hose already supplies water, it is black. Sink the holes under them in the body and put them on the fittings. Since considerable pressure is generated from the outlet fitting, a steel clamp can be installed on the hose. We fix the hoses just in case in the case using hot glue. Similarly, isolate from the moisture all other nodes.
Step Four Charging socket
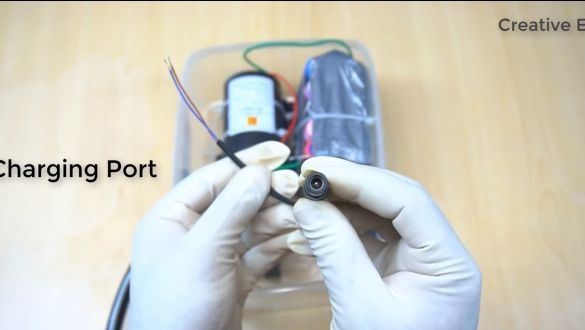
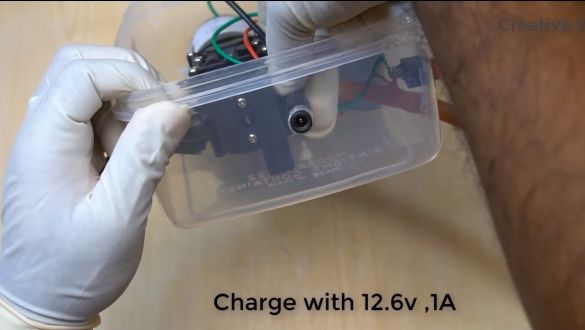
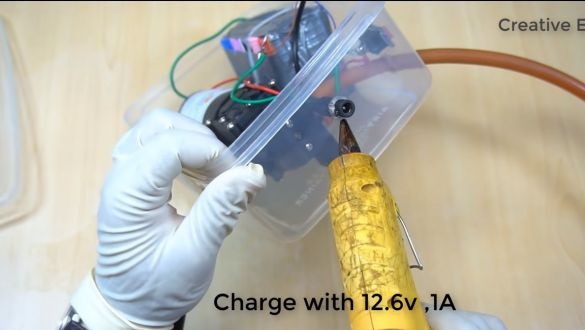
We need to charge the battery, so we will adapt a charging socket for it. The central contact should be connected to the plus of the battery, and the side to the minus. We install the socket in the hole and fix it with a glue gun.
Step Five Getting Started Assembling
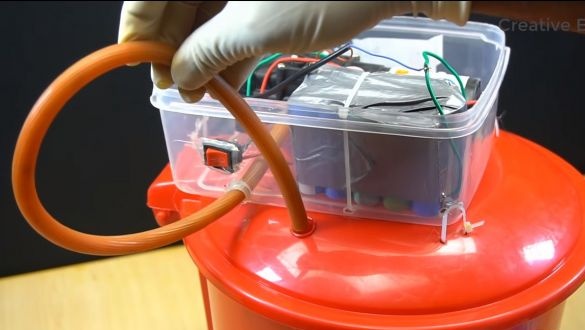
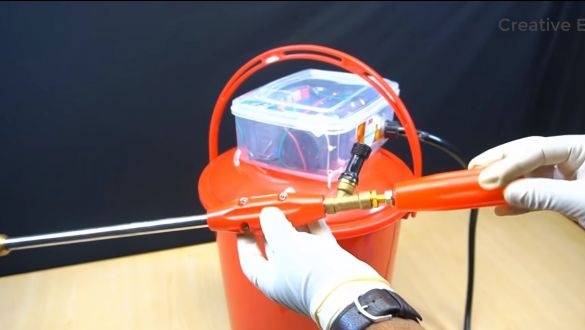
Next, we need to install a plastic container on the lid of the bucket. To do this, burn holes in the corners. For fastening, the author uses plastic ties. For reliability, the container can be fixed on all four sides. It is advisable to fill the holes at the bottom of the container with hot glue so that moisture does not pass.
Next, we burn the hole for the fence hose in the bucket lid and insert it there.
That's all, now you just have to install the sprayer handle on the hose and you can test the homemade work.
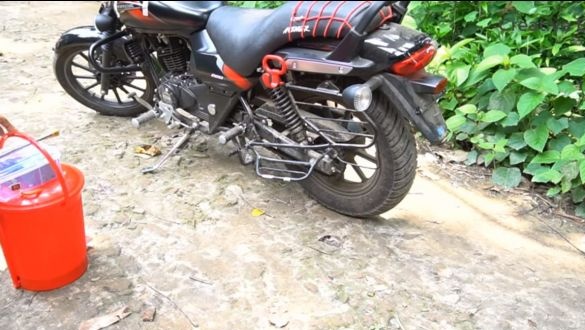
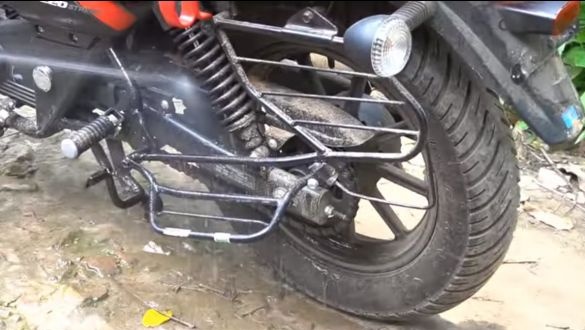
Tests have shown that homemade perfectly copes with its task. Motorcycle was quickly and efficiently washed from a large amount of dirt. Of course, washing the machine will take longer, but at least you will no longer have problems cleaning hard-to-reach areas. As you can see, everything is assembled quickly and simply, and components are inexpensive.
That's all, the project is over, I hope you liked it. Good luck and creative inspiration, if you want to repeat this. Do not forget to share your best practices and homemade products with us!

