
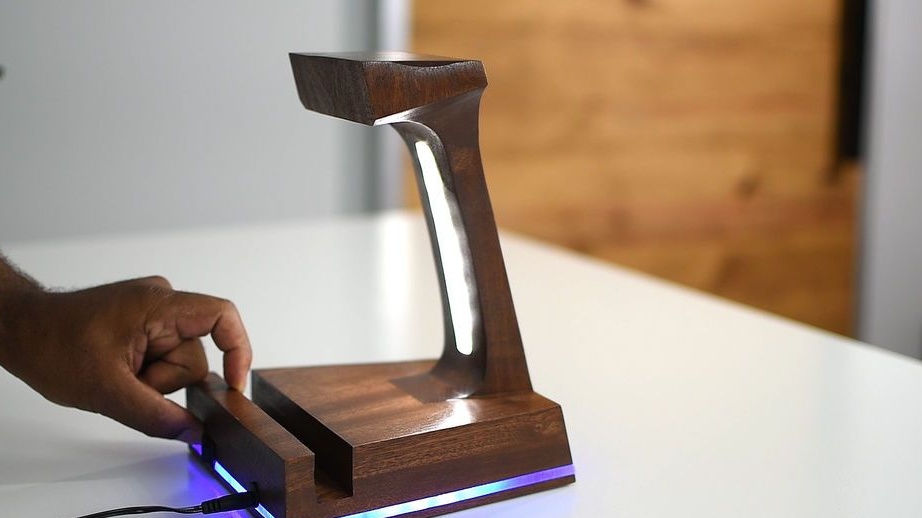
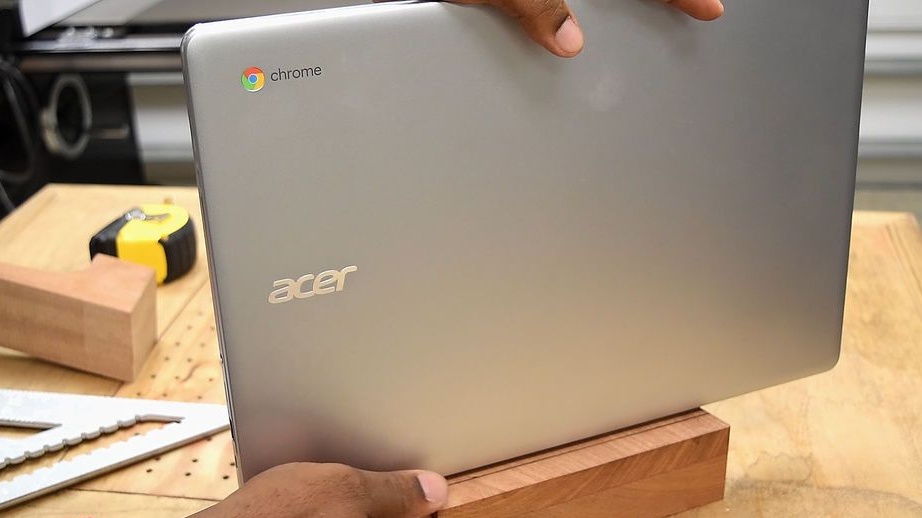
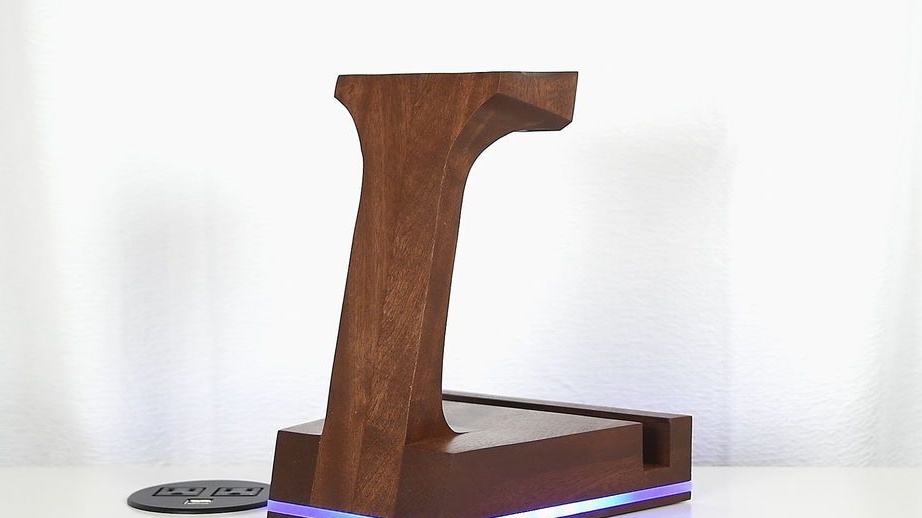
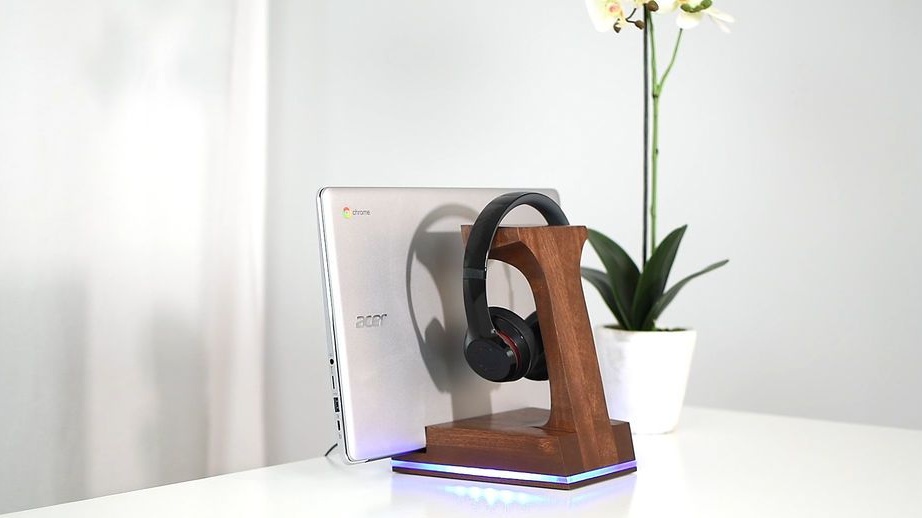
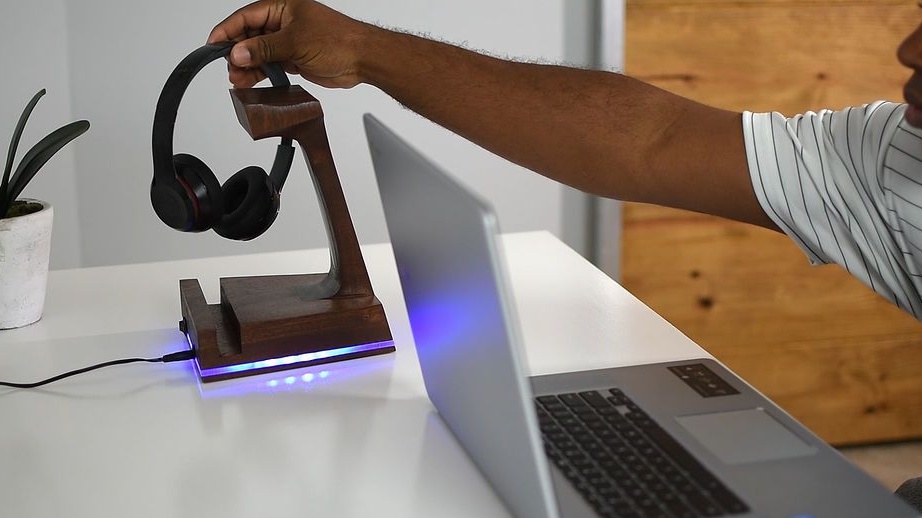
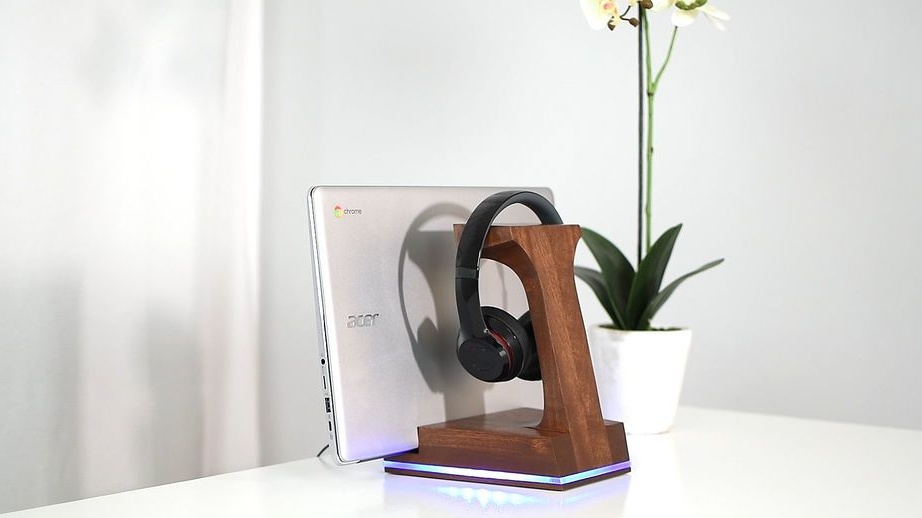
A multifunctional headphone stand was invented and made by the Master. The stand, in addition to its main function of storing headphones, can also be used as a lamp and as a holder for a laptop or tablet. To make the stand, the master used the following
Tools and materials:
-Red tree;
-RGB-LED strip;
-White LED strip;
-Switch;
-Acrylic;
-Polyurethane spray;
- Stain;
-Light for the lamp;
-Connector;
-Rule;
-Pencil;
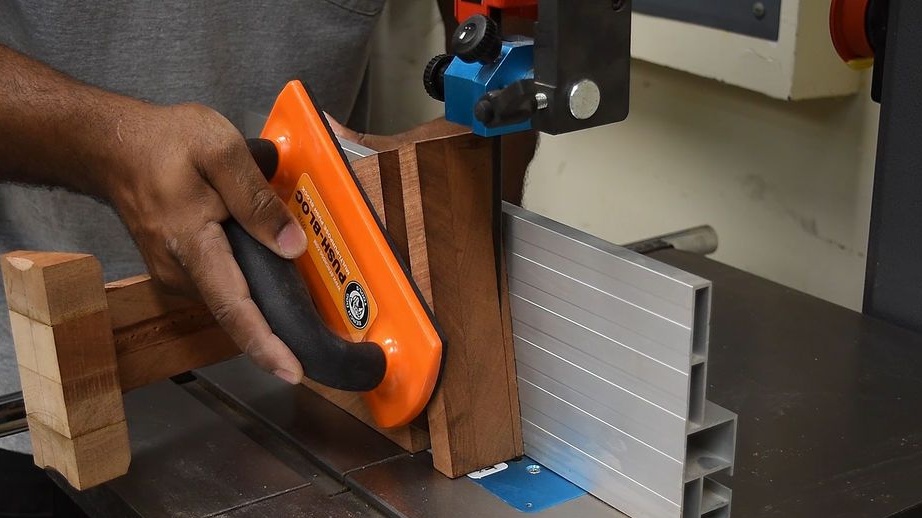
-Bandsaw machine;
-Miter saw;
-Glue;
- brush;
- Clamps;
-Chisel;
-Roulette;
-Hammer;
-Drill;
-Crown;
Milling cutter;
-File;
-Grinder;
-Soldering iron;
-Wire;
-Glue gun;
-Hair dryer;
-Heat-shrink tubing;
-Screws;
-Screwdriver;
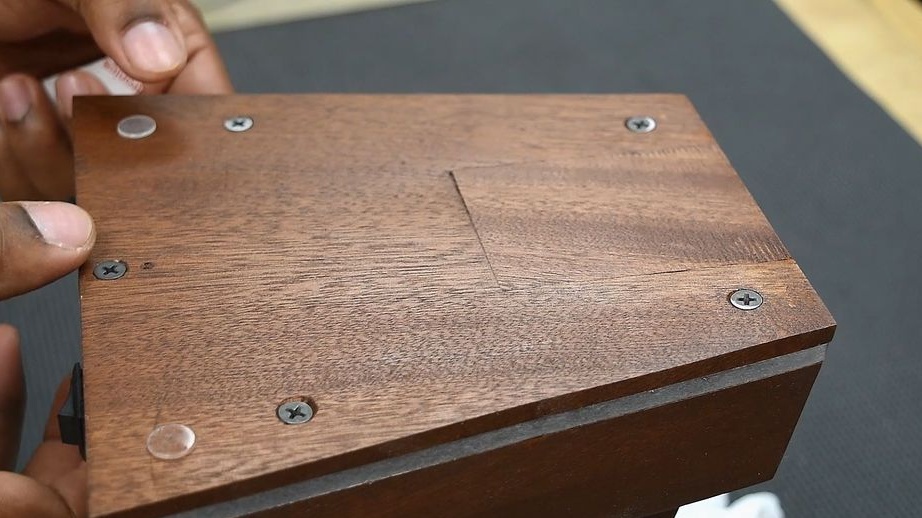
-Legs are silicone;
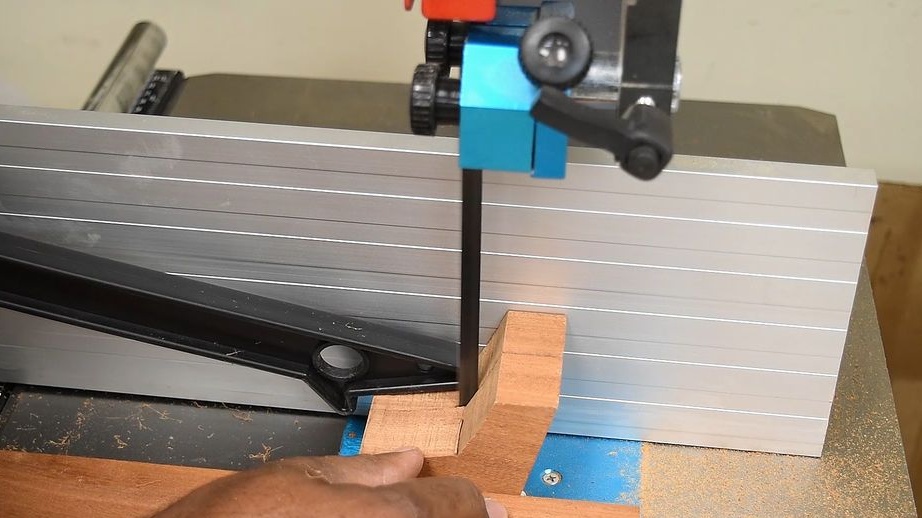
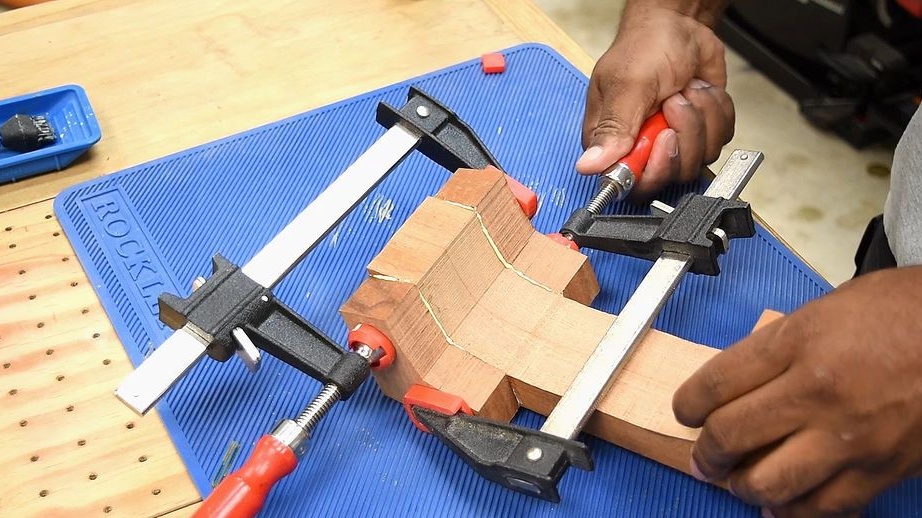
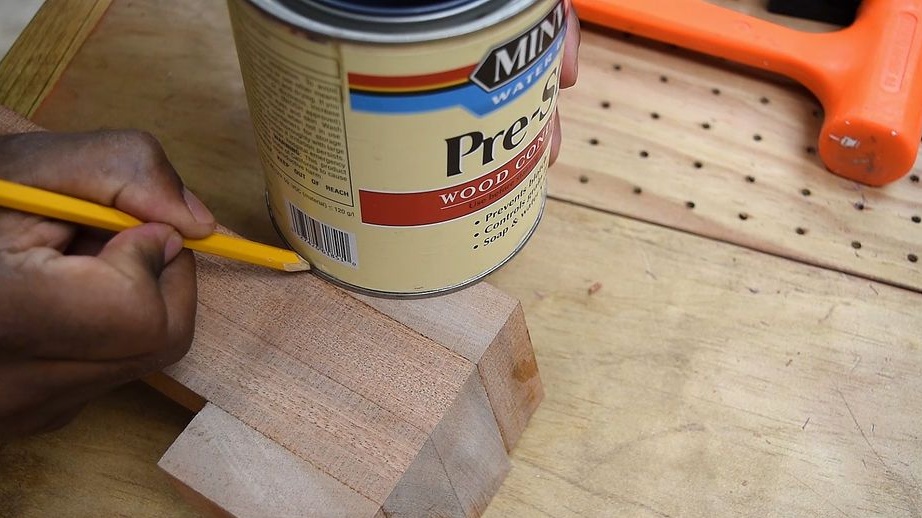
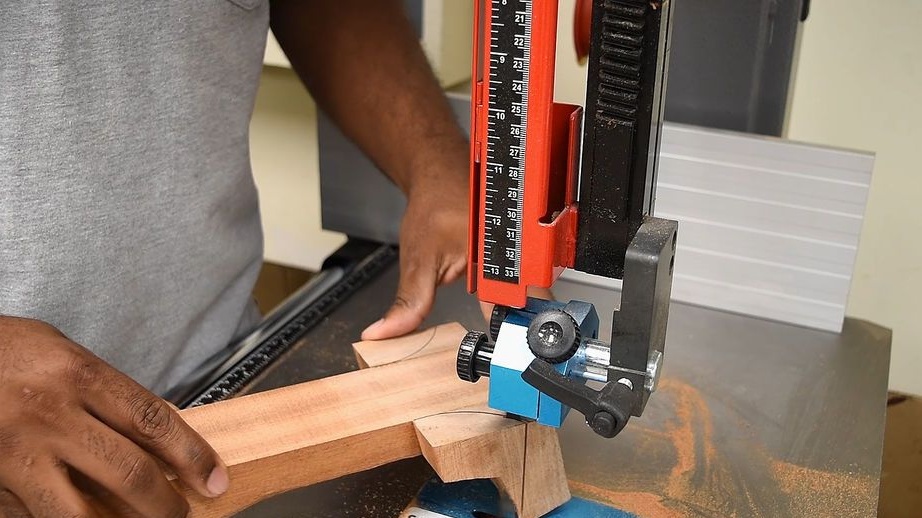
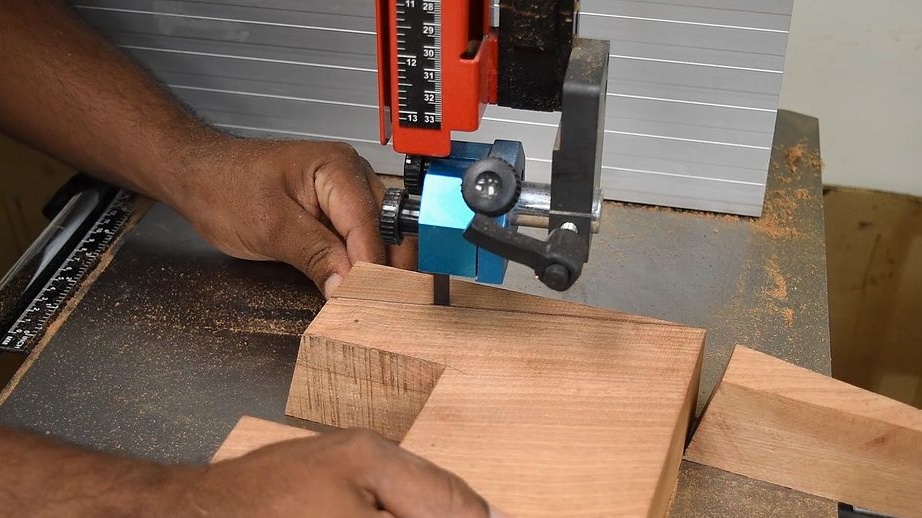
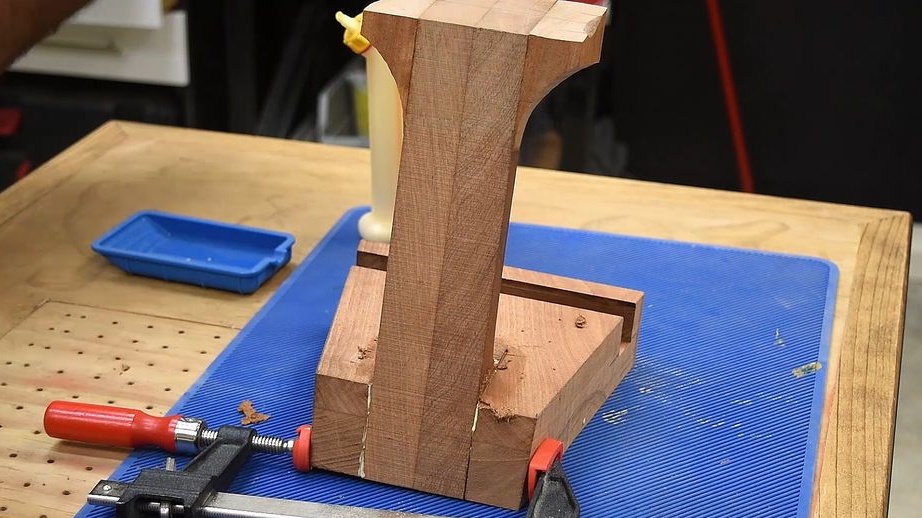
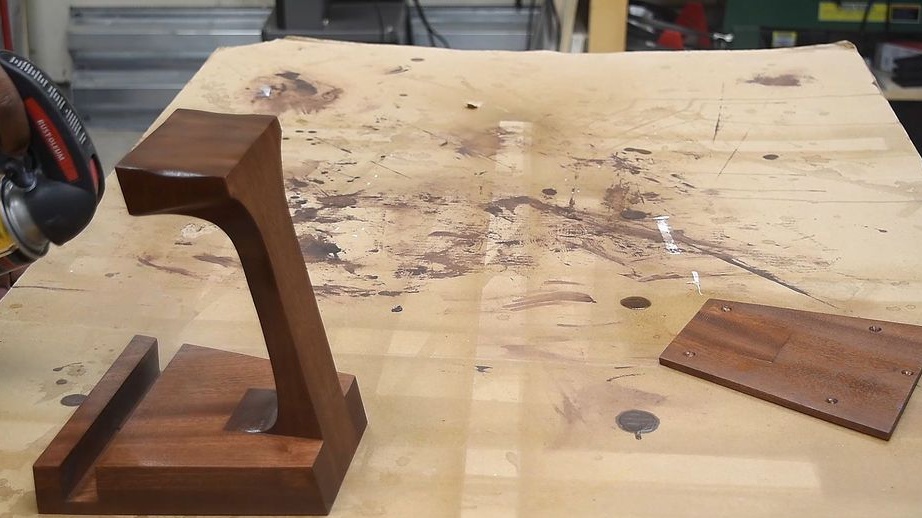
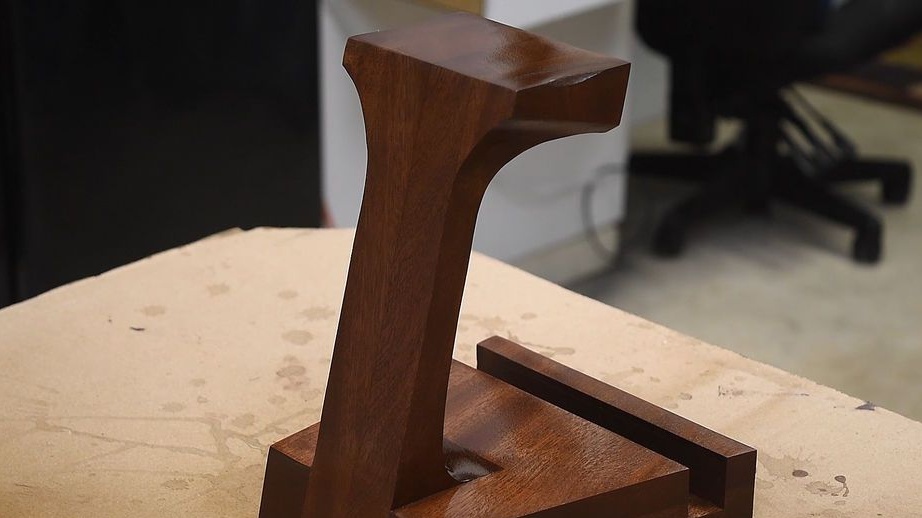
Step One: Stand
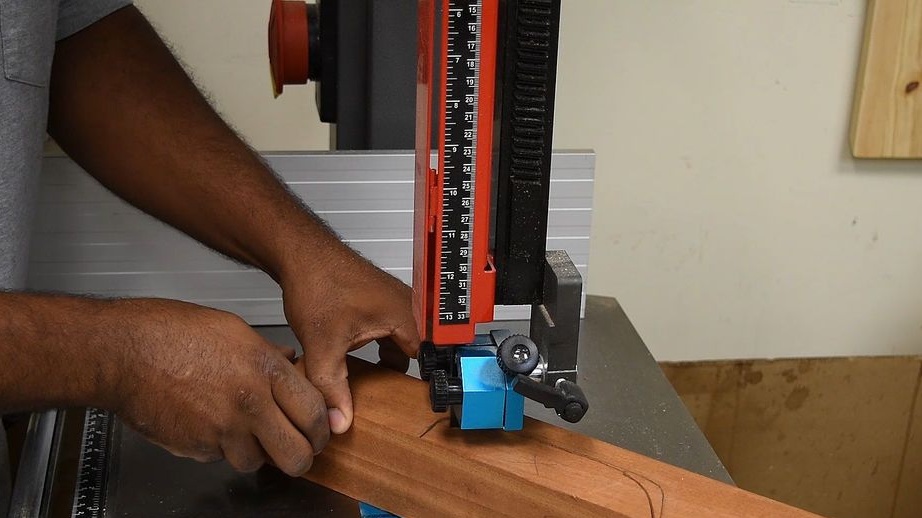
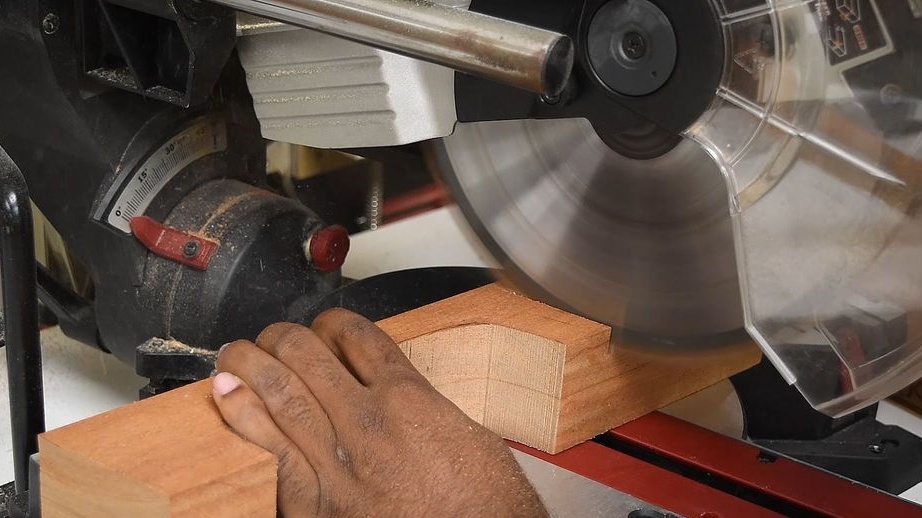
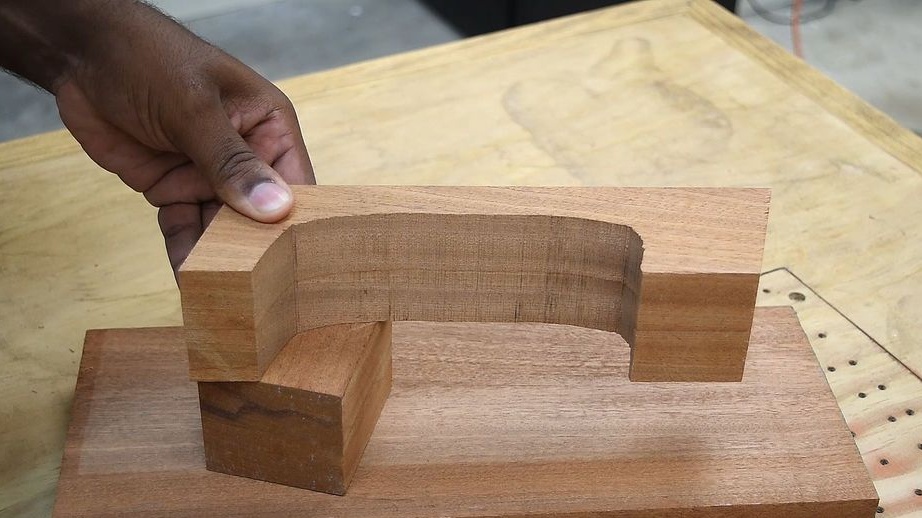
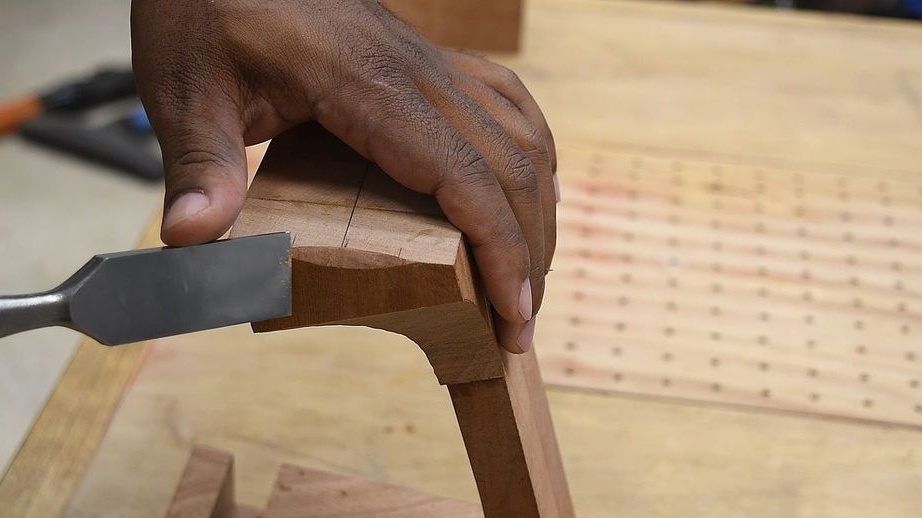
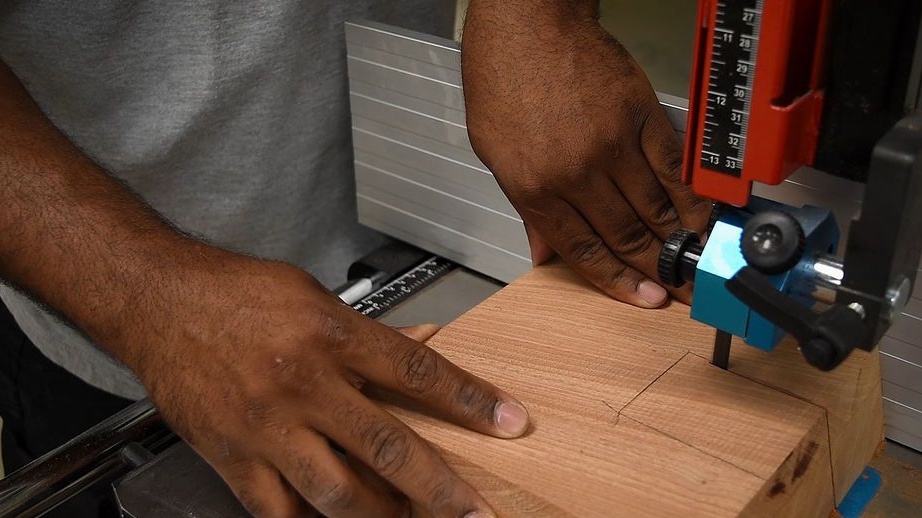
The main part of the stand is made of mahogany. On the board makes markup. Cuts the rack. On the sides of the upper part of the rack glues rectangles. Crops the edges in a semicircle. Kills corners.

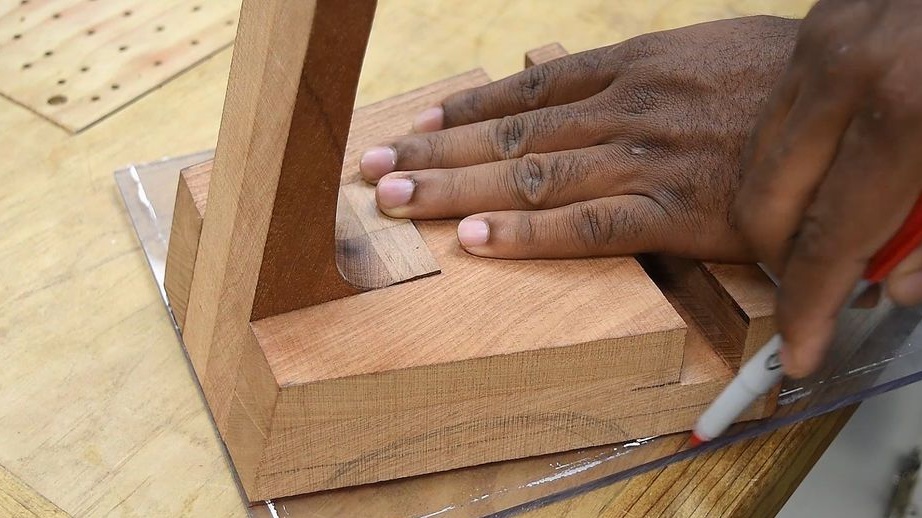
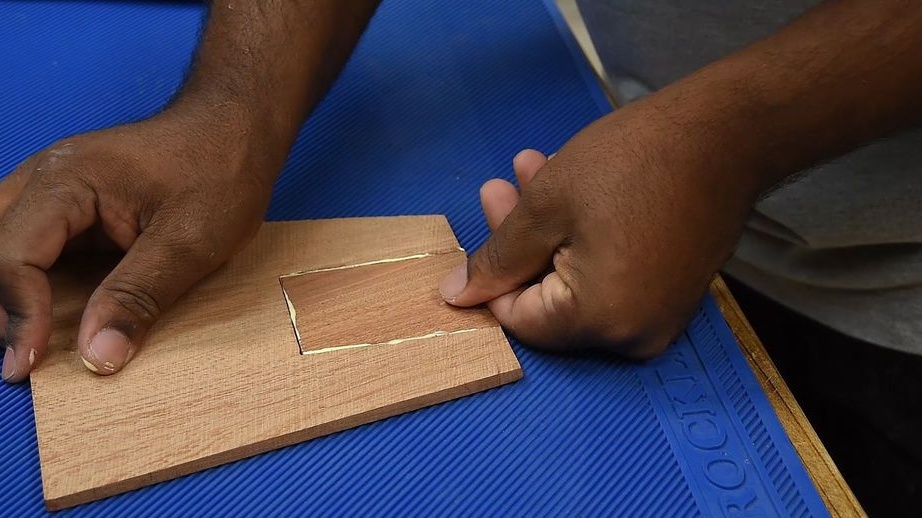
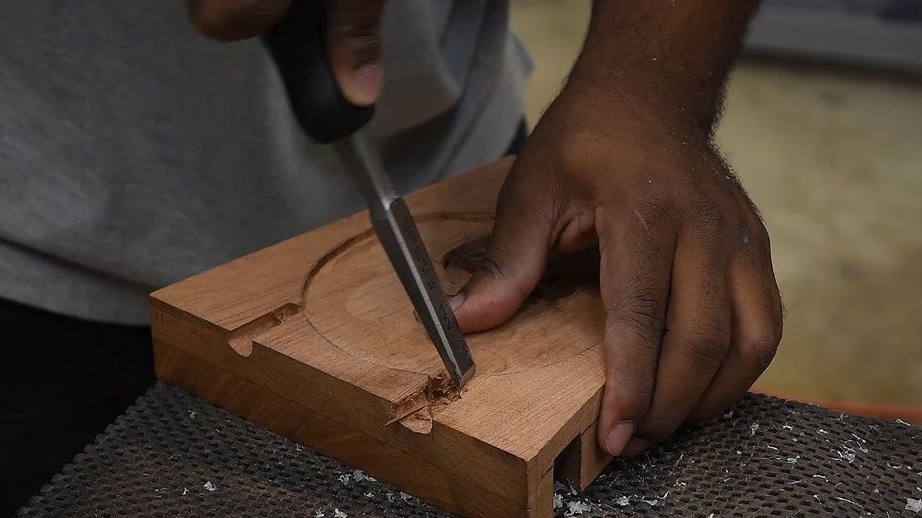
Step Two: Foundation
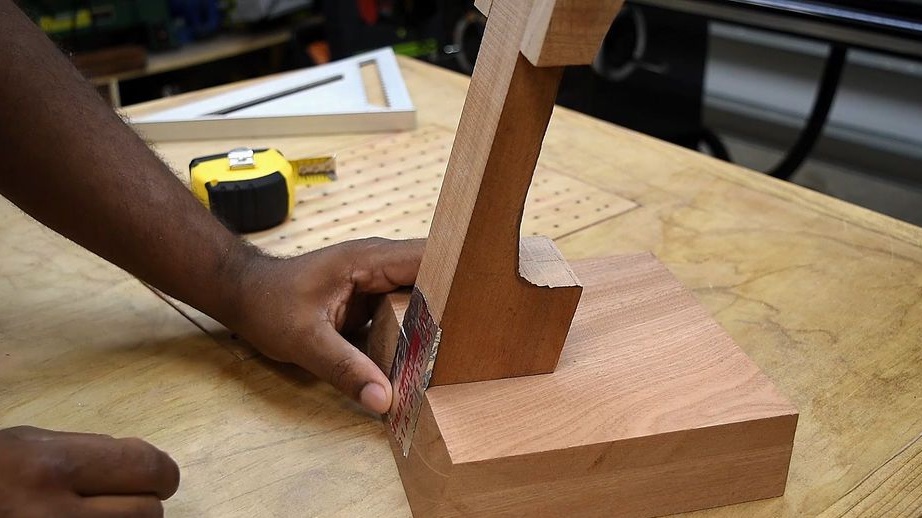
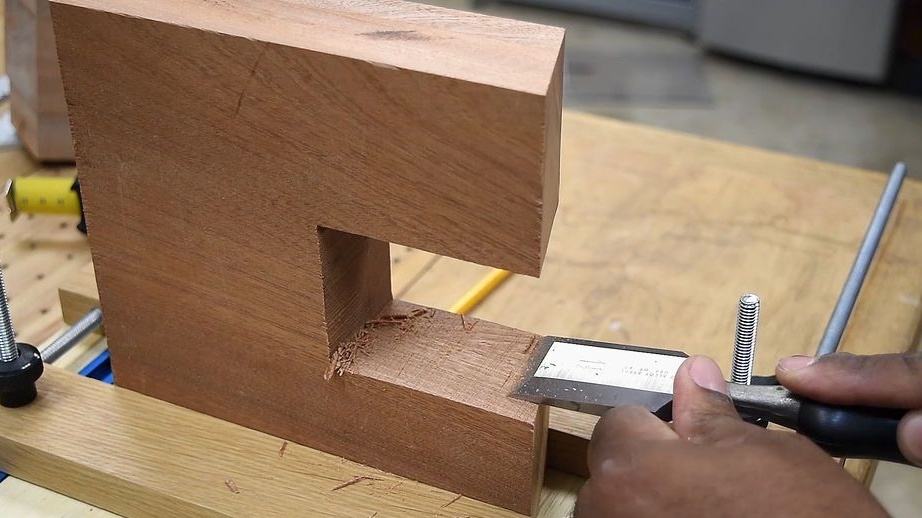
Makes the base of the stand. Kills the ends of the base at 15 degrees. Carves a niche under the rack. Cleans a niche with a chisel. Marks out a place for a laptop.
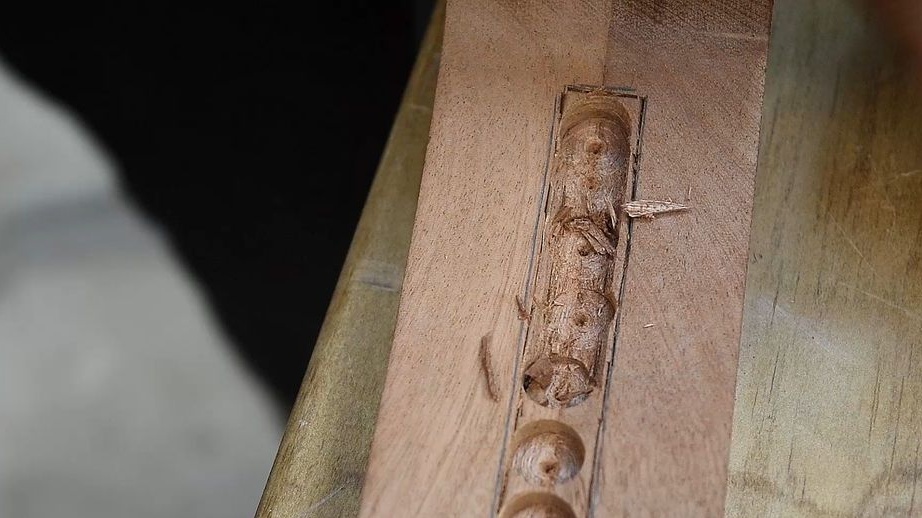
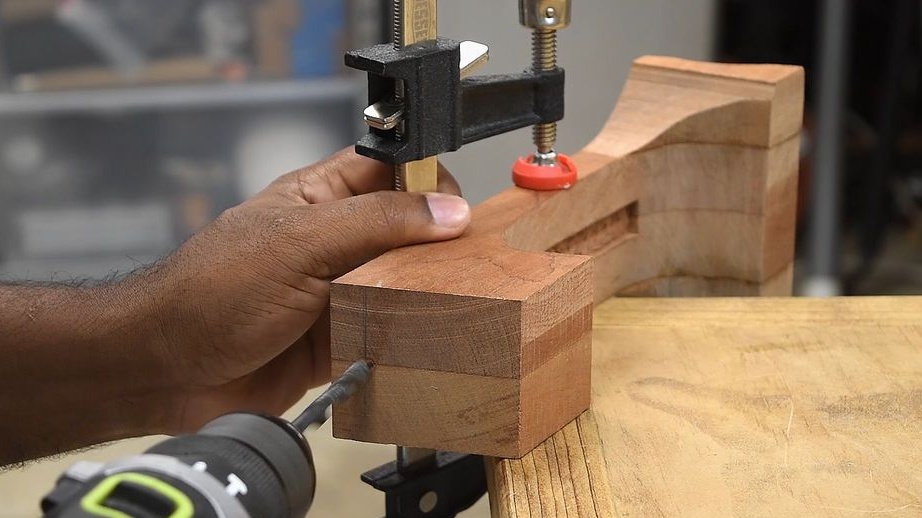
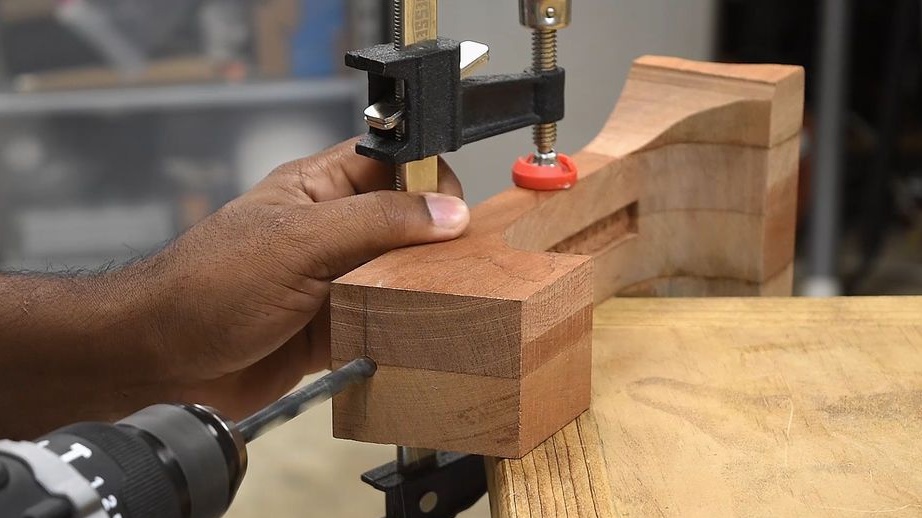
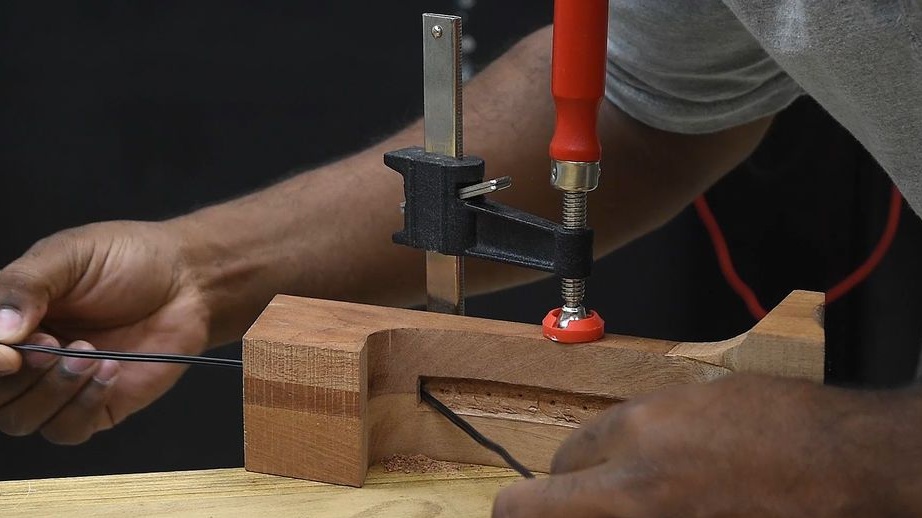
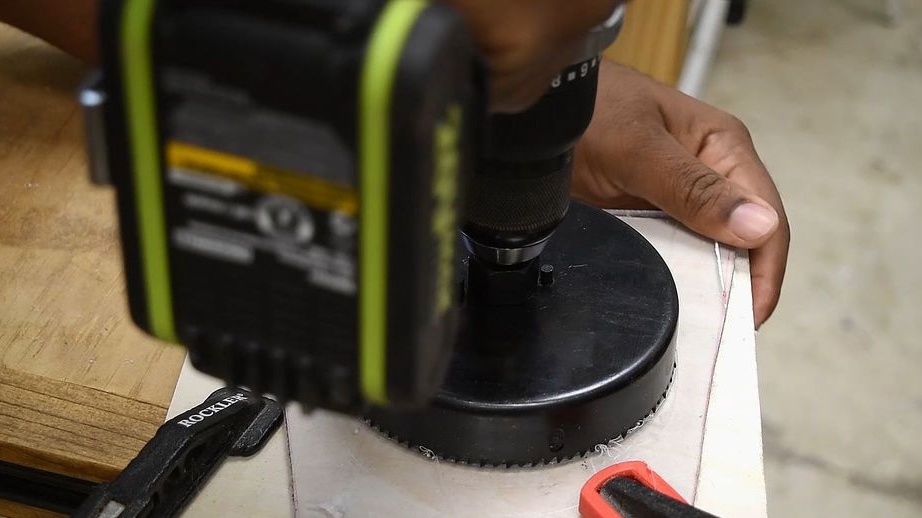
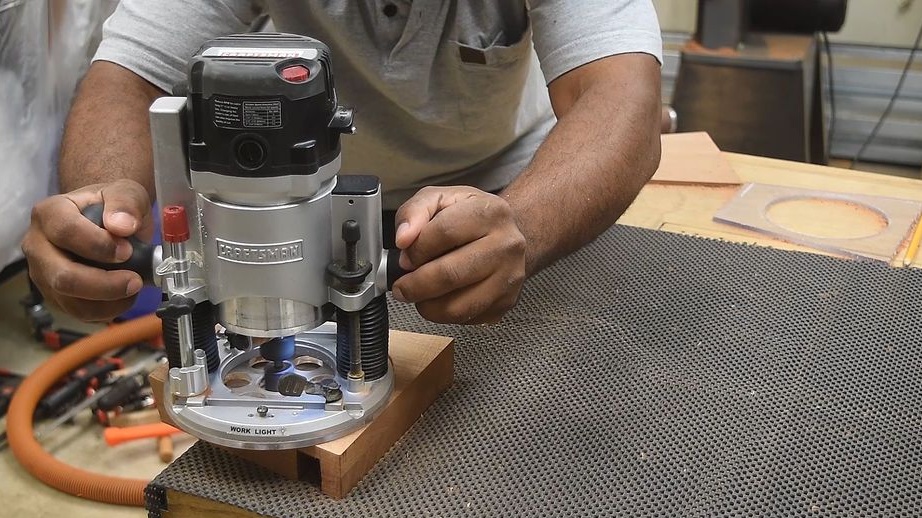
Step Three: Niche under the lamp
Using a drill and chisel makes a niche in the stand for the lamp. Drills a hole for the wire.
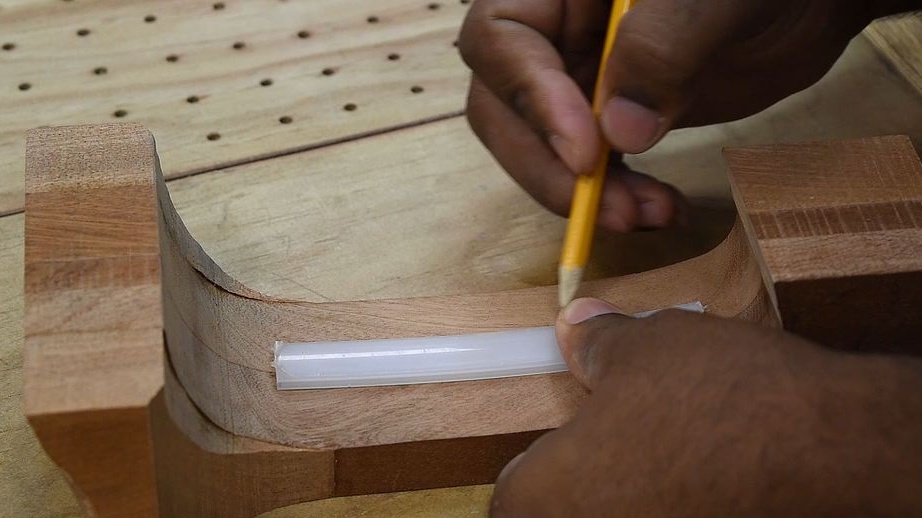
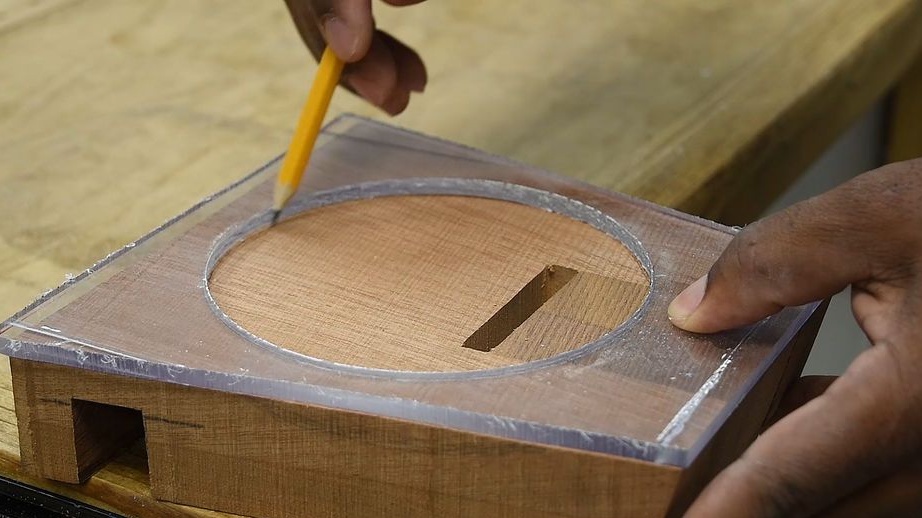
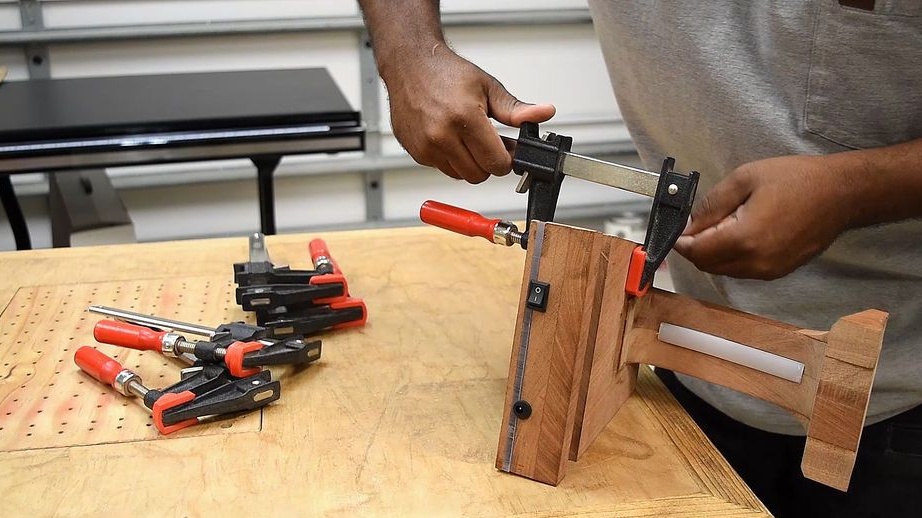
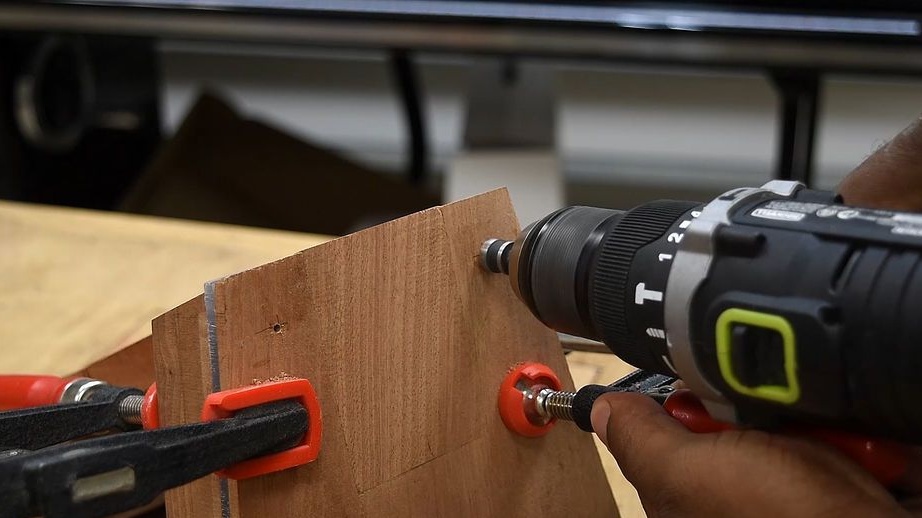
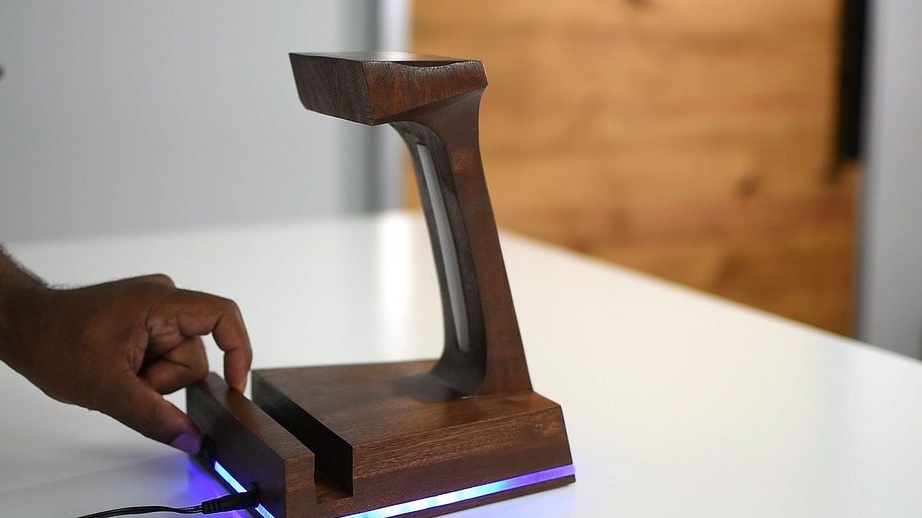
Step Four: Acrylic
At the bottom of the stand will be an acrylic insert and an RGB LED strip. Glues the stand to the base. Cut acrylic to fit the base. Cut a round hole in acrylic and at the bottom of the base. Makes holes for switch and connector. Drill mounting holes.

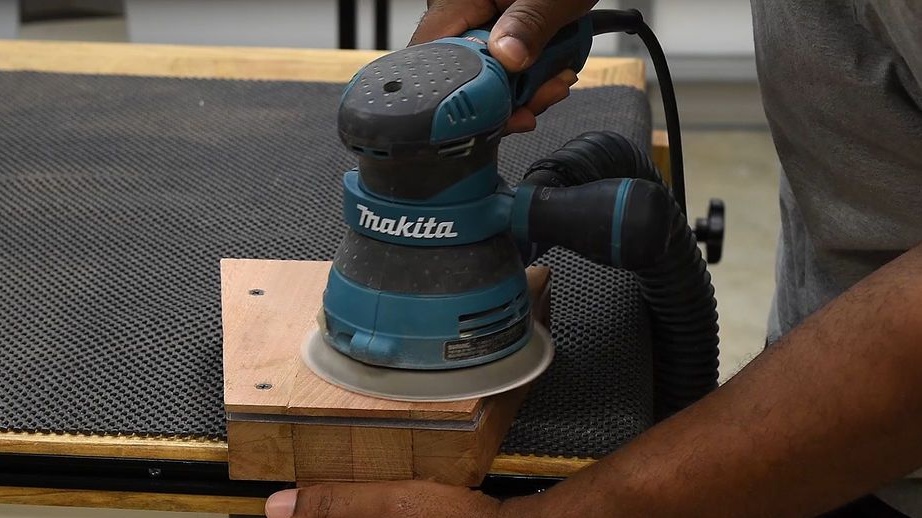
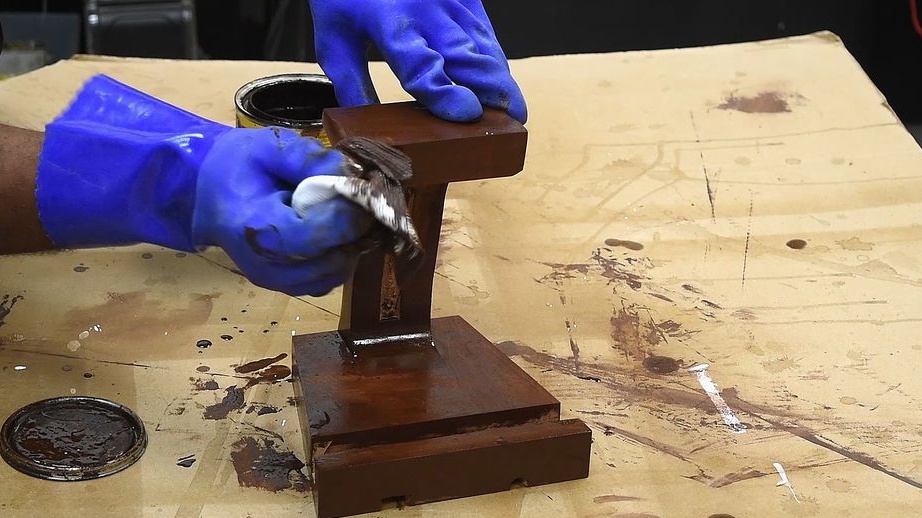
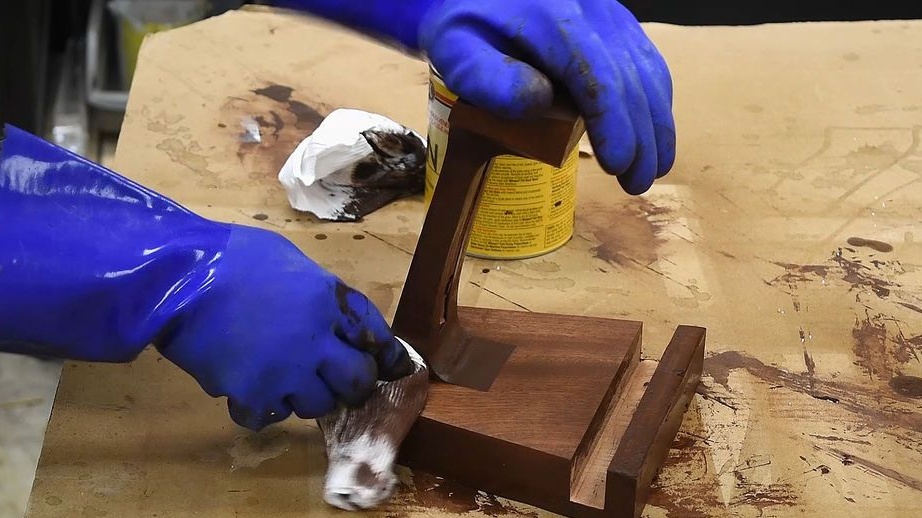
Step Five: Finish
Grinds stand. covers with stain. Coated with a polyurethane spray on top.
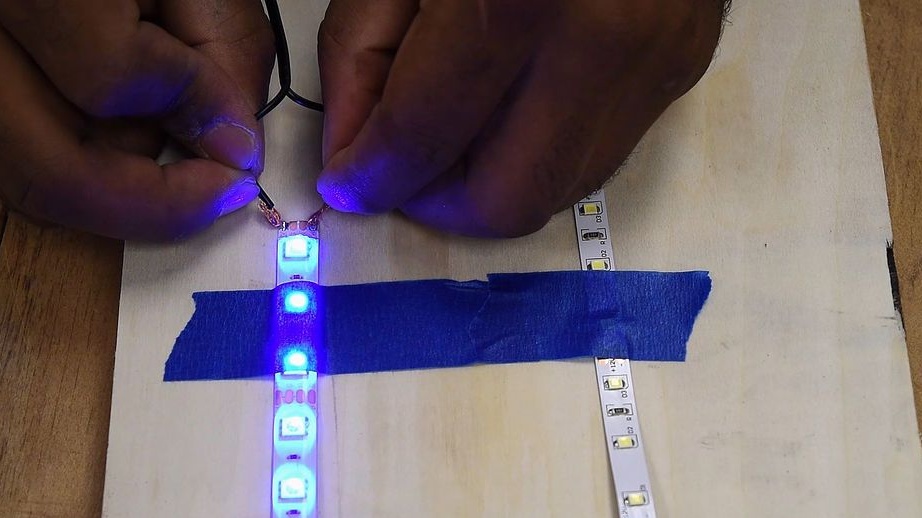
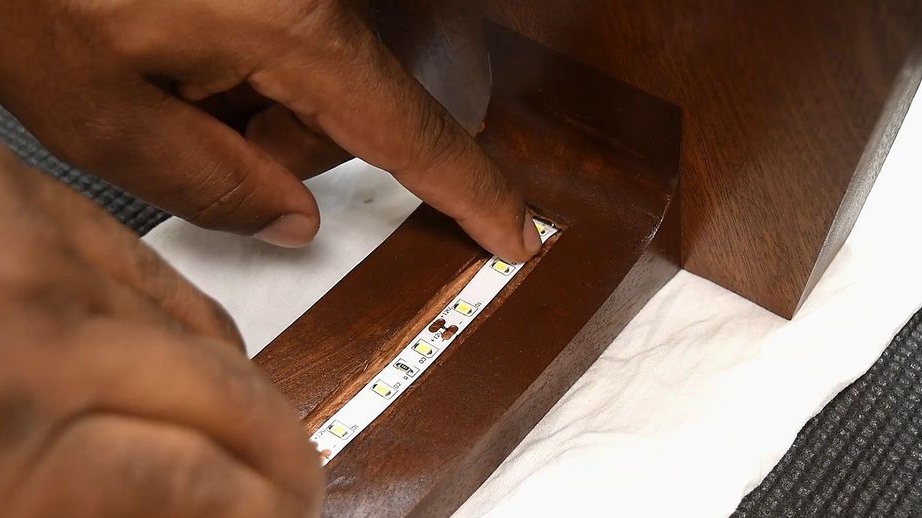
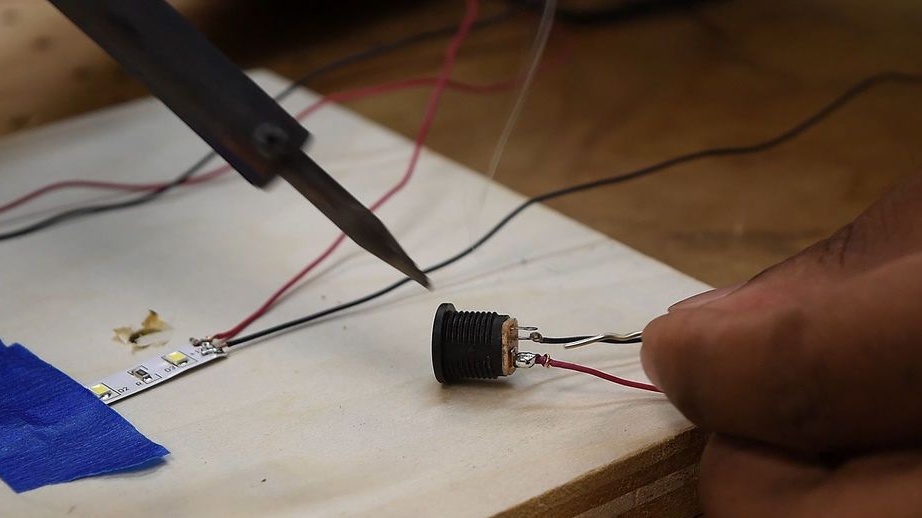
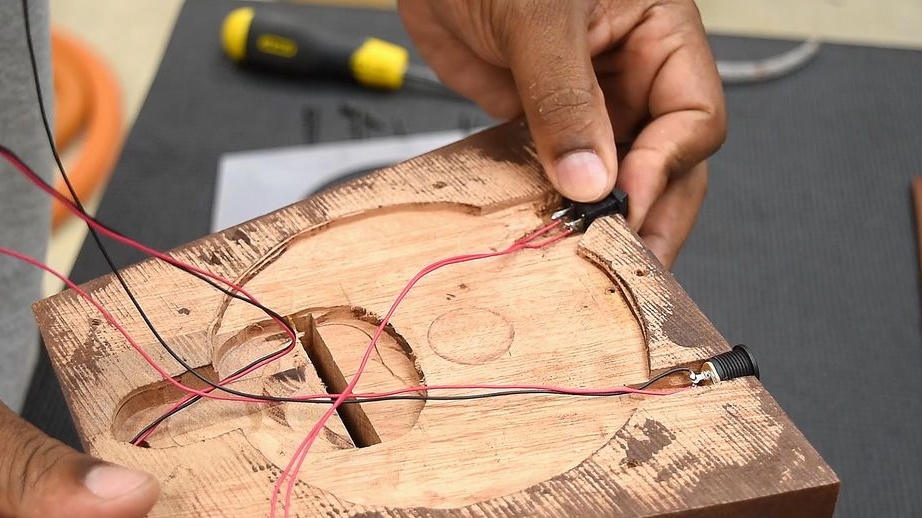
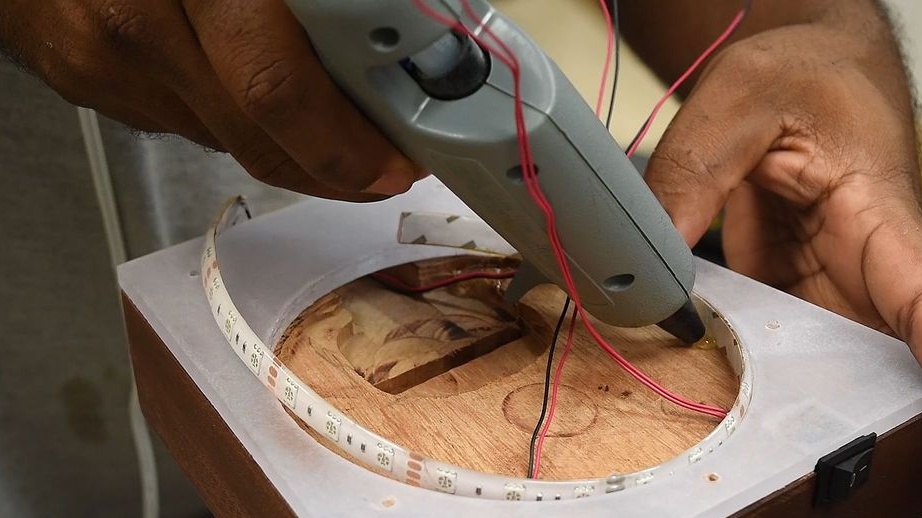
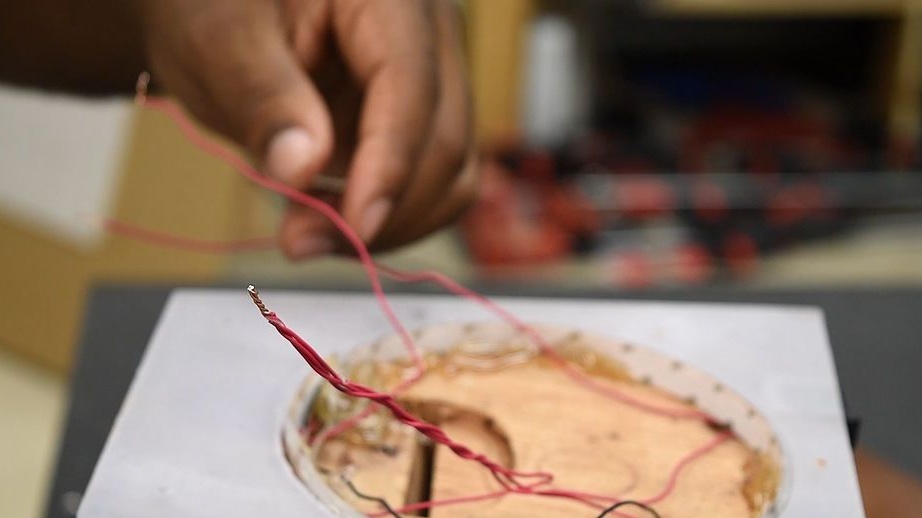
Step Six: LEDs
The master installs a white LED strip on a rack. Solders the wires and leads them to the bottom of the stand. Solder the plug and switch. At the bottom of the base, the wizard installs an RGB LED strip. The ends of the wires are closed with a heat shrink tube.


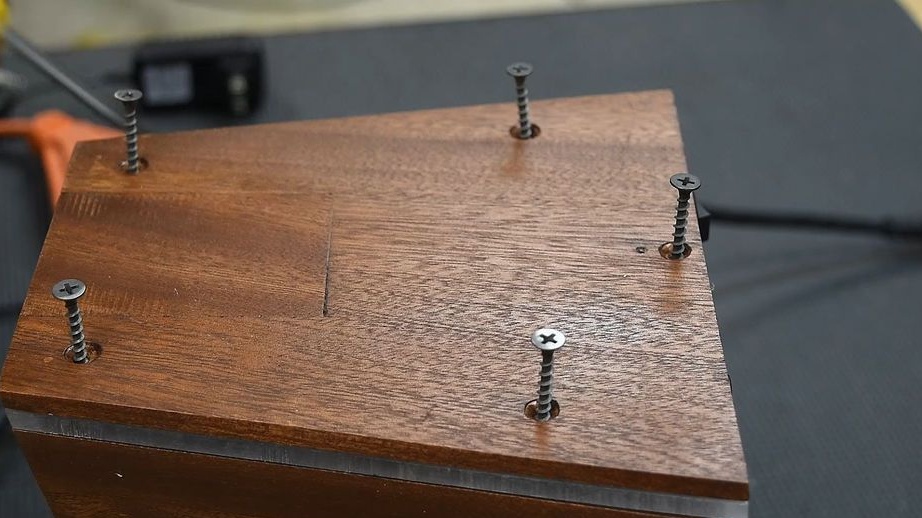
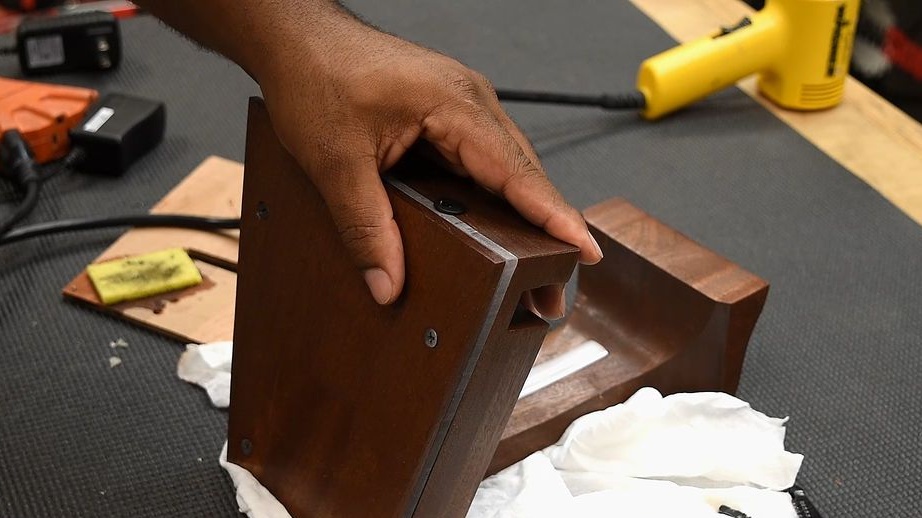
Seventh step: bottom cover
Screws the bottom cover.
The stand is ready.

The entire process of making the stand can be seen in the video.