
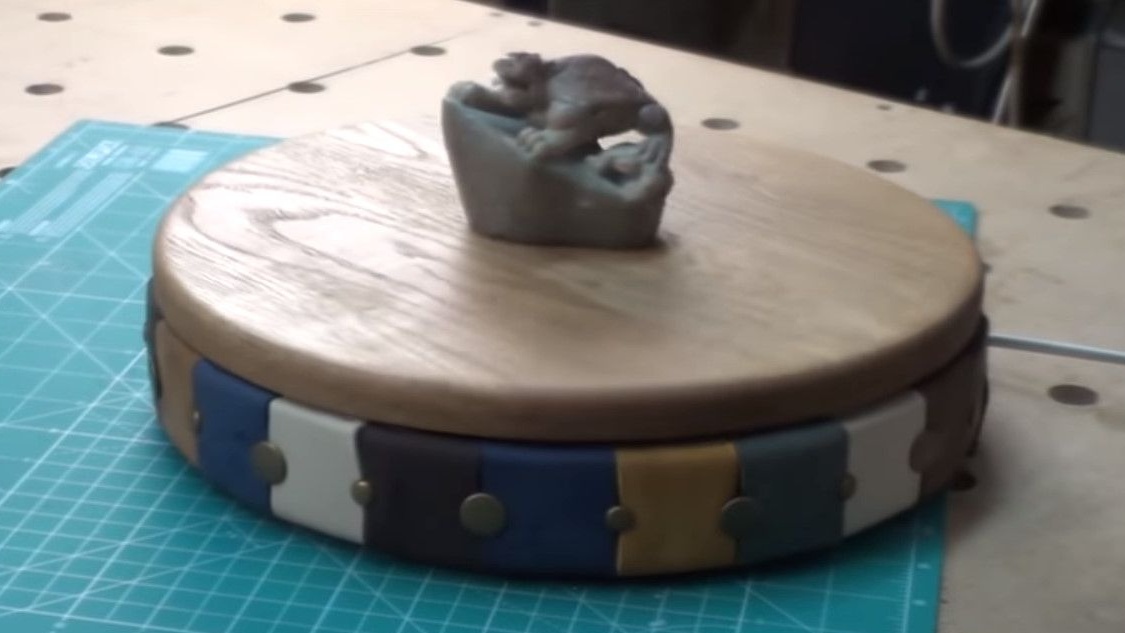
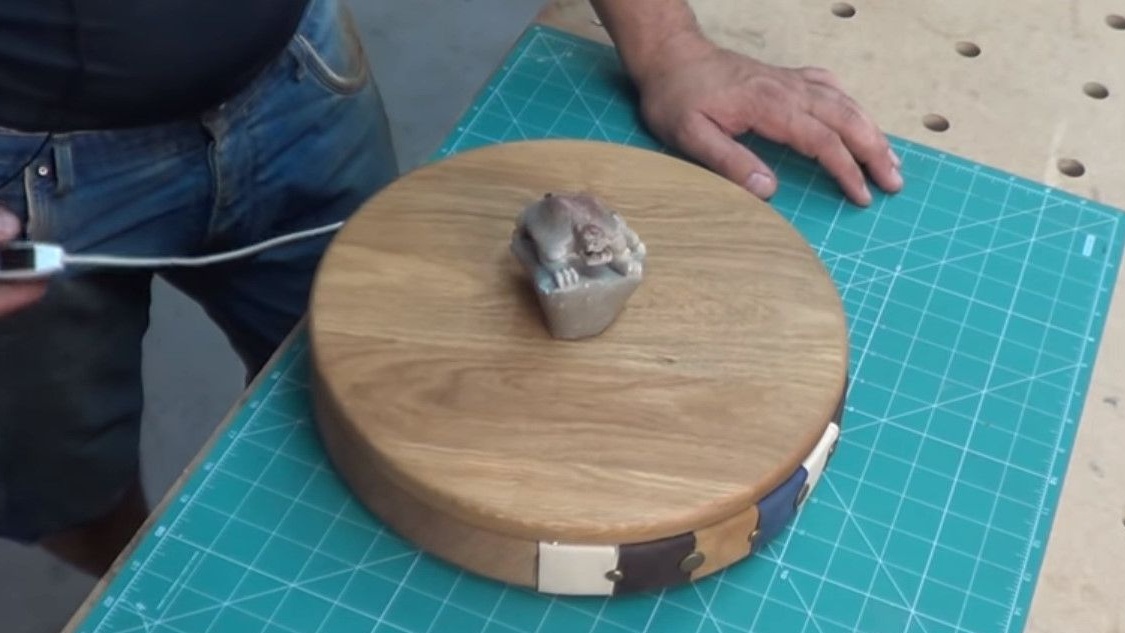
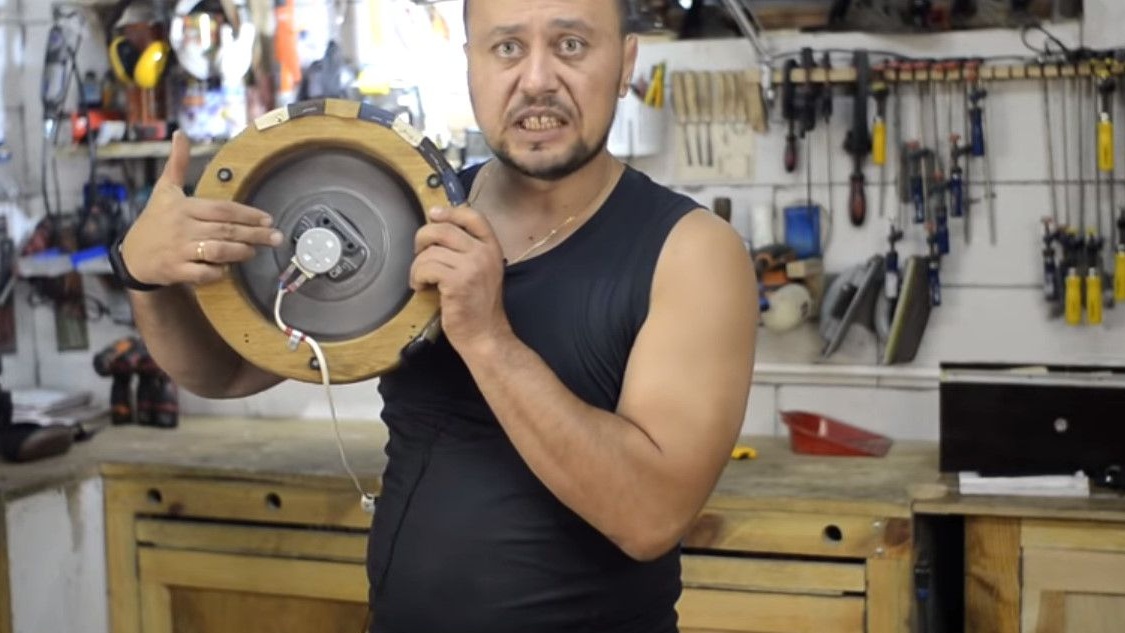
In this article, Vadim, the author of the "NiceTool" channel, shows in detail how to make a demo table. In principle, there is nothing complicated in this table. It looks like this.
Materials and tools.
A few pieces of wood.
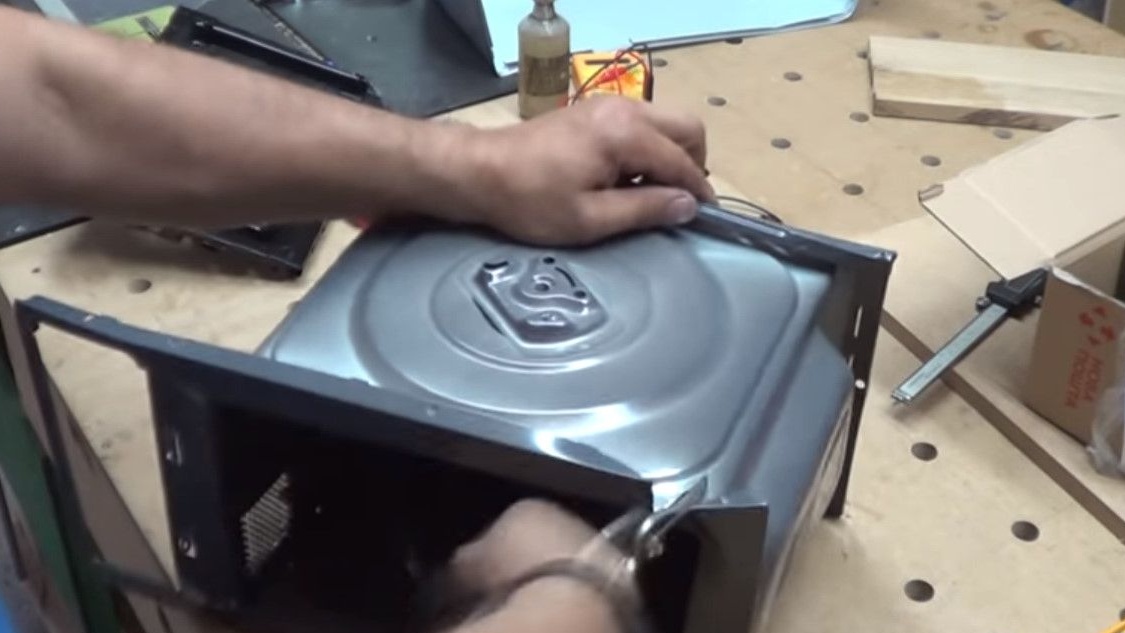
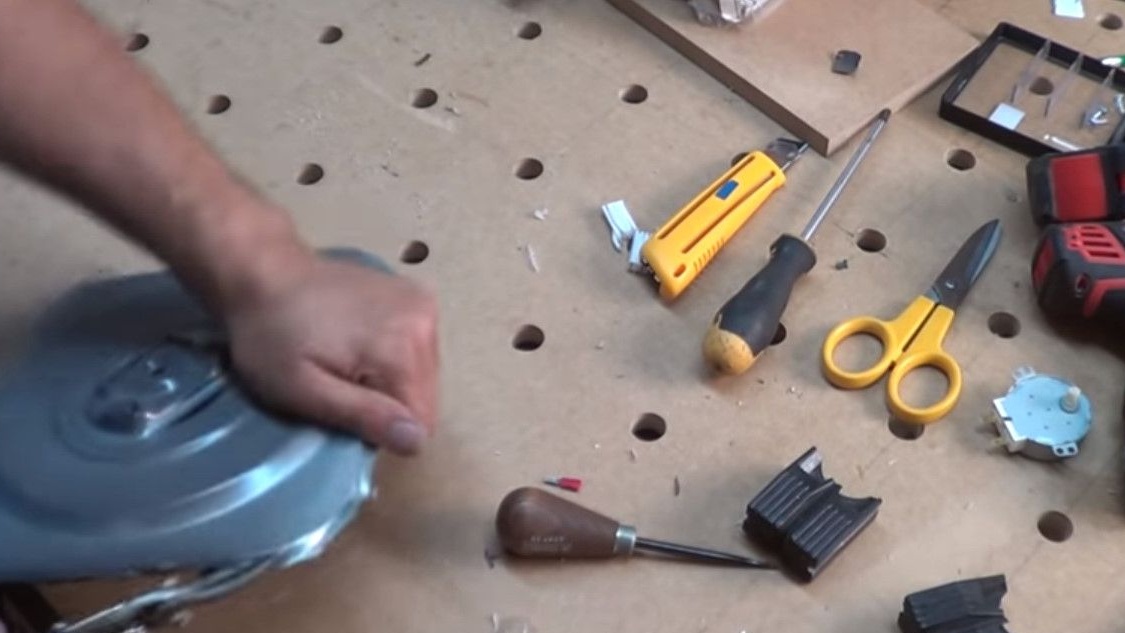
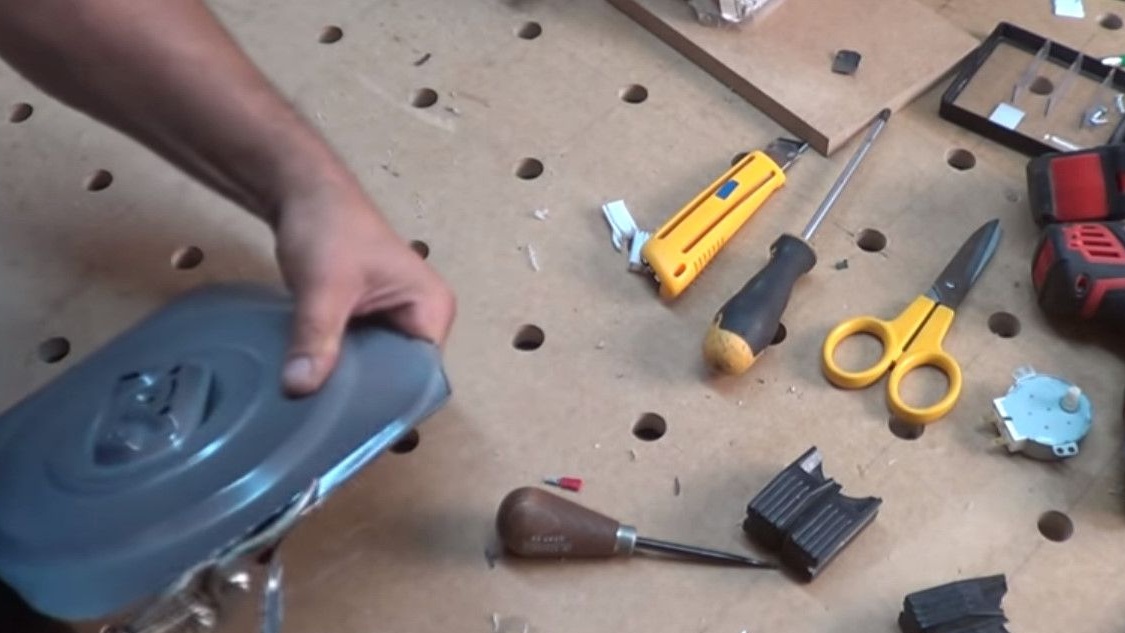
Spare parts from the microwave.
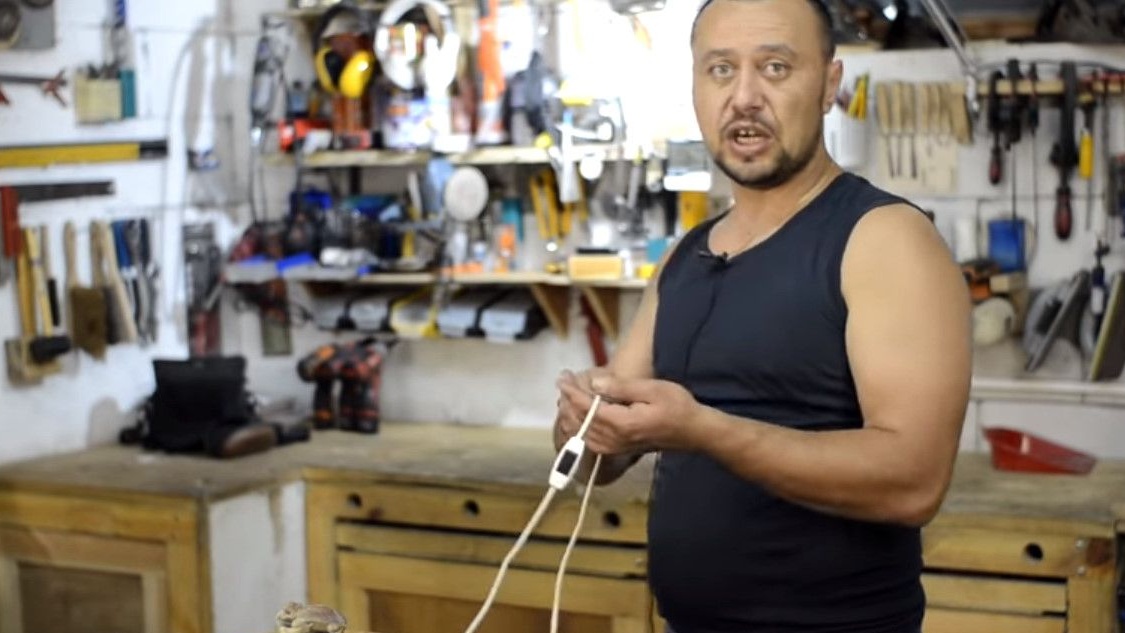
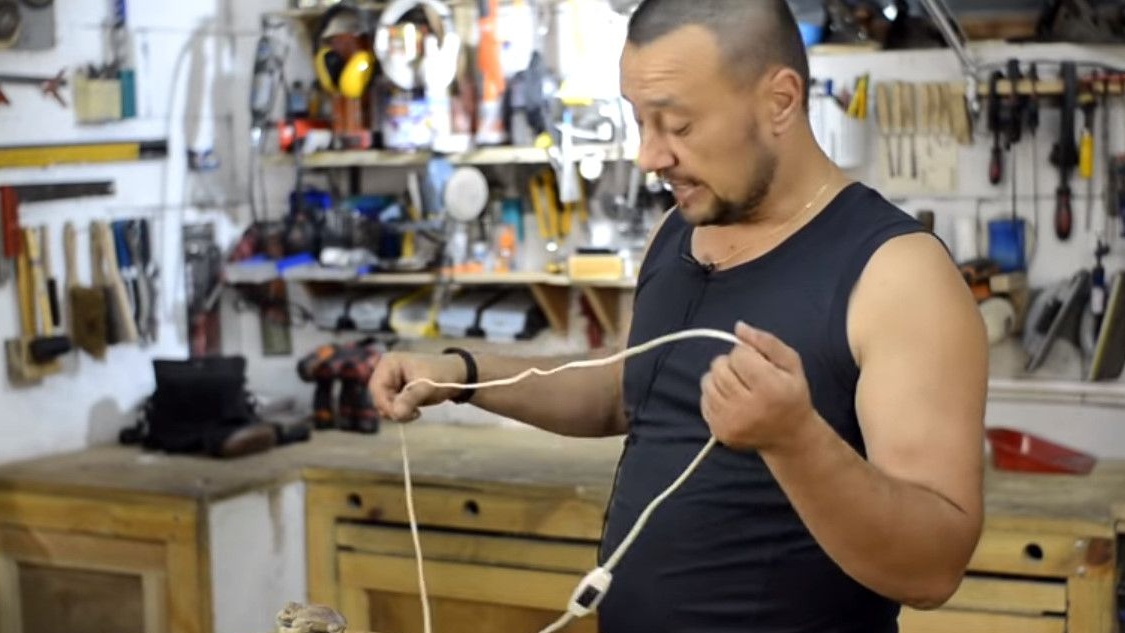
Plug with switch.
Oil for wood impregnation and varnish.
Wood screws.
Scissors for metal.
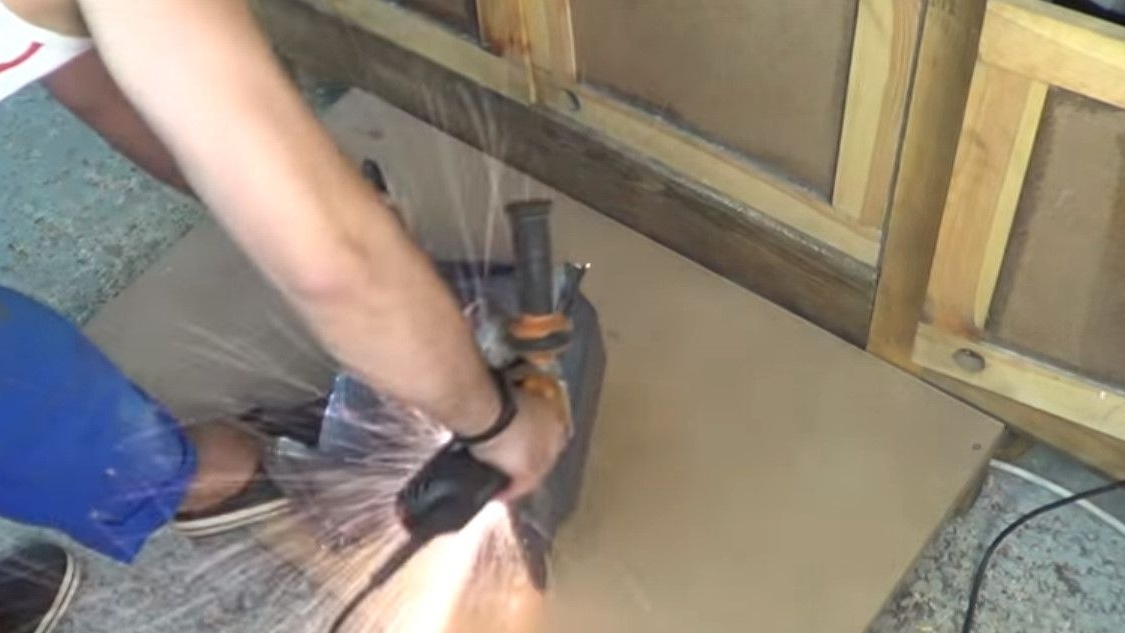
Bulgarian with disks.
Screwdrivers, screwdriver.
Milling cutter with nozzles.
Roulette.
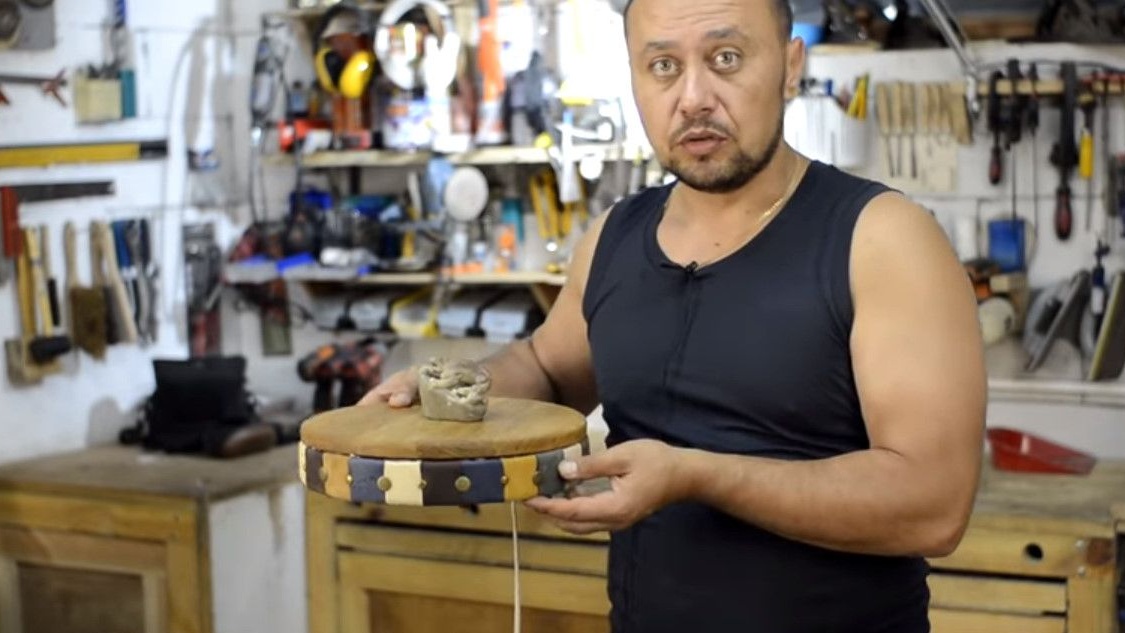
The table has two sides. On the one hand, it is studded with leather of different colors.
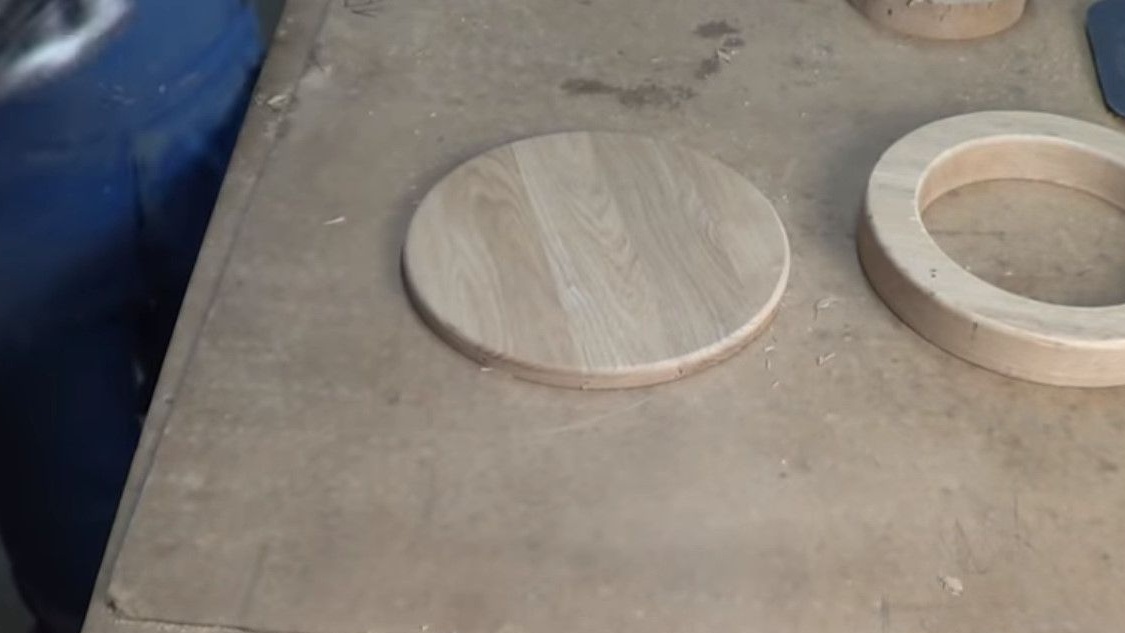
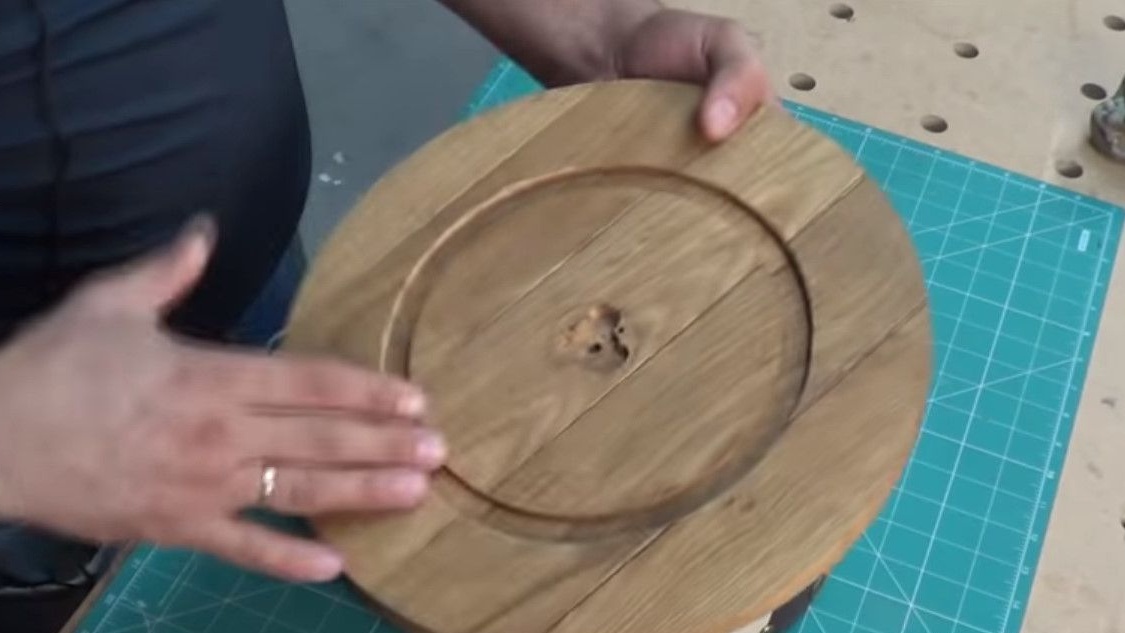
The second side is just wooden, without any additions.
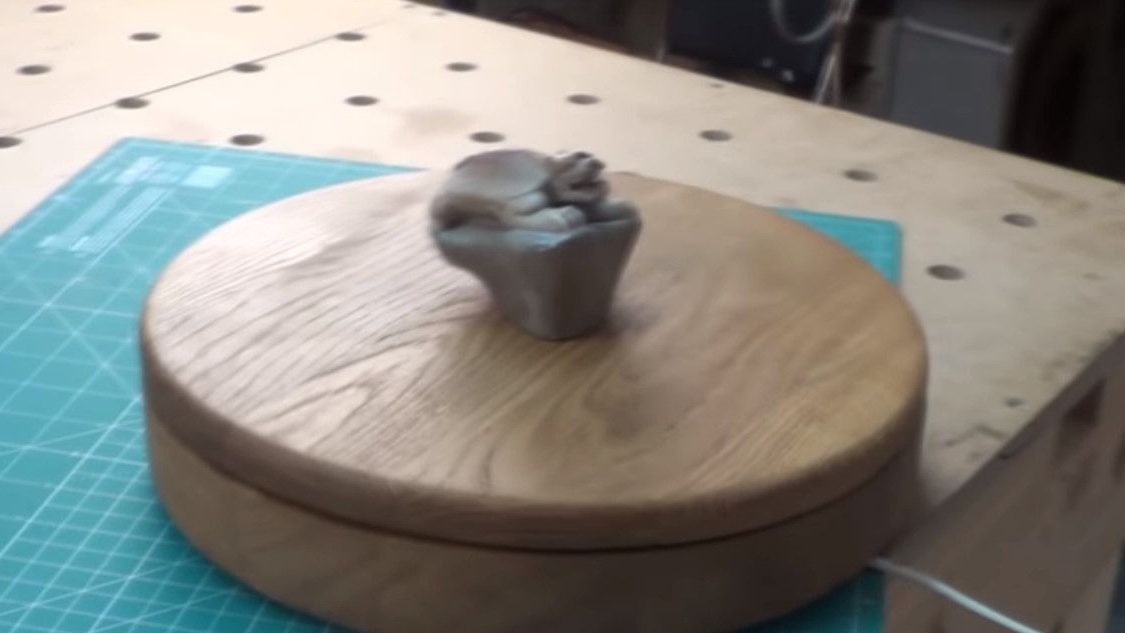
This is how it looks from above.
It is made, most importantly, from the remnants of materials.
In general, a few scraps of parquet, the remainder of the cutout from the sink. Also for manufacturing, spare parts from a non-working microwave were perfect.

A plug with a switch was also required.
Here's the question, but for what purpose will a table be needed? Vadim wants to make small souvenirs. And in order to present them well, it is always interesting to look at the finished product not just in the form of a photograph, but in volume. That is, the product can be viewed from all sides, and this will simplify the complexity of the choice for the buyer. An addition to the table will remain competent lighting.
Two sides of the table - for the presentation of various products. On the motley side, where leather lining can show vibrant products. And with a smooth one, they are more neutral.
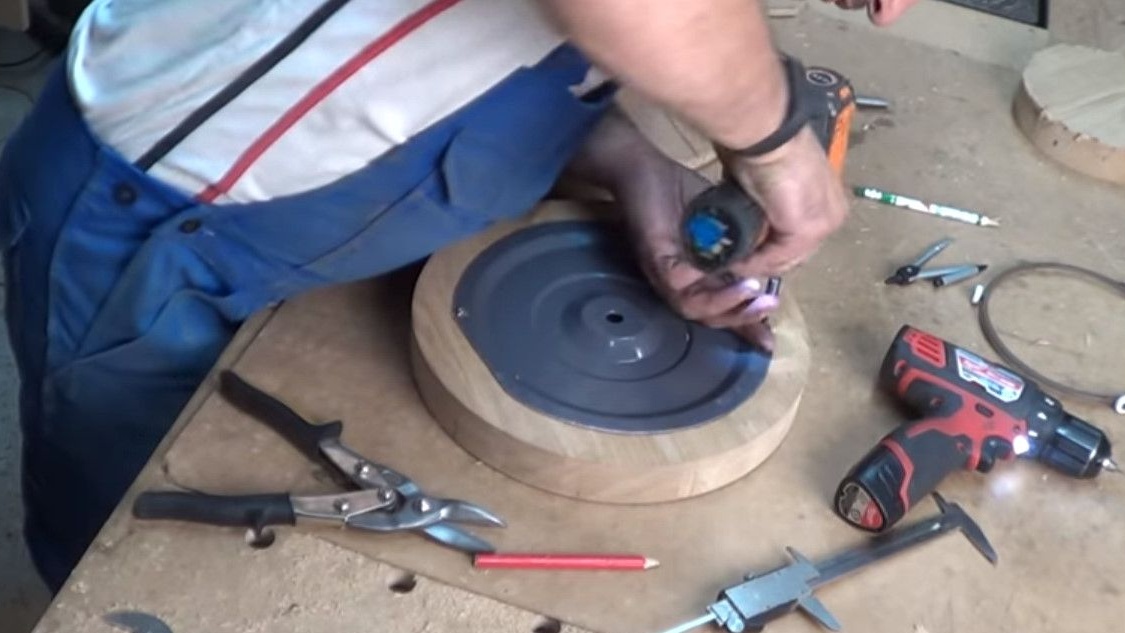
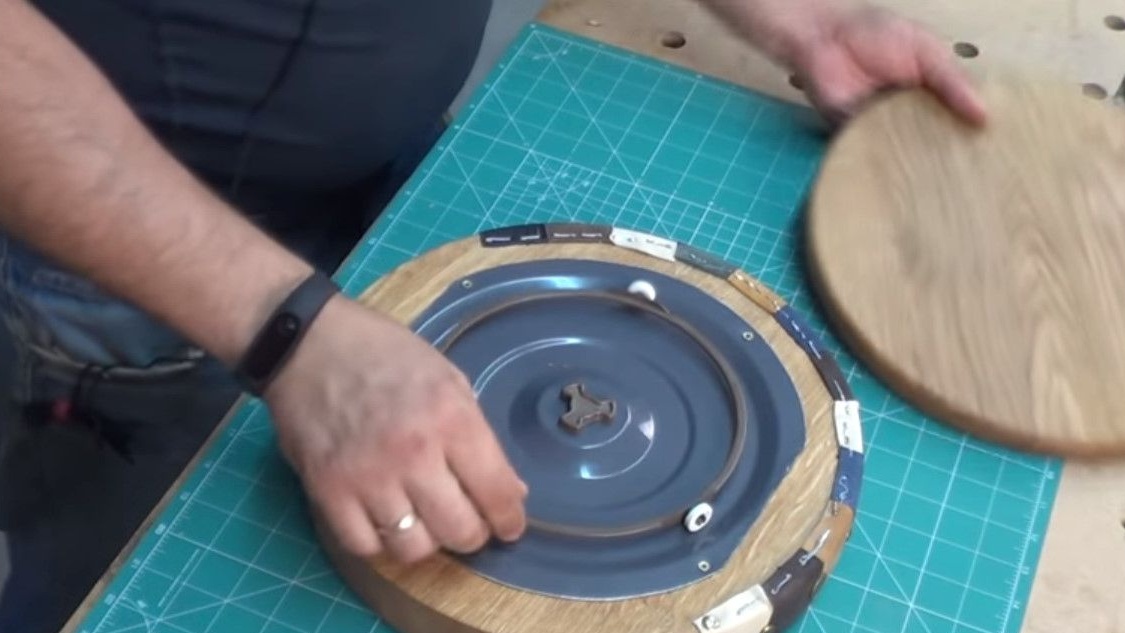
The engine that is used here is taken from the microwave tray. It can rotate in both directions.
Few people know about this, but really the engine can rotate both clockwise and counterclockwise.
In general, it’s time for the author to disassemble the microwave.
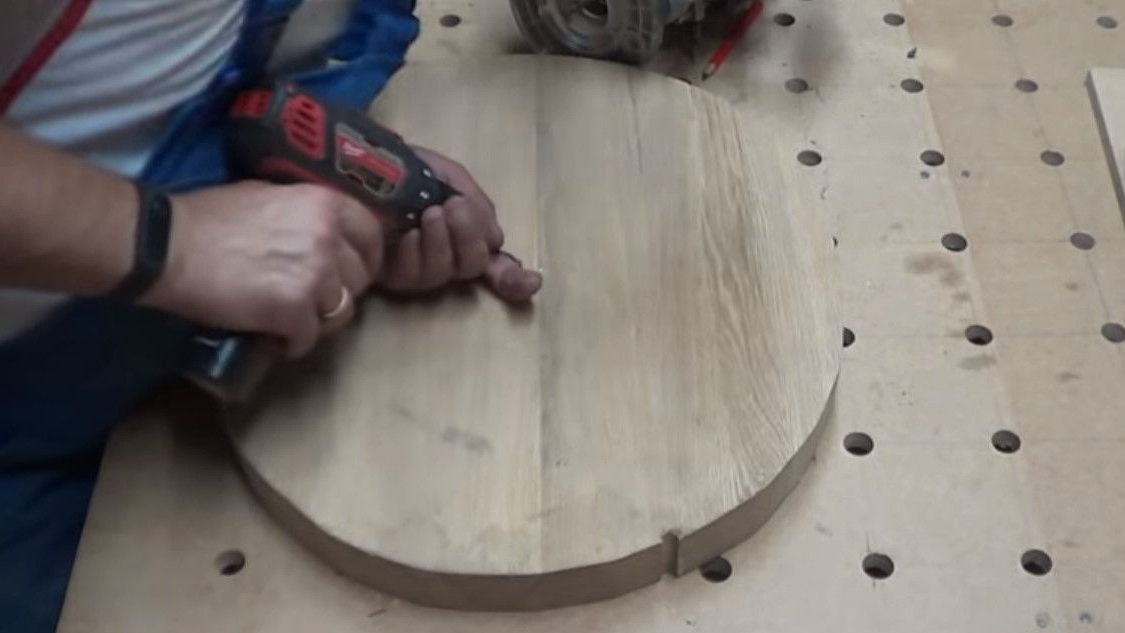
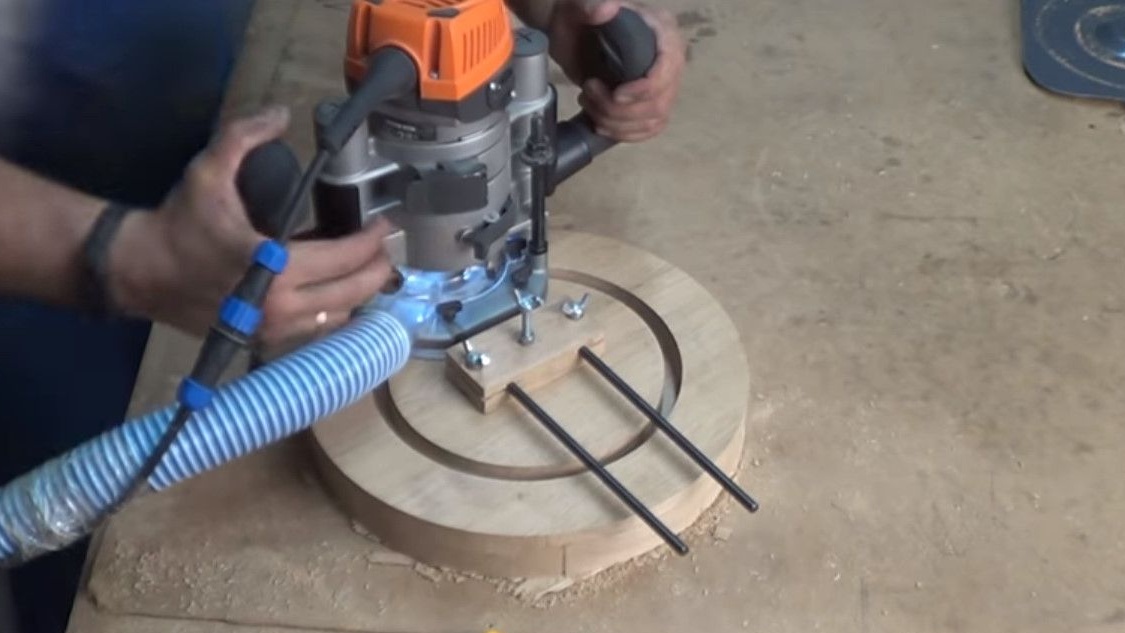
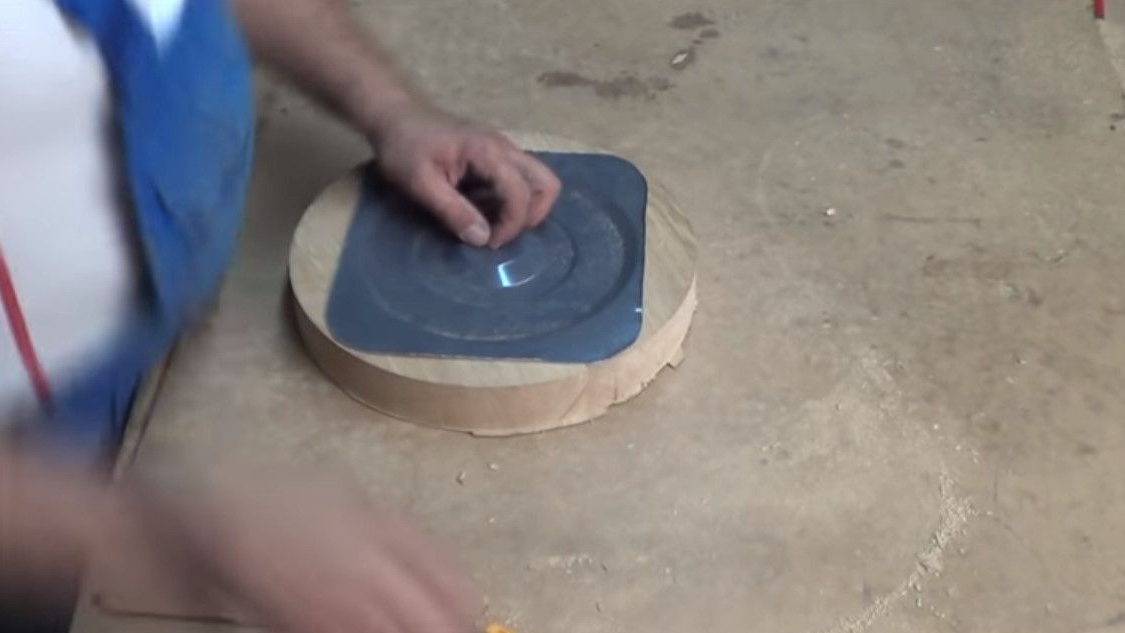
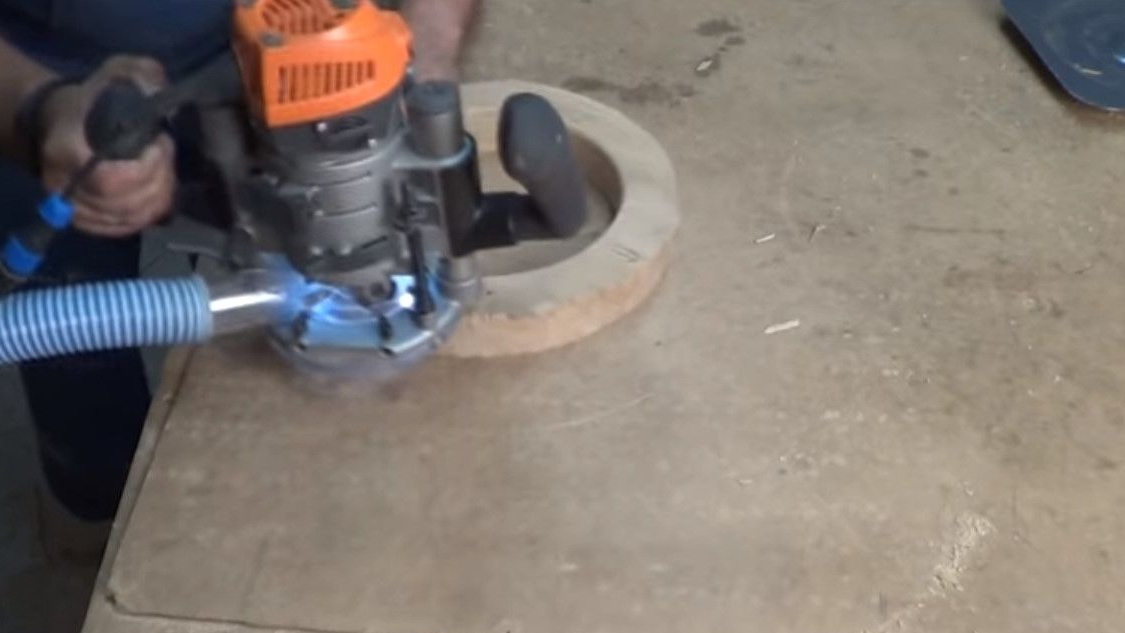
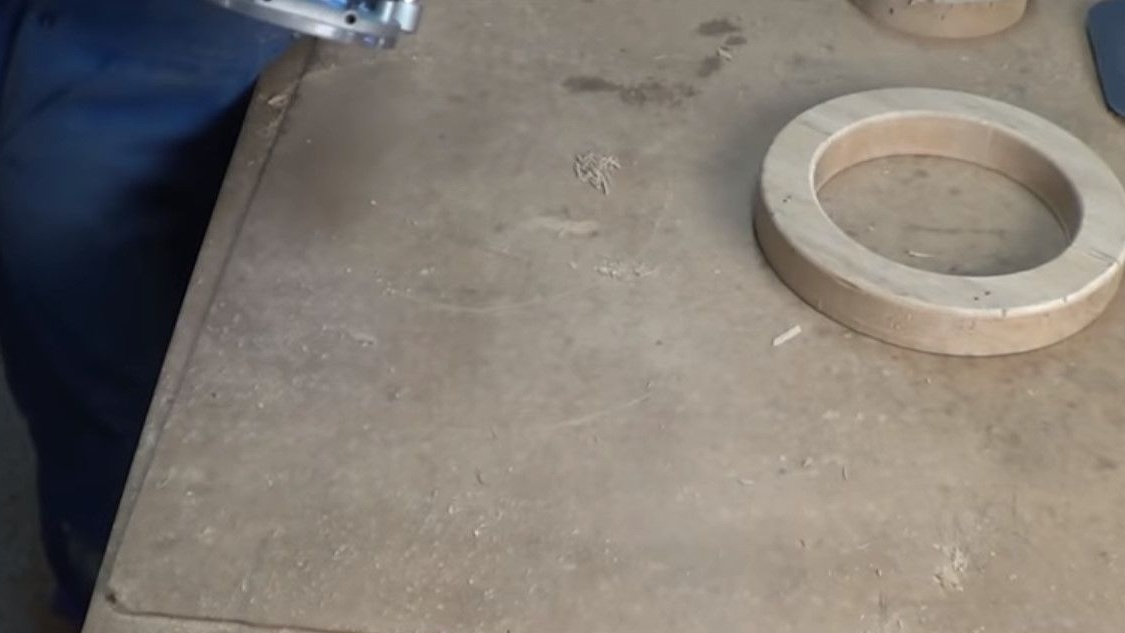
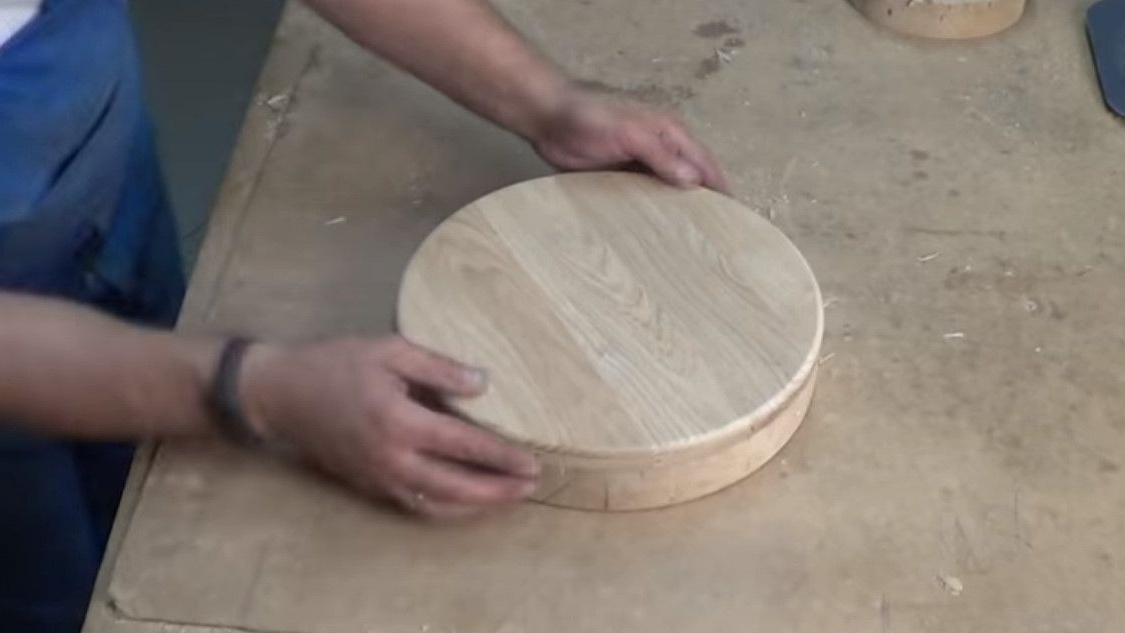
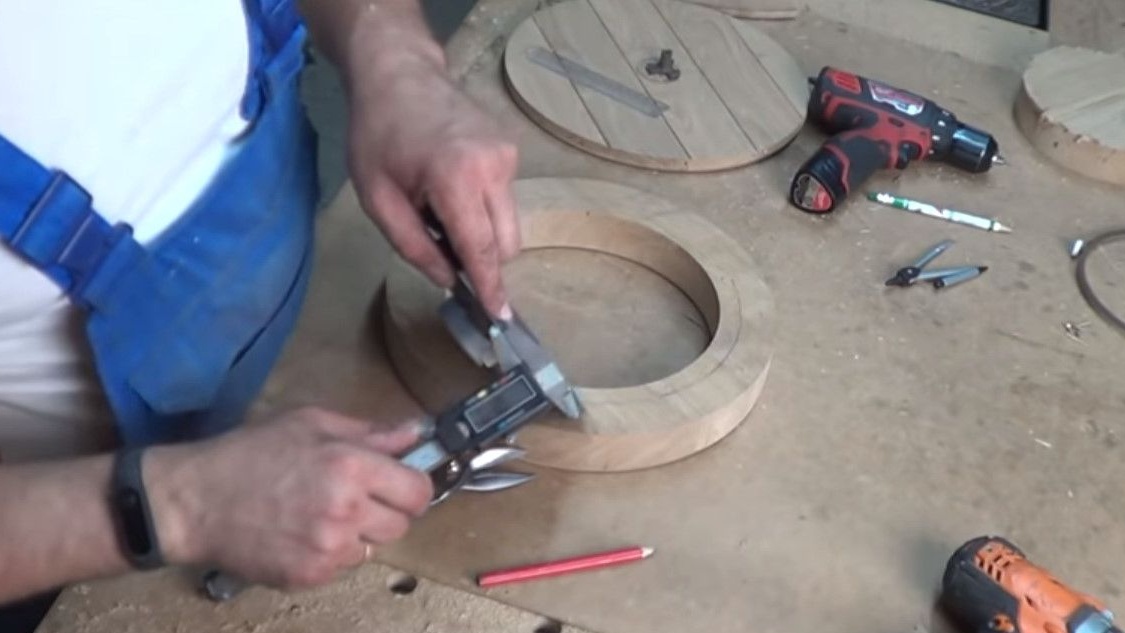
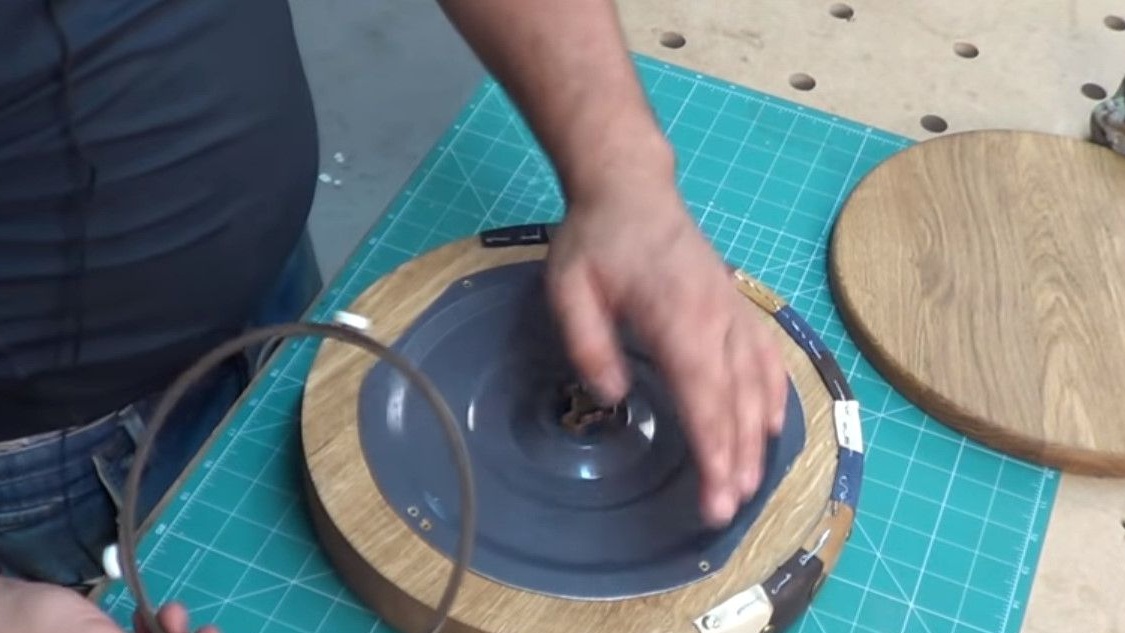
Further, with the help of a milling cutter, it makes a pallet and platform.
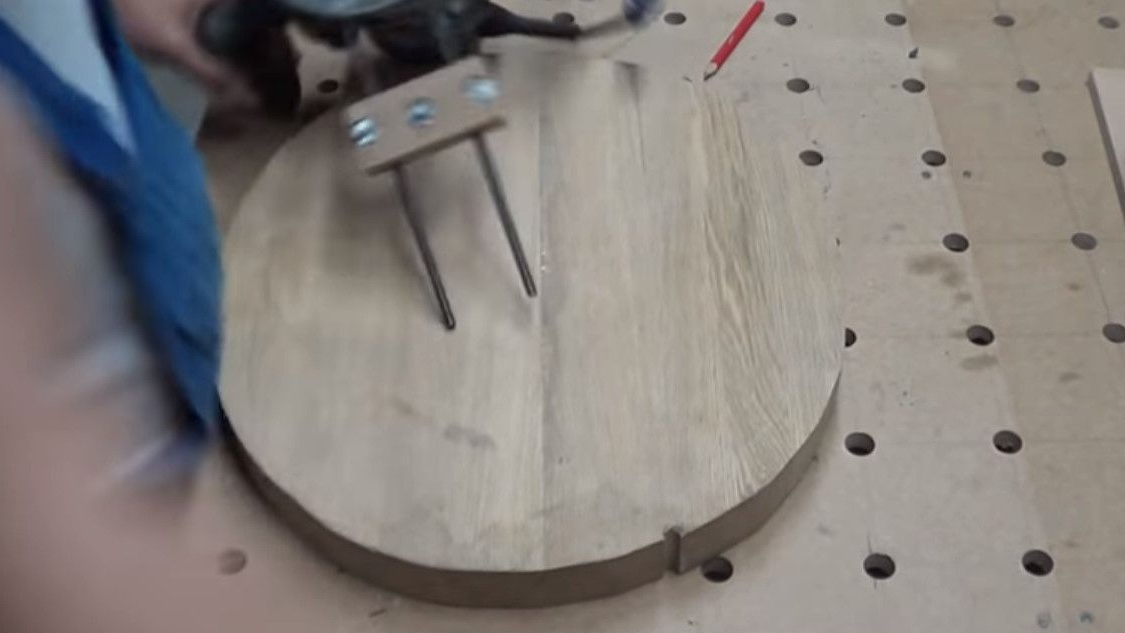

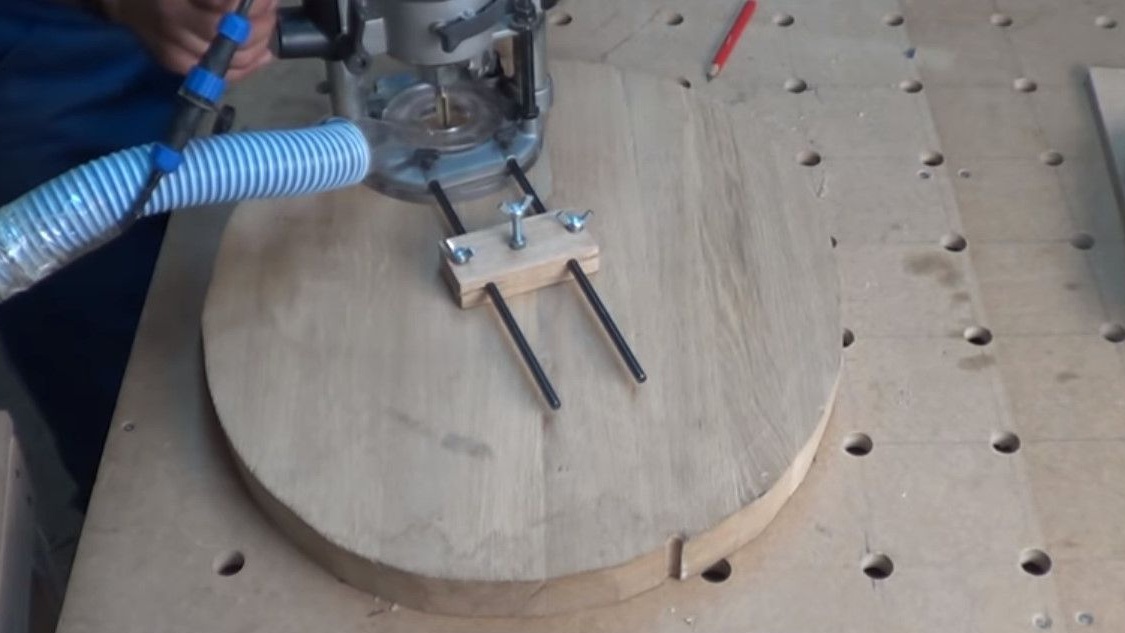
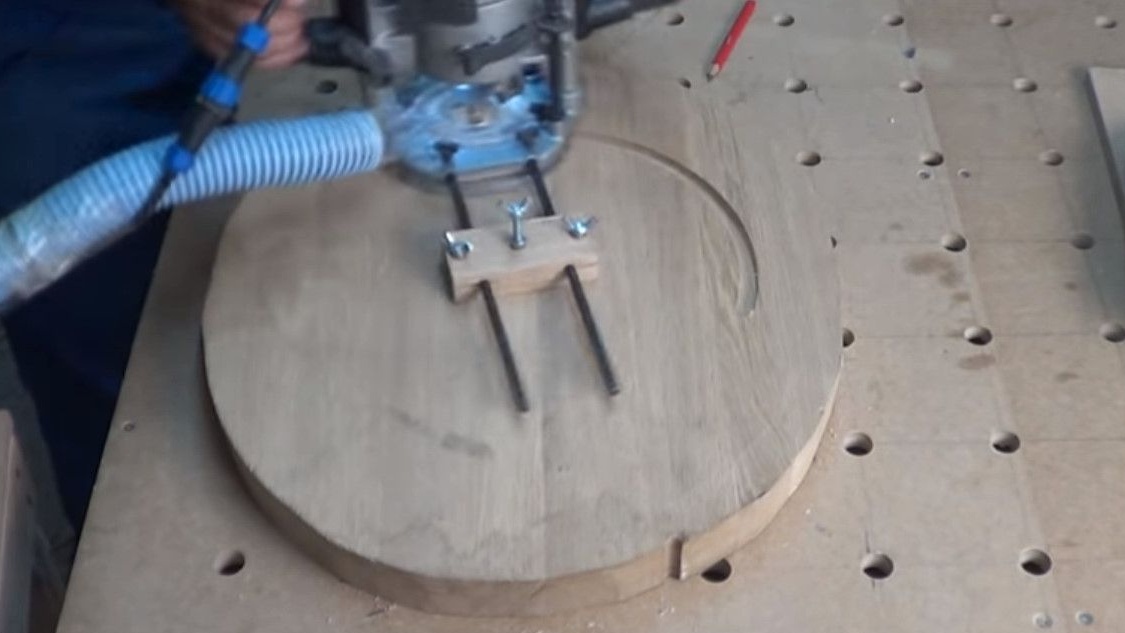
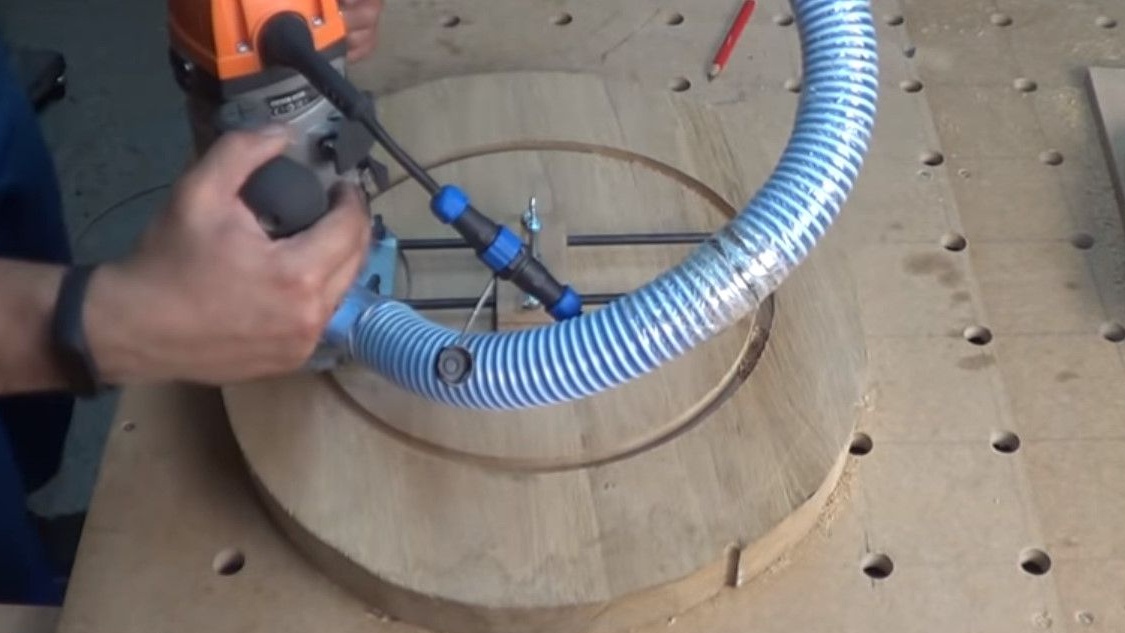
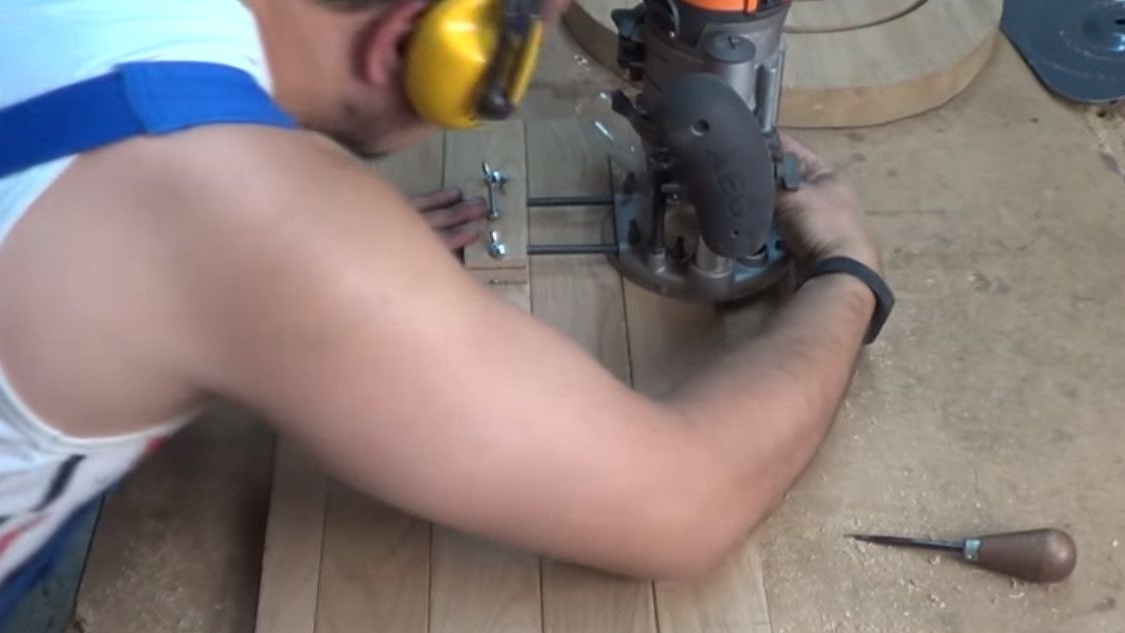
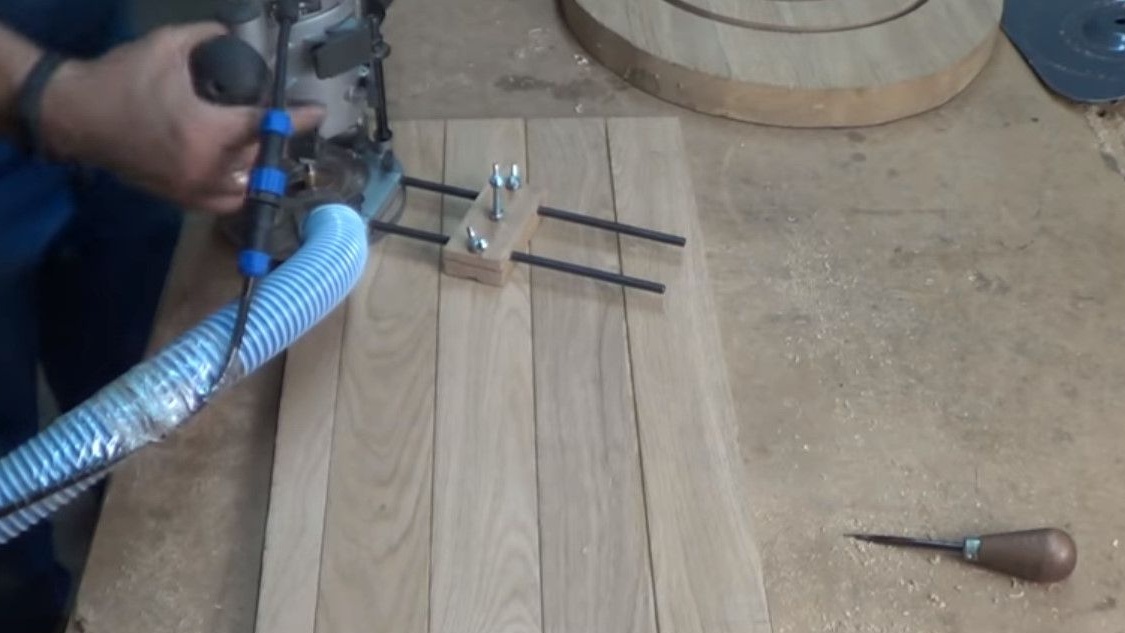
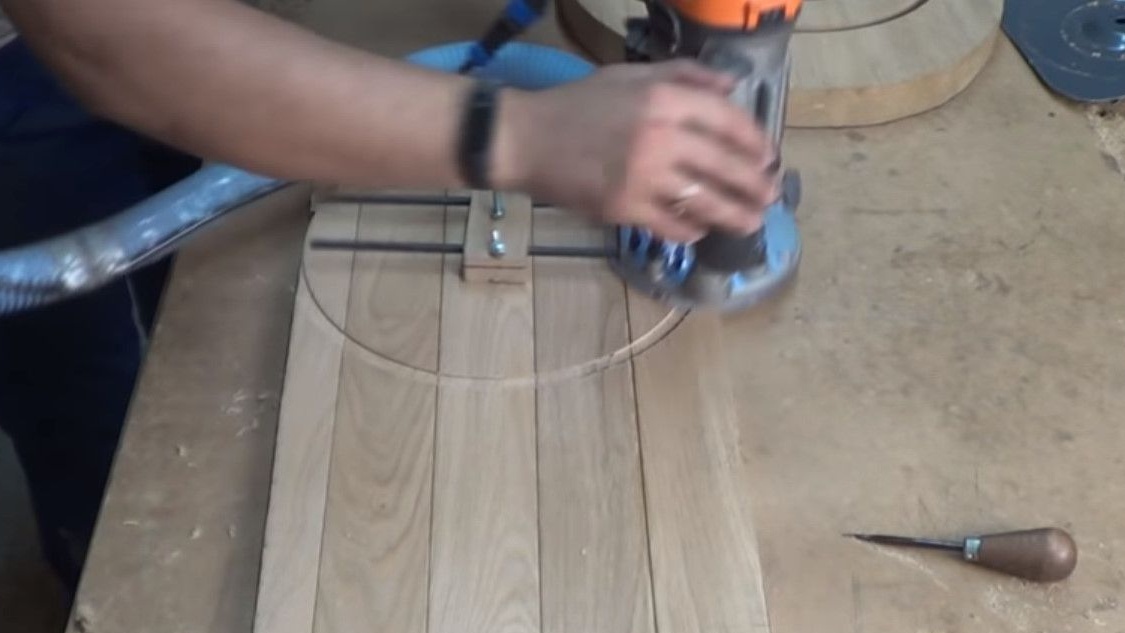
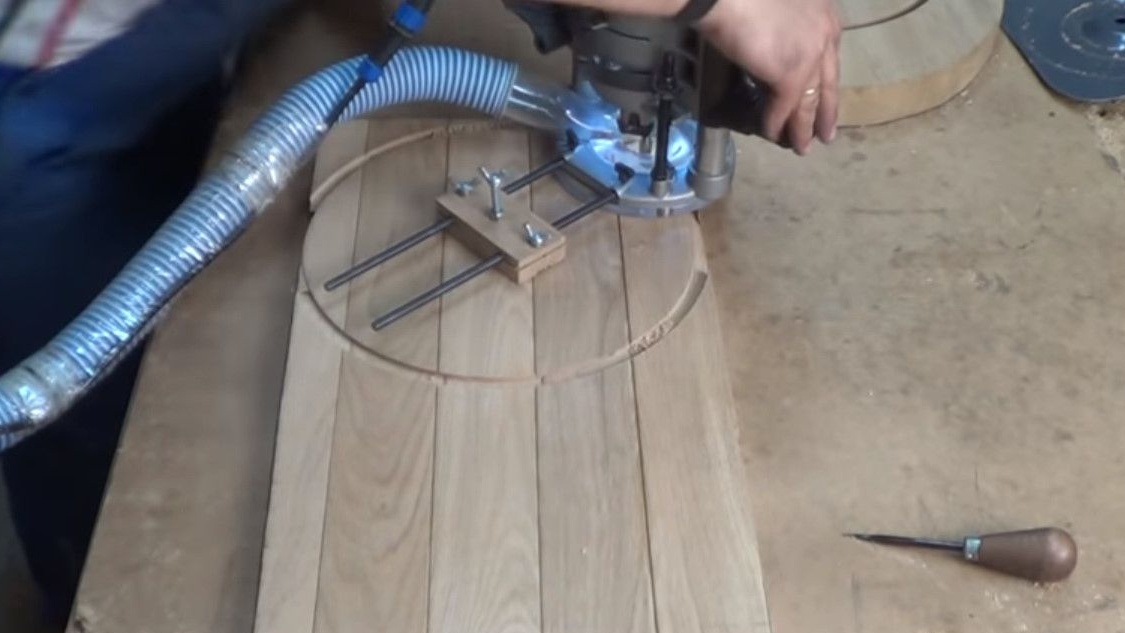
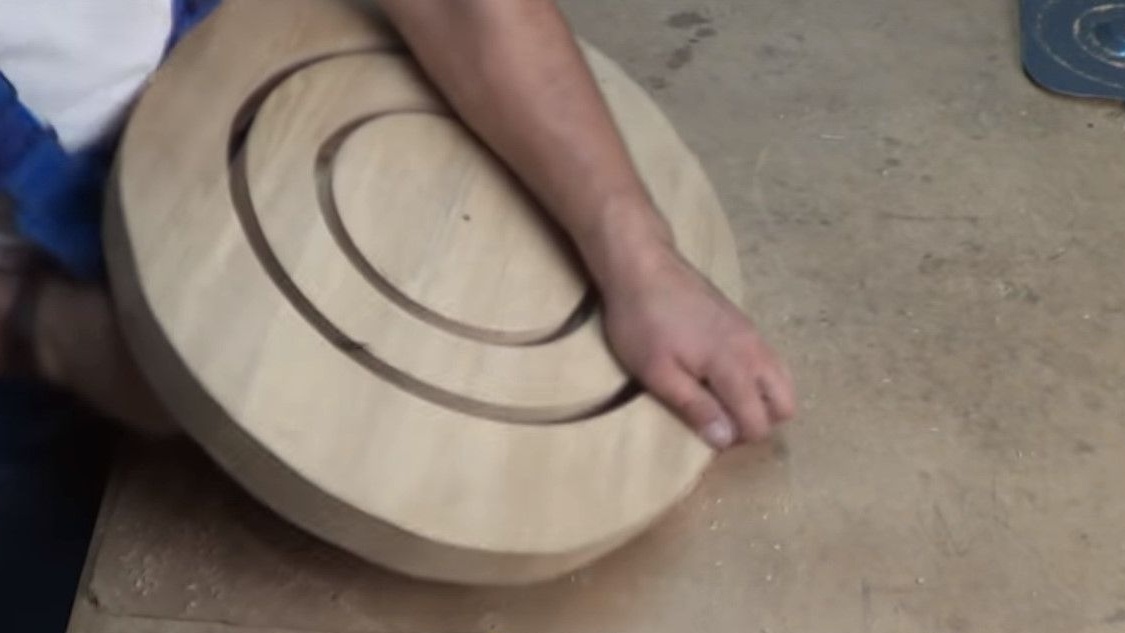
Milling cutter chamfers.
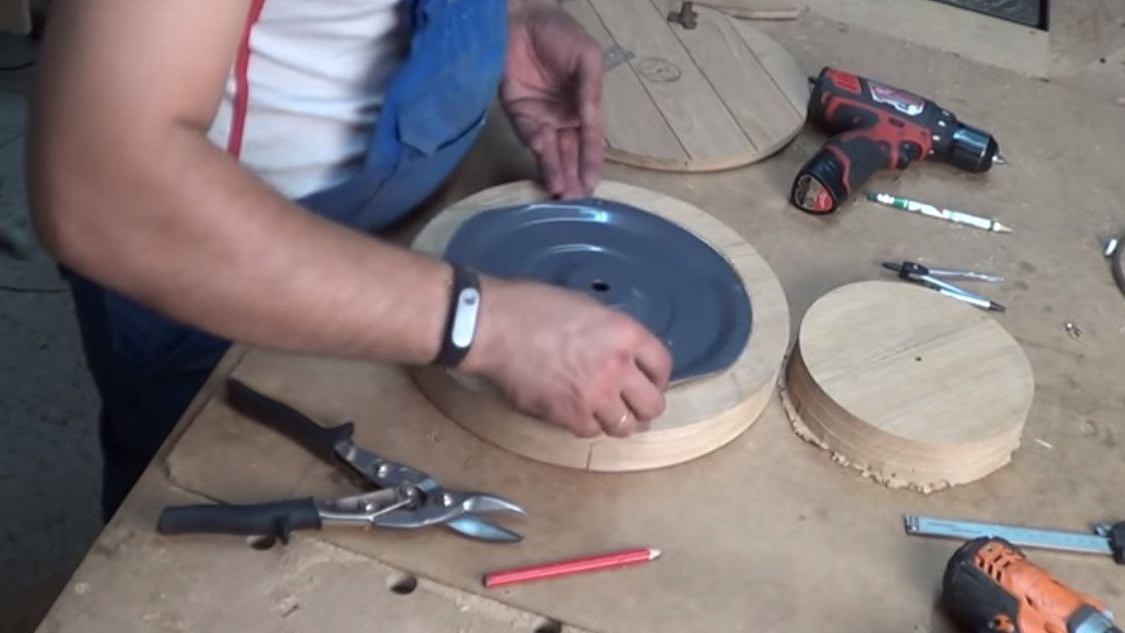
The former bottom of the microwave drives to the pallet.
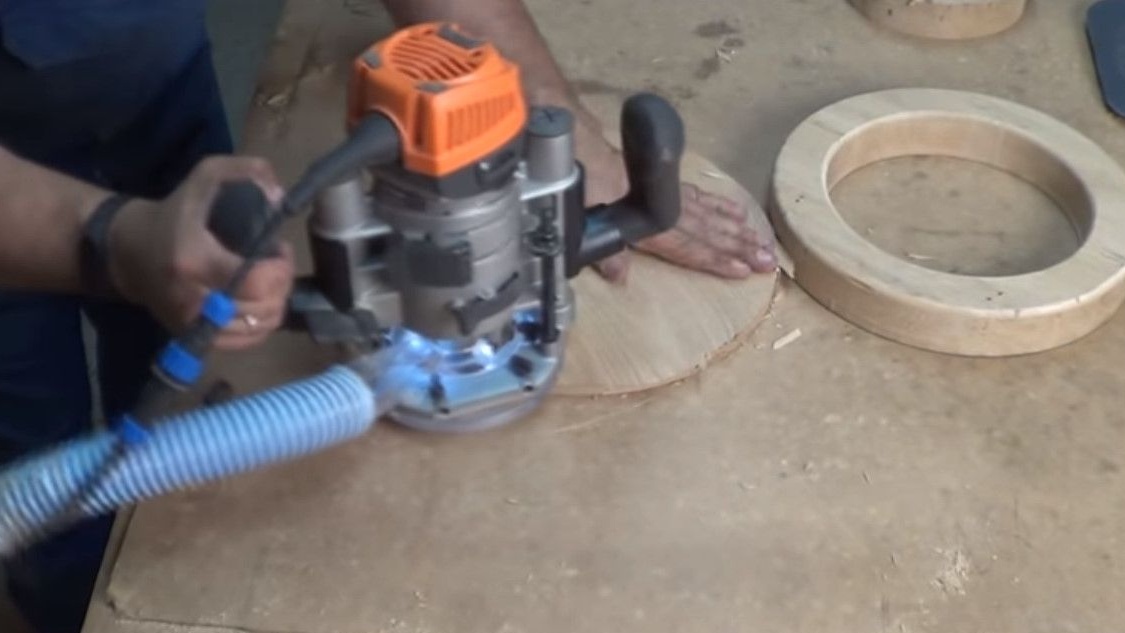
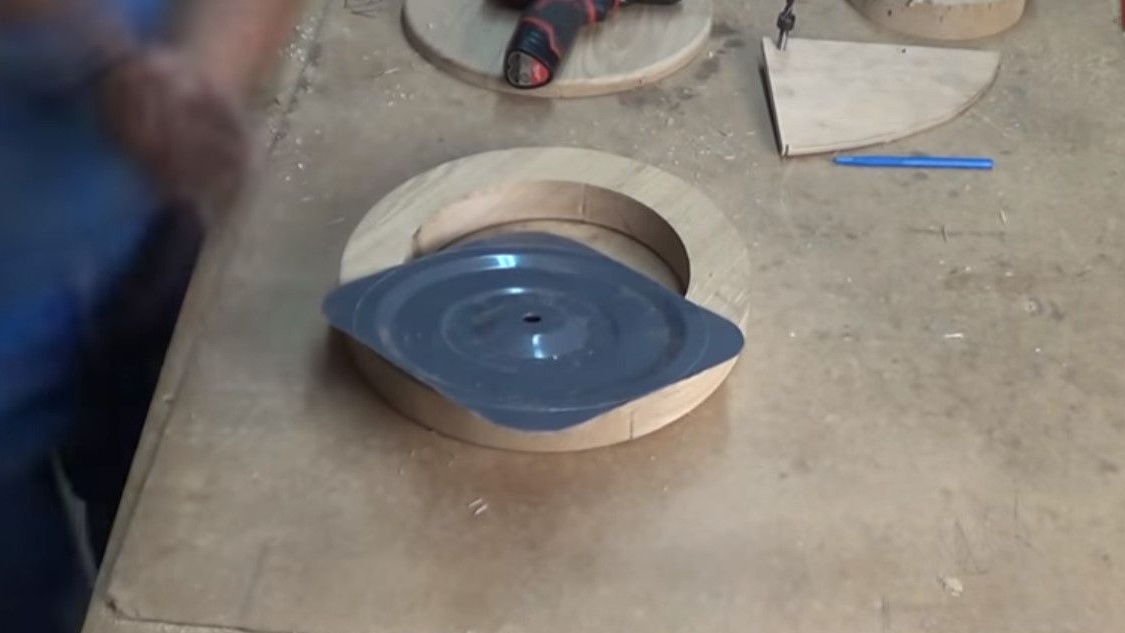
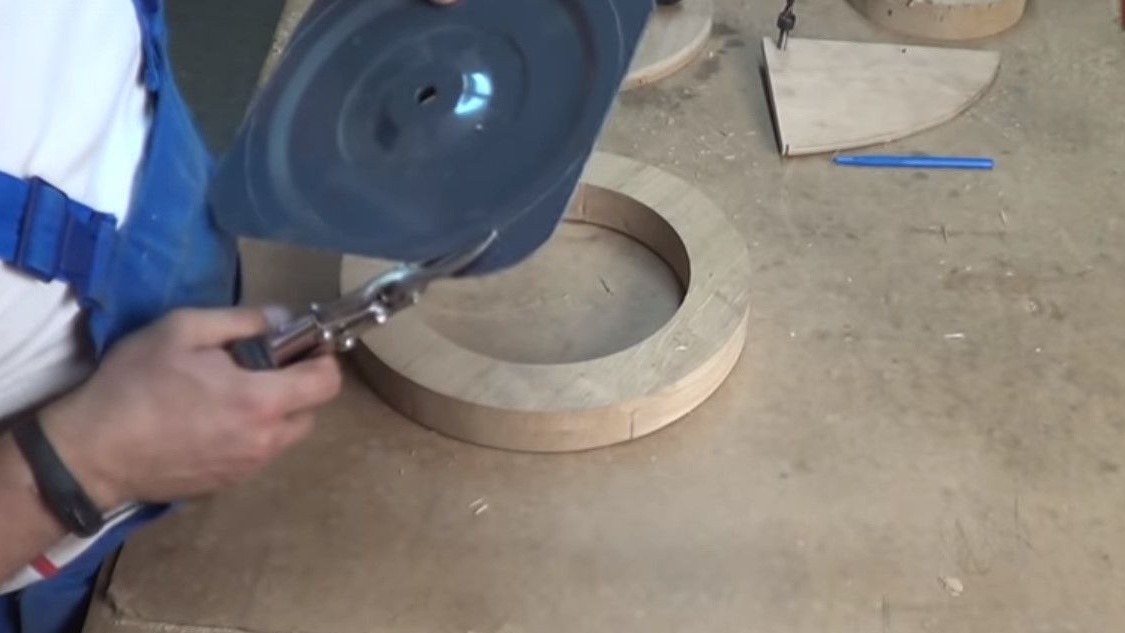
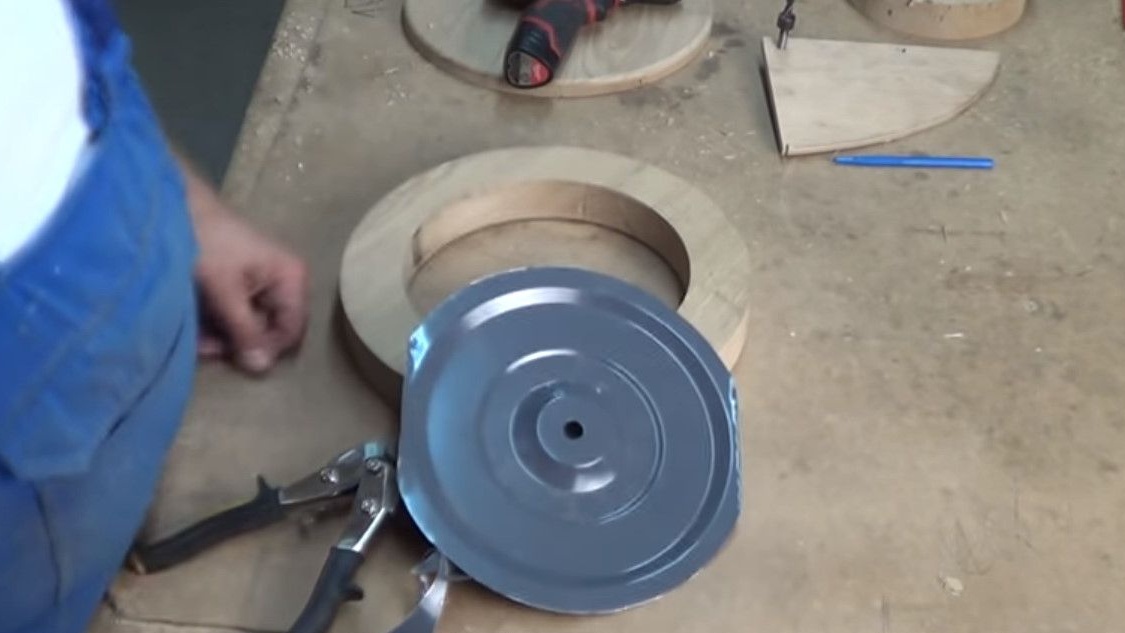
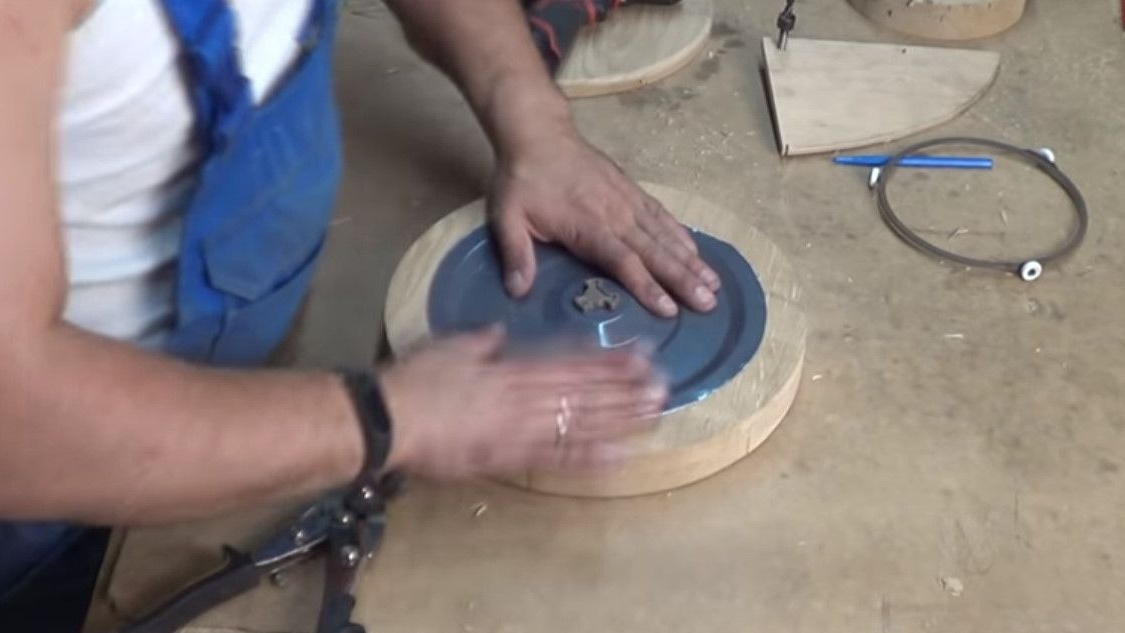
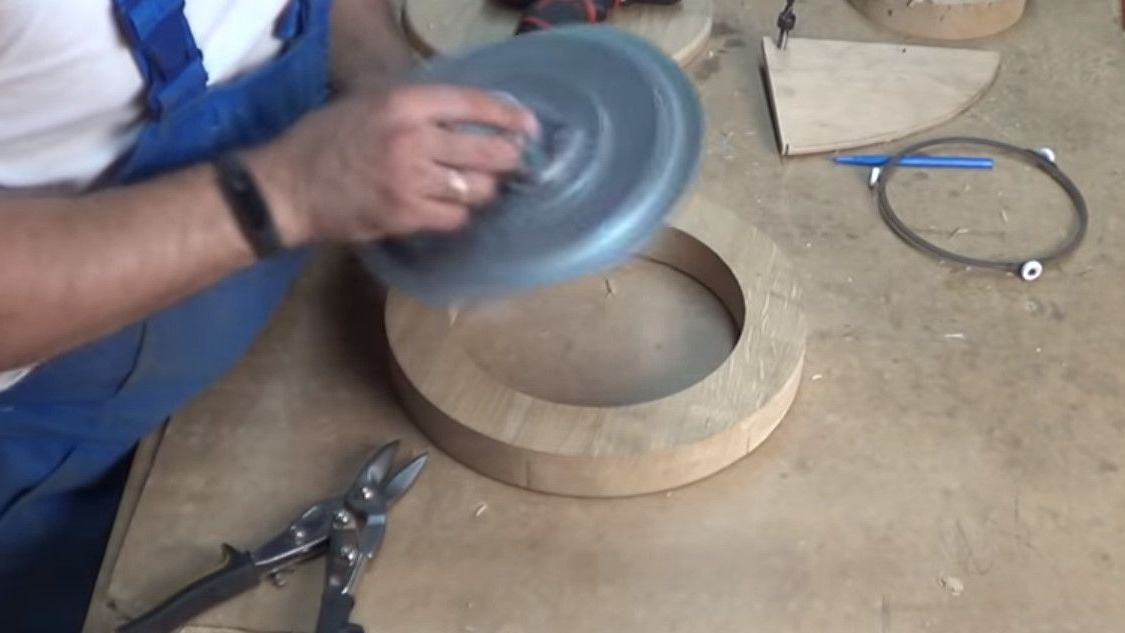
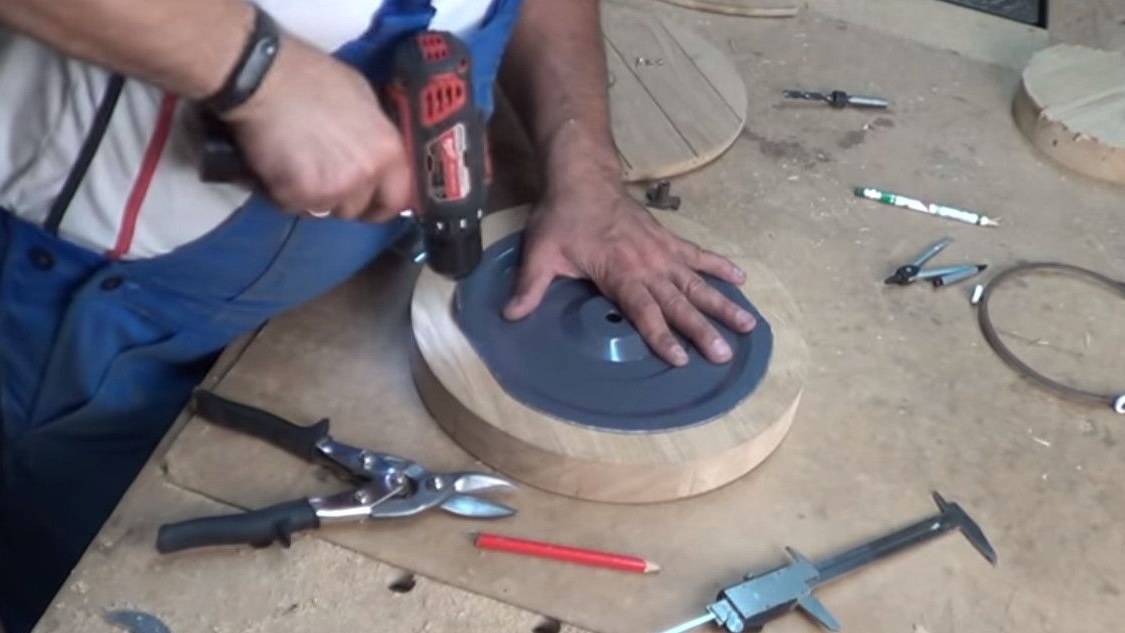
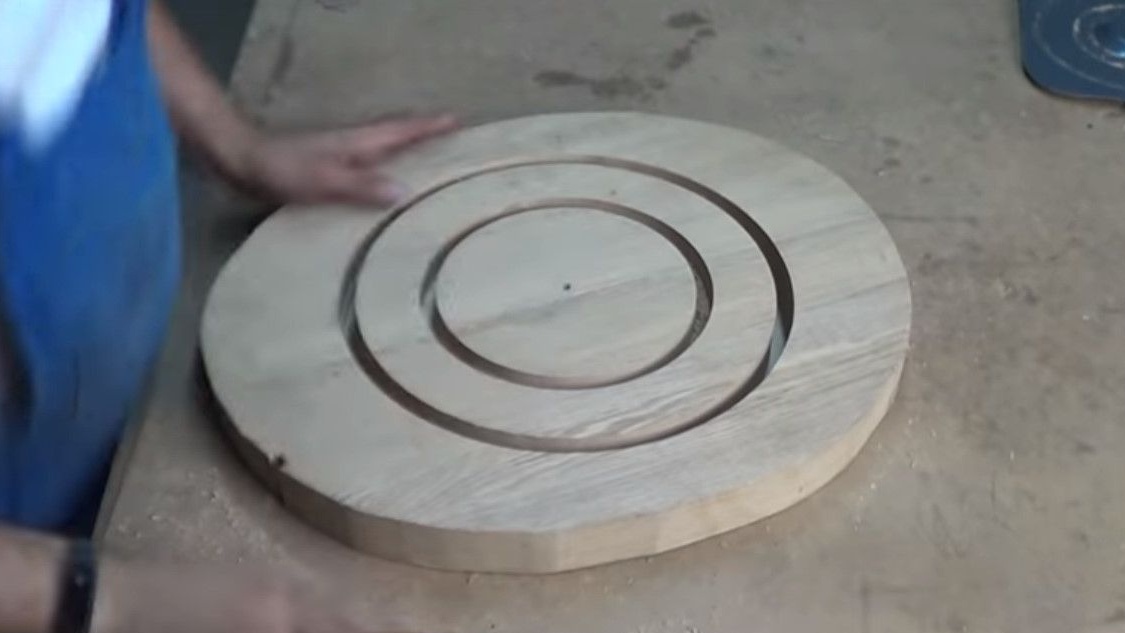
In order to avoid a gap between the platform and the pallet - it deepens the bottom.
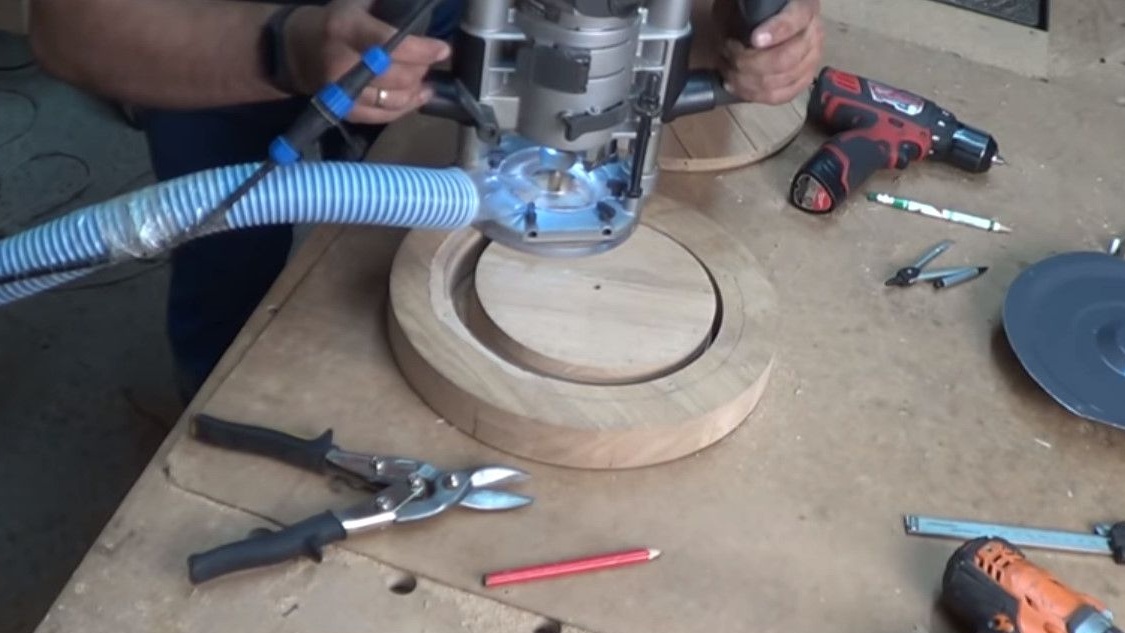
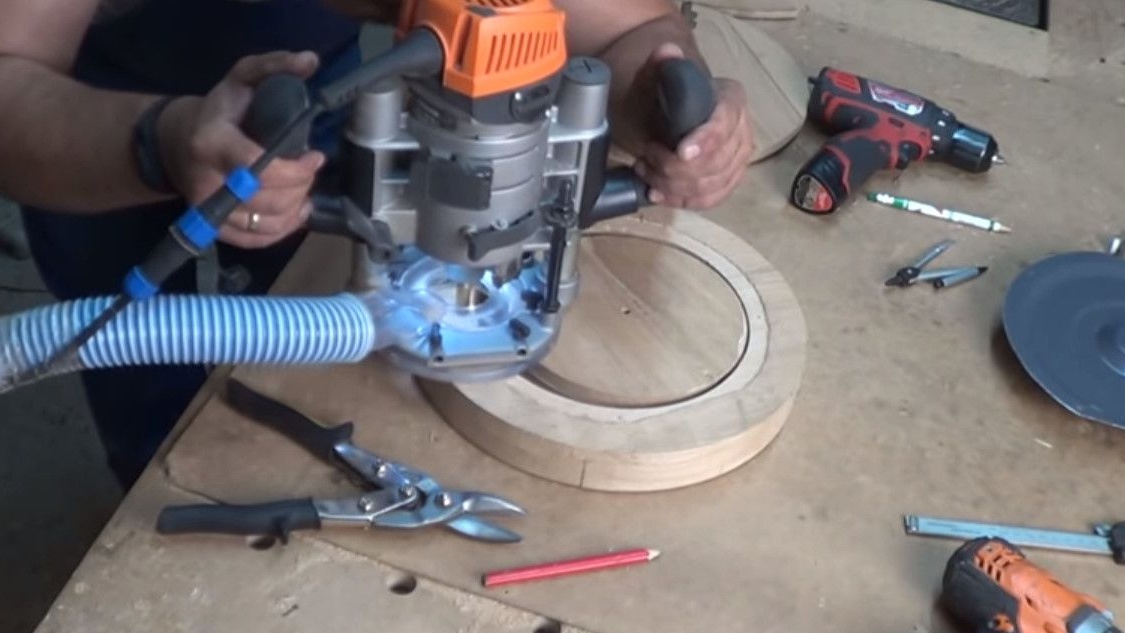
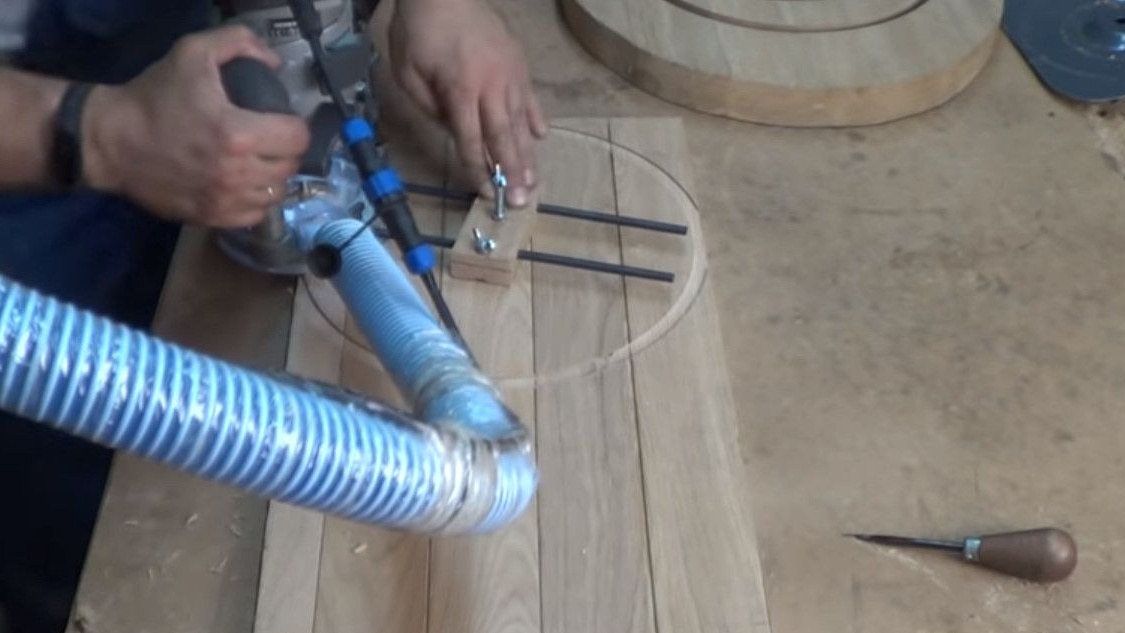
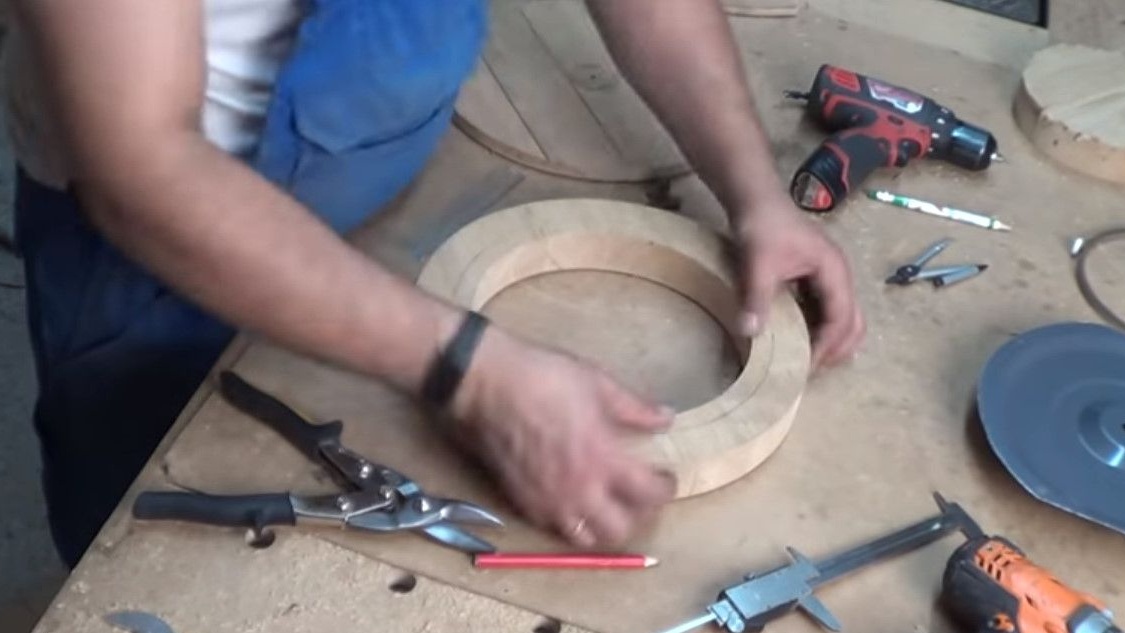
In brief by design. So, this is made from scraps, here the author went through a milling cutter.
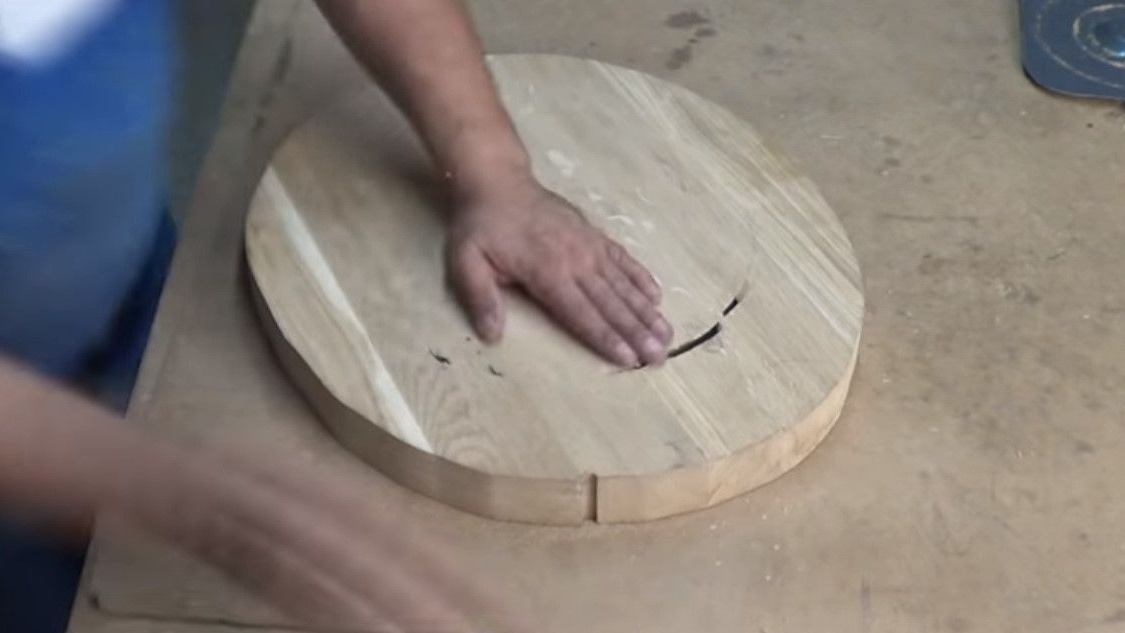
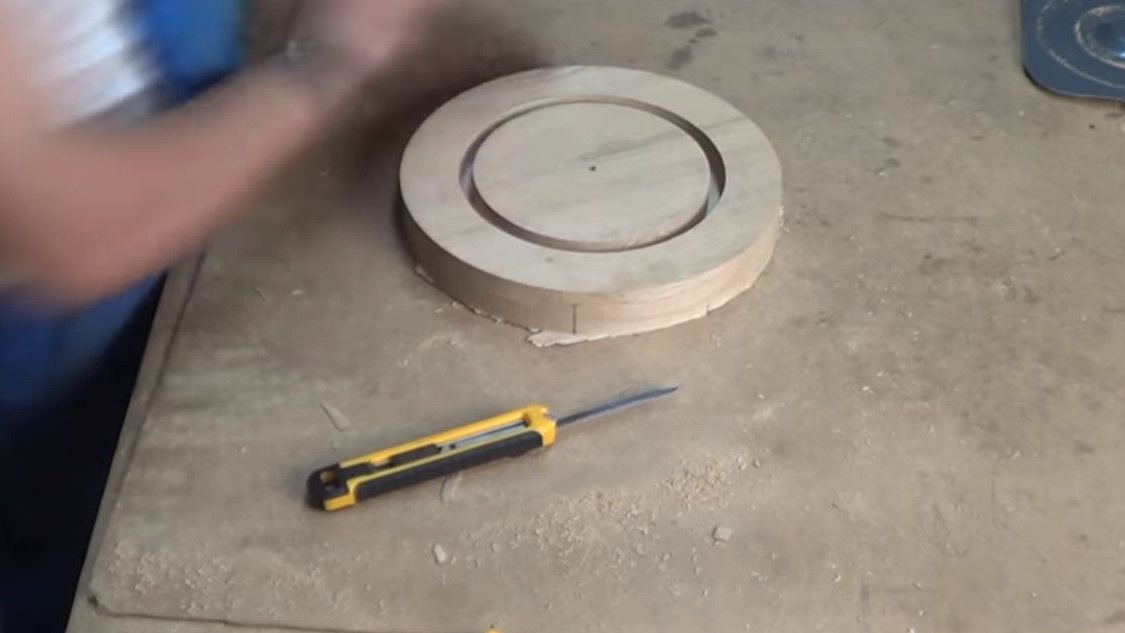
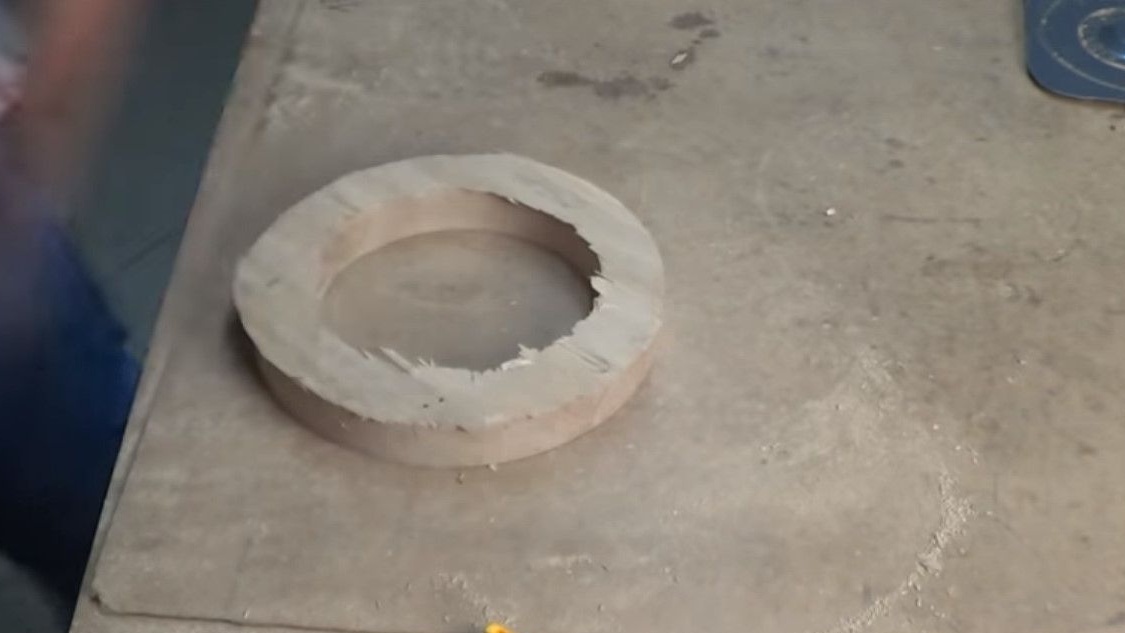
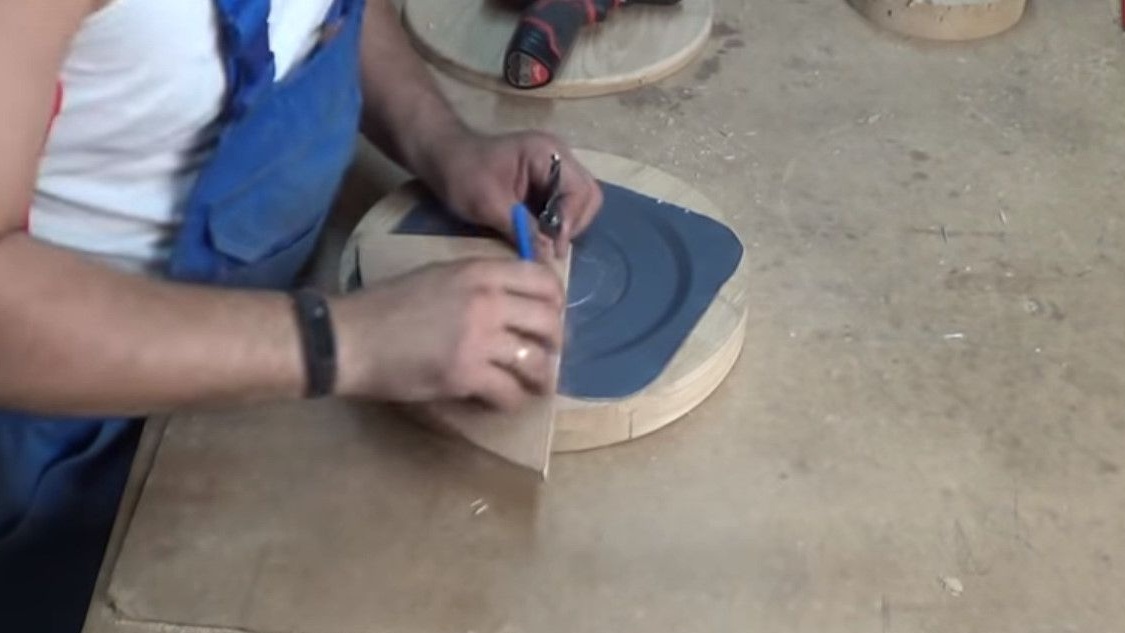
He cut out the central part with an ordinary knife.
This whole part is cut out of the microwave.
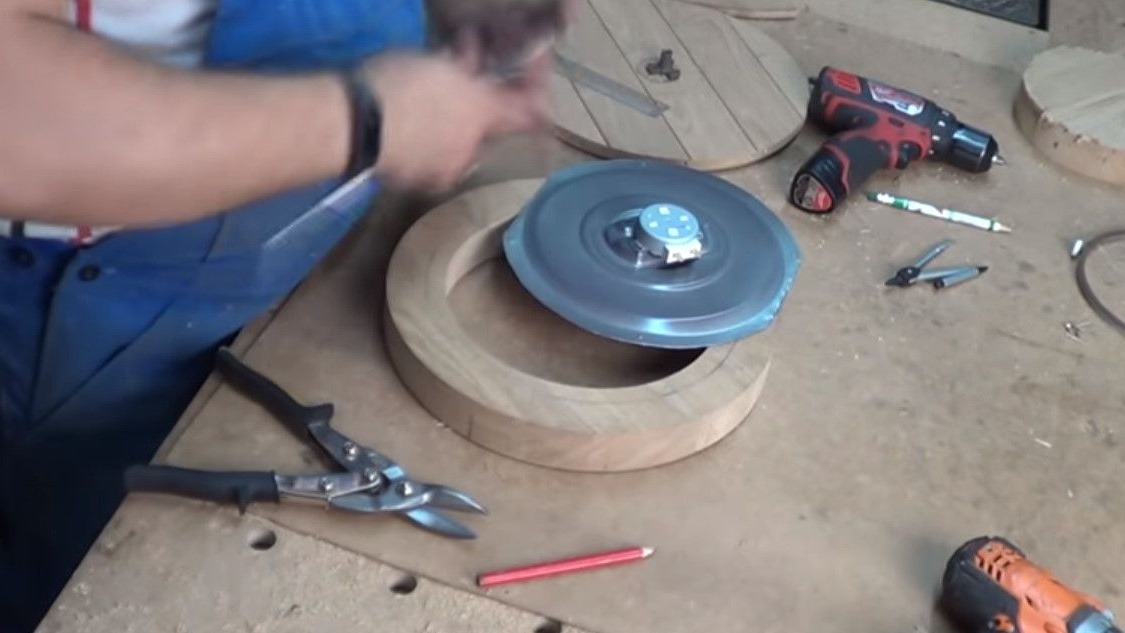
These are also microwave parts.
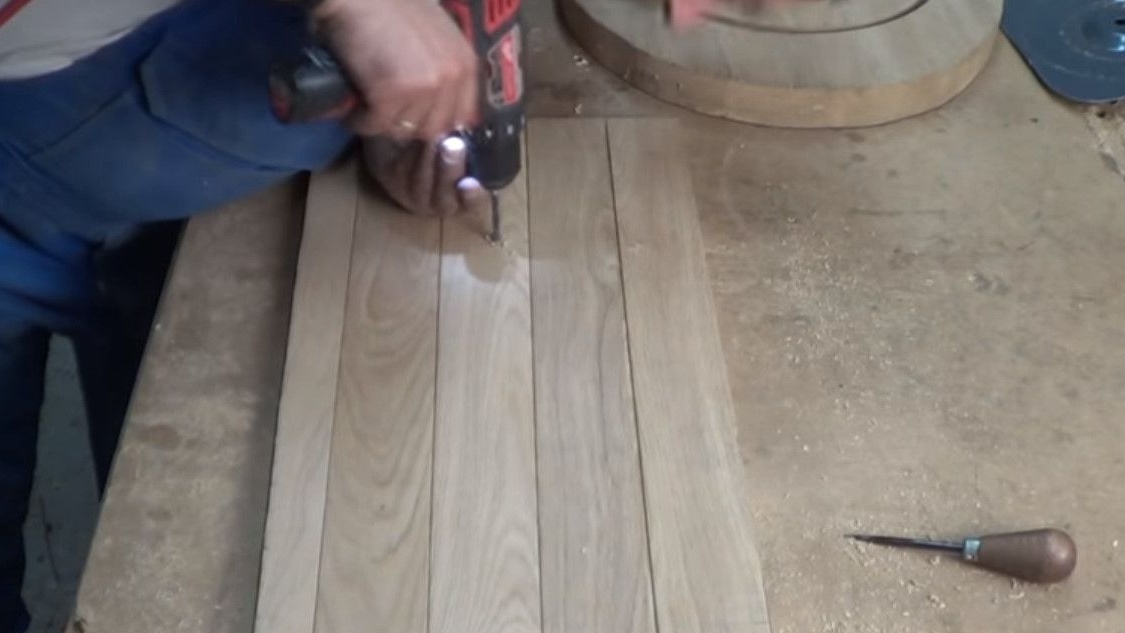
Also made here are three homemade legs.
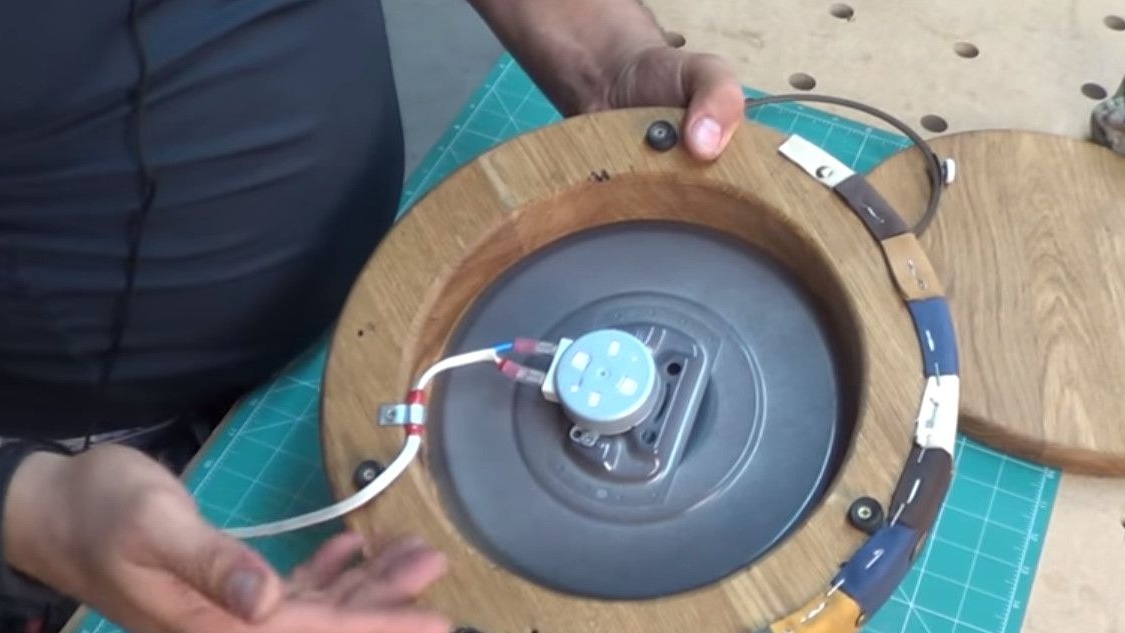
It can be seen that here the wire itself is not output in one direction.
This is done so that you can bring it to either side.
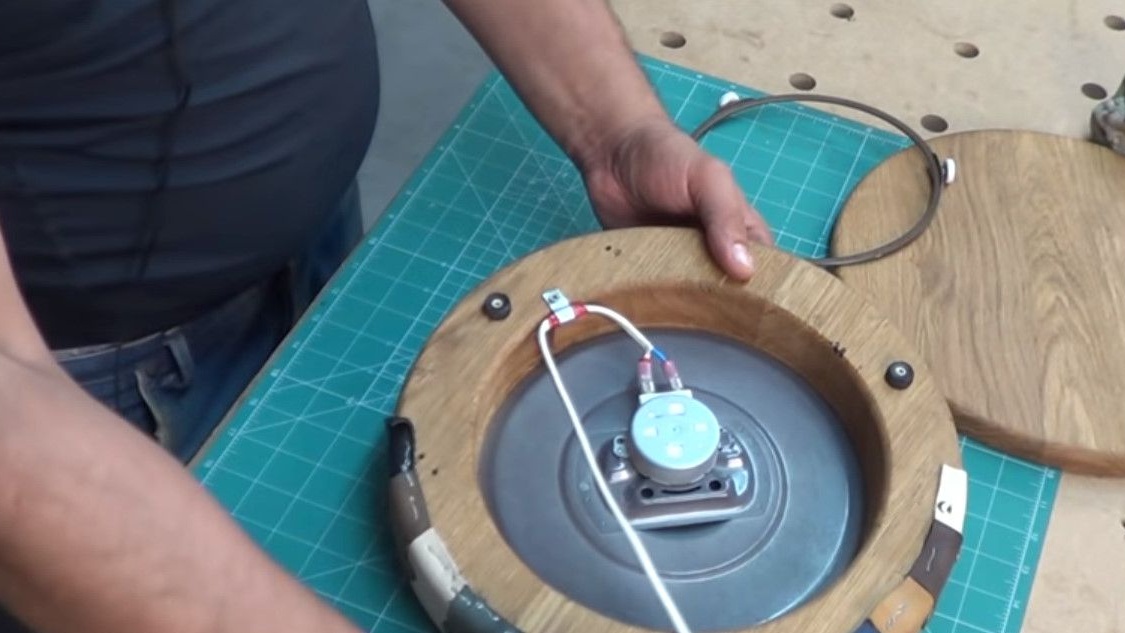
Be careful when installing and connecting the engine! In microwave ovens, motors come across not only 220V, they come in 24.
Thanks to Vadim for a good idea!
All good homemade!