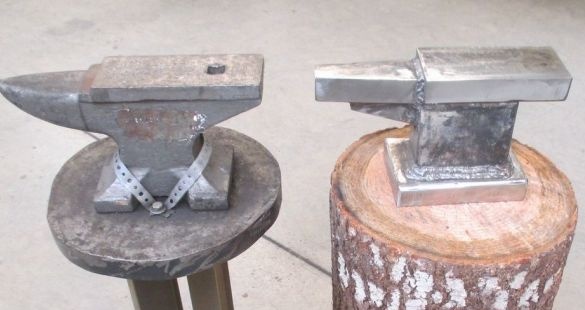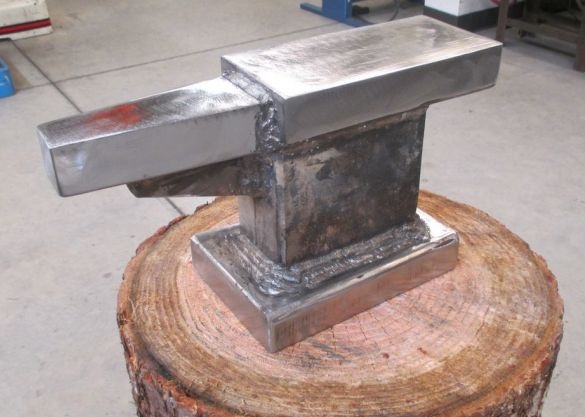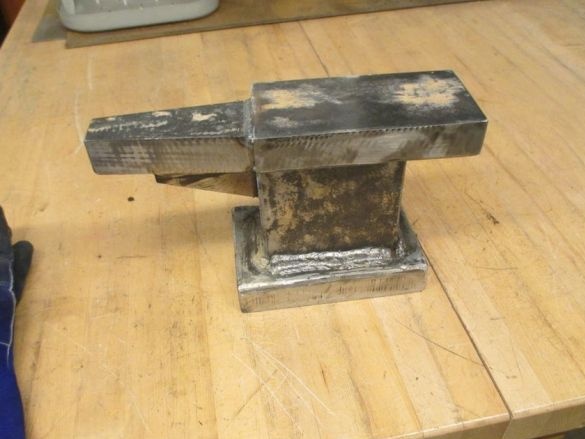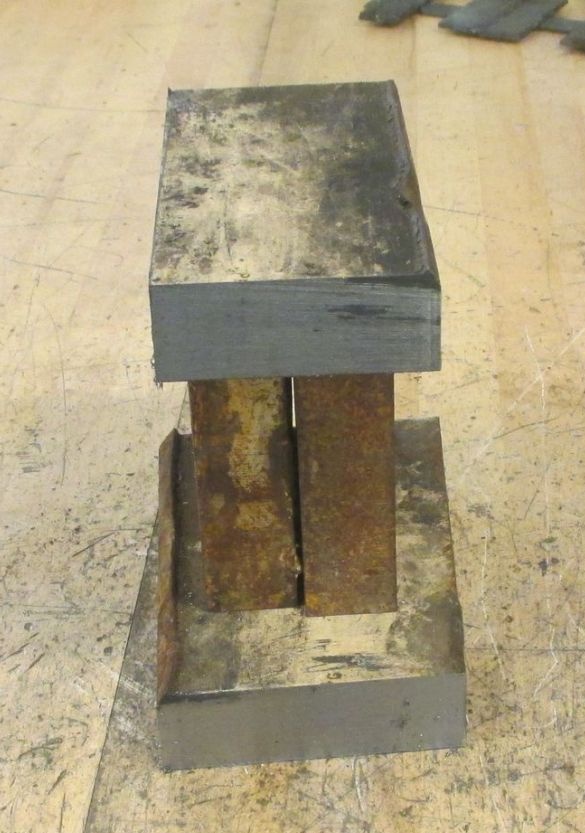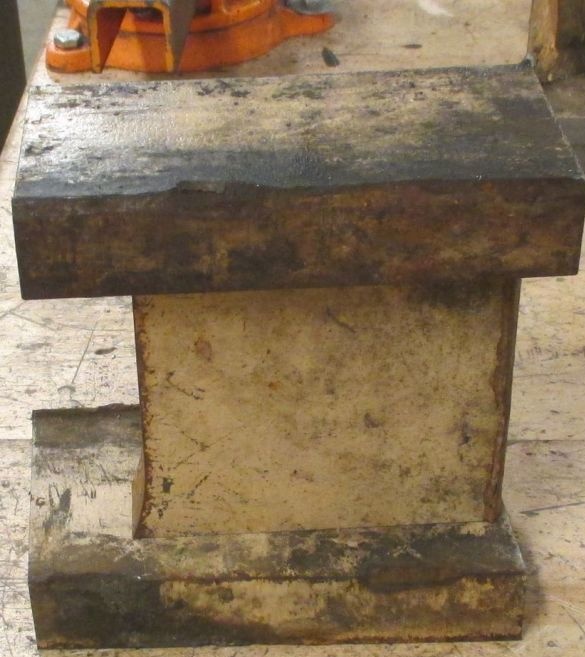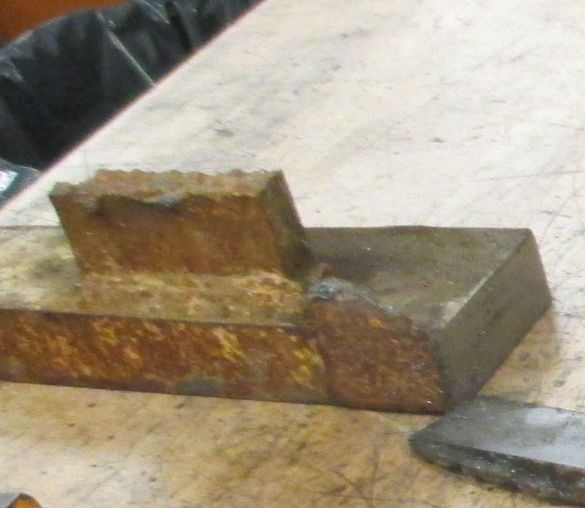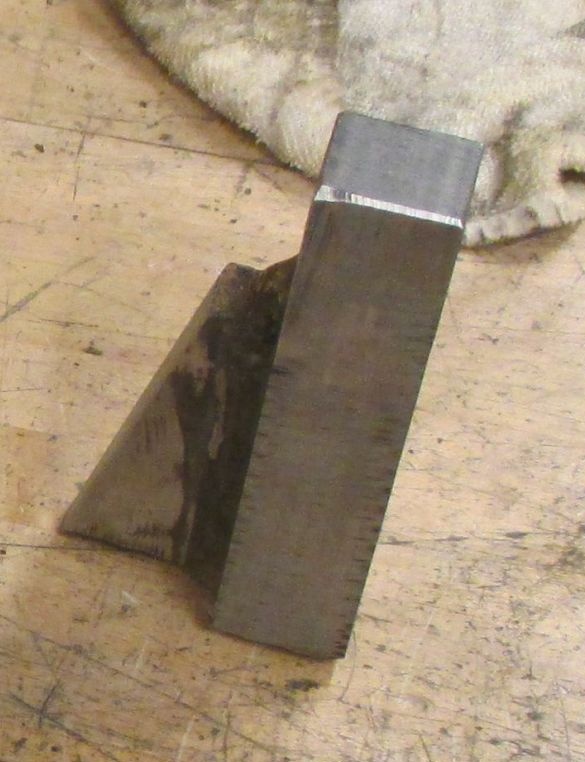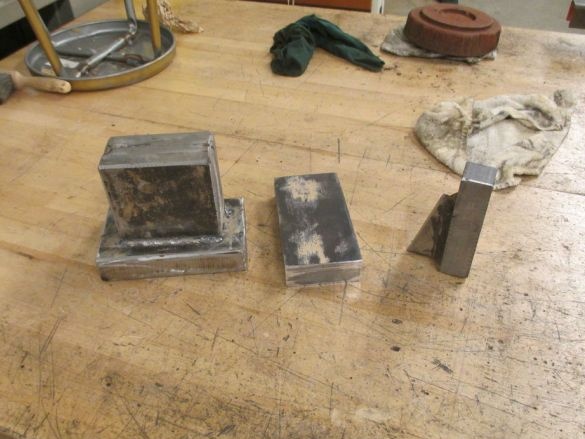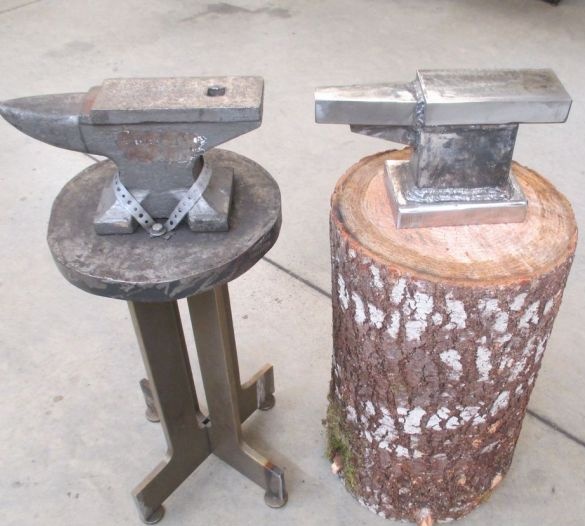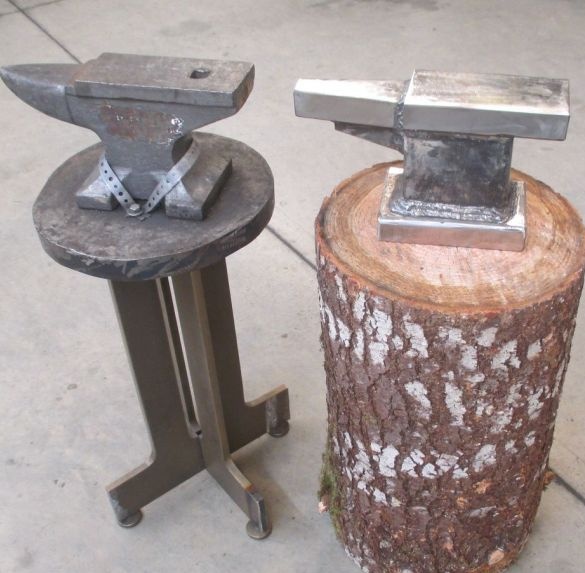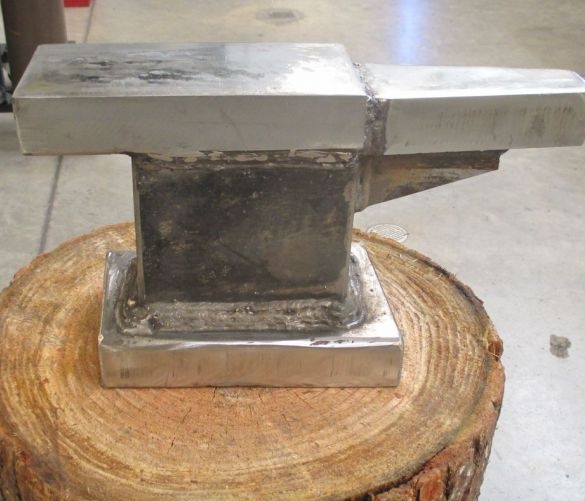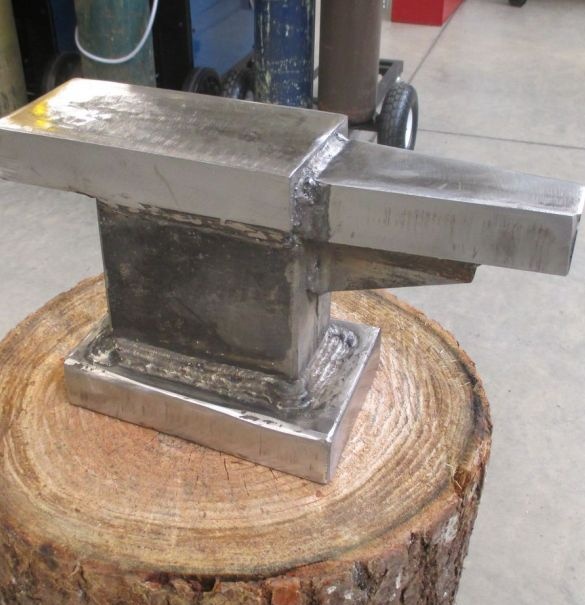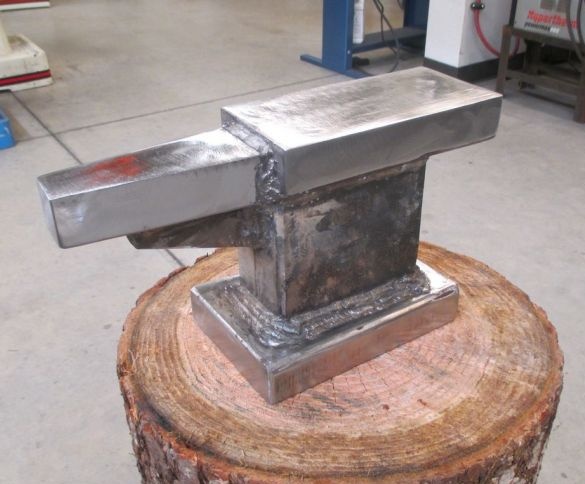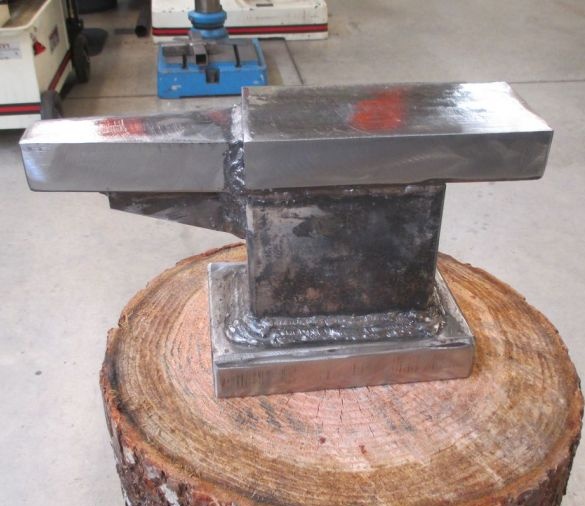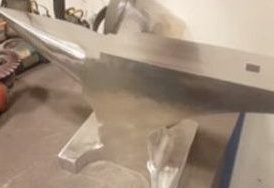
Hello everyone, if you decide to do blacksmithing and you don’t have an anvil, it’s not a problem! In this instruction we will look at how to make the simplest anvil. do it yourself! As a source material, the author used various components from scrap metal, these are corners, a channel and so on.
The most important requirement for the anvil is a solid working plane, the steel must be strong, it must withstand large shock loads and ideally should not spring at all. Even the anvil must be heavy, due to the large mass, it will not jump when the hammer hits. In general, you can add weight to the anvil by pouring its interior with concrete or something similar. In general, do not be shy and show imagination. Let's consider in more detail how the anvil is made!
Materials and tools used by the author:
Material List:
- channels, corners and other pieces of iron.
Tool List:
- grinder;
- welding machine;
- hammer;
- corner;
- ruler;
- marker.
Getting to the production of anvil:
Step one. Cut the workpiece
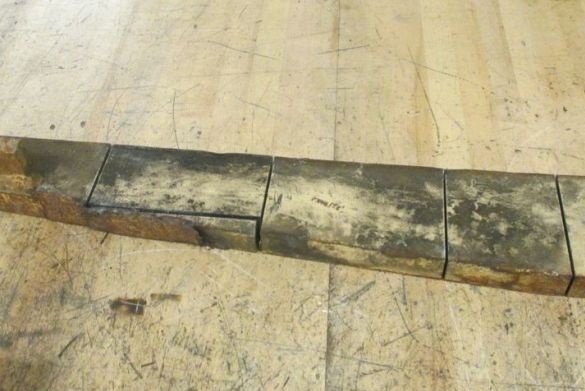
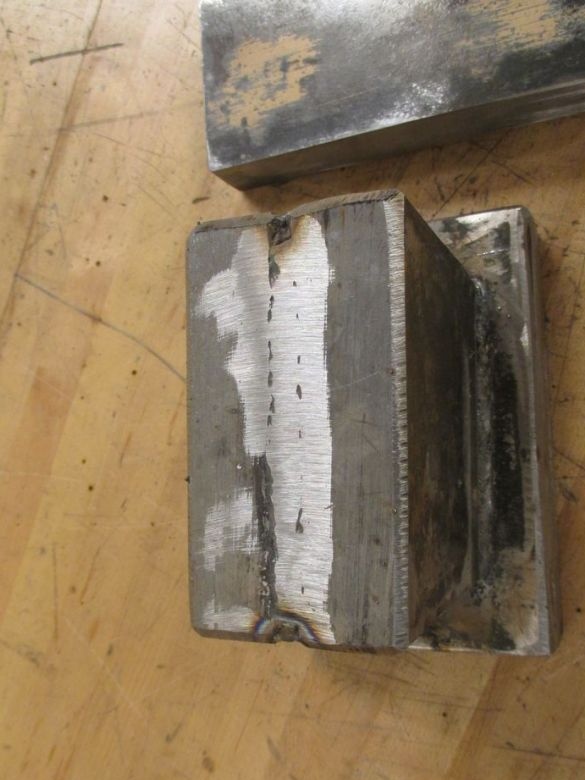
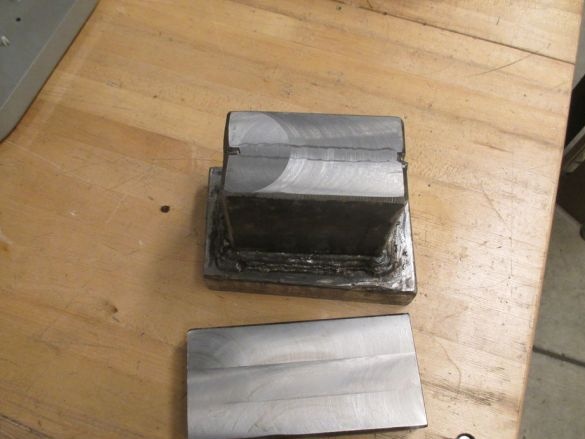
The author used thick steel plates as the main material. And this is a very correct decision, the metal is so durable and also has a large mass, which is important for the anvil. And you can weld these parts together with the help of square pipes, channels, corners and so on, that is. we cut the necessary details to assemble an anvil of suitable sizes and shapes.
Step Two Welding
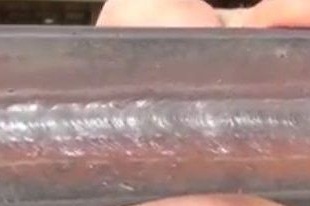
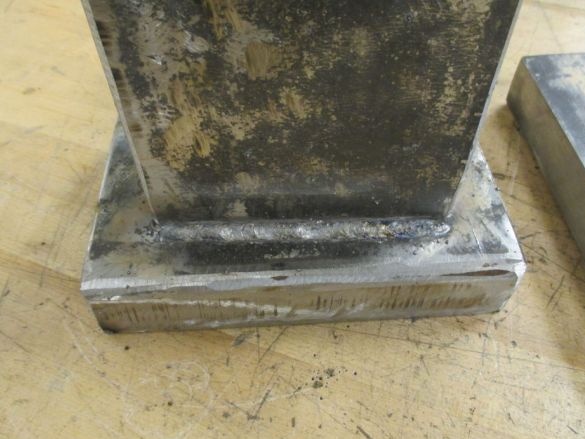
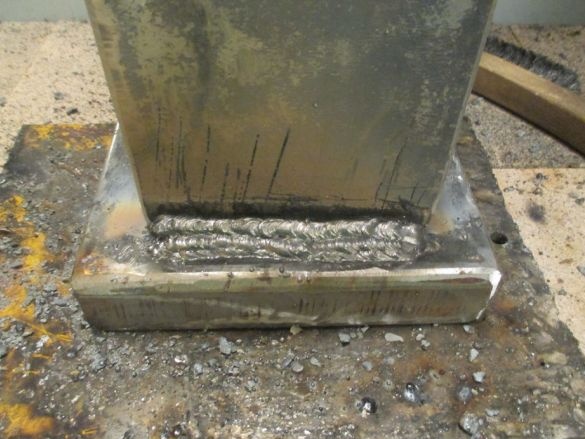
When all the details have been prepared, you can weld your anvil. All welds must be of high quality. strong. However, when welding thick metal with this you should have no problems. That's all, after that you can already use the hard place!
Step Three Finishing touches
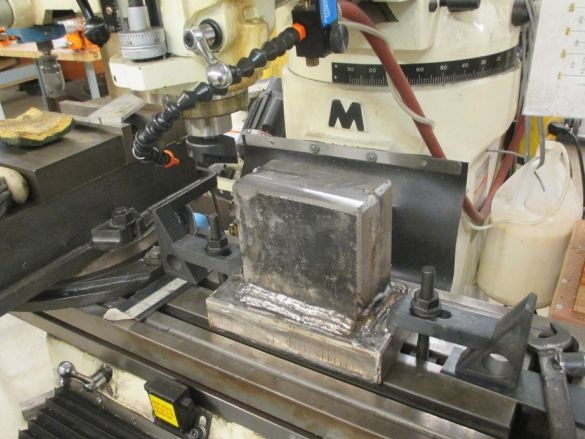
As a completion, we go through the product with a grinder with a grinding nozzle, and you can also use a metal brush. We remove the rust, make everything look beautiful. It is also highly desirable to paint the product with heat-resistant paint. That's all, the project is over. I hope you enjoyed it. Good luck and creative inspiration, if you want to repeat this!

