
In this article, Andrei Yarmolkevich welcomes you to his small workshop on the balcony.
In this article, the author will make a cork board.
His eldest son asked about this, you need to do such a thing so that you can attach your clever thoughts to it on the buttons. Andrei has some cork flooring left after repairs.
It is this material that will be used to manufacture the main working field of the board itself. I also prepared these oak dice here, I already reissued them, made the base.
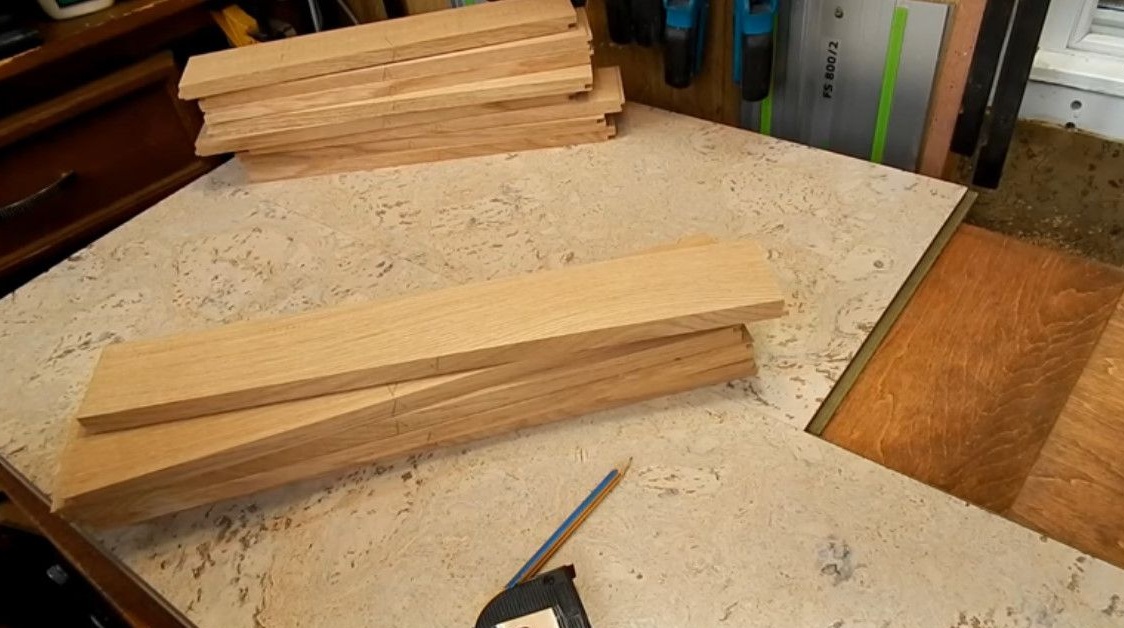
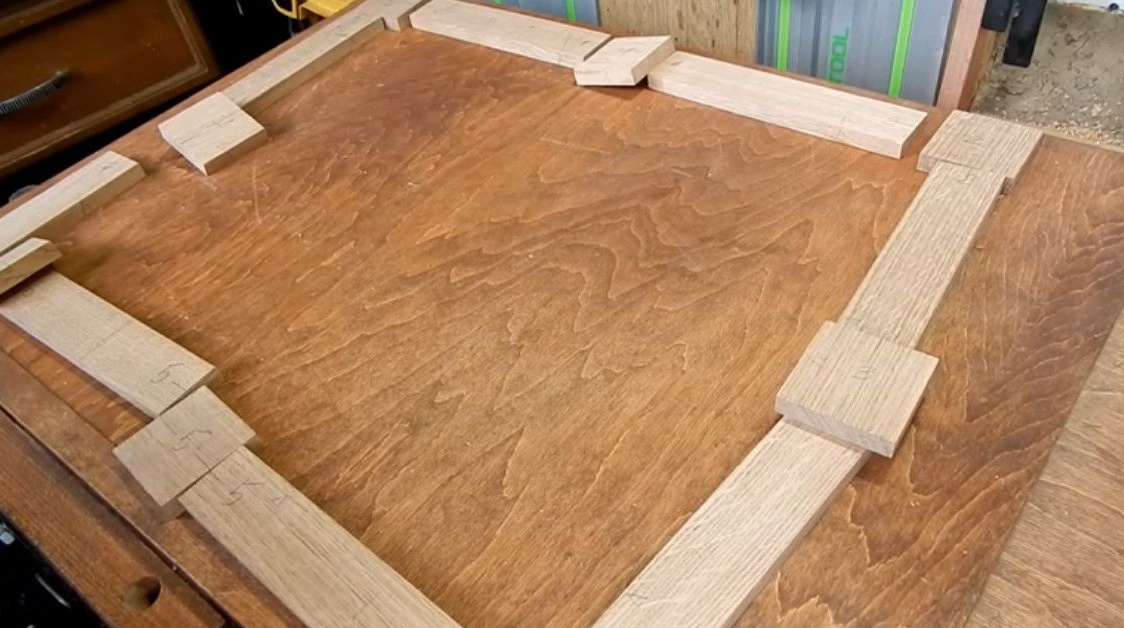
Andrei sawed the size in size, and marked out the blanks for the cork board frame.

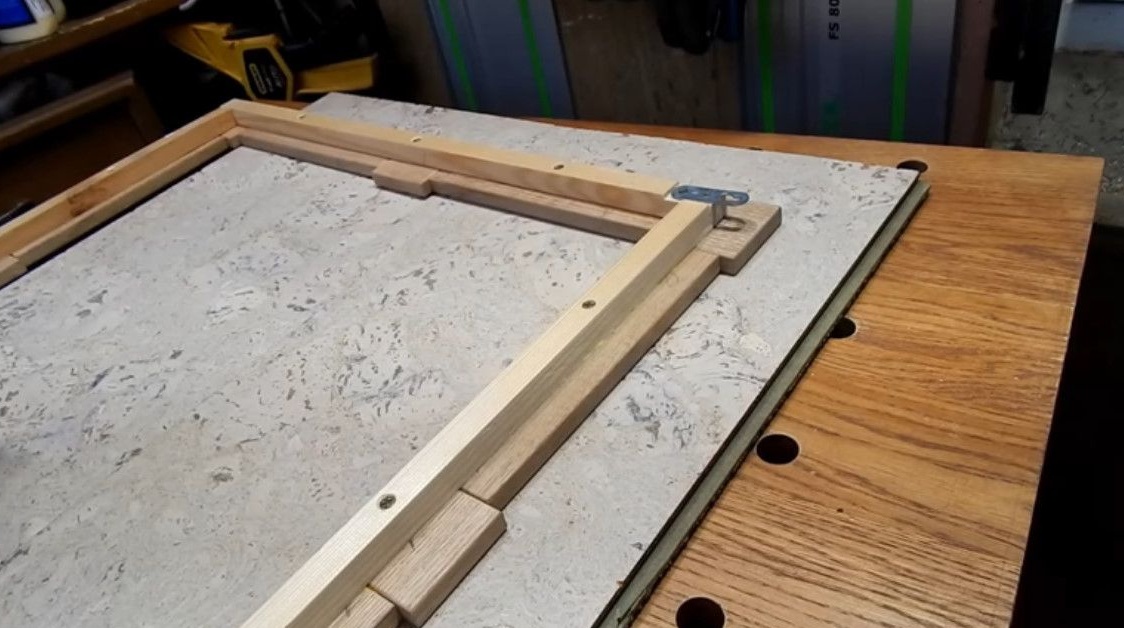
And now it will combine all these details. This is such a frame.
But before gluing, the author ennobles her a little.
From the outside, using a planer, removes traces of a circular saw.
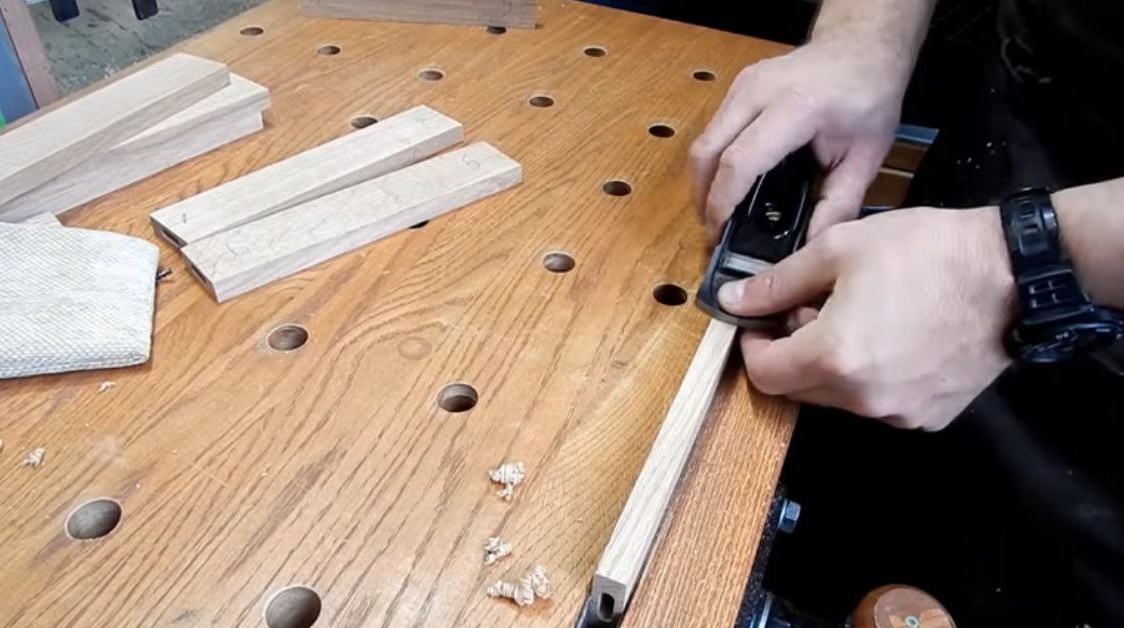
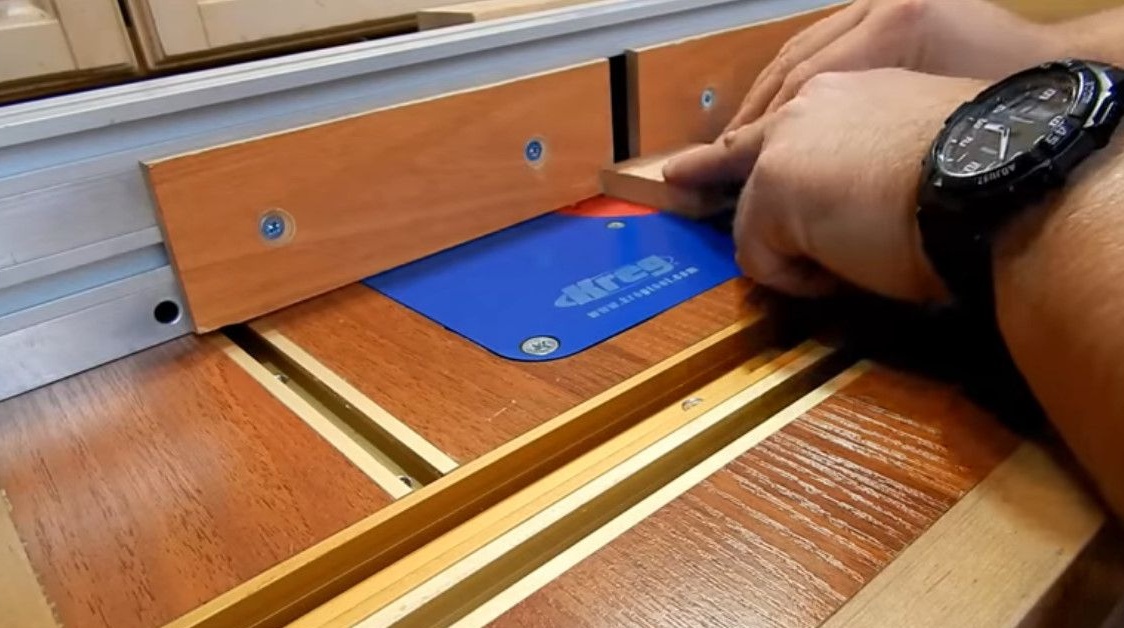
He will also need to go around all the workpieces with a radius cutter.
Glued the blanks together, fixed with clamps.
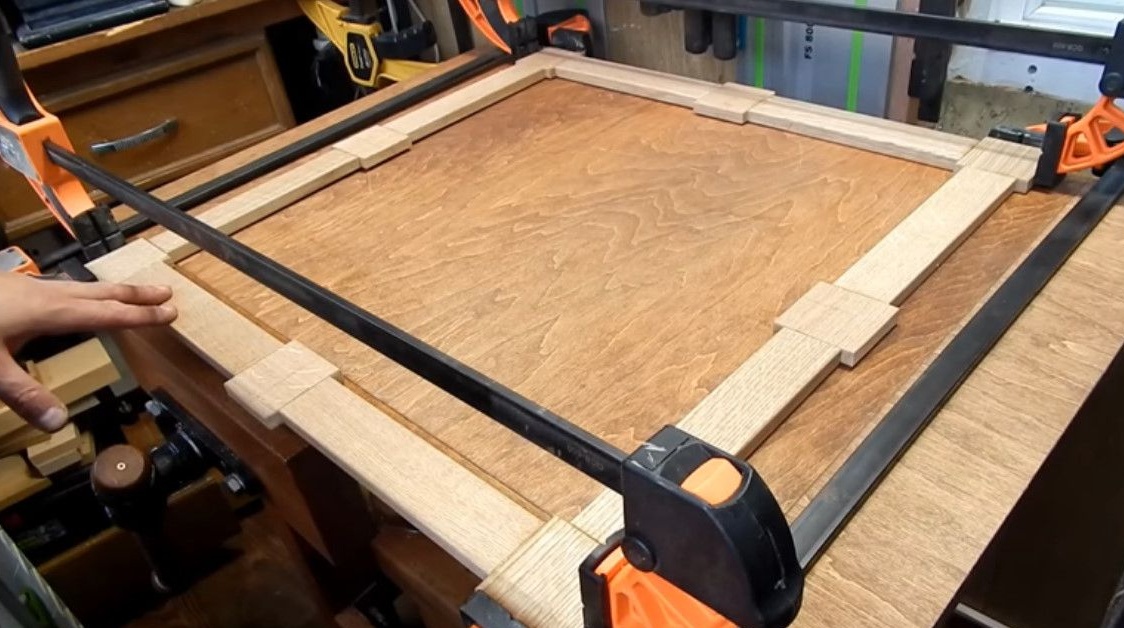
I did not tighten the frame design. It is impossible to compress strongly, because this whole construction walks a little like this.
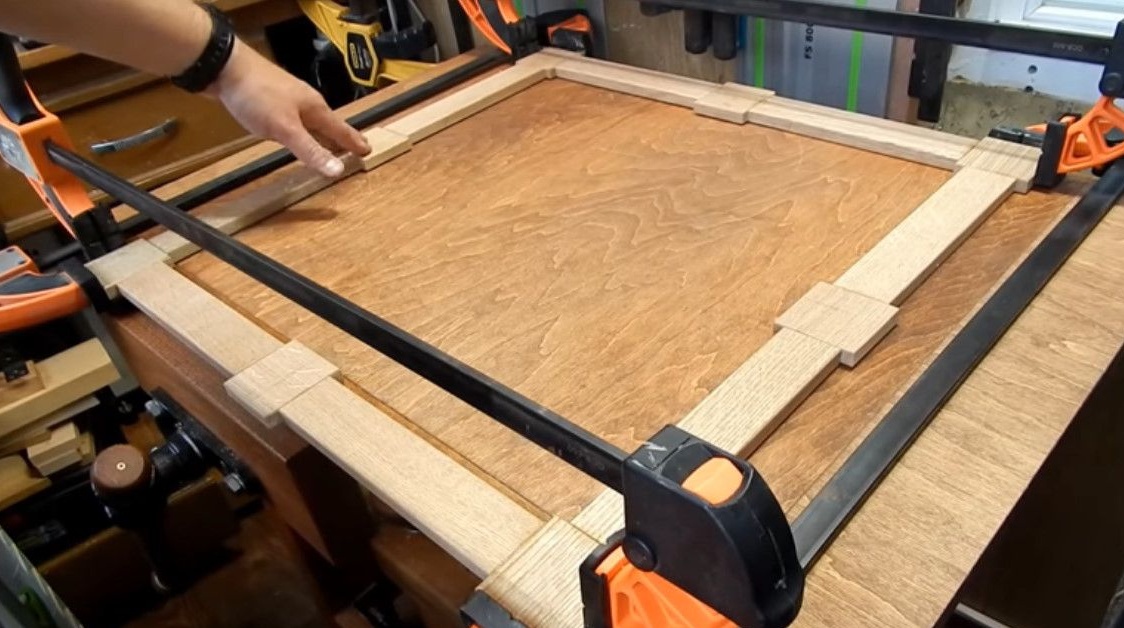
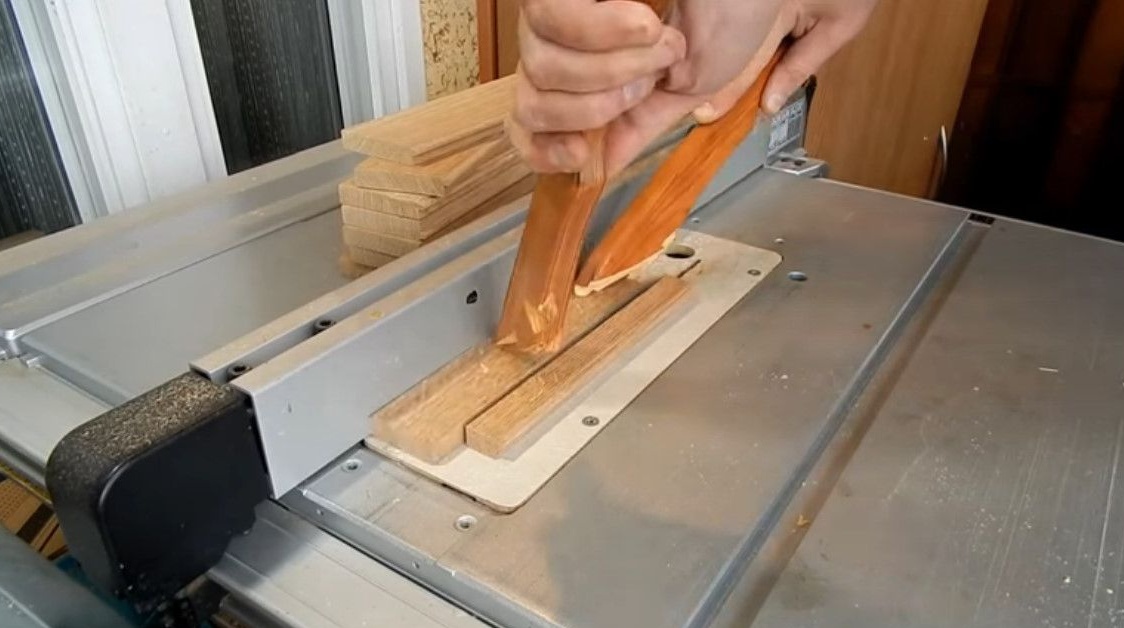
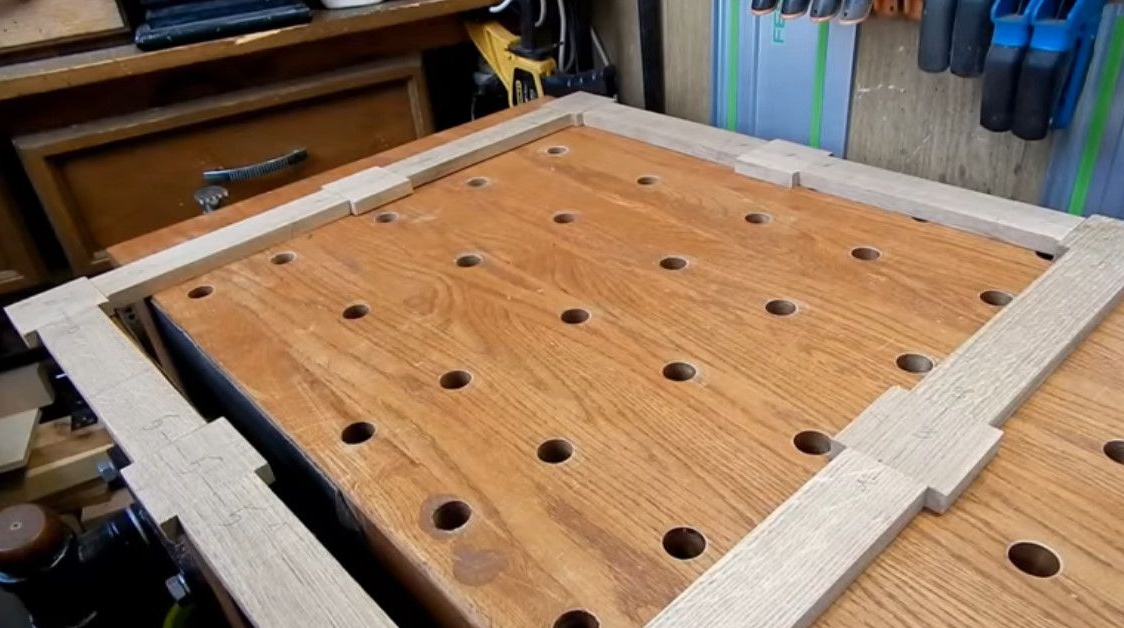
But all of it will be grabbed also by the main frame. It glues pine slats from the inside of the frame.

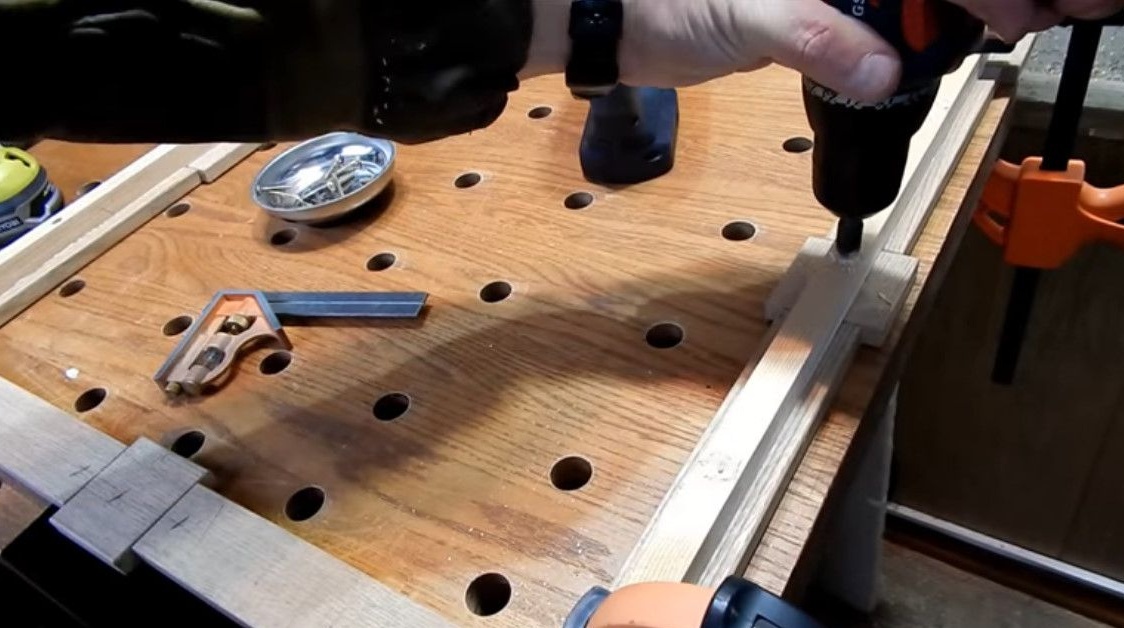
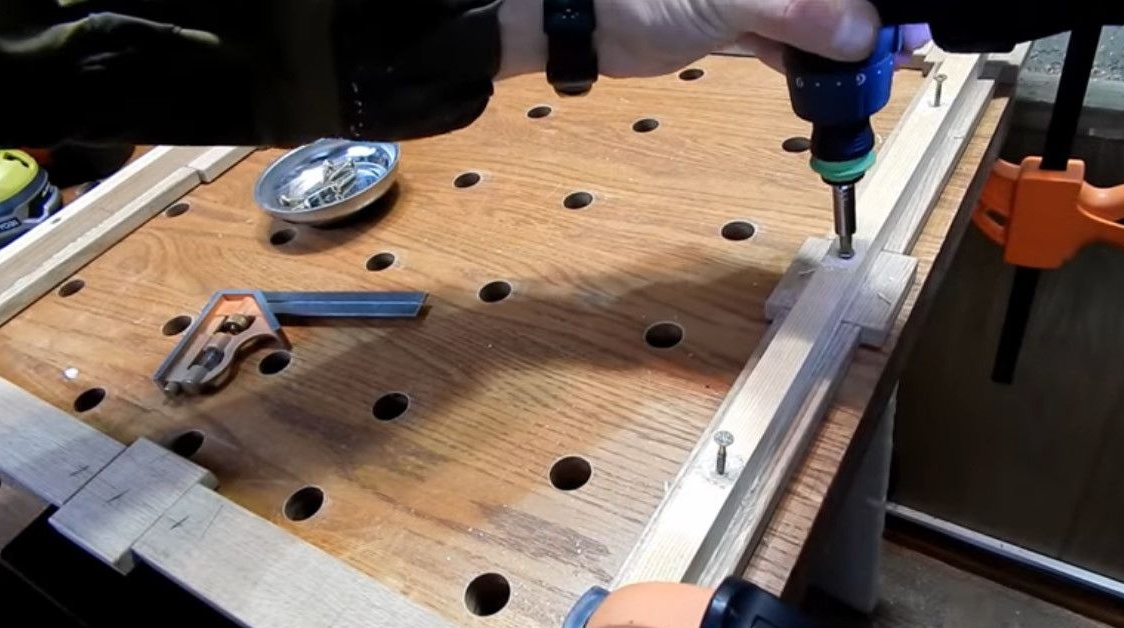
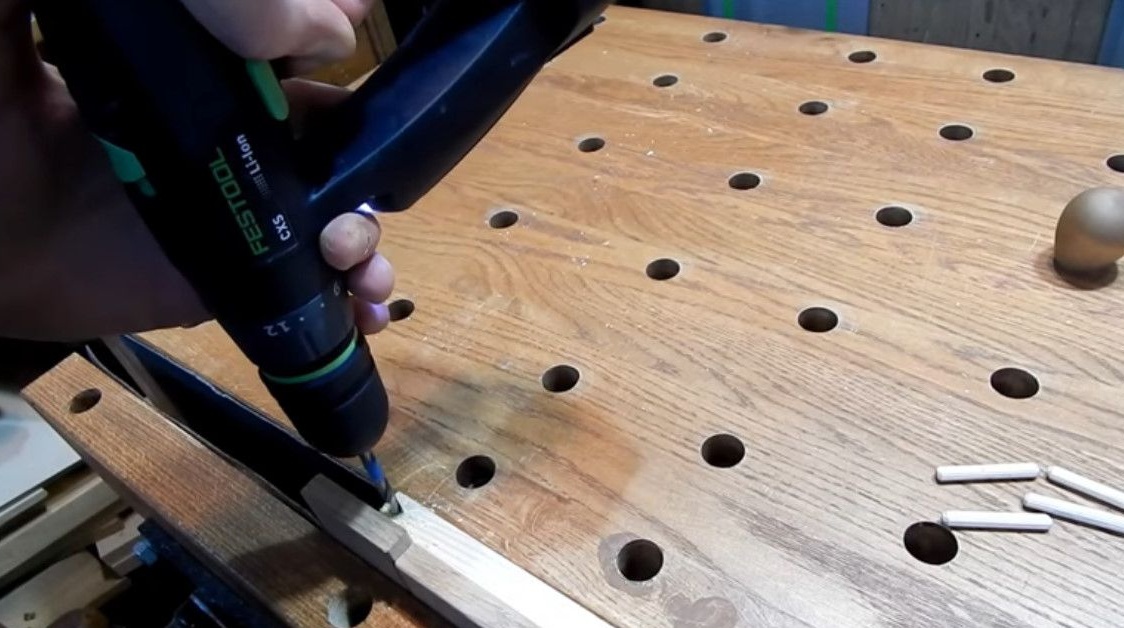
Now you can grab the whole thing on the screws, pre-drilling holes in the rails, so that they do not burst when screwing the screws.
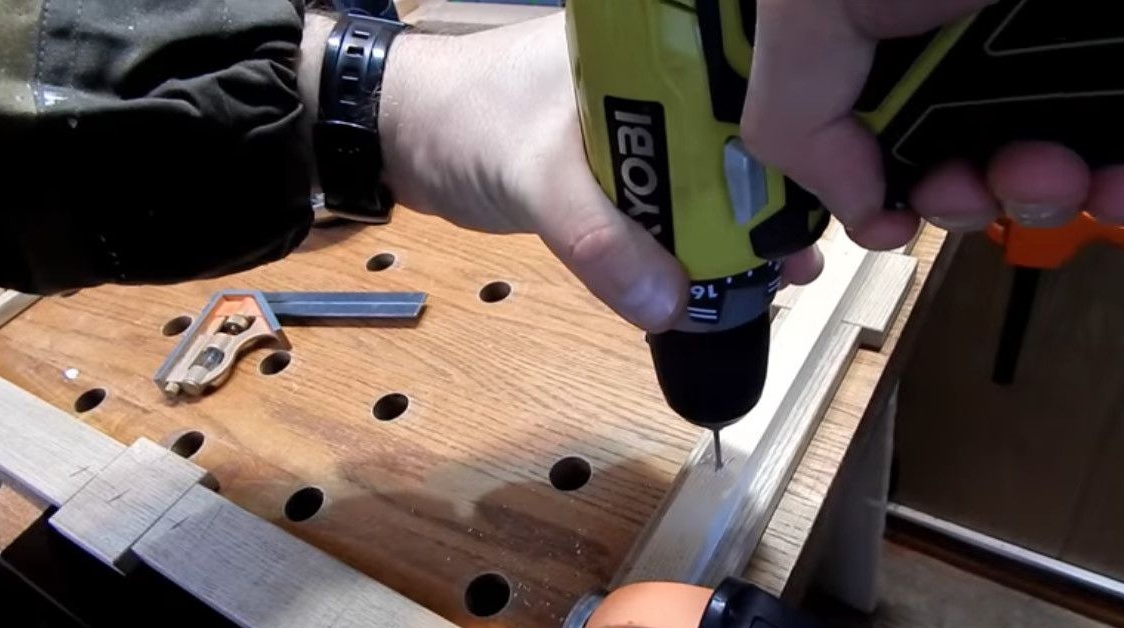
Also makes sweat for hats. And screw in the screws.
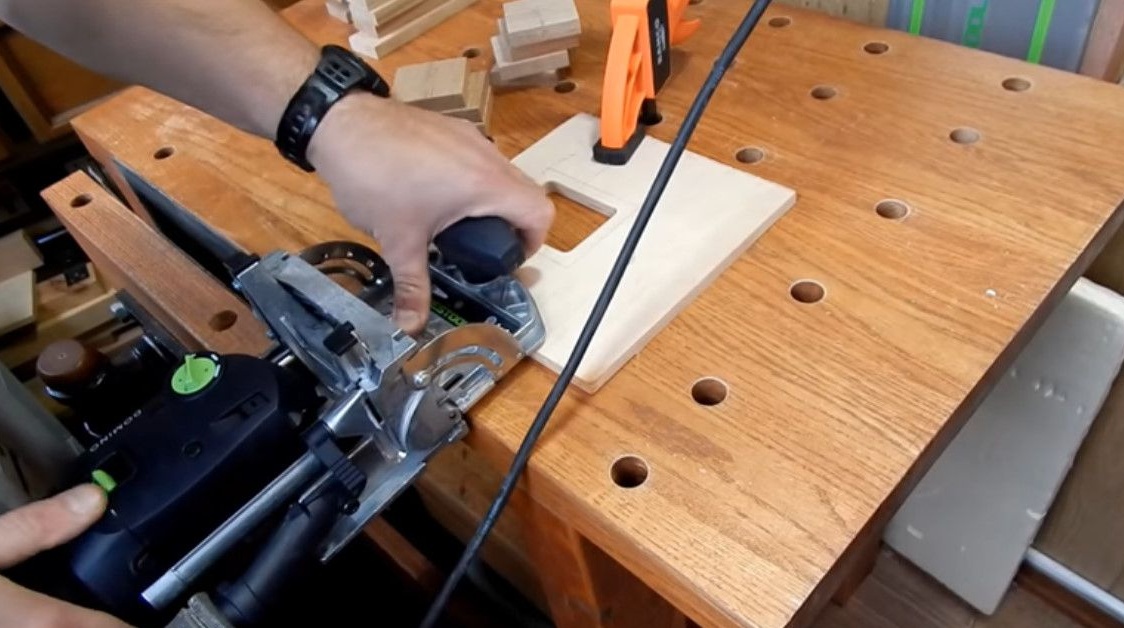
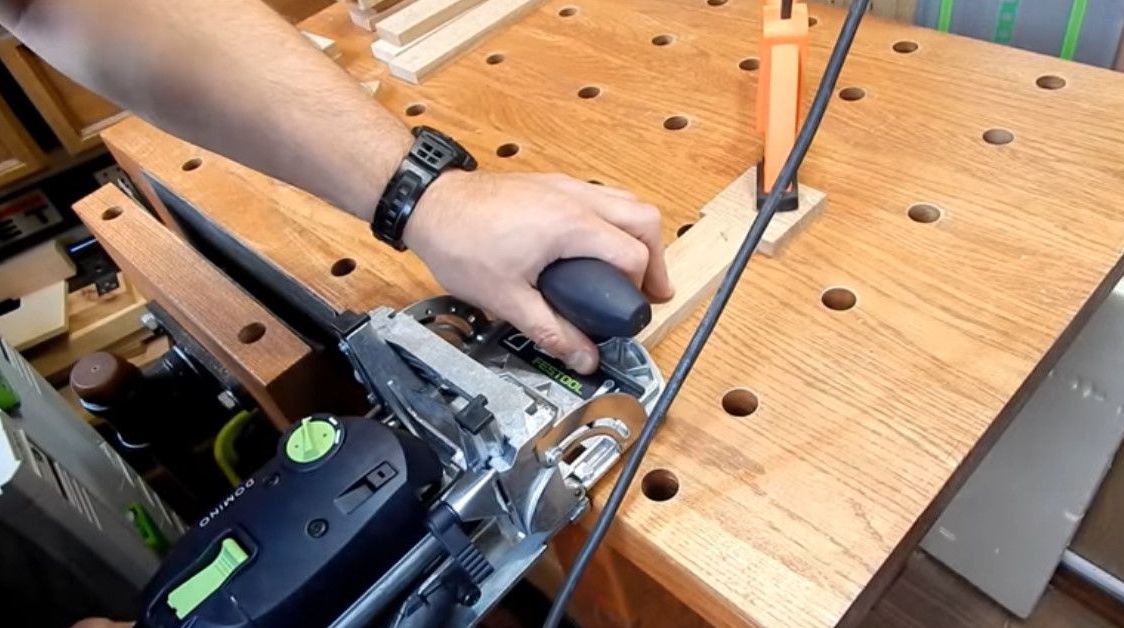
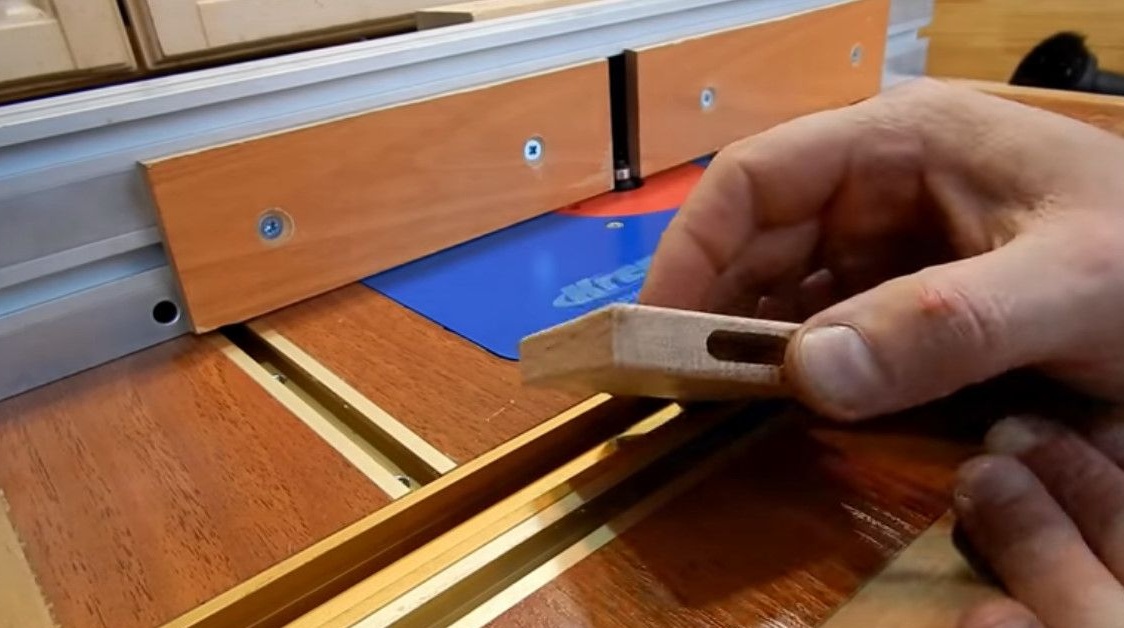
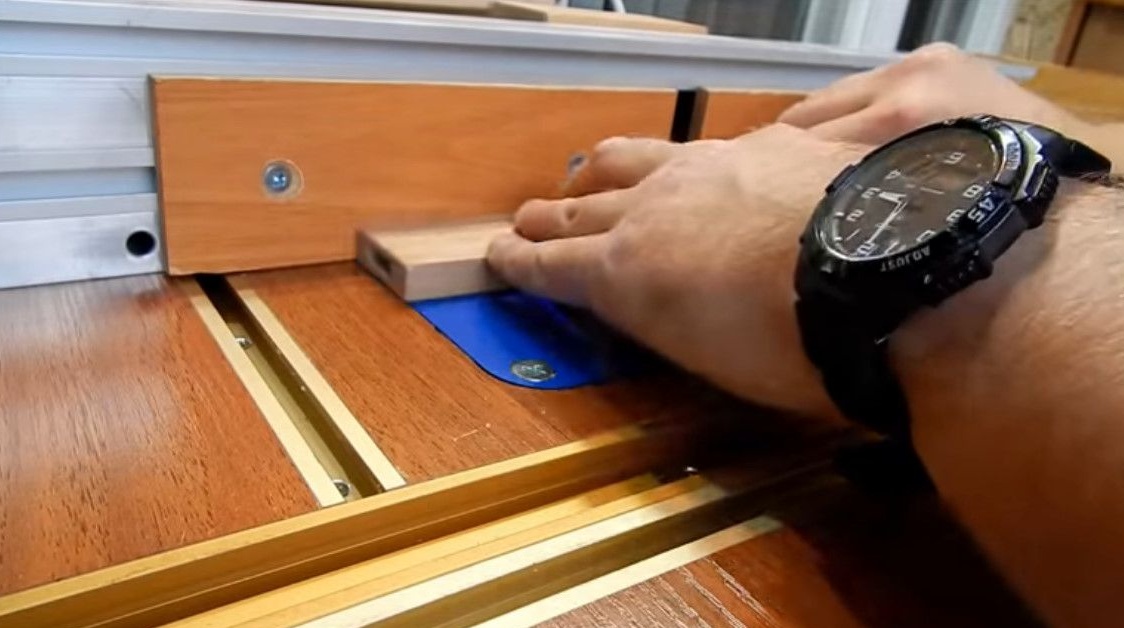
Connects these corners with the help of dowels.
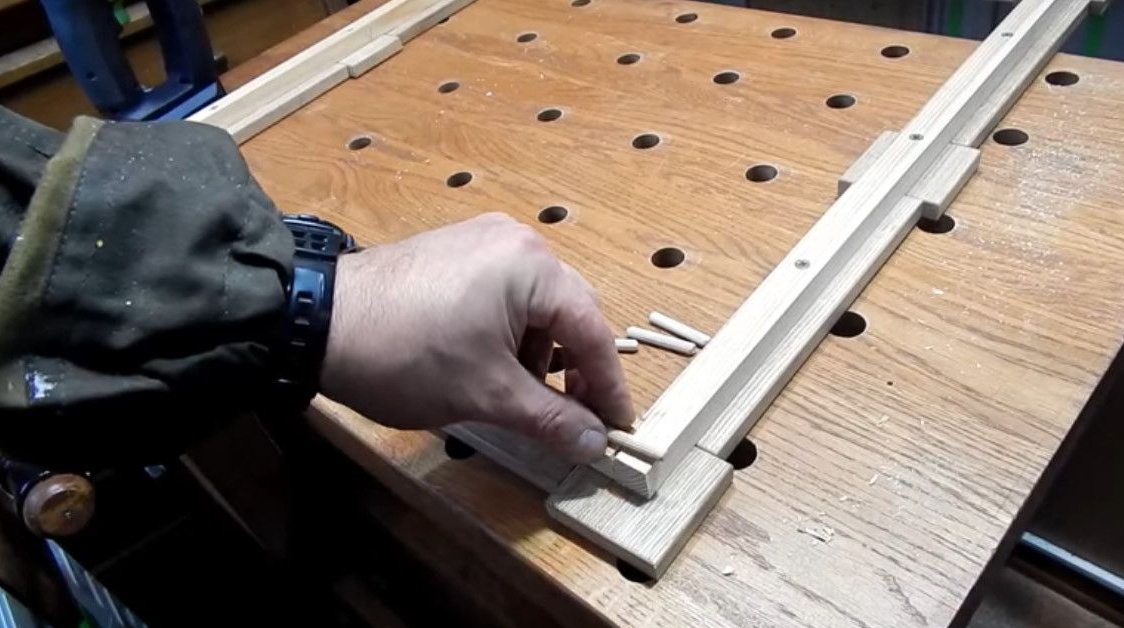
Fixes with a hammer and glue.
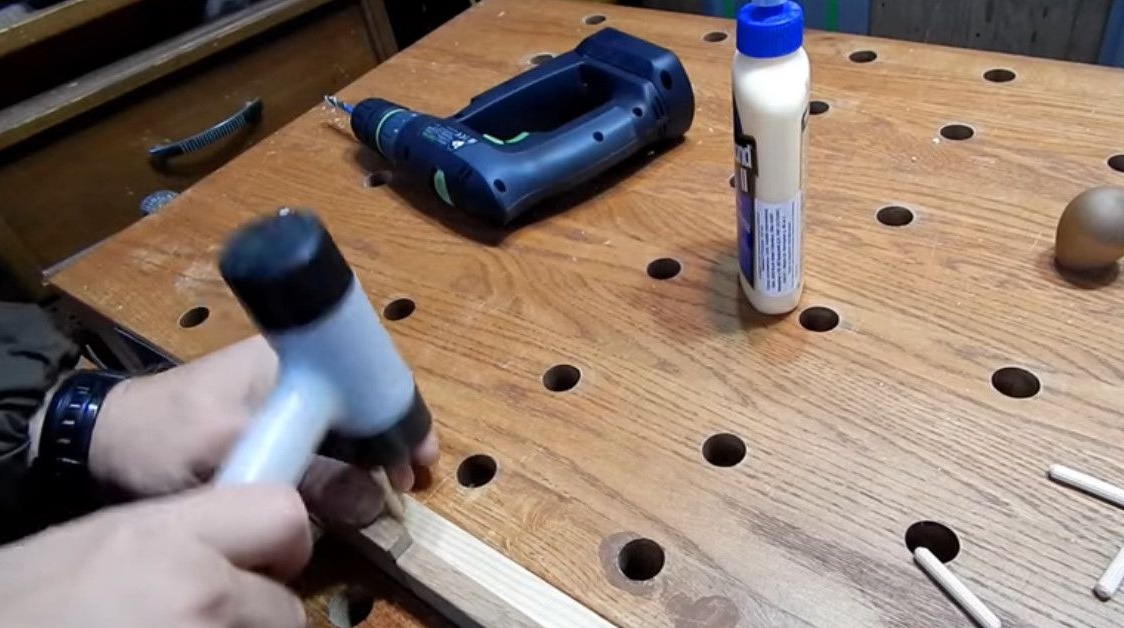
The protruding edge cuts off.
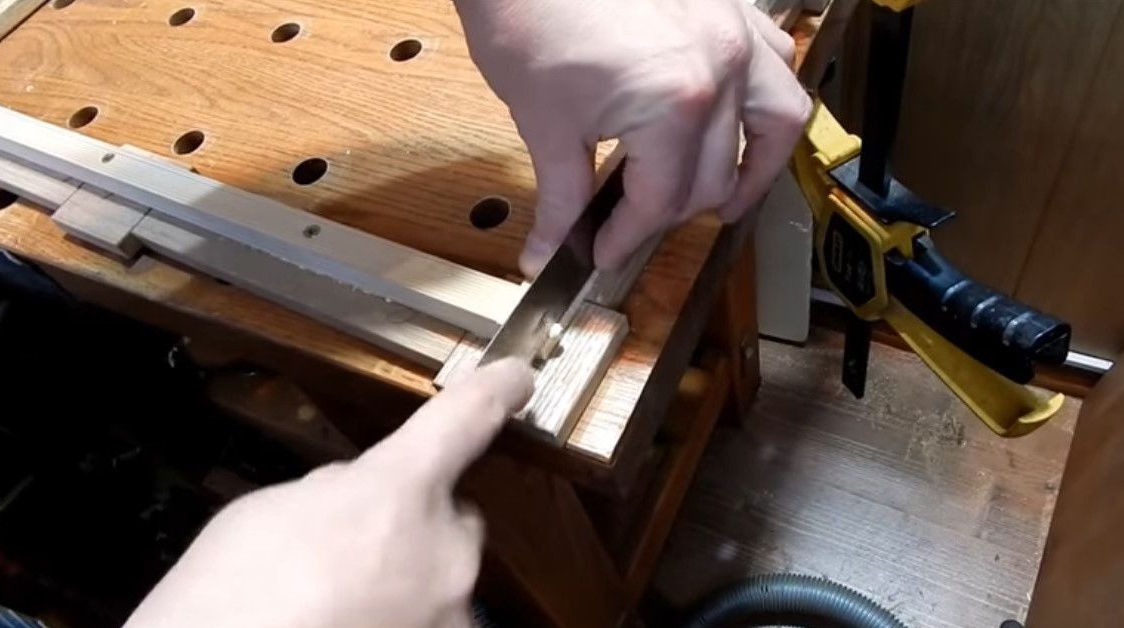
Crashed into suspensions.
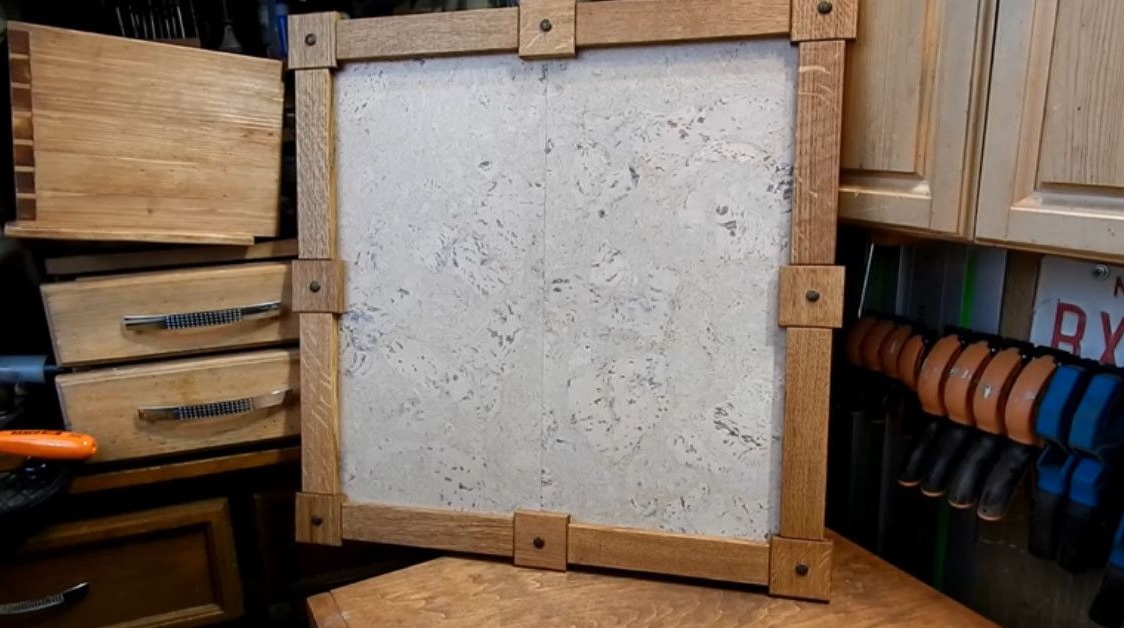
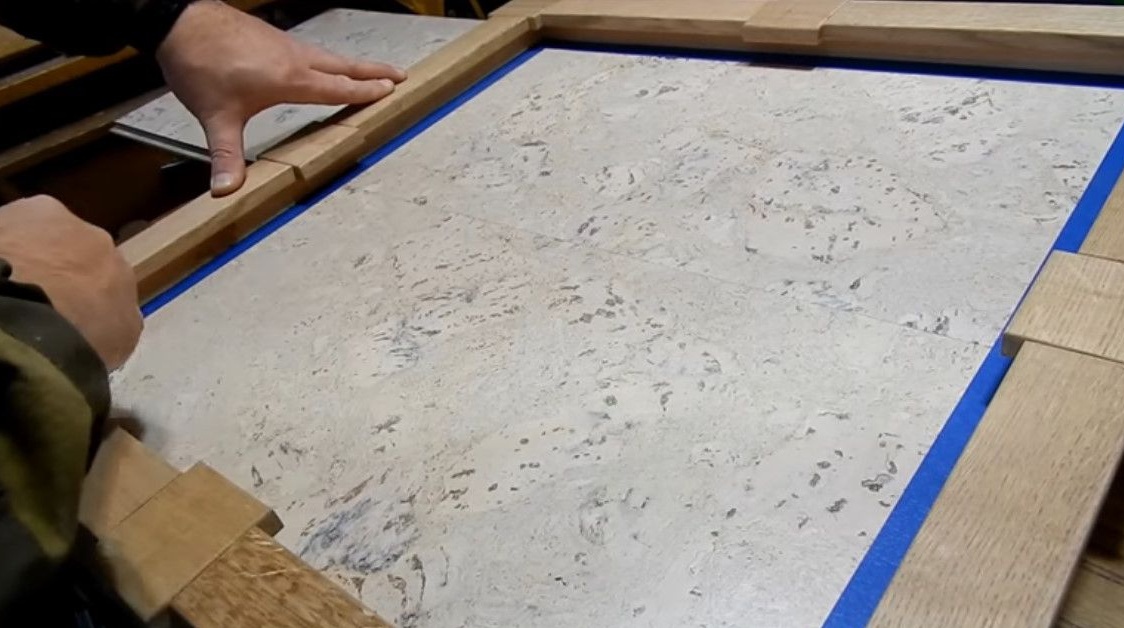
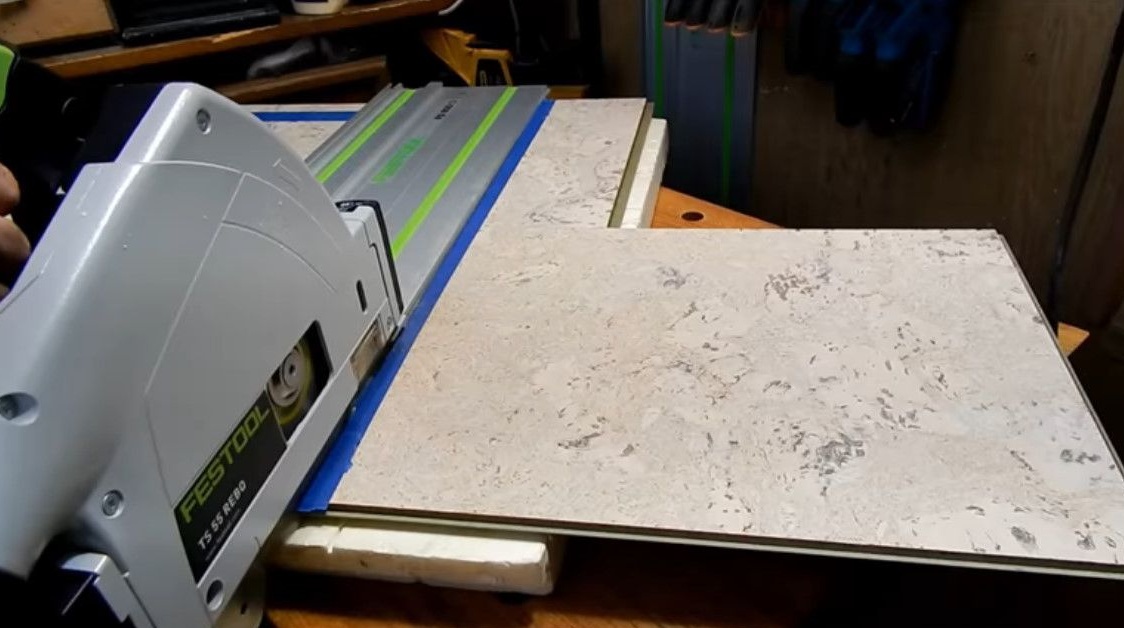
Now is the time to trim this cork. But there is one caveat, so the fact is that Andrei turns out the cork sheet construction consists of two parts. These two parts are glued together.
Here you can see that there is such a thin strip.
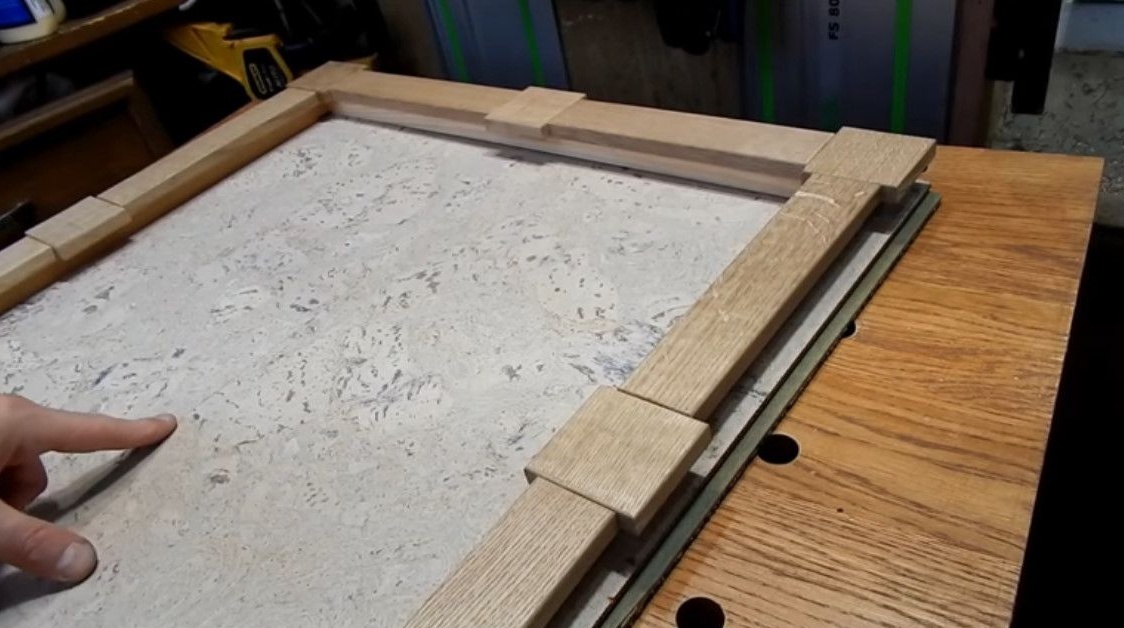
It’s still noticeable that here the texture is changing. The author wants to make it pass exactly through the center of this frame.
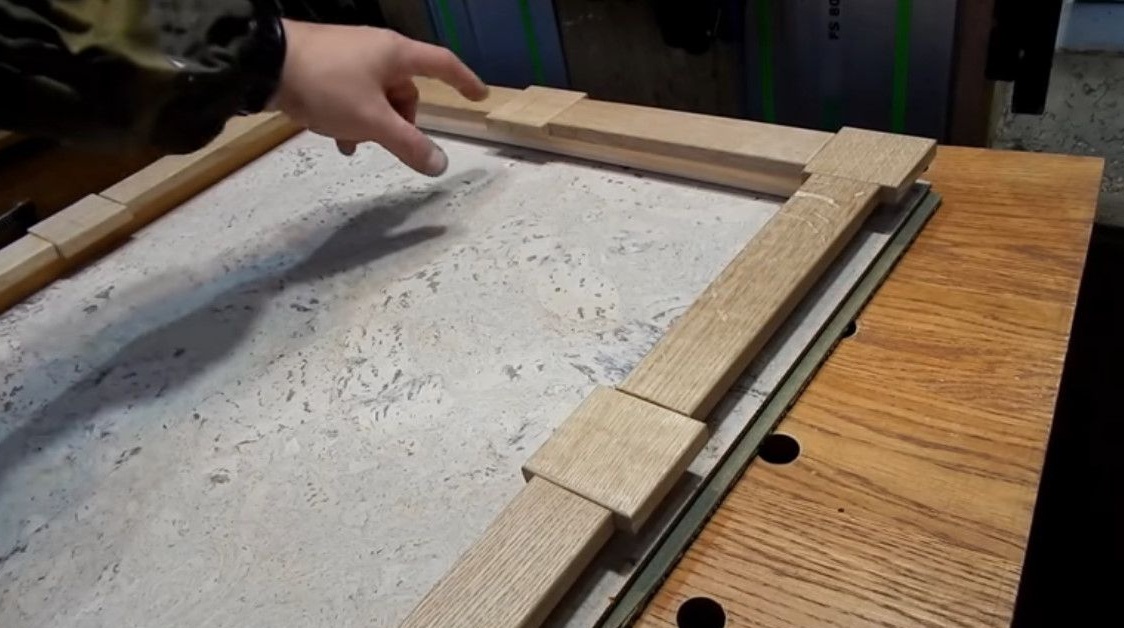
So it turns out, it remains to fix the cork from the back.
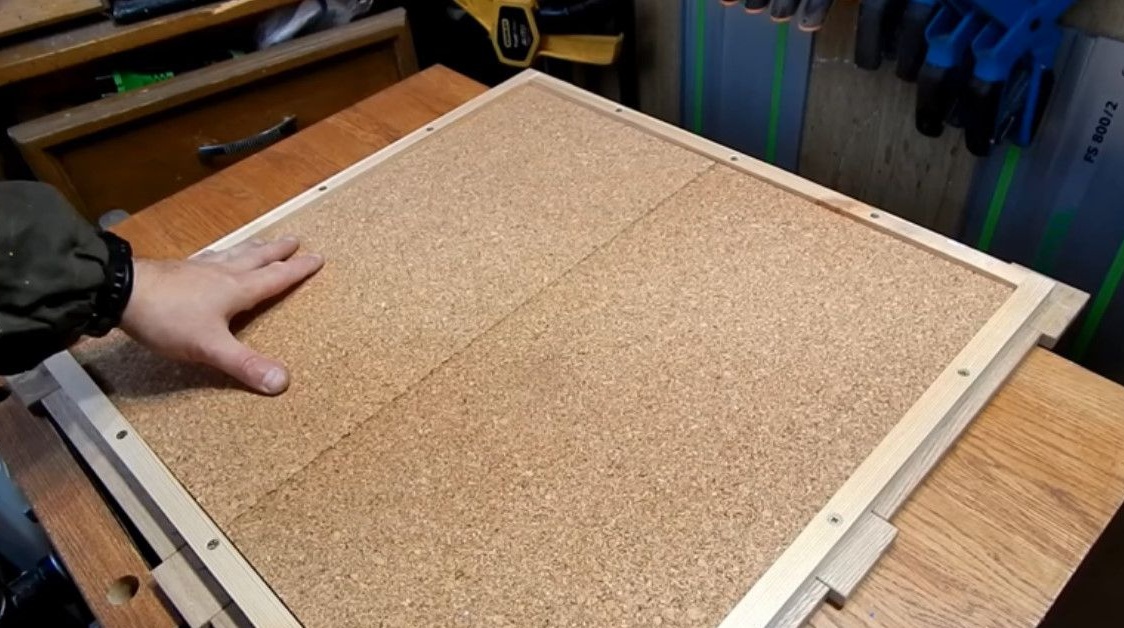
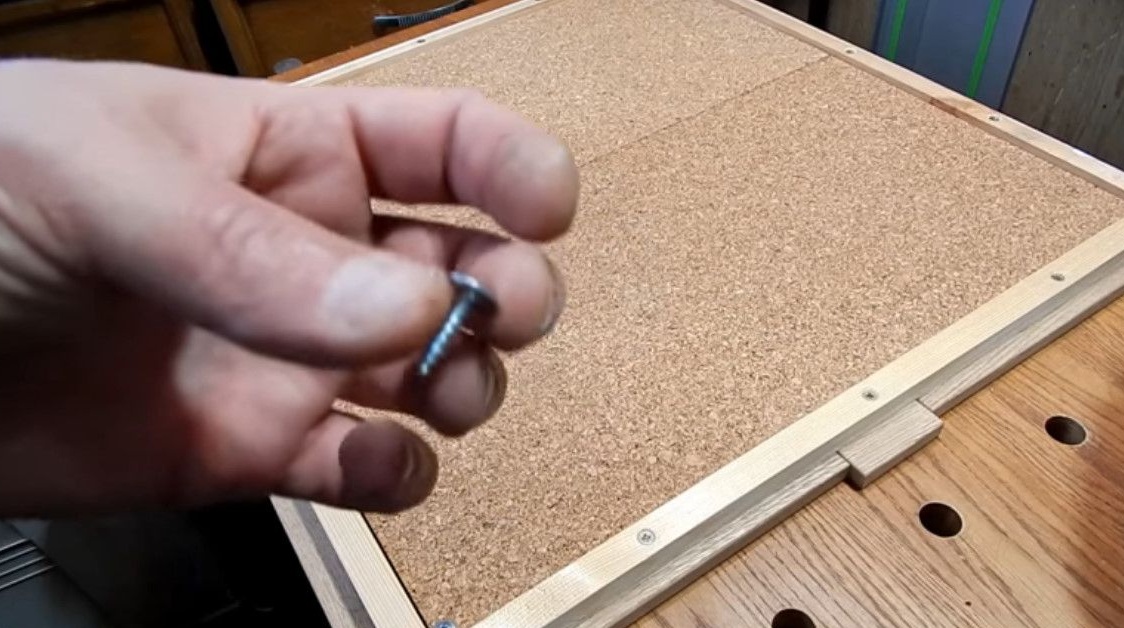
The cork will be fastened without further ado, with such self-tapping screws with a press washer.
But, before finally fixing the entire structure, it will be engaged in finishing.That is, sanded and coated with oil.
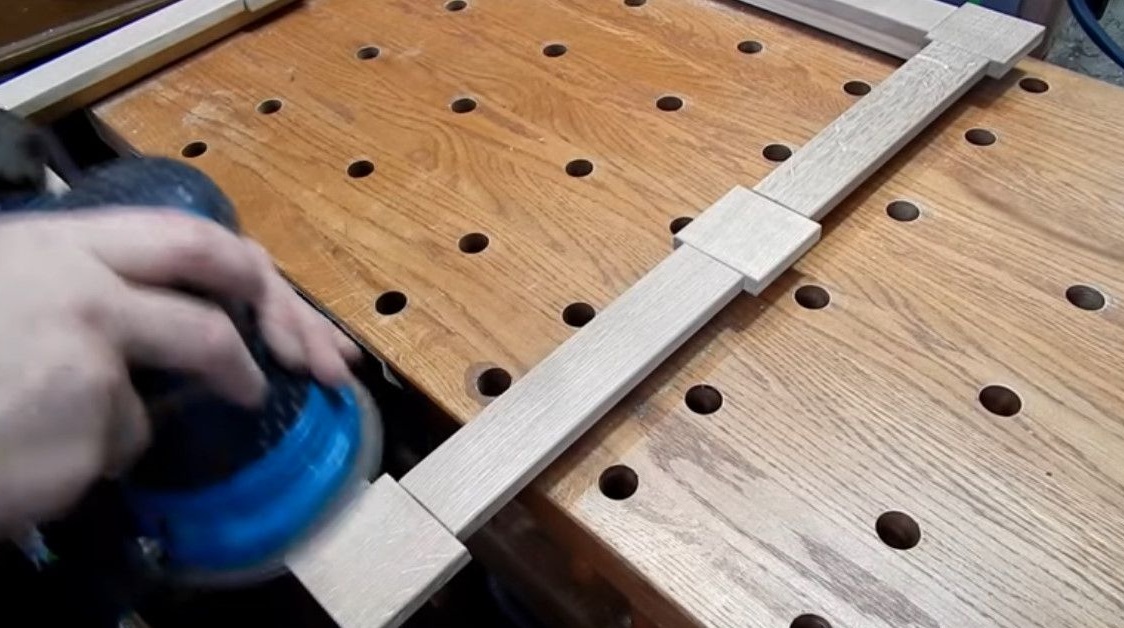
In general, he opened the board with oil. Then, when the oil dried, covered with dark wax.
That is why the texture has become better visible and such black veins. Then he stuffed such decorative nails.
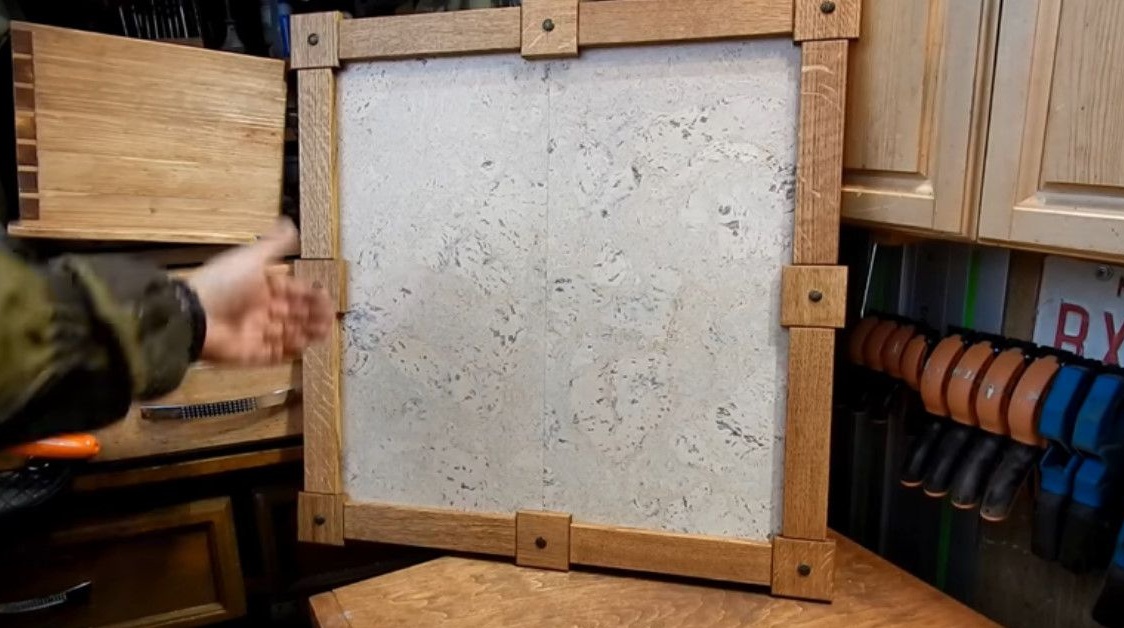
The board is ready!
That's all, thanks to Andrei Yarmolkevich, the author of the channel of the same name, for the interesting homework presented.
Good luck to all!