
Hello friends the inhabitants of our site! In today's article, we will look at how to make a very useful tool. Namely, we will consider in detail how to make a battery grinder. It's no secret that the Bulgarian is simply an indispensable tool in the garagebut when you have to work with this tool outside the garage, it’s not quite convenient to use it. Since sometimes it is not always possible to find a source of energy in the field. So, if you ever thought about buying a cordless grinder, then you probably came across a not-so-pleasant cost. This homemade product will be offended at times cheaper and at the same time will not be inferior to its factory counterparts. Well, well, I think you should not pull with a long introduction
It should be noted that you can find links to some components of the design at the end of the article.
For a homemade battery grinder you will need:
- electric motor
- PVC fittings
- Plastic sheet
- Mounting the cutting disc on the motor shaft
- cutting disc
- Rechargeable batteries in 18650 format
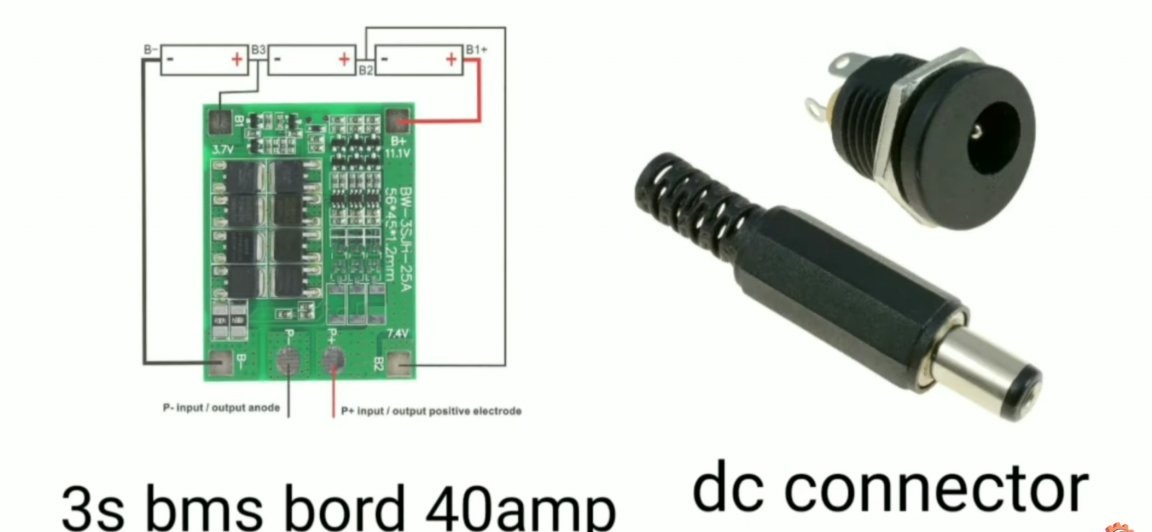
- charge controller
- switch
- wires
- Power Connector (Mom / Dad)
From the tools you will also need:
- Drill with drills
- Stationery knife
- Super glue
- screwdriver
- Sandpaper
- Soldering iron with soldering accessories
- Hacksaw
- marker
Making a battery grinder
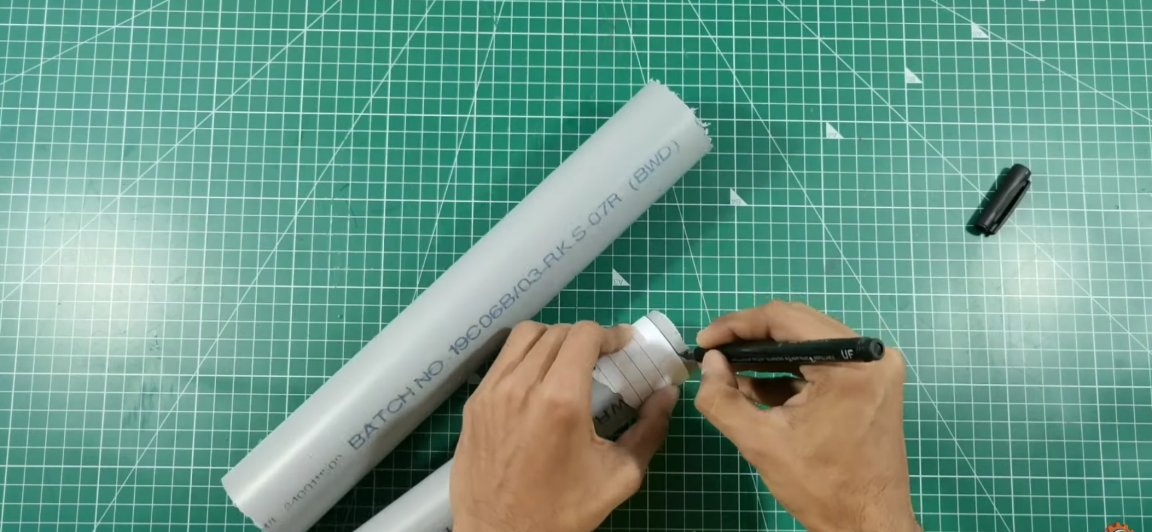
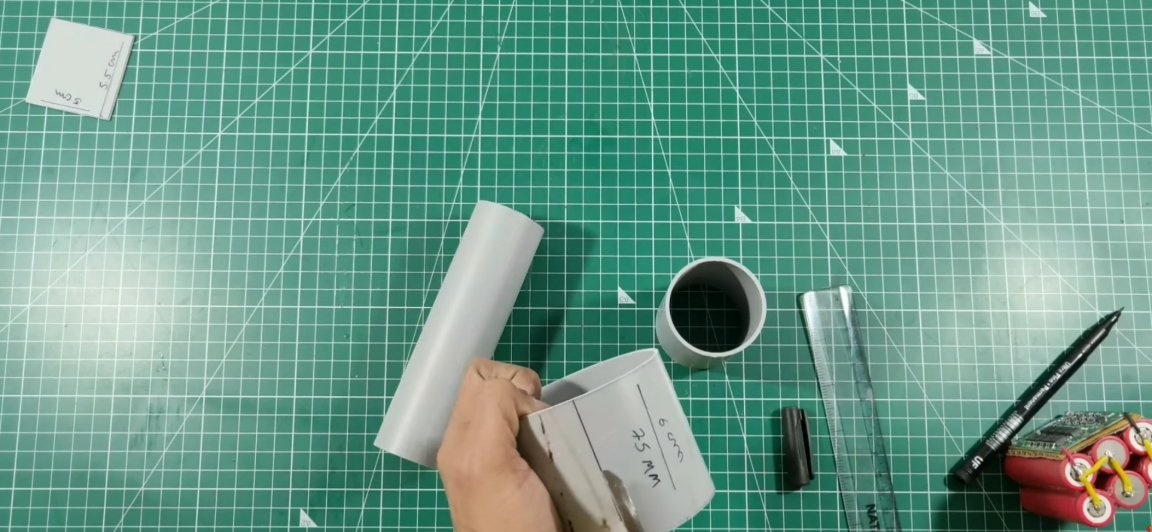
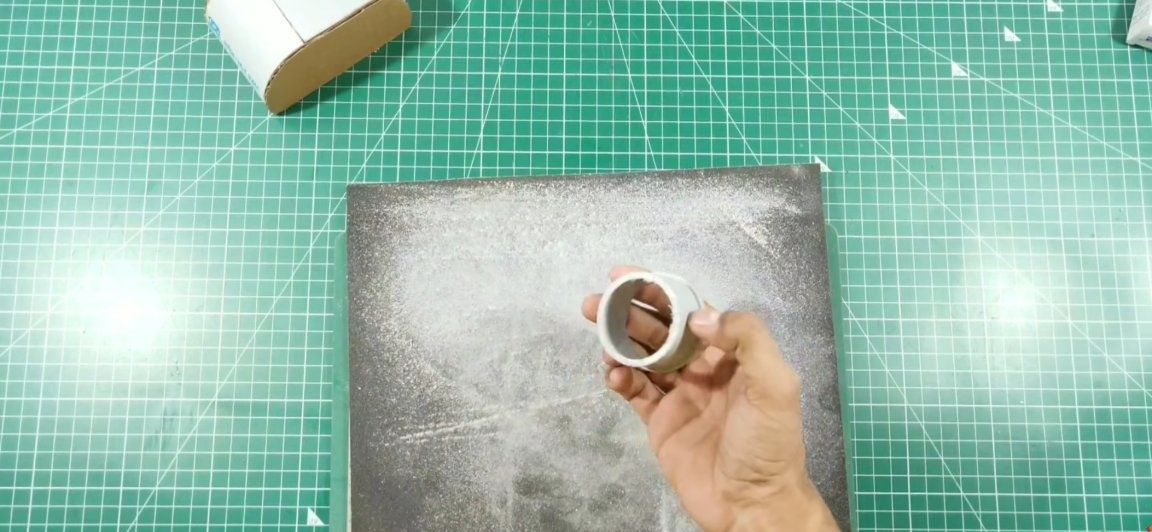
We begin the assembly with the manufacture of blanks for the body. For the body, you need to take a piece of plastic pipe with a diameter of 50 mm and a piece of pipe with a diameter of 40 mm. You will also need a 6 cm length of a 75 mm pipe.

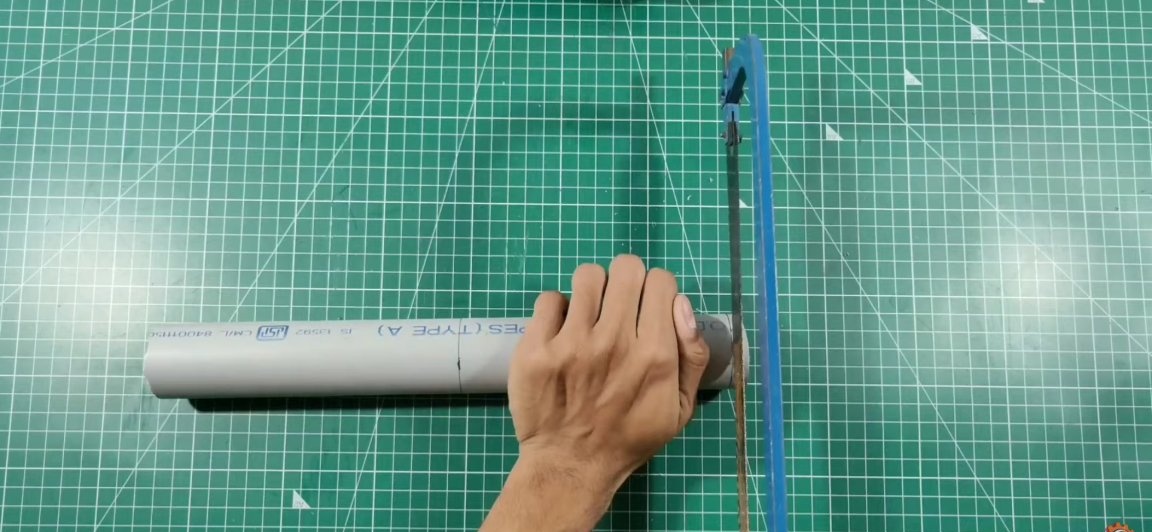
From a pipe with a diameter of 40 mm, we make a handle. To do this, you should decide how long you want the handle, mark with a marker a comfortable length for you and cut off the excess with a hacksaw. A pipe with a diameter of 50 mm will be needed to mount an electric motor in it. Cut off from a 50 mm pipe such a segment so that an electric motor could be located in it

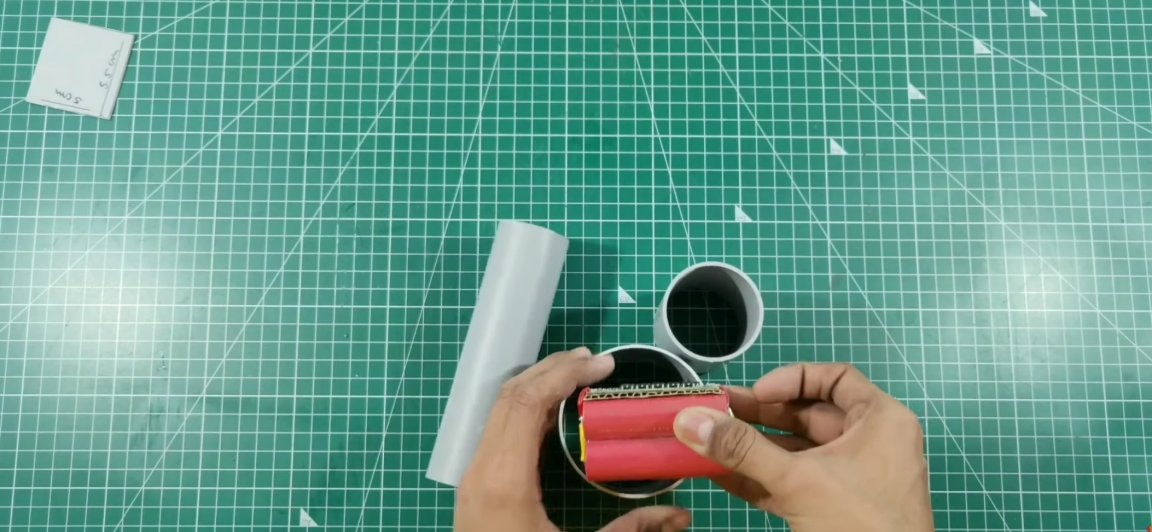
Then we will make the case for the battery. But before you do it, you will need to assemble the battery itself. For a rechargeable battery, six 18650 batteries and a charge controller for them are required. Batteries should be connected so that we get 11.1v at the output.That is, you need to connect three pairs of batteries in series, and combine these pairs in parallel (see photo below).
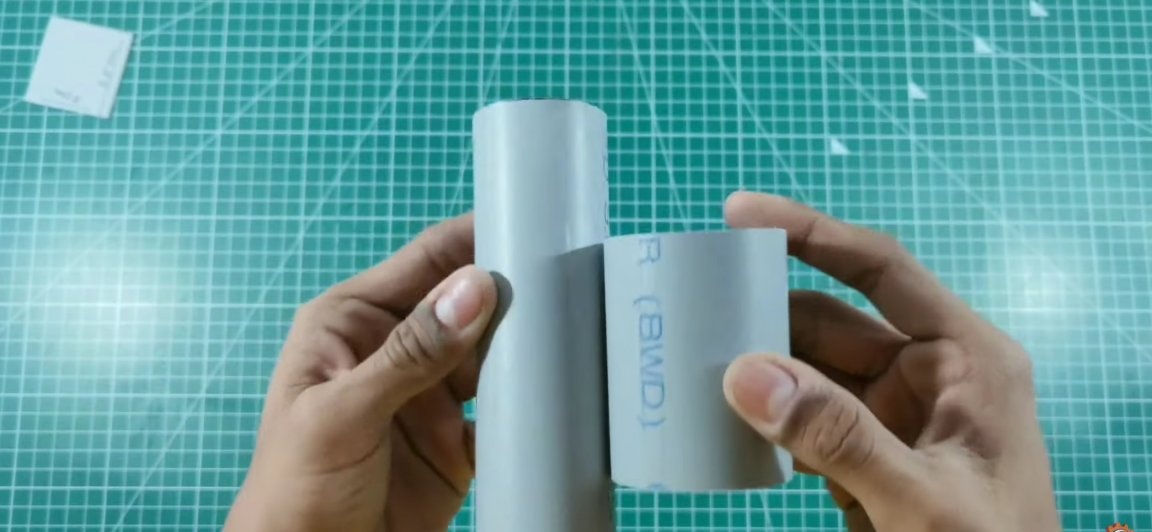
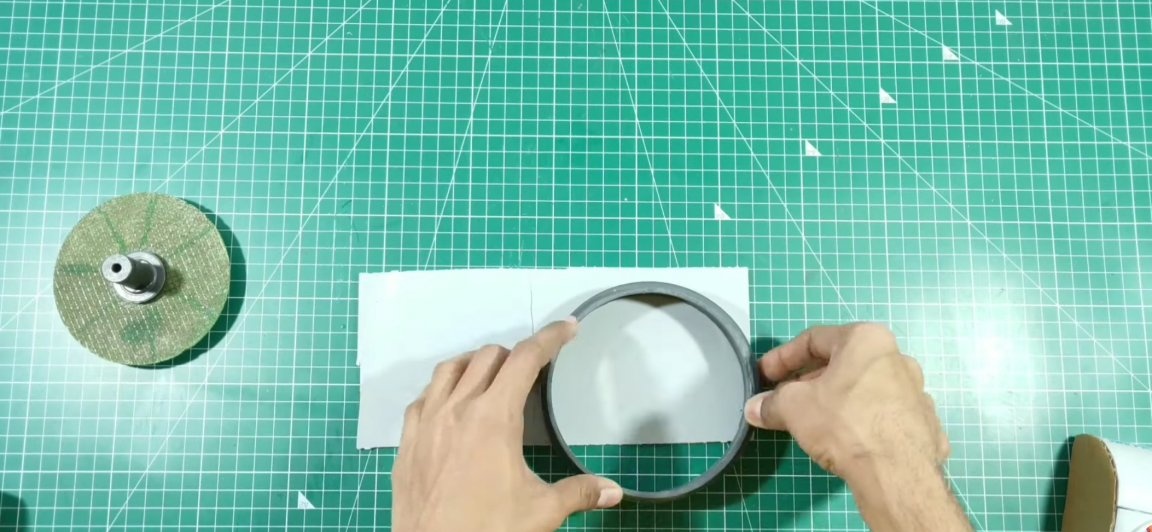
Just now, we turn to the manufacture of the battery case itself. For this, as you understand, you will need a 6-centimeter piece of pipe with a diameter of 75 mm. But we still will not put the battery assembly into such a pipe, and the case itself in the form of a pipe looks so-so. Therefore, with this trim we do the following, namely we attach the battery to the pipe, as it is shown in the photo below, mark the places where the corners of the battery are located with a marker. And according to these marks, we cut the pipe turning it into bent pieces.

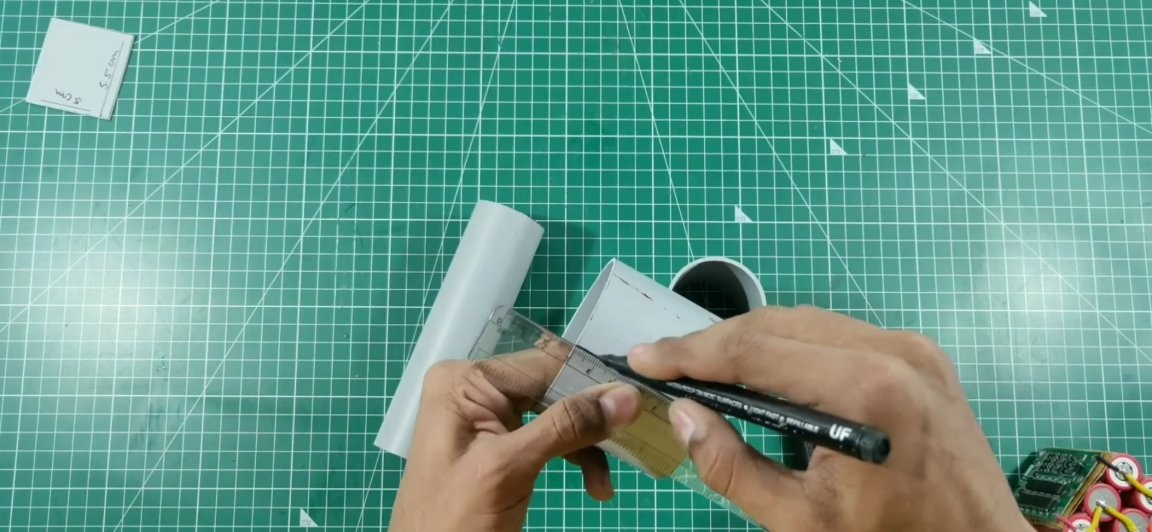

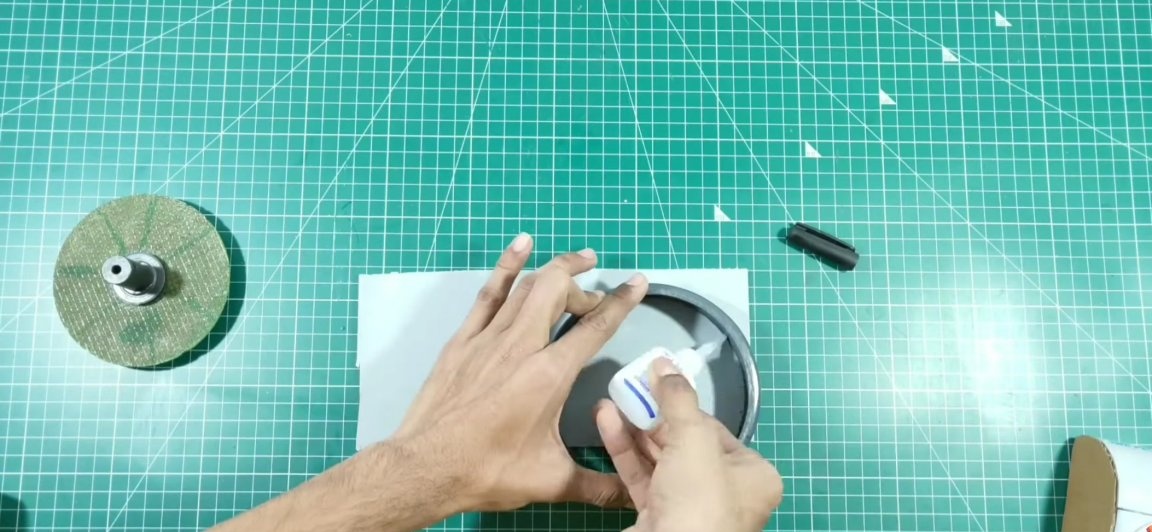
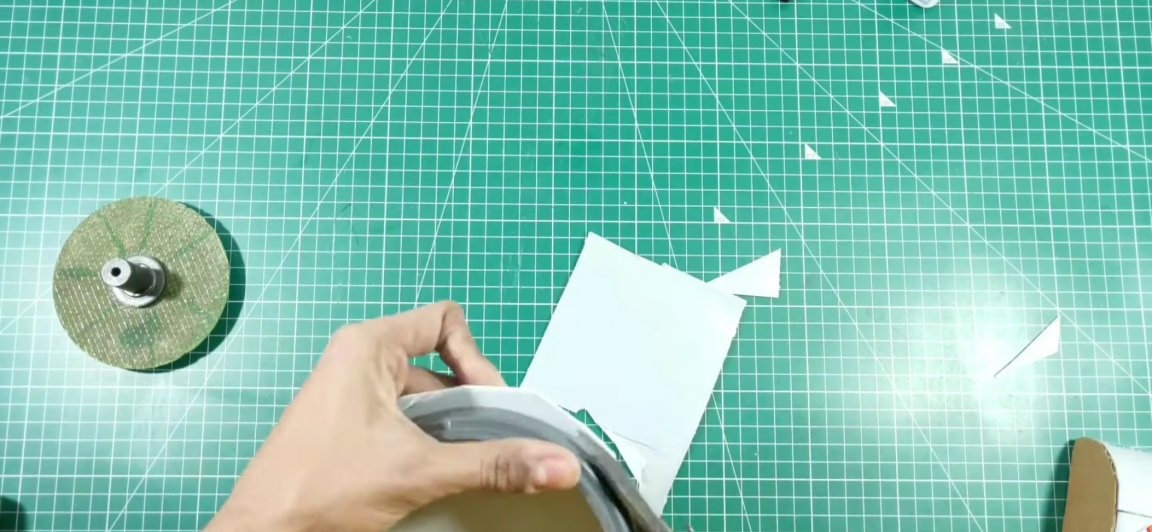
You will need two curved rectangles (see photo) and two rectangles cut out of sheet plastic (one rectangle with dimensions of 5 by 5.5 cm and the second with dimensions of 6 by 9.5 cm). We glue the above listed parts using superglue in exactly the same design as in the photo below.


Further, for this blank, you will need to make side walls, since the author of this homemade product had no more sheet plastic, instead he used cardboard. We attach the blank to a sheet of cardboard (plastic) and go through the office with superglue. Then with the help of a clerical knife we cut off excess cardboard from the workpiece.

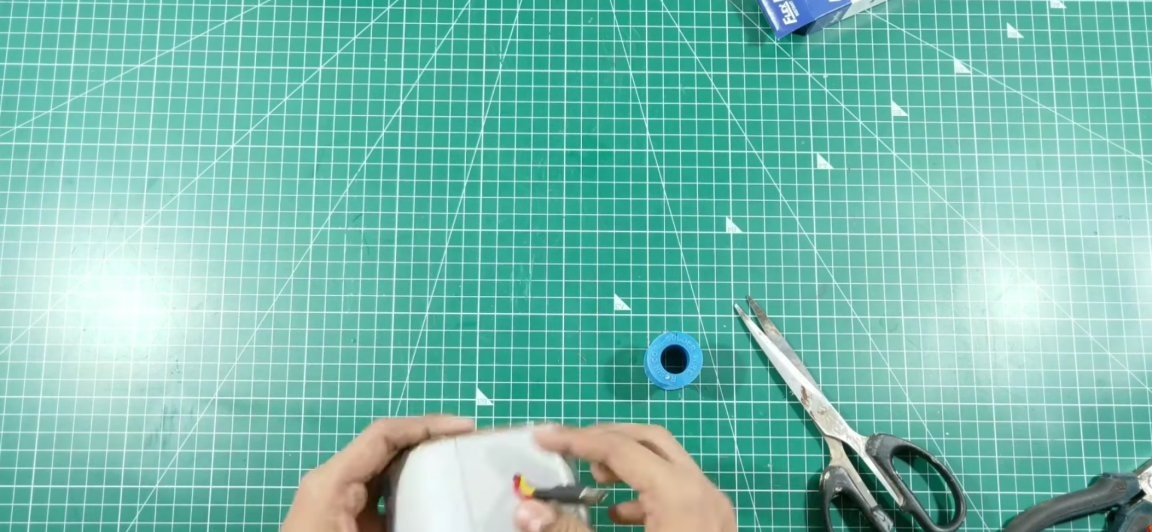
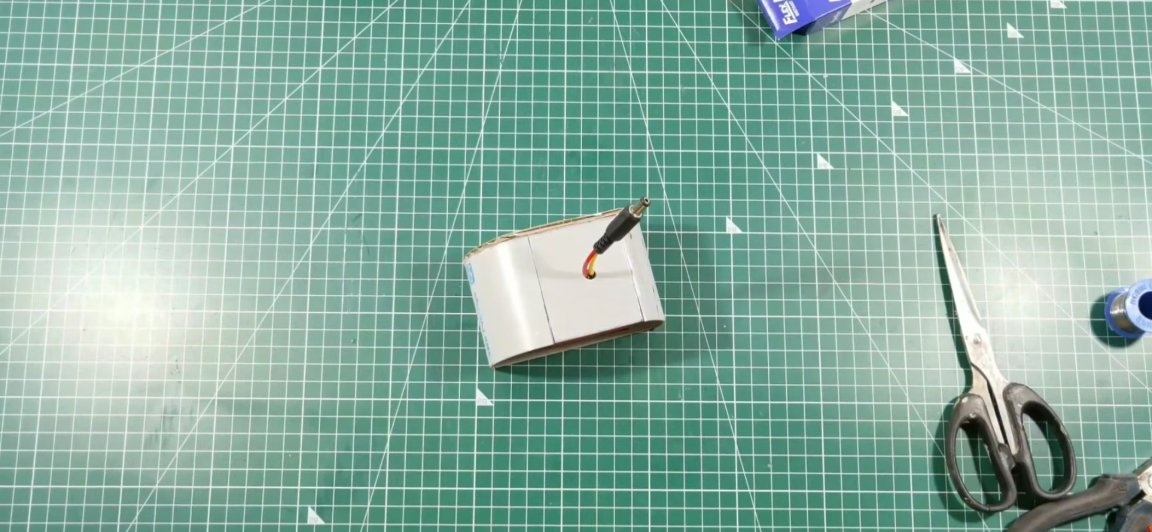
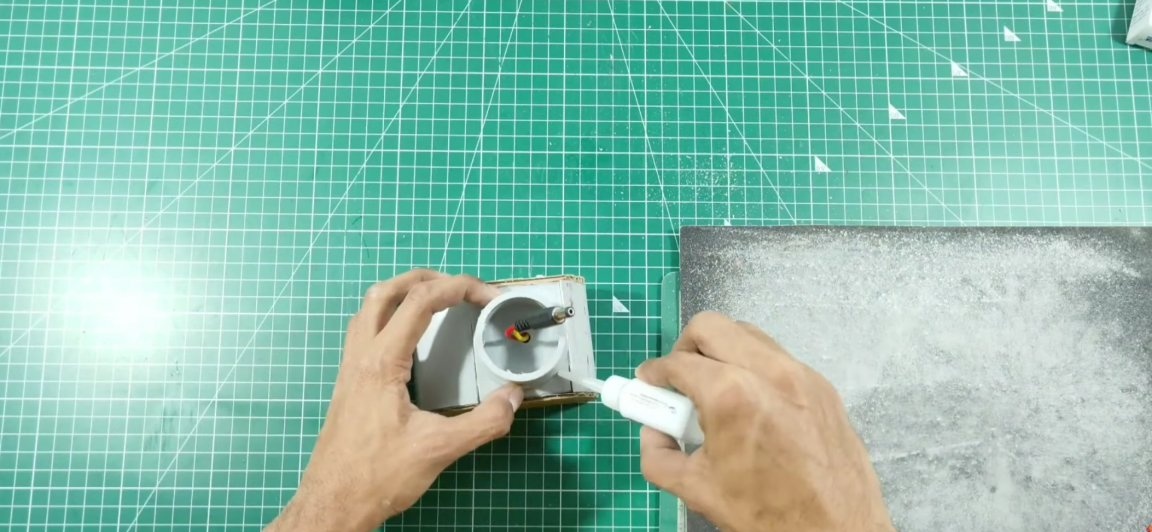
In the upper part of the battery case we make a through hole for the exit of two wires. Take a pair of wires and solder the power connector to them (while not forgetting to isolate the exposed contacts with heat shrink). This connector, with the wires just soldered to it, is soldered to the output of the charge controller by inserting the wires through the hole made in the case.

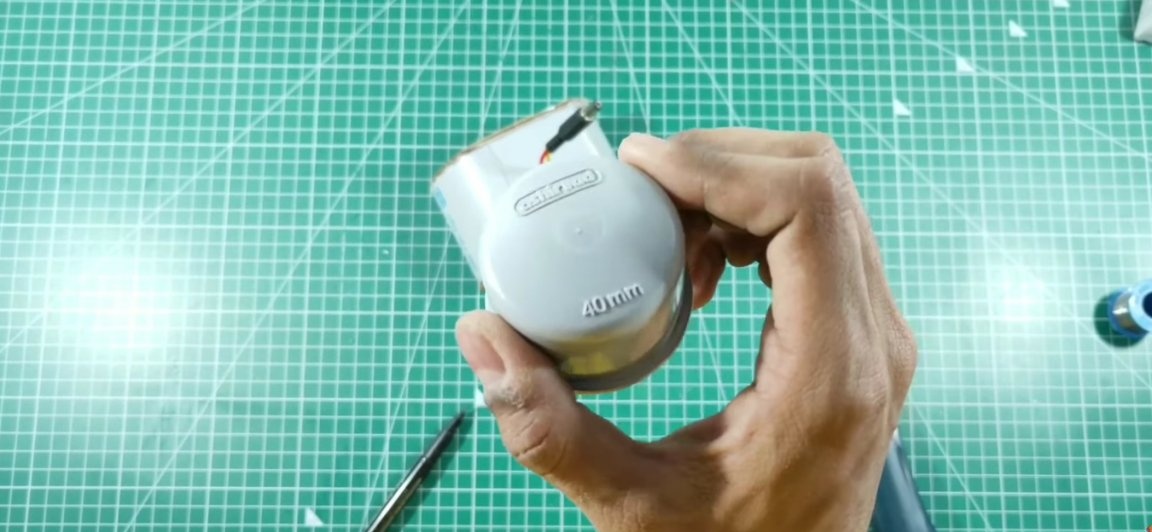
Then glue the second wall to the body. In order to make it convenient and quick to remove the battery from the grinder, you need to make a mount. For fastening we will use a plastic plug for a pipe with a diameter of 40 mm. A part of it should be sawed off so that we have only one “tube” left. This tube should be glued with superglue to the top of the battery so that the hole made for the wire is exactly in the center of the tube.
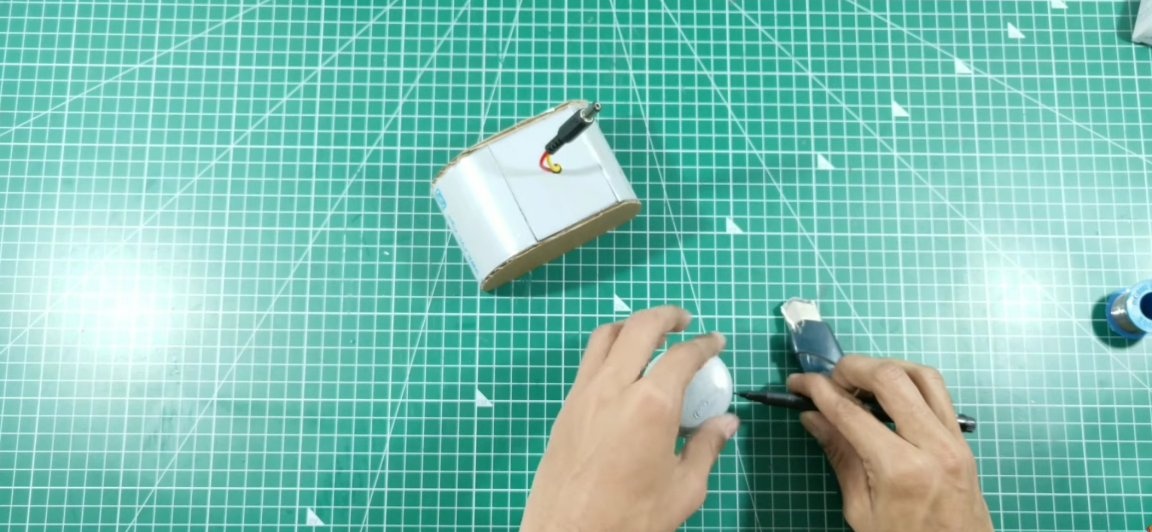
We check the mount by inserting the handle, it should fully go into the mount and at the same time sit firmly in place.
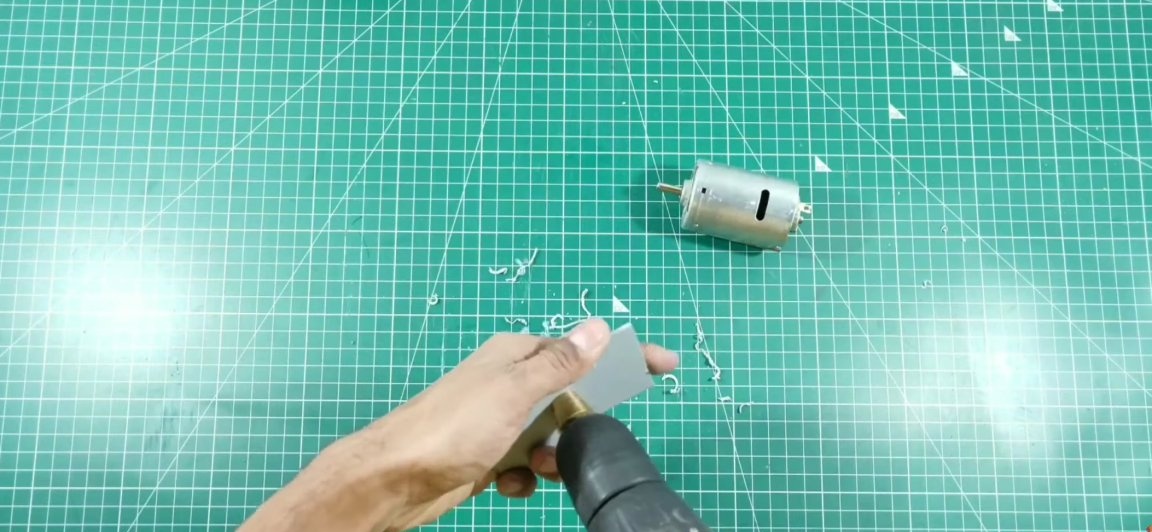
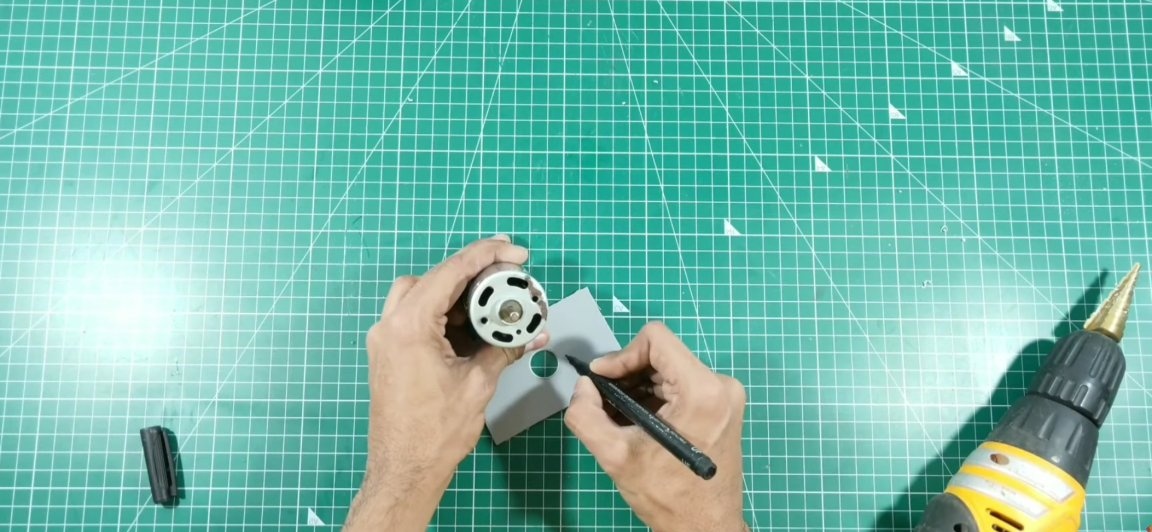
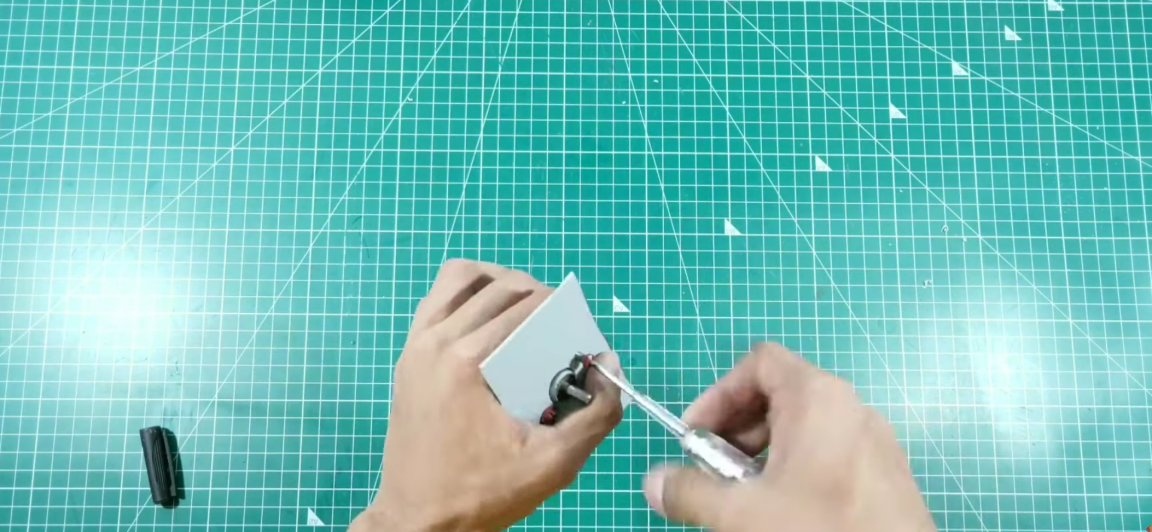
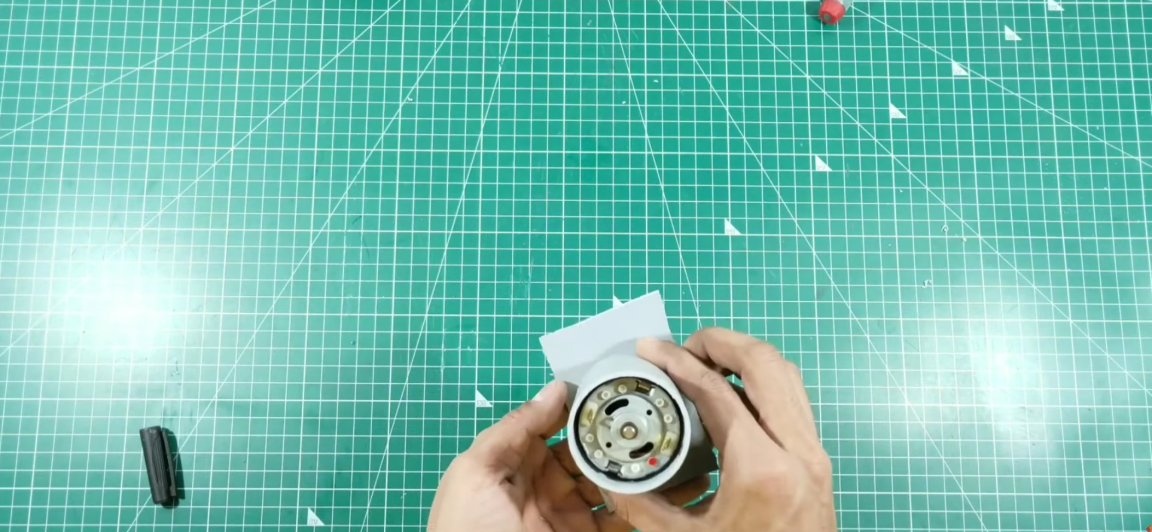
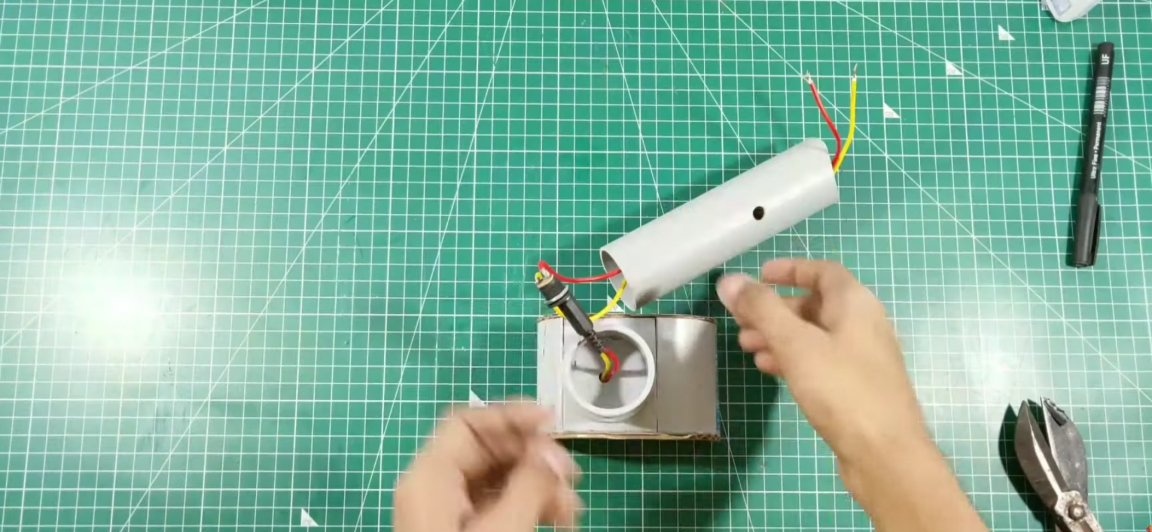
Then we will make a mount for the electric motor (motor mount). Take a piece of sheet plastic and make a hole in it for mounting an electric motor. We fasten the electric motor to the workpiece.
Then take a piece of pipe with a diameter of 50 mm. We connect this pipe with a workpiece made earlier (motor) so that the electric motor is located exactly in the center of the 50 mm pipe. Then we cut off the excess plastic with scissors or a clerical knife. Irregularities of the compound are removed with sandpaper of different grain sizes in order to create the effect of a monolithic part.

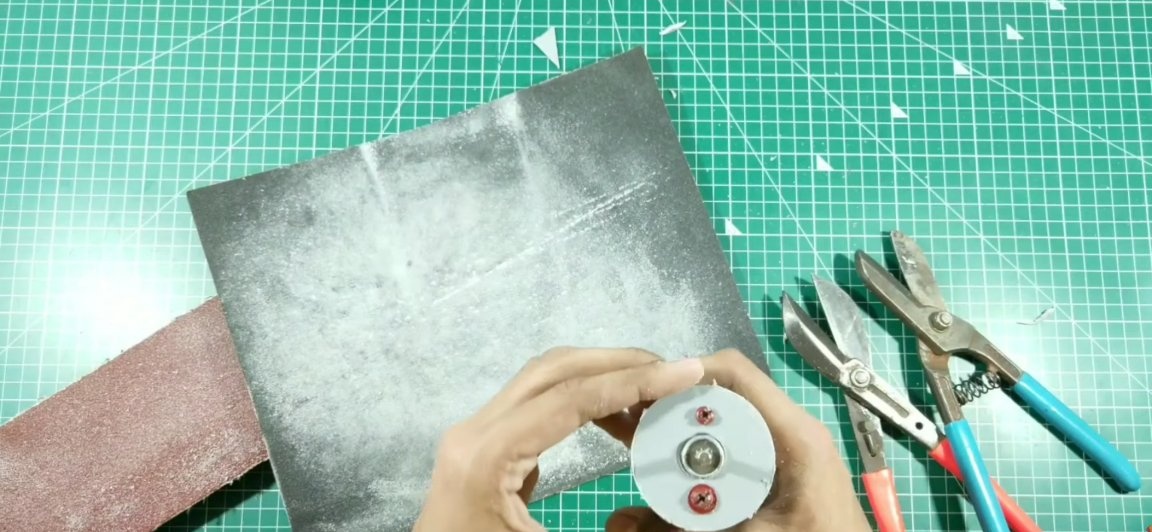
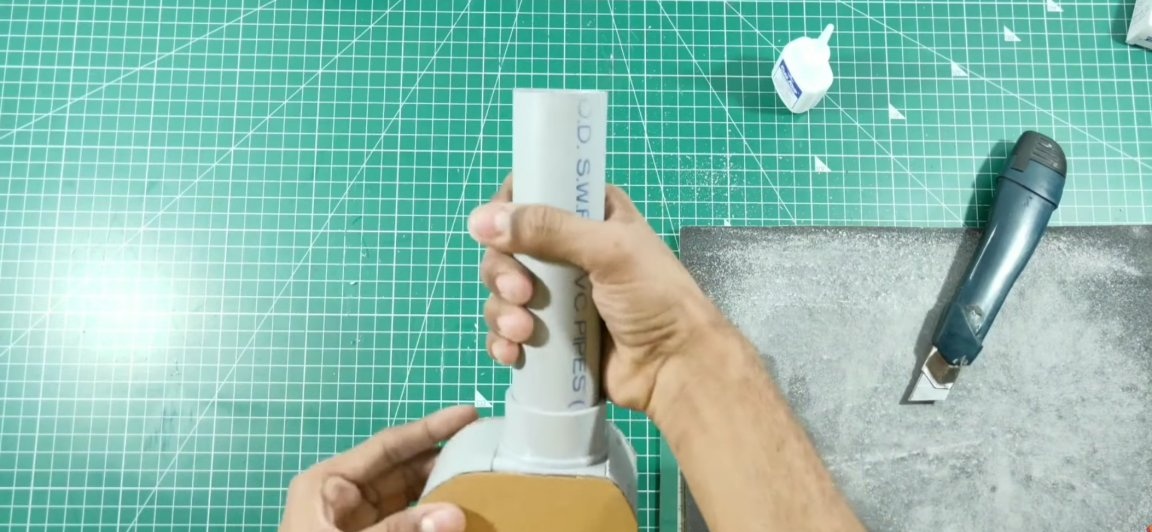
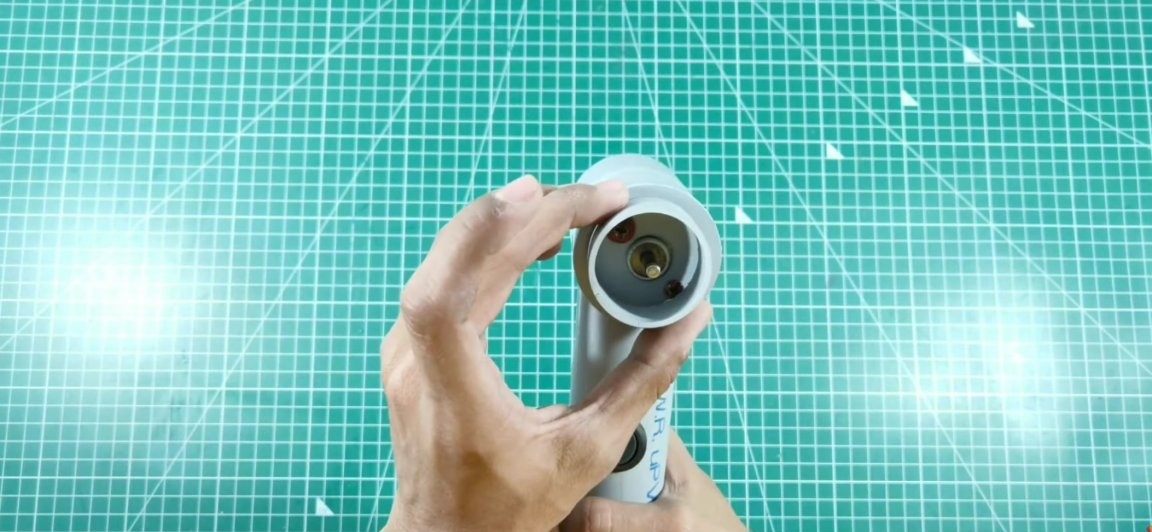
We return to the pipe with a diameter of 40 mm (handle). One of the ends of this pipe should be rounded so that an electric motor fits tightly on it. To do this, take another pipe with a diameter of 50 mm (the same diameter as the pipe in which the engine is installed) and attach a large emery paper to it. We put the handle end to the pipe with emery paper and grind it until a 50 mm pipe fits perfectly in this groove.

We continue to work with the handle. Now you should integrate the switch into the handle. To do this, using a step drill, make a hole for the switch, in a place convenient for you. We solder the wires to the switch and install it in its place. We solder the power connector (type “mother”) to the wires from the switch going to the battery so that it can be conveniently connected and disconnected with the battery.
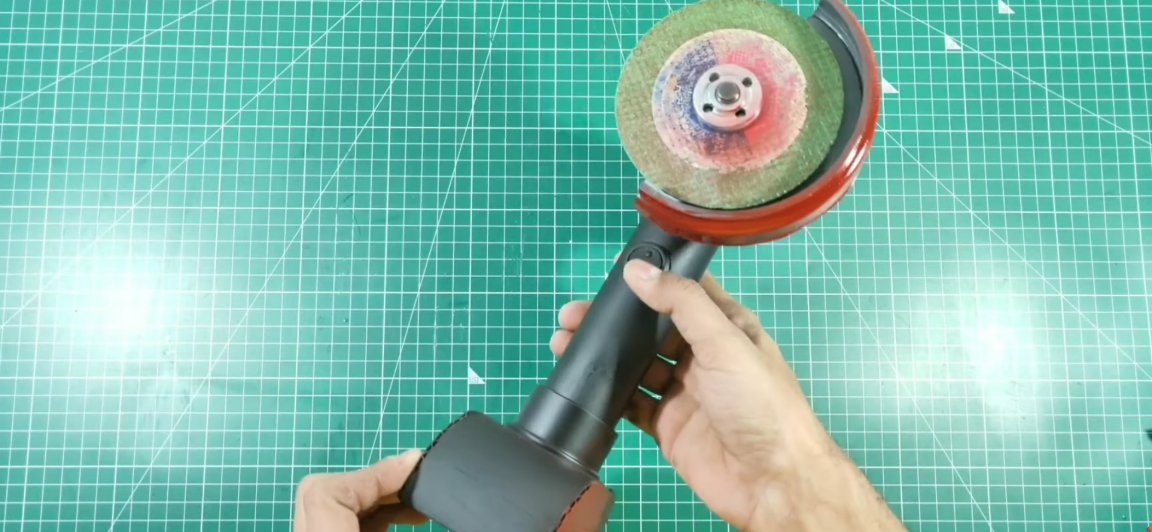
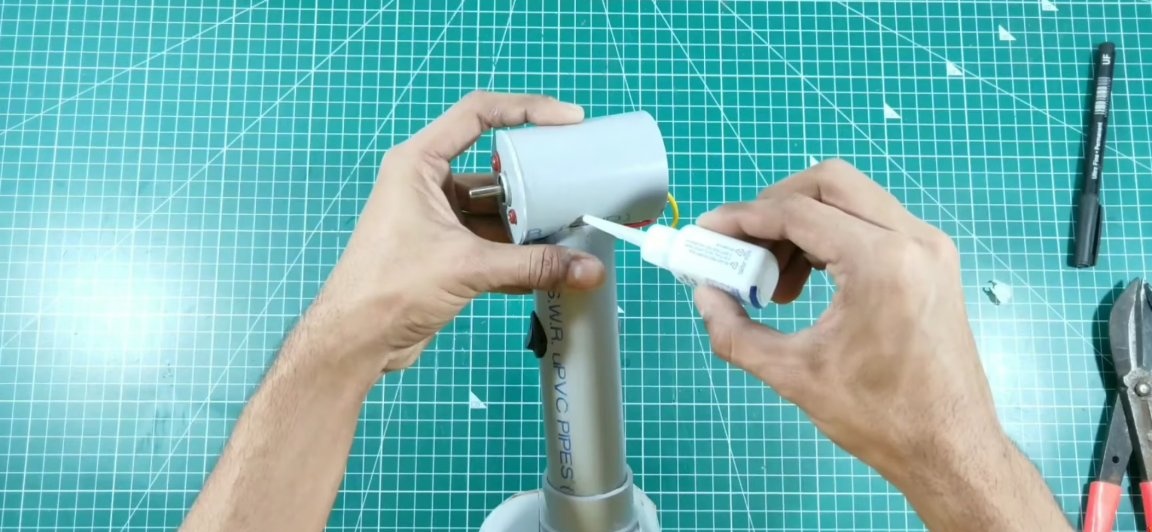
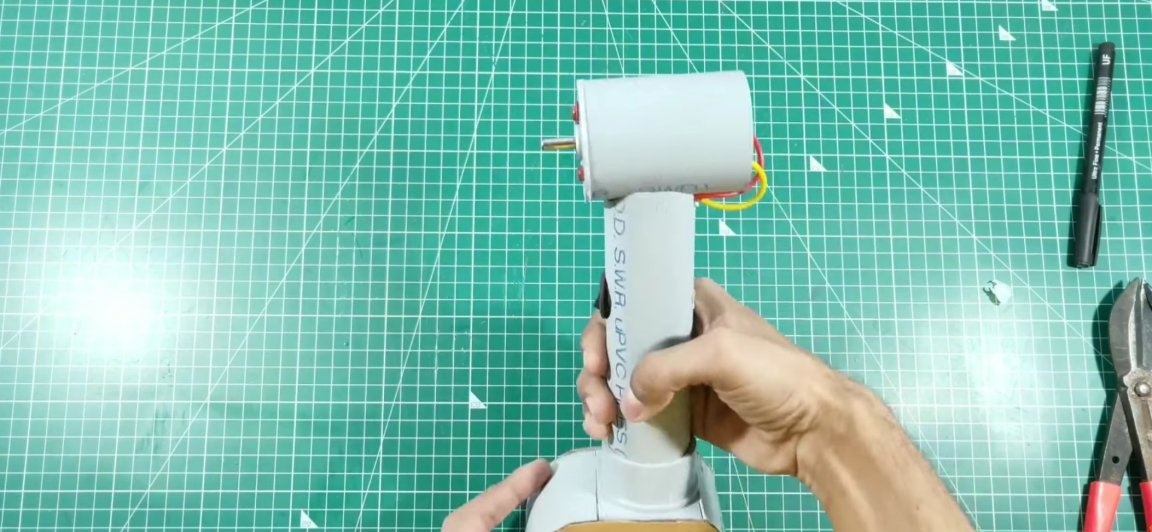
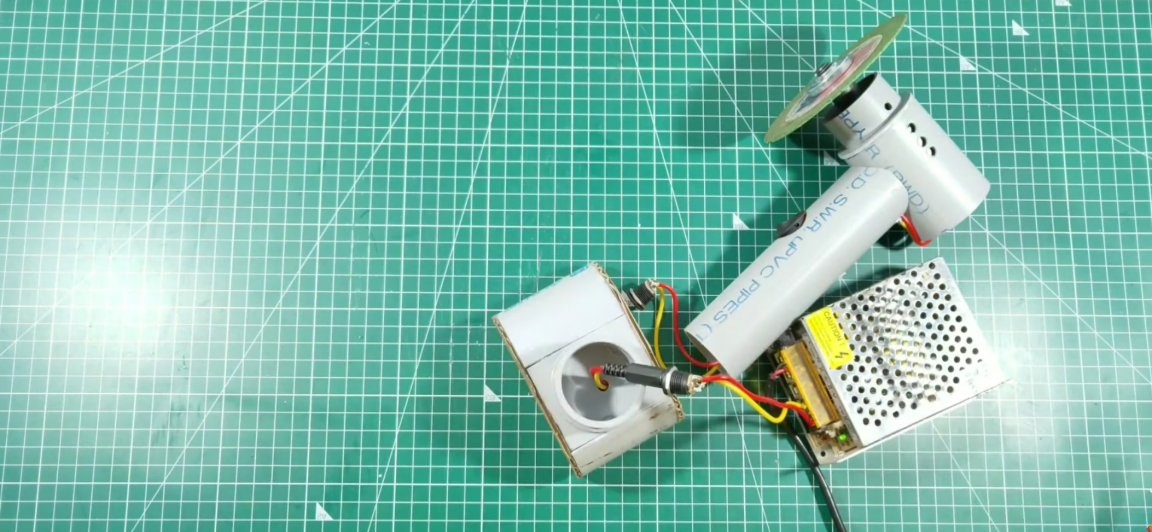
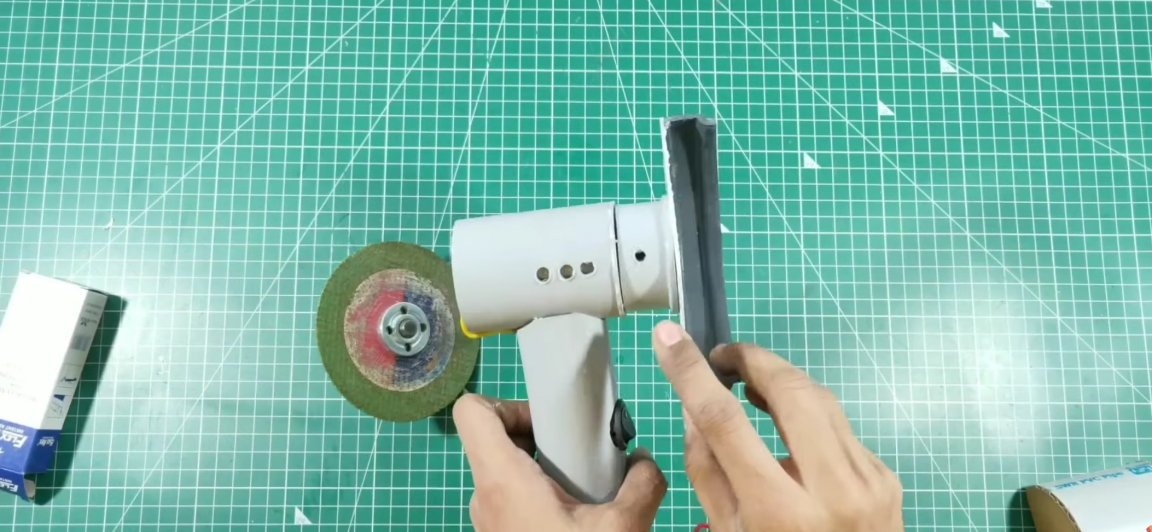
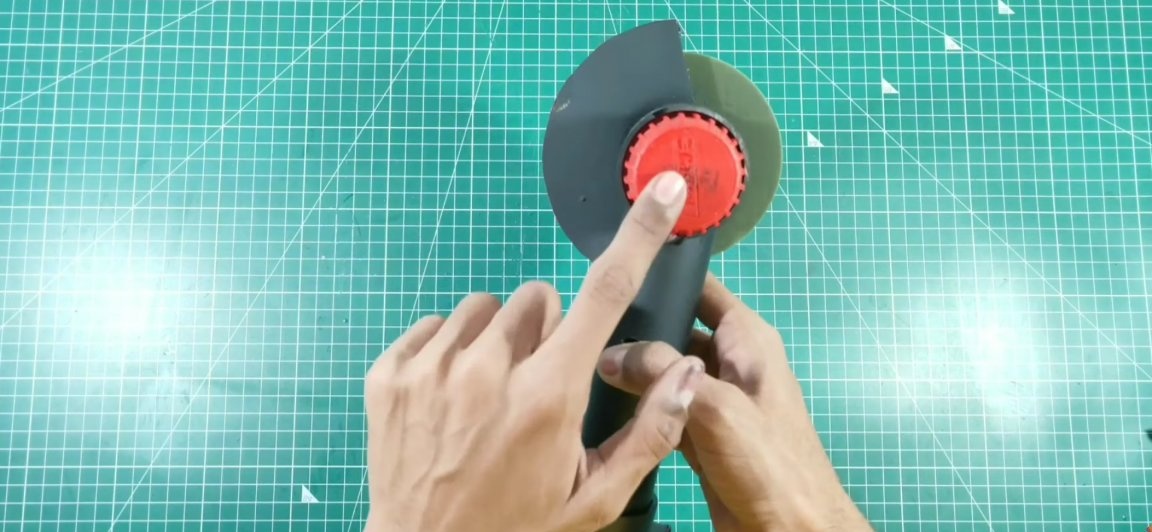
Next, solder the wires from the switch to the engine.And the engine itself is attached to the handle with the help of superglue (see photo). We put a cutting disc on the motor shaft through a special adapter. Then we will attach the “coupling” to the part with the engine, we will attach the protection to it, in this coupling we should make a through hole through the hexagon (in order to put on and remove the adapter). In order to avoid overheating of the collector motor, several ventilation holes must be made in its housing.

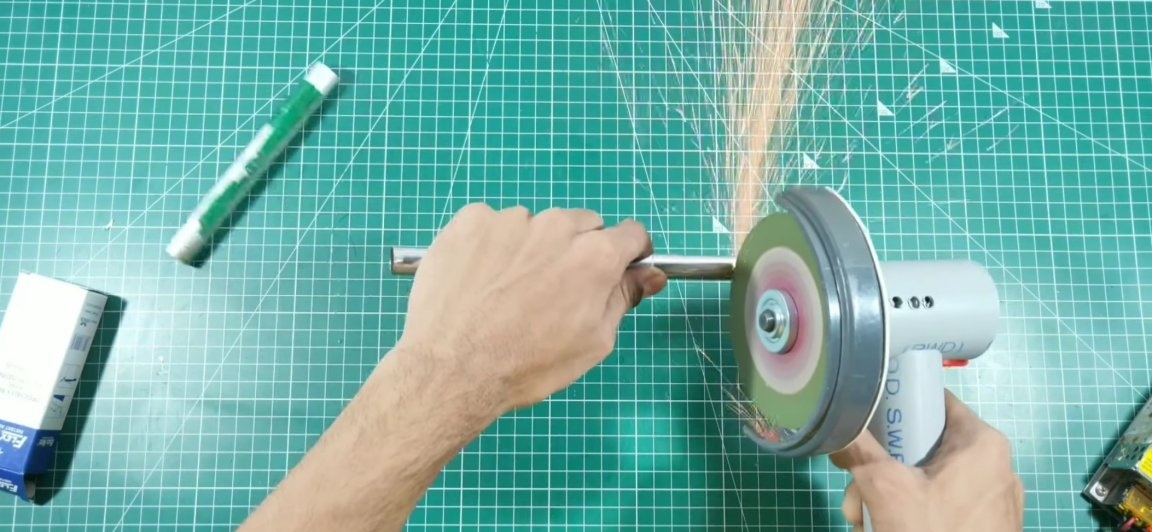
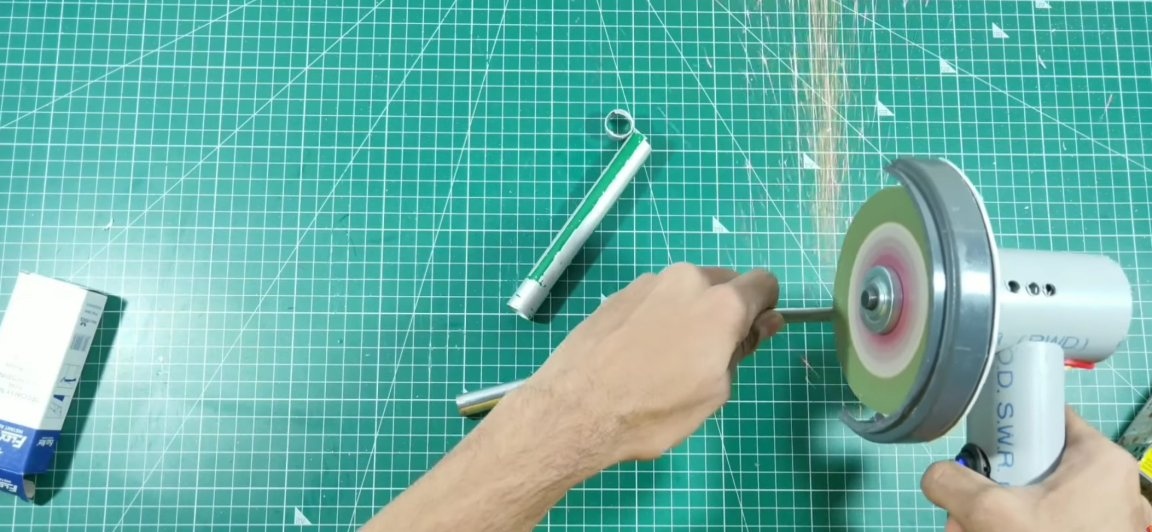
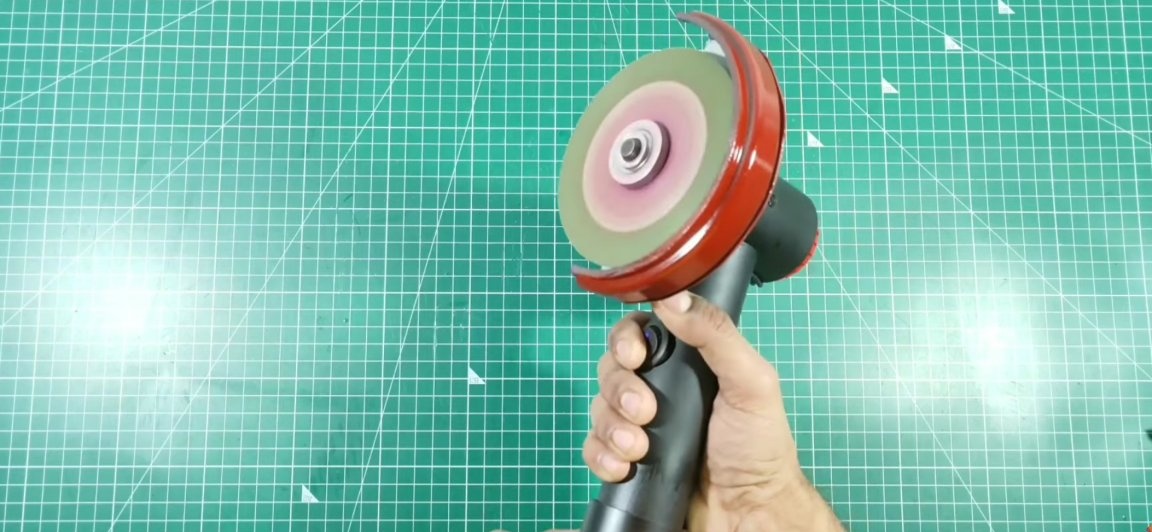
We check the performance of the design. When turned on, the cutting disc should accelerate and rotate stably without unnecessary vibrations. It should be noted the fact that the battery will become infected through the same connector as it is being cut.
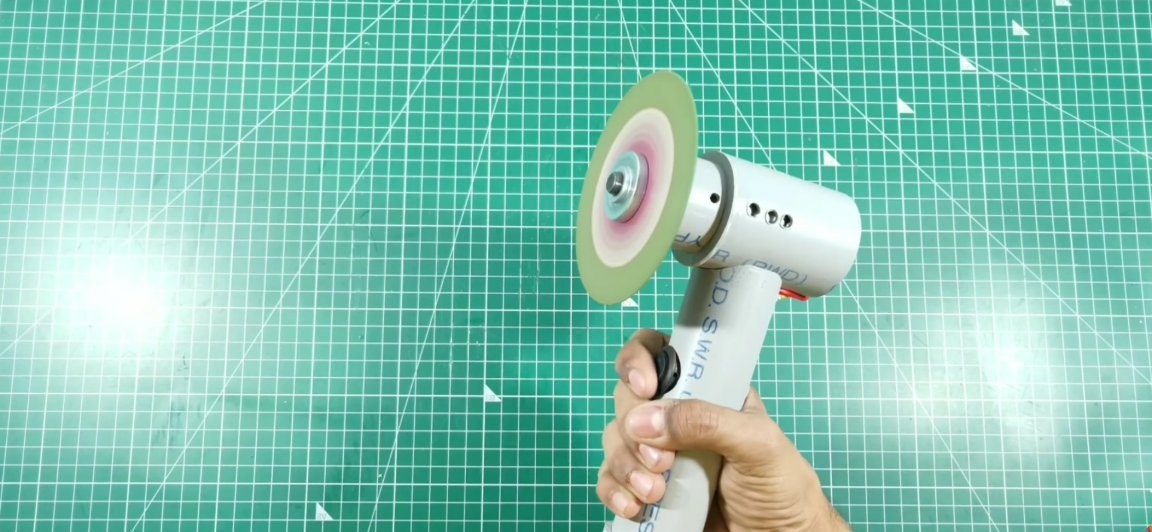
Almost everything is ready. It remains only to make protection against flying scraps. To do this, we cut a 1.5-2 cm wide ring from a large sewer pipe (the pipe should be so large that the cutting disk fits inside). A plastic sheet is glued to this ring, as shown below. Then we cut off the excess, and glue on the back such a plastic “coupling” so that it is worn on the previously glued coupling on the engine. We make a hole under the shaft and install the protection in place.


All is ready! It remains only to think about the appearance of homemade. Homemade tests you can see below.
You can purchase accessories that can be useful for assembling this homemade product here:
Rechargeable batteries
Charge controller
Electric motor
Blade adapter
Here is a video of the author of the homemade:
Well, thank you all for your attention and good luck in future projects, friends!