
Types of clamps there are quite a large number. And they are designed to fix the blanks among themselves in various positions.
In this article, the author of YouTube channel "Be Creative" will tell you how he made a simple end clamp.

This type of clamp has a very simple design for solving specific problems, for example, in carpentry, it is used to clamp edges and ends.
Materials
- Steel profile pipes 25X25
- M10 bolts, extended nuts
- M4 hex bolts
- Steel square
- Spray paint.
Instruments, used by the author.
- Drilling machine
-
-
- Miter saw
- Lathe
-
- Cutting and flap scraping discs
- Miter saw
-, vise.
Manufacturing process.
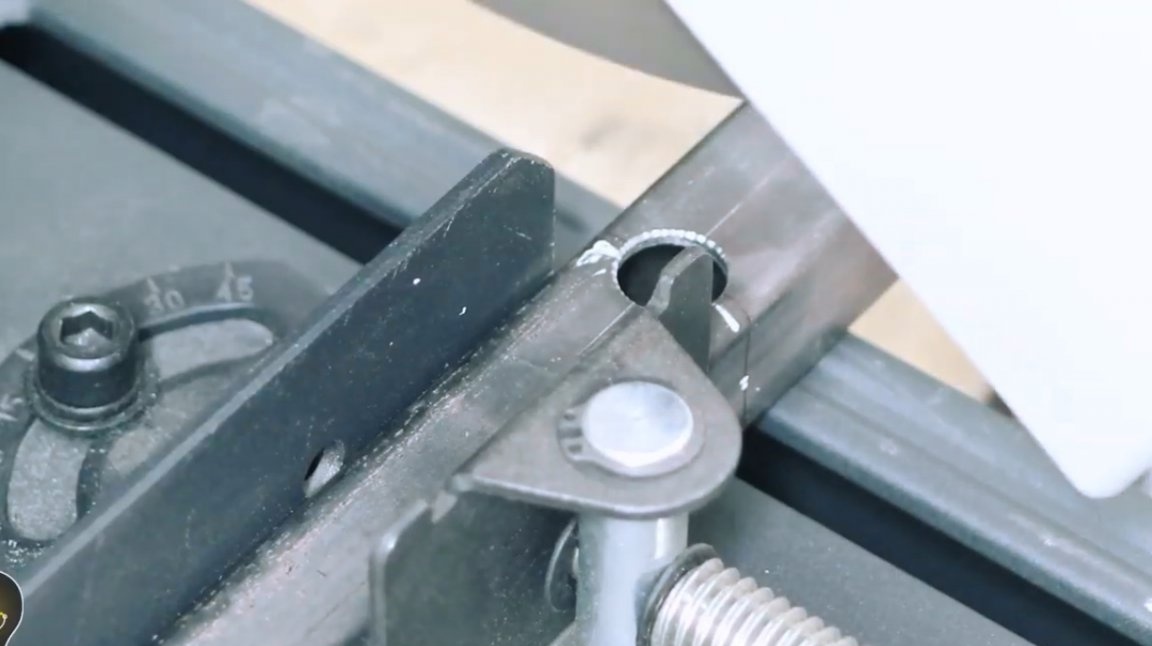
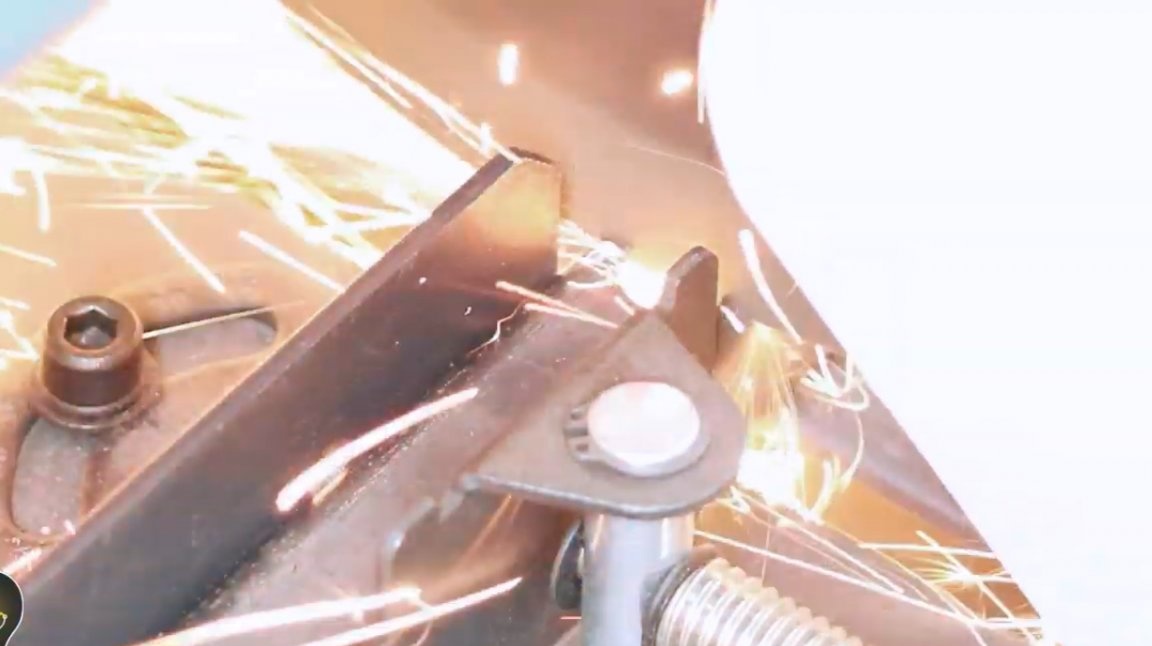
So, first of all, the master cuts the workpieces from the profile pipe, cutting off their edges at 45 degrees.

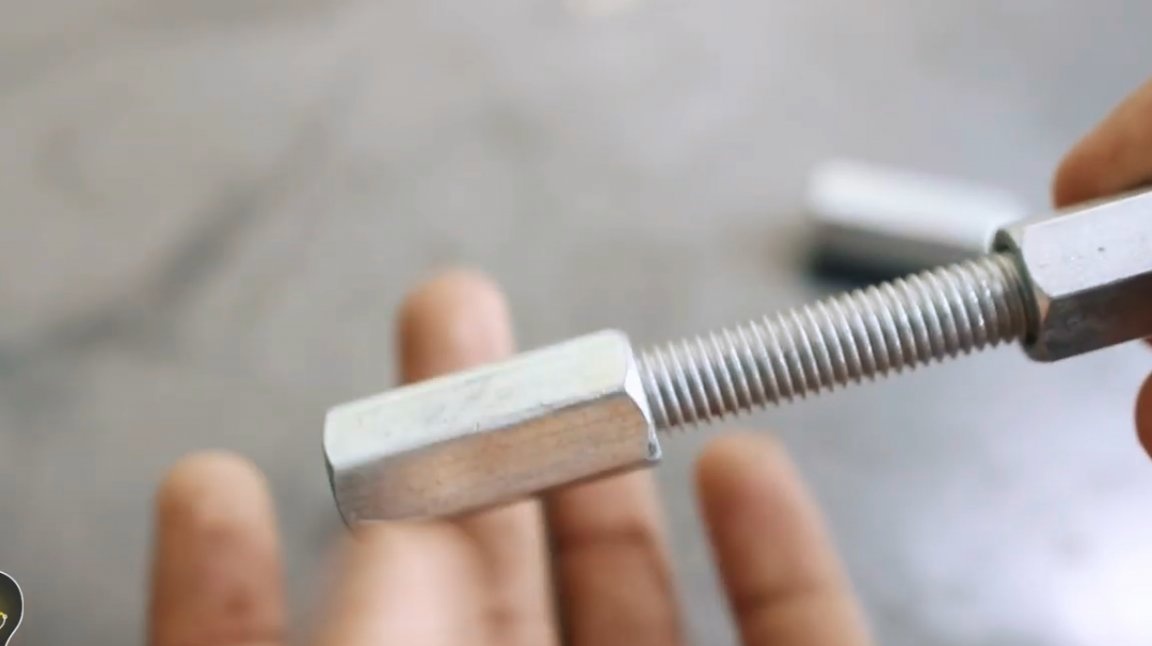
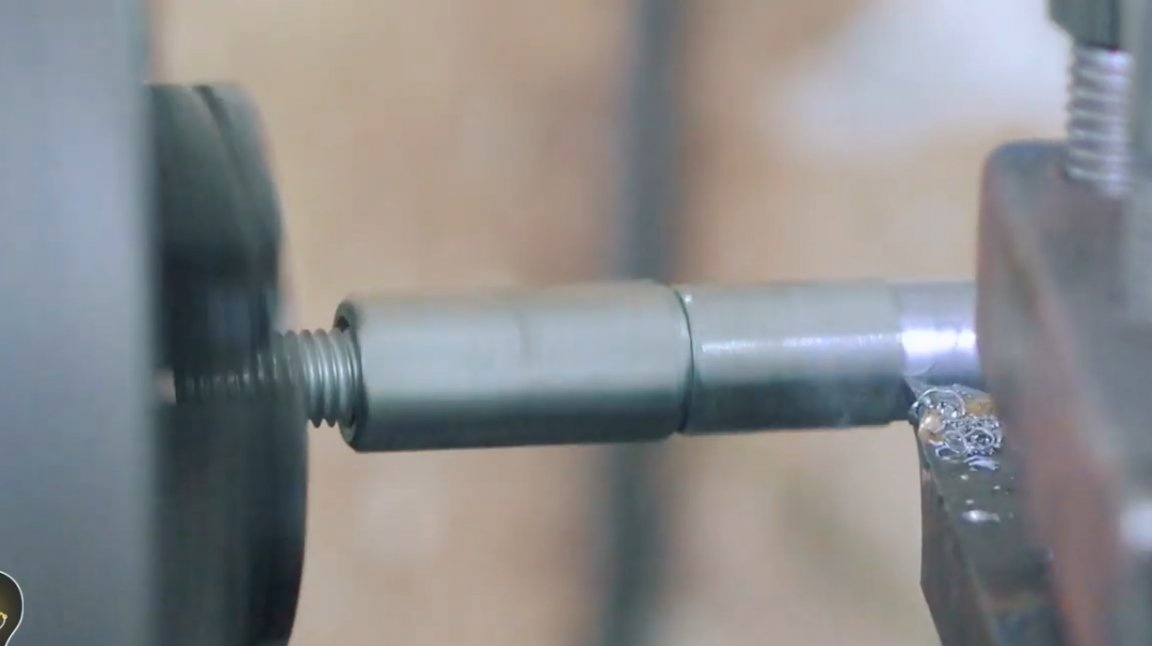
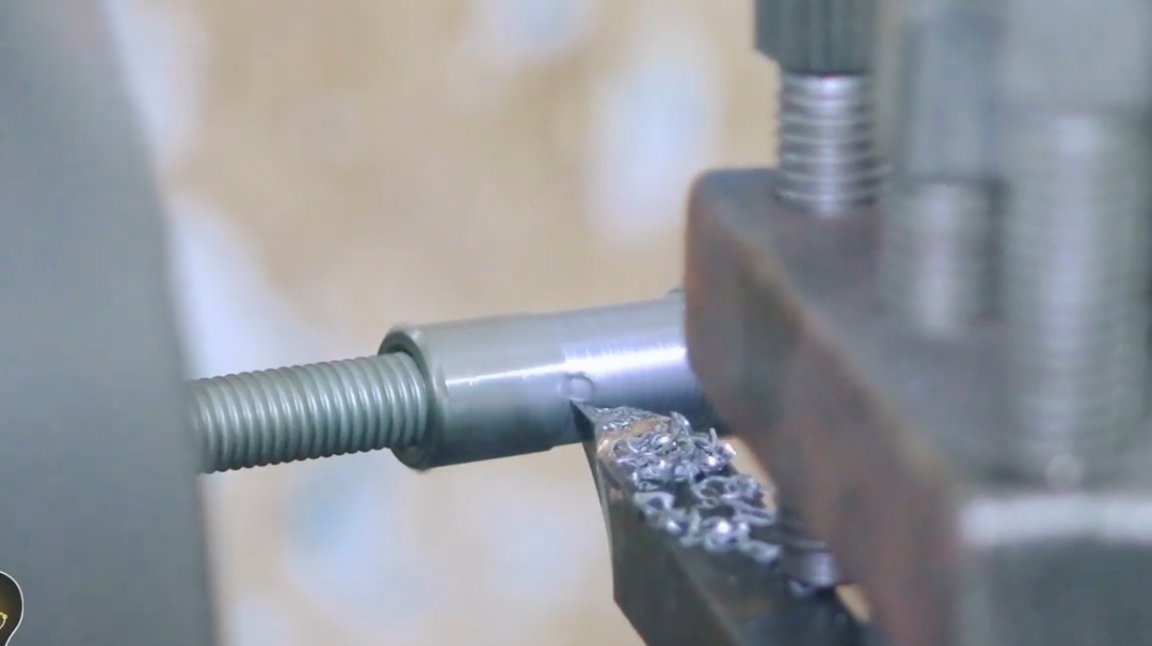
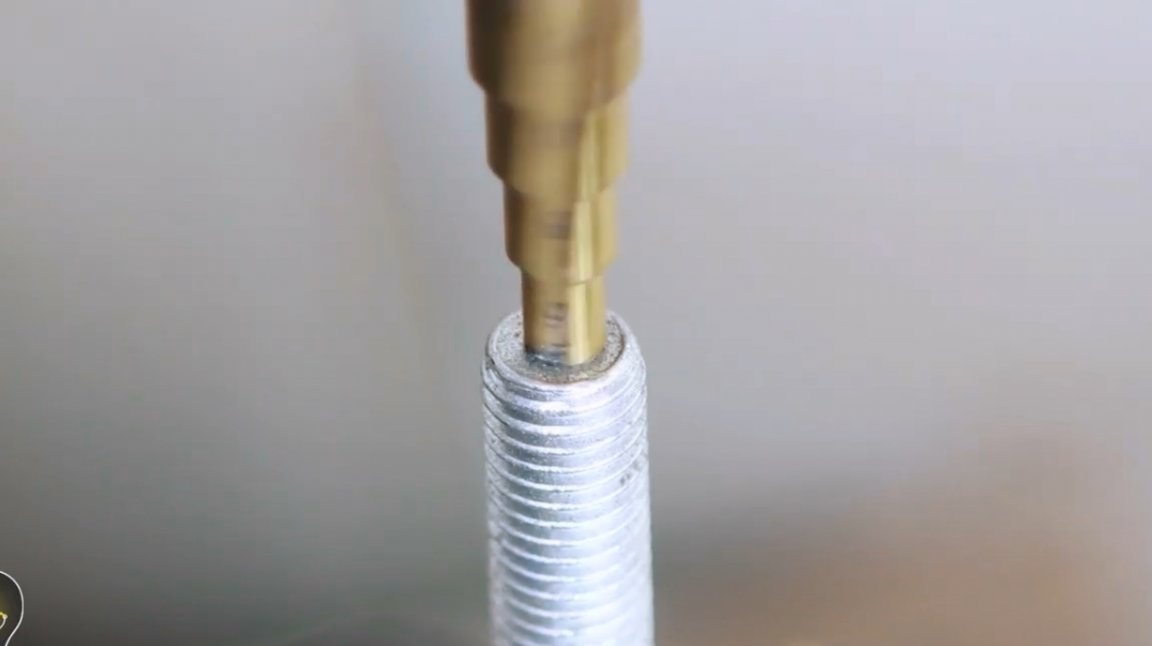
Then he baits the extended nuts on the stud, and grinds them to a cylindrical shape.
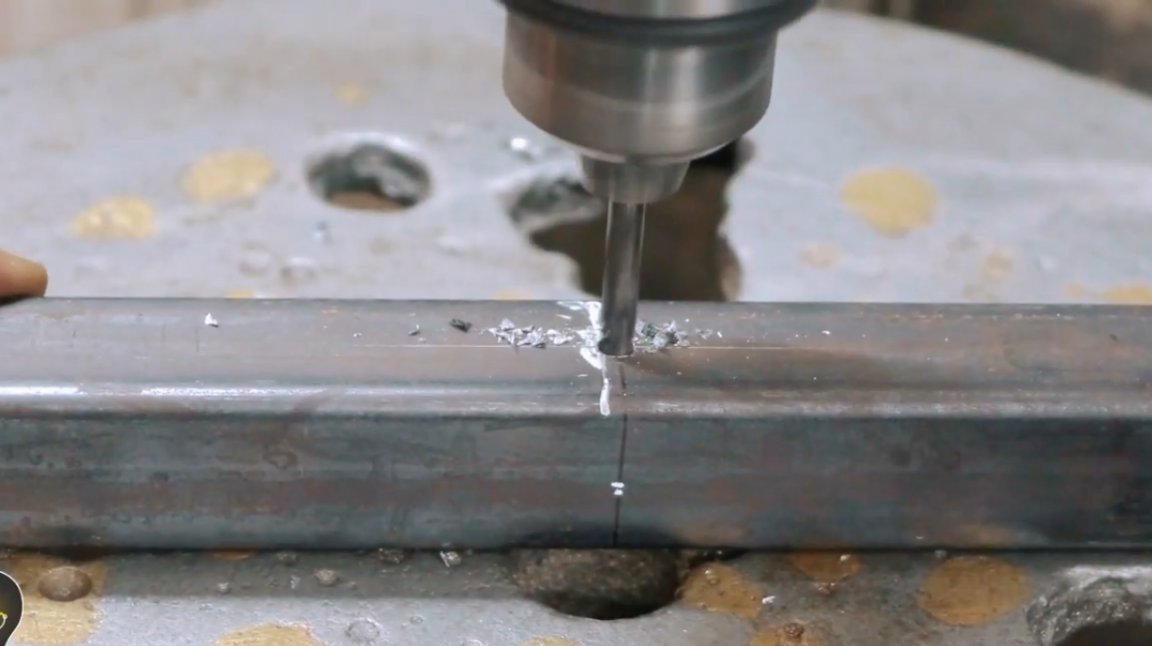
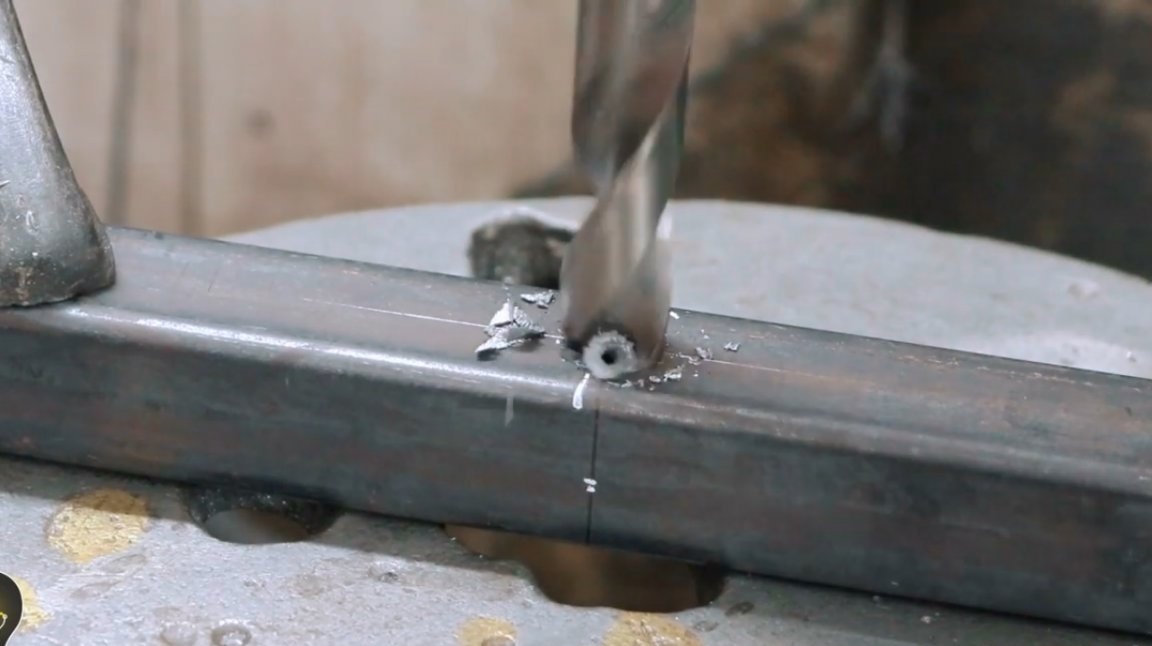
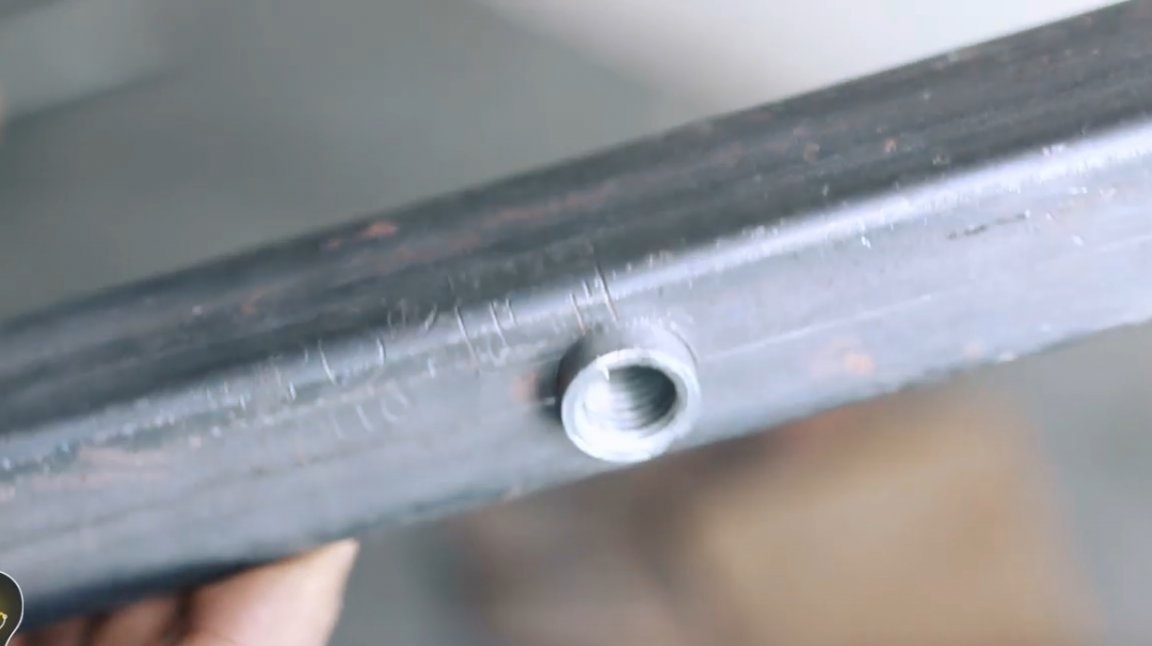
In the center of one of the workpieces, a hole is drilled along the diameter of the obtained nuts. The same is repeated for the second workpiece, which will be the middle part of the frame.
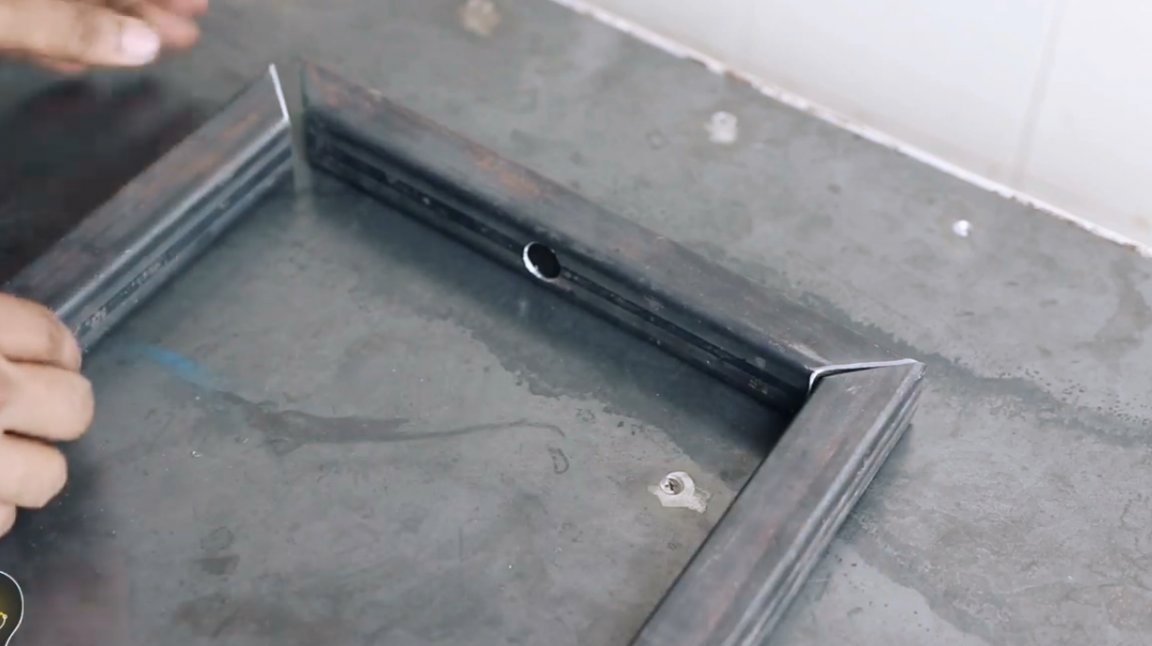
Next, cuts the first workpiece in the center of the hole. These will be the side parts of the frame.
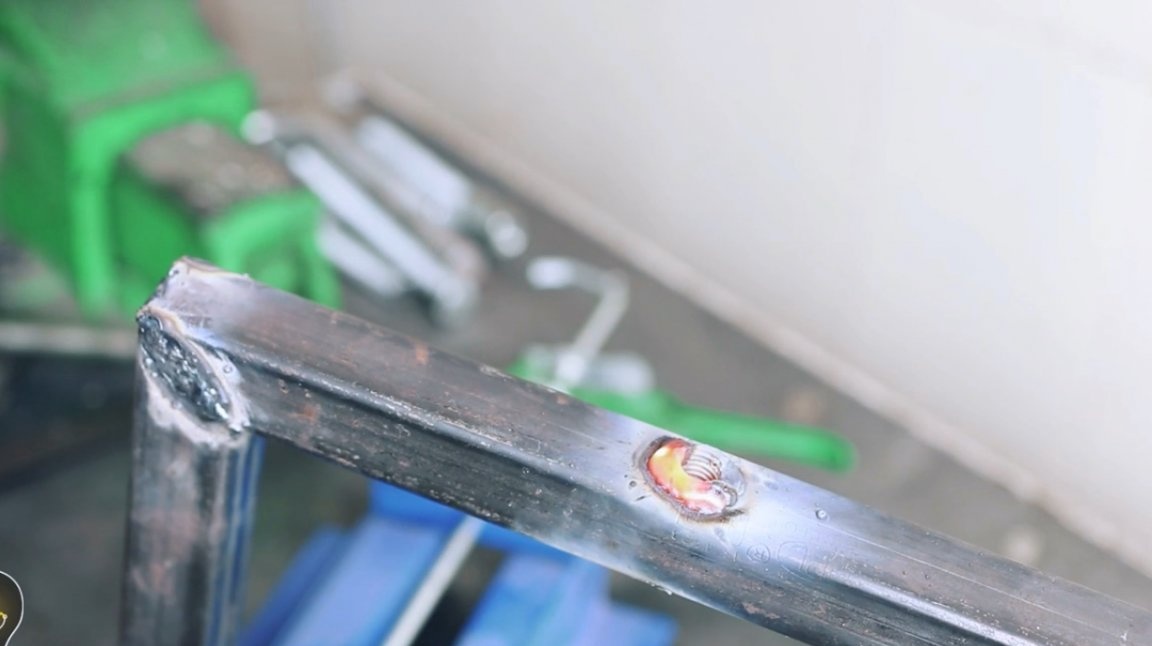
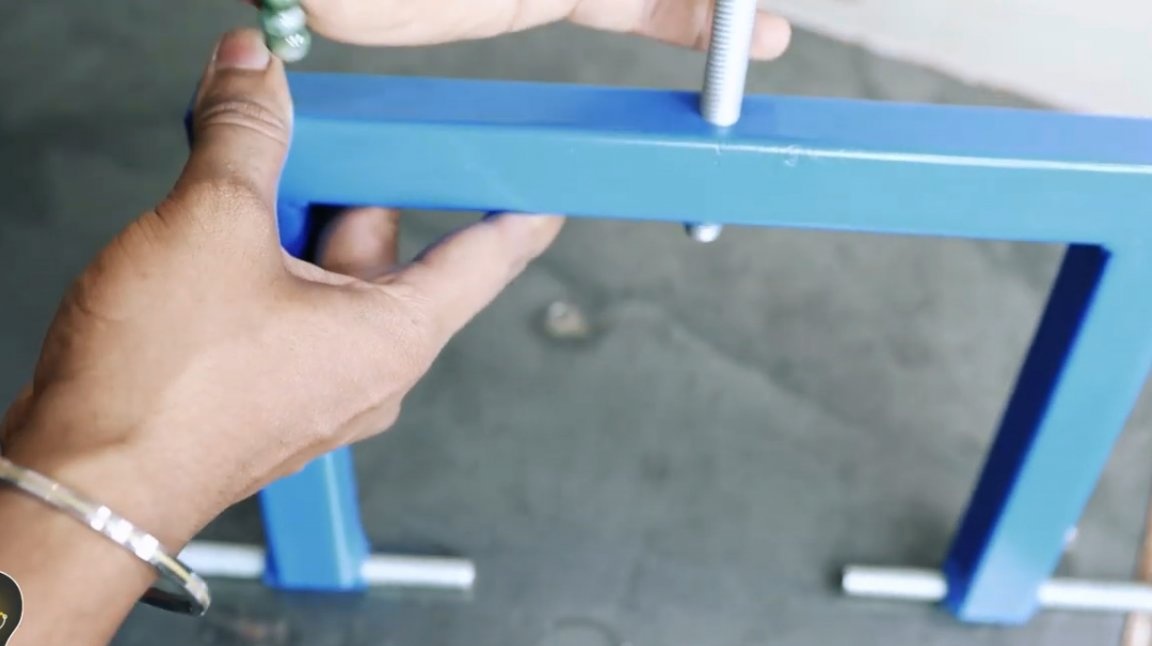
Using a square exposes structural elements, and welds them together.
The elongated nuts are welded into the recesses of the side parts of the frame.

Also comes with a central nut.

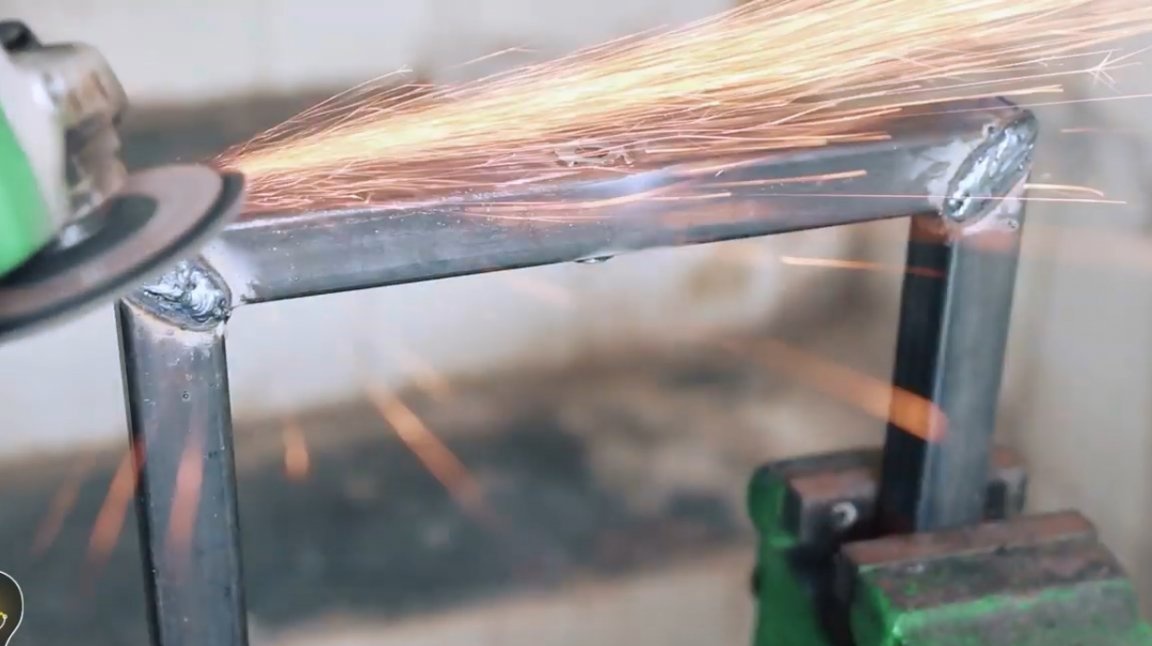
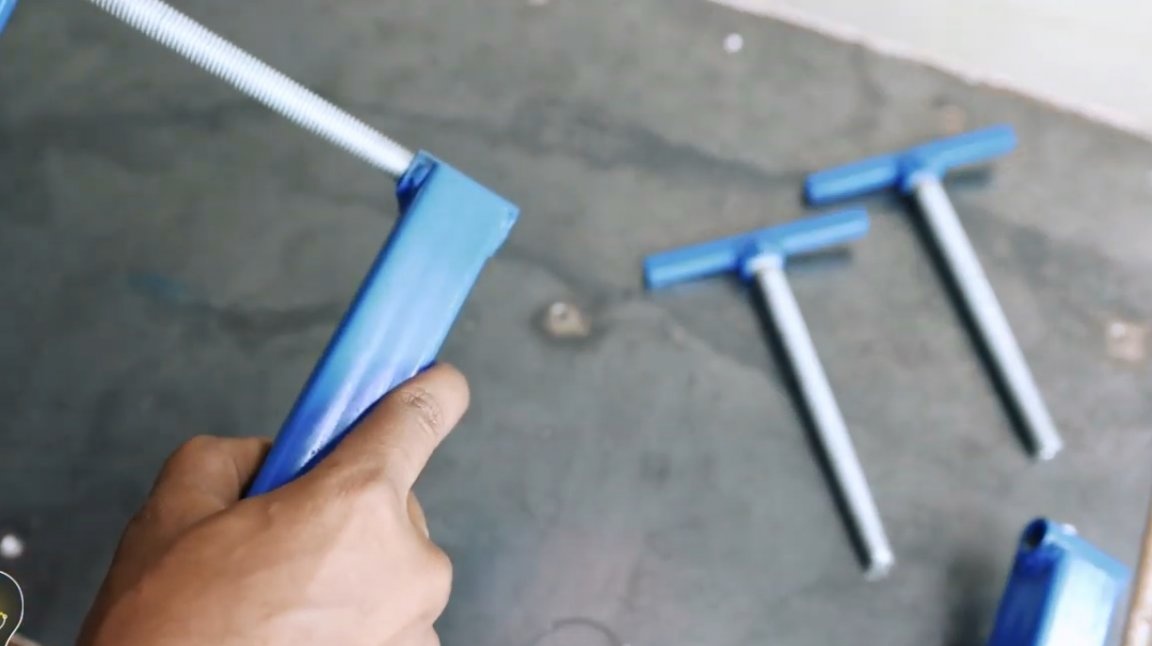
Having installed a petal stripping disk, cleans all seams and surfaces. Then he paints the frame with blue spray paint.

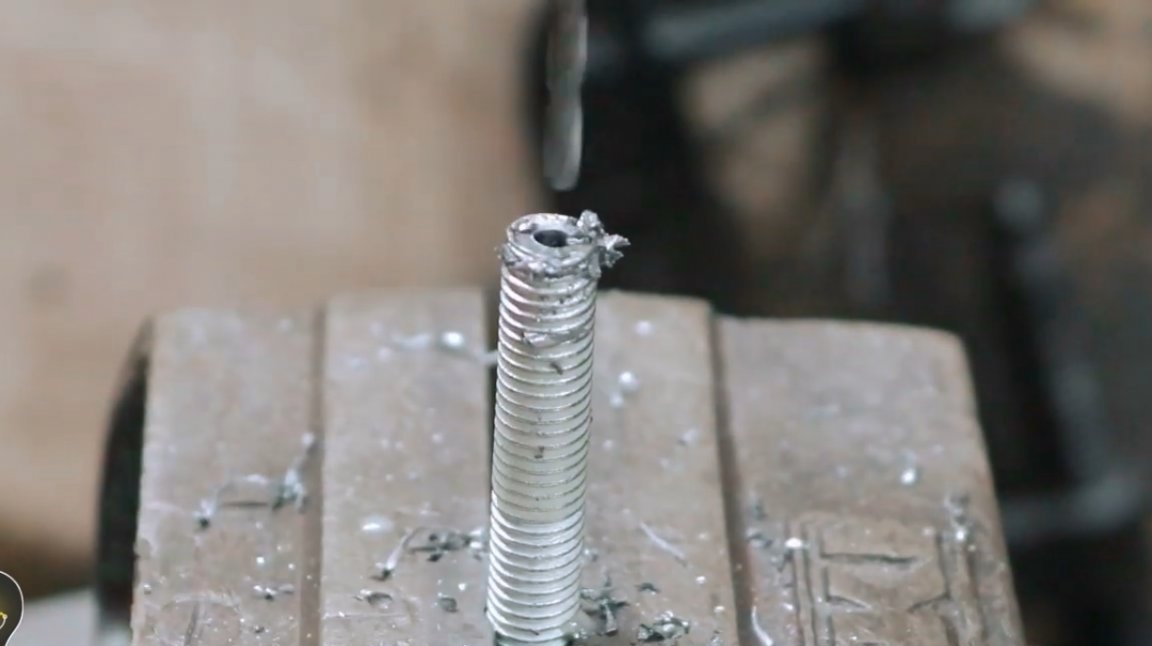
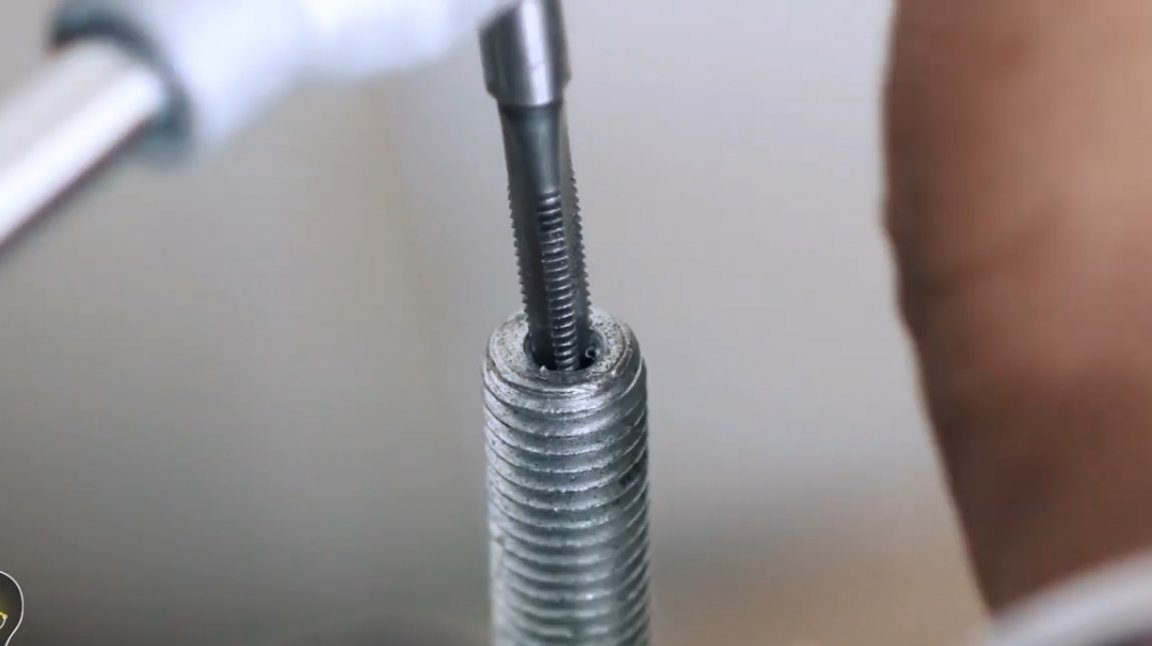
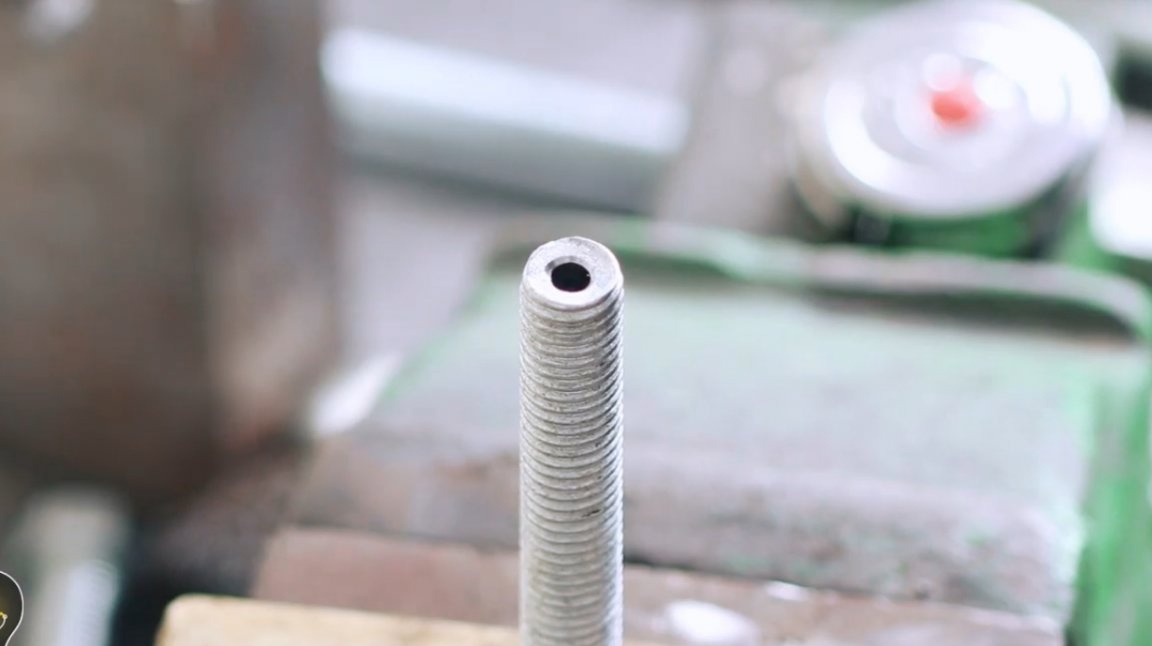
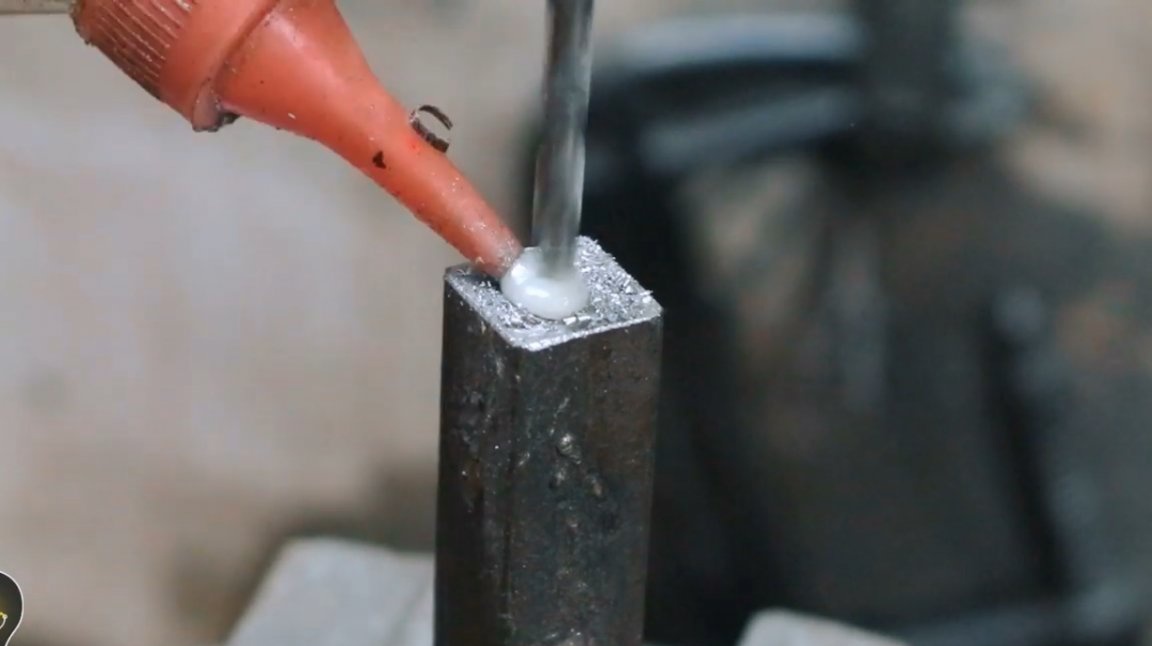
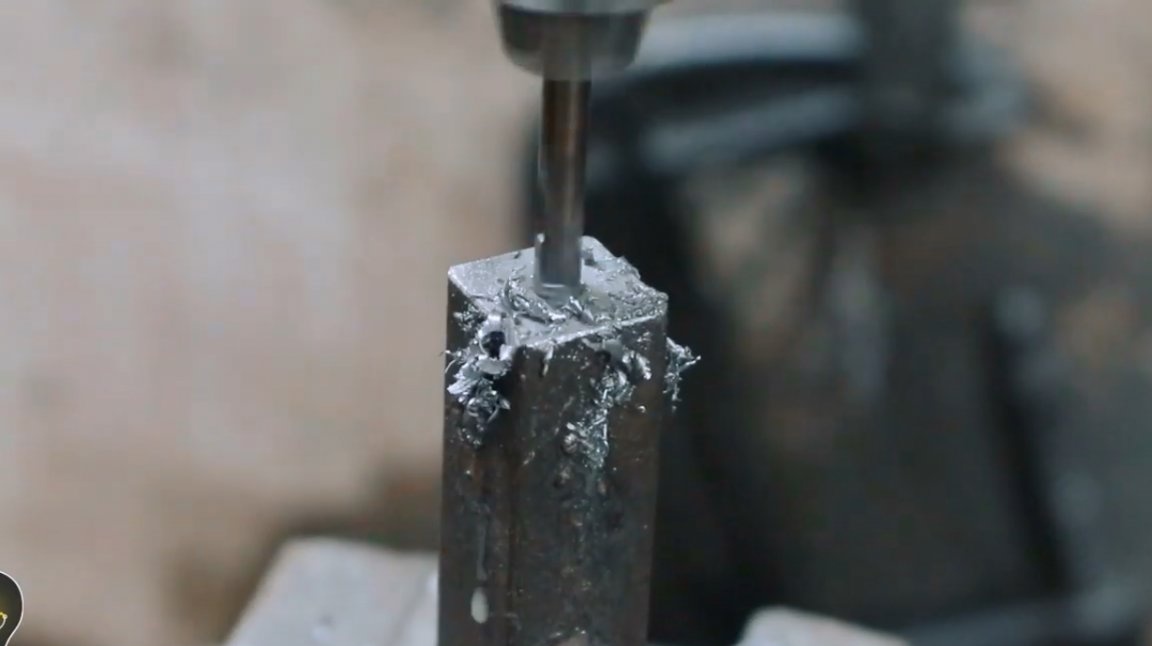
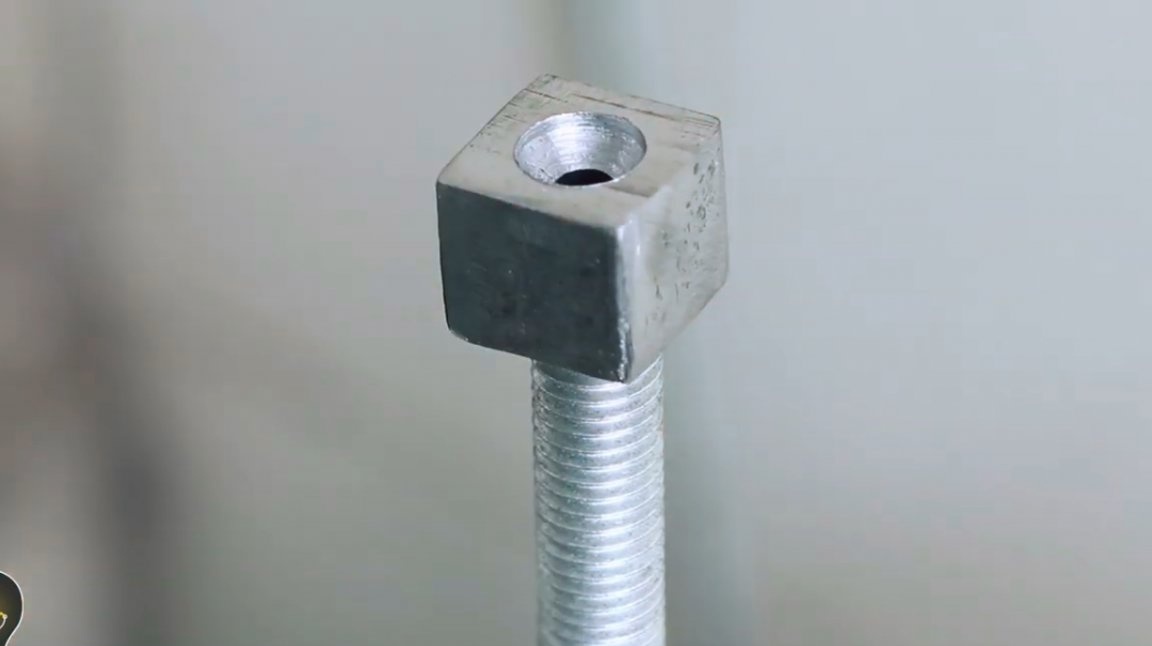
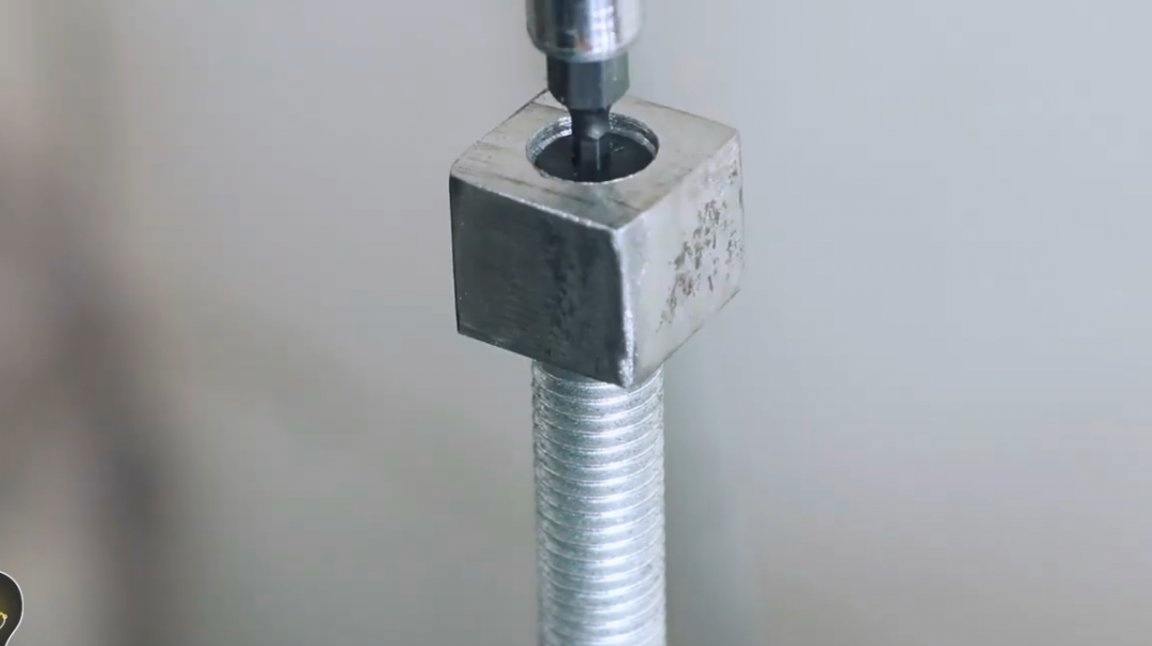
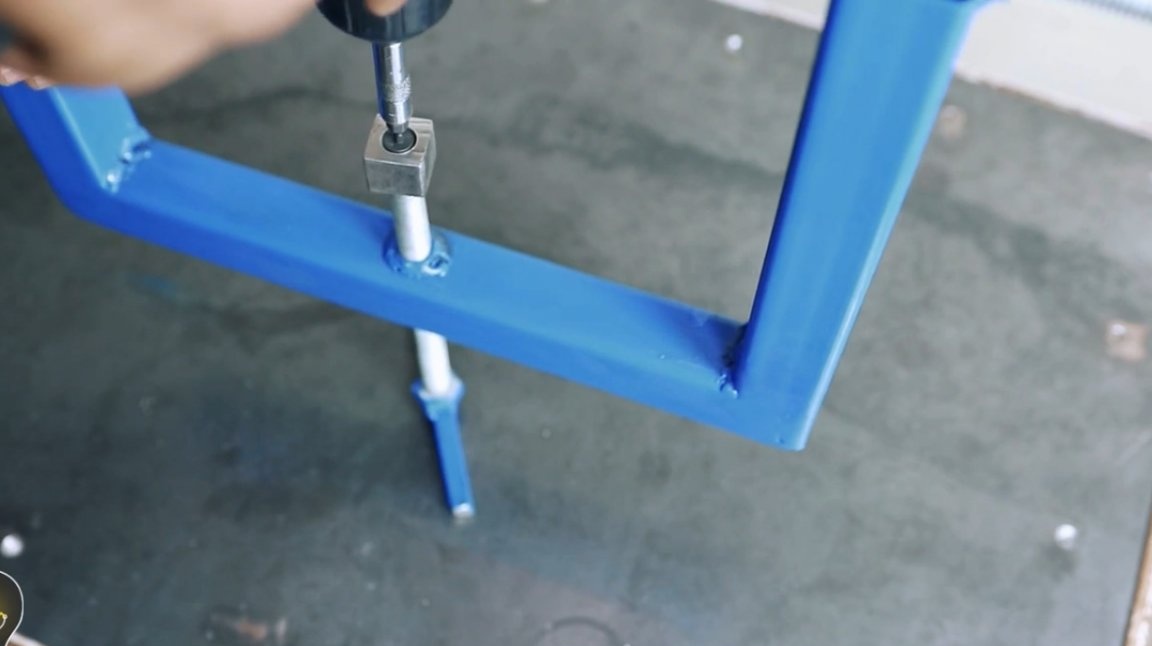
While the paint is drying, the master prepares the bolts for the clips. To do this, at their ends, drills holes for mounting the clamping blocks, and cuts threads in them. When drilling, the author uses coolant.
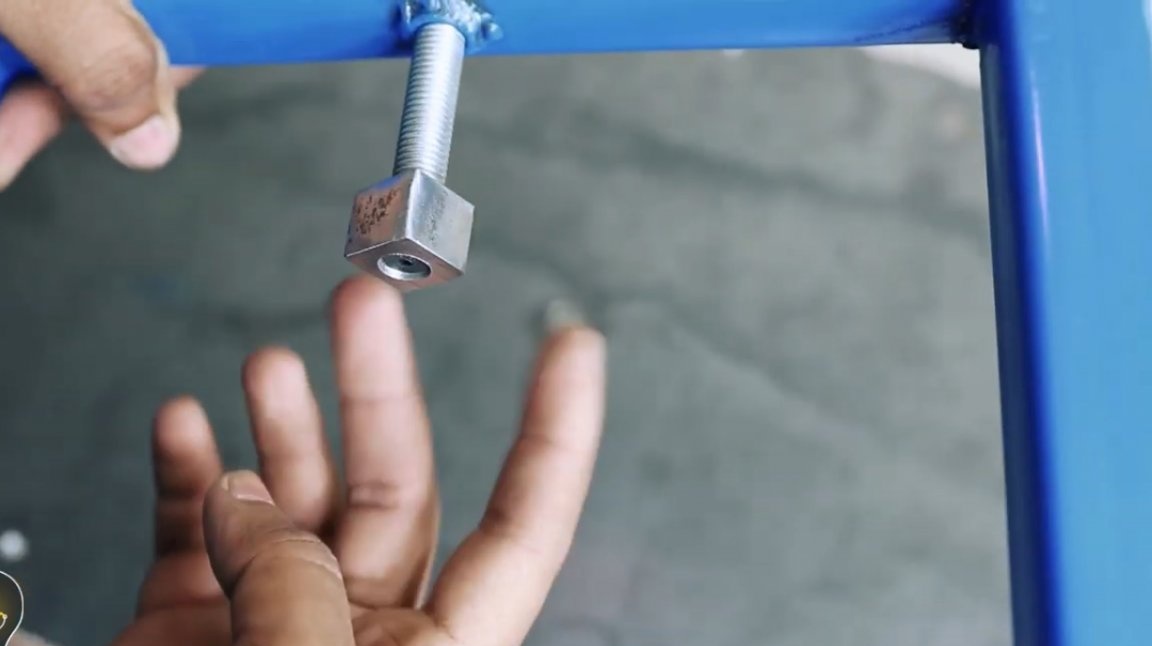
Then he drills a hole in a steel square, and cuts three pressure blocks.
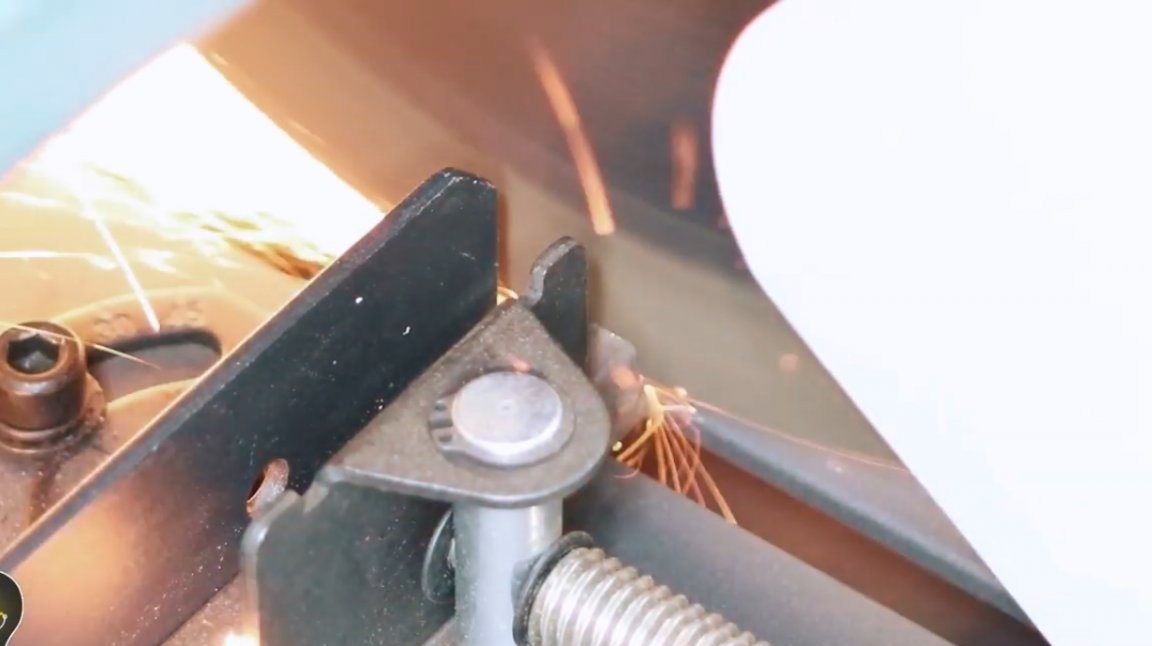
This is how they will be bolted.
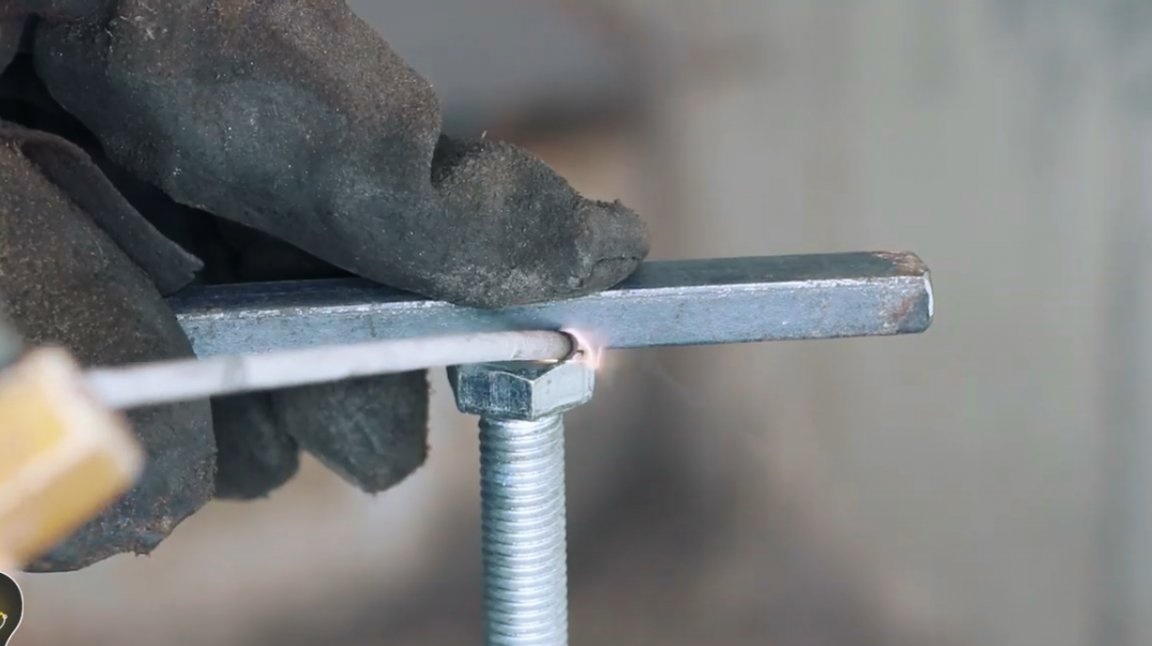
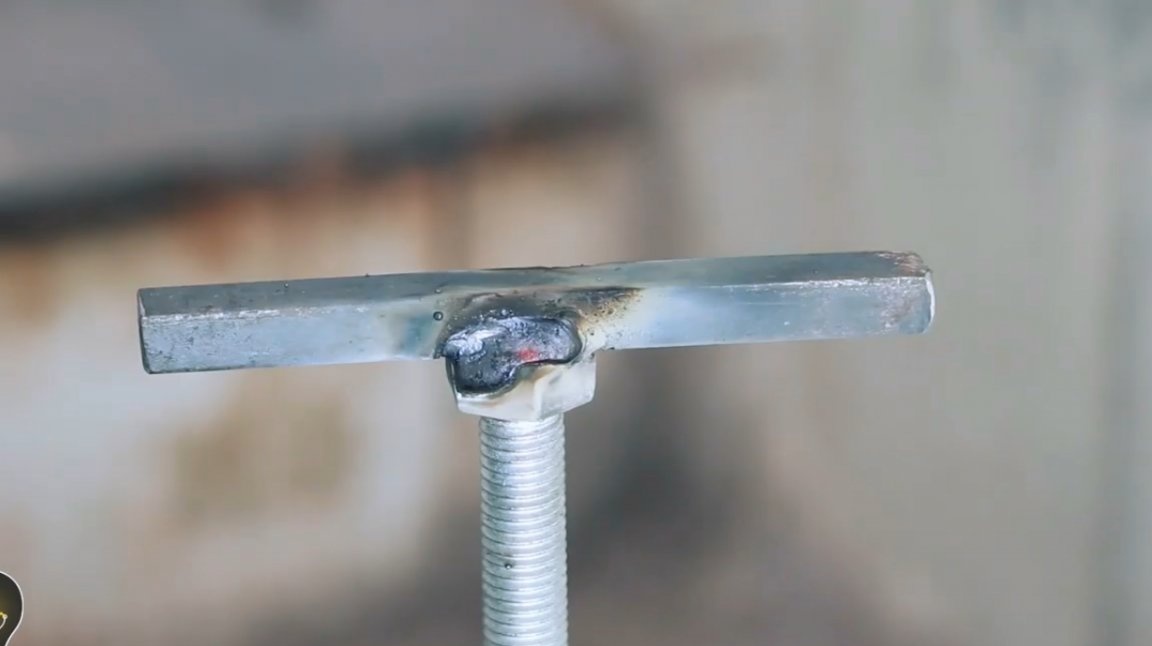
To the head of the bolts, the master welds a knob from a steel square.
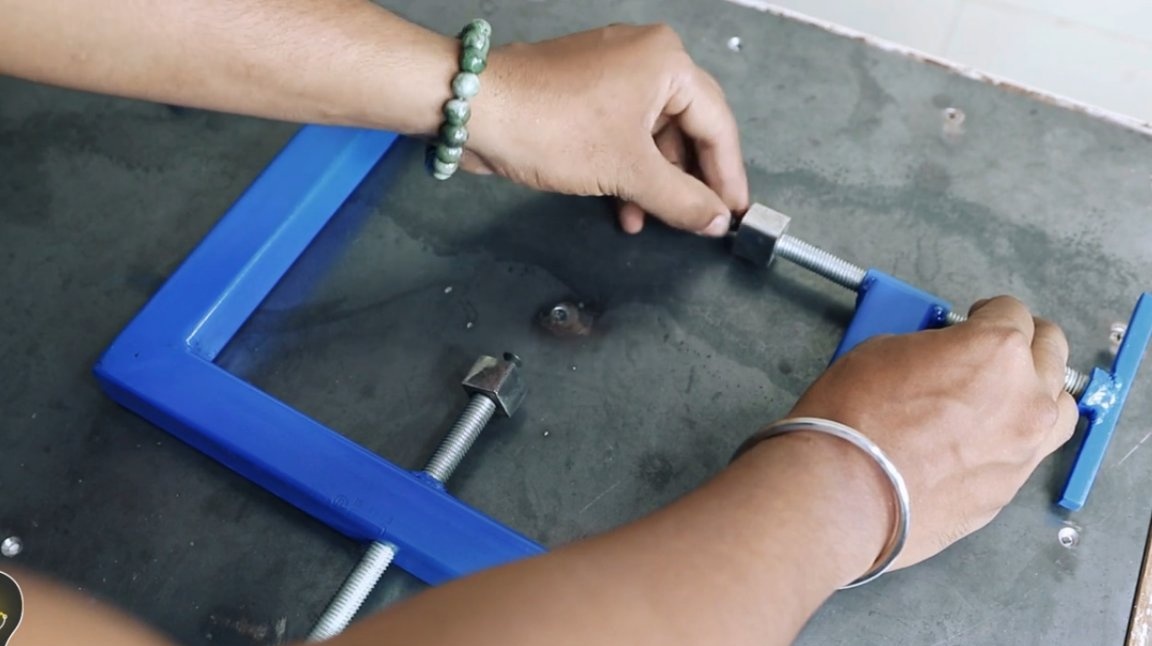
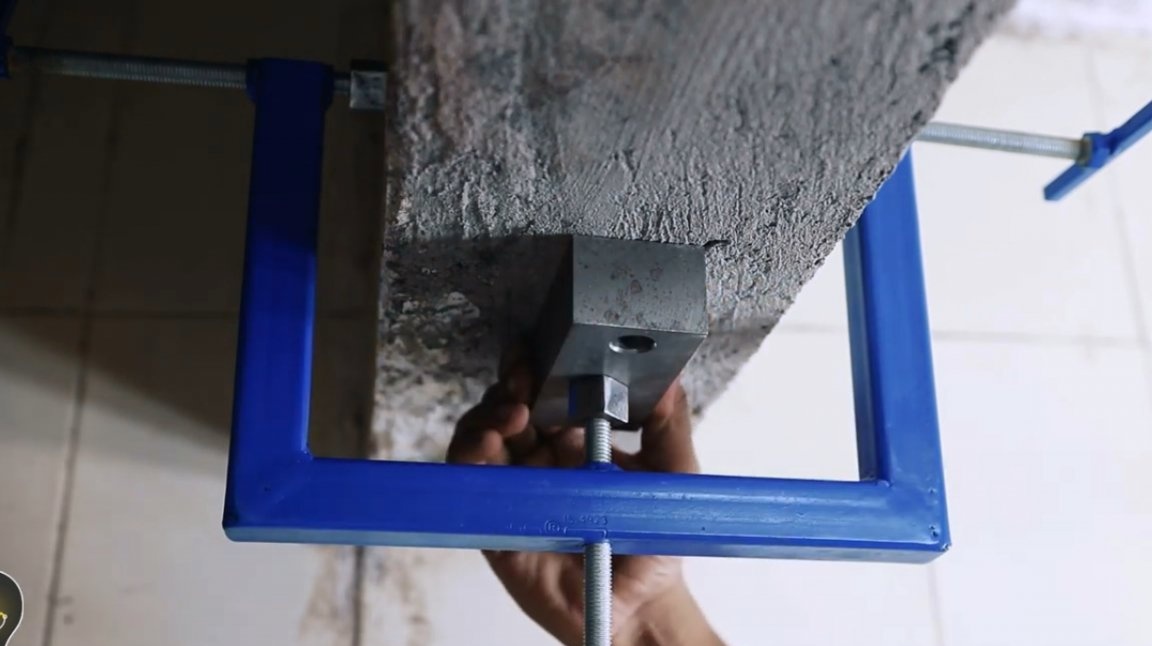
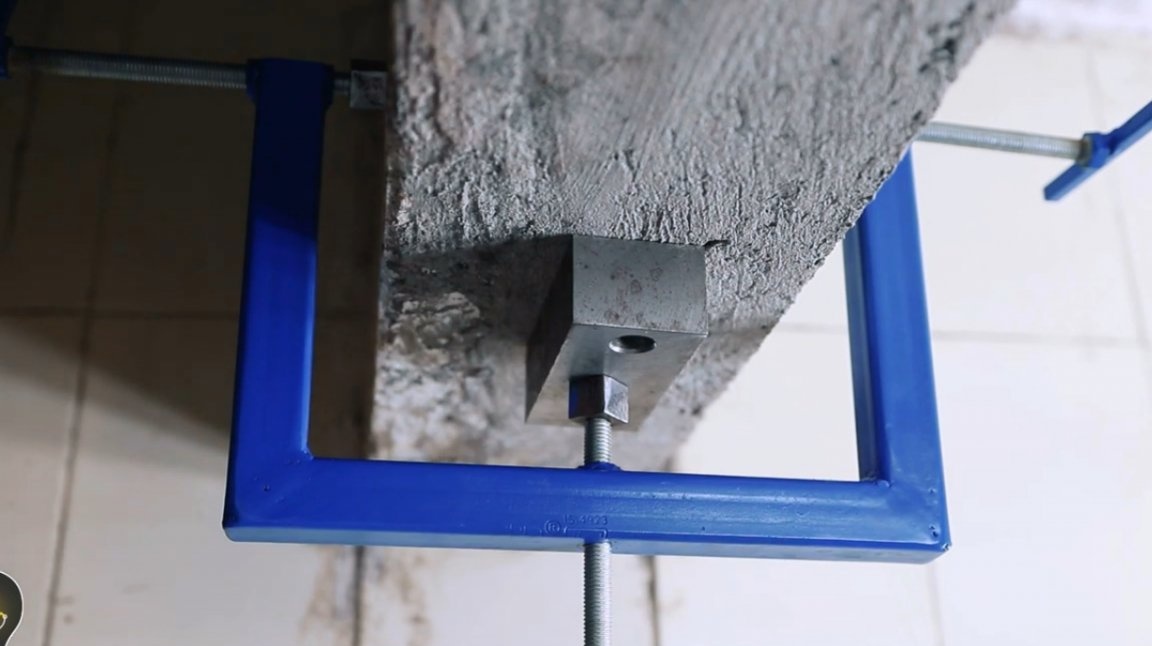
After all the elements are painted, the master proceeds to assemble the clamp. First, screw the bolts into the nuts, and then install the clamping blocks.
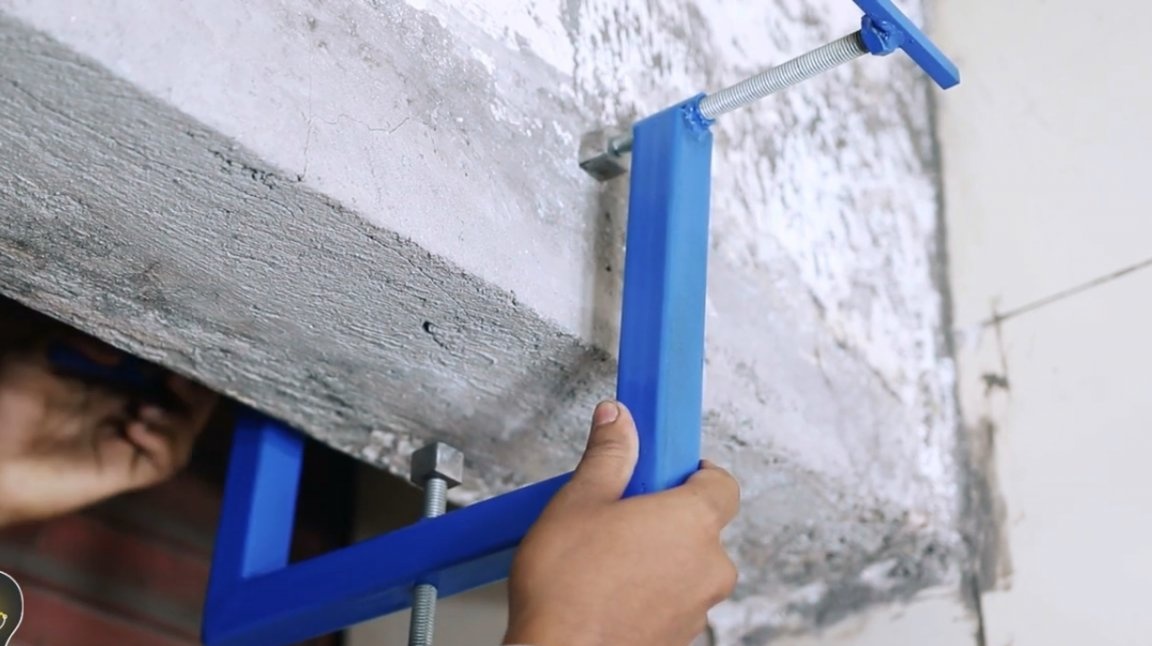
When everything is ready, you can try it in practice. For example, it can be used to fix parts to beams.
Thanks to the author for the simple but useful device for home and workshop!
All good mood, good luck, and interesting ideas!
Author video can be found here.