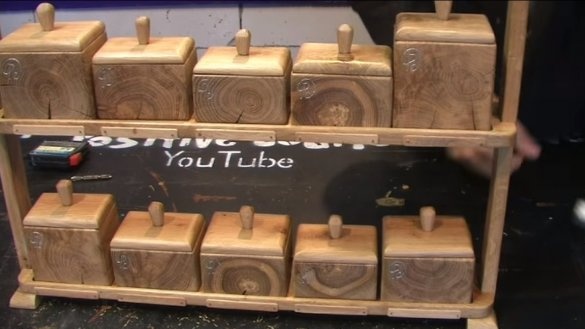
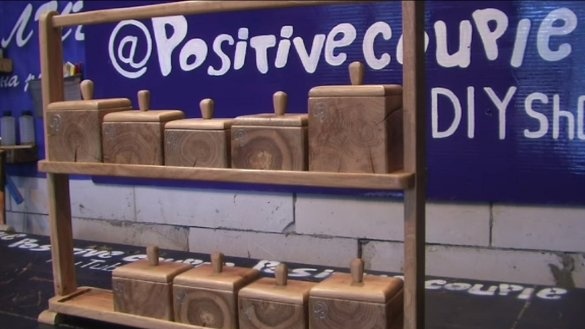
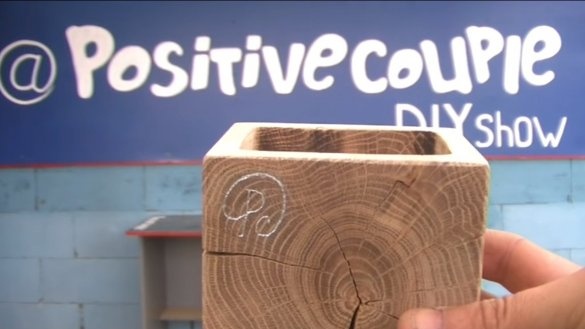
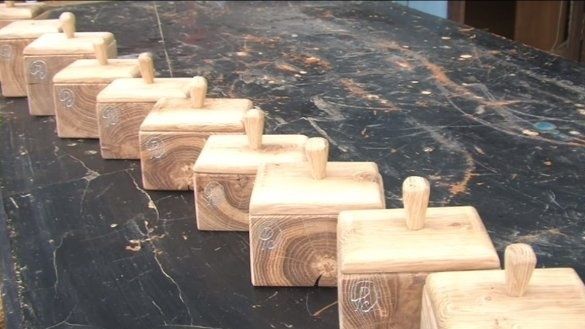
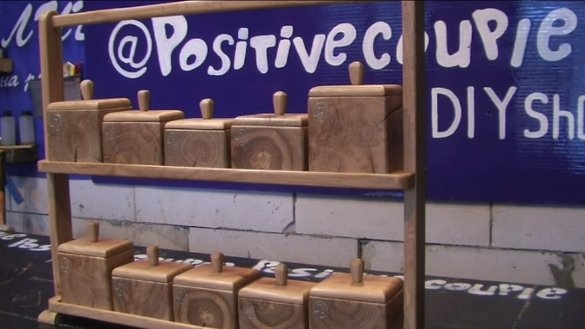
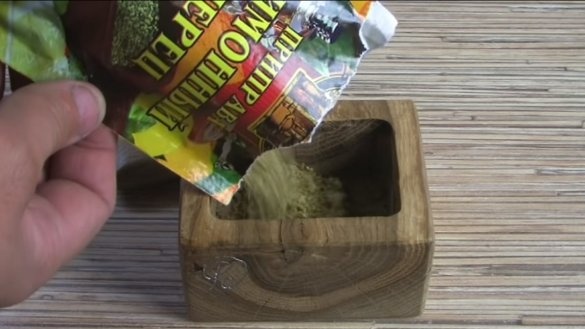
Hello to all lovers of working with wood. In this instruction, we will look at how to make beautiful boxes for spices, as well as a special shelf for them. Everything is made of oak, it should not be difficult for you to find such material - this is an ordinary dead wood, which often lies in the forest for years.
Boxes are made very quickly and simply, they are solid, nothing needs to be glued, except for handles for covers. The main tool in this business is the milling cutter. Such homemade will be a great gift for your mistress and not only! I suggest that you read the instructions in more detail.
Materials and tools used by the author:
Material List:
- oak felling;
- carpentry glue;
- oil for wood;
- wooden dowels.
Tool List:
- milling cutter;
- pendulum saw;
- Bulgarian with a Velcro nozzle;
- drill.
Homemade manufacturing process:
Step one. Cut the workpiece
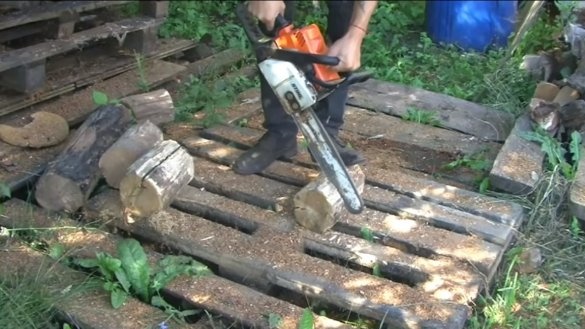
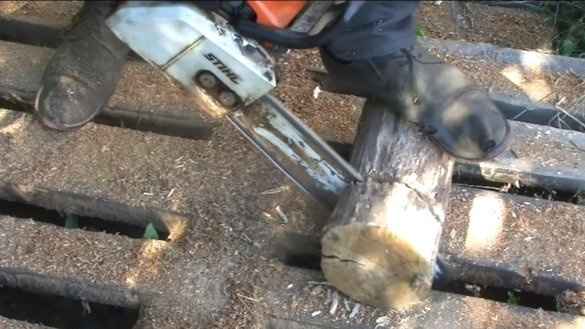
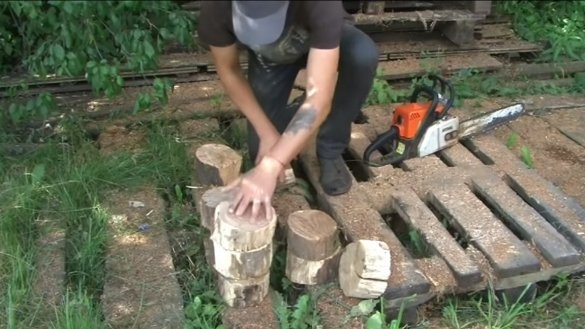
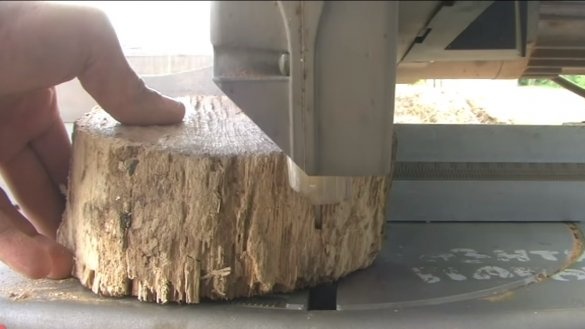
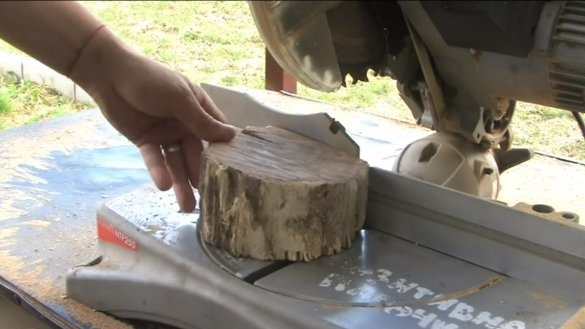
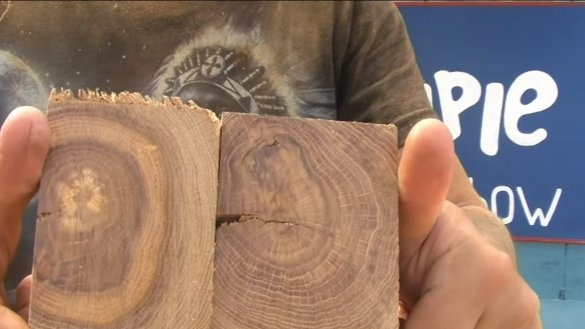
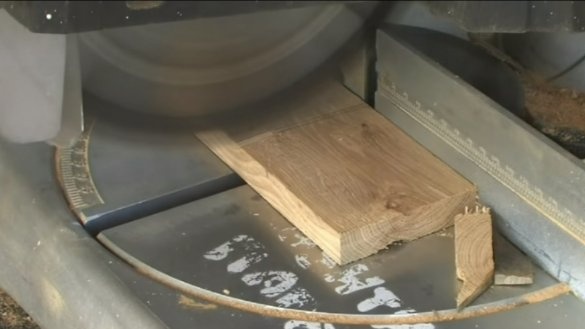
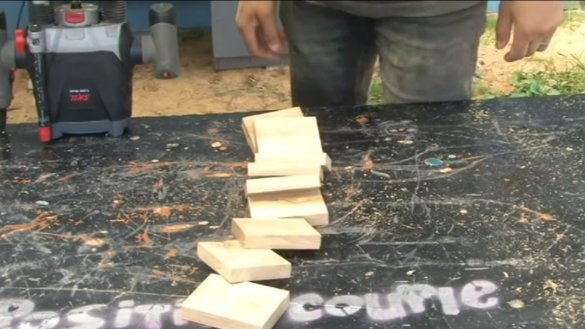
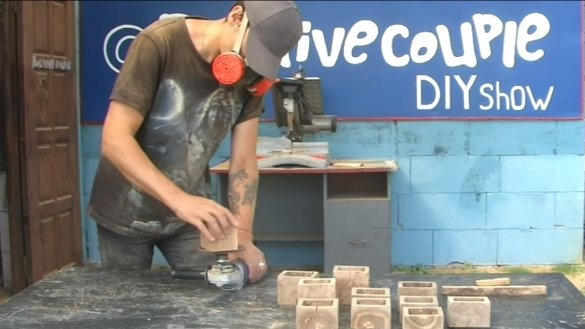
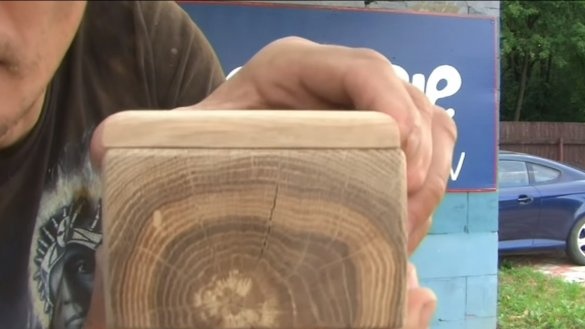
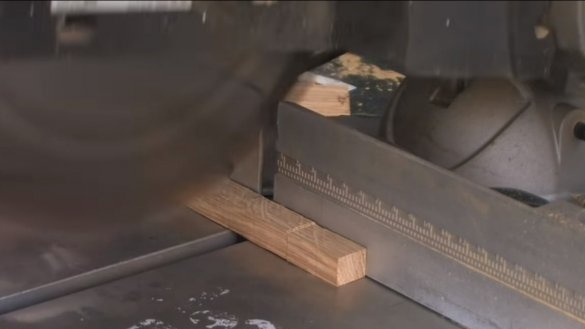
First of all, we need to cut the right number of pieces. We take oak chocks that are suitable in diameter and cut them with a chainsaw. Further, the author gives them a rectangular shape using a pendulum saw. The machine cuts pretty well, the cut is clean. Make sure that there are no large cracks on the wood, otherwise the box may crumble.
Step Two Milling
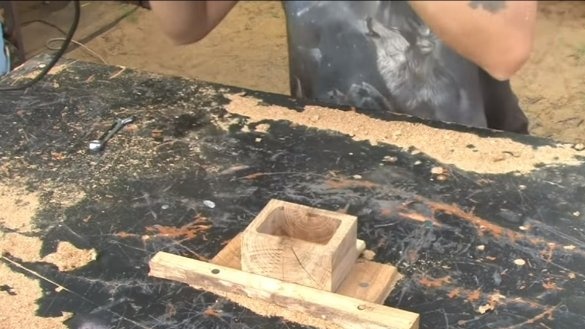
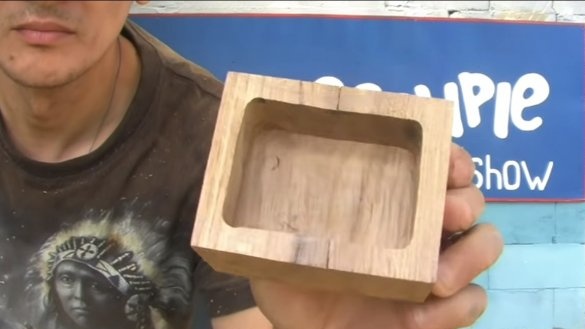
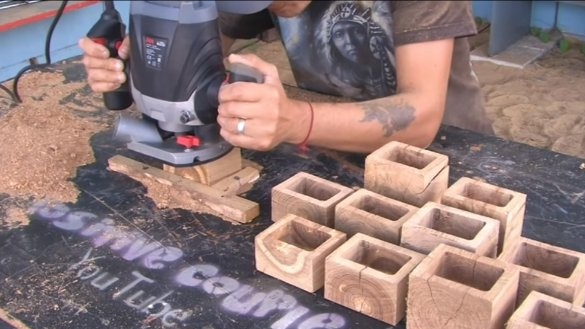
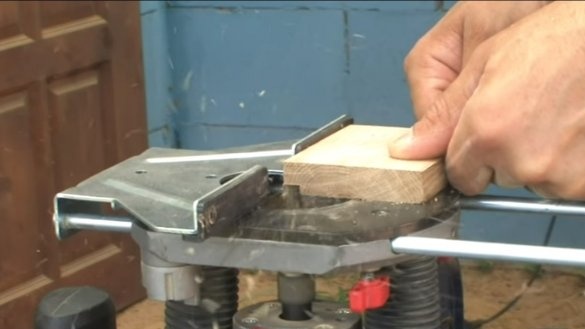
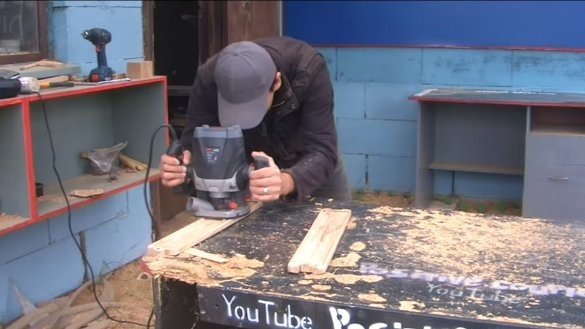
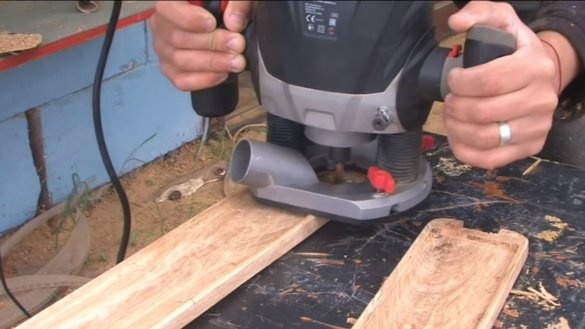
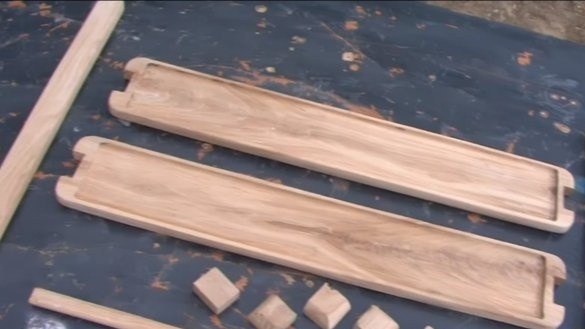
Next, we take the milling cutter and cut out the recesses in the rectangular blanks, that is, we turn them into boxes. The author’s milling cutter works well, the milling cutter is of high quality, so you don’t need to further process the box inside.
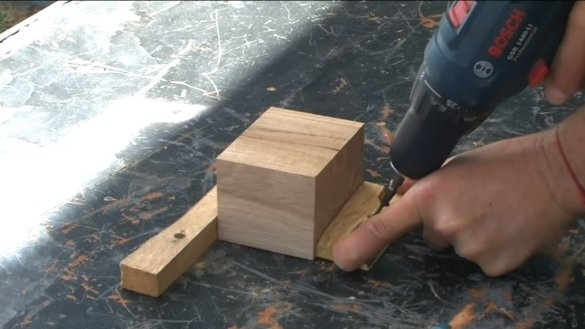
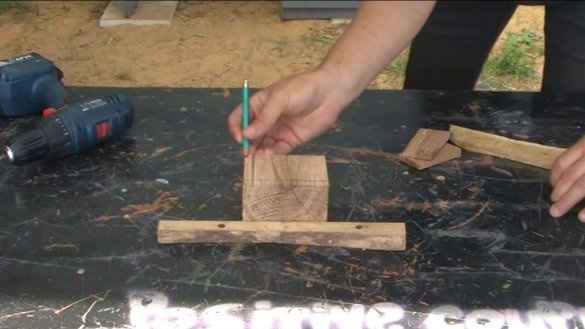
For the convenience of work, we set the workpiece on the table and fix it on all sides, by screwing blocks or stitches. Now our workpiece is not going anywhere.
Step Three Making lids
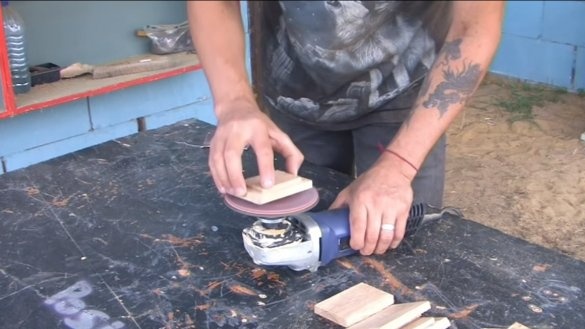
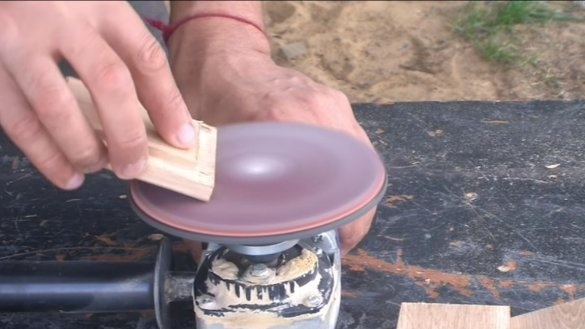
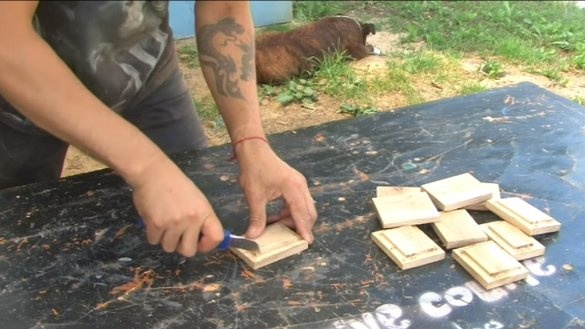
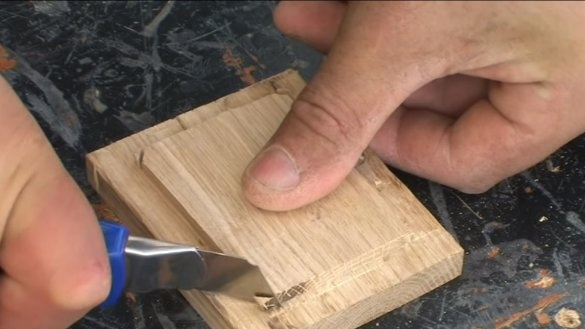
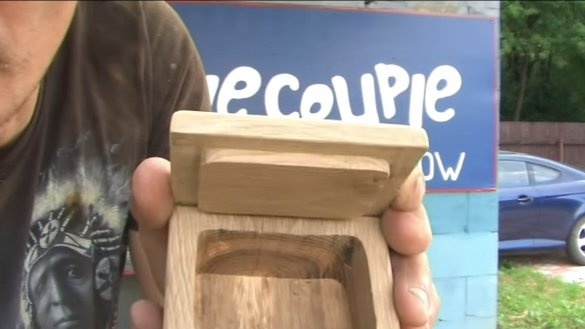
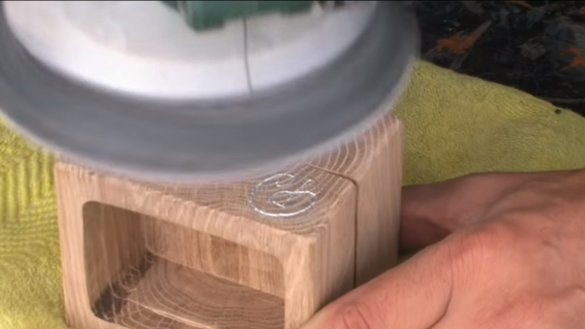
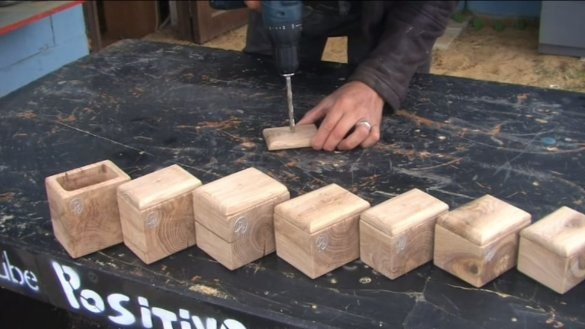
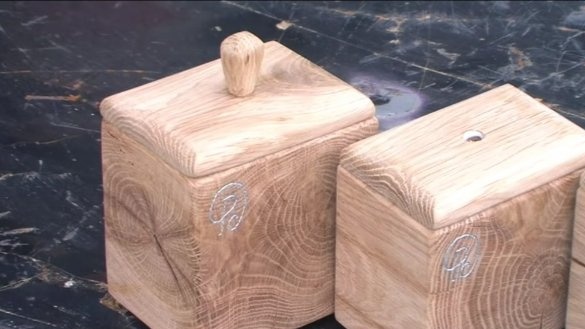
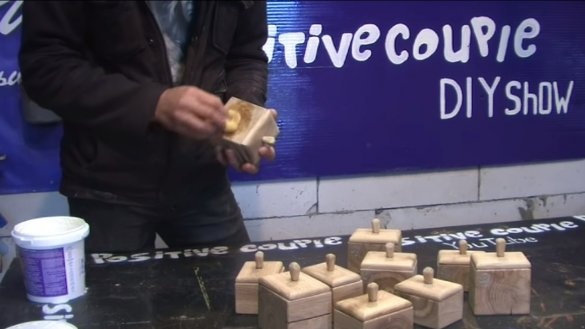
To make the covers, the author dismissed the oak log, so that the thickness of the board needed was obtained. Well, then we cut them into rectangles and with a milling cutter we make a recess in a circle so that part of the lid comes into the box. We grind the cover on a grinder or a tape machine, give it a rounded shape. The author cut off the internal sharp edges with a clerical knife, so the lid will be very easy to put on the box.
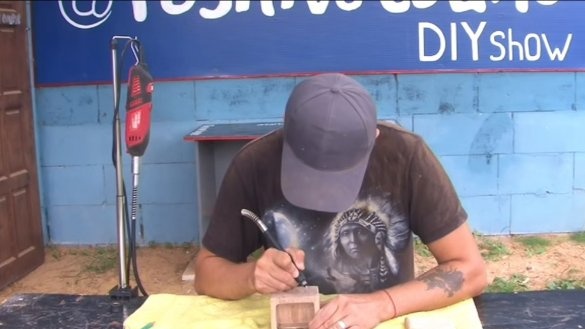
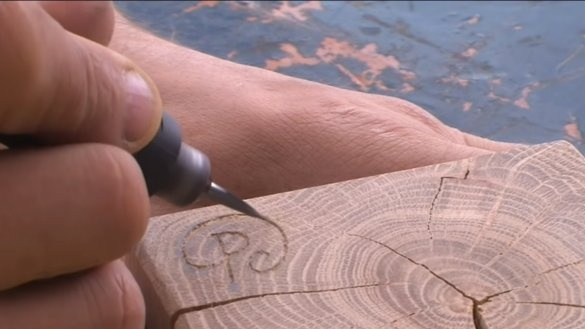
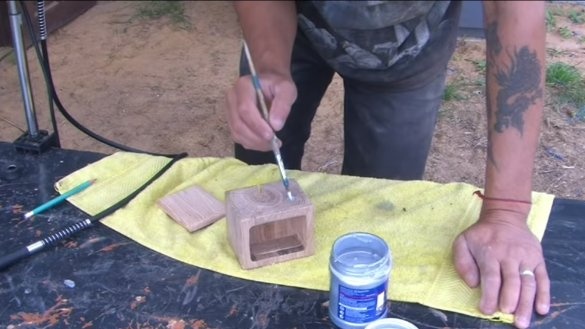
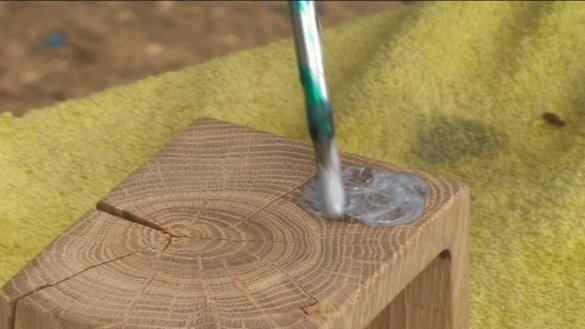
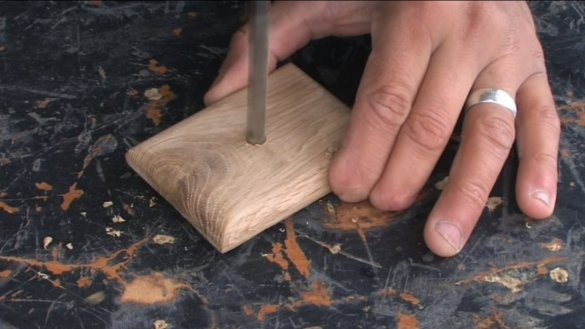
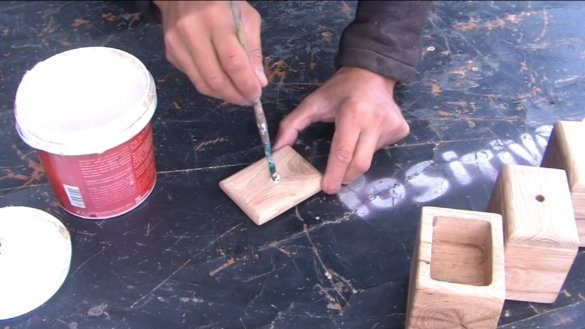
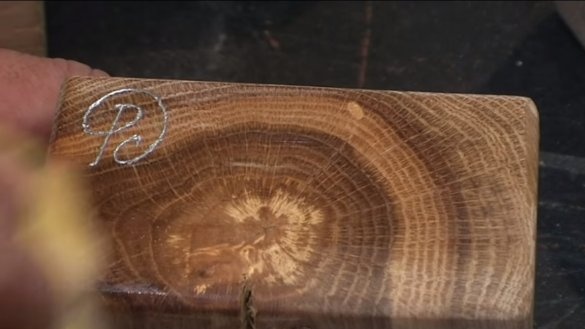
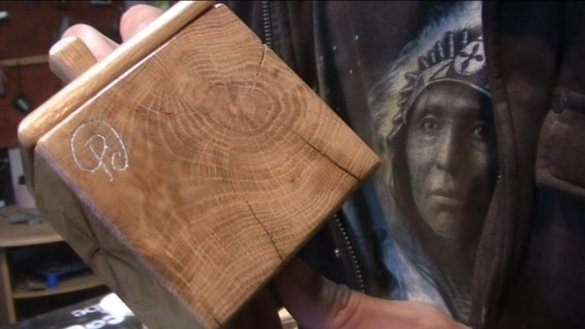
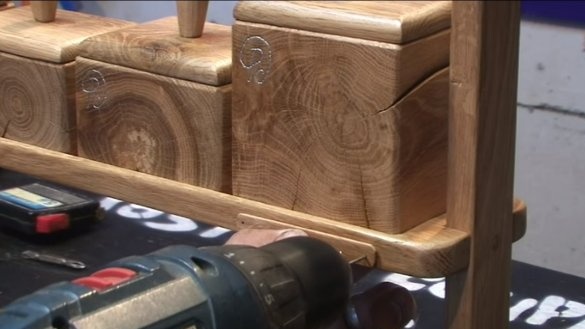
If desired, a logo or inscription can be applied to each box. The author draws a drawing with a drill, and then paints this place with a silver dye. We wipe the excess and we get a beautifully painted inscription.
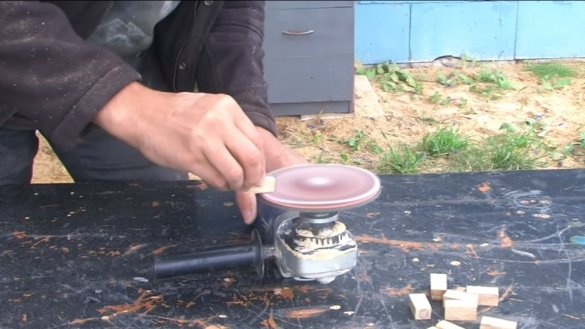
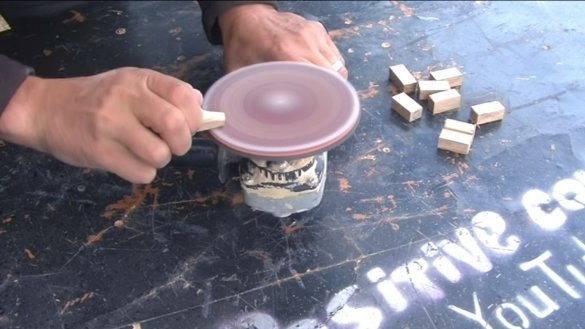
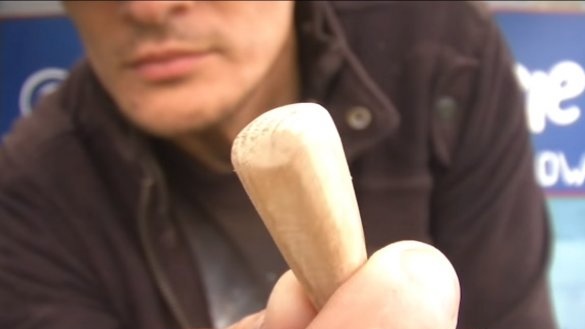
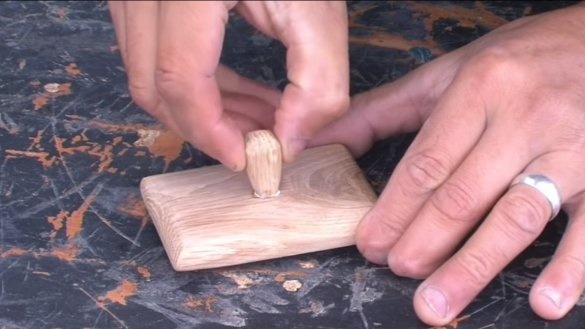
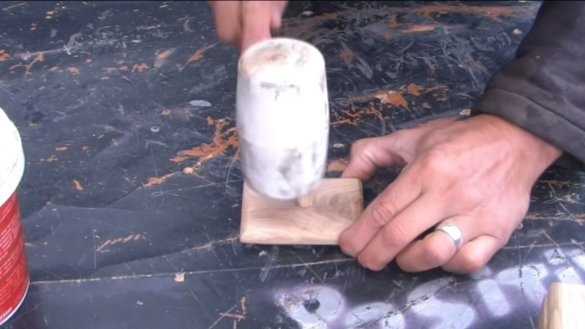
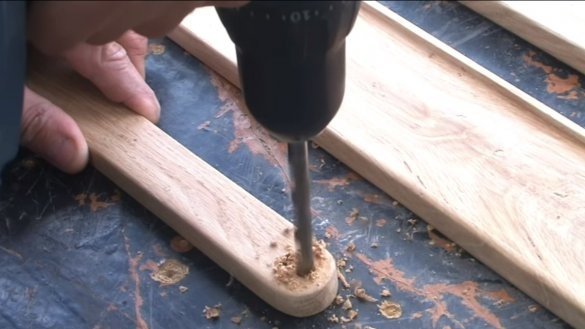
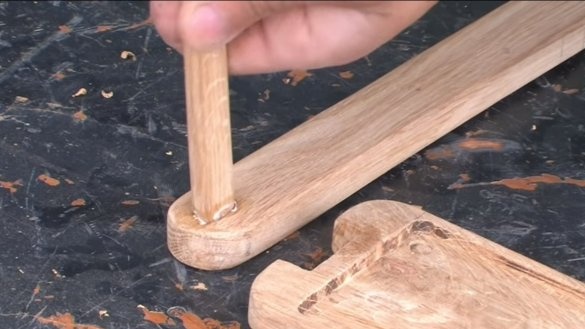
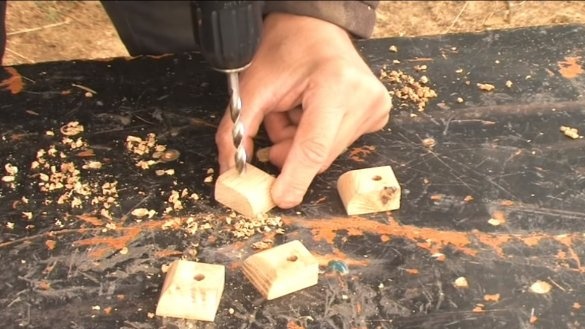
We also make handles for covers, here we will need small sticks. We grind them, give them an oval shape and paste them into the covers on the carpentry glue. The author carefully pushes the handles into the holes in the covers, so they will hold as securely as possible.
Step Four Shelves
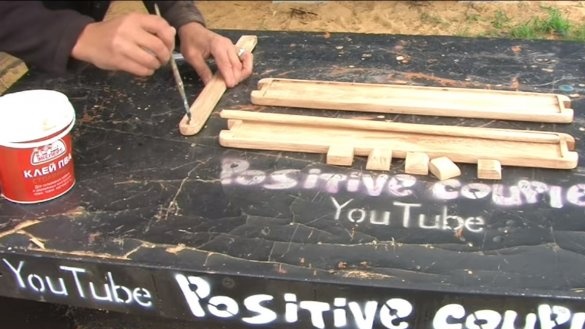
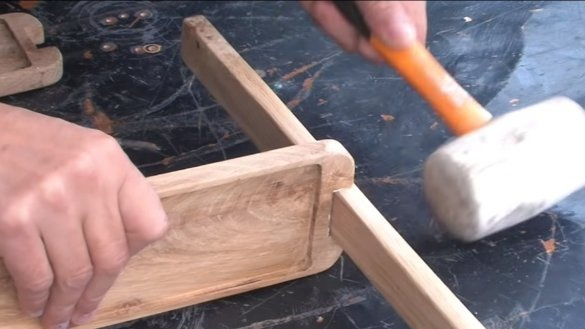
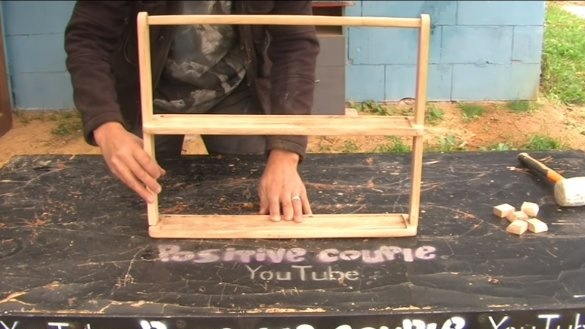
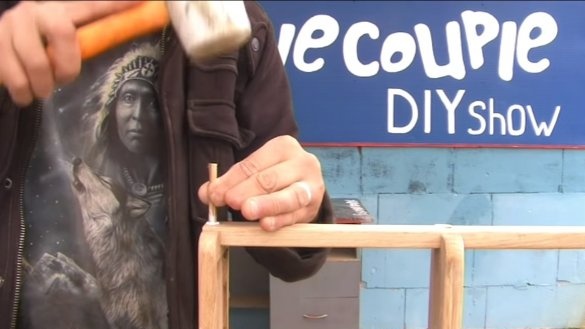
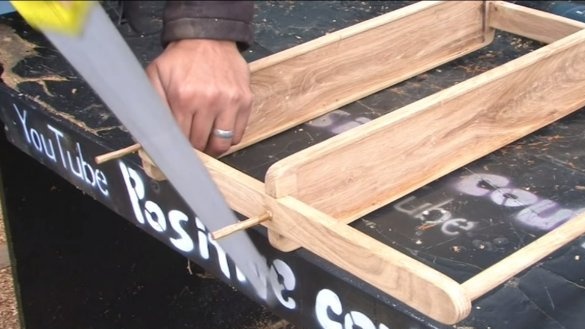
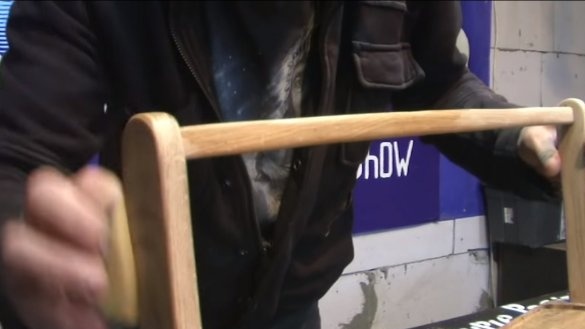
Now we need to make shelves for boxes. Here we need two boards, the author mills in them the recesses in which the boxes will be installed. You will also need two bars and a handle to assemble the entire structure. As a connection, the author uses wooden dowels and carpentry glue, everything should be held securely.
Do not forget about the legs, we make them and fasten them to the base with dowels and glue.
Step Five Impregnation
We saturate the tree with oil, so it will look very beautiful, and will not be afraid of moisture. You can also use varnish, there is already someone who prefers.
Step Six Completion
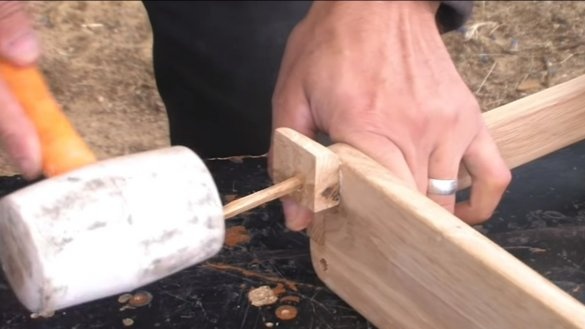
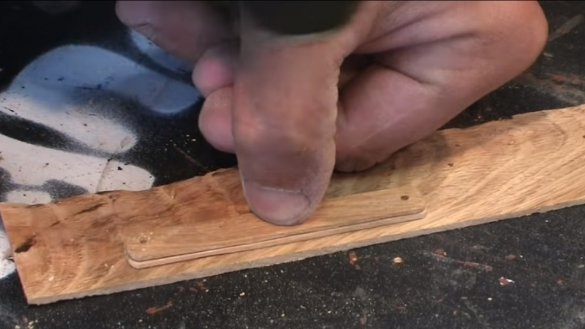
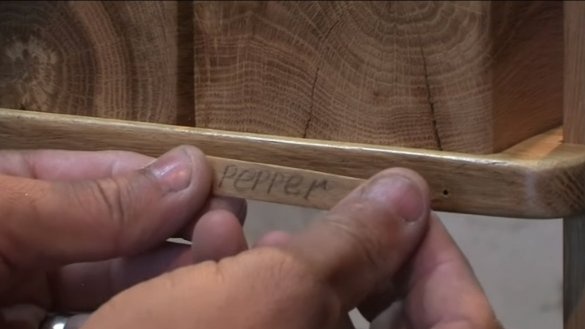
In conclusion, the author made small plates that are installed on the carnations opposite the boxes. Here you can write with a pencil what is stored in a box, pepper or some other seasoning.
That's all, our masterpiece is ready! I hope you enjoyed your homework. Good luck and creative inspiration, if you decide to repeat this. Do not forget to share with us your ideas and homemade products!

