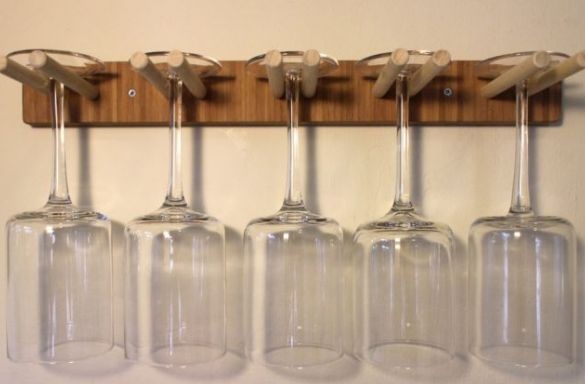
In this article, we will look at how the Master made a holder for glasses.
At first glance, you won’t think that this cute glass holder is made of wood waste. But this is exactly how it is, how to do the same I will tell in this instruction.
Step 1: Materials and Tools
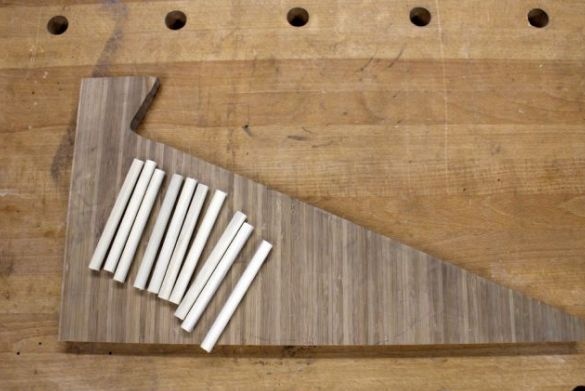
Any plank that looks nice, but is lying around idle, will do. You will also need pins (wooden nails or spikes).
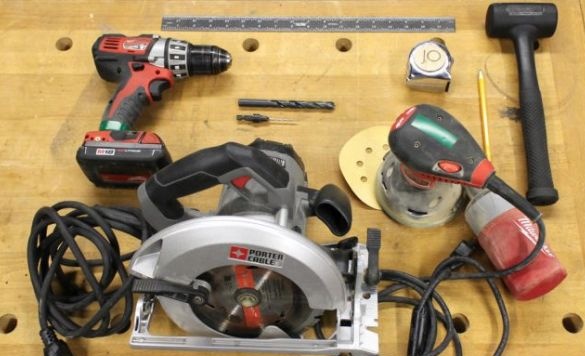
Of the tools: sandpaper for glossing, a circular saw, a drill.
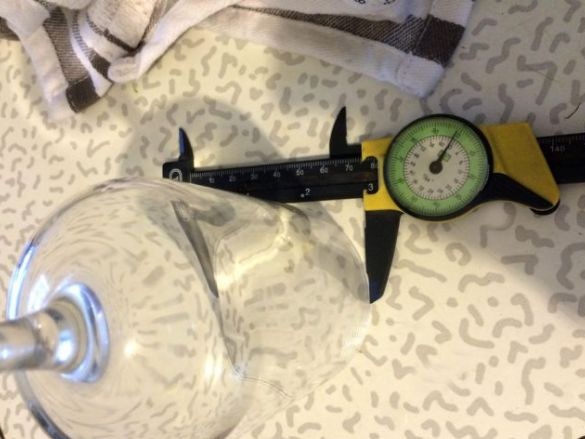
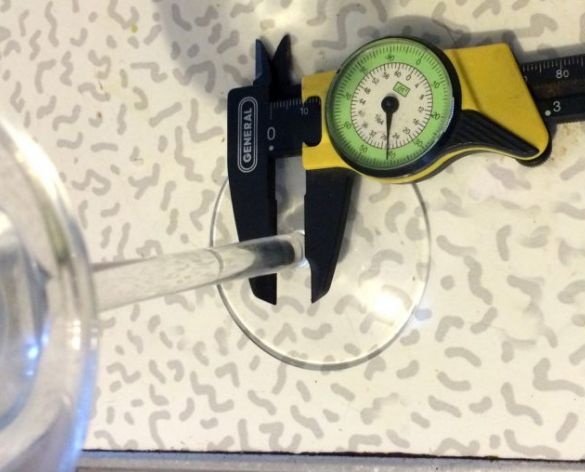
Step 2: measure the glasses
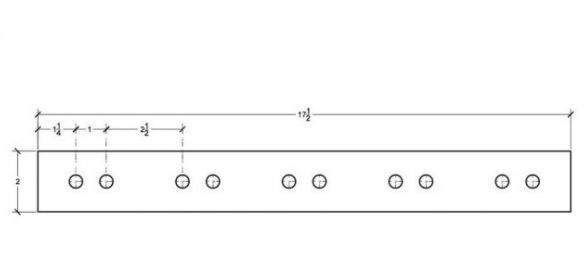
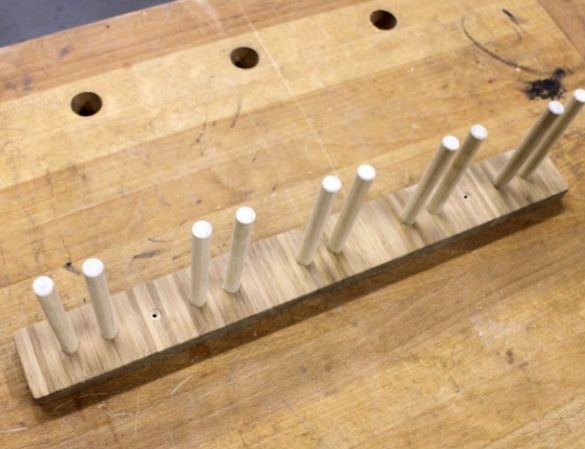
The diameter of the cups at the glasses is approximately 7.5 cm. The length of the entire holder is 44.5 cm, the distance between the wooden spikes / hooks between which the glasses are suspended is ~ 2.5 cm, the distance between each pair of spikes is 6.35 cm. The distance between
leftmost spike and edge 3.15 cm.
You can have your own dimensions, the main thing here is to observe symmetry, and place a pair of spikes at a sufficient distance from each other, depending on the size of the glasses.
Step 3: Sawing and Drilling
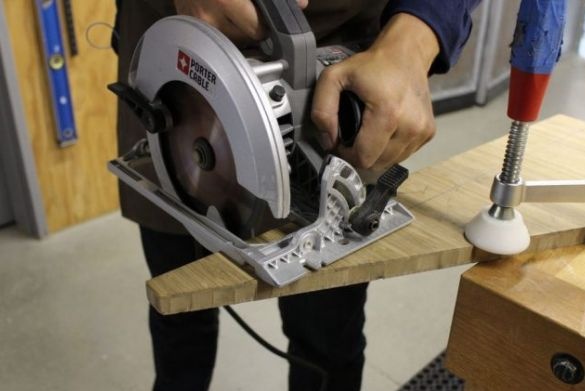
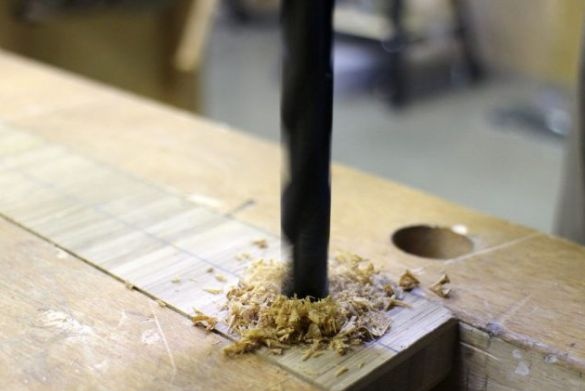
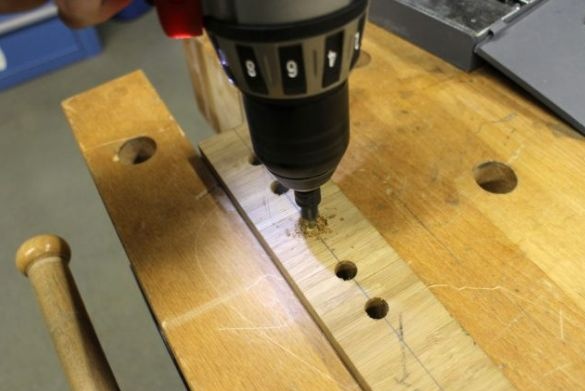
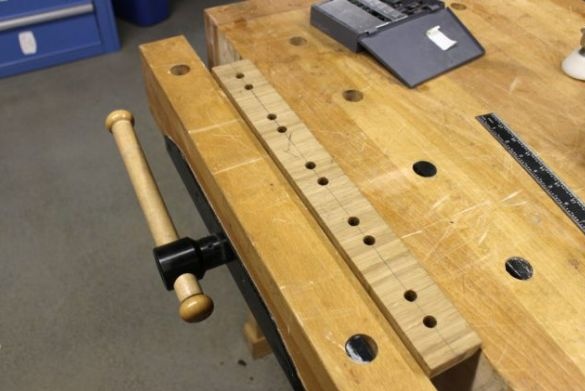
Having decided on the dimensions and drawing the layout, you can transfer the drawing to a piece of the board and start its “cutting”.
Step 4: Bring Gloss
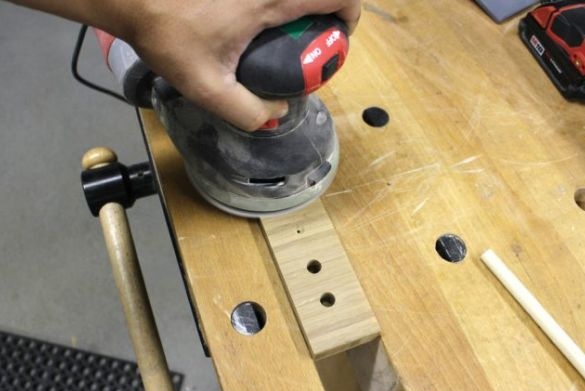
It's time to apply a little gloss with a grinder, or in the old fashioned way manually with sandpaper.
Step 5: Add Holders
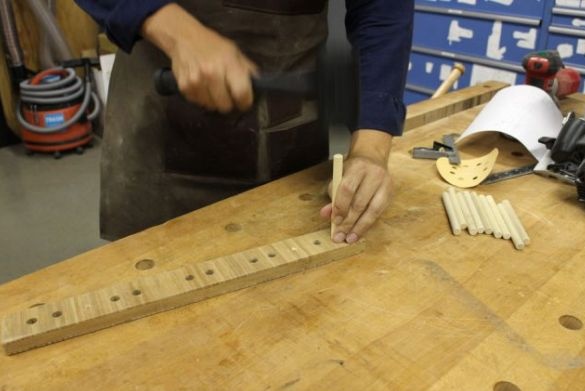
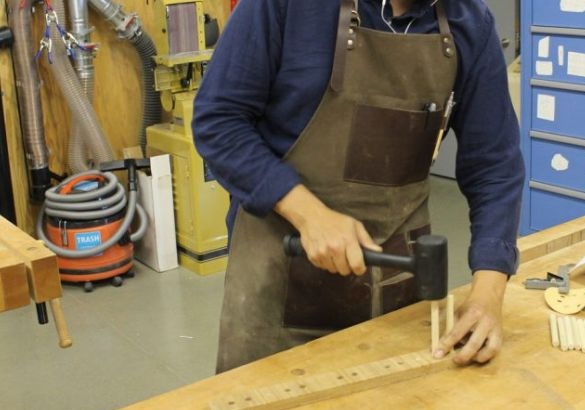
With a rubber mallet we hammer wooden stakes into the holes made. The length of my pegs is about 12 cm. In principle, any other length will do, but I would recommend a minimum level of 7 cm.
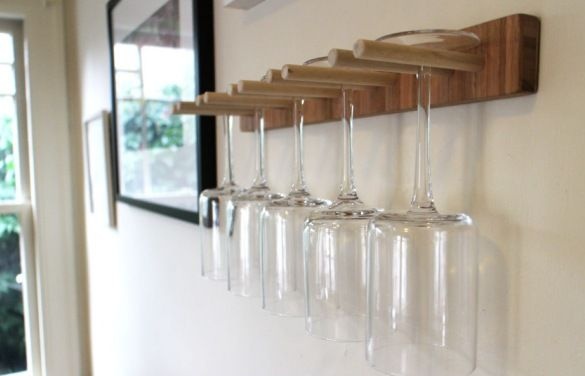
Fasten to the wall, hang glasses, and voila!

