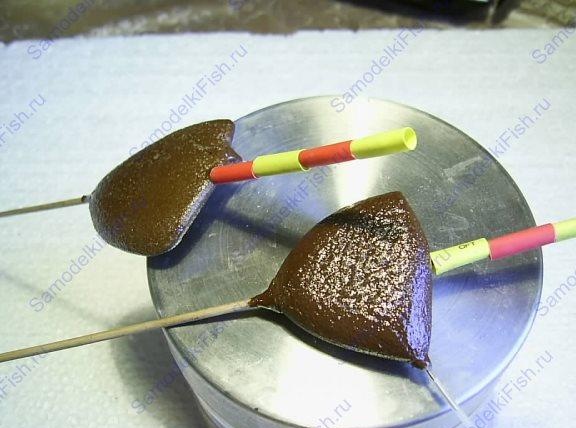
Making flat fishing floats do it yourself
Often when fishing in the stream using a float fishing rod, fishermen encounter such a problem when the float begins to sink under the influence of the current, or it begins to be severely demolished. To avoid such a problem, when fishing on the stream, special floats with a flat body should be used. Such a float unfolds with its narrow part downstream, thereby reducing water resistance.
Such types of floats are quite expensive, in connection with this it makes sense to learn how to do them yourself.
Tools and materials
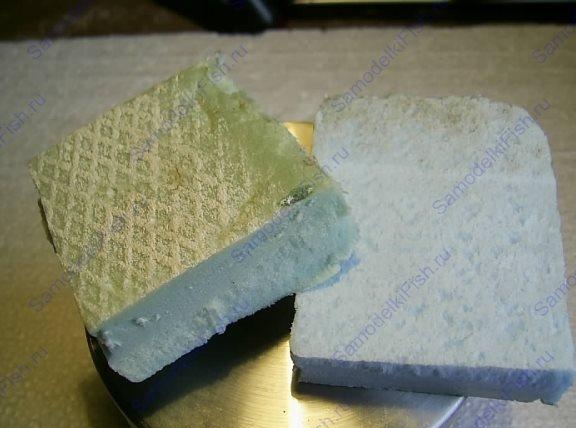
From the materials you will need extruded polystyrene foam, which is used in construction. You can also use balm instead.
To make an antenna, you need to get bamboo, for these purposes you can disassemble the old "rug".
Still need a clip, hot melt and bicycle a nipple or other similar rubber tube.
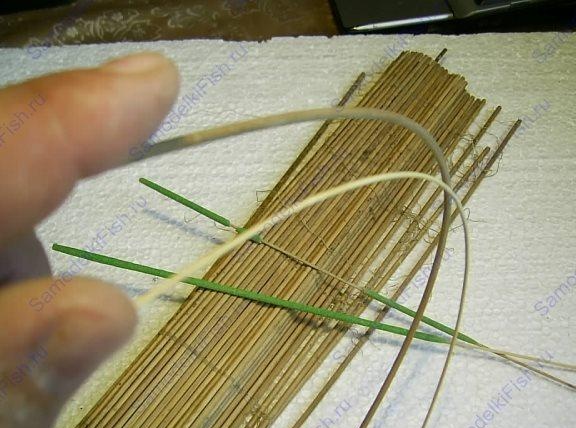
Of the tools you need a ruler, knife, fine sandpaper.
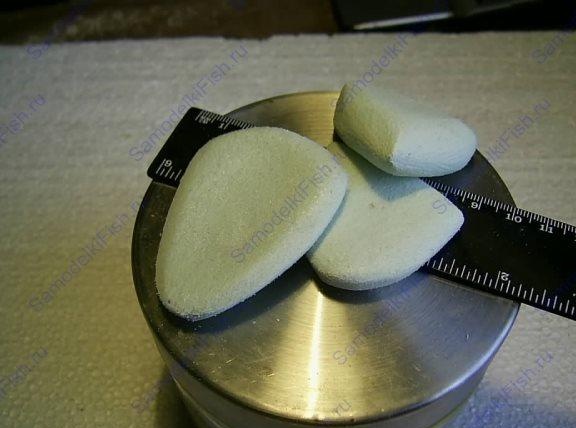
We pass to the manufacturing process
The first thing you need to do from polystyrene foam is to cut the workpiece, this is done with a knife. To make blanks, it is best to first cut out a template from paper. The thickness of the workpiece should be from 6 to 12 mm, depending on the expected capacity of the float. When making a template, you need to leave a stock of material of 2-3 mm.
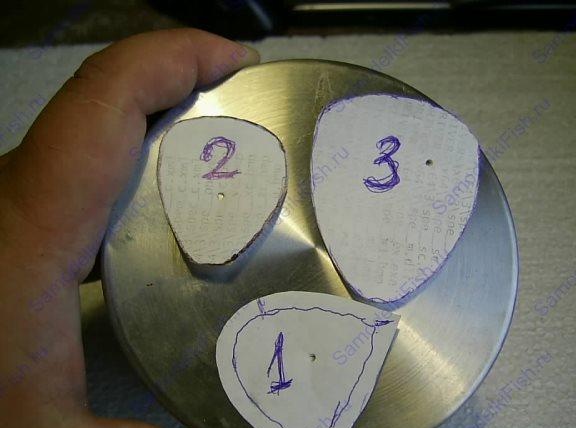
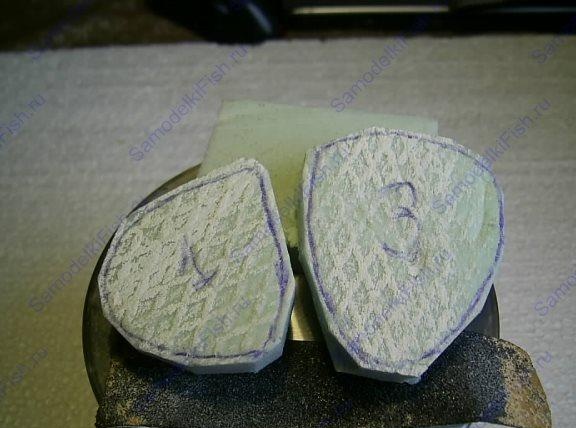
After that, sandpaper is taken and with the help of it the body of the float is sharpened. At the same time, it becomes smooth and streamlined.


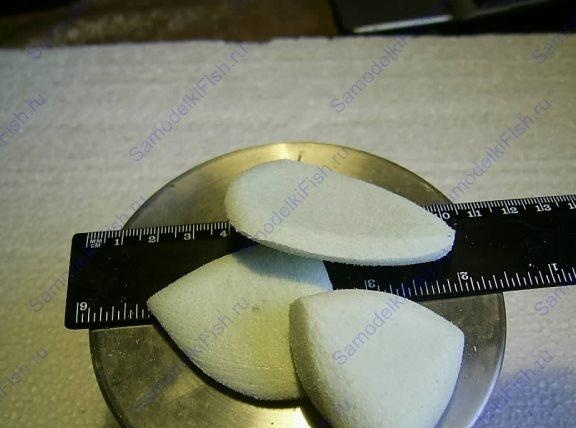

Step 1. Making a keel
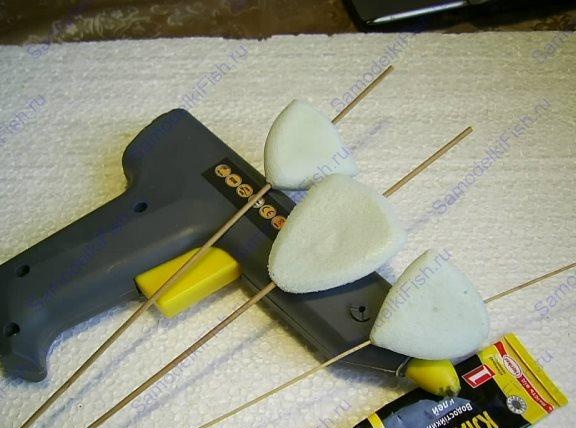
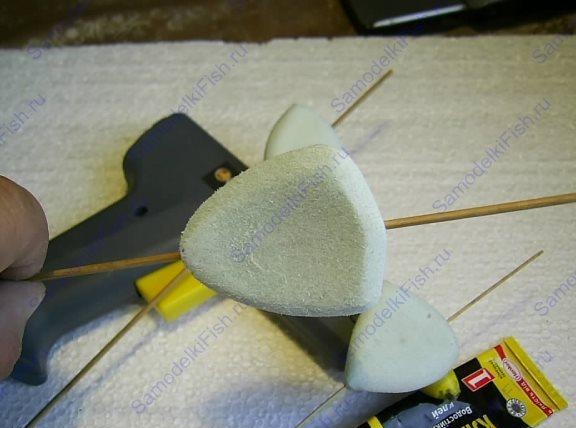
The length of the keel should be about 15-20 cm, for these purposes, the author of a homemade float used bamboo. In the original version of such floats, a wire with a diameter of about 1 mm is used. You can also use incense sticks to create ultralight floats. To remove the smear from them, the sticks just need to be wet.
For reliability, the keel and antenna can be made integral. But if necessary, the antenna can also be made removable.For fixing, you can use hot melt, for these purposes it is most convenient to use a gun. Excess glue that protrudes from the body of the float after installing the antenna can be converted into a cone with your fingers.
Step 2. Create a second attachment point
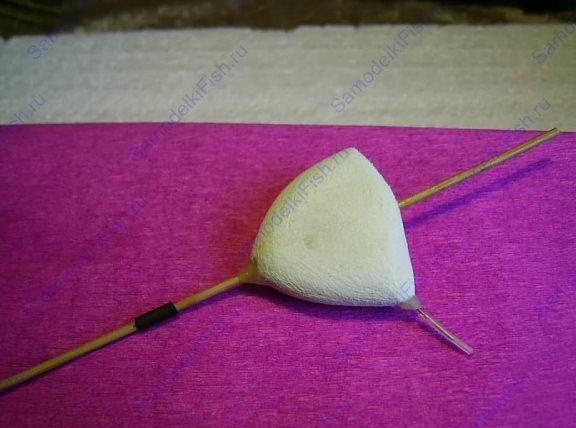
In such floats, the second attachment point is mandatory, because thanks to it, the float begins to unfold with the flow. In the Bolo version of the float, the second attachment point is 45 degrees relative to the plane of attachment of the float.
In the "bubble" version, a wire of 15-20 mm length is used, which is attached perpendicular to the keel to the axis. As a material for these purposes, you can use a paper clip, it is glued into the float using hot melt adhesive.

Step 3. Painting and finishing
In conclusion, the float can be painted, but this is not a mandatory process. The easiest way to lower the float in the paint. Well-diluted varnishes can also be used for these purposes. A spray can based on polyurethane is also suitable.
Red and yellow shrink tubes are used to decorate the antenna.

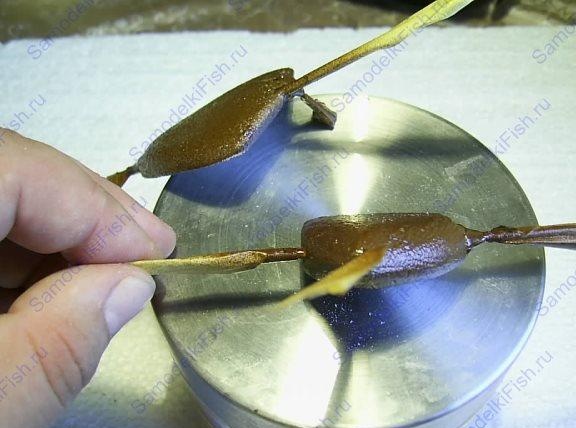
That's all, in fact, the float is ready for a "battle". Now it remains to test it, indicate the working weight and load. Well and subsequently send for storage in a tube.
