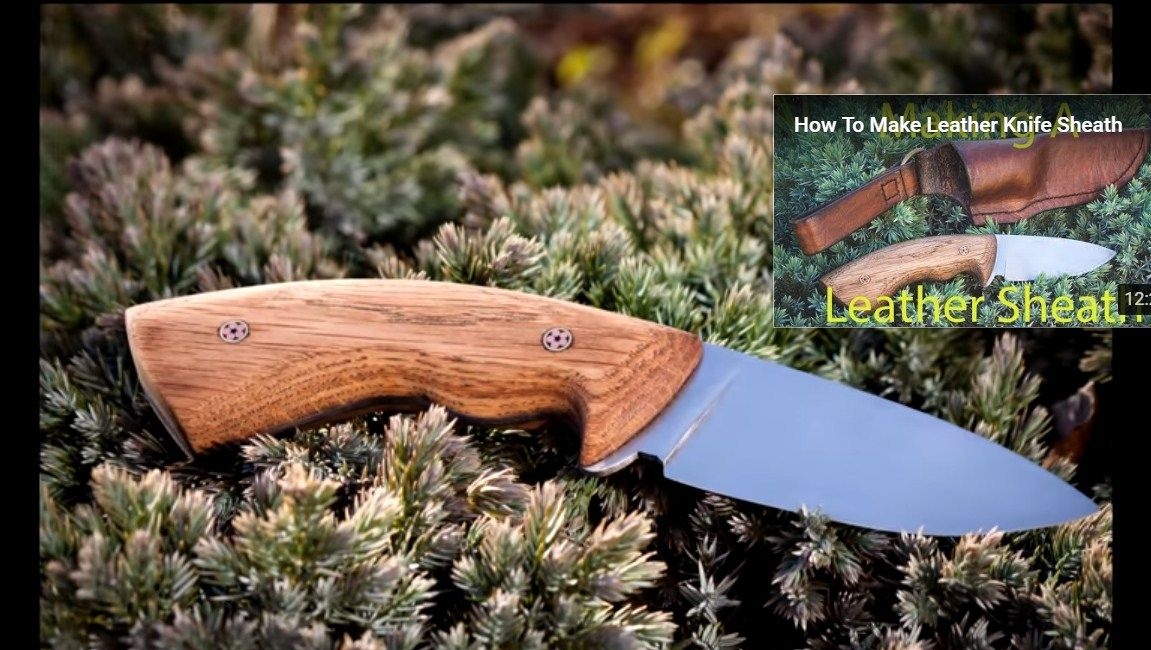
Hello everyone, I present to your attention an interesting instruction for making a high-quality beautiful knife with simple tools. Here you will not need any grinders, or detachable machines, or anything like that. The hardest work to cut the template is carried out with the help of a grinder, which almost everyone has today.
As for the source material, then the author decided to use a cutting disc. This metal is good in that it is already hardened and has quite an acceptable hardness for making a knife. You can very well use the old cutting disc. By the way, in earlier products the metal should be of higher quality than in current discs. So, we will consider in more detail how to make such a knife!
Materials and tools used by the author:
Material List:
- saw blade;
- epoxy adhesive;
- wood for linings;
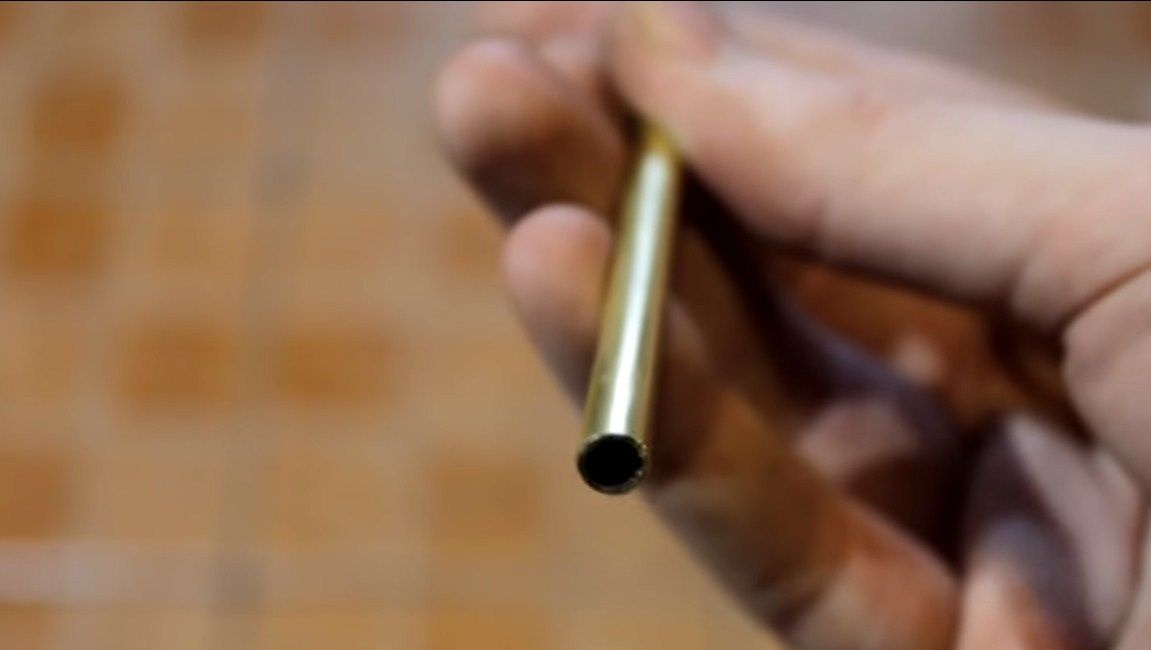
- brass tubes or rods (for pins);
- oil for wood.
Tool List:
- grinder;
- drill with drills;
- files (flat and round);
- sandpaper;
- a jigsaw.
The process of making a knife:
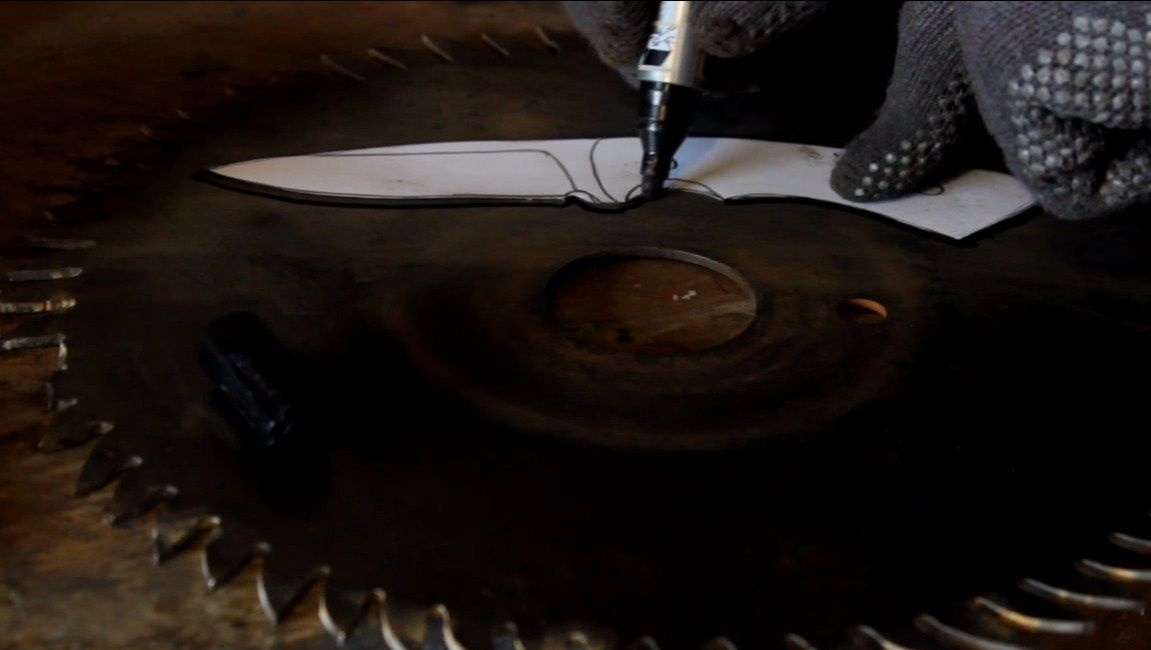
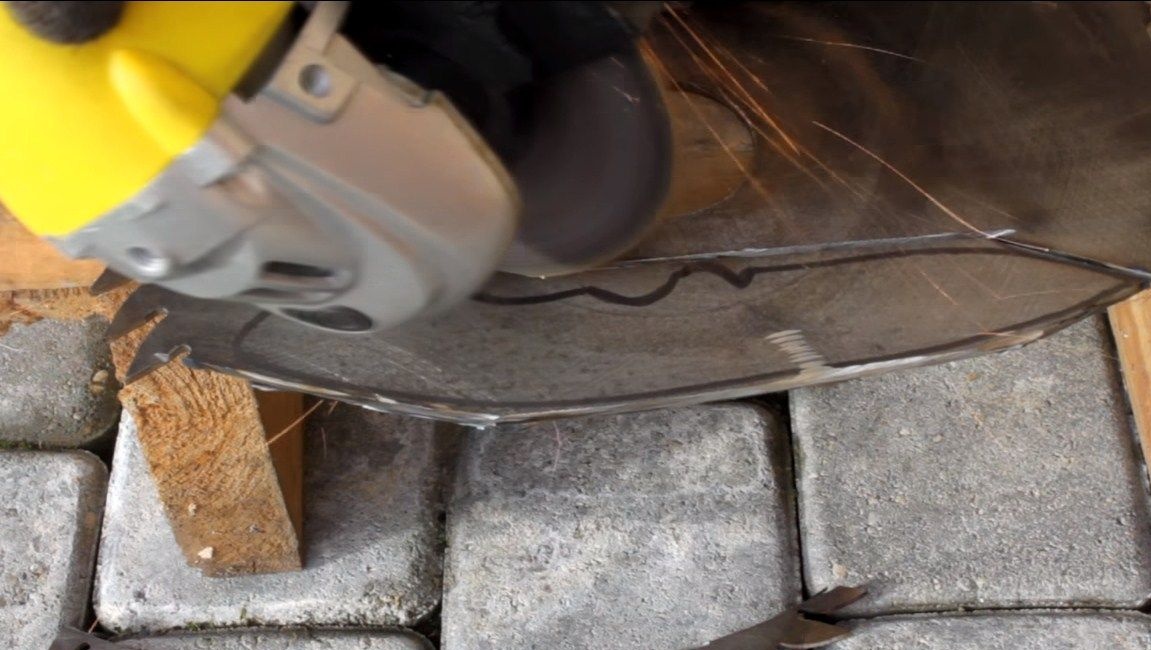
Step one. Cut the main profile
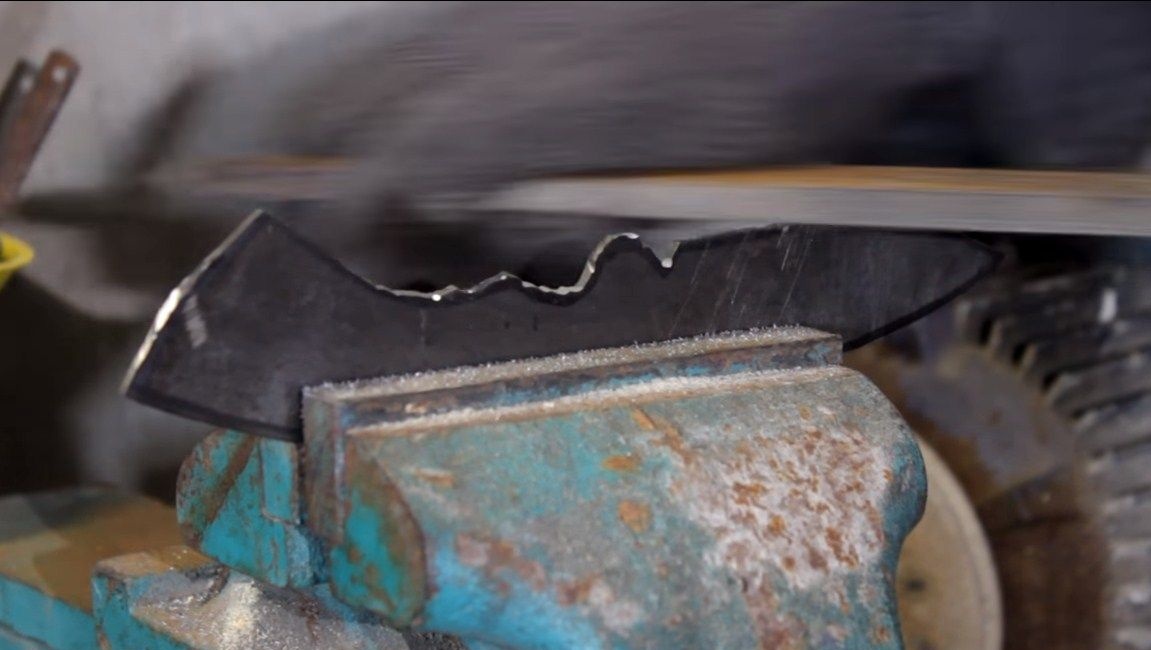
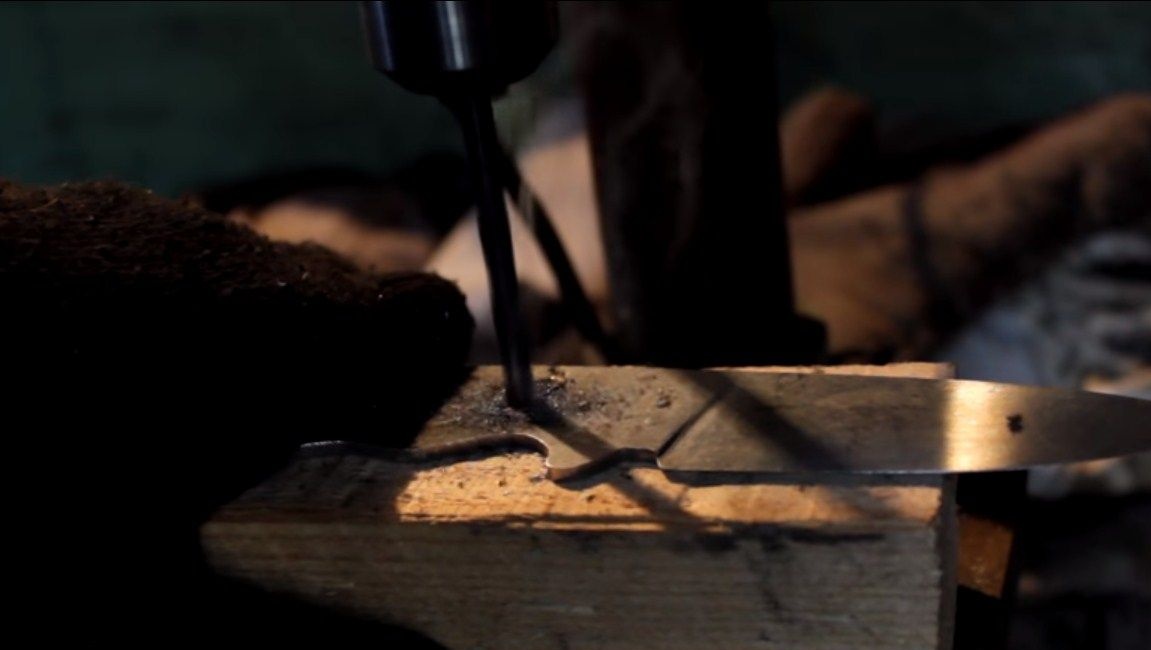
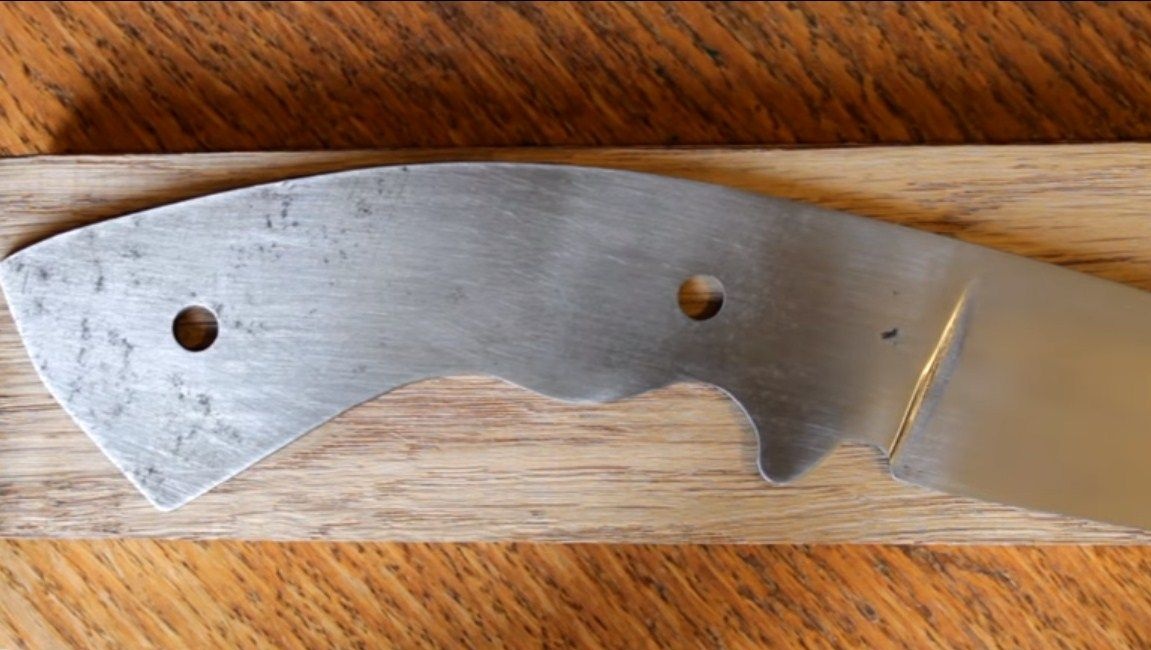
First of all, we need to make the desired knife profile. We draw it on paper, and then cut it out. Still finished drawings can be searched on the Internet and scaled properly. We print on the printer and cut it out. The made template is either glued to steel or outlined with a marker. Well, then proceed to cutting, for these purposes we will need an ordinary small grinder.

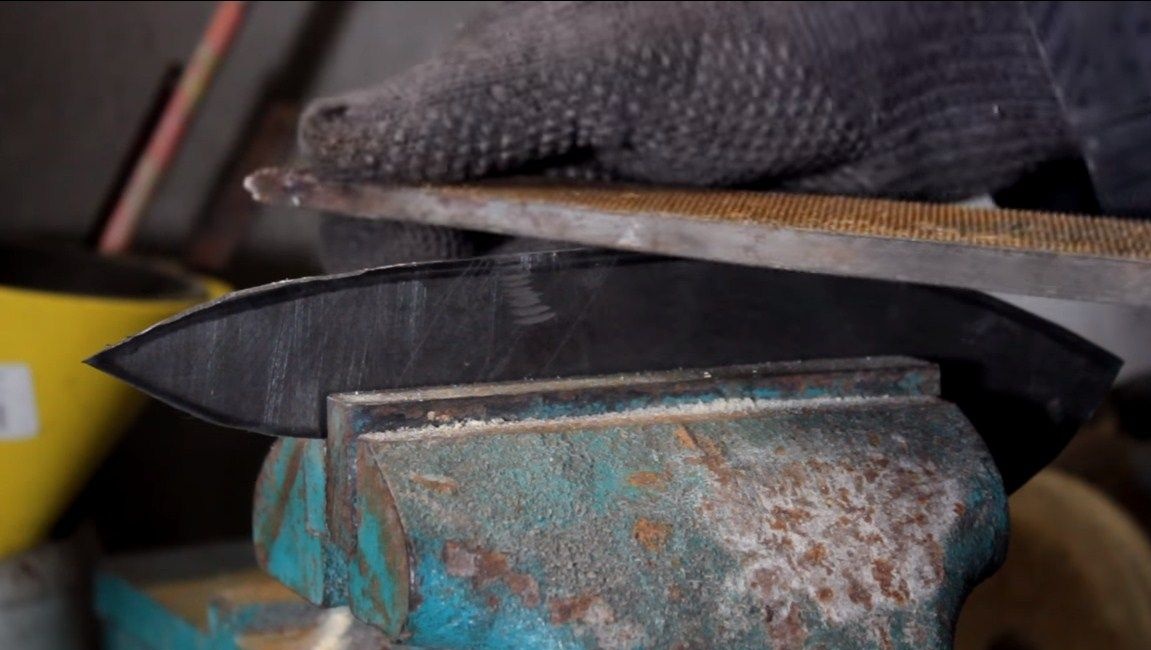
Step Two Grind the profile
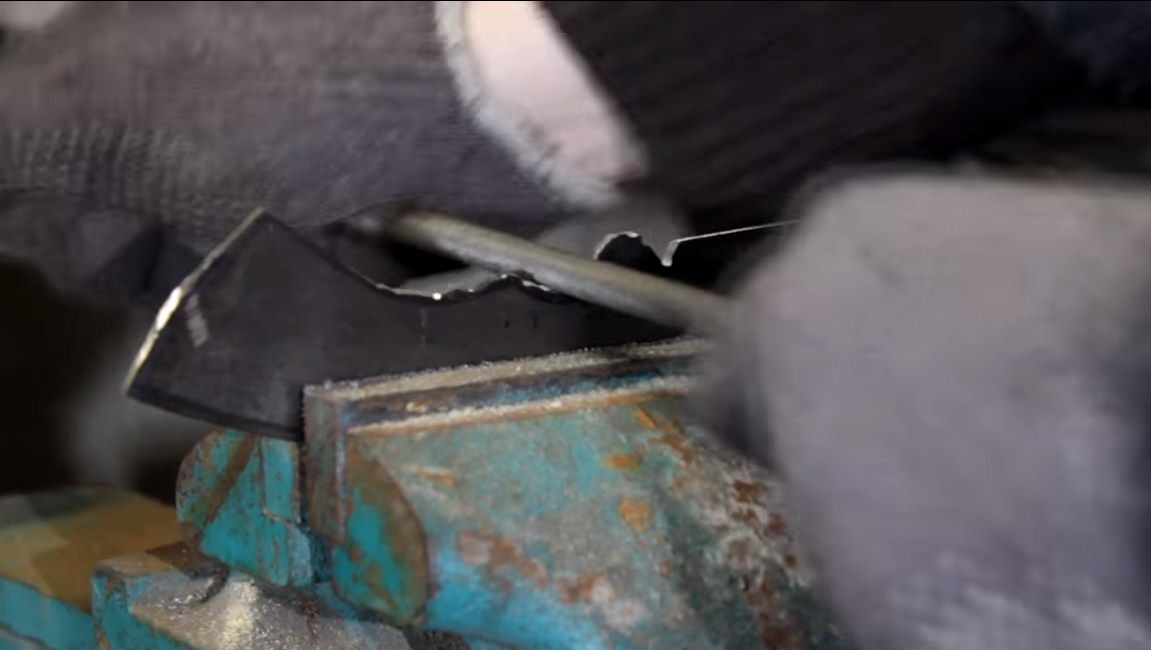
After cutting the grinder, the profile will have many bumps that we have to remove. We clamp the profile in a vice and process it with files. For straight sections we use flat files. As for the concave parts, here we work either with round files or with semicircular files according to the situation. As a result, at this step we get the profile of the blade that we originally intended.
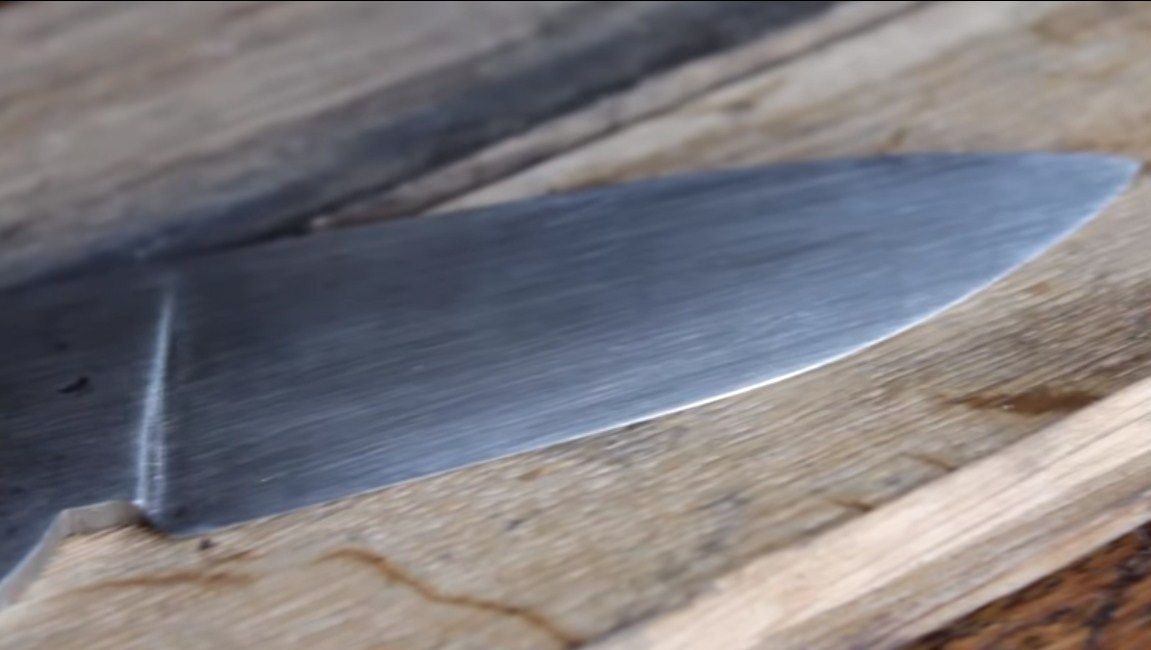
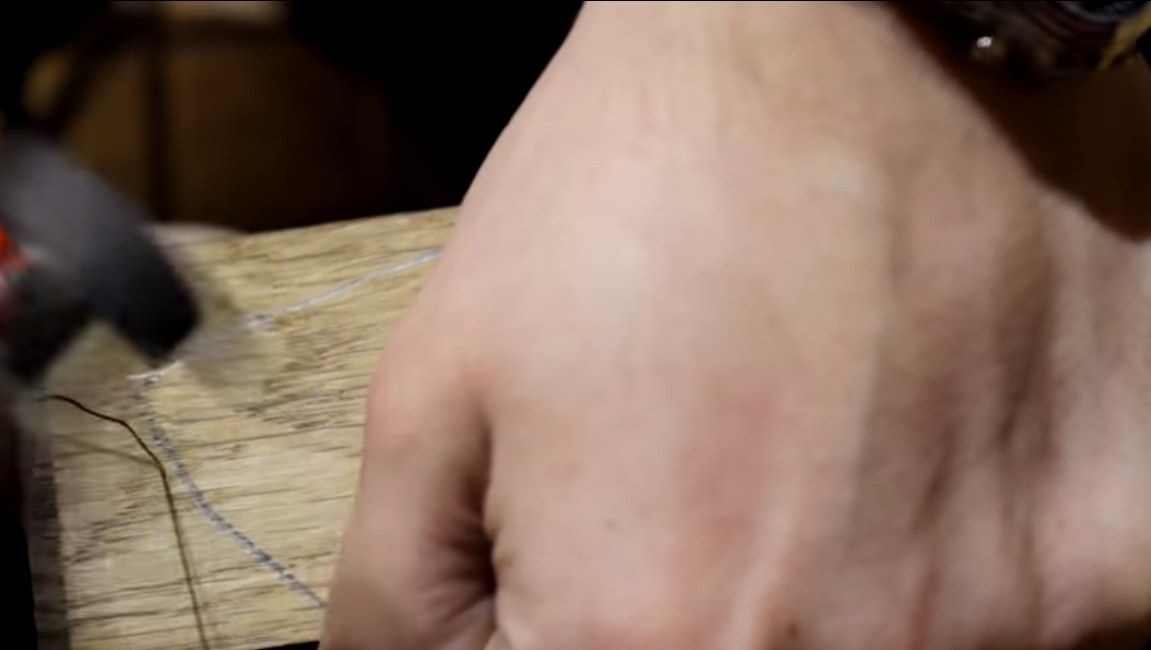
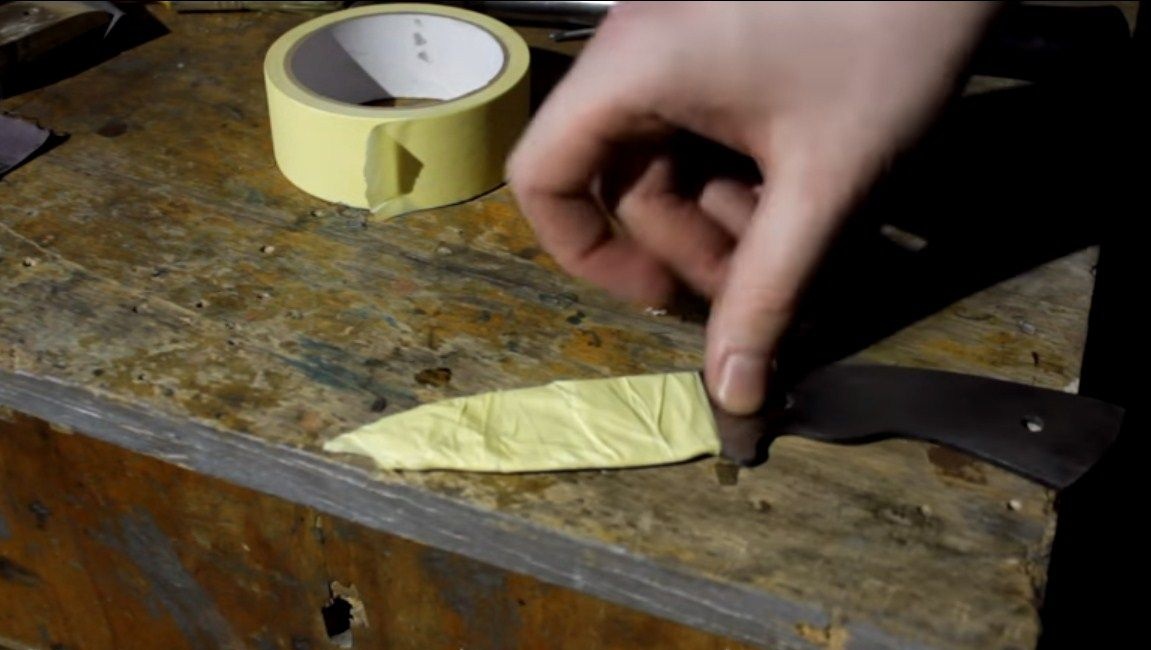
Step Three Bevels
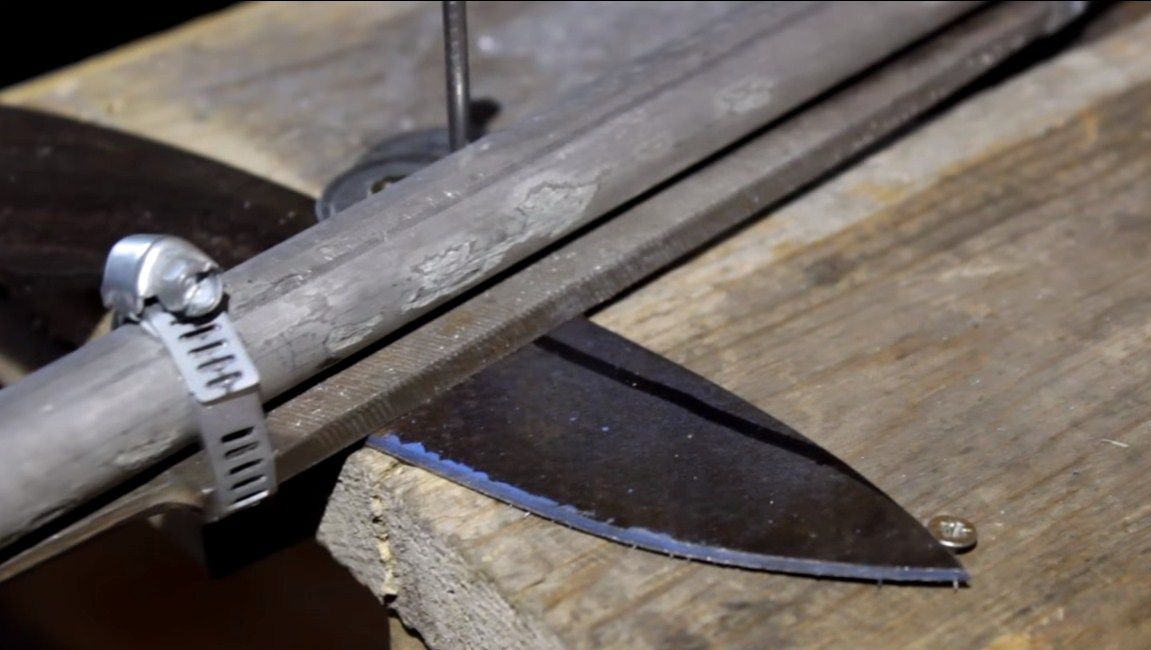
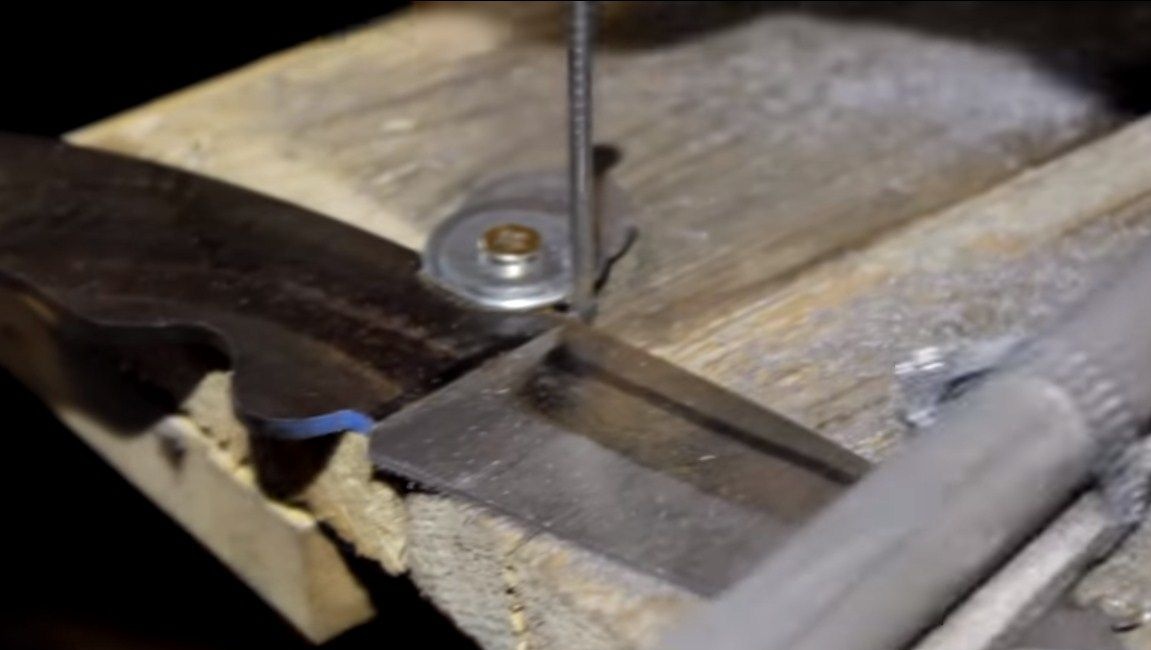
The author makes bevels manually using a flat file.We fasten the blade with screws to the table or press with clamps. The cutting characteristics of the knife will depend on the bevels. The thinner it is, the better it will be to cut the knife.
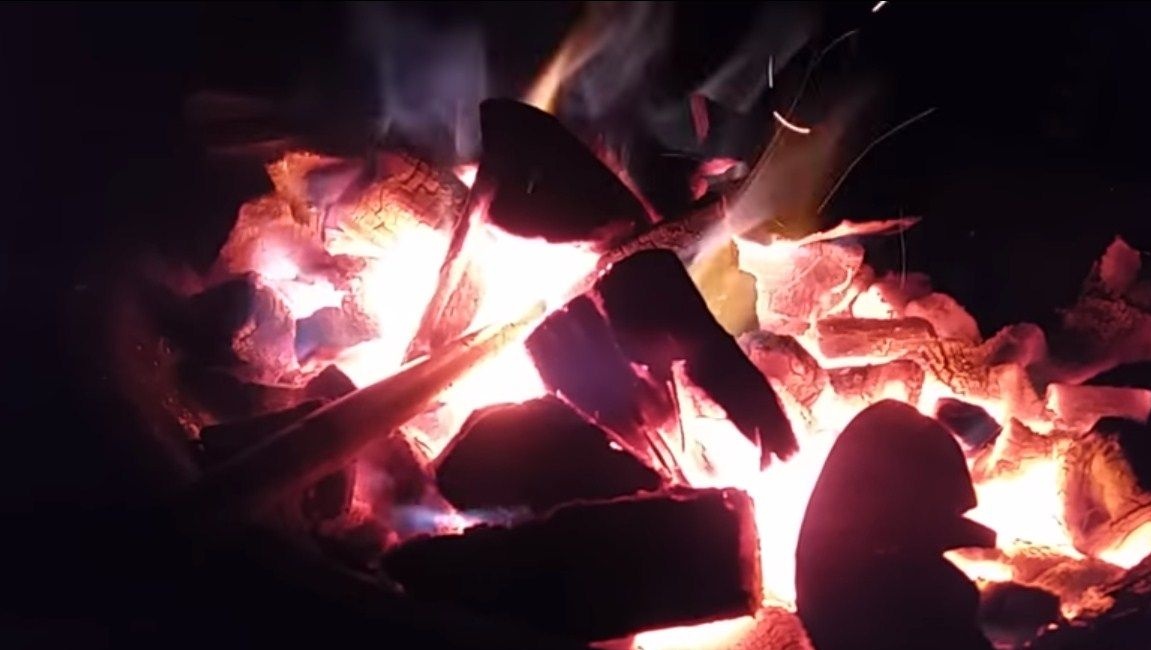
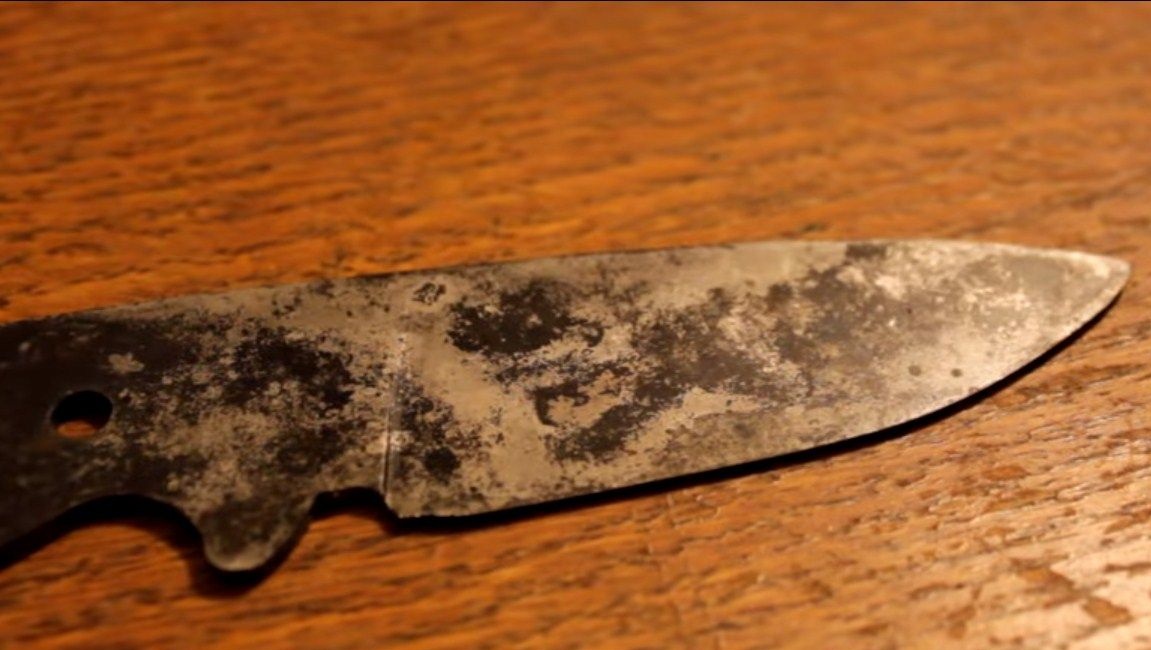
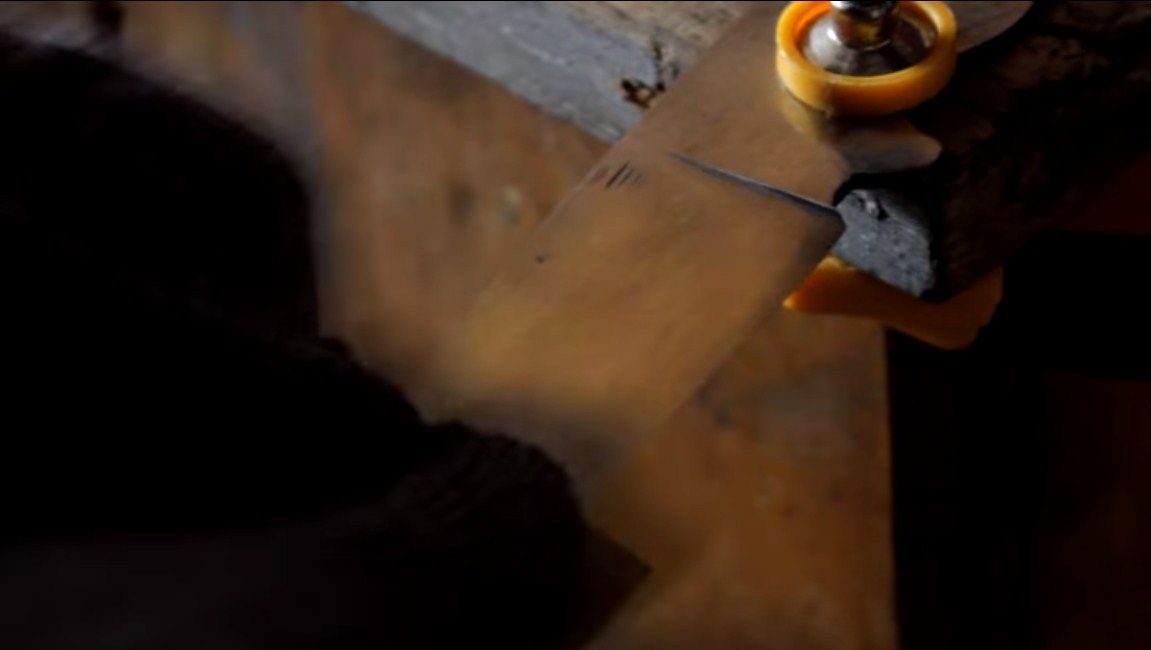
Step Four We temper the blade
If you wish, you can harden the blade, so the metal will be strong, the knife will be better to keep sharpening. But sometimes it’s hard to do it by eye, you need to know the grade of steel and adhere to the desired temperature regime. IN home conditions, the blade is heated on coals to a red glow, and then immersed in oil. Coals need to be inflated with a hairdryer to obtain the desired temperature. Usually, after hardening, the blade is still released in the oven so that it is not fragile. You need to warm at a temperature of 200 degrees Celsius, and in time it is usually about an hour. But each steel grade has its own temperature regime. If the vacation was successful, the metal should become a straw color. That's all, after that we get a blade of excellent quality.
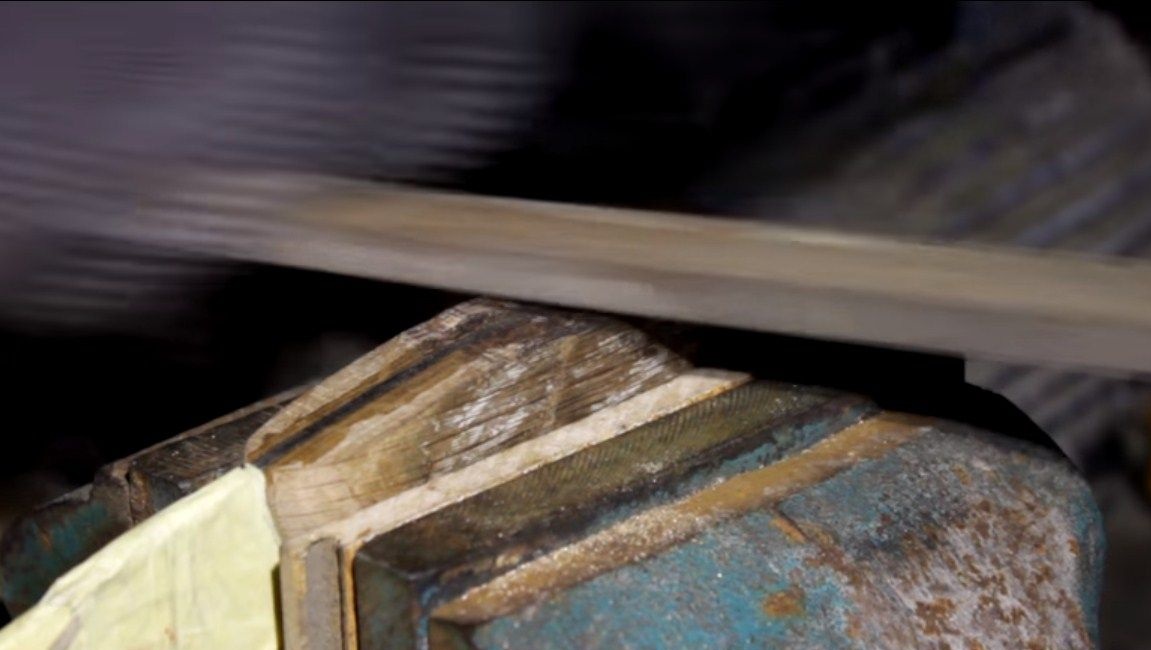
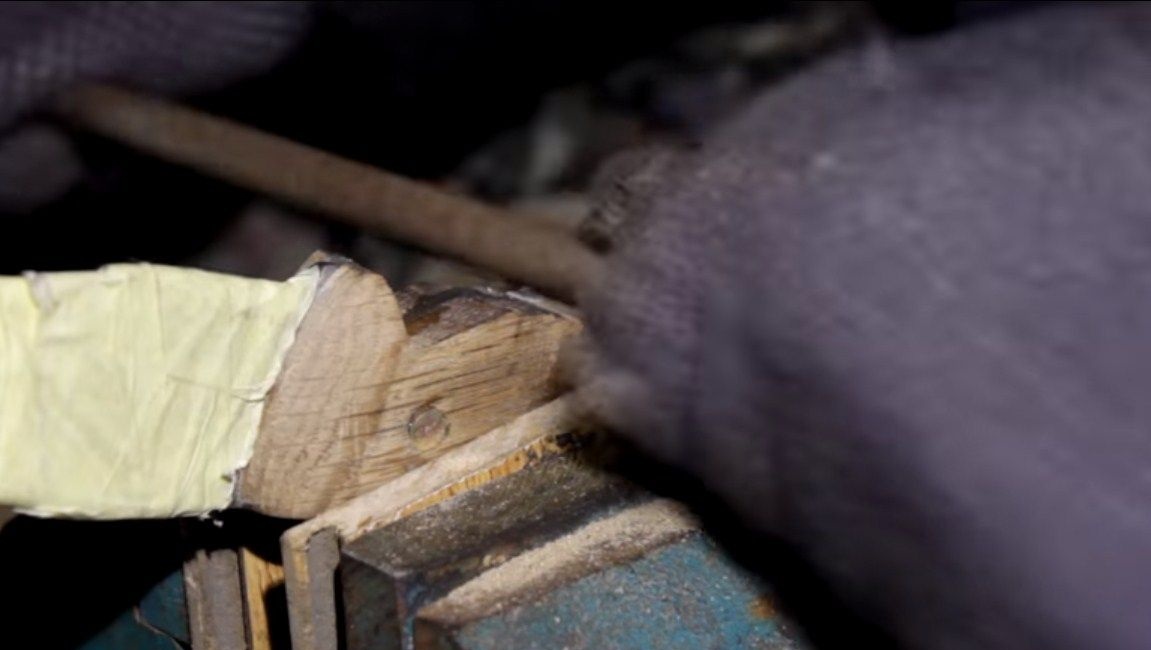
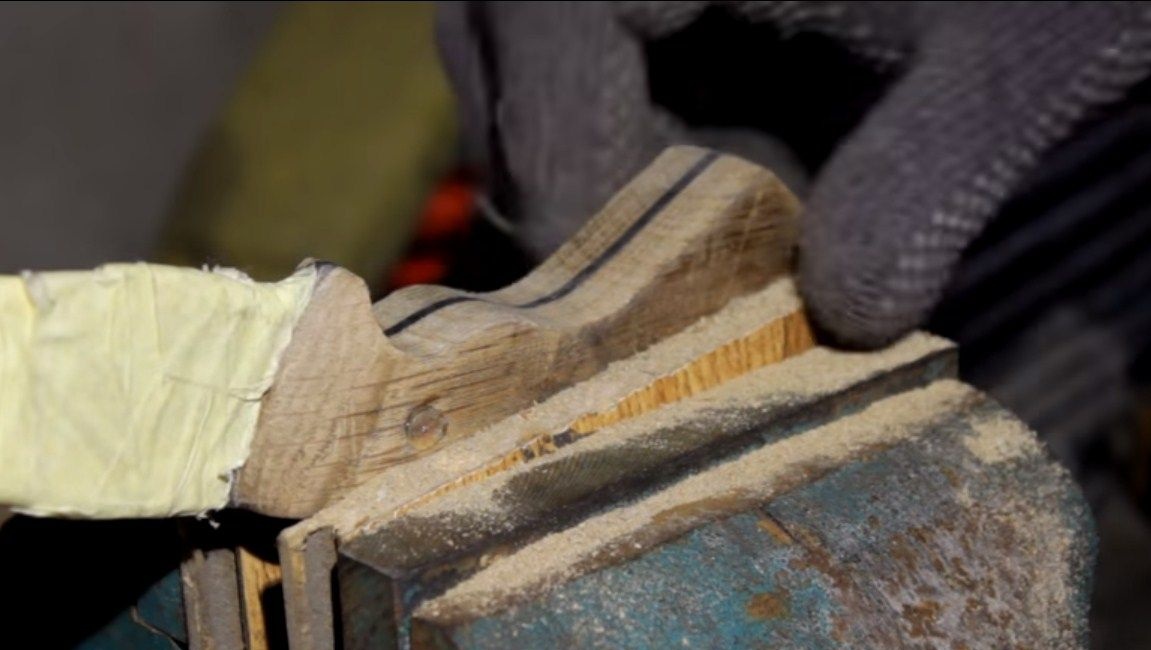
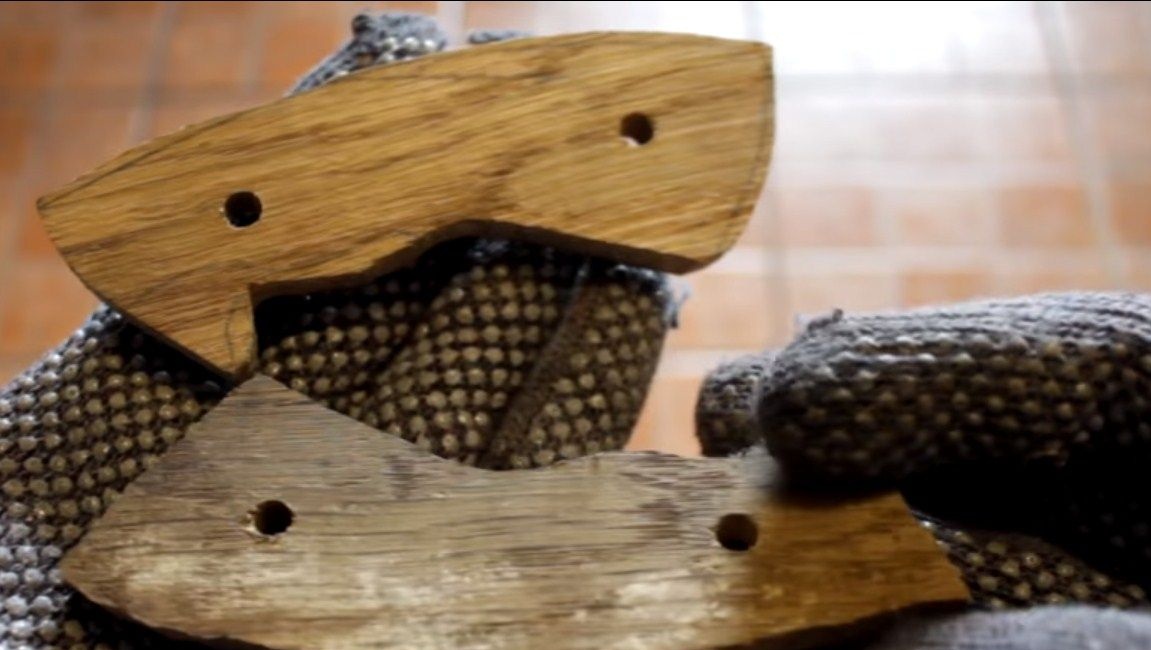
Step Five Cut out the pads
You can cut the pads on the handle. We choose for this a suitable thickness of the flange, we apply the handle and circle with a pencil. That's all, now the linings can be cut. For these purposes, you can use a conventional jigsaw. As a result, you will get two identical blanks.
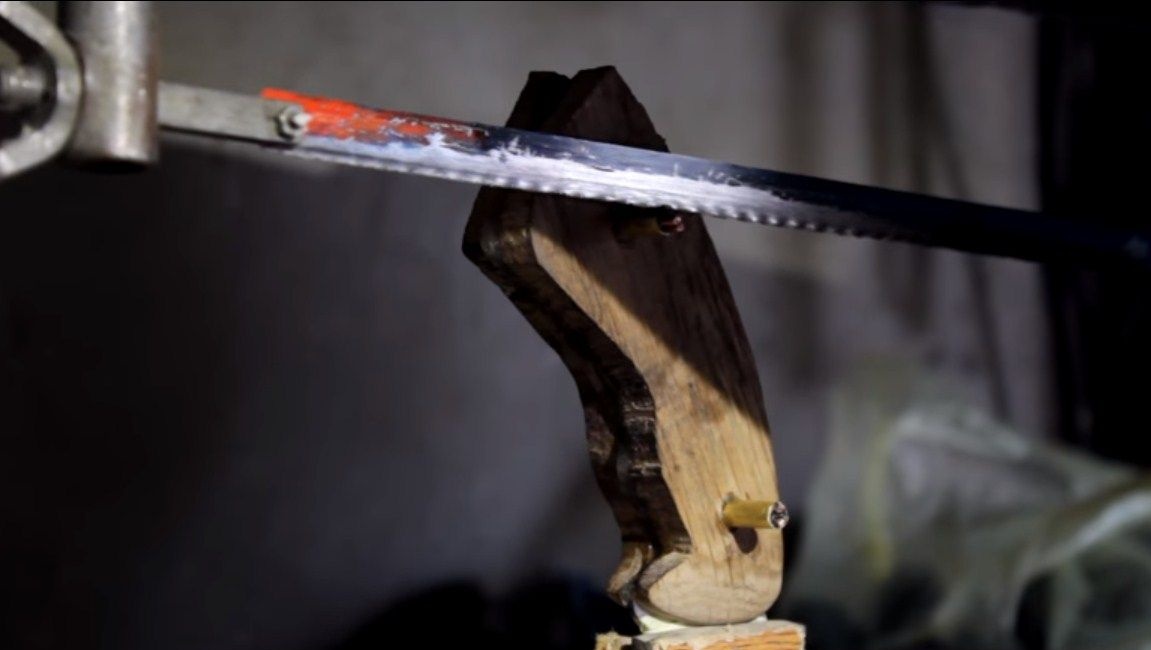
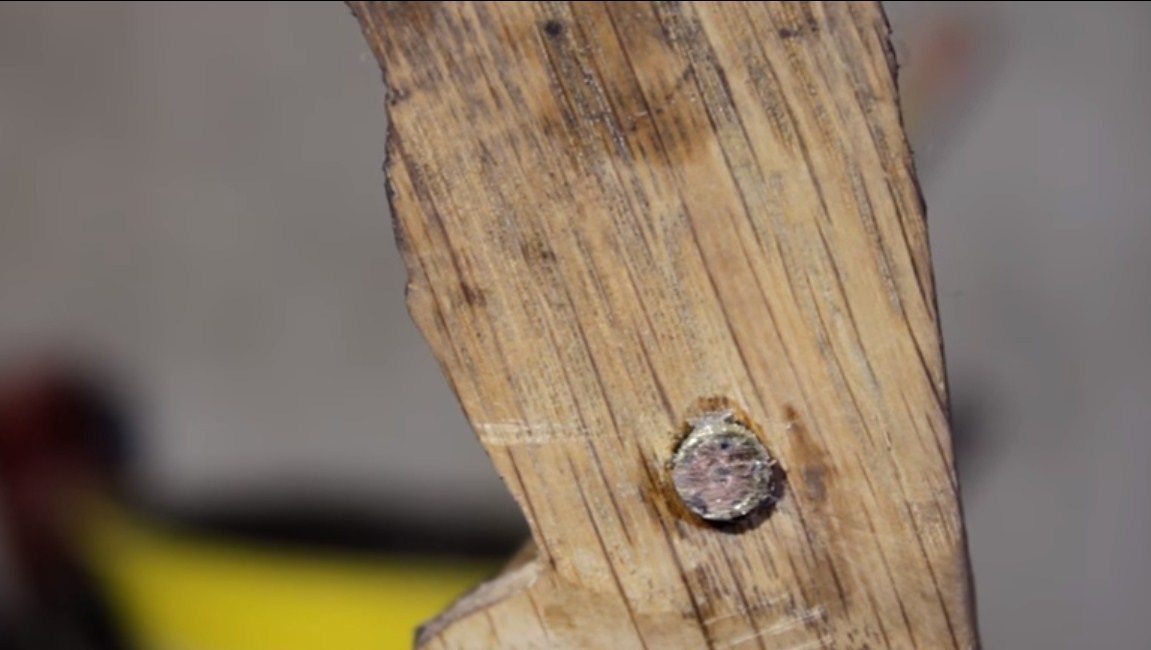
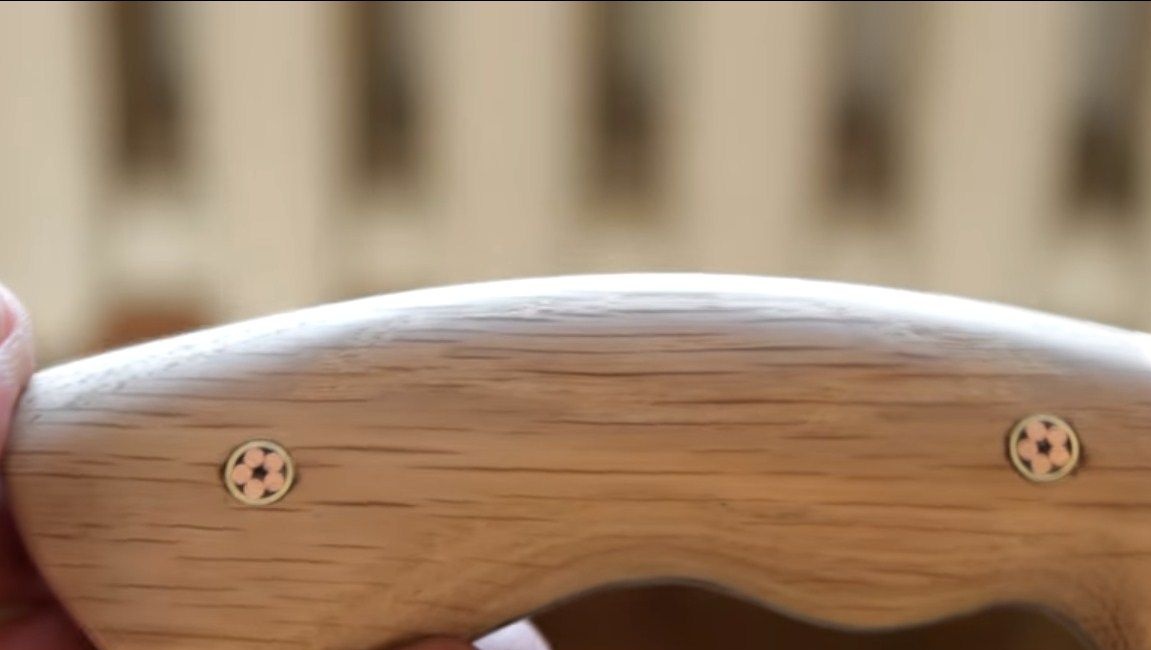
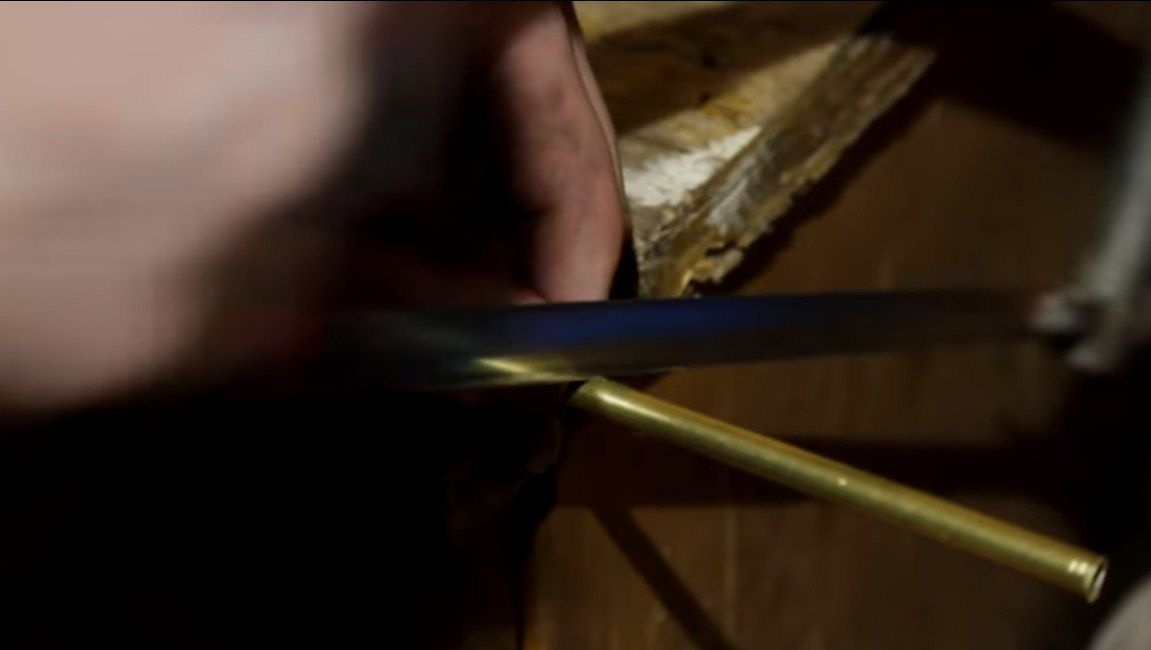
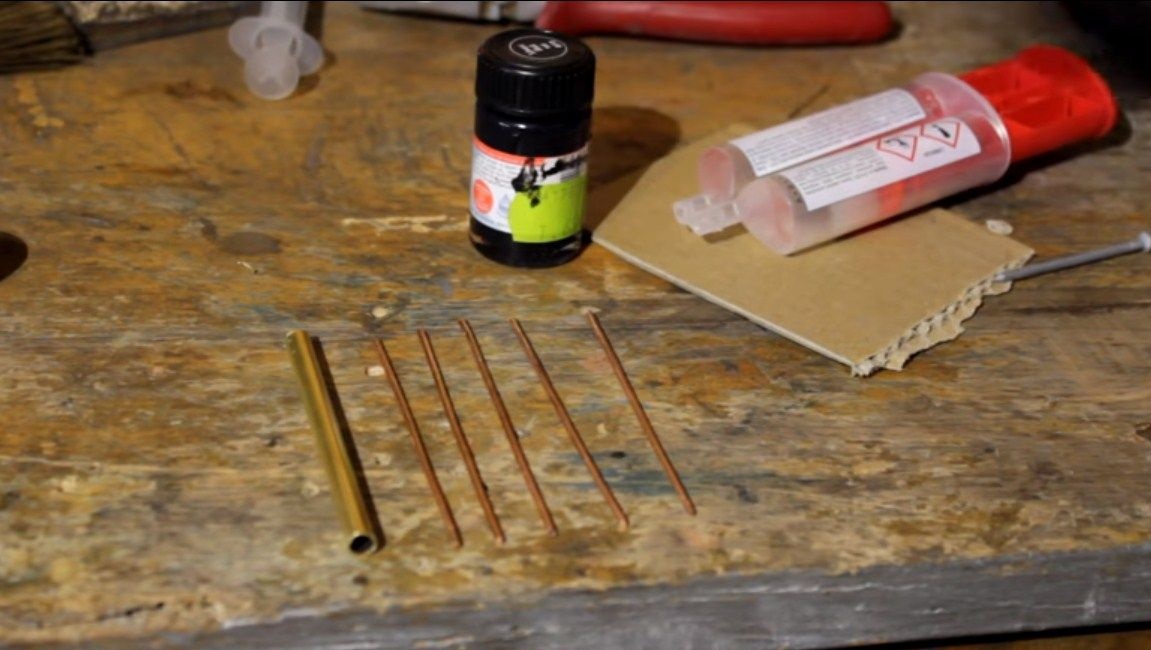
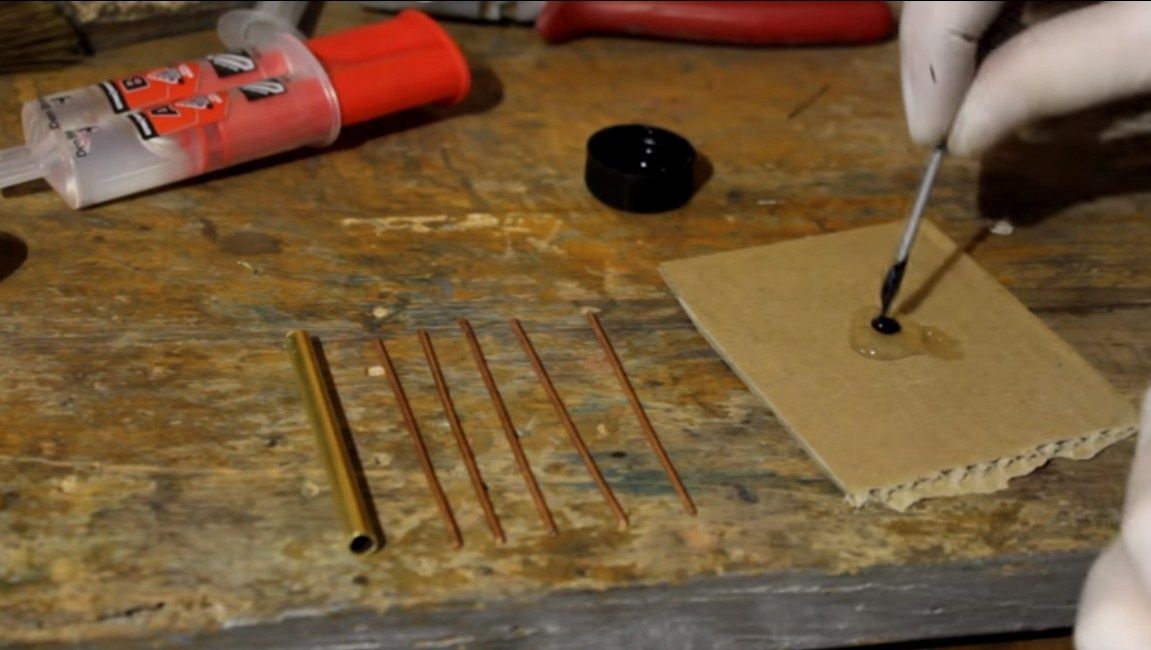
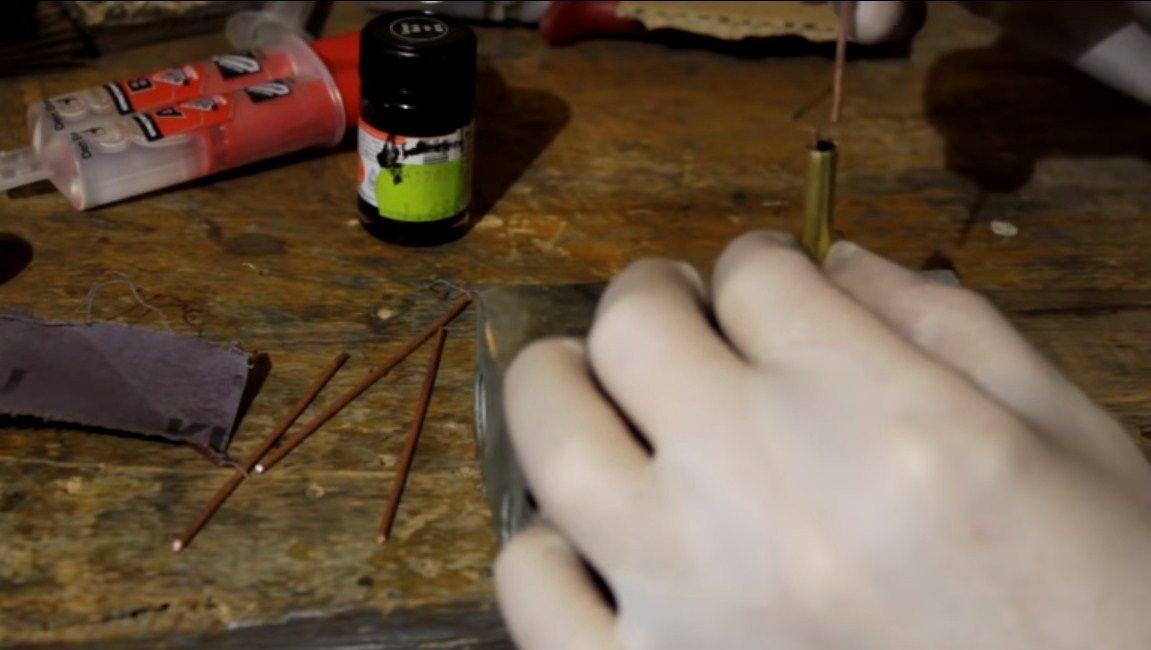
Step Six We make the pins and collect the handle
The author decided to make the pins out of brass tubes, inside of which copper wires were installed. All this is filled with epoxy with a black dye and when it dries, everything looks pretty pretty.
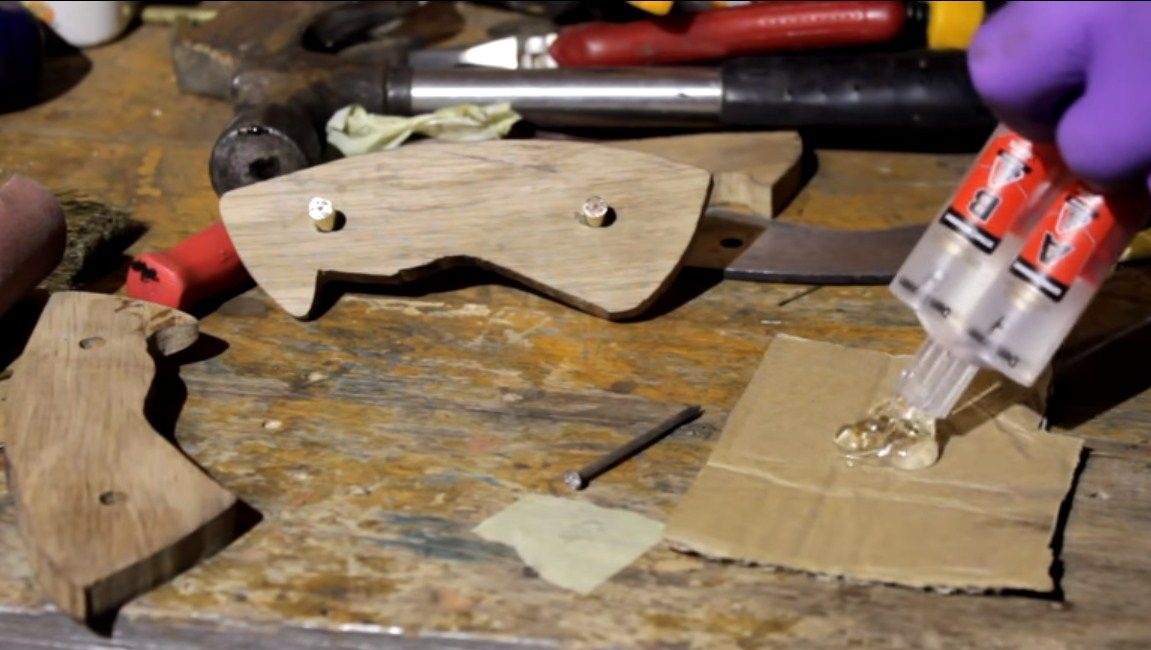

When the pins are ready, you can assemble the handle. For this we use epoxy glue. It is advisable to carefully clean the metal surface so that the glue adheres well. Well, then we put glue on the halves, hammer the pins and carefully tighten the handle with clamps. It is recommended to use several clips so that the pads stick evenly along the entire length.
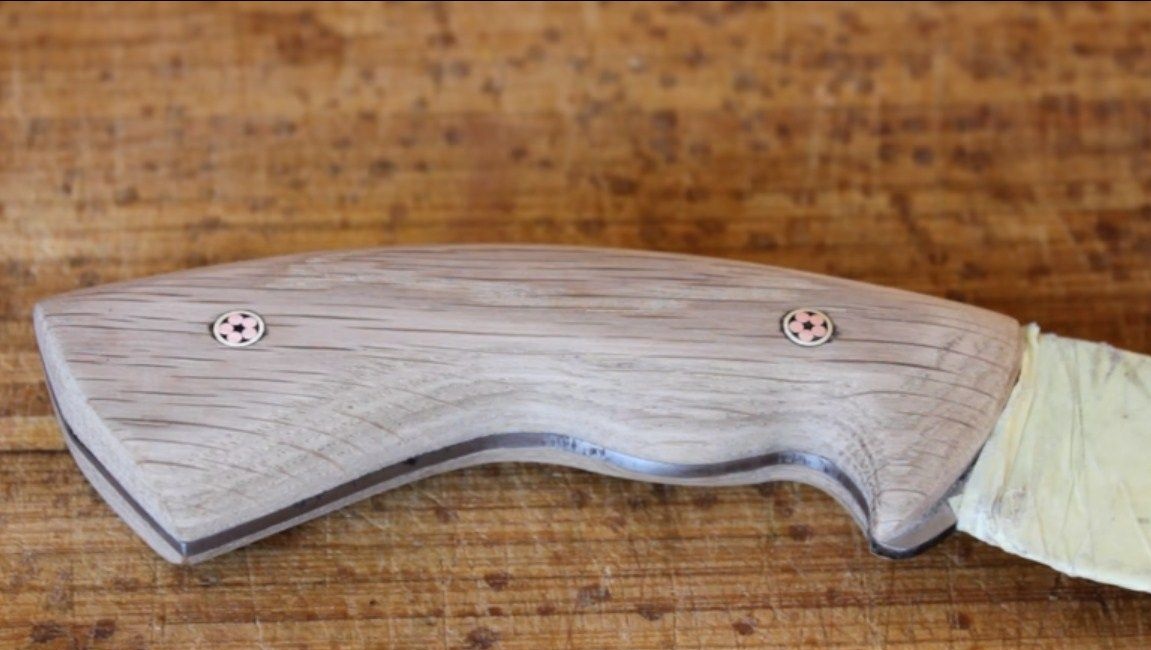
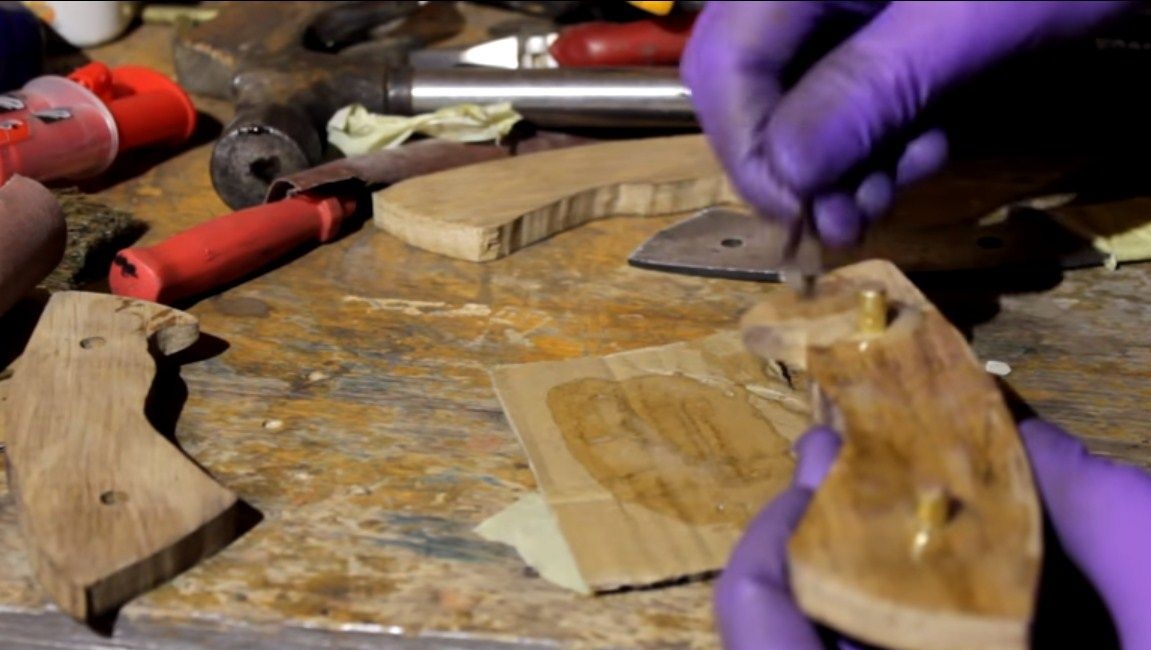
Seventh step. Final processing
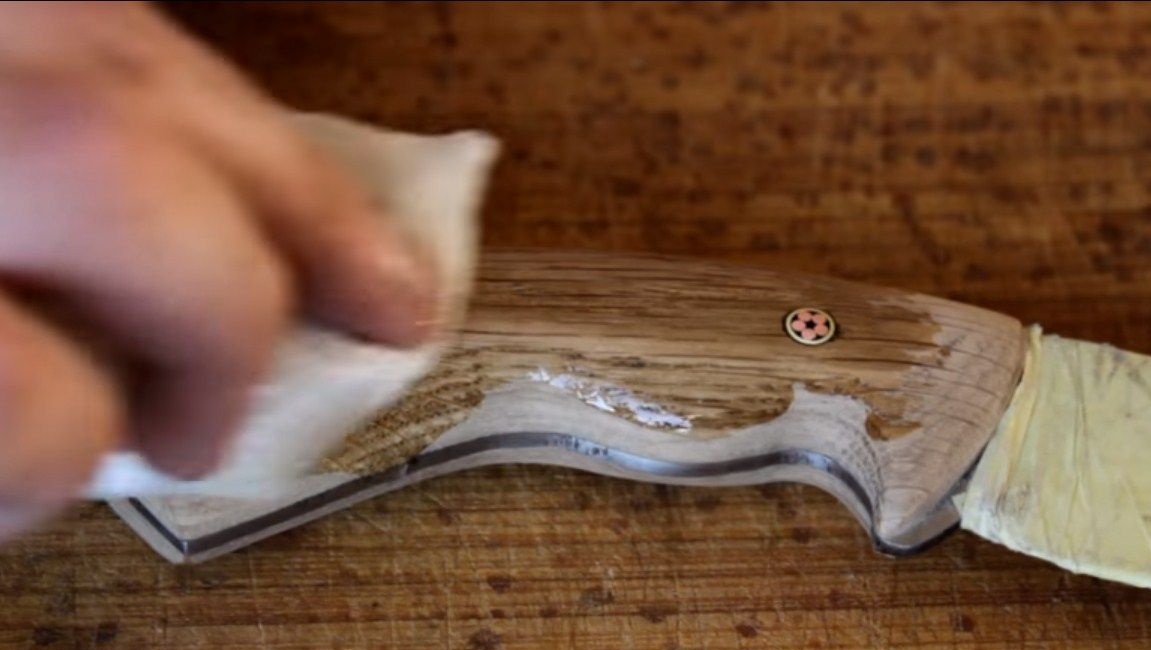
When the glue dries, we form the desired profile of the handle with the help of files. For finer processing we use sandpaper. Of course, manual work is long and hard, but in the end you will get the result no worse, and even better than with professional machines. When the pen is ready, soak it with oil, so the wood will look more beautiful, and even this will protect it from moisture.
That's all, the project is over, I hope you liked it. Good luck and creative inspiration, if you want to repeat it. Do not forget to share your homemade with us!