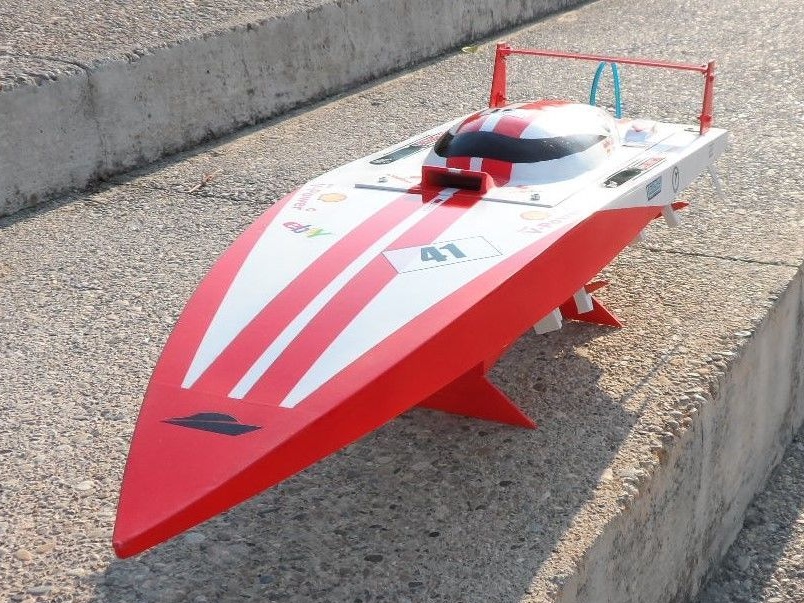
In this article, the Wizard will share with us his experience on building fast and easy model of a radio-controlled boat.
Tools and materials:
- Plywood 3 mm;
- Plywood 5 mm;
-Sandpaper;
-Bandsaw machine;
-Glue;
Epoxy resin;
-Red, black and white paints;
-A printer;
-Paper for the printer with an adhesive layer;
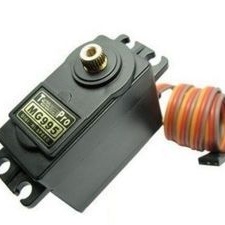
Servo MG995;
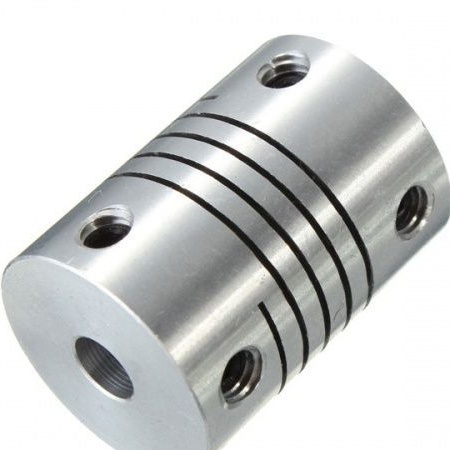
Coupling;
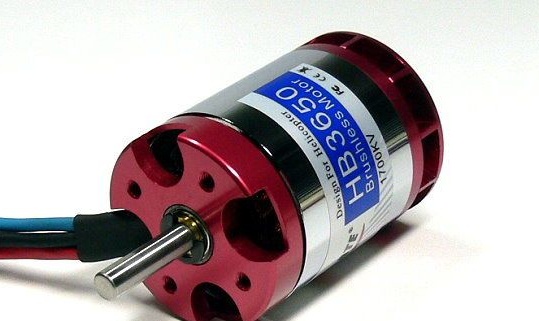
- Brushless motor HB 3650;
- Boat steering wheel;
- Clamps;
-Marker;
-Gon;
-Scotch;
-Glass cloth;
-Fasteners;
-Battery;
Transmitter FS-CT6B;
Three-channel receiver;
-Controller;
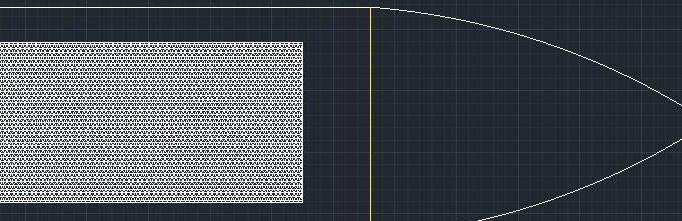
Step One: Sketch
The master made a sketch of the boat. Two files are available for download. One, dwg, for laser cutting, PDF for manual. These boat sketches have a length of 900 mm. If necessary, you can resize the boat in proportion. At the same time, the master warns that with a length of less than 550 mm the boat begins to sink with a small wave.
RC Boat Plans.dwg
RC Boat Plans.pdf
Step Two: Cutting Parts
When laser cutting, you can immediately cut out the details of the boat, with manual you need to print the details on paper, then stick on plywood and cut.
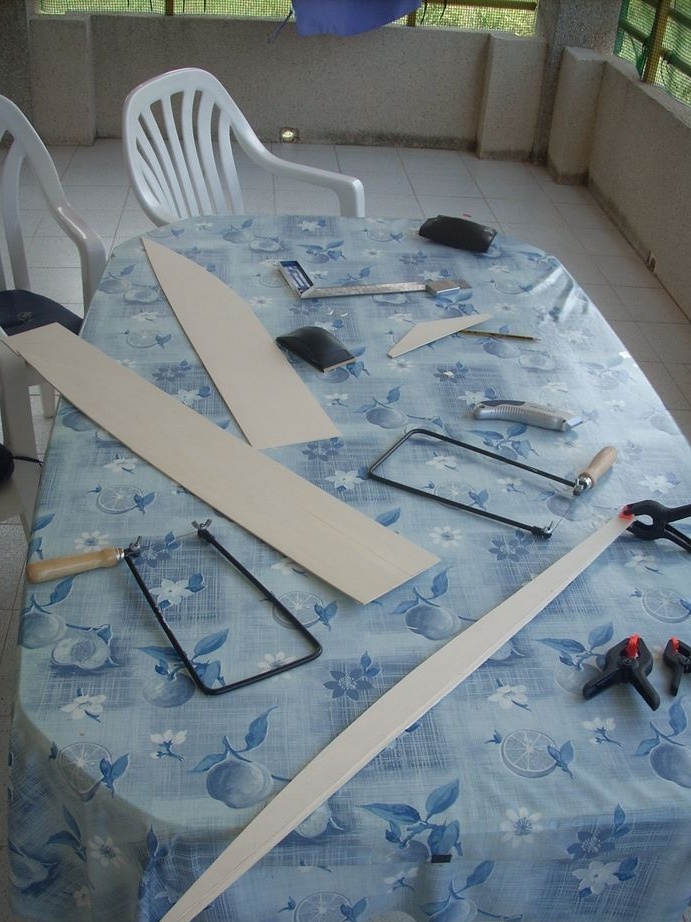
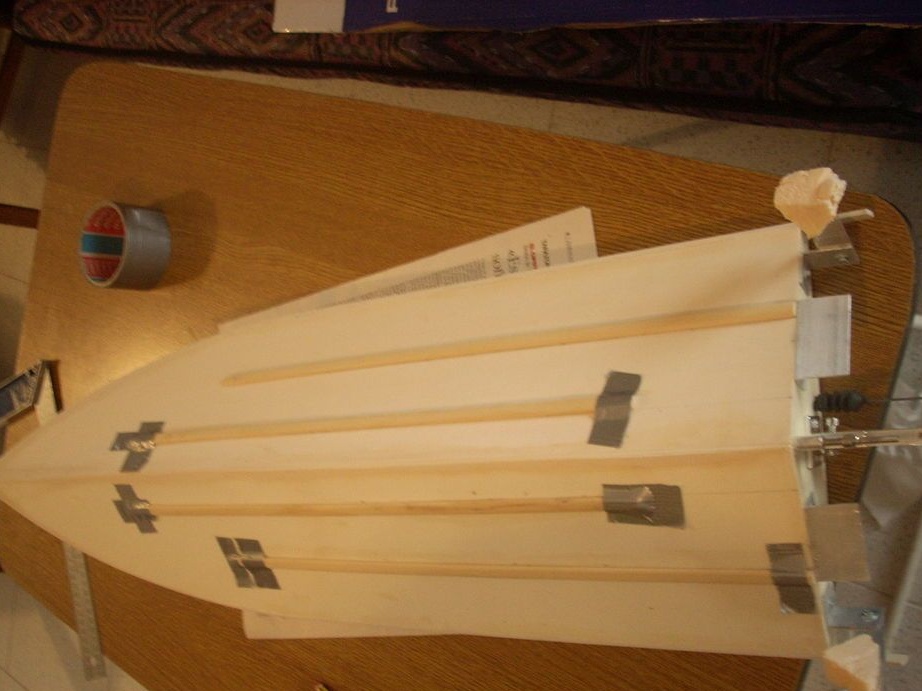
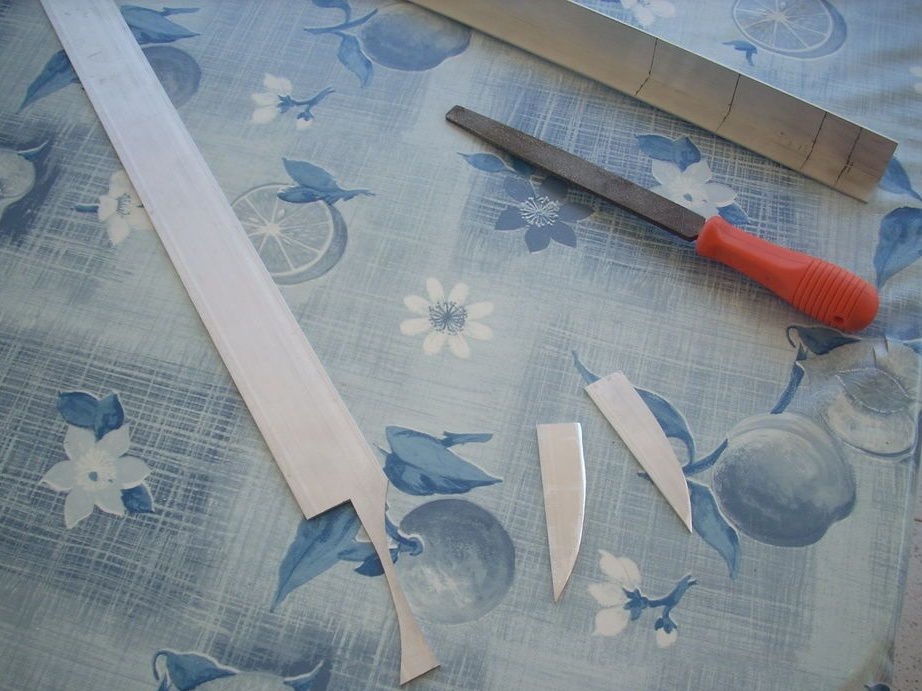
Step two: keel
Glues parts of the keel. From below the keel sticks sticks. Sticks allow boats to go straight at high speeds.
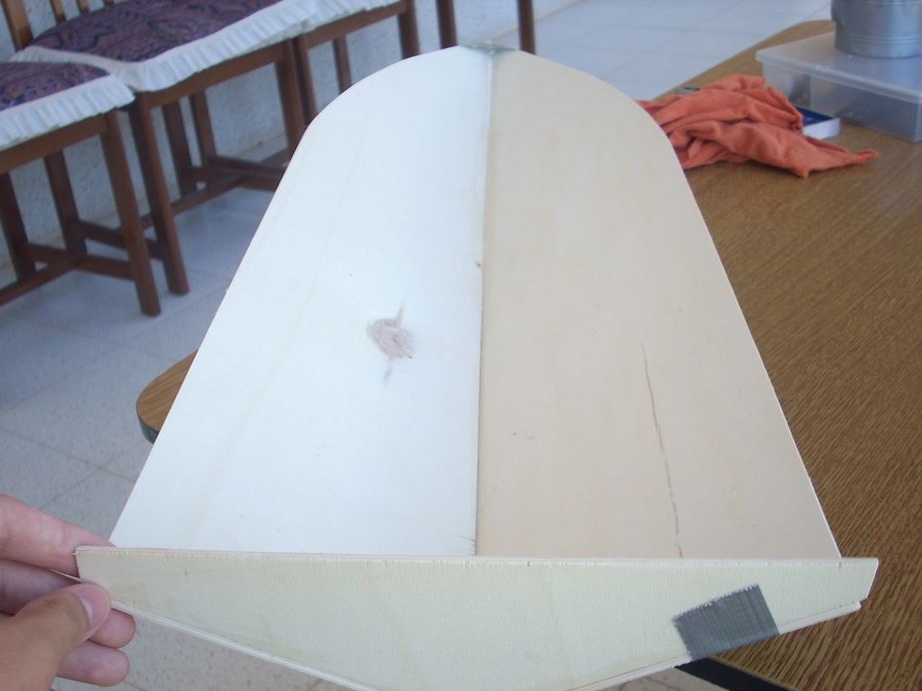
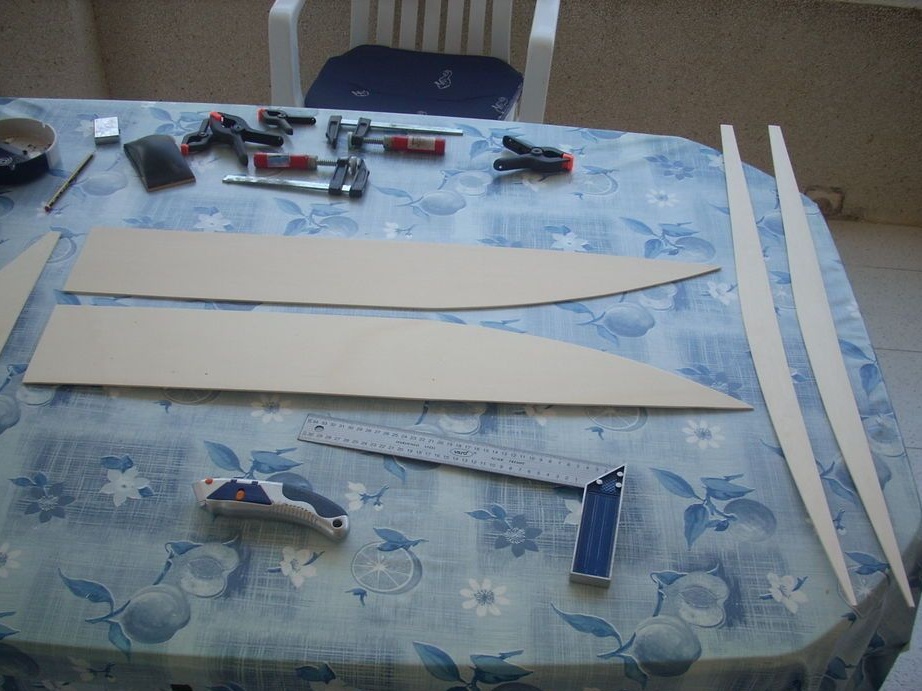
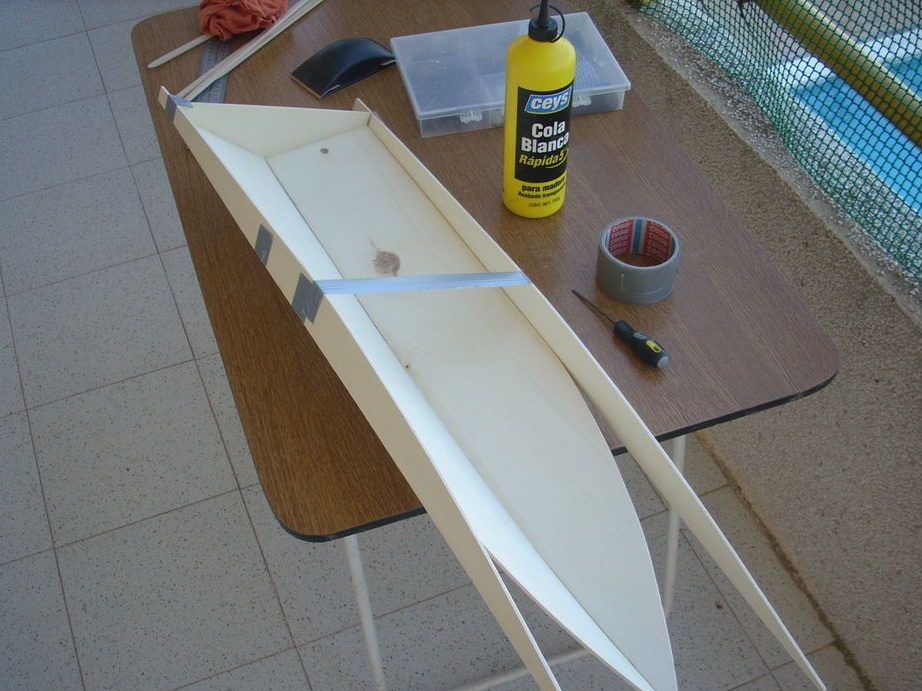
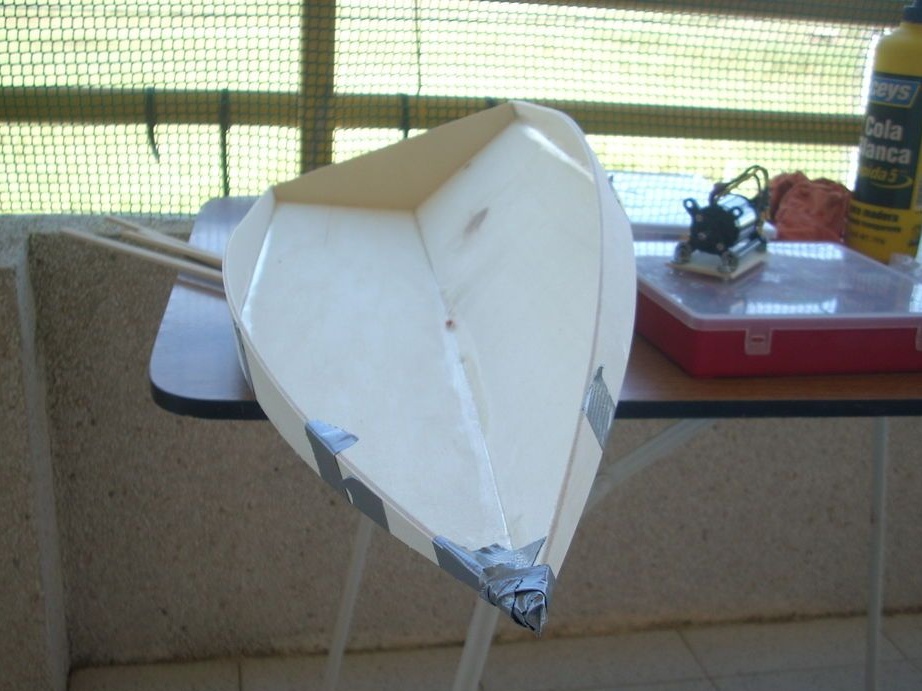
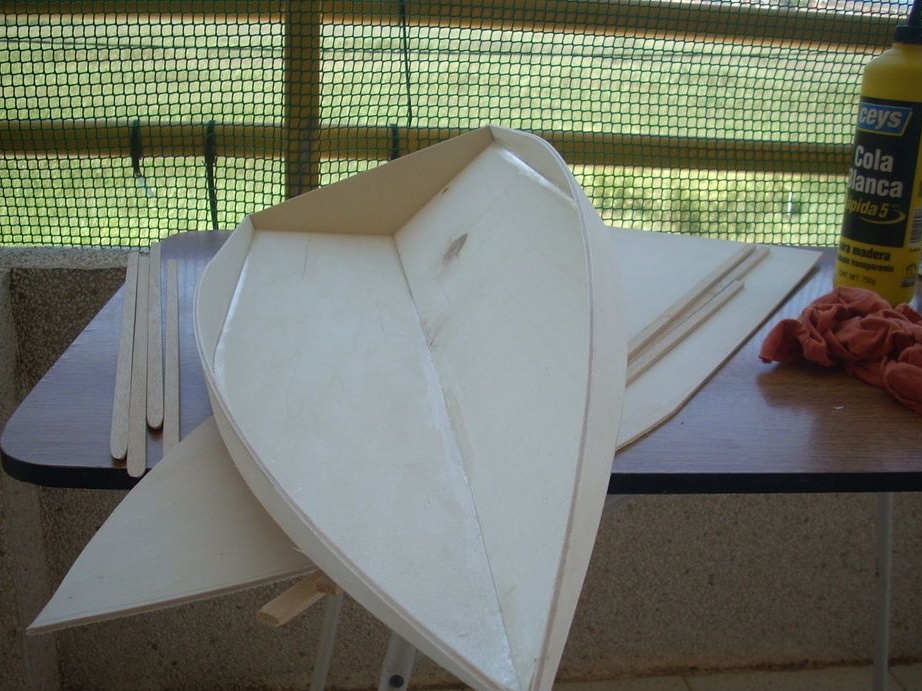
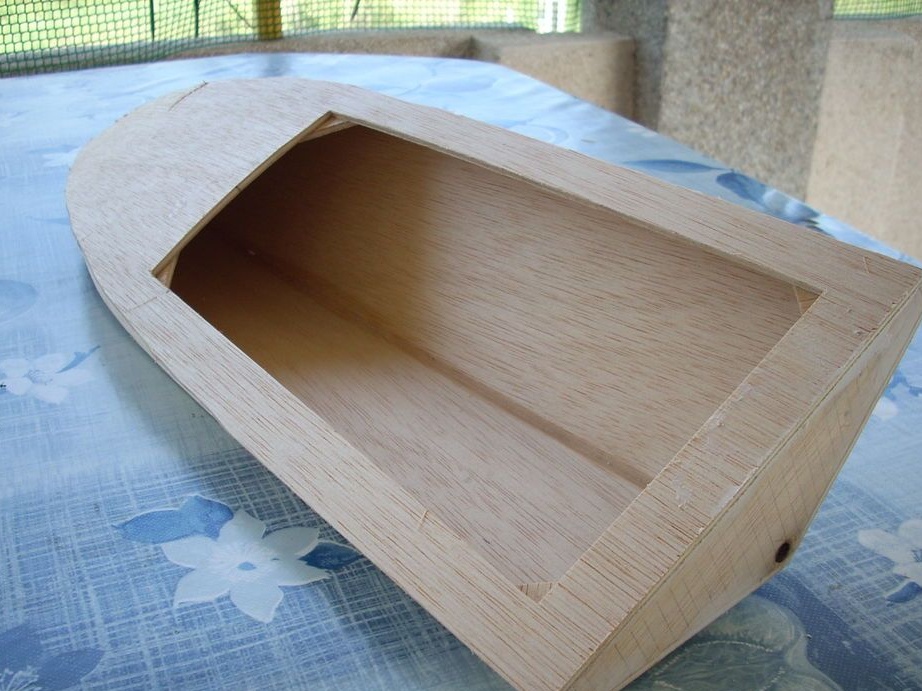
Step Three: Side
Glues the side parts.
Step Four: Deck
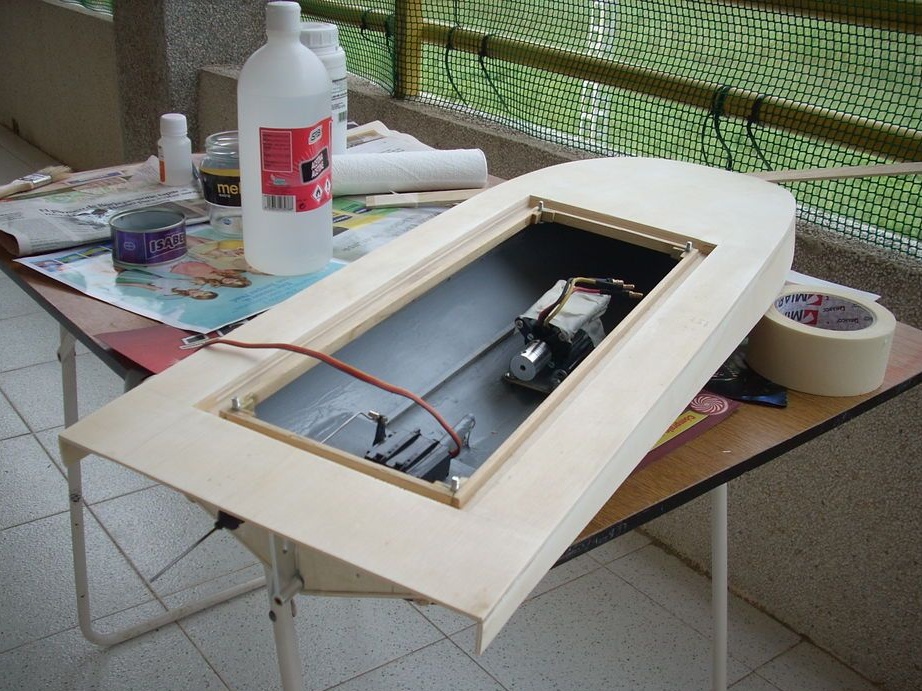
The deck has a cutout for installing a power plant.

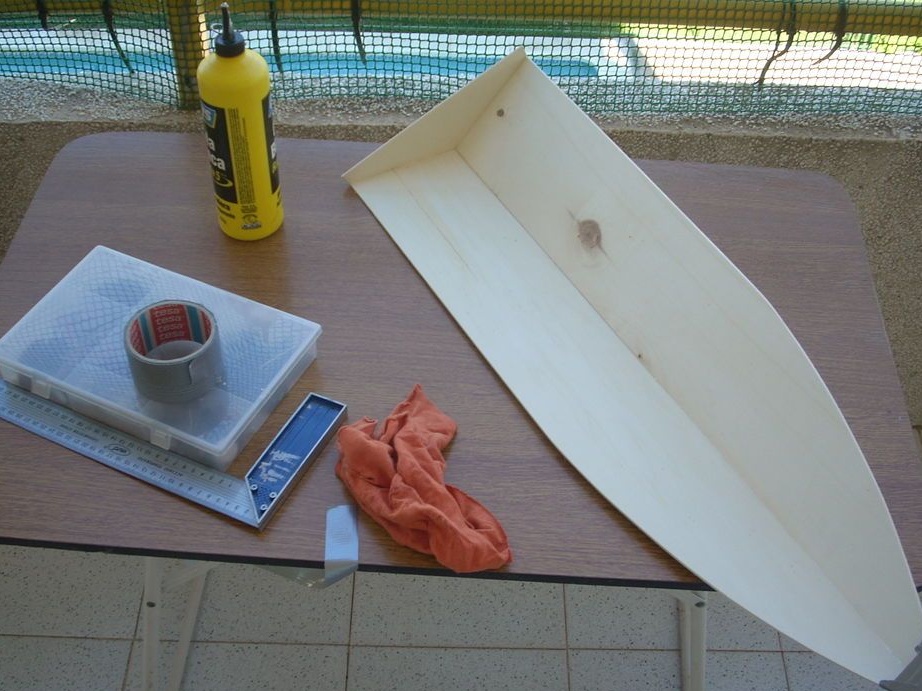
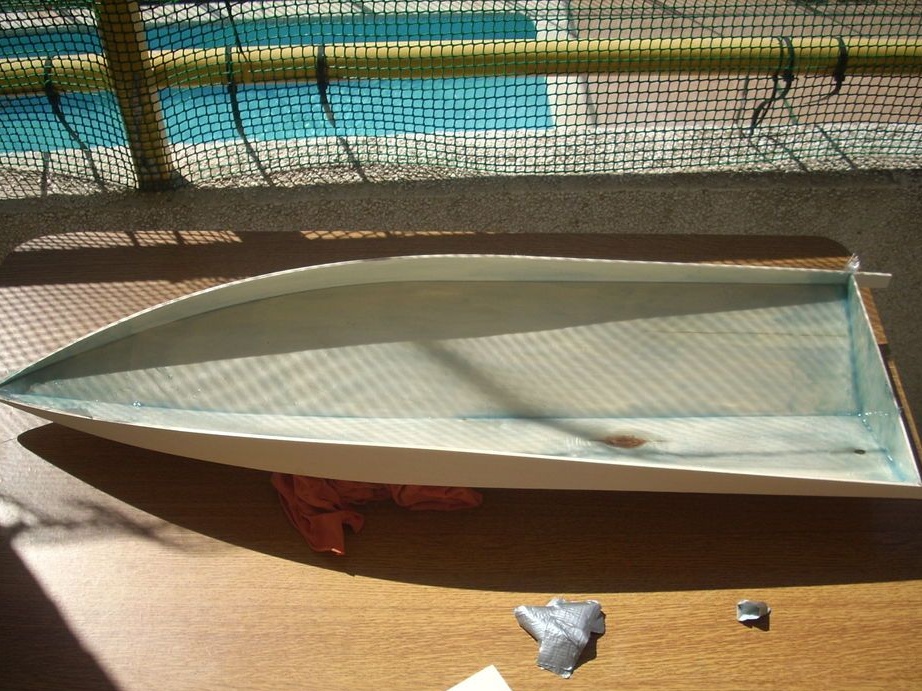
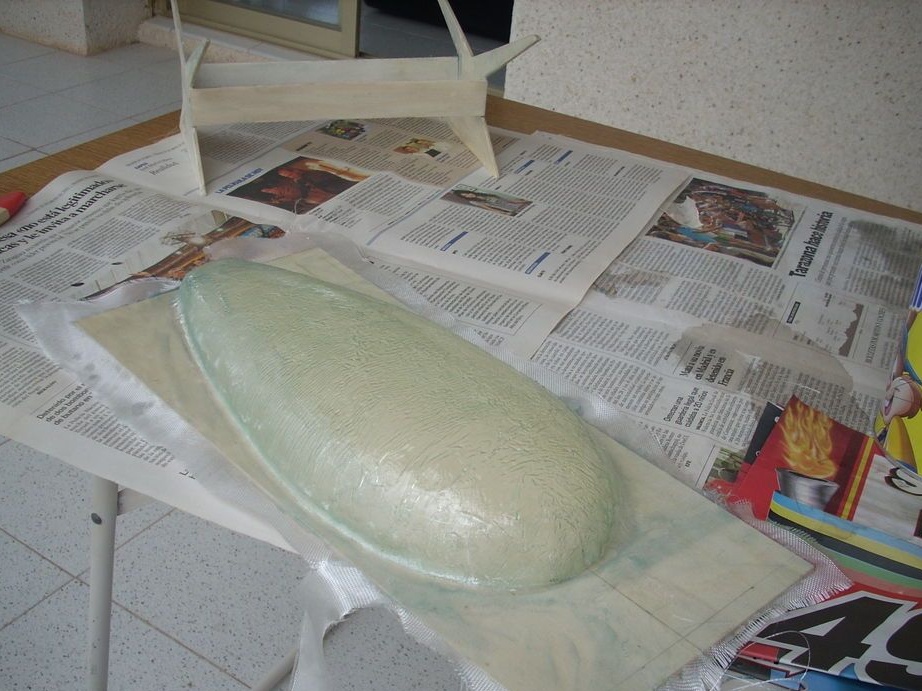
Step Five: Resin
Covers the surface of the boat with epoxy. Resin will give the body strength and resistance to water.

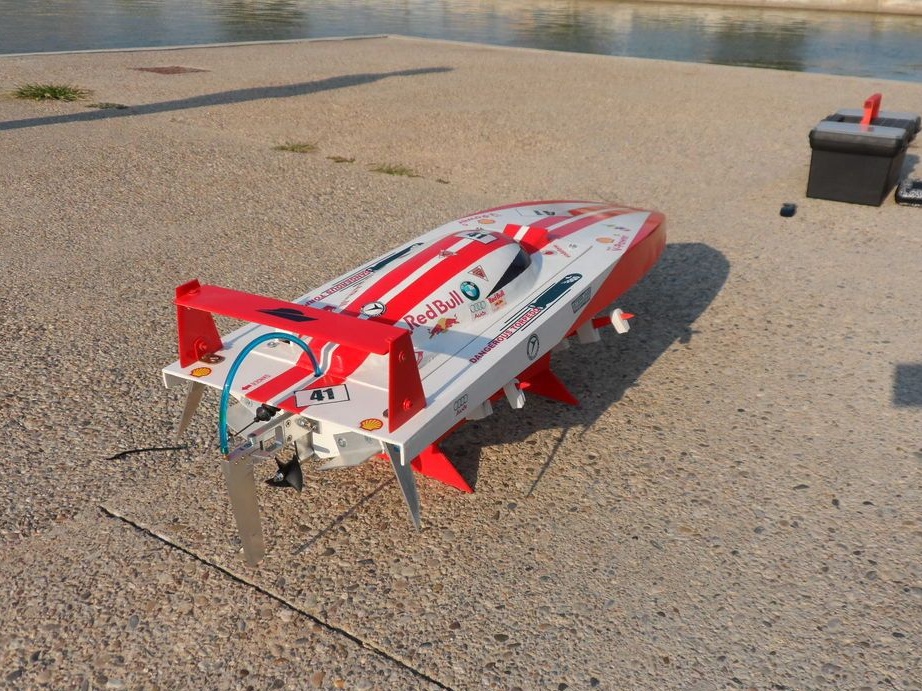
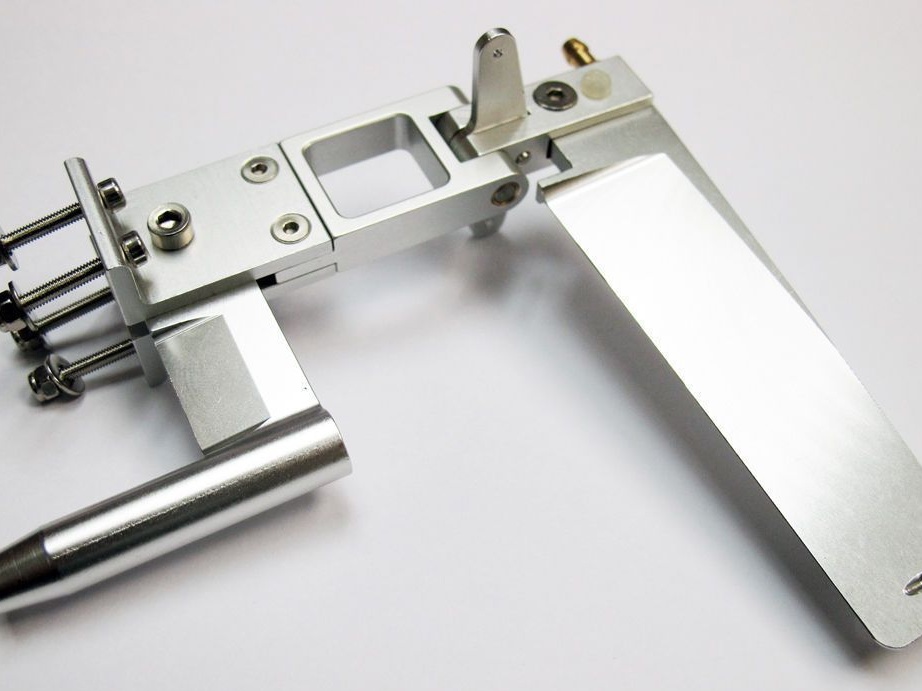
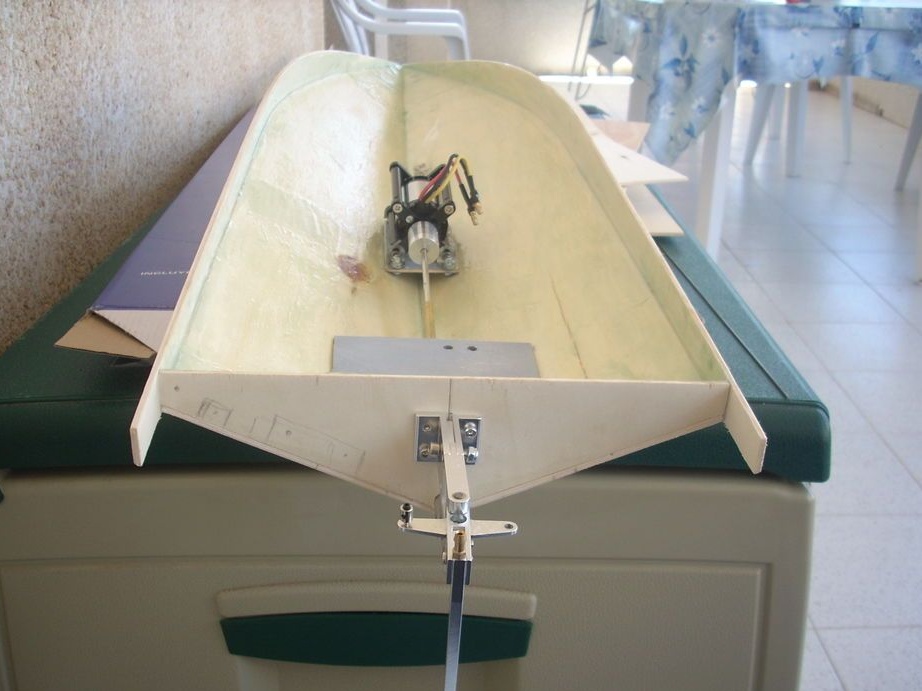
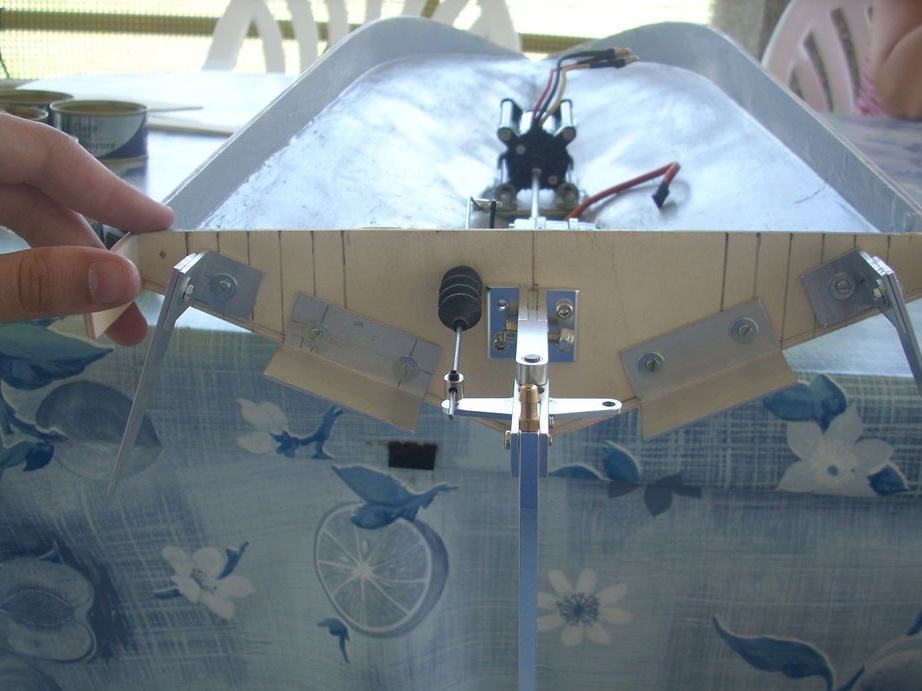
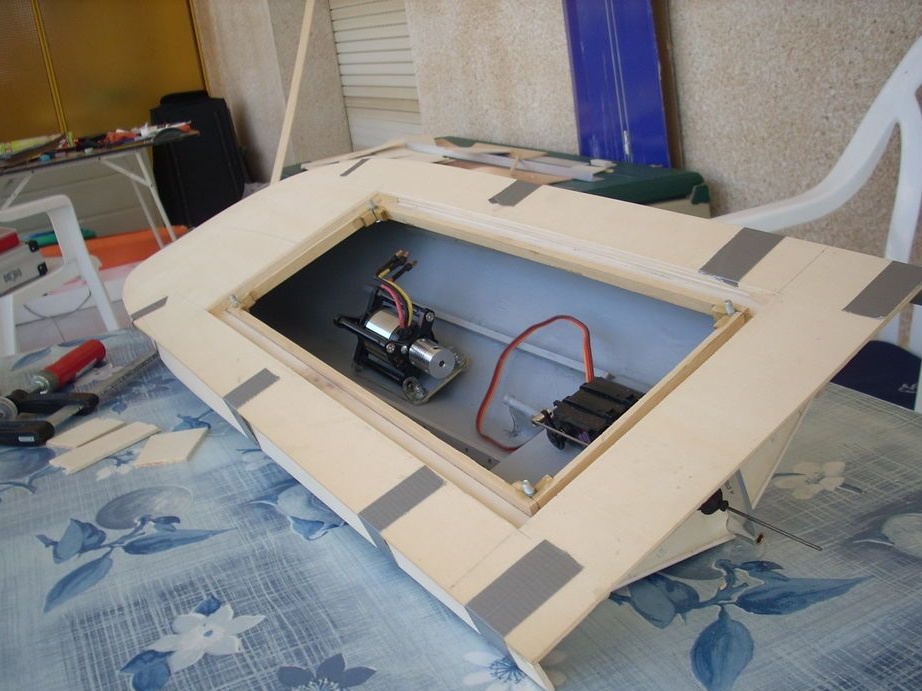
Step six: motor and steering wheel
Sets the steering wheel and motor. Installs the servo and connects it to the steering wheel. It drives the shaft to the stern from the engine. A propeller is mounted on the shaft. To prevent water from entering the housing, the axle must be sealed and greased.

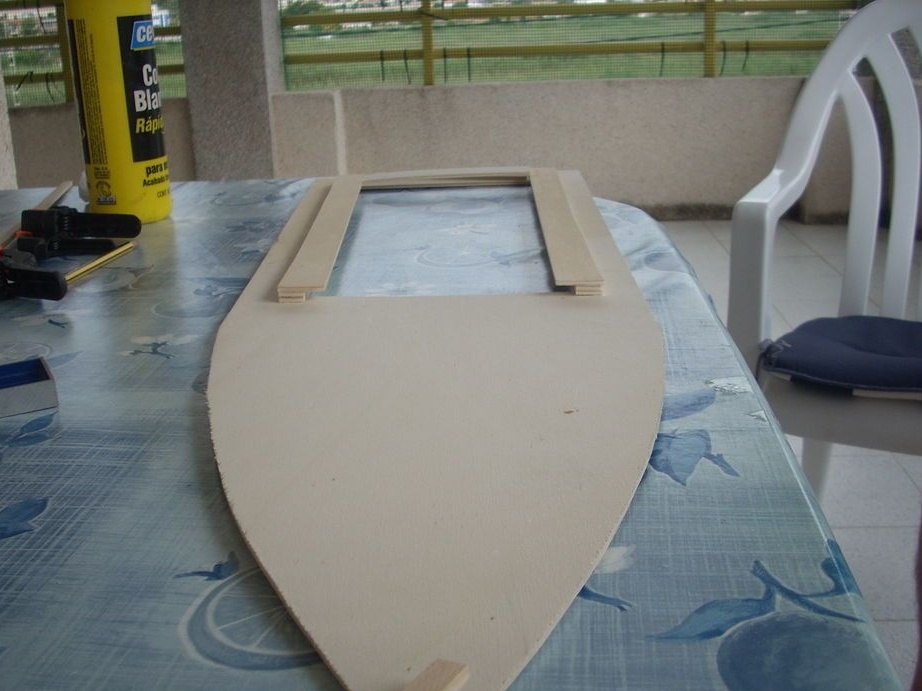
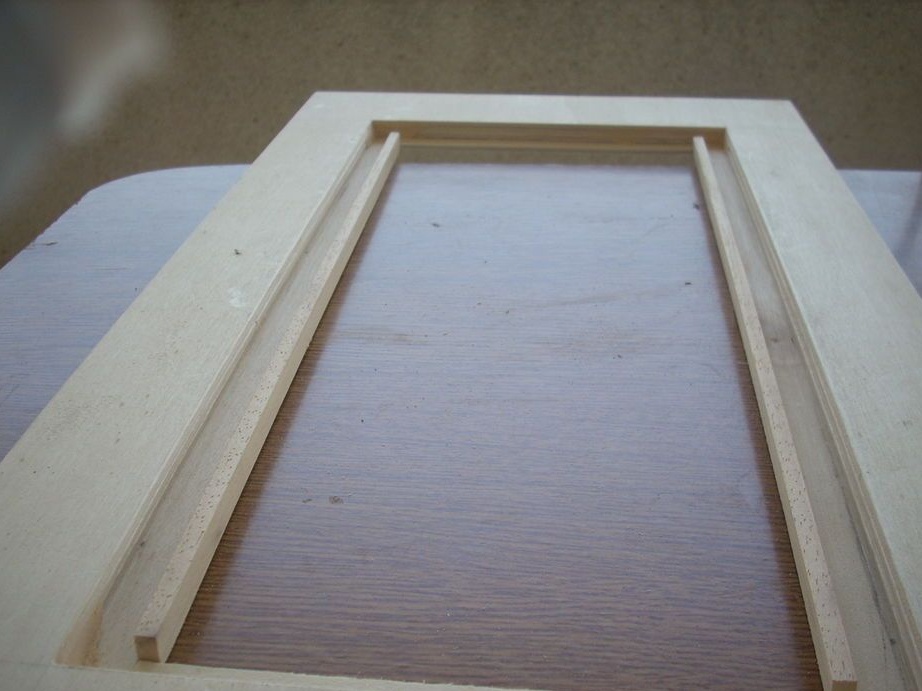
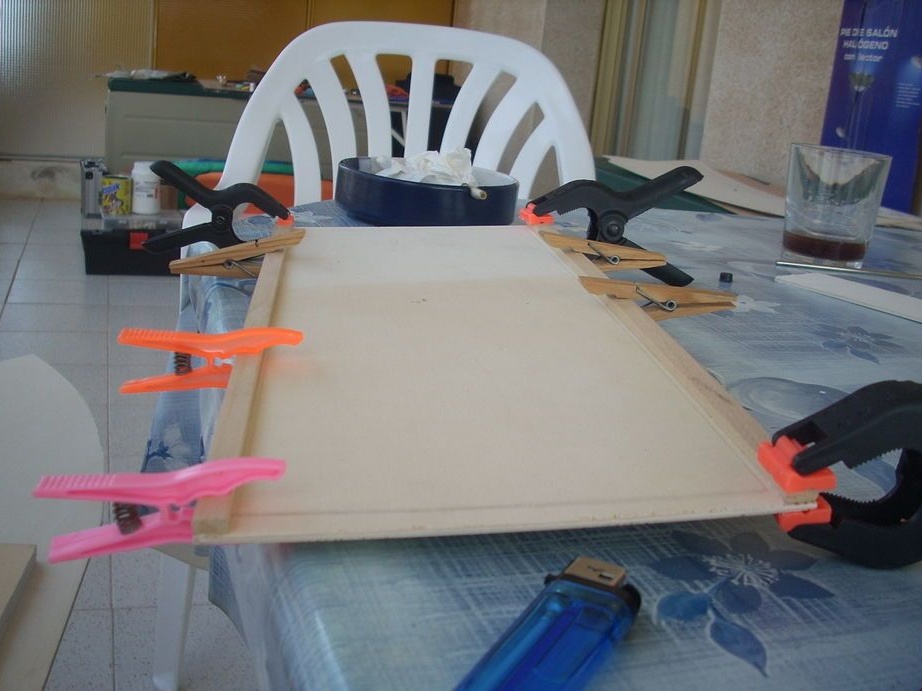
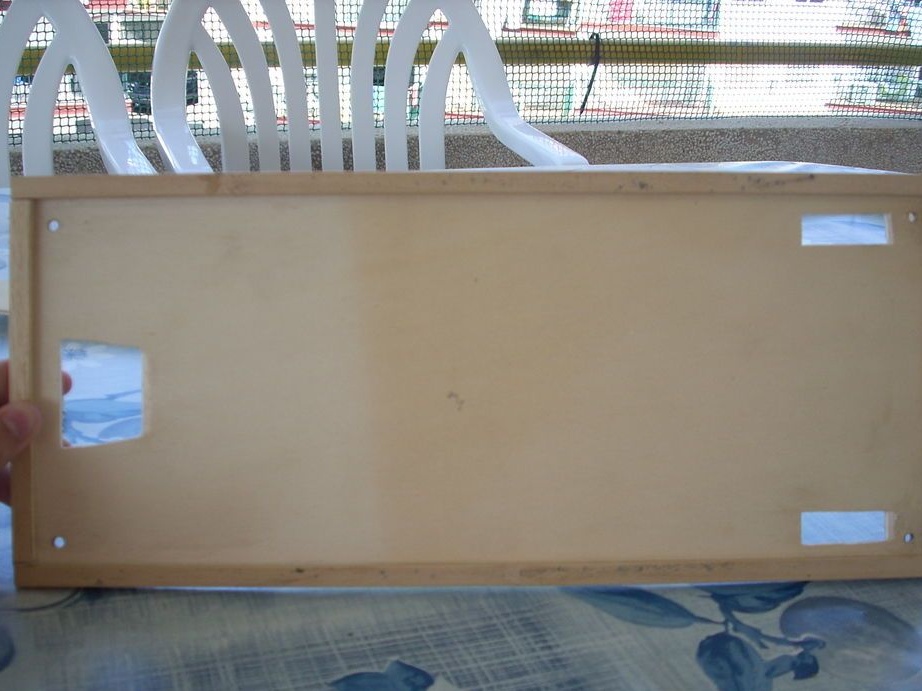
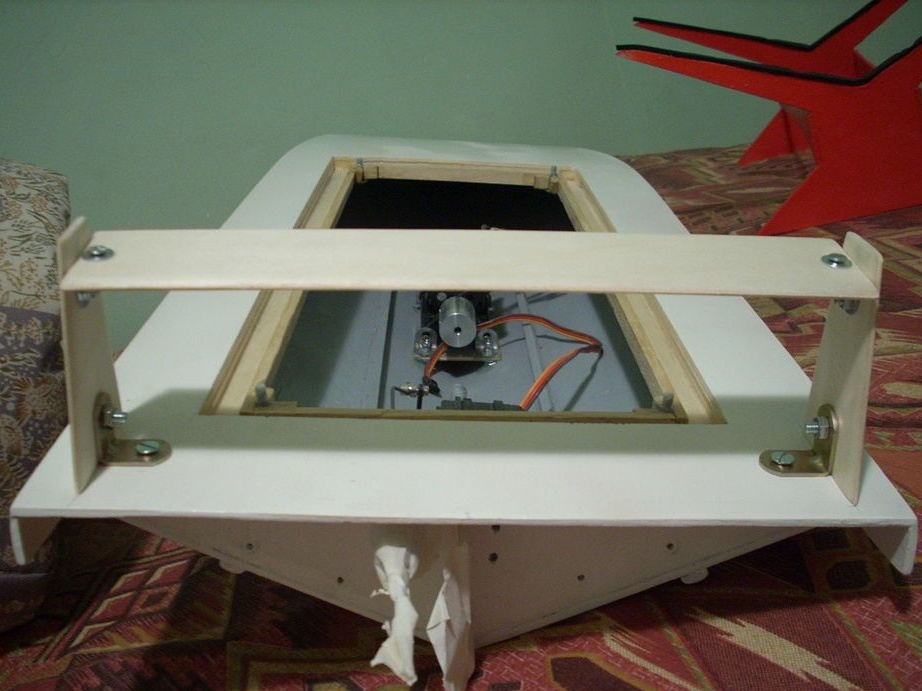
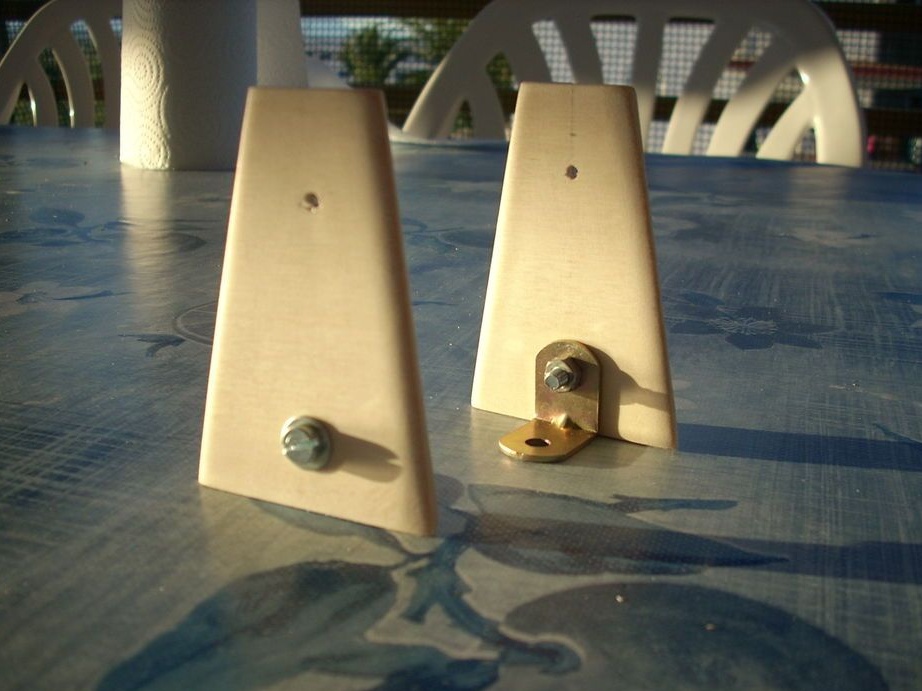
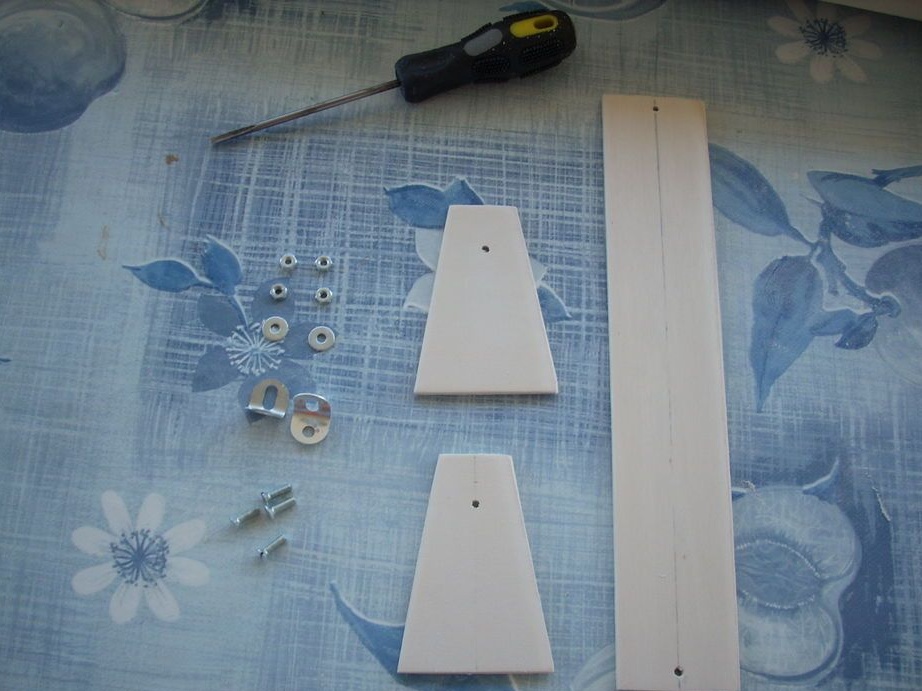
Seventh step: mount
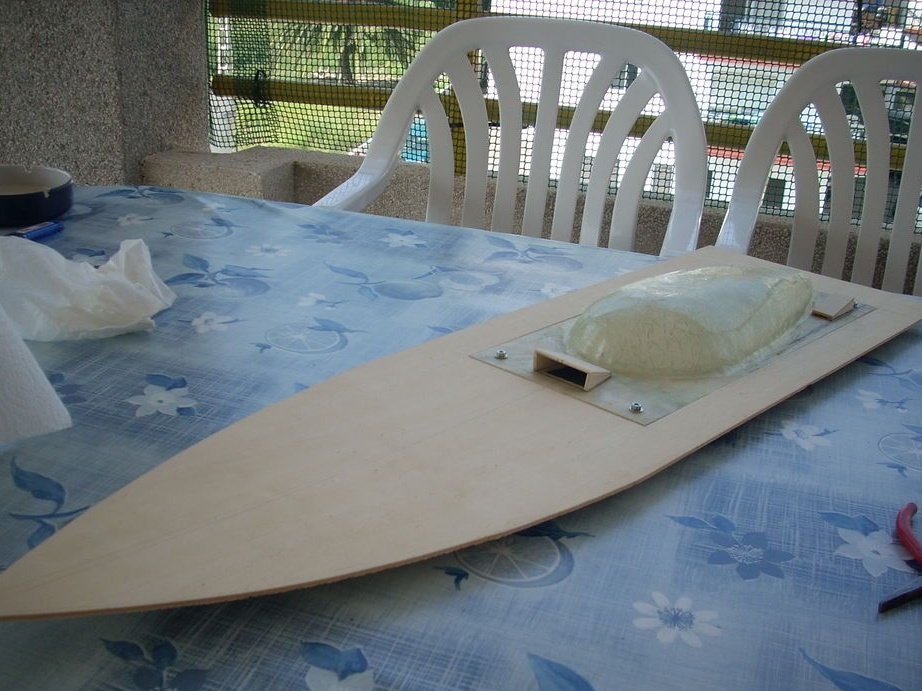
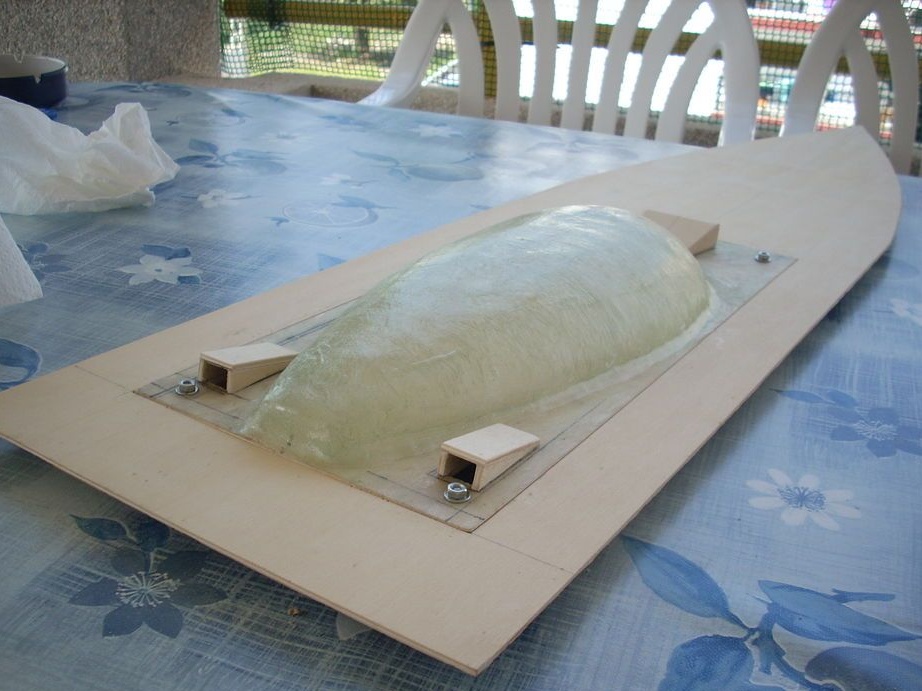
To install the cabin, the master makes a frame on the deck. At the corners of the frame glues four bolts.
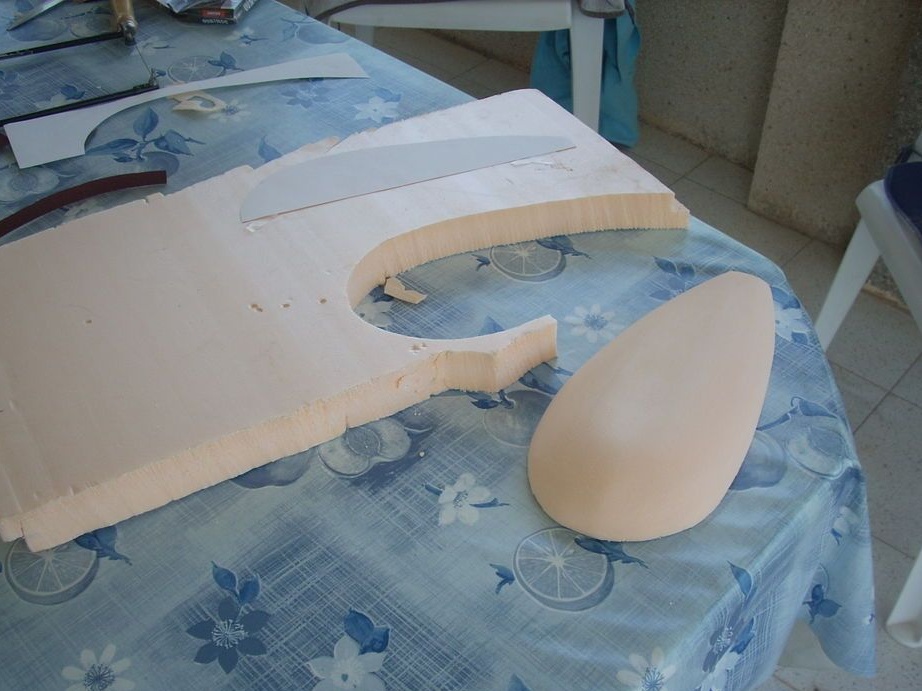
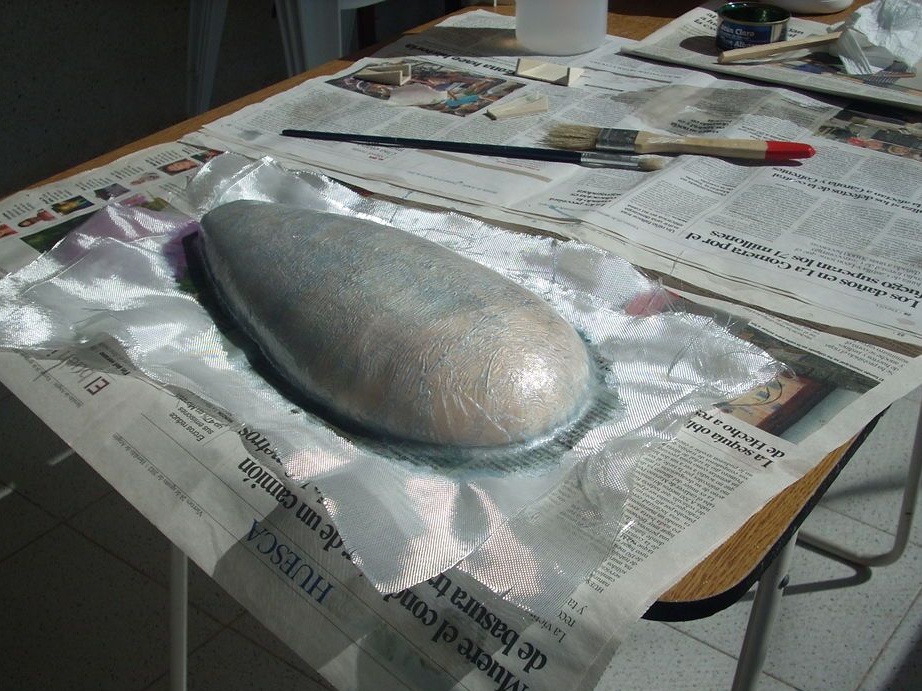
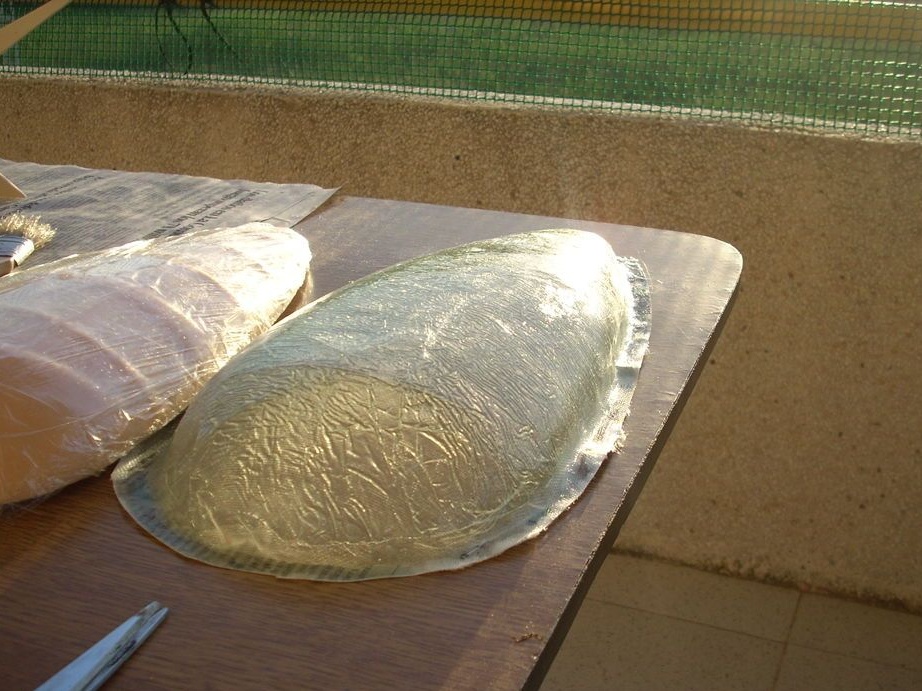
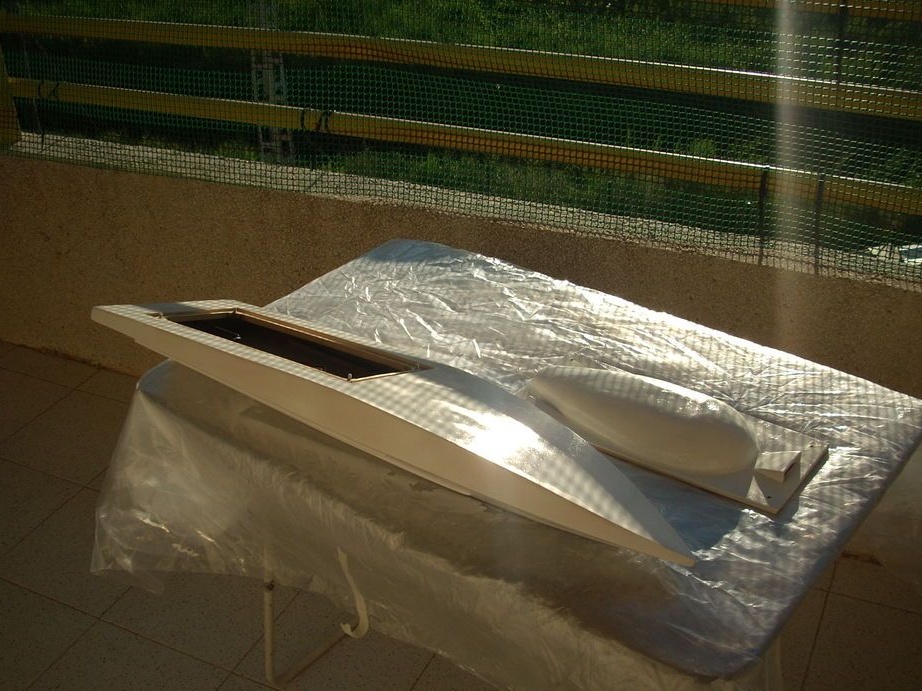
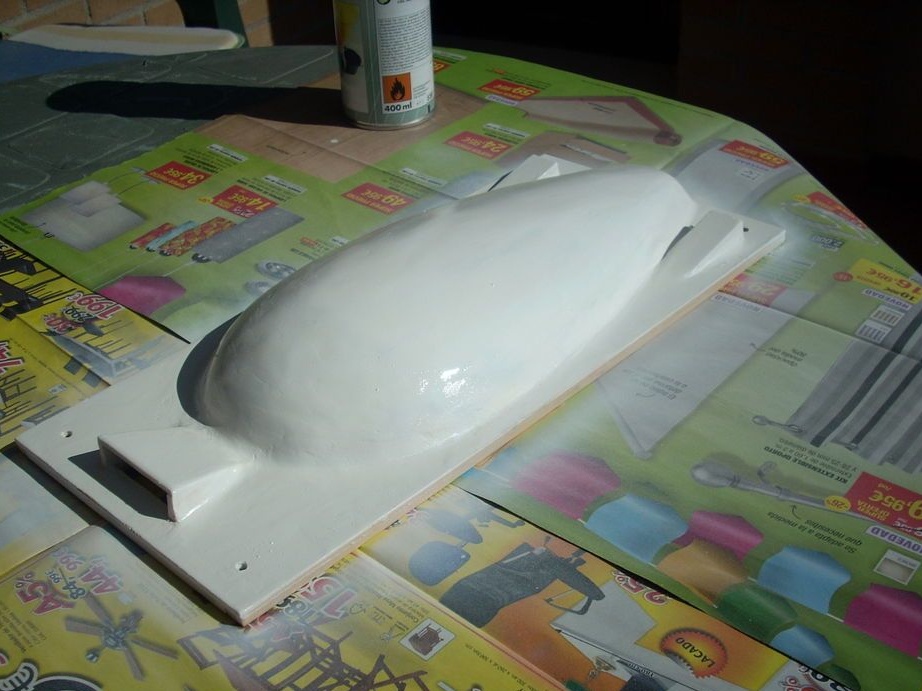
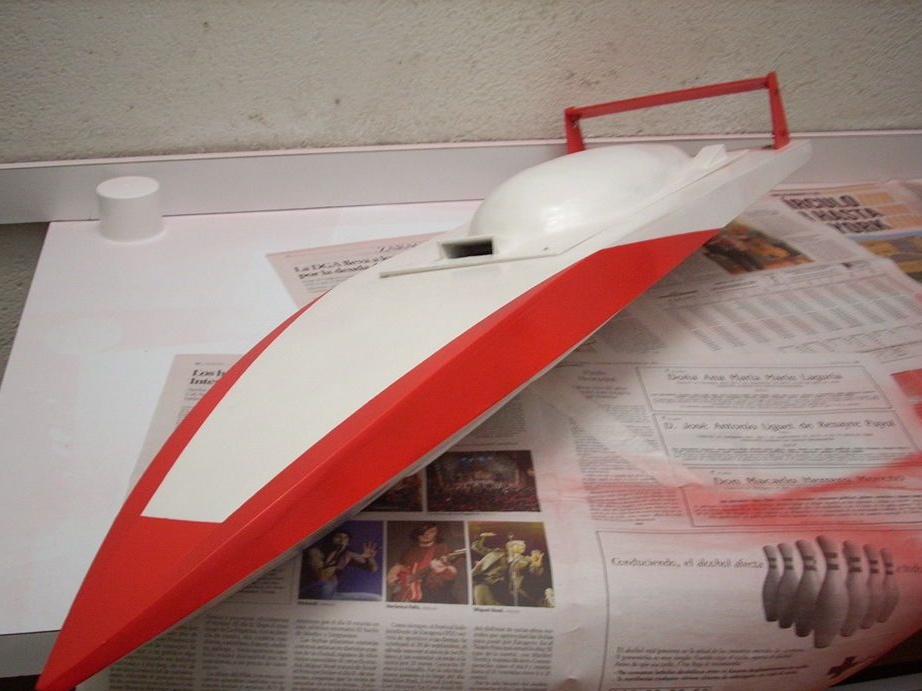
Step Eight: Cabin (Cockpit)
The master makes a cabin from fiberglass. First, a mold is made of polystyrene. Then paste over the mold with fiberglass impregnated with epoxy resin.
From plywood cuts a sheet to the size of the deck frame.The sheet makes air intakes. Air intakes are needed to cool the power plant. Glues the cab to the sheet.
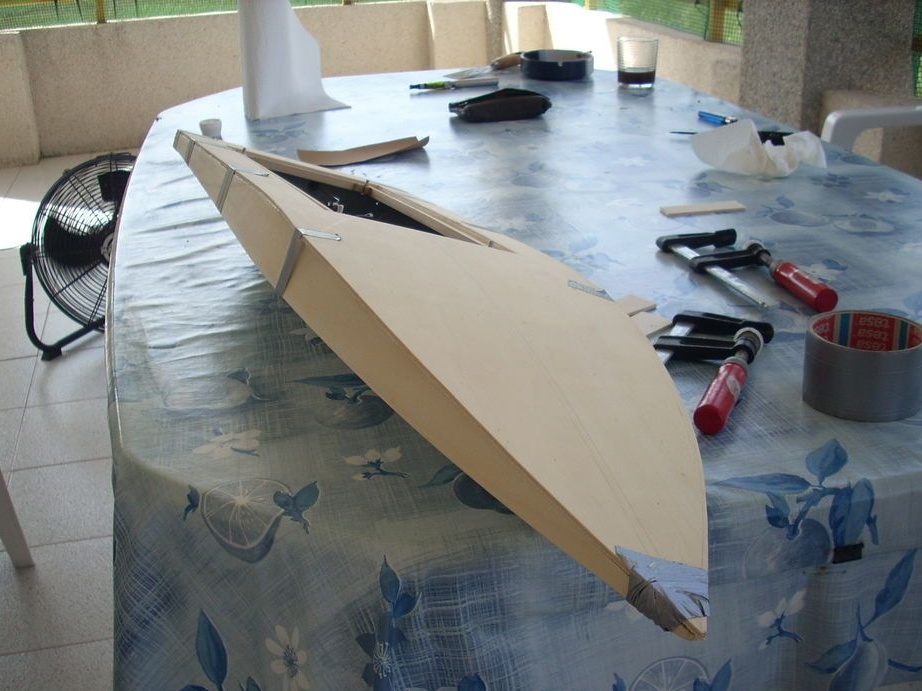
Step Nine: Housing Assembly
Glues two parts of the body together.

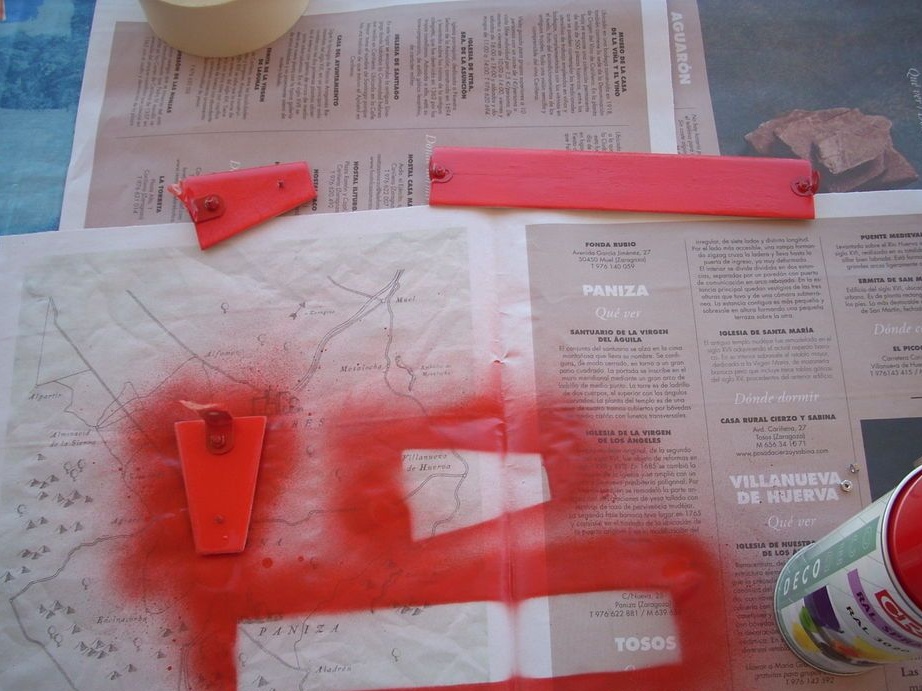
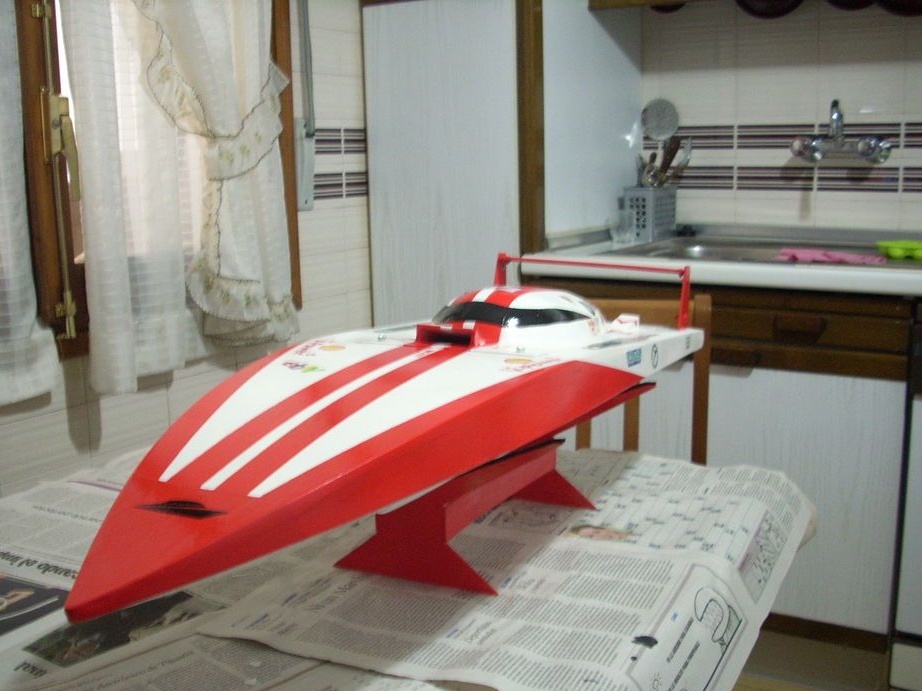
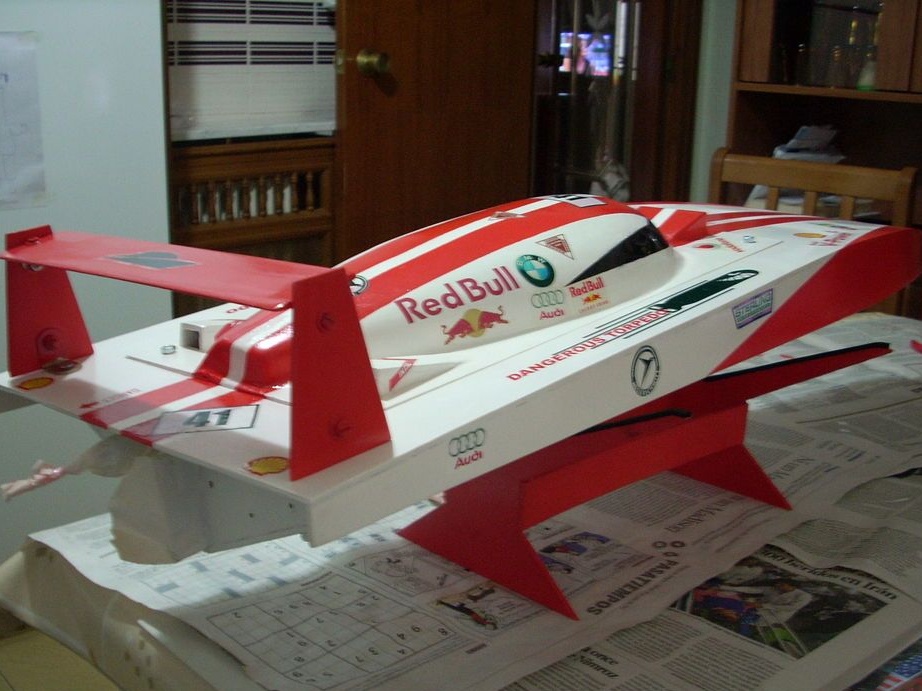
Step Ten: Spoiler
Installs a spoiler.
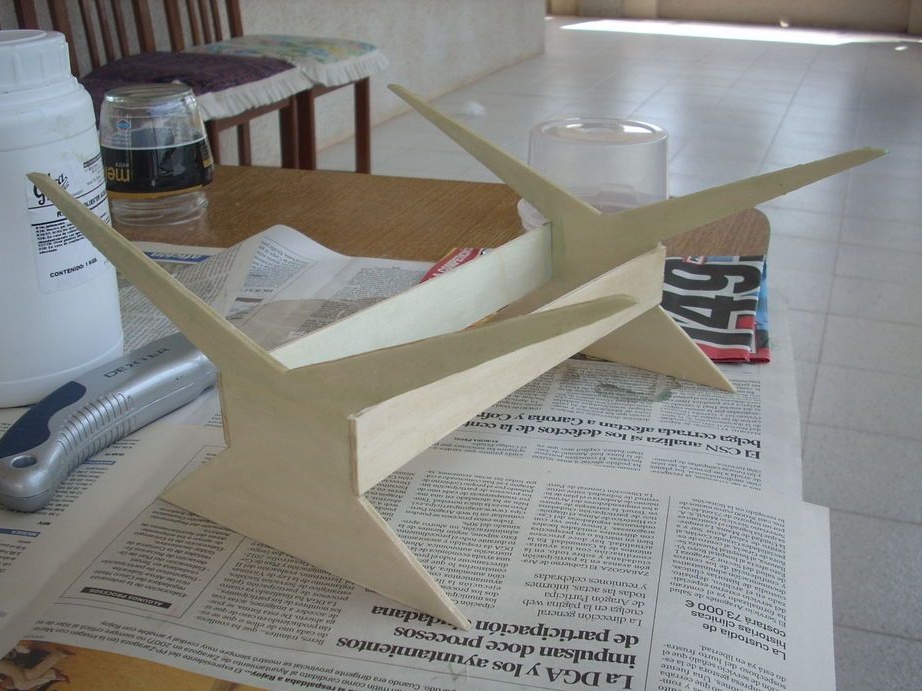
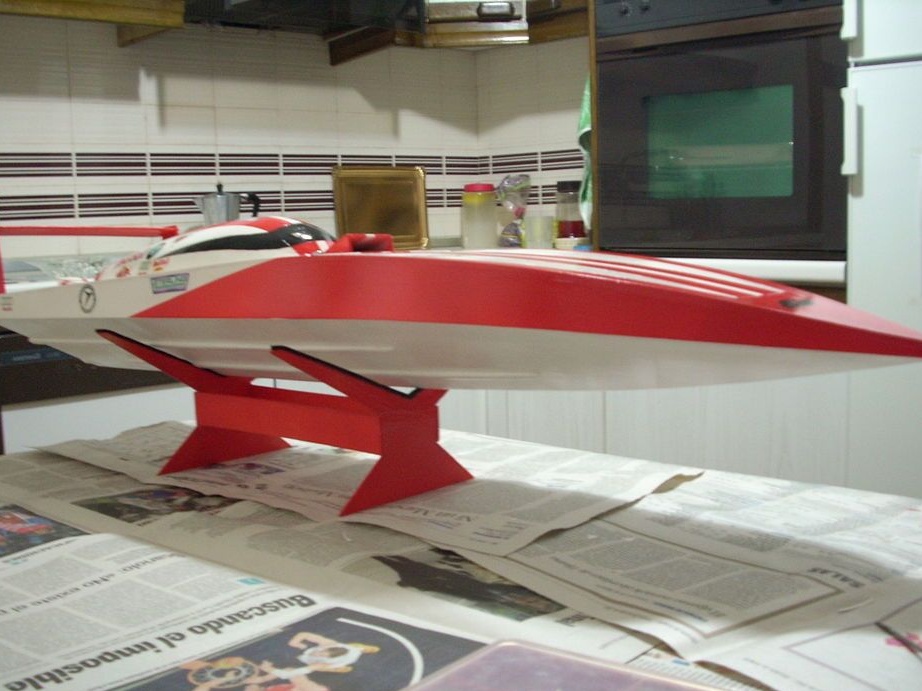
Step Eleven: Stand
In order not to scratch the boat during storage, the master makes a stand.
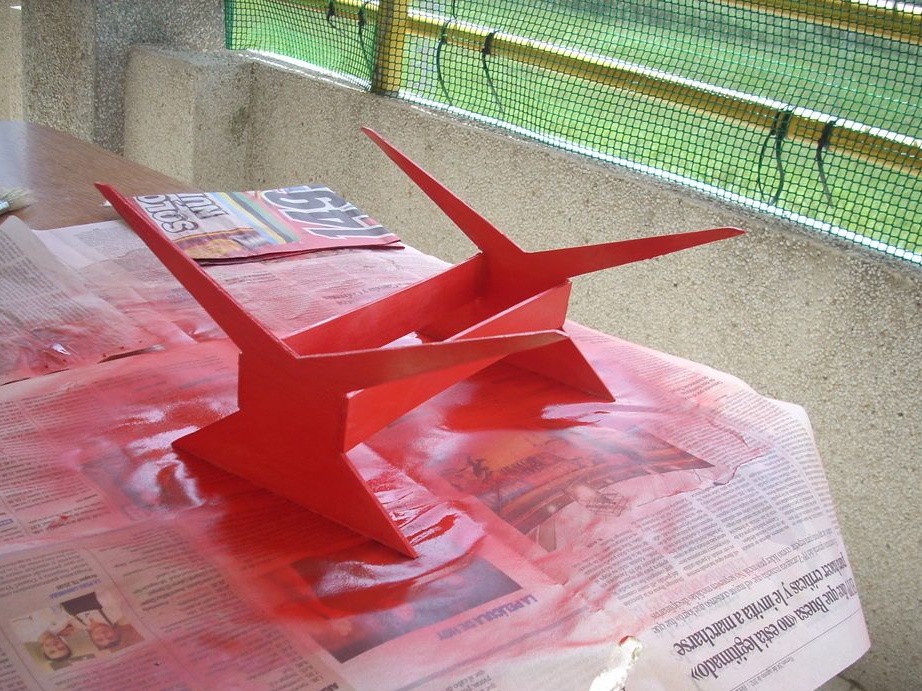
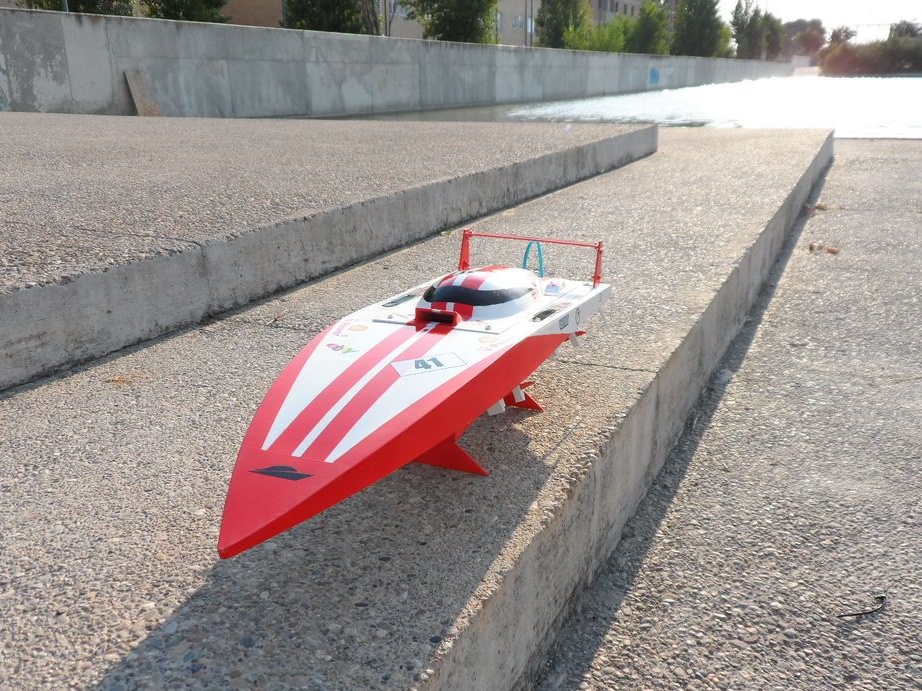
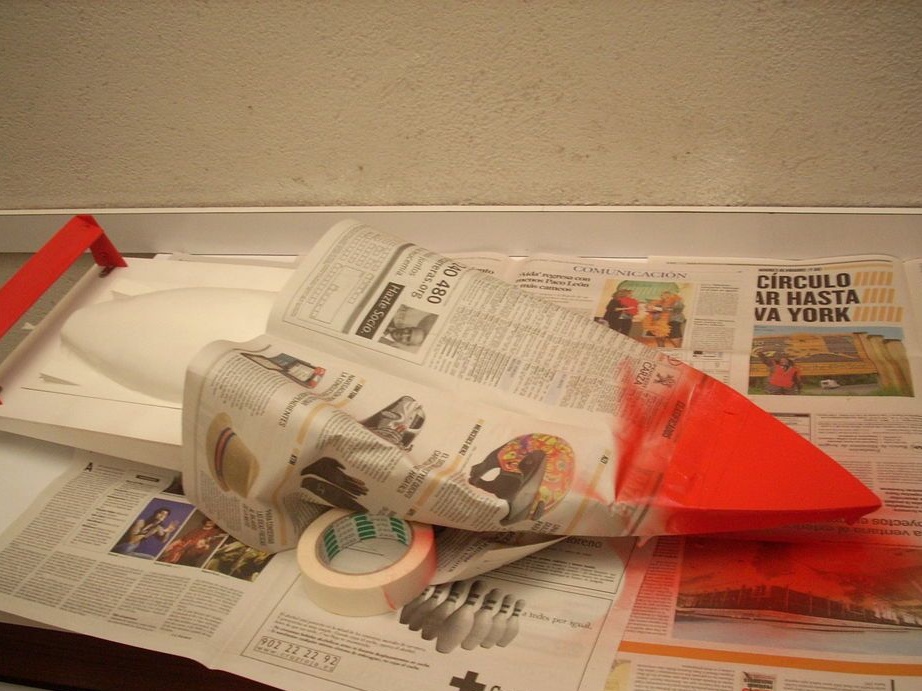
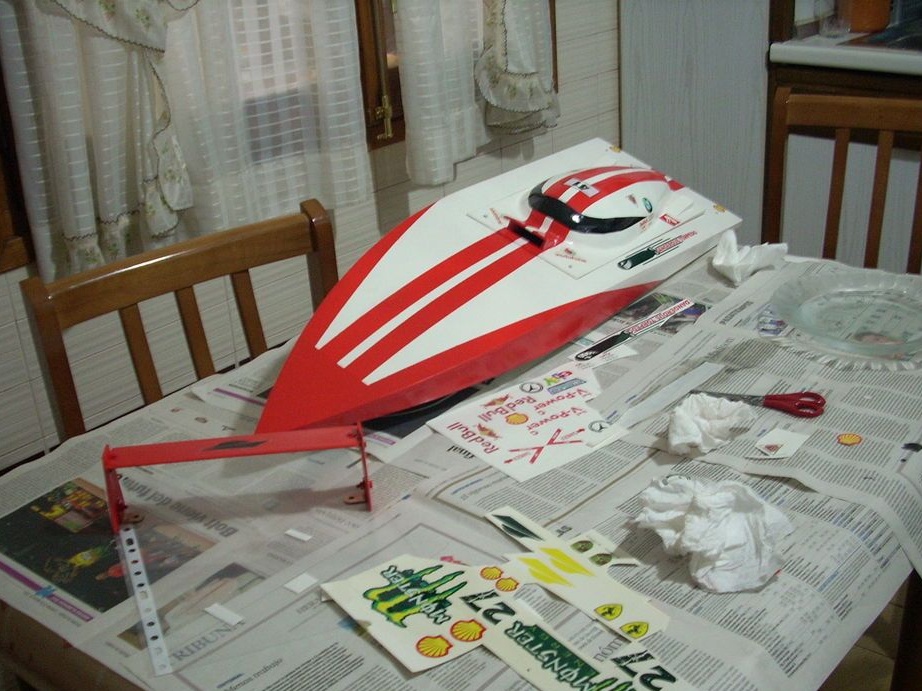
Step Twelve: Painting
Then the master paints the parts of the boat. When staining, it uses white, red and black paints.
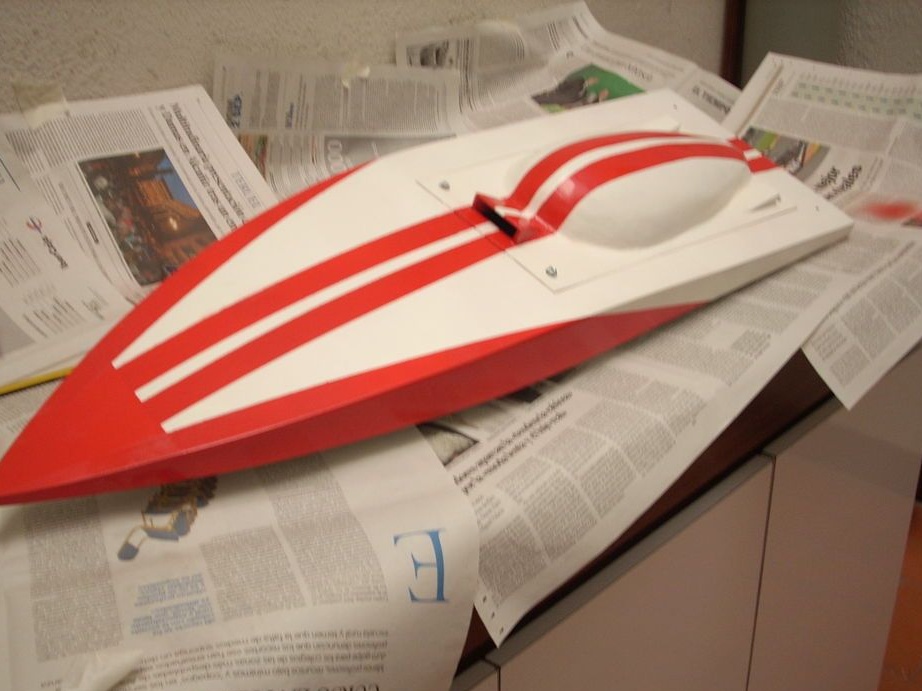
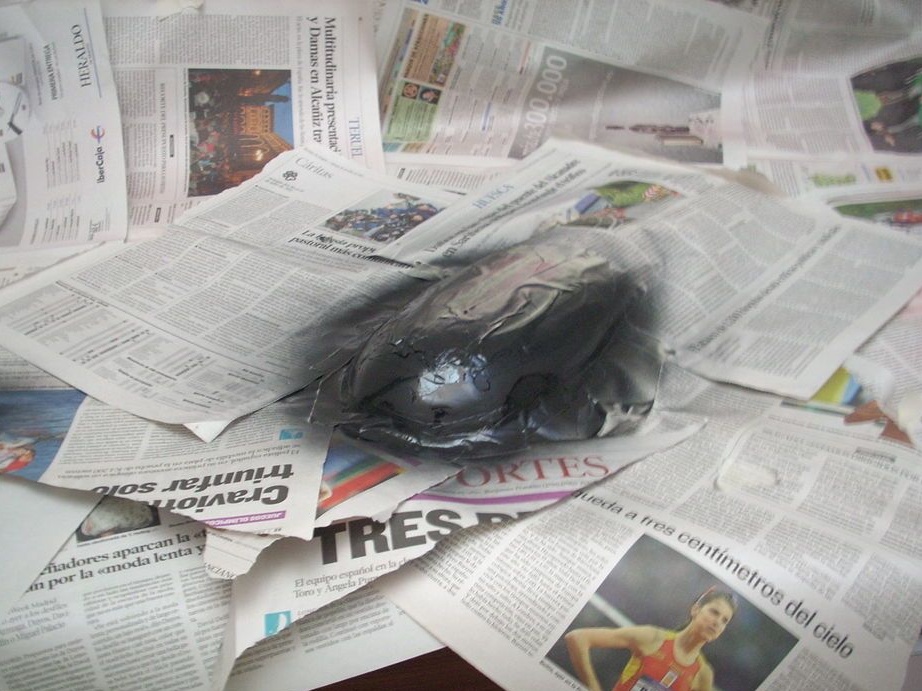
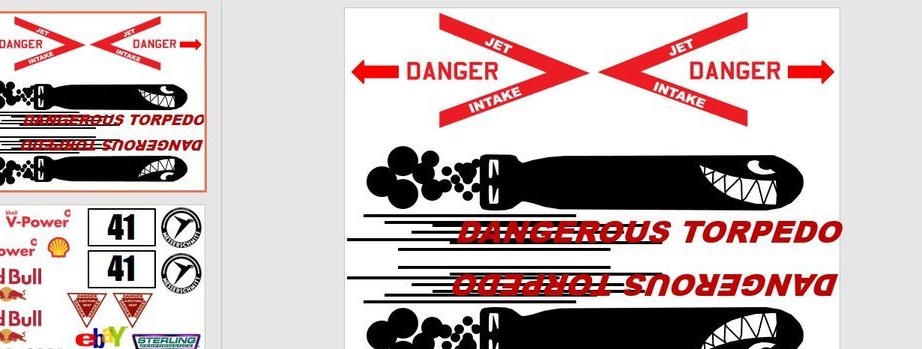
Step Thirteen: Stickers
On paper with an adhesive layer prints drawings and inscriptions. Sticks them on a boat.
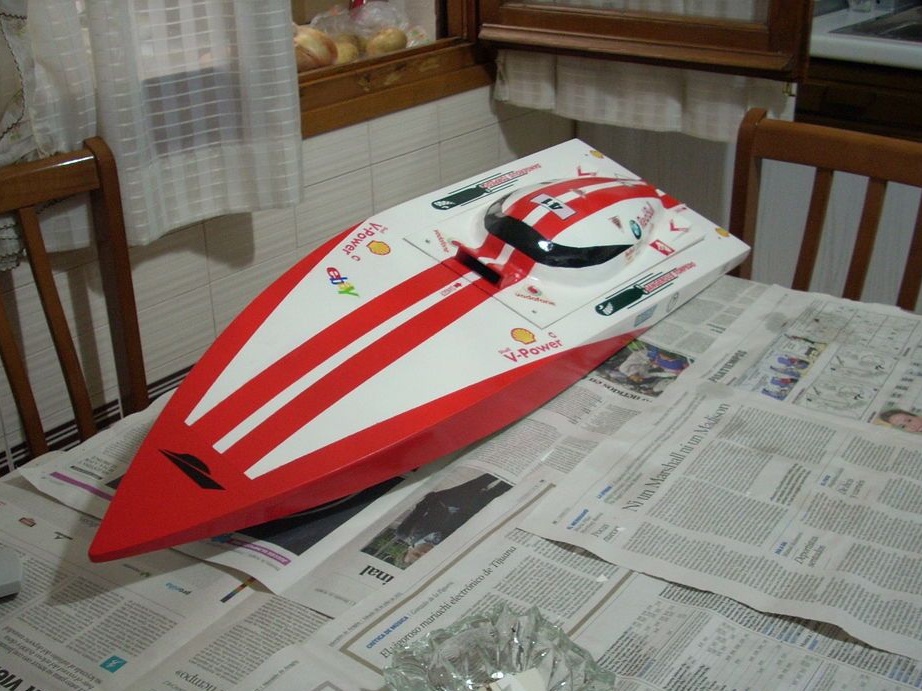
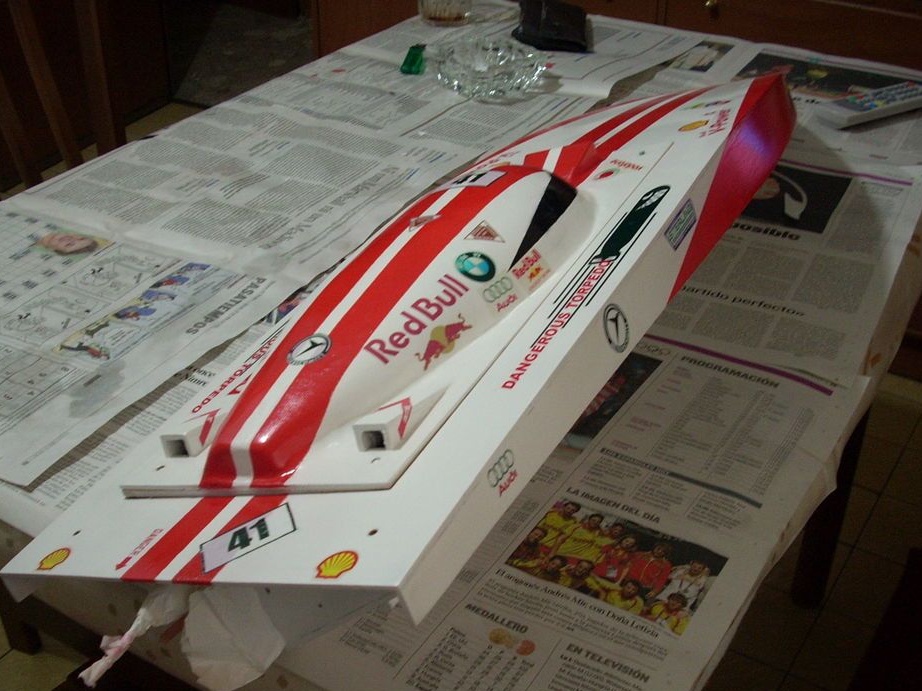
Step fourteen: varnishing
Covers the boat with varnish in three layers.

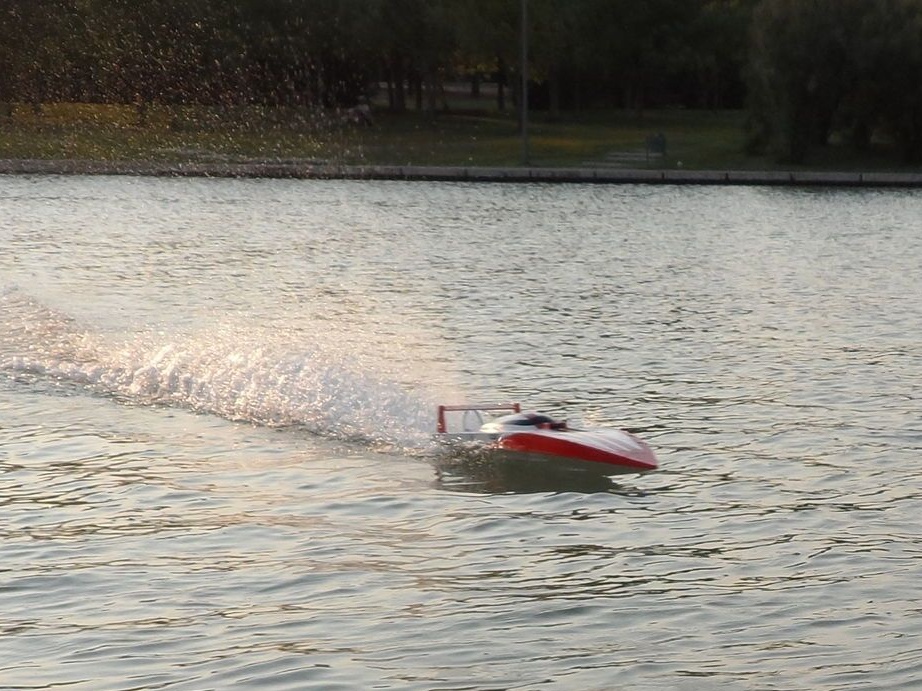
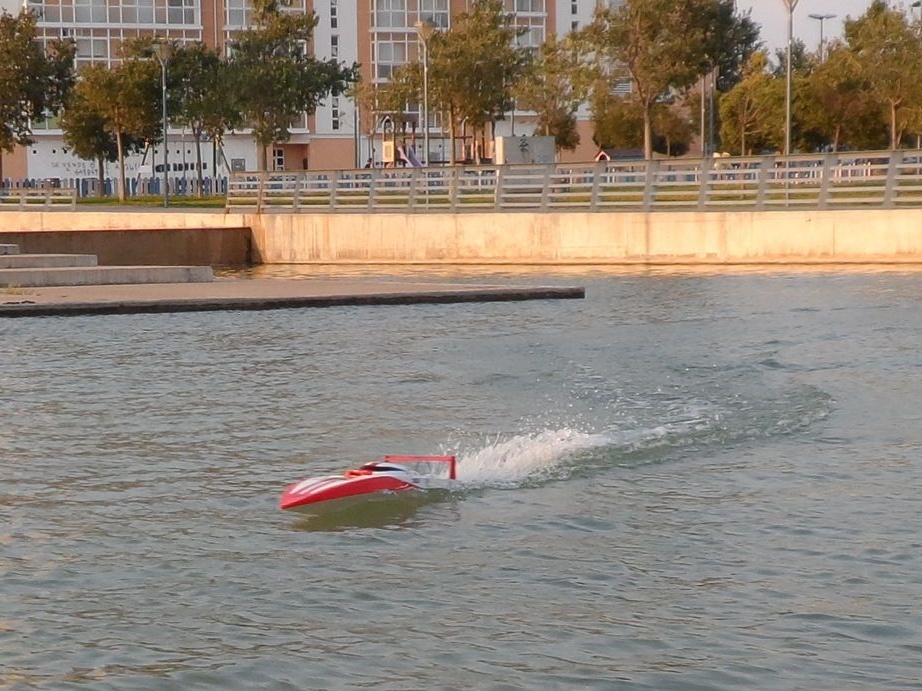
Next, you need to install the battery, controller, fix the cabin and the boat is ready. It remains to get to the reservoir and check it in action.