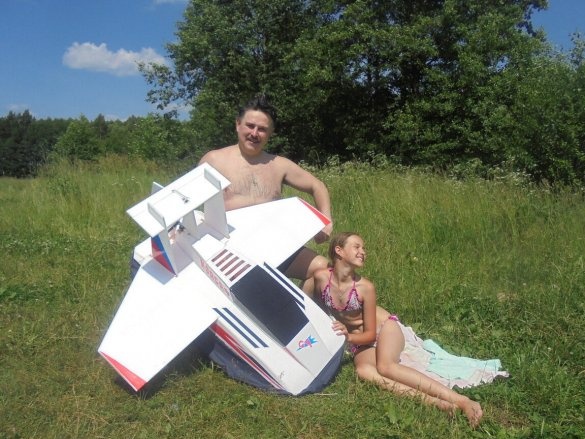
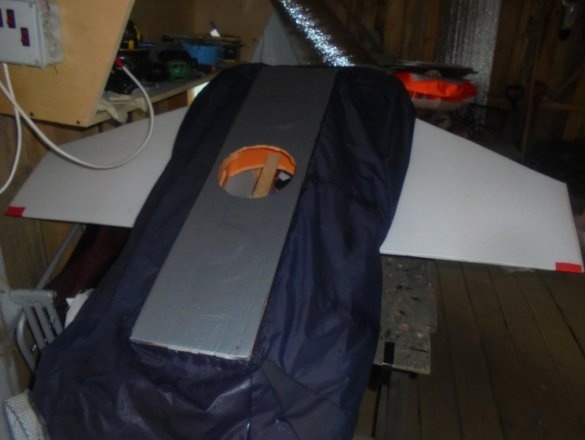
Dear friends! If you want to build an interesting model, which will bring a lot of joy in the winter, when there are snowy expanses around, and in the summer heat, when you want to stay by the pond with transparent cool water, then build the model with me!
I started construction with the development of drawings and templates for skirts SVP
By the way, I want to express my deep gratitude to the author of the ekranoplan projects Vladimir Sered for help with building the SVP under the name - "".
And also to bring many thanks to the author of the model SVP Alexander Don for his participation in the advice of my project. His was the main tool in the construction of our apparatus.
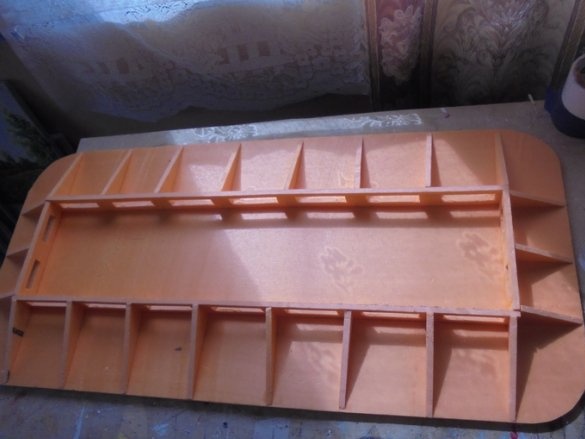
Especially I give a lot of detailed photos of skirt templates for those who want to build SVP.
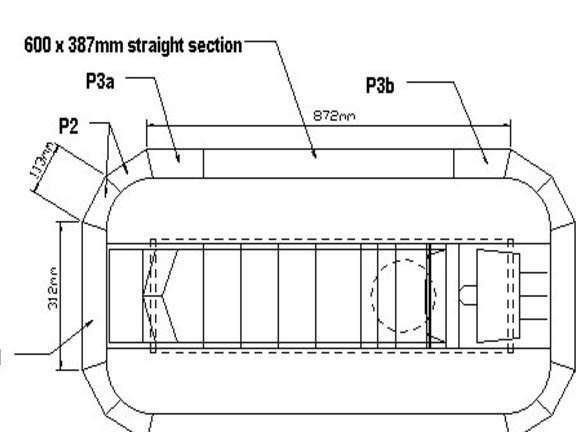
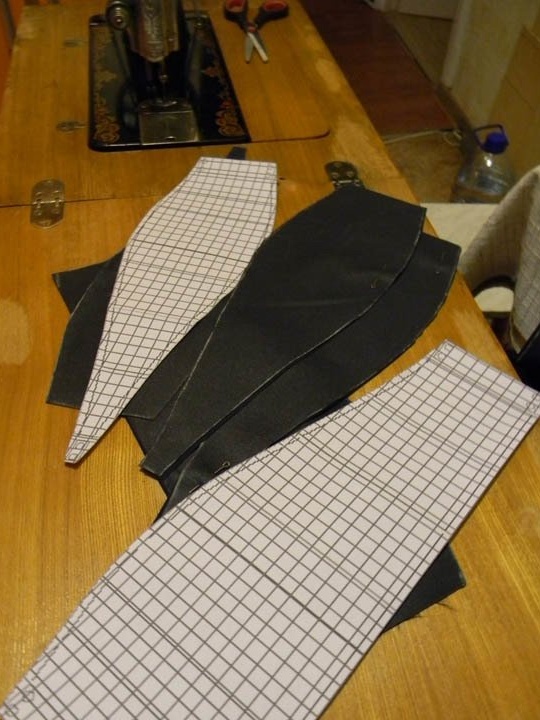

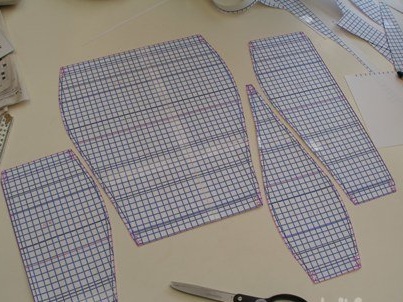
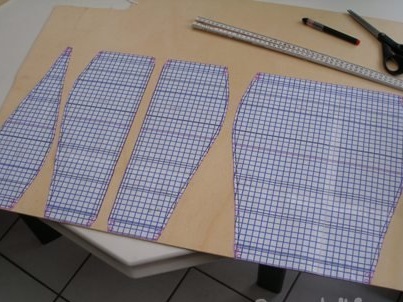
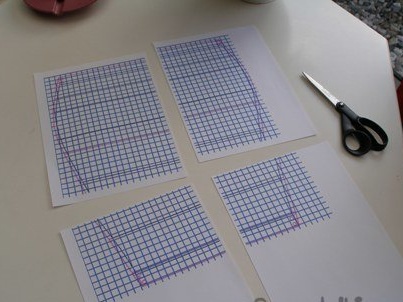
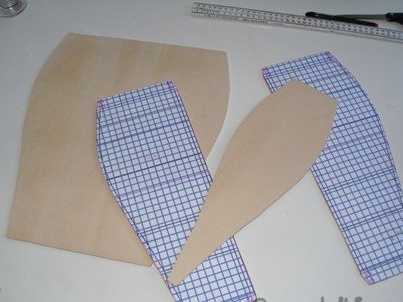
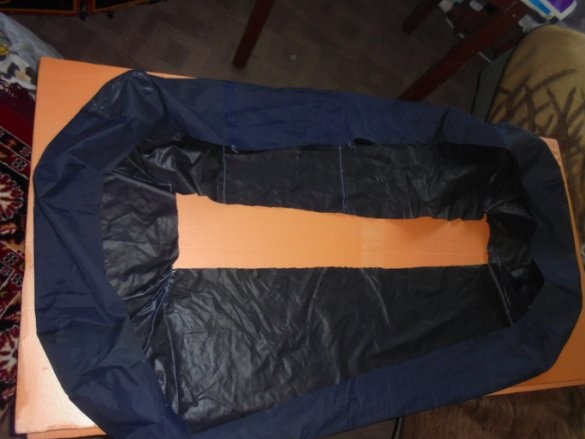
I got such a "skirt".
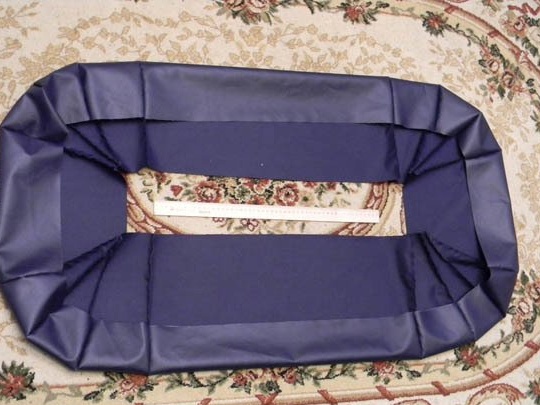
As a material for the manufacture of "skirts" you can use the old women's raincoat "Bologna". Or buy 1 meter of material - "raincoat fabric".
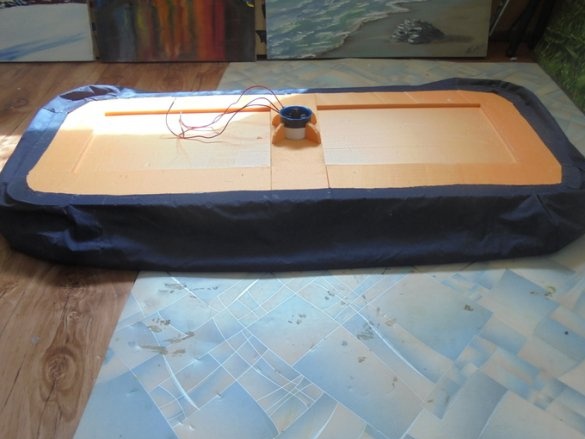
Having straightened the “skirt” on the “polystyrene” insulation sheet, I determined the exact dimensions of the upper and lower decks of the SVP hull.
Upper deck: 940 mm.x450 mm.
Lower: 770 mm.x 190 mm.
A skirt will be attached to this body
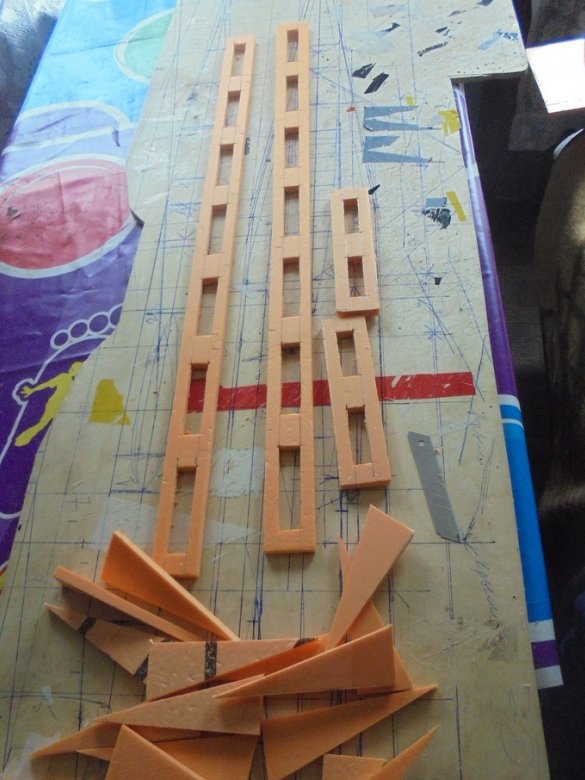
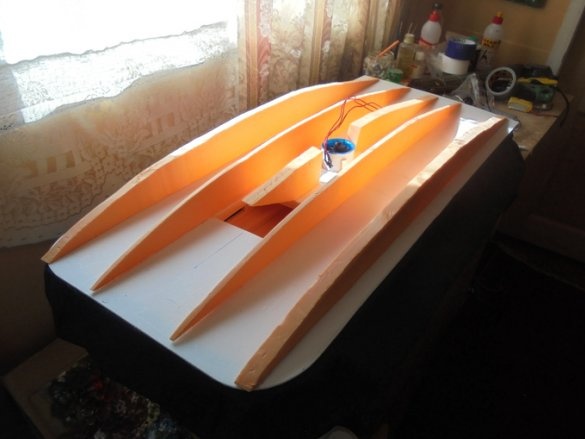
Expanded polystyrene, 50 mm thick, dissolve by foam cutting into sheets 10 mm thick. Received 5 sheets of size 1200 mm x 600 mm.
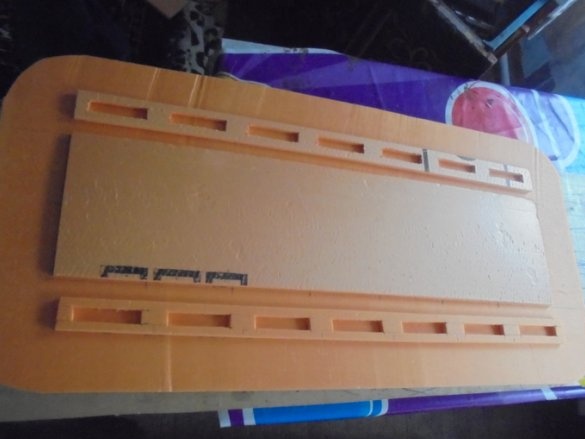
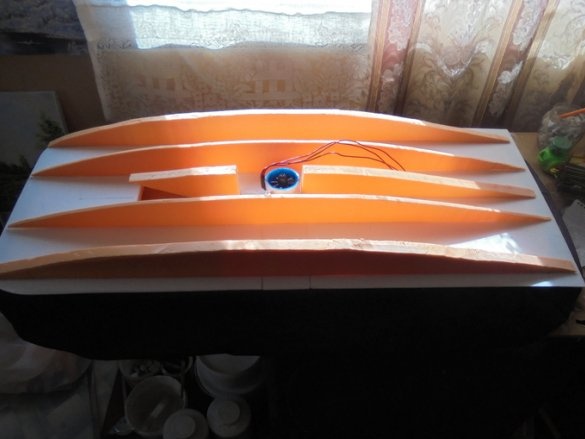
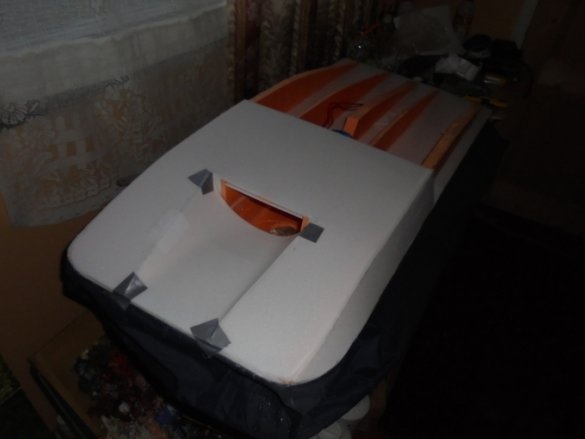
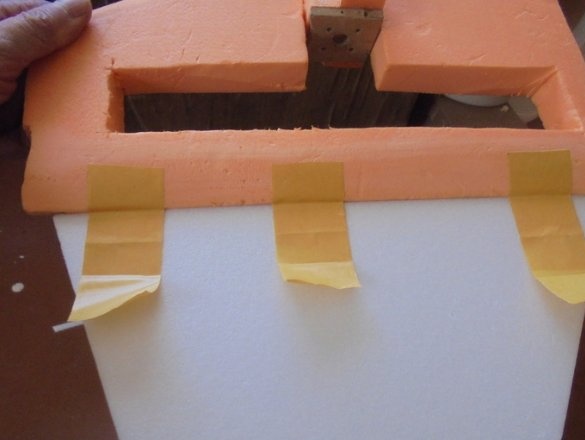
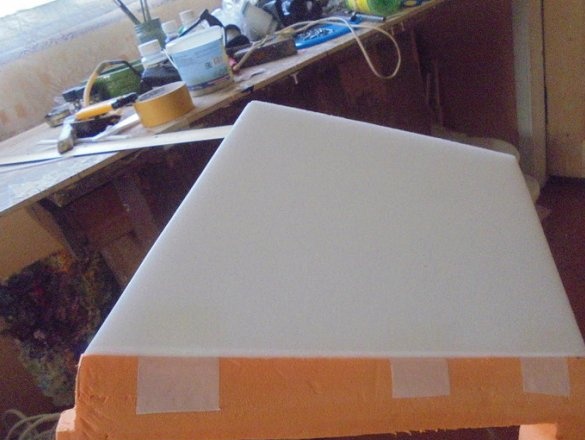
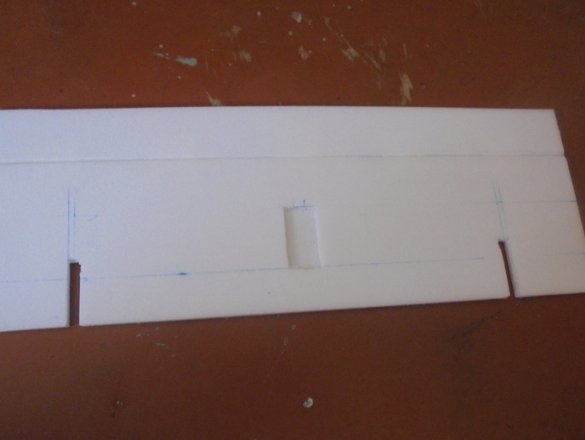
I cut the upper and lower decks and all the barriers, try on and mount in place.
The blanks are ready.
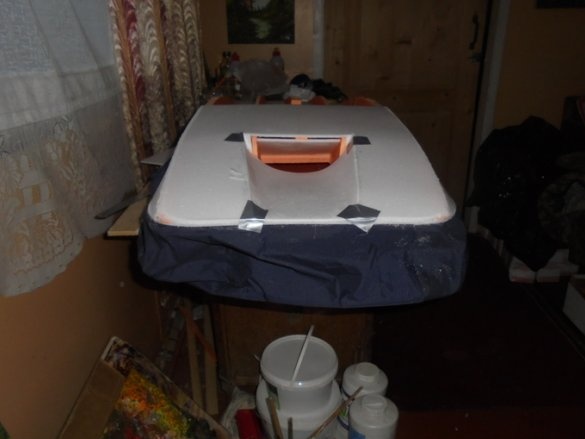
Installation of the upper and lower decks. Didn't take much time.
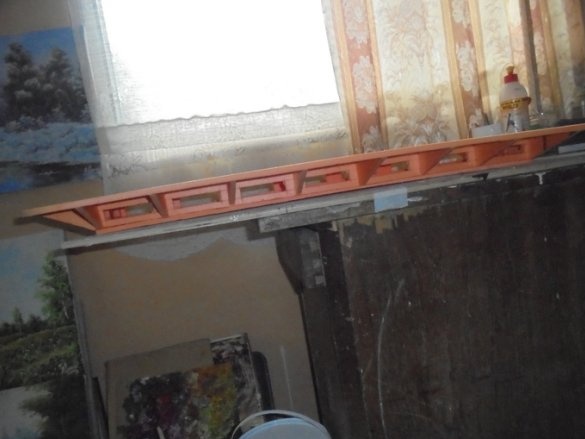
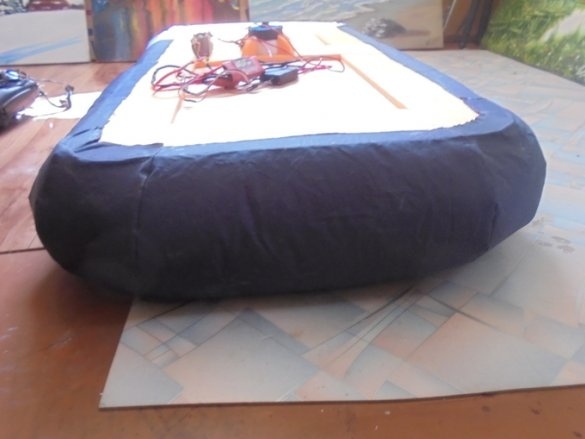
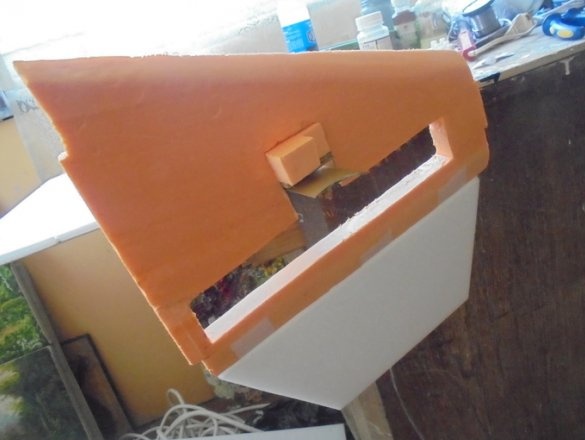
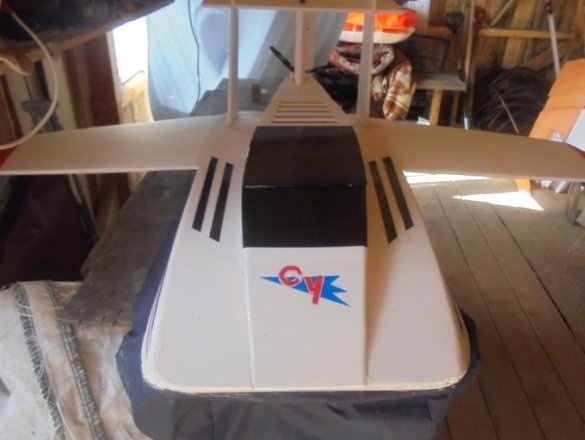
End view.
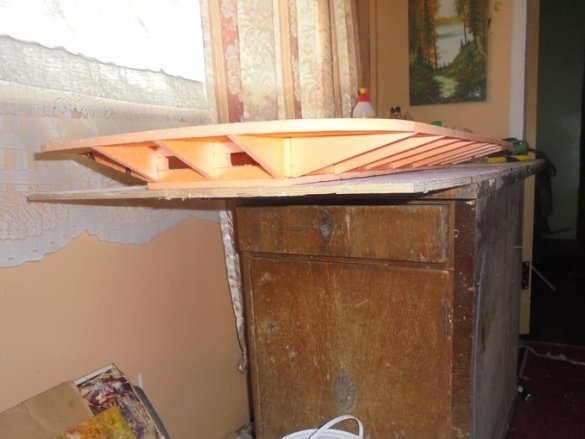
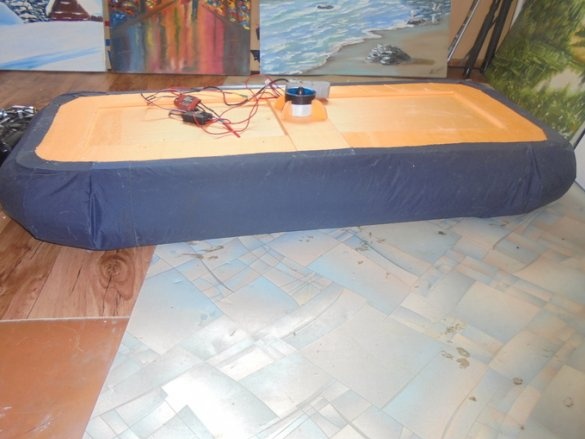
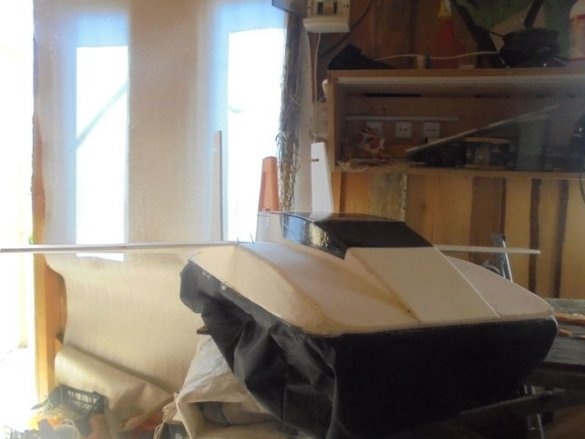
Side view.
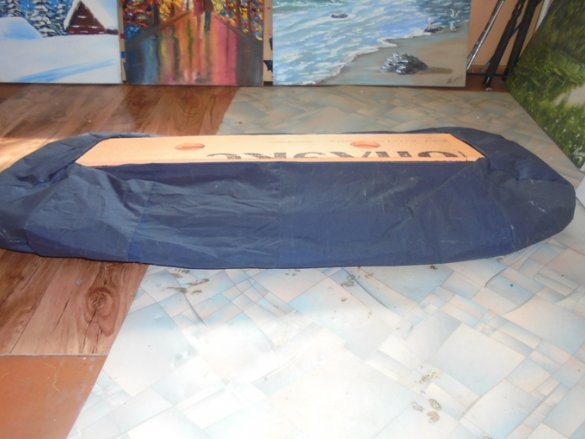
I stick the "skirt".
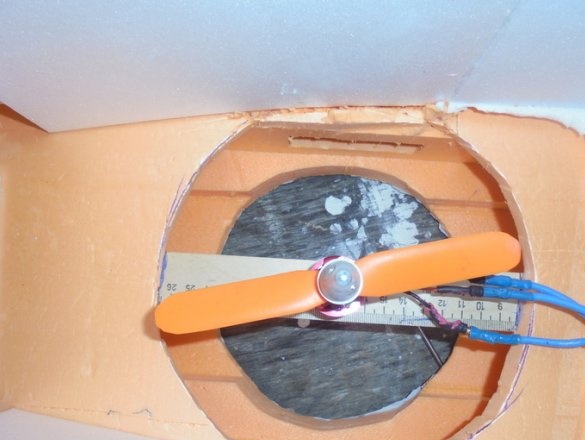
I put the impeller on the blower. - ADH 300L 5800 rpm Thrust 386.12 g at 11.1 V. Power 266.8 watts.
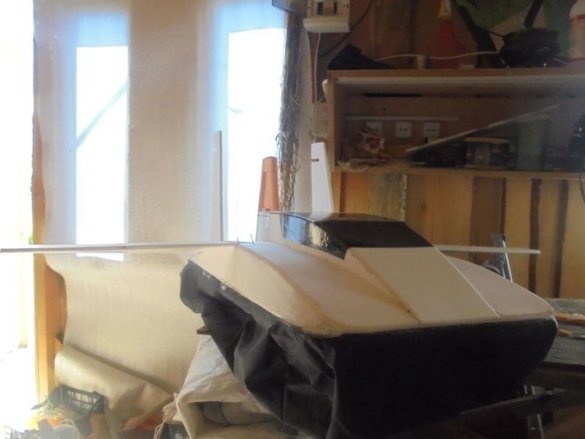
This is how the body without blowing looks.
And so with a blow.
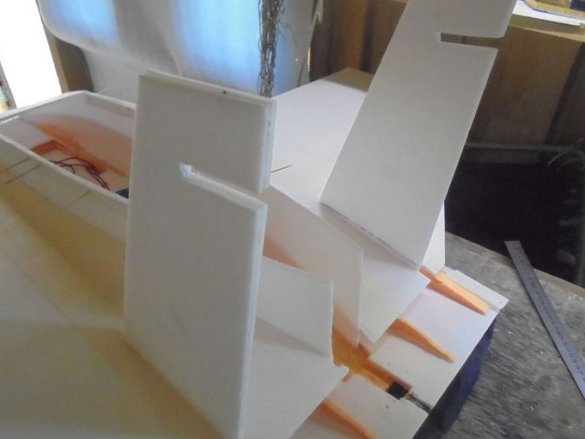
These stiffeners are mounted on the body of the SVP.
The most interesting part begins - the sheathing of the body with a ceiling.
I want to draw attention to the fact that all operations are done without drawings, are cut out in place and mounted after fitting.
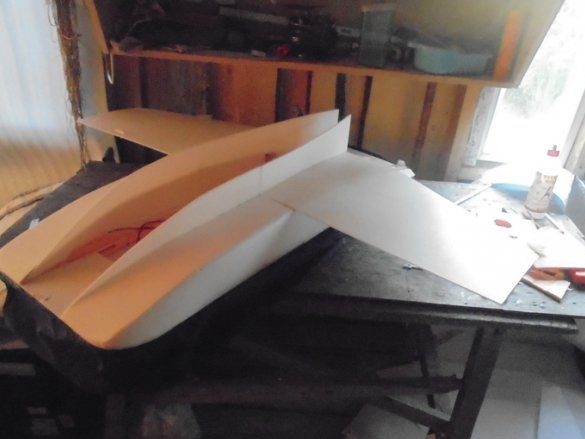
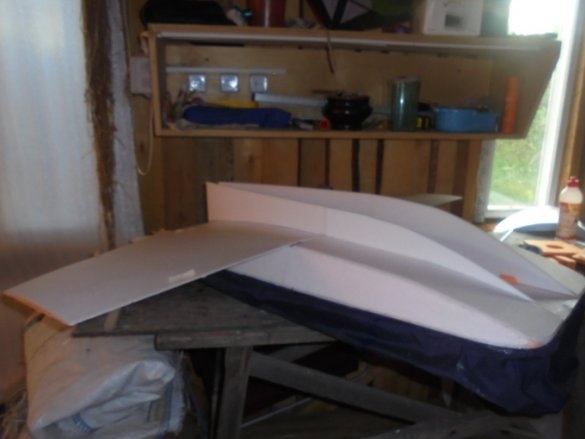
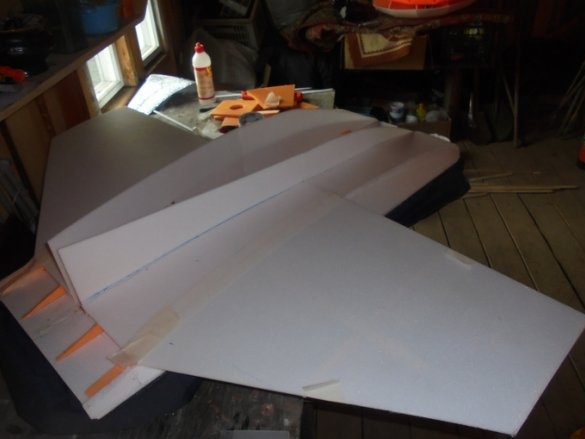
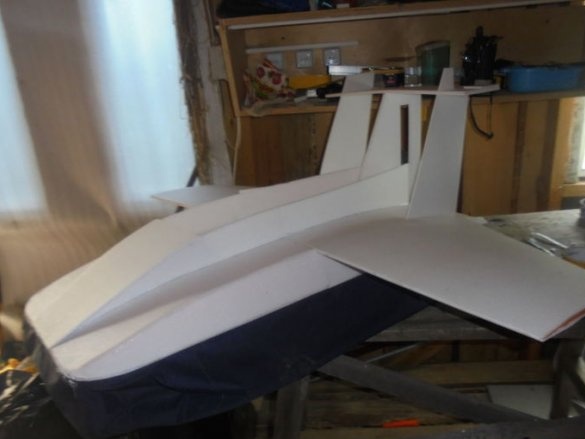
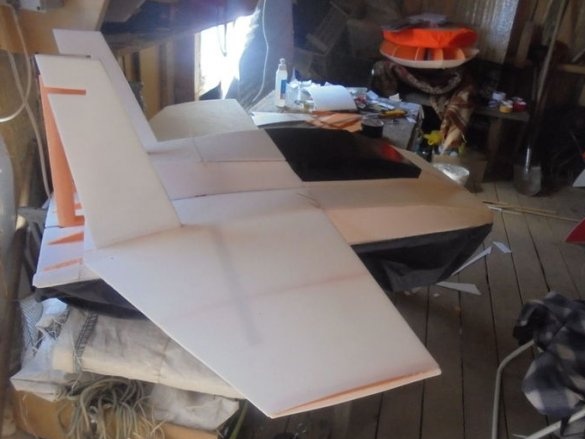
I set the wing.
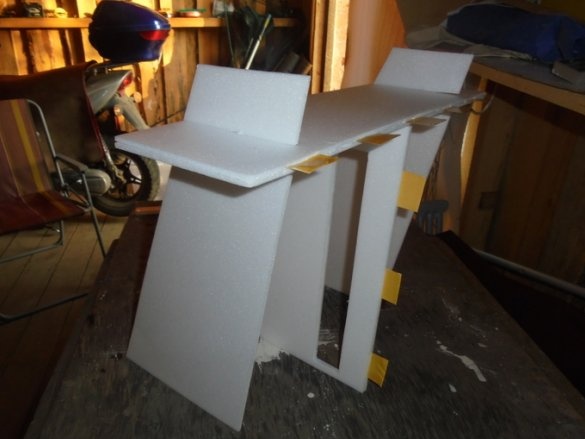
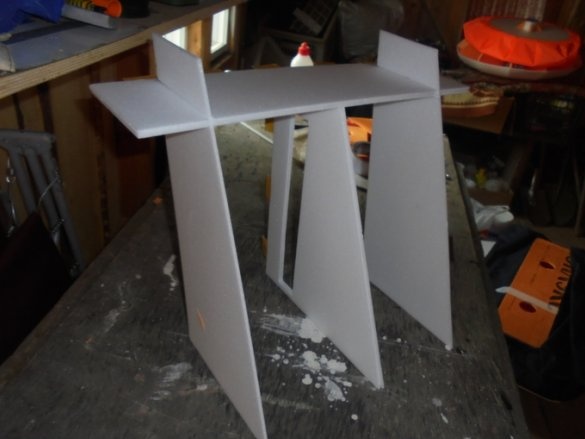
This is what the tail unit looks like before being put back into place.
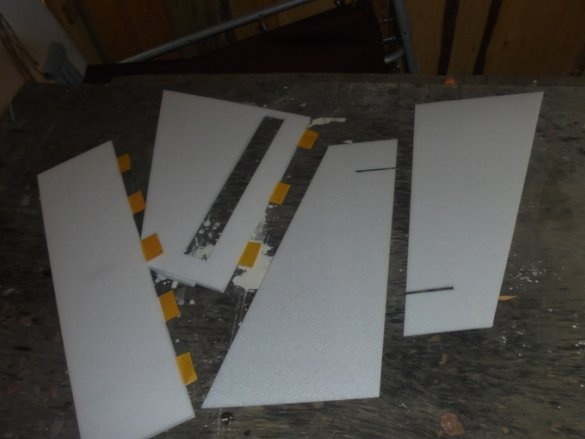
Blanks.
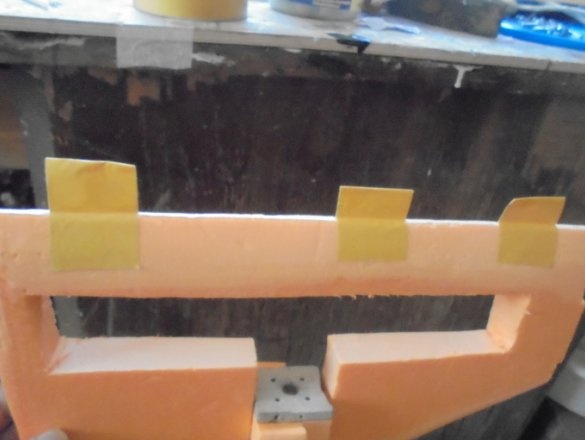
Assembled, before gluing. Double-sided tape inserts are visible for mounting the RV and IRN. Preparing a blank for the engine mount.
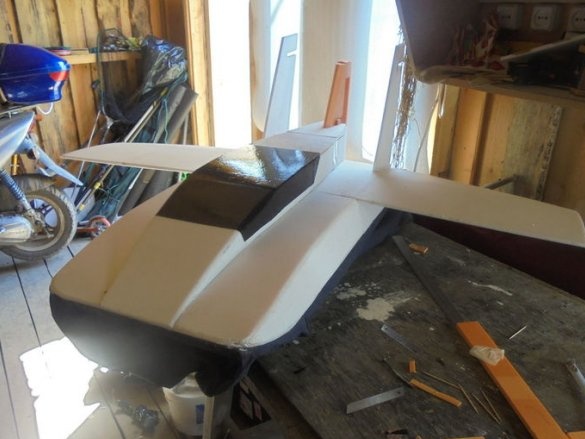
This is what the model looks like.
This is how tail feathering is adjusted locally.
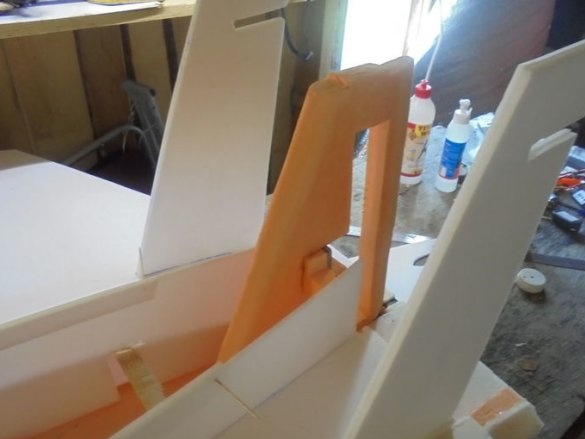
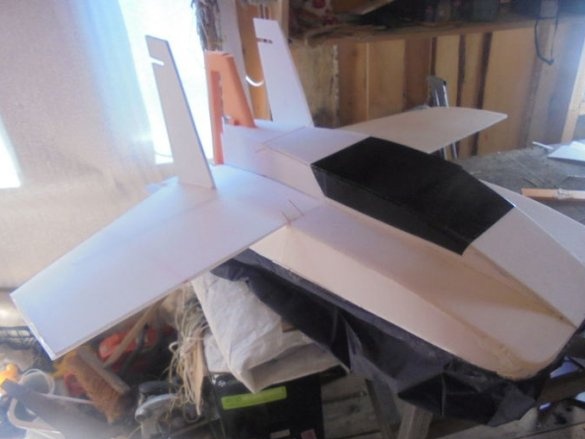
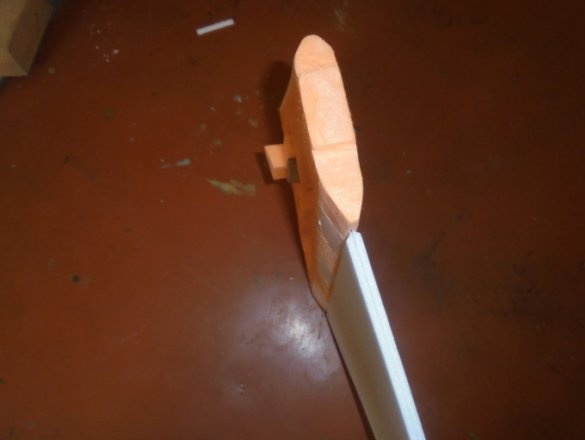
Install vertical stabilizers.
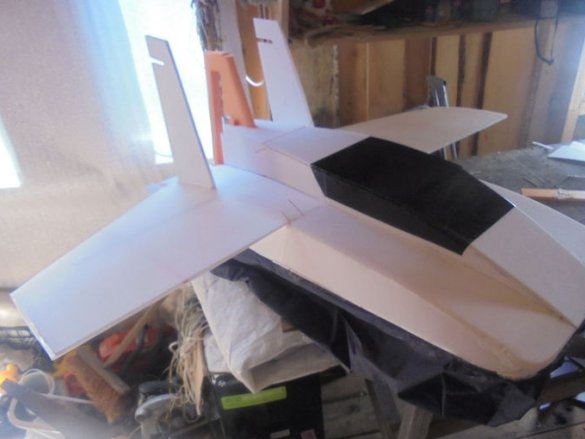
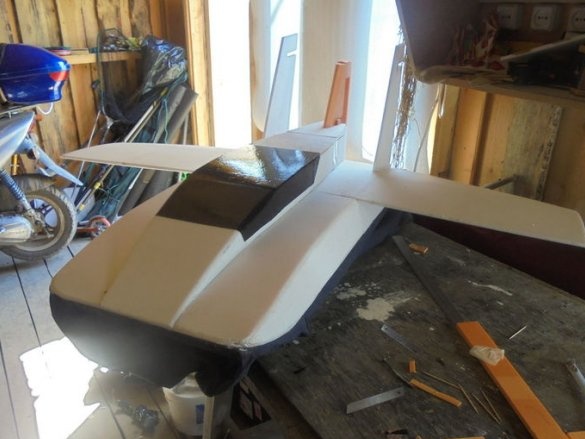
I made such a cabin.
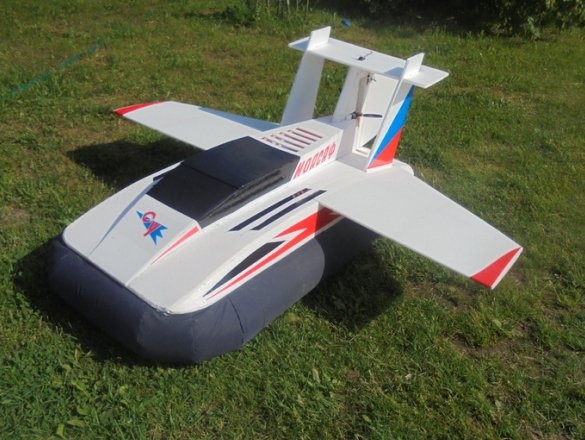
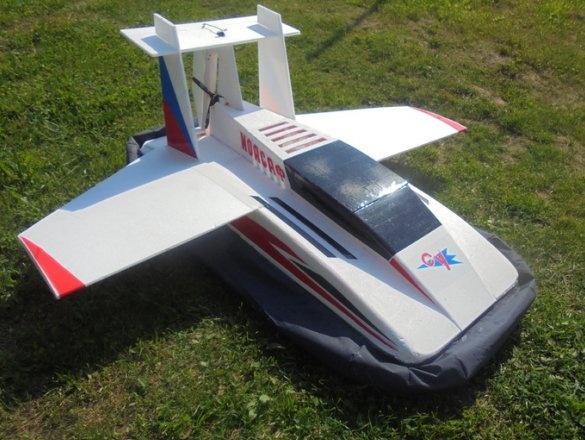
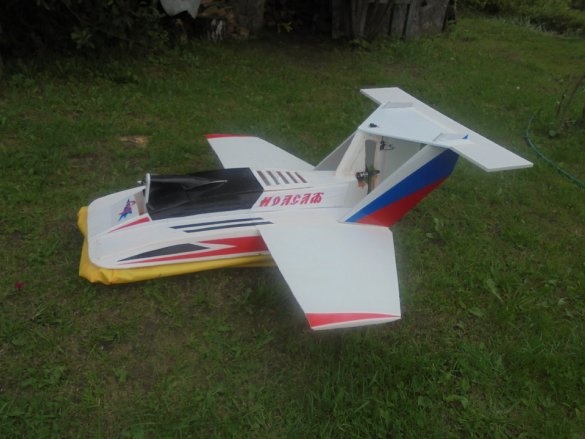
The model has acquired a complete shape.
The model is large, the weight is also, and I decided to replace the impeller with a 2210-1400 motor, an 8x4 screw,
On the grass, with the engine running (blowing) it slides from the slightest push, does not rotate!
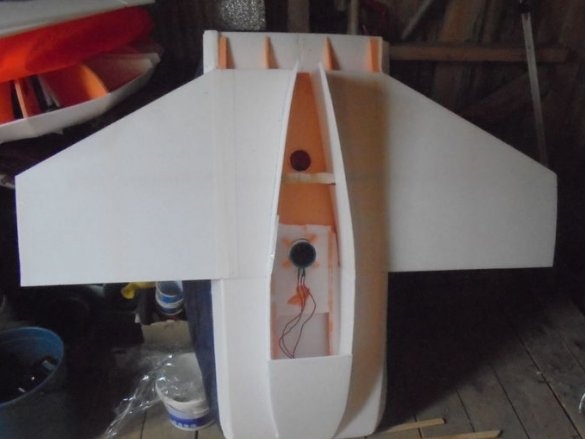
I found the central heating, balanced, determined the places for electronics. He completed the installation of the tail unit, put the servos, connected the rods and the main engine.
RN strengthened on double-sided tape.
Scotch tape compresses the keel on both sides,
and the half-folded segment is clamped between the two layers of the ceiling, having previously removed the paper base.
On a double-sided tape sandwiched between two layers of ceilings mounted and PB.
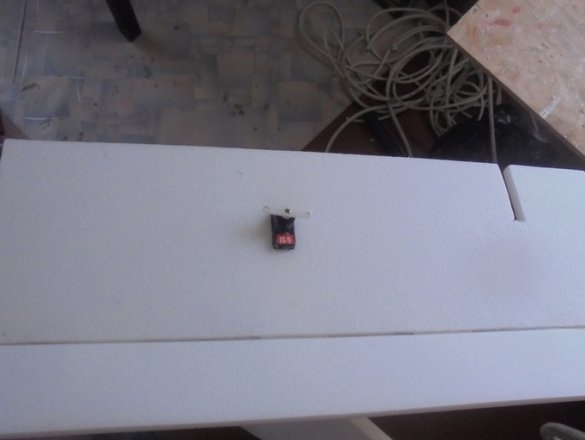
Put the servo on the RV.
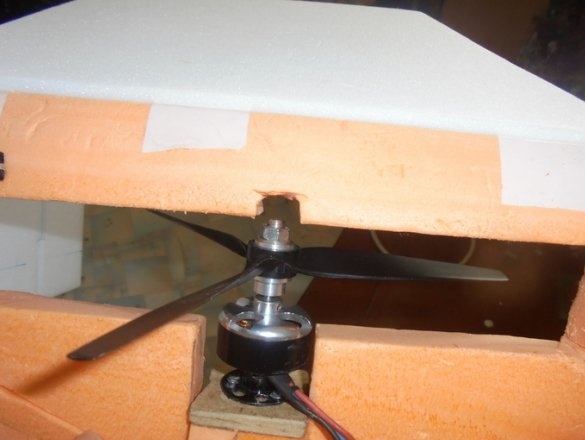
Installed a marching engine - a motor 3010 1300 320W. Thrust 1650 Propeller three-bladed 8x6.
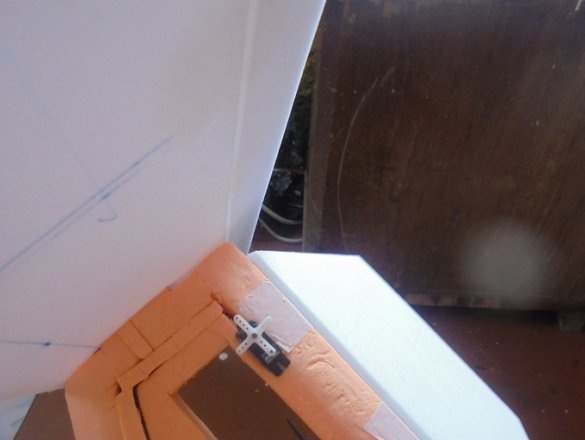
Installed a second servo on the pH.
That's all. The rods are connected, the motor is in place, everything works.
You can fit with tape, do design.
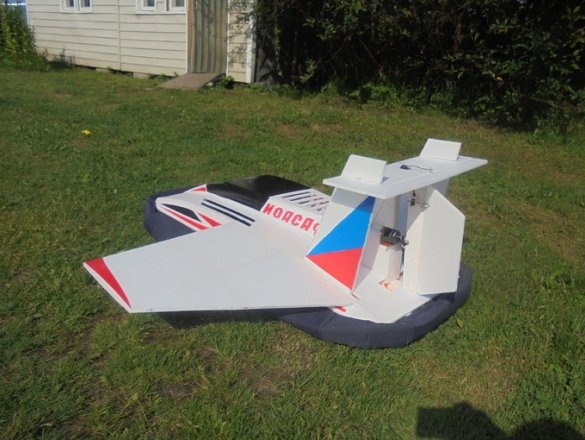
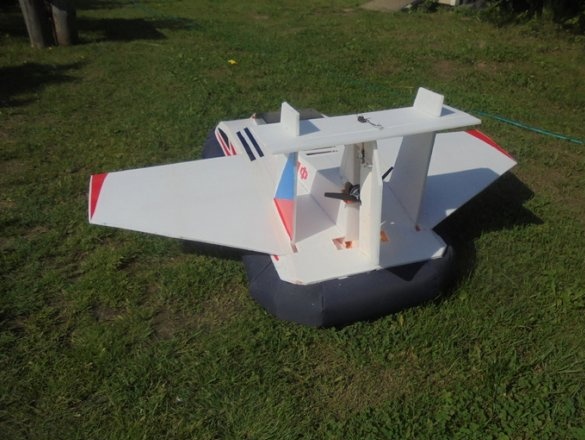
This is what Joasaph looks like in the final version.
Last minutes on the slipway.
It is non-blowing
And this is blowing.
At first, I decided to test how the model keeps on the water. Used a small pond in his area.
Before the first start in big water.
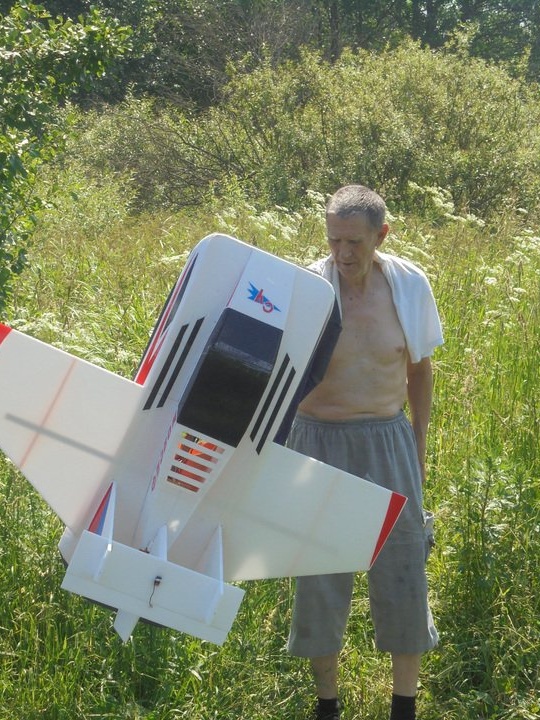
And this is the first test test in big water.
The first selfies with the new model.
The model dries up after baptism.
The model was successful!
Friends, thank you for building this model with me! Wish you success.


