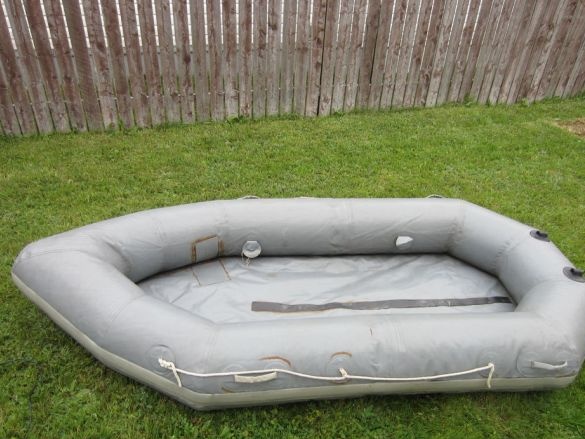
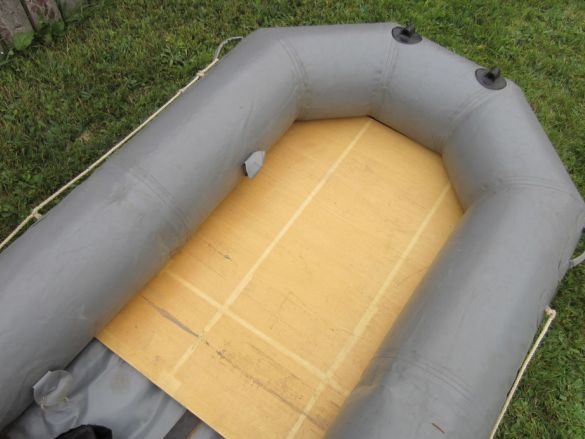
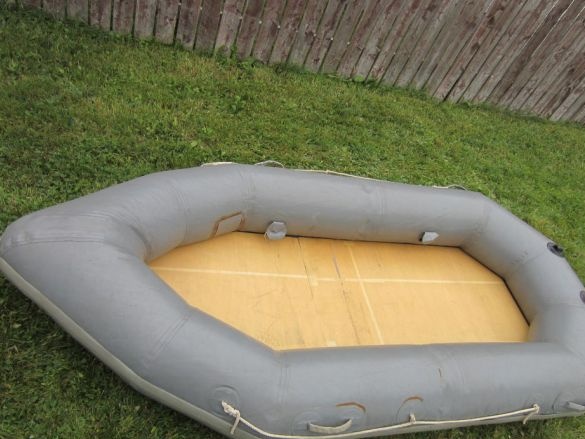
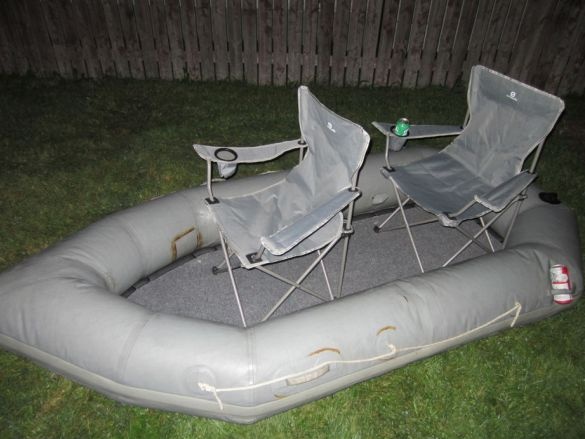
On occasion, the master master got an inflatable boat. The problem was that the bottom of the boat did not inflate, as on most inflatable boats. In this boat, flooring from the boards should be placed. In view of its absence, the lower part missed, and the boat did not fulfill its functions. The master decided to make the flooring on his own. For the manufacture of flooring, the master used the following
Tools and materials:
-Plywood;
- Geotextile;
-Carpet covering;
-Heater for pipes;
-Plastic screed;
-Bar;
-Board;
-Crown on wood;
-Drill;
-Pencil;
-Rule;
-Gon;
-Fasteners;
- Loops;
-Scissors;
-Aerosol adhesive;
Step One: Measure
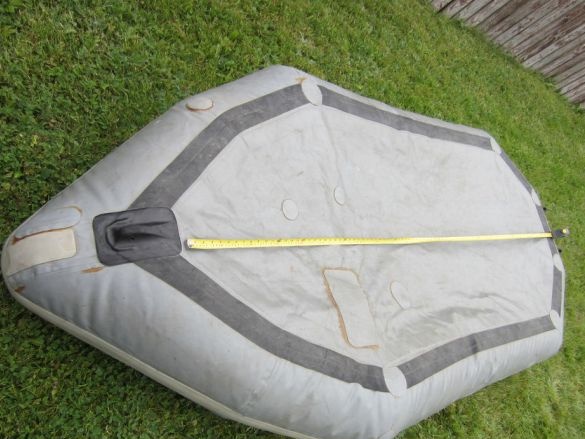
Inflates the boat and measures the length and width of the boat between the internal seams.
Step Two: Cutting Material
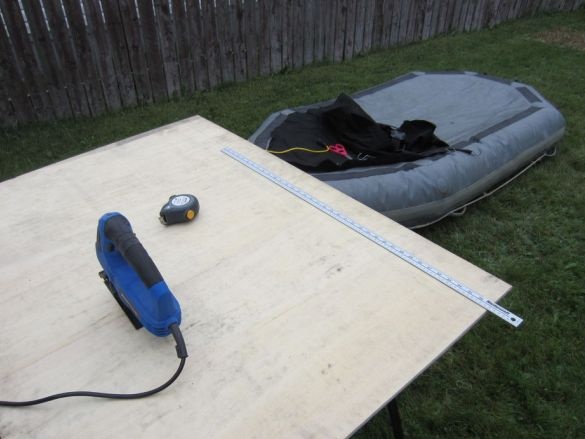
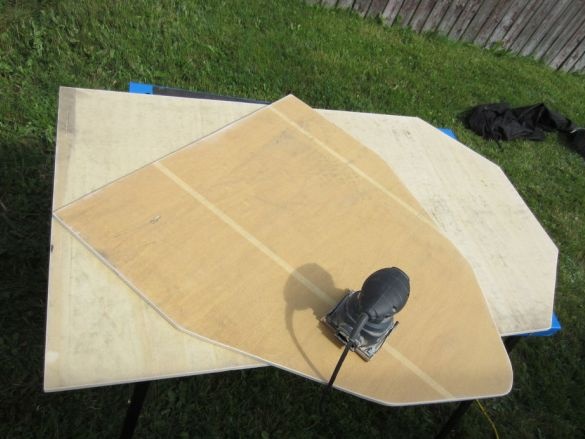
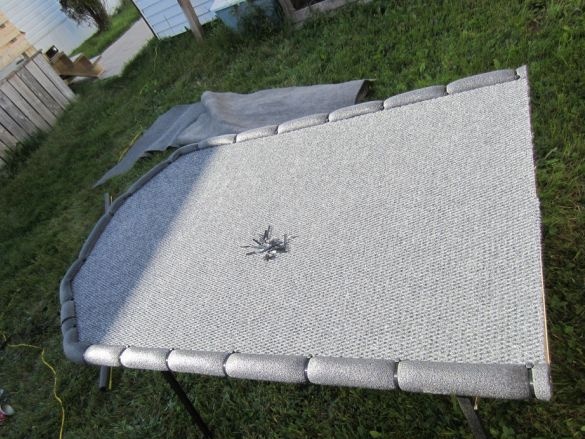
Cuts plywood sheet to size. Then cuts the sheet into two parts. Cuts off the corners of the bow.
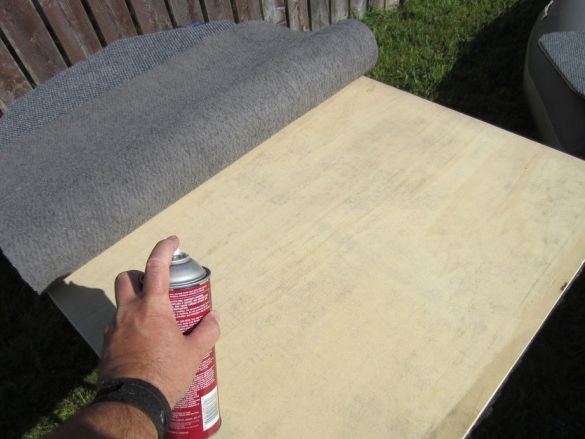
Step Three: Geofabric
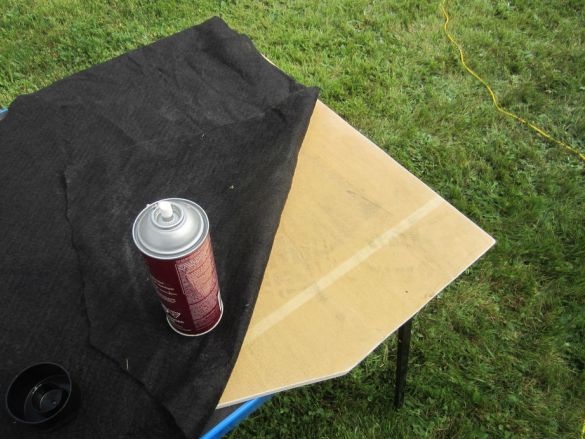
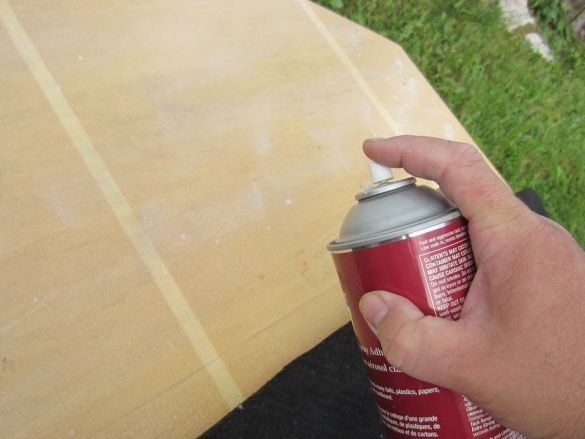
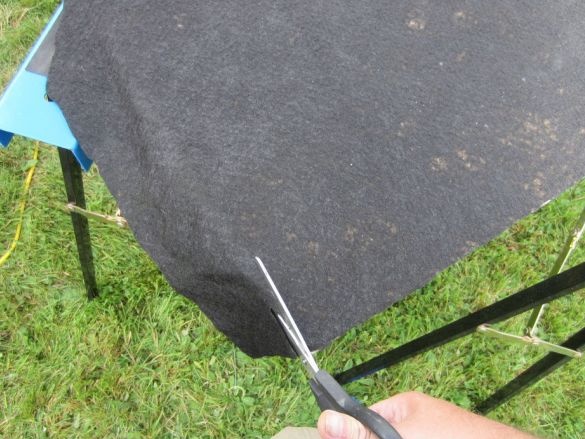
Apply glue to the bottom of plywood blanks. Glue geotissue to them. The surface smoothes, driving air. Trims excess material.
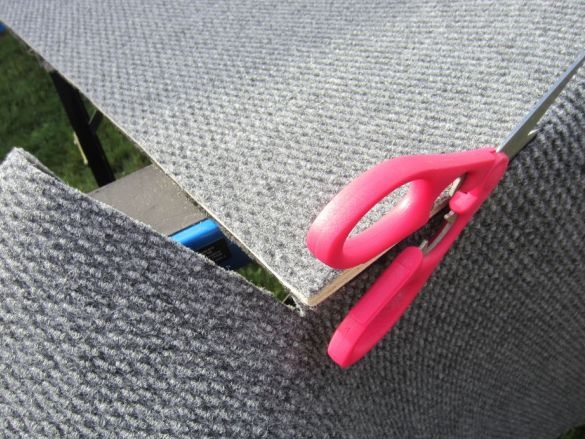
Step Four: Carpet
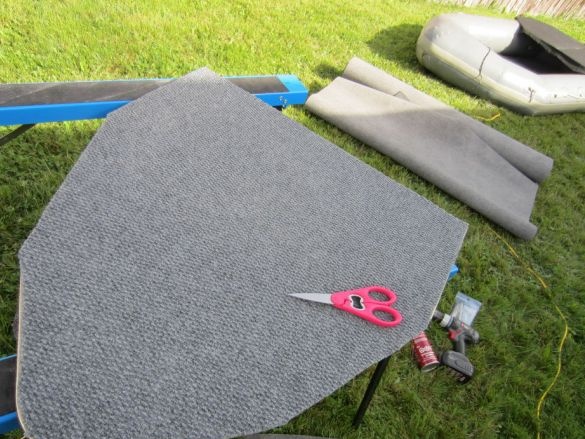
Carpets to the top of the floor.
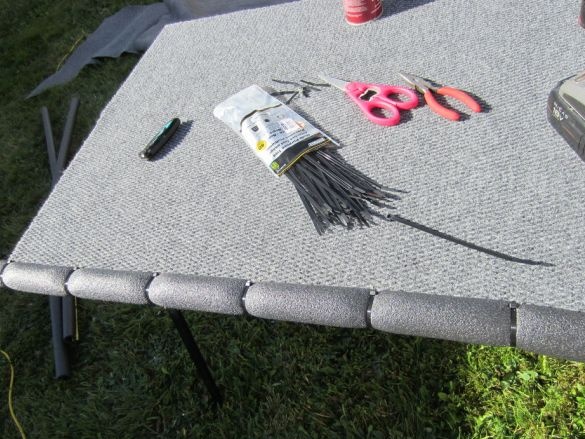
Step Five: Bead
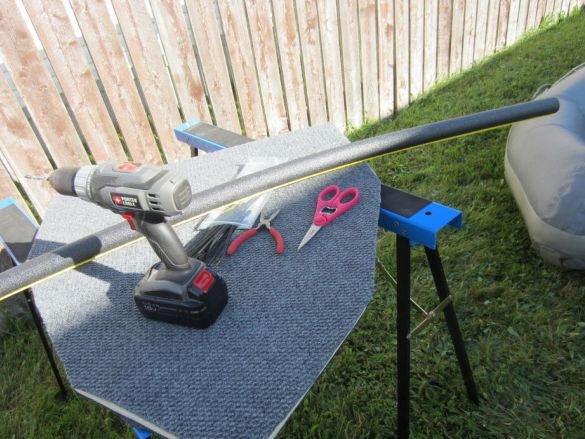
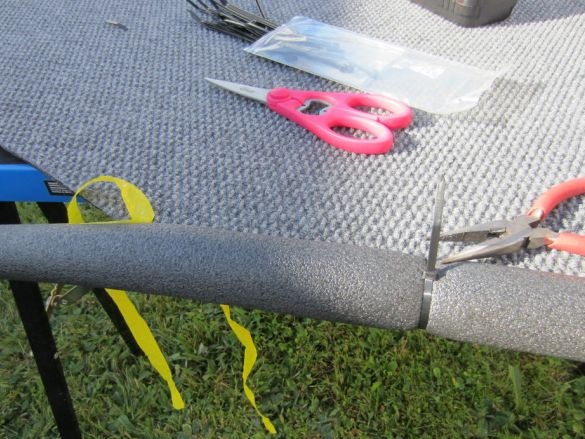
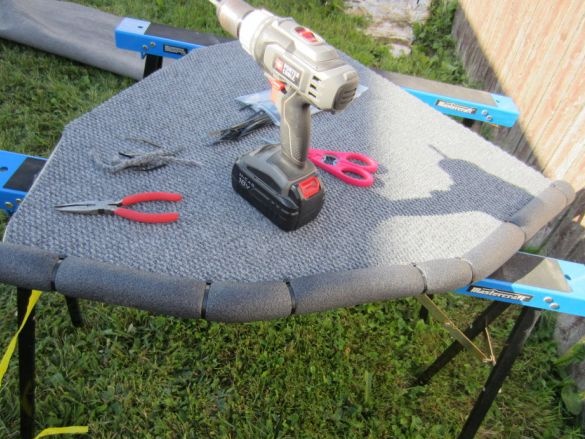
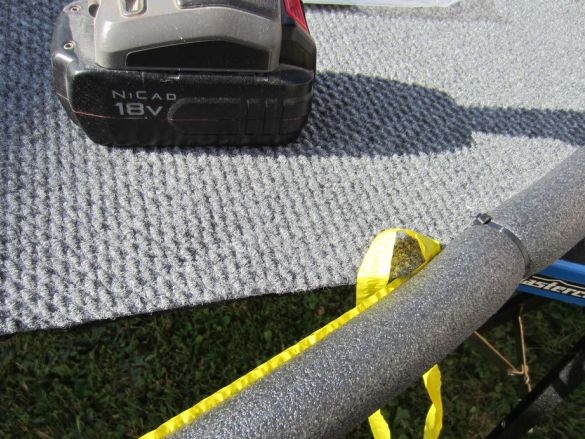
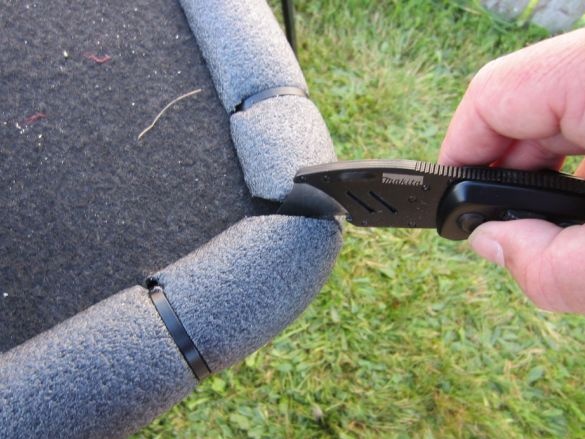
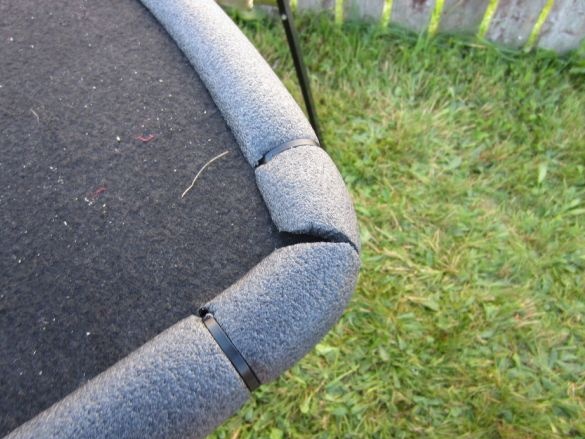
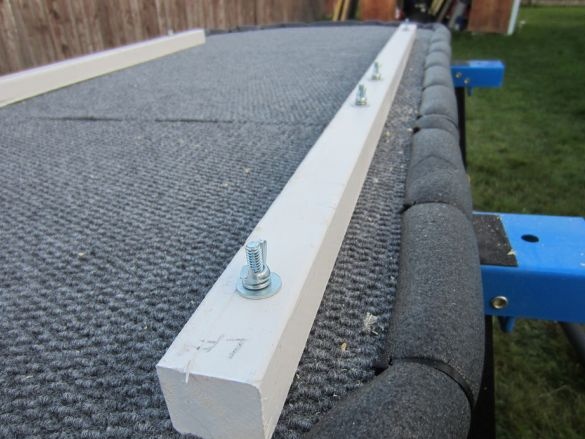
Fastens a pipe insulation around the perimeter of the flooring. Such a safety collar will not allow the edges of the plywood flooring to tear or wipe the boat. The insulation is fastened to plastic ties by drilling holes along the edge of the flooring.
Step Six: whetstone
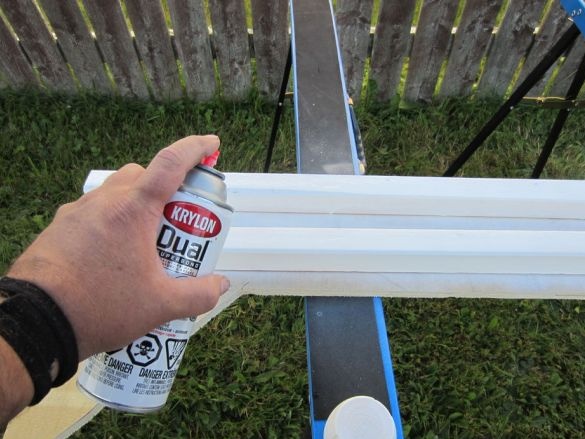
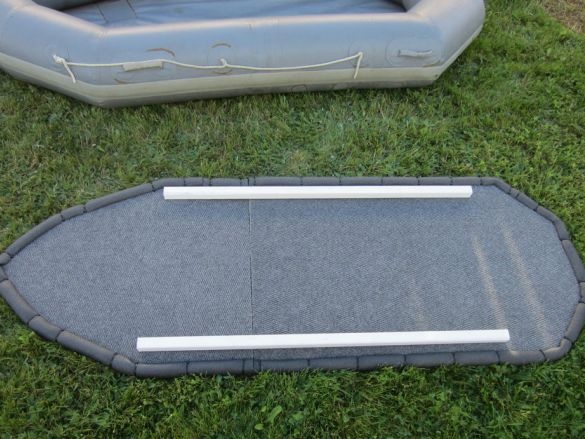
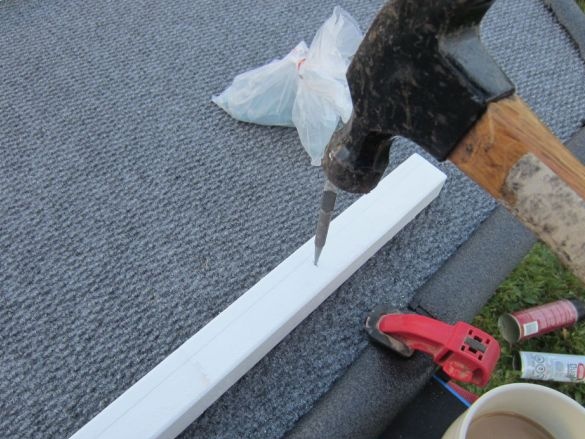
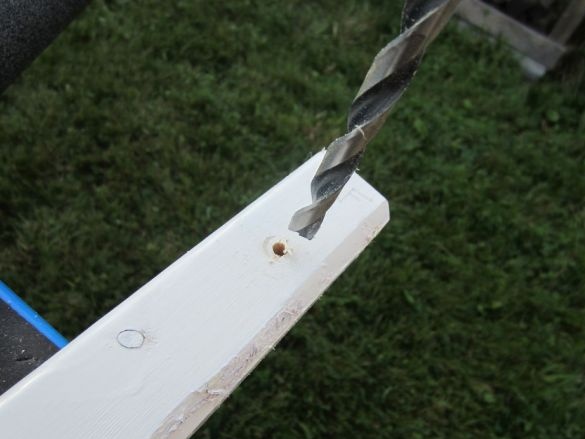
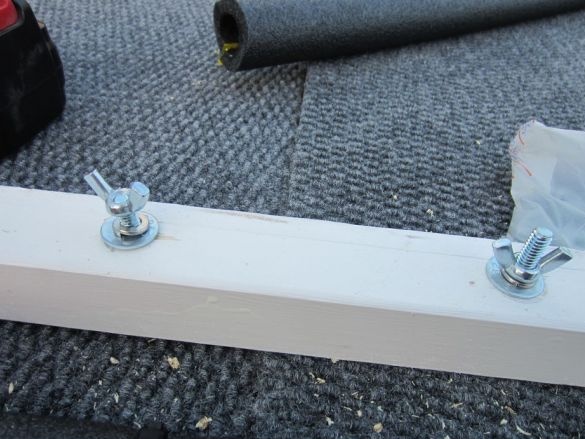
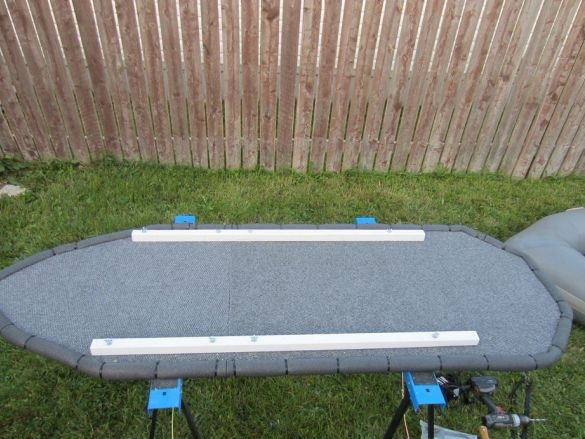
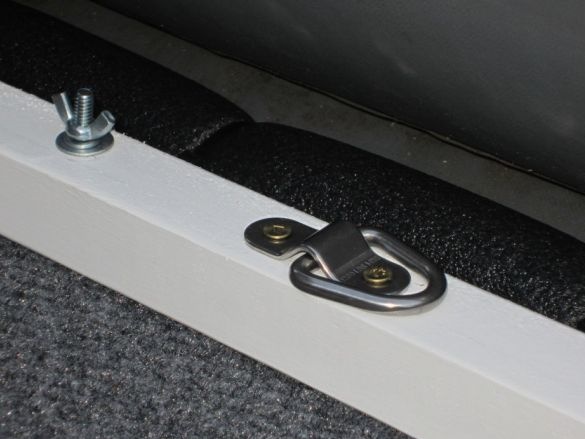
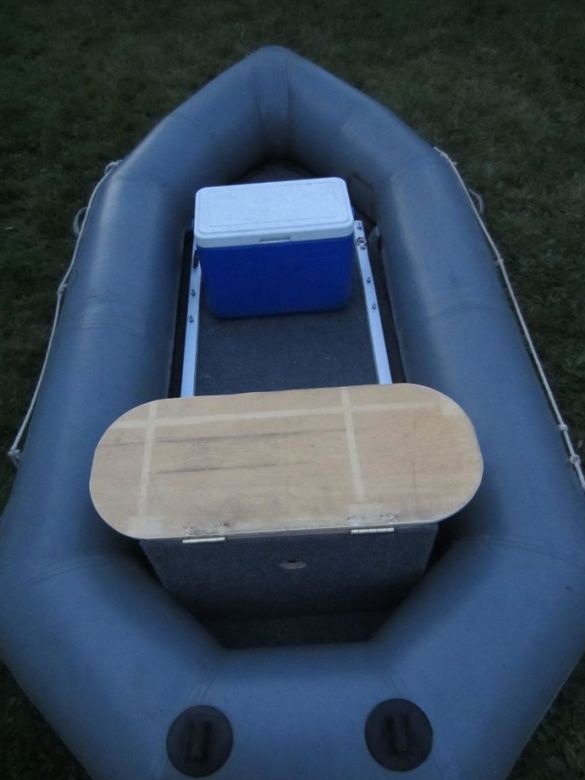
To give rigidity to the flooring, two bars are fixed along its edges.
Seventh step: box
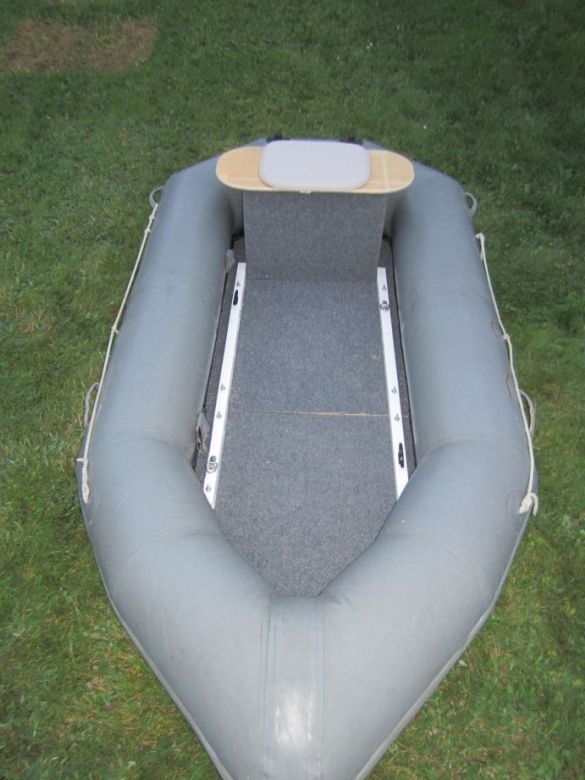
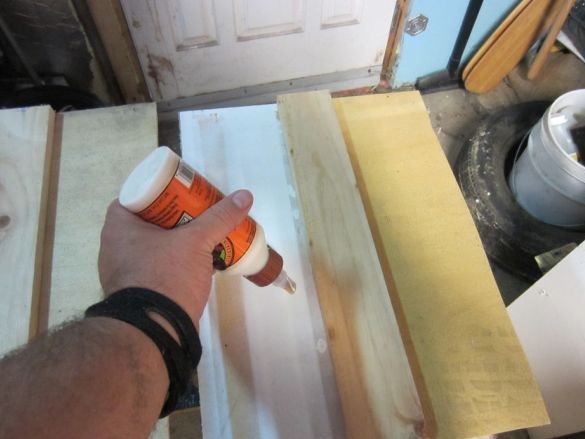
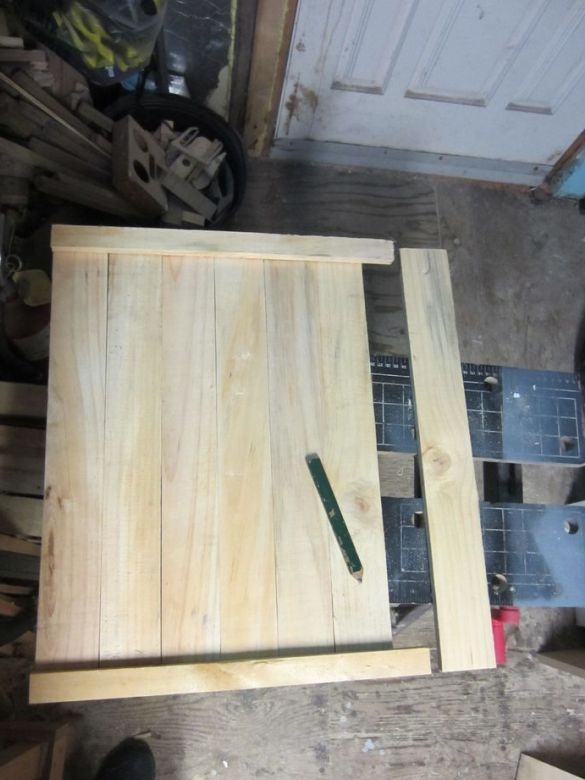
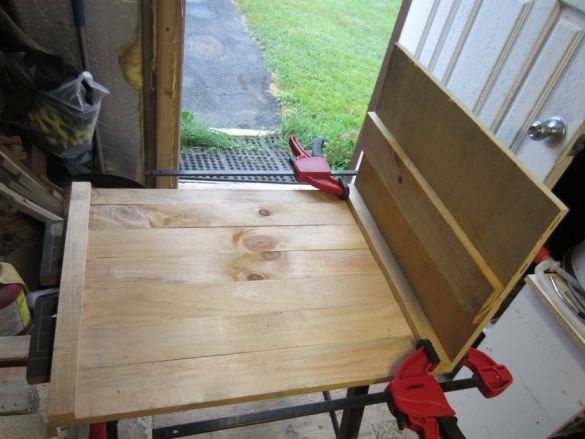
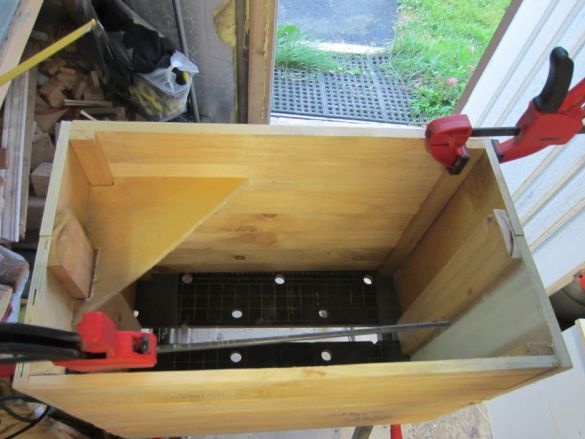
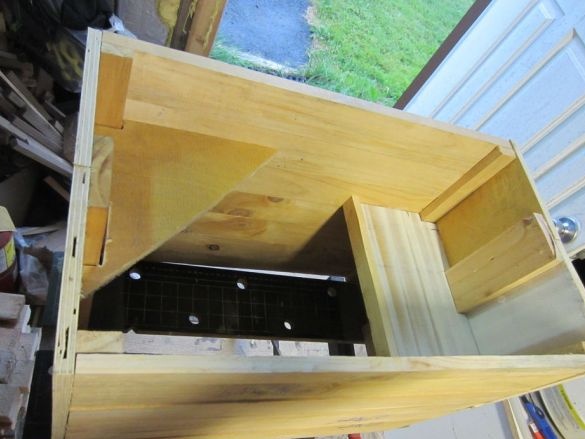
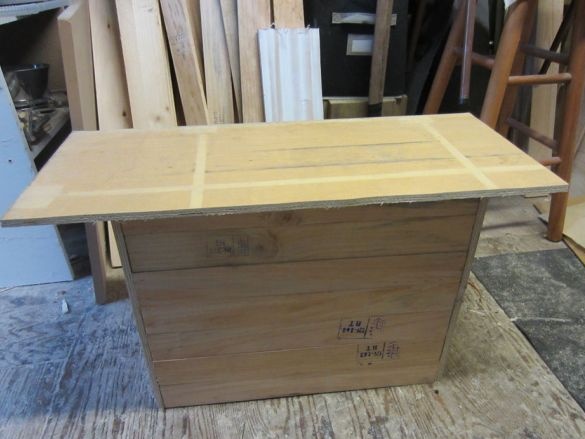
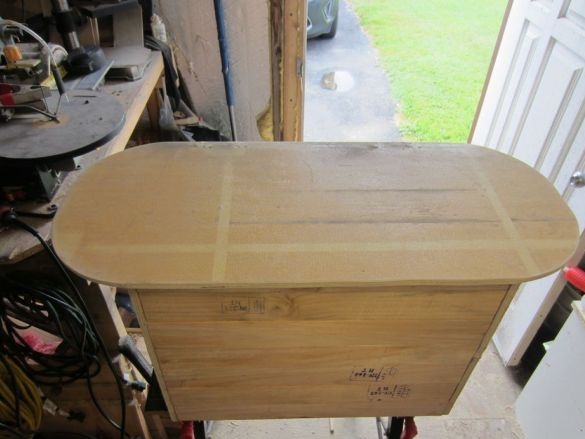
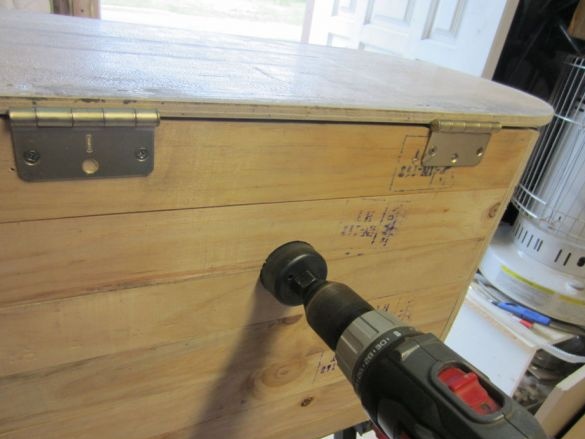
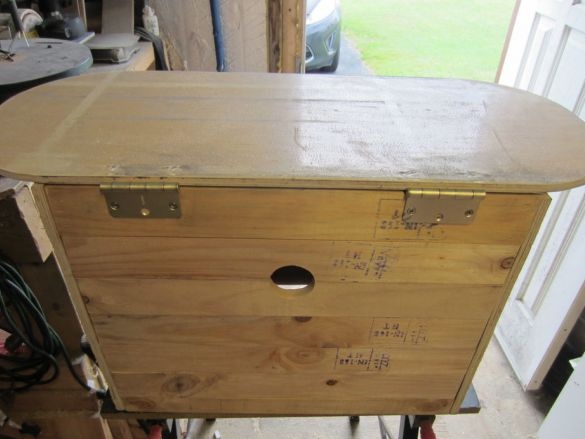
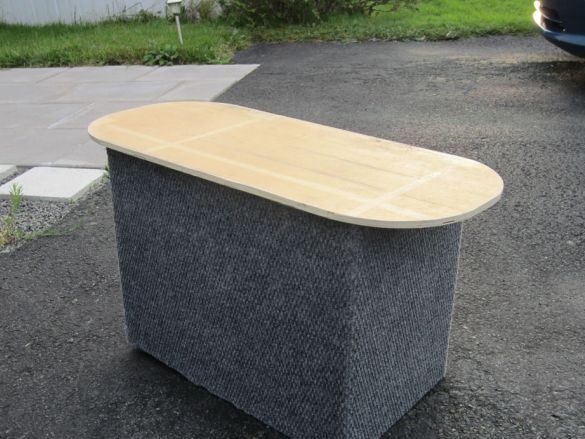
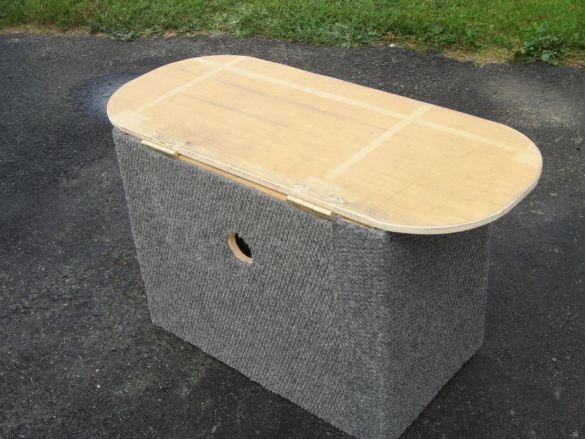
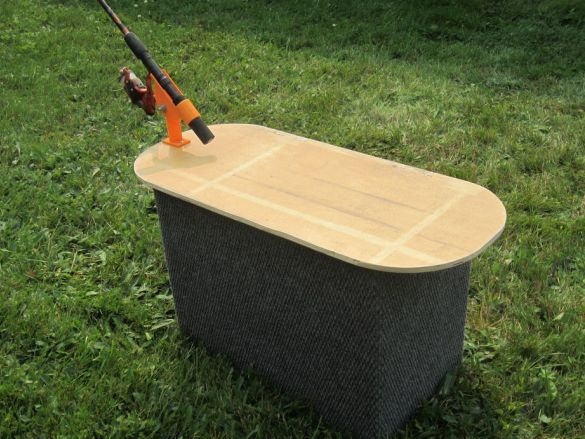
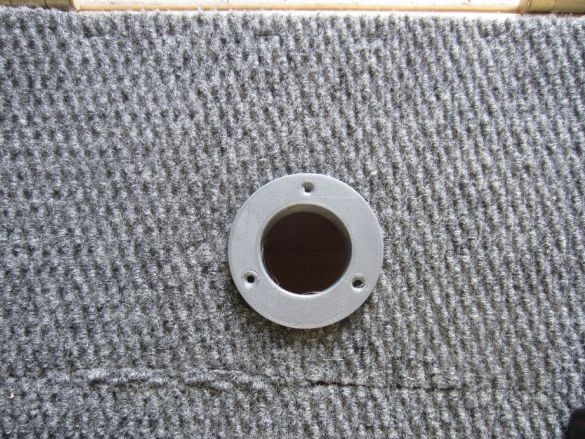
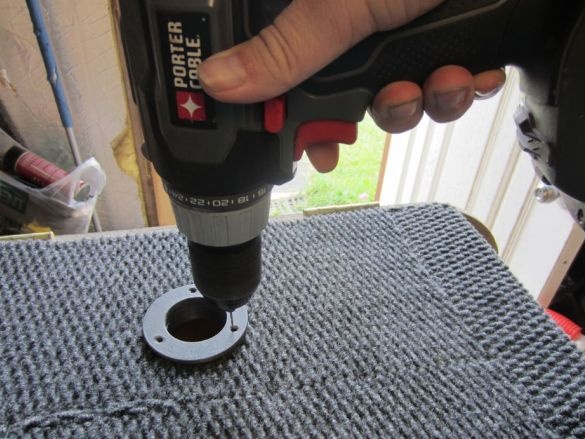
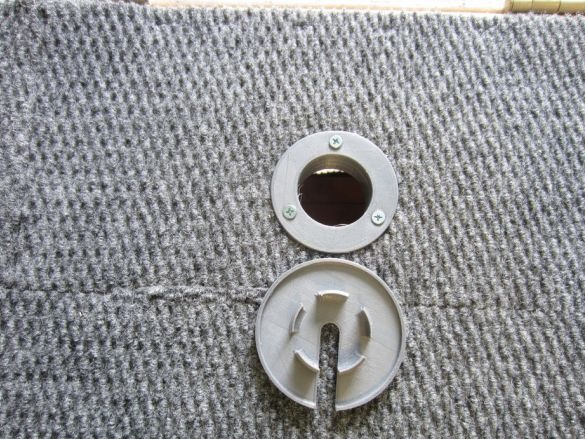
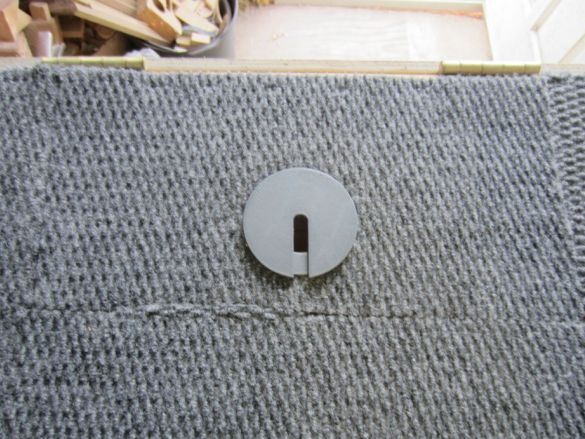
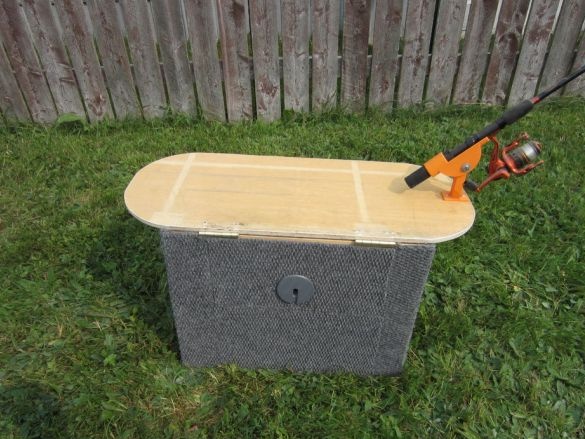
Makes a wooden box. The box will be installed at the stern of the boat and will perform several functions, a storage box, a seat, an emphasis for fishing rods. So, as the master still plans to install a battery for the engine in the box, he drills holes for wires in the side of the box.
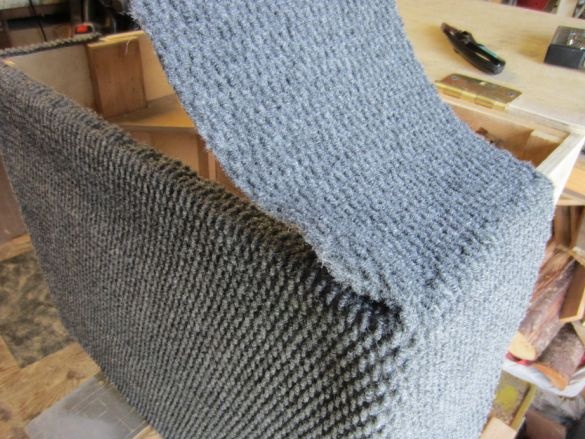
Sheathes the box with carpet.
Step Eight: Accessories
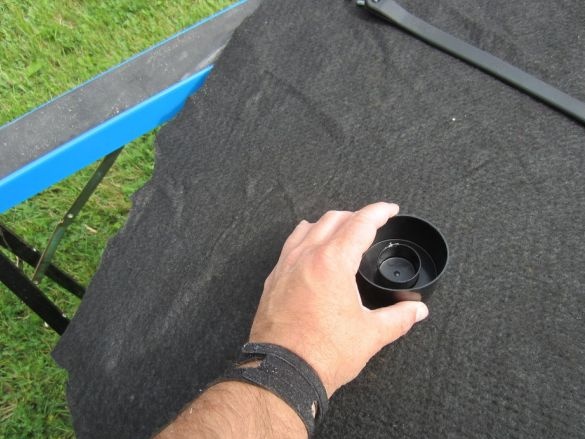
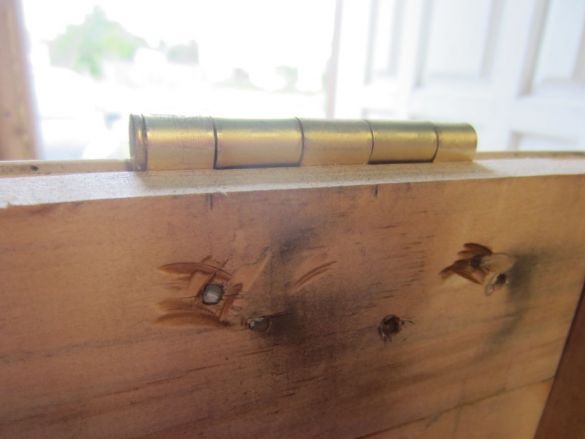
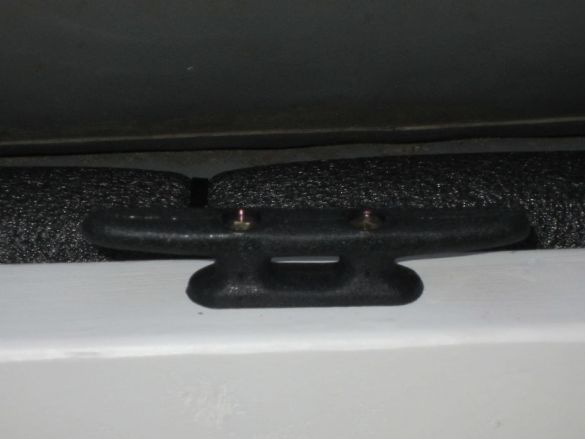
Installs various little things, an arm for a fishing rod, rings, a cap for a wire.
Flooring for inflatable boat + drawer seat ready.

