
Sometimes we want something unusual and interesting. In this article, you will learn how to do it yourself make an interesting creative table.
Step 1. Preparation of the necessary materials and tools
And so we need:
• Wooden canvas with a thickness of 1.9-2.55 cm.
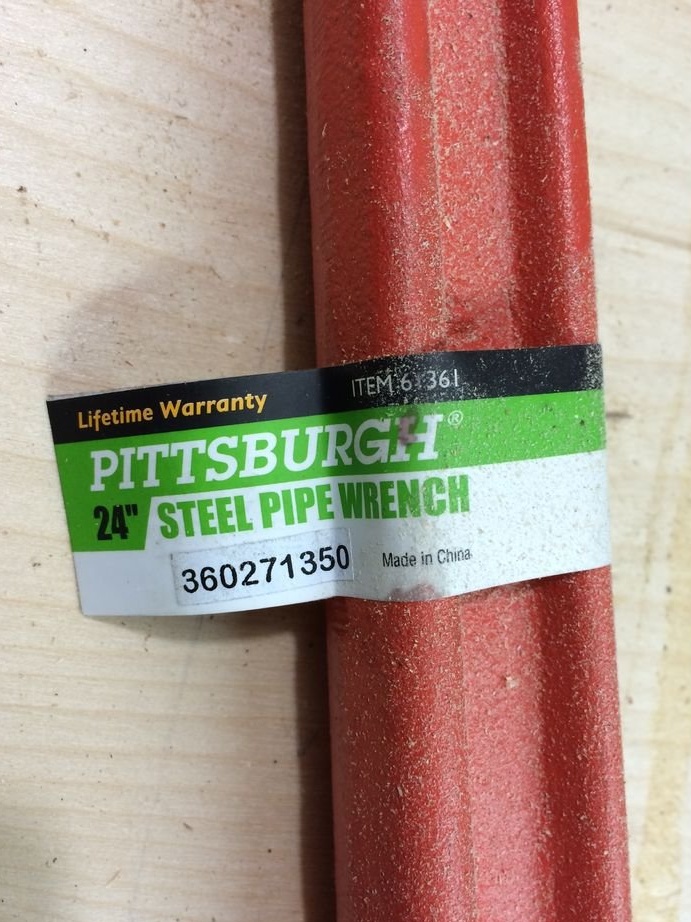
• 4 things. adjustable spanner
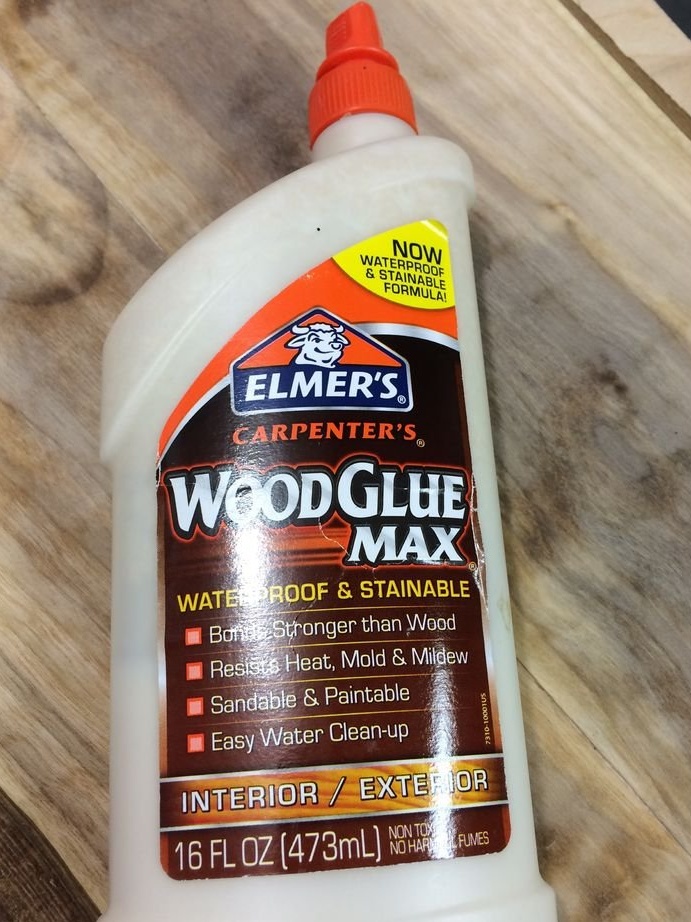
• Glue for wooden products
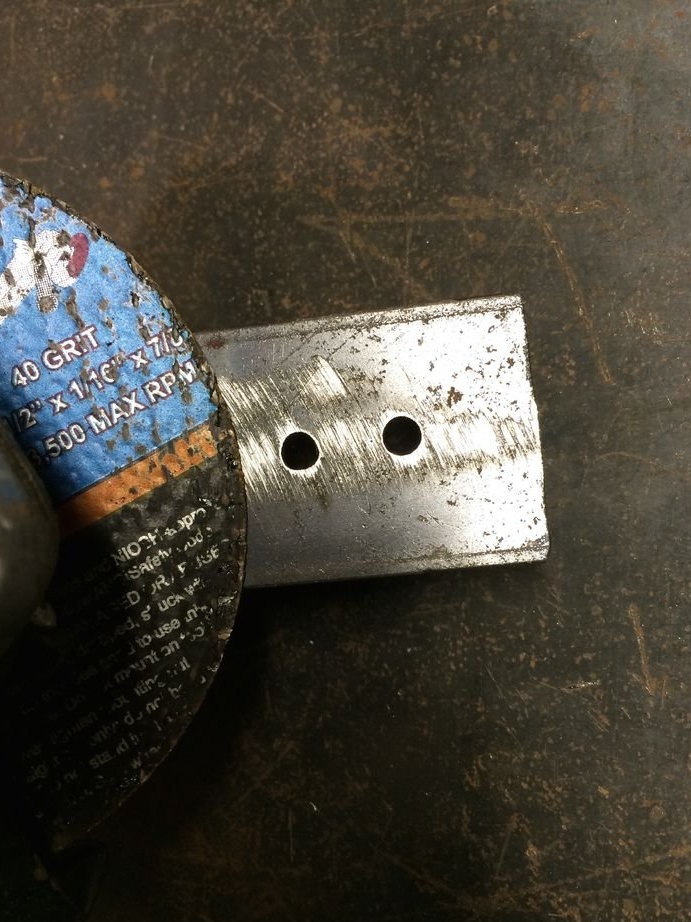
• Flat metal tires (5 by 5 cm.) For the manufacture of fasteners (brackets)
• 8 screws
• Sandpaper with grit size 120 and 220.
• Brown spray paint
• Paint of your choice of color (optional)
• Sealant or polyurethane
• solvent

And the following tools will be required:
• Saw
• Jigsaw, clamps and 6 screws
• Planing surface
• Welding unit for fastening to the metal strip of the legs of the table or epoxy.
• Electric grinding machine (or grinding unit)
• brush
• Hammer
• nail clipper
• Drill
• Drill 4.7 mm.
• Drill 3.17mm.
• Screwdriver or screwdriver
Step 2. Preparation of the wooden surface
We select the material and prepare the wooden surface for the future countertop.
You can buy a finished surface, for this there are many specialized stores. If you decide to do it yourself, then for a countertop measuring 28x54 cm, you need the following:
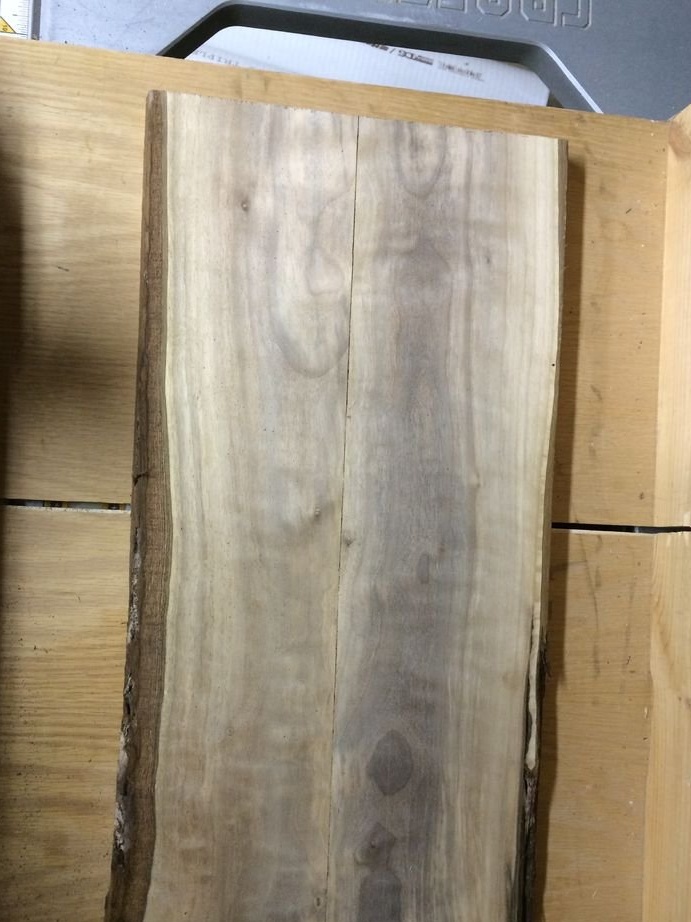
Take the prepared wooden cloth and do the initial treatment.
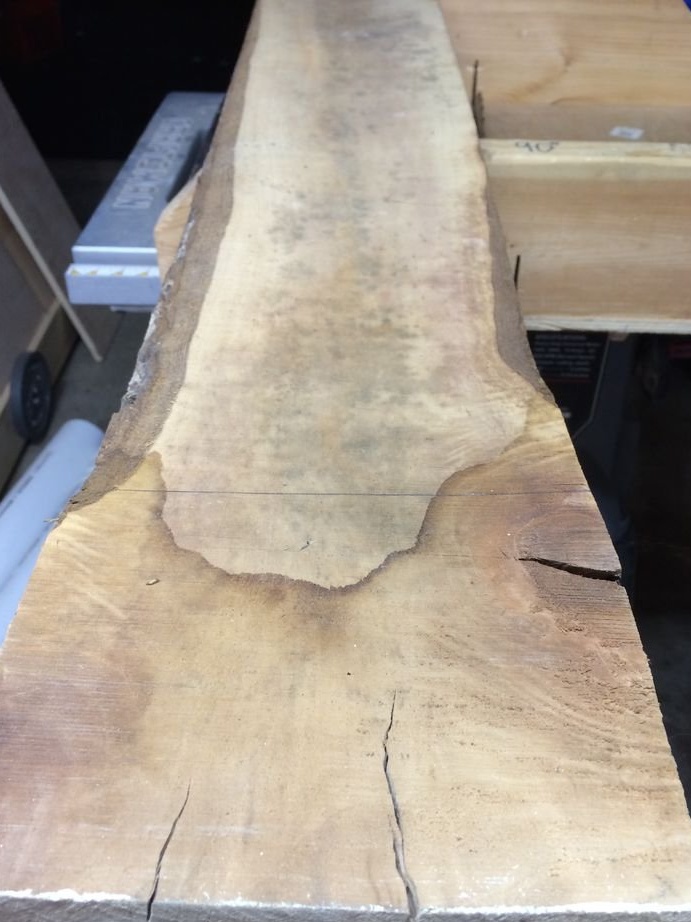
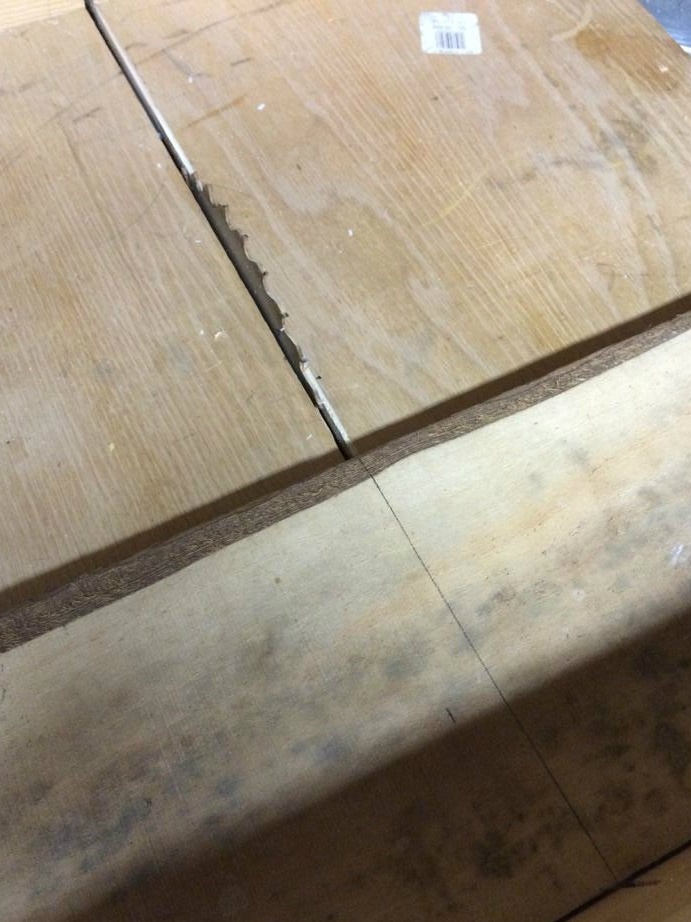
- Mark the desired size of the countertops so that you can see where the excess will need to be cut.
- Cut the unnecessary part of the wooden sheet from the bottom below.
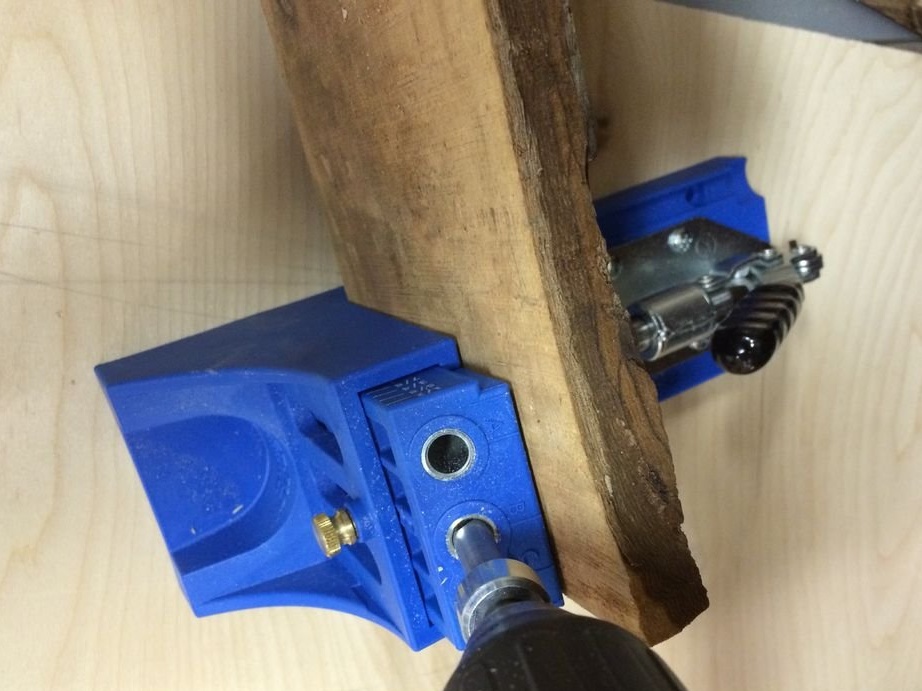
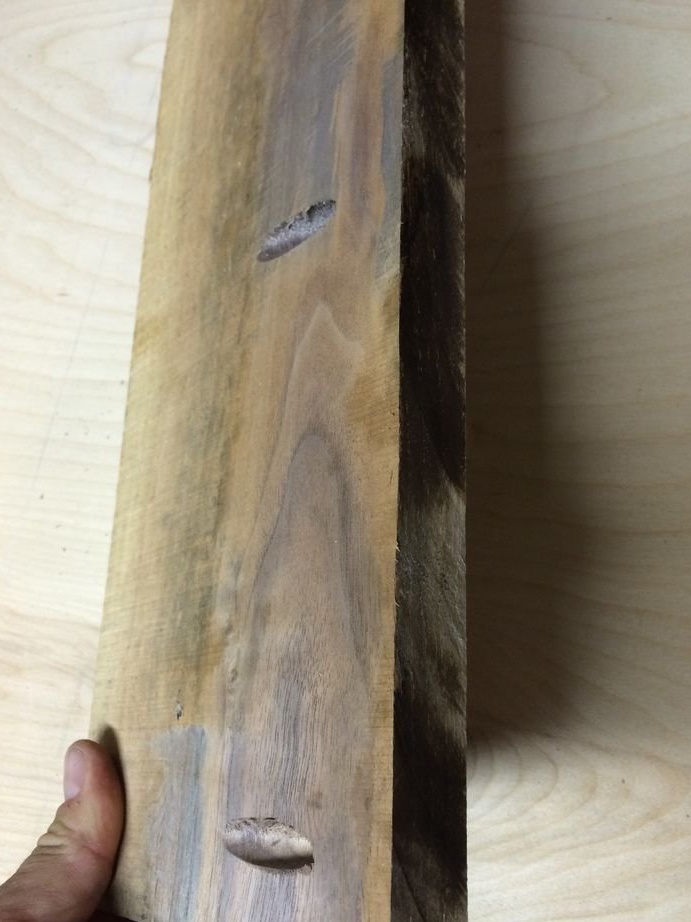
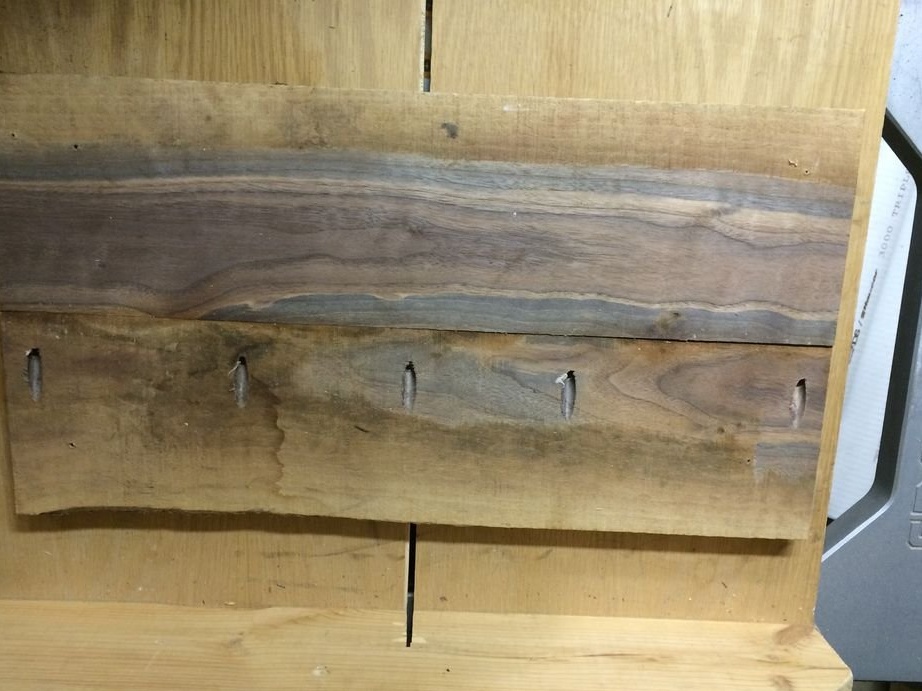
- Position and mark where the legs of the table will be located
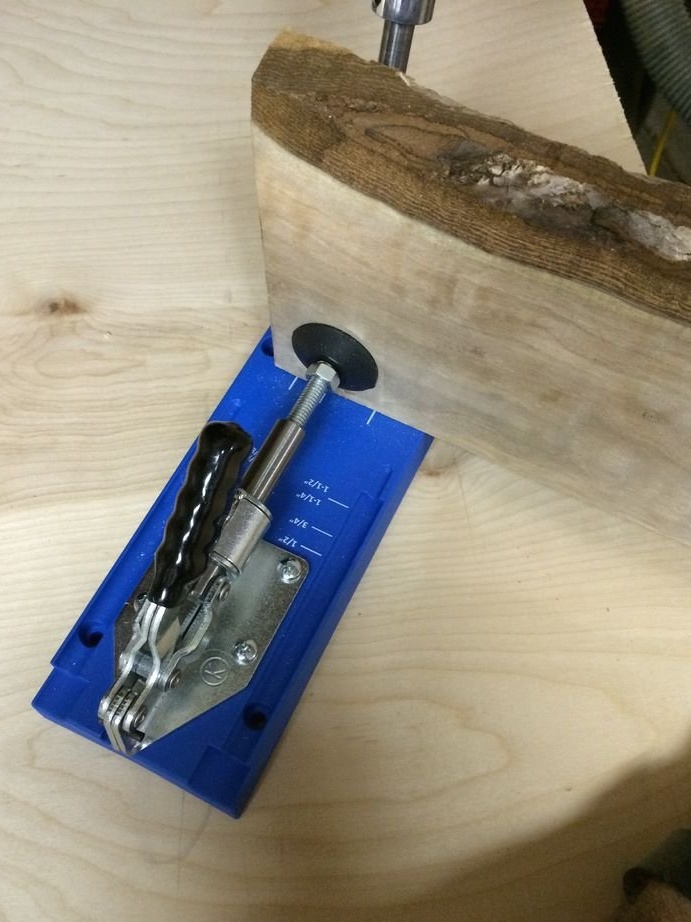
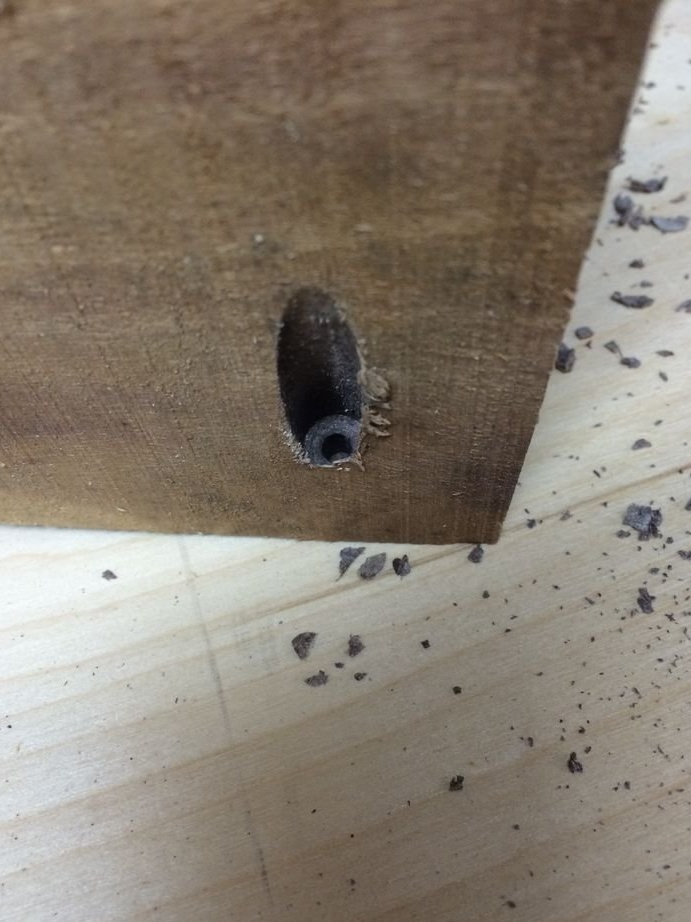
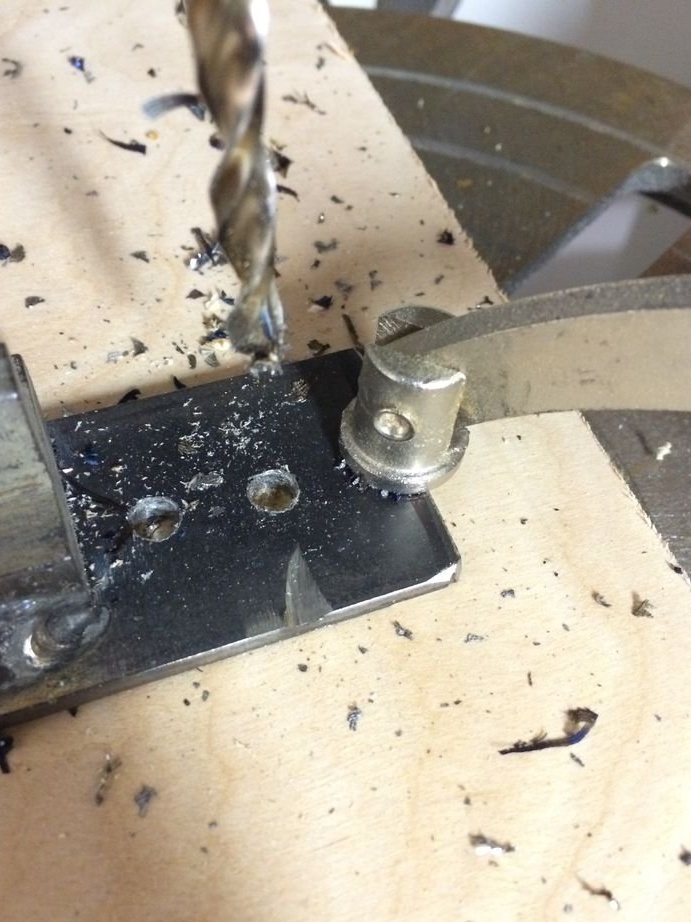
- On the inner surface, make 6 holes with a drill.
- If you used two parts of a wooden cloth, then after you fastened them, carefully cross the joints with glue.
- Fasten the pipe wrenches in the workbench and make sure they are stationary.
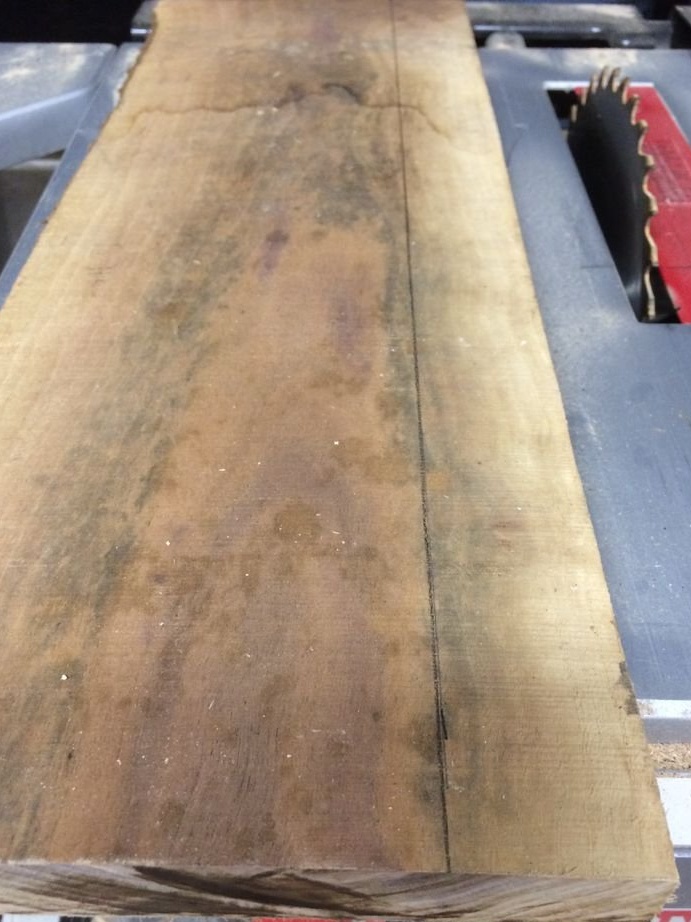
- Clean the surface of adhesive residues, which may adversely affect the quality of the finish. Make sure that parts of the web are snug against each other.
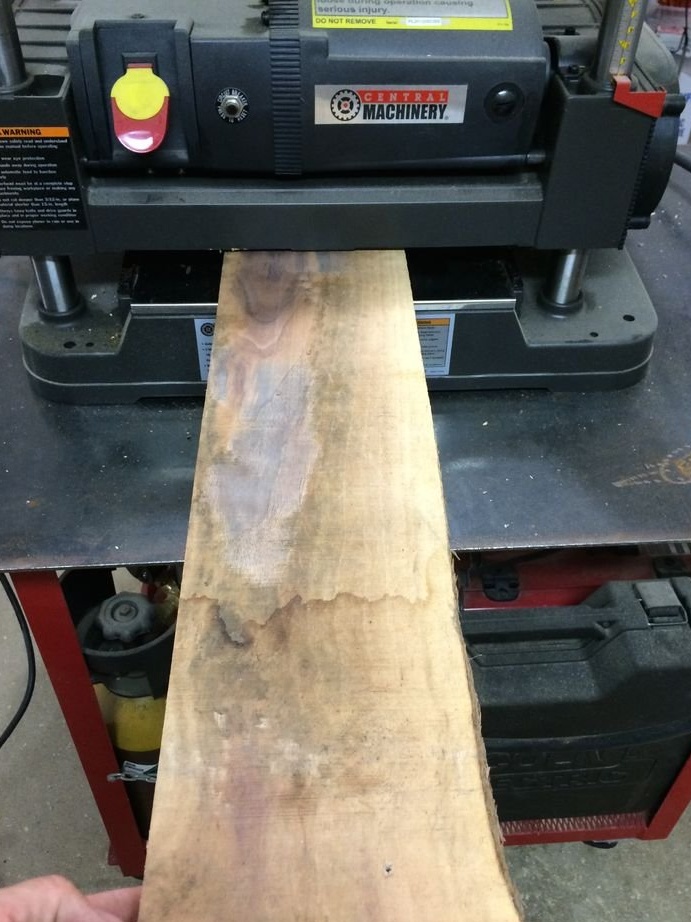
- On a dry cloth, plane or emery, smooth the surface.
Step 3. Finish wood surface treatment
In this step we will finish the surface treatment. Now everything is ready for assembly.
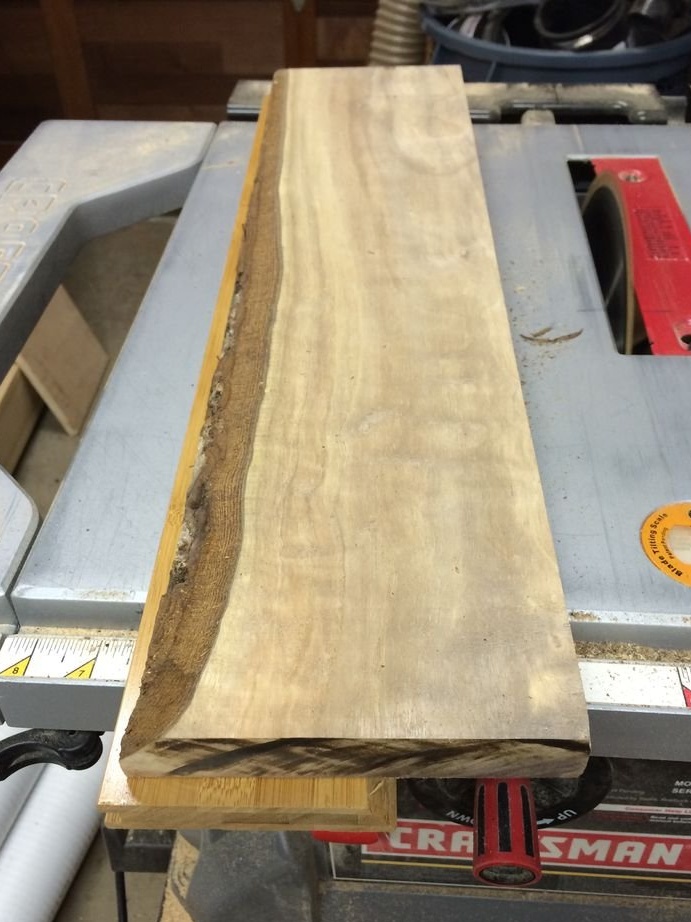
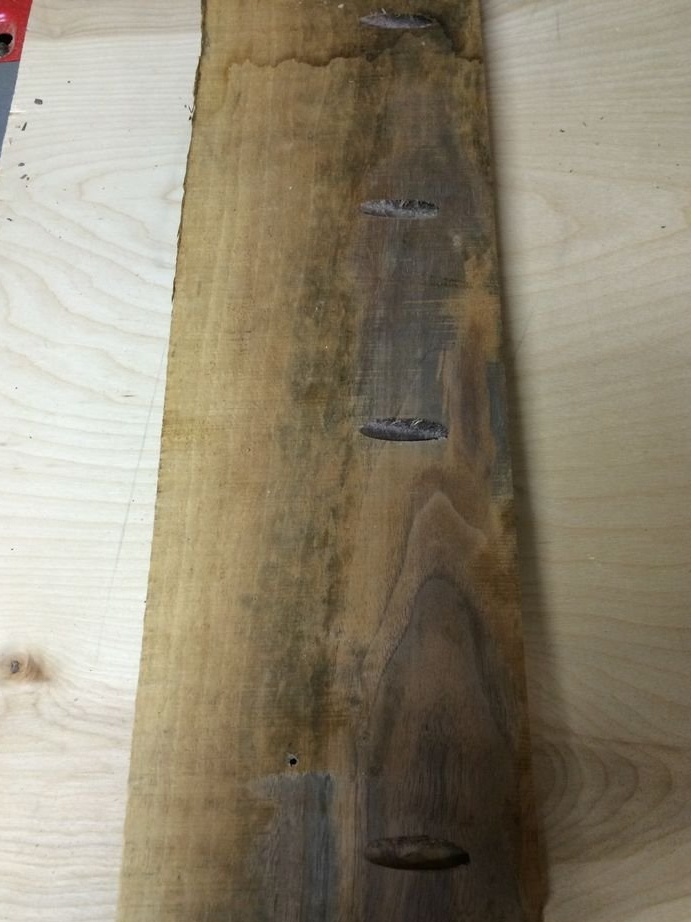
Let's do the grinding. To do this, use sandpaper. We process coarse sections 220 grit, and 120 level the entire surface. Everything is processed very carefully to avoid peeling paint.
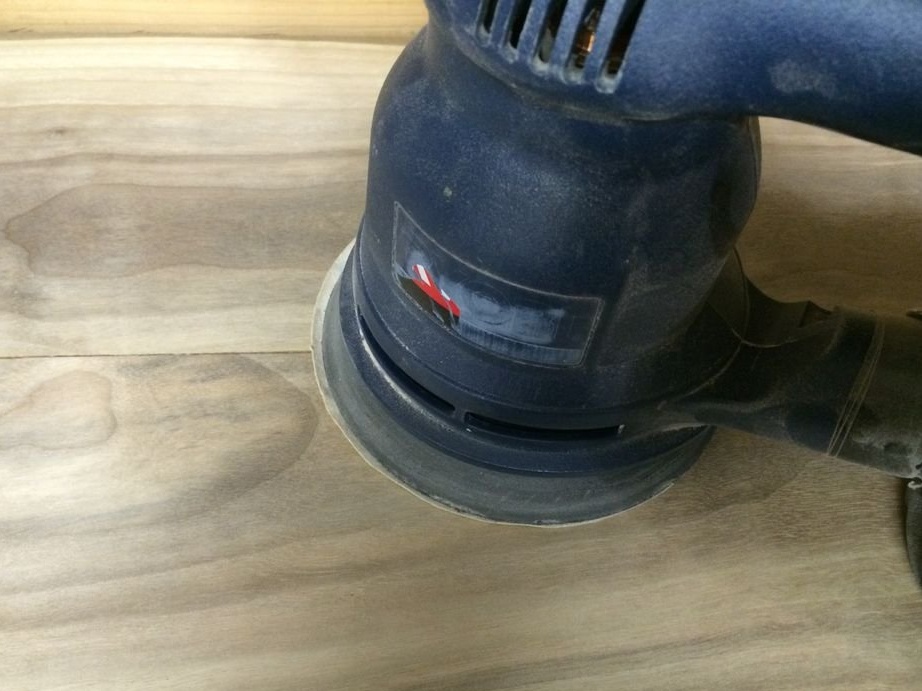
Ideally, the presence of a grinding machine could facilitate the work, if it is not there, we work hard on the surface.
Now wipe the surface with a clean piece of cloth.
If you want to betray the table to the original color - it's time to cover it with paint.
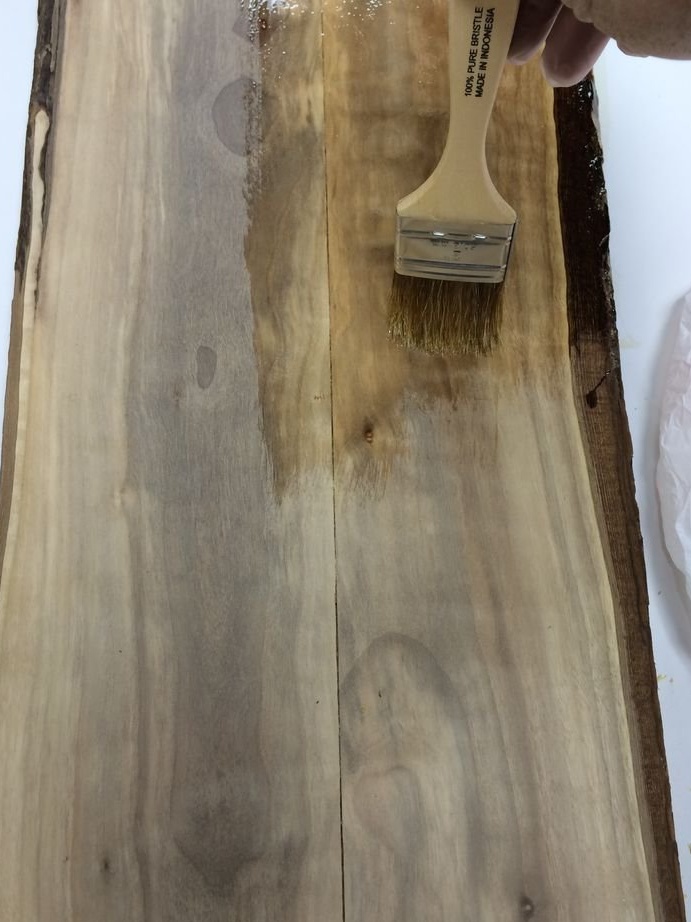
Let the paint dry completely. And now we cover the countertop with sealant, as shown in photo 4.
Again, give the sealant time to dry. Then repeat the procedure 3 times.
Each layer should dry. We pass the entire surface to provide the perfect surface.
Step 4: Turn Pipe Wrenches into Feet
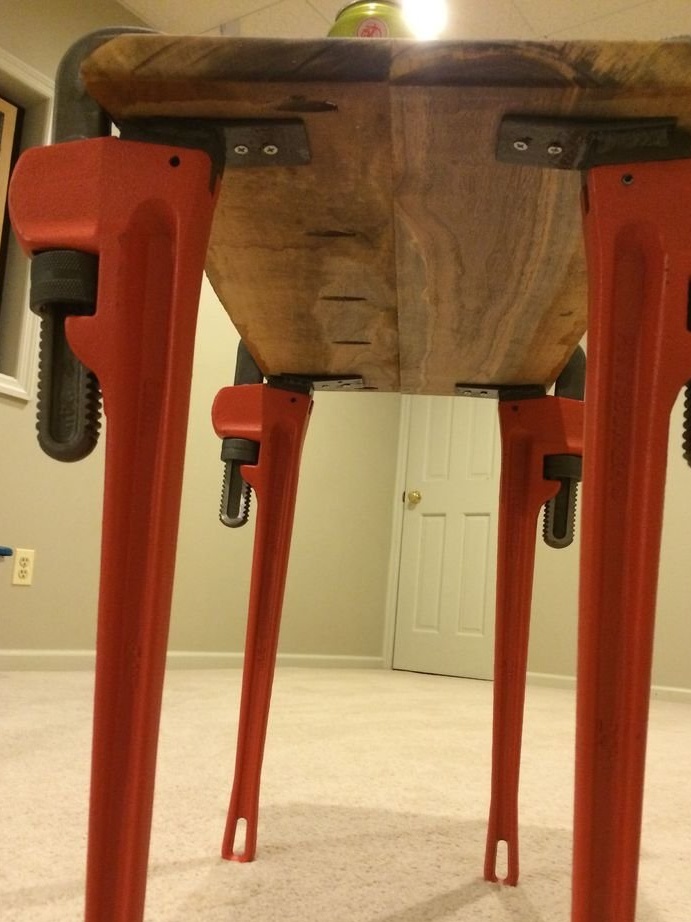
The first thing you need is to create a bracket that will allow you to establish a stable connection between the structure we prepared and the legs.
To do this, take prepared tires and weld them to the inside near the joints.

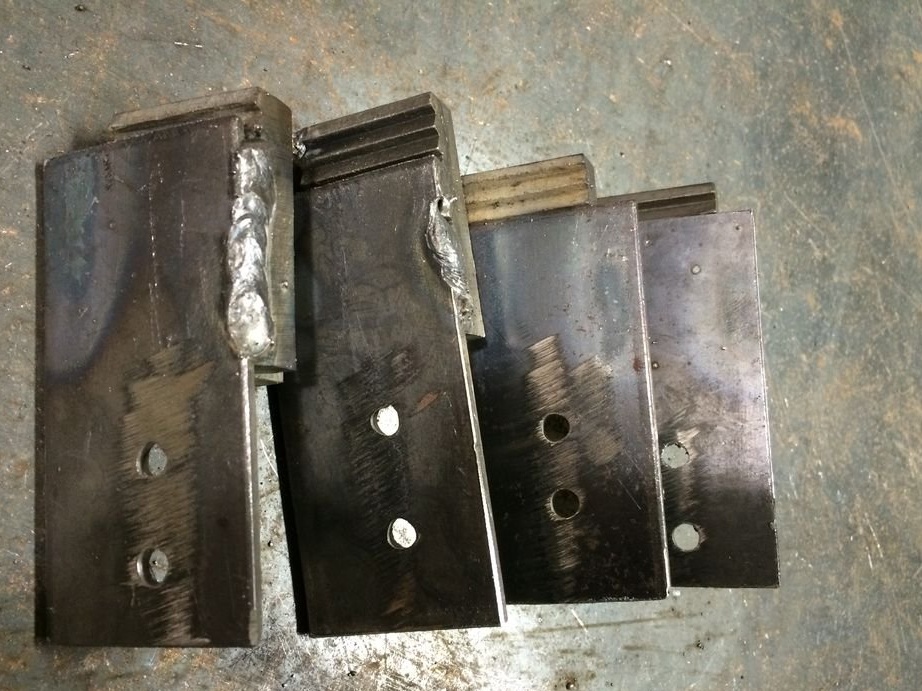
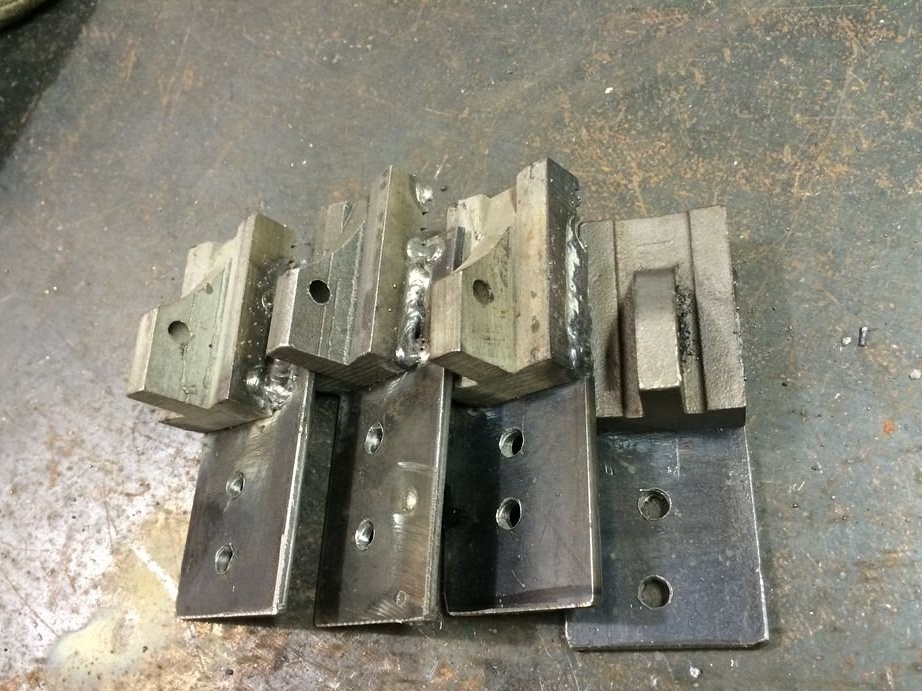
If there is no welding machine, you can replace it with epoxy glue, apply it on the bracket and on the blades of the pipe wrench. It is only worthwhile to carefully clean the key blades with acetone to remove any oil residues, for good adhesion.
Let's get down to the main work:
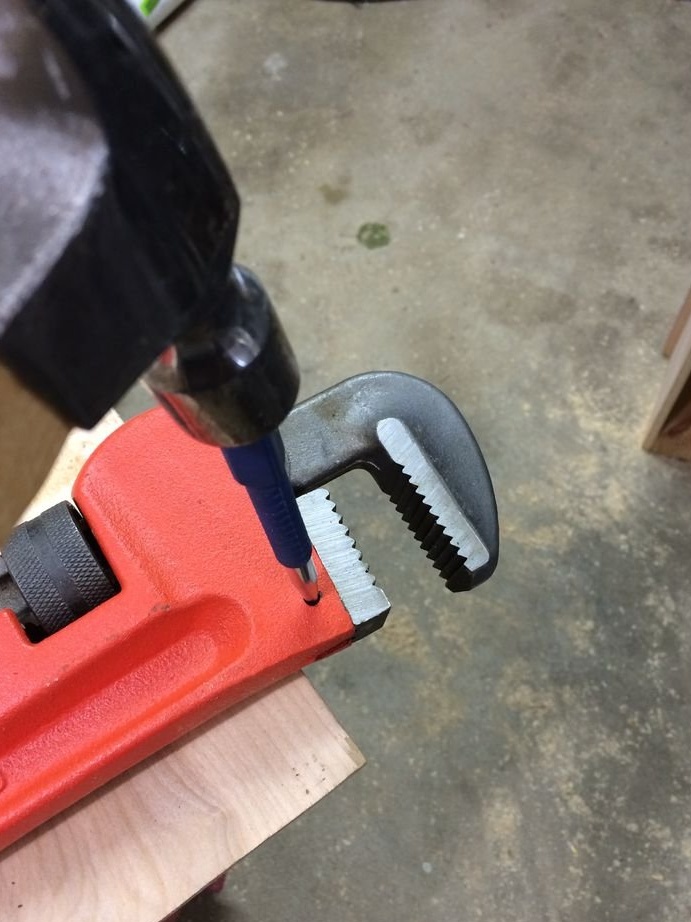
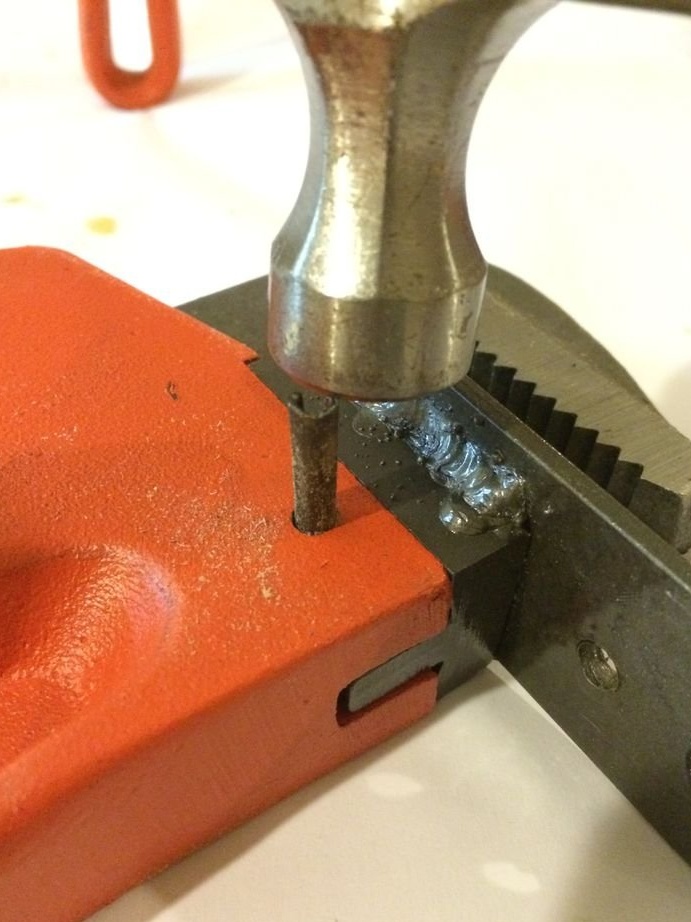
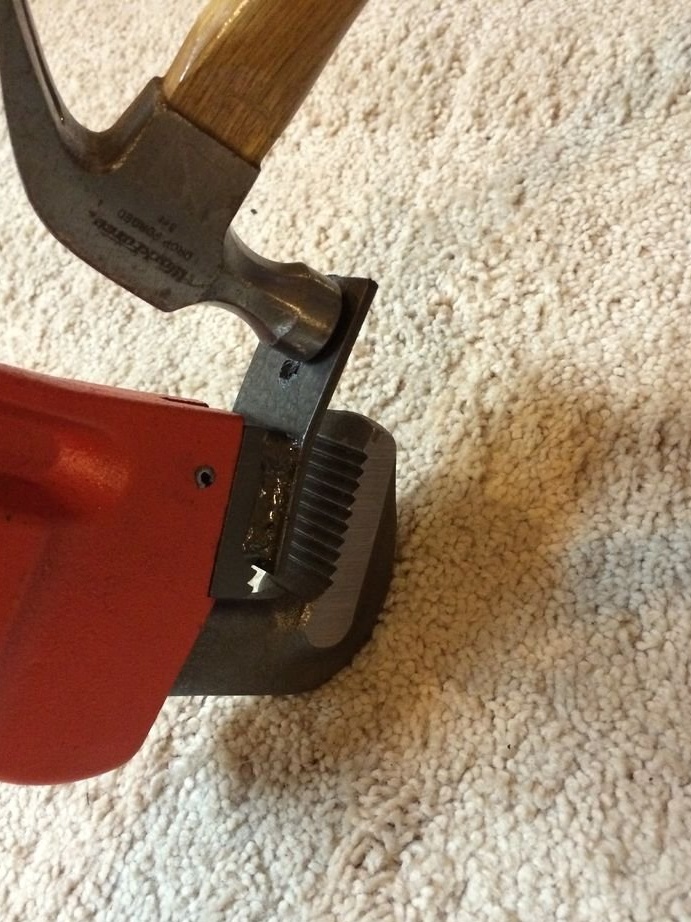
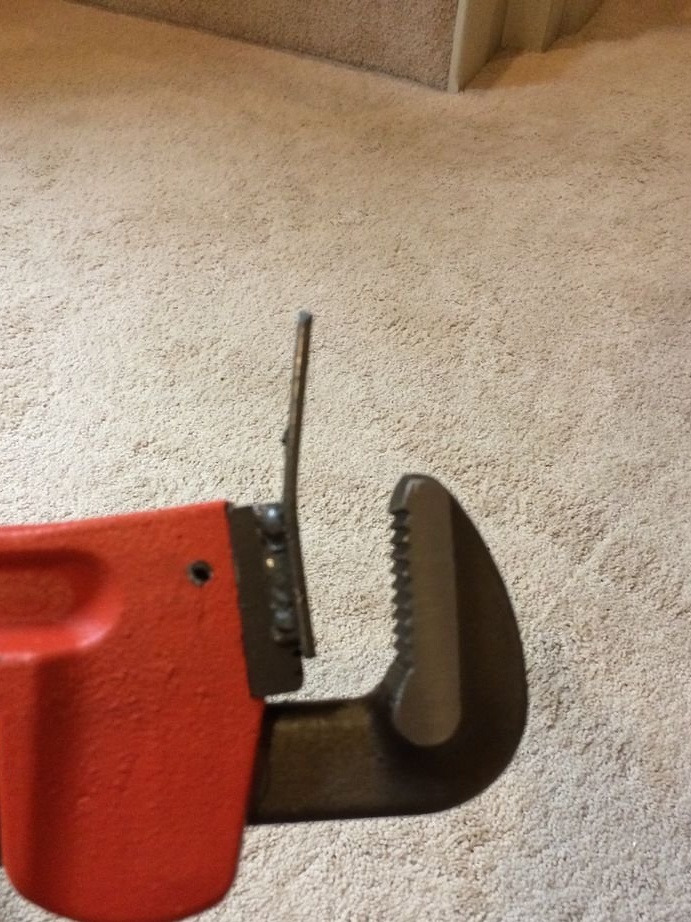
1. Now, using a hammer and nails, we knock out the part that holds the lower blade of the pipe wrench.
2. Use pliers to completely remove the lower part of the keyhole.
3. In order to hold the bracket when screwing the legs, use magnets by attaching them to the sides.
4. Inspect the welds, if they do not look neat, then with a hammer or a machine to remove the weld, give a beautiful look.
5. After the bracket has cooled, use acetone to remove oil residue after welding.
6. Using spray paint, paint the brackets on both sides to avoid rust formation.
7. We insert the lower blade into the bracket, with a hammer we drive in the part again, which holds the lower blade of the pipe wrench.
Step 5. Attaching the legs to the table
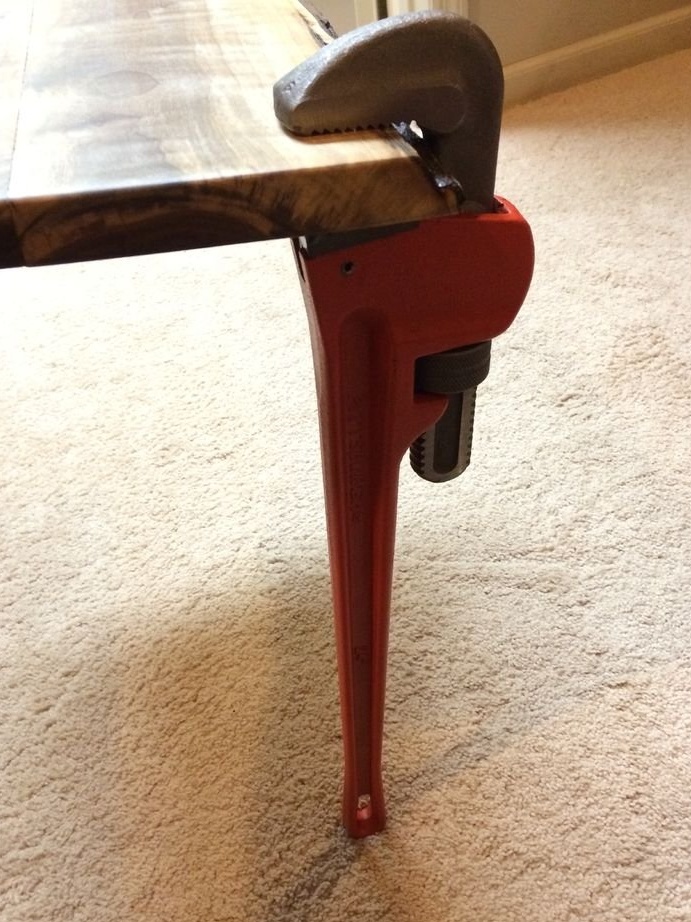
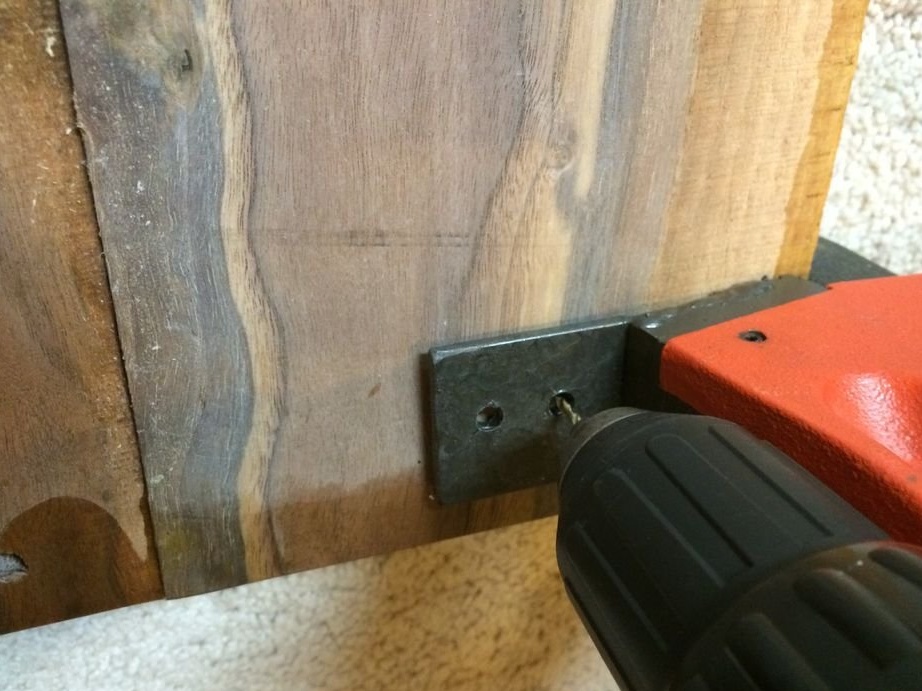
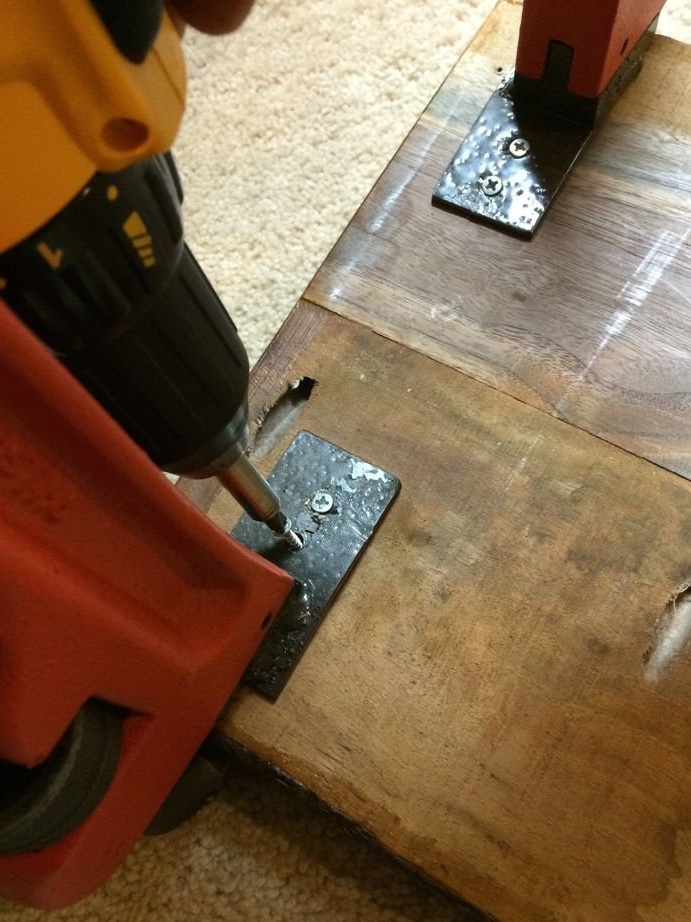
Take the countertop and insert into the blades of the pipe wrench. On the inside, use a screwdriver to screw in two screws.
Using the same method, screw the remaining 3 legs. After installation, make sure they are attached in the correct order and in the correct position from all the edges of your table.
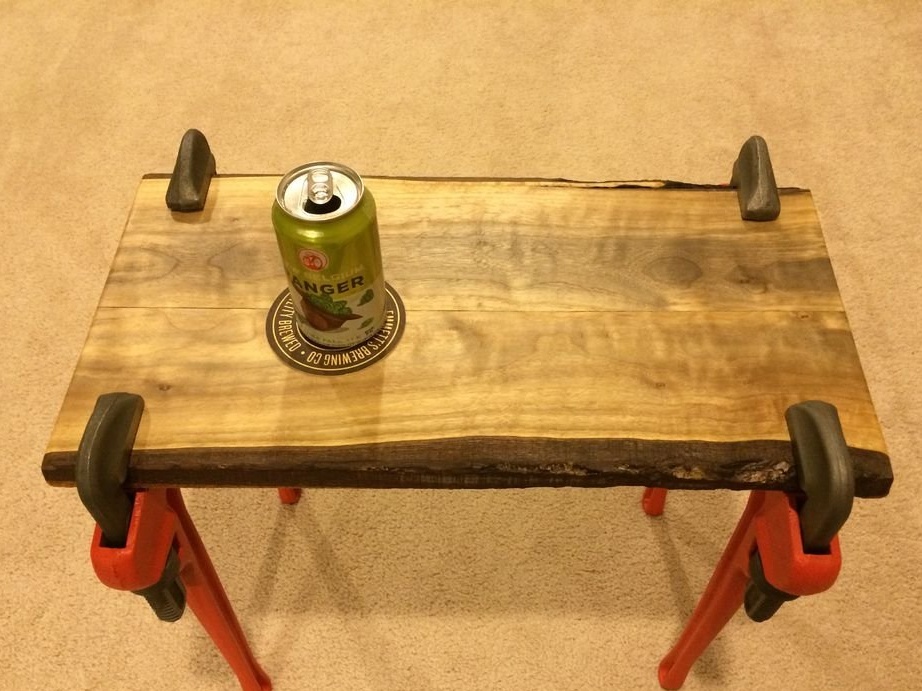
Step 6. Enjoy your made unique table!
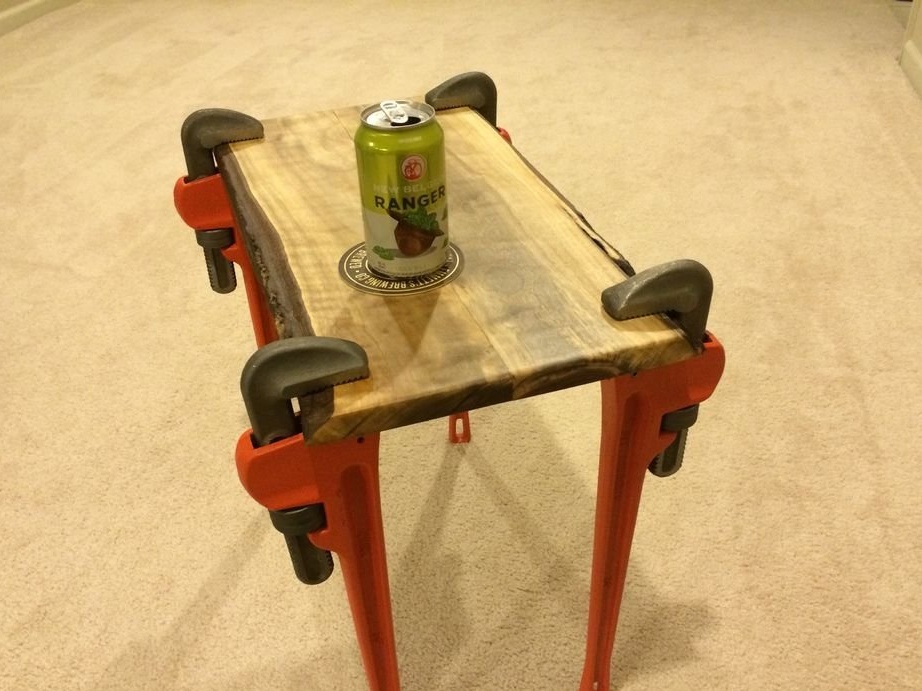
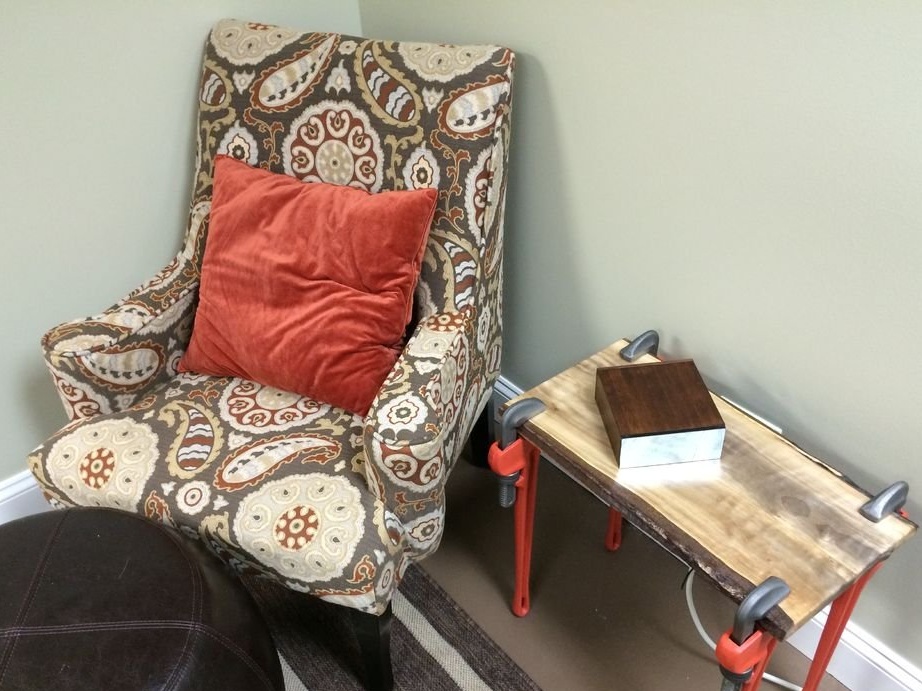
Set the table in the place you are most visited and be inspired to make new things!