
This article describes the whole process of creating such a column that looks very similar to JBL GO.
The author of this homemade product is Kirill Popel (YouTube channel "SHOWKO"). At the end there will be a test and conclusion.
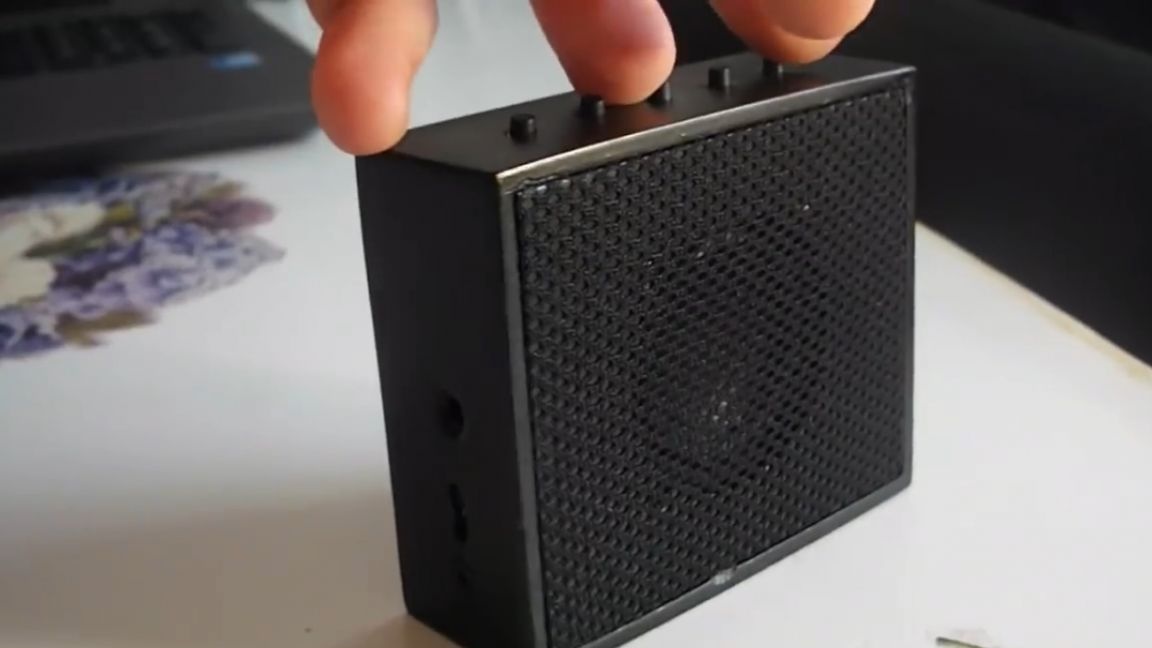
So let's get started. Here are two speakers from China who came to the author:

It is not clear how in size, but in appearance they are exactly the same as the original JBL GO. And also the author wanted to use such a passive emitter as in JBL GO 2.
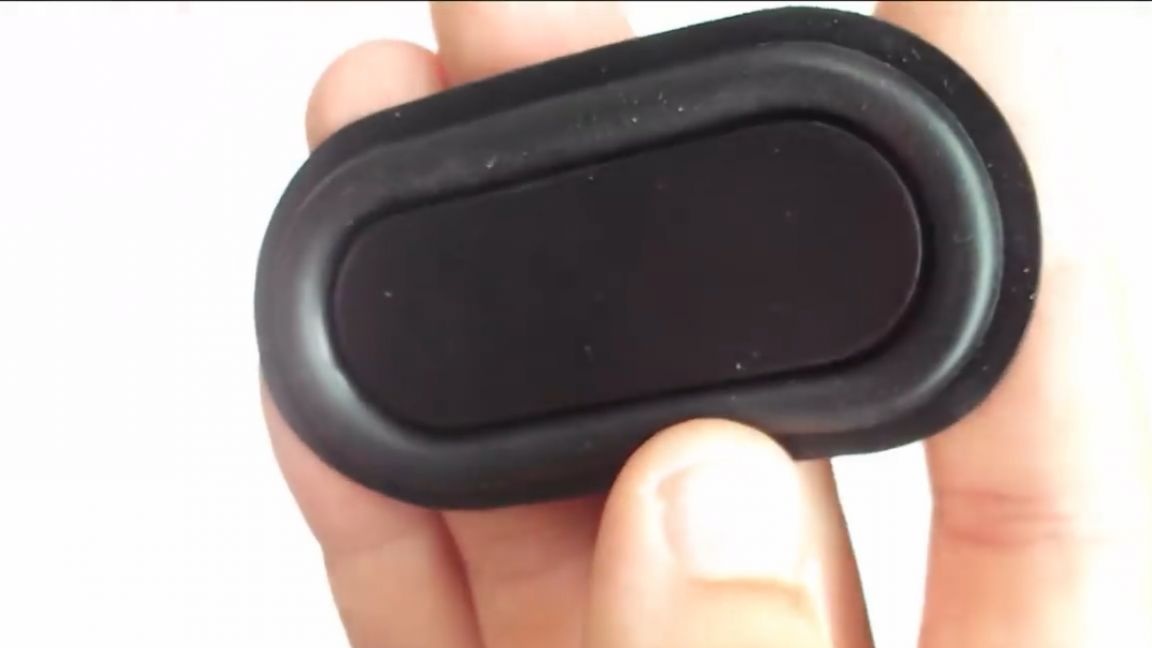
But as it turned out, in the original it should be 2 times less. Therefore, there was no place for him, so we put off the passive emitter to the side and begin to make the case.

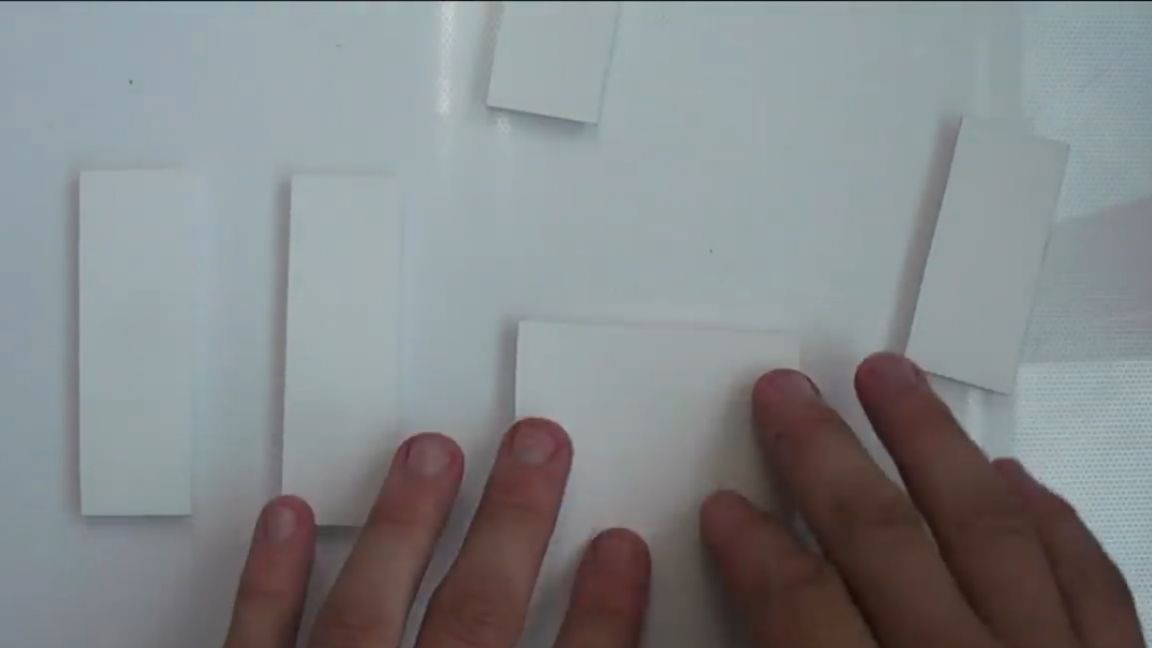
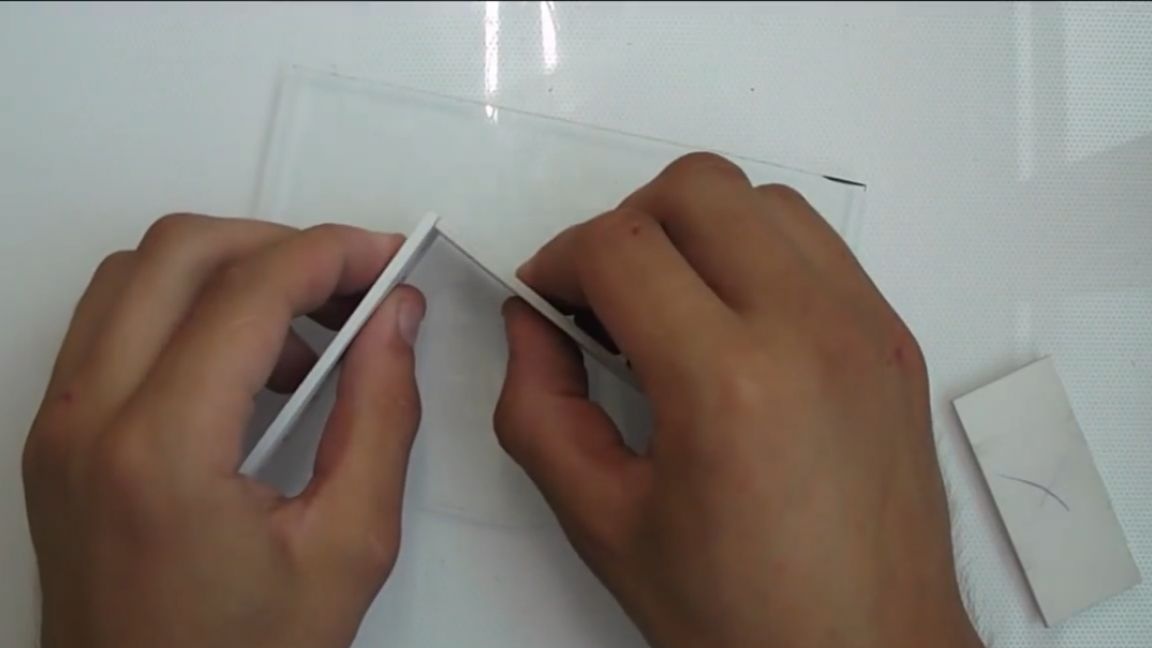
For its manufacture, we take PVC foamed plastic and use a sharp clerical knife to cut out all the necessary blanks. By the way, all sizes are as in the original JBL GO. Here, by the way, is the drawing:
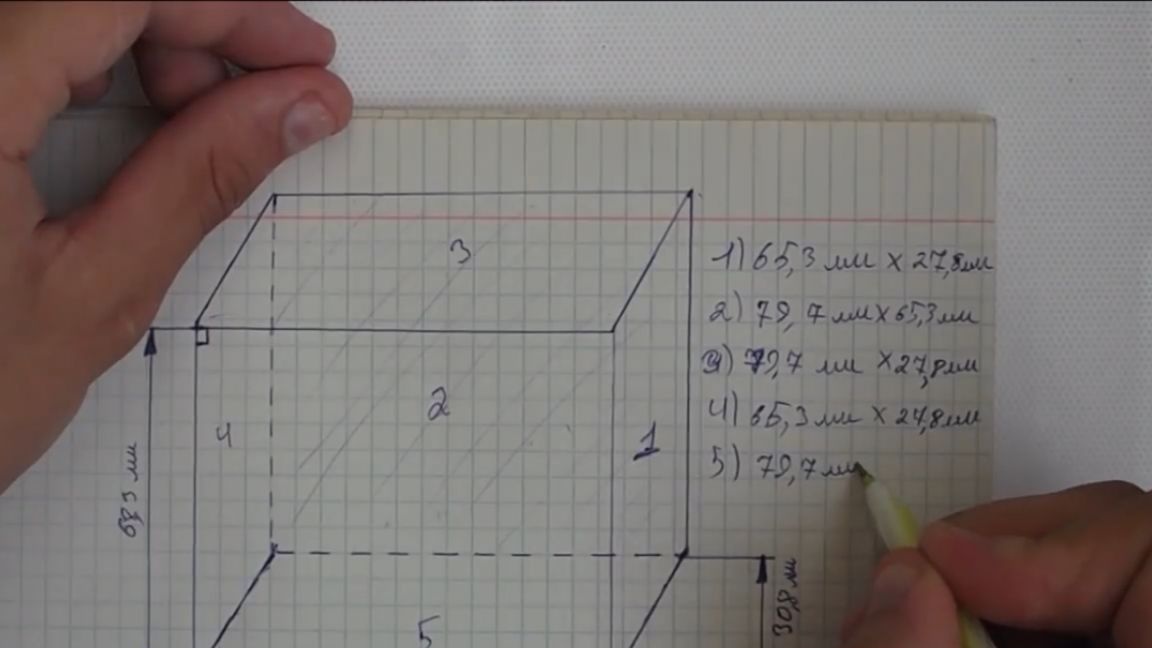
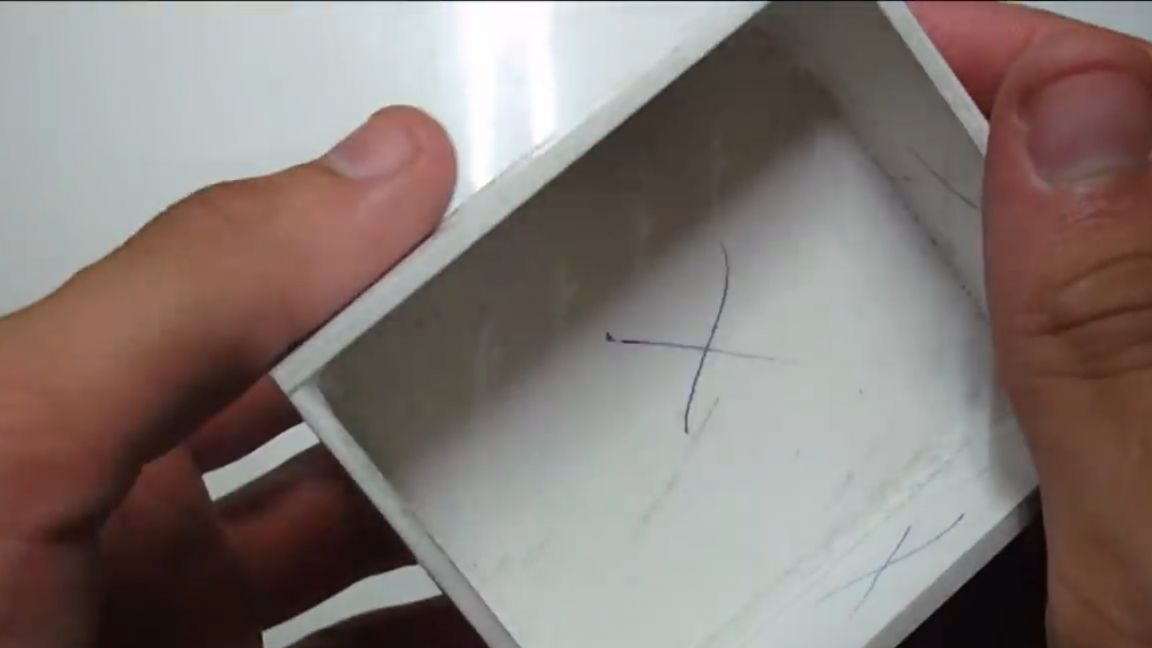
On it and cut out all the details with the help of a clerical knife. The result is a cover of 1 piece and 4 walls.
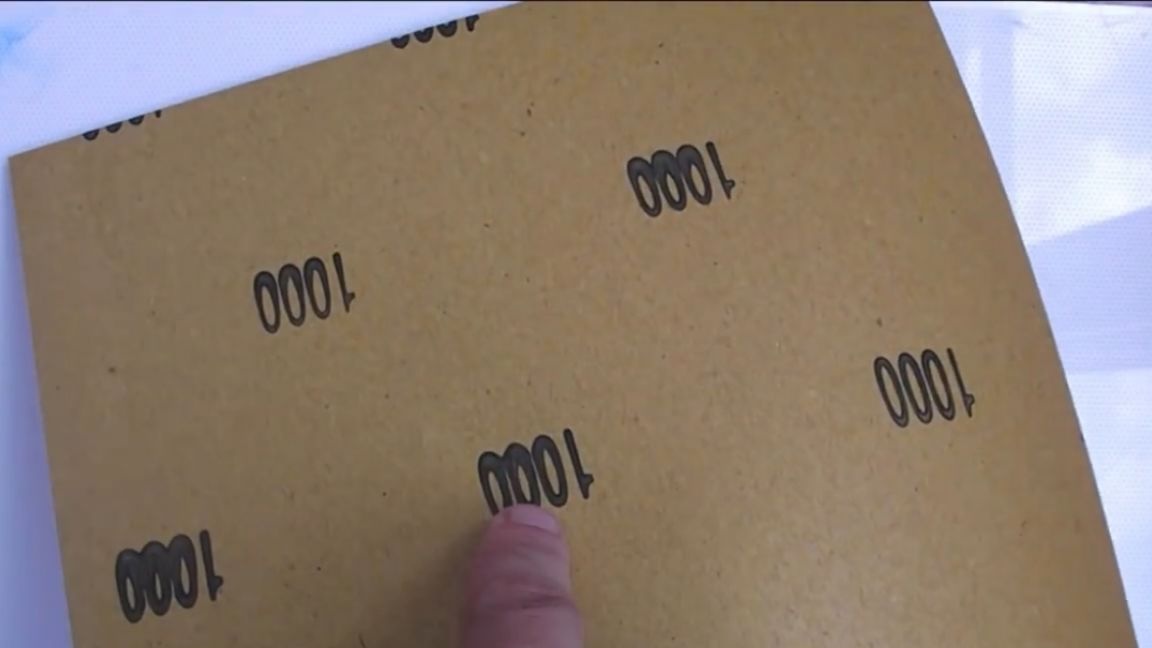
After that, we grind the workpiece with smaller sandpaper, for example, with 1000 grain. But in order to smooth the edges smoothly, we take some kind of guide with an angle of 90 degrees, glue the sandpaper and wipe it.
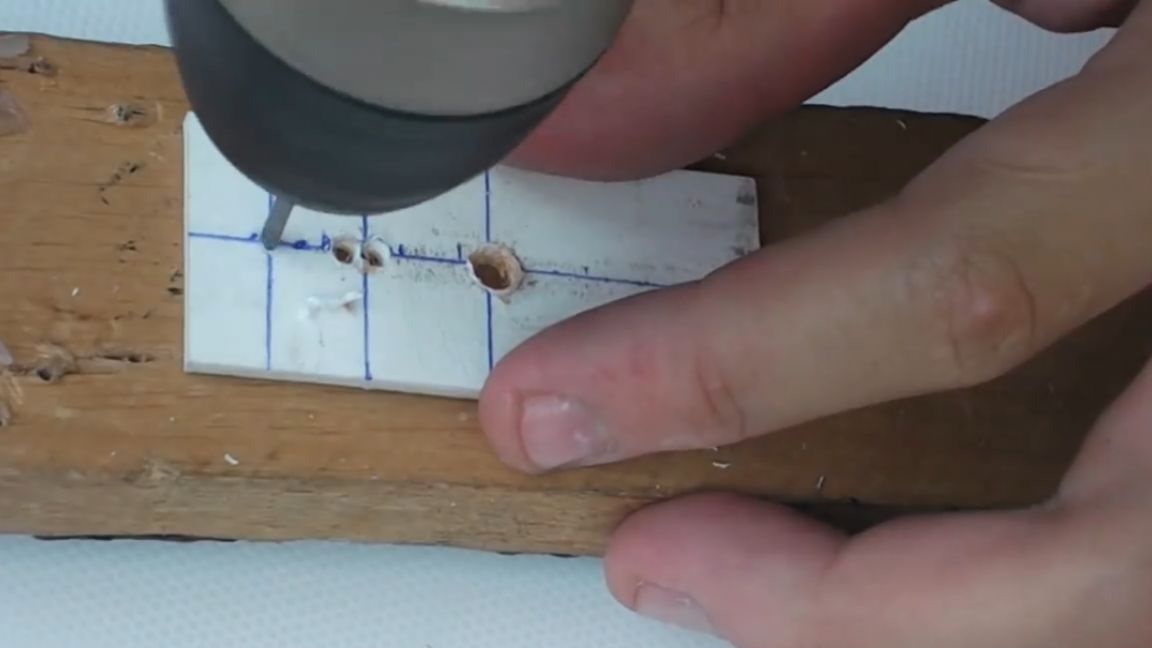
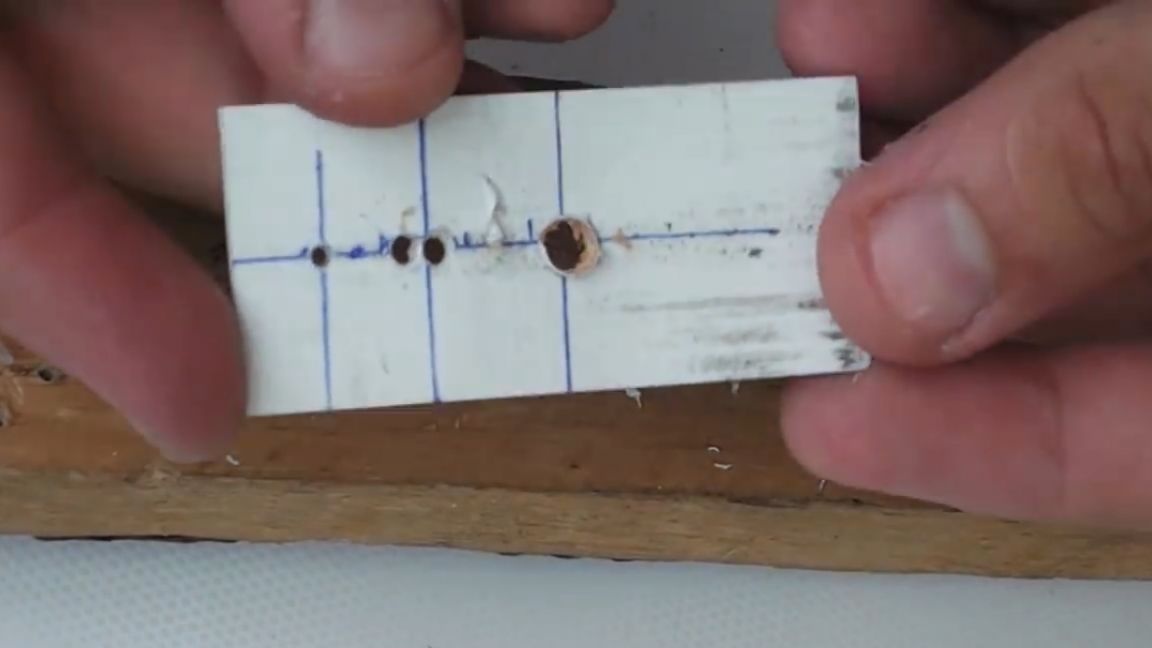
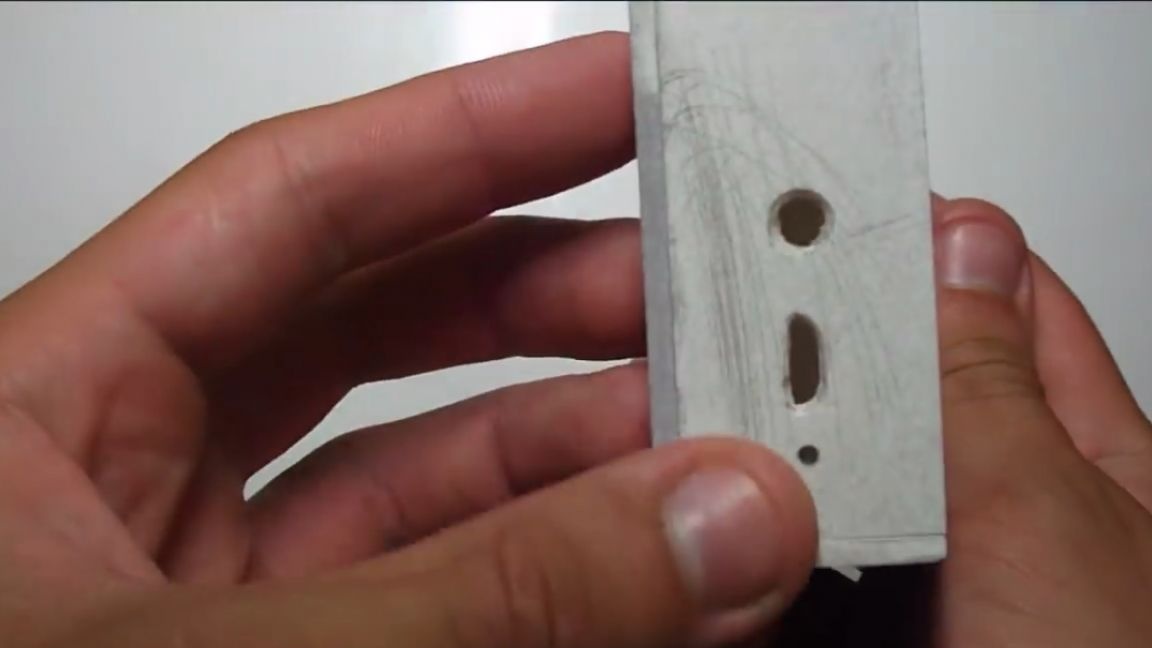
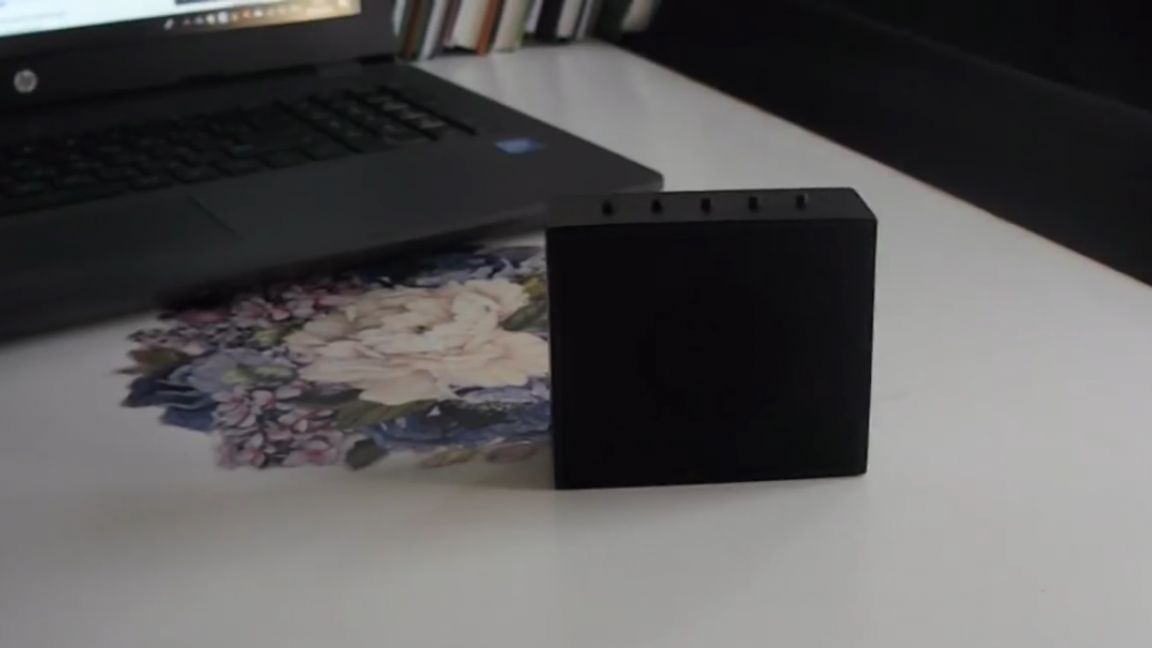
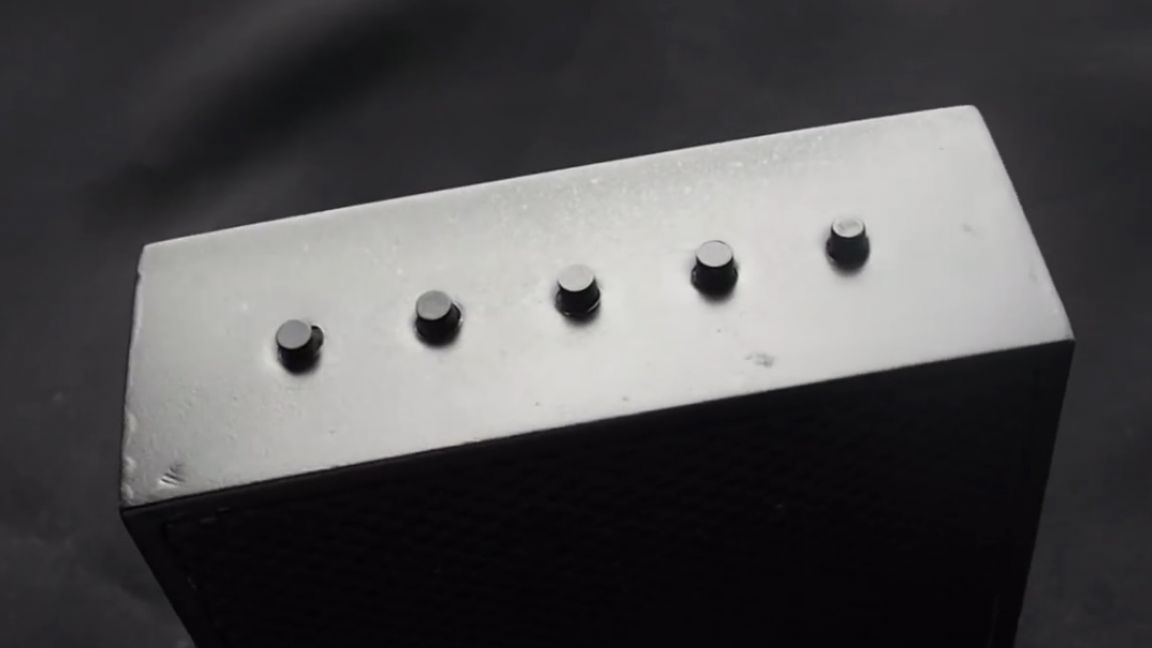
Now on the top panel we make 5 marks and 5 holes with a diameter of 3 mm. These will be the places for the buttons. Now again we grind the workpiece and cut the chamfer with a 6 mm drill. This is done for the convenience of pressing keys.
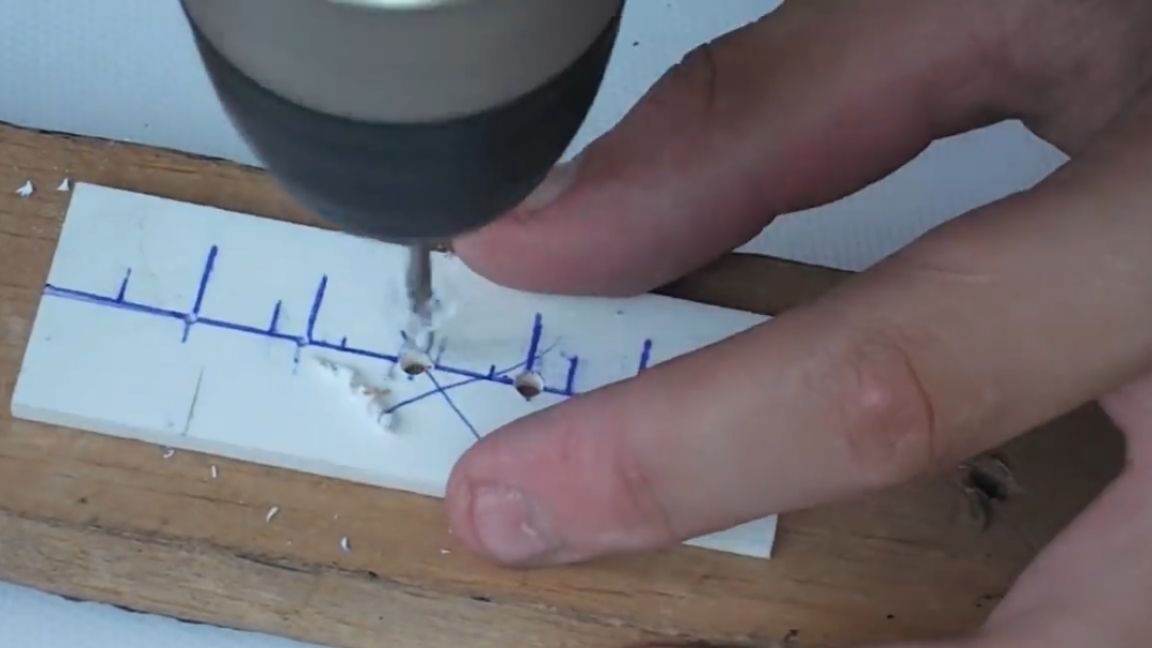
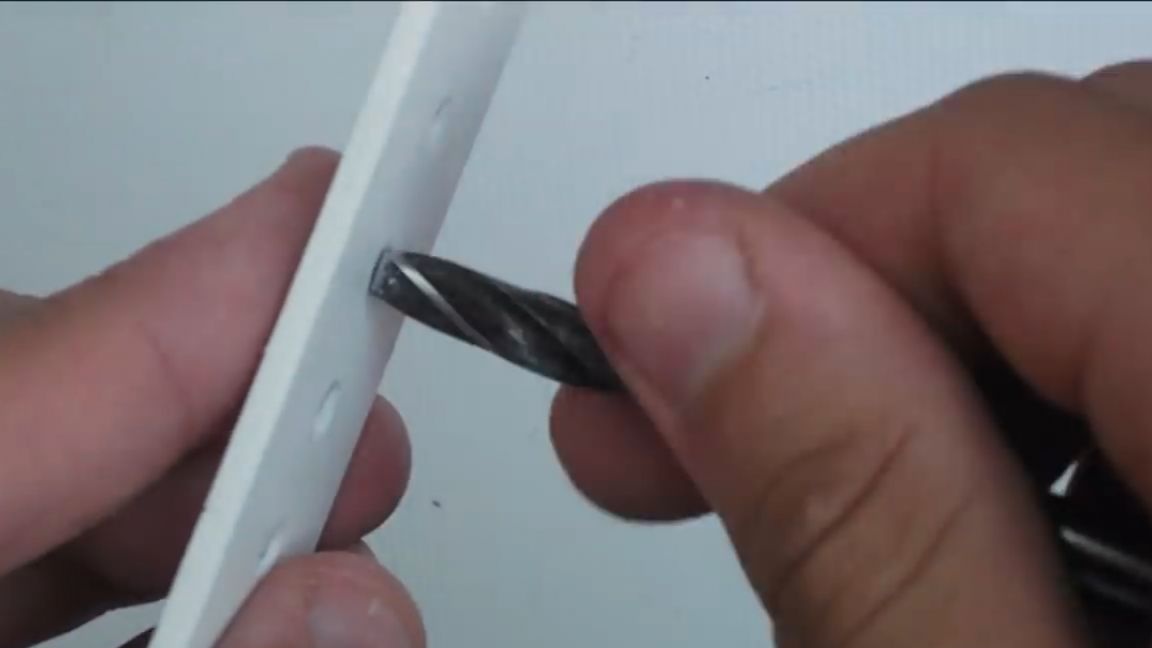
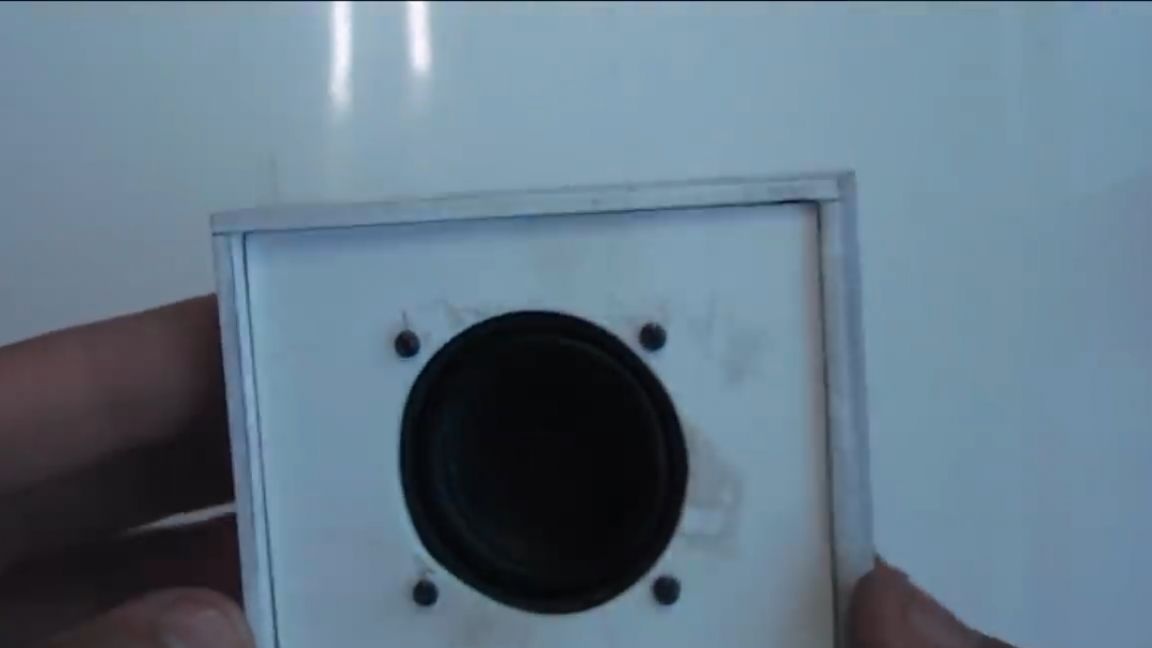
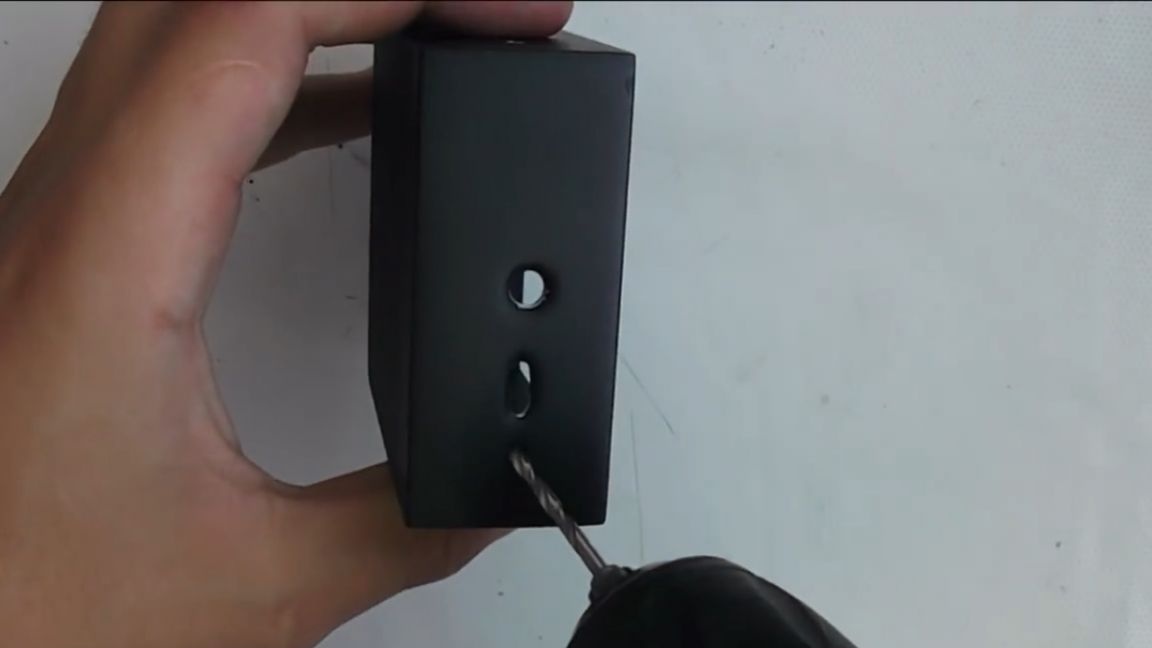
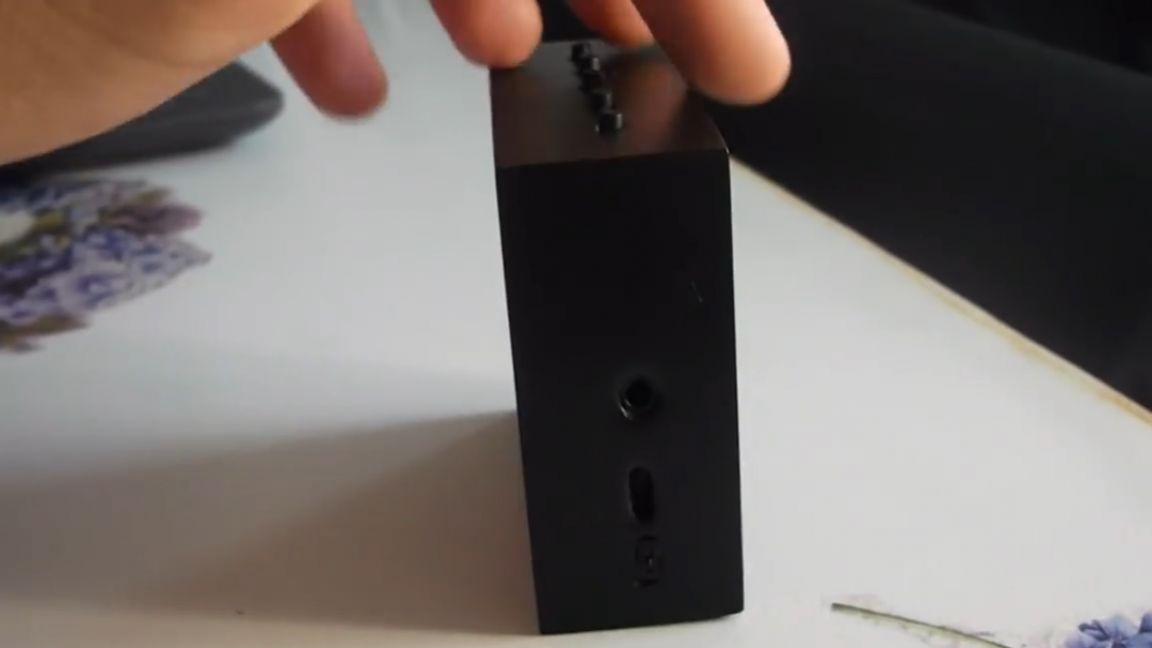
Then, already on the side wall, we make marks at approximately the same place where the elements in the original JBL GO are located and drill one hole with a diameter of 5 mm for an audio mini-jack, 2 holes side by side for micro usb and one thin drill for a microphone (but subsequently there will be a switch there ) And so it happened:
Now we grind all the blanks and glue them on a flat surface. Superglue will do just fine for this.

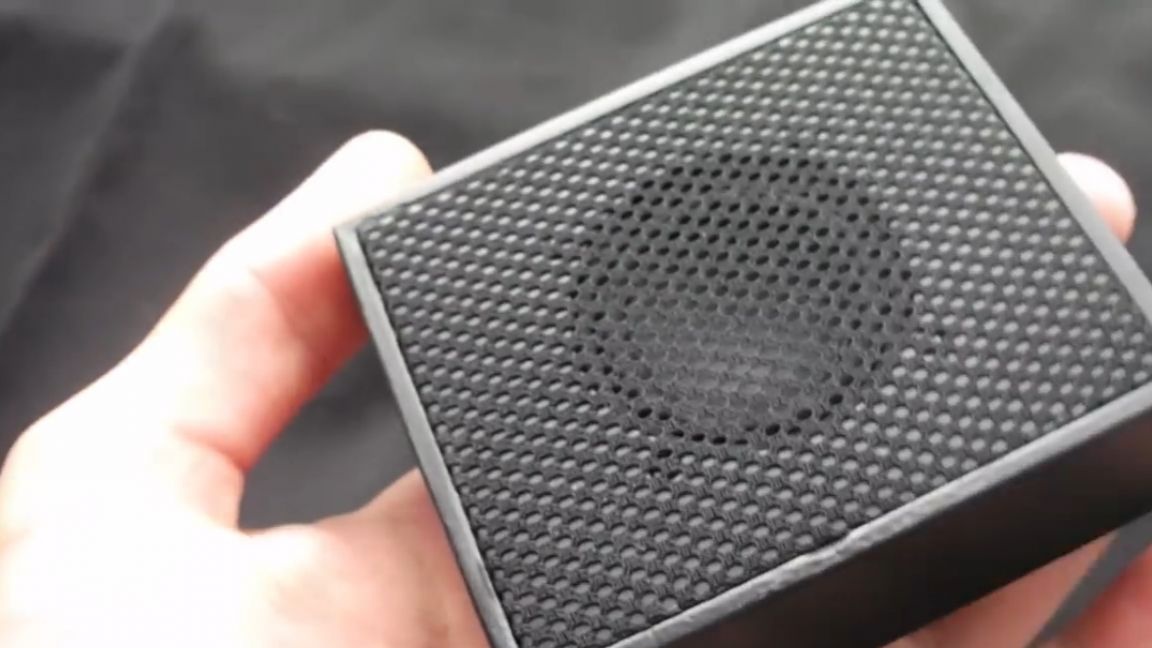
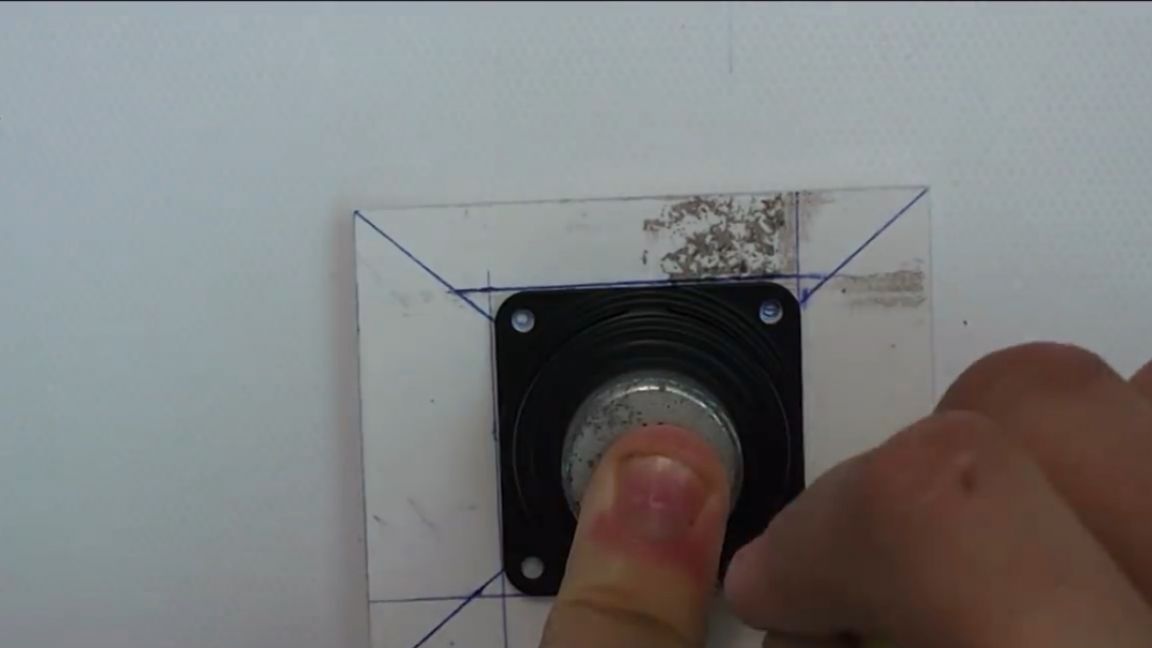
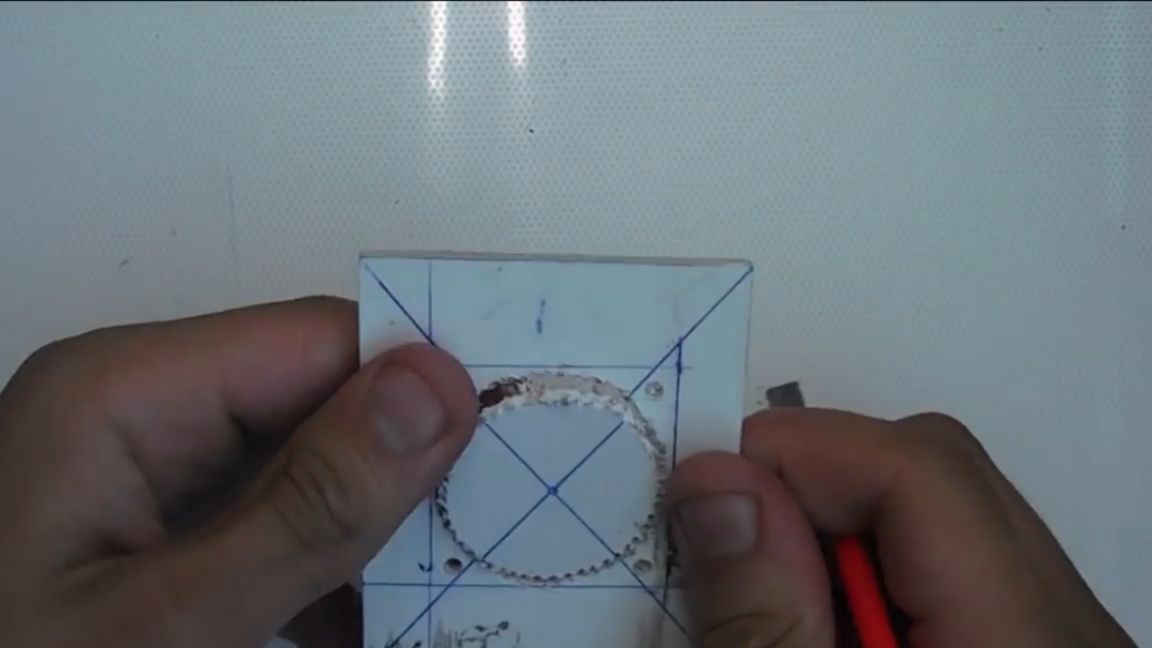
Next, cut out the second cover on which the speaker will be located. We find the center on it, attach the speaker there and circle. Well, after which we make a circle with the help of a compass.The author did not have a drill bit, so he makes a lot of holes with a thin drill, and then he polishes everything well.
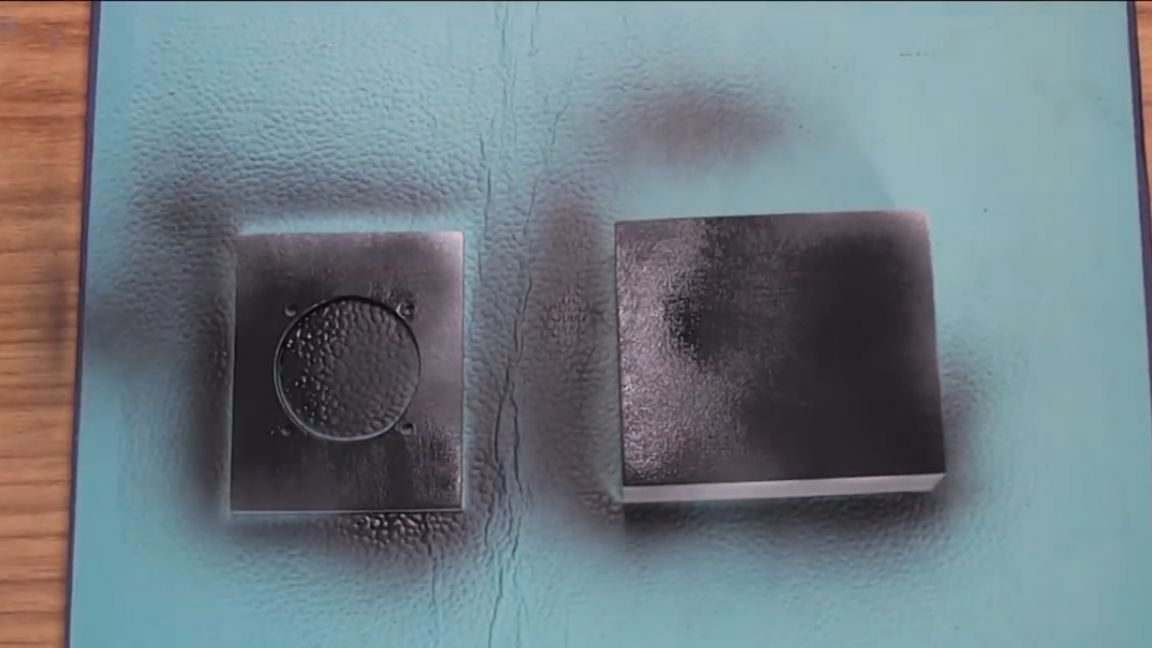
Well, since everything is ready with us, then we shake the spray can with paint and spray it on our beautiful blanks, 3 times, no less, allowing it to dry before approaching for 15 minutes.
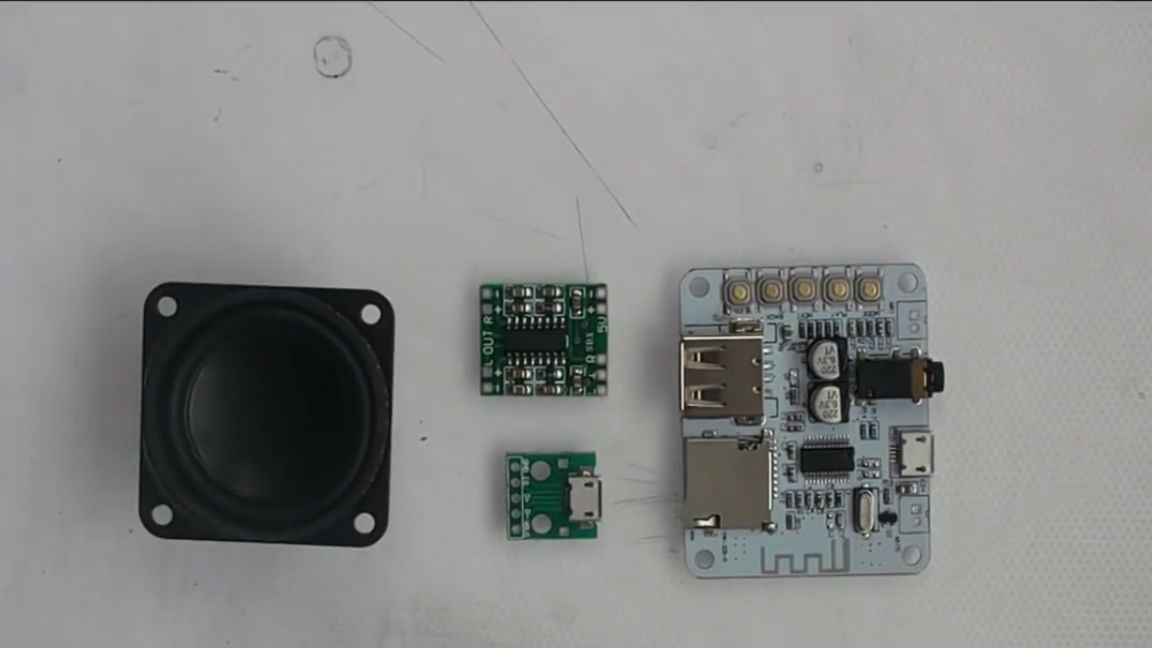
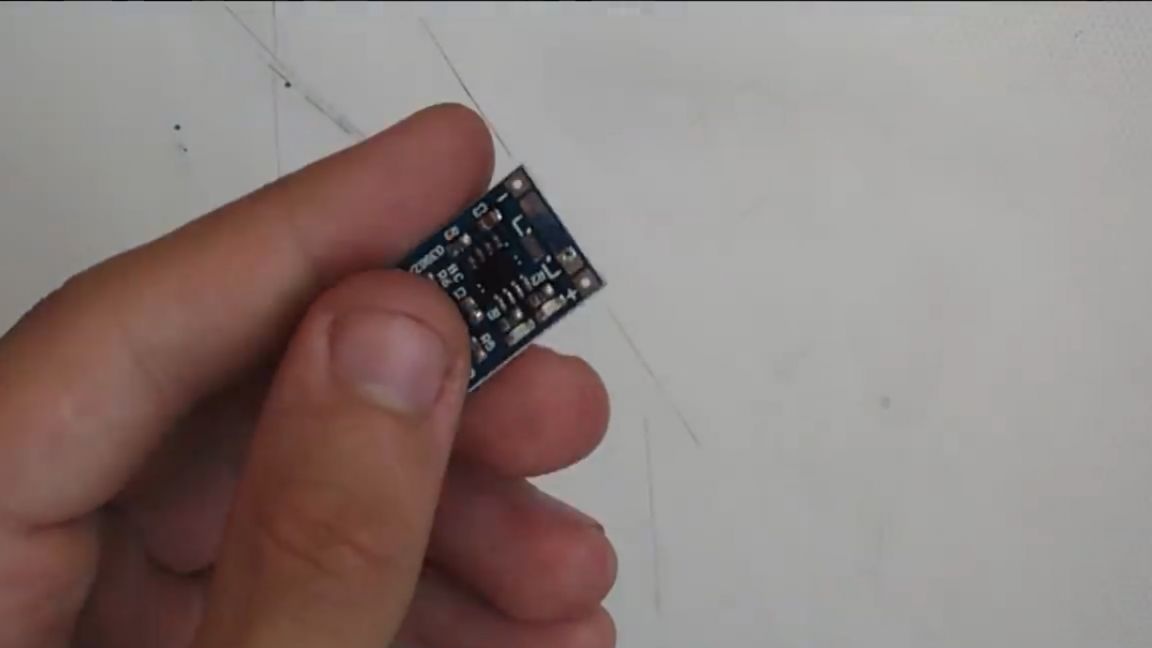
We will use this board:
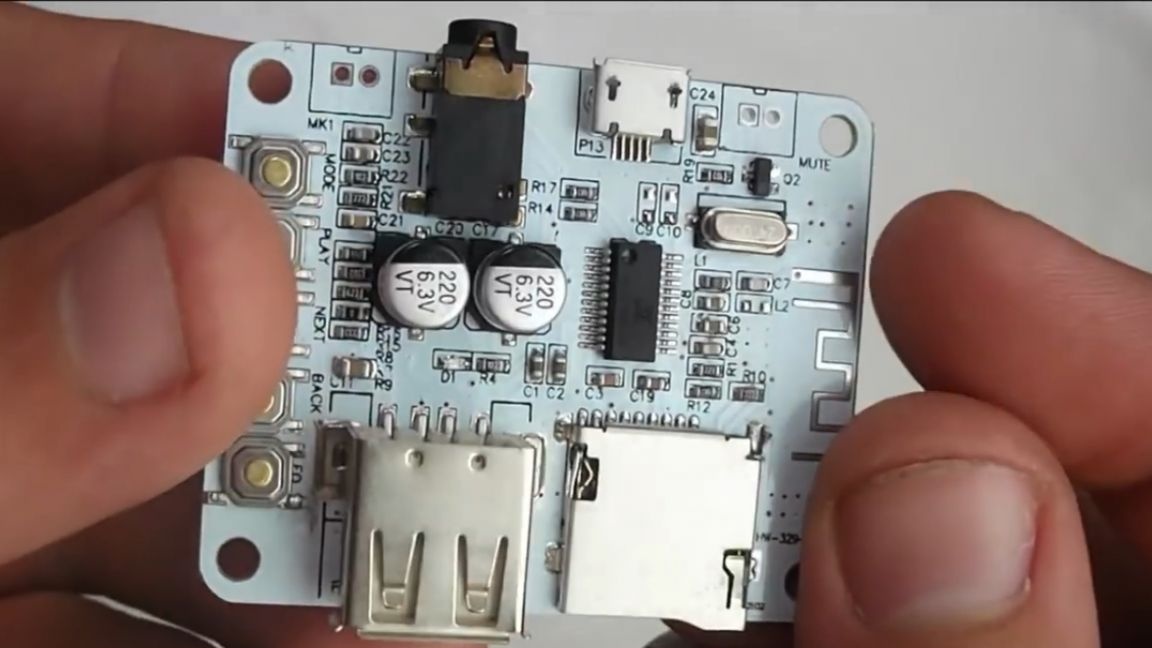
It has bluetooth, support for sd cards and USB flash drives, and you can even put a microphone in order to talk on the speaker. In short, we need it because, firstly, it has bluetooth, and secondly, the buttons we need, namely: switching the play-pause, back and forth and equalizer (which, by the way, is not in the original, so this is even a plus for our replica).
These are the elements we need for e parts:
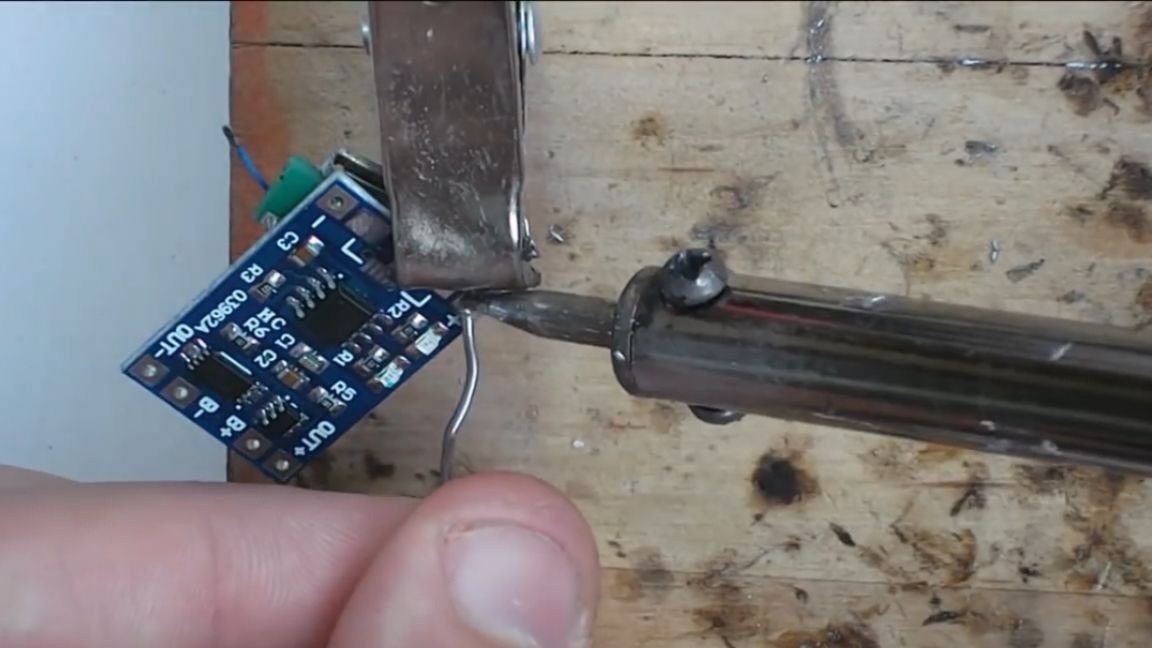
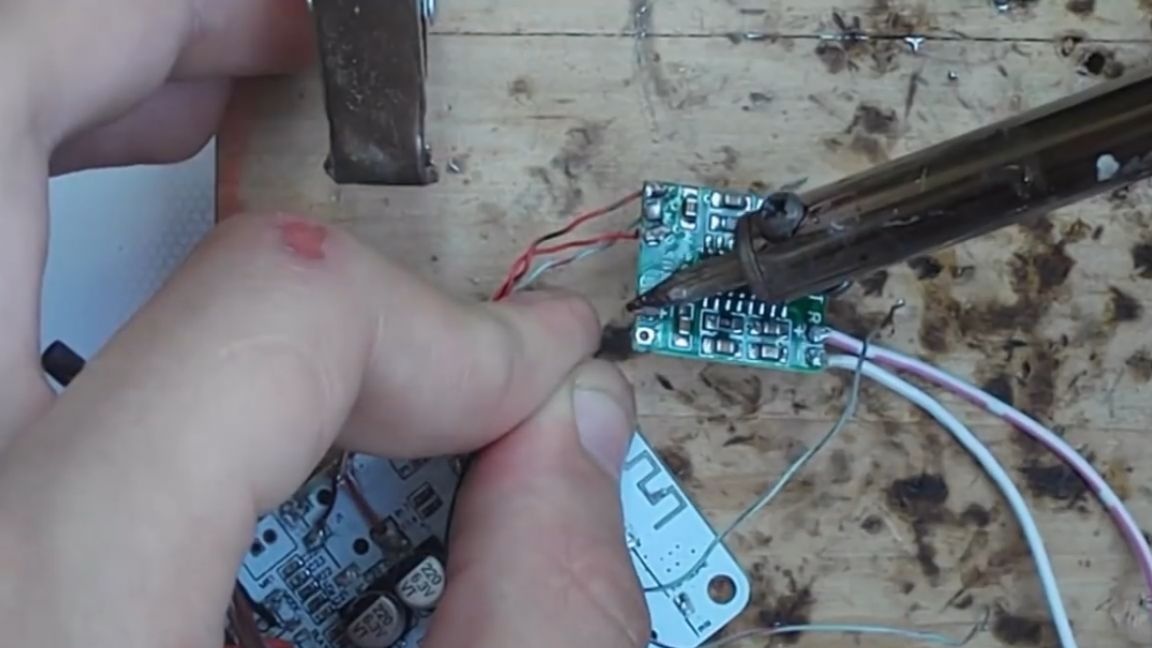
So, let's get down to the build itself. First of all, we solder the connector for sd cards. Further usb port (we also will not need it). The buttons on the board are very small, and we will take others and lengthen. So we solder the built-in and solder the wires.
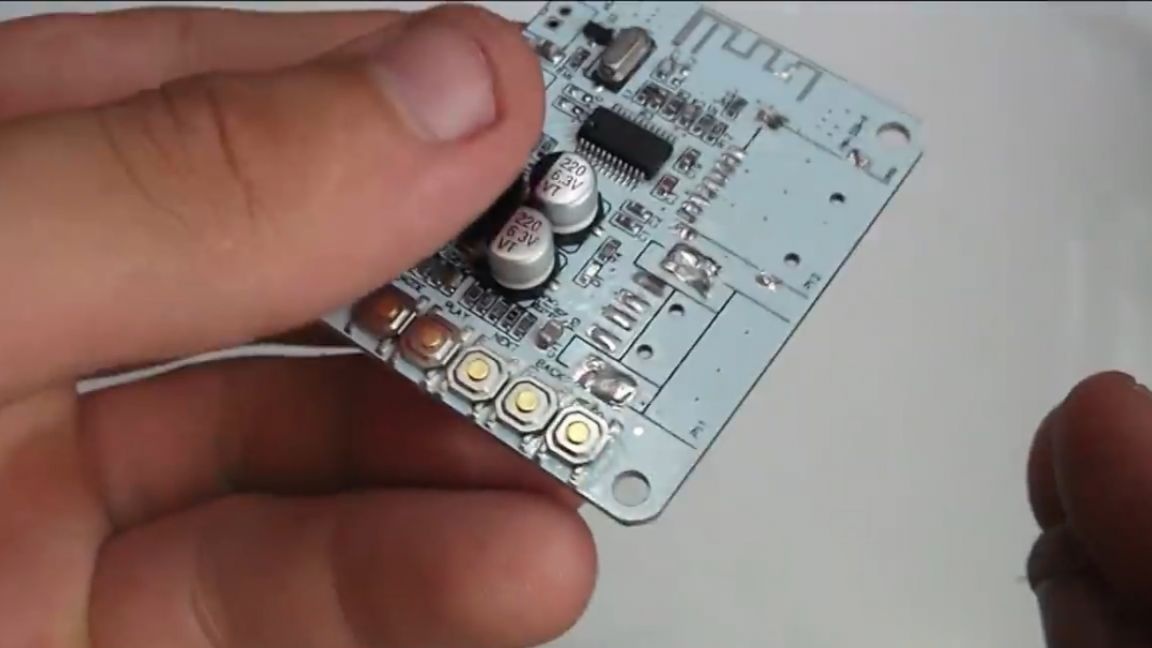
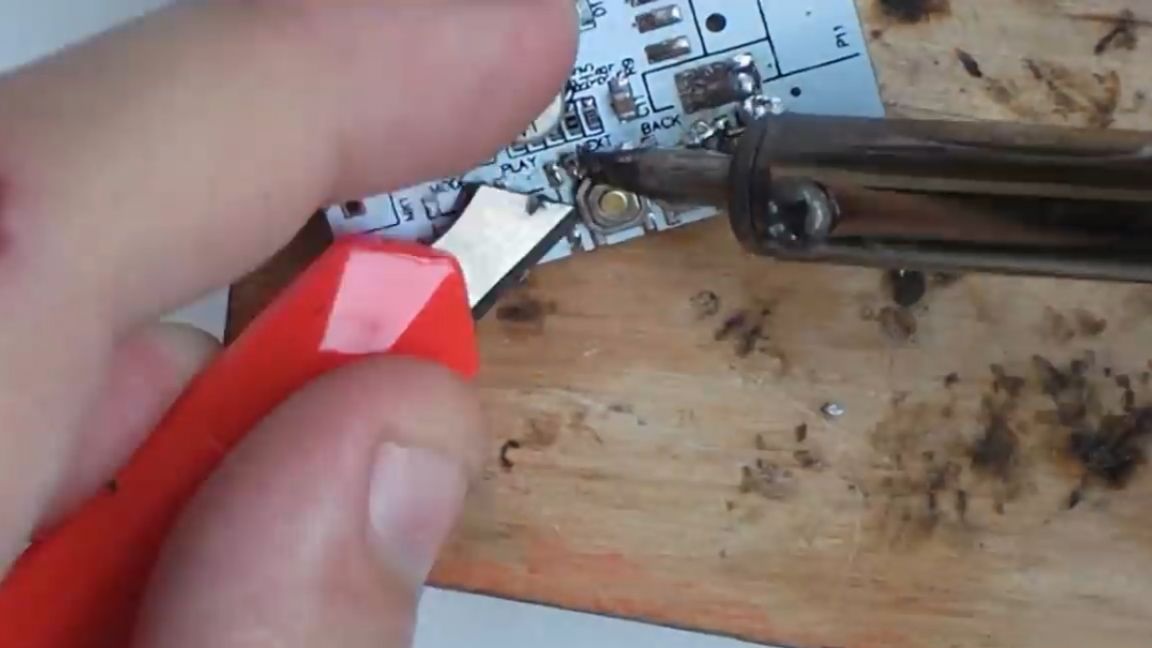
Further, this board needs to be cut in half, as it takes up a lot of space and prevents the battery from falling into place.
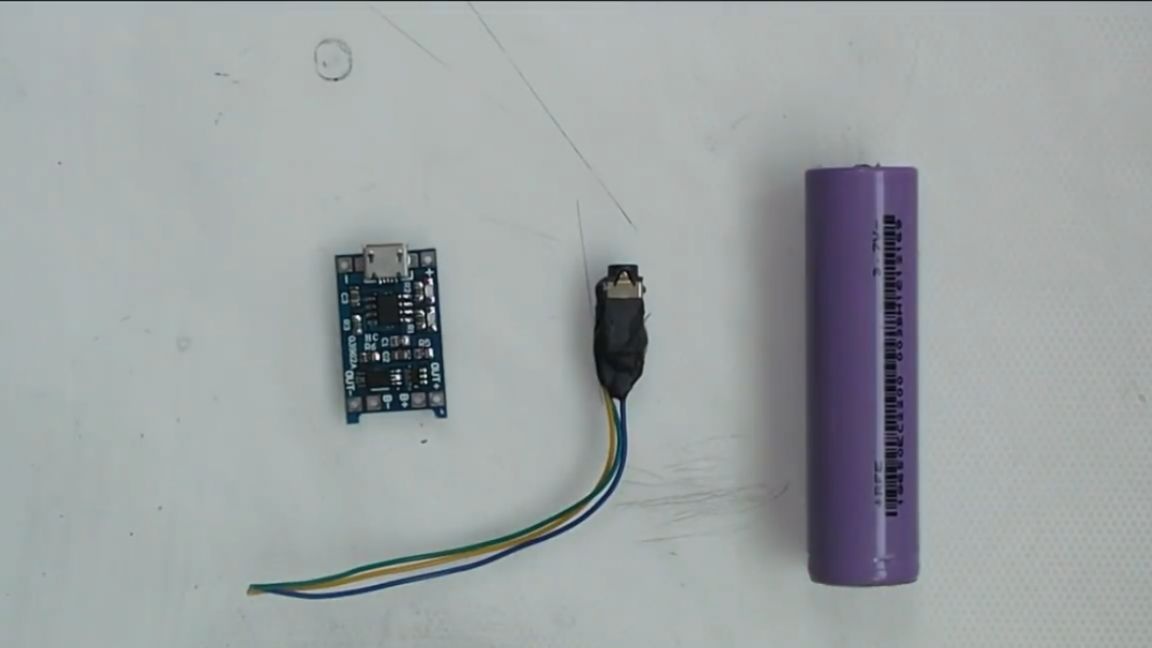
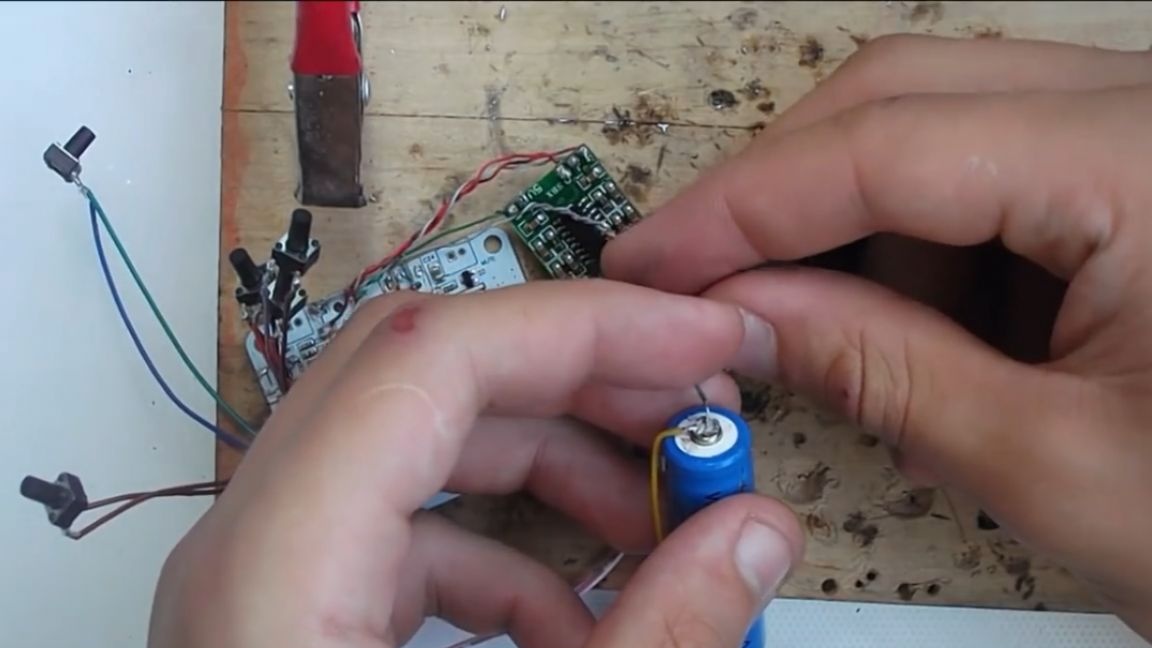
During the assembly process, the author realized that there was very little space in the case and the 18650 battery would not fit there. Therefore, the author drove to the nearest electronic store, and bought a 14500 battery there. The claimed capacity is 8800 mAh. But we all know that the Chinese are modest as usual, so there will be 15-20 thousand calmly there (a joke).
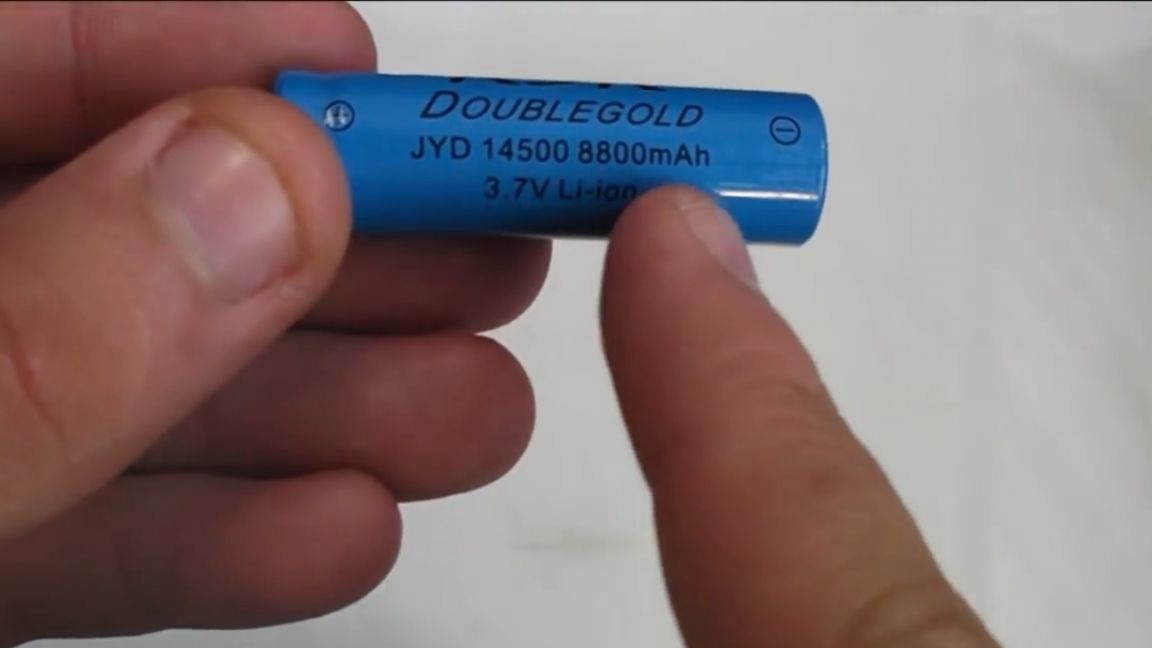
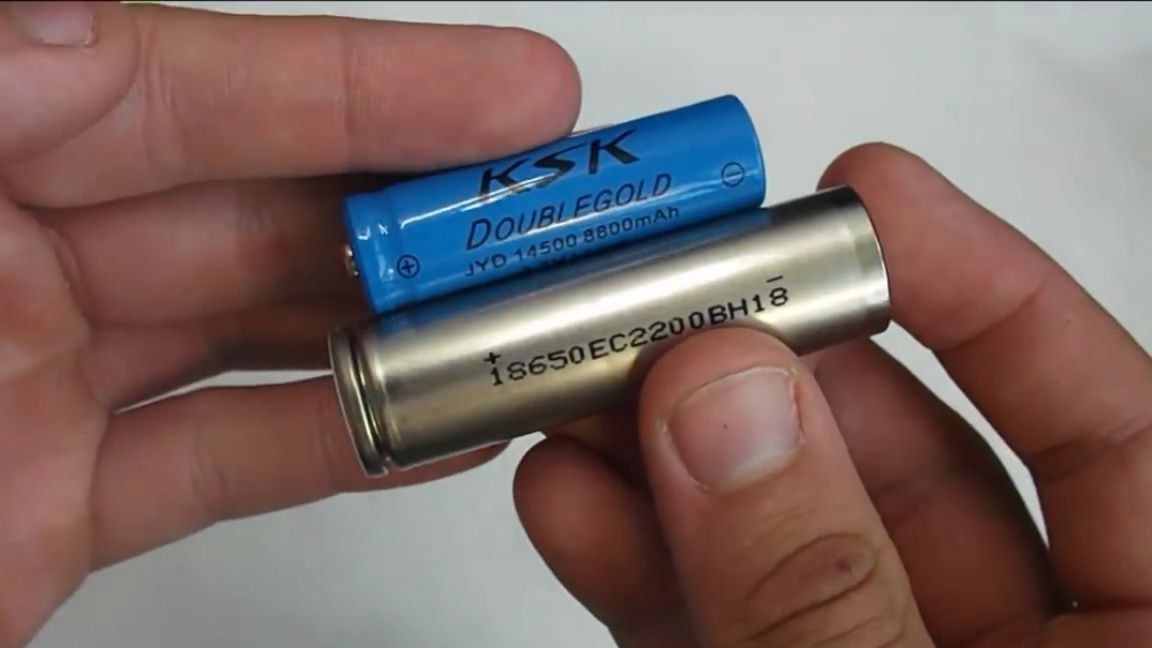
As you can see, this battery is much smaller than the 18650 battery and is perfect in size. We check:

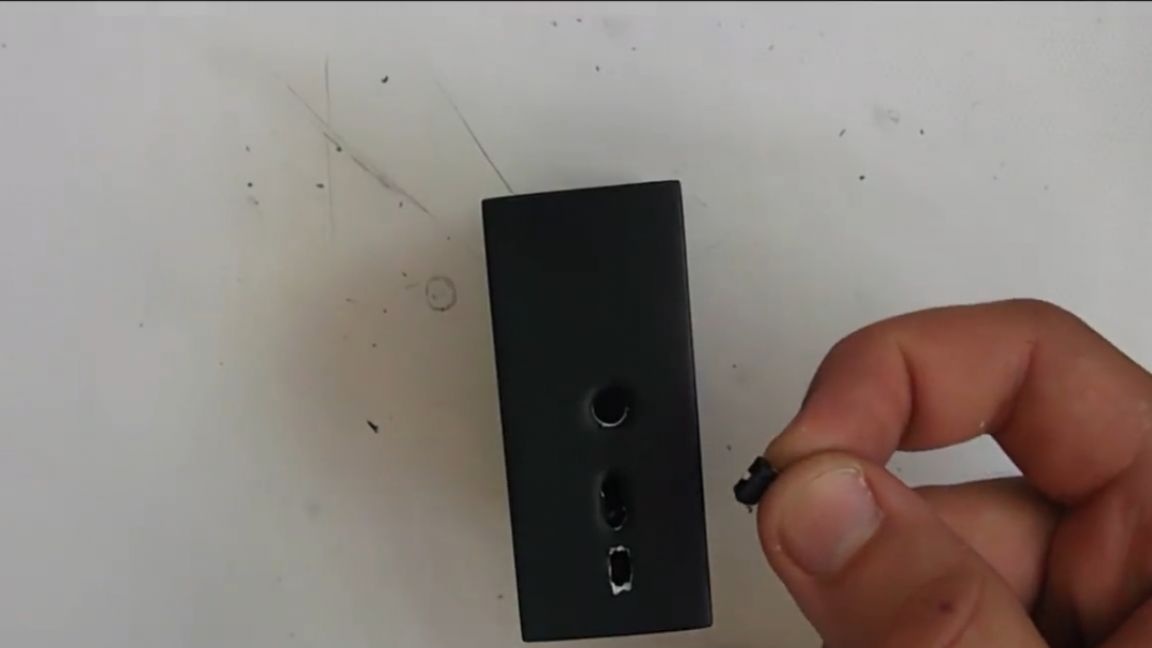
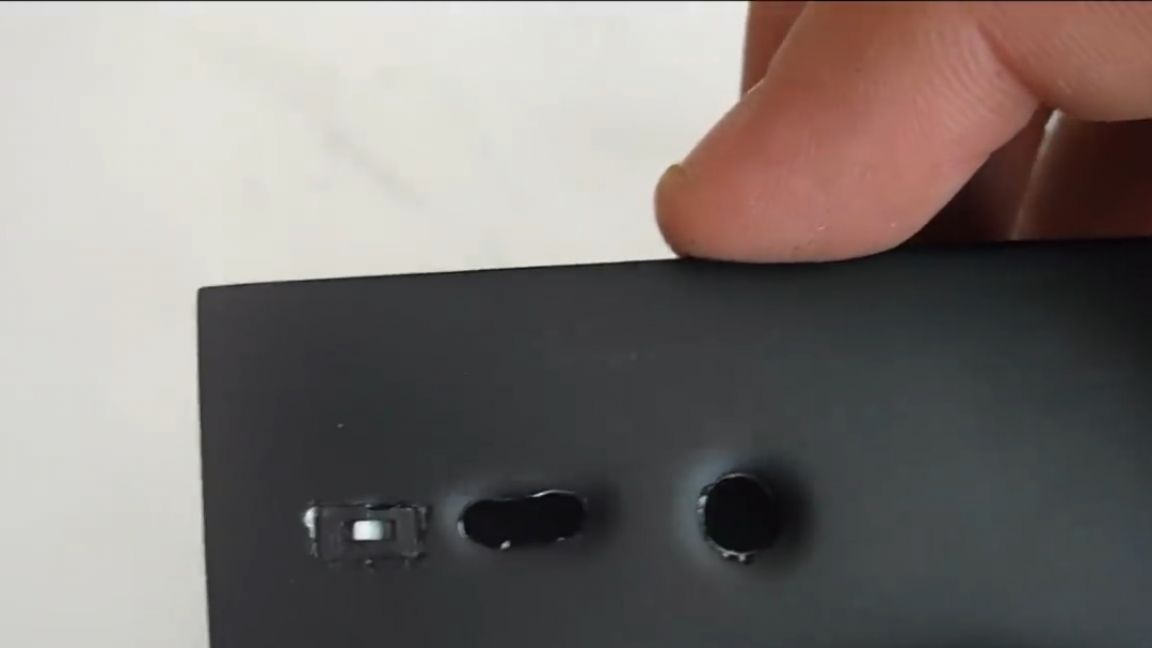
Everything works, the LED lights up. In thought, the author decided that he would not need a microphone in the column, so he decided to put a tiny switch in his place, after drilling a hole with a drill of a slightly larger diameter. So, it turned out almost imperceptibly.
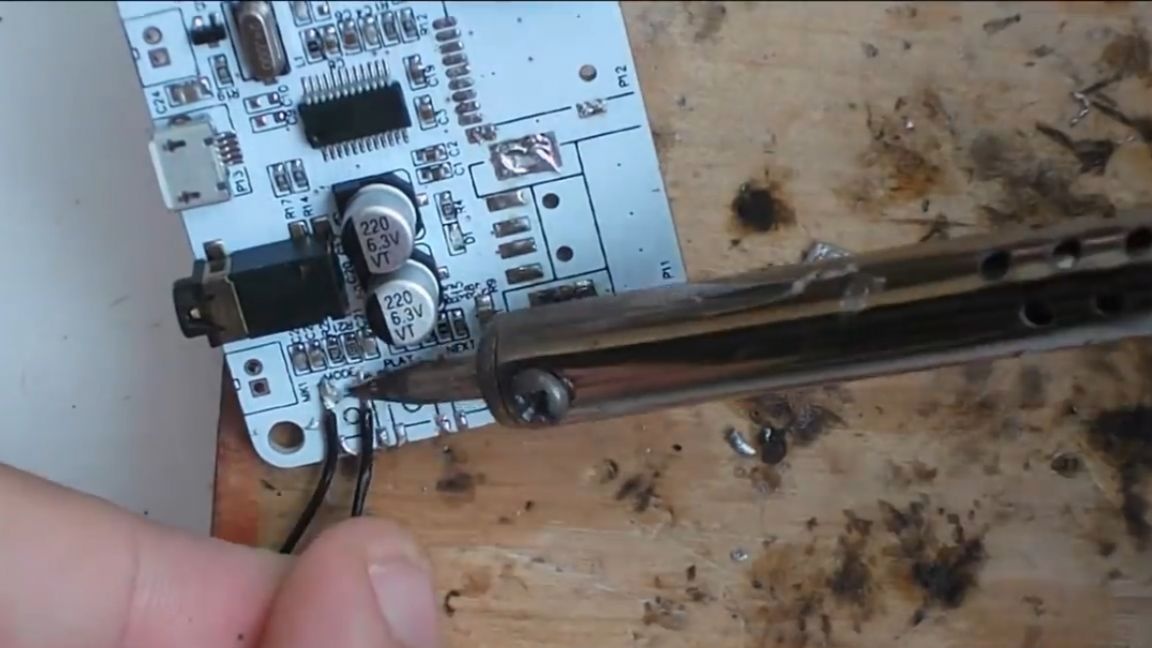
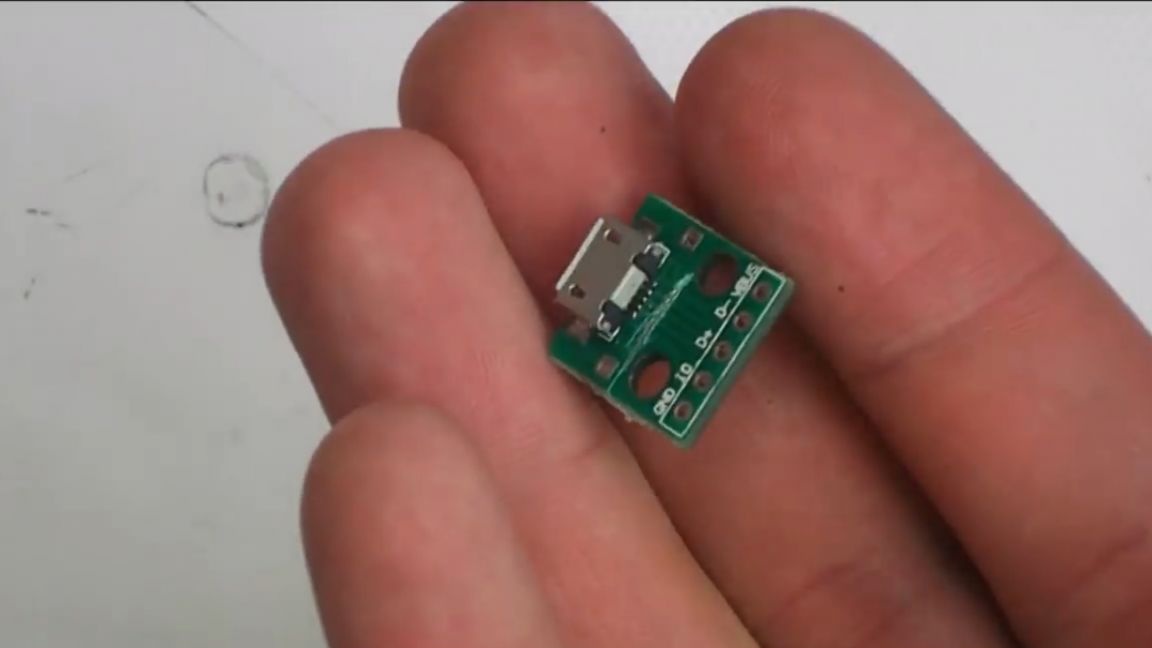
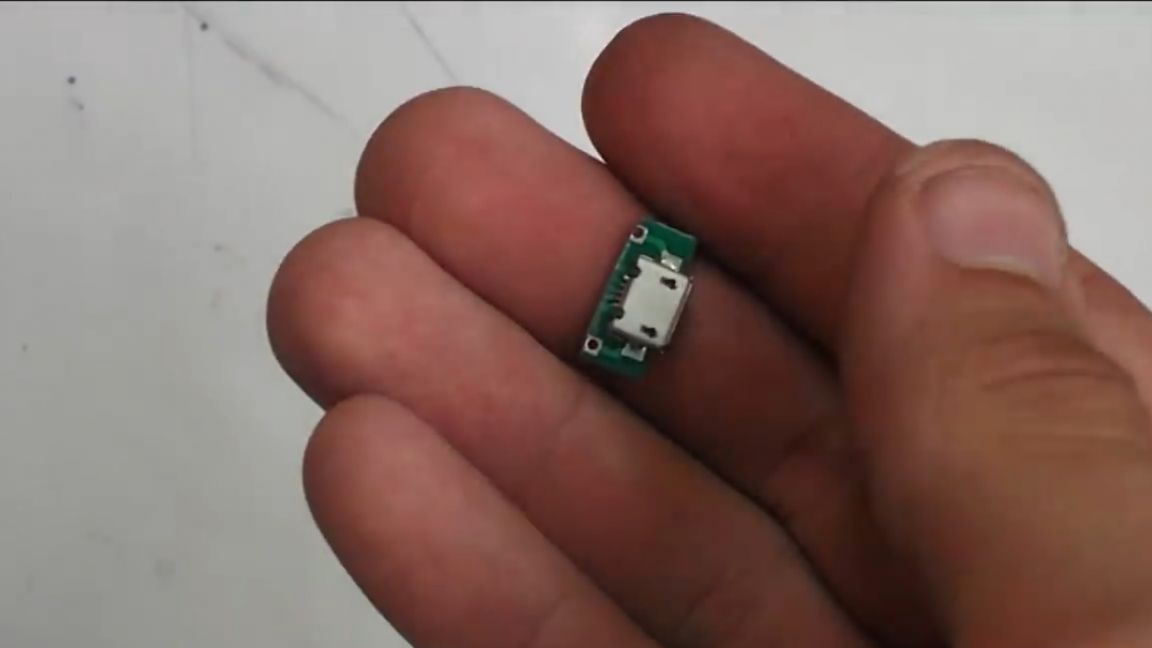
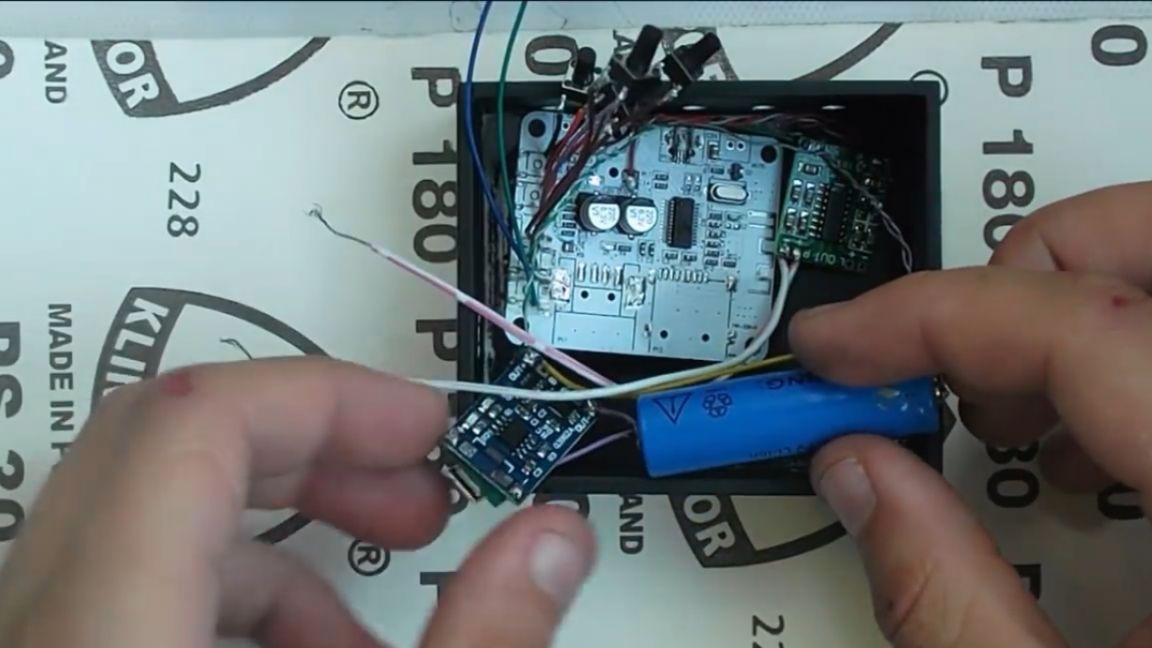
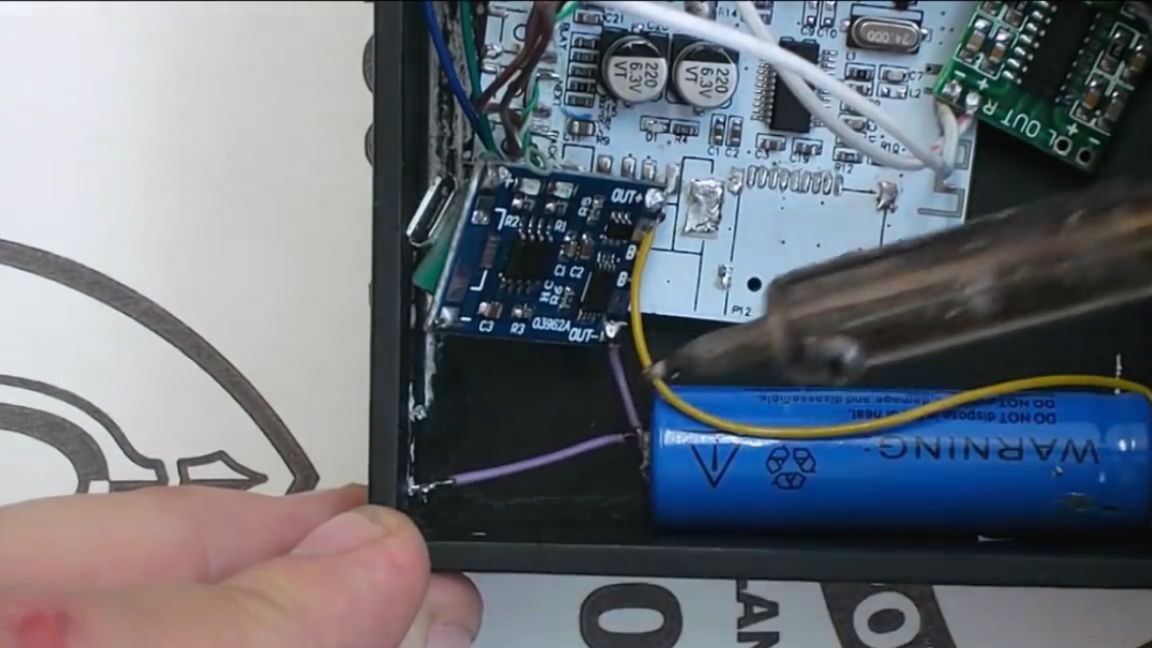
We also use microusb on the charge-discharge control board of the lithium-ion battery, we will not need it. Instead, we solder that chopped board with usb to this board.
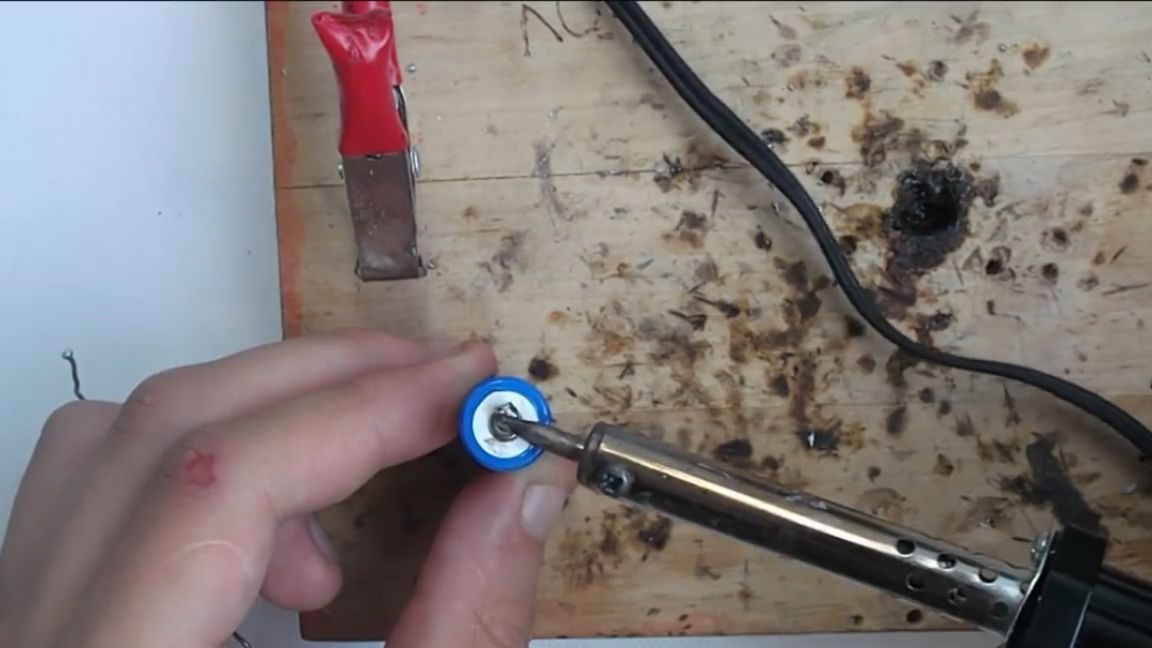
Next we trick the battery contacts, but be extremely careful, for this you need a powerful soldering iron so as not to overheat the battery.
Now we deal with the amp. 2 wires to the right channel, 3 wires from the bluetooth board that were previously soldered, well, the last 2 wires (to power the amplifier) are also soldered. We solder 2 wires to the negative terminal, one will go to the charge-discharge board and one to the switch. Also, on the positive contact of the battery, solder the wire that goes to the same board.

Then we twist 2 plus wires from the bluetooth board and amp, just as gently soldering to the battery.
Then we stuff it all into the body. We solder the purple wire to the switch, 2 minus wires (from the amplifier and the bluetooth board) we also solder to another switch contact.
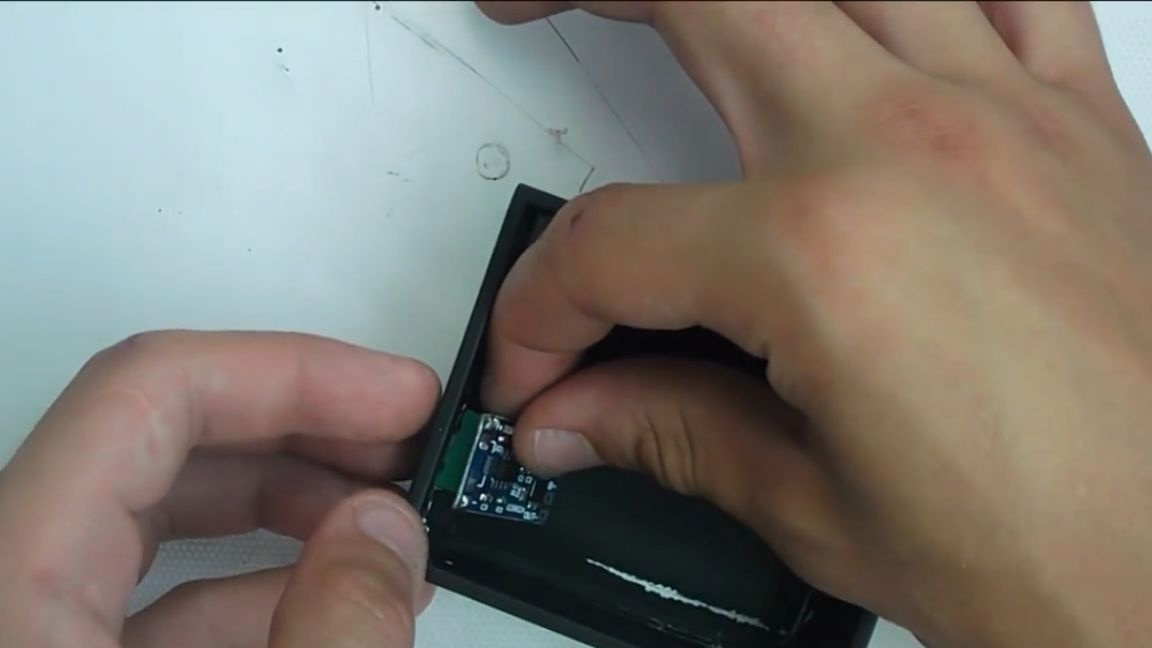
Everything is ready, now glue it all on any good glue. The main thing is to pay attention to microusb and buttons, because it is impossible to allow anything to fall off there in any case, since the case will not be collapsible.

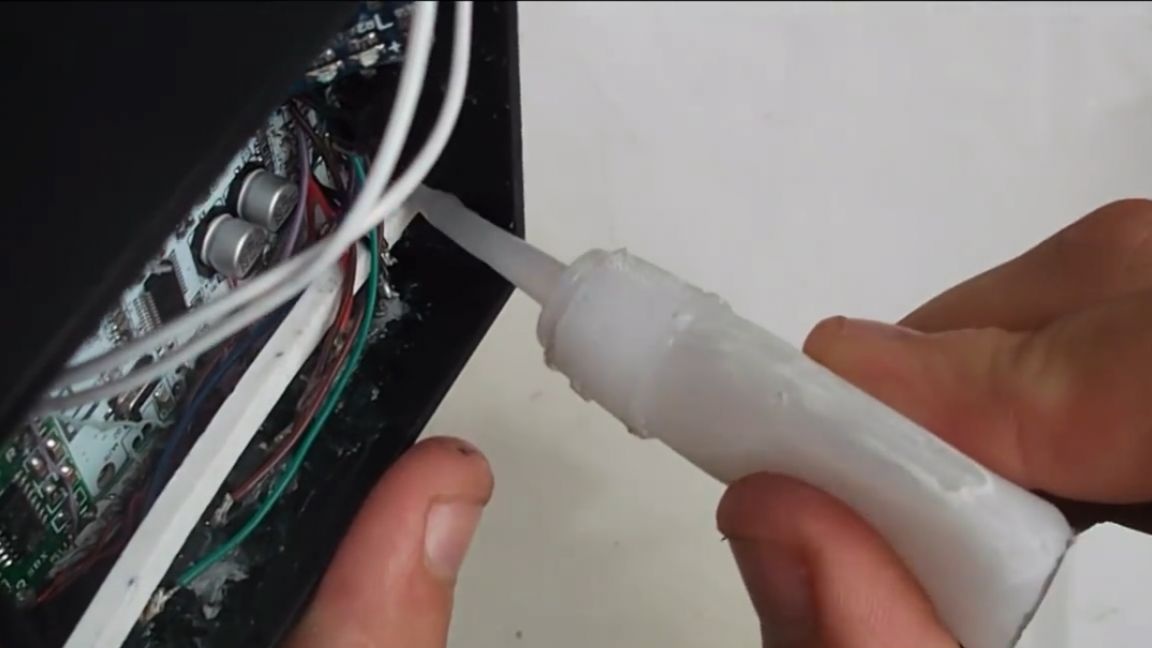
Since the glue did not cope a bit, the author decided to strengthen the design with the same foamed PVC plastic.
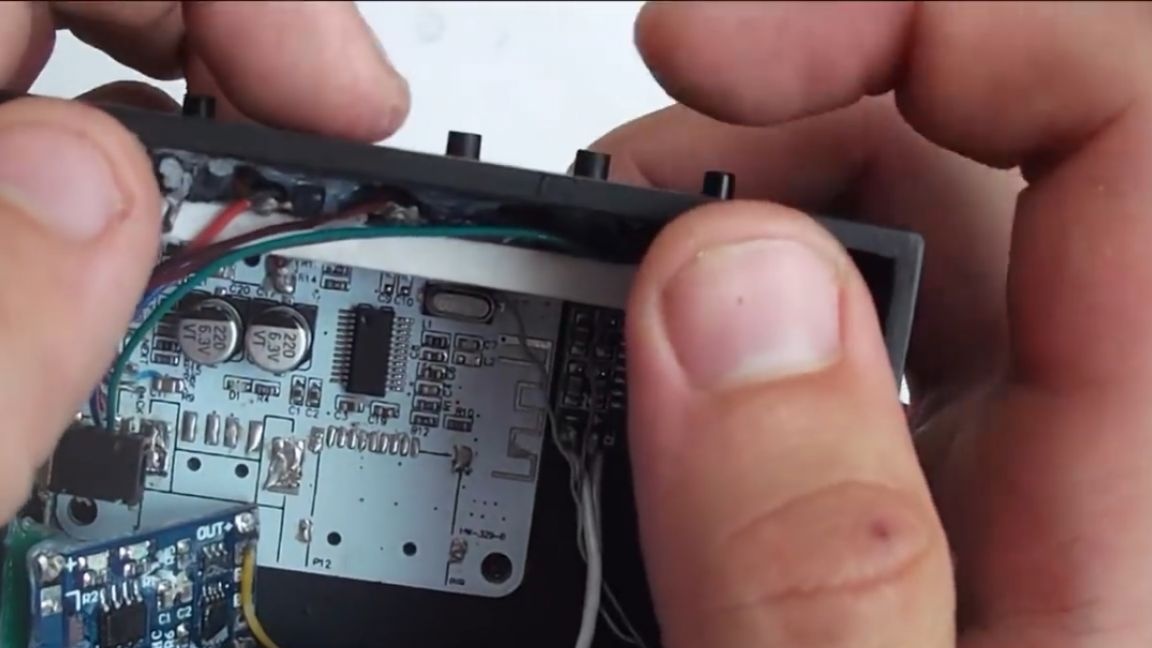
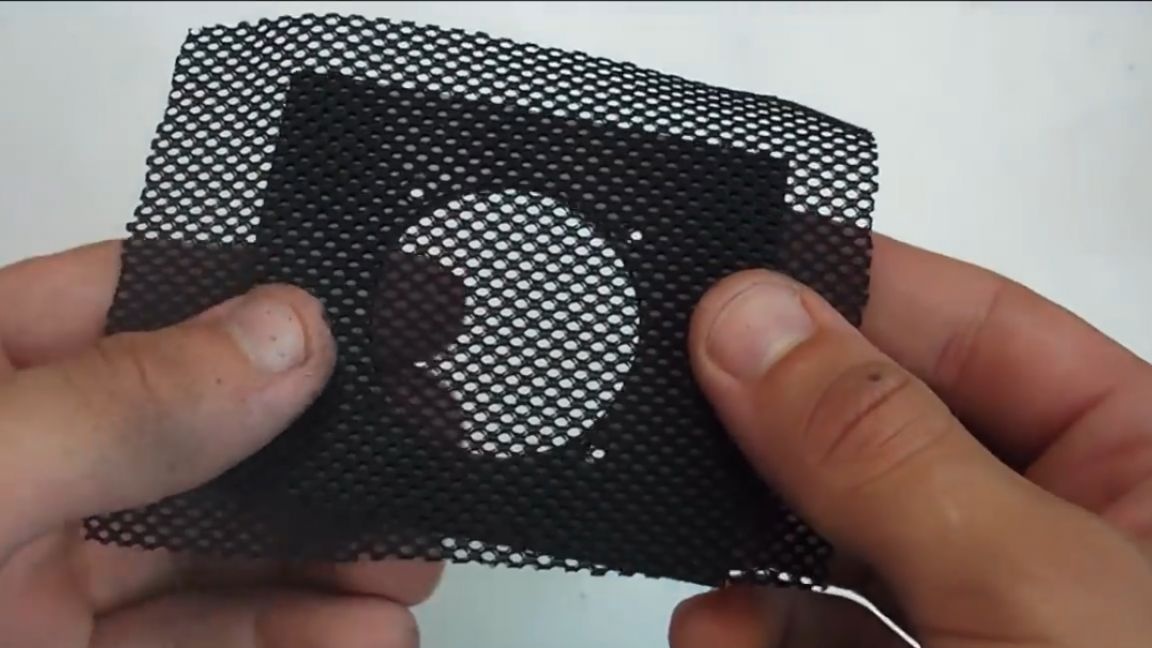
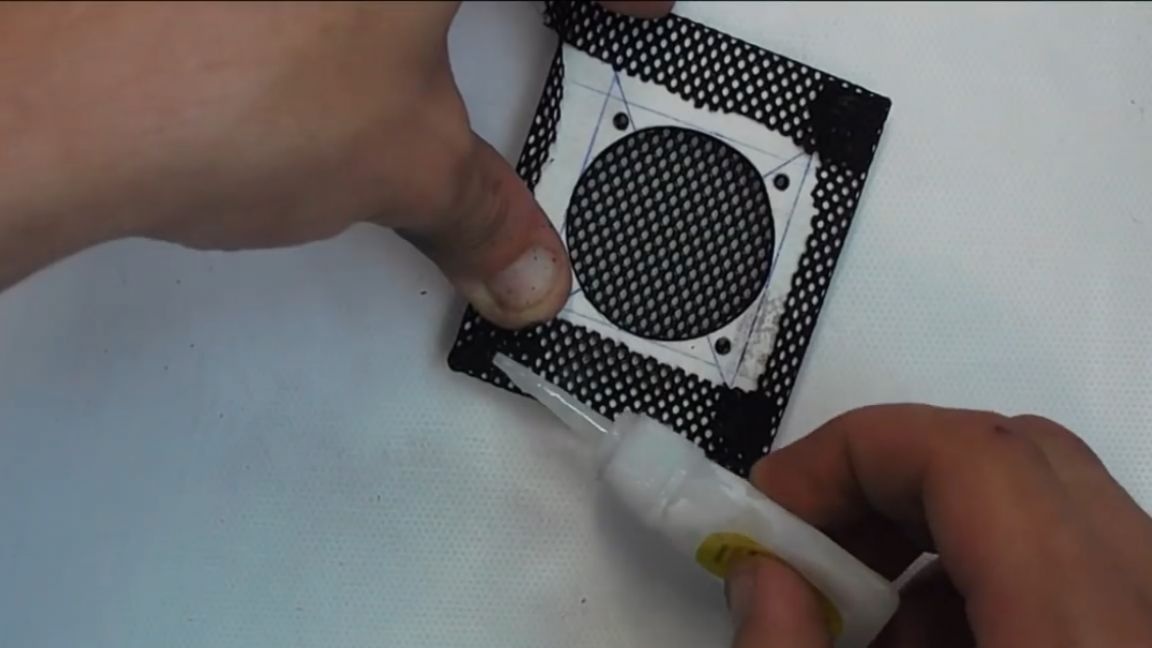
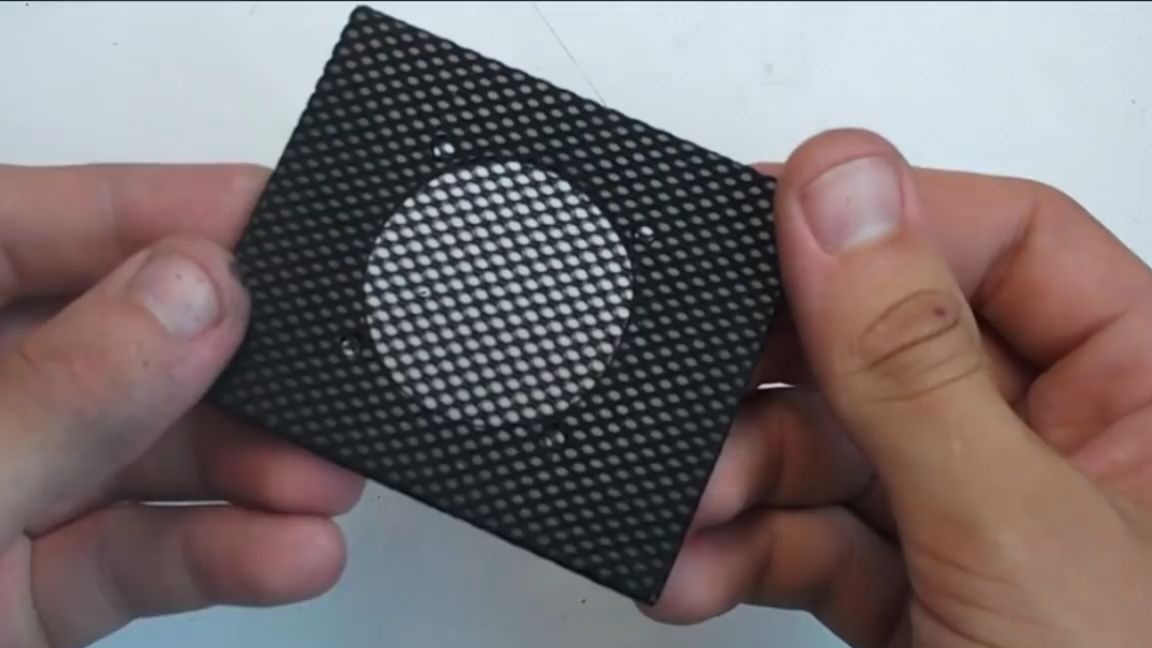
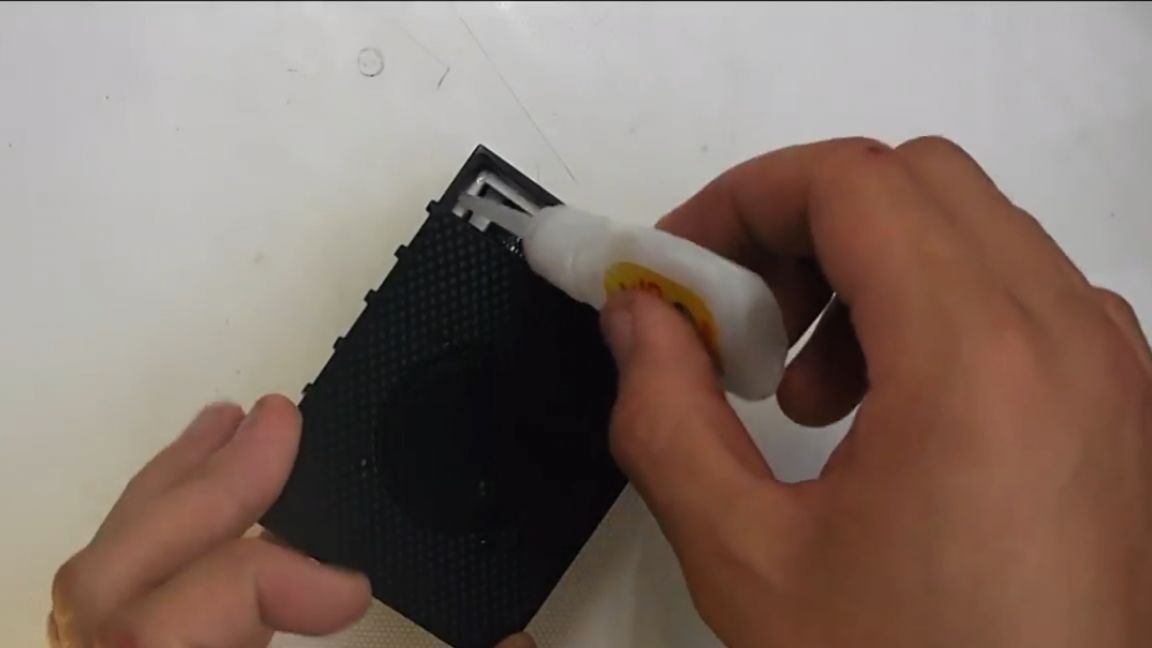
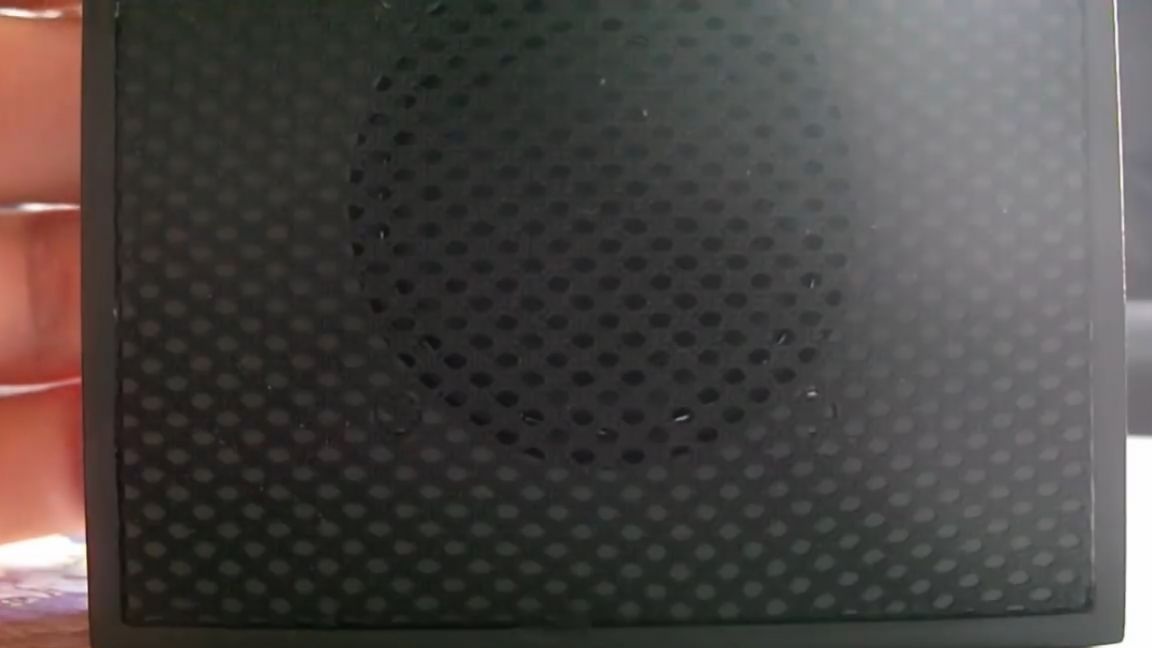
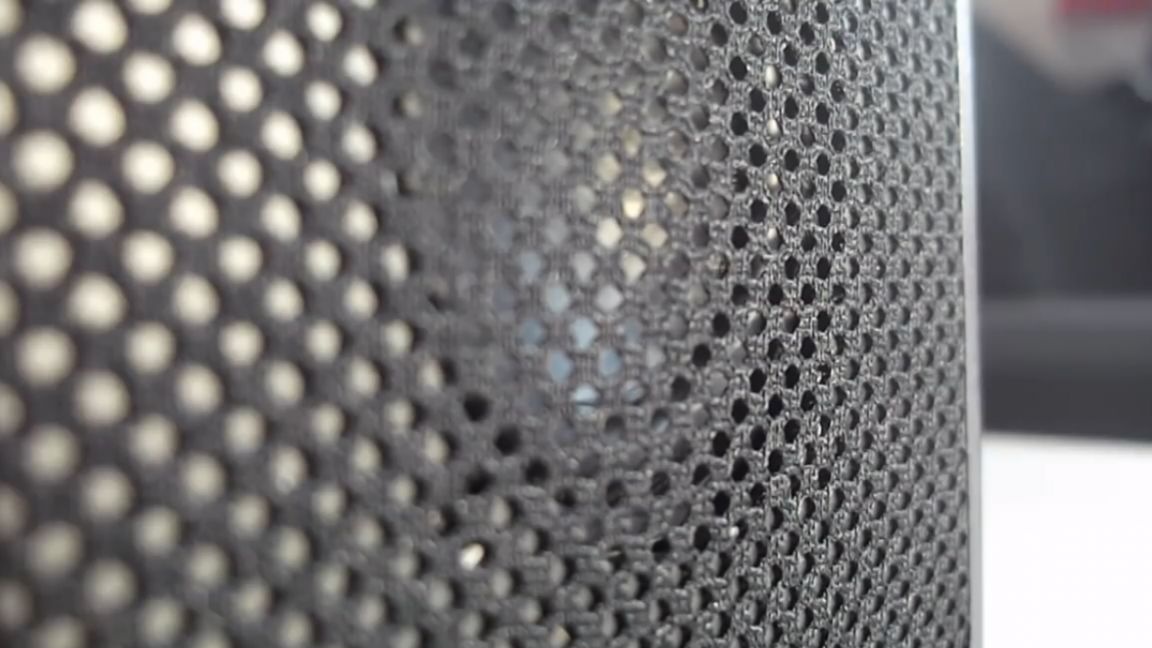
Now the buttons respond well. The lid on which the speaker is located, we need to close the grid. Going through the options of where to get this metal mesh, the author spat on everything and took his favorite fabric mesh. We cut out the desired piece and pulling the fabric, glue it with superglue on the back side.
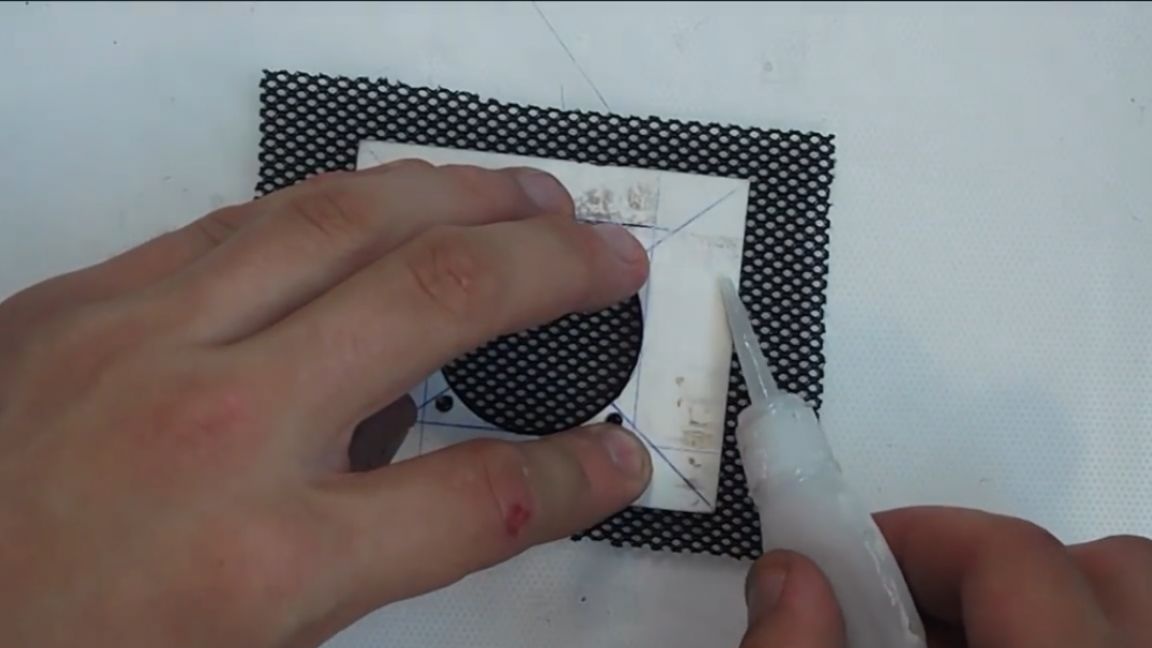
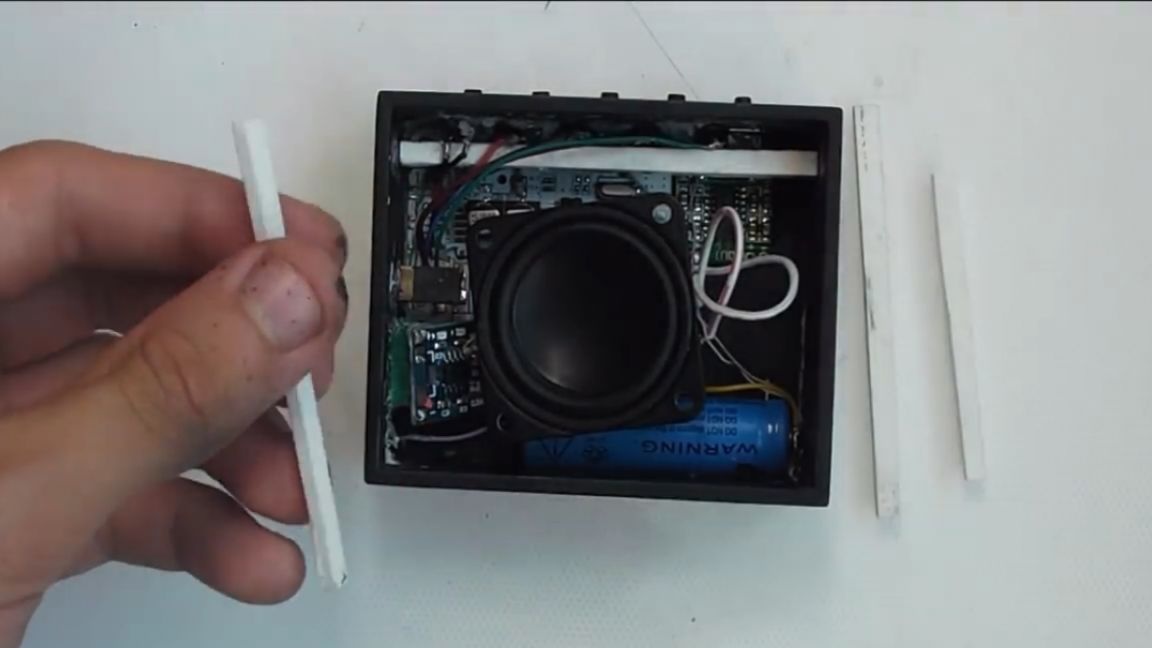
Further, the author cut out strips from the same foamed PVC plastic. Strips are needed so that when you install the cover, it does not fail and it has a support.

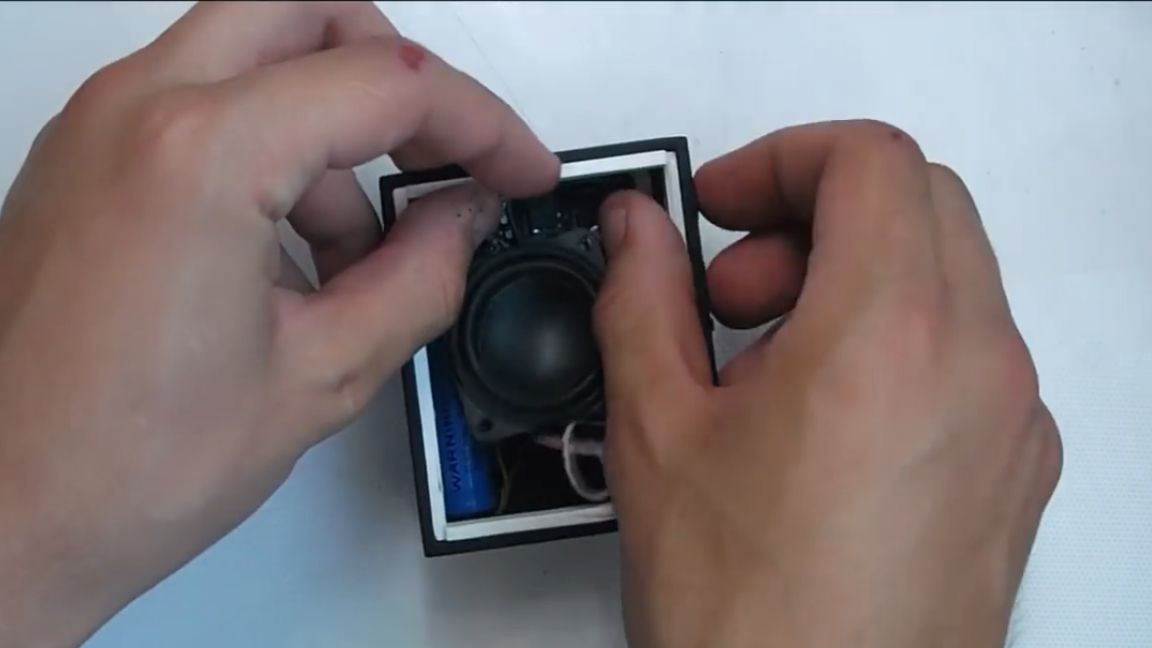
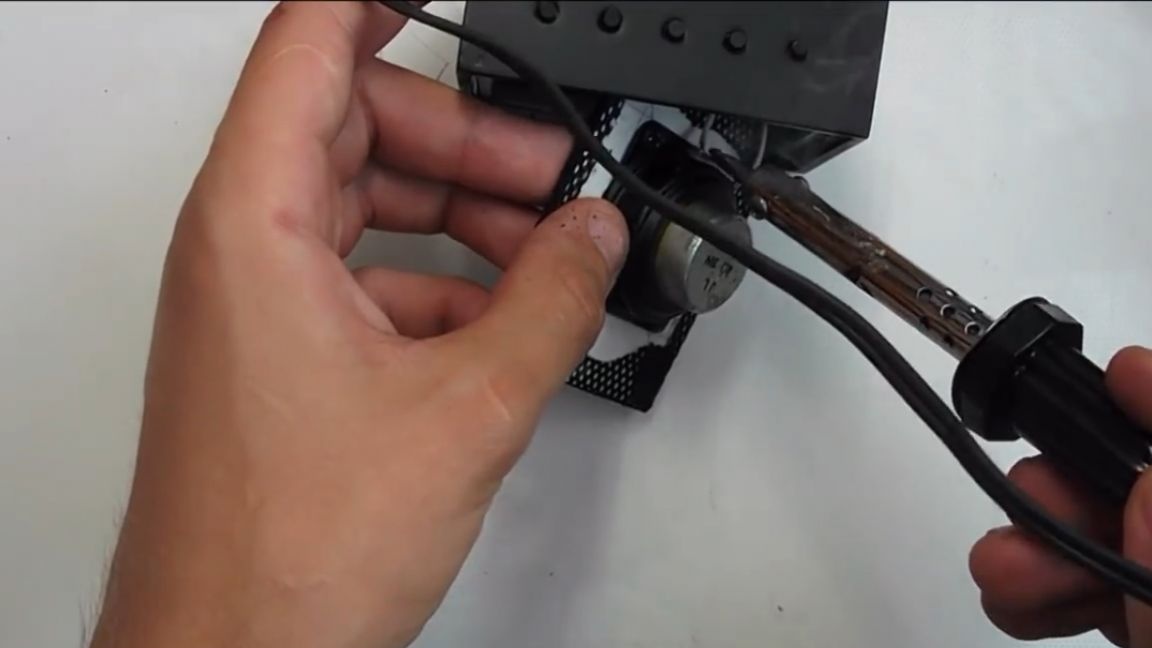
Then we fasten the speaker, tin the wires, solder to the speaker and voila, you can close the lid.
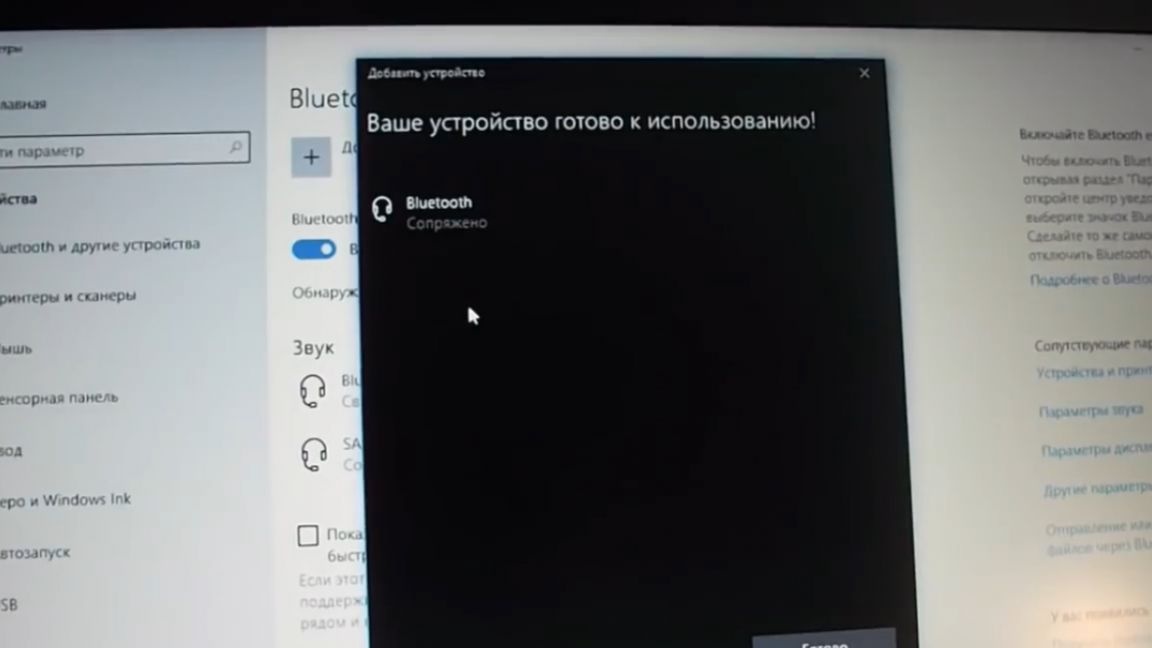
If you wish, of course, you can glue the supports with glue for better tightness, well, which, in fact, the author did.Well that's all, the column is ready, we begin to test. We switch the toggle switch, the column immediately lets us know that we are in bluetooth mode, that is, in the only possible one. Thank you, this is useful information, then we find the bluetooth network, connect, the column again lets us know that we are connected and this is already really useful information.
Well, it's time to listen to music. You can watch this video to evaluate the approximate sound quality of this home-made Bluetooth speaker, as well as familiarize yourself with the manufacturing process in more detail:
According to the author, the speaker plays loud and juicy, but it should not be turned on at full volume, because at maximum volume the speaker starts to blow like crazy, and we do not need a burnt coil. So the optimal volume is up to 70%, in which case it works at the norm of its amplitude and does not overload.
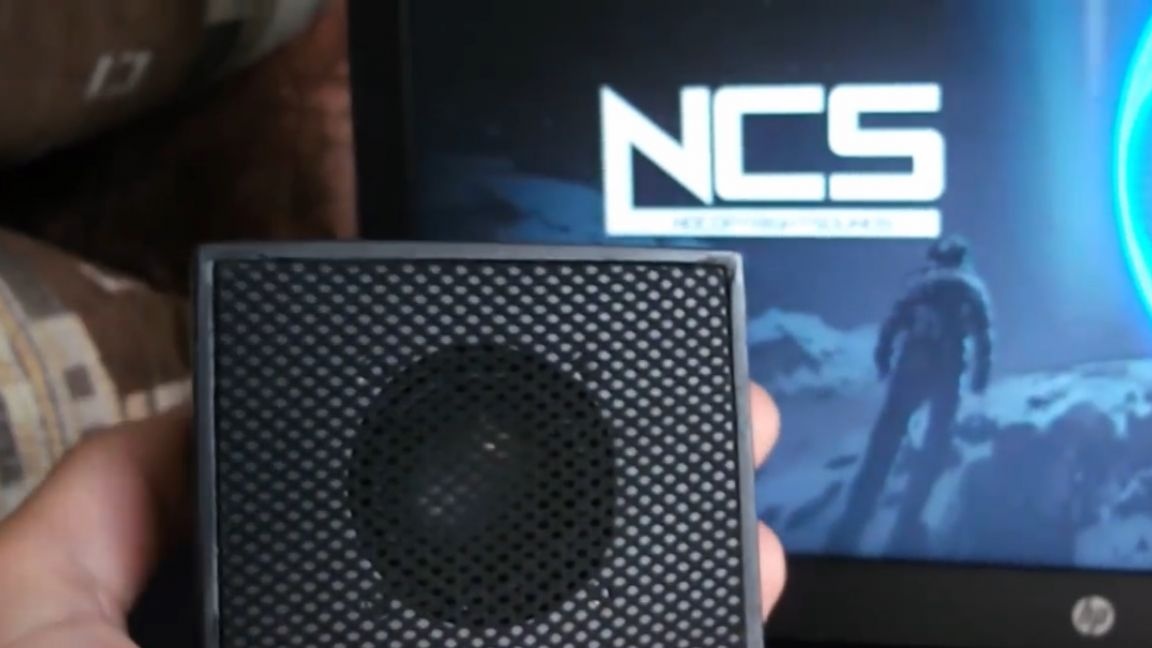
As a result, we got a portable Bluetooth speaker that looks quite similar to the original JBL GO, which sounds good and even has an equalizer. Well, that’s all. Thank you for attention. See you soon!