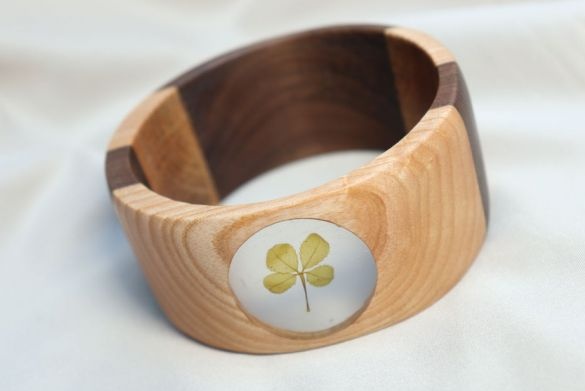
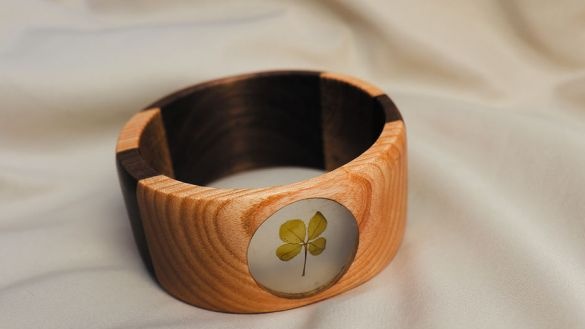
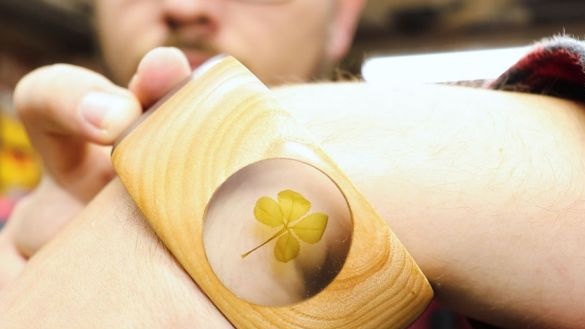
A small article on how to make wooden a bracelet with an insert. Following this instruction it will not be difficult to make it, and by turning on your imagination you can change the design a bit and insert, for example, another compass, magnifying glass, clock, etc. And then the bracelet will turn into not only a beautiful, but also a useful thing.
Tools and materials:
-Wooden dice;
- Joiner's glue;
-Vise;
-Rule;
-Pencil;
-Drilling machine;
-Crown on wood;
-Bandsaw machine;
Grinding machine;
-Clamp;
Epoxy resin;
-Clover leaf;
-Scotch;
-Sandpaper;
- Danish oil;
-Candle;
Step One: Gluing
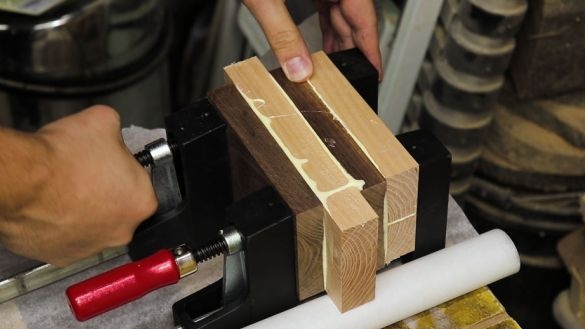
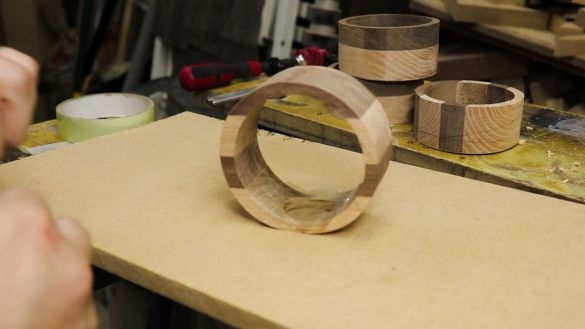
For the bracelet, the master takes four wooden dies of 13.5 cm x 8.5 cm x 2 cm. The master takes dice of different types of wood. The main thing is that they differ in color.
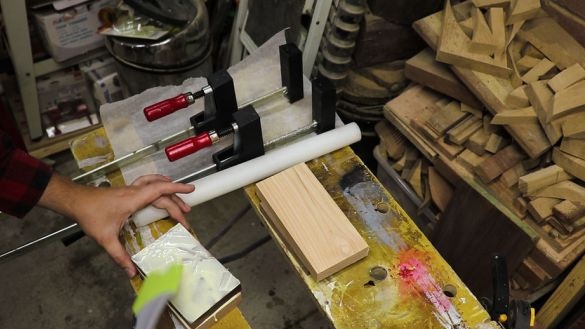
Glues dies. When gluing the dies, light-dark-light-dark alternate.
Step Two: Hole
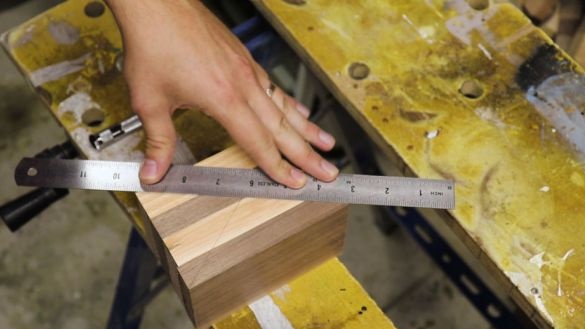
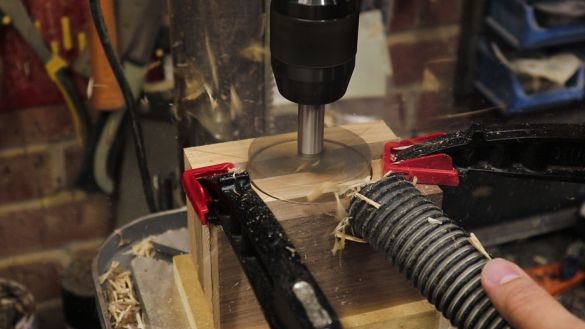
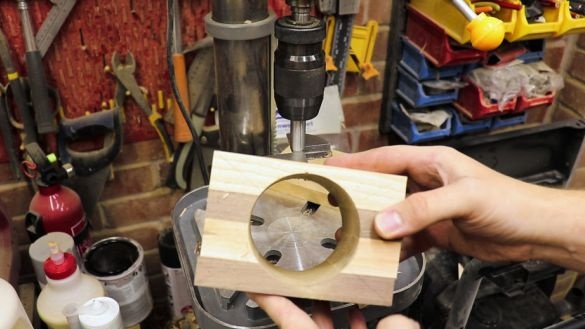
After the glue has dried, a hole must be drilled in the block. The size of the hole depends on the size of the wrist. The master measures the center of the block and drills a hole with a diameter of 7.5 centimeters.
Step Three: Outer Perimeter
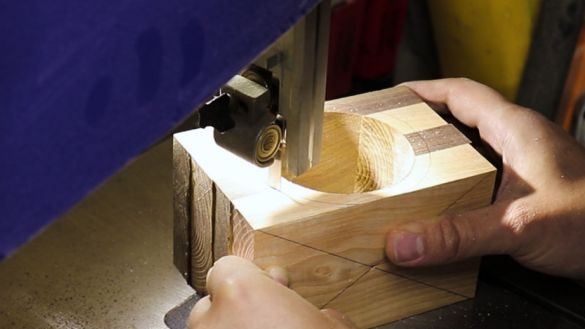
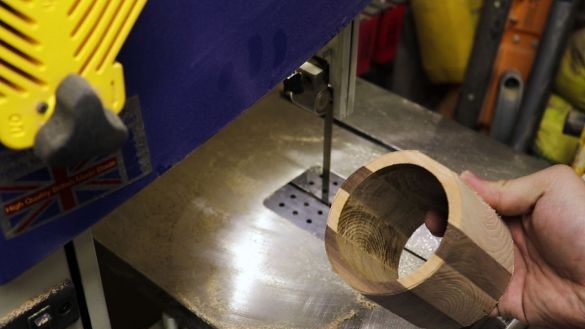
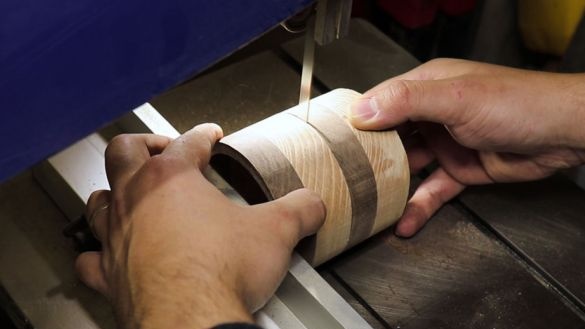
On the band saw cuts off excess material along the outer perimeter.
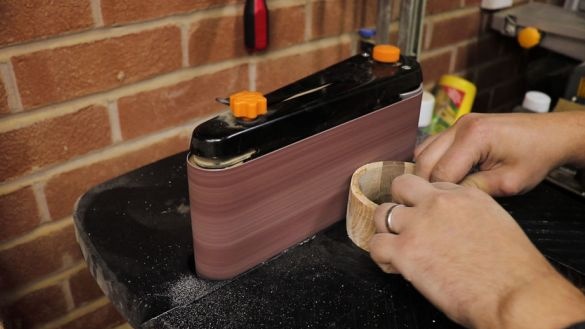
Step Four: Processing
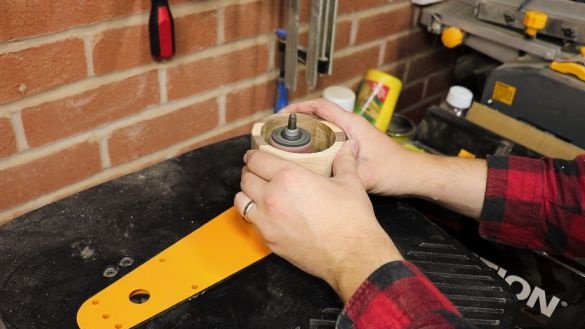
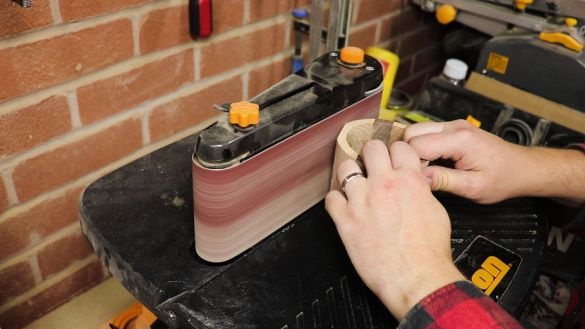
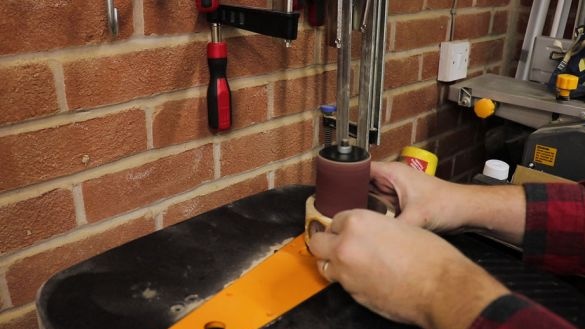
It polishes the bracelet from the inside and outside.
Step Five: Two Bracelets
Saw the bracelet into two parts.
Step Six: Insert
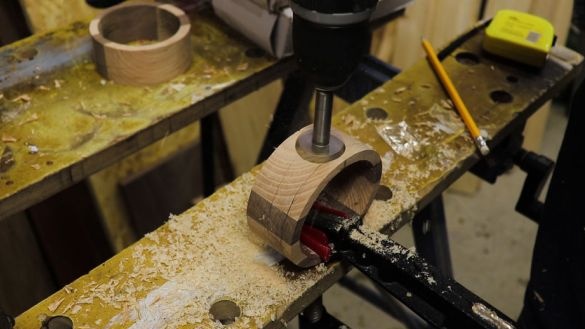
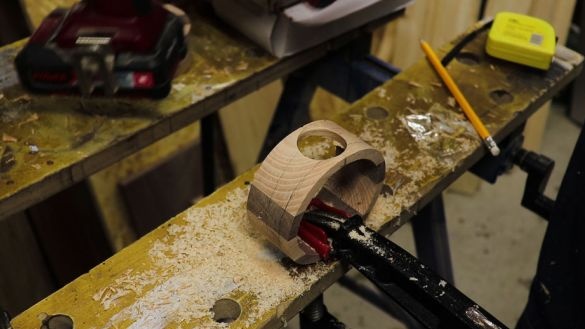
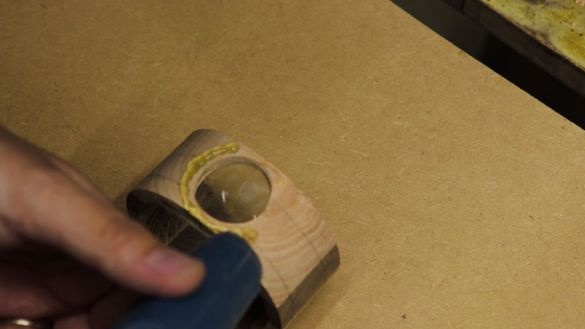
Drills a hole in the bracelet. Seals the hole inside with tape.
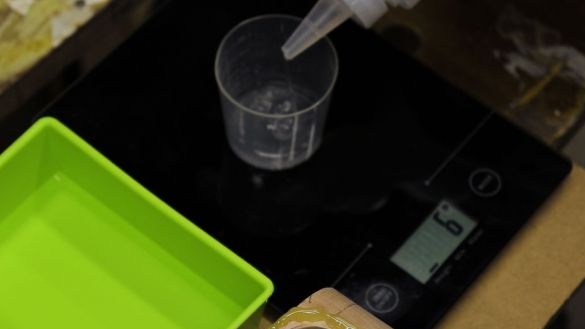
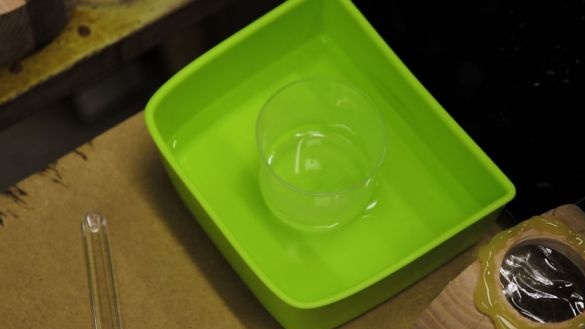
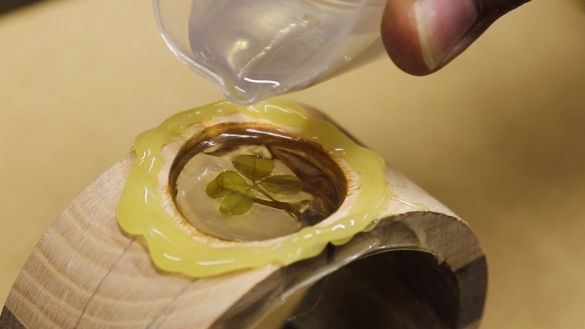
Stir the epoxy. To reduce air bubbles, the master will first place a bubble of resin (not a hardener) in warm water.
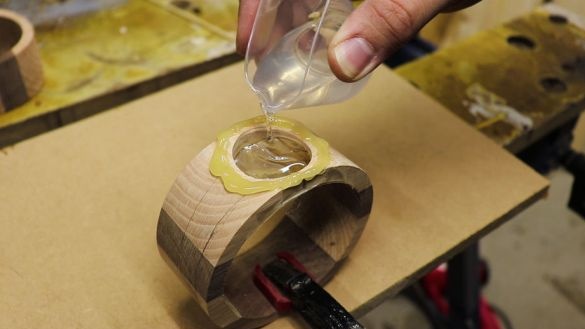
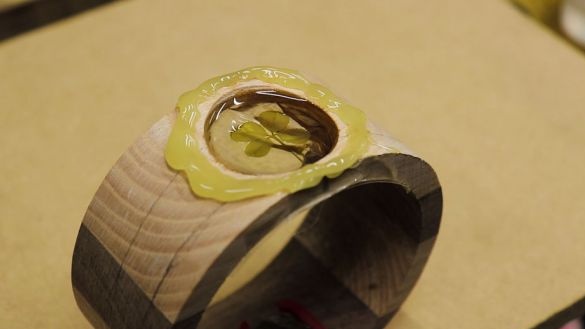
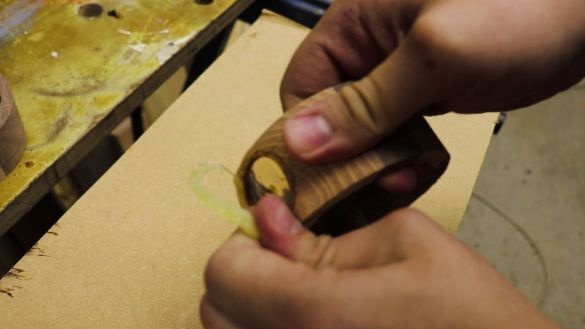
Around the hole makes a border of wax. fills the hole half with resin. Five minutes later, he puts a clover leaf and pours resin on the edge.
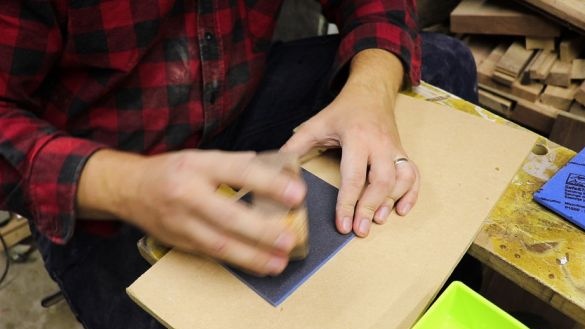
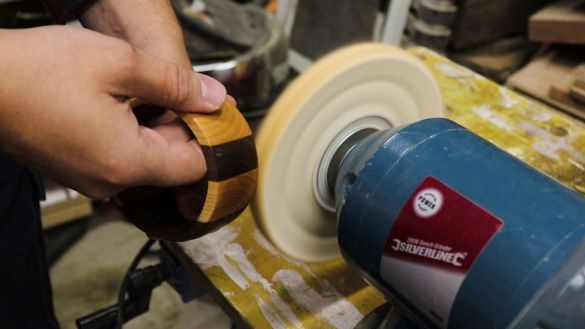
Seventh step: grinding and polishing
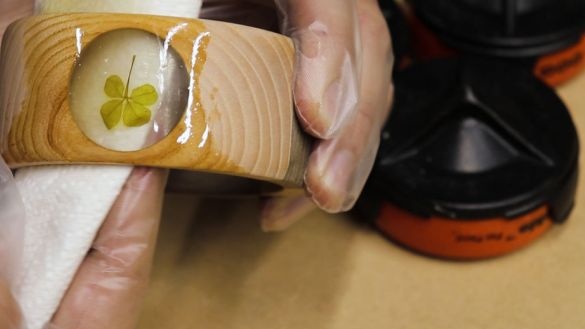
After hardening the resin polishes and polishes the bracelet. The last operation processes the bracelet with Danish oil.
The bracelet is ready.

