A small article on how to make a beautiful and useful thing with minimal costs.
Tools and materials:
-Cross section of the tree;
-Water-based paint;
-Latex gloves;
-Napkins;
-Capacity;
-Putty knife;
-Cardboard;
-Grinder;
-Varnish;
-Pens;
Step One: Grinding
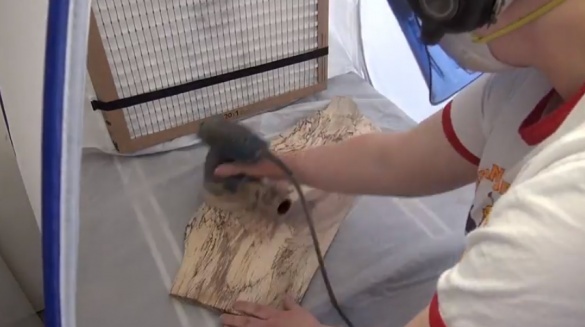
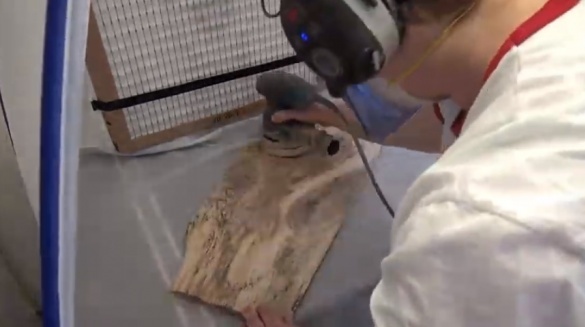
First, the master polishes the surface of the workpiece.
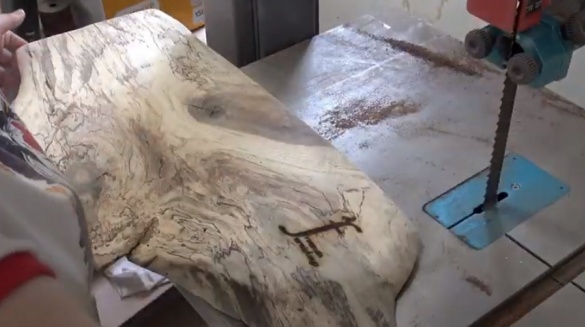
Burns out his personal brand on wood.
Step Two: Holes
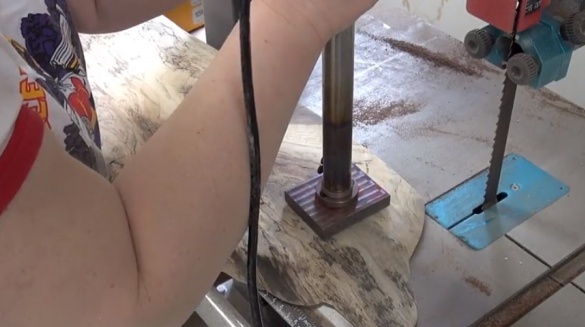
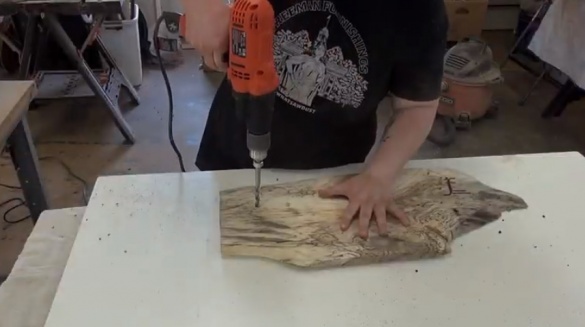
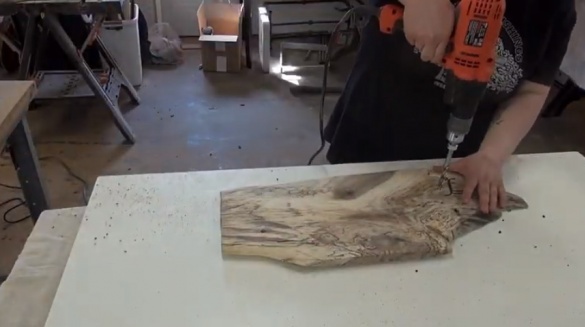
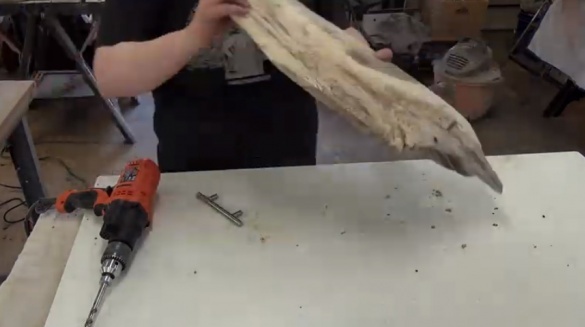
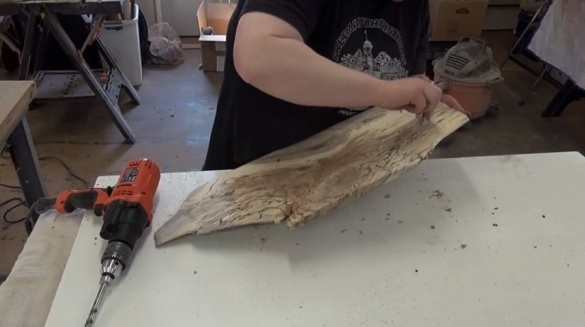
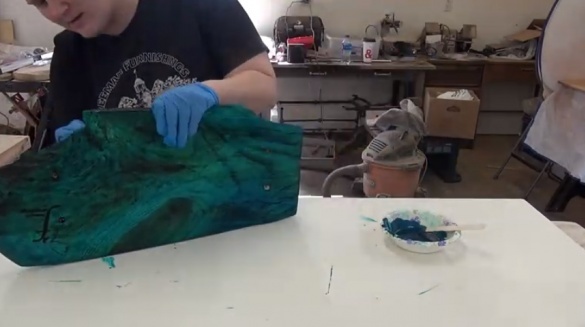
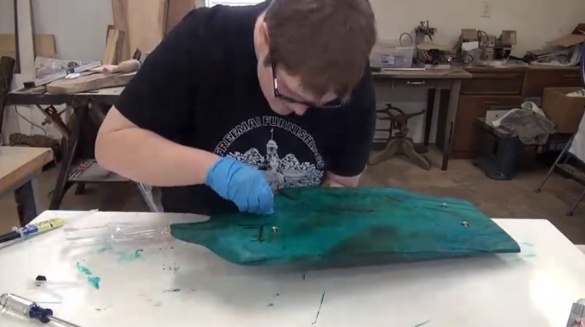
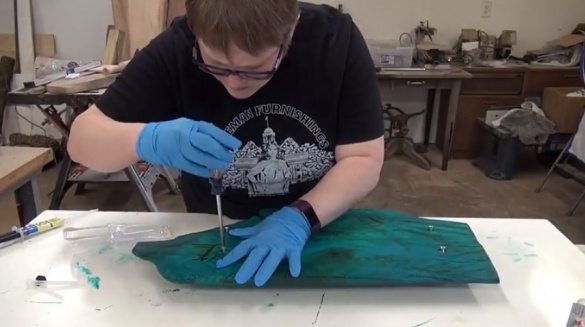
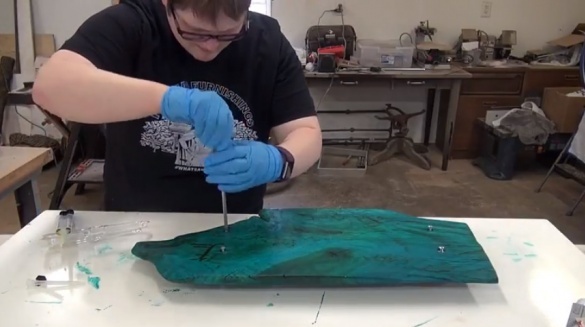
For convenience, two handles will be screwed to the tray. Handles have two threaded mounting holes. On the workpiece marks and drills holes for mounting.
Step Three: Staining
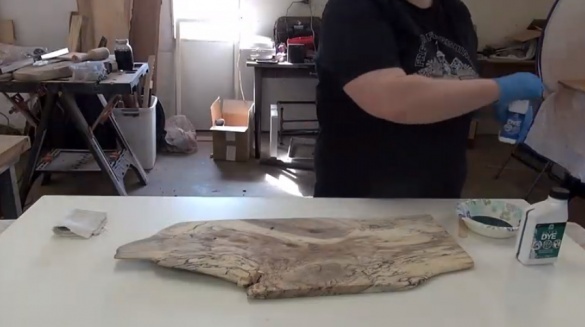
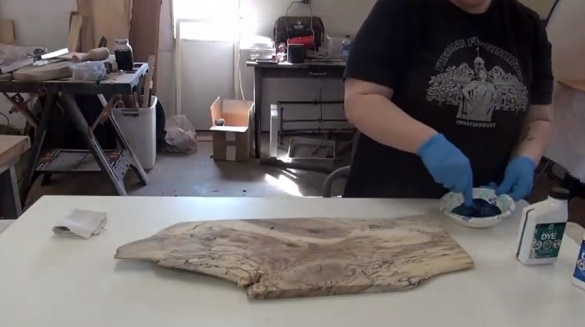
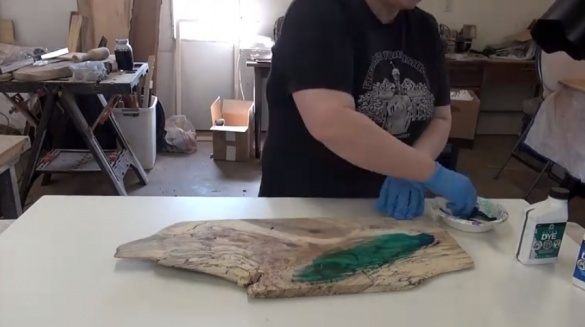
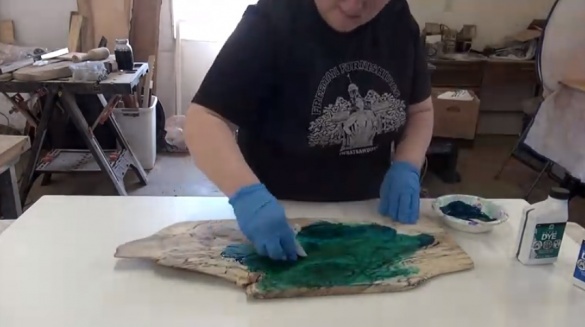
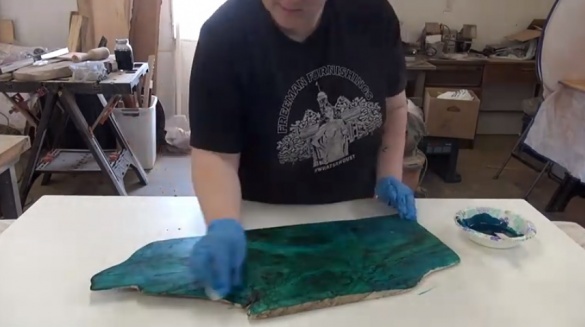
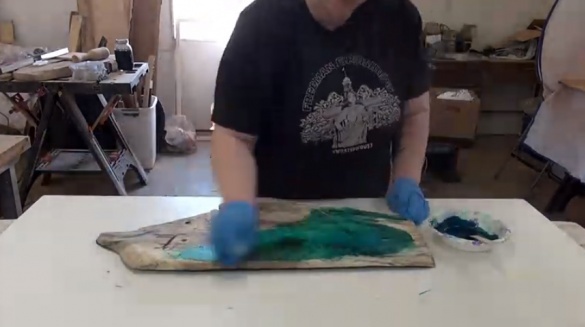
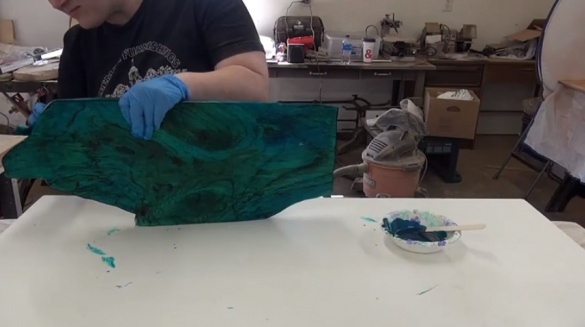
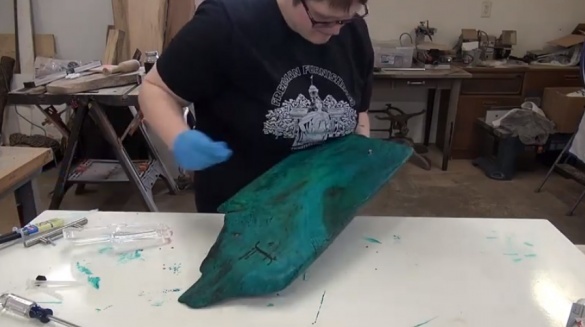
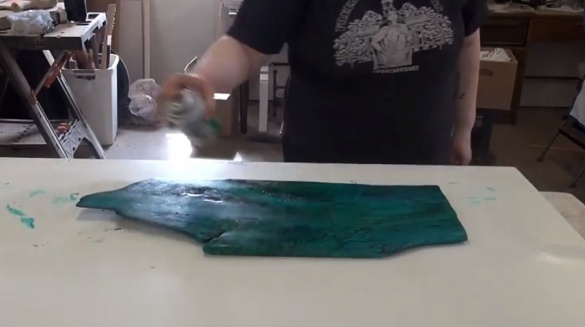
The master paints not just with paint, but with water-based paint FolkArt Dye. Such paint, painting the surface emphasizes the structure of the tree. If necessary, you can dilute the paint with water, and the structure will stand out more. He puts the blank on cardboard and applies cloth to the surface first on one side, and then after a couple of hours, turns it over, and on the other hand.
Step Four: Pens
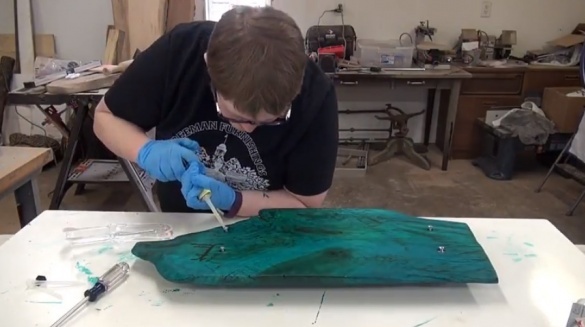
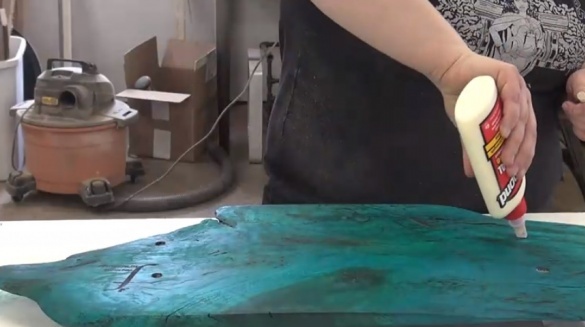
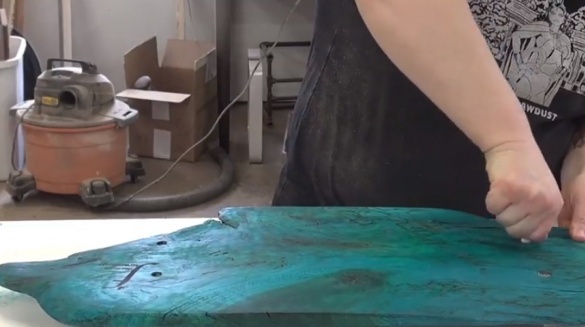
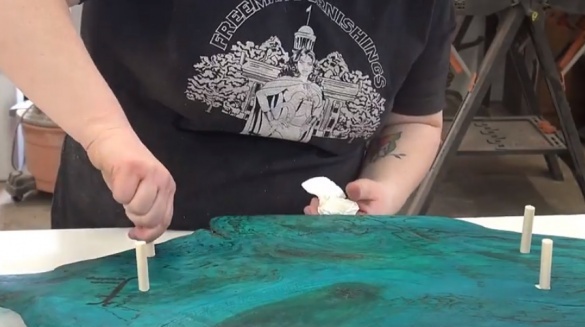
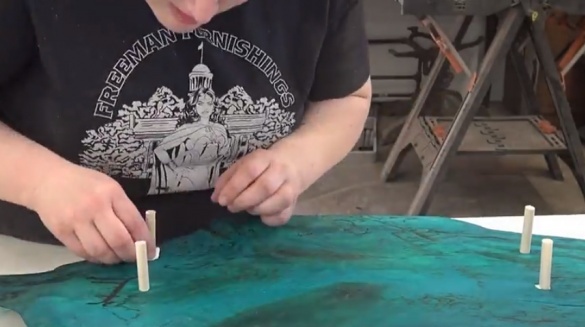
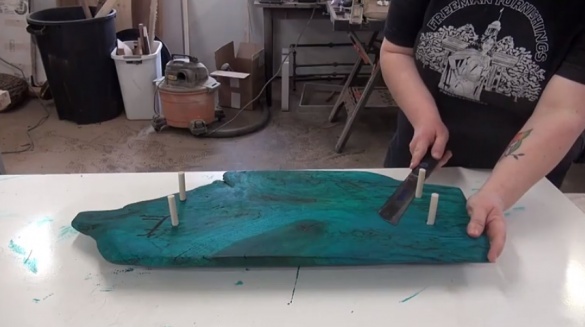
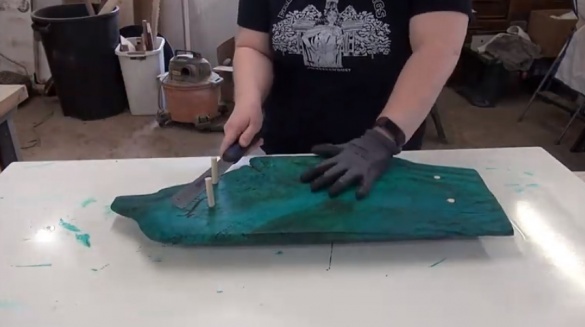
Screws the handles. The head sinks the screw master. Apply glue to the holes and install wooden dowels. Then cuts the dowel flush with the surface. Stains dowels.
Step Five: Varnishing
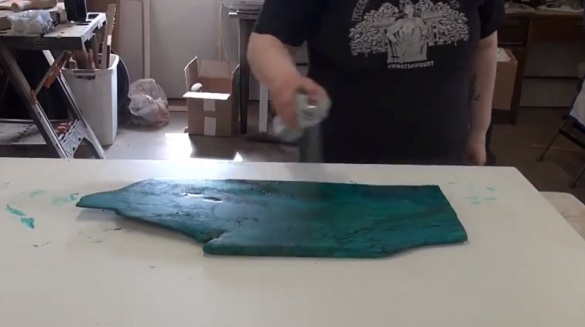
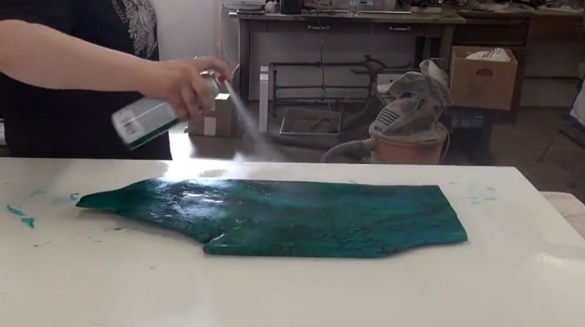
And the last step covers the surface with colorless varnish.
The tray is ready.
The whole process of making the tray can be seen in the video.

