
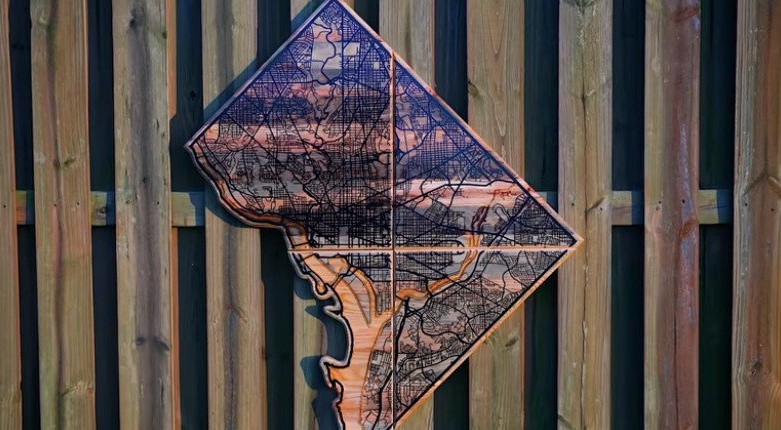
Such a wooden card will serve as an excellent decoration of an office or office, unusual, beautiful, exclusive. Of course, not everyone can afford such a card and requires appropriate equipment, but, if desired, cutting the card itself can be ordered in the workshop, and all other operations can be done. do it yourself.
Tools and materials:
-Bar or board:
- Joiner's glue;
Epoxy resin;
- Stain;
-Tunga oil;
- Clamps, clamps;
Cutters;
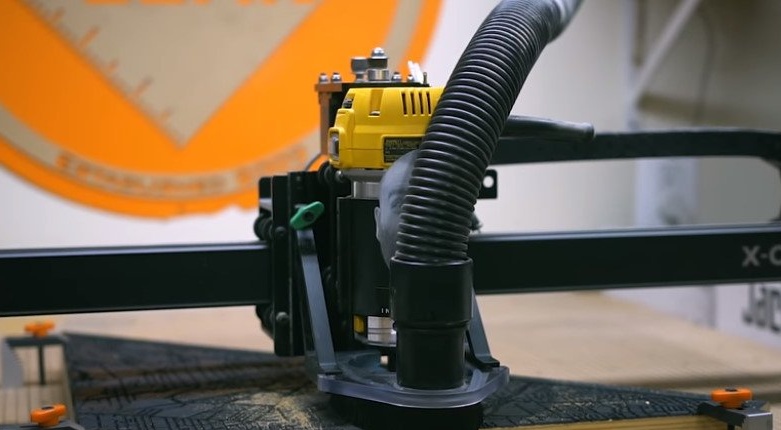
- CNC;
-Miter saw;
-A circular saw;
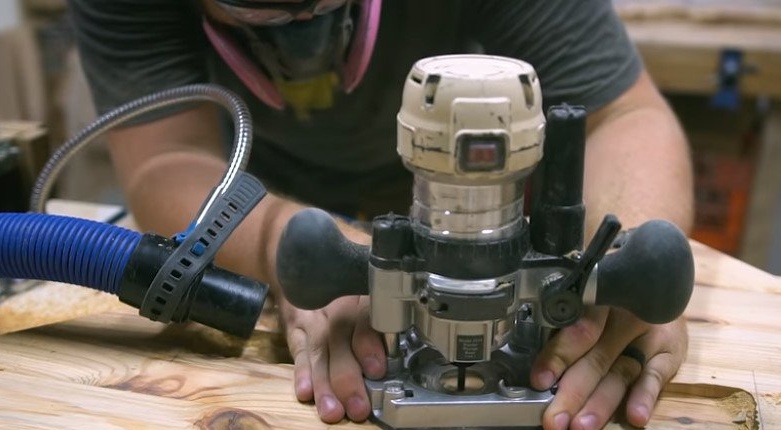
Milling cutter;
-Circular Saw;
-Pencil;
-Grinder;
-Shlifstanok;
-Compass;
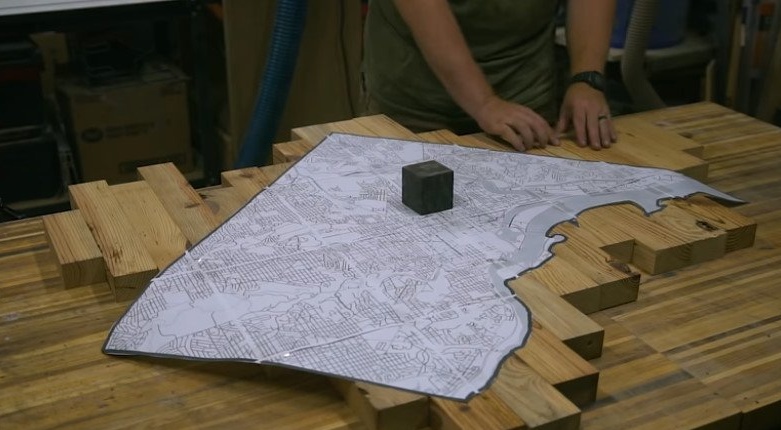
Step One: Template
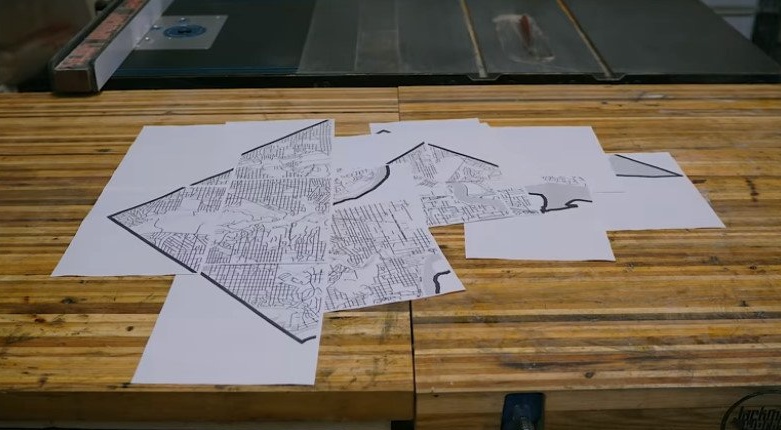
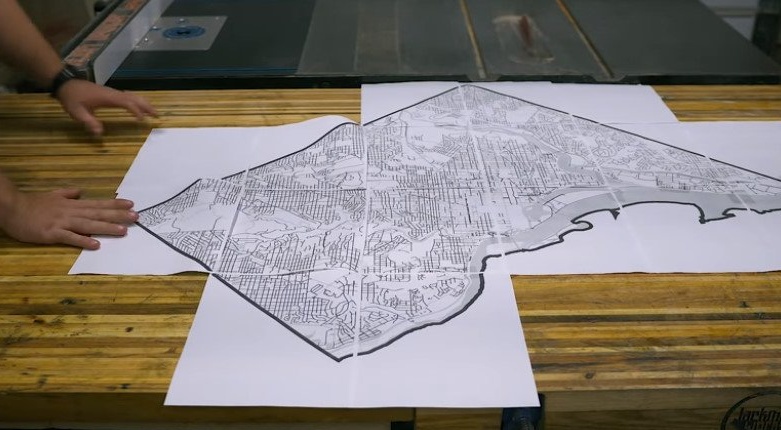
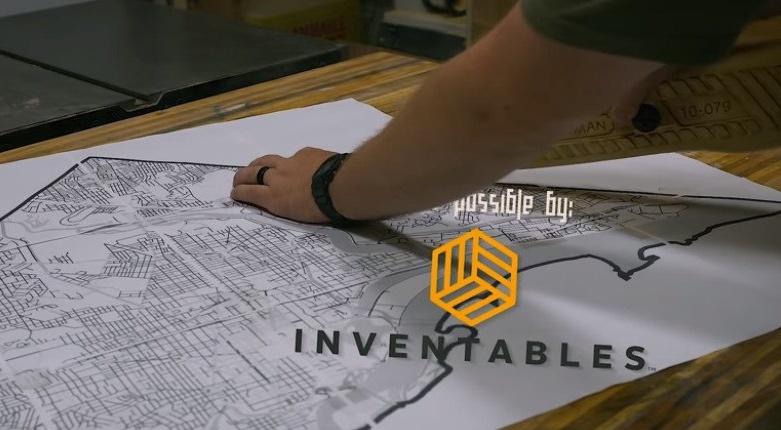
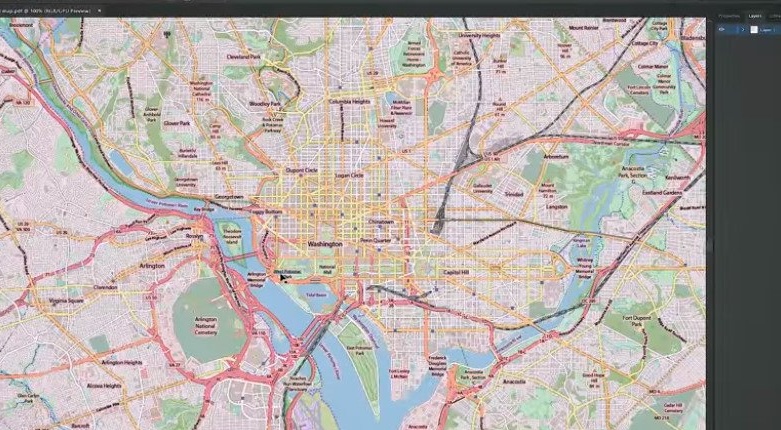
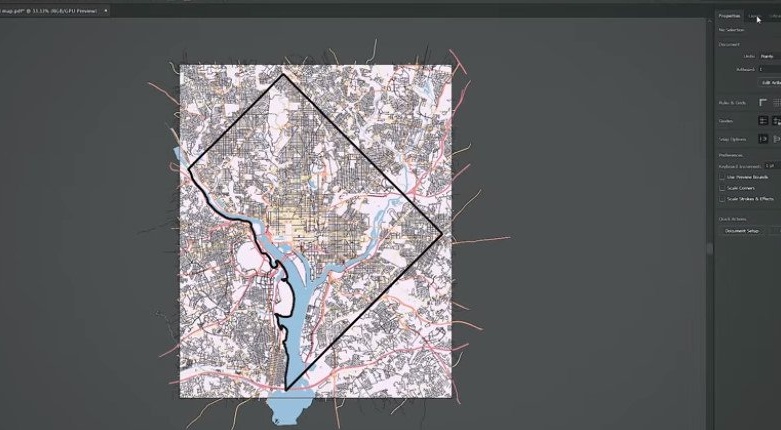
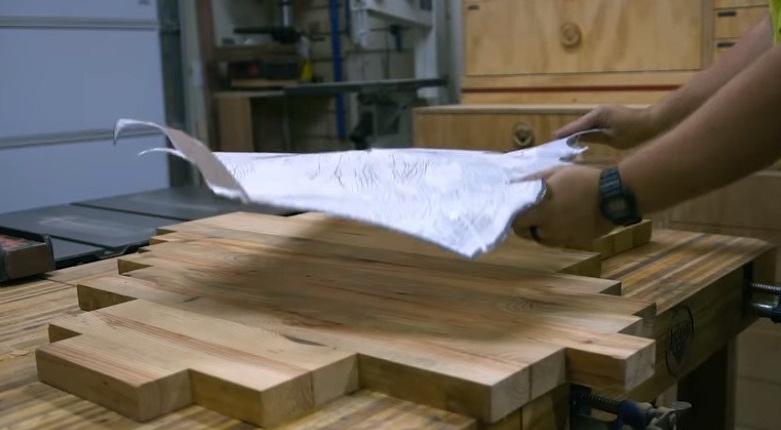
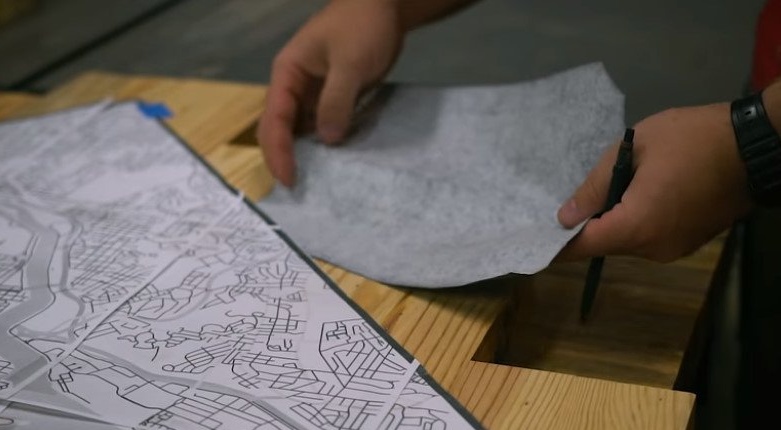
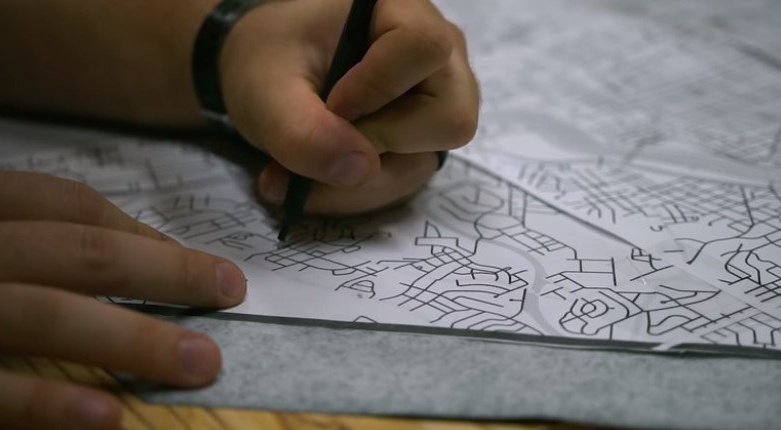
First, the master prepared a map template on paper for the CNC machine.

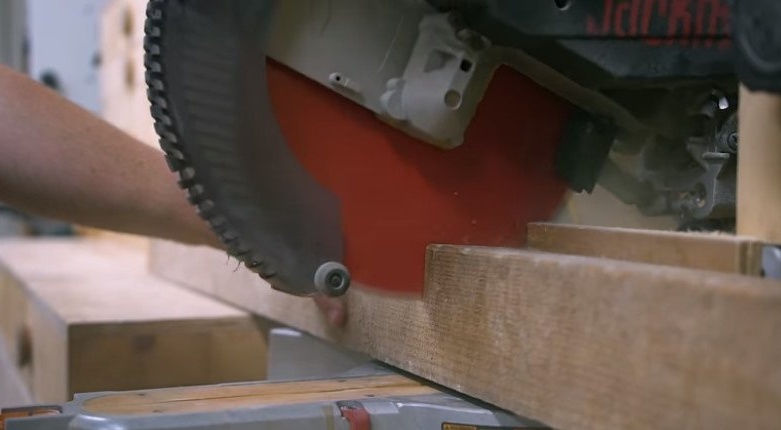
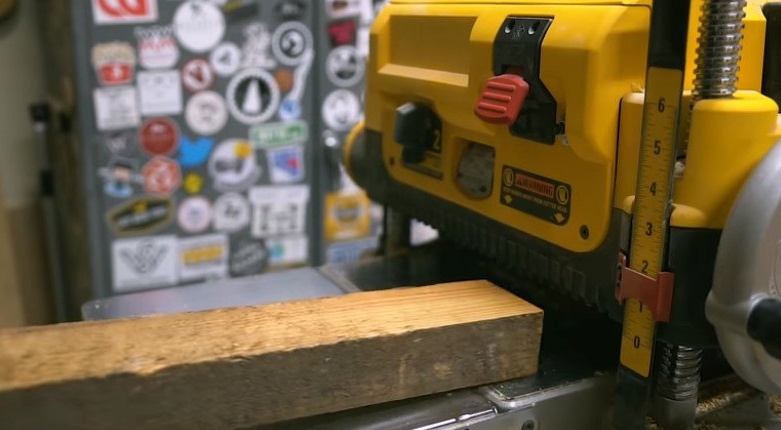
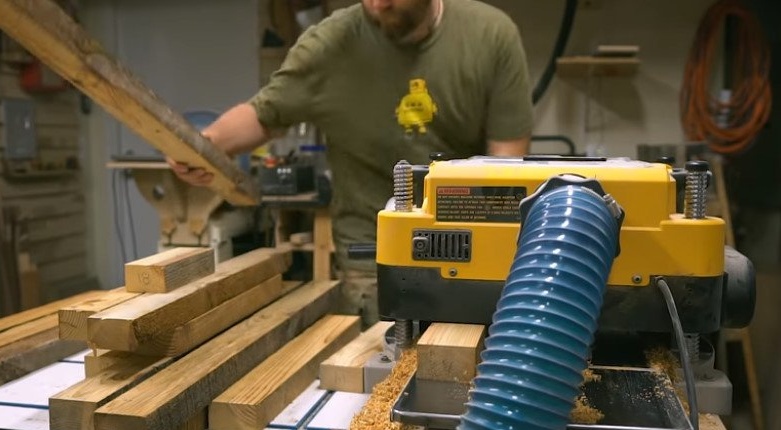
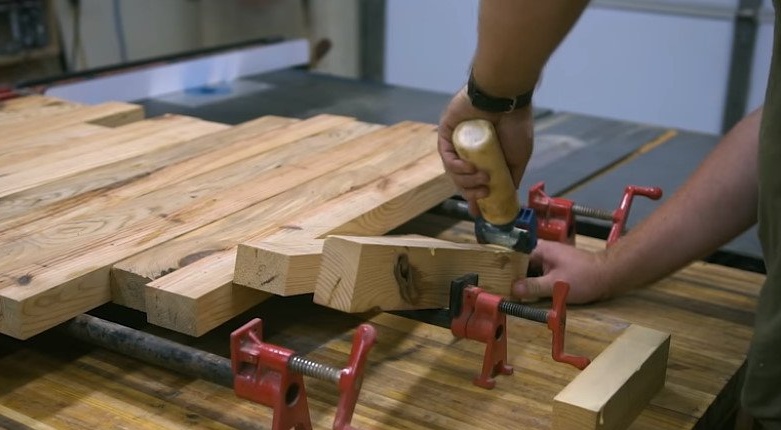
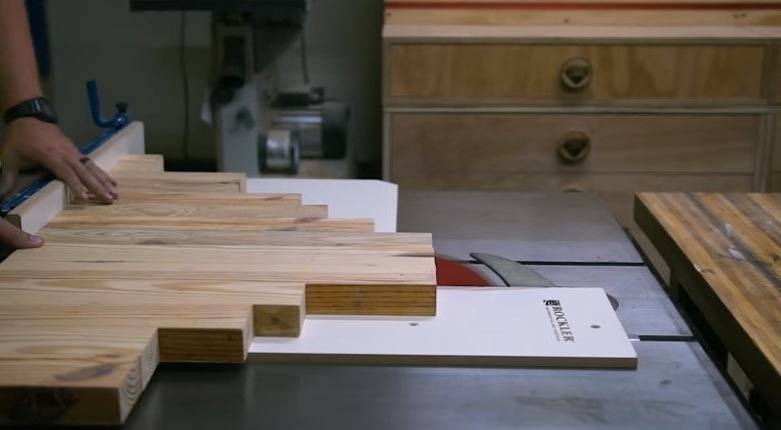
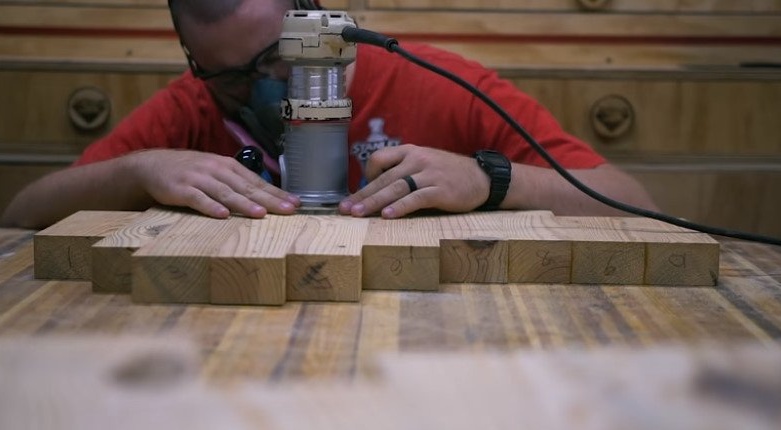
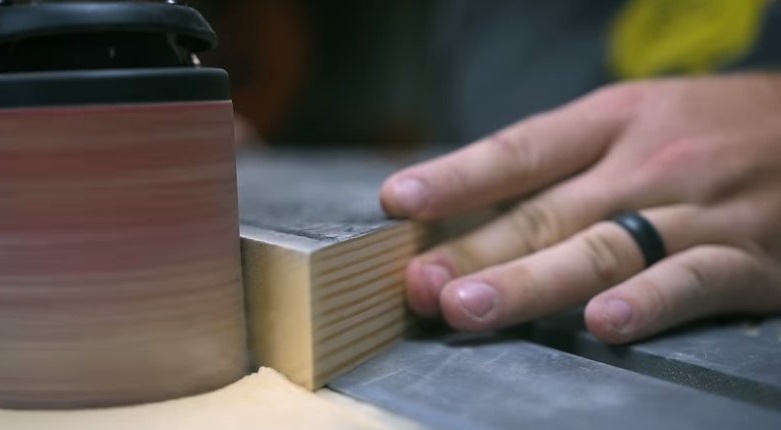
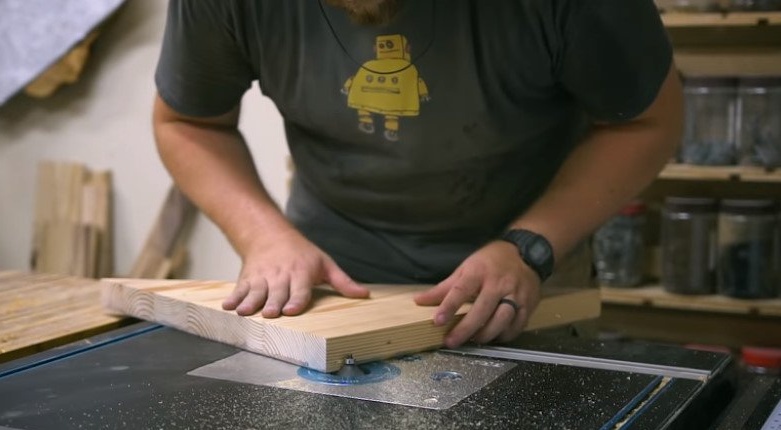
Step Two: Wood Preparation
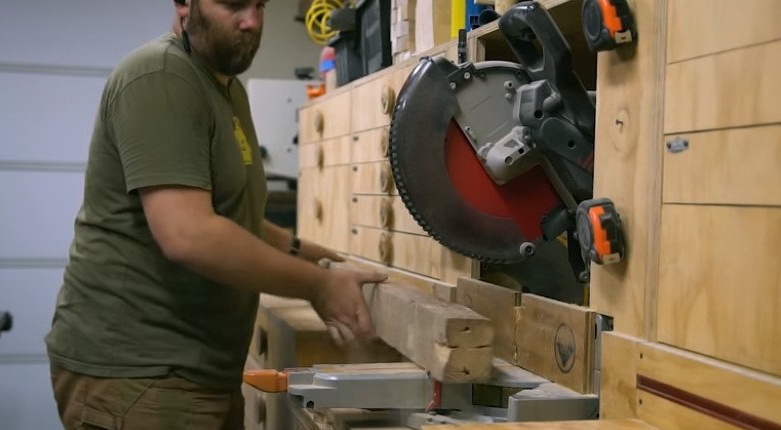
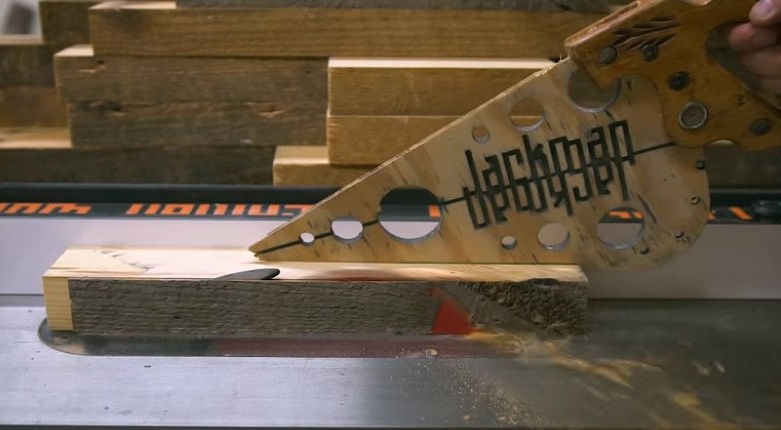
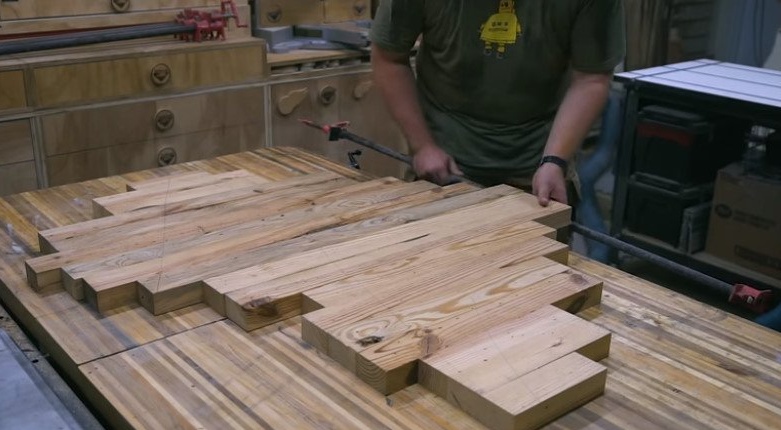
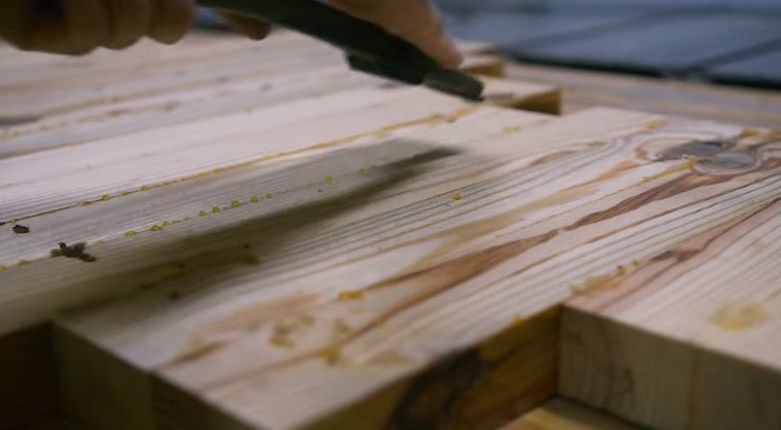
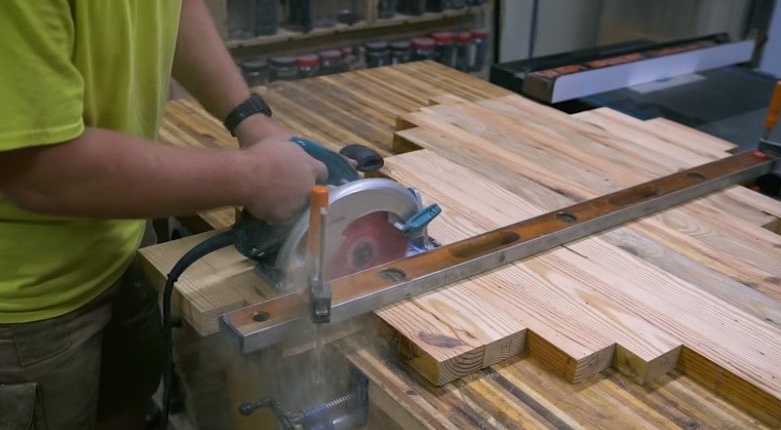
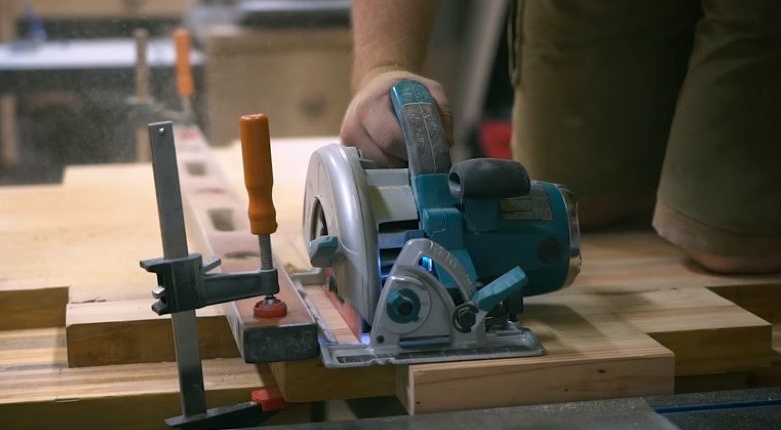
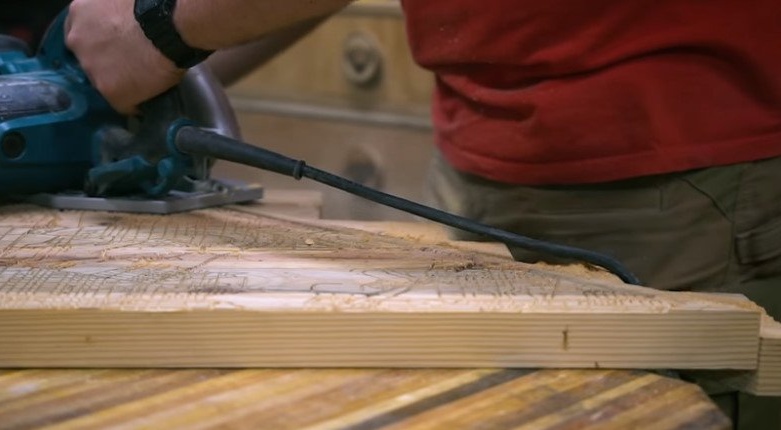
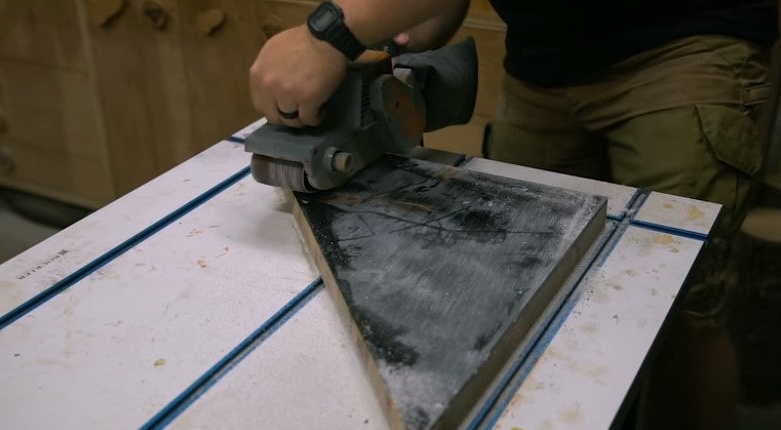
Trims the beam in length. Then saws along. Rounds off and cuts walls.
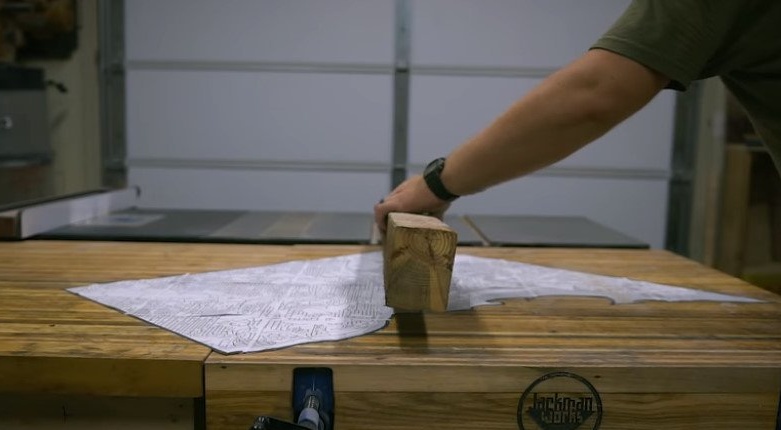
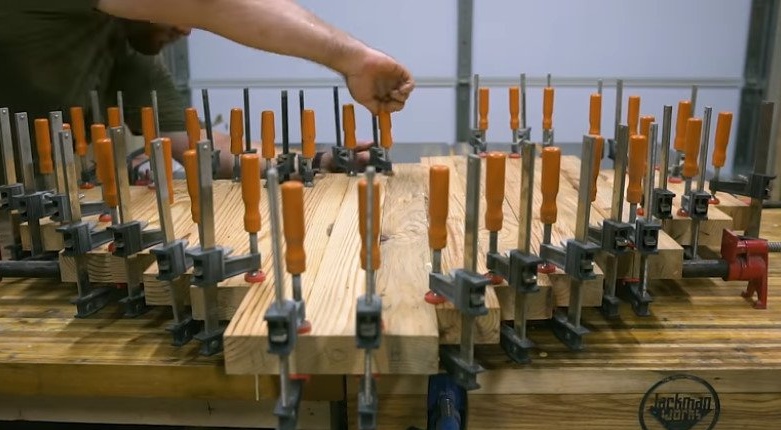
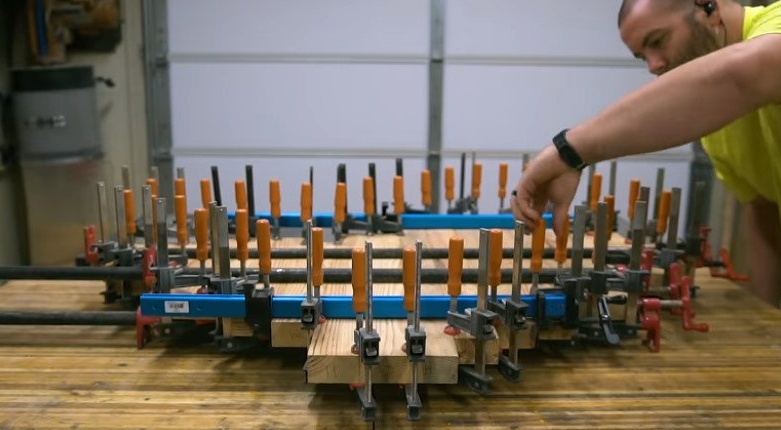
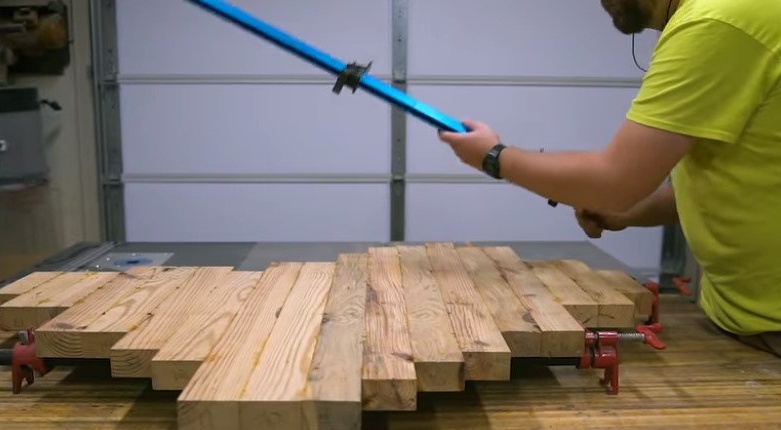
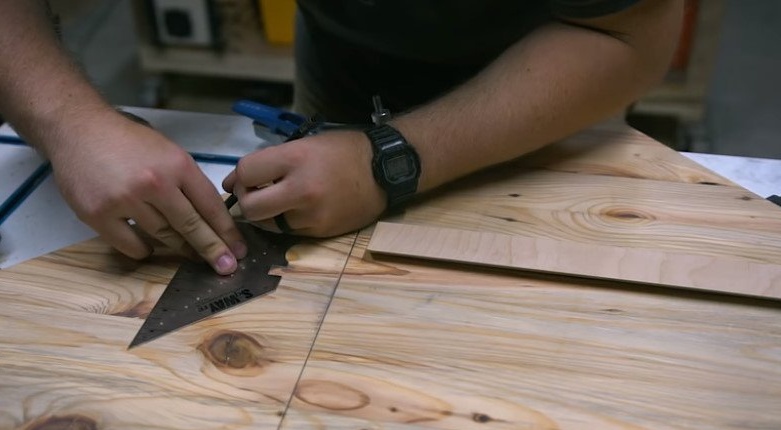
Step Three: Bonding
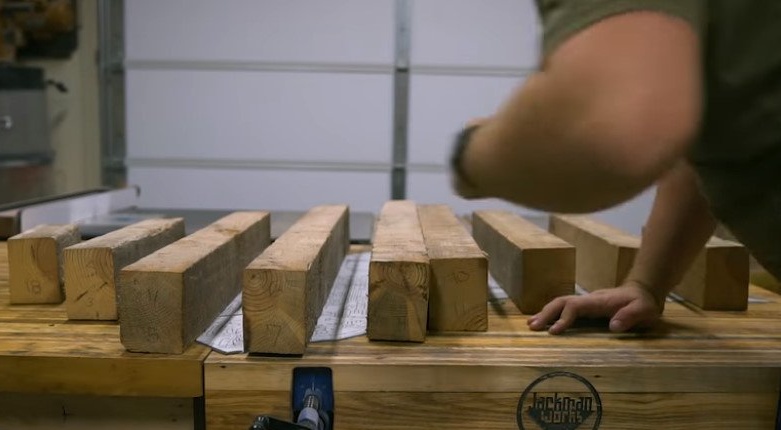
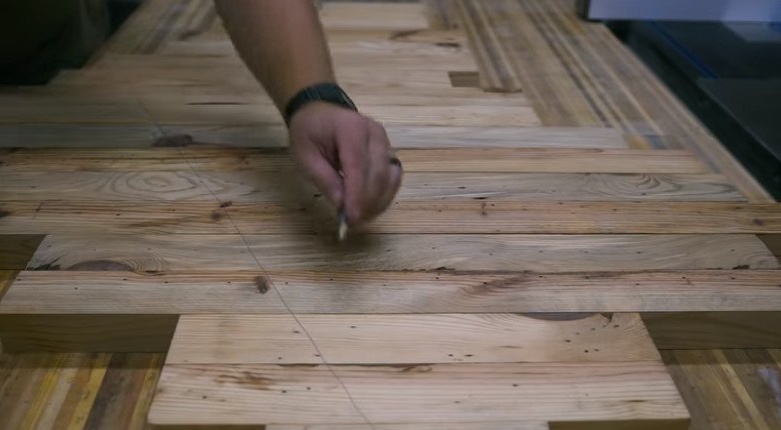
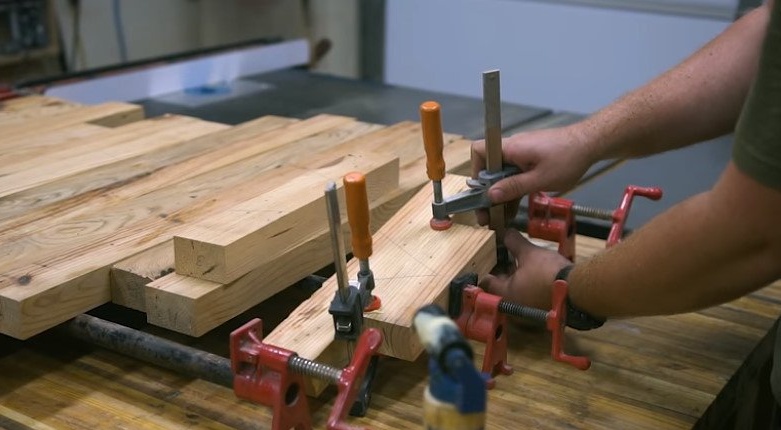
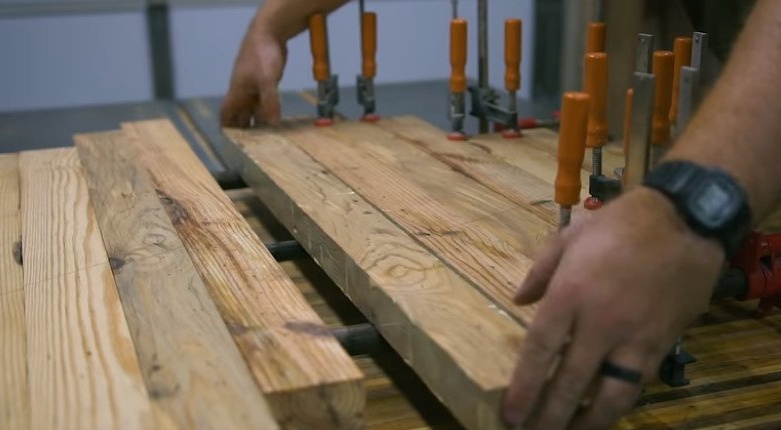
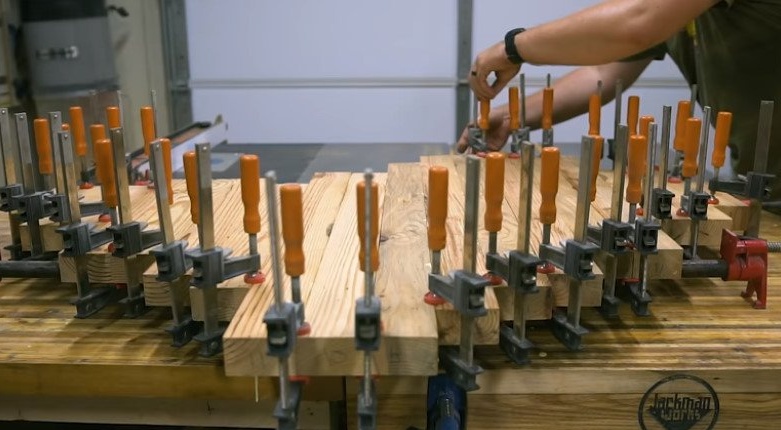
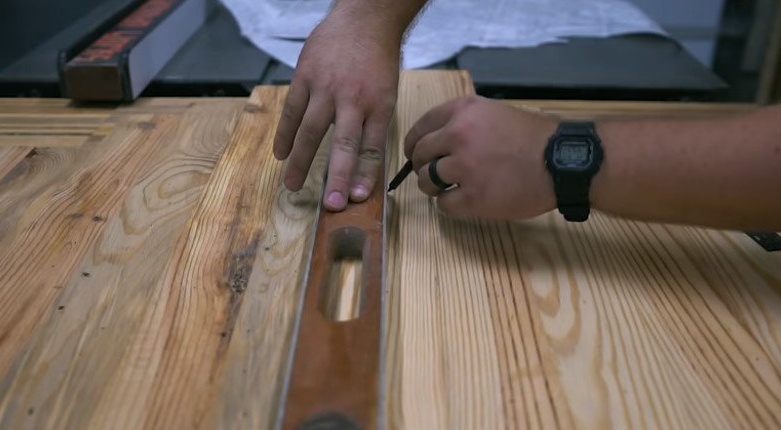
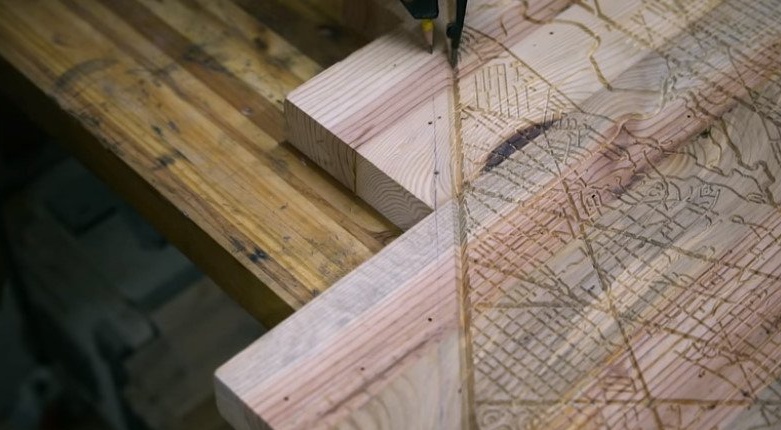
Now the master arranges the blanks so that the card fits. He removes the template and draws an angle through the entire workpiece. This is necessary to arrange the boards in the same order when gluing.
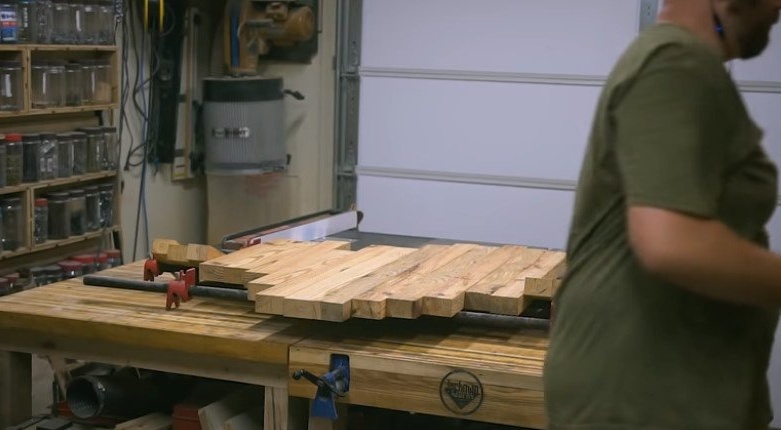
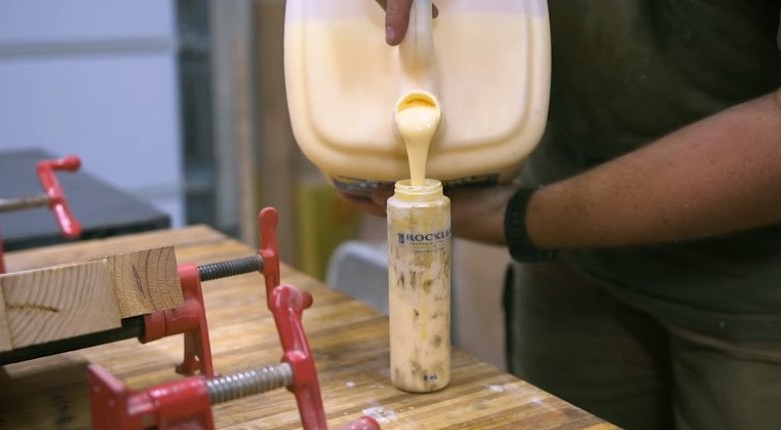
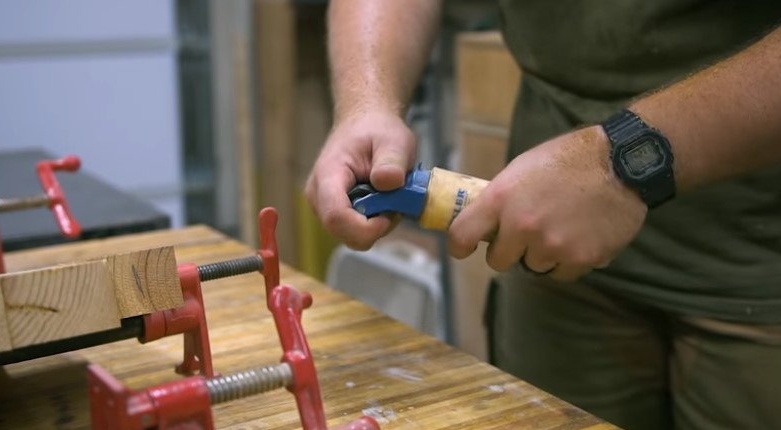
Apply wood glue to the sides of the workpieces. It collects everything in the right order and fixes it with clamps.
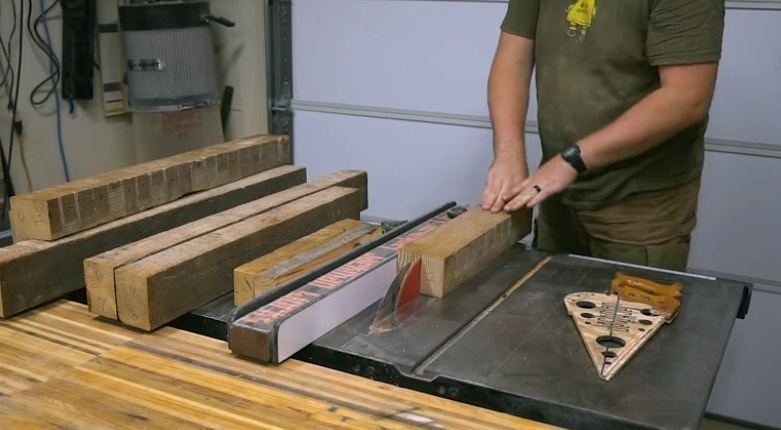
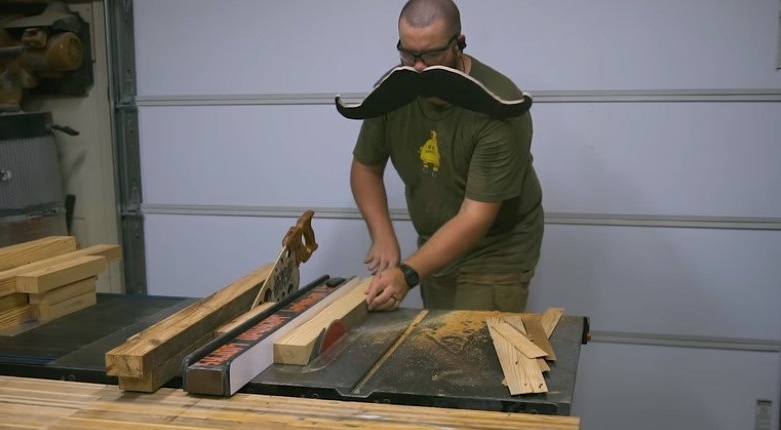
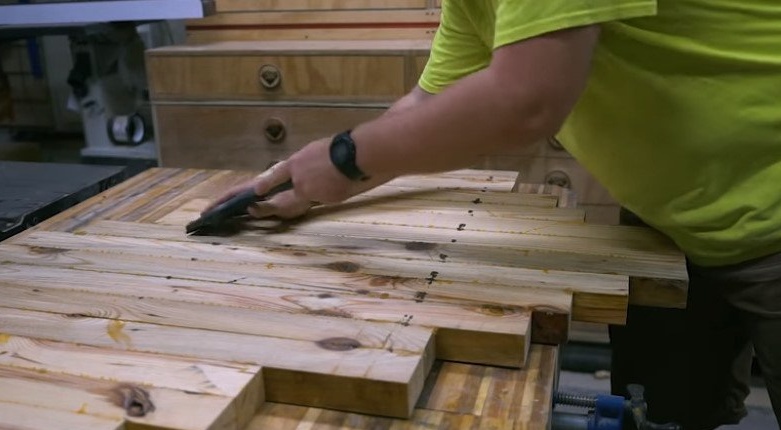
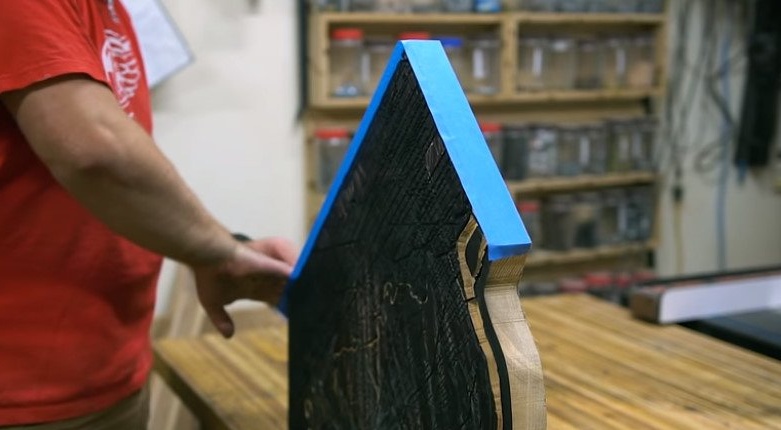
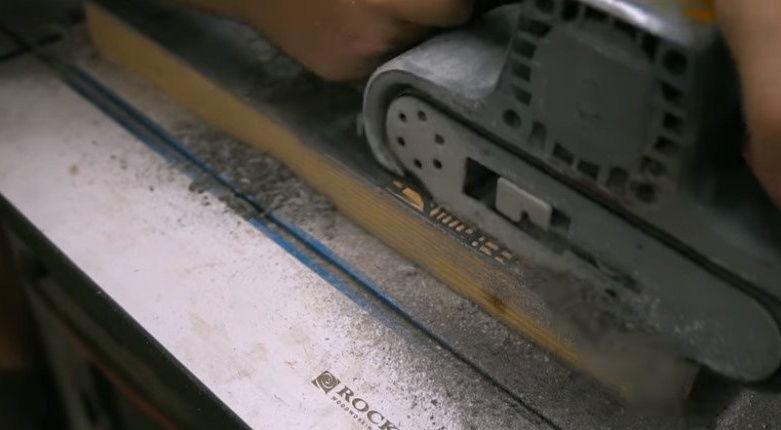
Step Four: Cleaning, Trimming
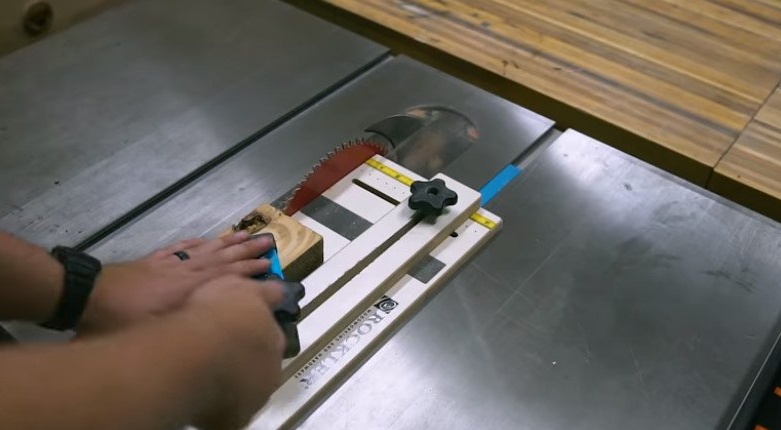
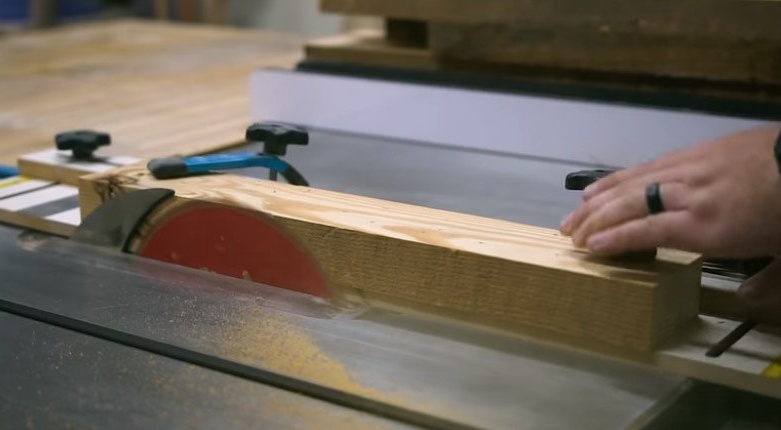
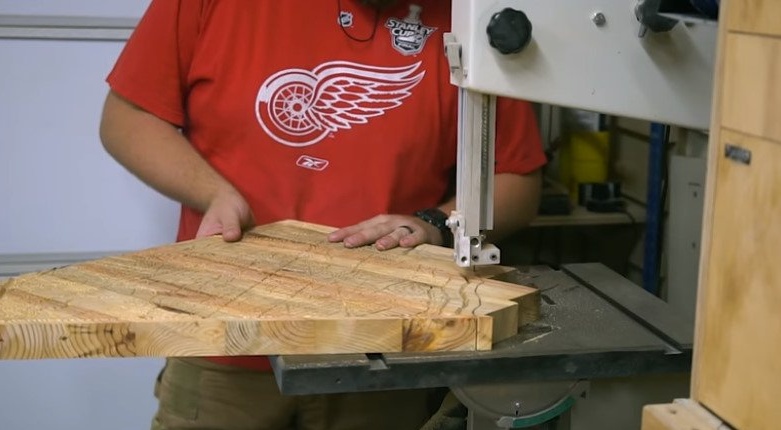
Cleans the workpiece.
Marks and cuts it into four parts.
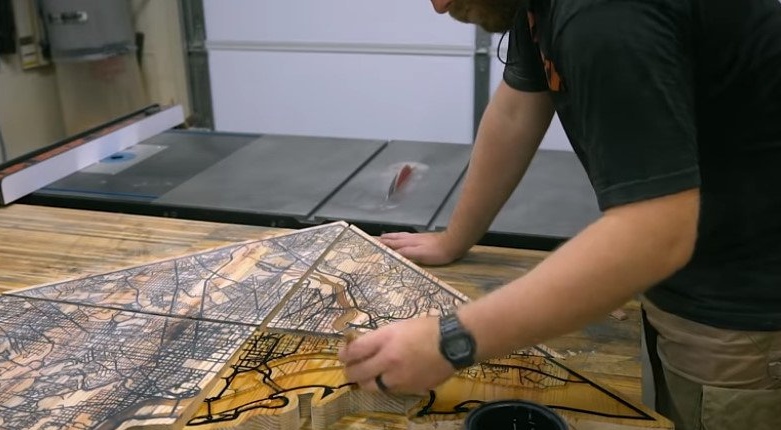
Step Five: Drawing
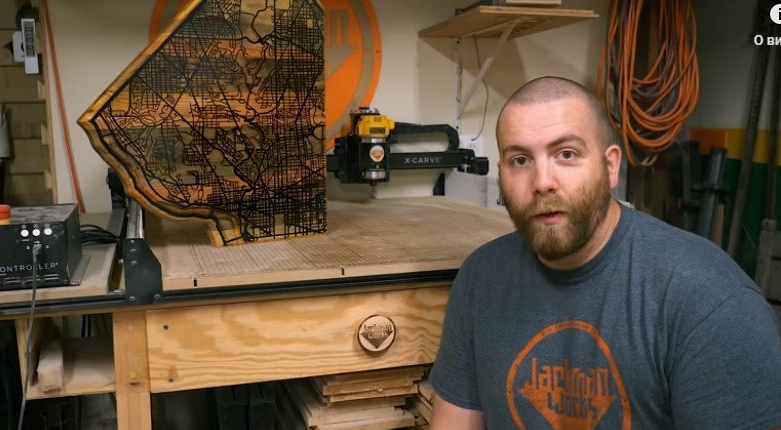
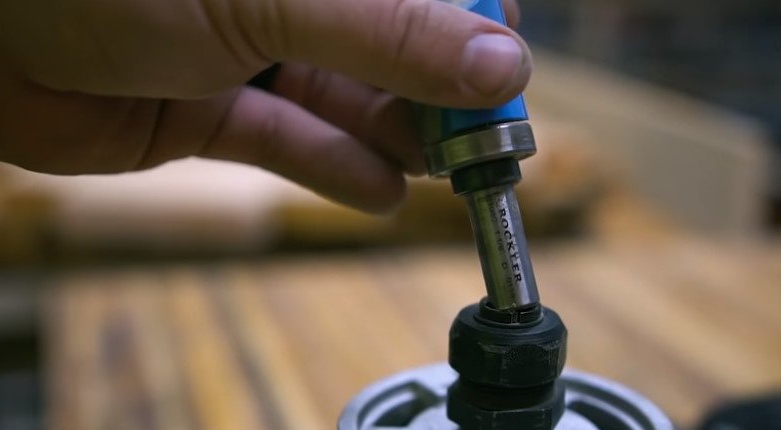
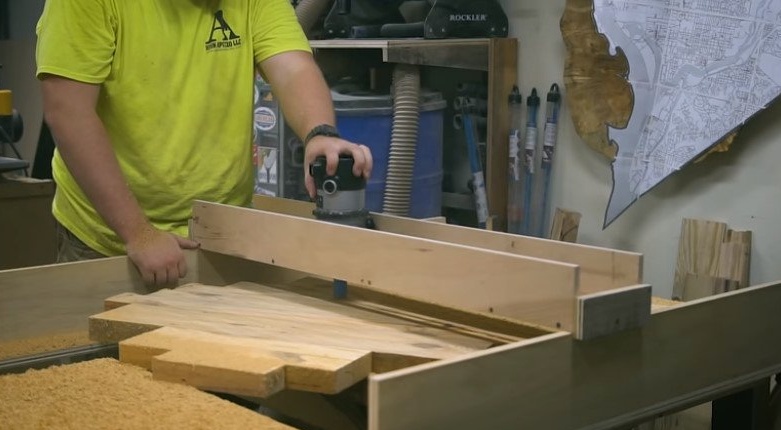
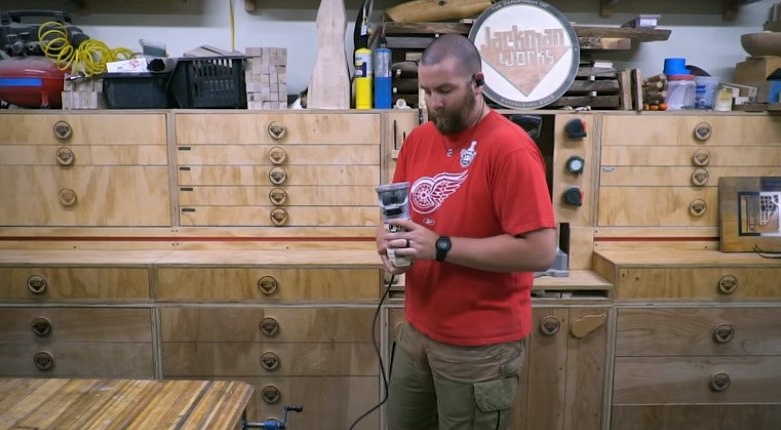
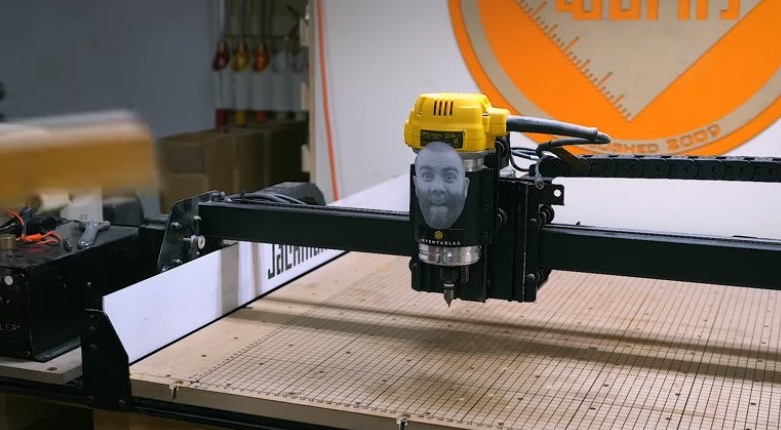
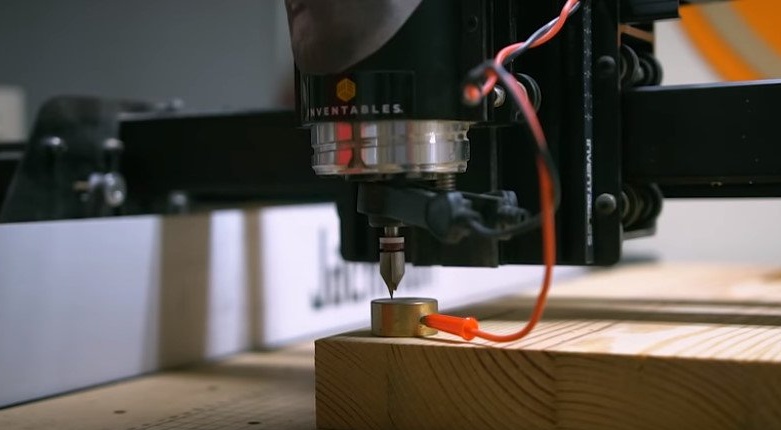
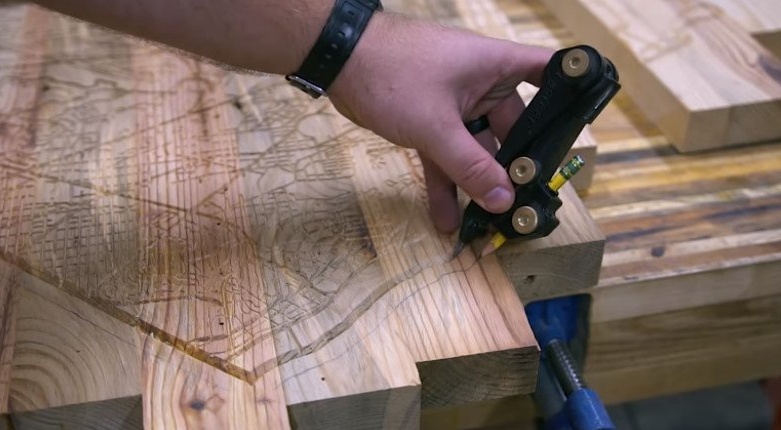
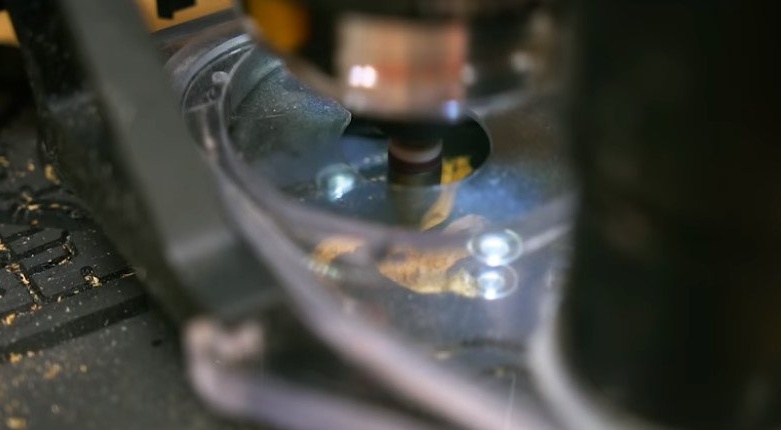
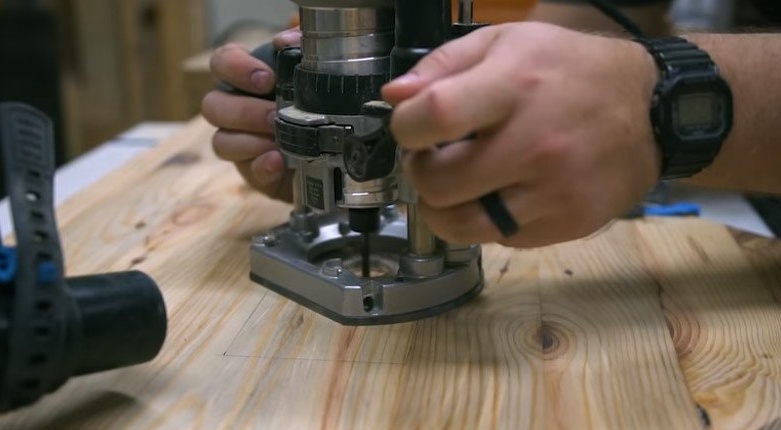
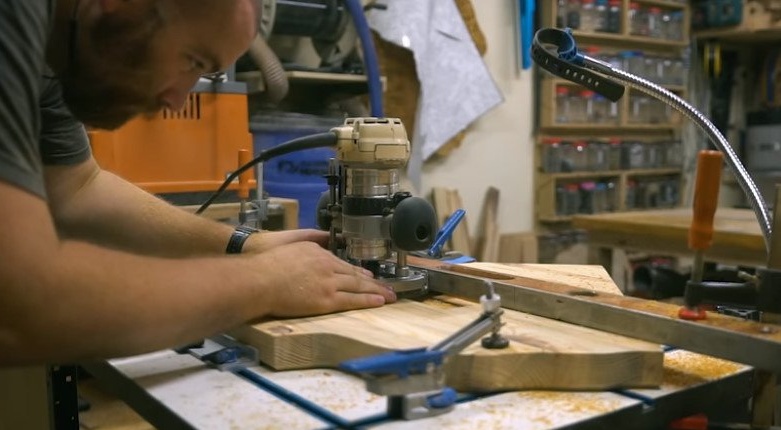
The master applies the drawing in two ways, using the CNC machine and a manual milling cutter. In fact, the master decided to test who will cut the card faster and better on his quarter of the workpiece. Of course, at first the master transferred the drawing of the card to the wood using tracing paper.
The drawing is applied, the file with the map is uploaded.
And the competition begins.
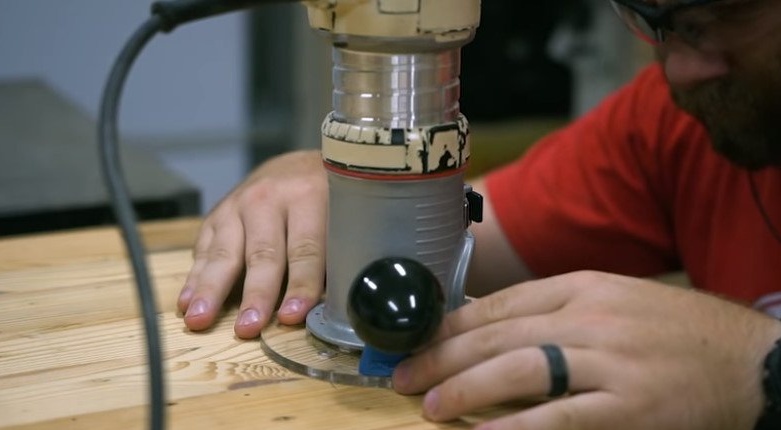
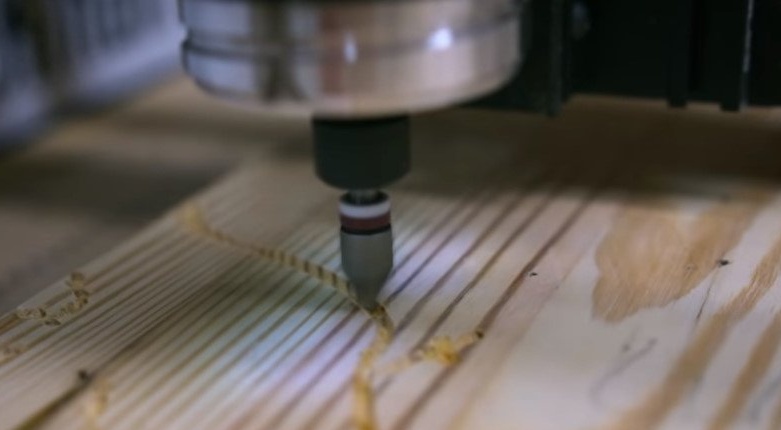
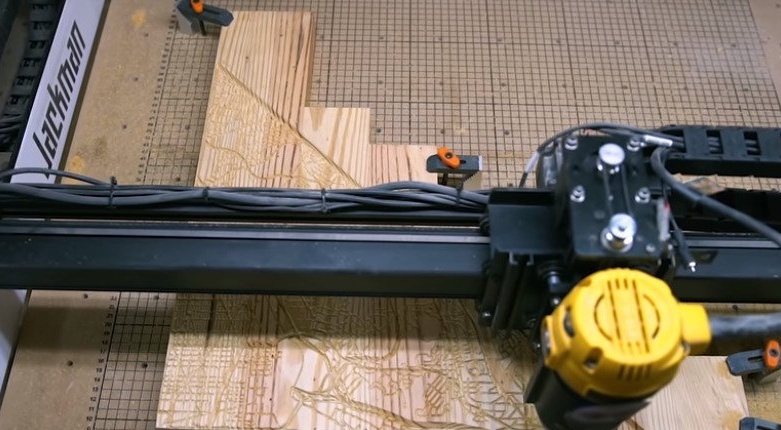
While the master cut out one part of the card, the machine coped with three. Of course, the machine has an advantage, it automatically changes the depth depending on the specified parameters.
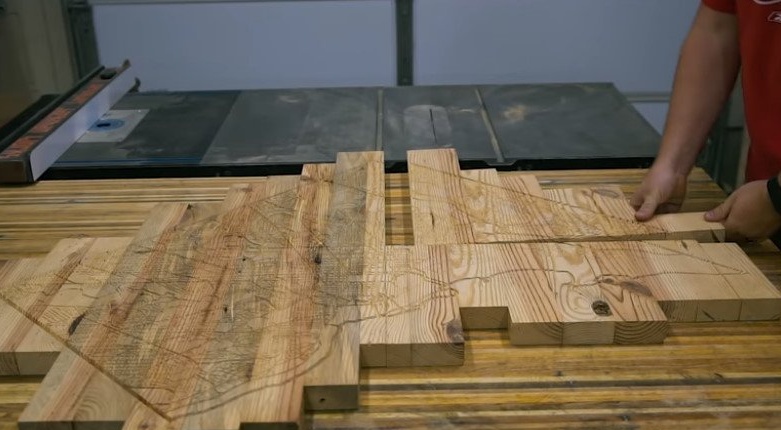
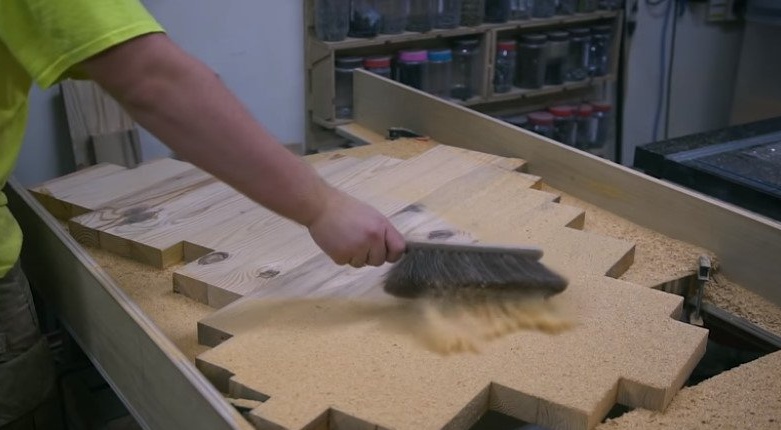
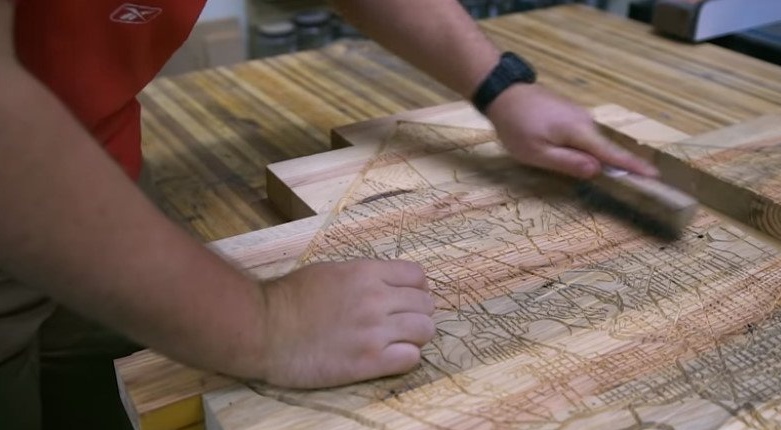
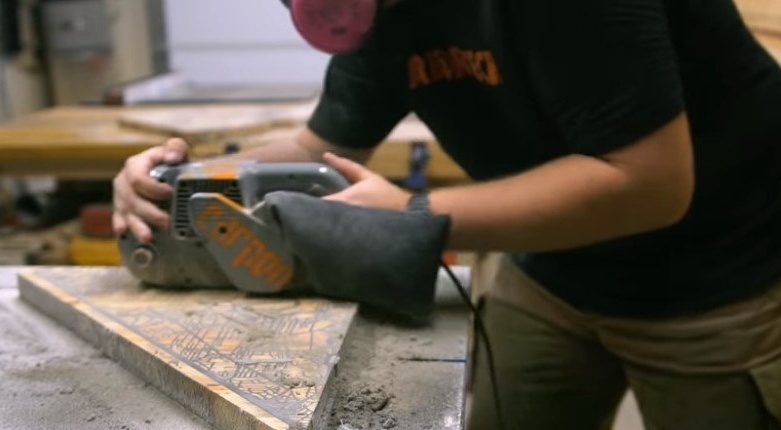
After cutting, you need to clean the card with a knife and compressed air.

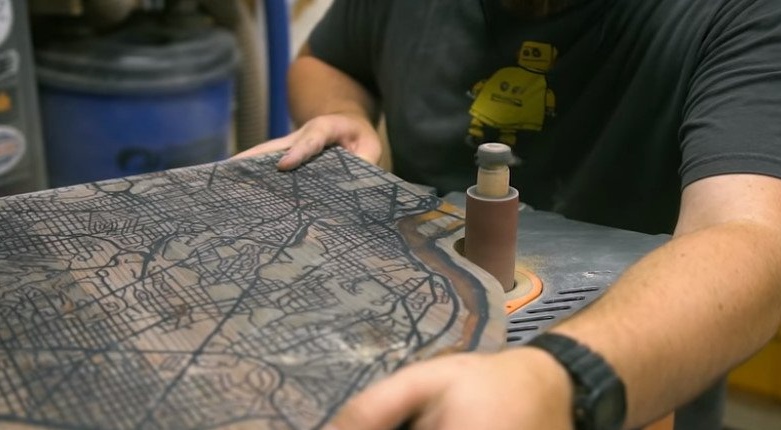
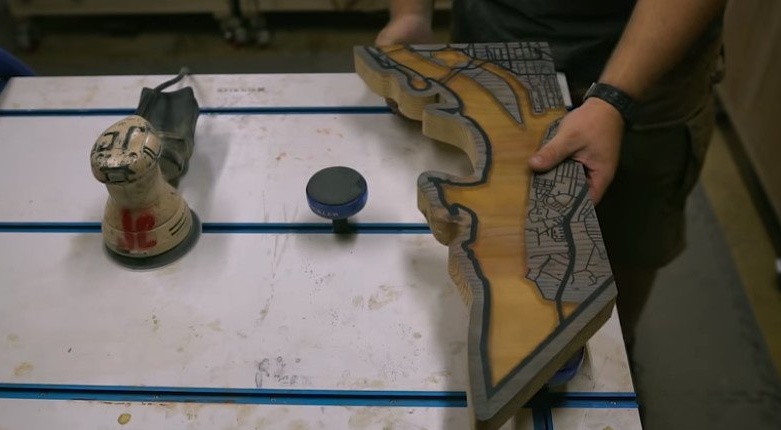
Step Six: Cropping
Leading the compass needle with the extreme groove of the card, and the stylus along the workpiece, the master outlines the edge of the product. Crops along the contour.

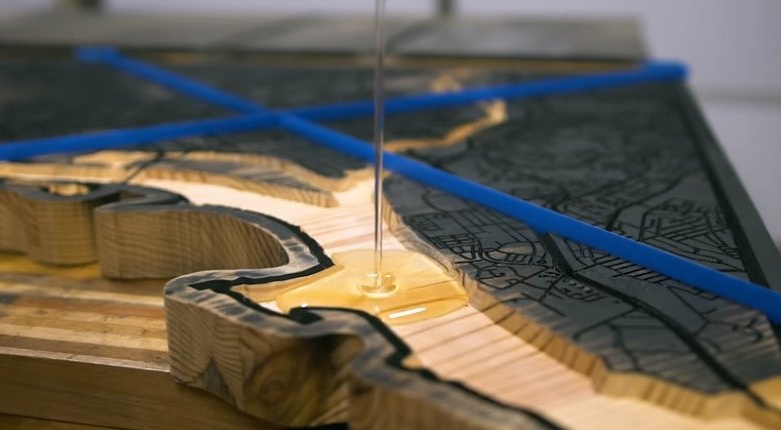
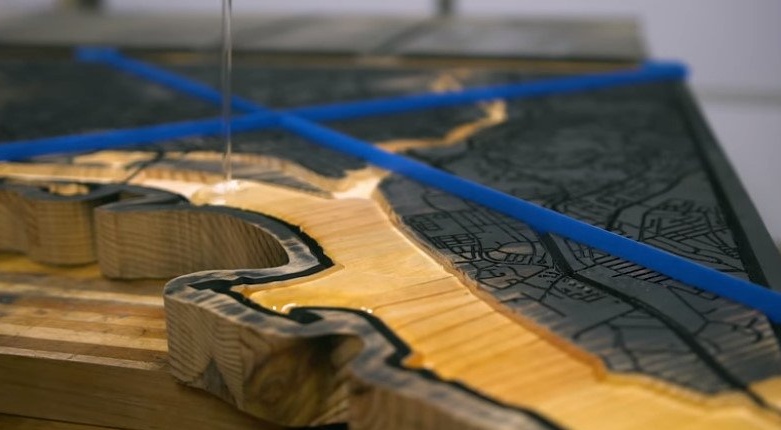
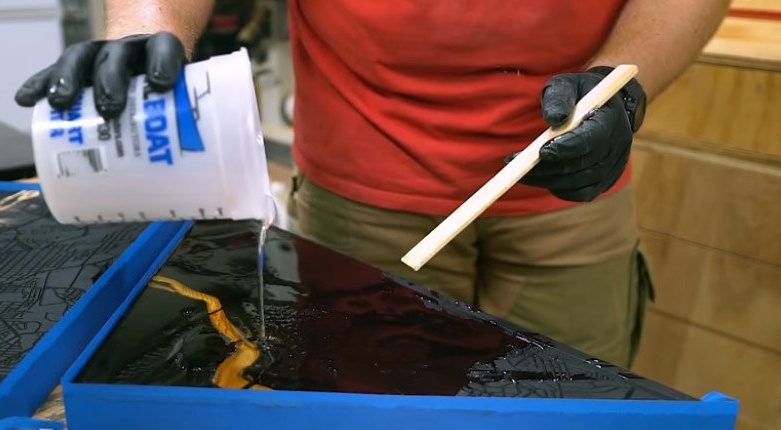
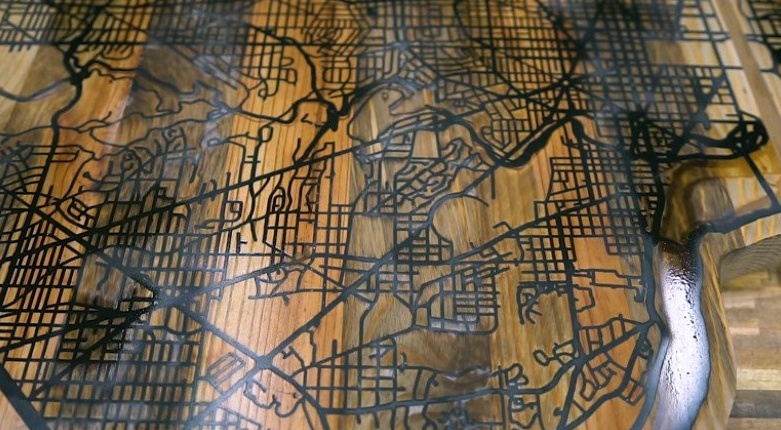
Seventh step: fill
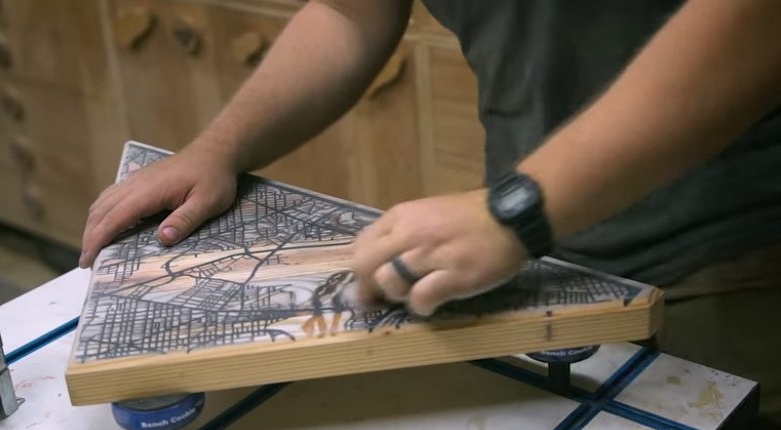
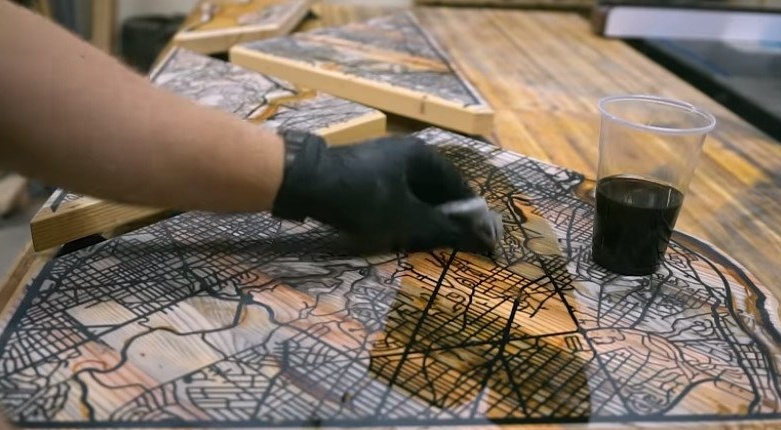
Now you need to prepare the card for epoxy resin casting. There are roads and a river on the map, in order to make them different colors, the master performs the following operations.
Covers the map with red paint.
Cuts the river.
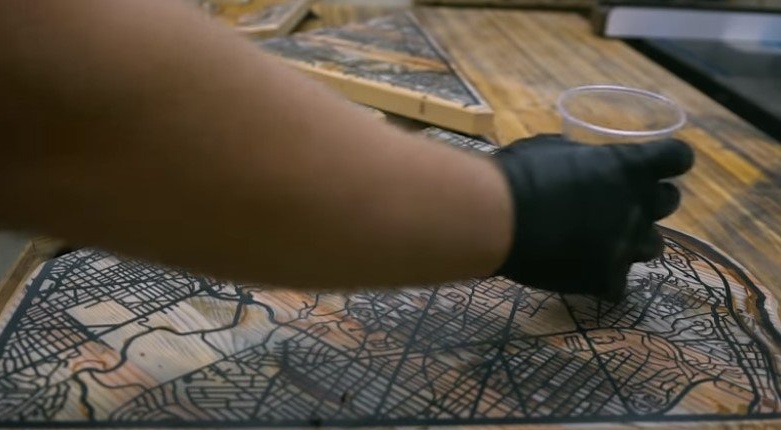
Glues the sides on the sides of the map. Fills the surface of the card with epoxy.

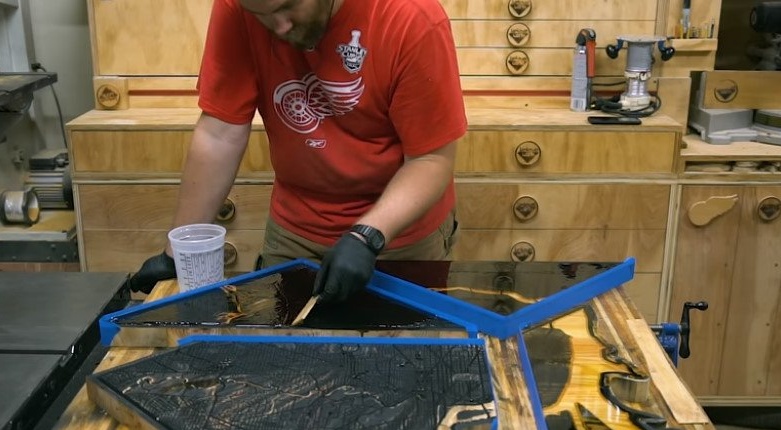
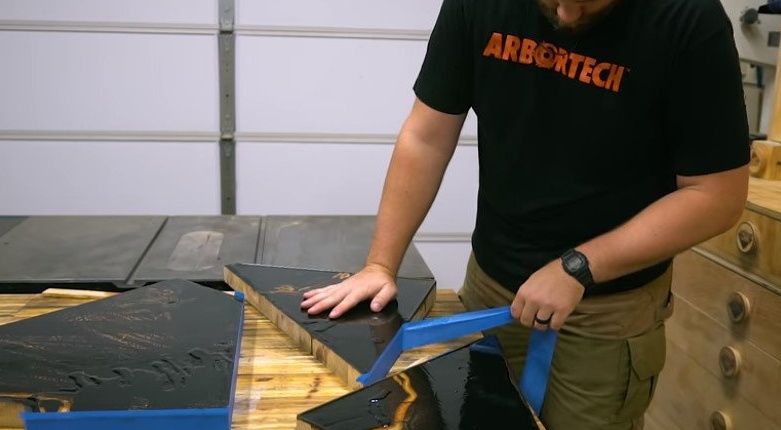
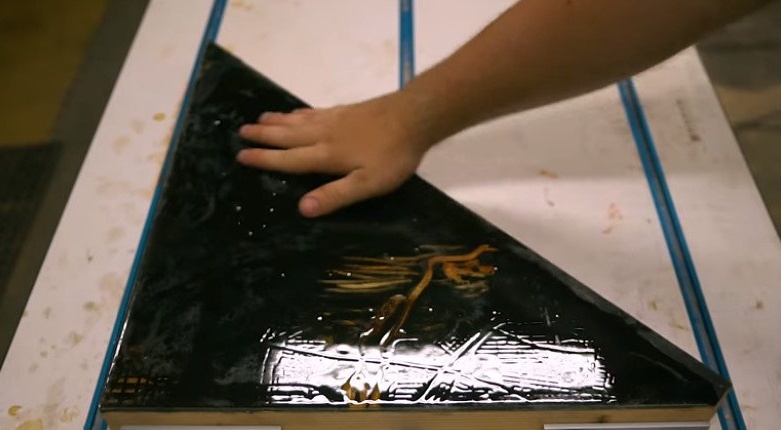
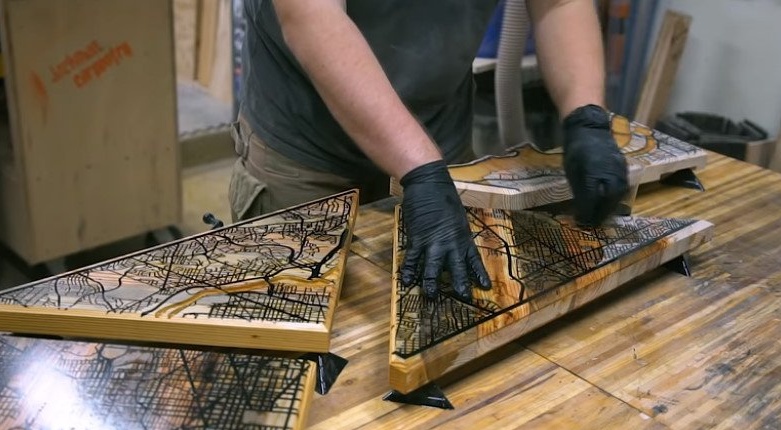
After drying, the resin polishes the surface.
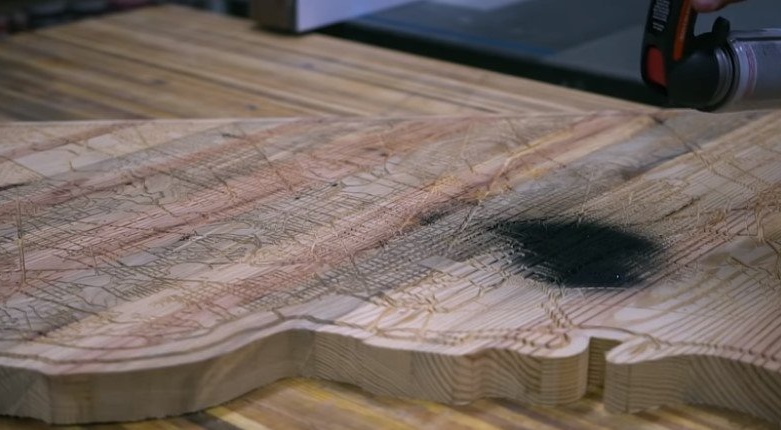
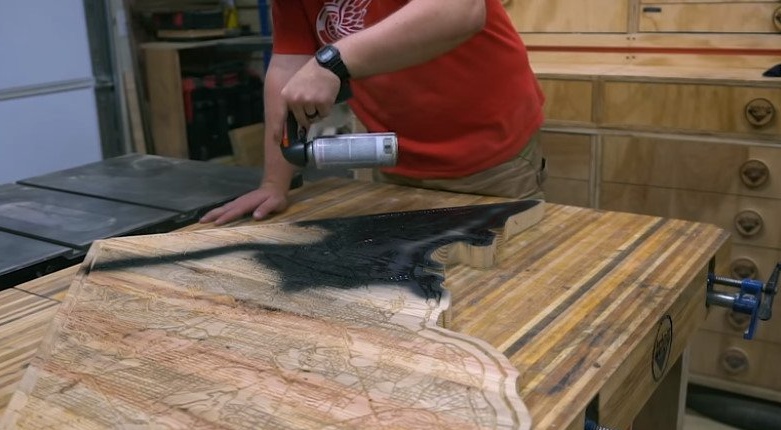
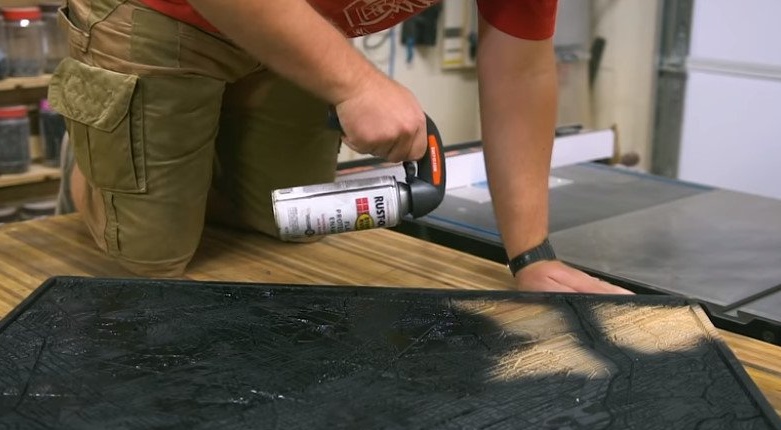
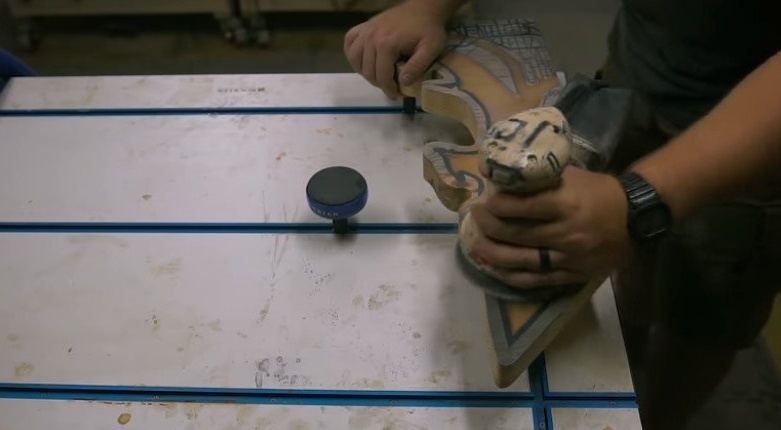
Step Eight: Edging and Coating
As can be seen in the photographs, by the appearance of the card it can be said that it was recently made. To make her age a little, the master covers with a special composition that changes color, makes the surface gray. After applying the composition, it polishes the edges.
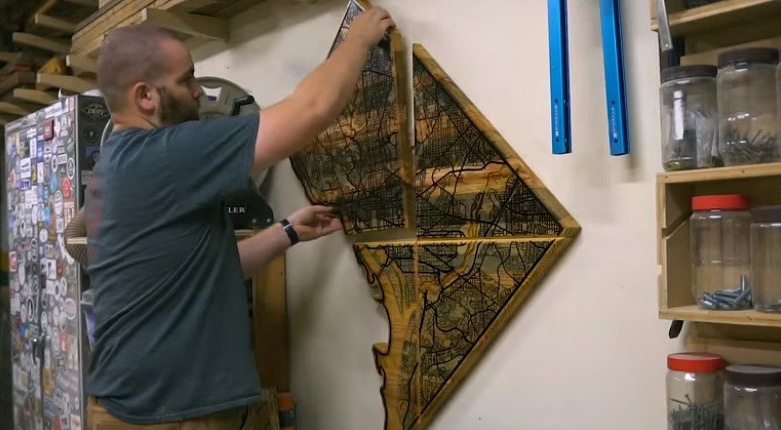
Step Nine: Suspension
The card will be hung on the wall with the help of a "French suspension". On the reverse side, the master cuts out the grooves for attaching the suspension bracket.

Step Ten: Tung Oil
The finishing touch is grinding and coating the surface with tung oil.
Now you can hang the card on the wall.
Details about the technology of making cards can be seen in the video.